

Tips
Heat Gun to easliy remove components
- Change nozzle on Weller Heat Gun to the fine tip.
- With a tweezers hold the board in the air by only the component that you want to remove.
- Direct the heat stream on the component.
- Within seconds the board will drop and the component will be extracted.
Fab Libraries
Downloads of Fab libraries for Eagle first used on the assignment electronics design
Load Libraries into Eagle
- Open Eagle
- In toolbar go to Library
- Select "Use..."
- Select the Fab Academy libraries or any other library you want to use that you have downloaded
Helpful links
- List of Fab Academy inventory
- Fab Academy tutorials
- Mold and Casting materials Smooth-on use on assignment 3d Molding and Casting and my Final Project
- A number of pdfs explaining AVR Timers non-pdf is on Newbie's Guide to AVR Timers
- My site was developed using a Html5 boilerplate template. HTML5 Boilerplate is a frontend developers's base HTML/CSS/JS template for a fast, robust and future-safe site.
- Version Control Tool Mercurial
- Modeling Program Rhino3D
- EAGLE
- Processing programming language used on assignment Interface and Application Programming
- Slic3r STL-to-GCODE translator for RepRap printers
- Printrun Pure Python 3d printing host software
More digital fabrication
 |
 |
 |
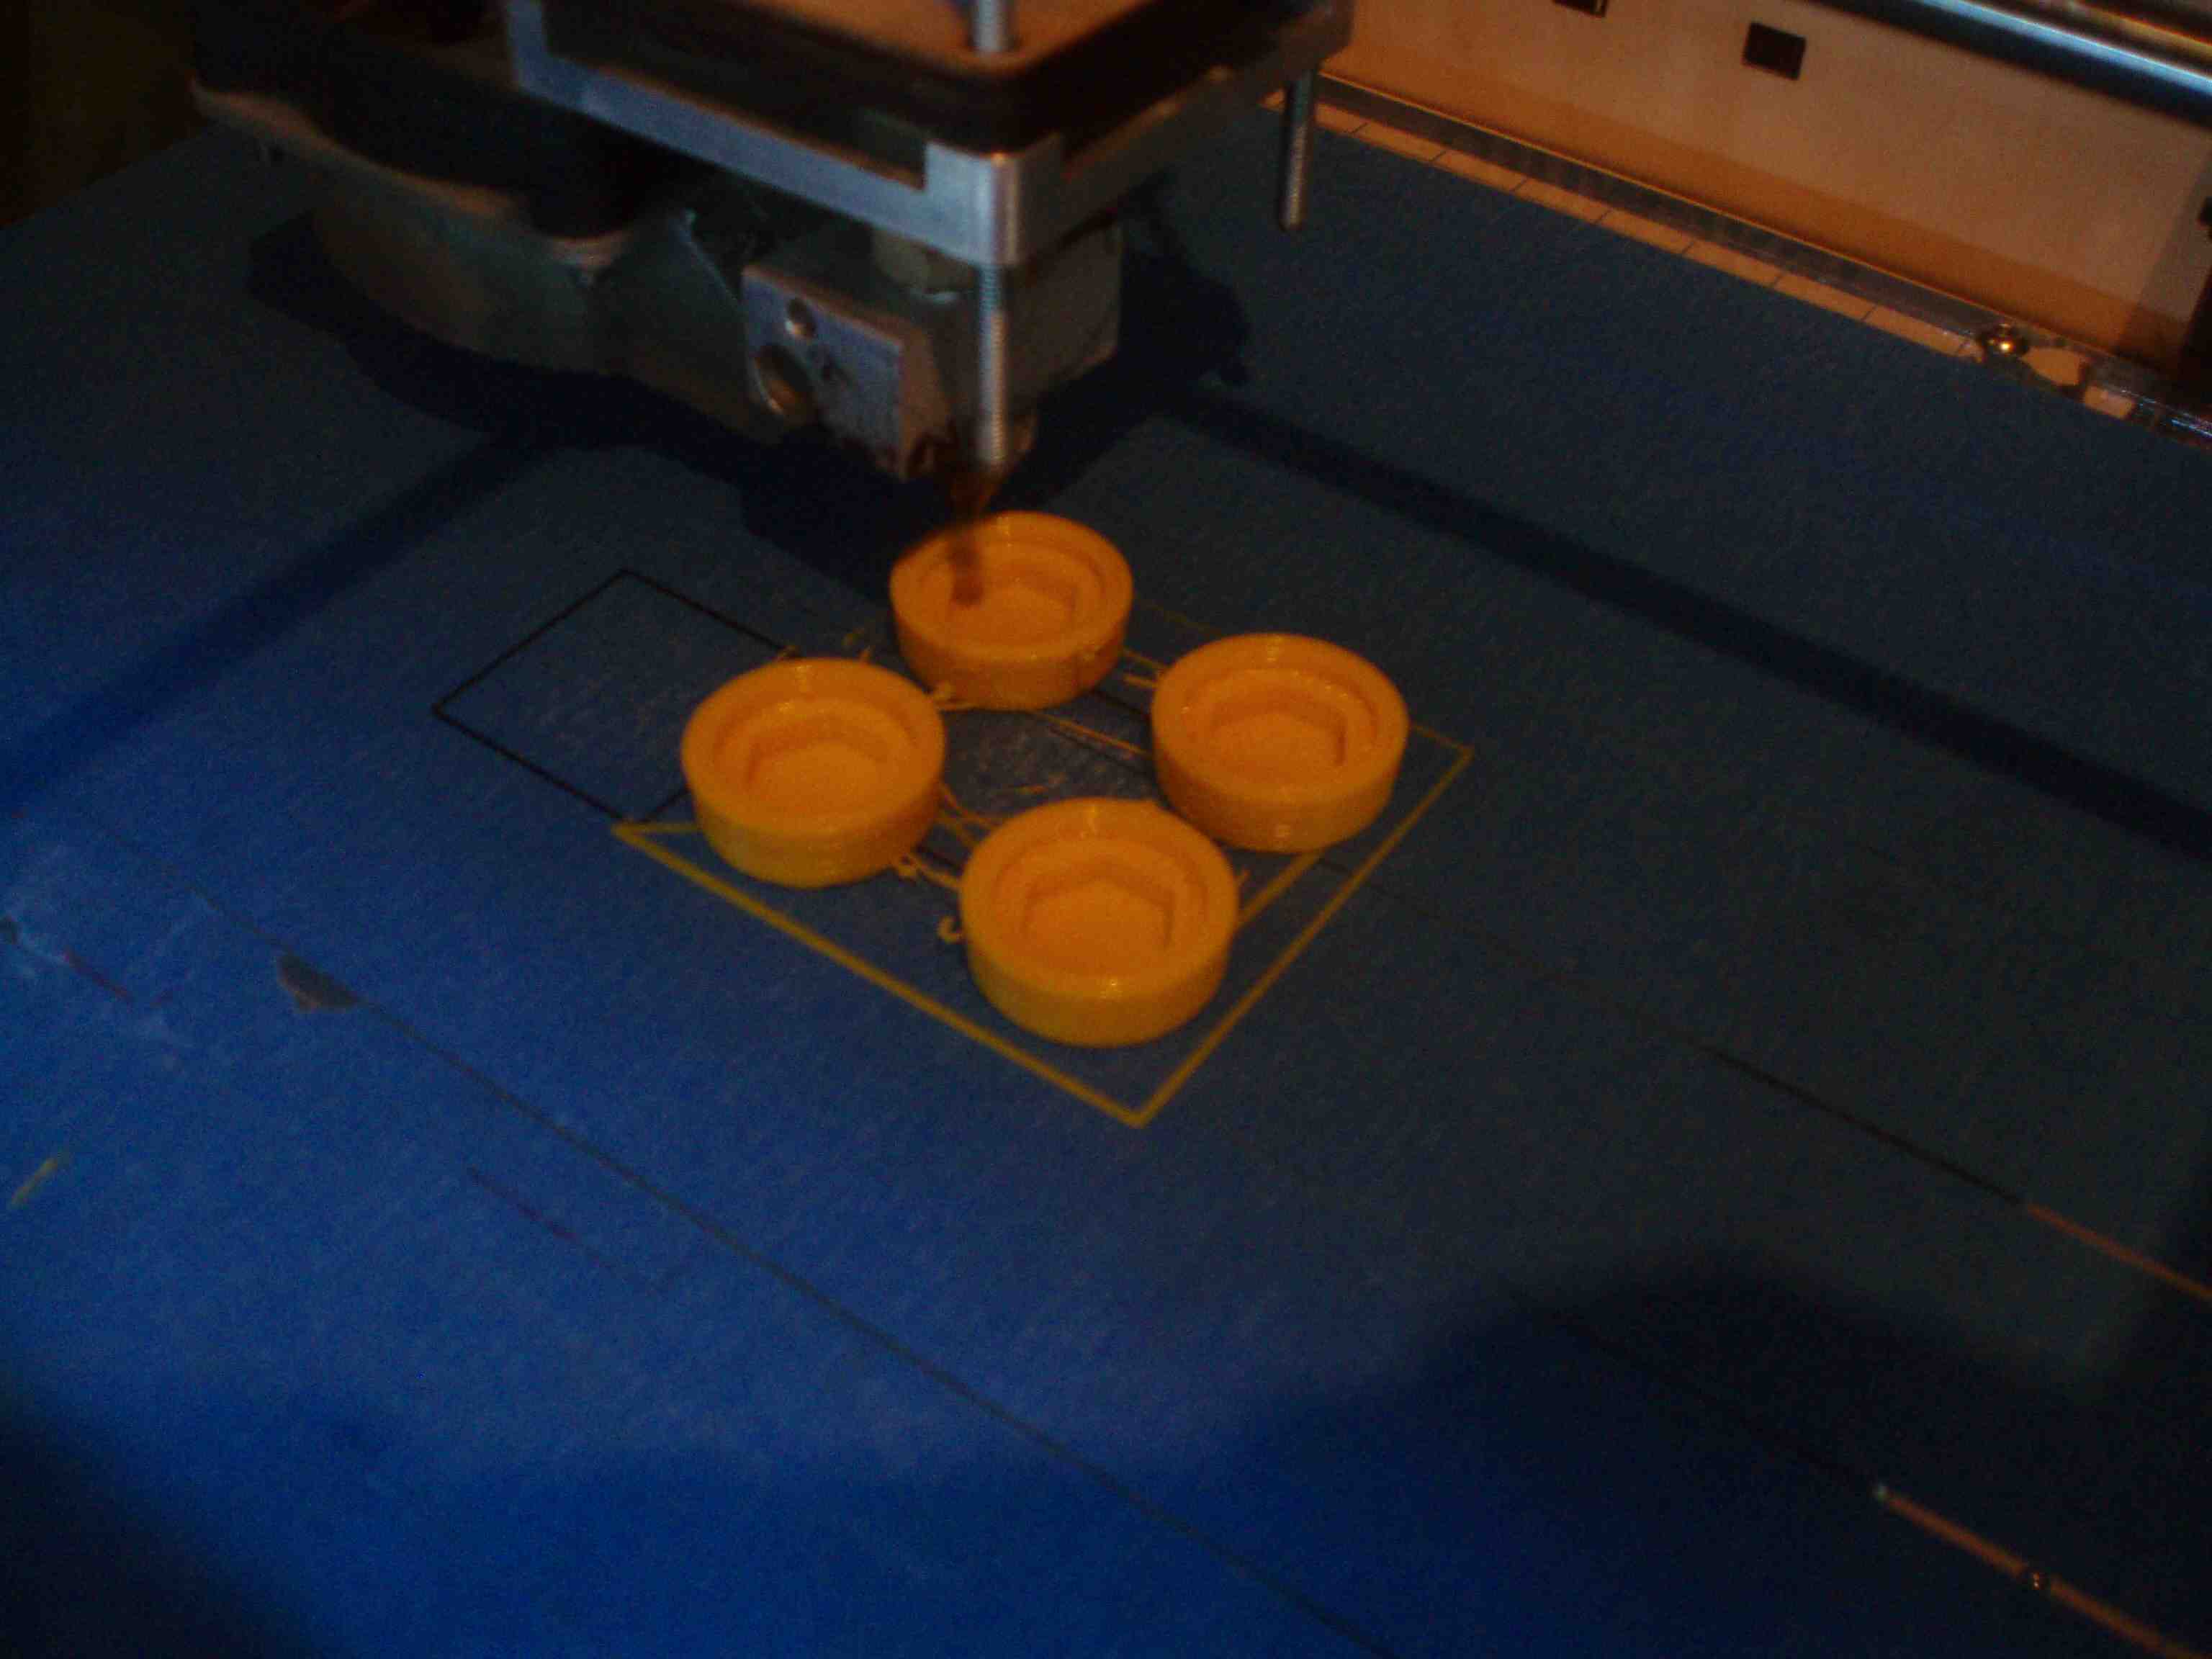
With the 3D printer I made feet, knobs, etc. for my final project and broken home appliances.
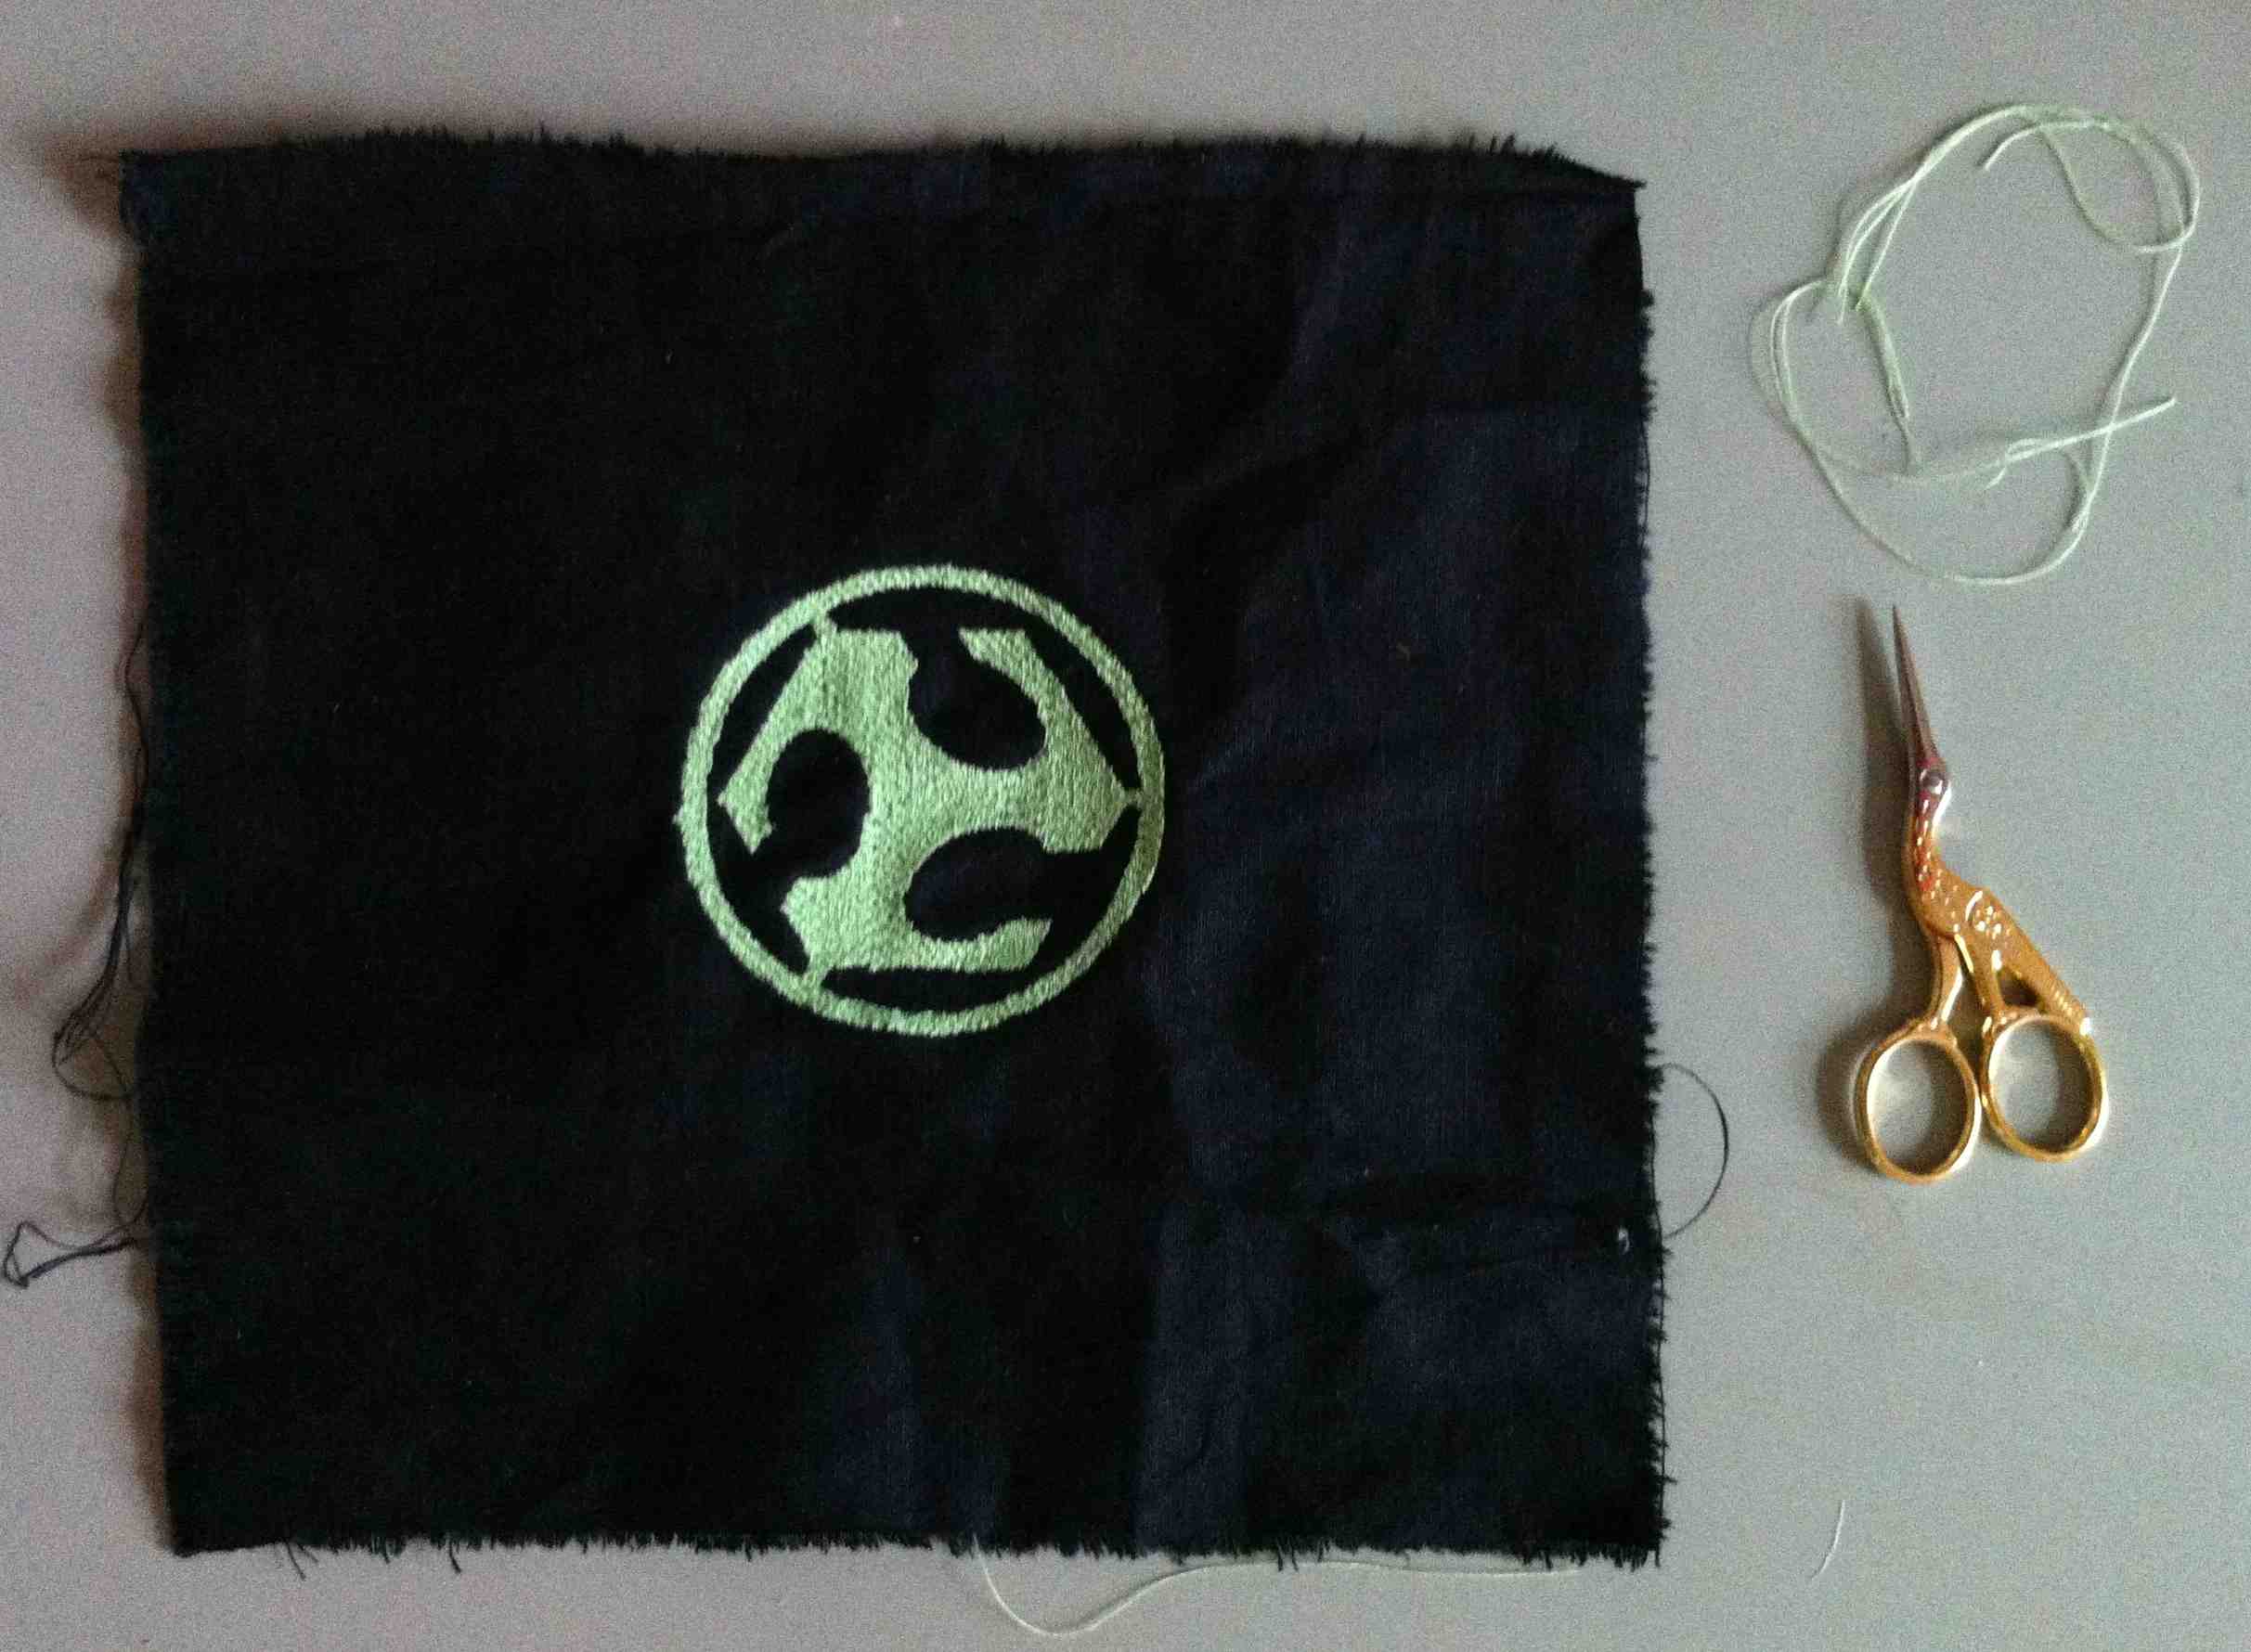
There wasn't any embroidery assignments however could not resist the Janome embroidery machine at the Waag FabLab.
Quick setup notes for the Janome embroidery:
- Put USB stick in Janome embroidery machine
- Select USB icon on Janome embroidery machine. This initializes the USB stick for the Janome embroidery machine creating a EMD directory on the USB stick. This directory is were all your images will be saved.
- Launch Embird on computer
- In Embird, click the icon that looks like a needle being threaded. This is the "Studio Plugin".
- Import the image to be embroidered.
- Located on the left side menu bar hold down the icon that looks like a "magic wand" and select the stitch for your embroidery.
- With arrow select the area on your image for embroidery (NOTE: there is no select all). When you are done selecting click the "apply" button on the top of the screen
- Edit parameters to select density, stitch style, etc.
- See all the great tutorial on the Janome embroidery machine on the Waag FabLab site
 About me
Information, technology, and digital fabrication junkie
As an artist living in the form of a Software Engineer I believe in approaching technology as a craft; part art and part skill. This technique is transferable when explaining technical information in a language that can be readily grasp. Paying attention to detail, I focus on a methodical and effective approach to troubleshooting and problem solving.