NODO

Fab Academy Initial Planning and Documentation
The Git workflow is not only a sequence of commands, but a structured process that manages how changes are tracked and stored. The workflow used in this project is:
git add.
This allows control over which changes will be included in the next version.
git commit, generating a snapshot
of the project at a specific moment.
git push,
ensuring backup and accessibility.
git add .
git commit -m "Weekly progress update"
git push
This workflow ensures traceability, version control, and the possibility of reverting errors during development.
As a first step, I installed Git, which is the tool that allows me to manage versions of my project. I understand that Git is essential because it keeps a record of all changes and allows me to go back if something goes wrong.
git --version
This step is important because it ensures that I have the environment ready to start tracking my work.
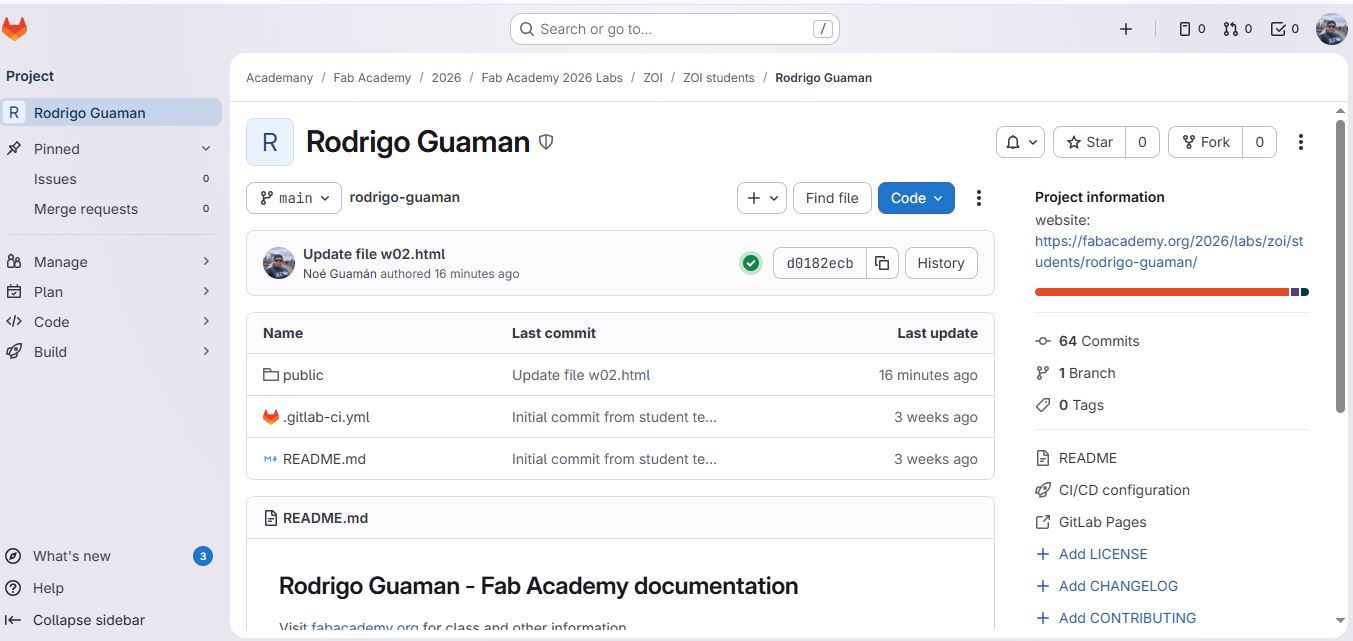
I created a GitLab account to store my project online. I understand that this remote repository works as a backup and also allows my work to be publicly accessible.
This step is important because it defines where my project will be stored and shared.

I initialized my project using Git. This means I converted my folder into a version-controlled environment.
git init
I understand that this creates a hidden .git folder that stores all the history of changes in my project.
I configured my name and email so that every change I make is identified.
git config --global user.name "Your Name"
git config --global user.email "your@email.com"
This step is important because it allows tracking who made each change in the repository.
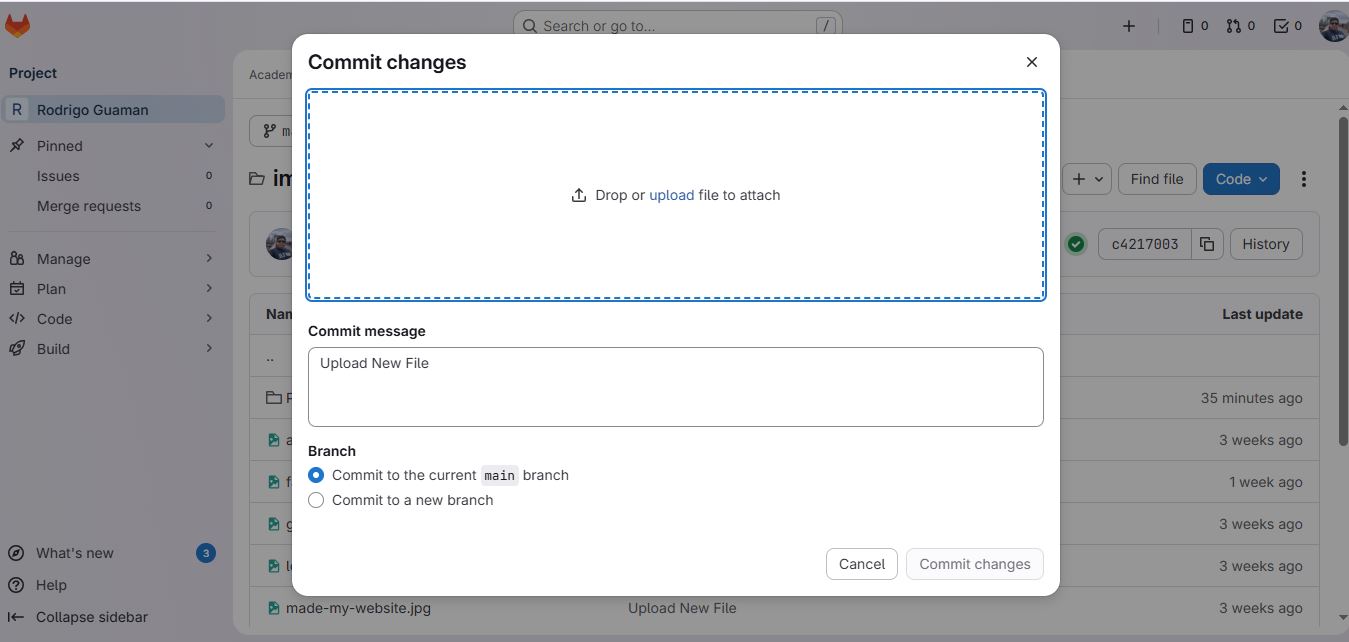
I added my project files to the staging area. I understand that this step prepares the files before saving them permanently.
git add .
The staging area gives me control over what changes I want to include in the next version.
I created my first commit, which represents the first saved version of my project.
git commit -m "Initial commit"
I understand that each commit is like a checkpoint that allows me to track progress and return to previous states if needed.
I connected my local project to GitLab. This allows me to synchronize my work between my computer and the cloud.
git remote add origin https://gitlab.com/username/repository.git
This step is important because it establishes communication between local and remote environments.
I uploaded my project to GitLab. This makes my work available online.
git push -u origin main
I understand that this step synchronizes my local work with the remote repository.
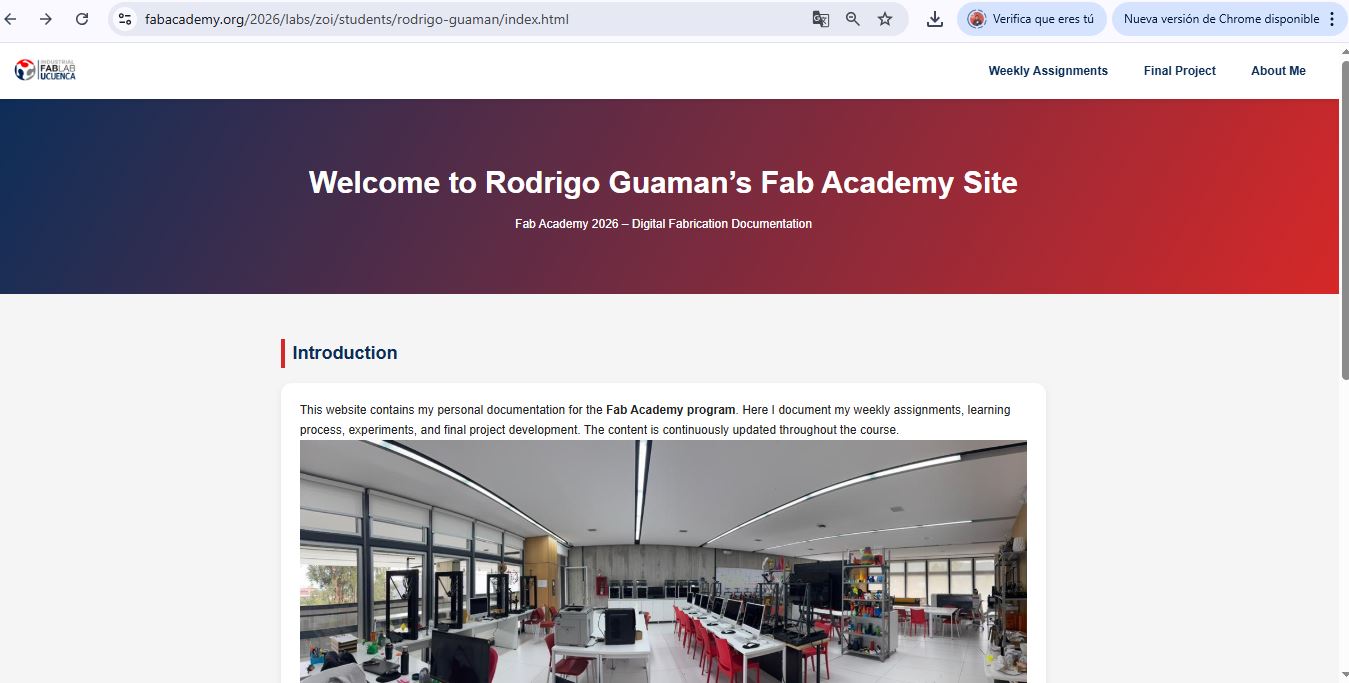
I verified that my website is published correctly using GitLab Pages.
https://fabacademy.org/2026/labs/zoi/students/rodrigo-guaman/index.html
The development of my Fab Academy website followed a structured workflow that integrates design, coding, version control, and deployment. The website includes weekly assignments, final project documentation, and personal information organized in separate HTML files.
For coding, I used Visual Studio Code as my main editor, which allowed efficient file management, syntax highlighting, and real-time visualization using browser previews.
The structure was developed using HTML, while the visual design was implemented with CSS, using reusable components such as cards, sections, and navigation menus.
All media files were organized into structured folders (e.g., images/, archive/) to maintain a clean and functional repository.
Version control and publishing were managed using Git and GitLab, allowing continuous updates and safe storage of the project.
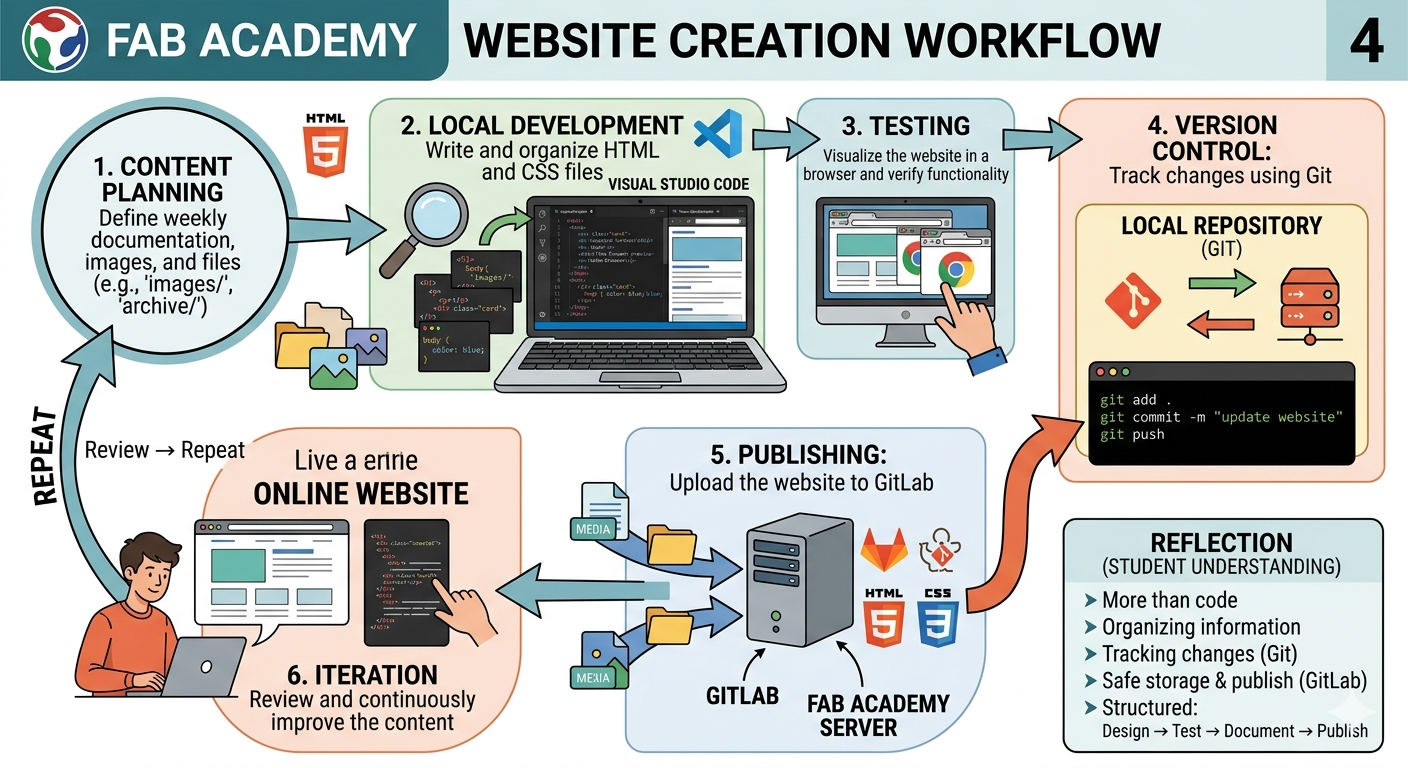
The development process follows an iterative workflow:
git add .
git commit -m "update website"
git push
Simple Flow:
Planning → Coding → Testing → Git Commit → Git Push → Online Website → Review → Repeat
Detailed Flow:
[Idea / Content]
        ↓
[HTML & CSS Development]
        ↓
[Local Testing]
        ↓
[Git Add / Commit]
        ↓
[Git Push to GitLab]
        ↓
[Deployment (Fab Server)]
        ↓
[Online Review]
        ↓
[Improvements]
        ↺
Through this process, I understood that creating a website is not only about writing code, but also about organizing information and maintaining a clear workflow.
Git allows me to track every change, while GitLab ensures that my work is safely stored and published online. This workflow helped me develop a structured approach: design → test → document → publish.
This step is important because it confirms that my documentation is accessible online.
Every week, I repeat the same workflow to document my progress. This helps me maintain an organized and updated repository.
git add .
git commit -m "Week XX progress"
git push
I understand that this iterative process is essential for Fab Academy, as it demonstrates continuous work and proper documentation practices.
From this process, I understand that Git works in four main stages:
This workflow allows me to manage my project in a structured way, ensuring that every change is documented and recoverable.
During the process of setting up and using GitLab, I encountered several difficulties. These challenges helped me better understand how Git works and how to troubleshoot common issues.
git status to check if files were
correctly added and committed before pushing.
Overall, these difficulties helped me move from just using Git commands to actually understanding how version control works.
Development of Didactic Prototypes for Engineering Learning Using a STEM and Design Thinking Approach.
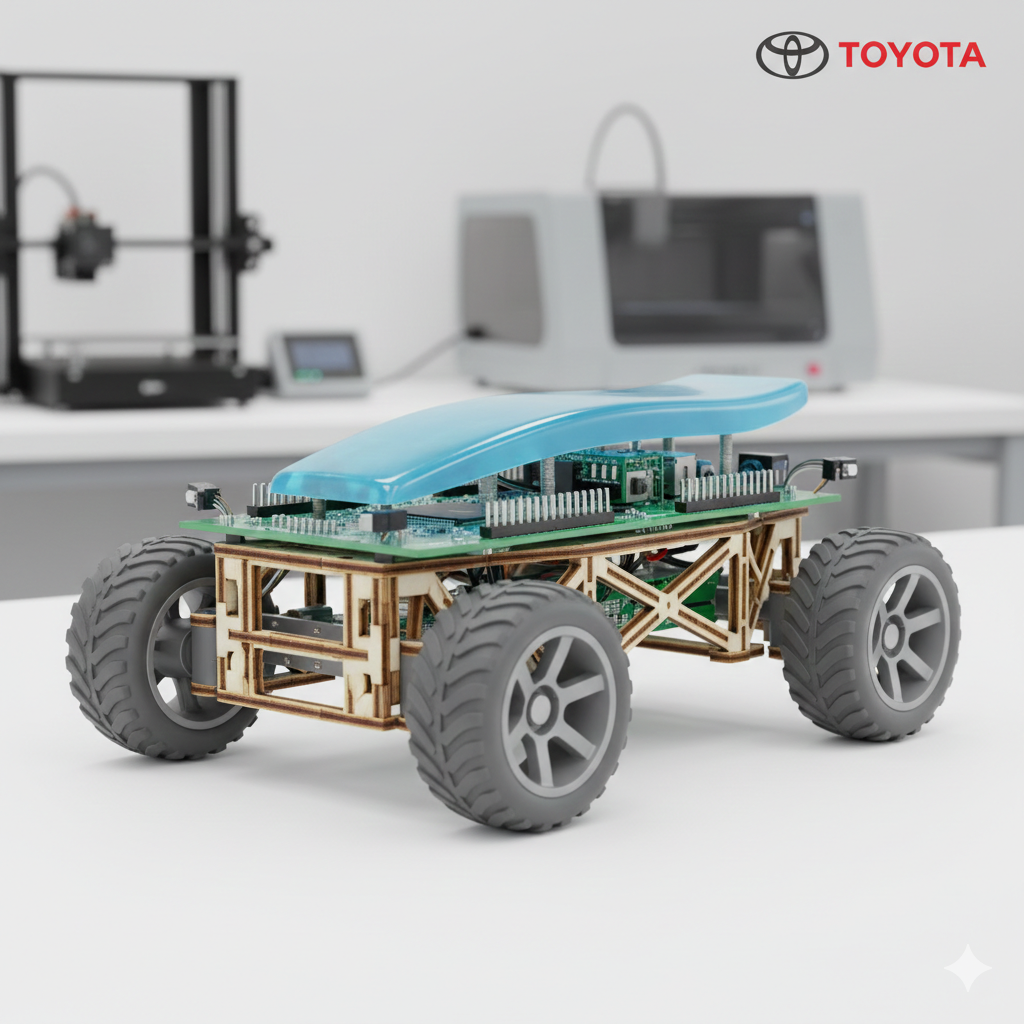
The final project aims to design and fabricate educational prototypes
integrating digital fabrication, embedded electronics, programming,
and mechanical design to enhance engineering learning.
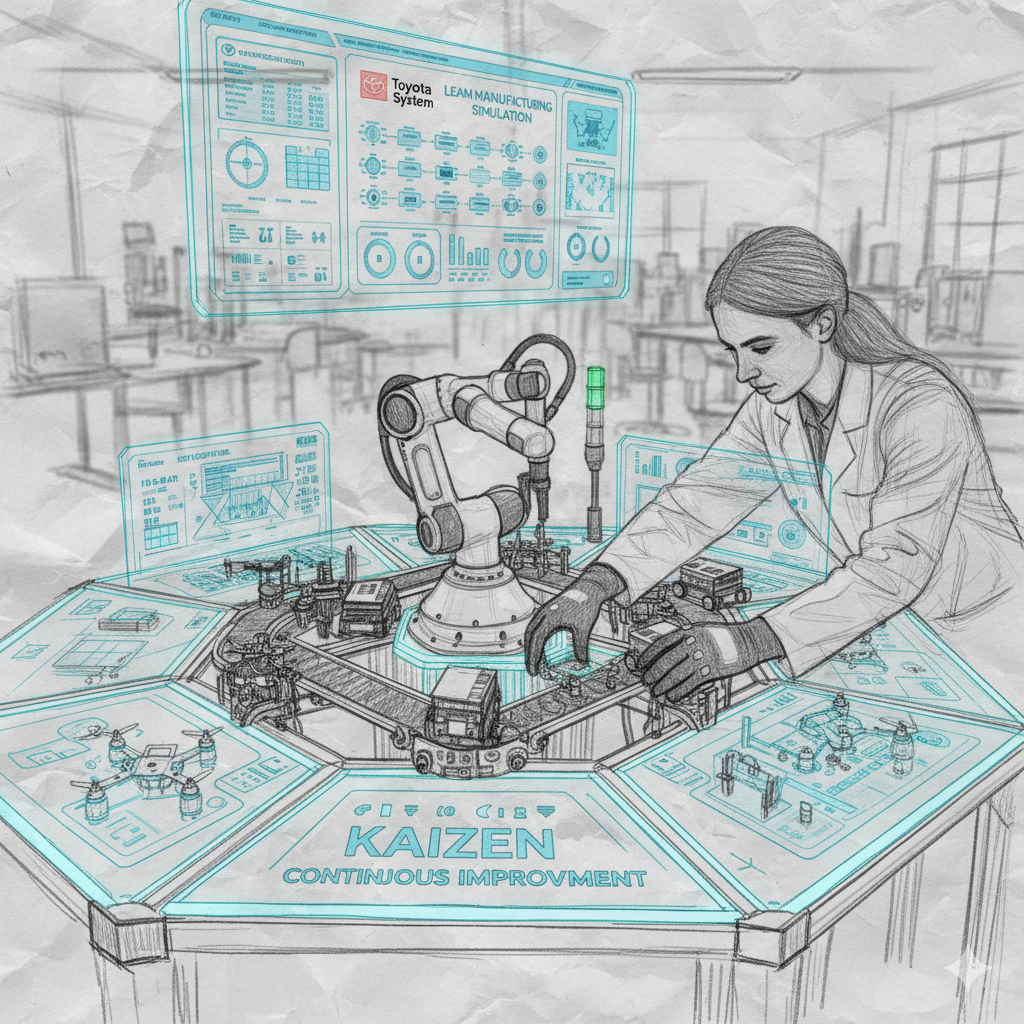
Sketch:
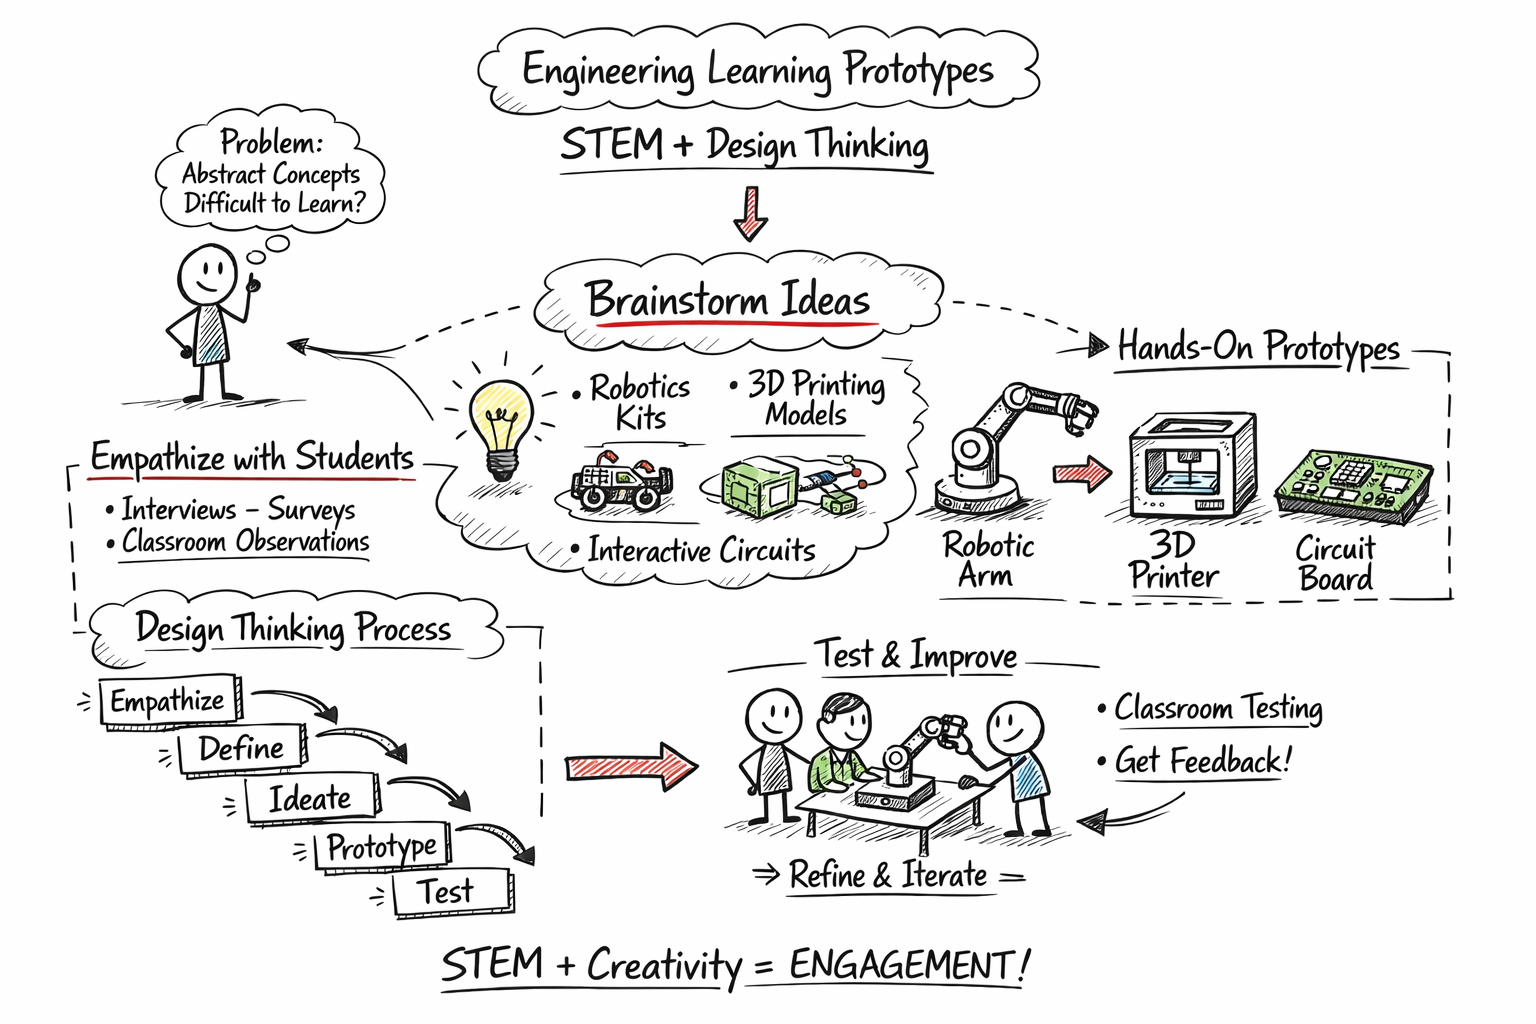
The project promotes active learning, critical thinking, and hands-on experimentation, contributing to innovative educational methodologies in engineering.
| Aspect | Status |
|---|---|
| Technical Feasibility | Validated |
| Fabrication Feasibility | Validated |
| Time Planning | On Schedule |
| Material Availability | Available |
| Requirement | Status | Evidence |
|---|---|---|
| Final project idea described | ✔ Completed | Final Project Review Section |
| Sketch uploaded | ✔ Completed | Project Documentation |
| Website created | ✔ Completed | HTML Structure |
| Git repository configured | ✔ Completed | Repository Section |
| Version control demonstrated | ✔ Completed | Commit History |
| Final project feasibility reviewed | ✔ Completed | Evaluation Criteria Table |