CO2 Laser cutter instruction
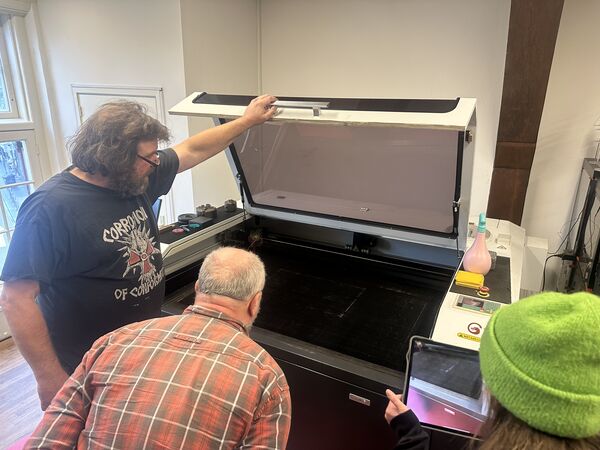
Henk shows our CO2 BRM laser at the fablab. Appearantly the fablab has a CO2 laser (brand BRM) which is controlled by ... It was donated 3 years ago by UVA (University of Amsterdam). Unlike the XTool this one does NOT have a camera.
But first HERO video ...

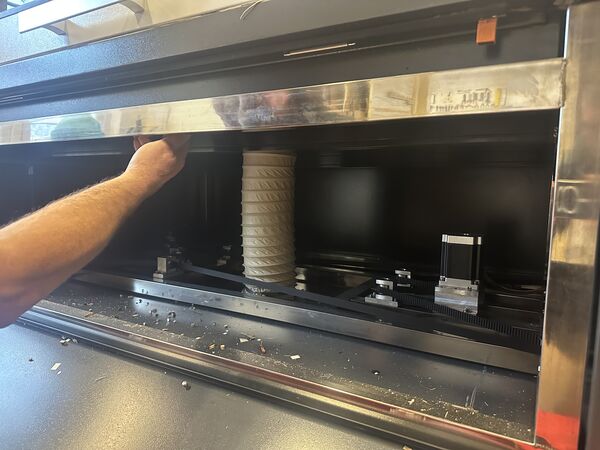
The water cooler and the tube itself.
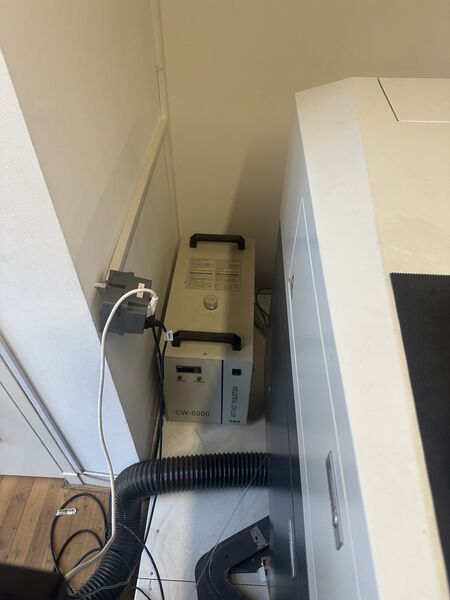
Water
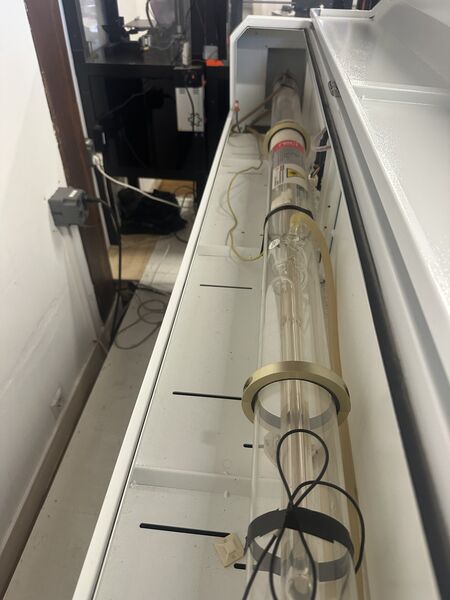
As the tube gets very hot while in operation, it needs to be cooled. If you look closely you will see a spiral around the laser itself. Inside the spiral cool water is pumped.
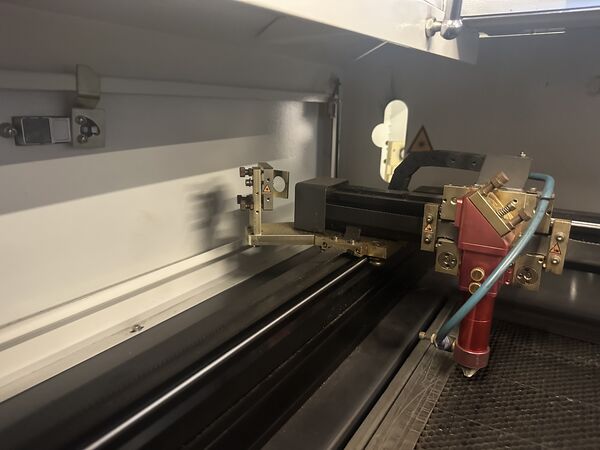
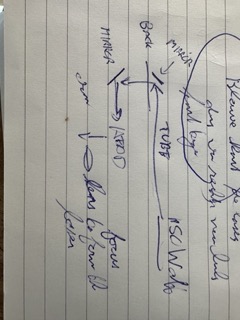
The laser emits from the right to the left. The laser then hits a mirror which sends the beam inside the machine. Then it hits another mirro which reflects the light to the head. Inside the head the beam is focused.
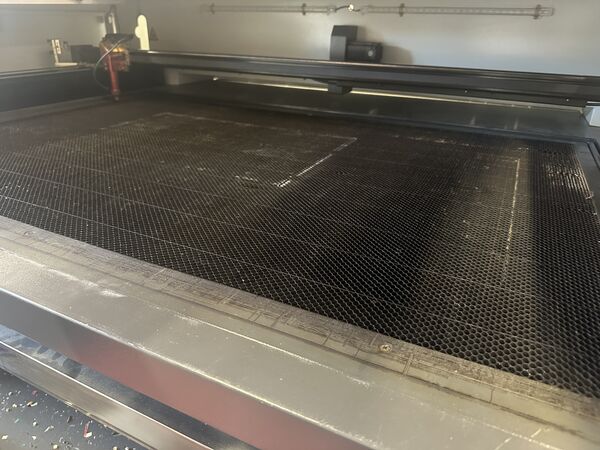
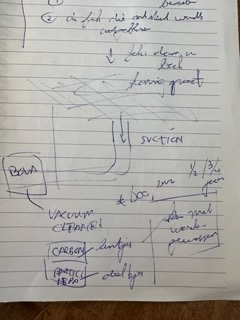
The material you want to cut is laid on the bed of the laser; beneath there is suction to get rid of vapors.
The vapors are caused by the fact that when the material is cut, there is basically a small fire going on. This however is blown out by compressed air that is provided for by a compressor.
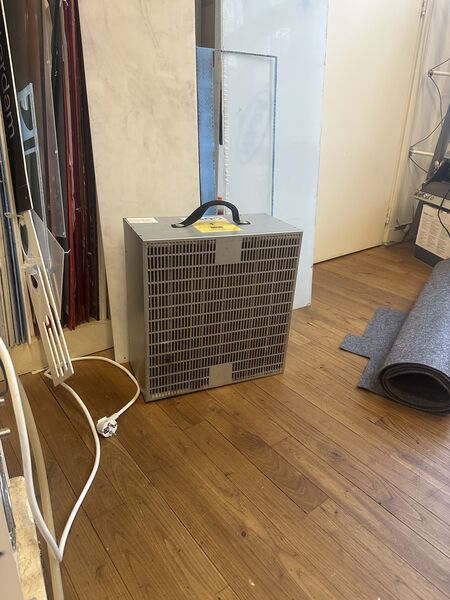
To suc away the vapors the system uses a kind of vacuum cleaner; called "BOVA" (thx Remco for the inside picture) that contains 2 types of filters; HEPA filter and CO2 filter (to take away smells). On average a filter wil cost around euro 600,- and needs to be replaced every half year (given fablab conditions).
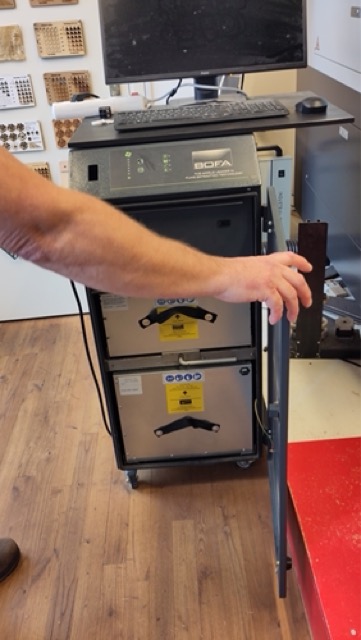

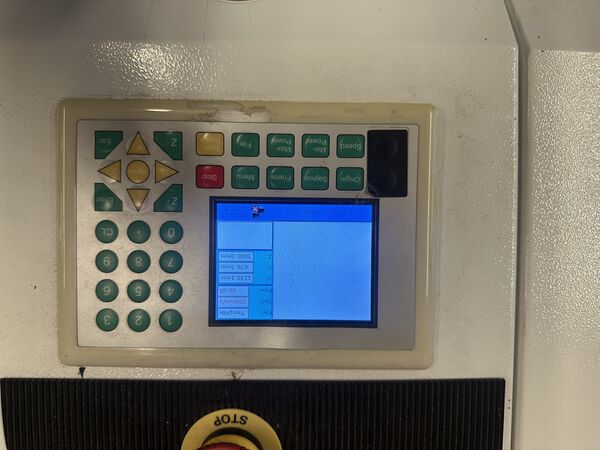
To turn on the machine there is big red switch. Behind the plastic shielding there is a reset button and anoher switch to actually to turn on the laser it self. On top of the machine there is a screen to operate the RUIDA 6332G controller.
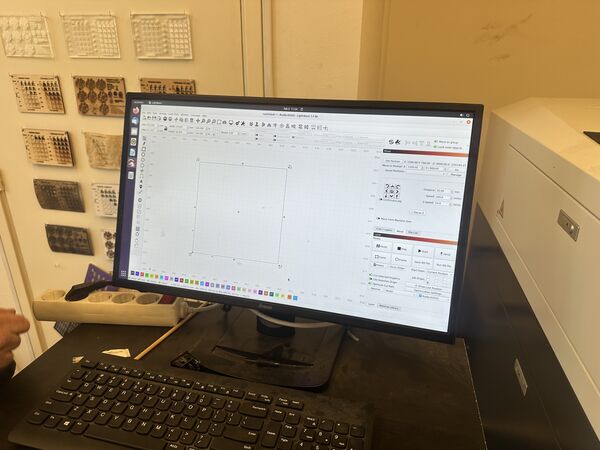
However to really operate the machine  the fablab uses the software
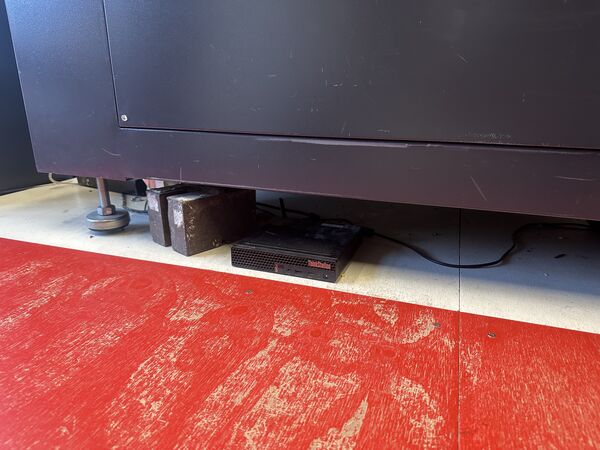
 LightBurn. The computer (running Linux) is positioned below the laser cutter.
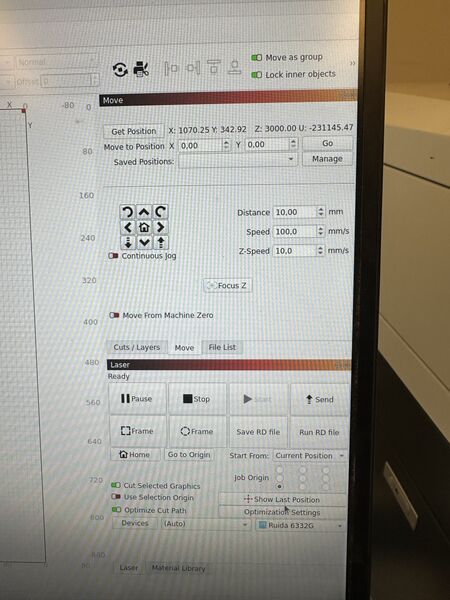
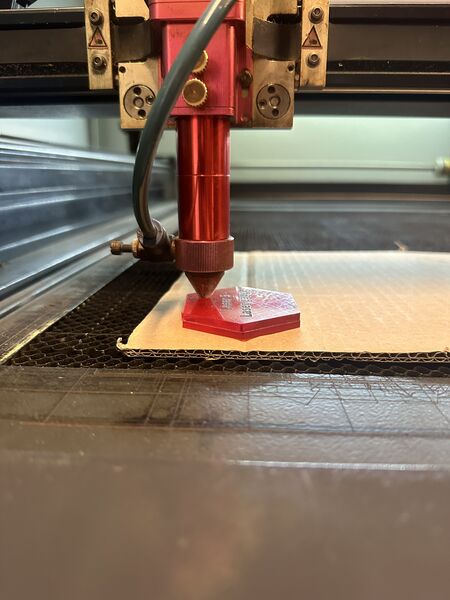
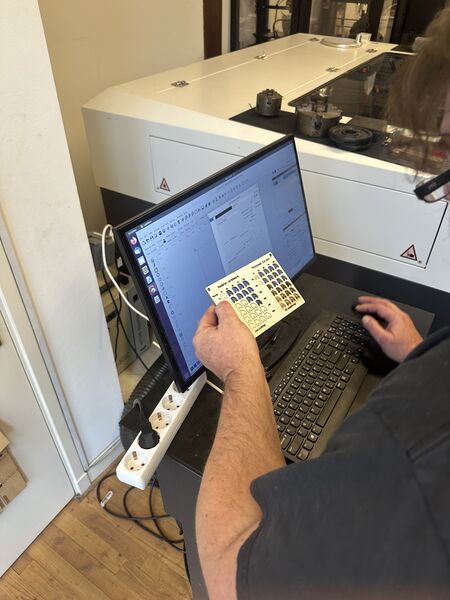
Henk showed us how to position the head (using LightBurn; you can set the step size of the head) and then use a piece of tailer made plastic to focus the laser on the material.
Henk then gave us an example of how to do some cuts using different parameters. To help out the fablab has a number of (what I call) best practices cheat sheets (per type of material) that point out what happens in case of settings like power/speed (both for engraving and cutting).
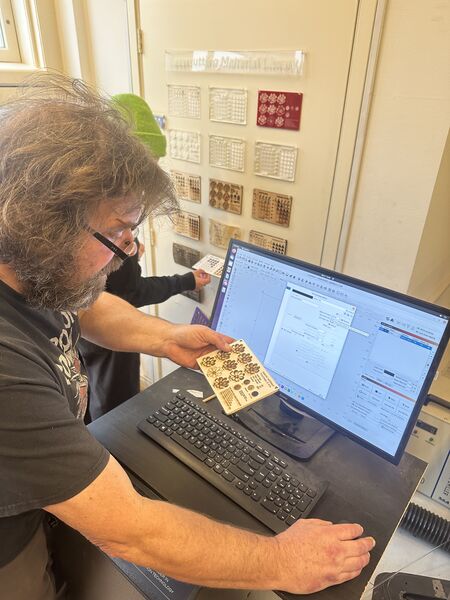
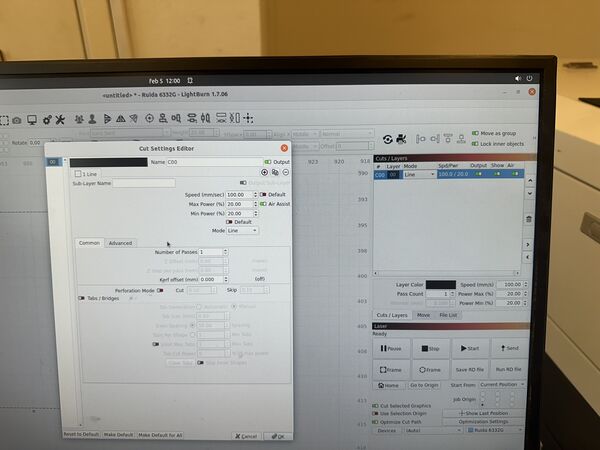
Again, LigthBurn is used to apply the settings. You can upload you own SVG file or draw directly in the screen it self. We cut a few square with different settings to see what would happen.
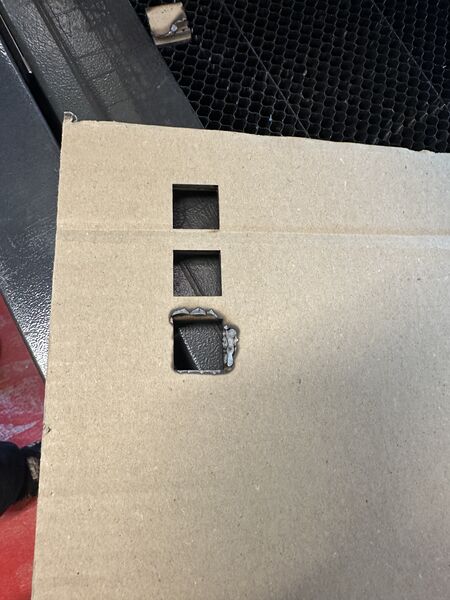
And just for fun ... what happens when you turn off the airflow?
Finally Henk mentioned the MOST IMPORTANT TOOL OF ALL
Start-up sequence
Given you have turned on the computer with the LightBurn software ... You have your material at hand ... You have uploaded your design into LightBurn (Line means cutting & Fill means engraving)
- Turn on the machine
- Reset the machine (use the top button behind the plastic shielding)
- do this as soon as possible
- this will position the head at it's home position
- Place the material
- Use LightBurn to position the head above the material (REMEMBER: you can only move the head when the hedge is closed!)
- Focus the laser using the plastic hockey puck ("PINK VAST")
- Use the switch on the right side of the machine, the one below the reset button, to turn on the:
- water cooler
- the laser itself
- compressor
- Check in LightBurn that you choose the option "JOB ORIGIN" and check that LightBurn shows a green at the bottom left of your design that you want to print. This way the laser cutter will start cutting/ engraving at the position you have set the head
- Turn on BOVA (the vacuum cleaner)
- GO ... press the play button ... burn light