The process
Design is an area I'm very comfortable in. So I will start by documenting the tools I already use and have experience with before I start with the new software. I'm excited to use Fusion and Blender based on the comments of the FabLab Network. I am a huge fan of the golden ratio as a concept, and I believe the best designs come from nature.
Raster and vector 2D design:
I have been in this field since 2001, working with Adobe apps. I am a fan of vector graphics and I will share my approaches in the coming sections.
One of the elements I need in my final project is a way to connect two pieces such that they can be removed and replaced.
Option 01: Adobe Photoshop
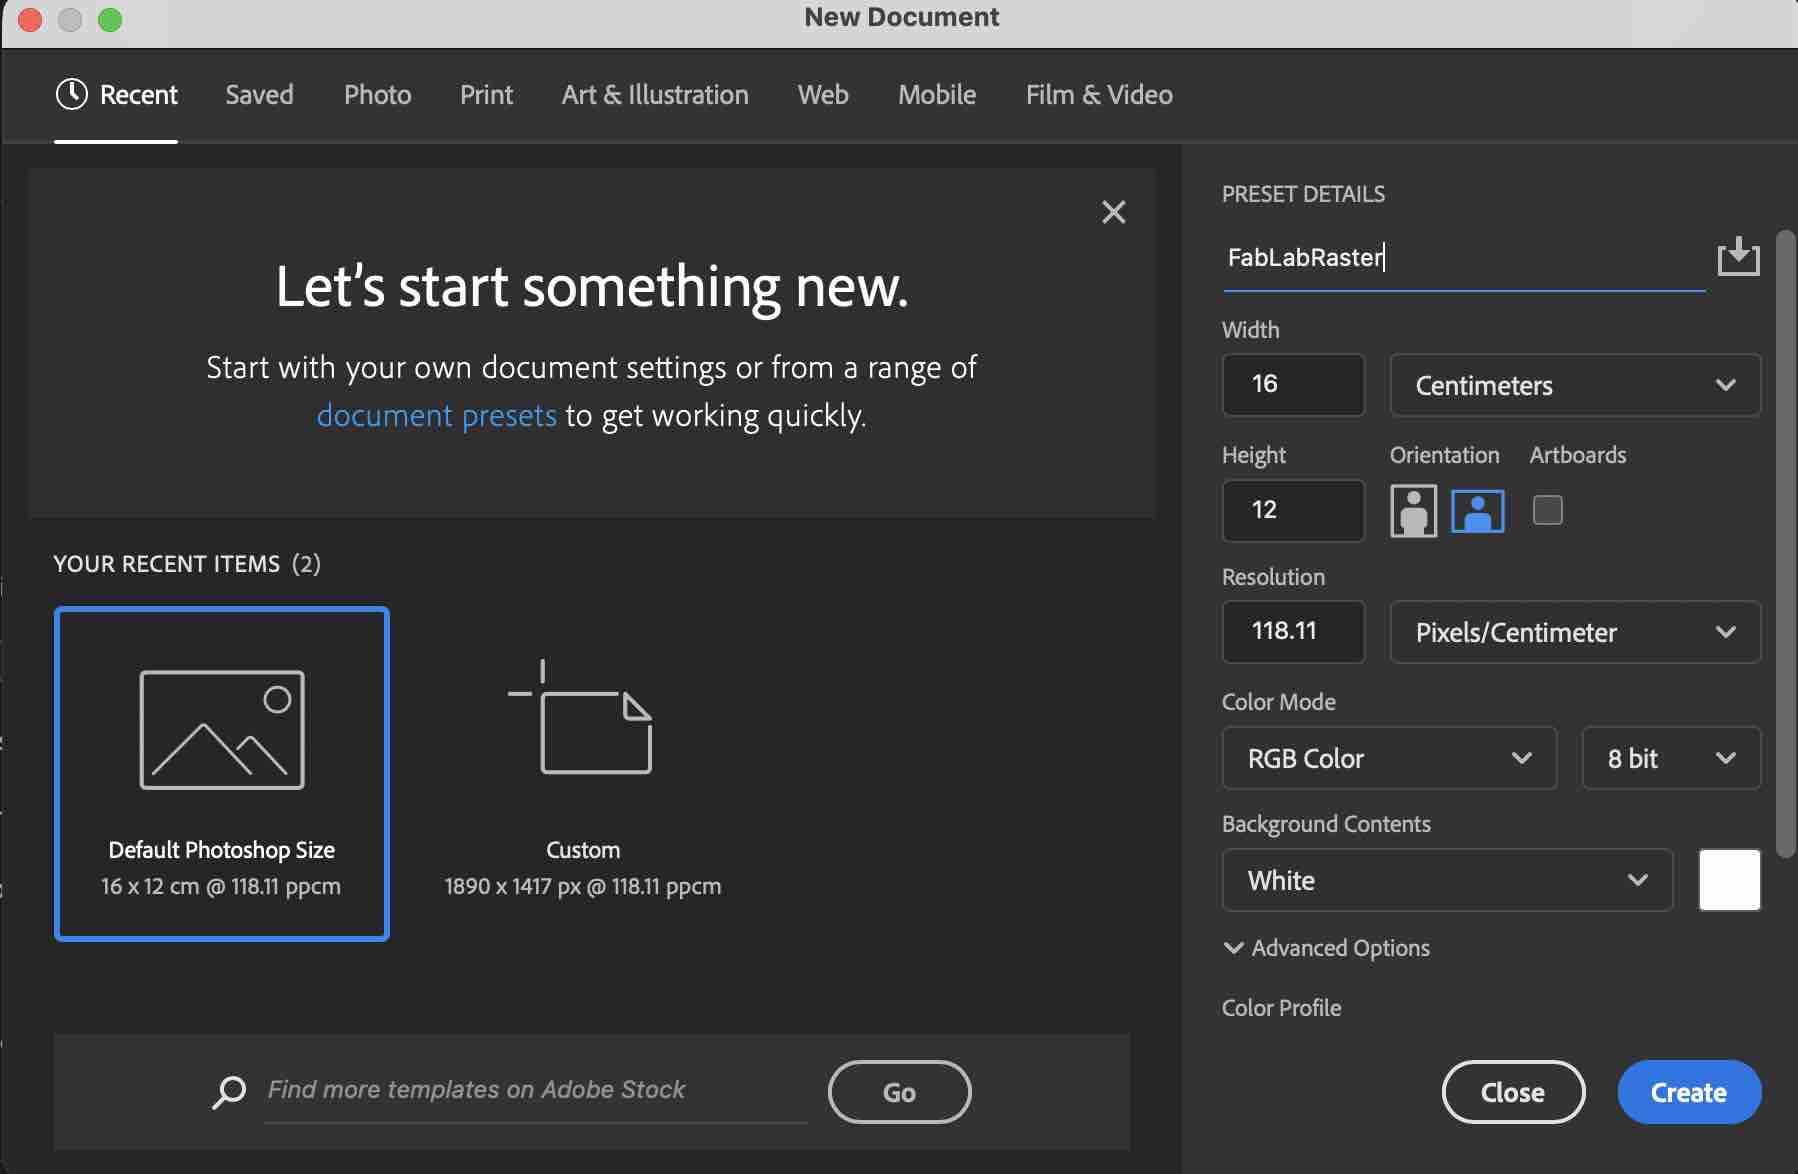
01 | Creating a new file, changing the name, RGB color, and selecting size and background color
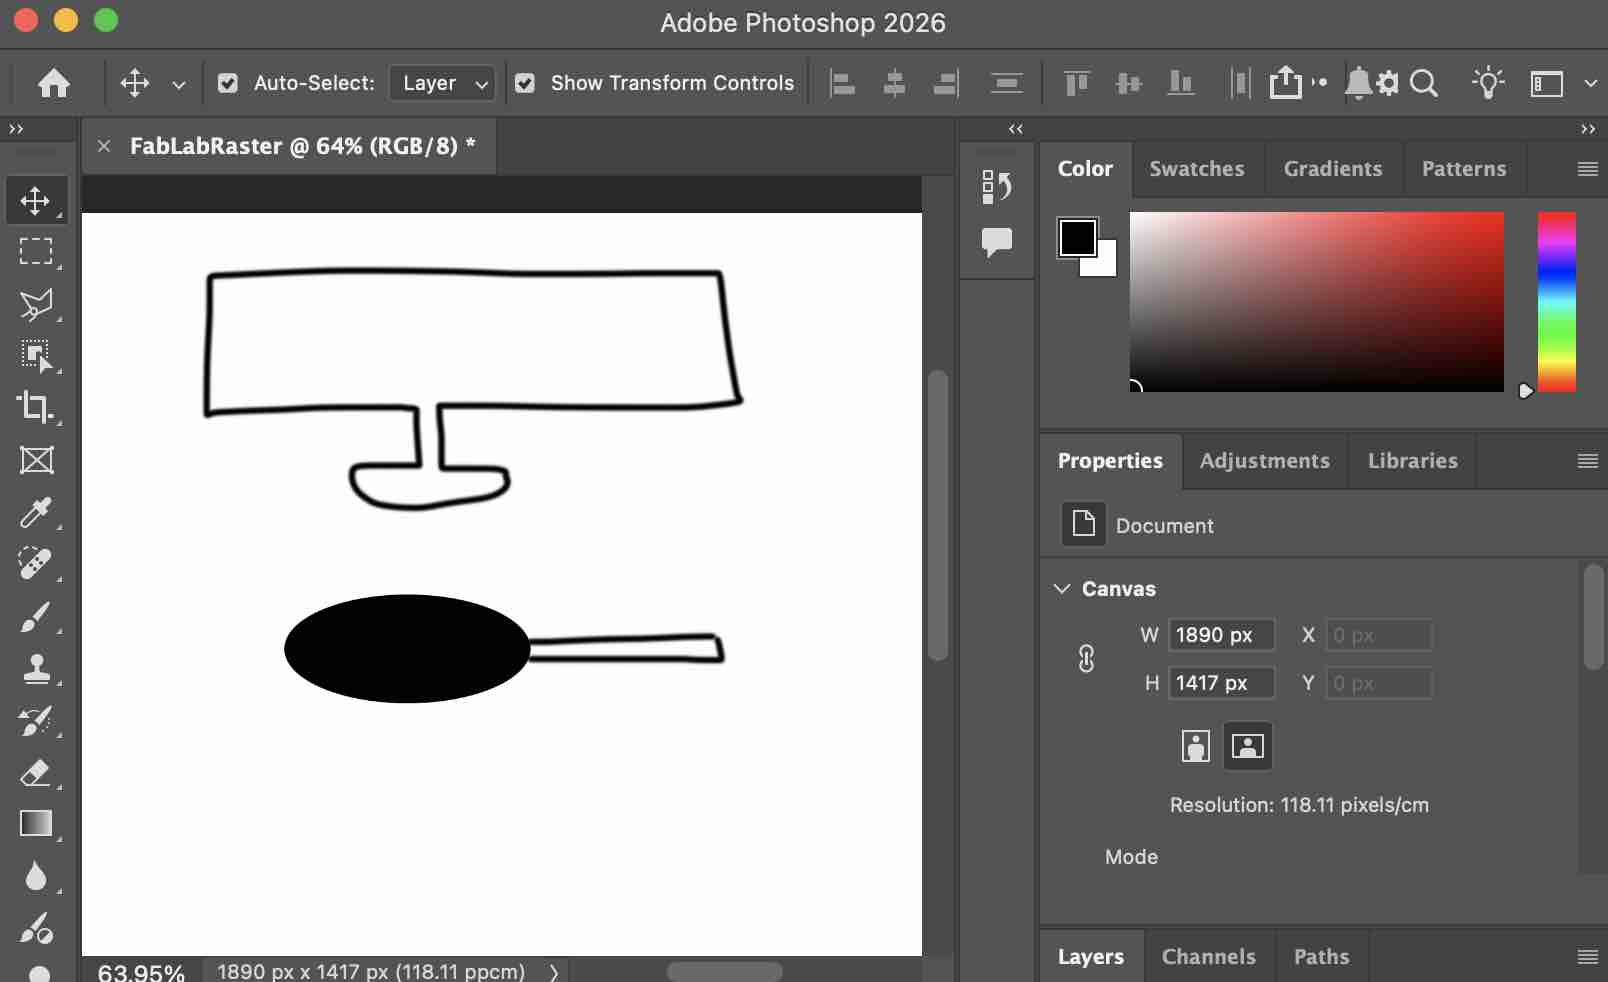
02| I used the brush tool and the circle shape to make this design
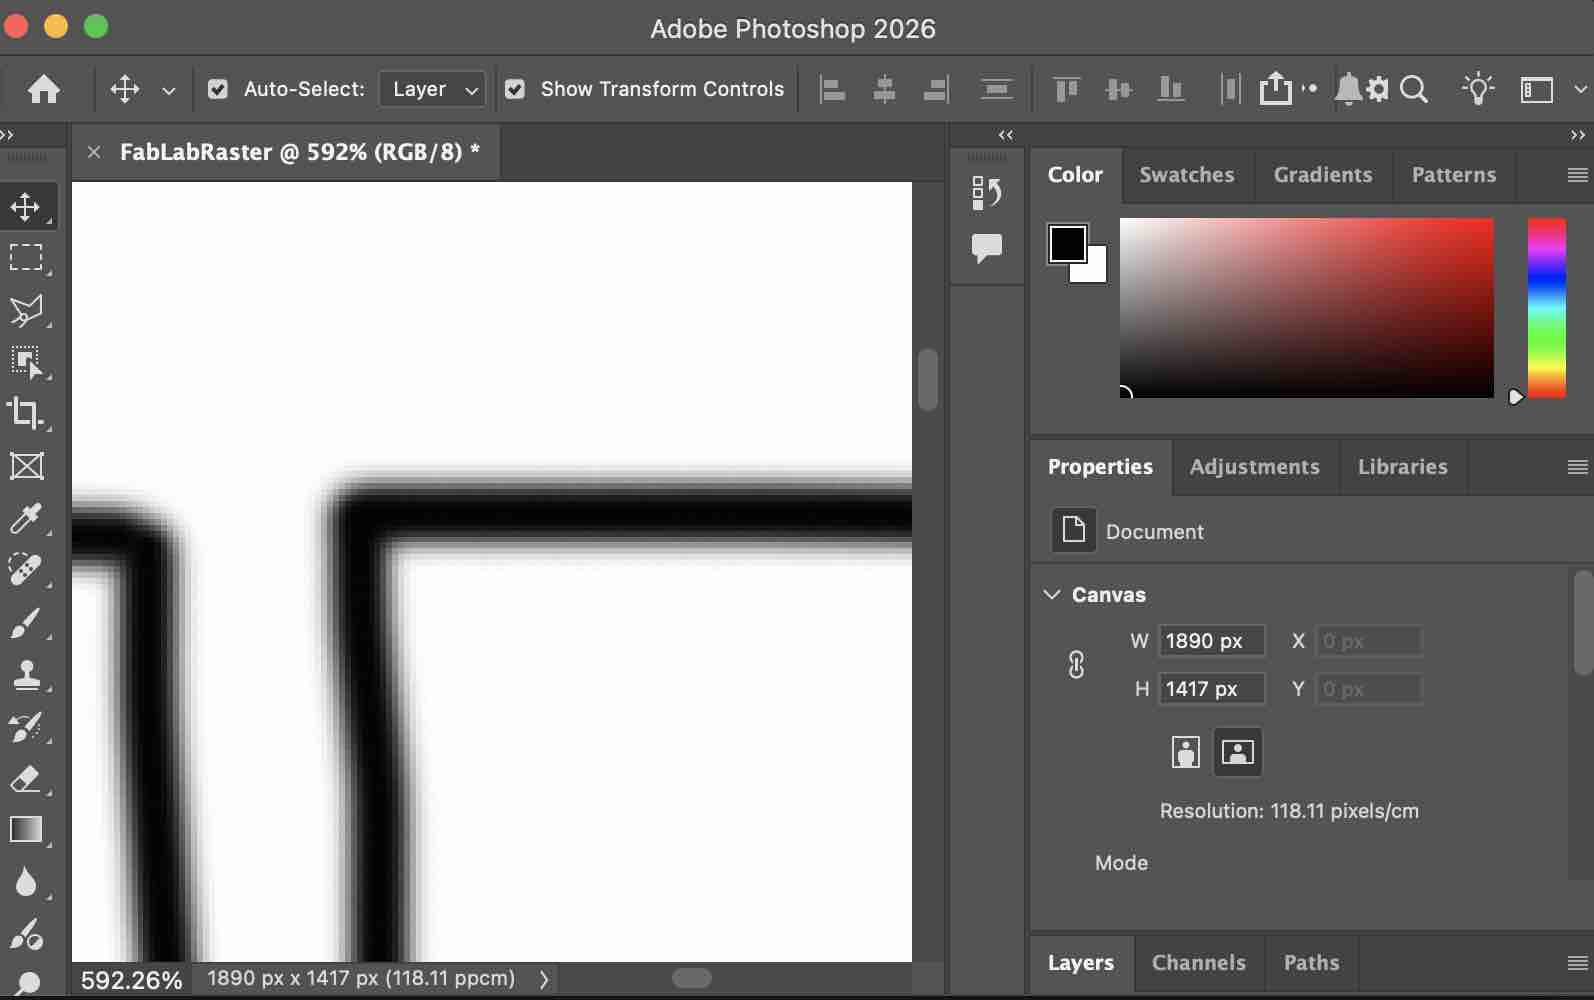
03| When zooming in, I can clearly see the pixels — which is what raster design is
- Feedback: I usually used Photoshop to fix or change raster images or add channels to a picture.
- Challenge: Resizing raster images is not a fun thing to experience
Option 02: Adobe Illustrator
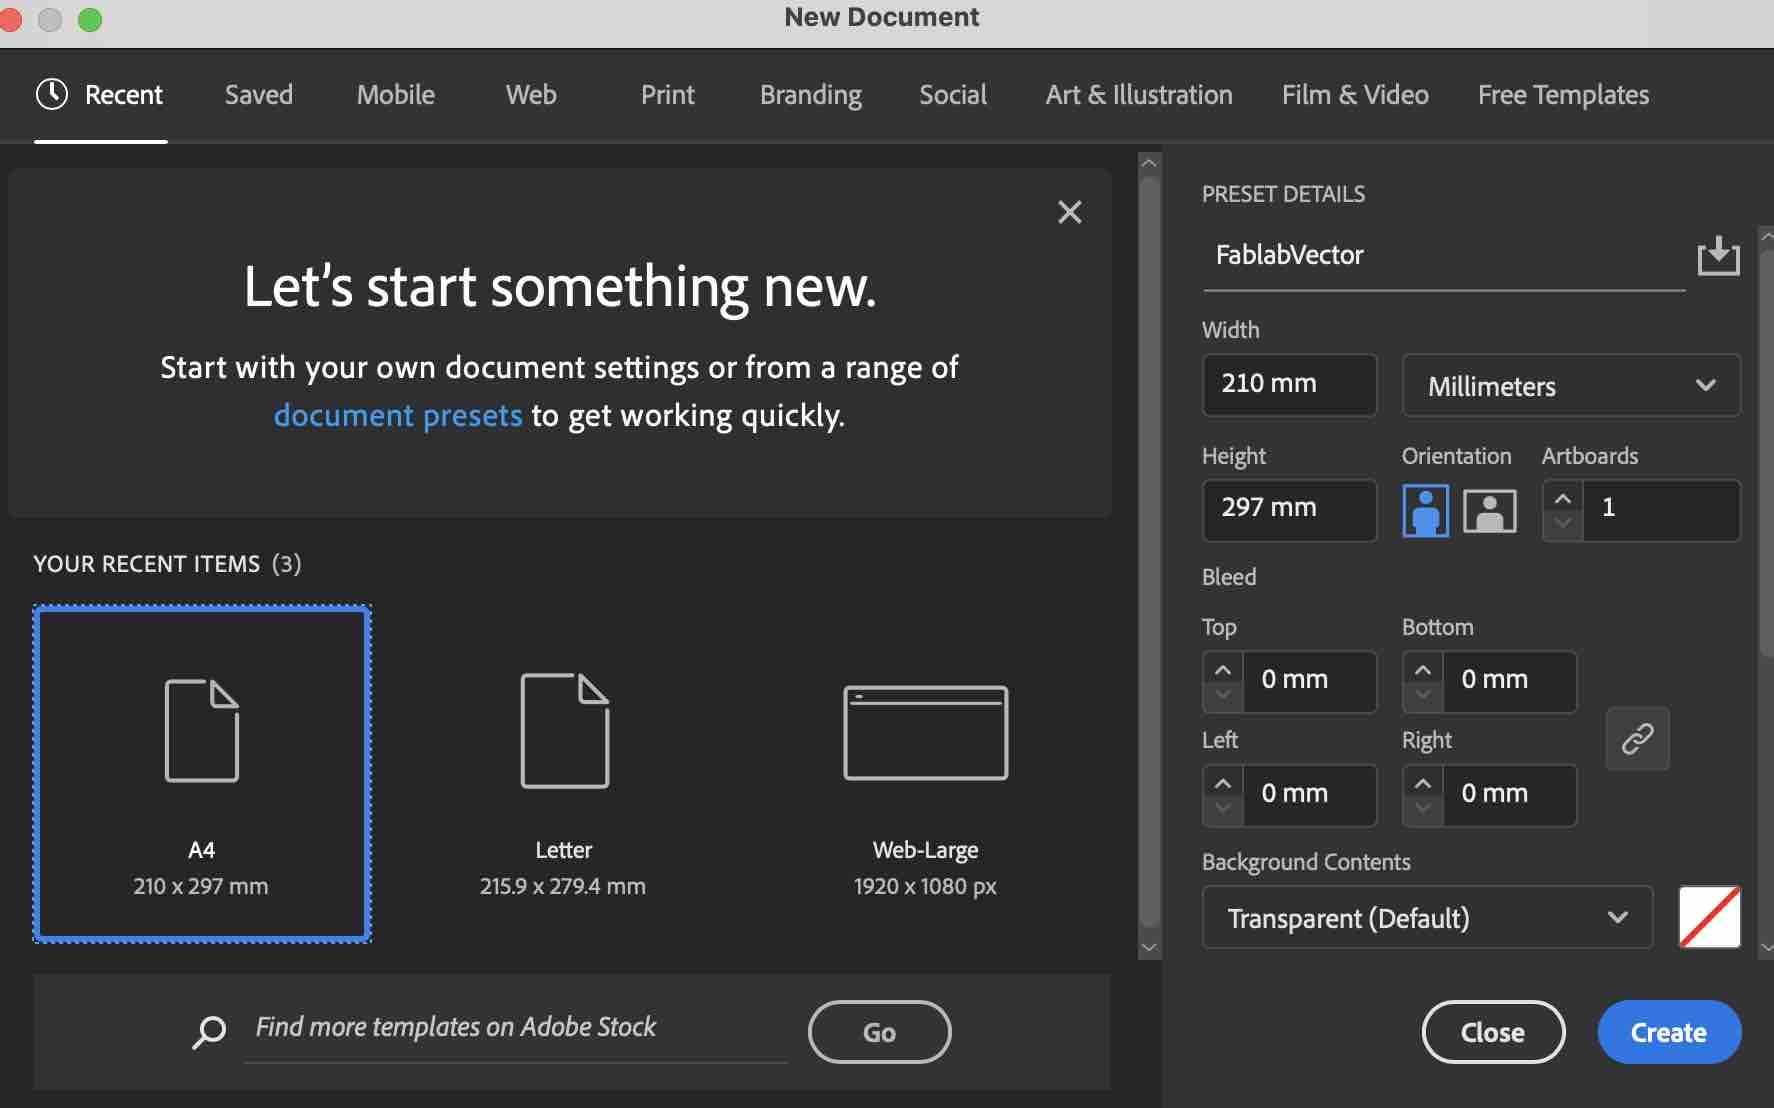
01 | I created a new file
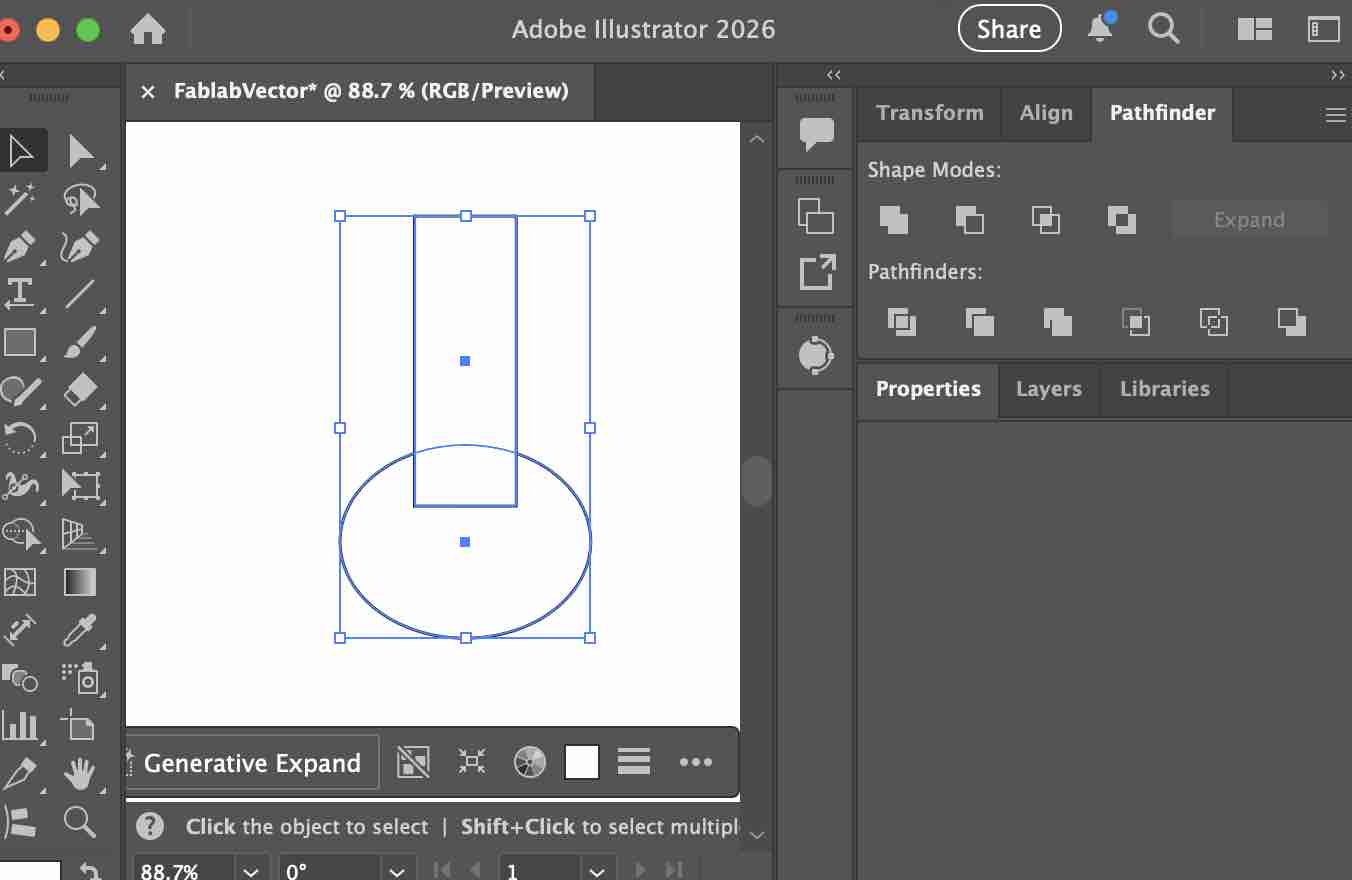
02| using the shape tools to draw the main parts of the design
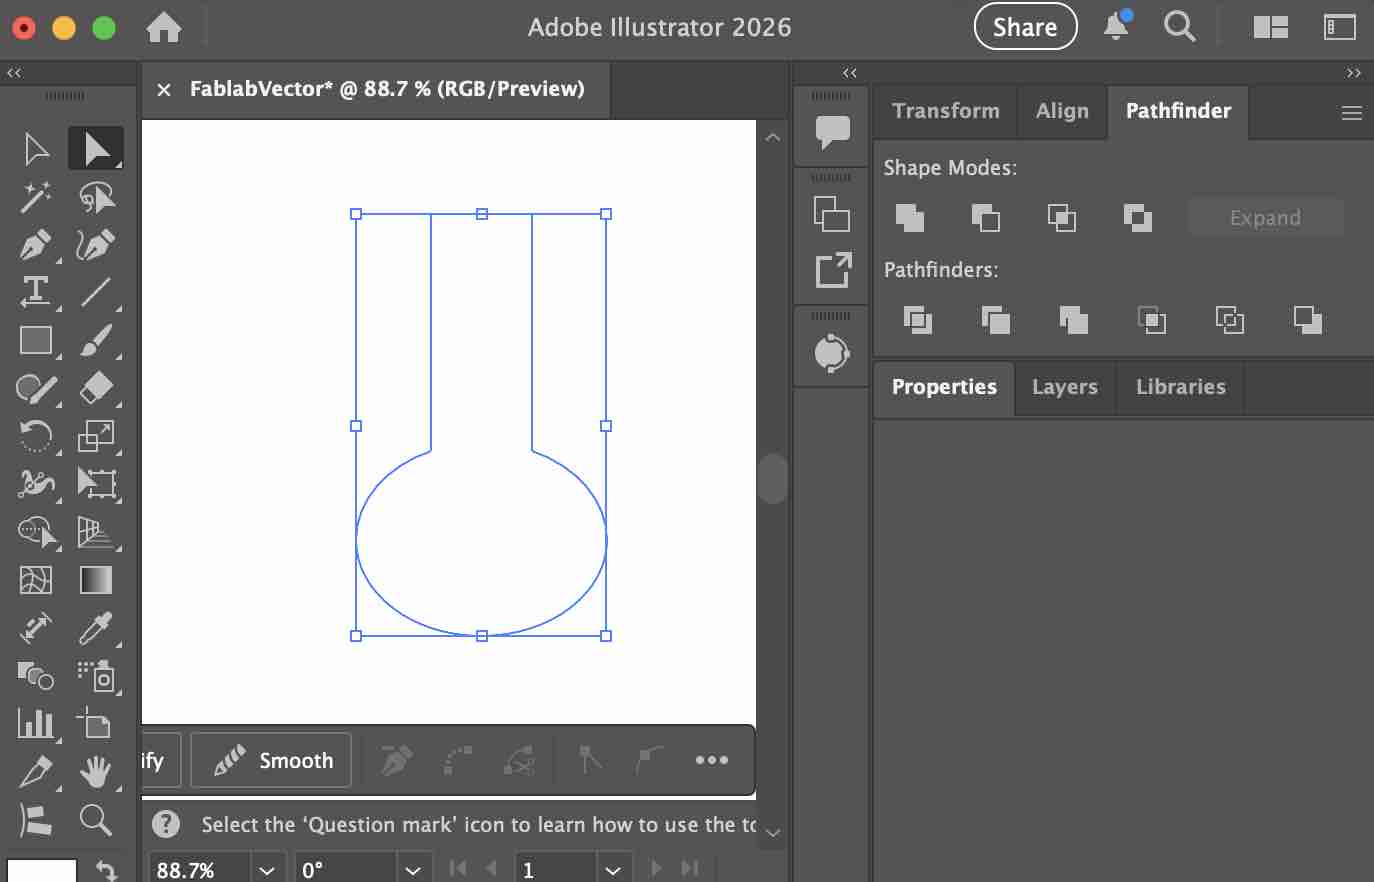
03| I used the pathfinder option to unit the path of both shapes
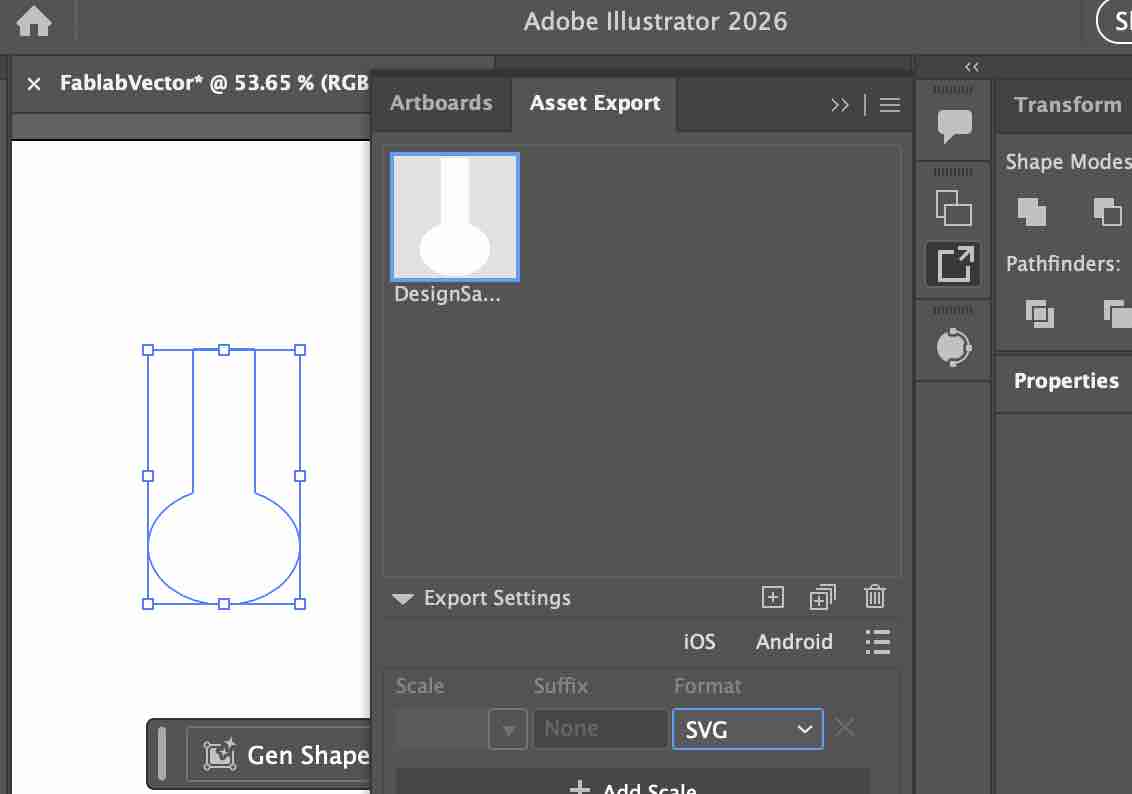
04| Exporting the image as SVG as a vector shape
- Feedback: I find it a very useful tool to explore vector shapes in SVG to be used later either for vinyl cuts or 3D designs
- Challenge: Sometimes I need to add more path points for a better 3D design
3D designs and modeling:
I also have basic experience designing some of the items I needed for my work, especially designing and printing medals and award plaques.
Option 01: TinkerCAD
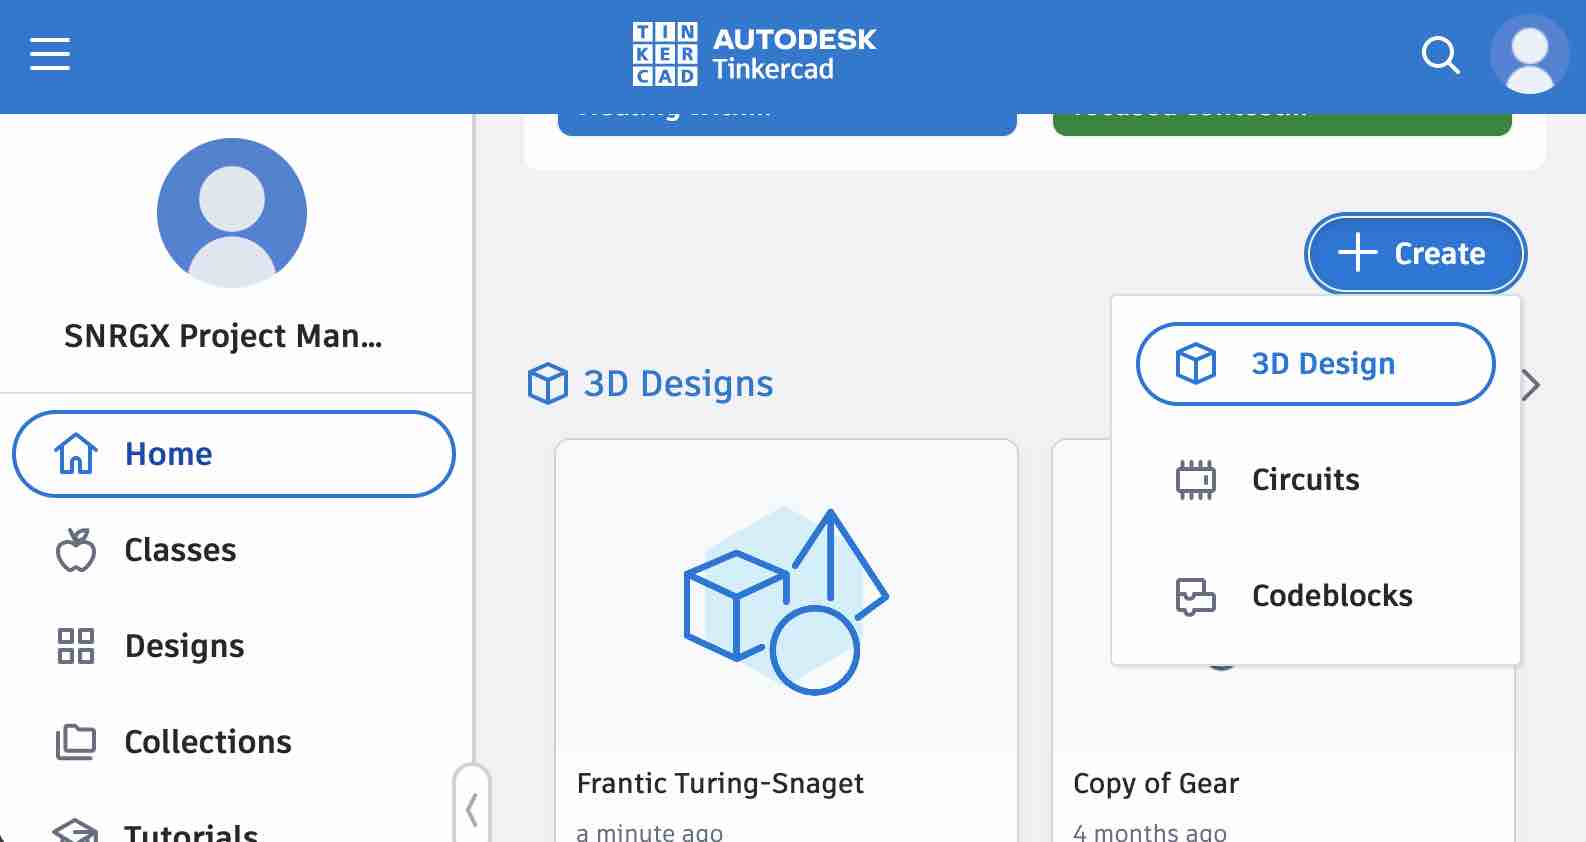
01 | I logged in to my account on TinkerCAD and created a new 3D file
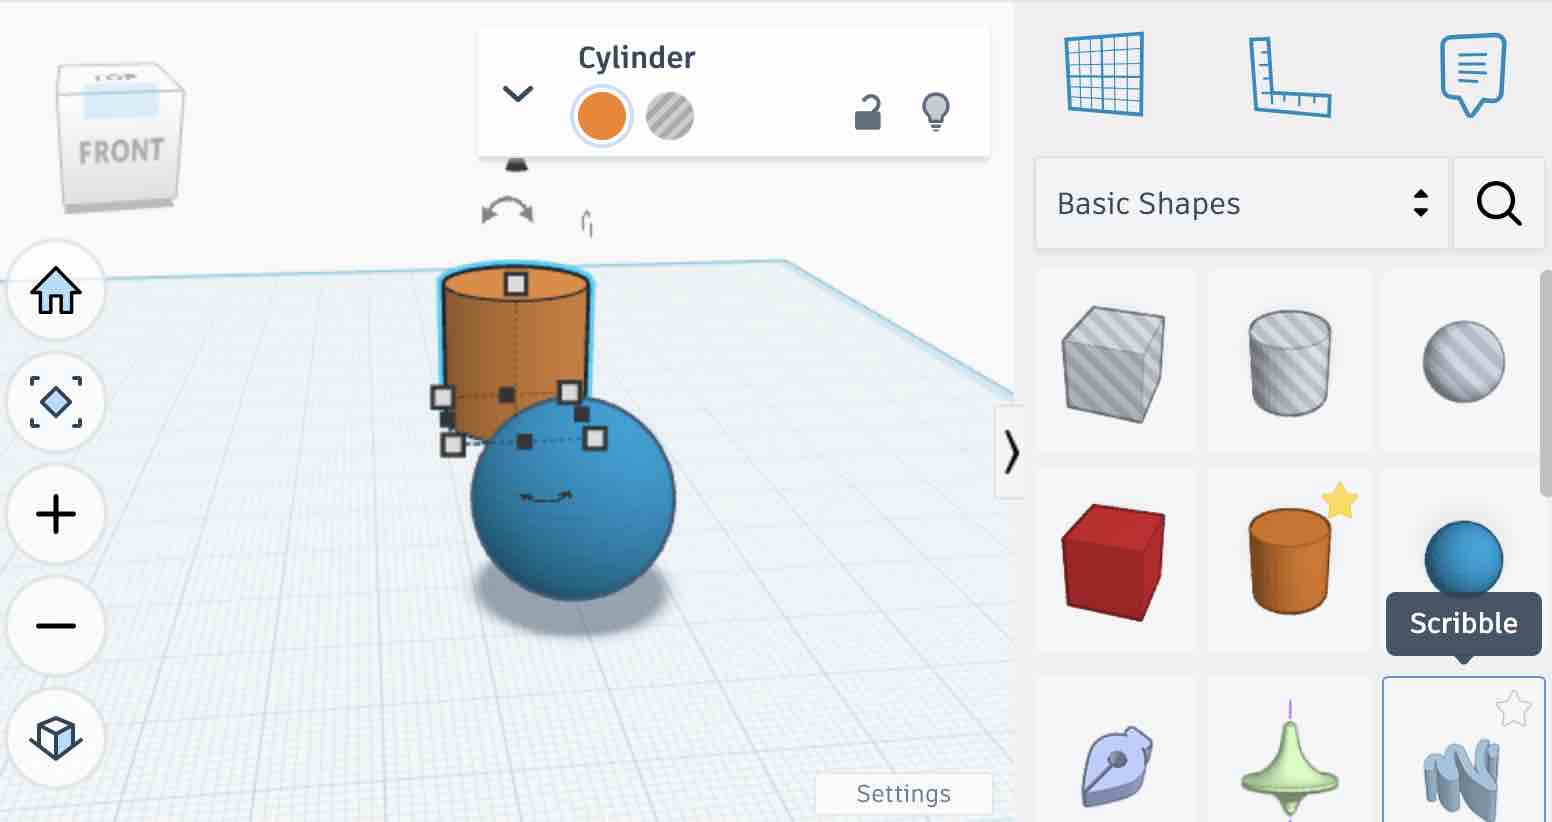
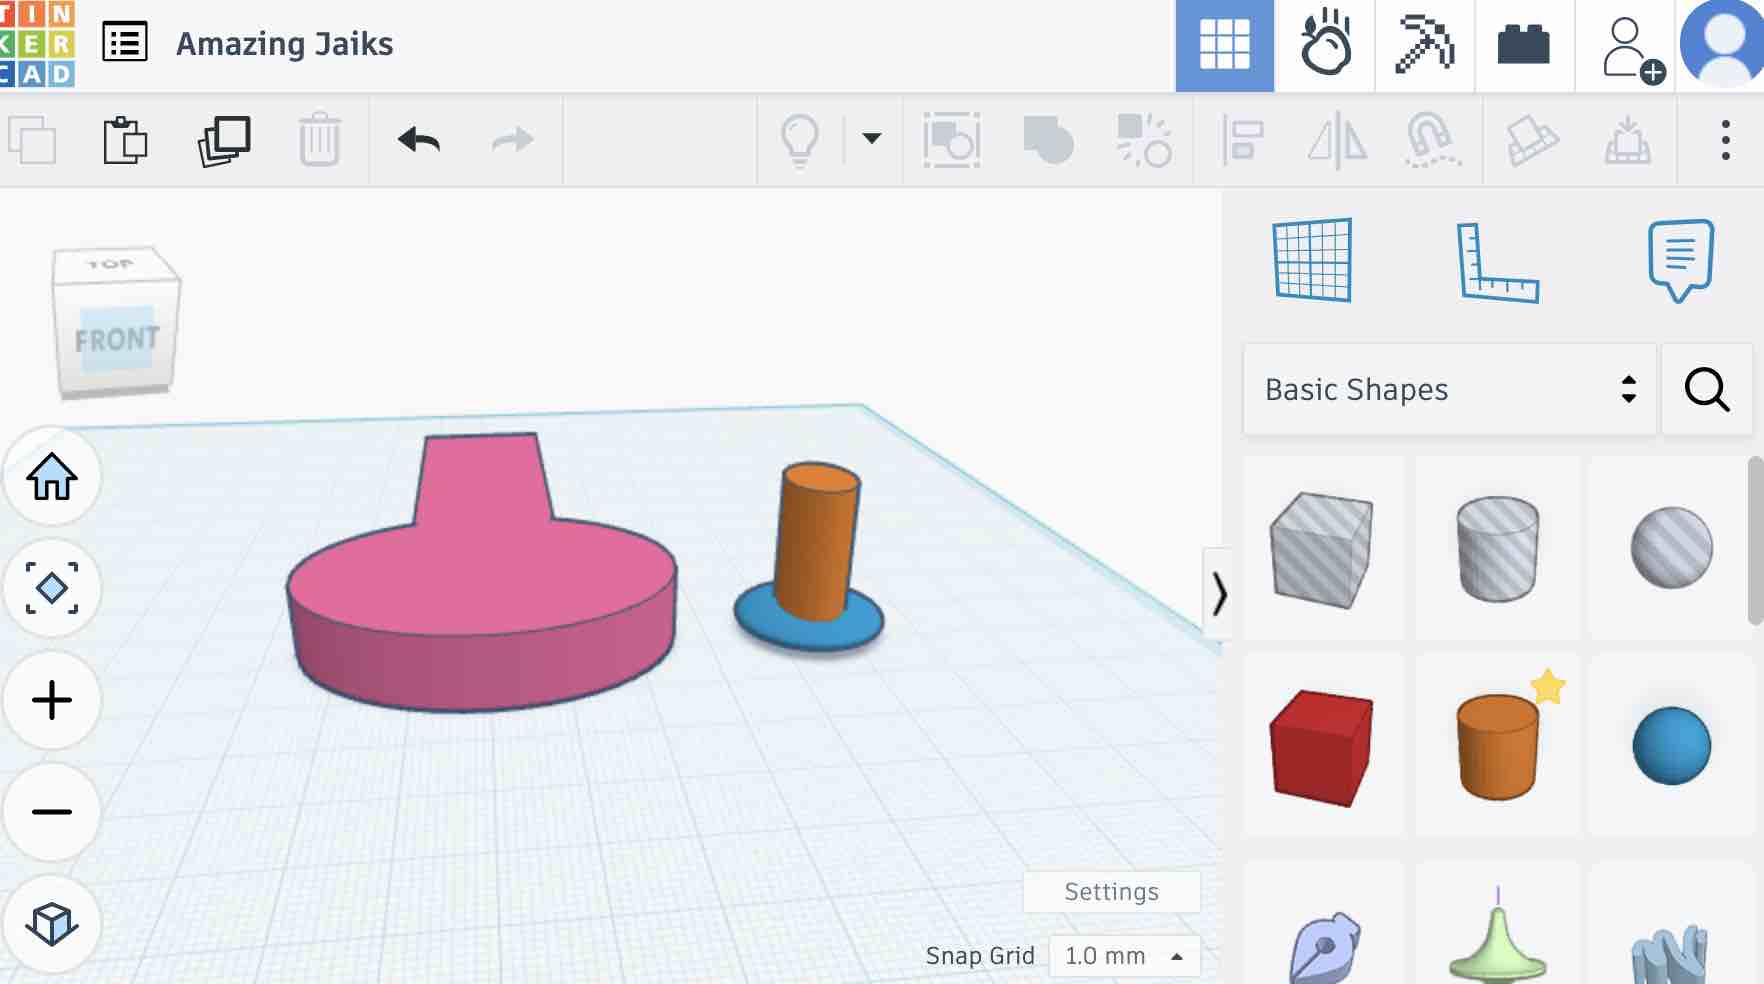
02| I selected the ball and the cylinder shape to create the join I designed in 2D tools
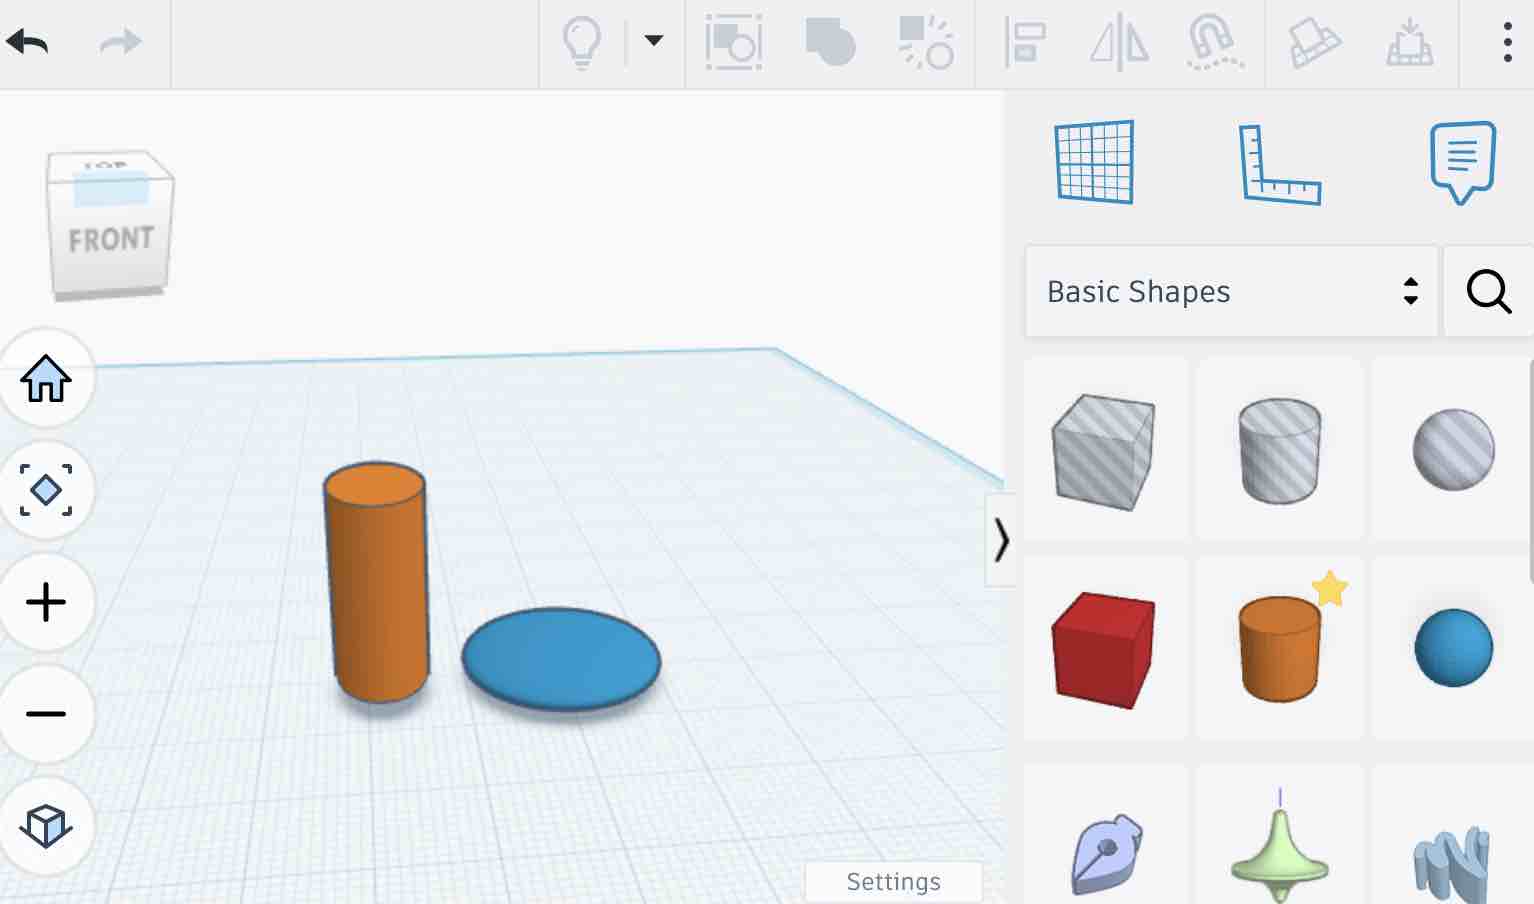
03| I moved the objects and resized them to create the final shape I needed
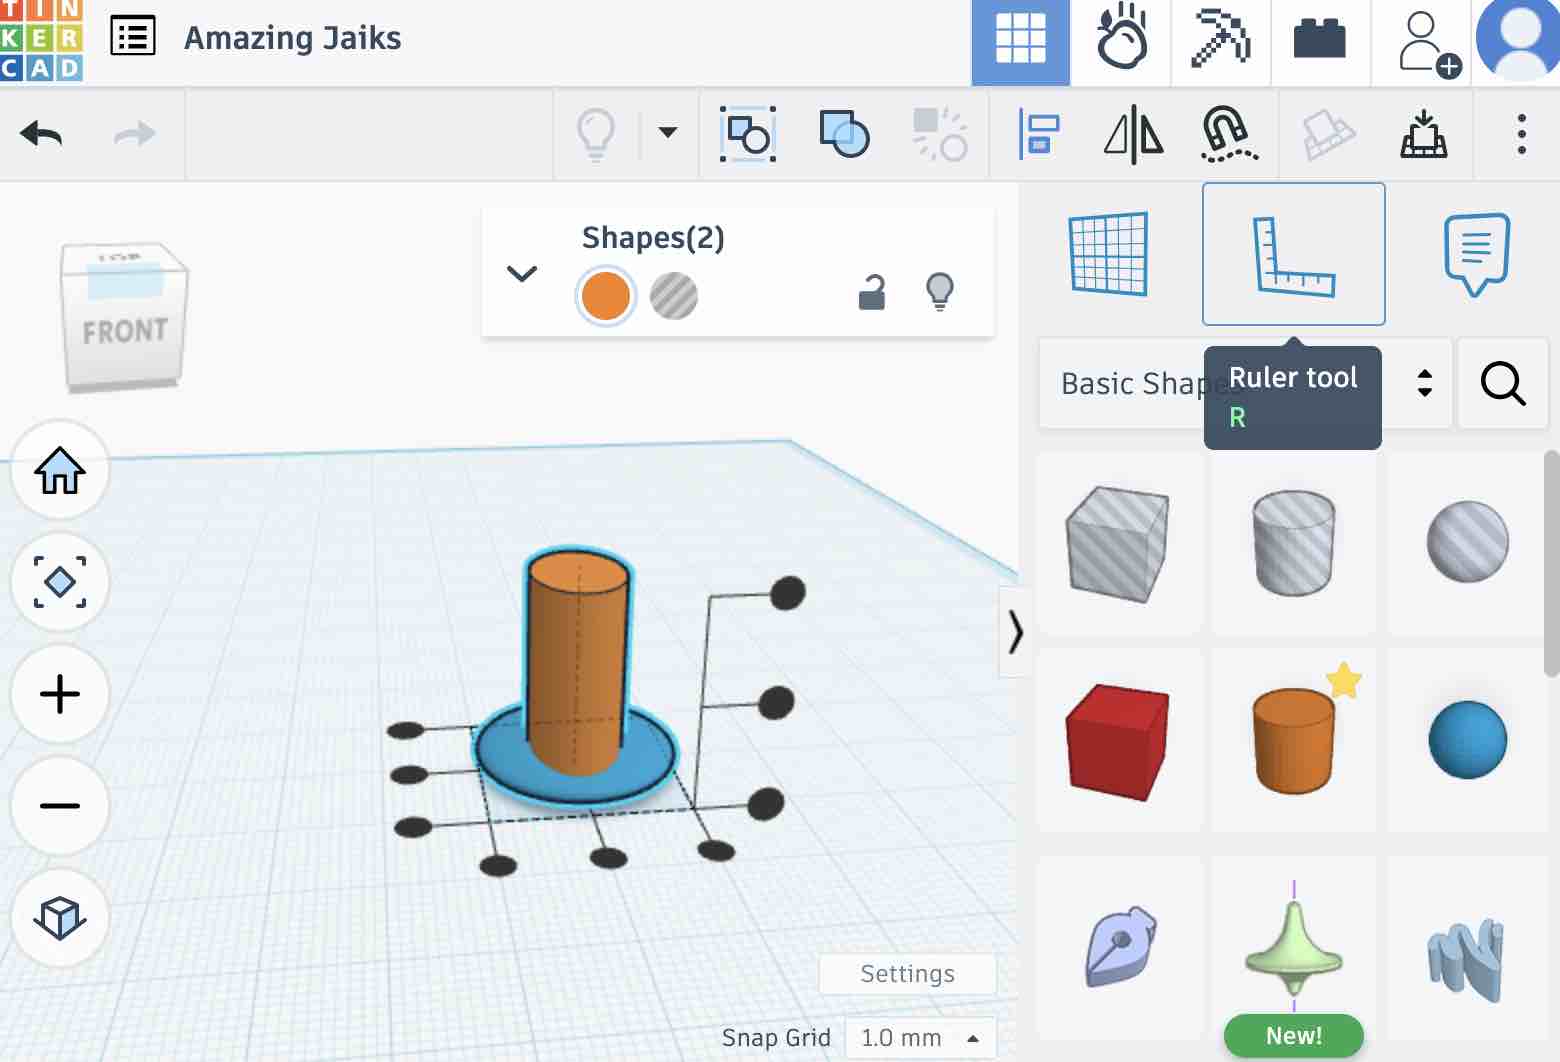
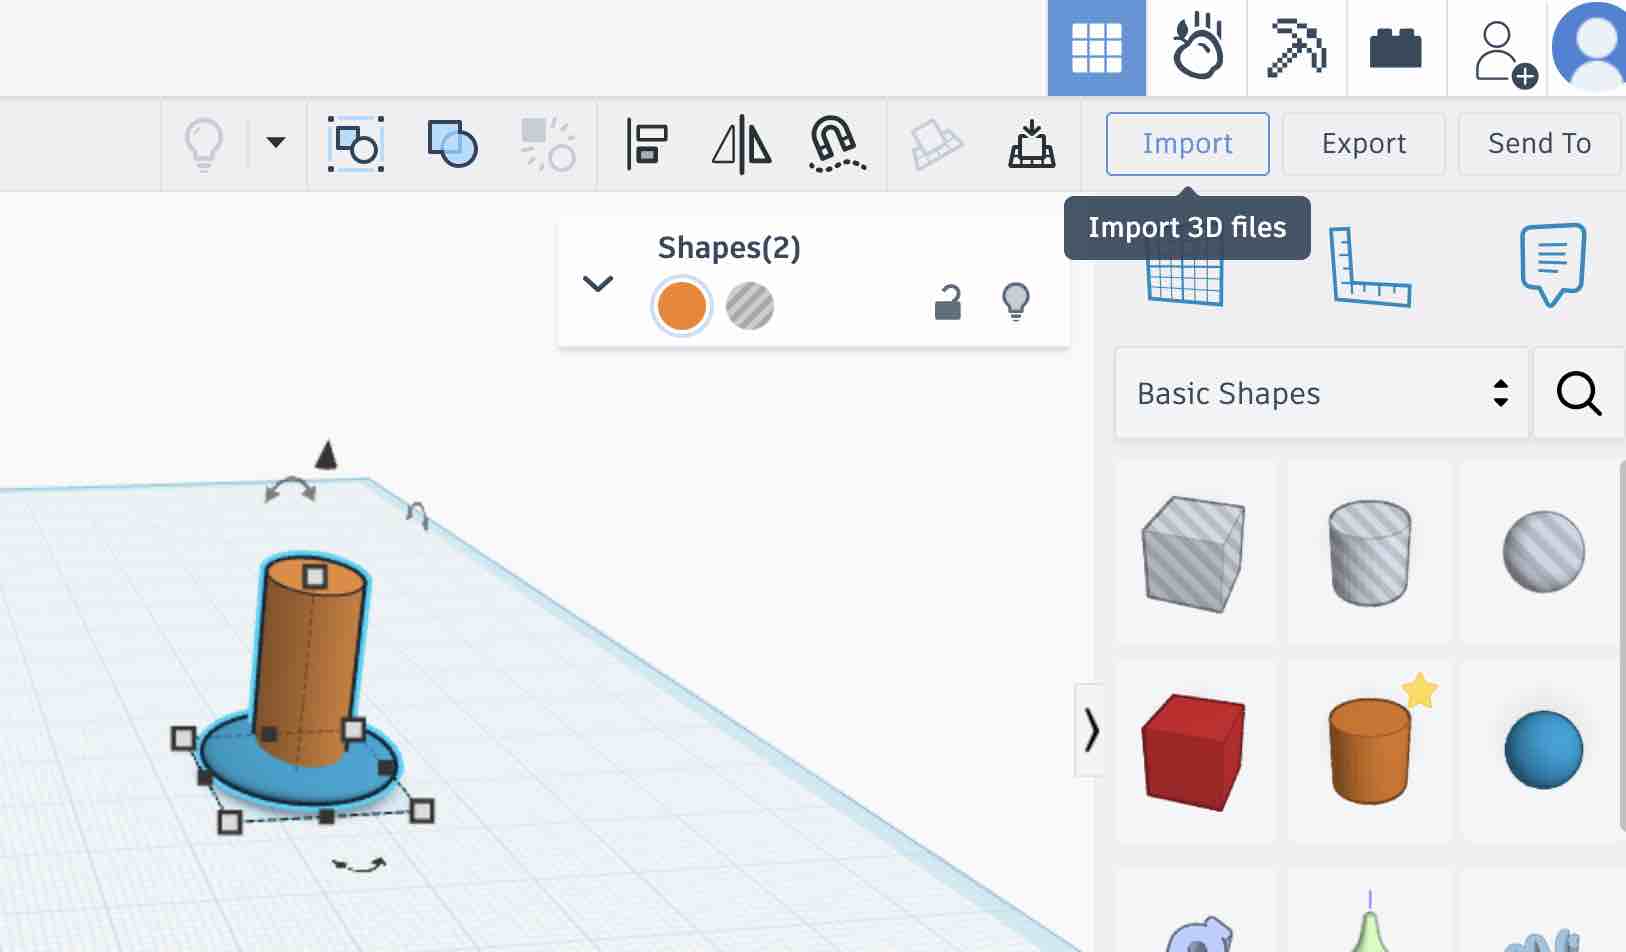
04| I used the aligning options to make sure the objects are aligned on the x, y, z axes
05| To compare things, I imported the SVG I had exported earlier from Illustrator into TinkerCAD
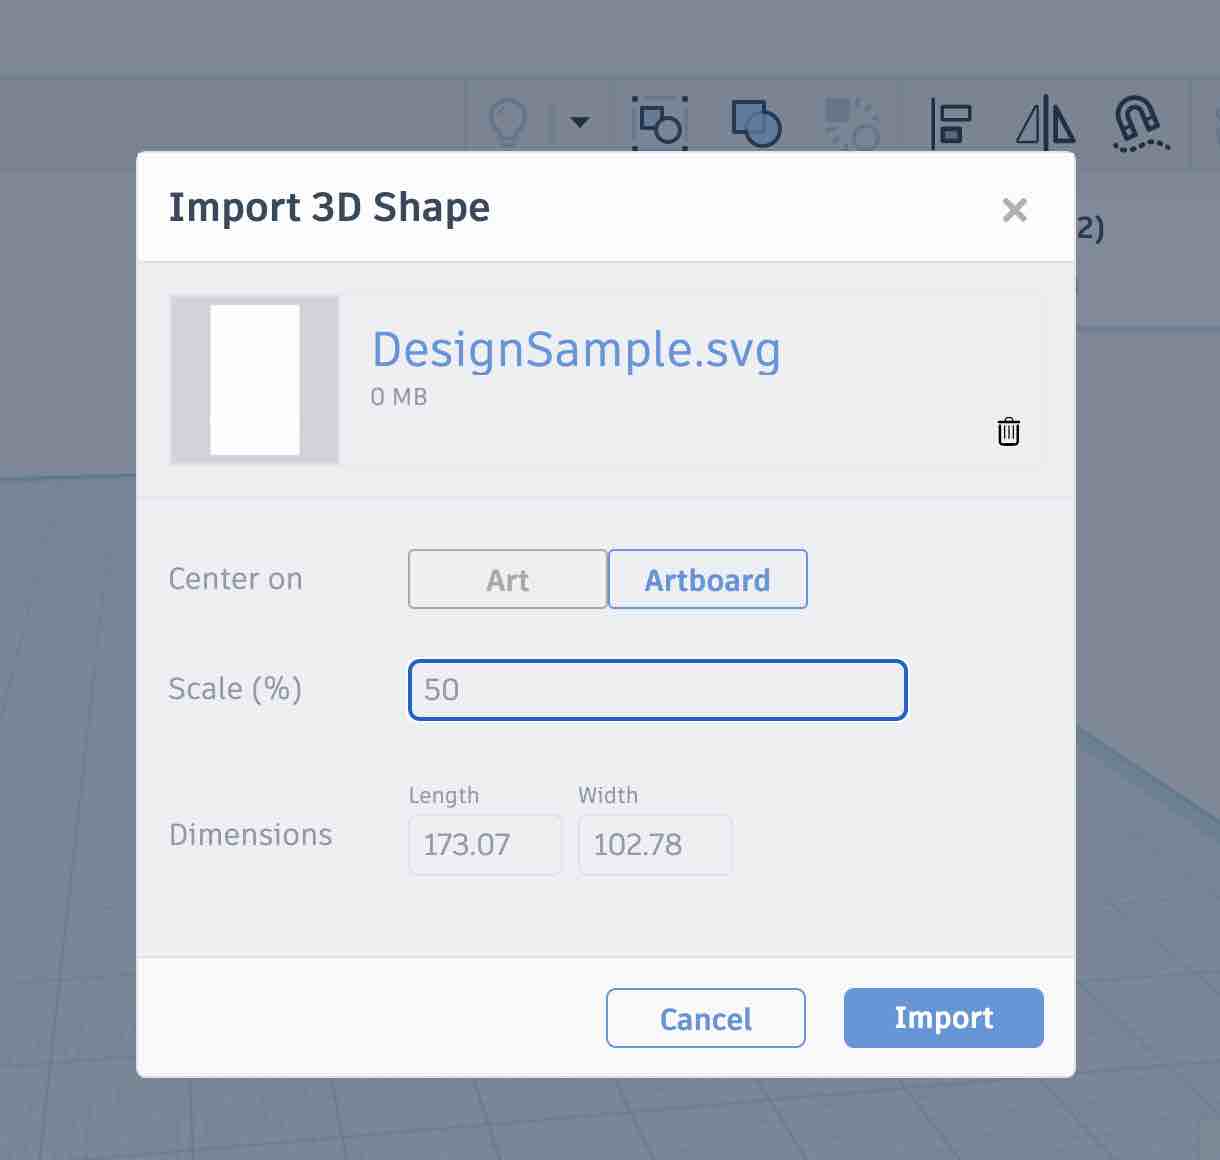
06| I selected the file and the size
07| There is a huge difference in the 3D shape, even though both designs were expected to be the same object
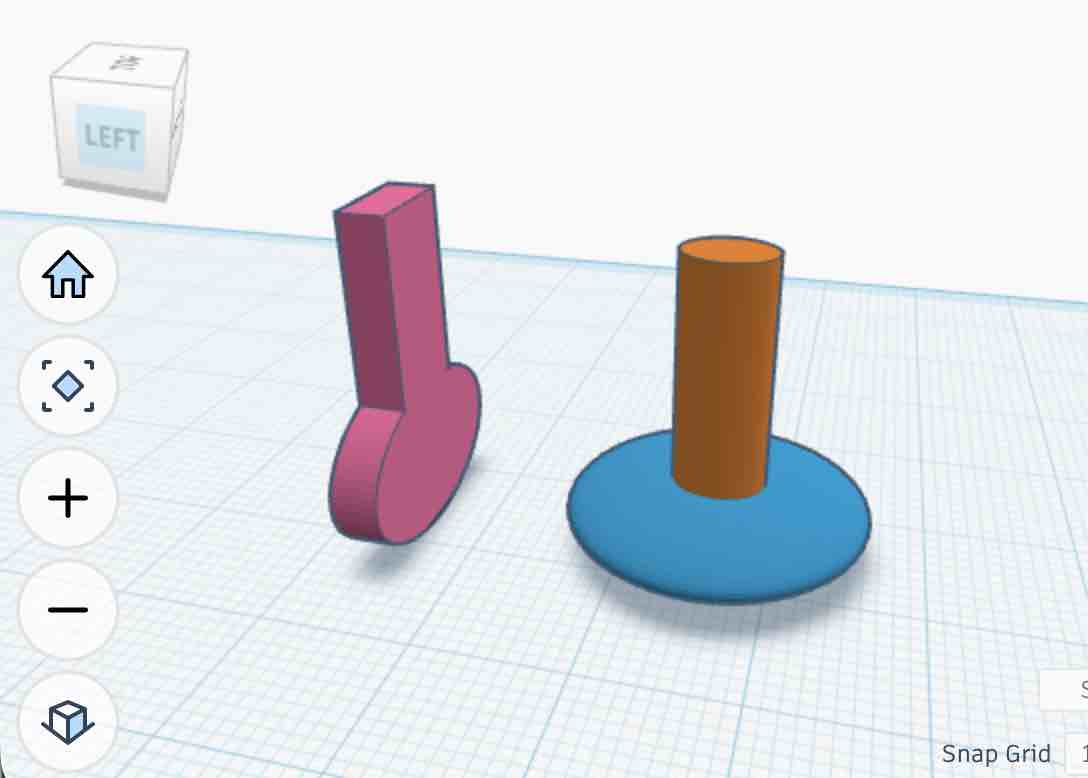
08| The orientation and the size of both objects are the same. This is the original design file.
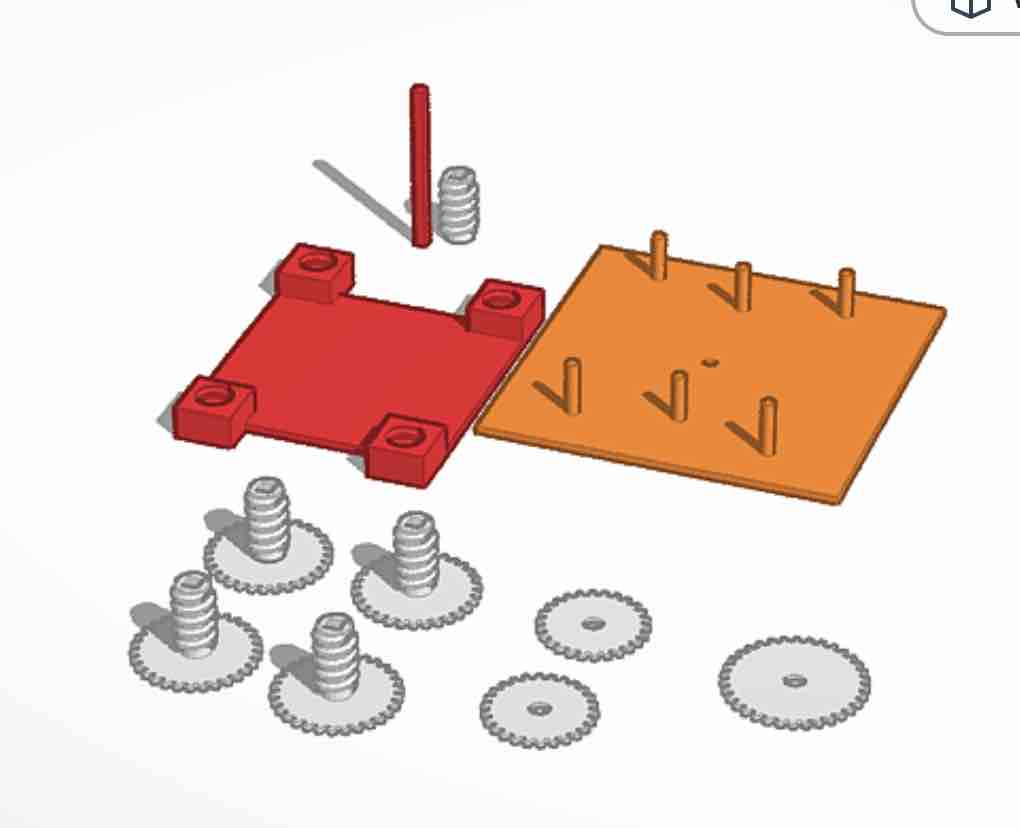
09| This is one of my old projects — creating a conveying gear system.
- Feedback: It's easy to use and was good enough for me in my previous projects.
- Challenge: There is a way to simulate the movement of the shape but I might need more time. I also want to use more software, but time is a challenge
Option 02: Fusion
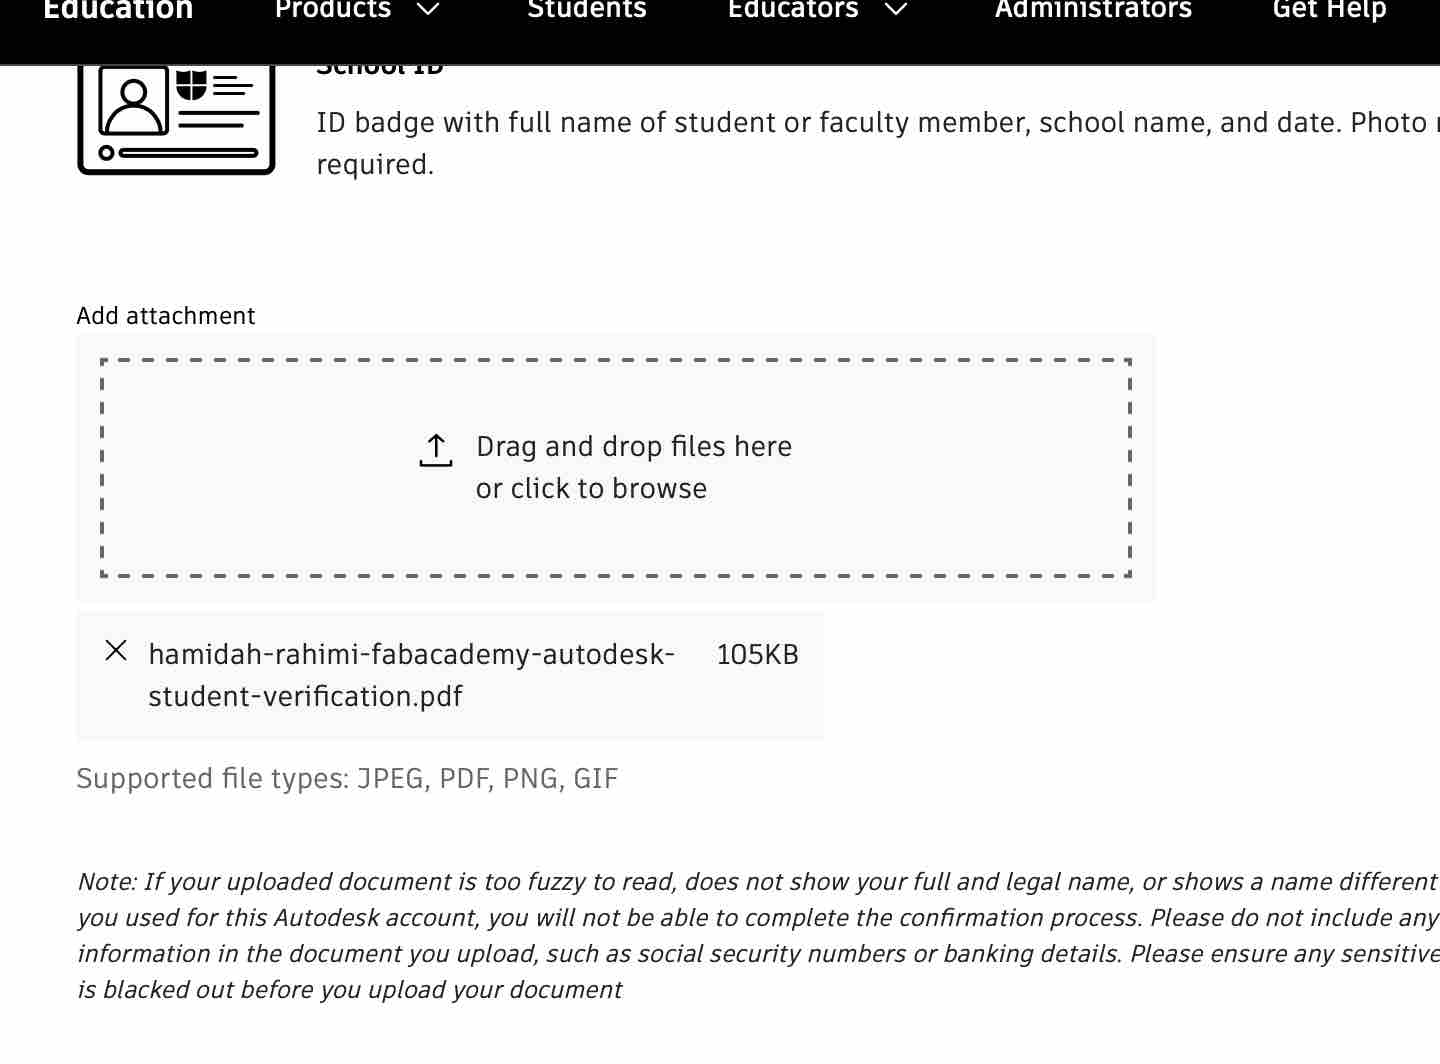
01| I was very excited to use it. I uploaded the invitation letter for the Fab Lab Students license
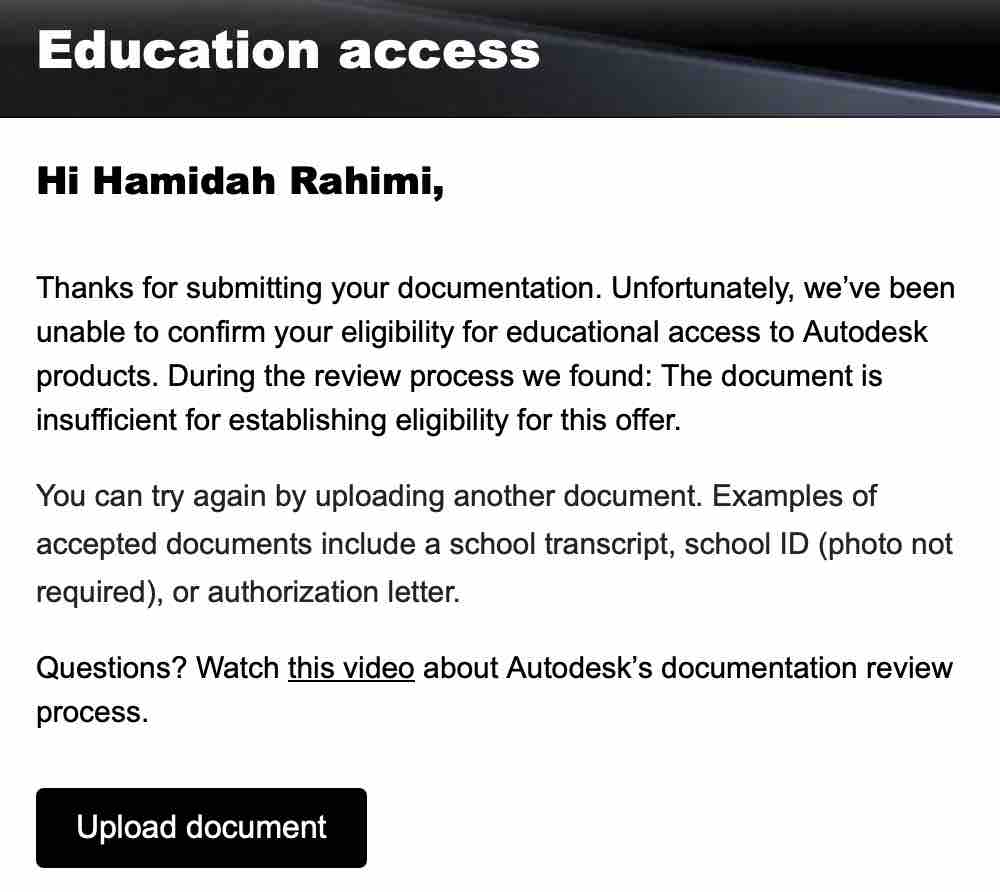
02| Unfortunately it was not accepted and I contacted FabLab and am waiting for this issue to resolve
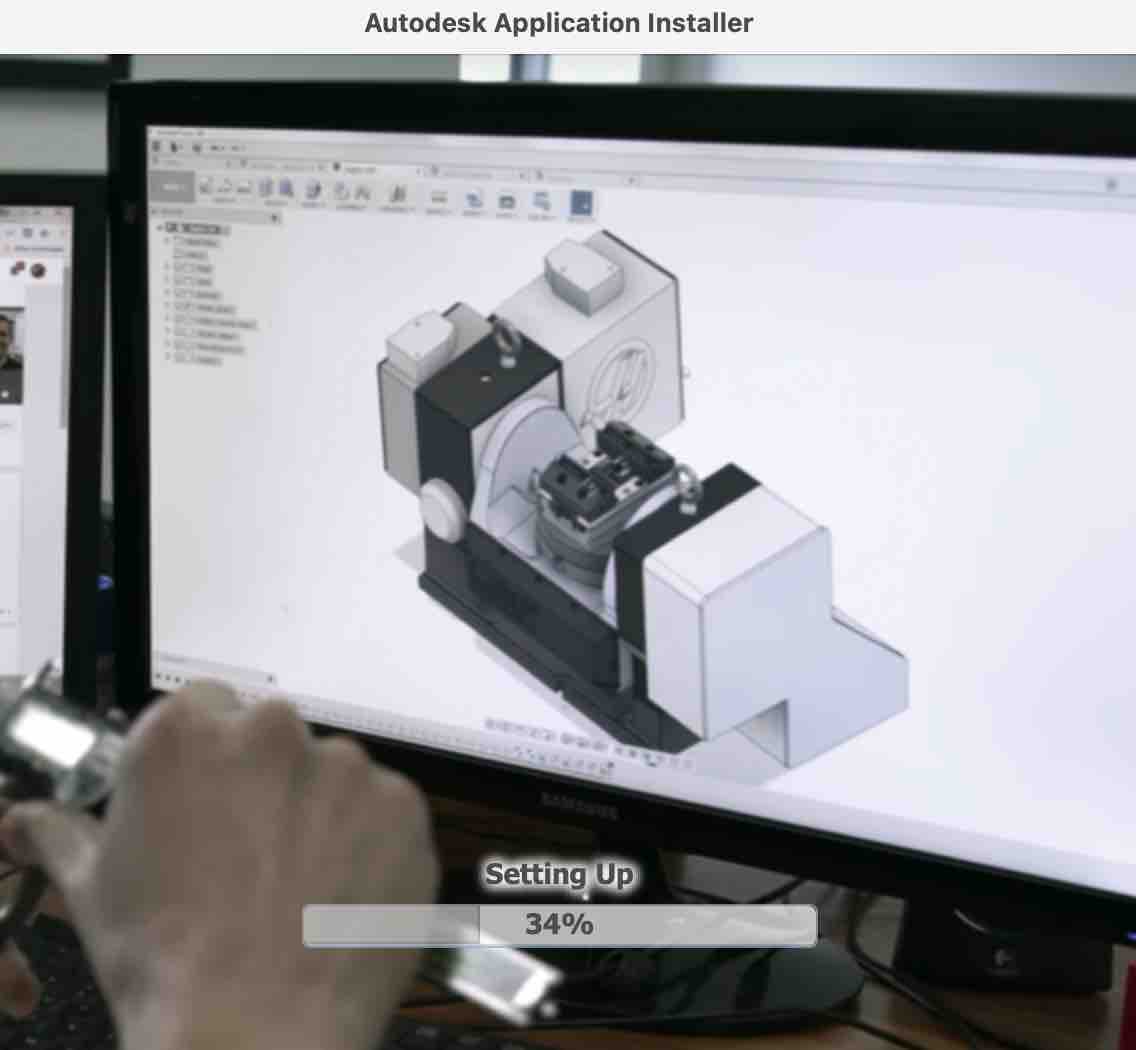
03| After a few weeks I got access and was very excited to install the educational version of Fusion on my local device
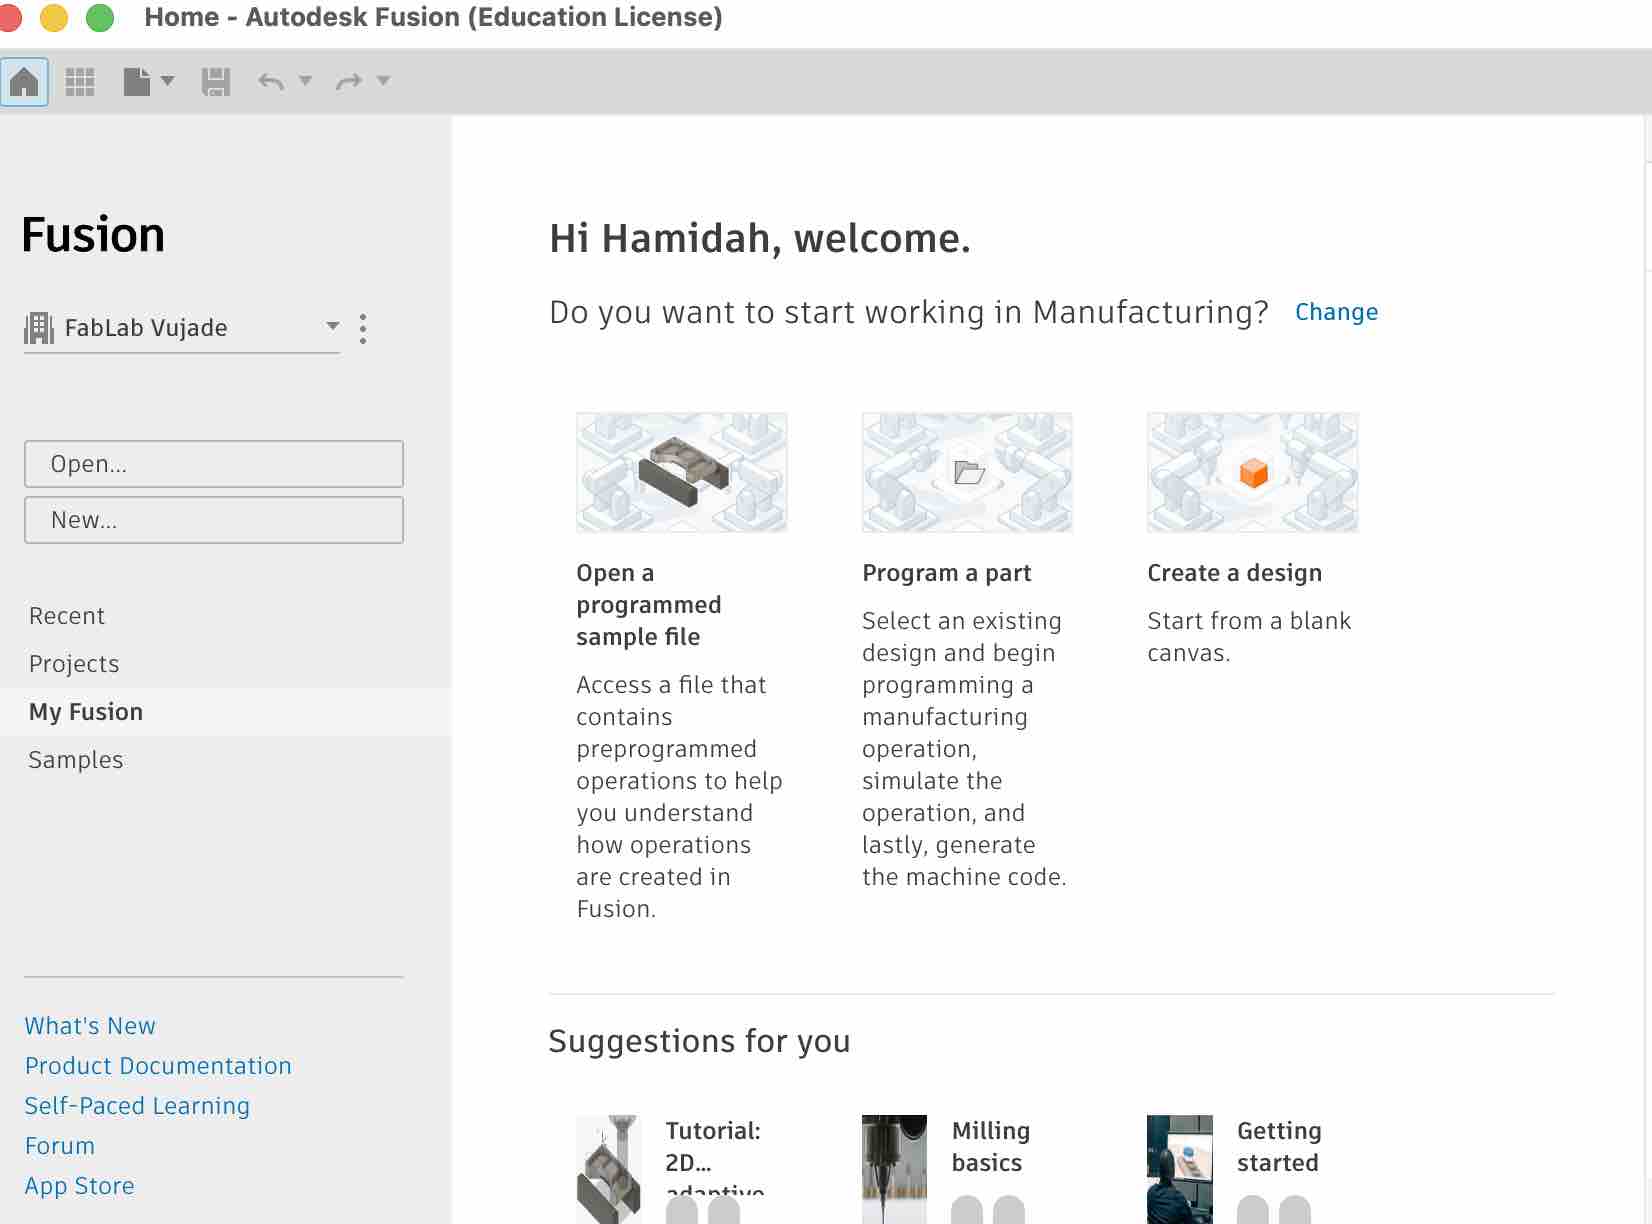
04| Installation was completed. I started to look for some tutorials suggested in the application
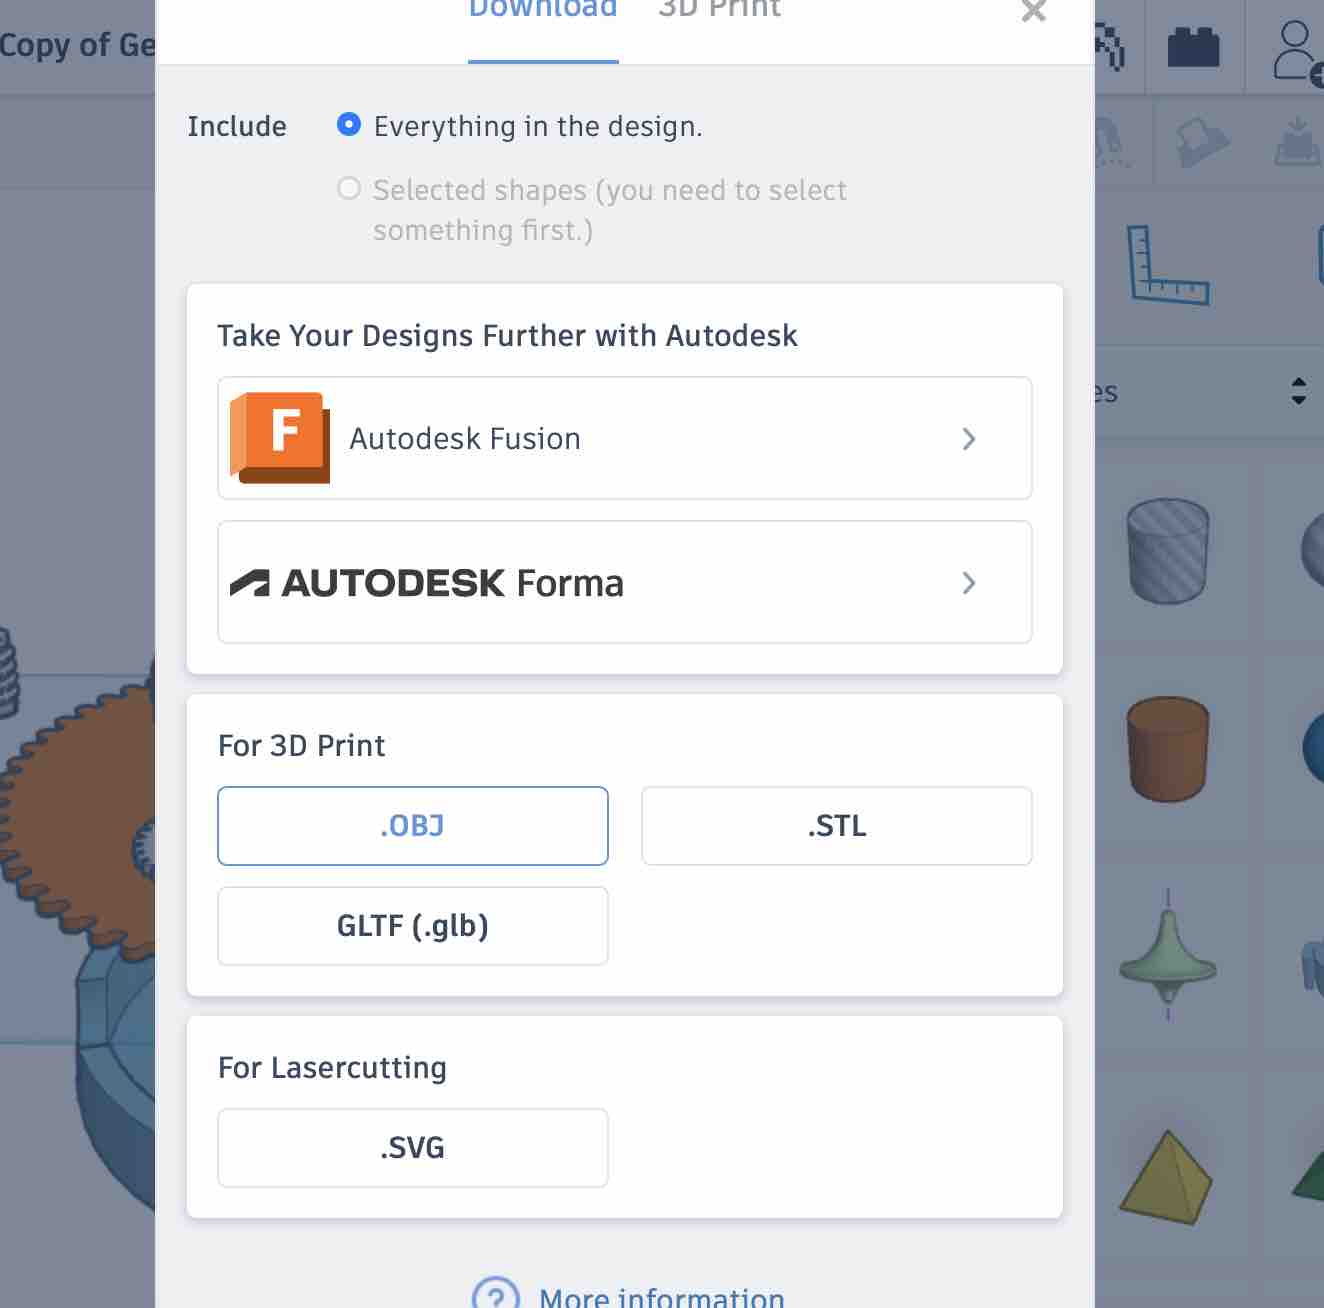
05| I tried to open a design I created in TinkerCAD: opened the file in TinkerCAD → press export → selected opening in Fusion
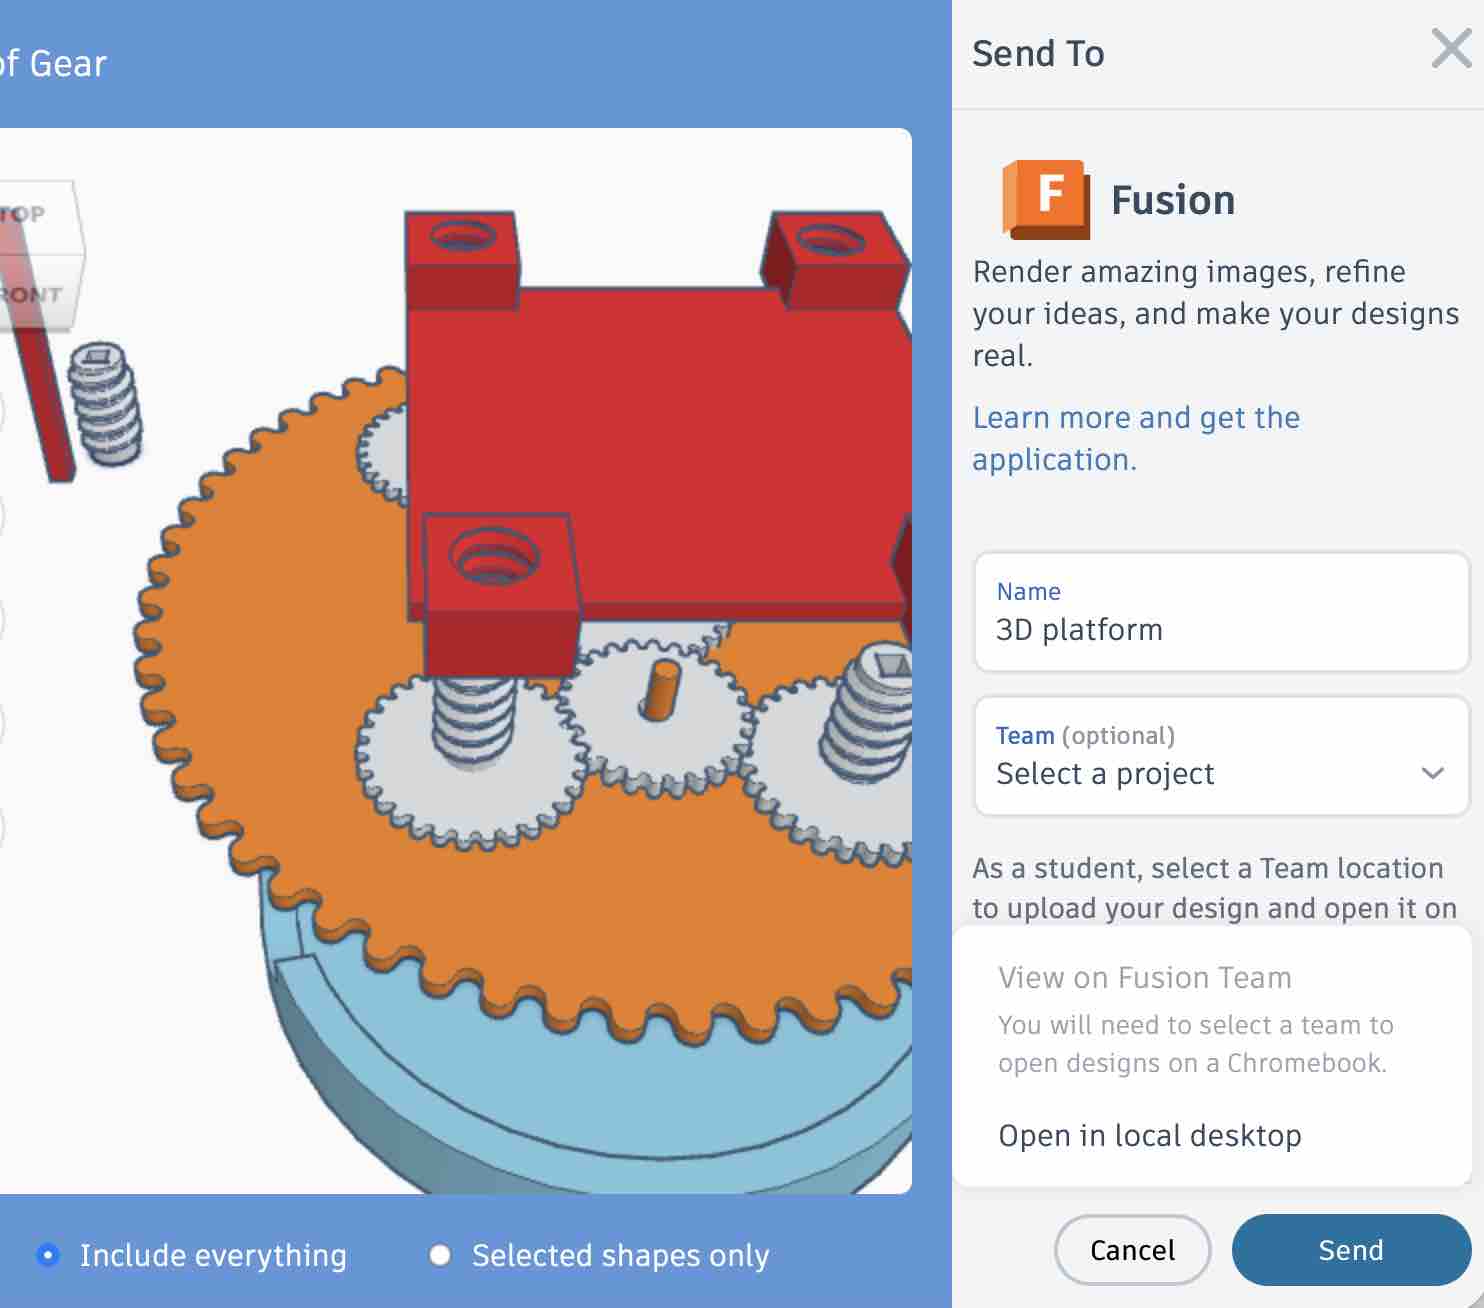
06| I made sure to select to include all the objects with all details
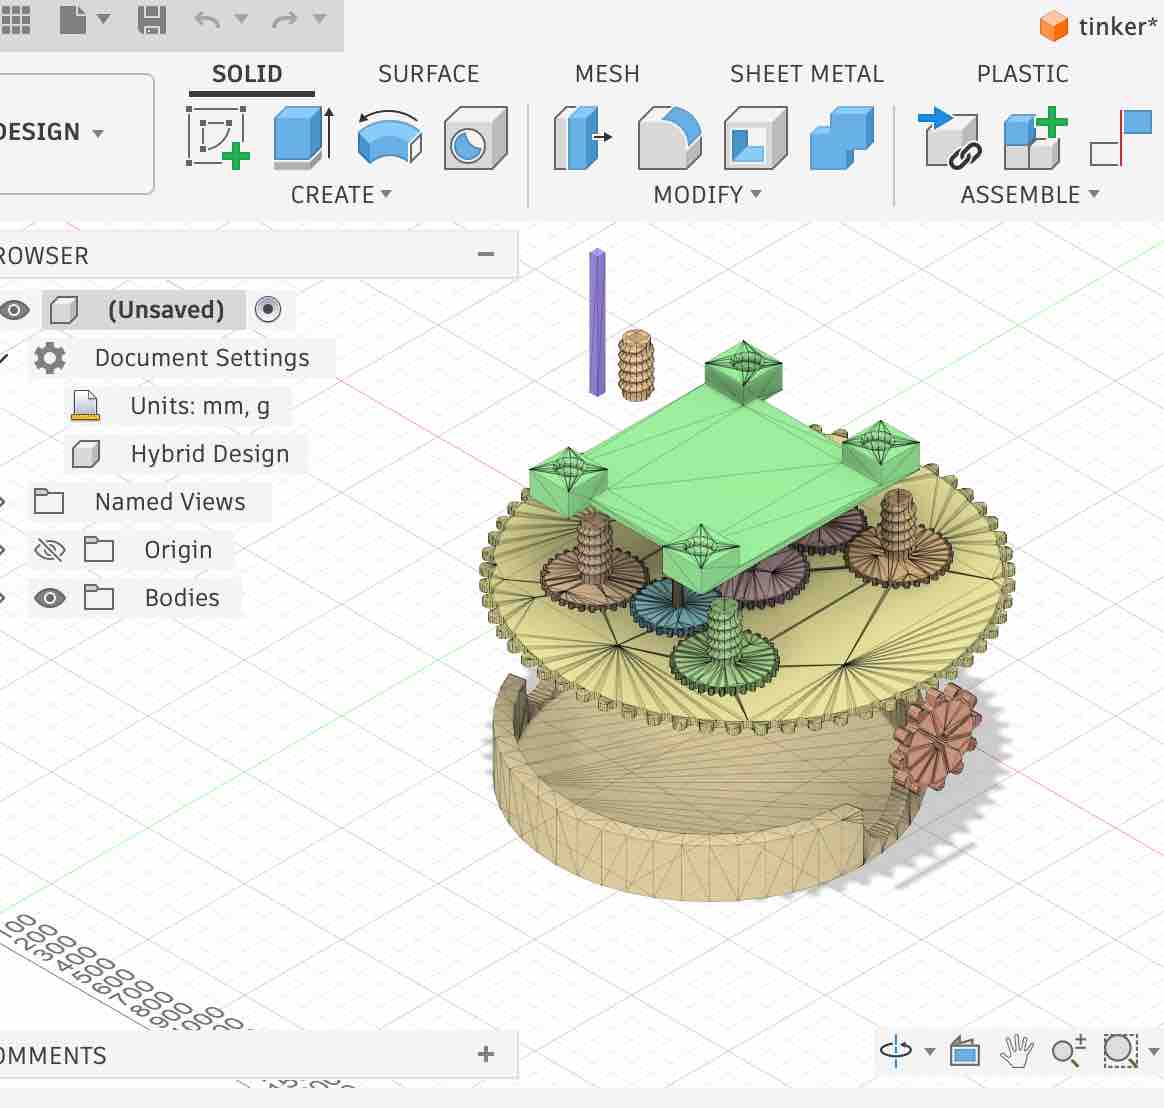
07| This is how the file looks — it's clear that it was meshed and not imported as objects
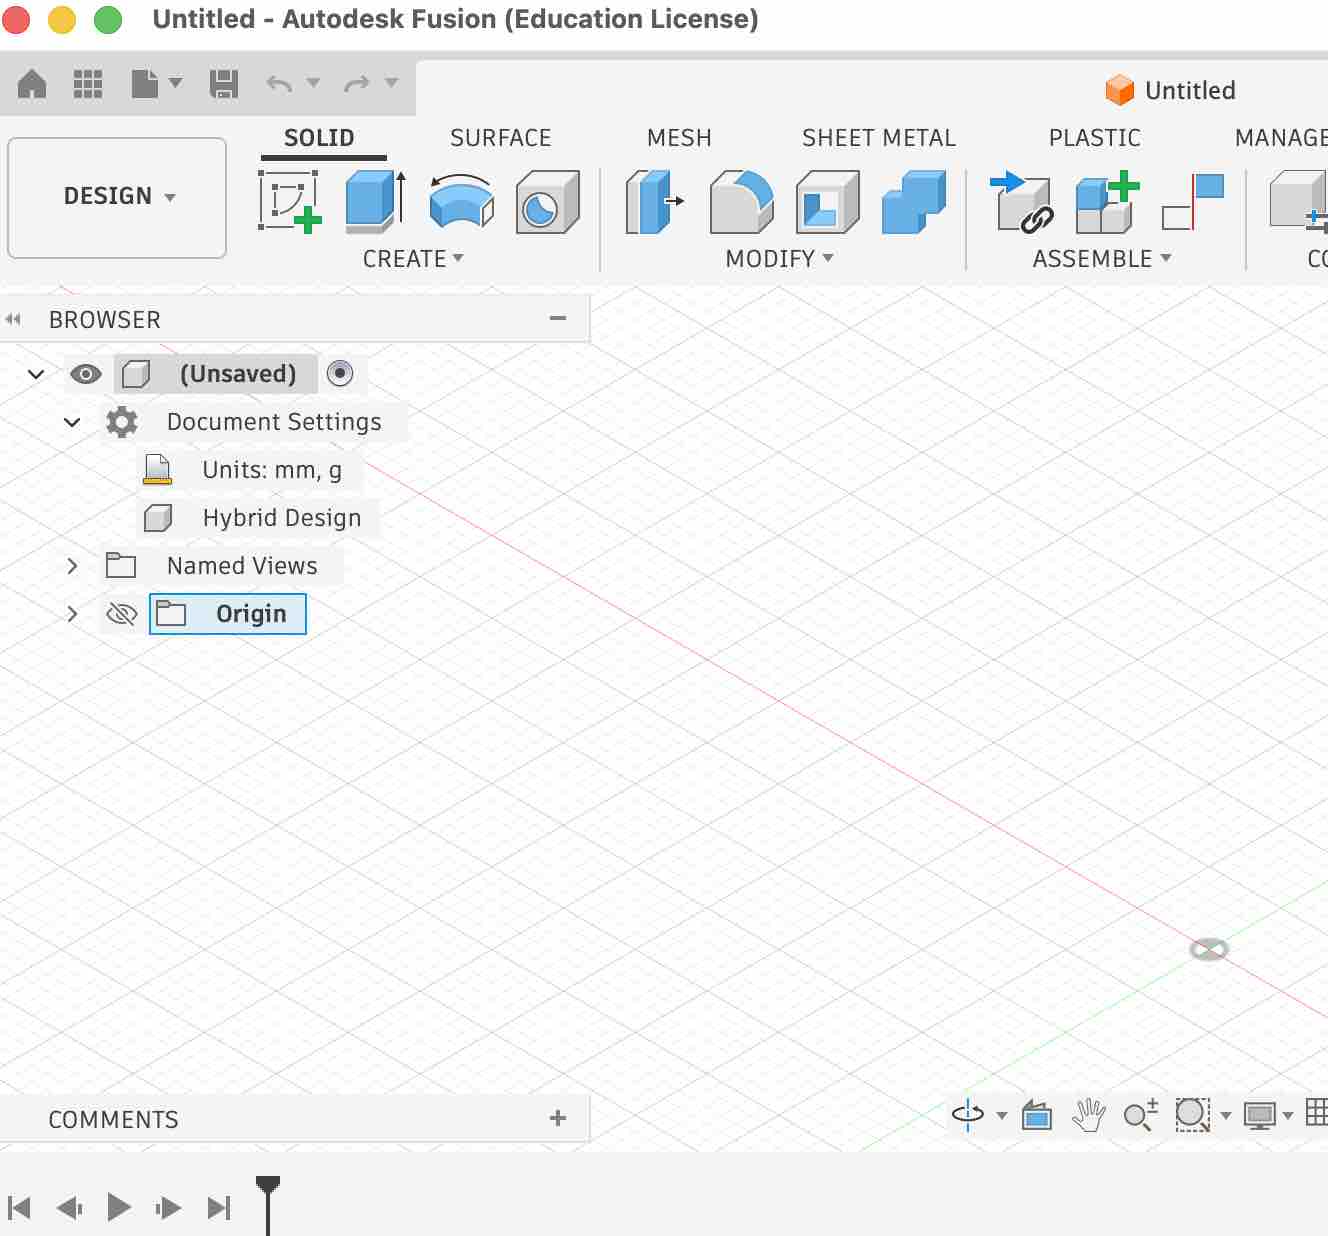
08| I also tried to start from scratch making my first sample which can be downloaded here
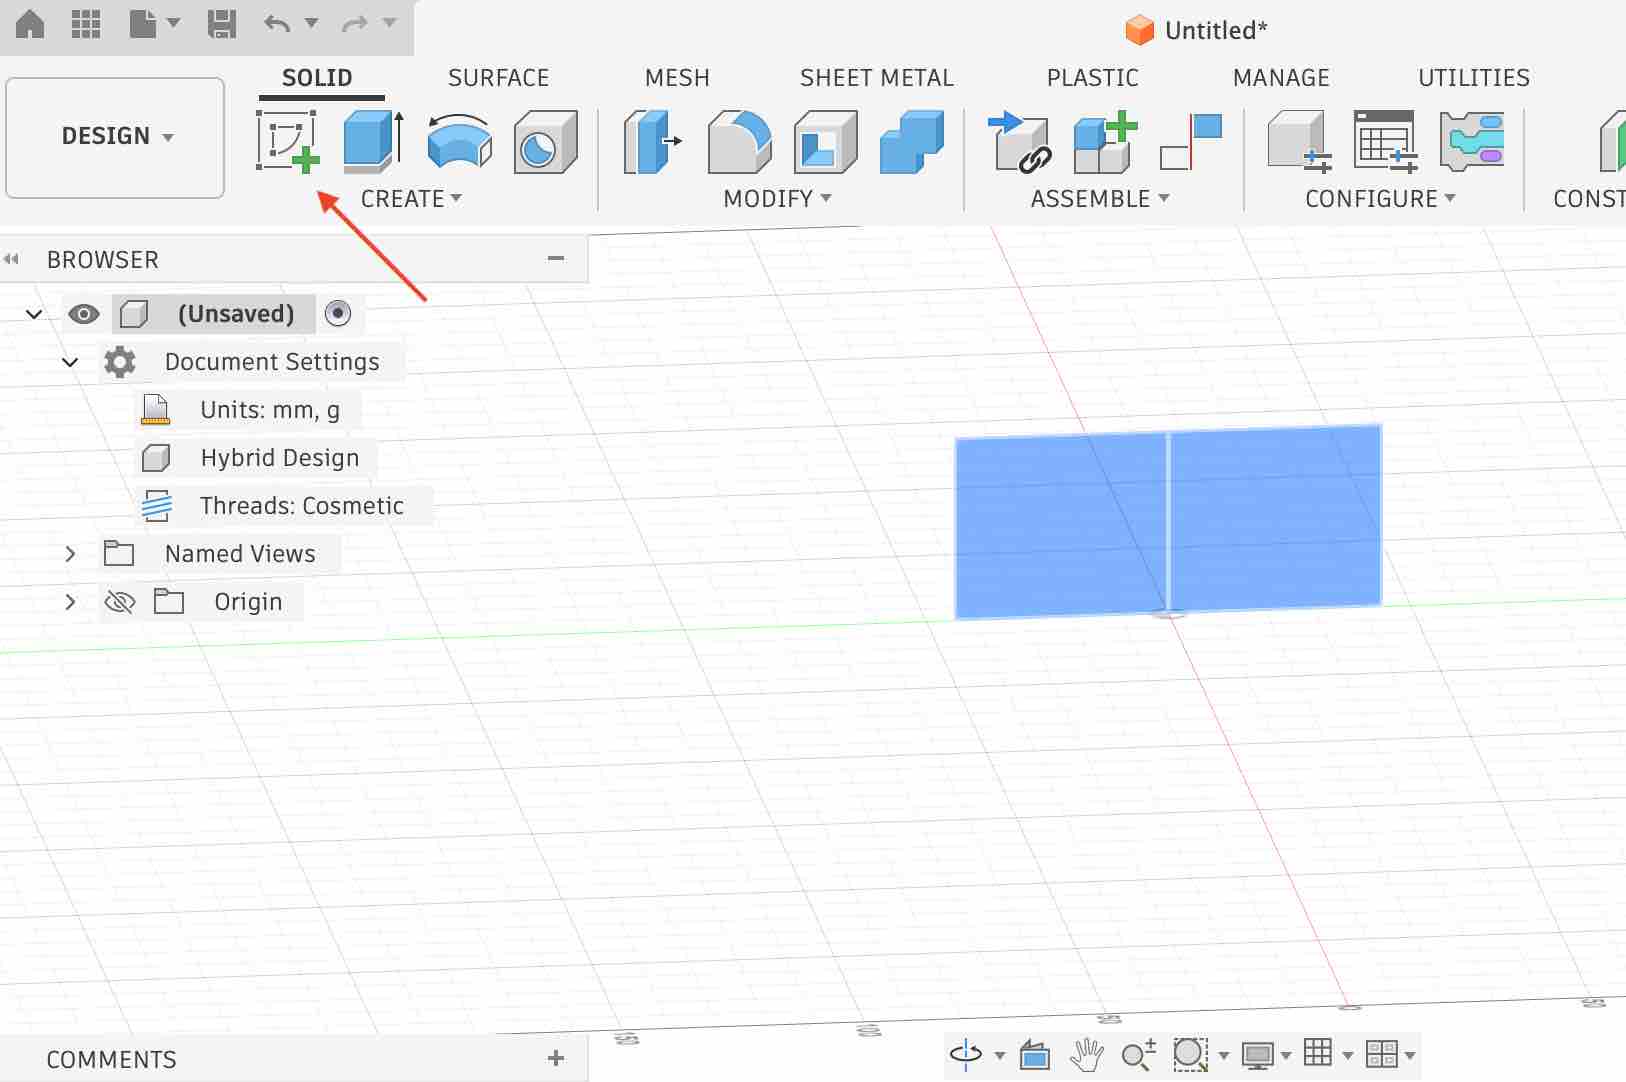
09| I started by selecting a surface, then sketched a basic rectangular shape.
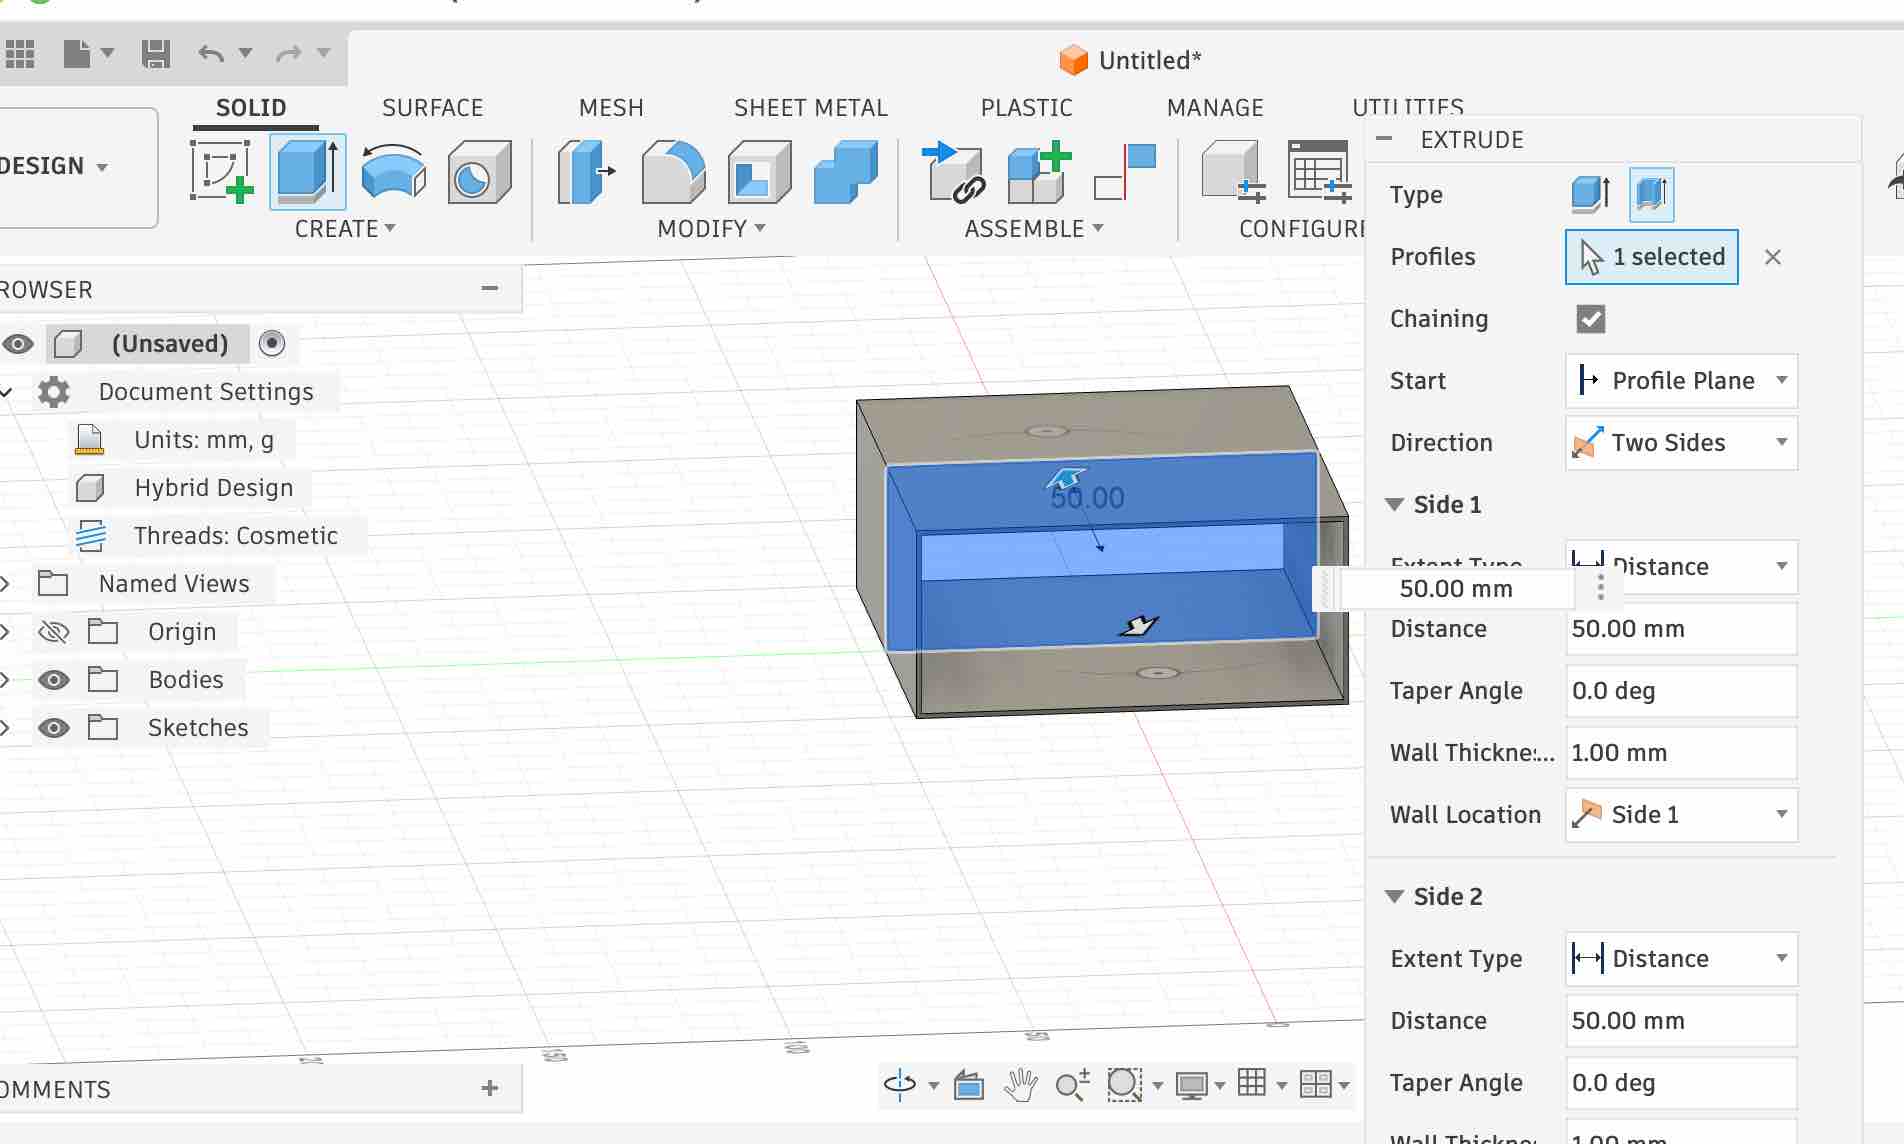
10| Then I started playing with the Extrude values and options.
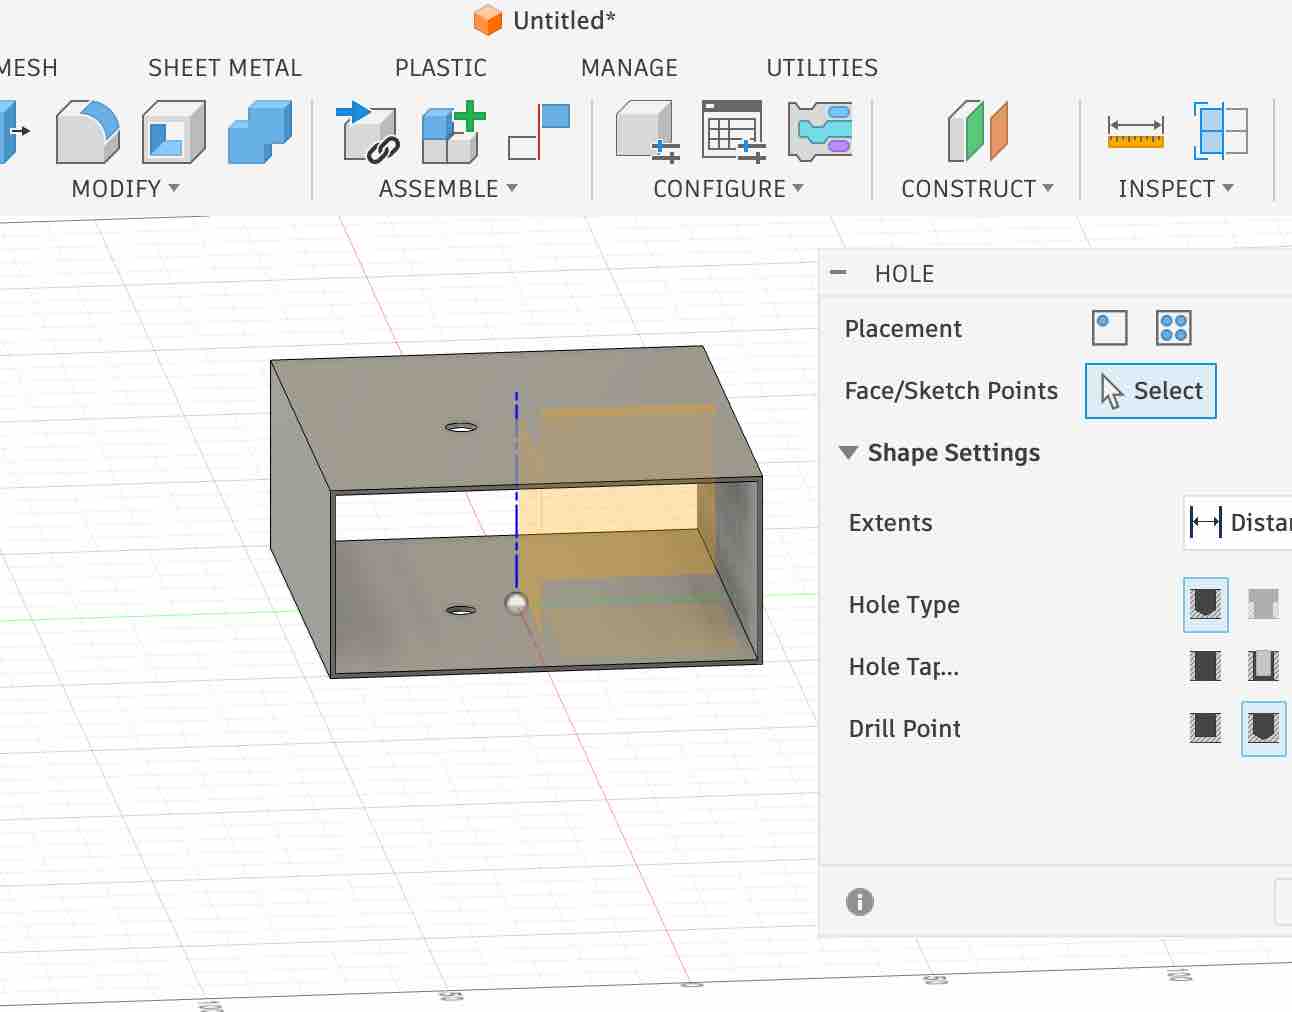
11| I also added some holes and experimented with the different settings.
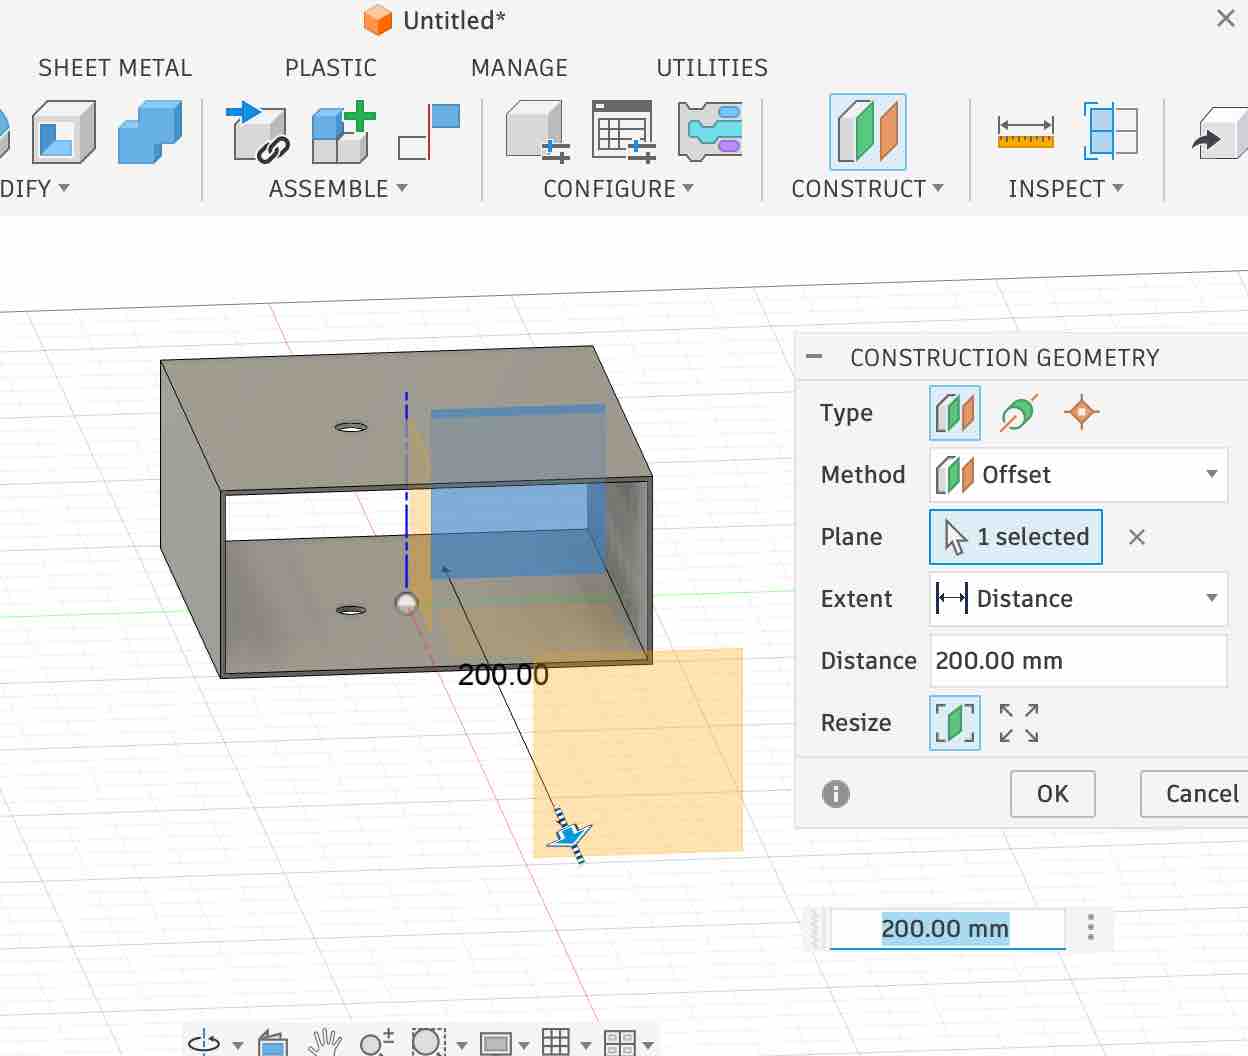
12| I also wanted to create another body relative to the first one, so I started by creating an offset construction plane and explored its values and setup.
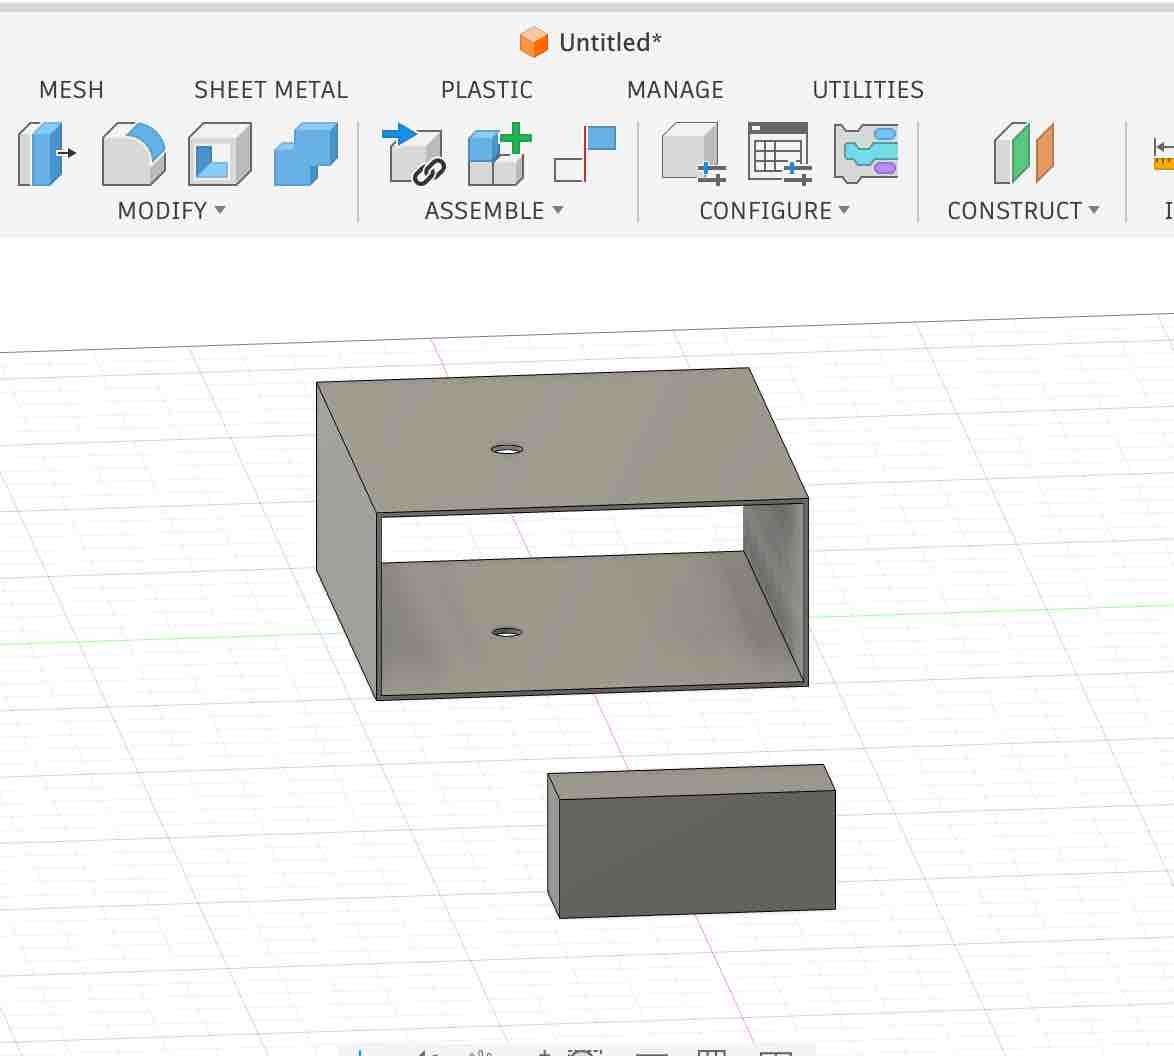
13| Then I repeated the step-09 workflow: select the surface → create a sketch → extrude the body.
- Feedback: It makes sense once it's explained well, with endless possibilities for creation.
- Challenge: Finding the right YouTube tutorials to start was the most challenging part of this phase.
Option 03: FreeCAD
- Feedback: I spent most of the time allocated for this week on getting Fusion access sorted. My schedule across these two weeks is very busy and it wasn't easy to find time. Update: I came back to FreeCAD in Week 06 — Electronics Design, using it for parametric case design driven by my KiCad-exported STEP file.
Image and Video Compression
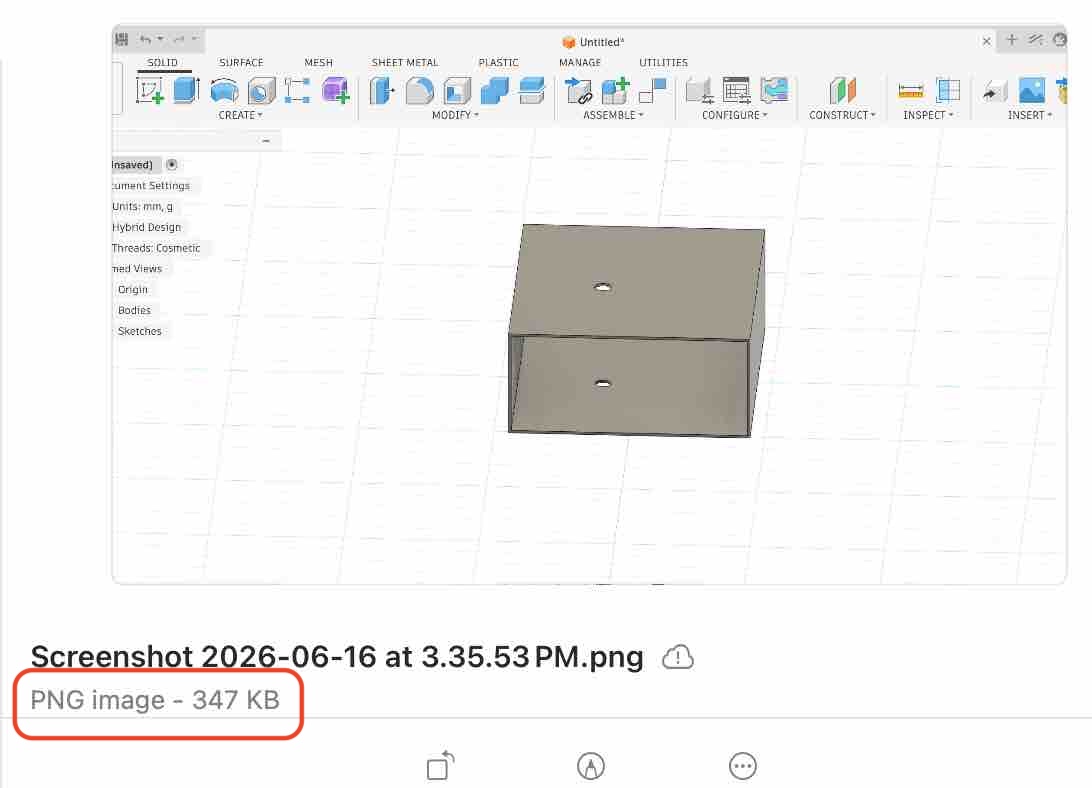
01| As I mentioned in Week 01, since I'm on a MacBook I use the built-in Preview app to compress my images.
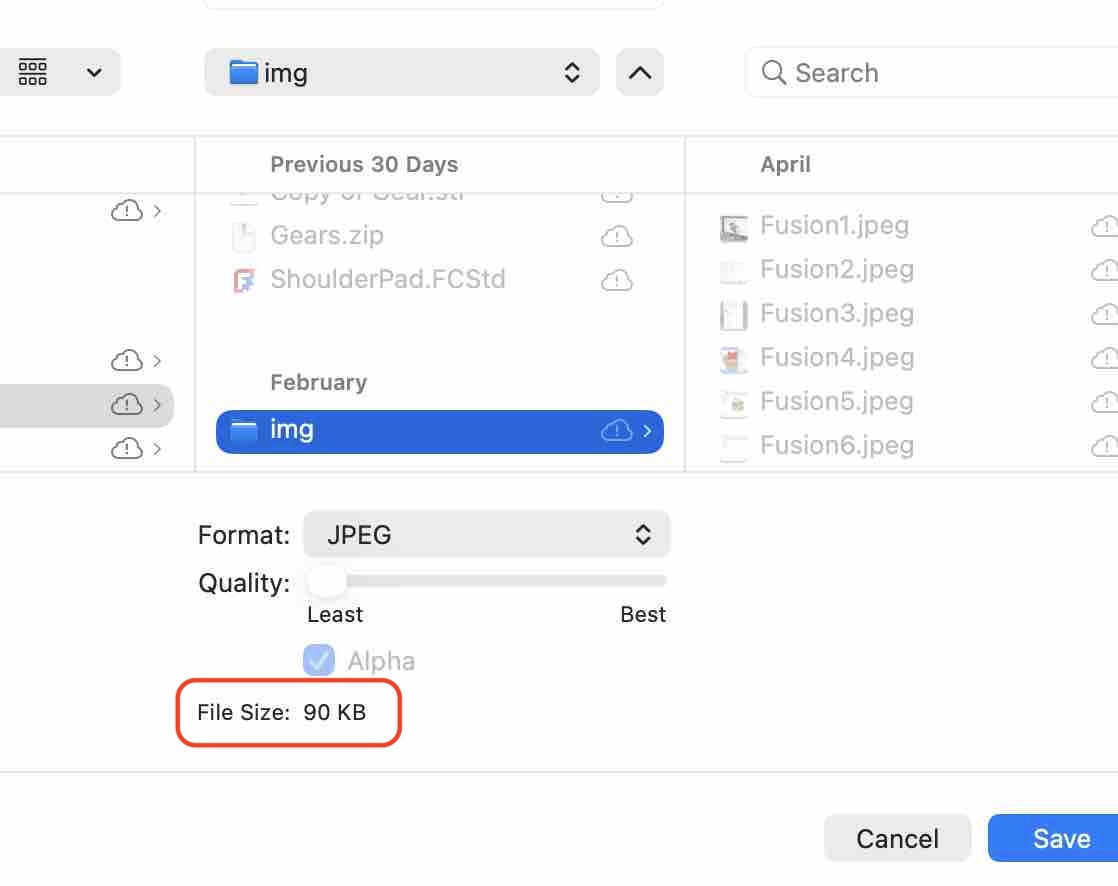
02| The image size dropped from 300 KB to 31 KB.
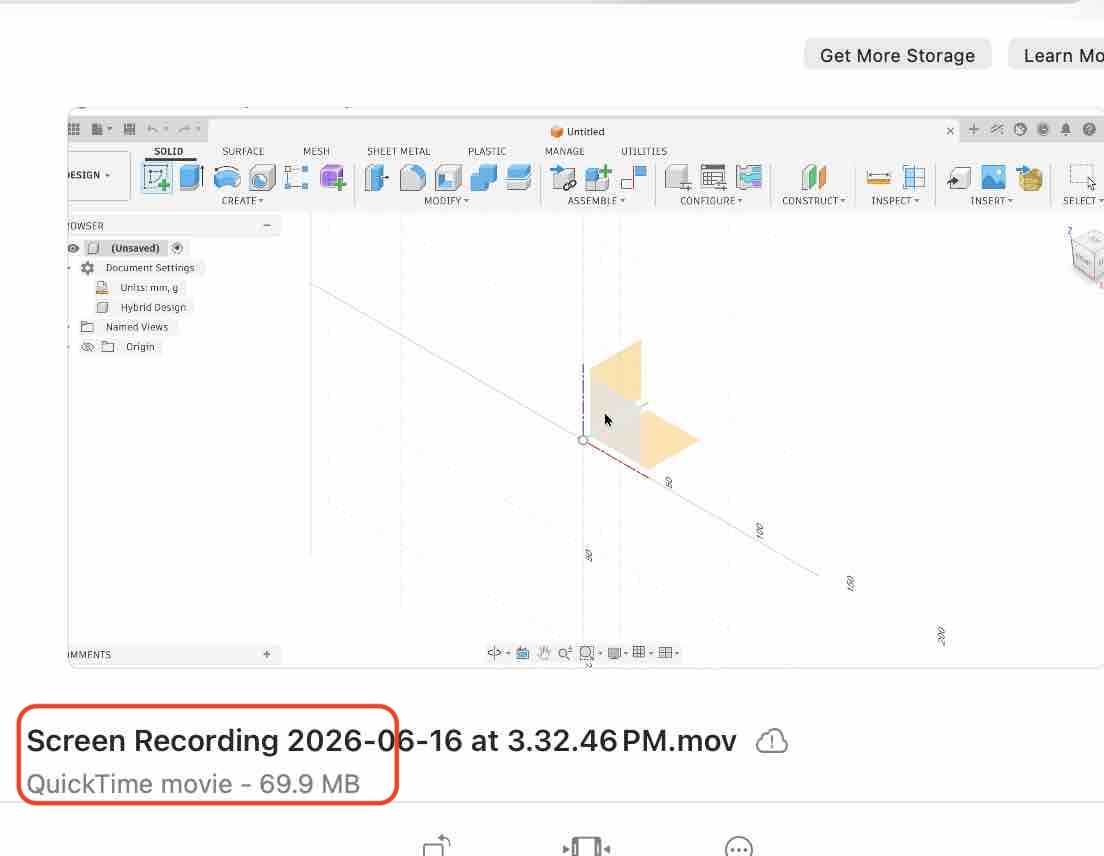
03| This is the screen-recording video I made while working in Fusion — the file is around 70 MB and I need to bring it down to roughly 2–5 MB.
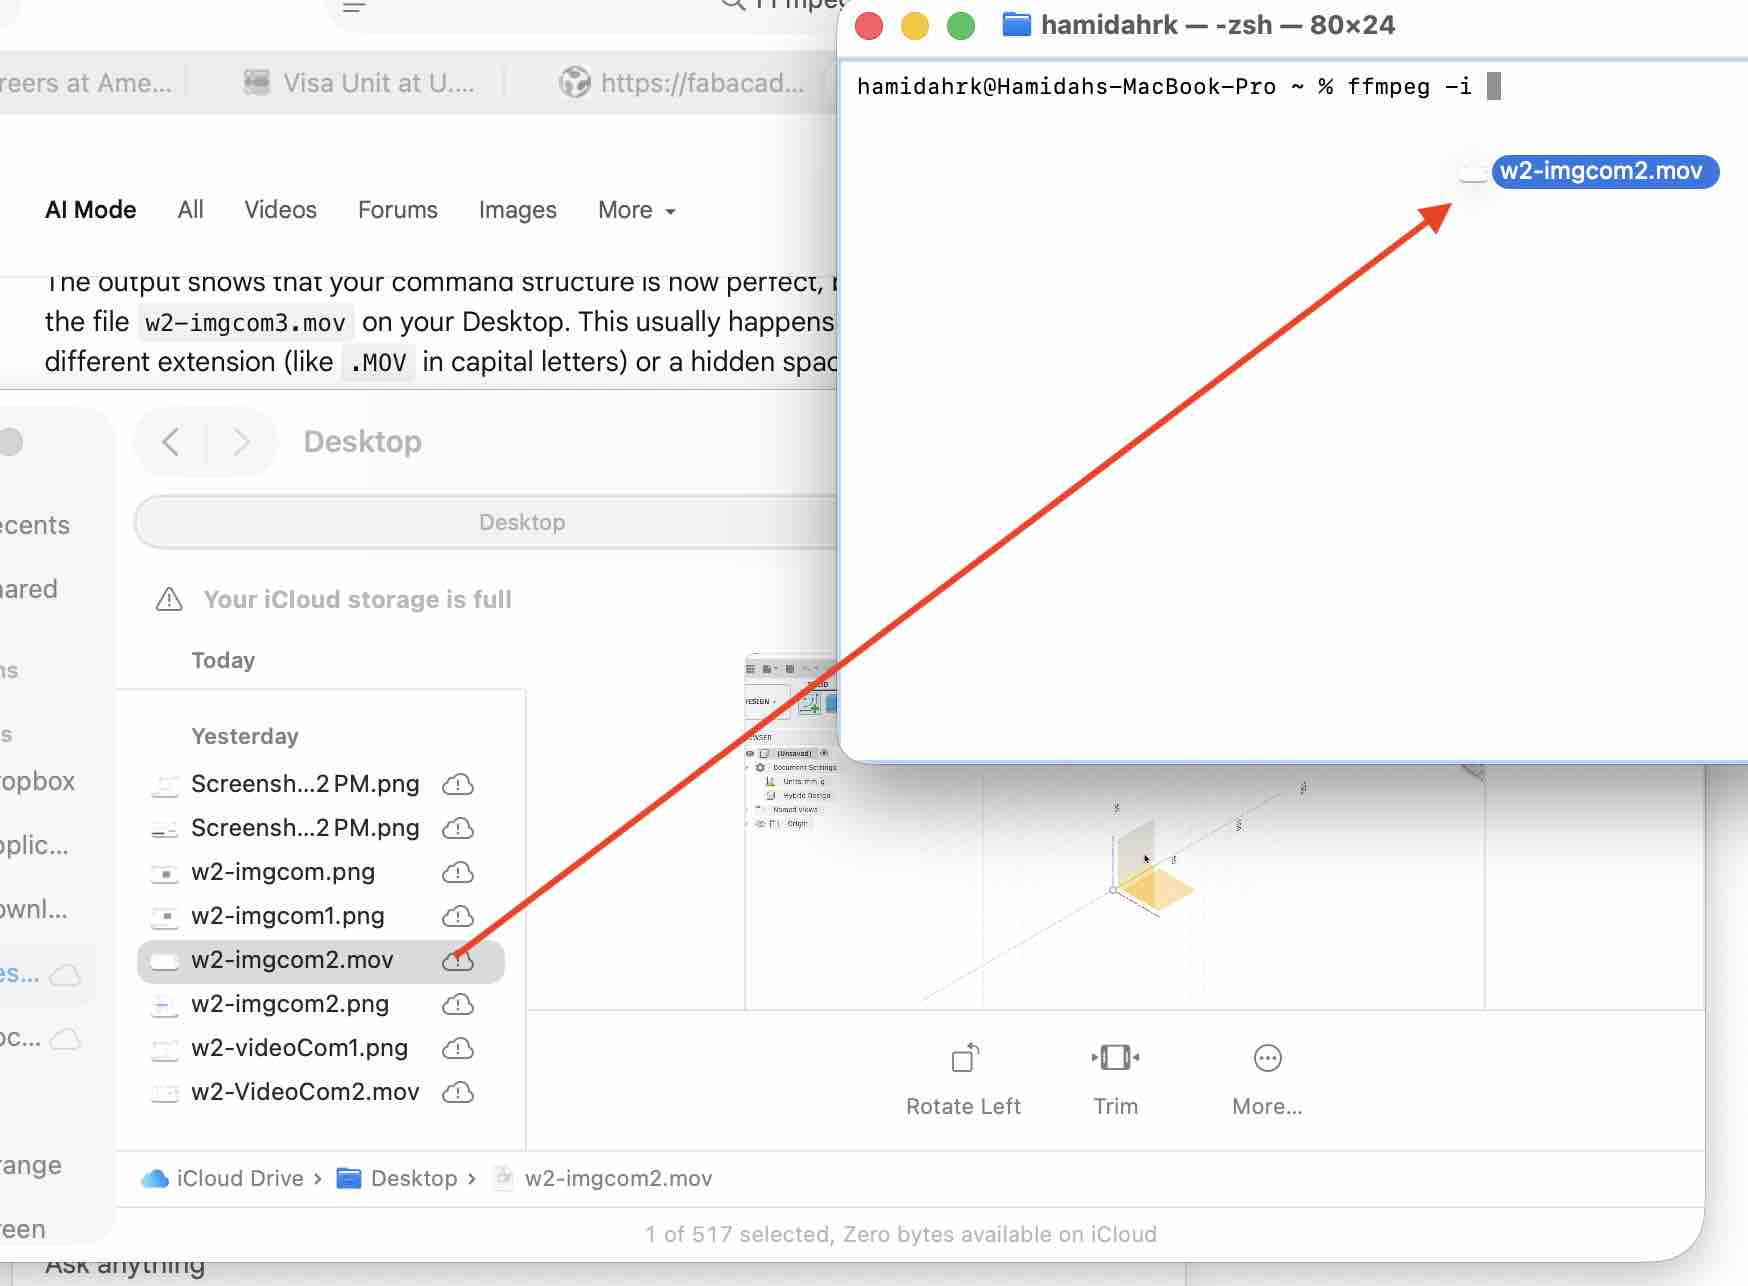
04| I first tried FFmpeg for macOS, using this command: ffmpeg -i /Users/hamidahrk/Desktop/w2-imgcom2.mov -vcodec libx264 -crf 23 /Users/hamidahrk/Desktop/compressed_video.mp4. For a smaller file size (more compression, slightly lower quality) change -crf 23 to a higher number like 28; for higher quality (larger file, less compression) use a lower number like 20.
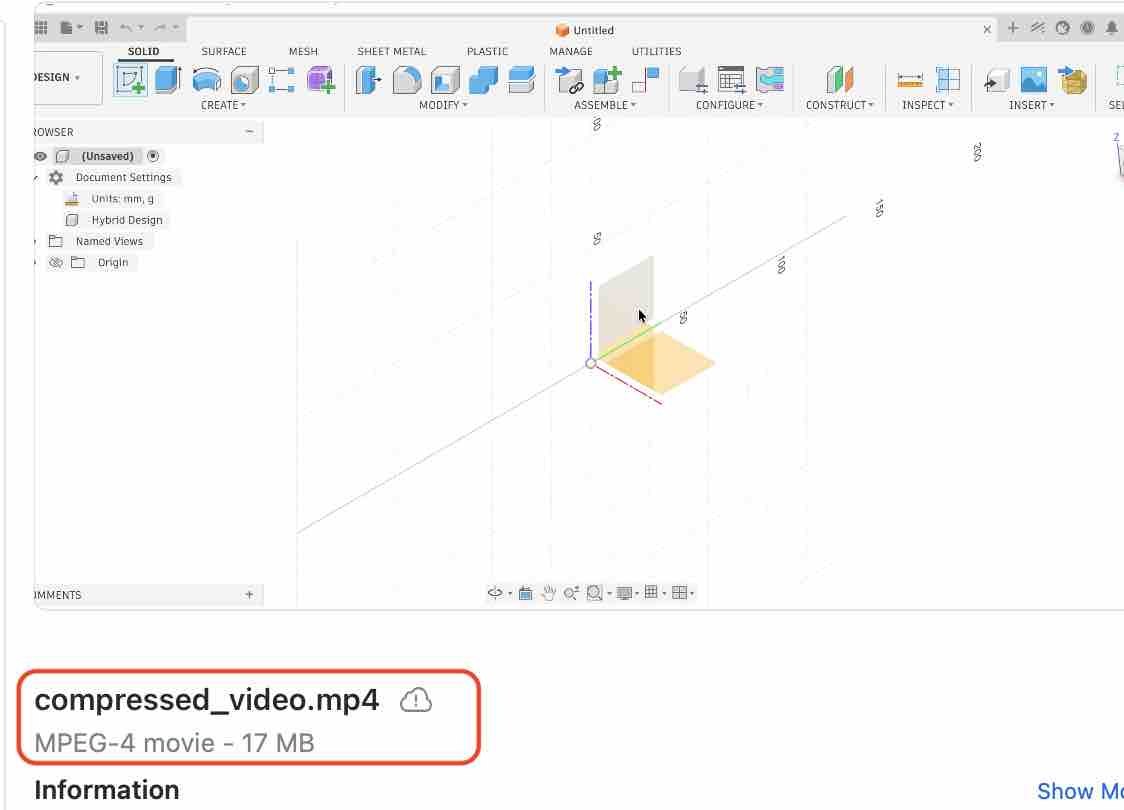
05| The first compression came out at 17 MB. I wanted smaller, so I changed -crf to 28 and the video dropped to a 12 MB file.
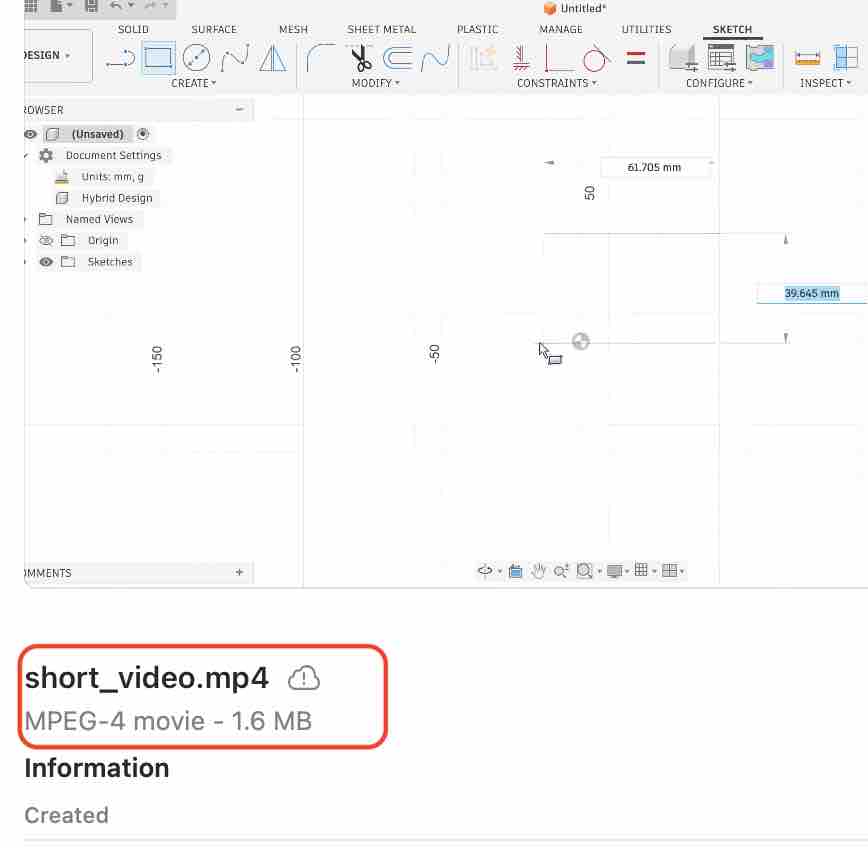
06| After exploring more flags I made the video lower quality (-crf 28), 10× faster, and silent using: ffmpeg -ss 1 -i /Users/hamidahrk/Desktop/compressed_video.mp4 -vf "setpts=0.10*PTS" -an -vcodec libx264 -crf 28 /Users/hamidahrk/Desktop/fast_10sec_silent.mp4. The result: from 70 MB to 2.4 MB as a 10-second video.
- Feedback: Very impressive for one file — I wonder how it would scale across multiple files in a batch.
- Challenge: Gemini AI helped me a lot in shaping the commands and understanding the error messages better. This became my default video / image compression workflow for the rest of Fab Academy.