The process
This week I set up my documentation workflow, my Git publishing process, and chose the tools I'll use for the rest of the course.
Project Management:
My goal was to find a tool that helps me break up tasks and send reminders to my phone. (Excel wouldn't work — no reminders.)
Managing time is hard: I'm a mom, I'm running WRO season 2026 in Kuwait, and I'm taking this course — all at once, with zillions of meetings every week. Here are the tools I tried, with no more than 10 minutes on each.
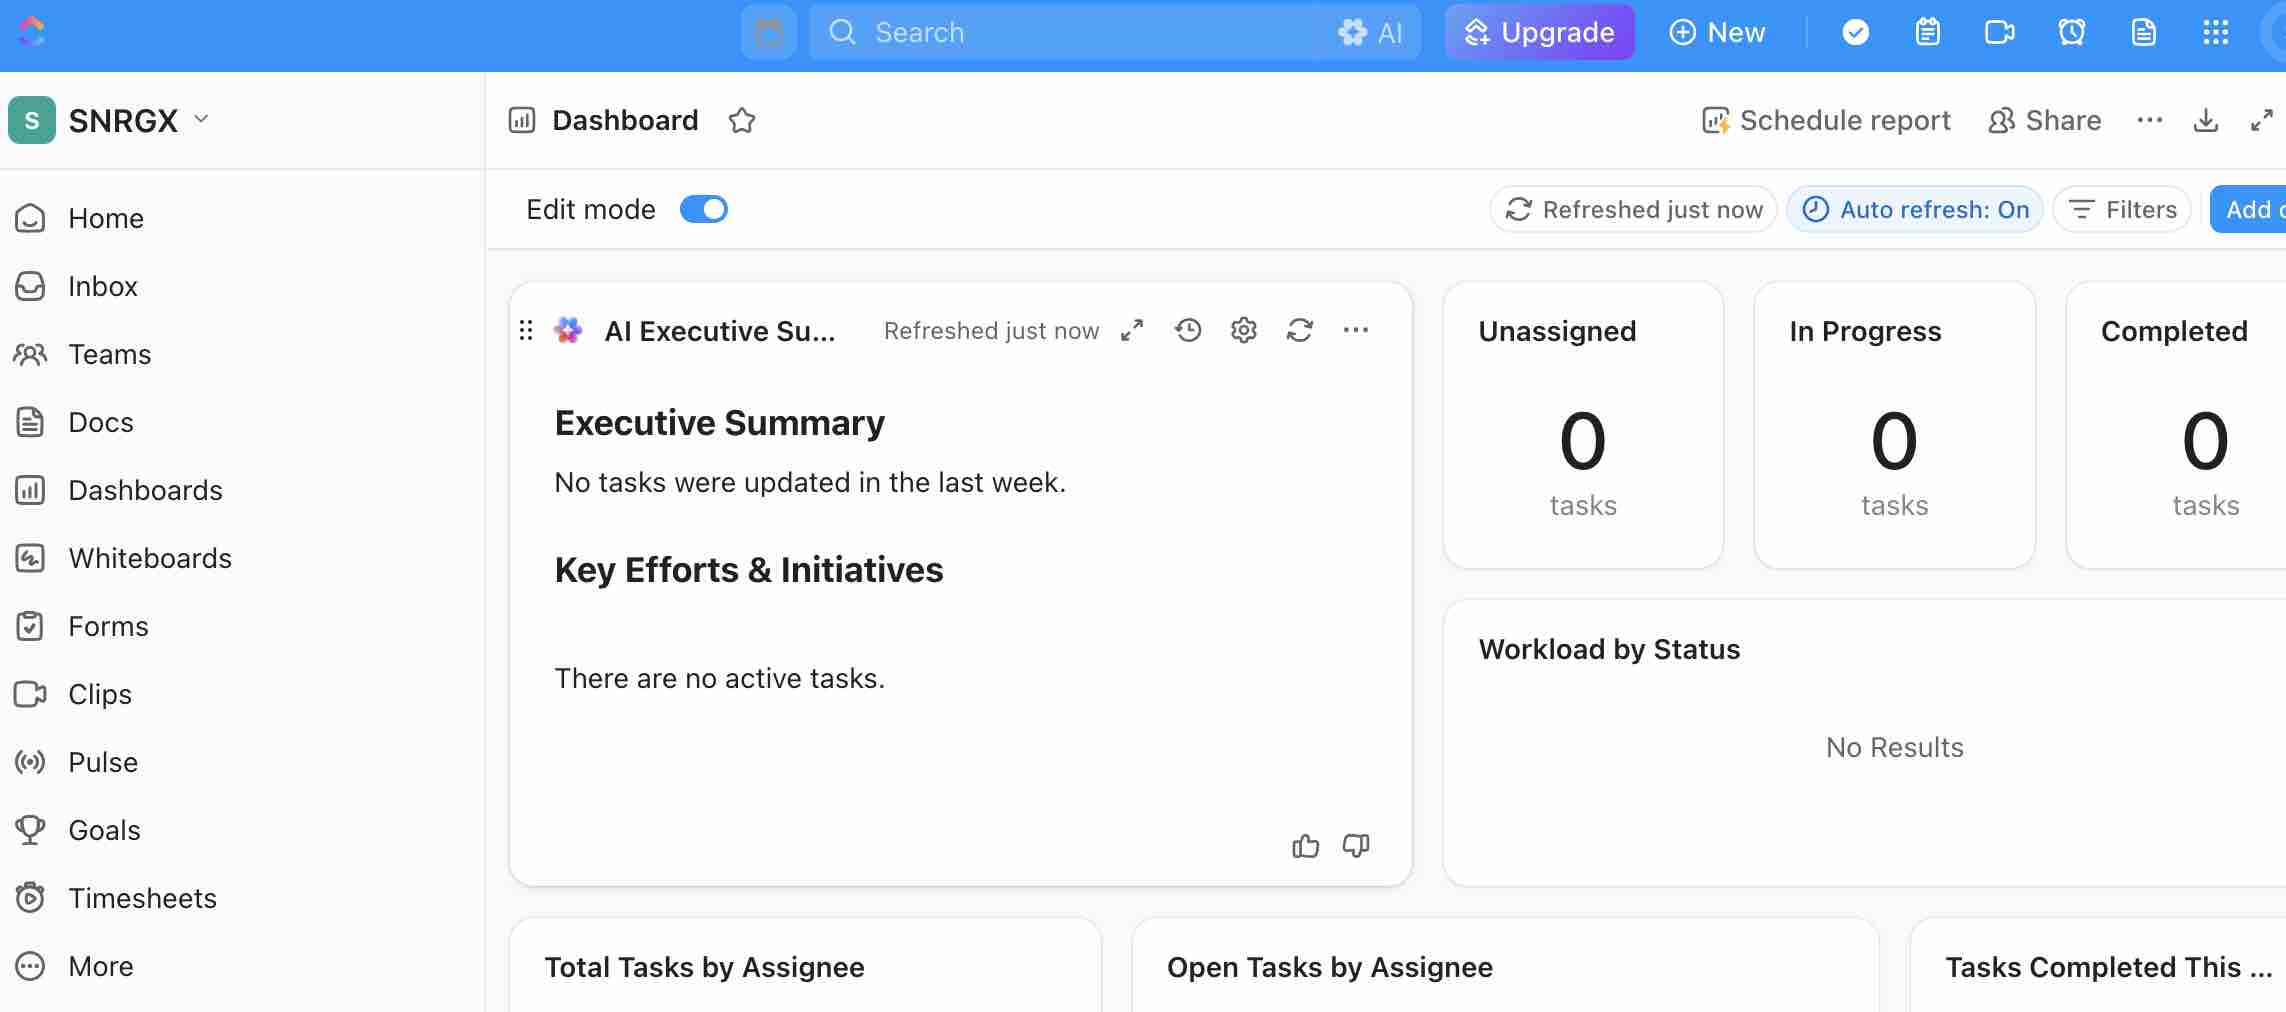
Option 01: Monday Work Management (online platform)
01 | I created a new free account on Monday and downloaded the mobile app.
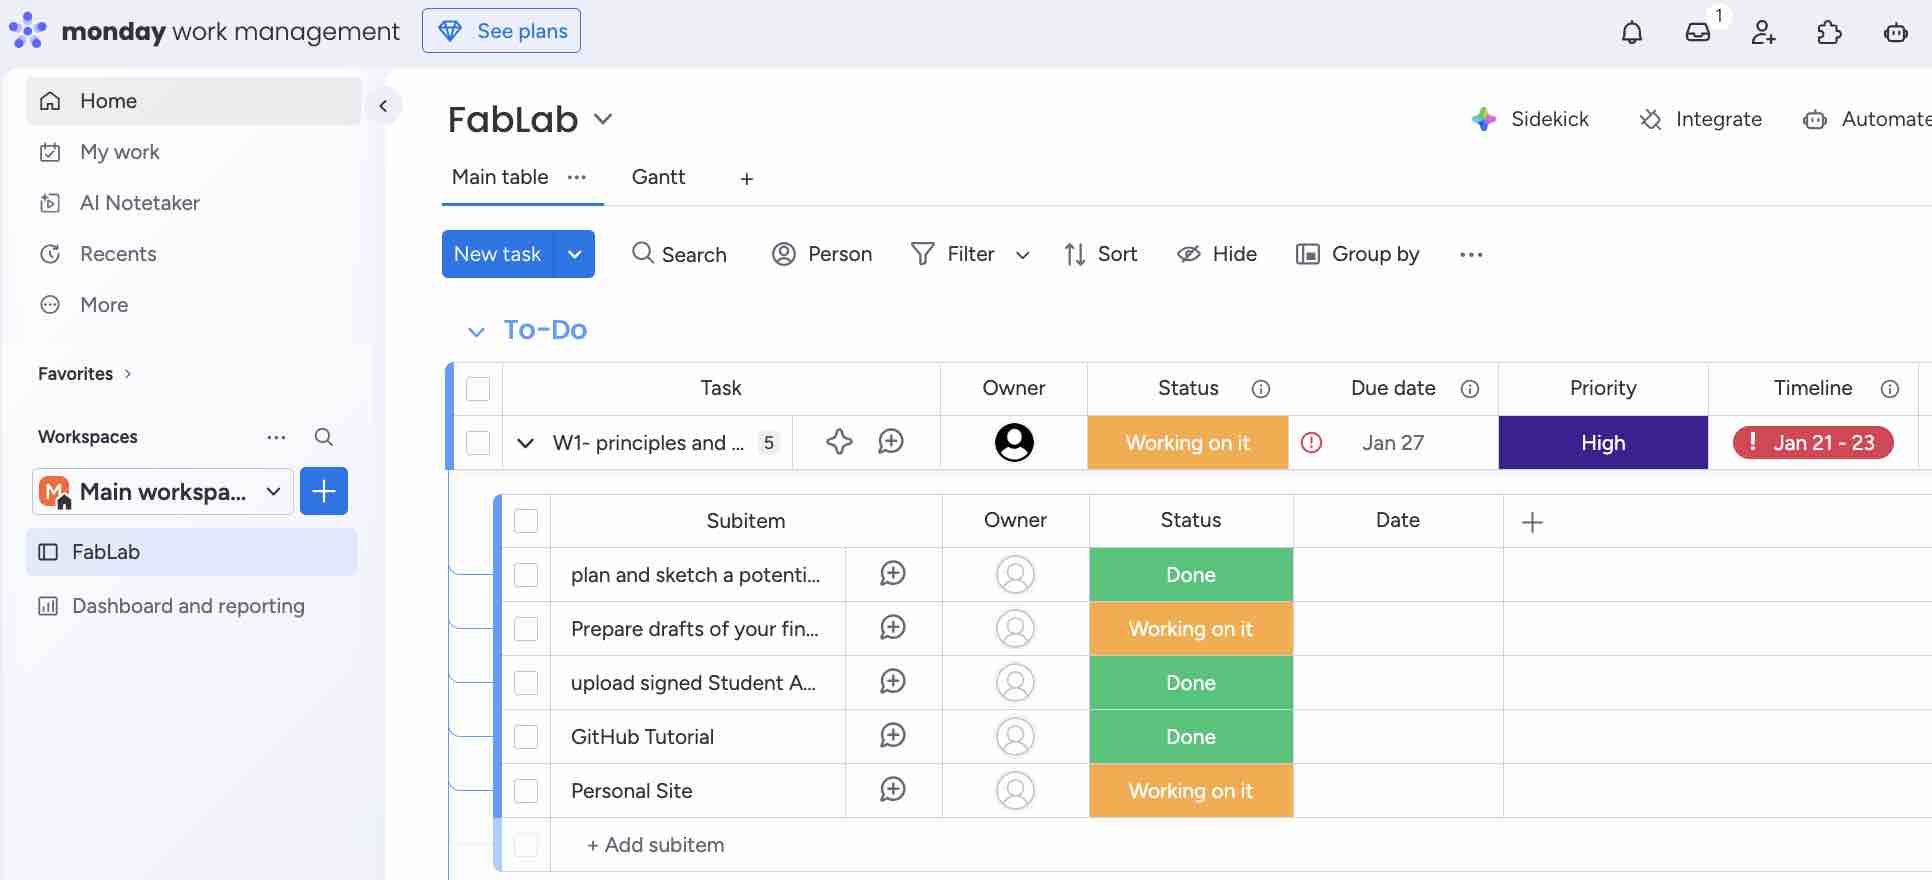
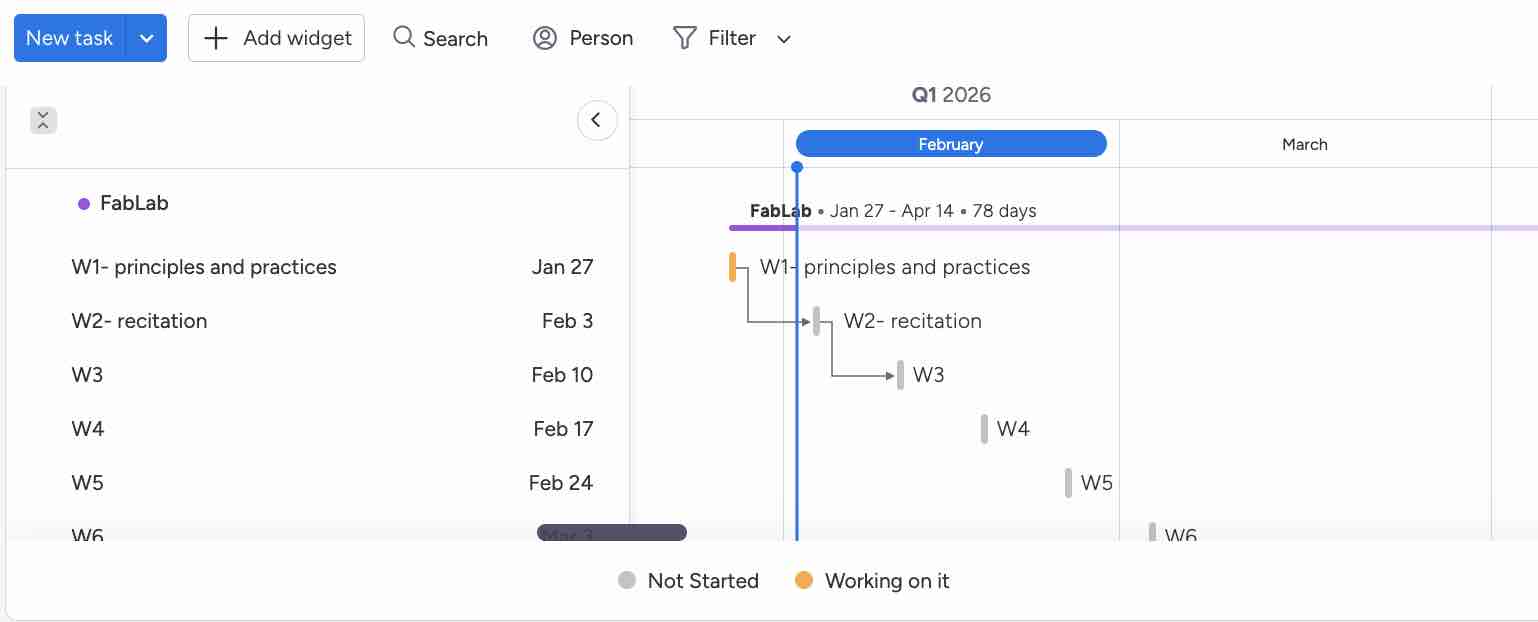
02| I started adding my weeks and subtasks for each week and updating the status
- Feedback: The interface (UI/UX) is simple, easy and direct — enough for what I need now
- Challenge: The main feature I need, notifications, is not included in the free account
Option 02: ClickUp (online platform)
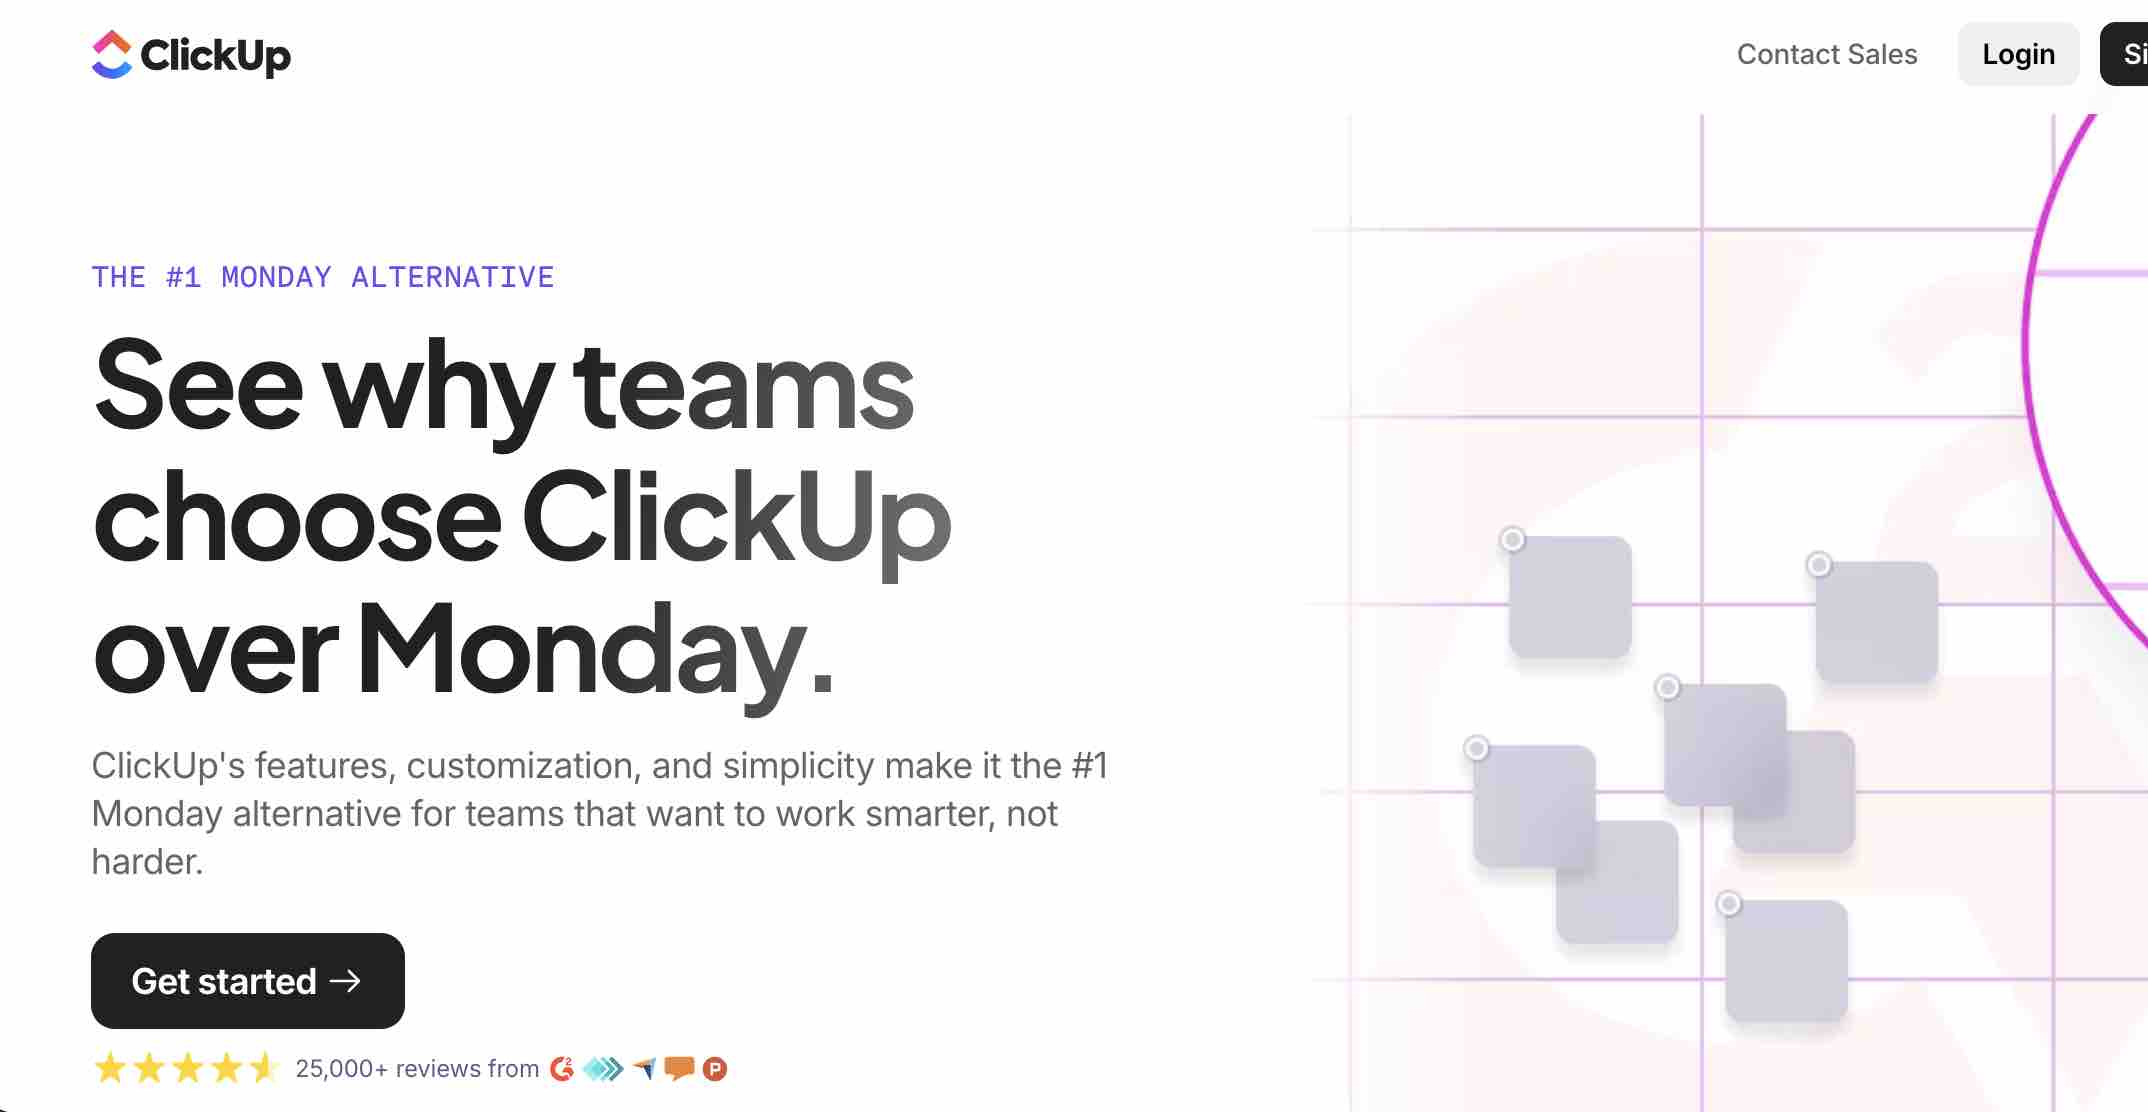
01 | I created a new free account on ClickUp
02| Tried to find the fastest way to add items without configuring a lot of parameters.
- Feedback: I found the setup very complex for my needs
- Challenge: The main feature I need, notifications, is not included in the free account
Connect GitLab Repo & select IDE:
I wanted the shortest workflow for editing files locally and pushing them to my GitLab repository — without creating duplicate files in the process.
Option 01: Getting familiar with GitLab
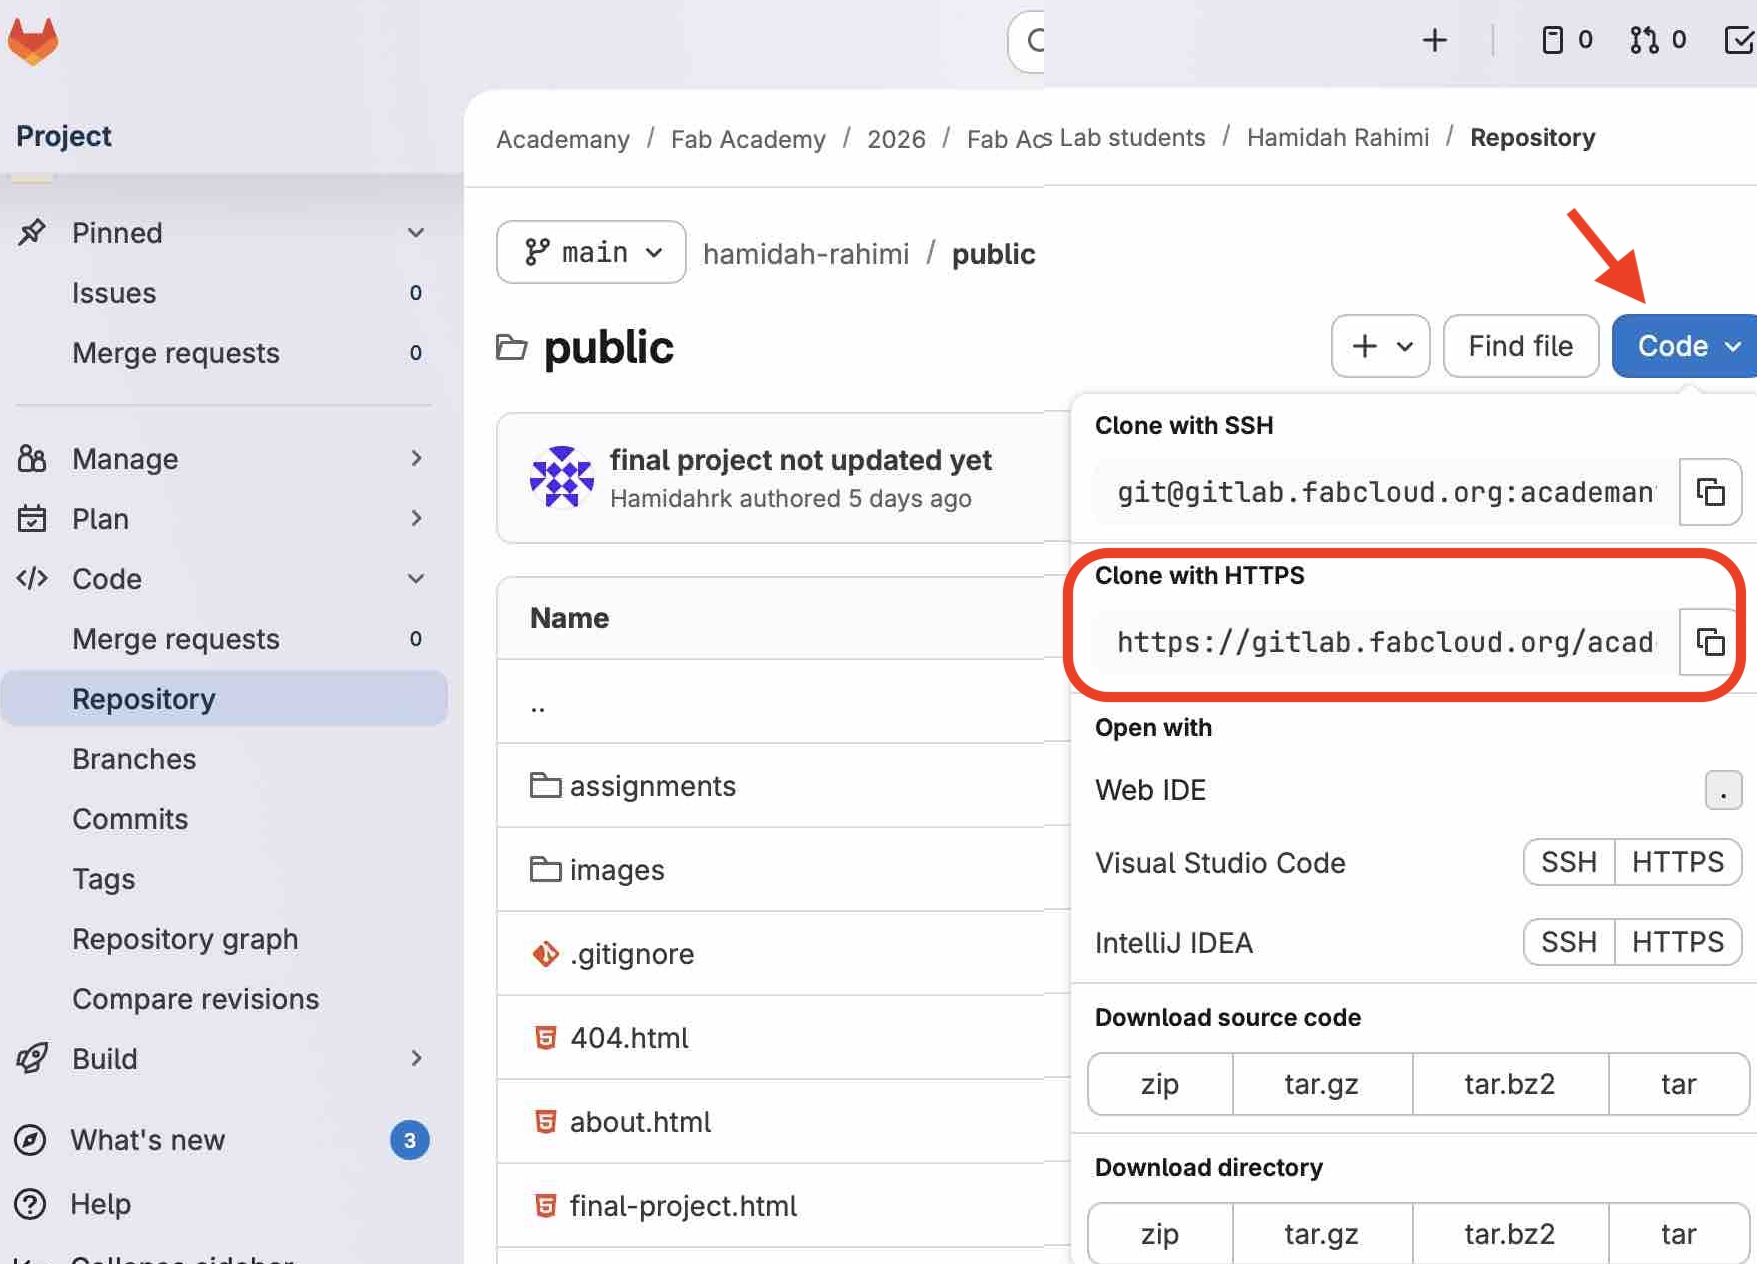
01 | I used the HTTPS clone URL to connect to GitLab.
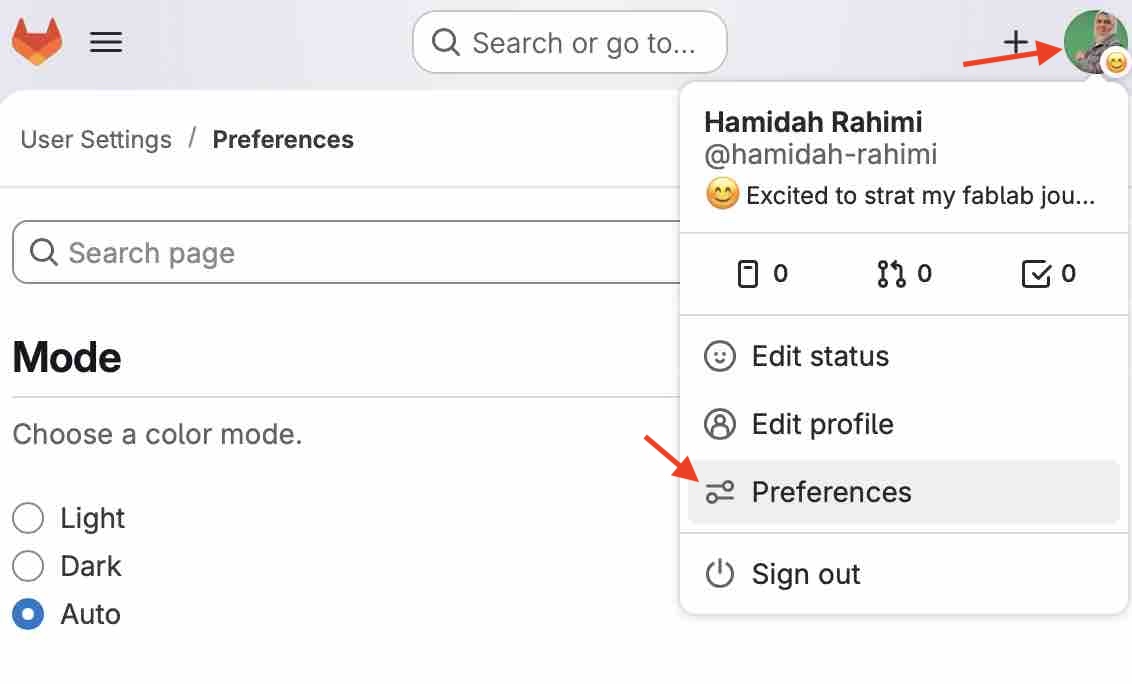
02| From preferences, I created a Personal Access Token
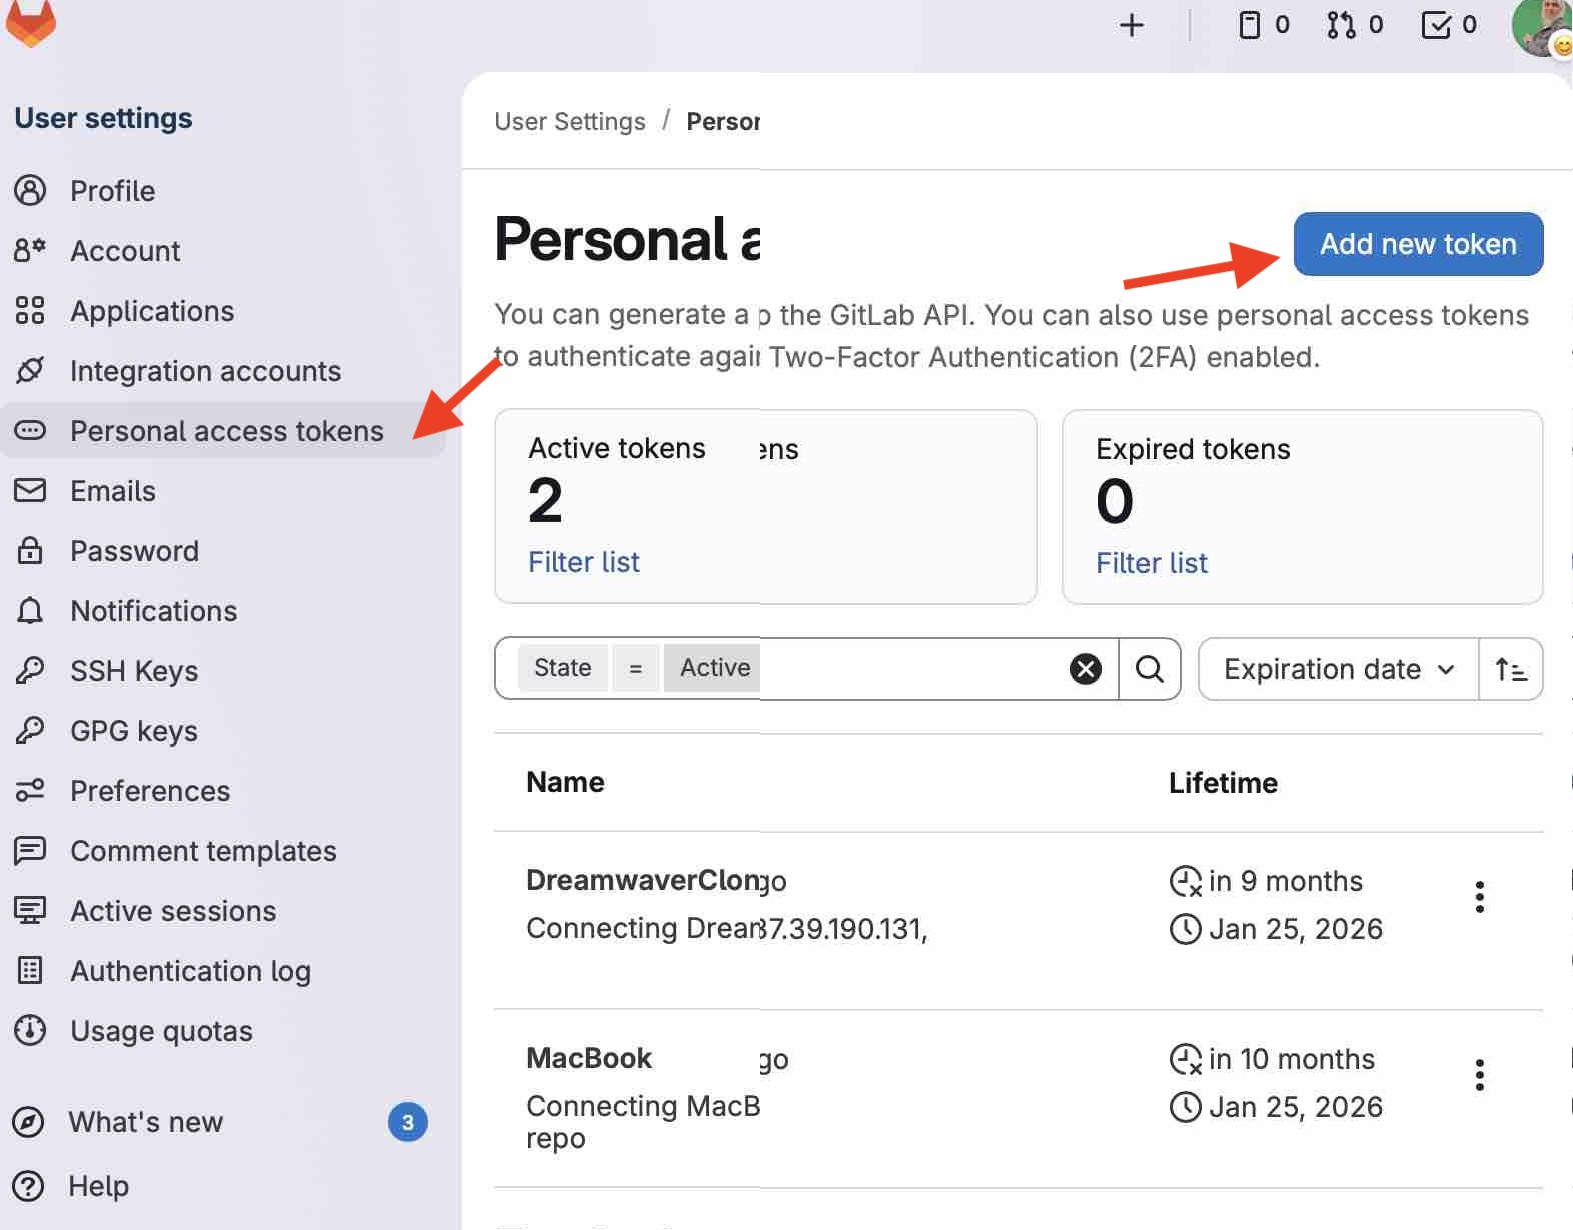
03| A dedicated token is needed for each tool or terminal used
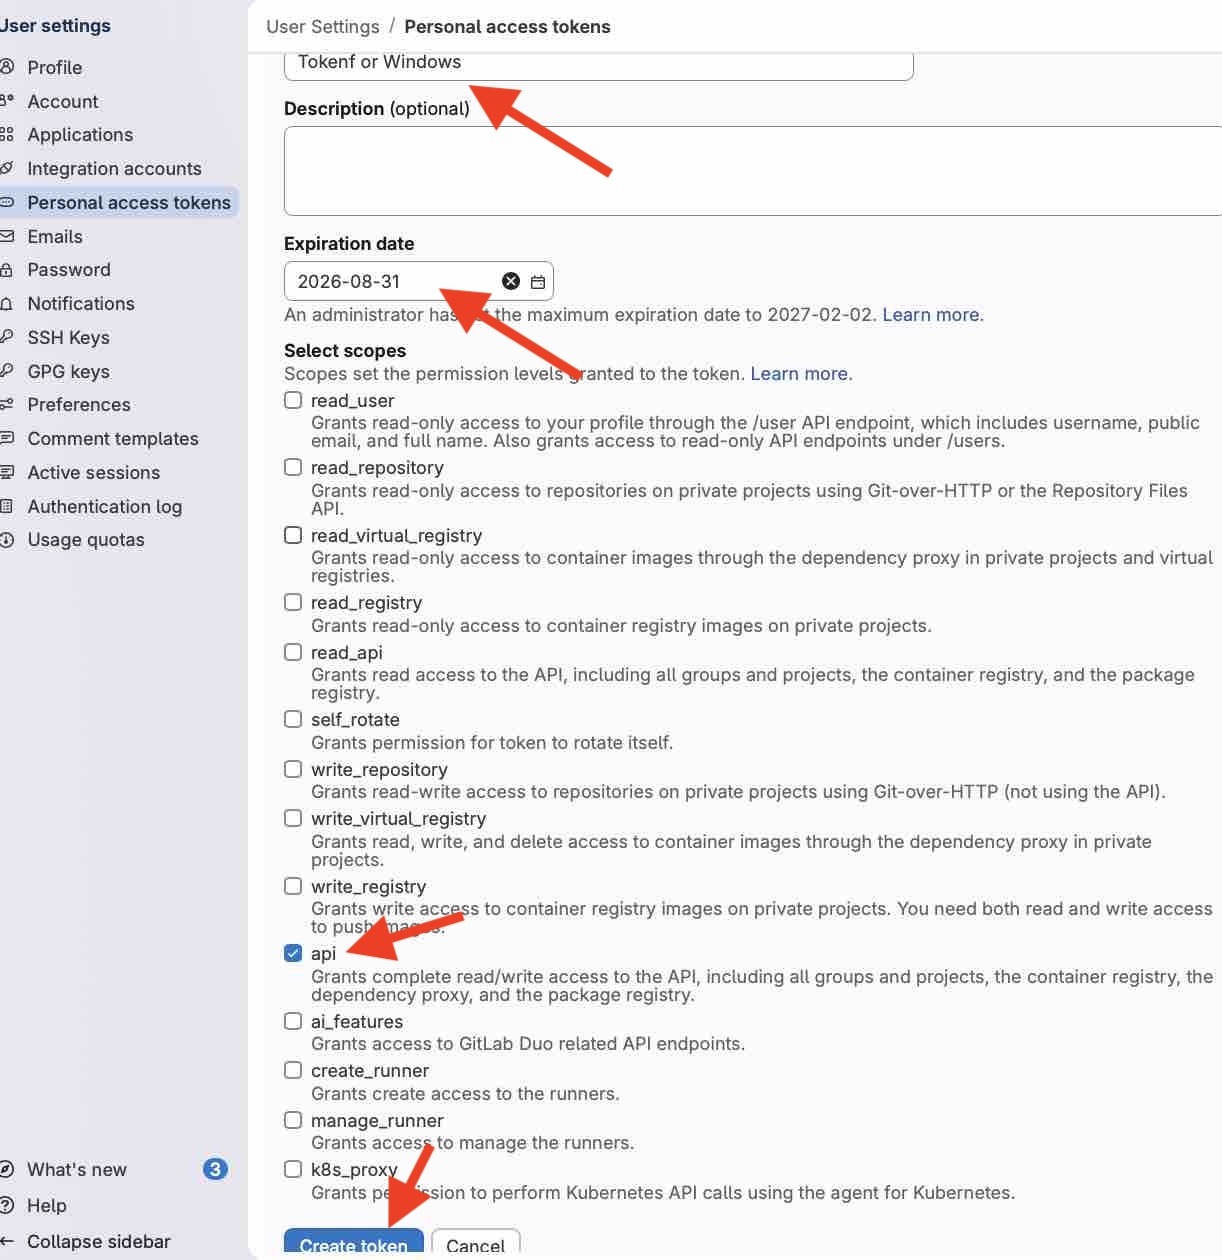
04| Token scope should be API
- Feedback: The Token Access key is valid only for one app or channel, so I had to create two to compare between two tools
- Challenge: Name the token clearly to keep track
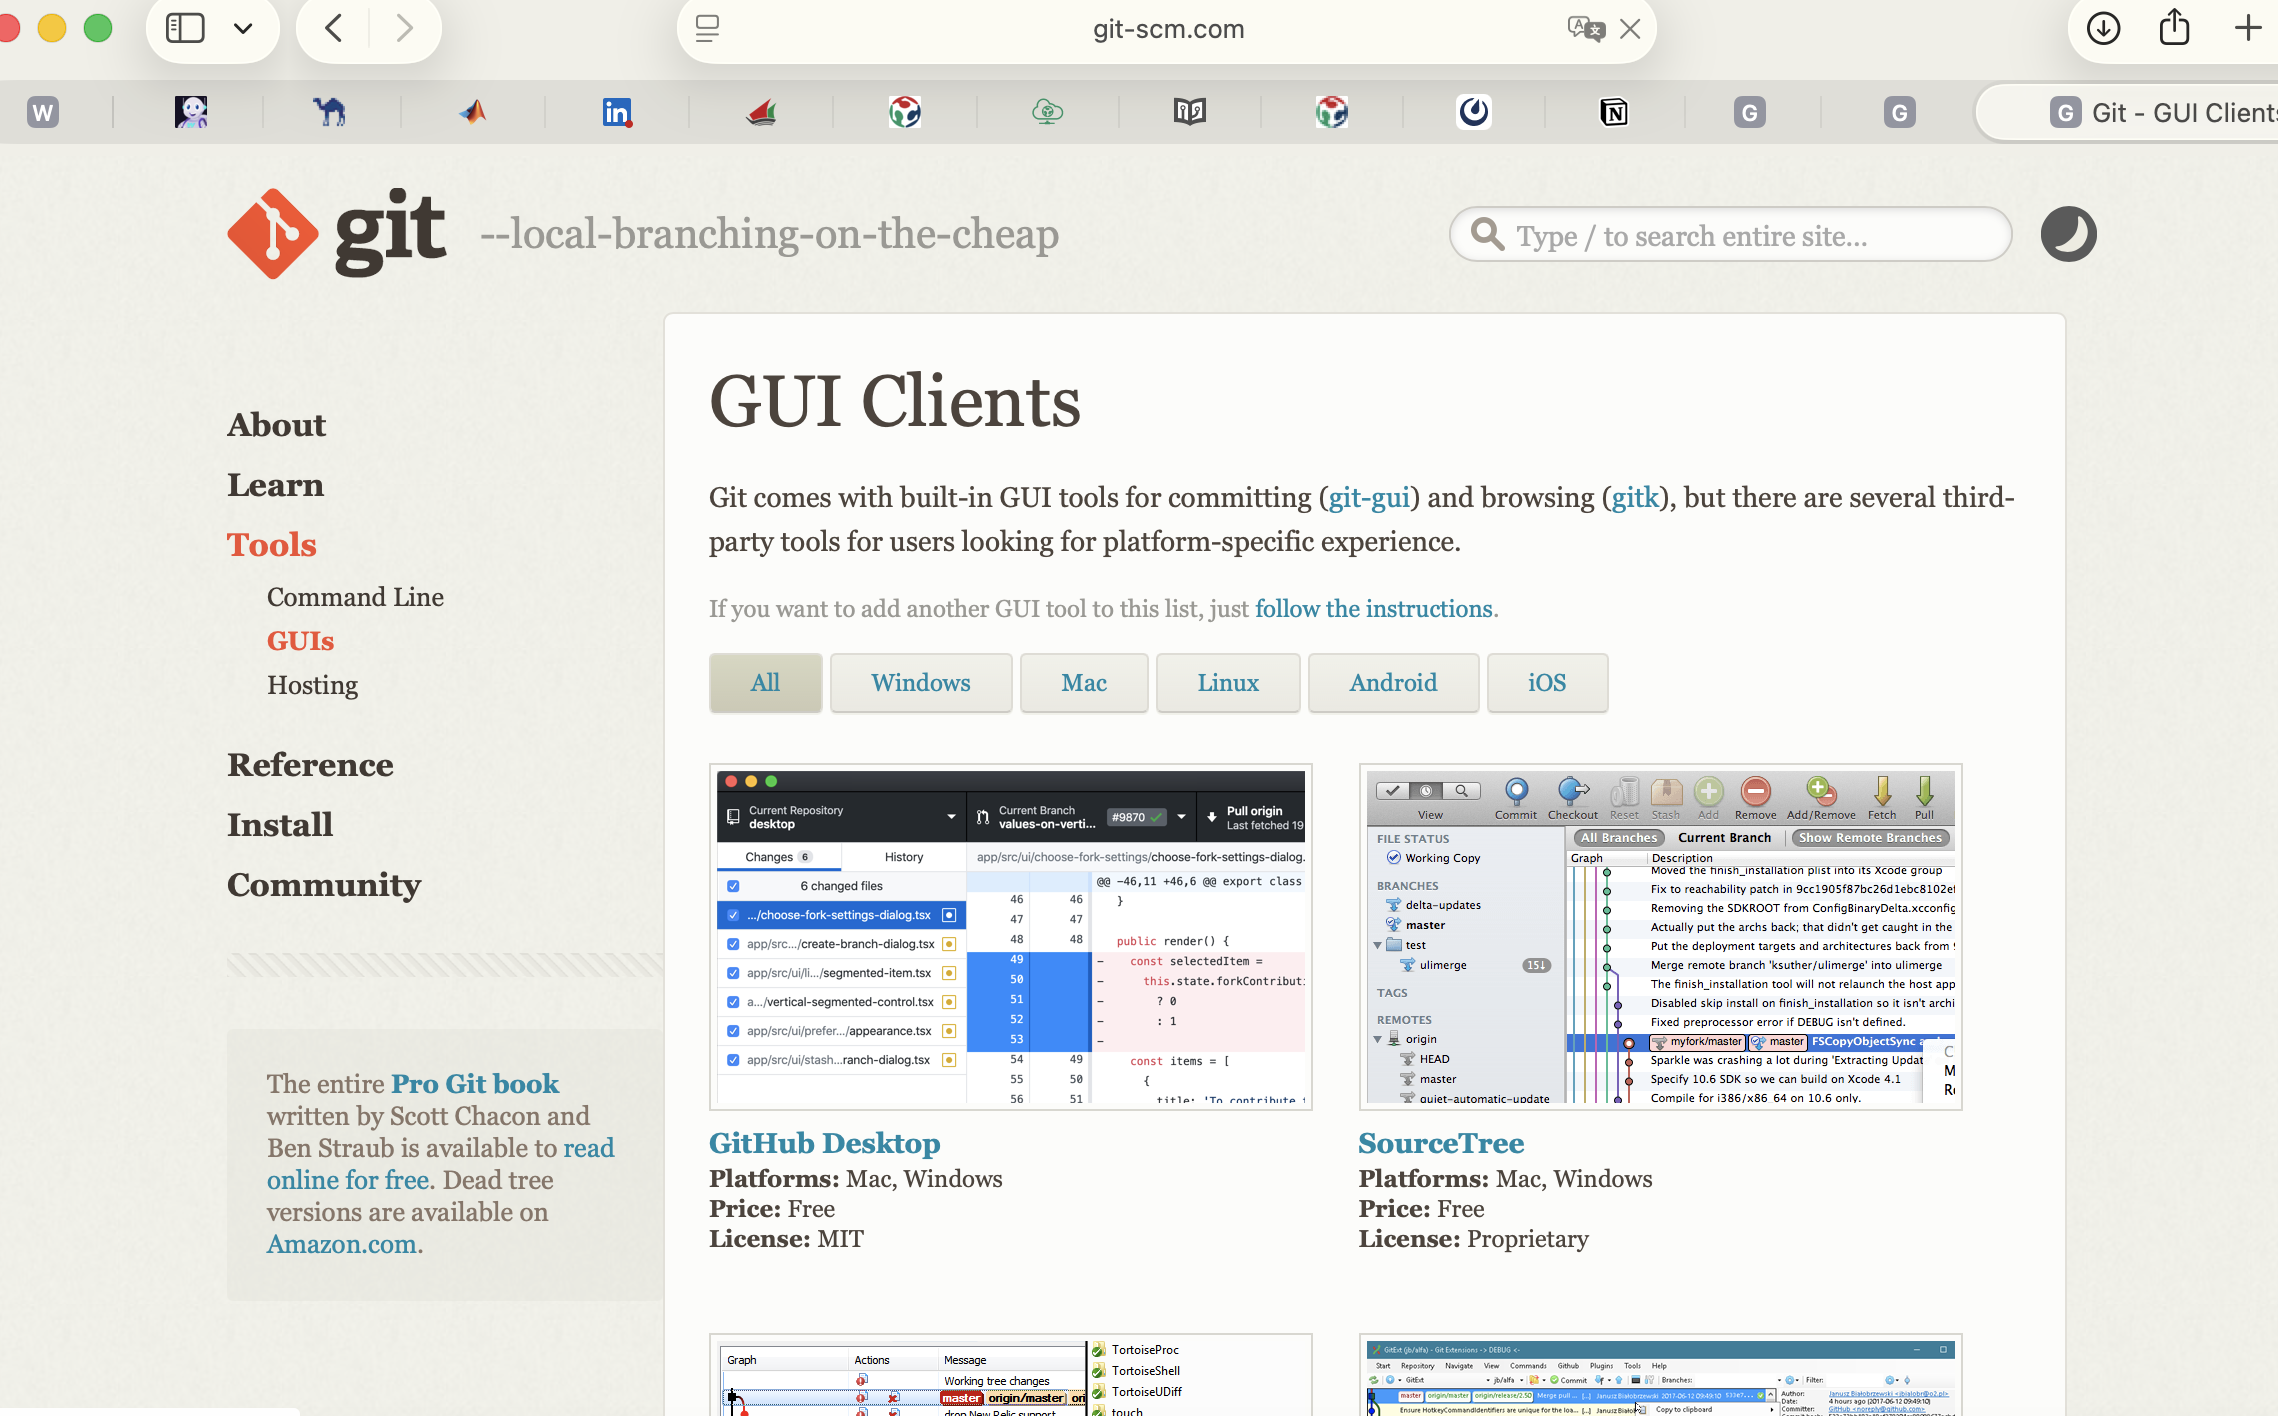
Option 02: Trying GitDesktop
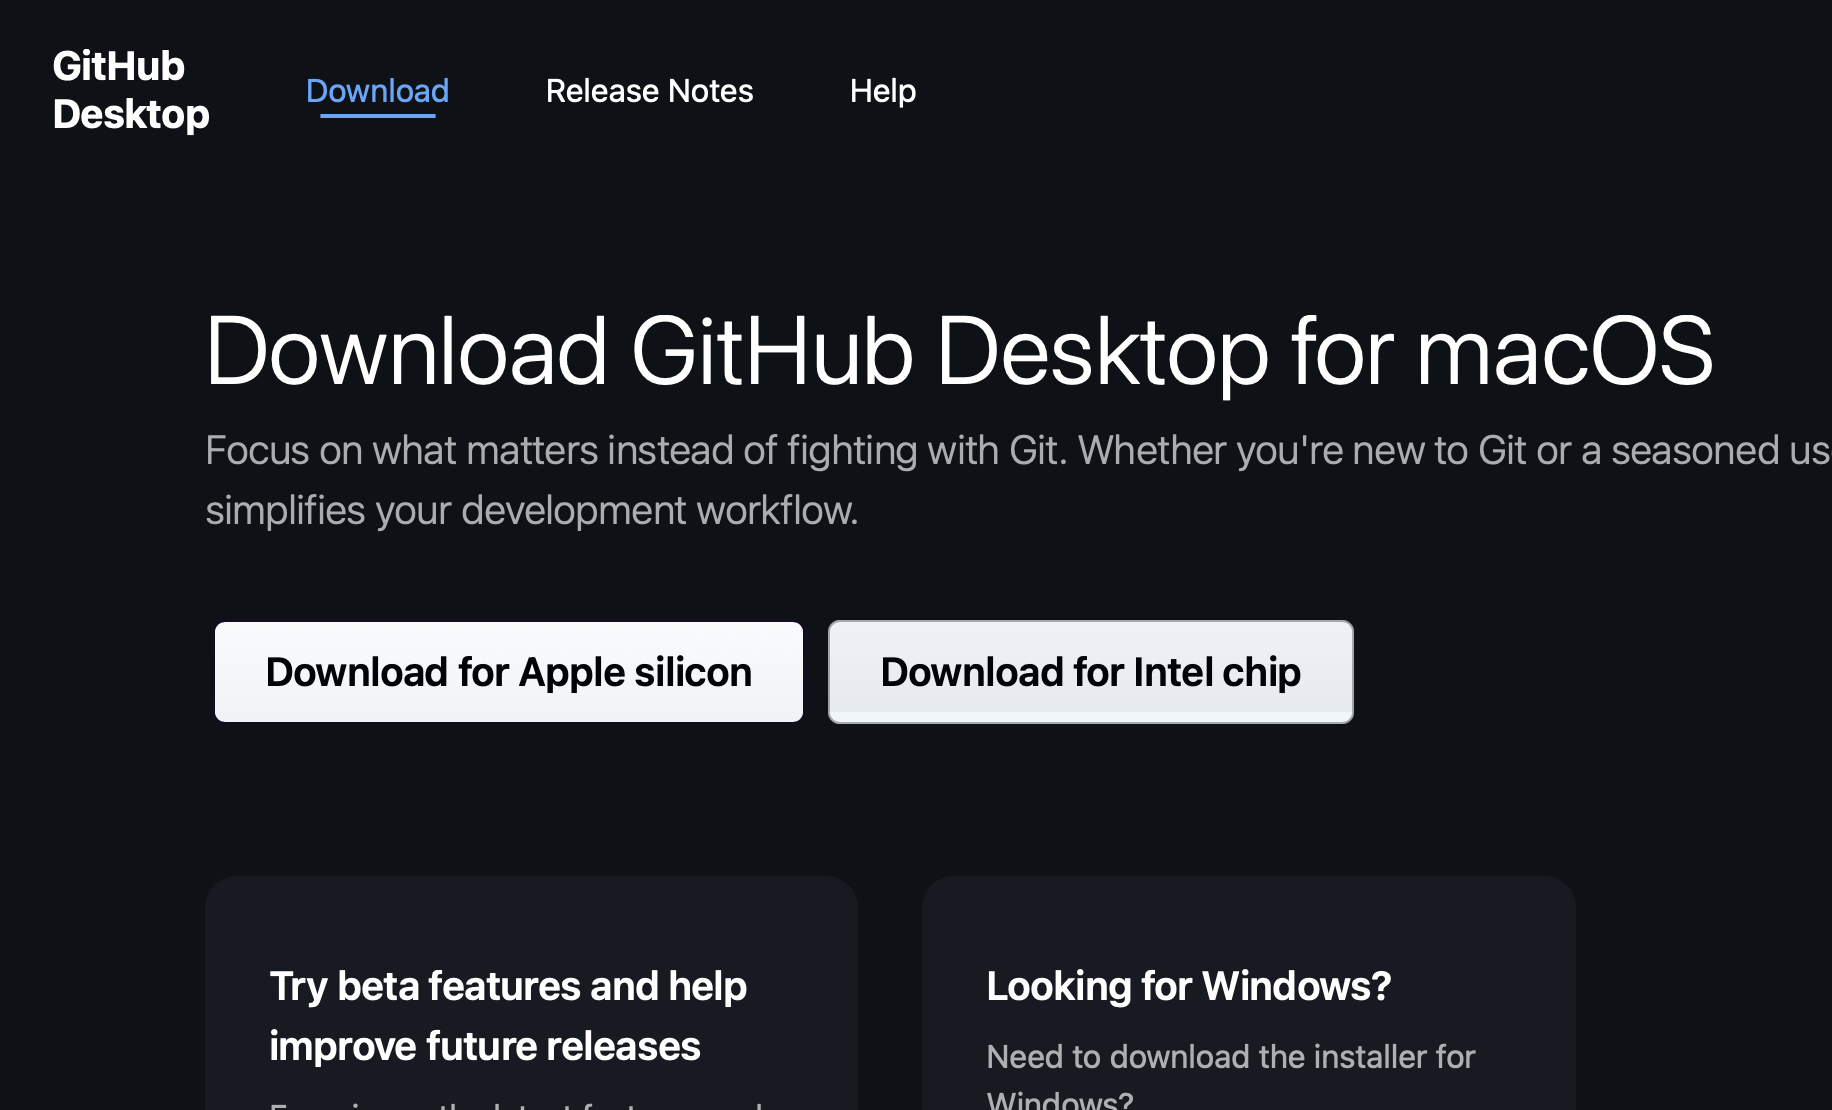
01 | Download GitHub desktop for Mac
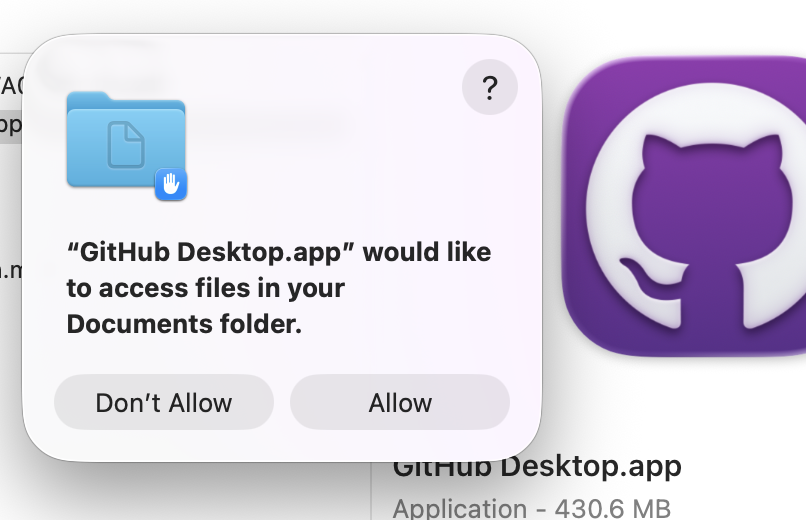
02| Installing the app

03| Adding the HTTPS link as user, selecting the local path to clone the repo, and using the Personal Access Token as the password.

04| Connected to repo and cloned successfully
- Feedback:Make sure the local folder selected to clone the repo is empty, else you will get an error
- Challenge: When editing the files and trying to comment and upload them, there were duplicated files — and that is not the way I want to keep working until June
Option 03: Trying Dreamweaver (my favorite webdev App since 2006)
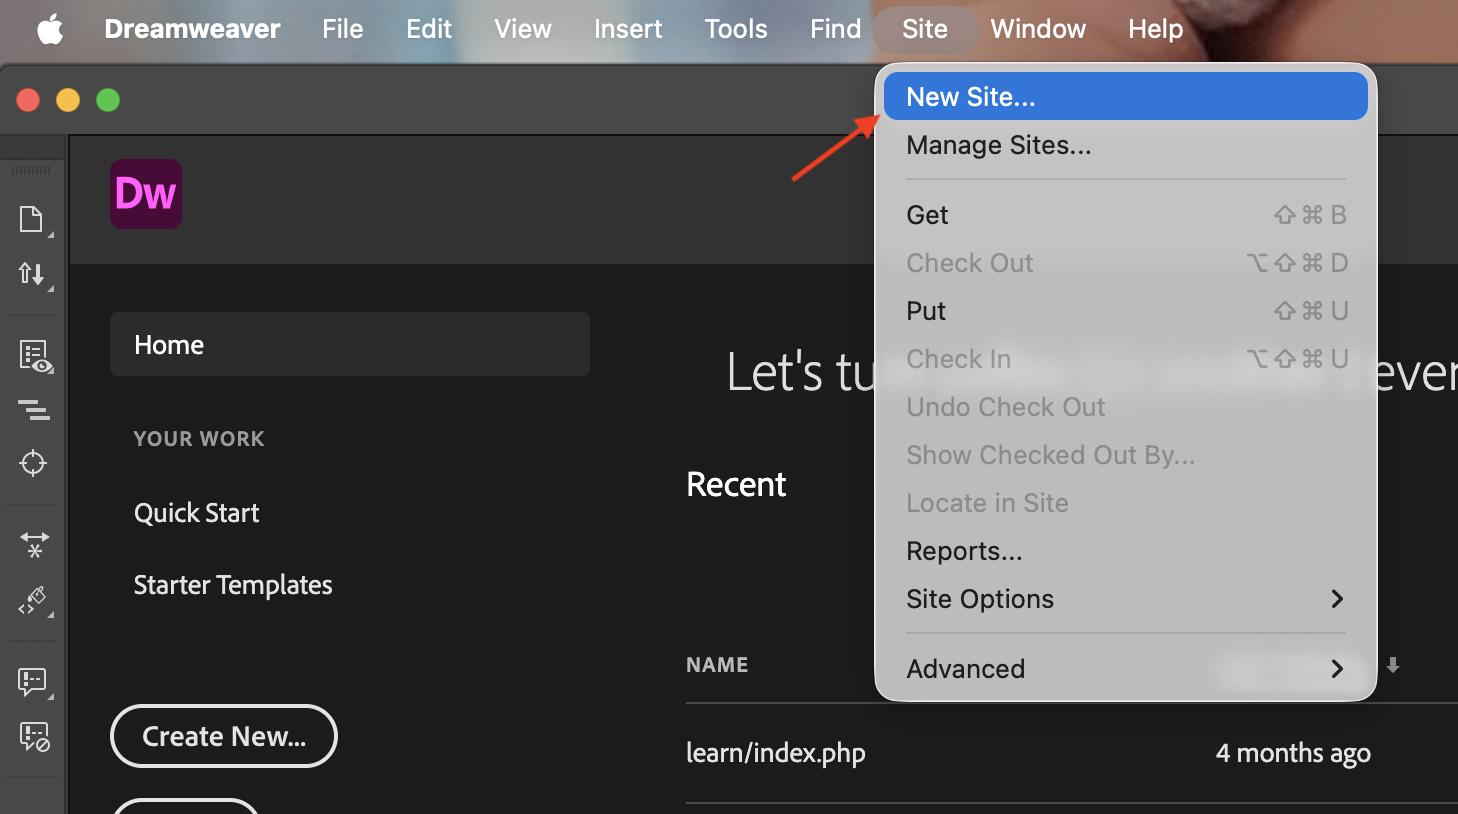
01 | Open Adobe Dreamweaver and create a new site
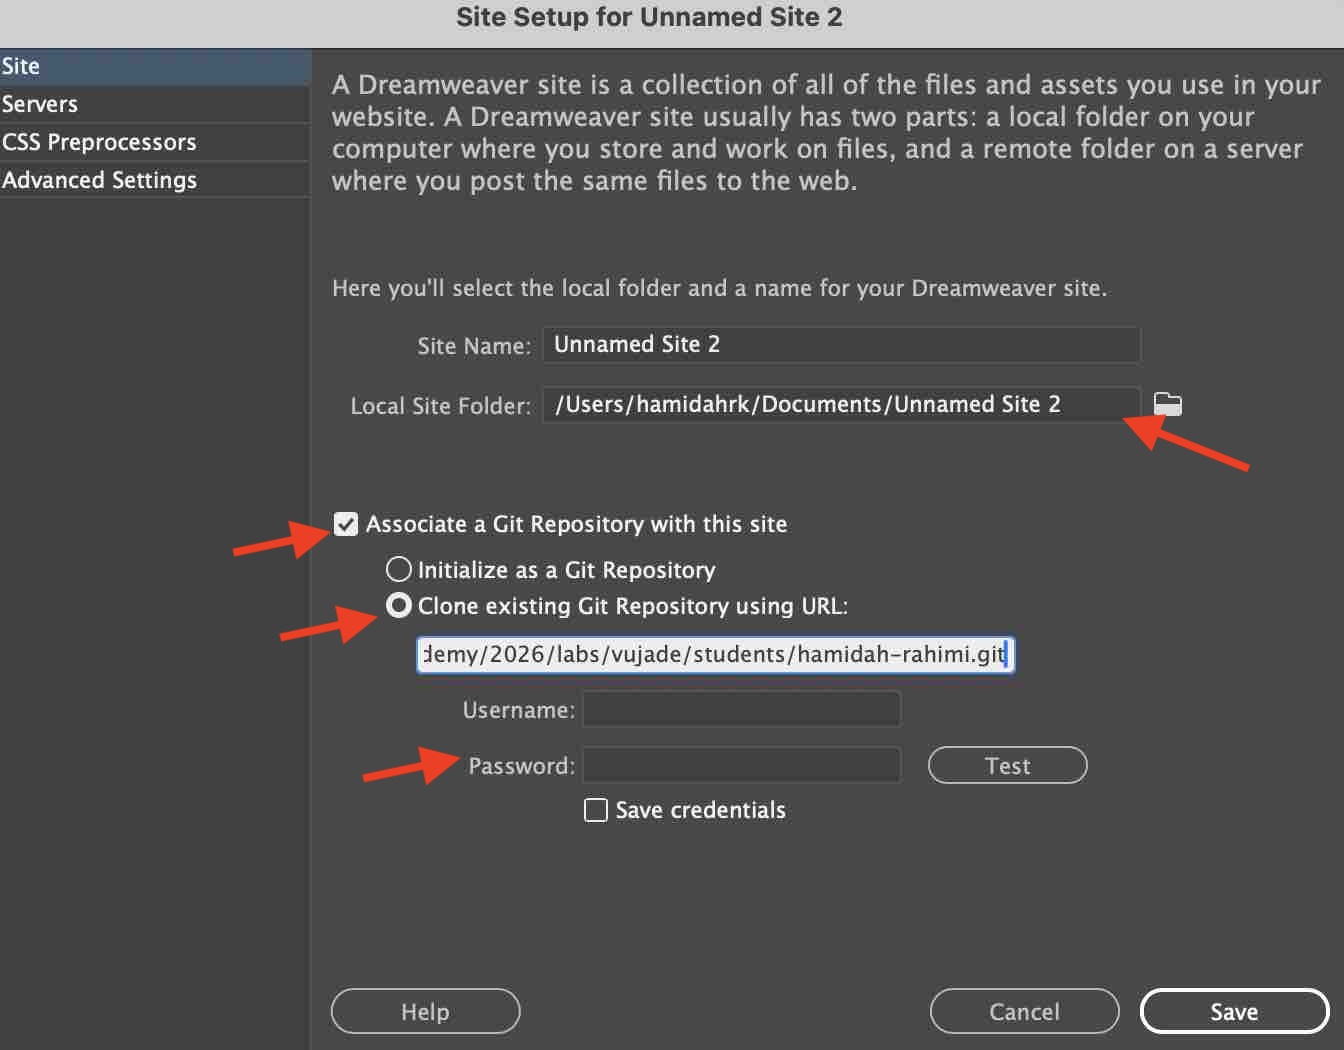
02| Connecting the site to my GitLab repository
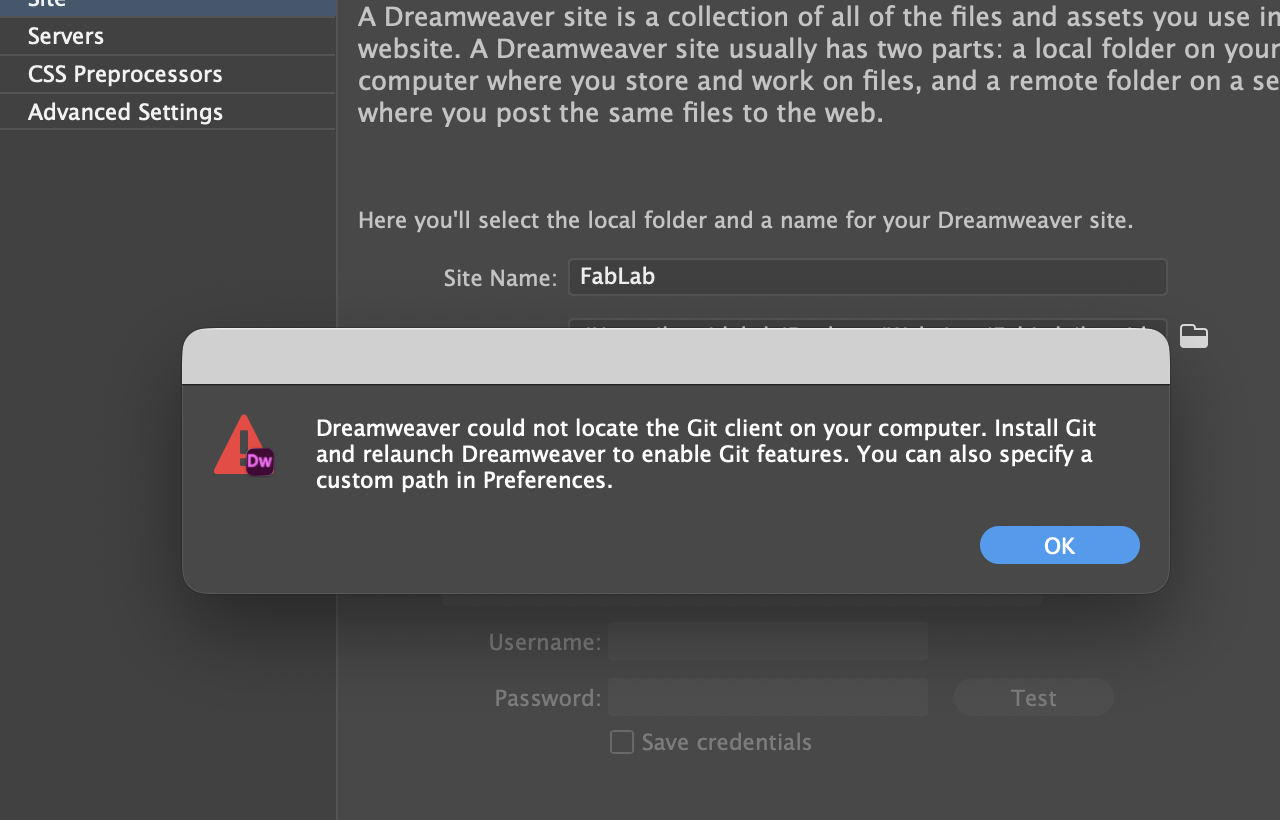
03| Git client was not installed on my Mac
04| Installing the Git client
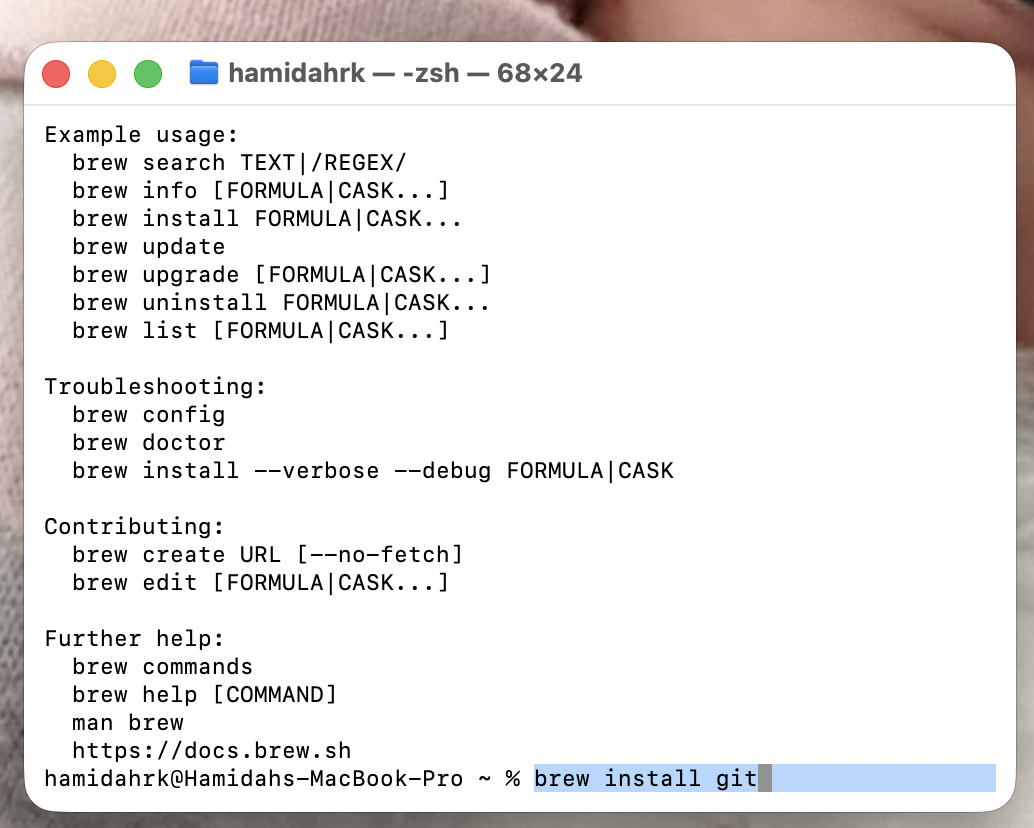
05| Running the installation with Homebrew in the Terminal
06| Try again to connect to GitLab
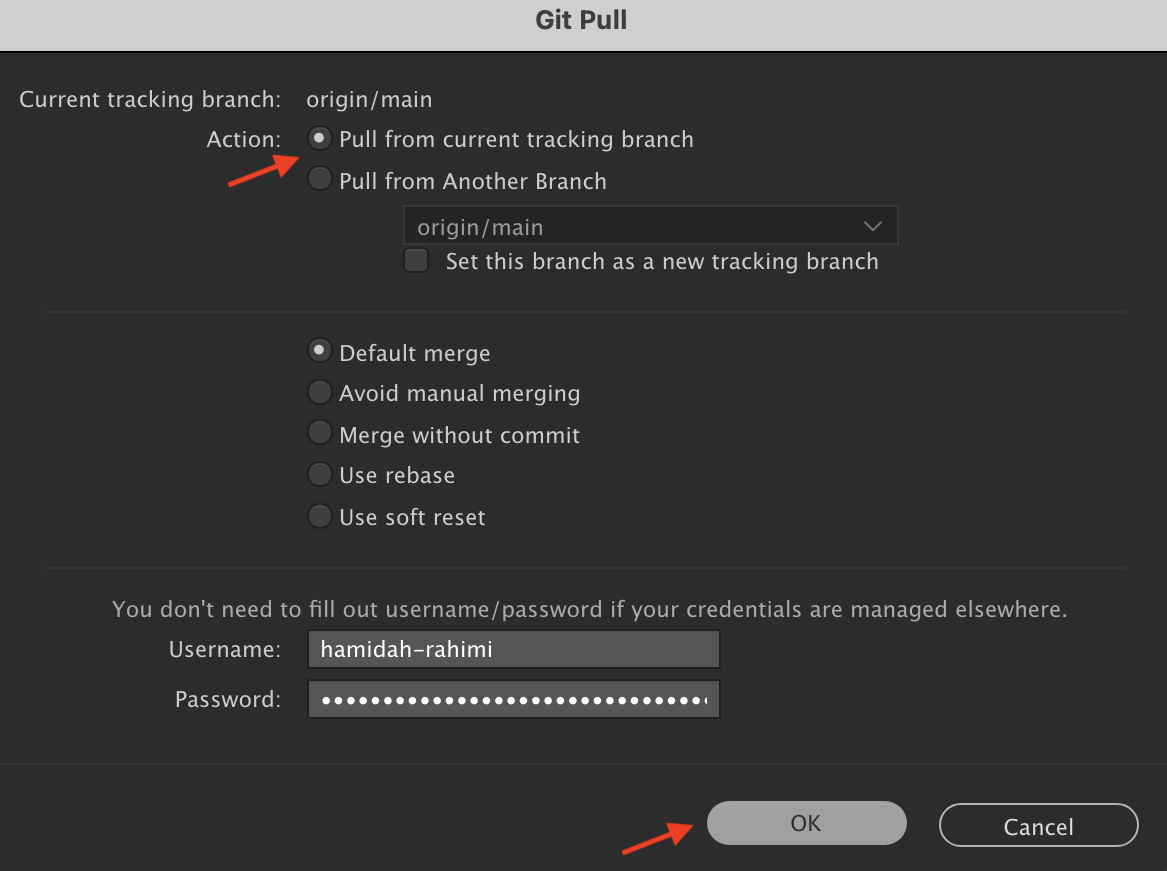
07| Start the Git Pull by adding the HTTP link, username and token to connect to my repo
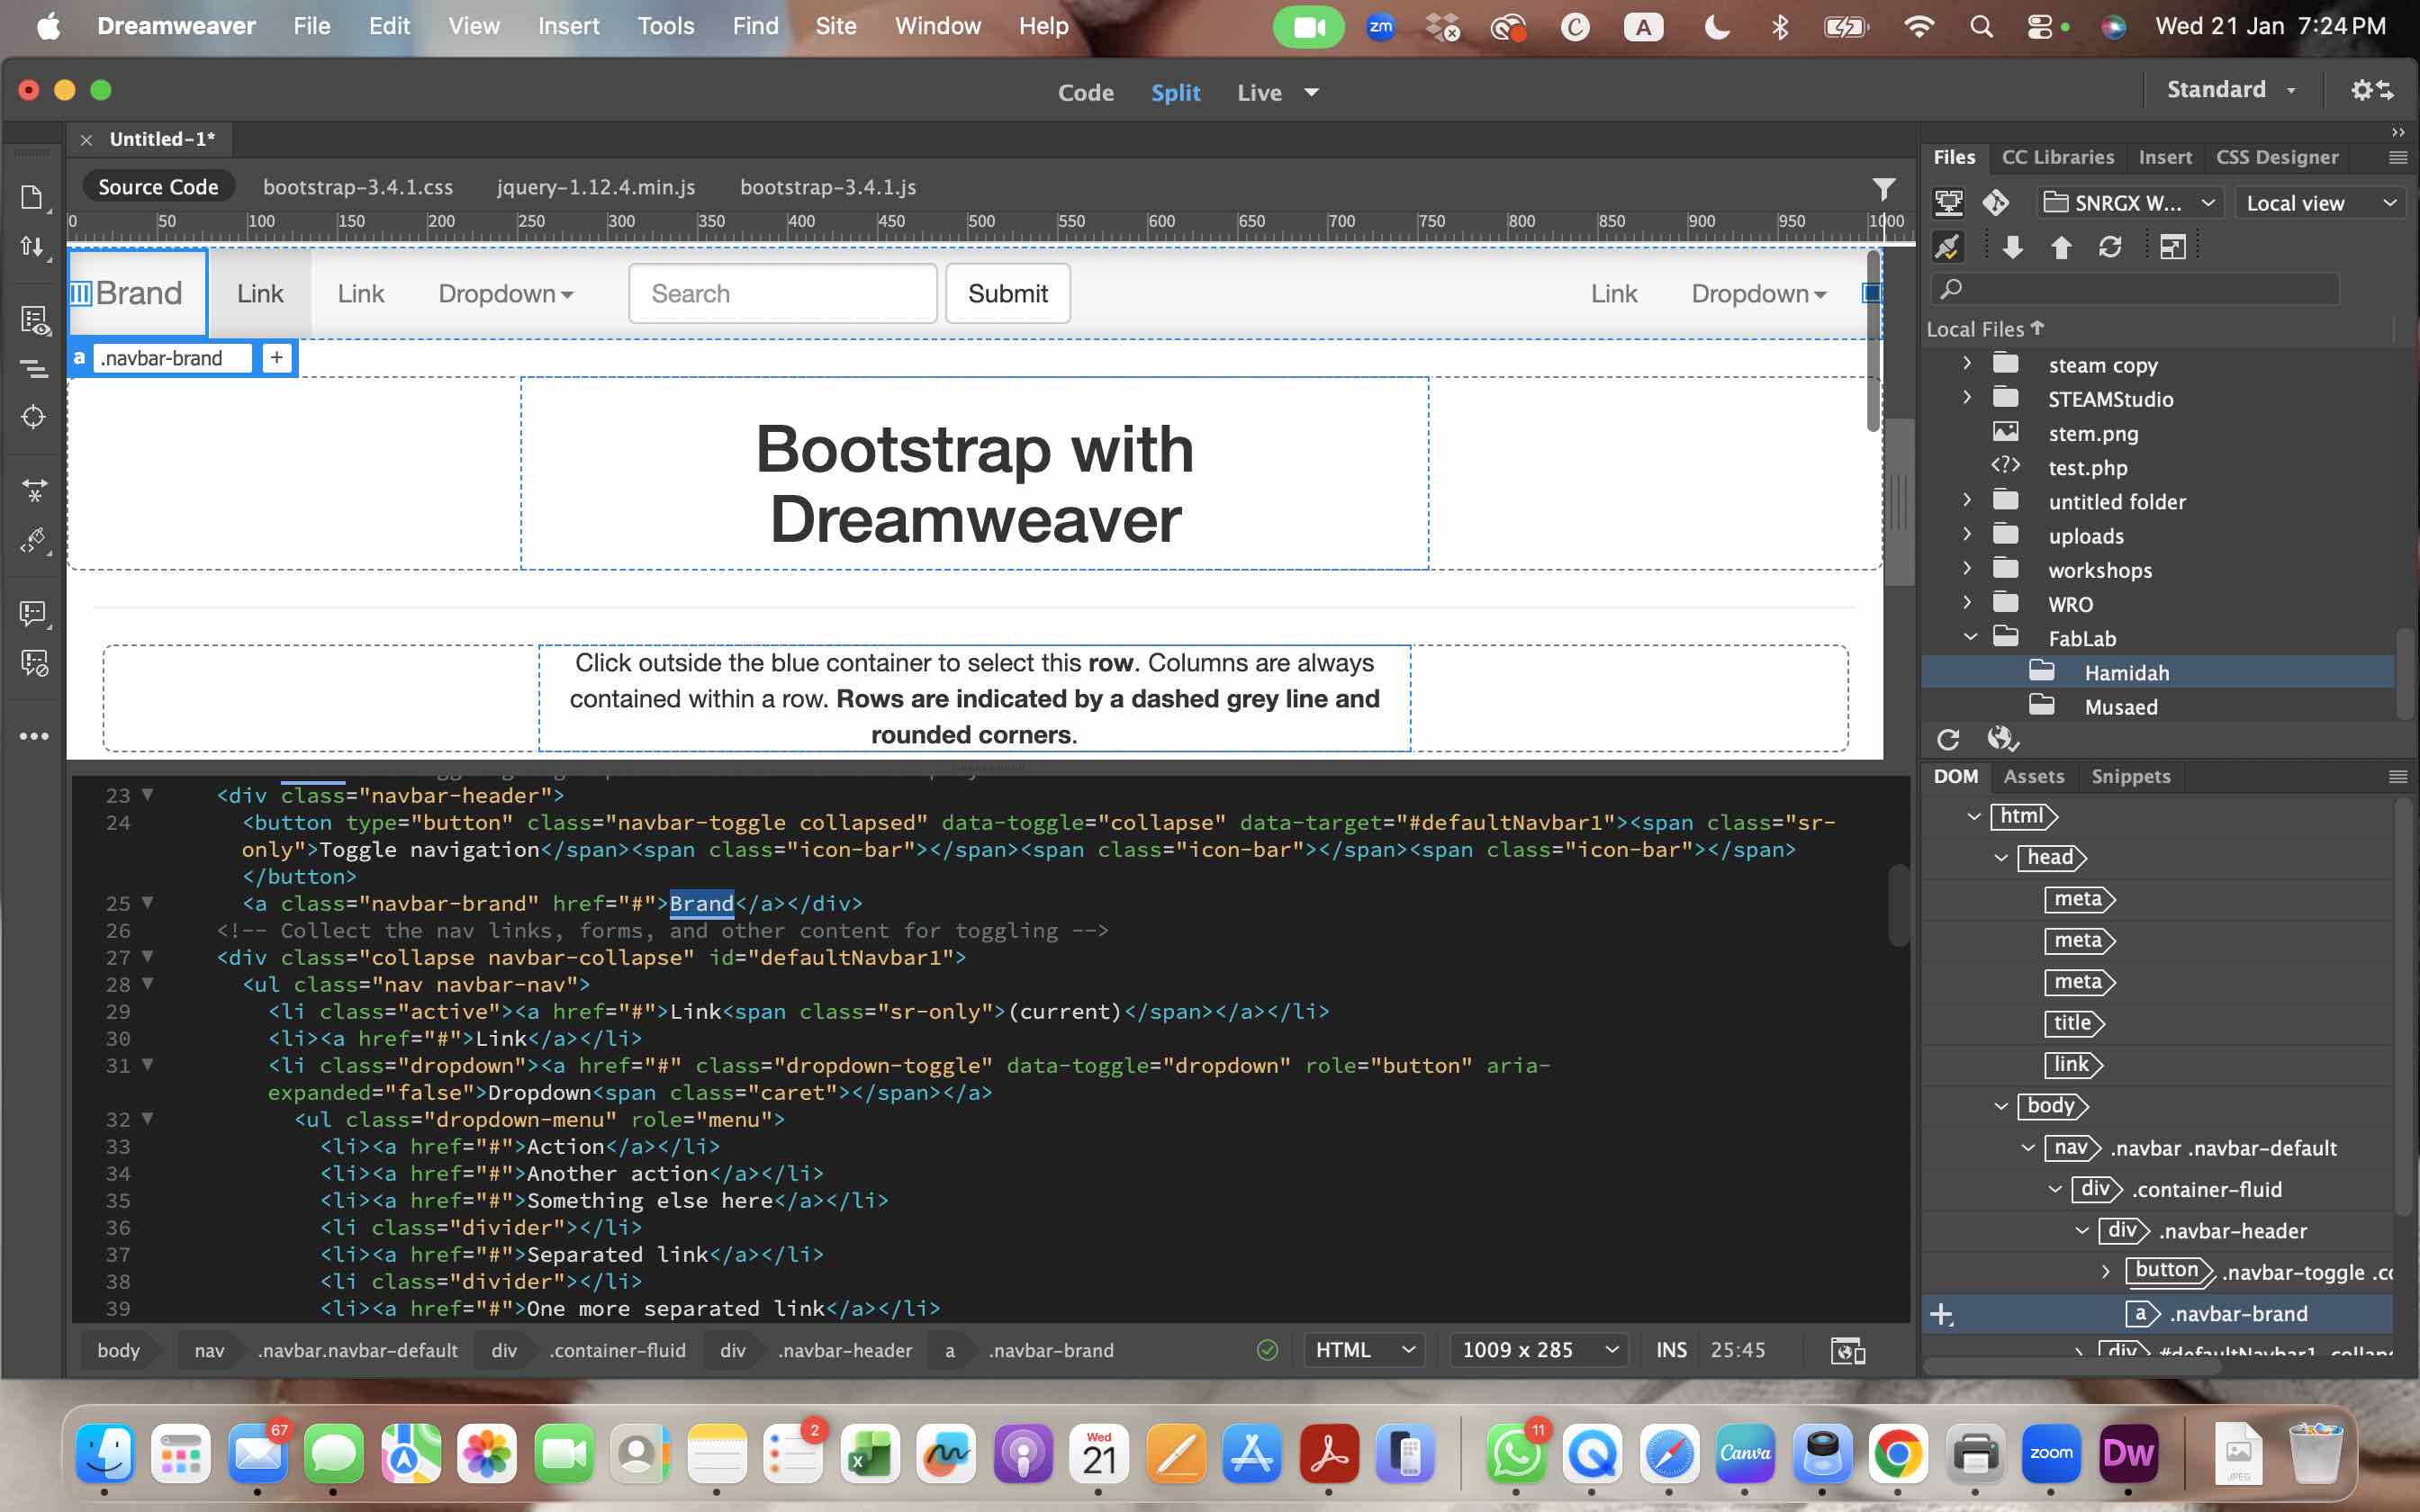
08| Creating new files and editing existing ones in the local environment
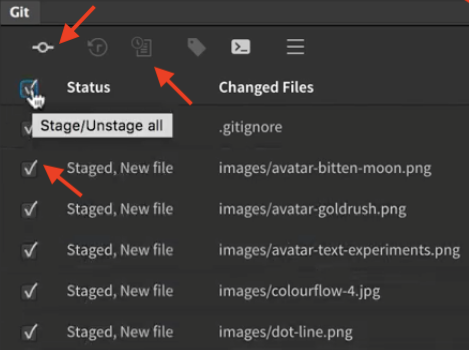
09| Selecting the files to be staged and uploaded
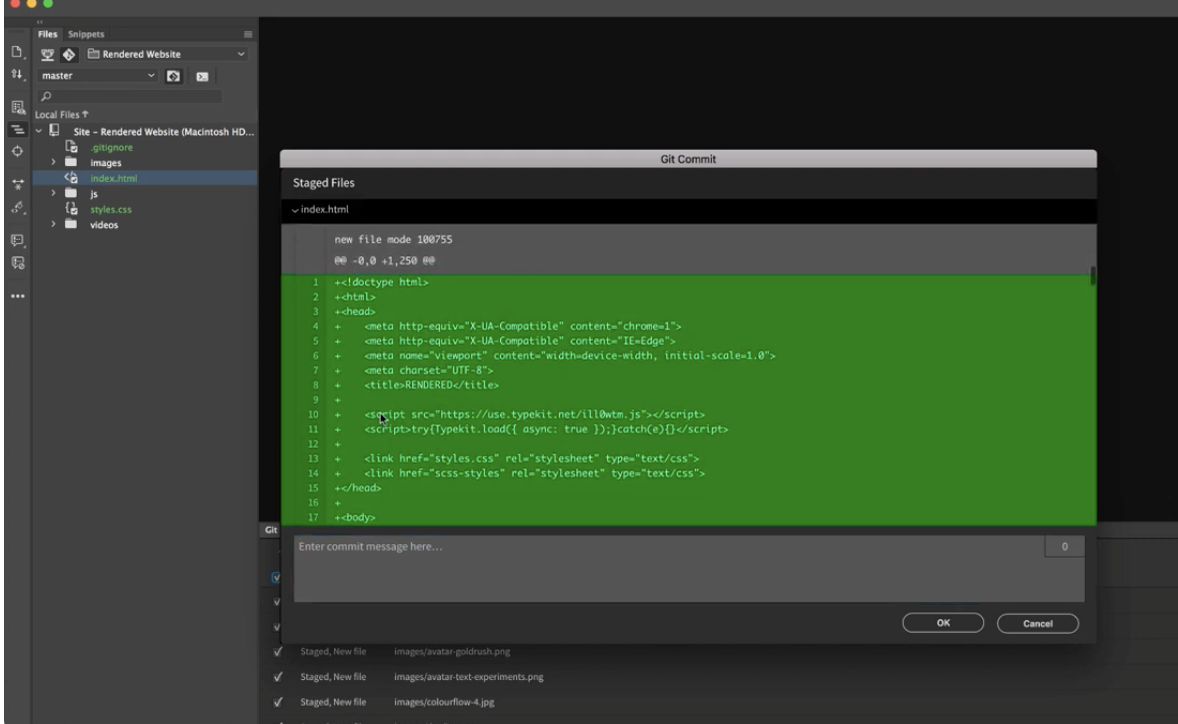
10| Staging files and adding commits
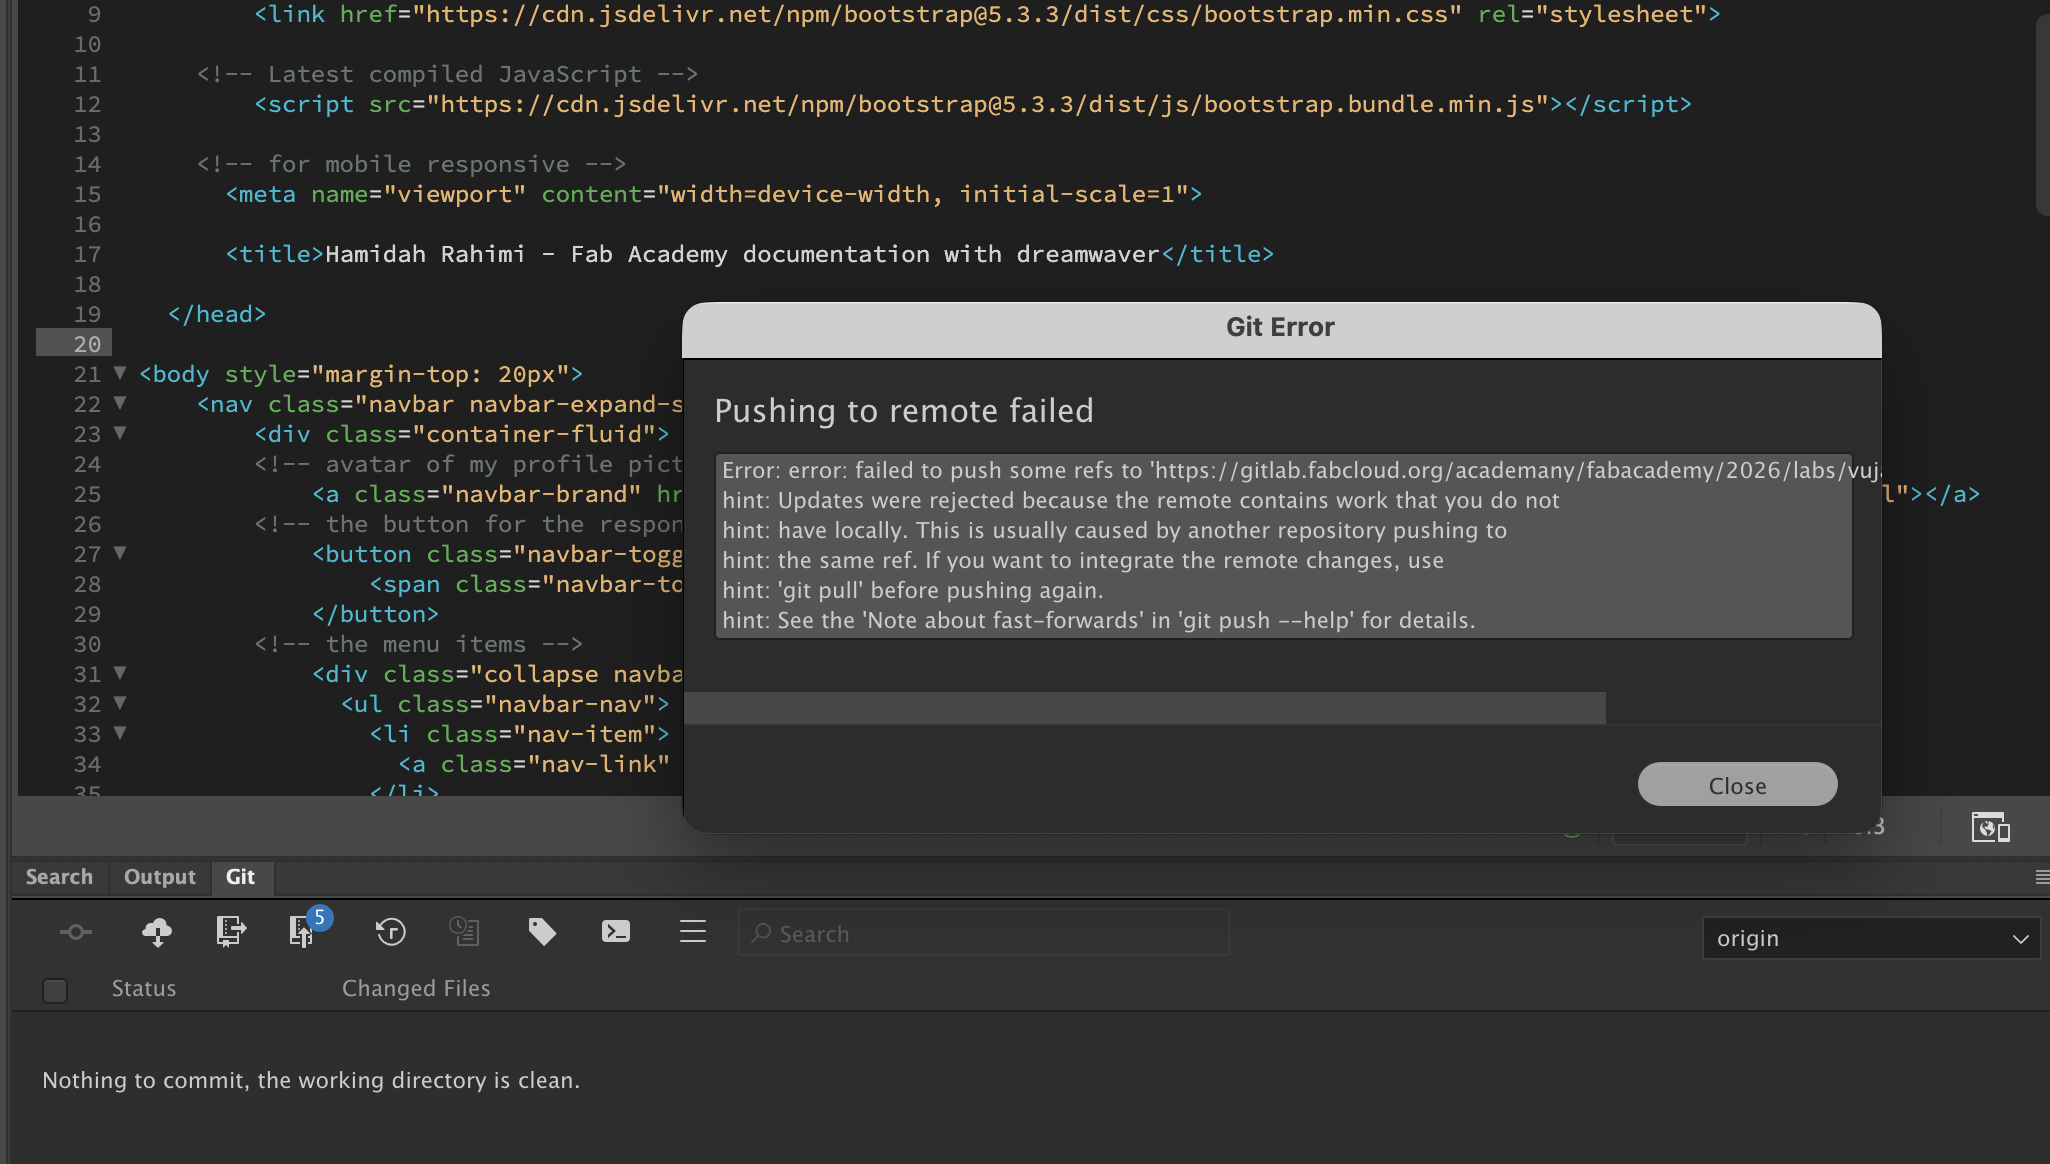
11| Push to the repo and update files
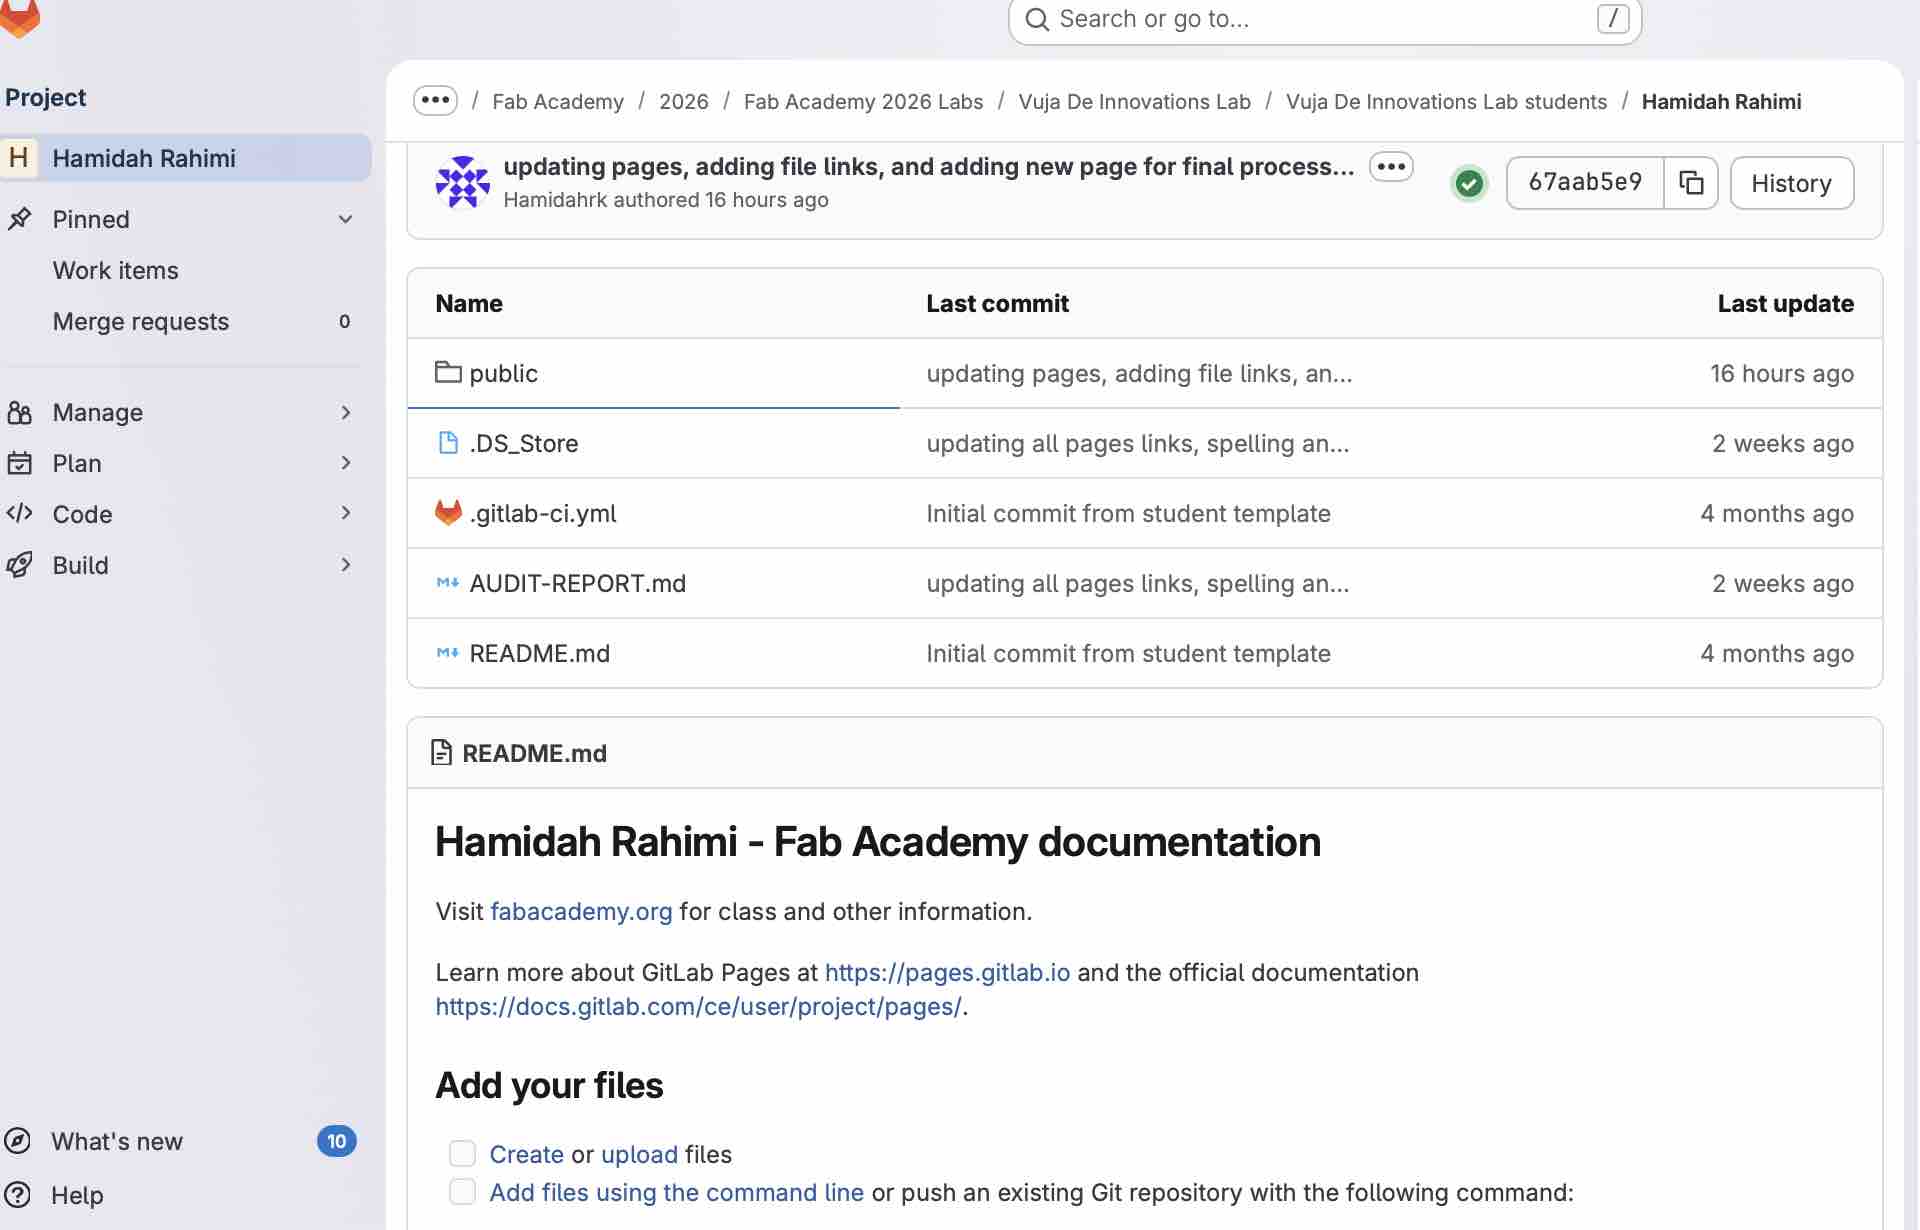
12| And all the files are available on the GitLab repo.
- Feedback: My workflow: edit locally in Dreamweaver → stage → commit with message → push to GitLab Pages. I'm really glad I was able to connect Dreamweaver to the repo. It made me feel confident about creating a website to maintain for the coming 6 months
- Challenge: Now it is all about designing the best layout once and following it for all the coming weeks and projects
Compress Images:
I wanted to find a tool that compresses images at reasonable resolution/clarity, in a size no larger than 200KB and with acceptable quality. It's important to compress folders to save time.
Option 01: My Preview
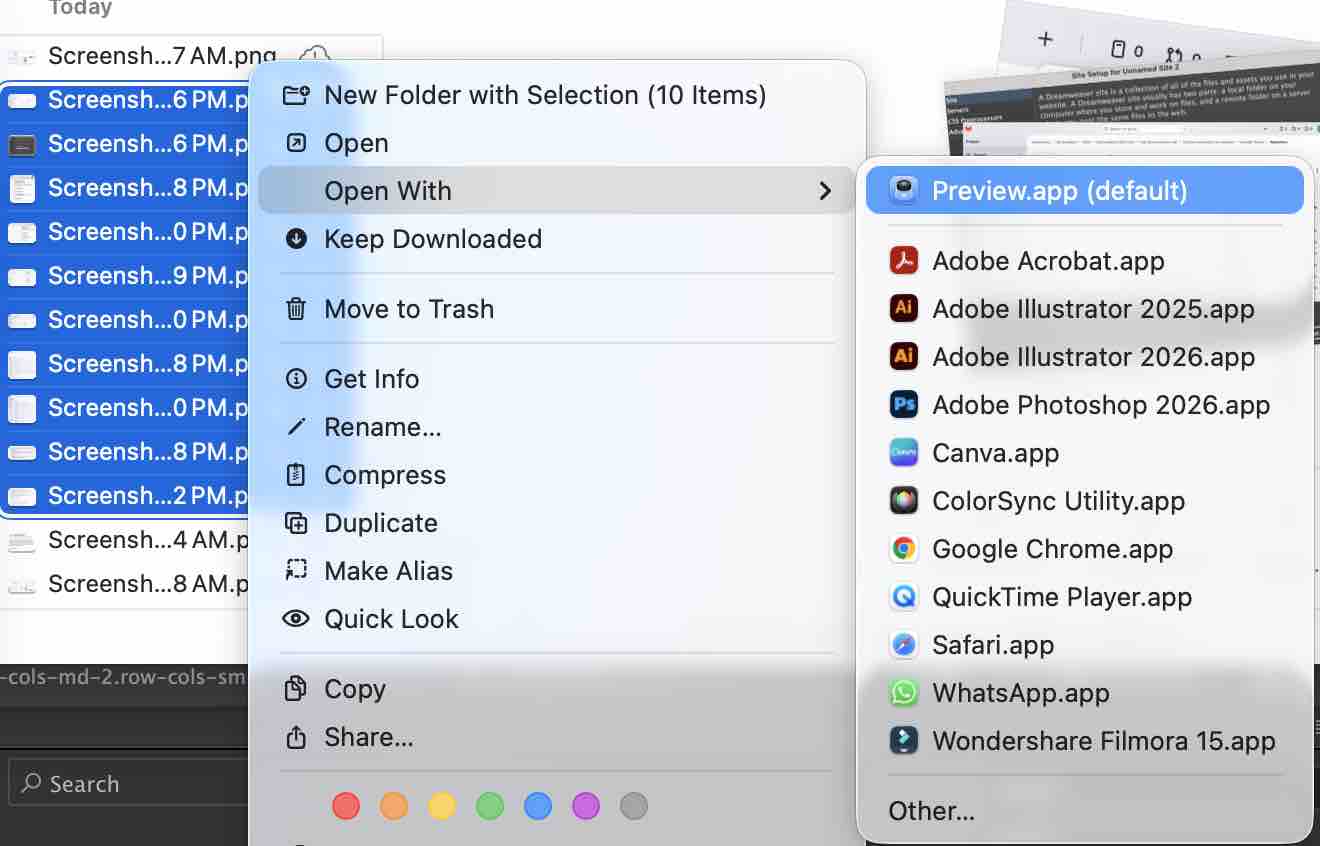
01 | Selecting the screenshot images taken in bulk
02| Right-click to open them with the Preview app on Mac
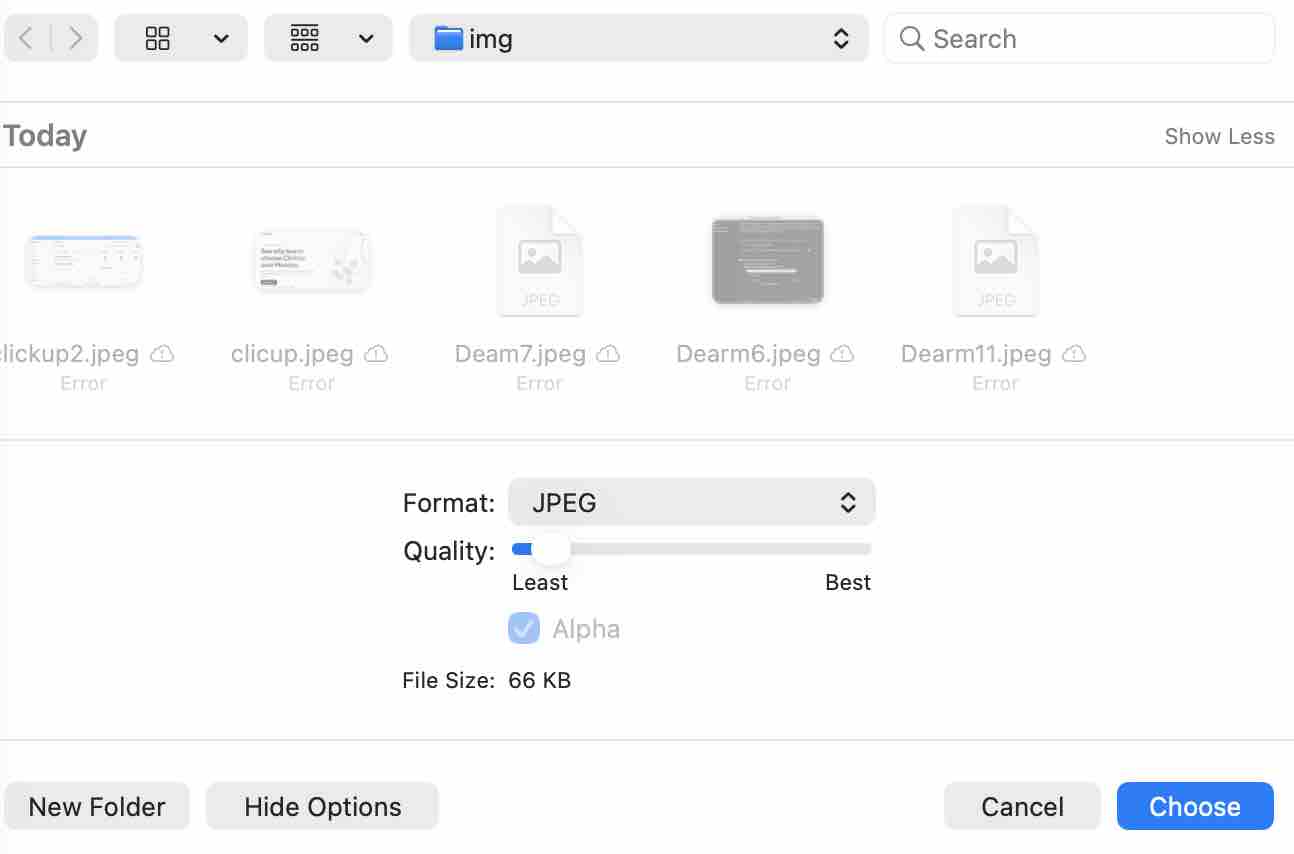
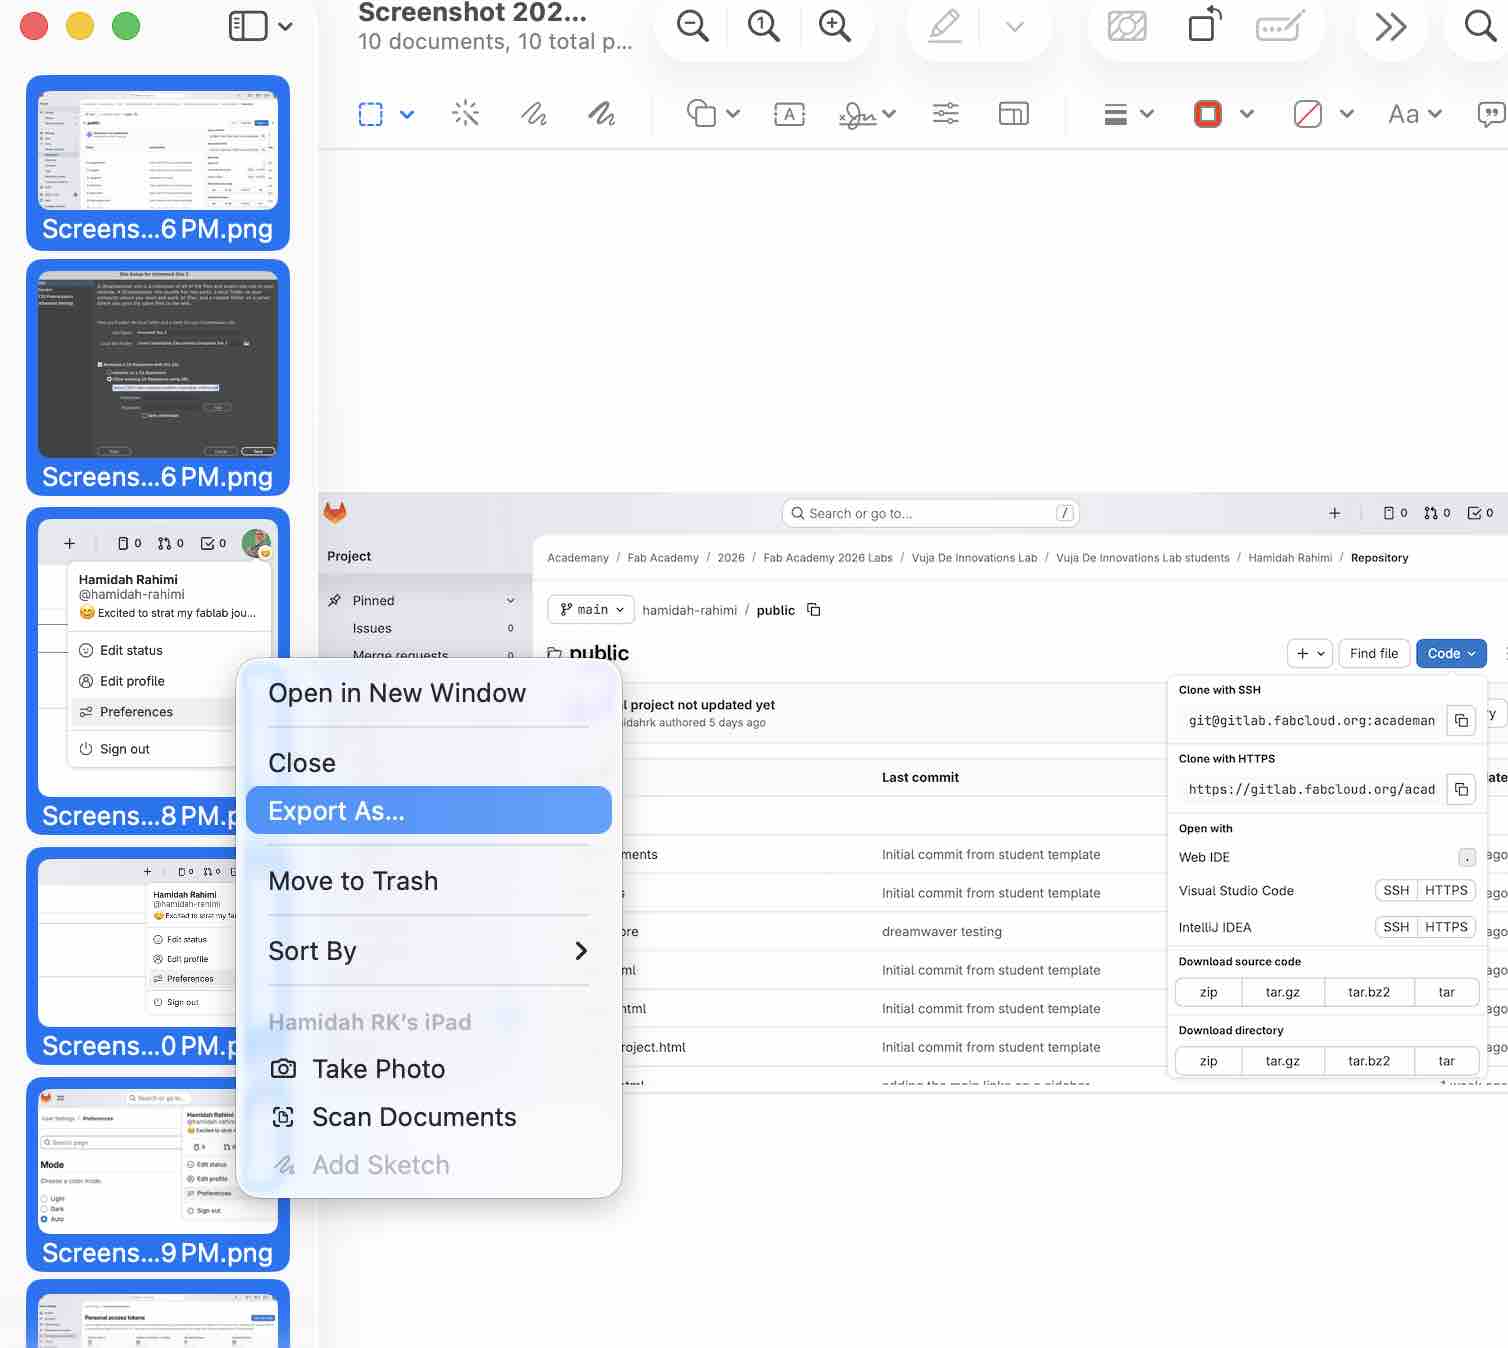
03| Export with more options to reduce file size
- Feedback: It's fast and the file sizes are reduced
- Challenge: the resolution compared to FFMPEG is much lower, but I'm still not comfortable using terminals for compressing the pictures
Option 02: FFMPEG
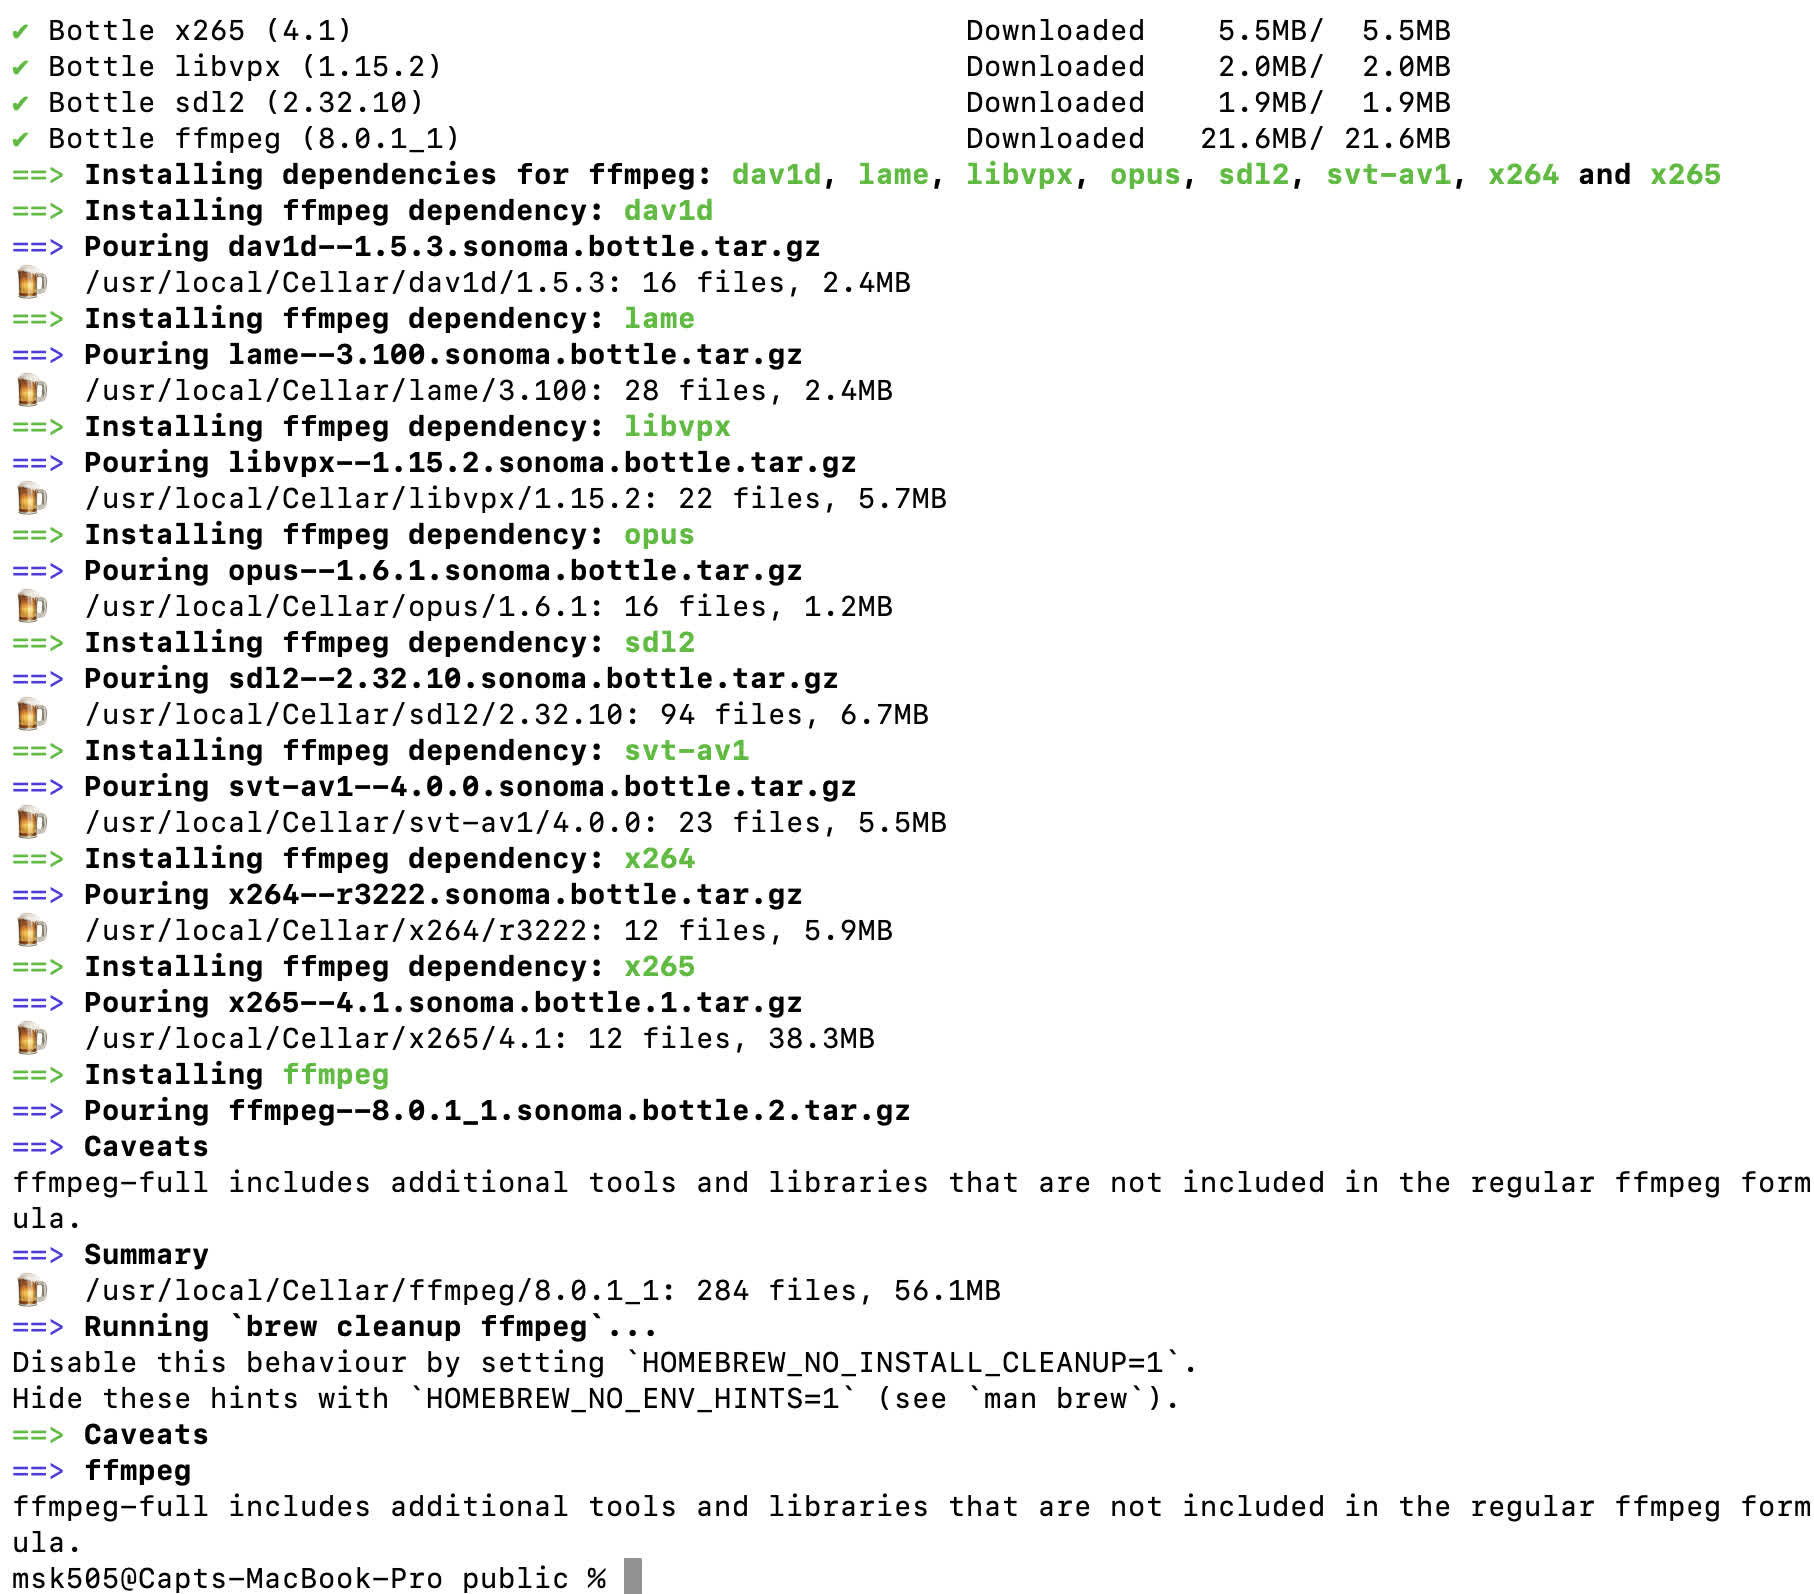
01 | Command brew install ffmpeg
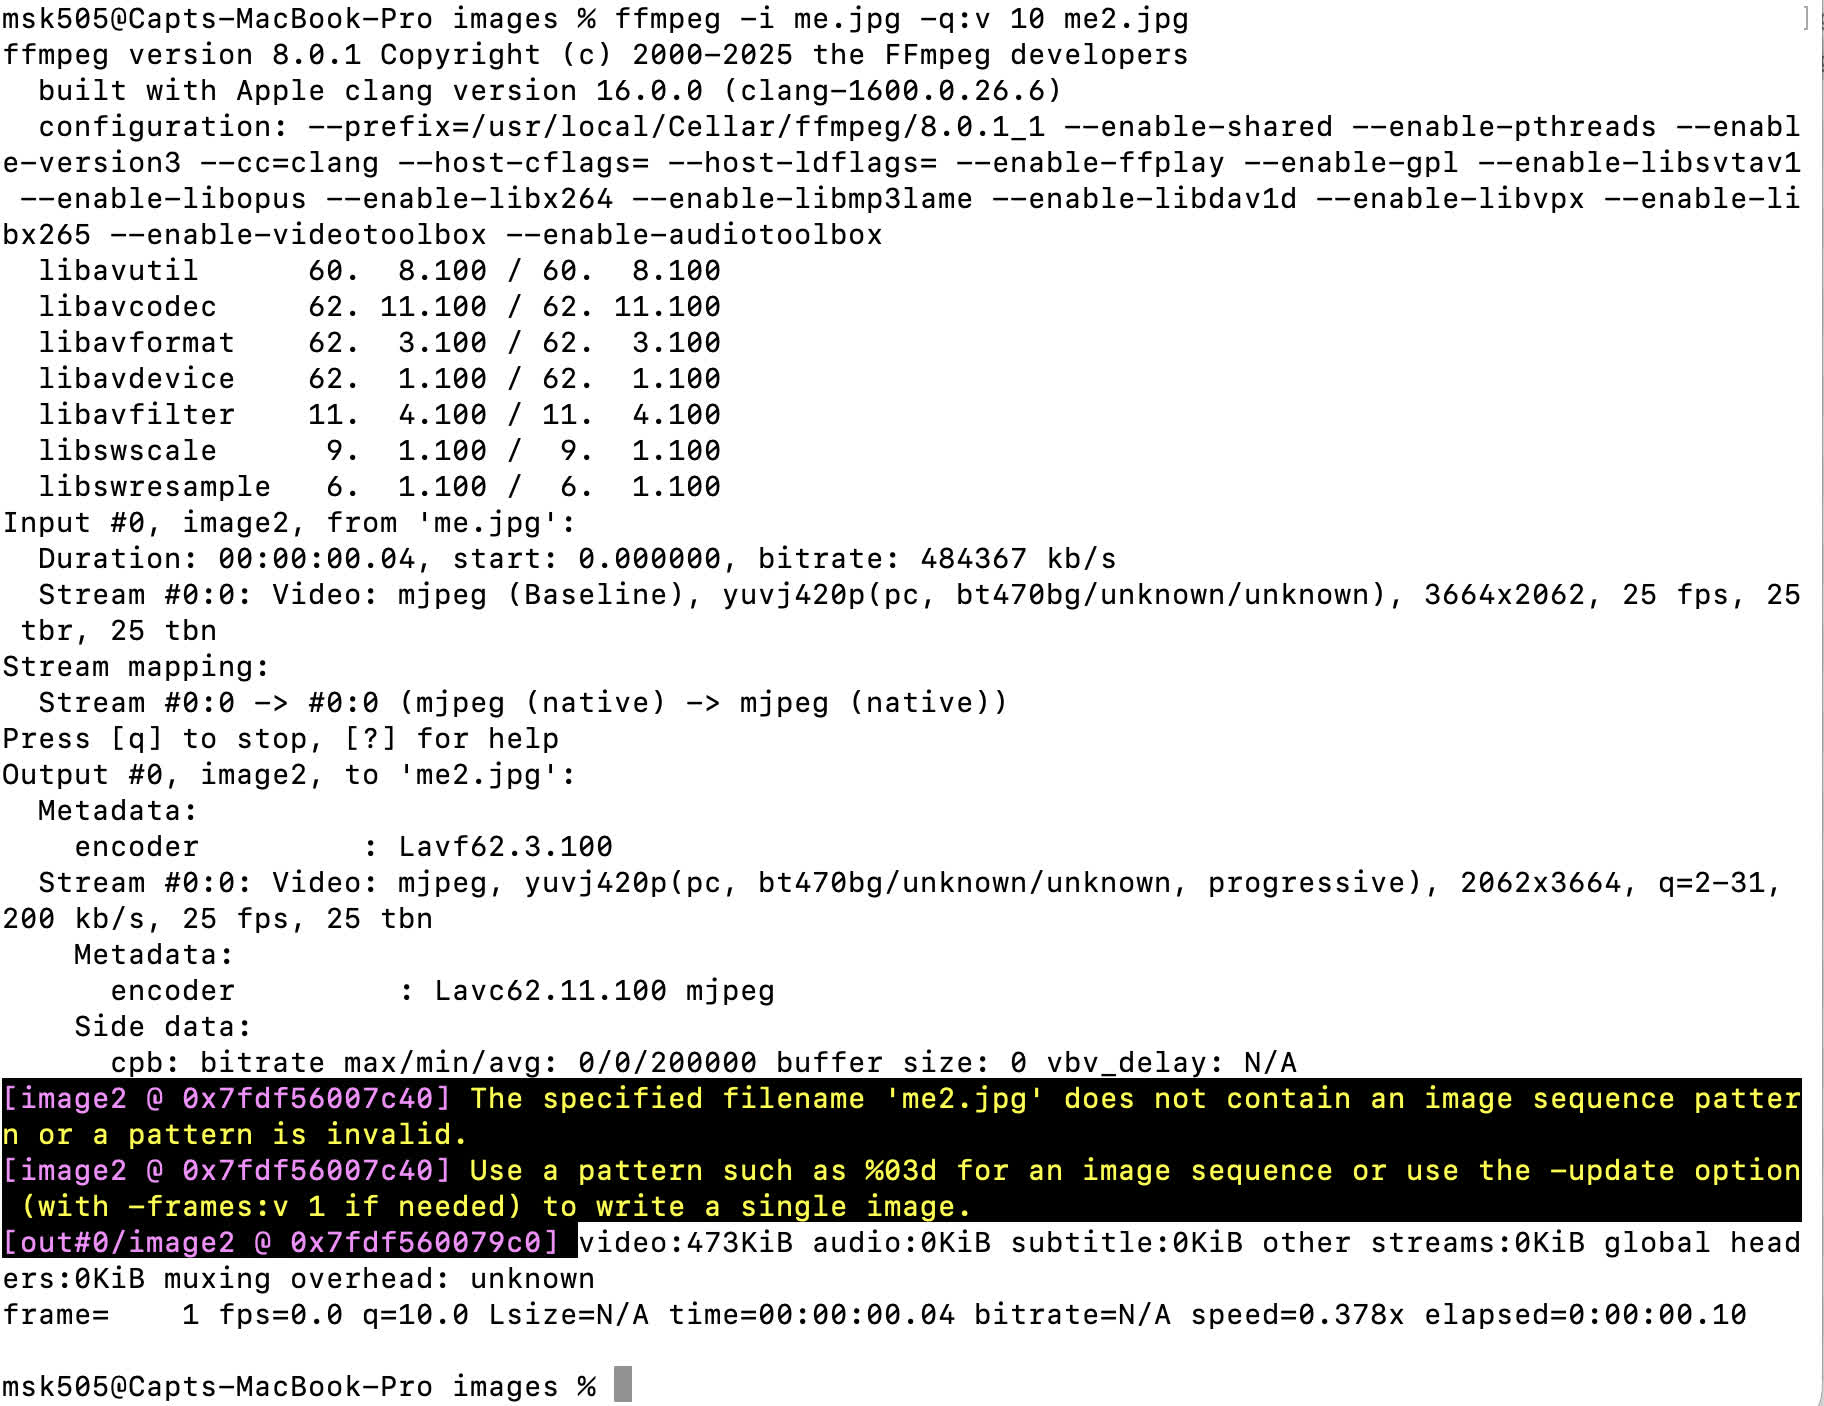
02| Compress using ffmpeg -i me.jpg -q:v 10 me2.jpg
- Feedback:Resolution is amazing, my husband and Fablab student Musaed alKout helped me in this
- Challenge:I need a tool for bulk compressing and also video compressing
Option 03: Magic
- Feedback:
- Challenge: Still looking for a Mac-friendly tool that bulk-compresses images while keeping clarity.
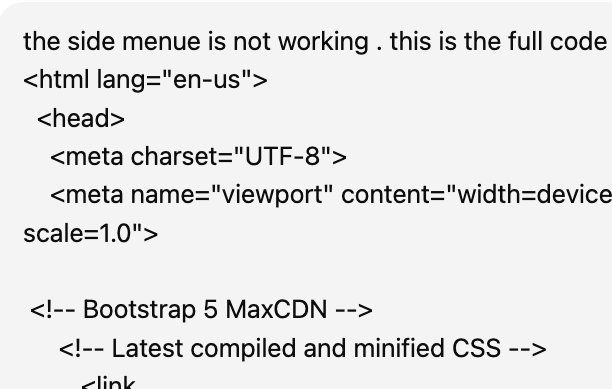
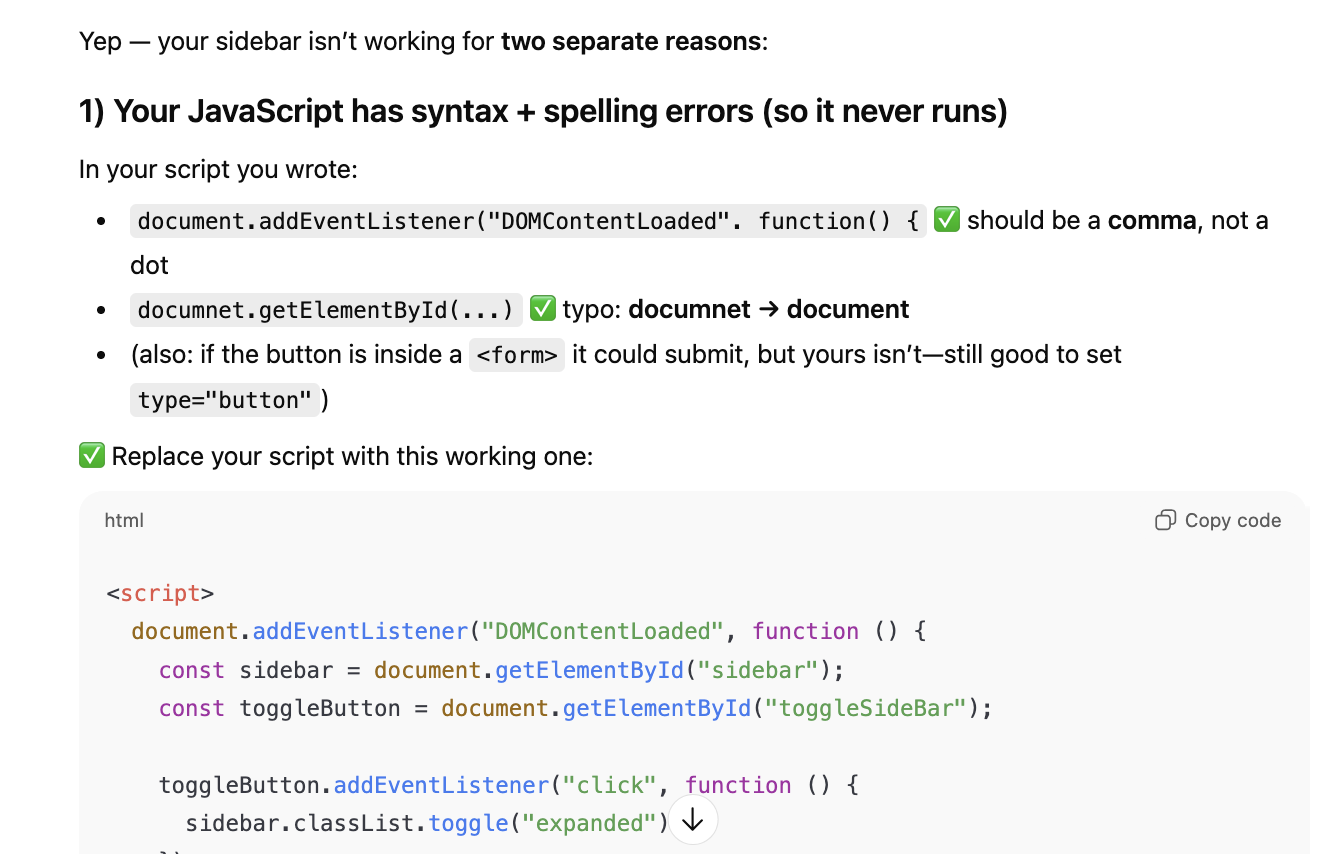
Building the website:
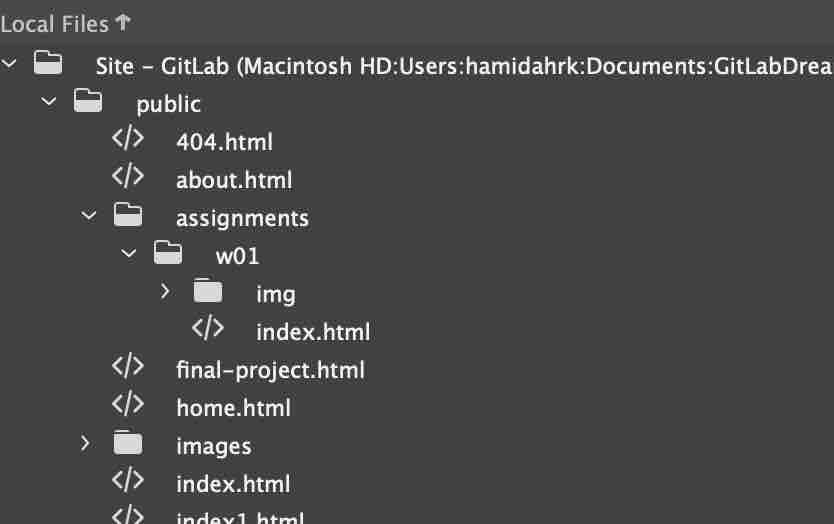
My strategy: keep the main navigation bar on the left of the index page and load every other page into an iframe on the right. I also built a template that I can reuse for every assignment. Each assignment lives in its own folder with an index.html and an img/ folder.
Option 01: HTML Bootstrap
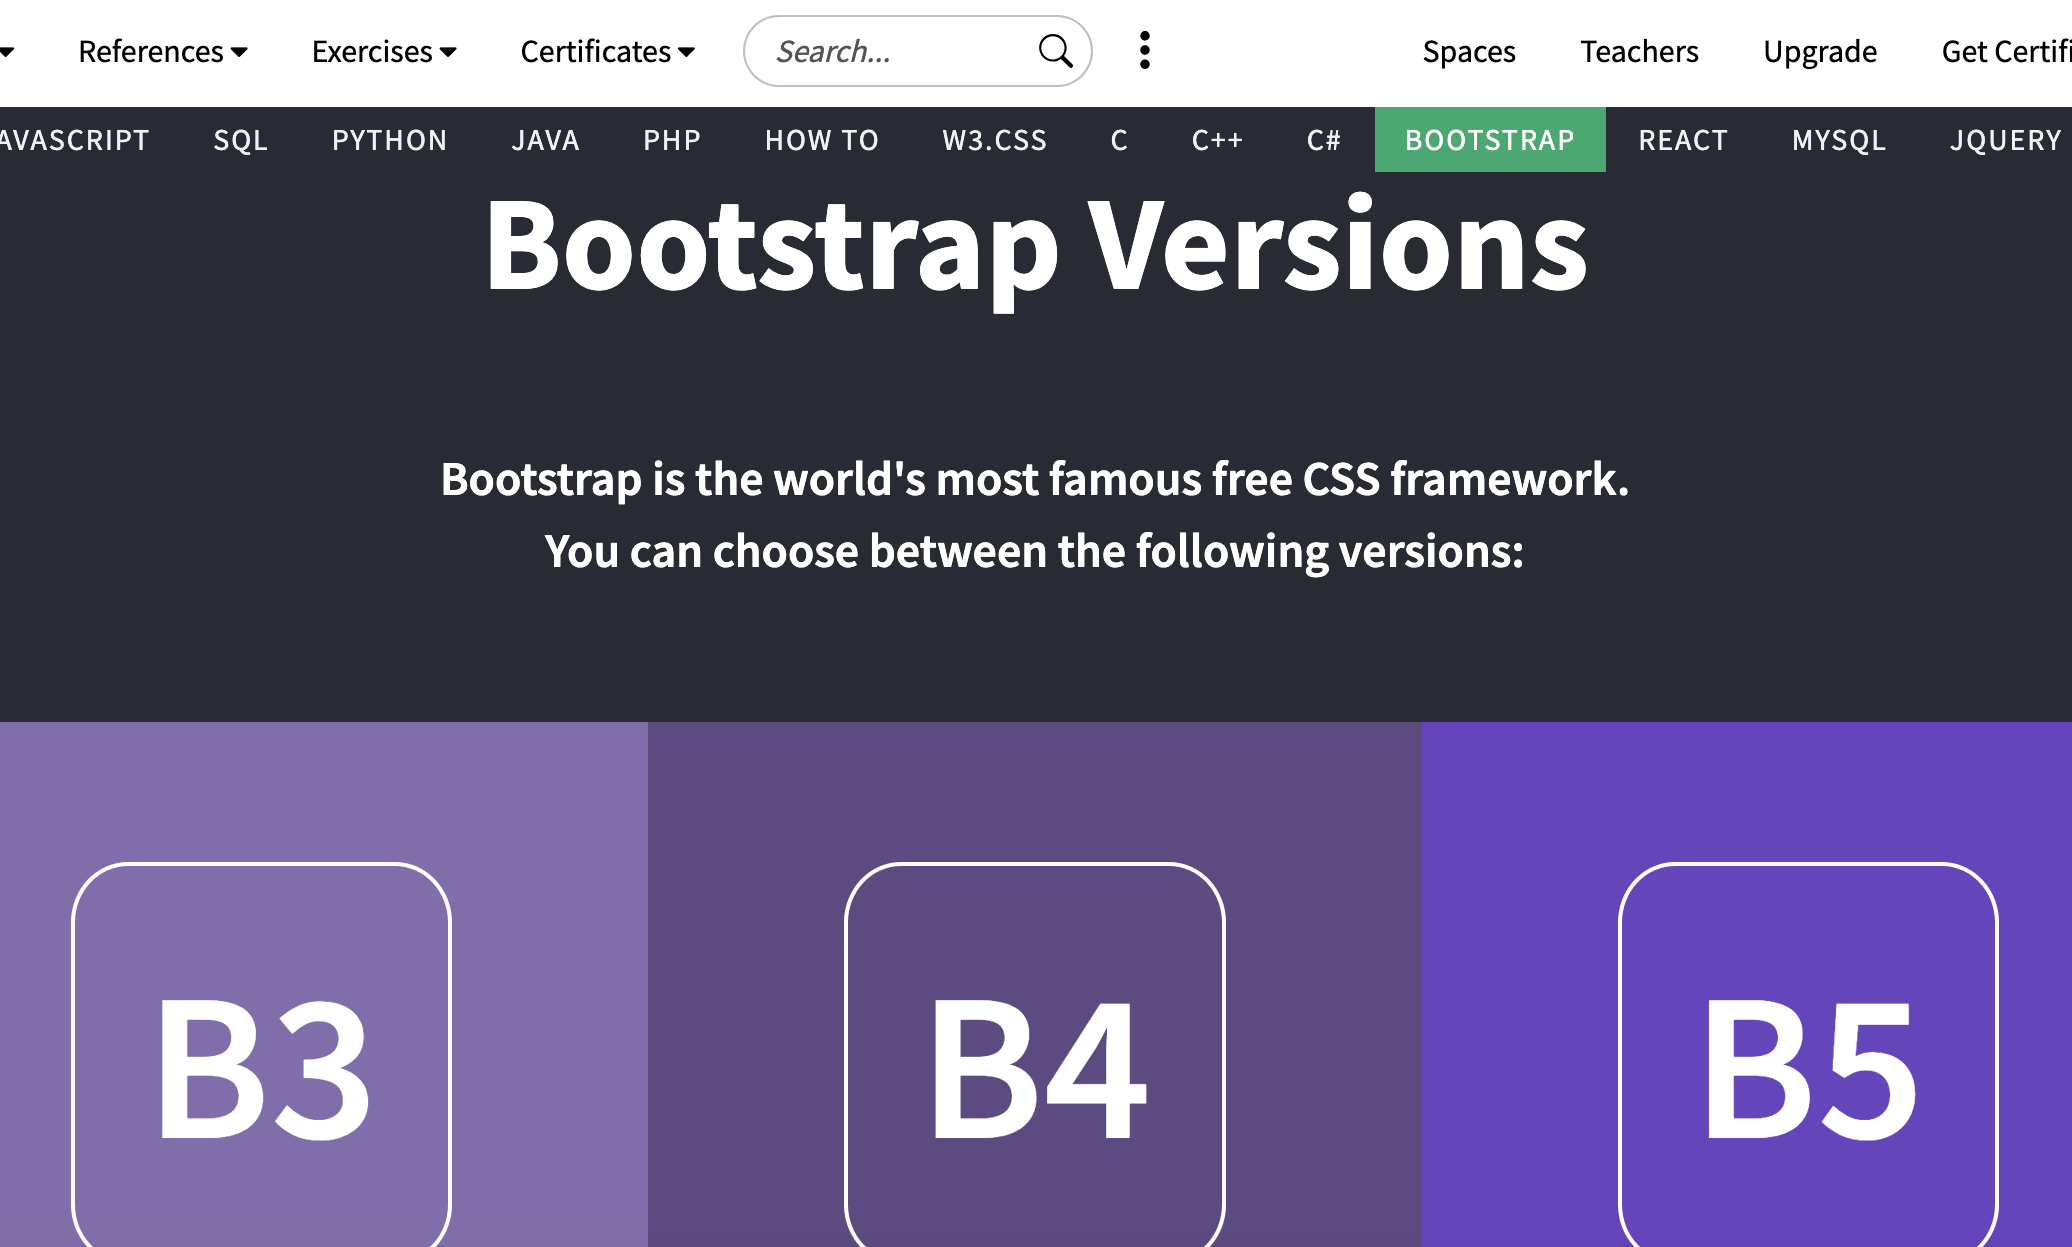
01 | Using Bootstrap 5.3 for ready-made, easy-to-use CSS styling and JS components.
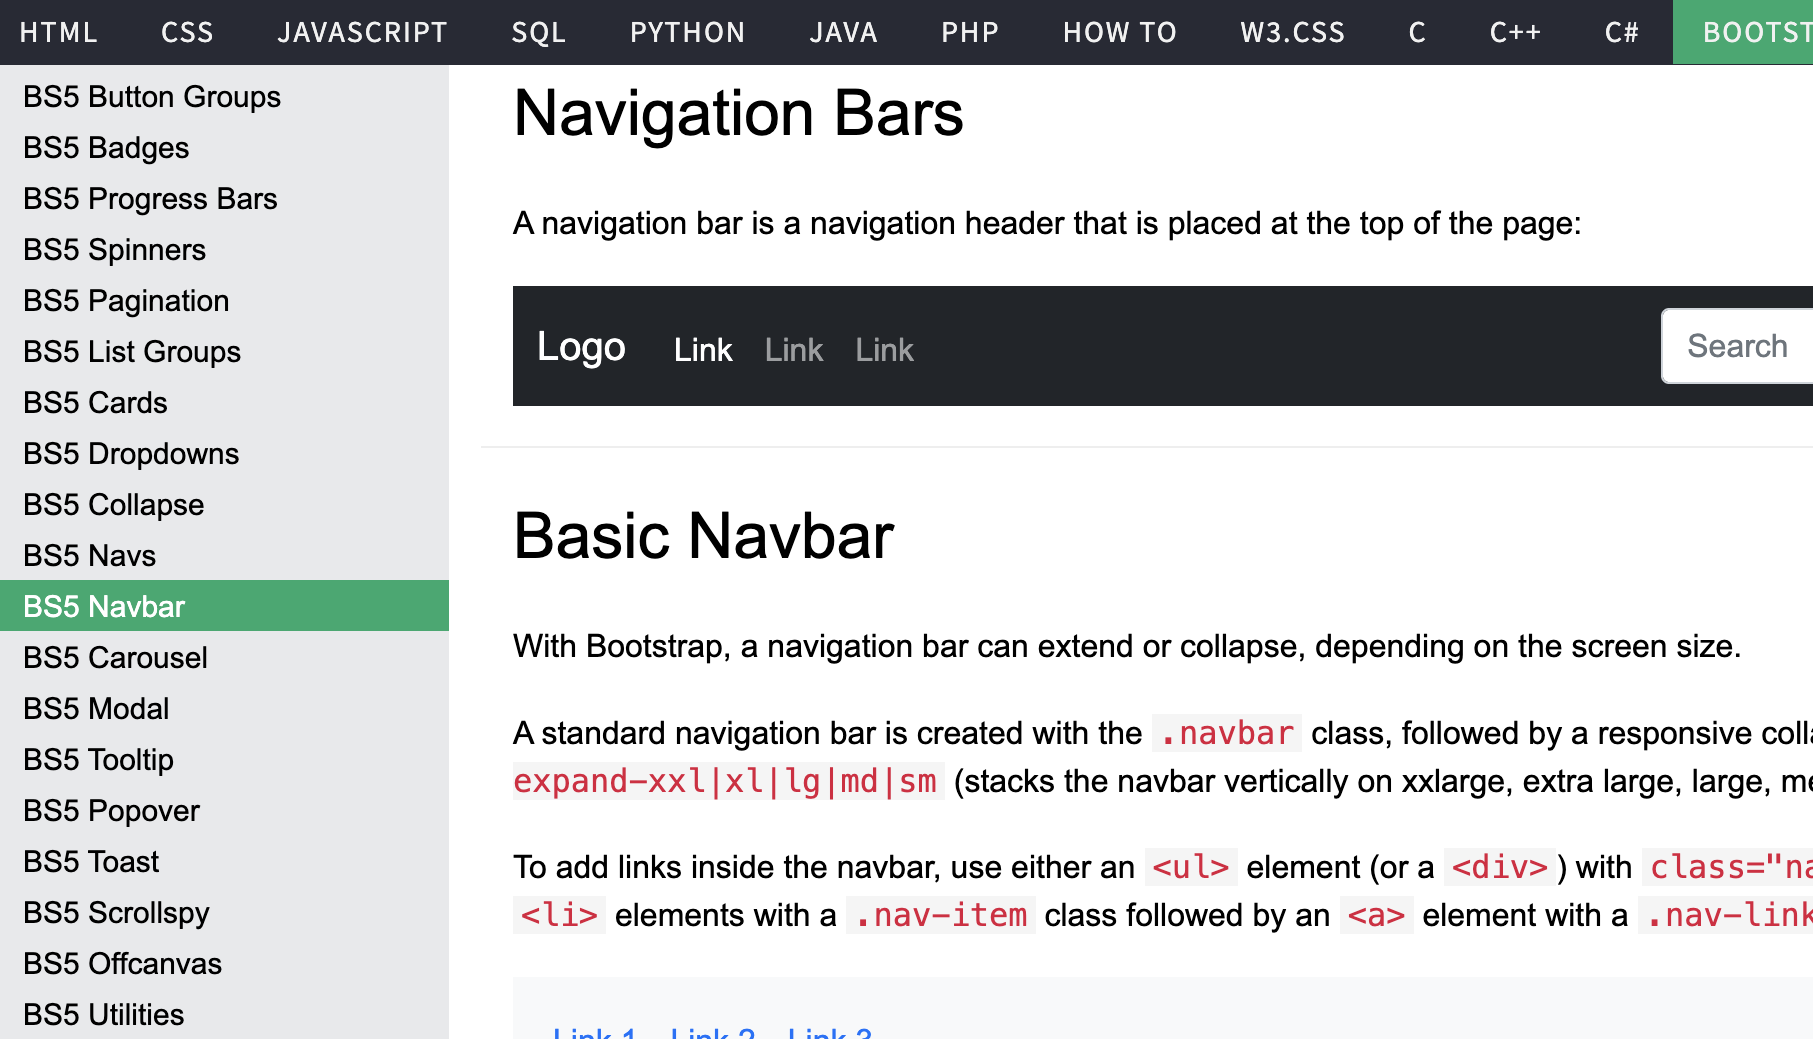
02| W3Schools was a good reference for the available options.
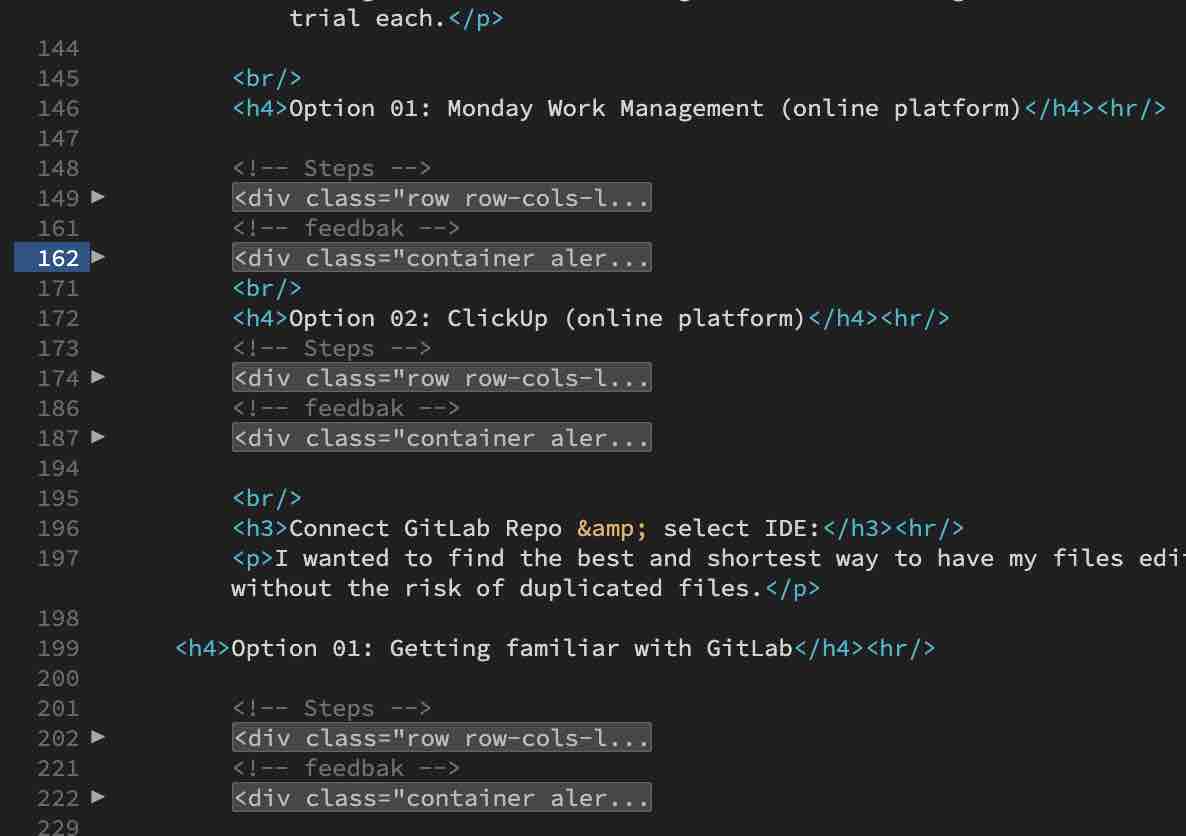
03| I added comments throughout the code so it's easy to navigate — for me or anyone else reading it.
04| This is the structure I'll follow for the rest of the site.
- Feedback: It feels very organized — I can rely on this template for the coming assignments.
- Challenge: Keeping up with the documentation ^_^