Assignment 13:- Molding and Casting
Learning outcomes
In this week assignment i learned about the molding and casting and how to make the mold and how to casts the verious material in the mold and how to make the 3d printer and cnc routor using to make the mold. To learn how to use the 3D printer and CNC router to make a mold, and to learn about different molding and casting techniques.
Objetive this week group assignment and Individual Assignment
group assignment:
• review the safety data sheets for each of your molding and casting materials,
then make and compare test casts with each of them
• compare mold making processes
individual assignment:
• design a mold around the process you'll be using,
produce it with a smooth surface finish that
does not show the production process toolpath,
and use it to cast parts.
Introduction about molding and casting
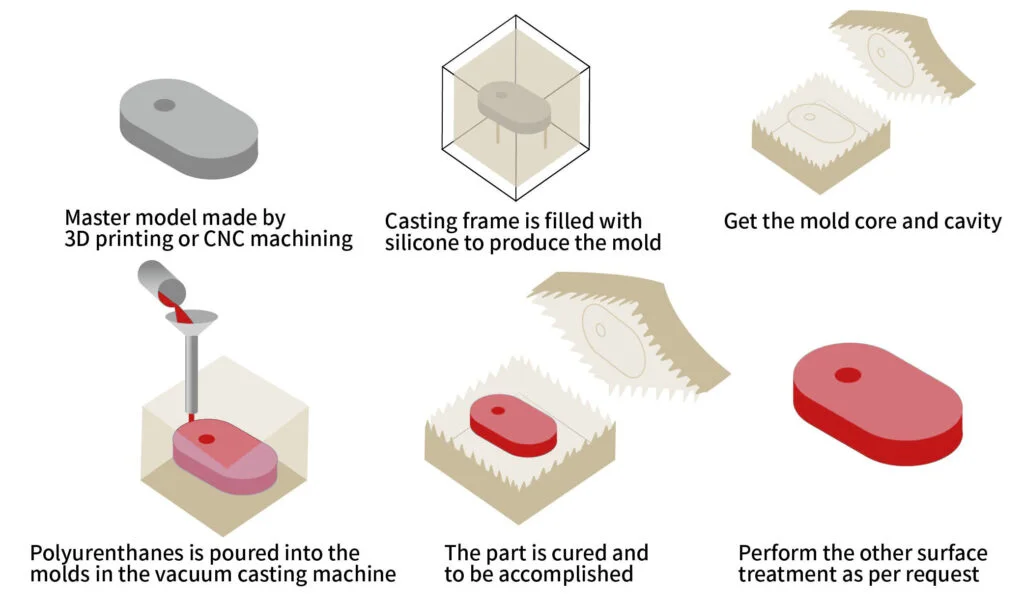
Molding and casting are two different processes that are used to create objects.
Molding is the process of creating a mold, which is a negative impression of an object.
The mold is then filled with a material, such as plastic or metal, to create a positive replica of the original object. Casting, on the other hand, is the process of pouring a liquid material, such as molten metal or resin, into a mold to create a solid object.
Both molding and casting can be used to create a wide variety of objects, from simple toys to complex machinery parts. The choice between molding and casting depends on the specific requirements of the project, such as the desired material properties, production volume, and cost constraints.
 Reference
group assignment:
In this week group assignment we have to review the safety data sheets for each of your molding and casting materials, then make and compare test casts with each of them and compare mold making processes.
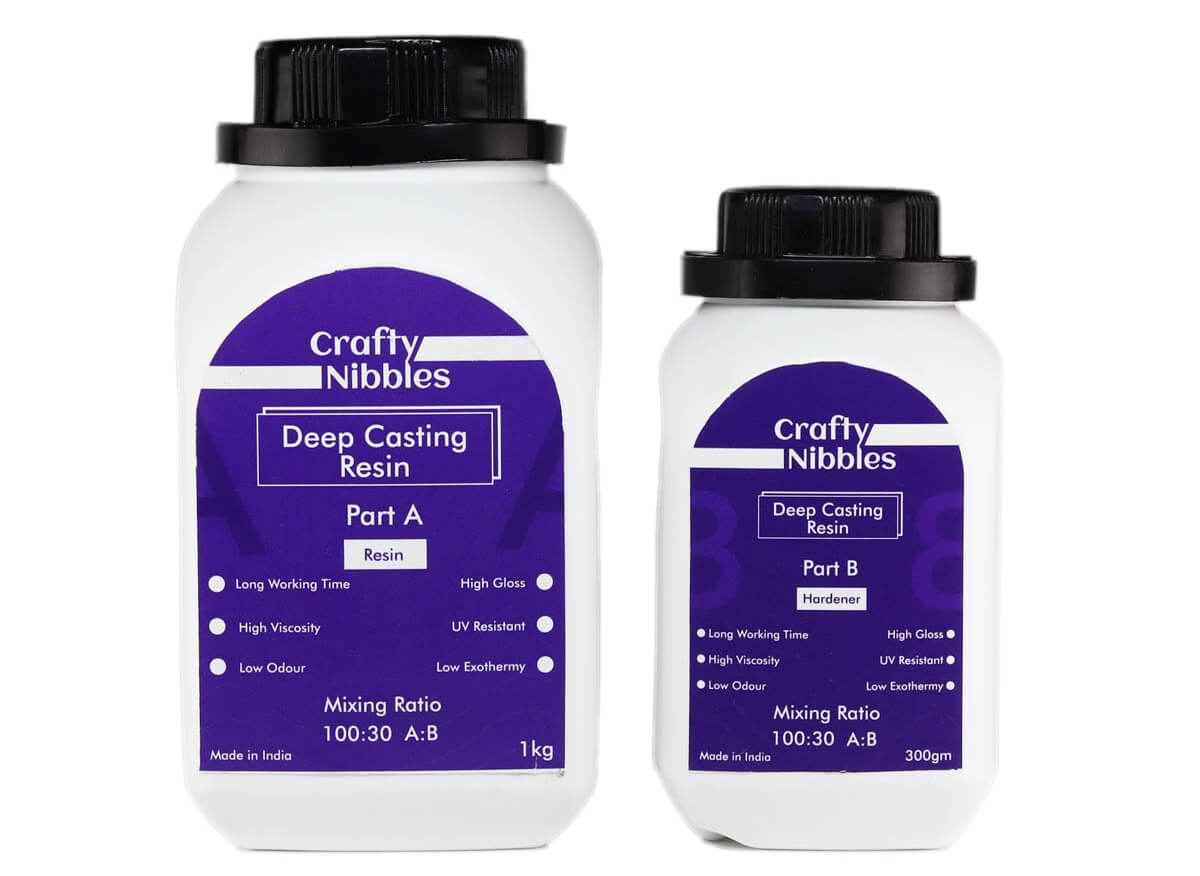
1) Crafty Nibbles Casting Resin
Crafty nibbles is a casting resin that is used for making molds and casts. it is a two-part resign that is mixed together to create a mold or cast its is a fast curing resin that is ideal for making molds and casts.
it is a non-toxic resin that is safe to use and it is also a low odor resin that is ideal for indoor use. it is a versatile resin that can be used for a variety of apllictions such as making molds and casts for jewelry, figurines, and other small objects. it is also a great resin for making molds and casts for prototyping and product development. it is a great resin for making
molds and casts for art and craft projects. it is a great resin for making moldes and casts for educational projects. it is a great resin for making molds and casts for home decor projects.
 Reference
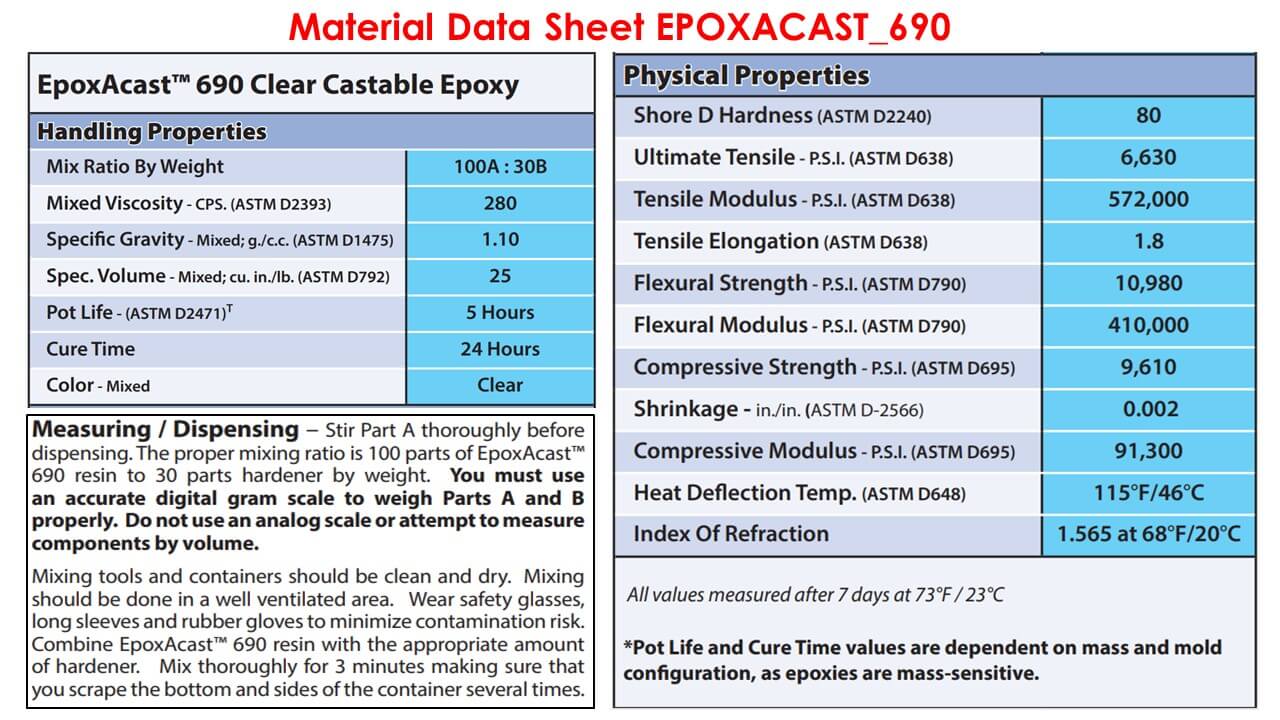
properties of crafty nibbles casting resin are as follows:
1) Density: 1.1 g/cm3
2) Viscosity: 1000 cps
3) Curing time: 30 minutes
4) Shore hardness: 80A
5) Tensile strength: 2000 psi
6) Elongation at break: 100%
7) Heat deflection temperature: 150°F
8) Color: Clear
9) Odor: Low
10) Toxicity: Non-toxic
11) Shelf life: 1 year
12) Storage temperature: 50°F to 90°F
13) Mixing ratio: 1:1
14) Pot life: 10 minutes
15) Demold time: 30 minutes
16) Full cure time: 24 hours
 Reference
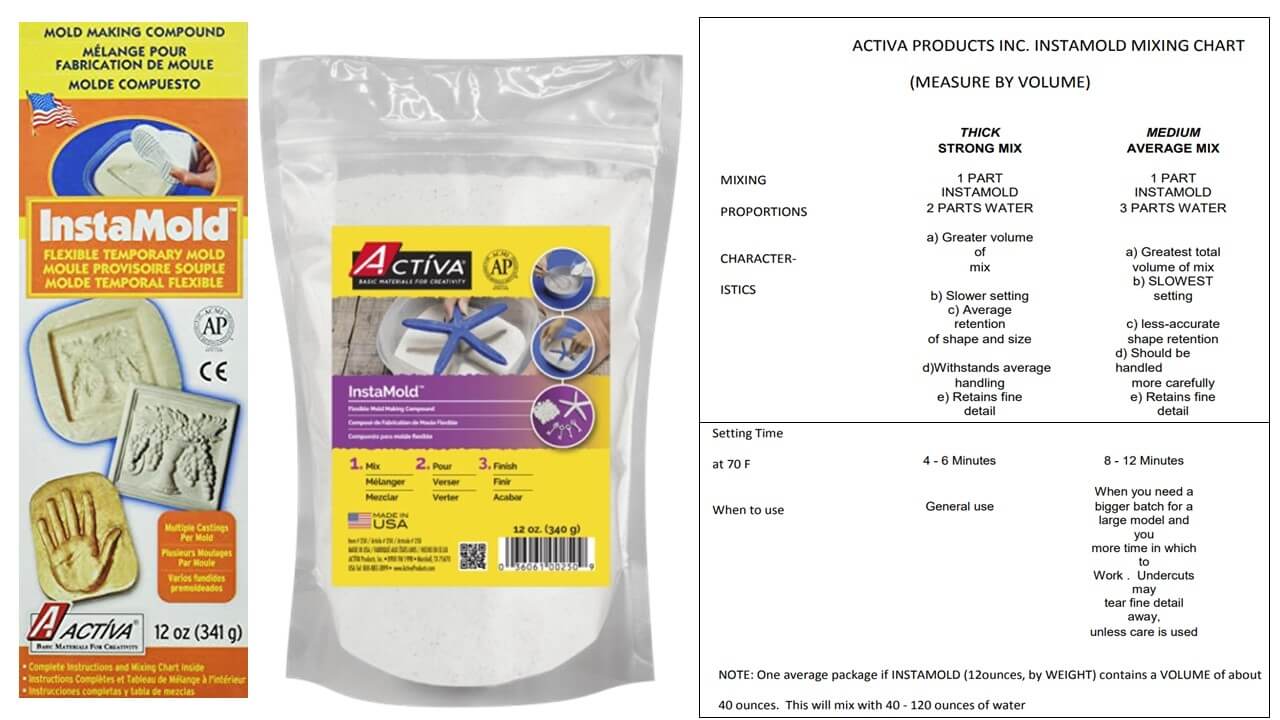
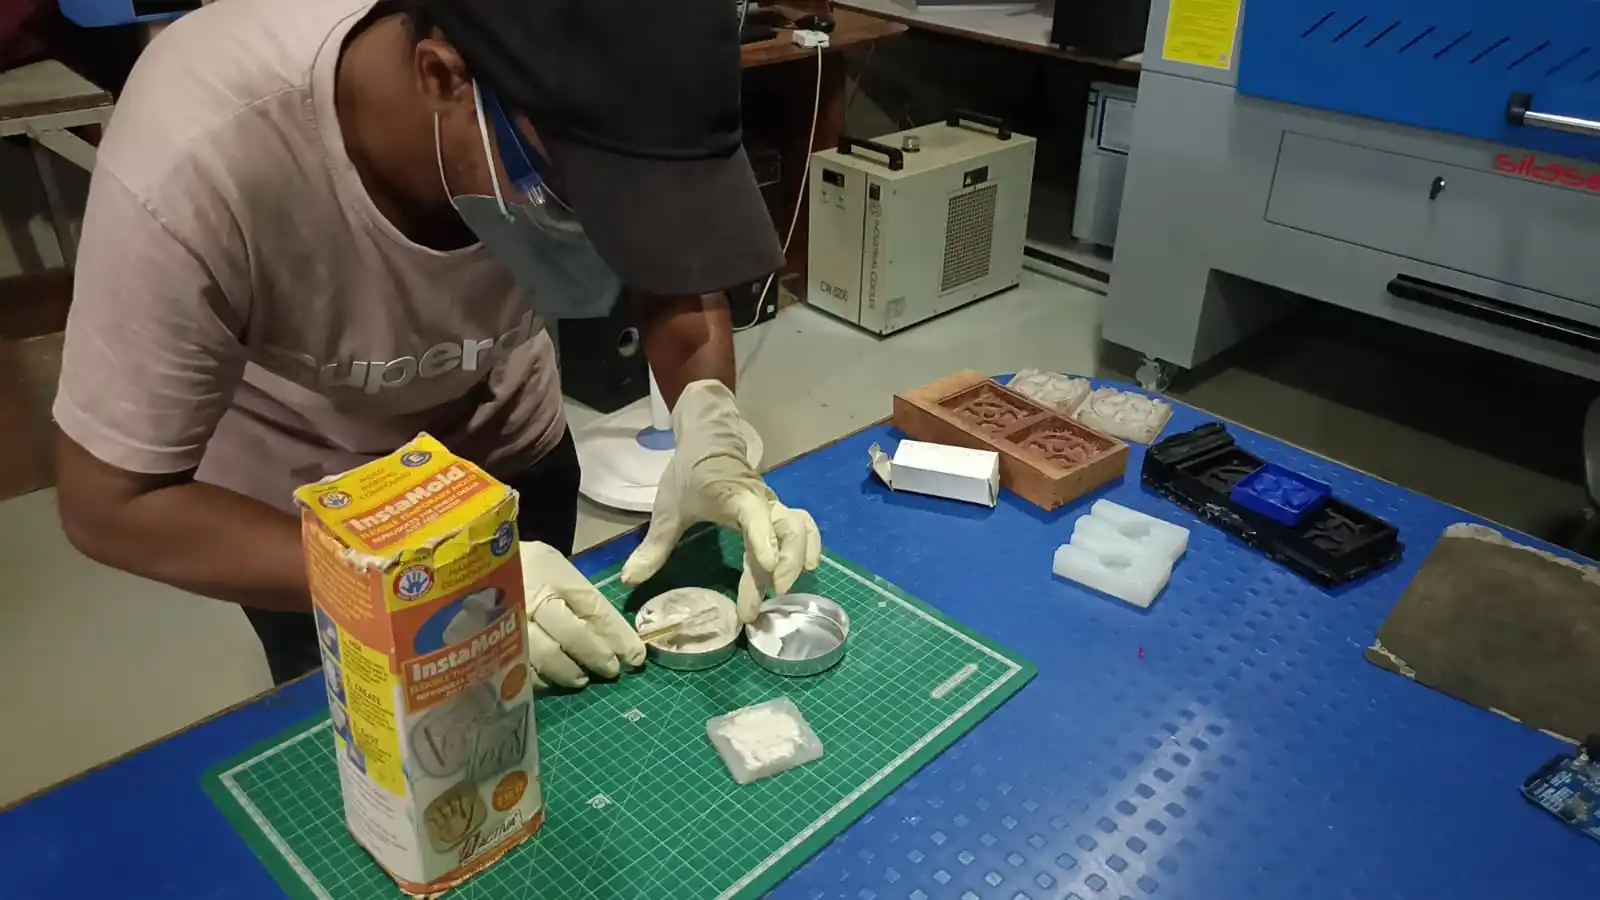
2) Instamold
Instamold is a molding material that is used for making molds and casts. it is a two-part molding material that is mixture together to create a mold or cast. it is a fast curring molding material that is ideal for making molds and casts. it is a non-toxic molding materil that is safe to use and it is also a low odor materil that is ideal for indoor use.
it is a versatile molding materil that can be use for a veriety of applictions such as making molds and casting for jewelry, figurines, and other small objects. it is also a great molding material for making molds and casts for prototyping and product development. it is a great molding material for making molds and casts for art and craft projects. it is a great molding material for making molds and casts for educational projects. it is a great molding material for making molds and casts for home decor projects.
 Reference
properties of instamold are as follows:
1) Density: 1.2 g/cm3
2) Viscosity: 500 cps
3) Curing time: 15 minutes
4) Shore hardness: 70A
5) Tensile strength: 1500 psi
6) Elongation at break: 150%
7) Heat deflection temperature: 200°F
8) Color: White
9) Odor: Low
10) Toxicity: Non-toxic
11) Shelf life: 1 year
12) Storage temperature: 50°F to 90°F
13) Mixing ratio: 1:1
14) Pot life: 5 minutes
15) Demold time: 15 minutes
16) Full cure time: 24 hours
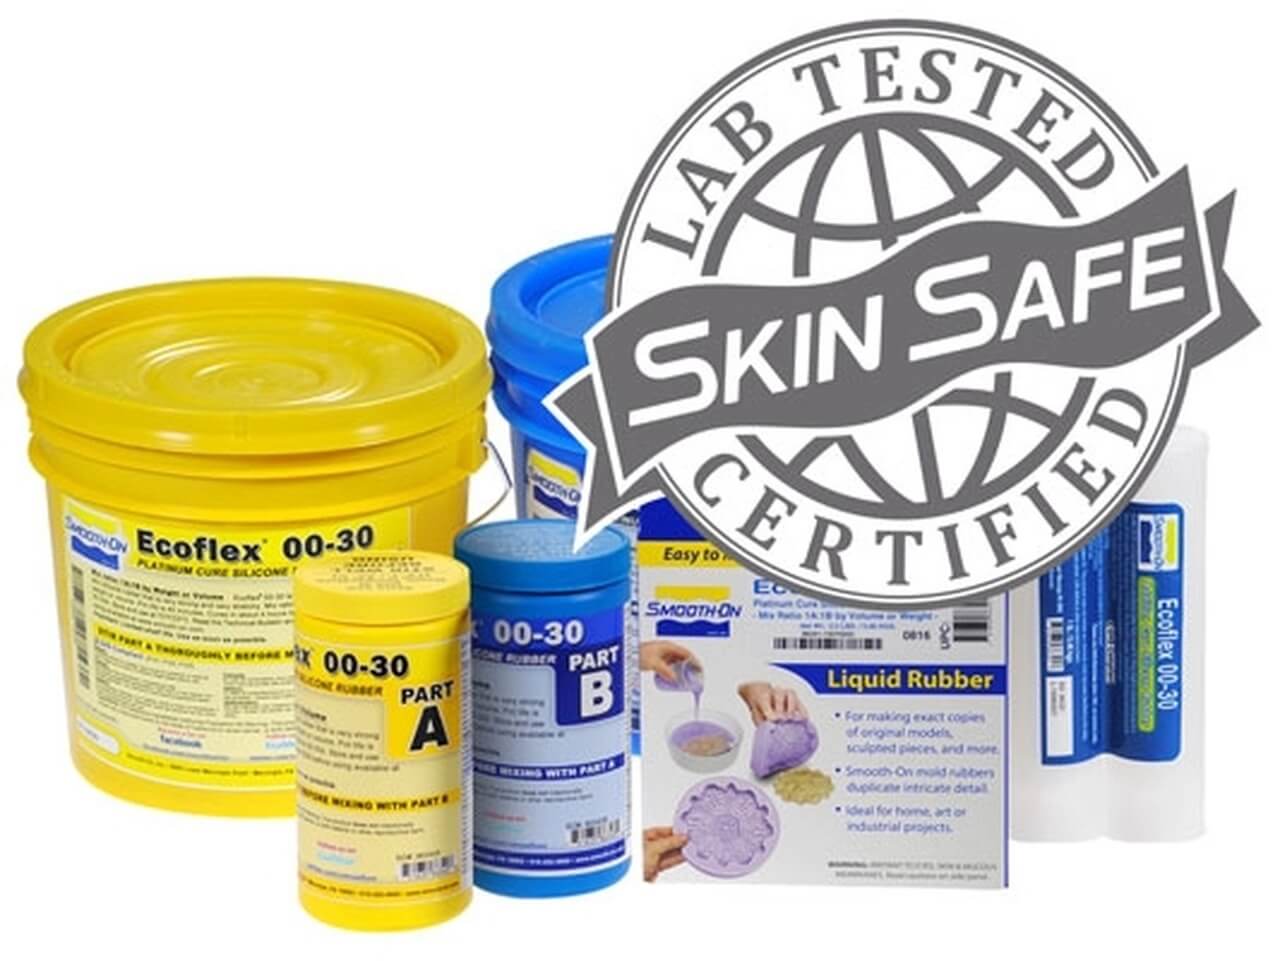
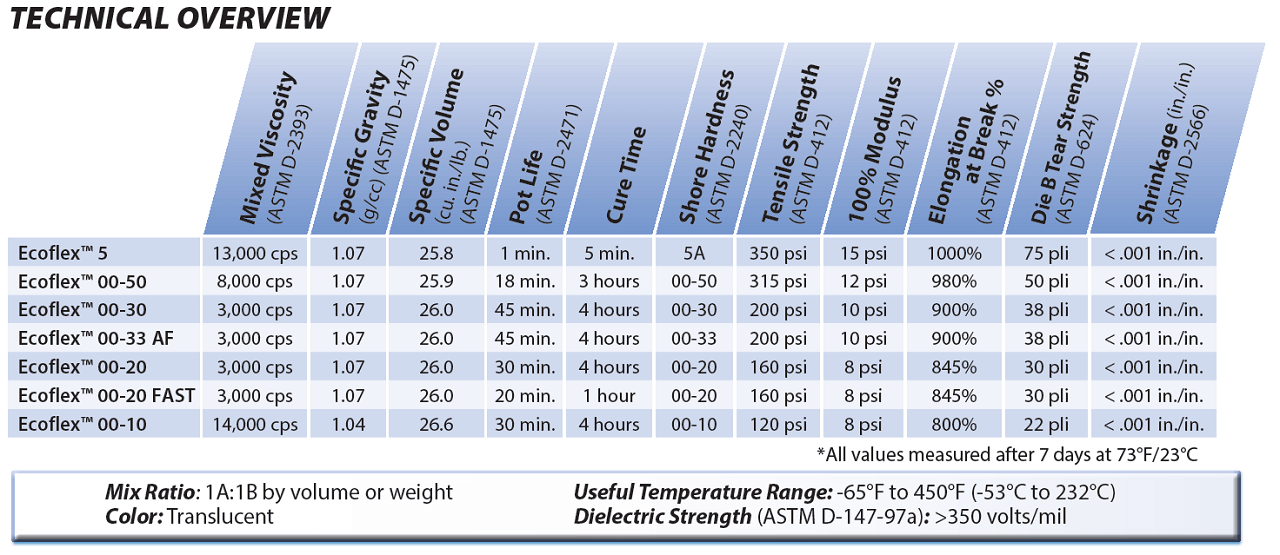
3) Ecoflex
Ecoflex is a molding material that is used for making molds and casts. it is a two-part molding materil that is mixed together to create a mold or cast.
its a fast curing molding material that is ideal for making molds and casts. it is a non-toxic molding material that is safe to use and it is also a low oder molding material that is ideal for indoor use.
 Reference
properties of instamold are as follows:
properties of ecoflex are as follows:
1) Density: 1.3 g/cm3
2) Viscosity: 2000 cps
3) Curing time: 60 minutes
4) Shore hardness: 90A
5) Tensile strength: 2500 psi
6) Elongation at break: 200%
7) Heat deflection temperature: 250°F
8) Color: Clear
9) Odor: Low
10) Toxicity: Non-toxic
11) Shelf life: 1 year
12) Storage temperature: 50°F to 90°F
13) Mixing ratio: 1:1
14) Pot life: 20 minutes
15) Demold time: 60 minutes
16) Full cure time: 24 hours
 Reference
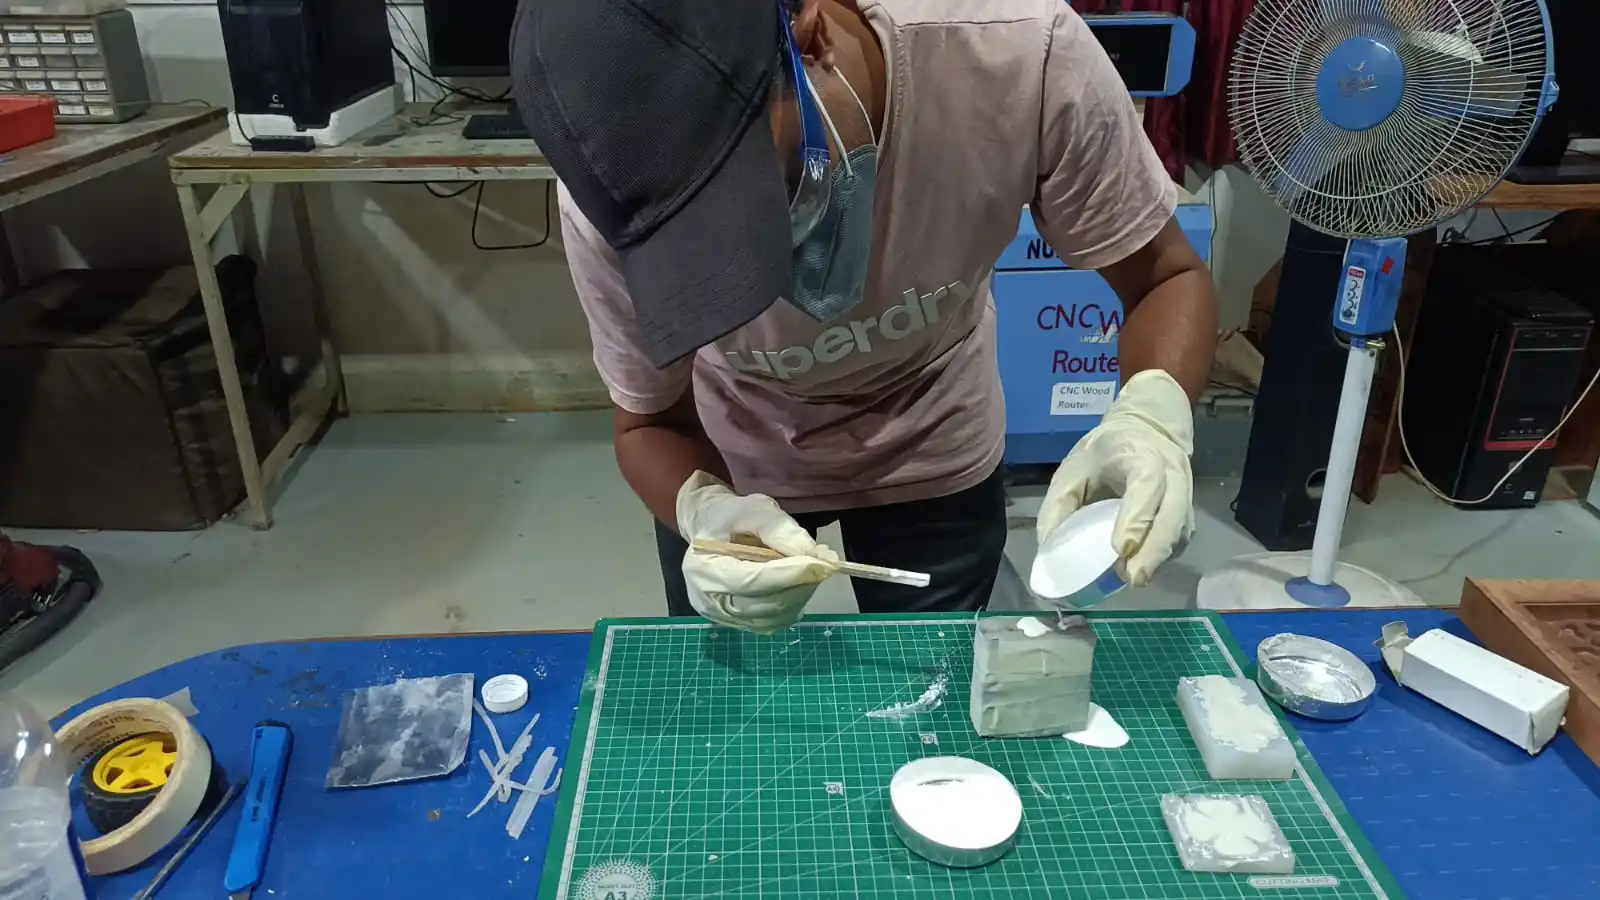
Group assignment
In this group assignment i woking with the 3 diffrent material for the molding and casting process and we are comparing the properties of the 3 diffrent material.
I use Instamold, Hydrostone superx gypsum cement, and resin for the mold casting process.
Click here to see more about the group assignment group assignment
Individual assignment
Design modling
in this week individual assignment i made the mold and casted the material in the mold and i made the 3d printer and cnc routor to make the mold and
i also made the 3d model of the mold in fusion 360 software and then i made the mold using the cnc rountor mechining wax and then i casted the material in the mold.
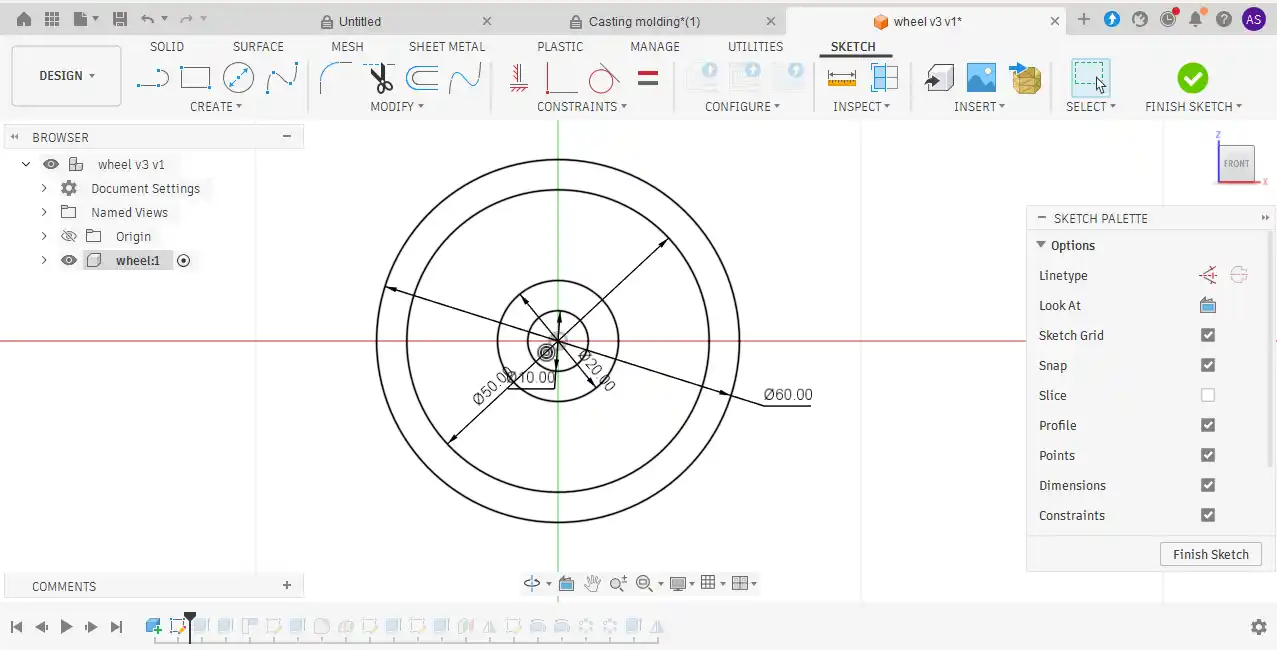
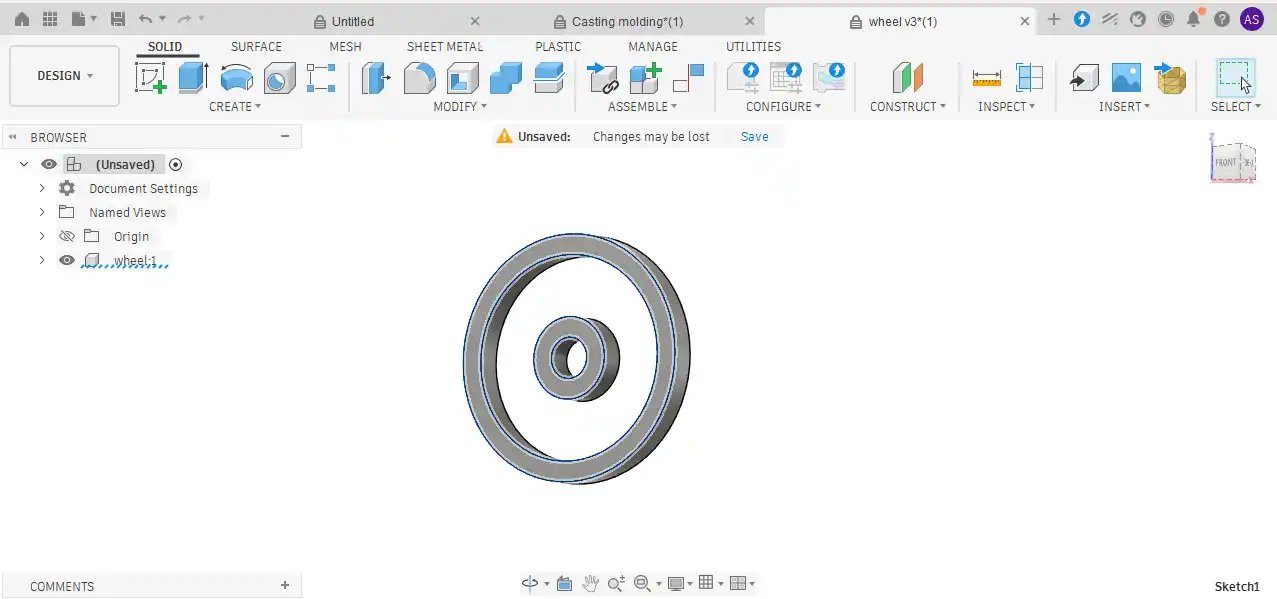
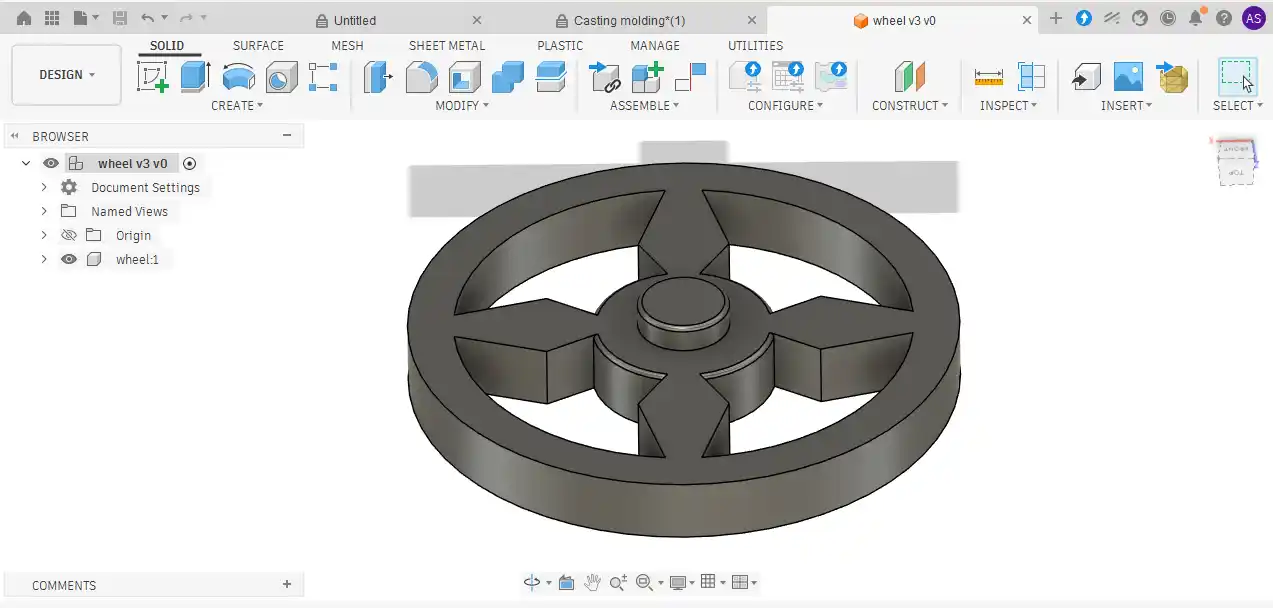
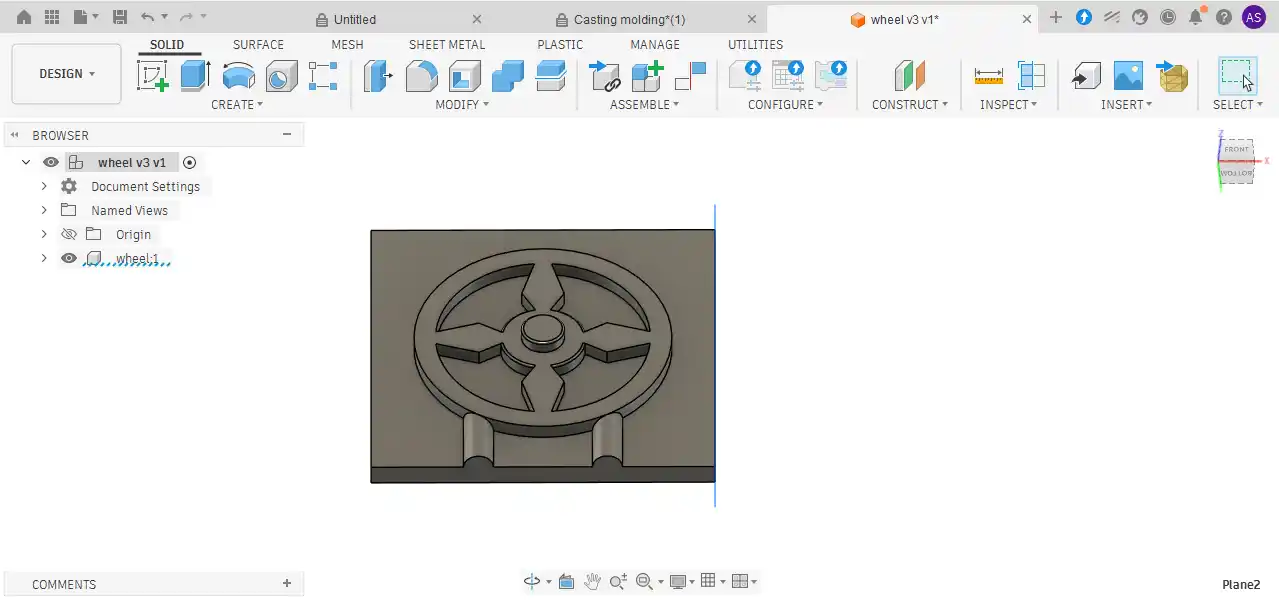
step1: design the mold in fusion 360 software, I want to make Chakra, in 1st step i draw a skech of small circle diffrent size and then i extrude the circle.
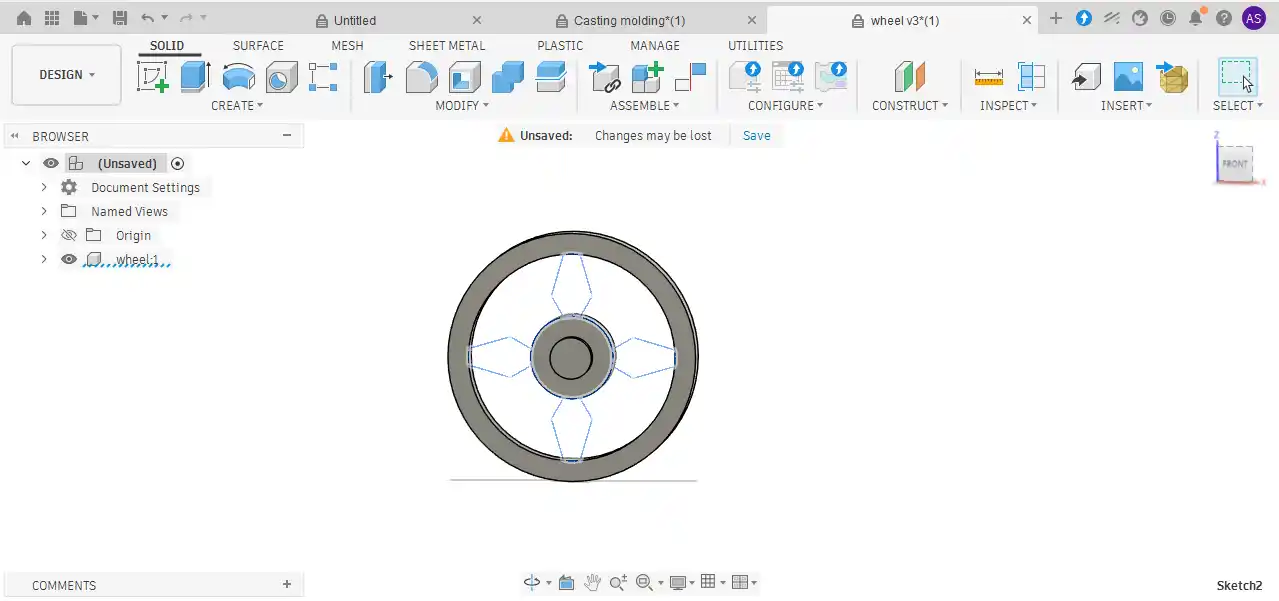
In the second step, I draw a line to connect the inner circle to the outer circle and extrude.
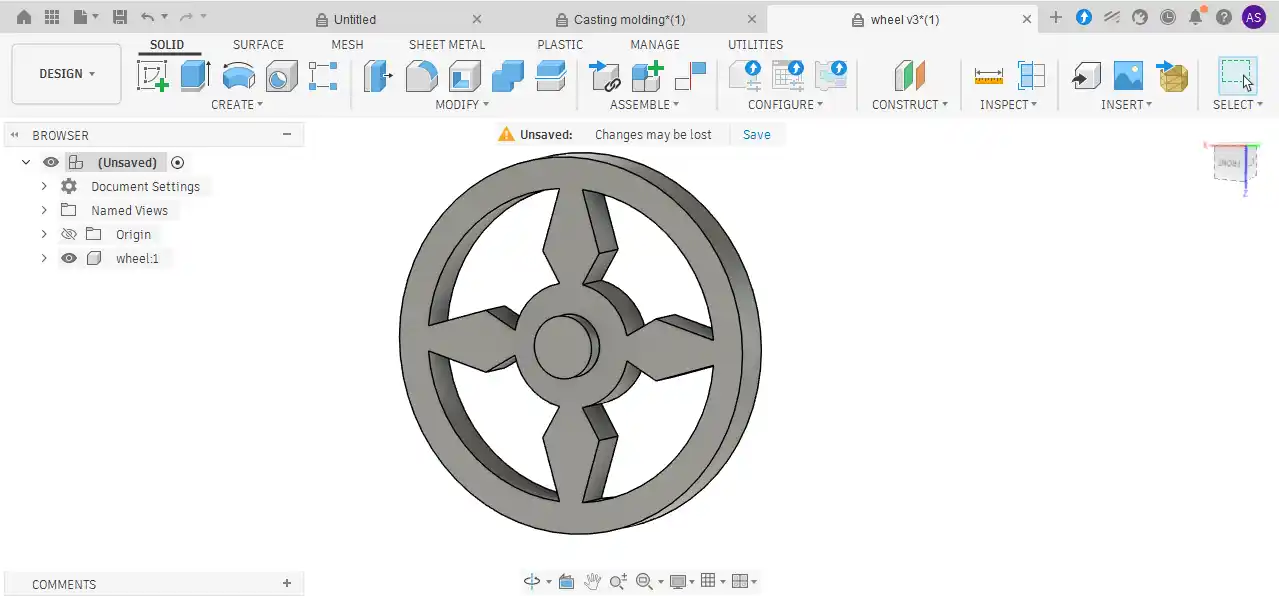
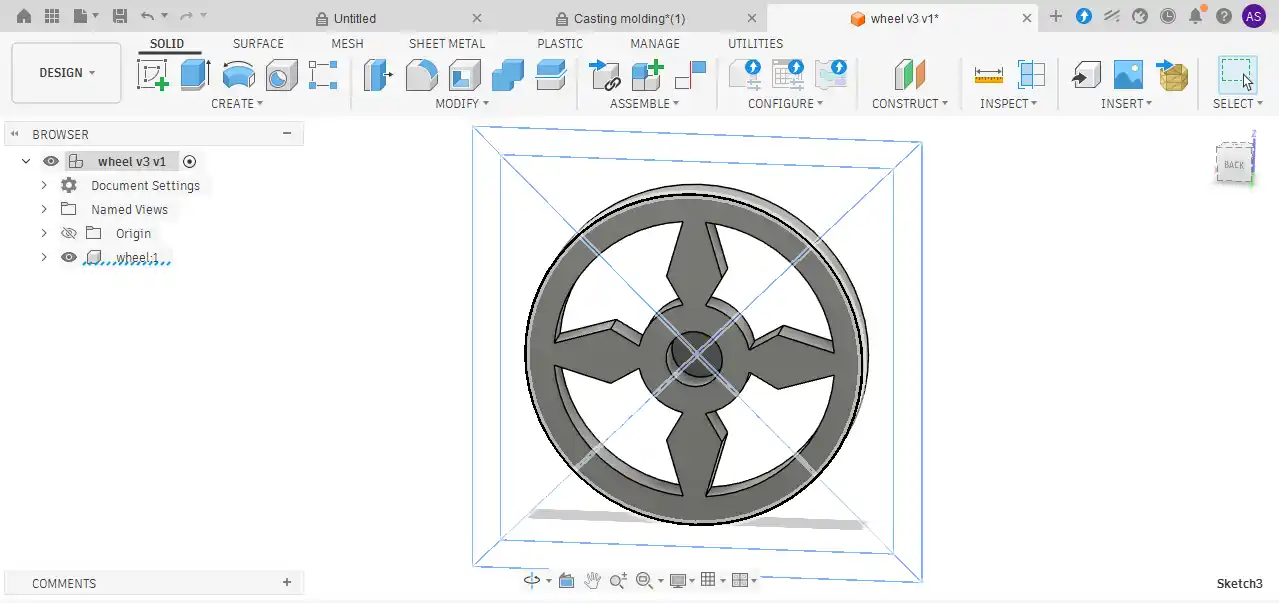
In the third step, I use the fillet tool to make the sharp corners round, Draw a base rectangular shape.
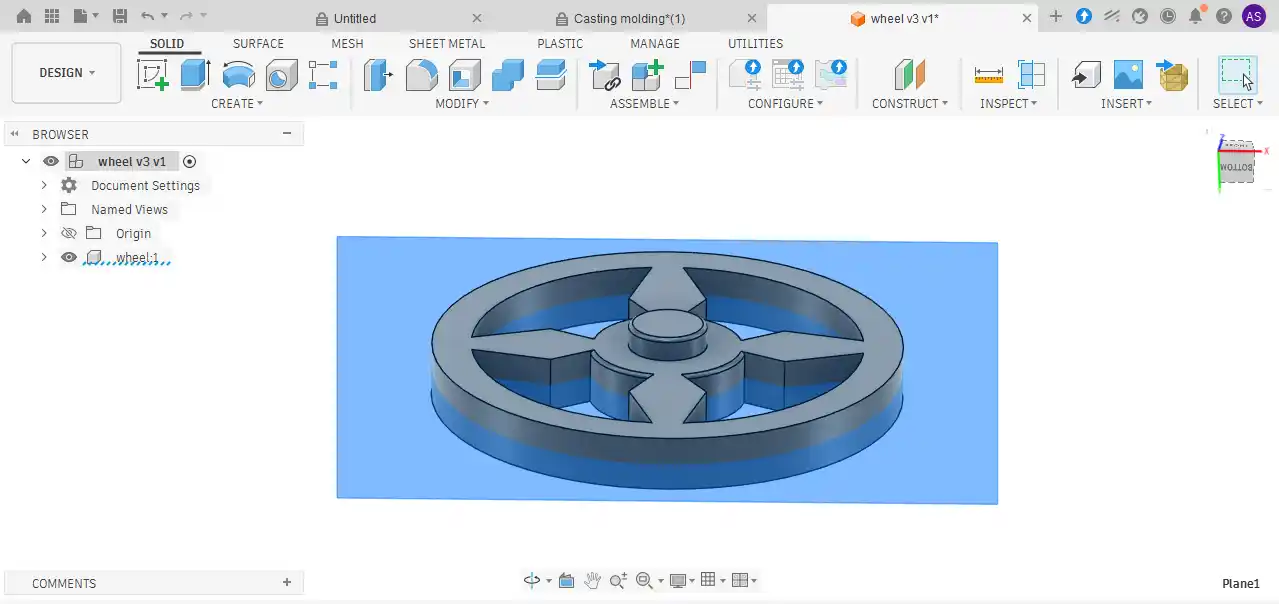
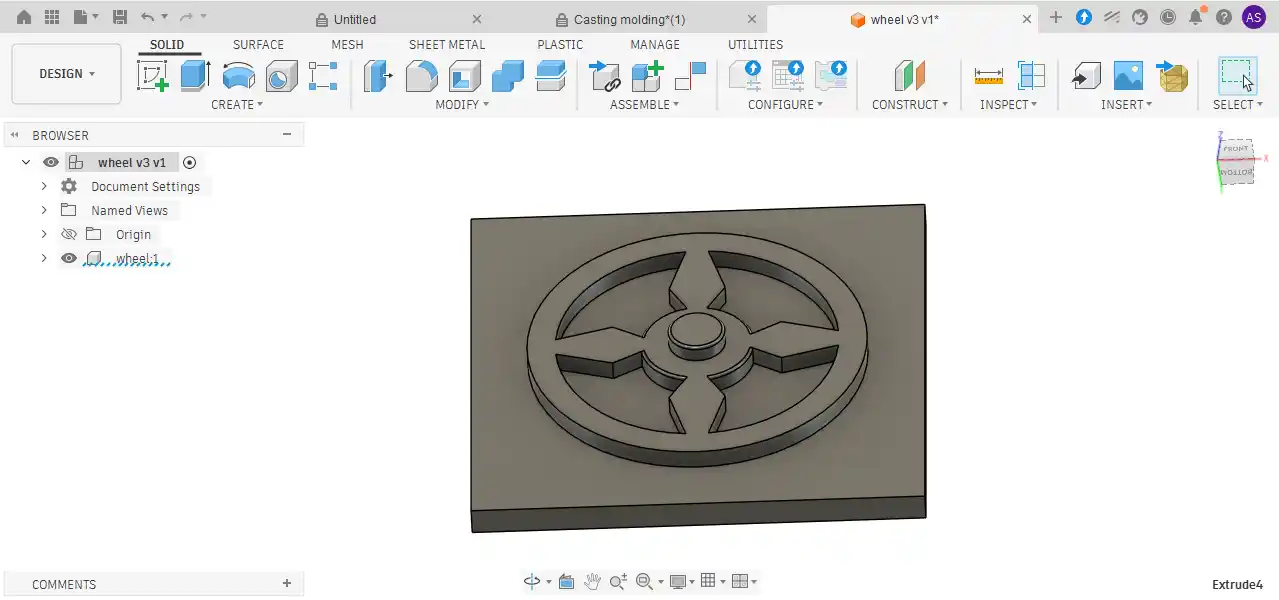
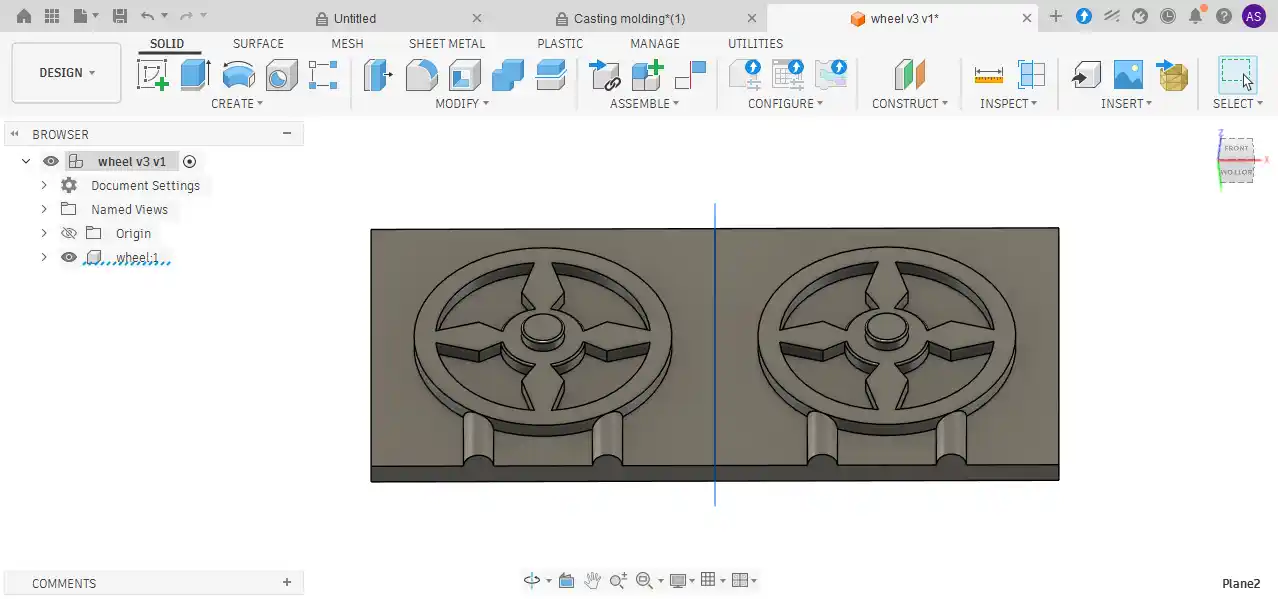
In the fourth step, I use the combine tool to combine the base and the circle shape and then I make the mold box.
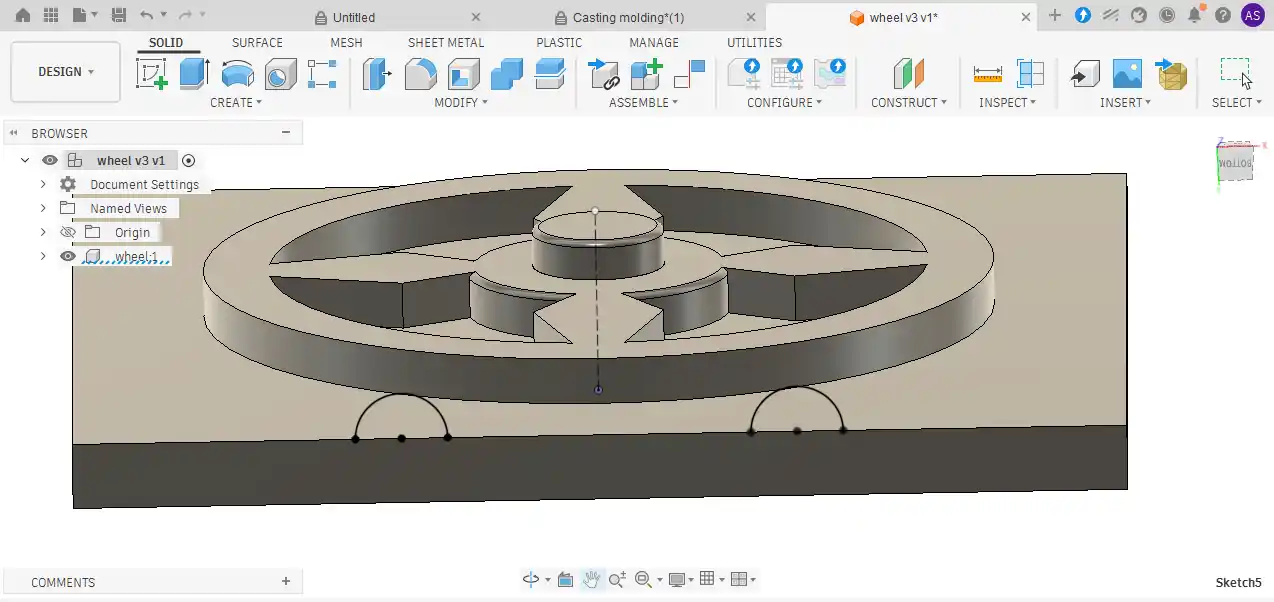
I built a vent in the mold so that air can escape when the silicone rubber is poured and distributed evenly inside the mold.
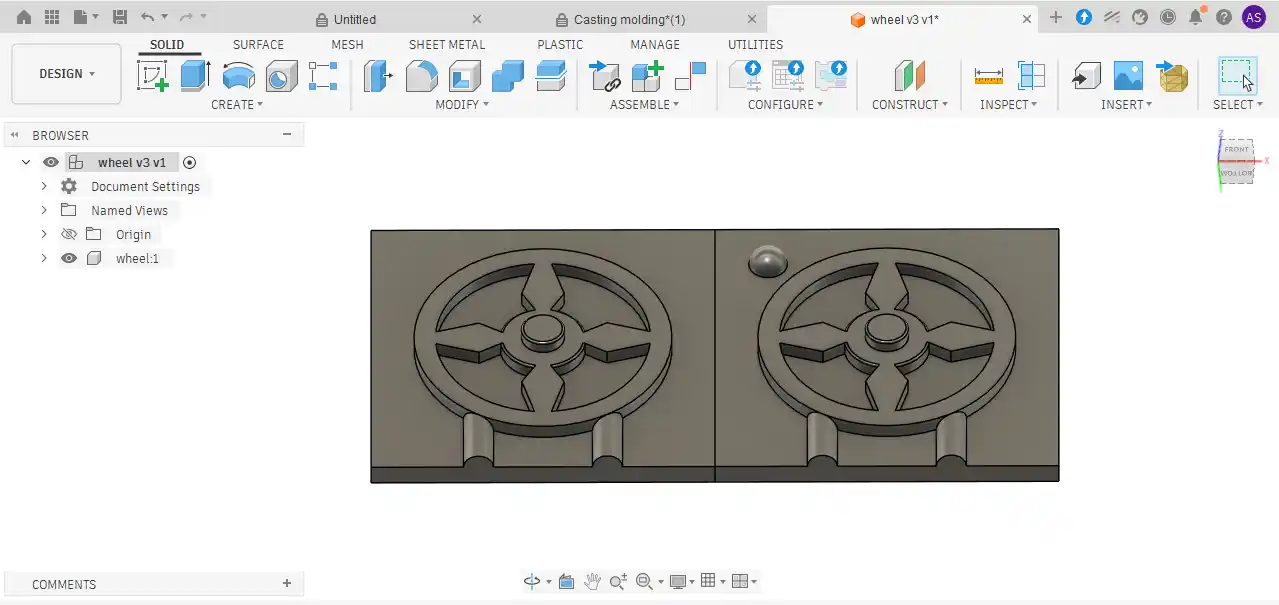
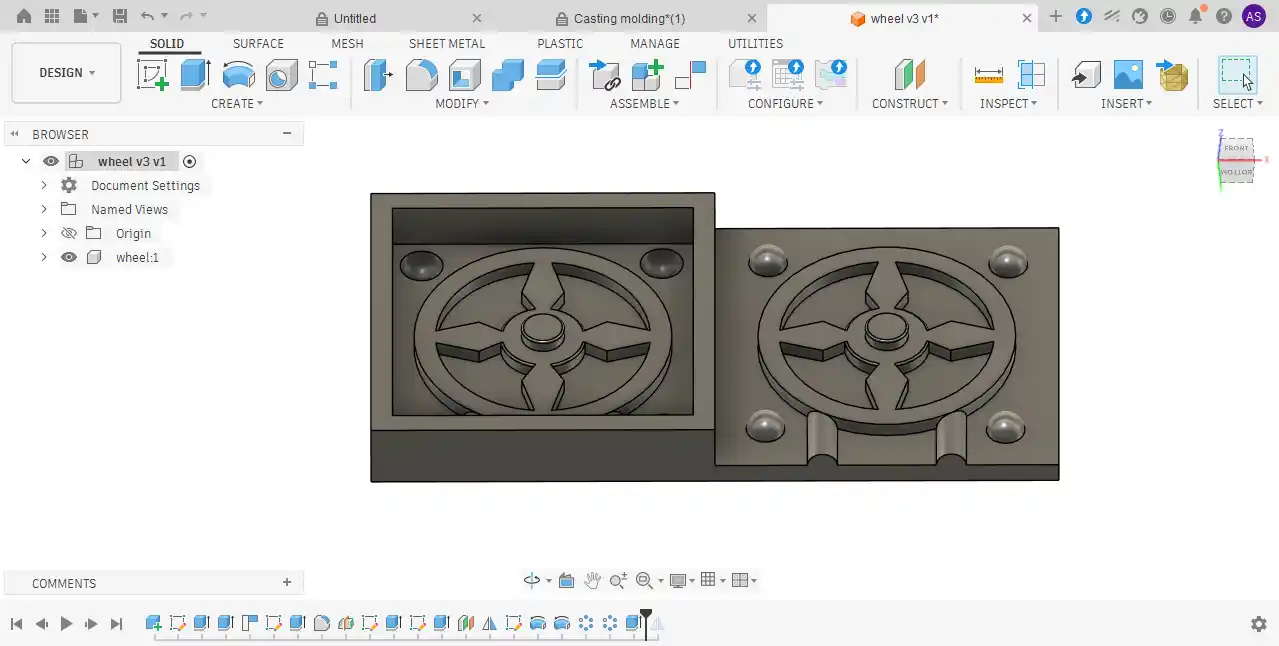
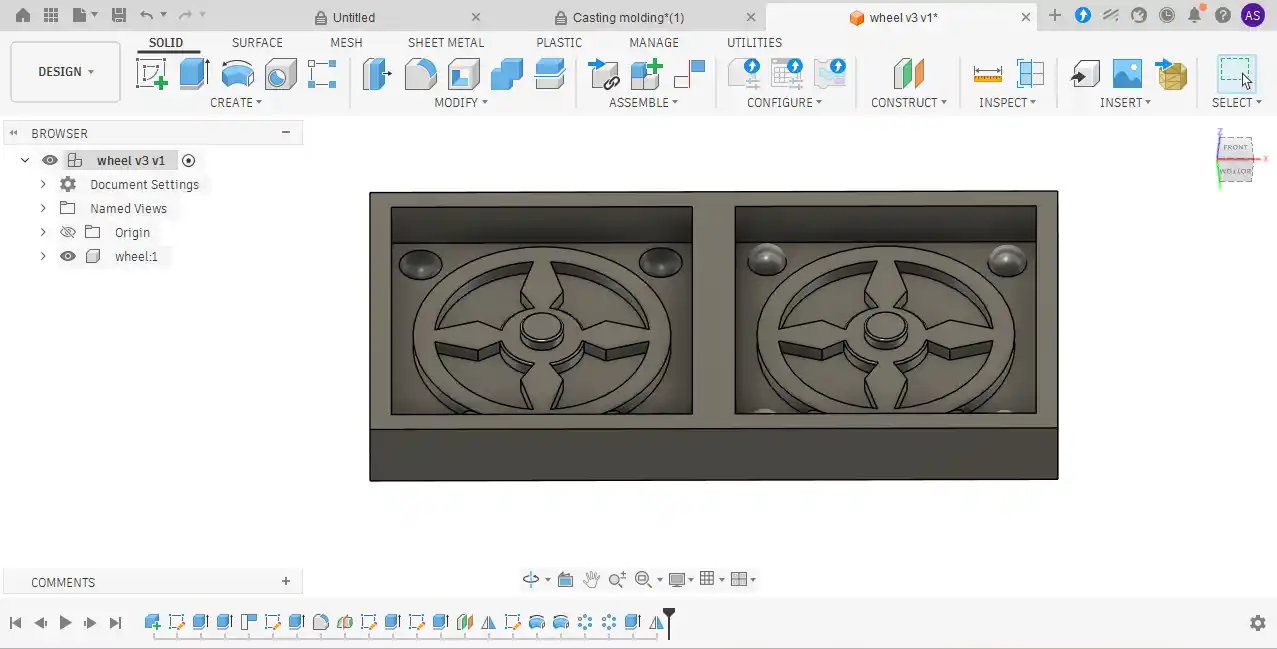
I then mirrored the model so that the second half of the mold is a mirror image of the first half, as shown below.
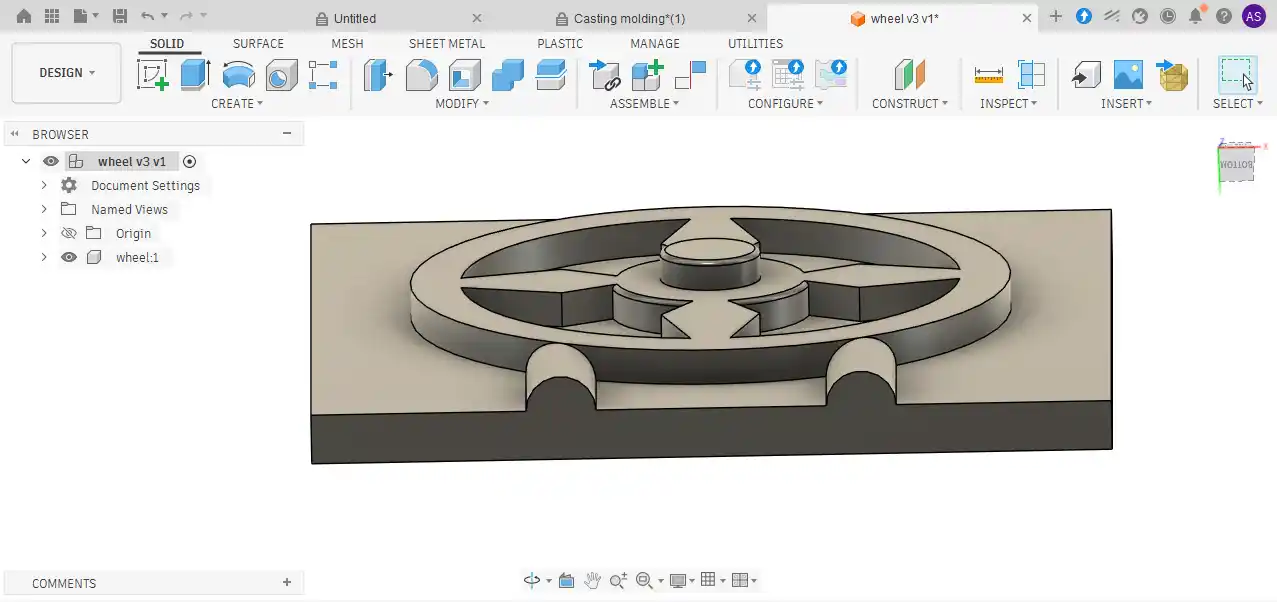
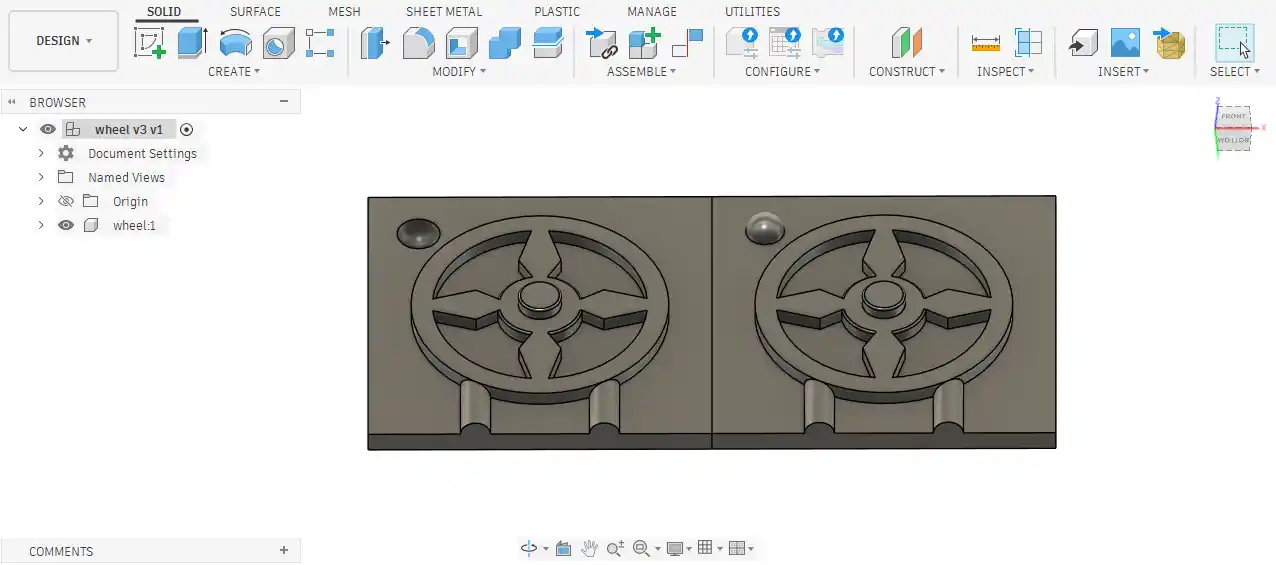
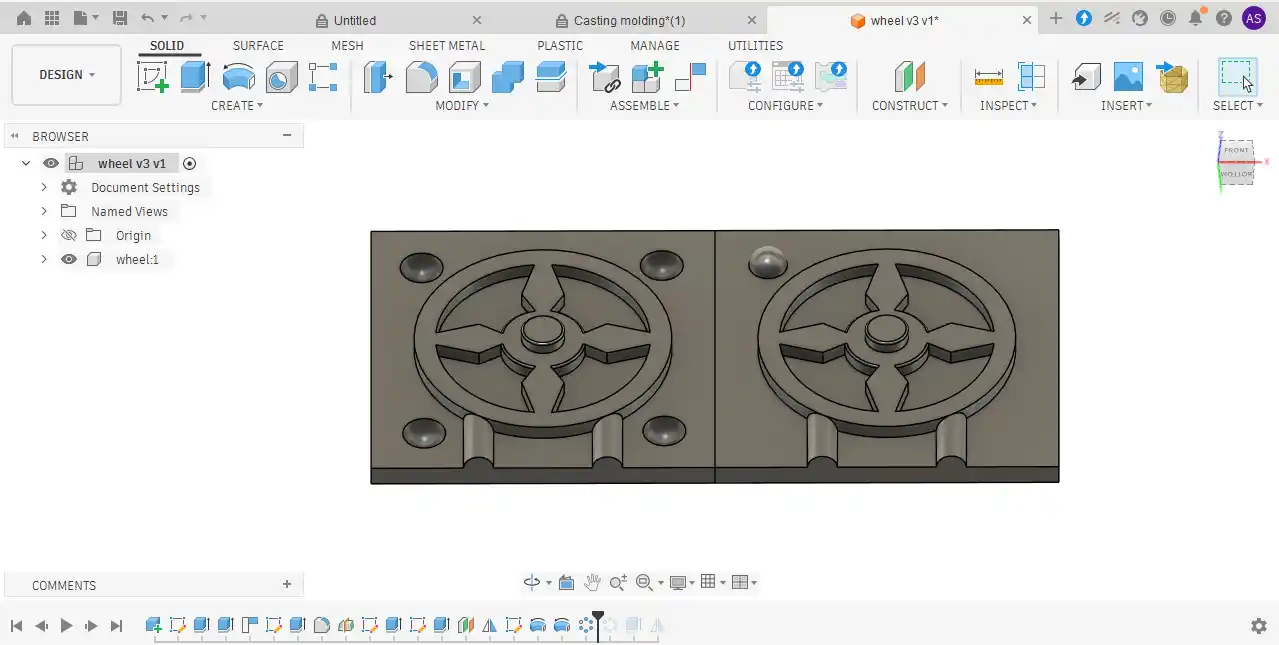
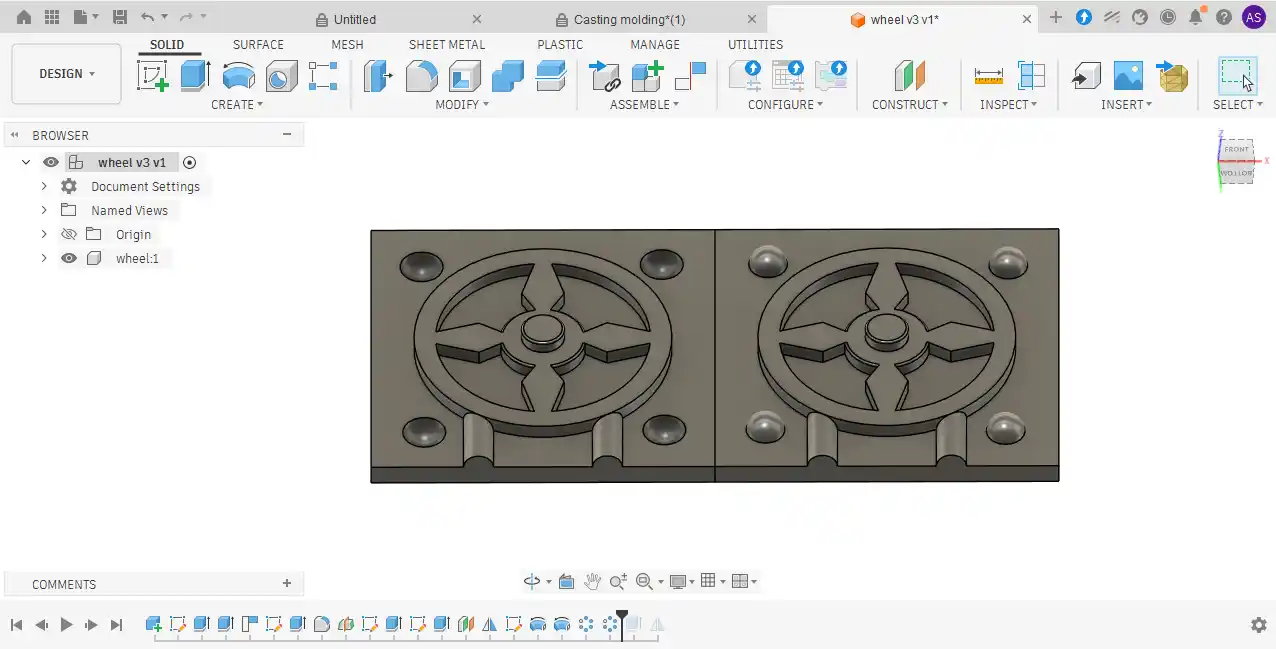
I inserted semi-spherical dowel pegs into the first half of the mold and created holes in the other half. The pegs fit into the holes to hold the two parts of the mold together.
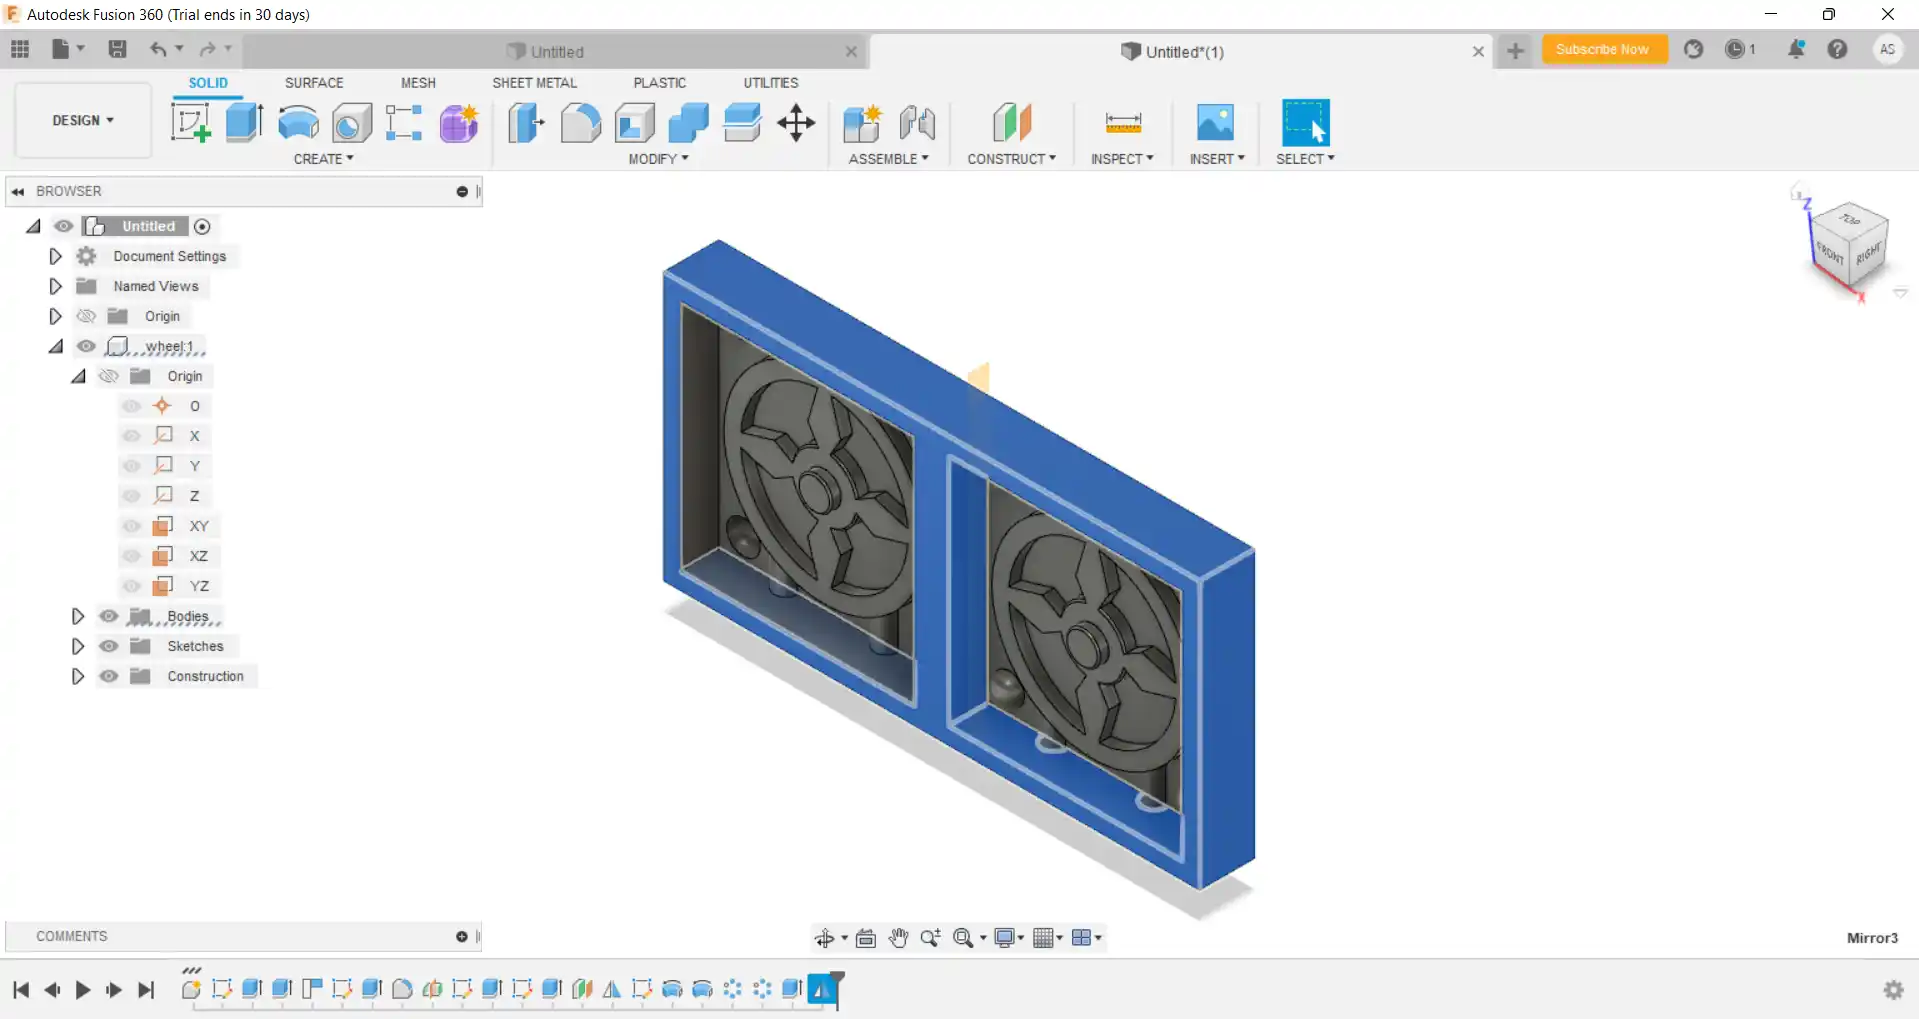
To make a positive mold, I built a cavity around the top. I kept the cavity height 4 mm above the top to create a negative mold with a 4 mm thickness using silicone rubber.
final output of the mold design in fusion 360 software.
Molding process
After desinging the mold in fusion 360 software, I exported the design as Stl File of the 3d print and Stl file use for the Monofab milling mechine to make the mold.I used the monofab milling mechine to make the mold from the machining wax. I set up the monofab milling machine and loaded the machining wax into the machine.
I use the modela software to generate the toolpath for the mold design and then i attached the tool for the milling machine. for milling i use 3mm flat end mill for roughing and 3mm ball end mill for finishing.
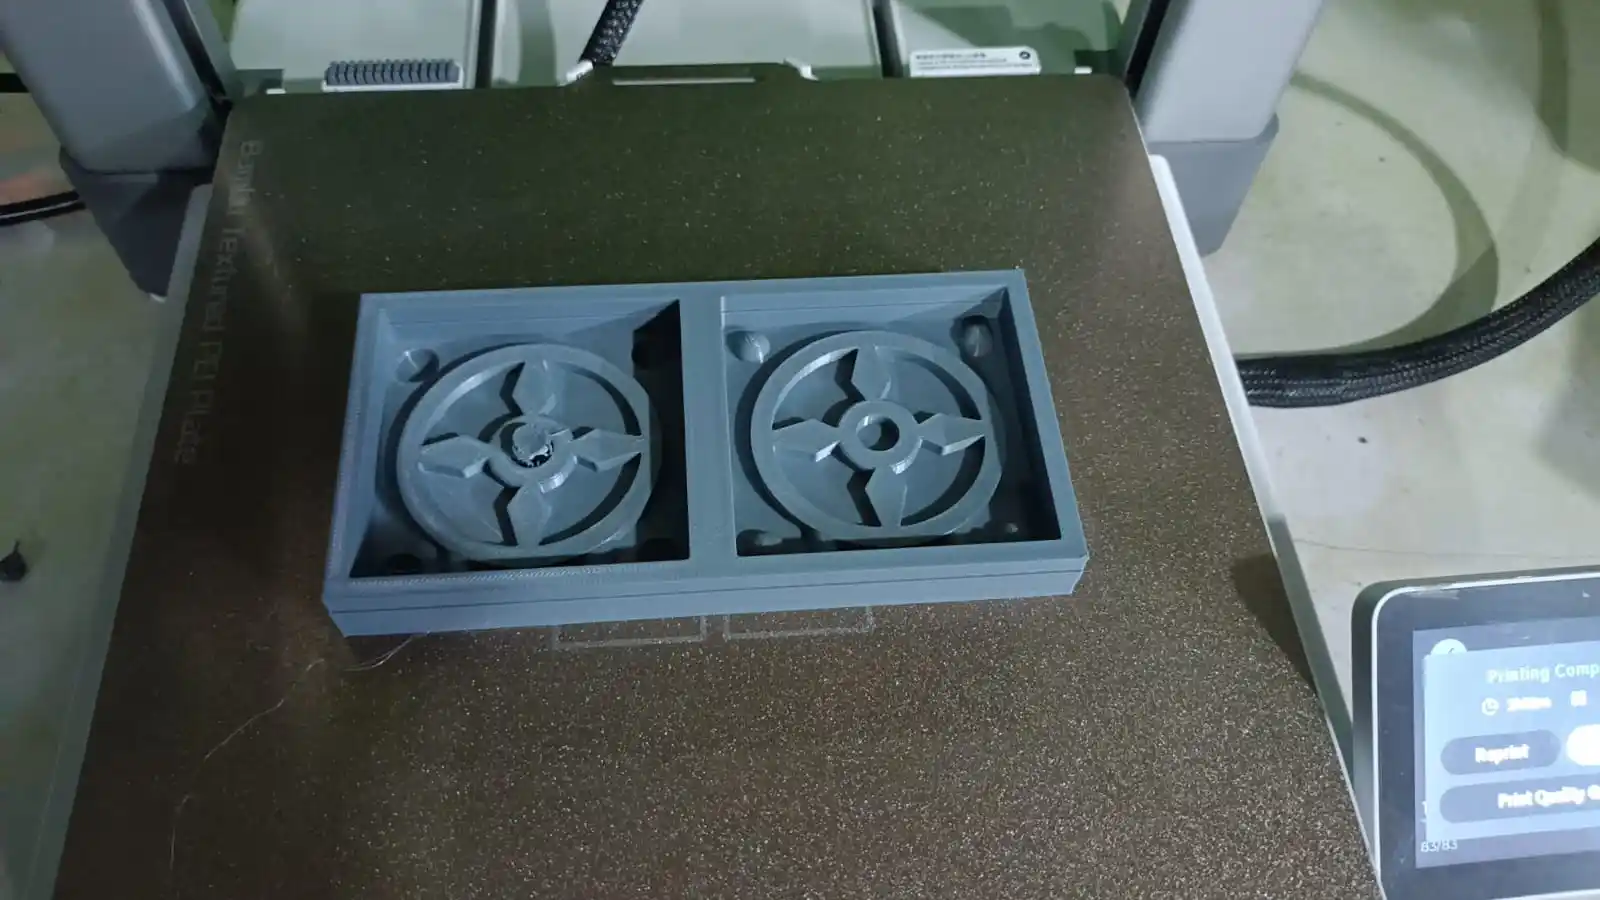
3D printing :- Molding file covert to stl file slicer in bambu lab software, for 3d printing i use the Bambu lab A1 3d printer and i use PLA materil for 3d printing the mold.
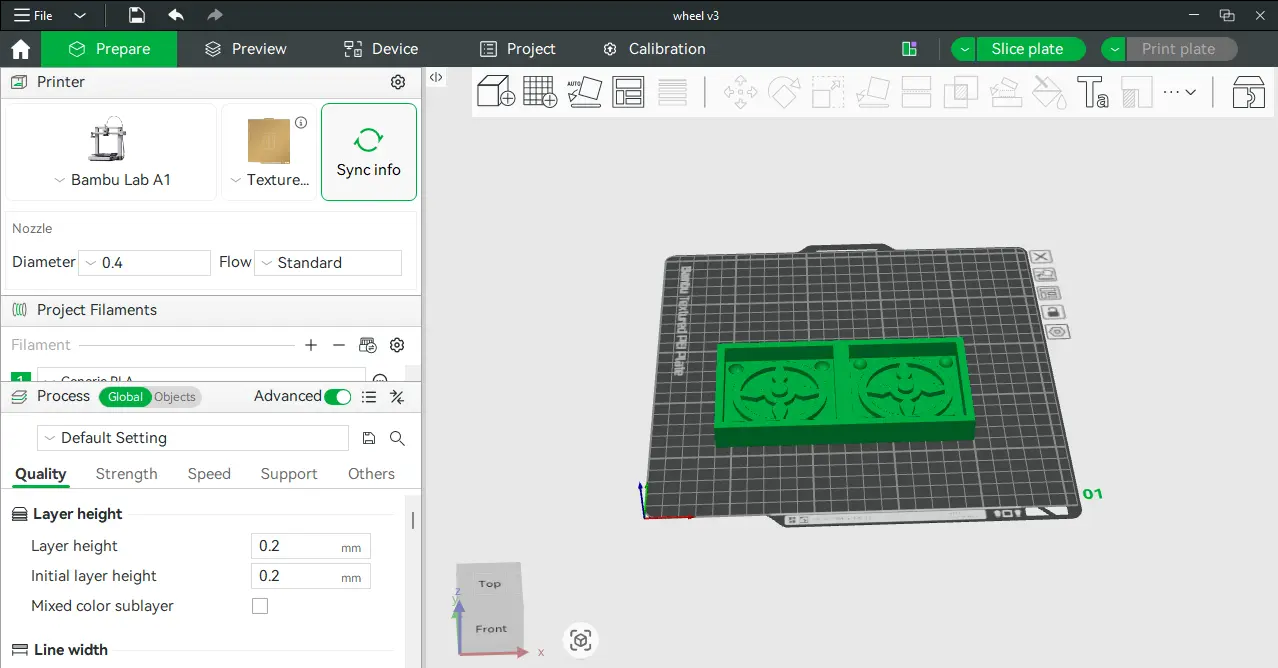
after sclicing the file i start the 3d printing process.
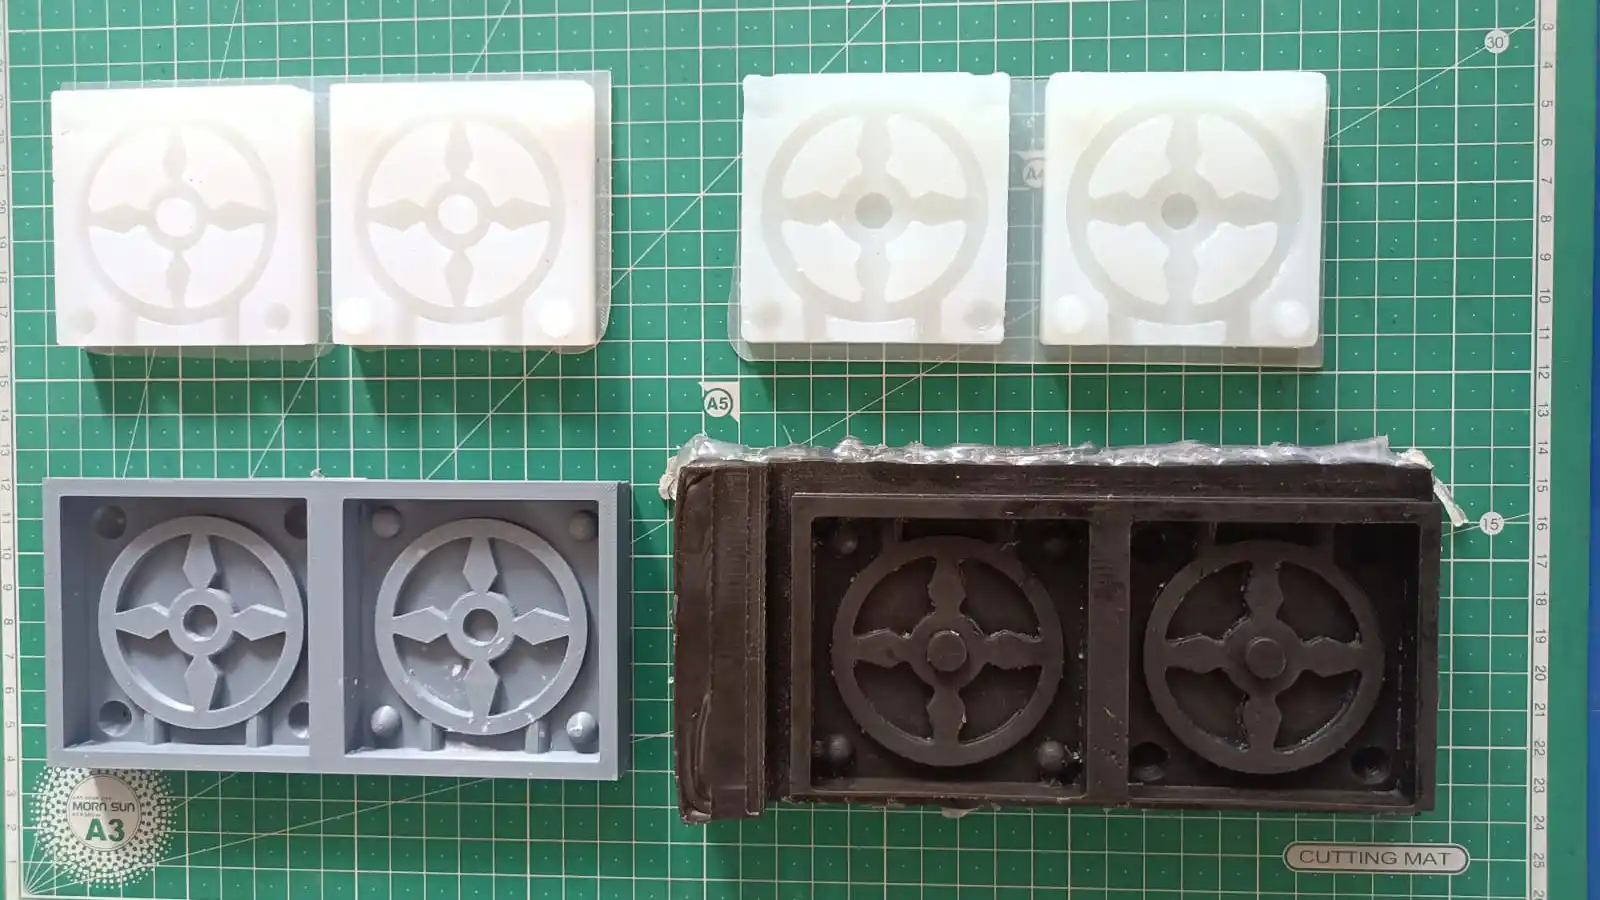
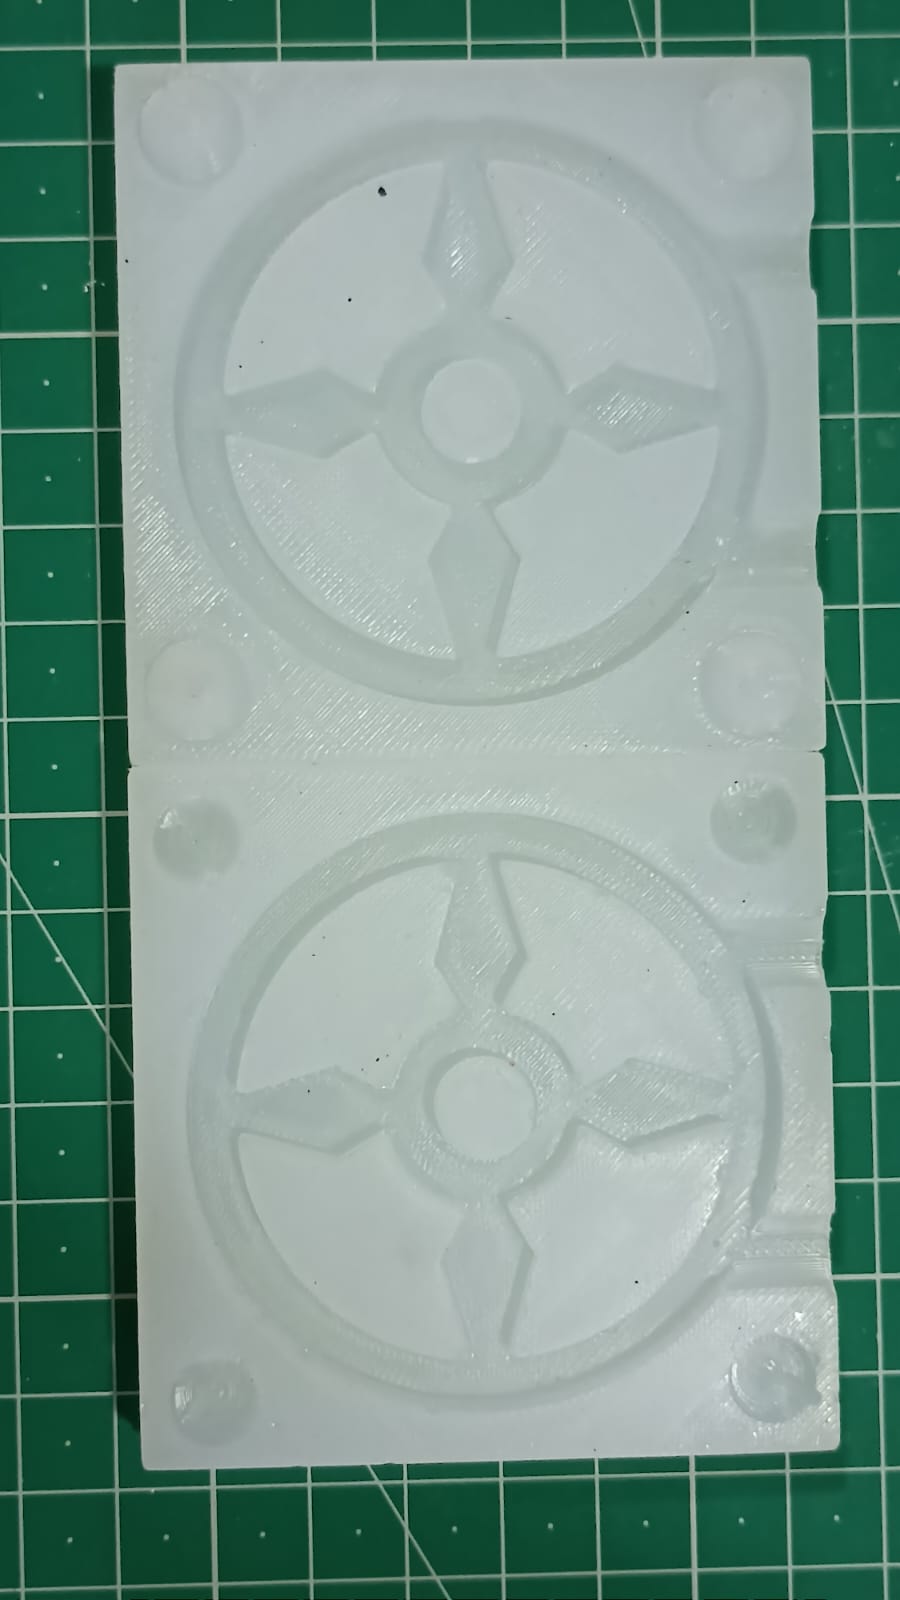
After 3d printing the final output of the mold is look like this.
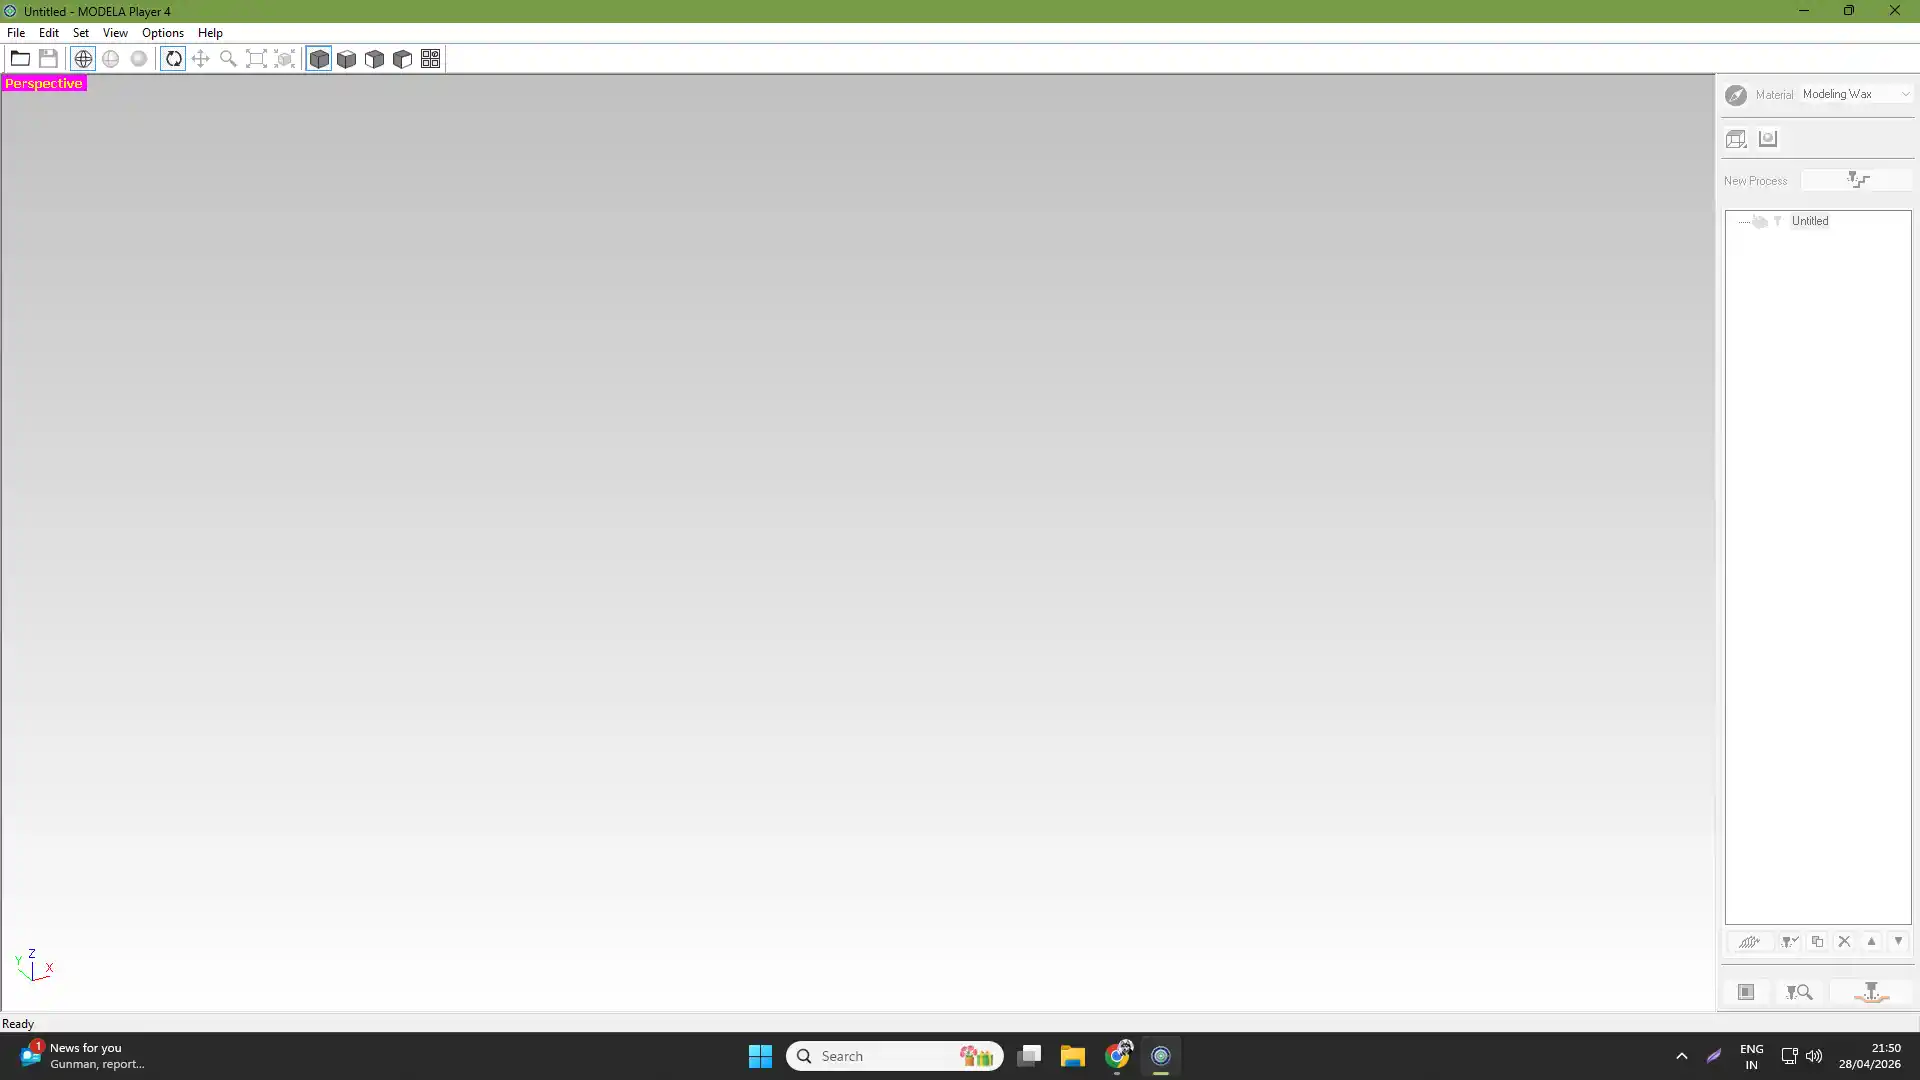
I also made the mold using the CNC milling machine on the MonoFab. I used the MODELA software to operate the machine. Using this software, I followed several steps to complete the machining process, In this process, wax material is machined using the CNC milling machine to create the mold.
This is the interface of the machine.
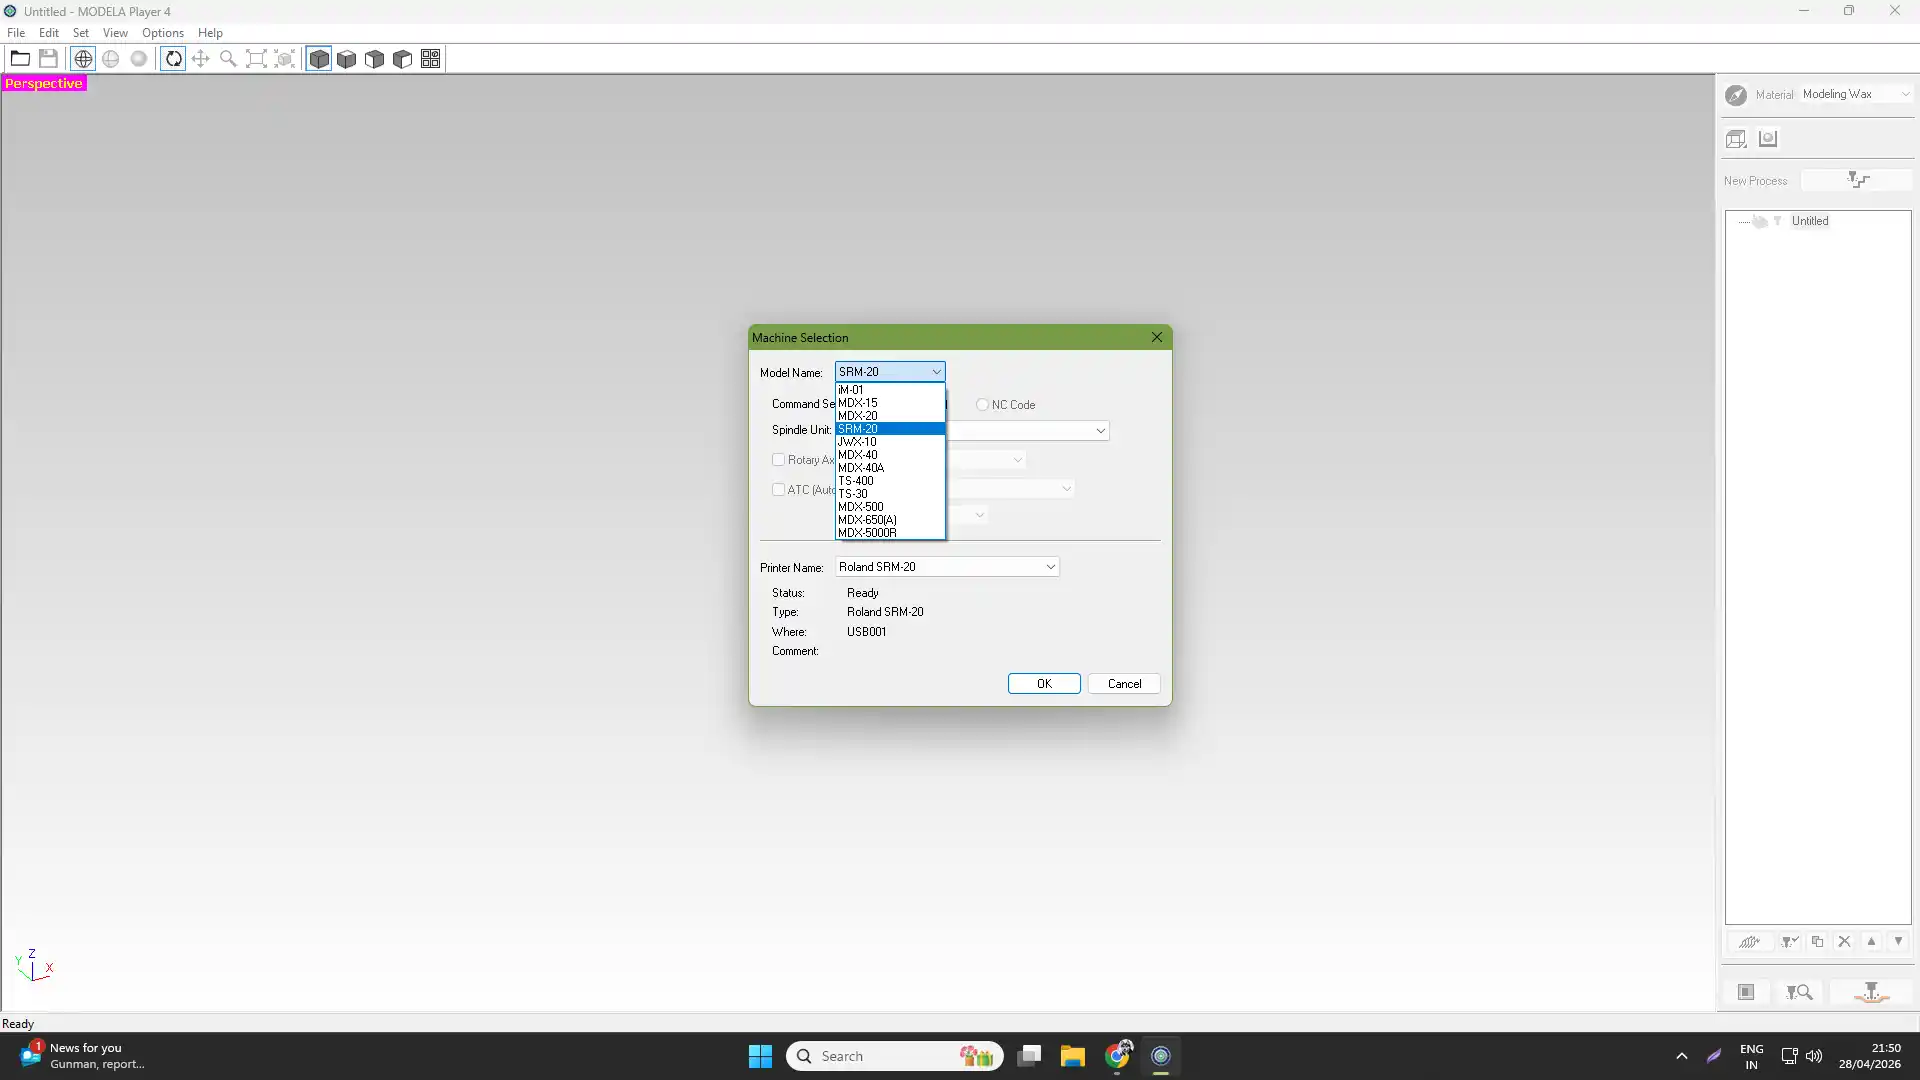
After that, go to machine selection and select the SRM-20.
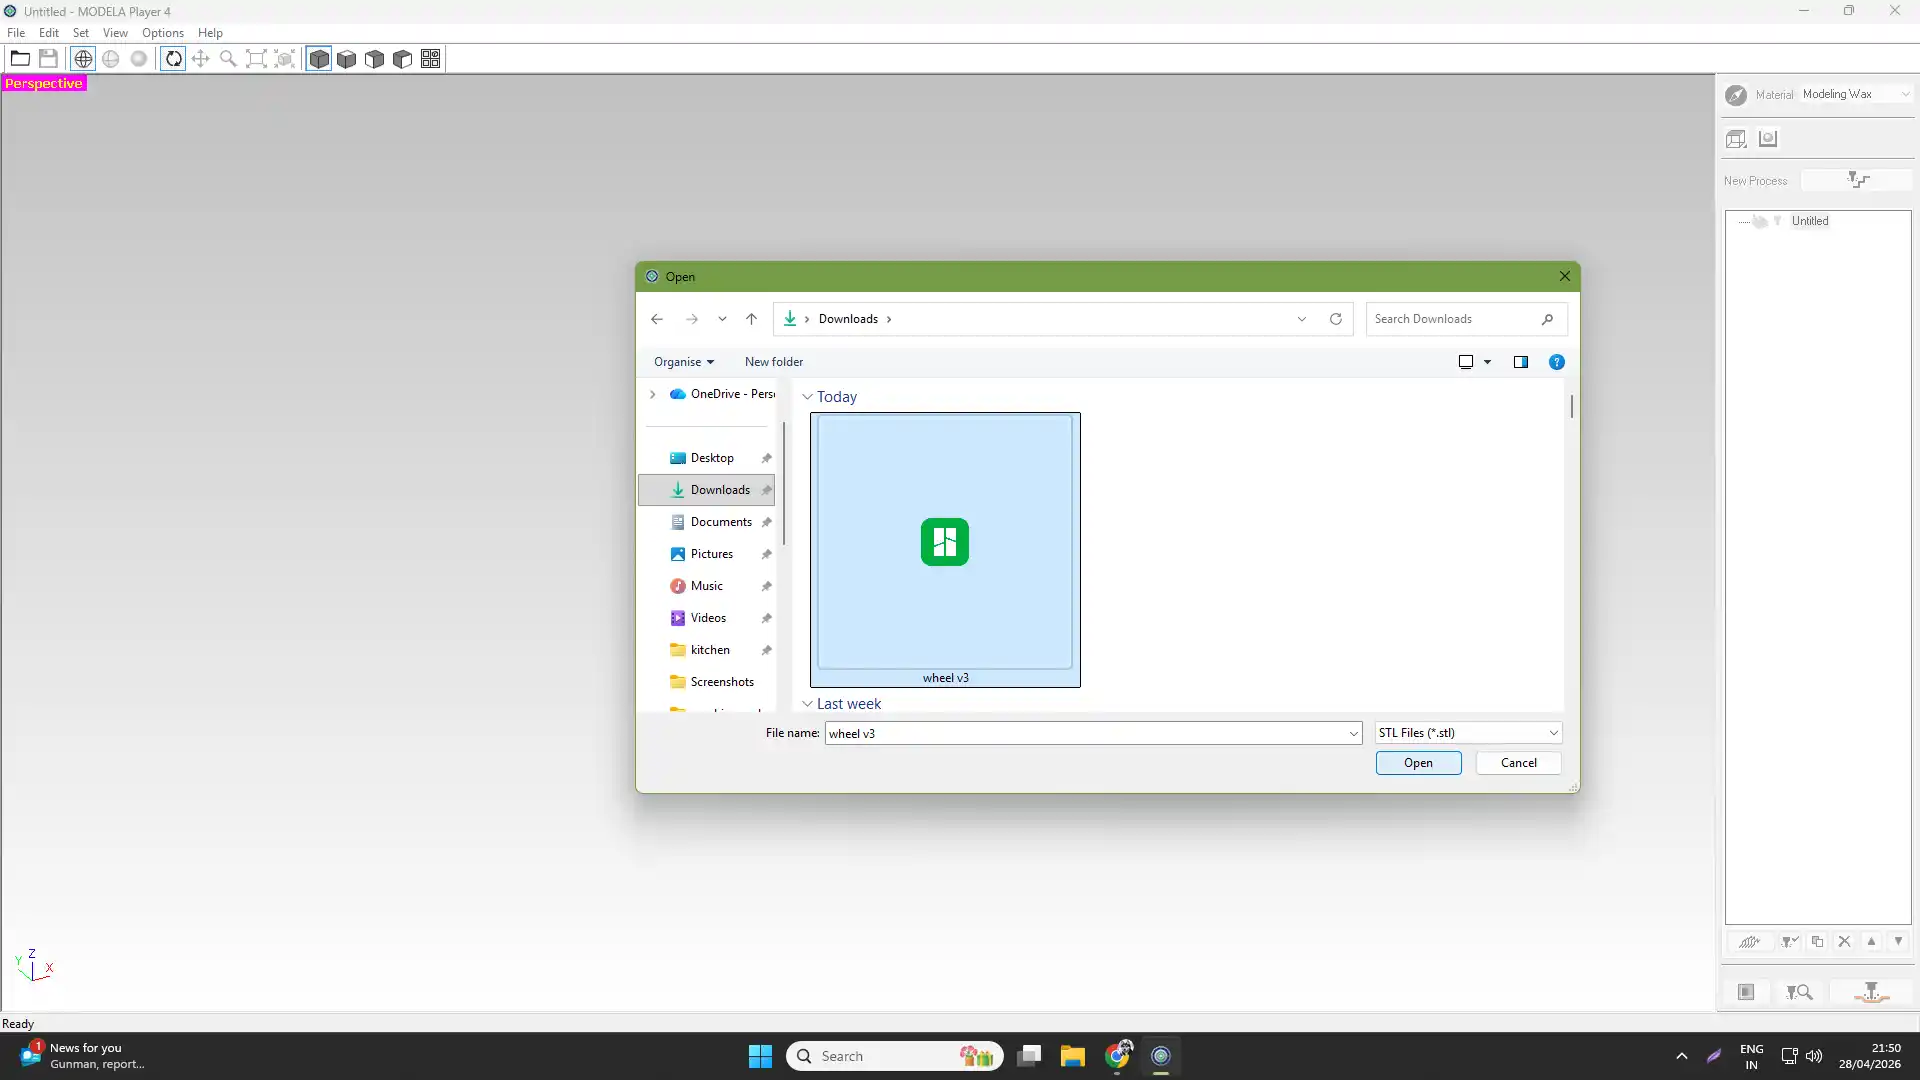
selected the mold file and then set up the mecchine for milling.
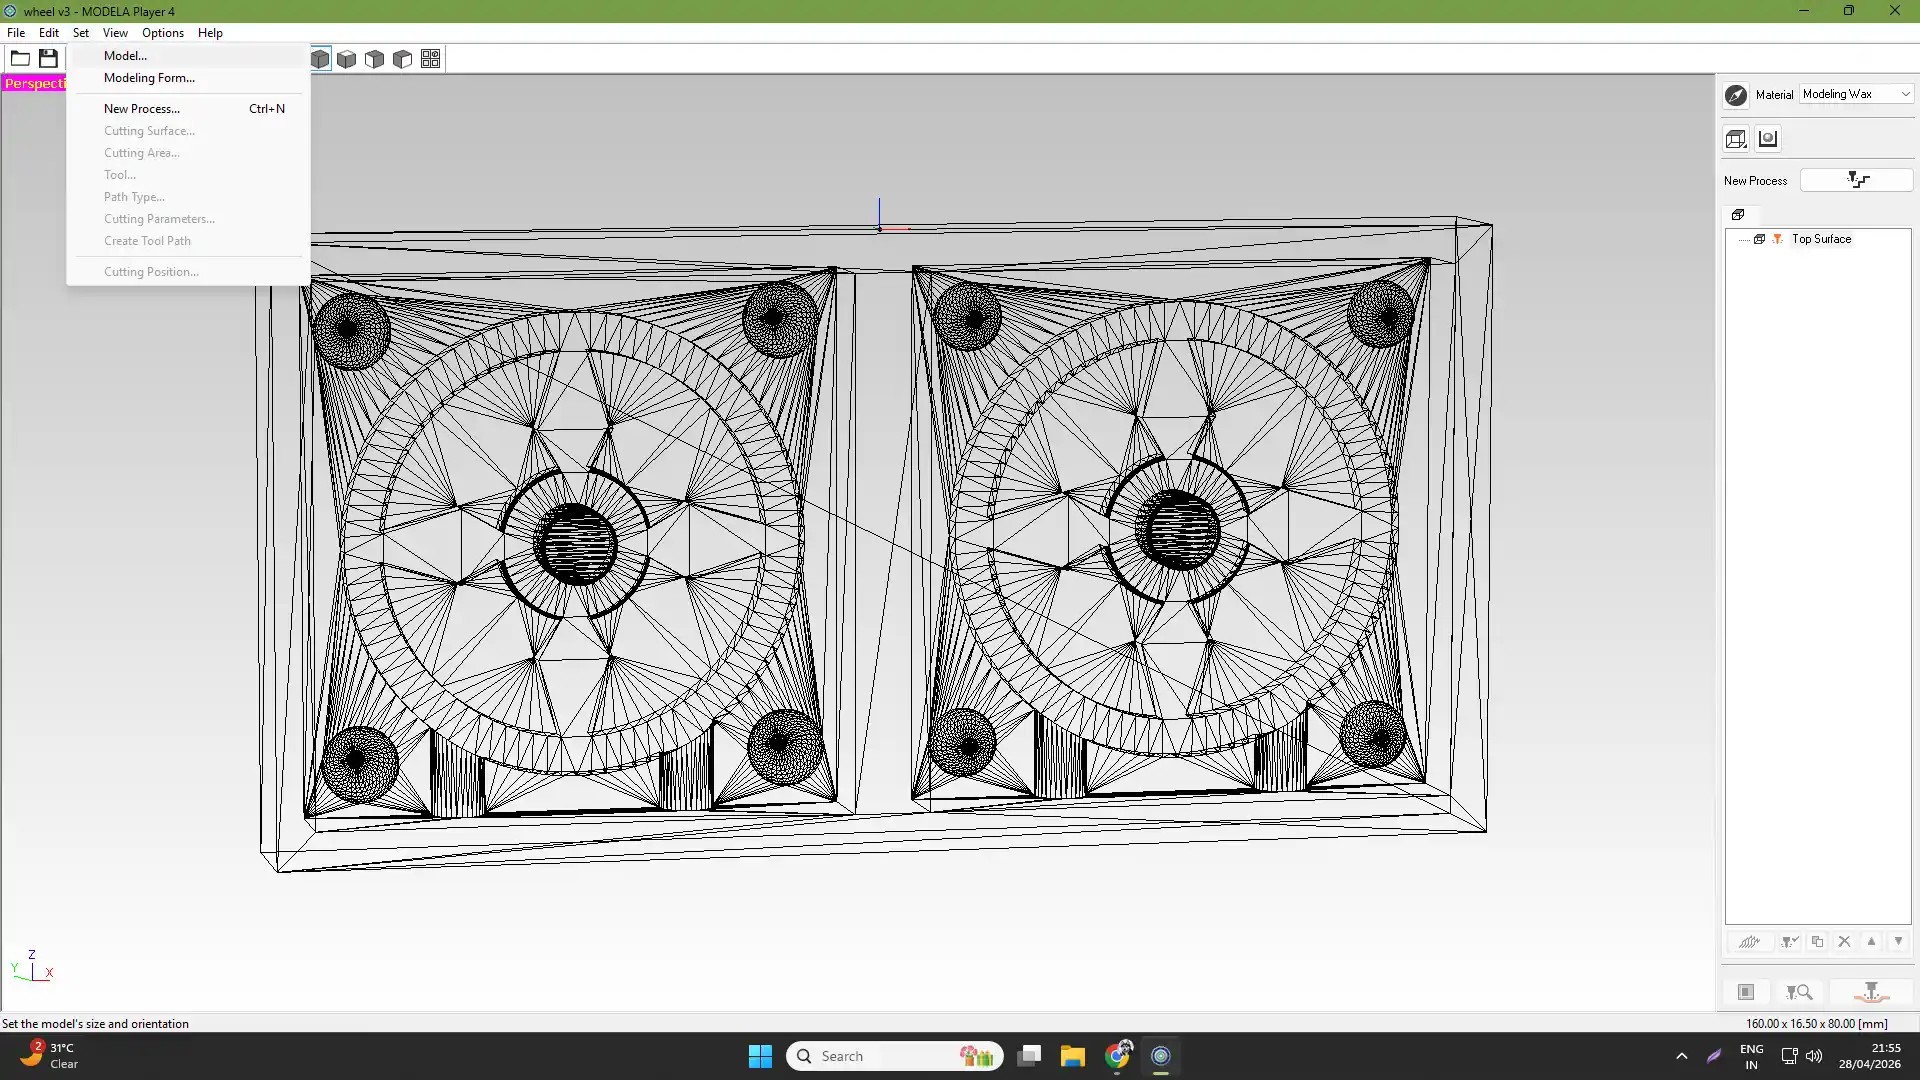
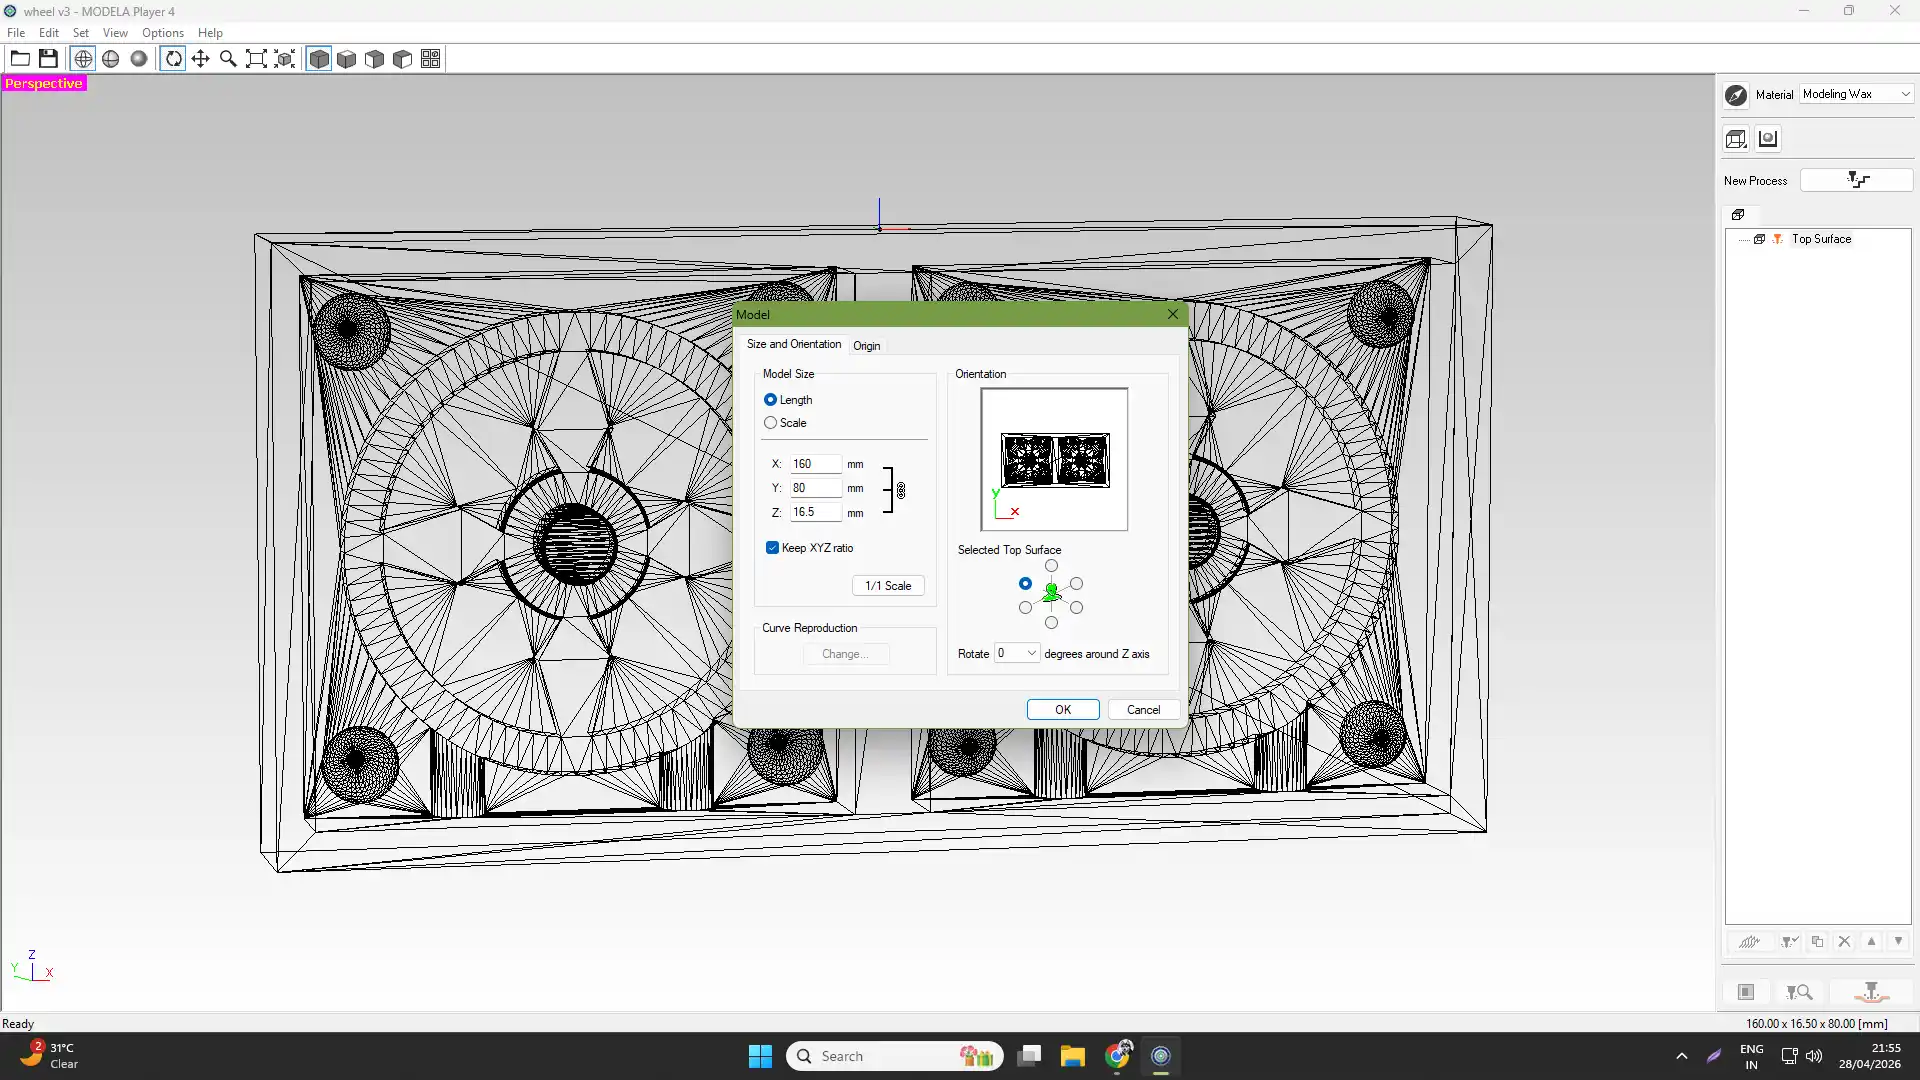
In the next step, go to the set option set select the moldel selction orientation and then set the origin point and serface point.
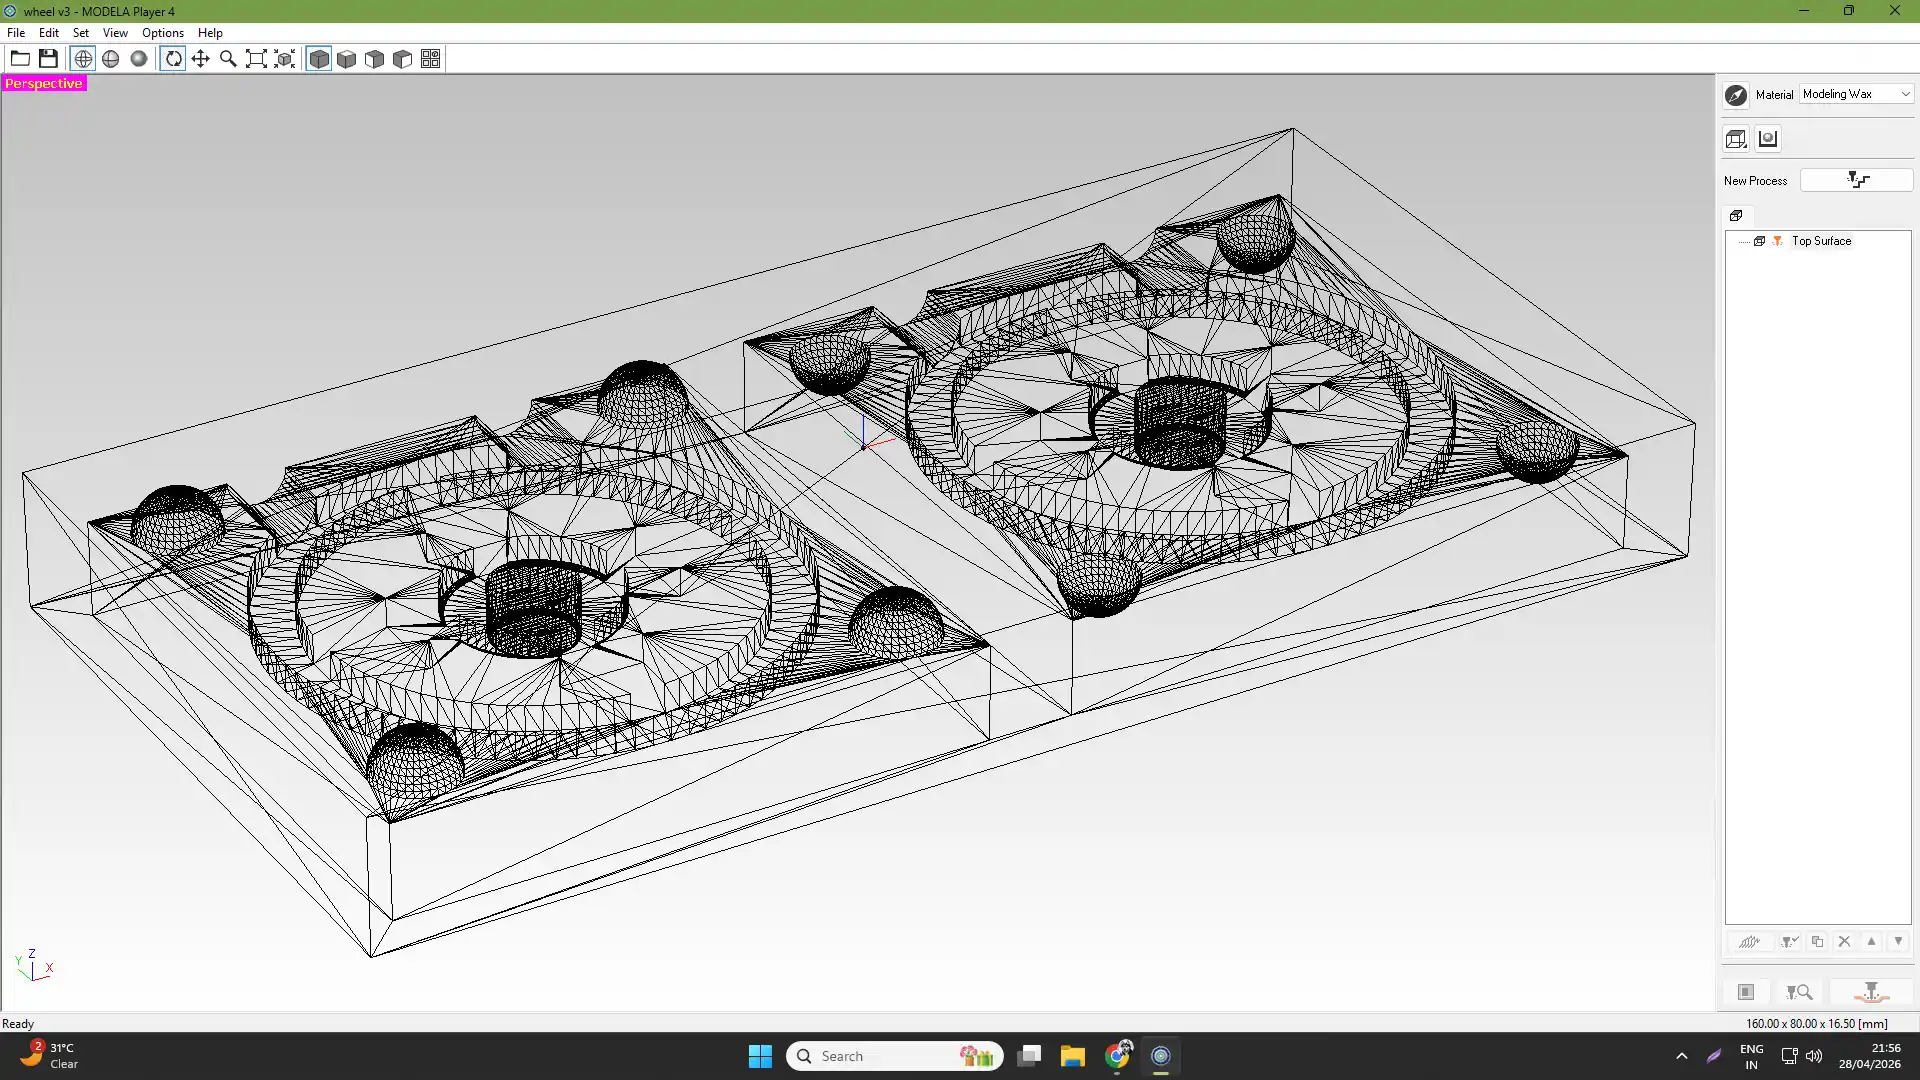
after that 1st procsss is serfacing the wax material to make the suface smooth and then 2nd process is roughing and 3rd process is finishing.
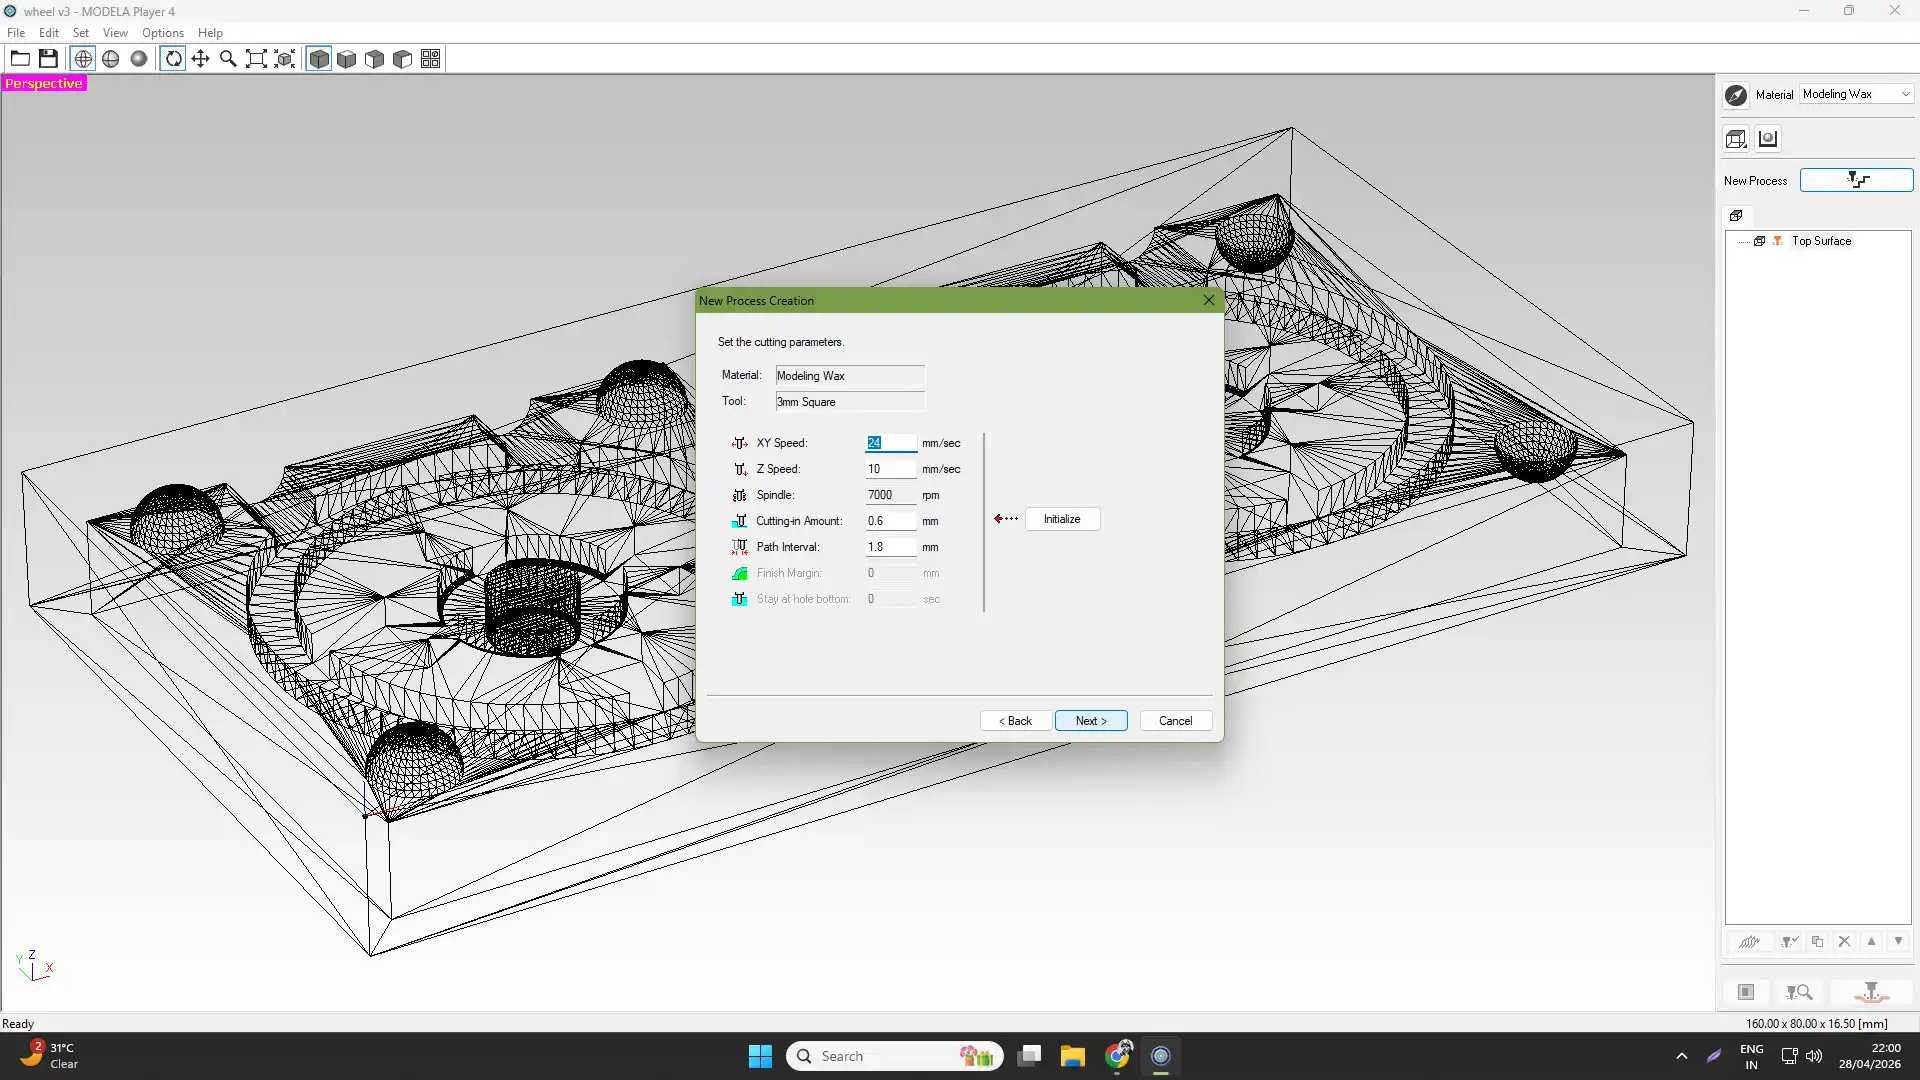
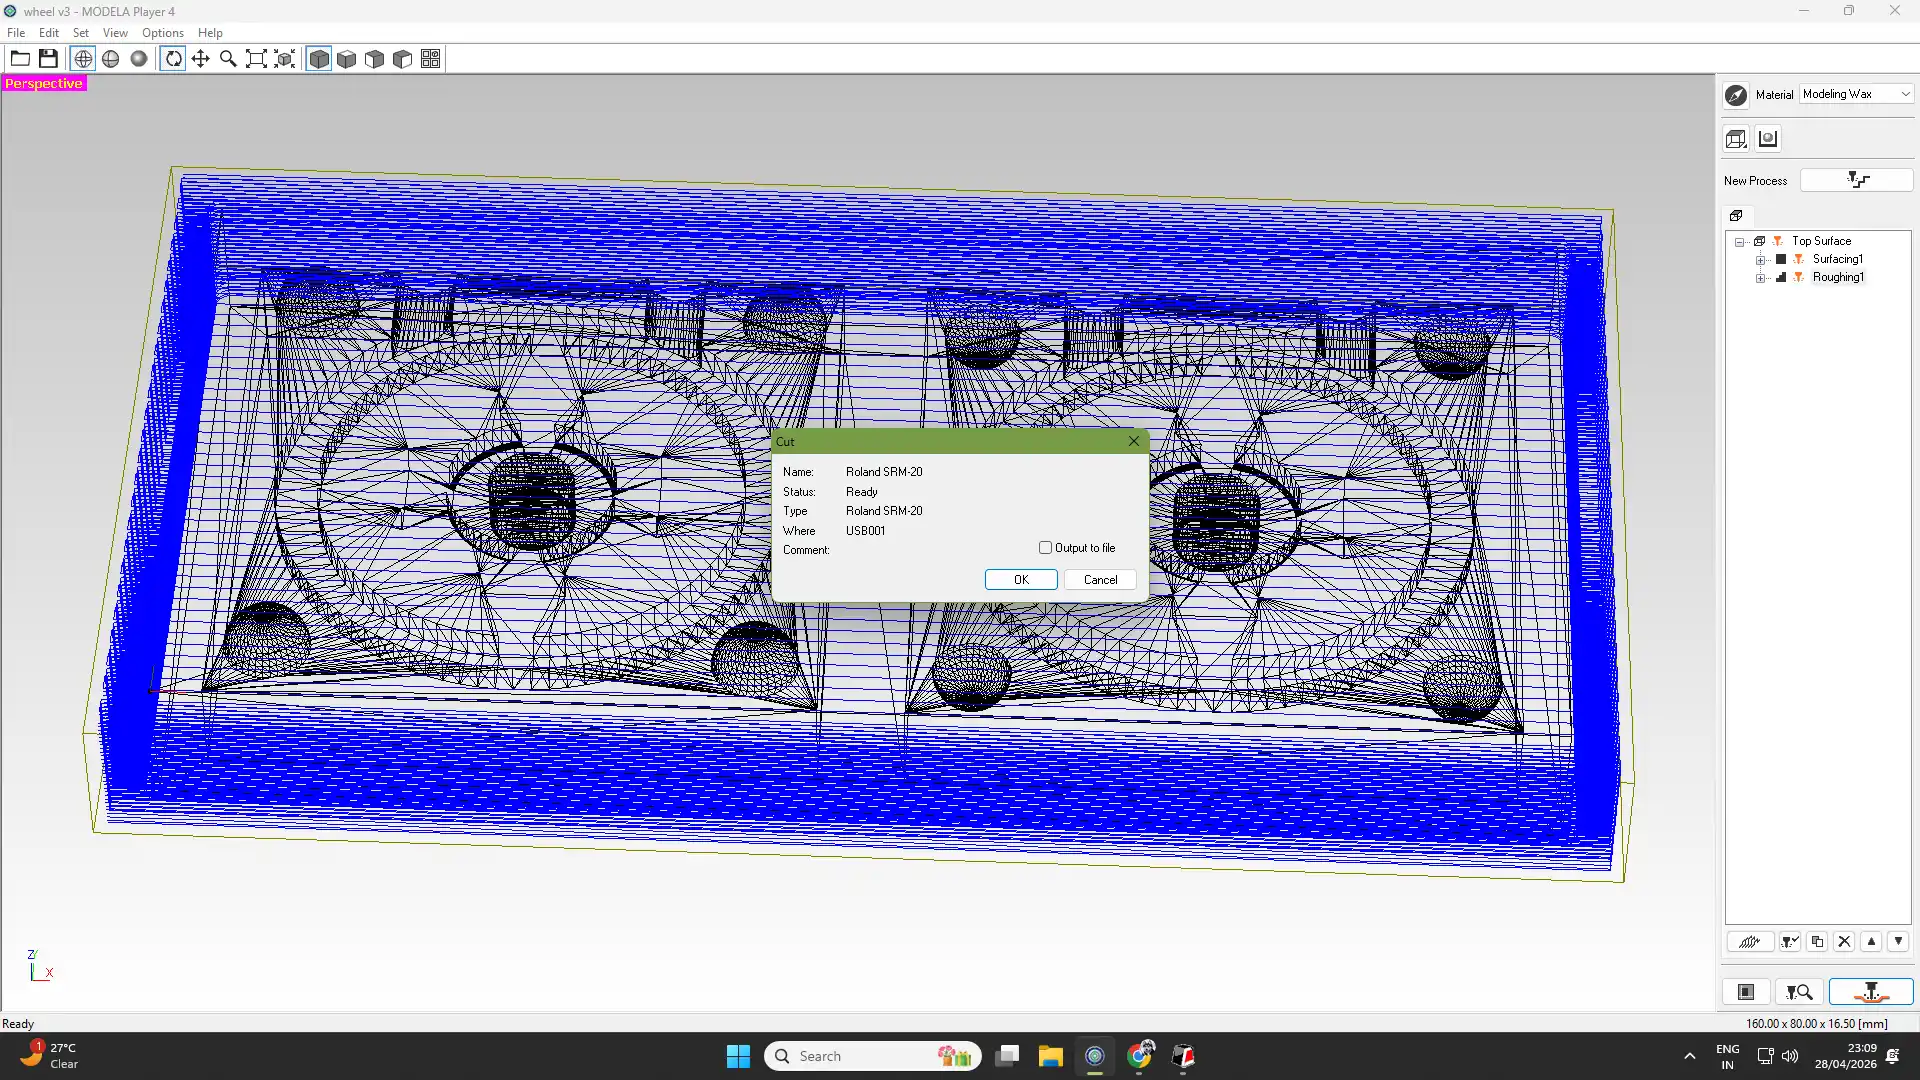
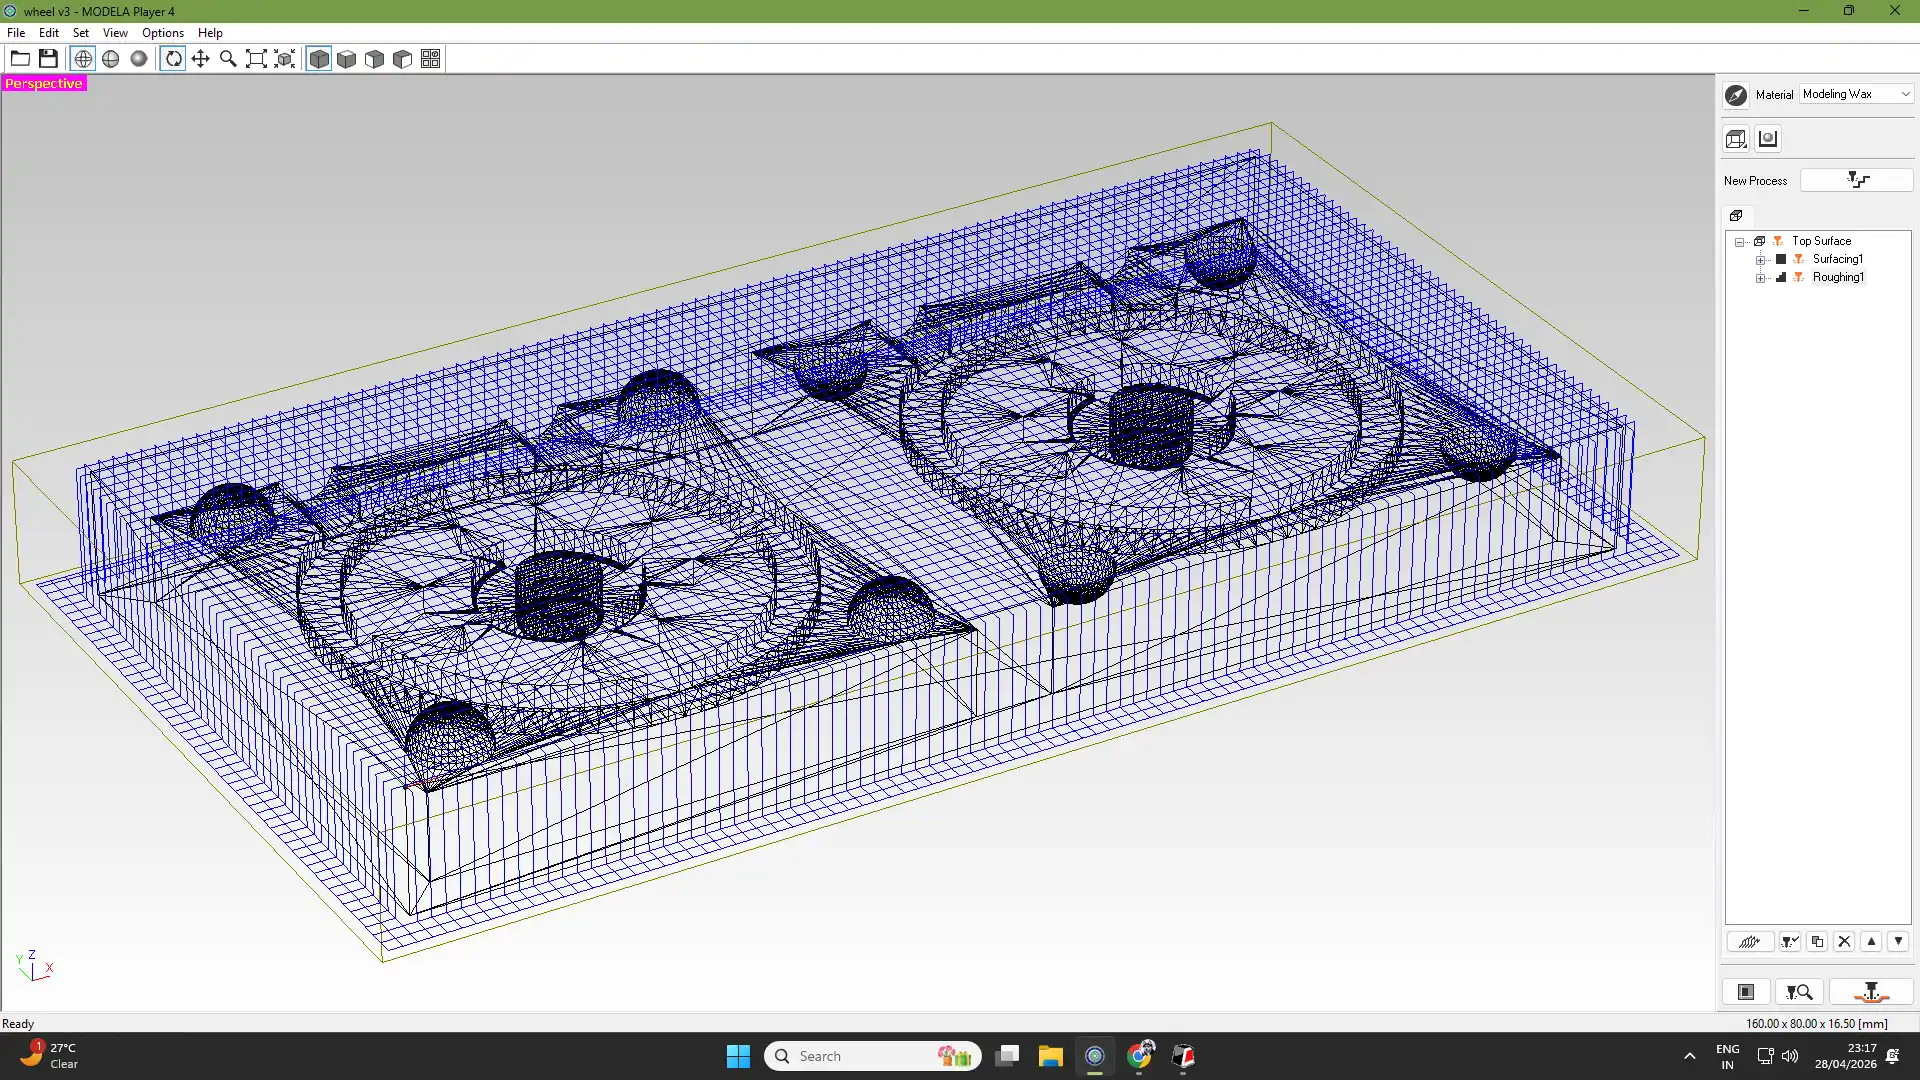
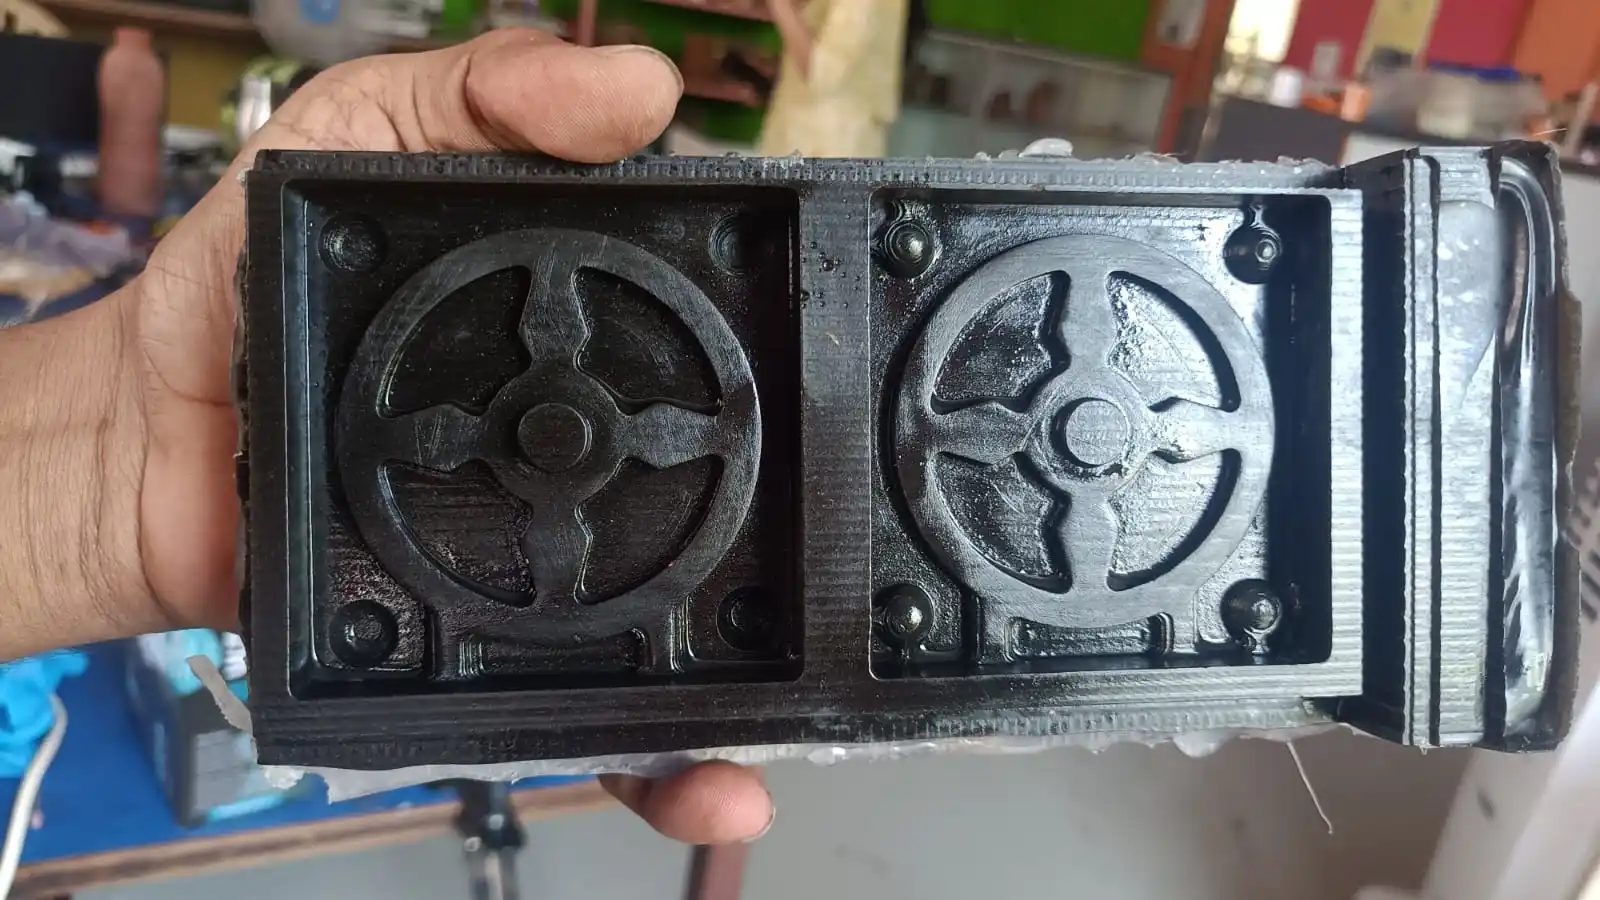
After the milling process is comlete the final output of the mold is looks like this.
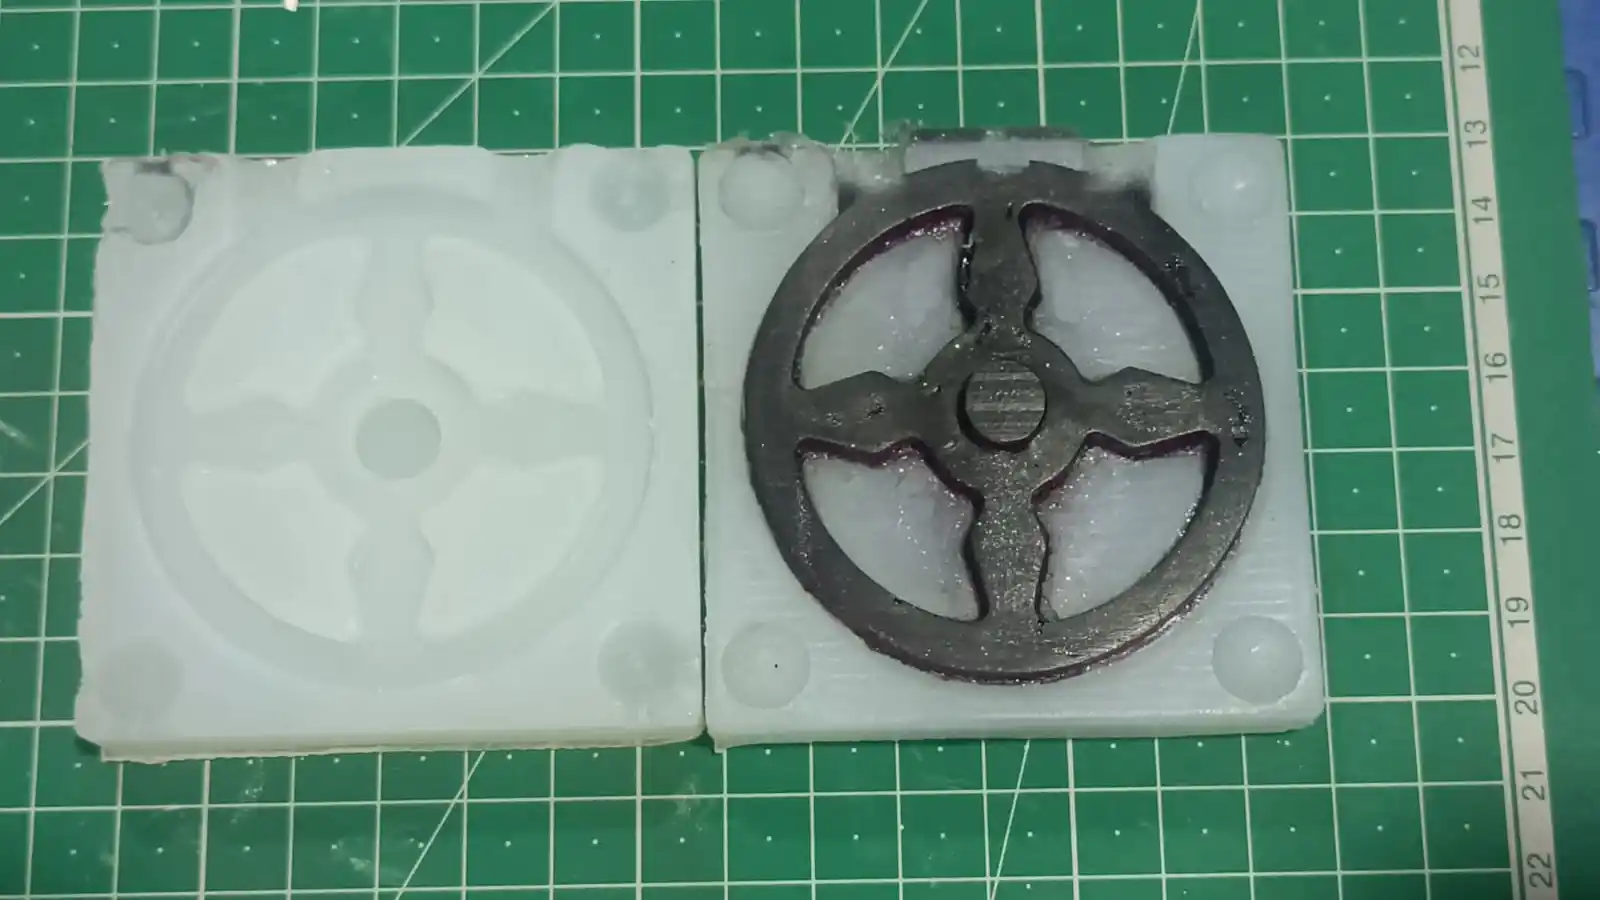
After both the mold is ready, in the next step i casted the material in the mold and for casting i use the sillicon rubber material for the negative mold for the positive mold i use the resign materil and mix the resign pigment to give the color to the casted part.
As per design of the mold i calculte the quantity of the material required to fill the mold.
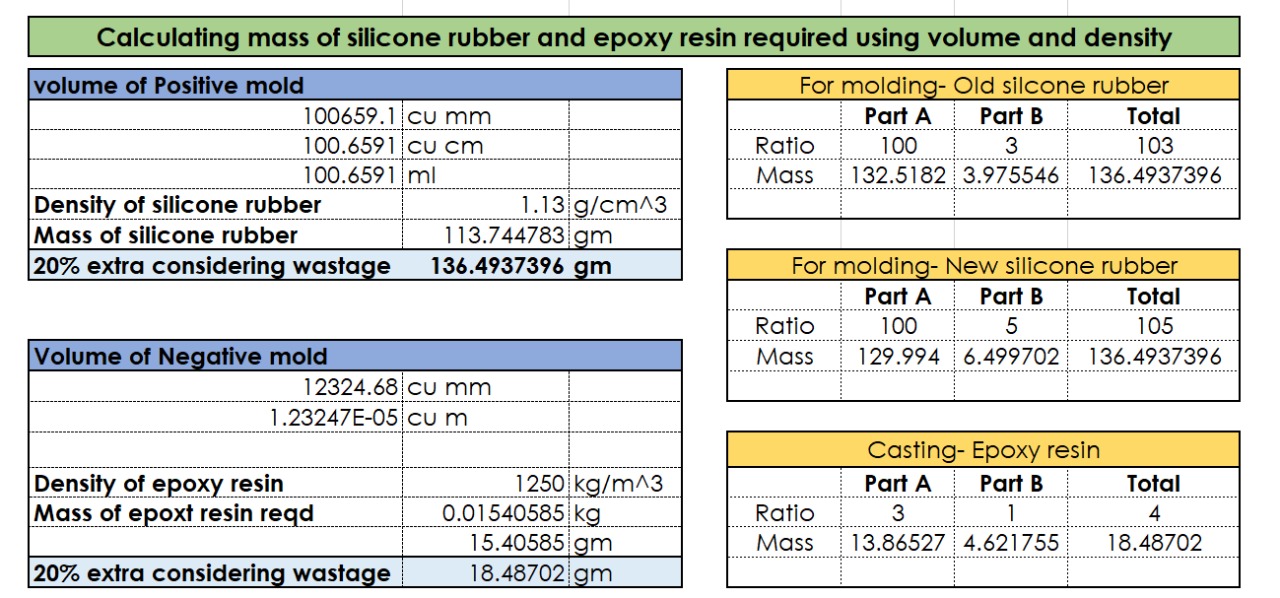
Also i mesured the area of the mold full fill with the water to check that how much water is required to fill the mold and then i convert the quantity of the actual materil required to fill the mold.
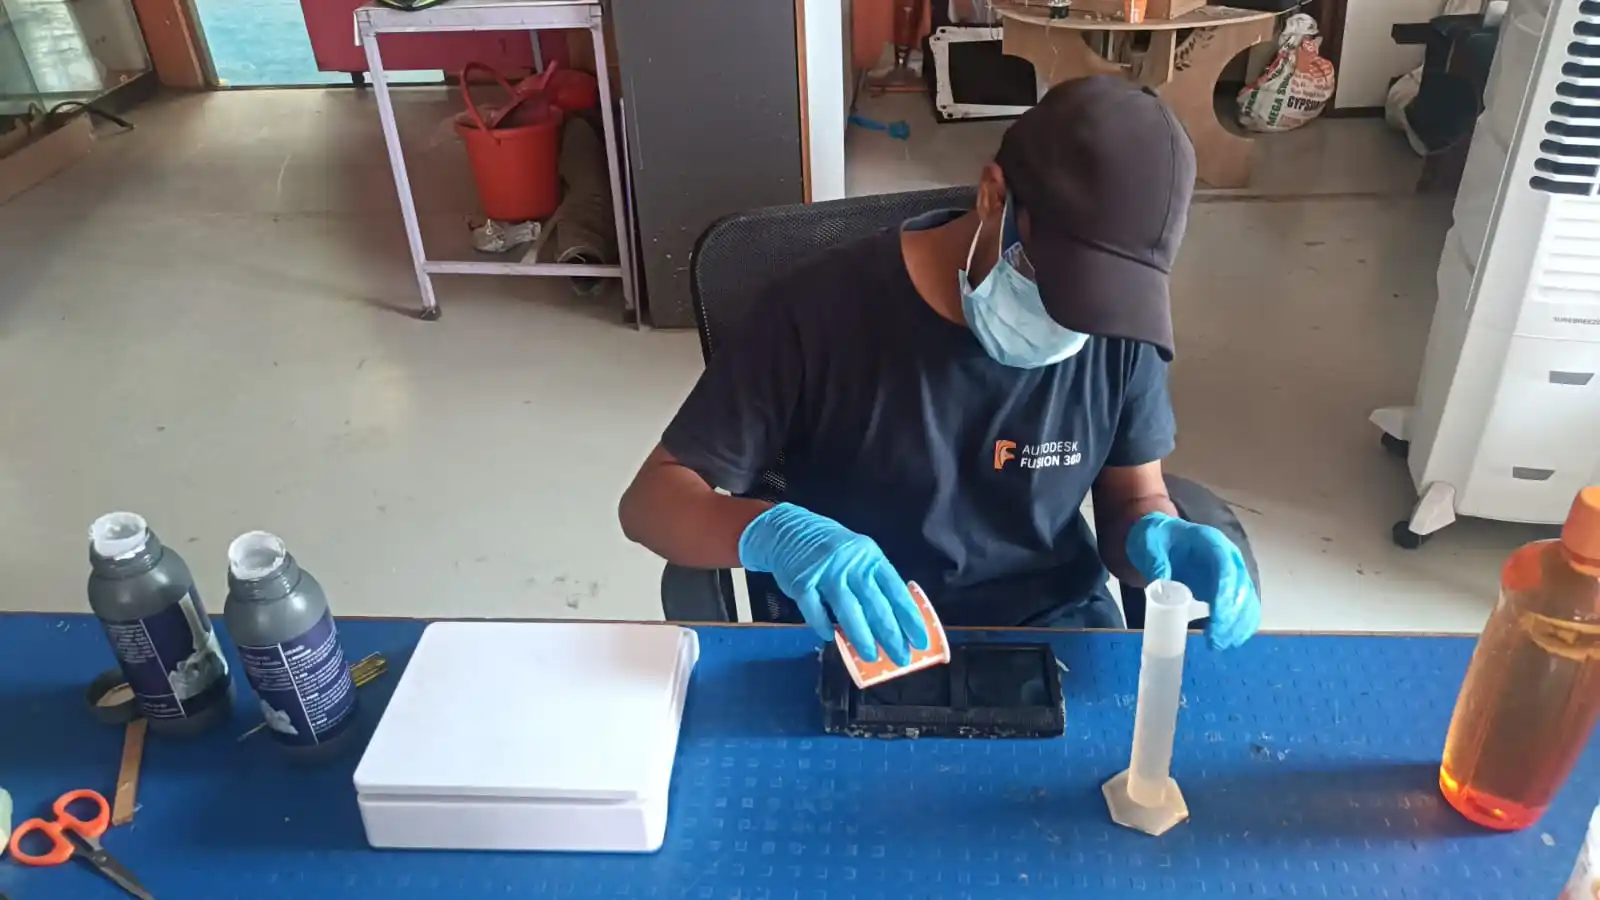
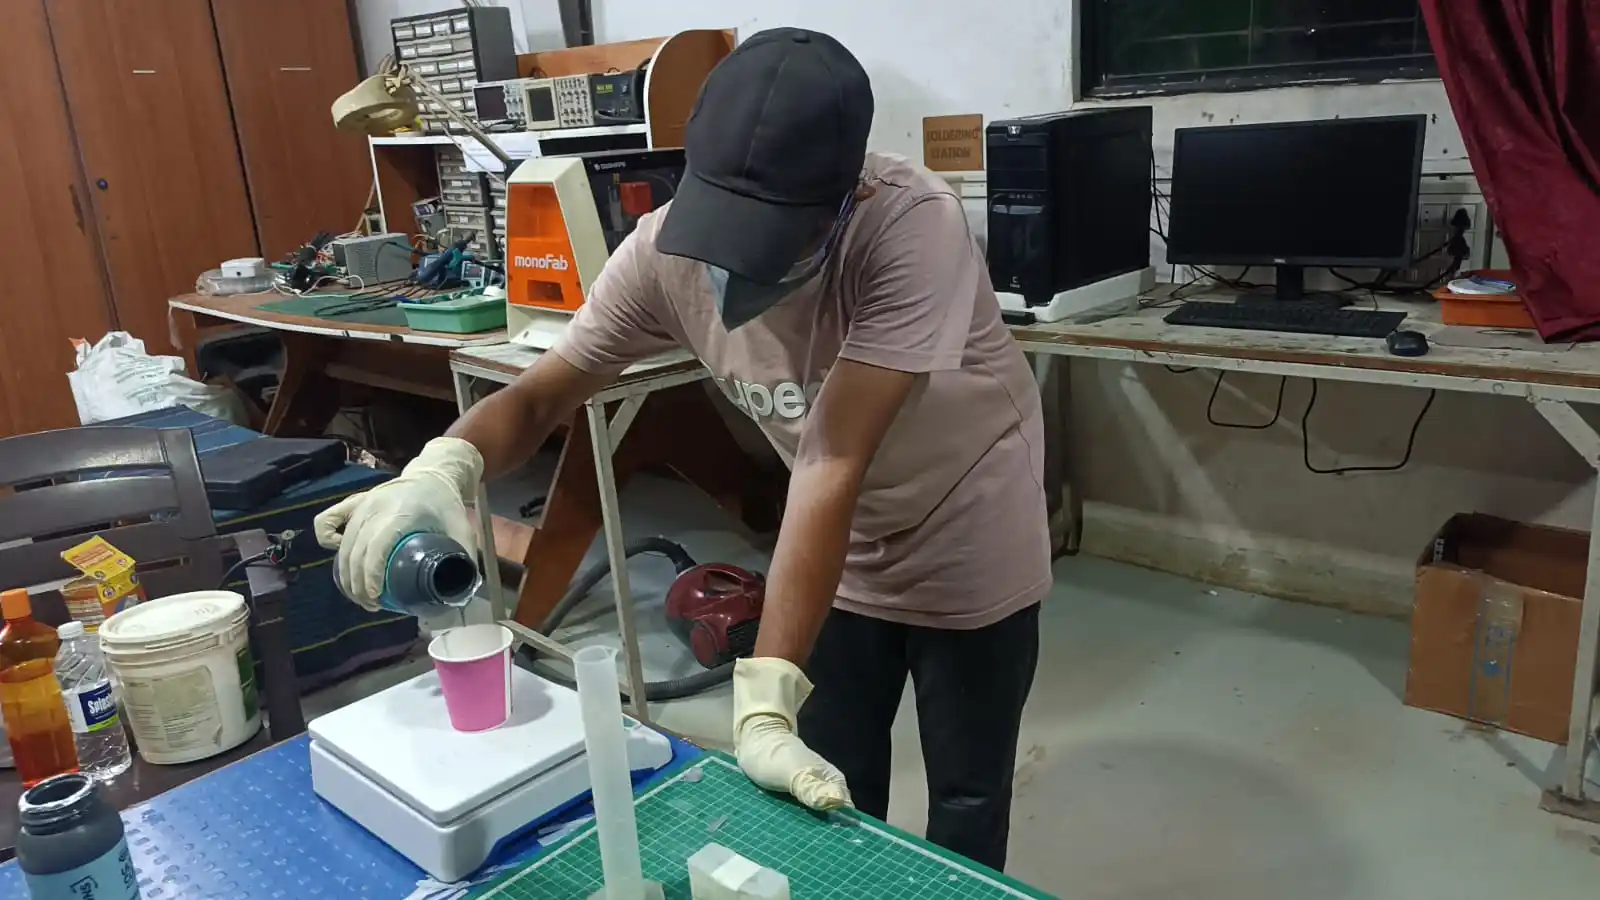
for this i following the steps to negive mold 1st step is to mix the easy sillicon rubber material.
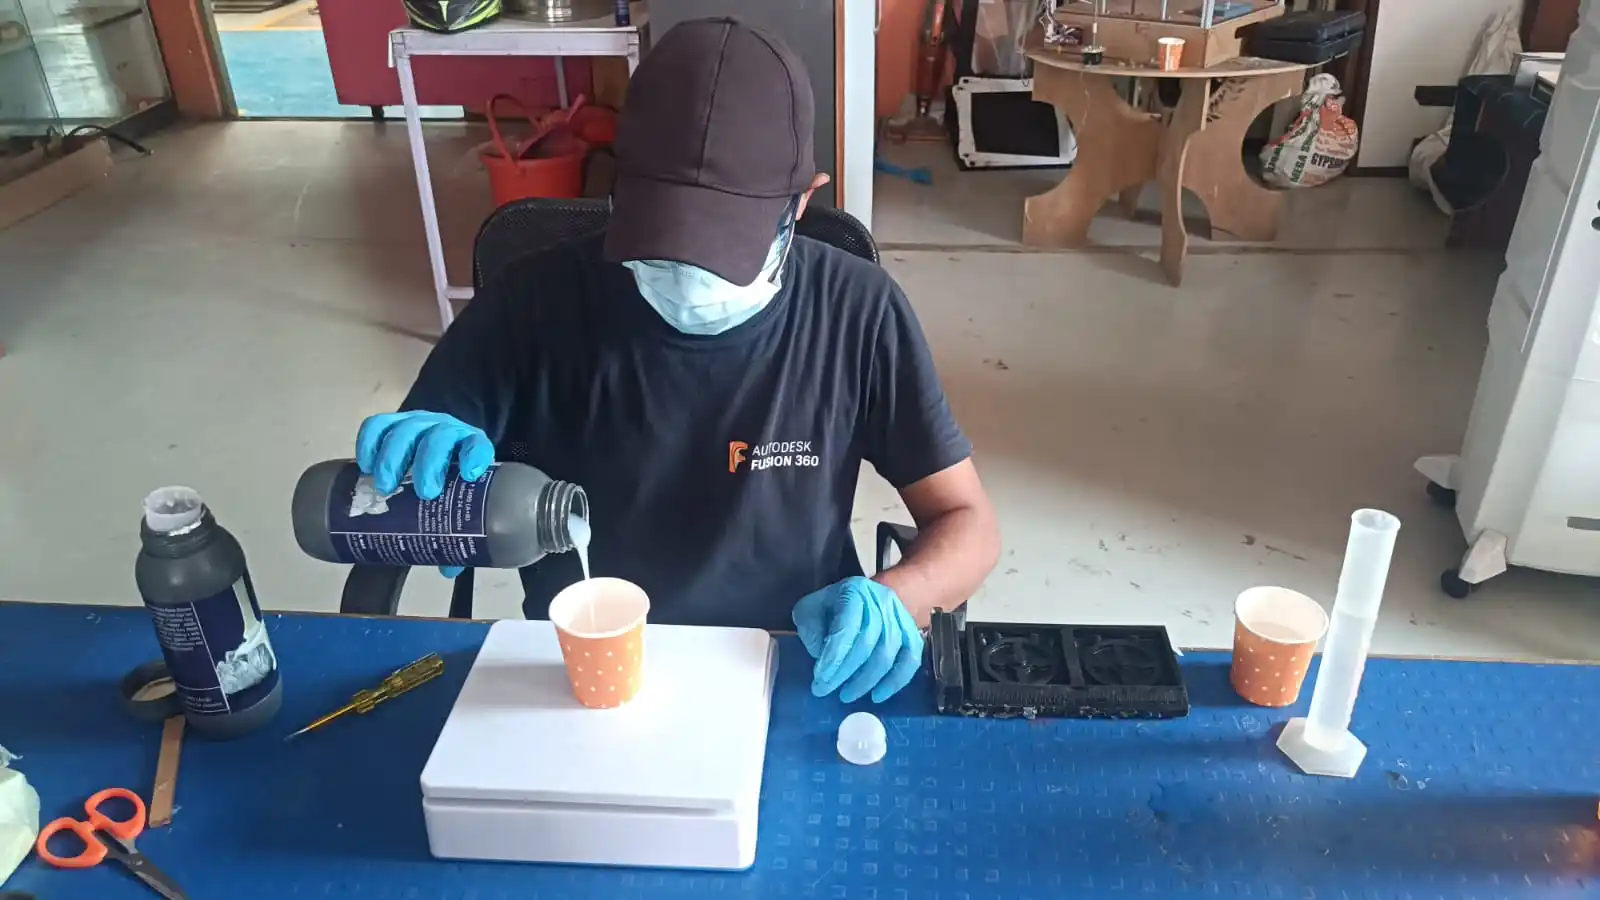

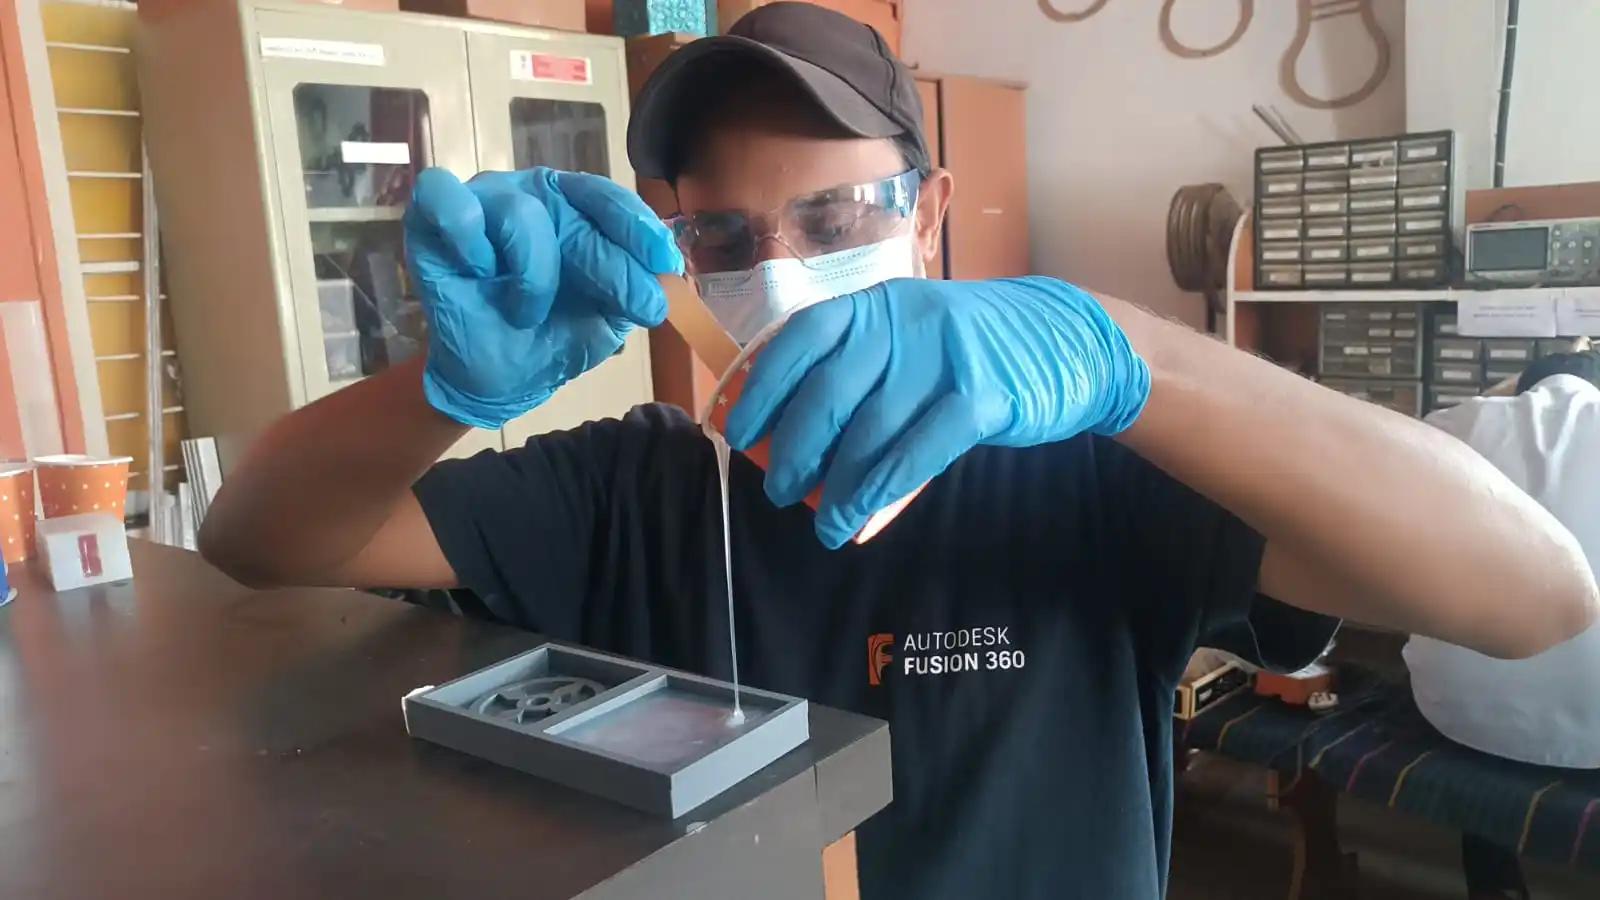
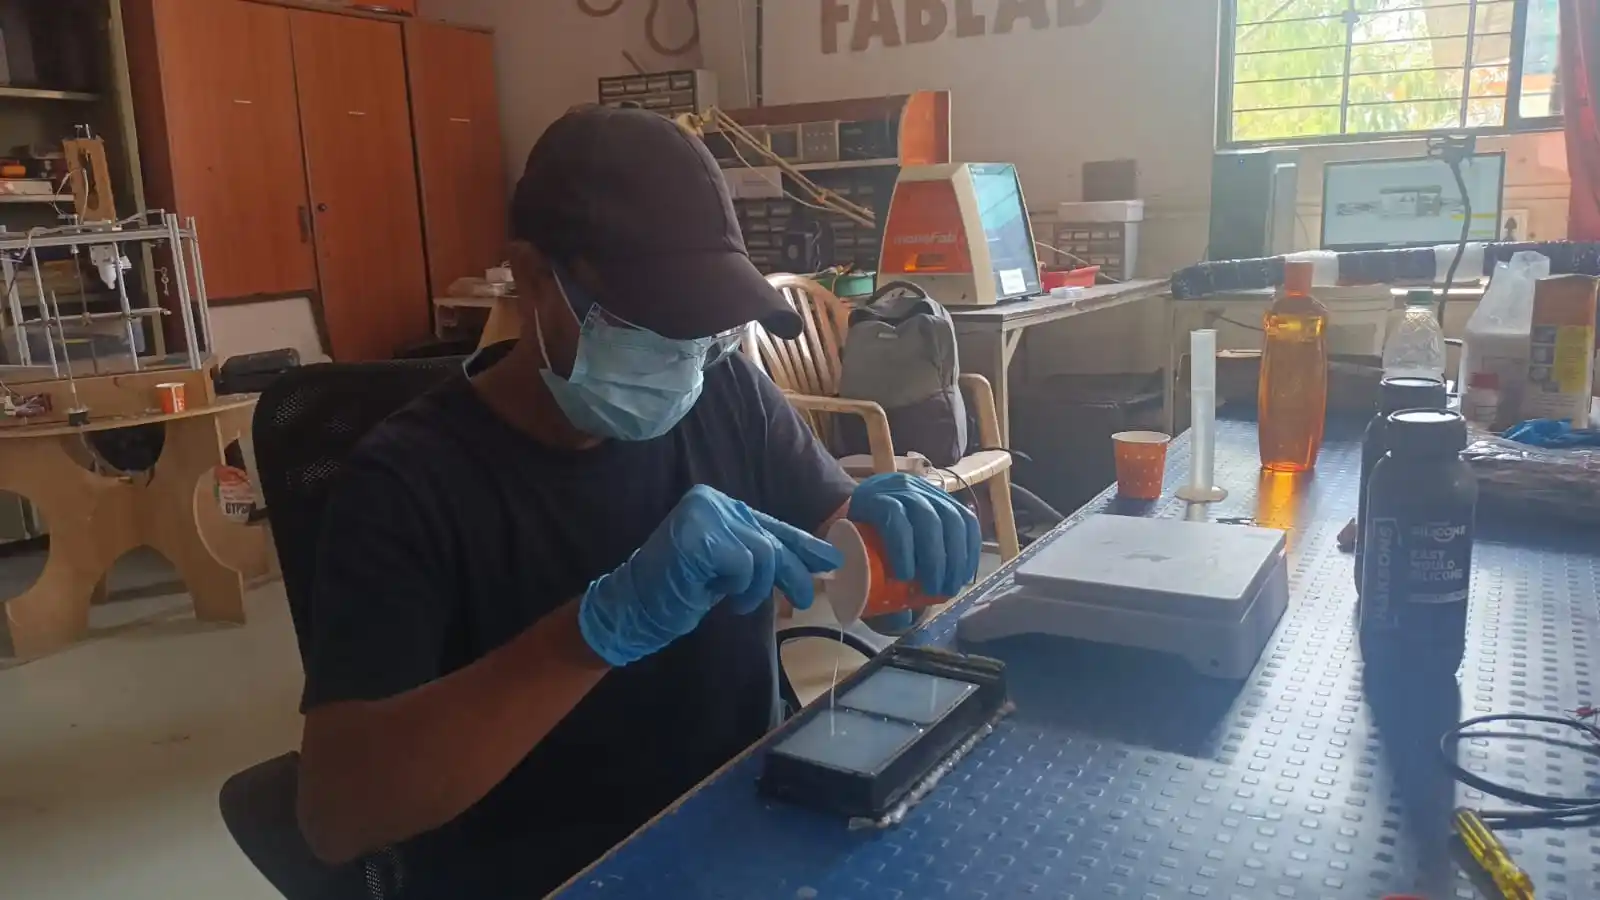
Then pour the materil in the mold and then wait for the material to cure 24 hours.
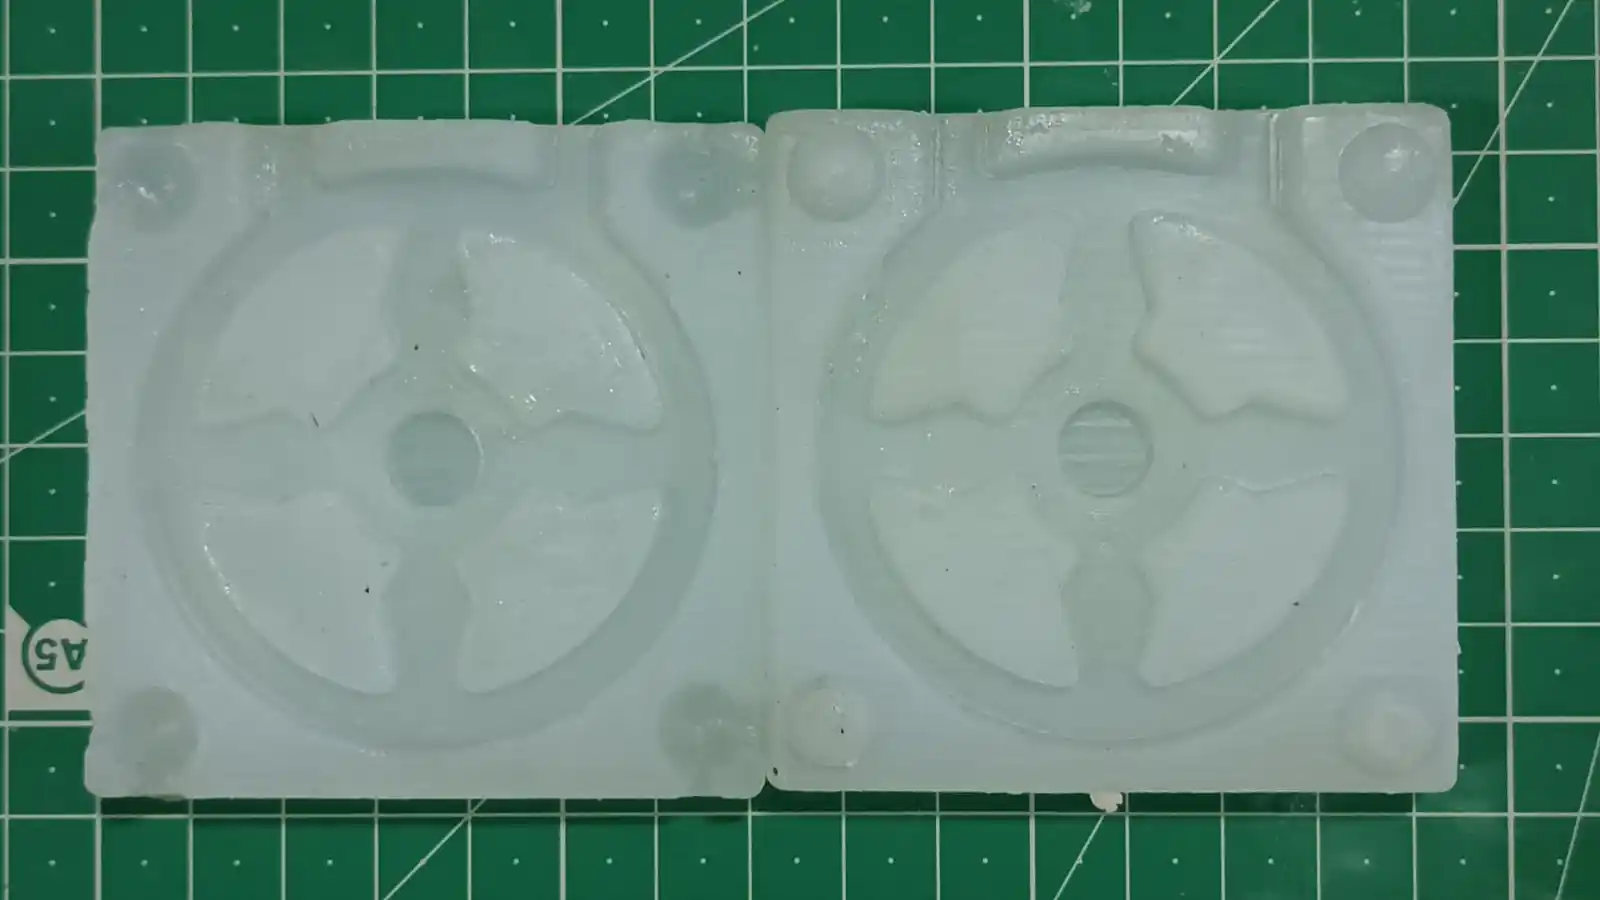
After 24 hours i will check the mold properly cure or not and then i will remove the mold and cut the extra part of the mold and then i will use this mold for casting the materil.
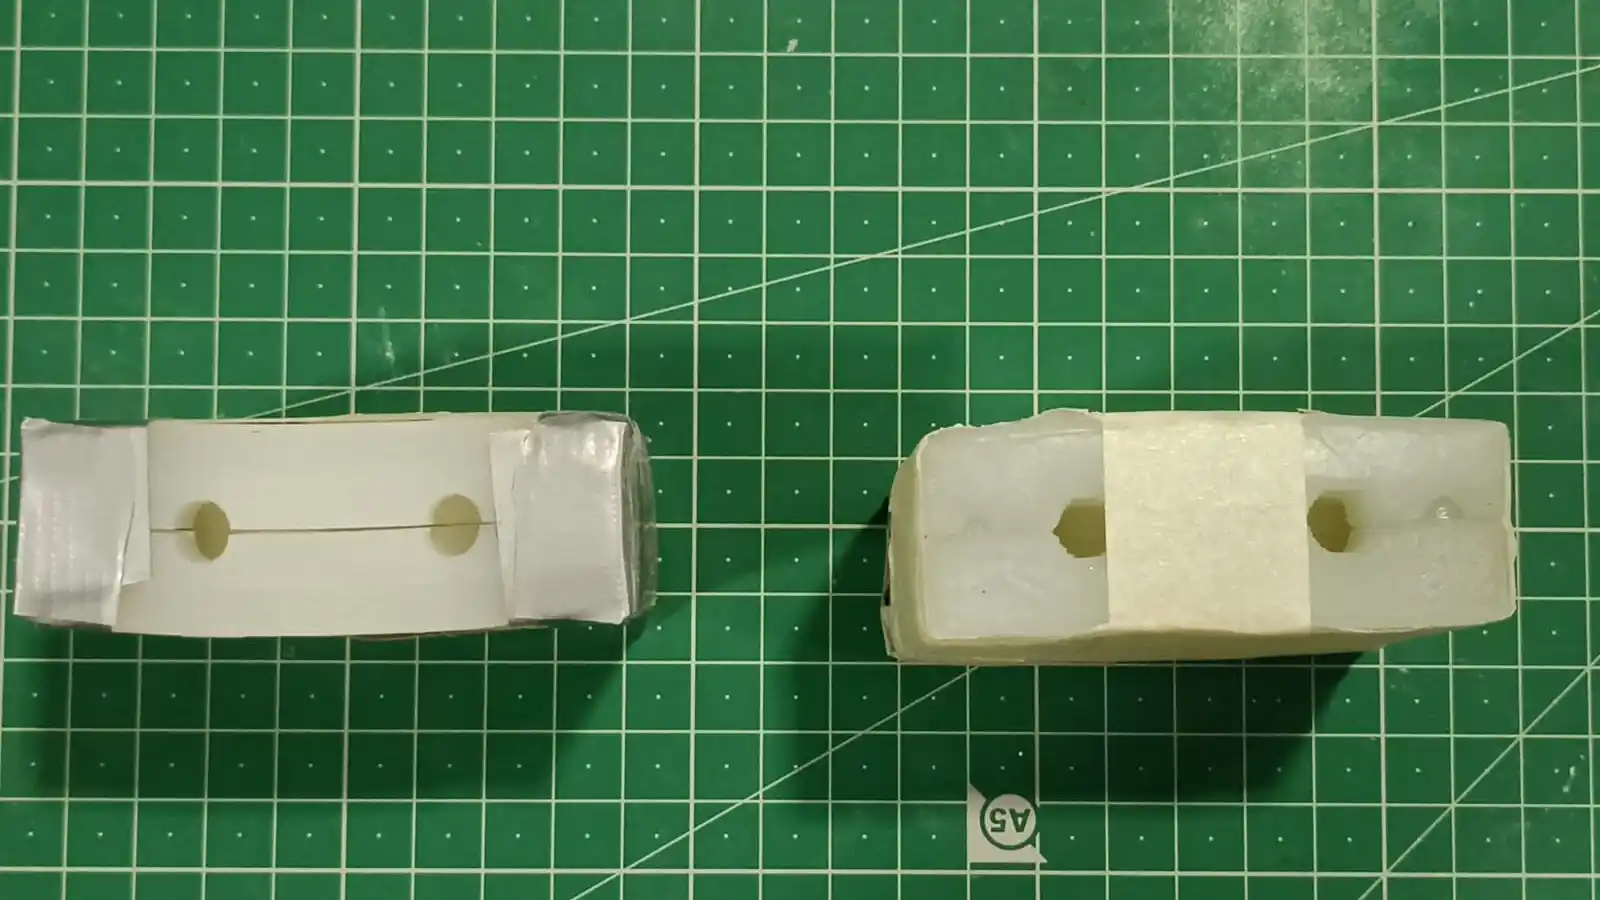
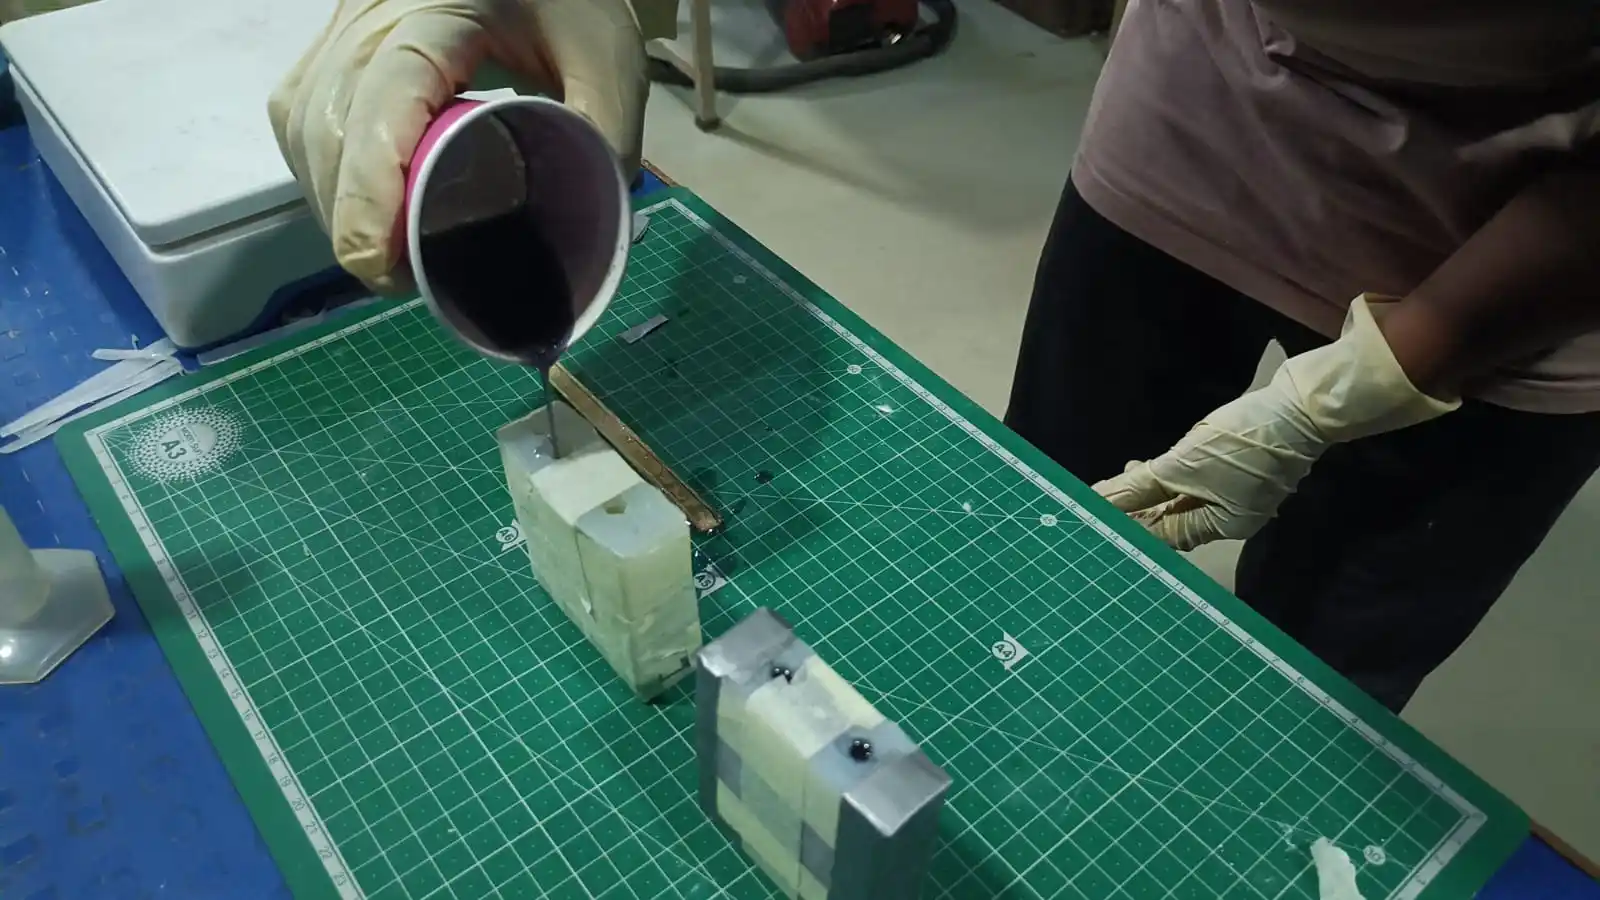
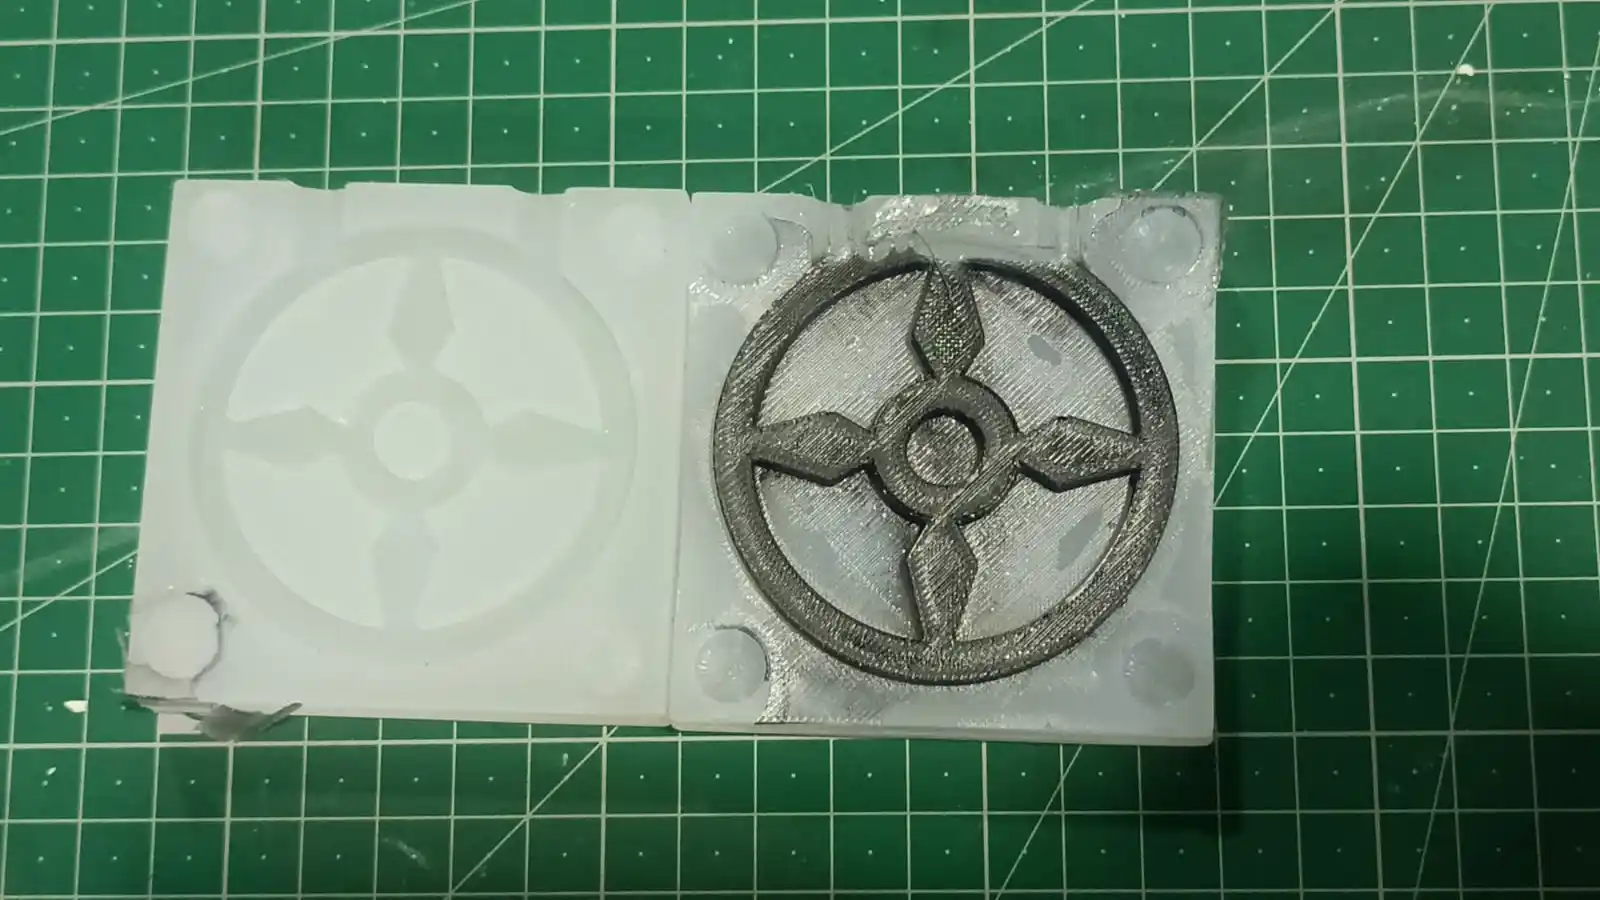
After that two part of the mold i will join together and then i will use the duck tape and paper tape to hold the two part of the mold together and then i will use the rubber band to hold the mold tightly.
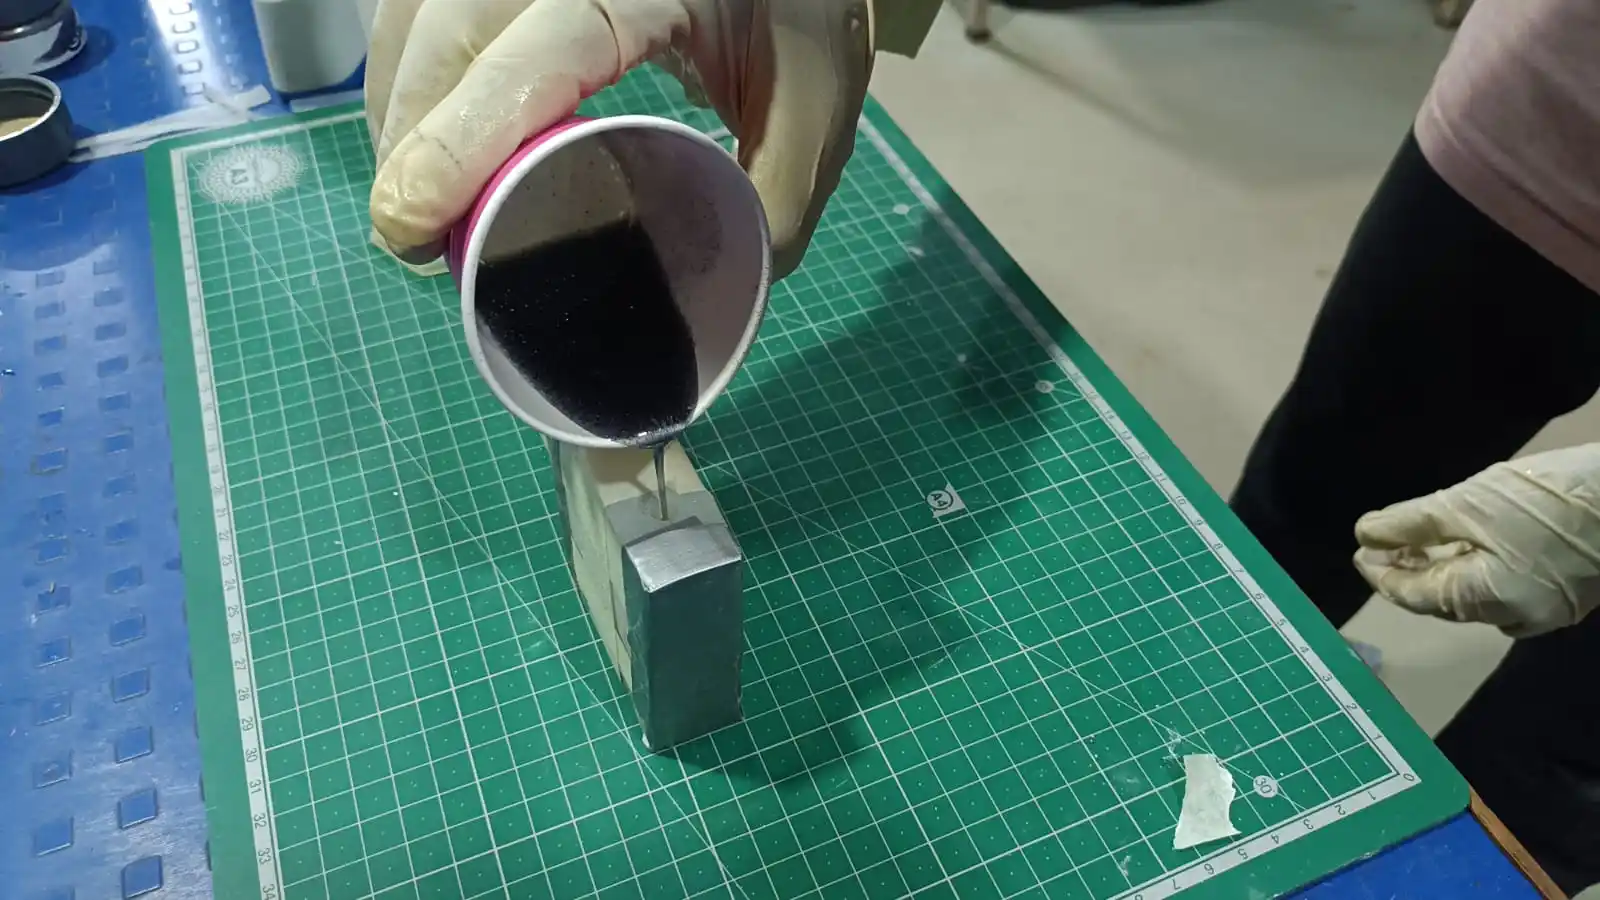
in next step i will cast the material in the mold and for this i use the resin materil and mix the pigment to give the color to the casted part , the ratio of the resin and hardener is 3:1 and the pot life of the resin is 10 minutes and the curing time is 24 houres.
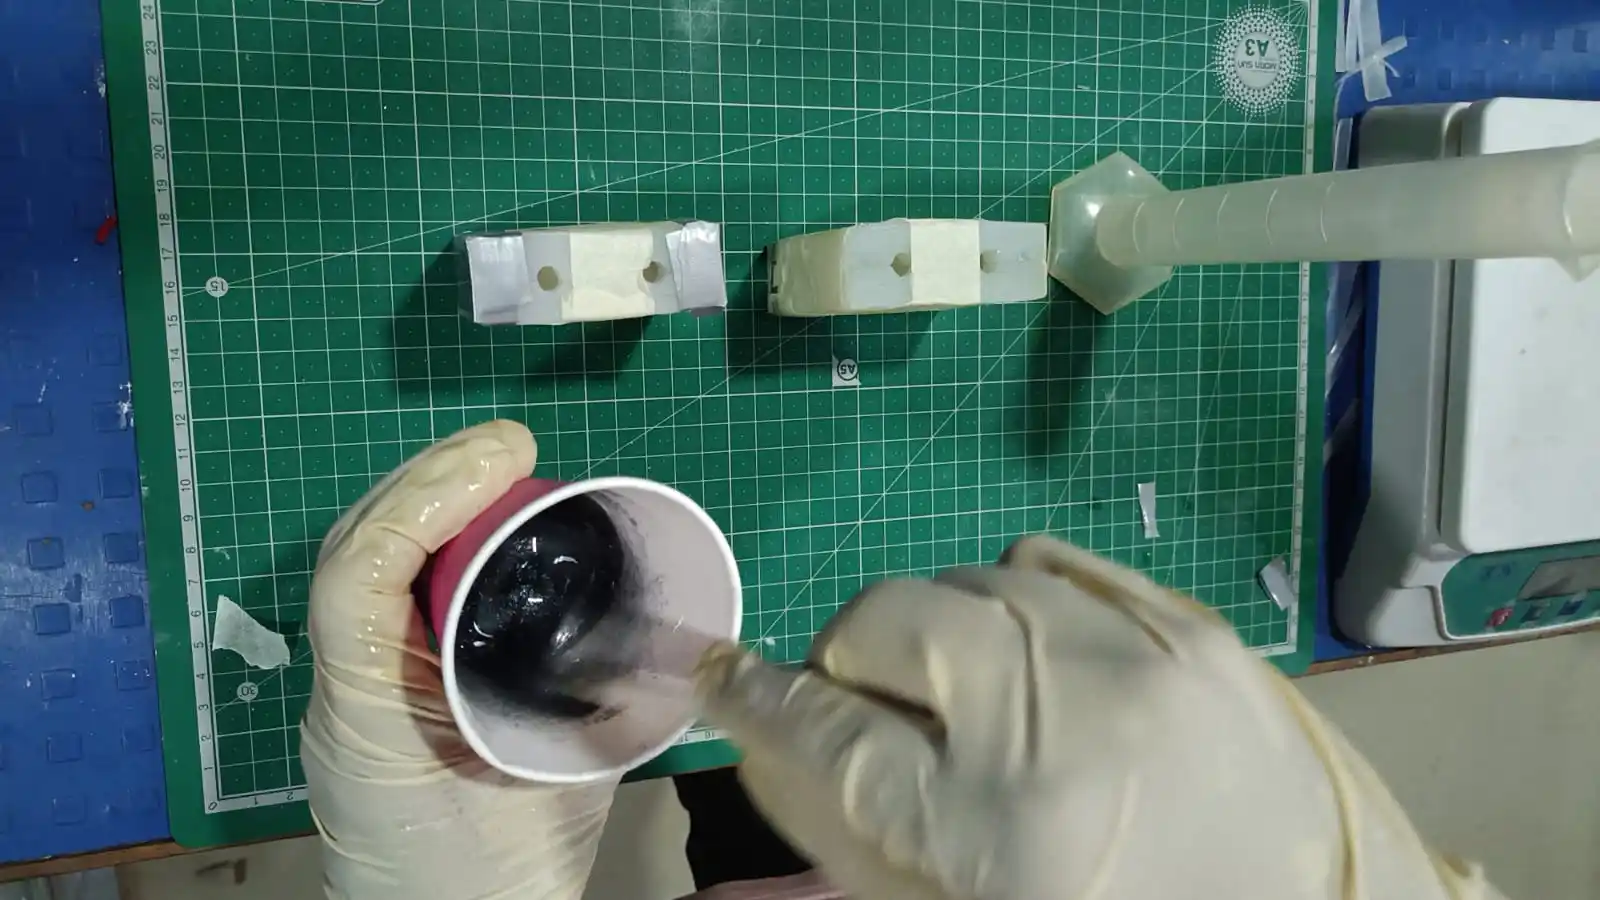
After mixing the resin it time to pour the resin in the mold and then wait for the resin to cure for 24 hours. make sure that the mold is place on the flat surface and safe place where it can not be disturbed until the resin is fully cured.
After 24 hours i will check the mold properly cure or not.
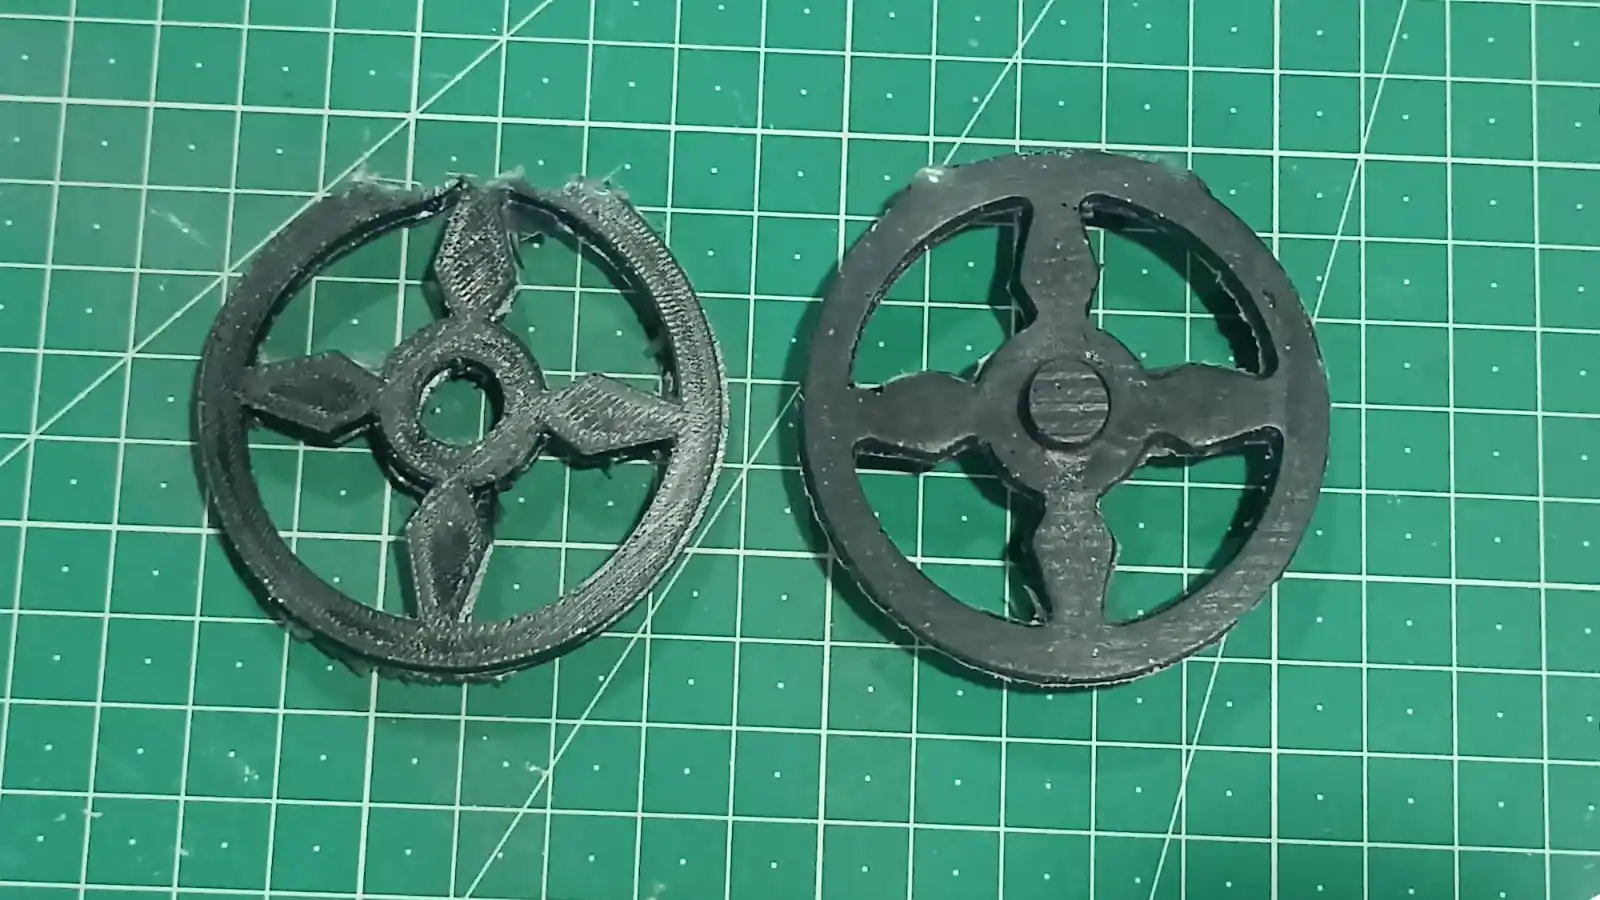
then i will remove the mold and cut the extra part of the casted part and then i will use clening tools so clean the casted part.
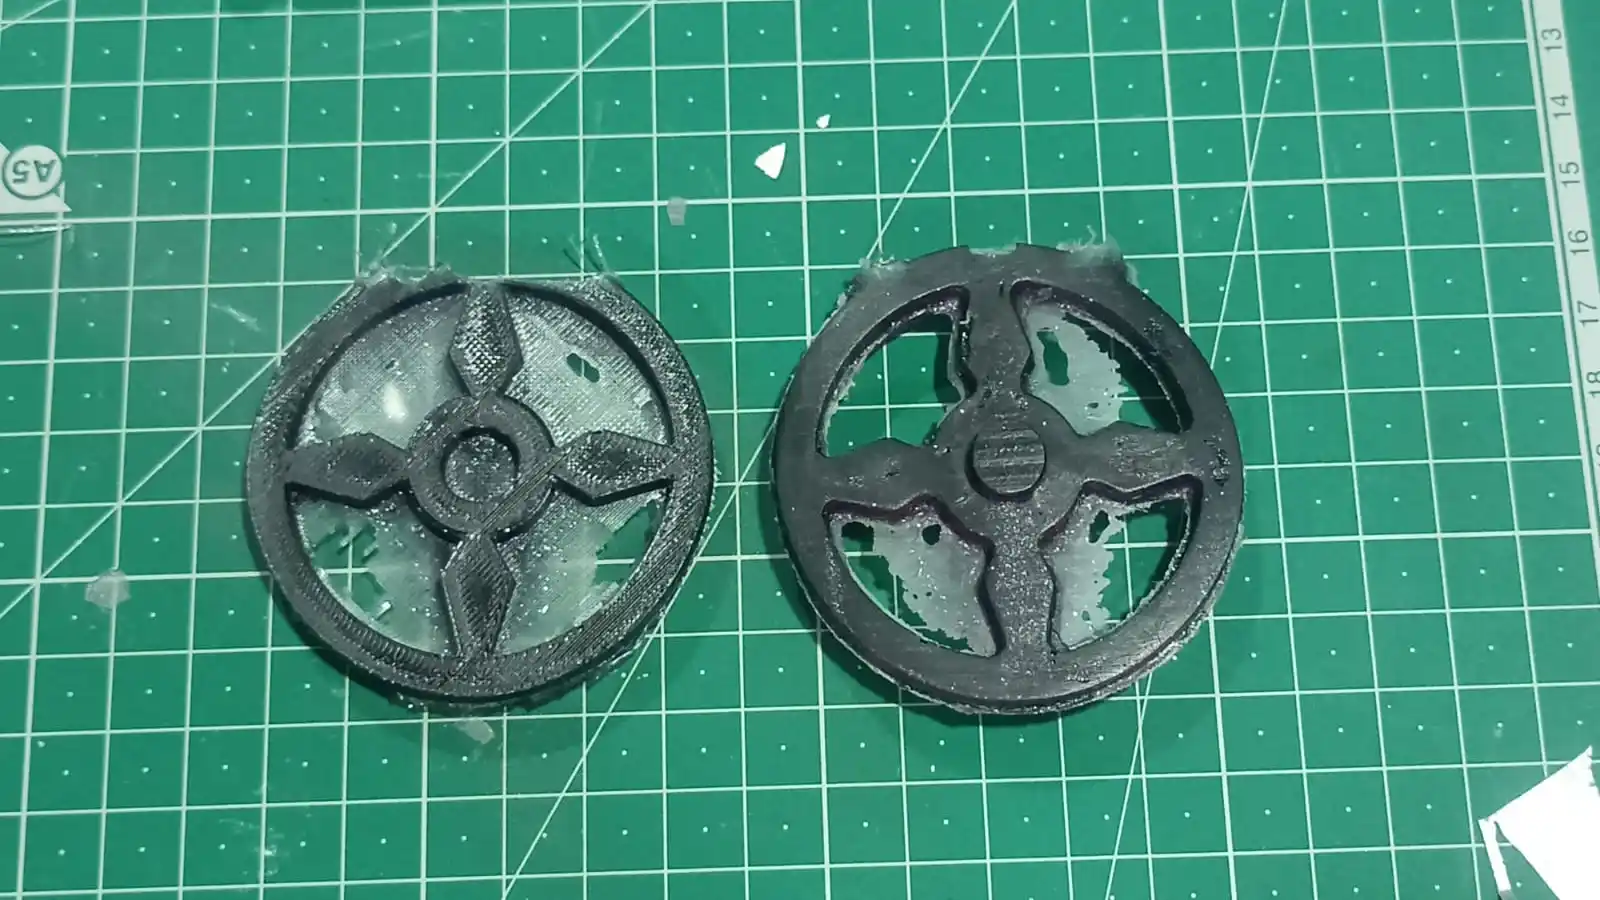
After cleaning the casting part thr final output of the casting part is look like this.
Problems
In this week assignment i enjoy lots and learing new things about the molding and casting process but i also face some problem during the assignment.
1) Durring thr 3d printing the mold the print fails 3 time because of the filament stuck in the spool and then i printer stop printing due to this the printing leared to chenge in printing.
2) During the milling process the struggling to set up the mechine and also the milling process take more time then i expected because of the wax material is hard.
3) Dusring the casting process the resin start to pouring from the vent of the mold because of the pressure inside the mold and then i have to clean the extra resin from the mold.
4) During casting the resin licked from the mold because of the small gap between the two part of the mold.
Download all files from here