Introduction
Wildcard Week gave me a good opportunity to learn and explore a new digital fabrication process outside the regular assignments. For this assignment, I worked on computerized embroidery using the Usha Janome Memory Craft 450E embroidery machine. Through this project, I learned about embroidery design, machine setup, and the complete fabrication process.
Design in Inkscape:-
Click here to download Inkscape
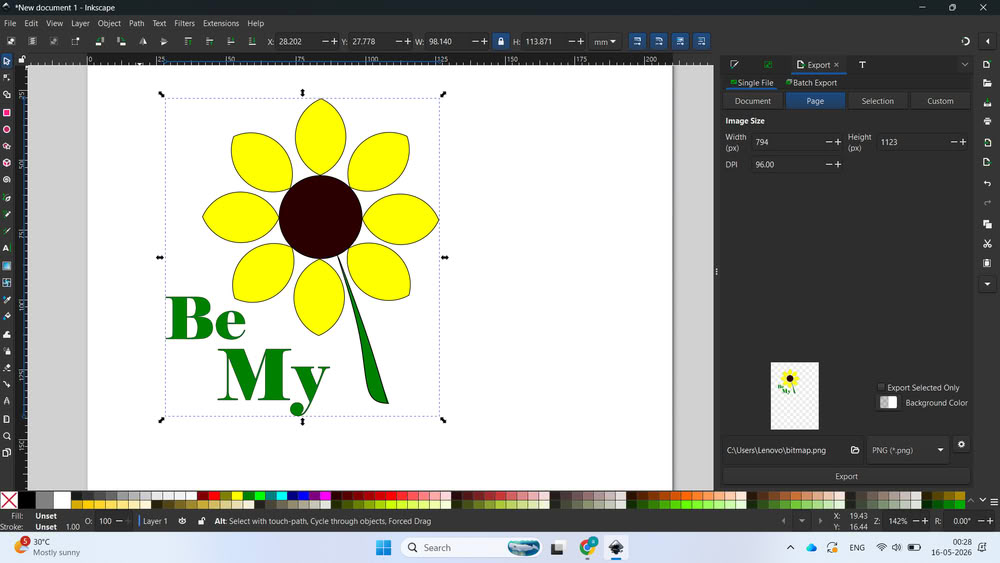
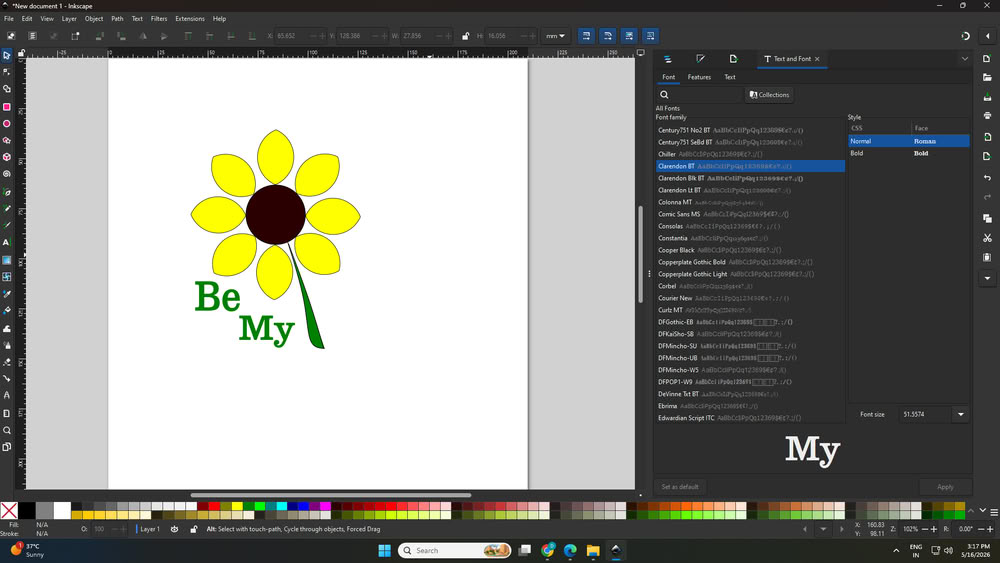
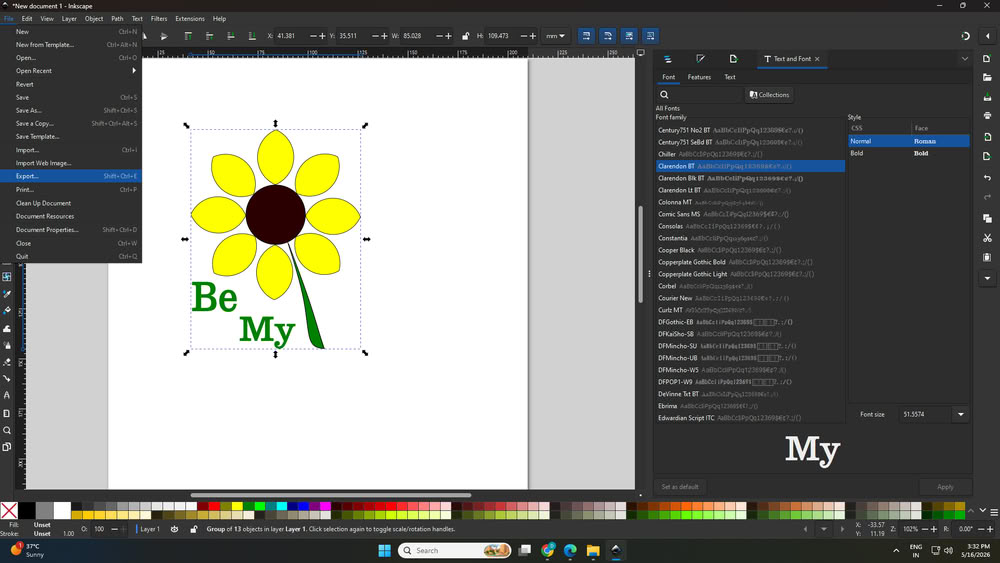
First, I started designing in Inkscape.
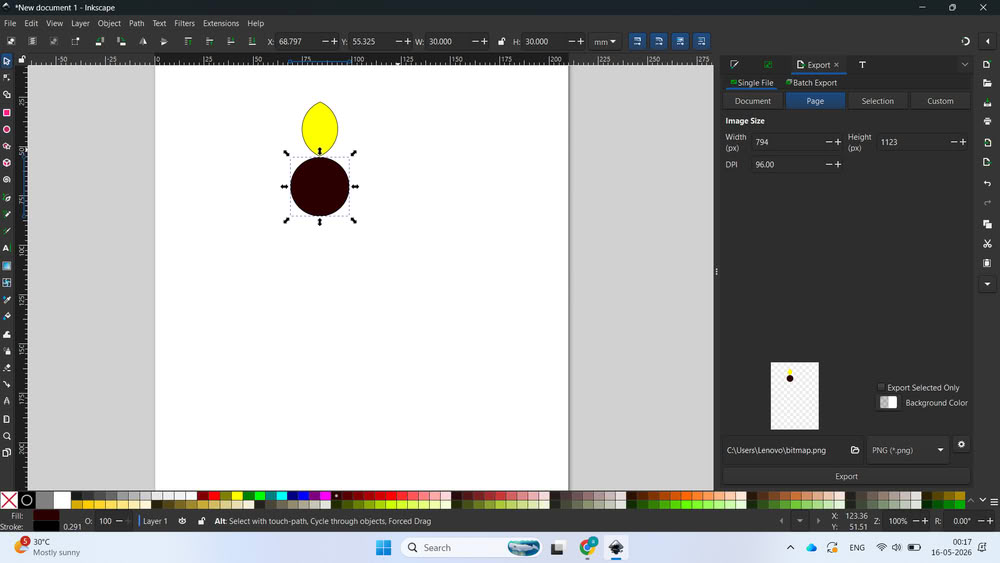
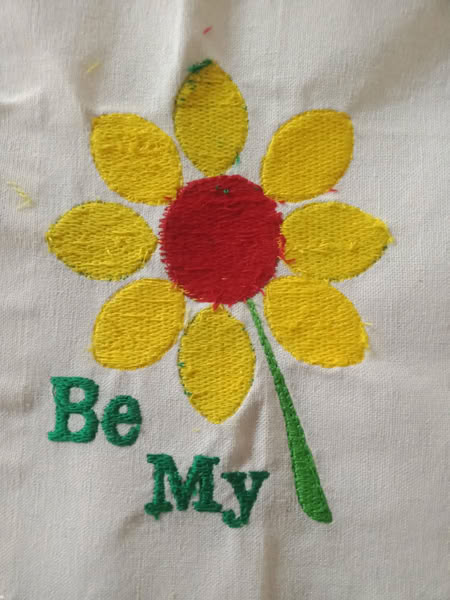
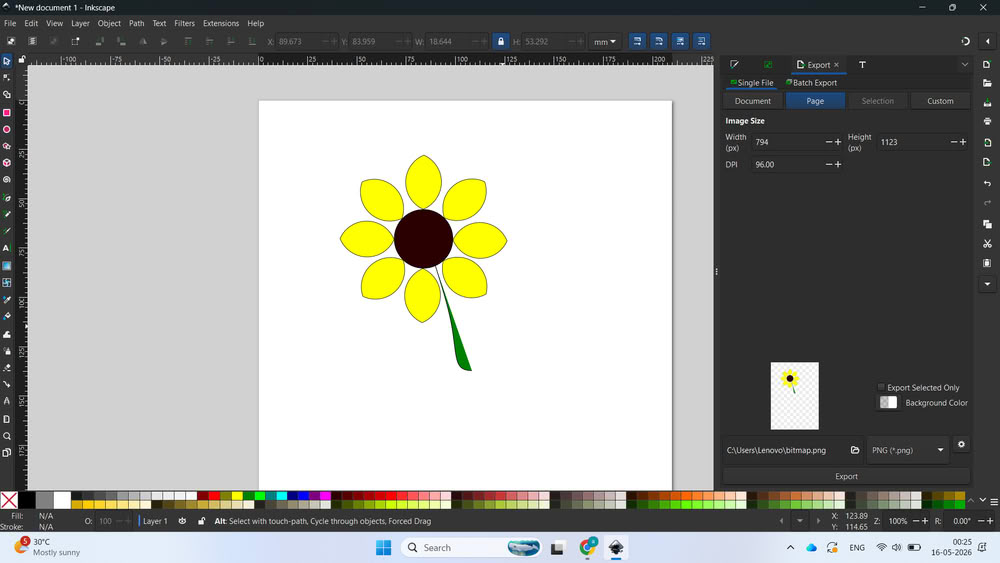
I drew one circle at the center and created one petal. Then I made 8 copies of the petal and arranged them to make a sunflower shape.

After that, I drew the stalk of the flower and added colors to each part.
I also added text inside the design
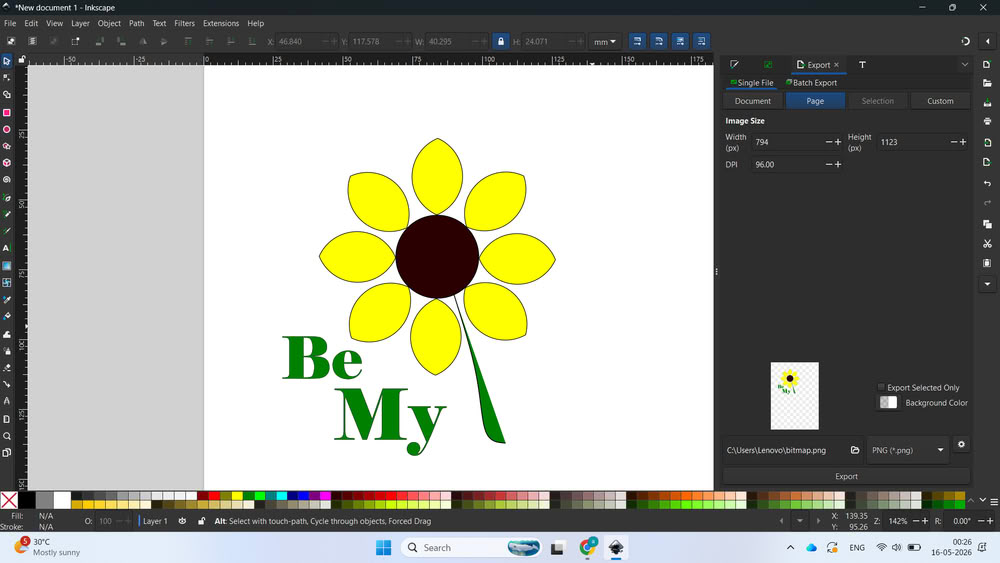
Once the design was completed, I grouped all the parts using ctrl + shift + G and saved the file in .svg format.
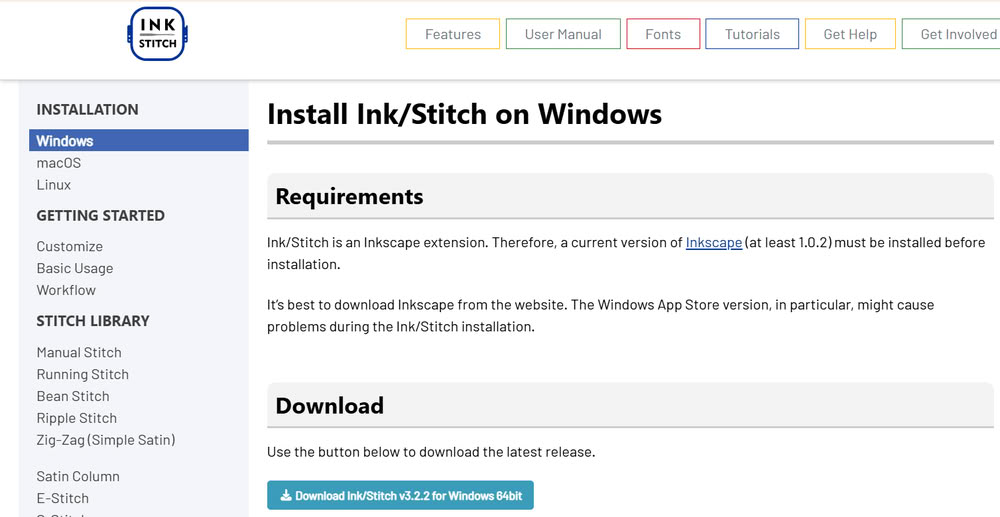
Install Inkstich:-
Click here to download Inkstich
Next, I installed Ink/Stitch for Windows.
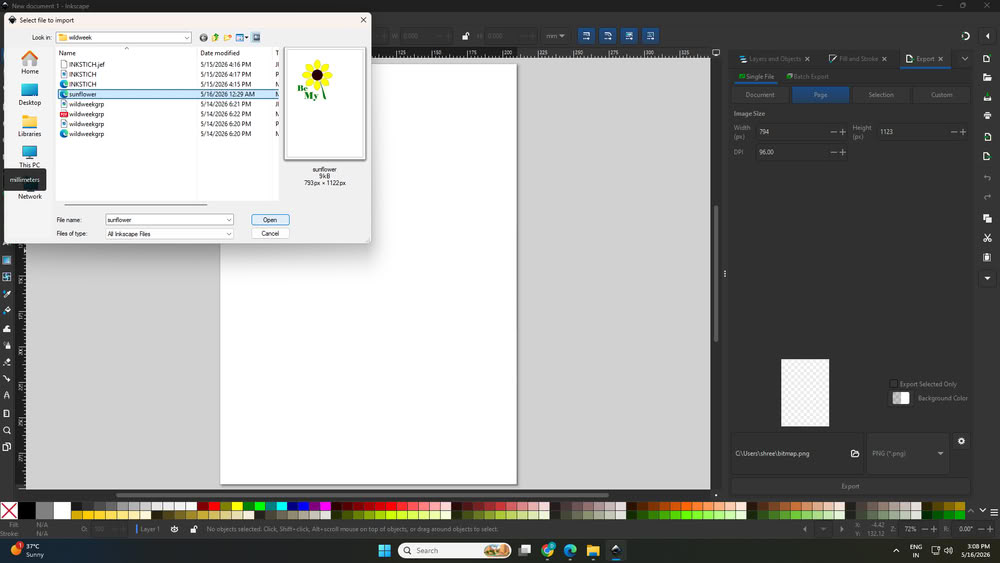
Then I reopened Inkscape and opened my design file again
I took font from text and font option.
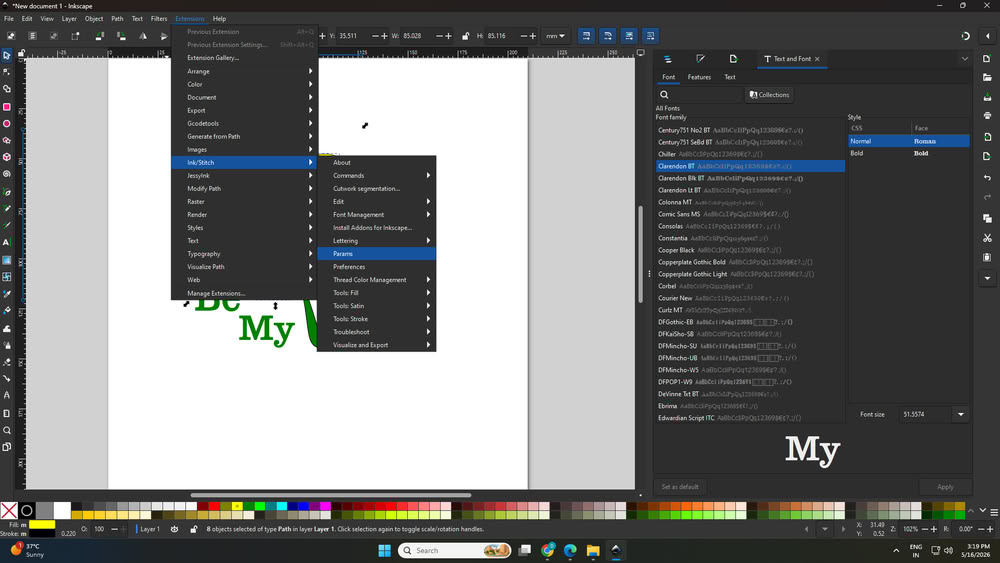
I ungrouped the design and selected different parts one by one to apply embroidery settings. First, I selected the letters and opened: Extensions → Ink/Stitch → Params
There I set the stitching settings for the text like stich method, stich type, stich width, stich angle. On the right side of the screen after applying settings, simulator shows how design looks.
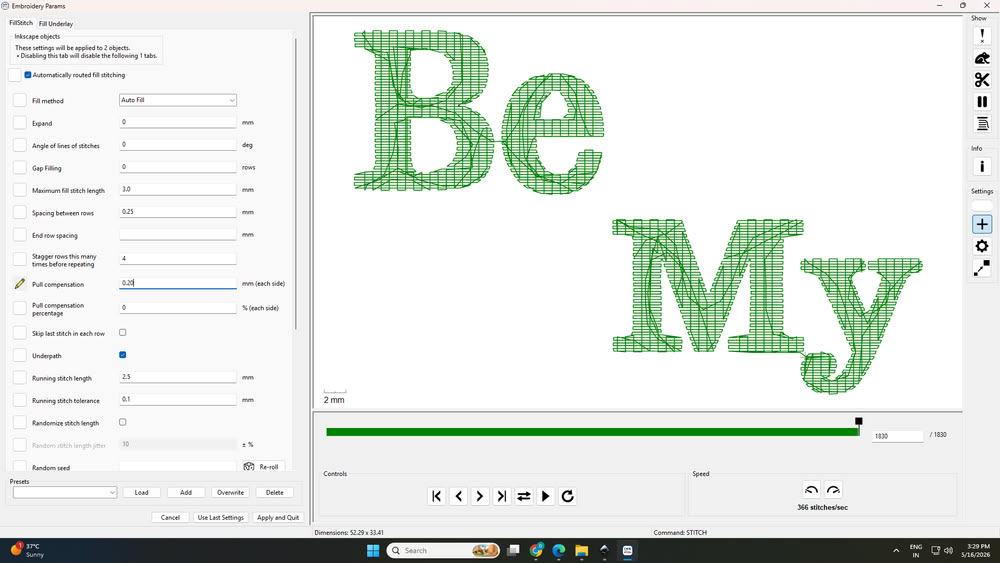
Then I selected the petals and adjusted settings like stitch method, compensation, and stitch width.

After that, I selected the center circle and applied suitable stitch settings.
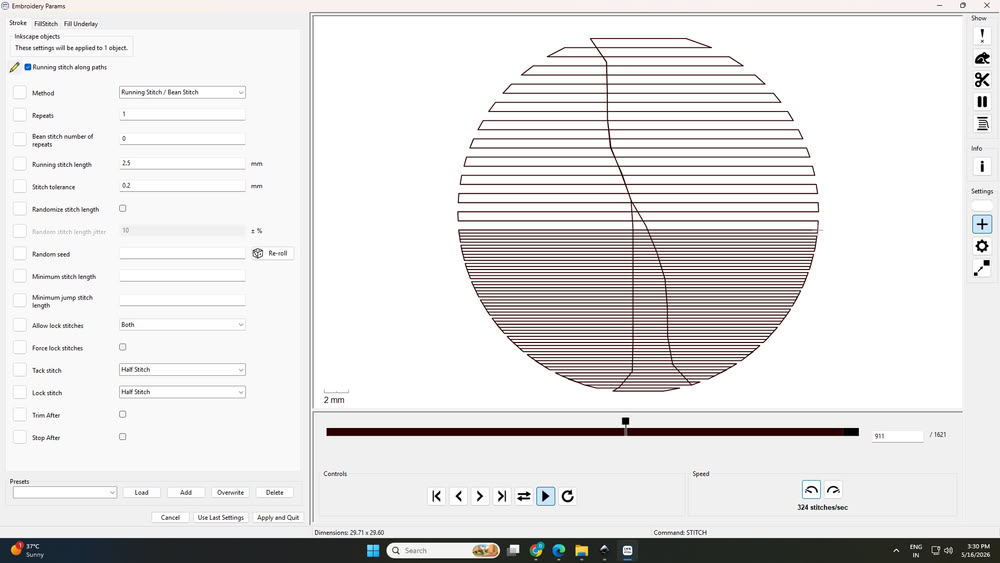
Finally, I selected the stalk and chose the required stitching method.
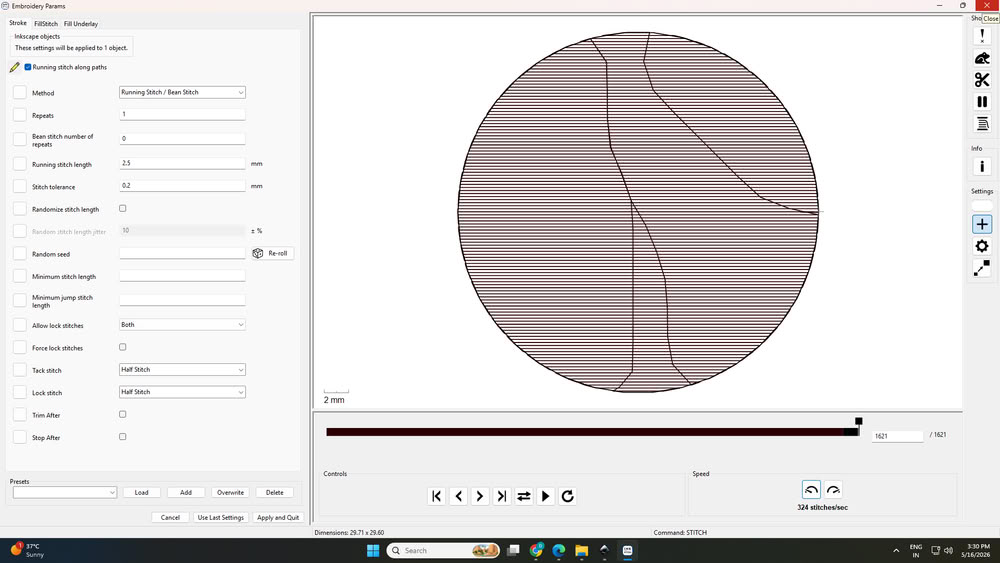
After completing all the settings, I went to the visualize option in Ink/Stitch to check how the final embroidery would look after stitching
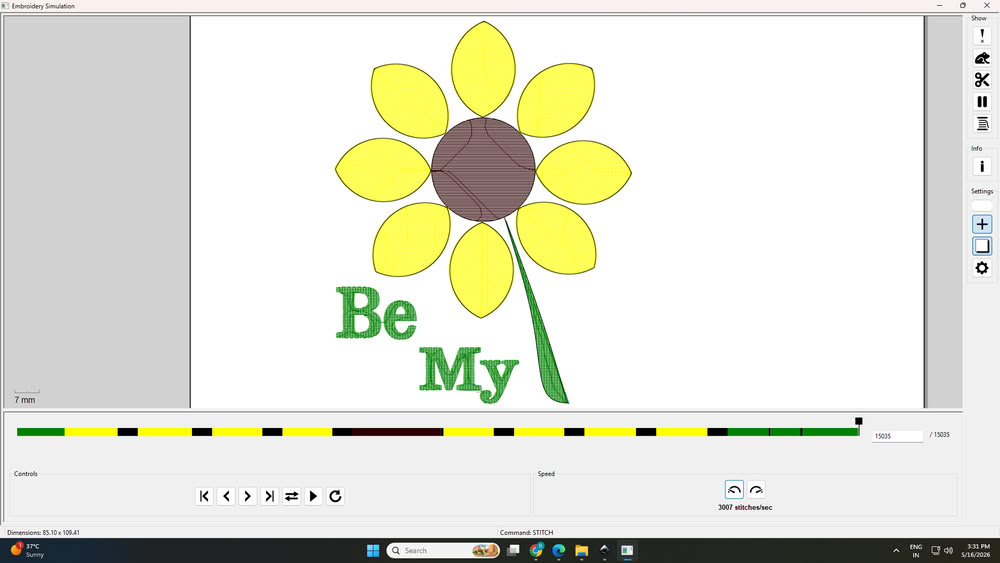
Once everything looked correct, I grouped the whole design again and exported it in .jef format, which is used in the Usha Janome Memory Craft 450E.

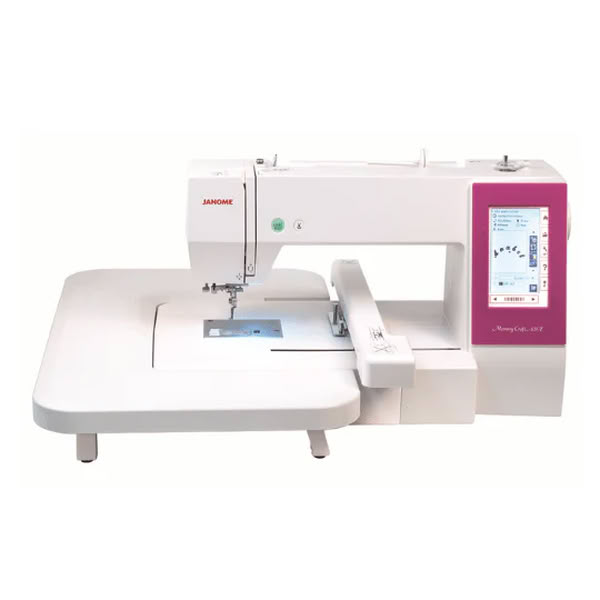
Usha Janome Memory Craft 450E
Usha Janome Memory Craft 450E is a computerized embroidery machine used for creating embroidery designs on fabric. It is mainly used in boutiques, fashion designing, customization work, and embroidery projects. The machine can stitch names, logos, patterns, flowers, and decorative designs automatically with high accuracy.
This machine supports embroidery file formats such as .jef and designs can be transferred easily through USB. It has a large embroidery area and comes with built-in embroidery designs and fonts for monogramming. Users can also create their own custom embroidery designs using software like Ink/Stitch or Janome Digitizer software and then run those designs on the machine.
Usha Janome Memory Craft 450E is commonly used for different embroidery and customization works. It is used for custom name embroidery on clothes, bags, and gifts. The machine is also used for designing t-shirts, kurtis, sarees, and other garments with decorative embroidery patterns. Many people use it for logo embroidery in boutiques and small businesses. It is helpful for making embroidery patches, home decoration items like cushion covers and table cloths, and personalized gifts. The machine is widely used in fashion and textile projects because it can create detailed embroidery designs quickly and accurately.
Specifications:-
| Feature | Details |
|---|---|
| Machine Name | Usha Janome Memory Craft 450E |
| Machine Category | Computerized Embroidery Machine |
| Primary Use | Embroidery designing and decorative stitching on fabric |
| Embroidery Area | 200 mm × 280 mm |
| Display Type | Full Color LCD Touchscreen |
| Maximum Stitch Speed | 860 stitches per minute |
| Supported File Format | .JEF embroidery format |
| USB Support | Yes |
| Built-in Designs | 160 embroidery designs |
| Built-in Fonts | 6 embroidery fonts |
| Thread Cutter | Automatic |
| Thread Sensor | Detects thread breakage |
| Editing Features | Resize, rotate, combine, flip, drag & drop, arc text |
| Lighting | LED light system |
| Compatible Software | Ink/Stitch, Janome Digitizer, Artistic Digitizer |
| Applications | Name embroidery, logo embroidery, boutique work, fashion designing, patch work, home décor |
| Weight | Approx. 11.5 kg |
Stiching Process:-
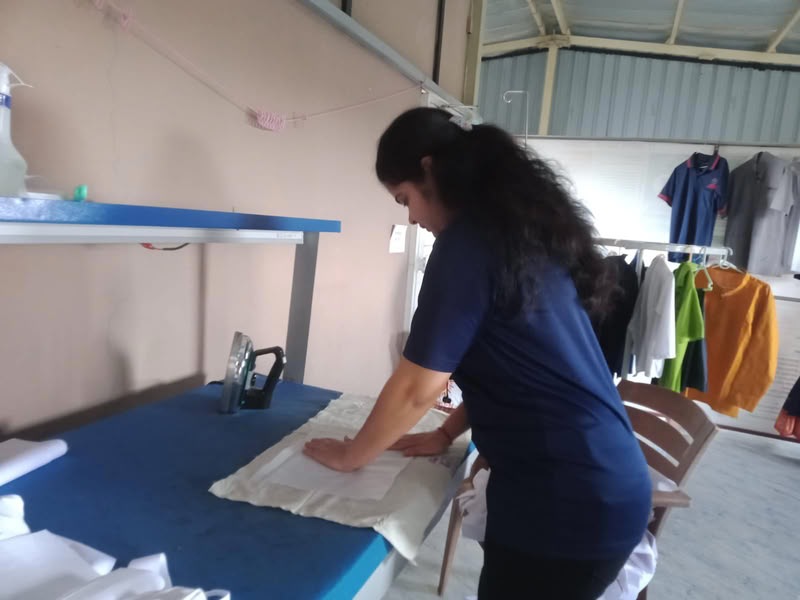
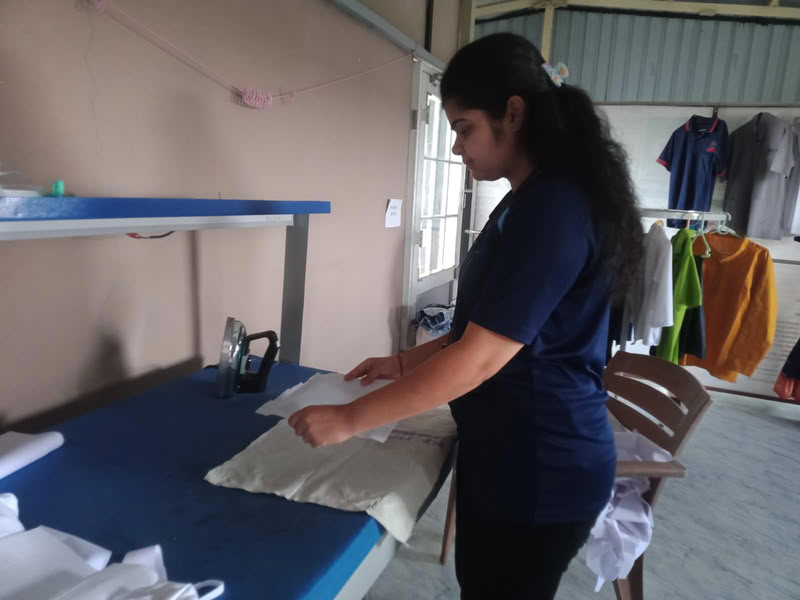
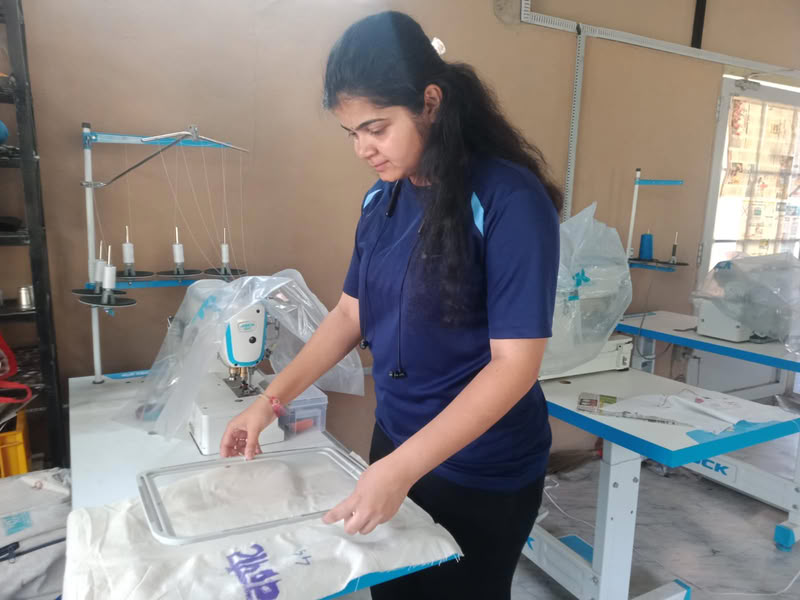
First, I took a simple cloth and placed the embroidery canvas on it. I made sure that the shiny side of the canvas was touching the cloth and the normal side was facing upward.
 |
 |
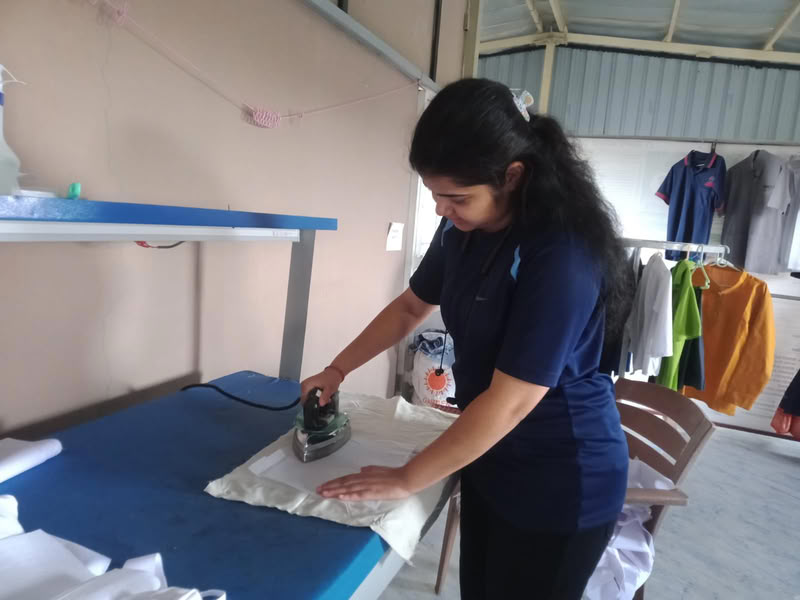
Then I pressed a hot iron on it so the canvas stuck properly to the fabric.
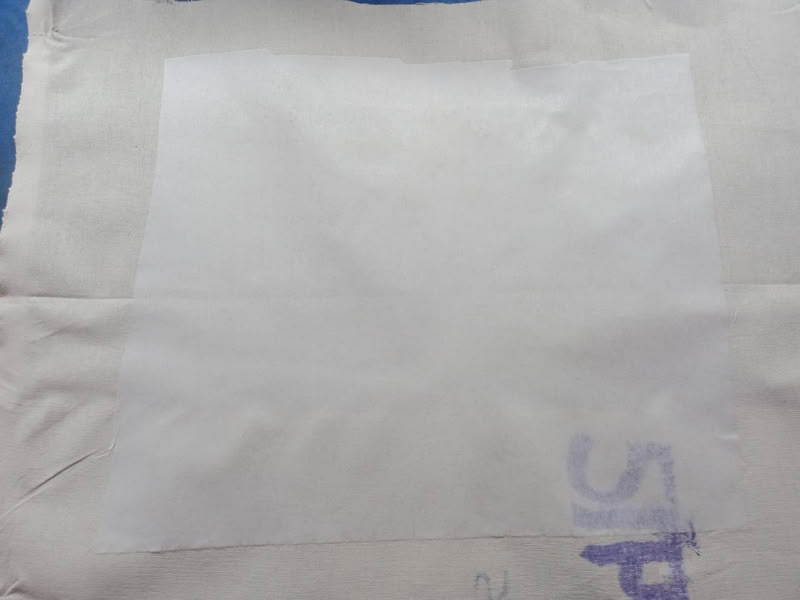
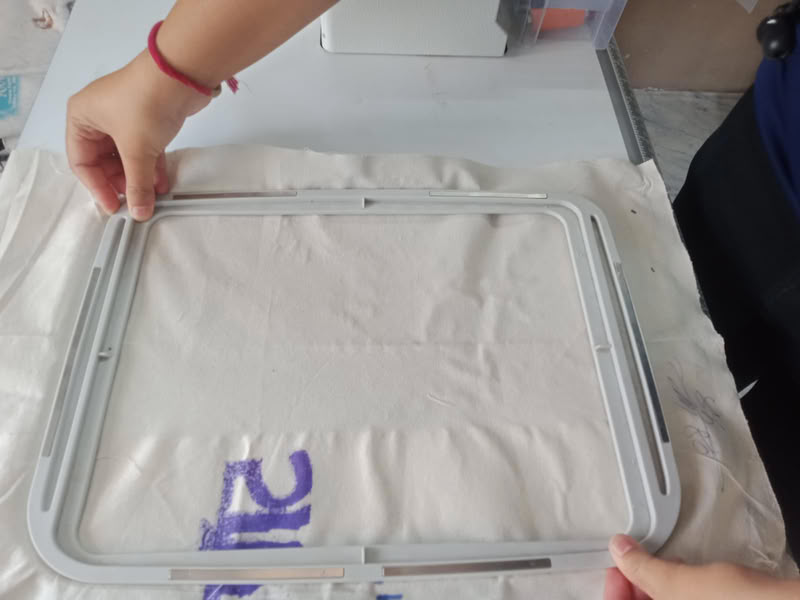
After that, I placed the cloth inside the embroidery hoop and fixed it tightly using the hoop frame.
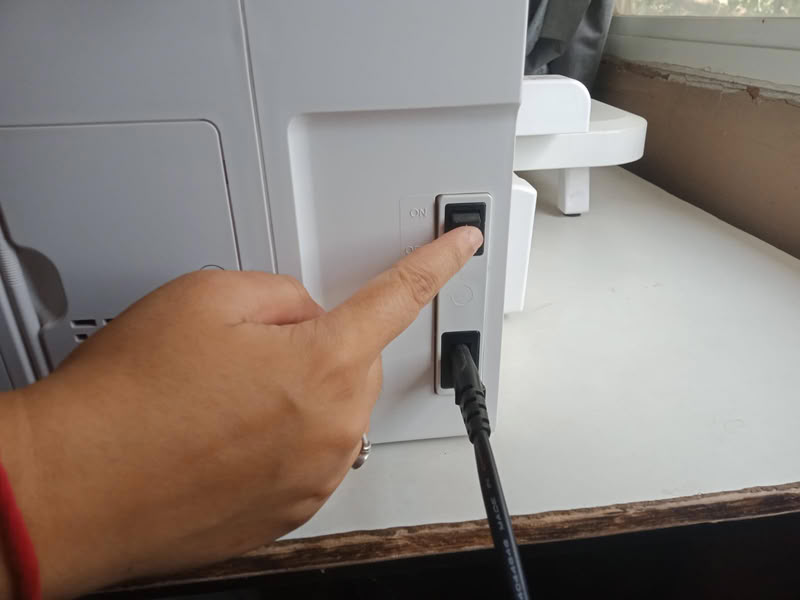
Then I start the machine.
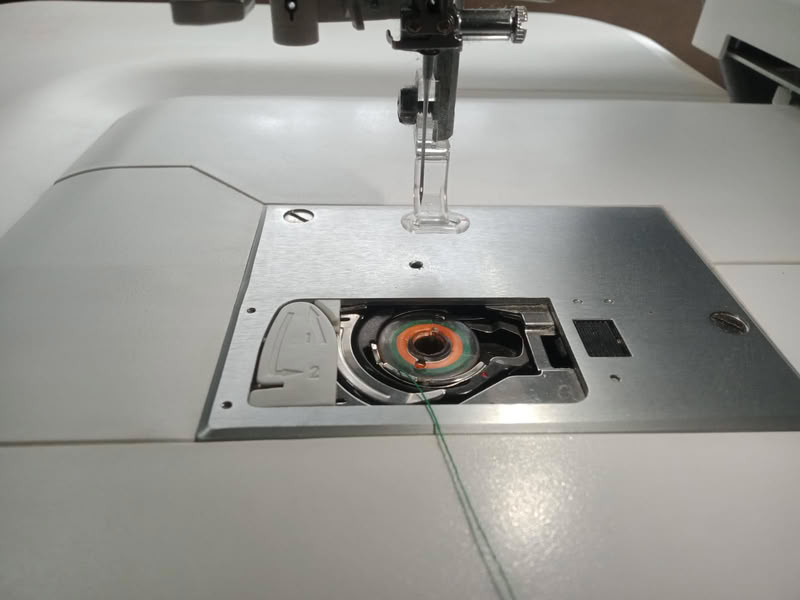
Then I prepared the machine by placing the bobbin and filling it with thread.

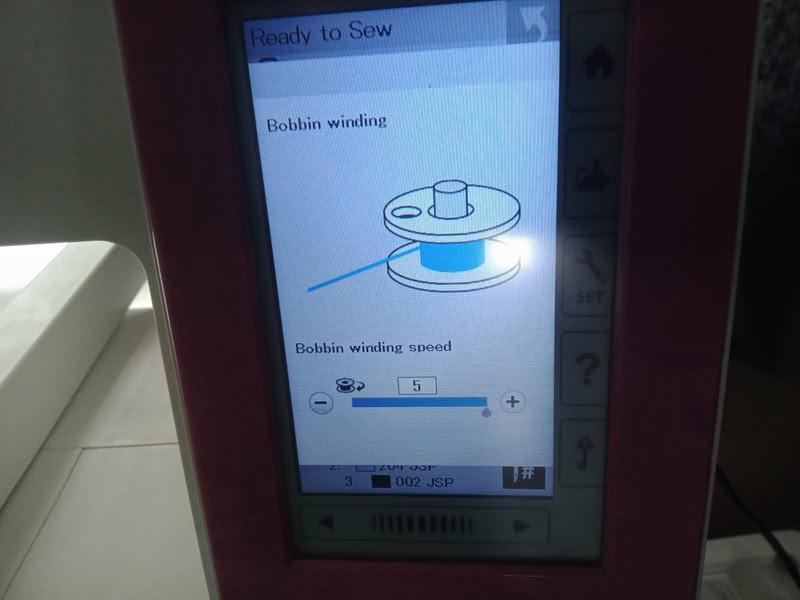
After filling, I inserted the bobbin into its slot in the machine.
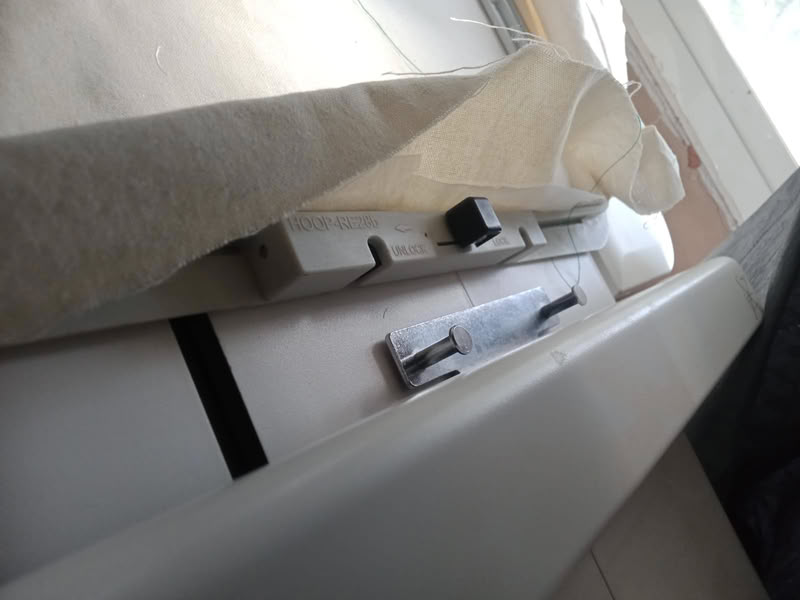
Next, I attached the hoop properly to the Usha Janome Memory Craft 450E
Then I inserted the embroidery thread correctly for stitching.

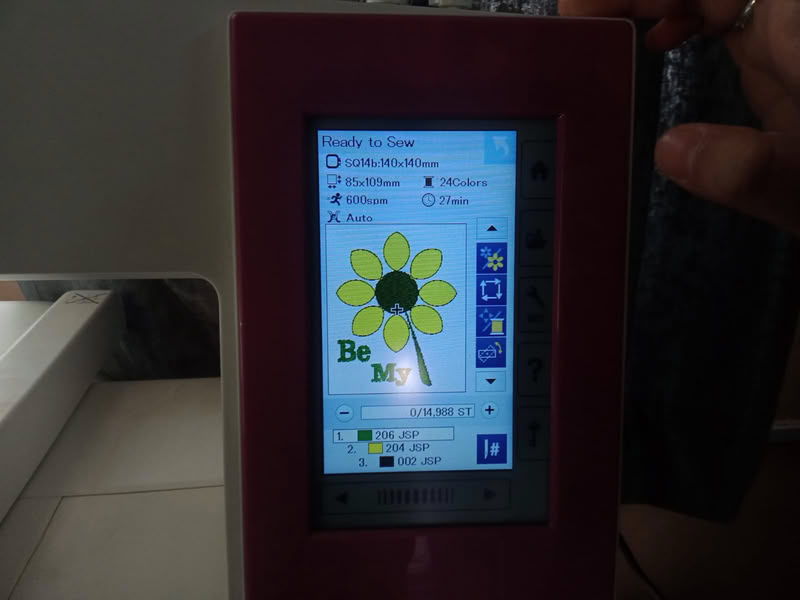
On the machine control screen, I selected the embroidery design from the USB.
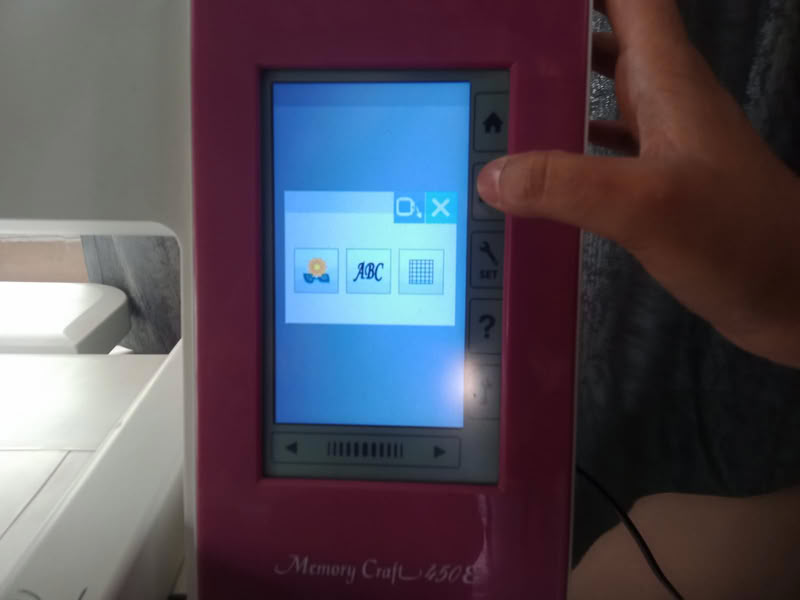
The screen showed the designs in the folder. I select my design.
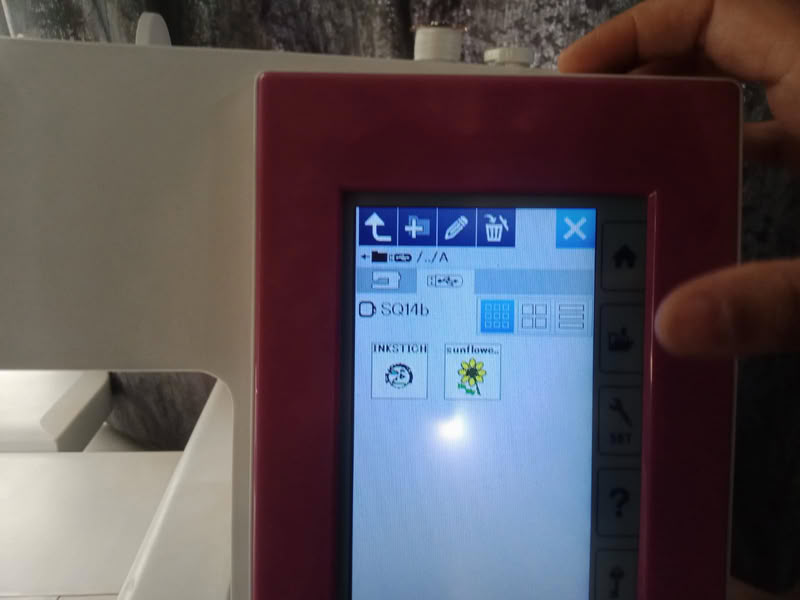
The screen showed the design along with the number of steps and estimated stitching time.
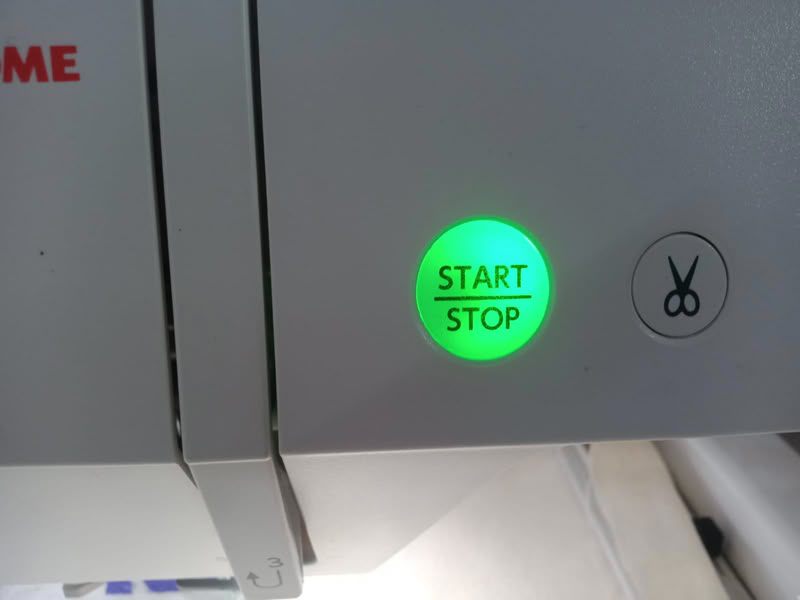
After clicking the start button machine get started.
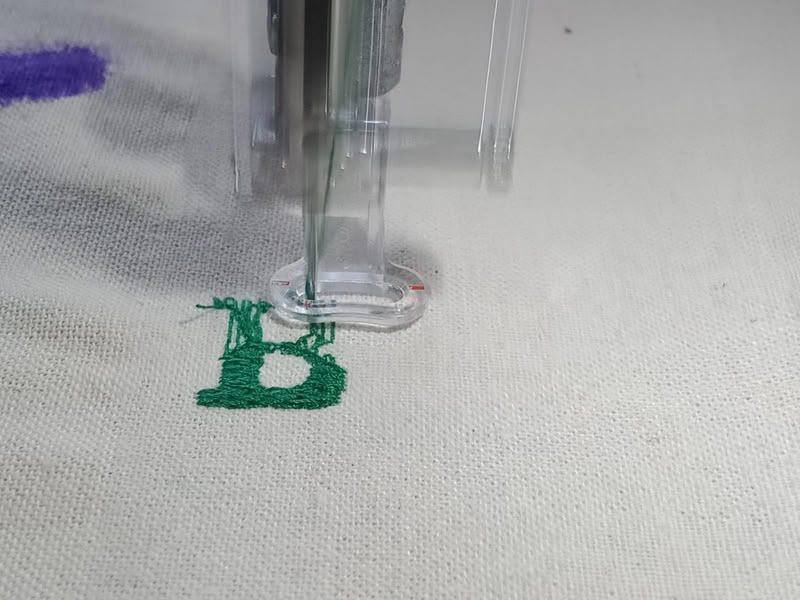
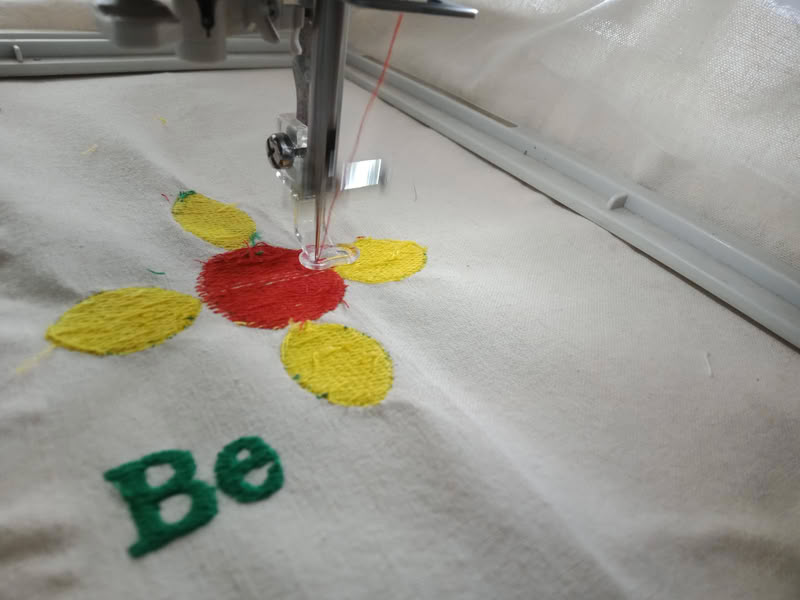
The machine began stitching the letters first.
During stitching, the thread broke, so the machine automatically stopped and displayed a warning message on the screen.
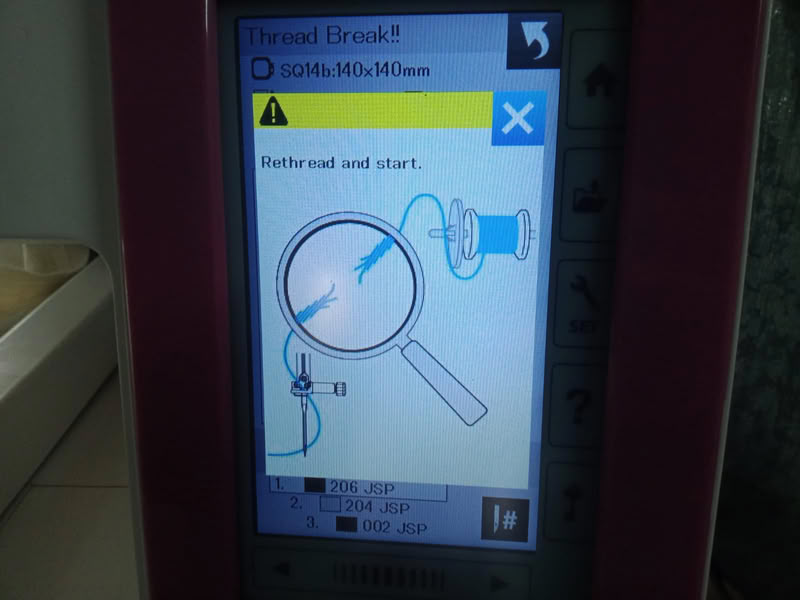
I rethreaded the machine and pressed start again to continue the embroidery process.Once the letters were completed, I changed the thread color to yellow for stitching the petals.
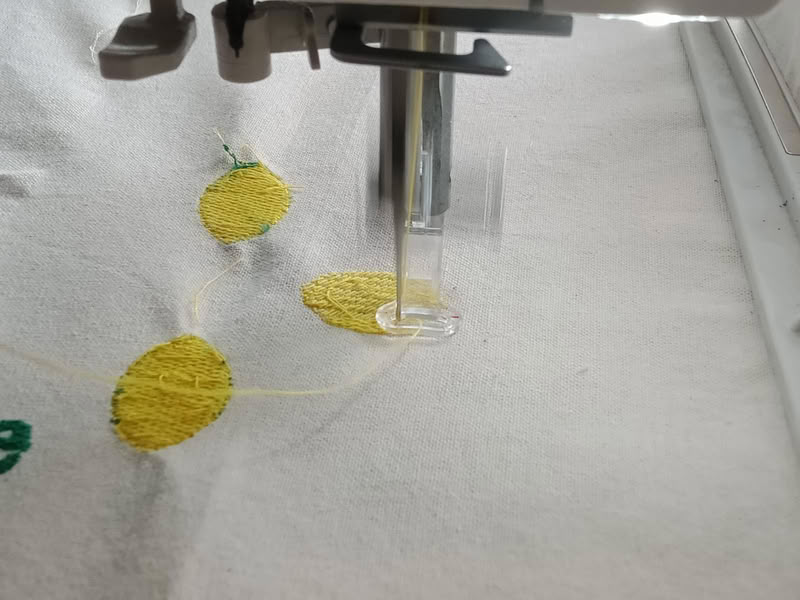
The machine automatically stopped after completing one section so the thread color could be changed easily. Then I used another thread color for the center circle
Here is the clip of stitching some part of the design.
I changed the thread again for the stalk of the flower.
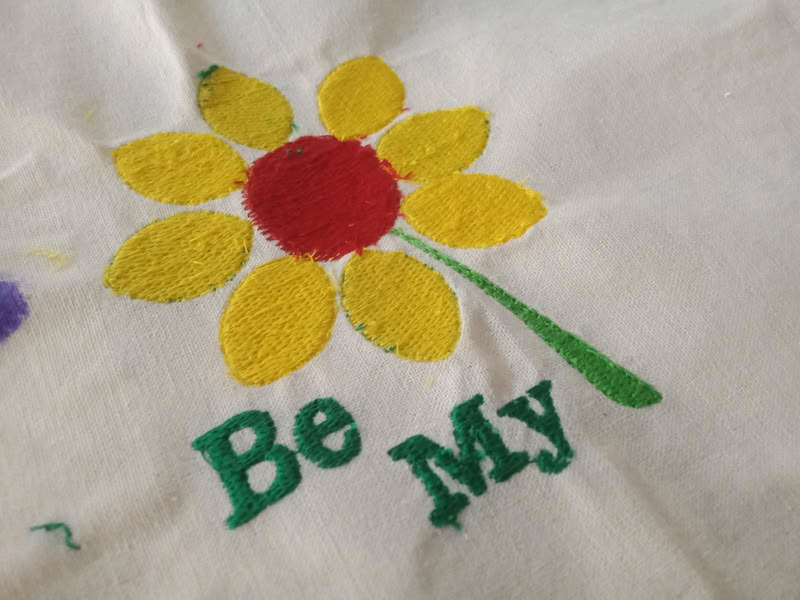
Finally, the complete embroidery stitching process was finished successfully.
Problem I faced:-
During the embroidery process using the Usha Janome embroidery machine, the thread was breaking repeatedly. This interrupted the stitching process and affected the embroidery quality and machine operation.
To solve this issue, I replaced the old needle with a new embroidery needle and rethreaded the machine correctly. I also ensured the bobbin was inserted properly. After these adjustments, the thread breaking problem was reduced and the embroidery process worked smoothly.
Design files
Click here to download original design files