Introduction
This assignment focuses on designing and producing molds using both additive (3D printing) and subtractive (milling) methods. Materials such as silicone rubber are used to create flexible molds, while resins are used for casting final parts. The goal is to understand the complete workflow—from digital design to physical output—while learning about material properties, mixing ratios, and fabrication techniques.
.jpg) |
 |
Individual assignment
Task:Design a mold around the process you'll be using, produce it with a smooth surface finish that does not show the production process toolpath, and use it to cast parts
Group assignment
Task:Review the safety data sheets for each of your molding and casting materials, then make and compare test casts with each of them. compare mold making processes.
Link to view group assignmentGroup Assignment
Molding:-
Molding is the process of pouring a liquid or soft material into a shaped mold and allowing it to harden. Once it sets, the material takes the exact shape of the mold. It is commonly used to produce complex and detailed objects easily. Materials like silicone, resin, plastic, or metal can be used in molding depending on the application.
Casting:-
Casting is the process of pouring a liquid material into a mold and allowing it to solidify to form a final object. Once hardened, the cast part is removed from the mold. It is commonly used to create strong and detailed parts using materials like resin, metal, or plaster.
1.Design
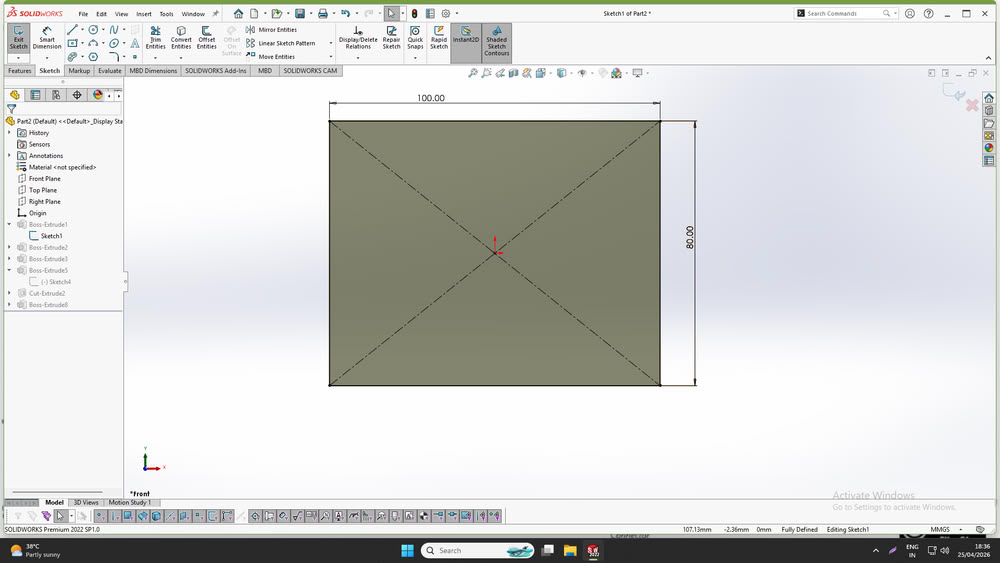
I used solidworks to design mold. First, I created a rectangle and added dimensions to form the back base of the mold.
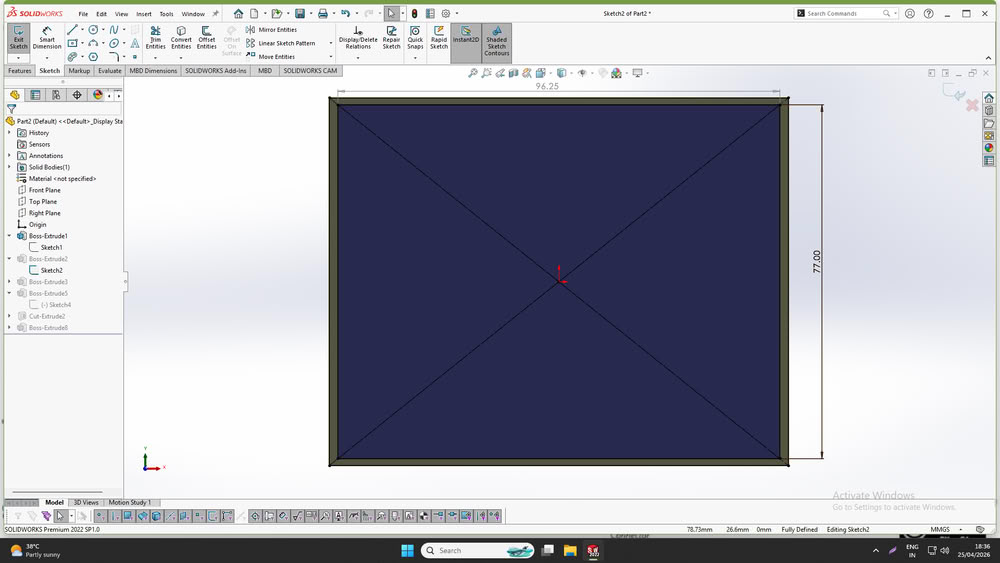
After that, I drew an inner rectangle and extruded the frame.
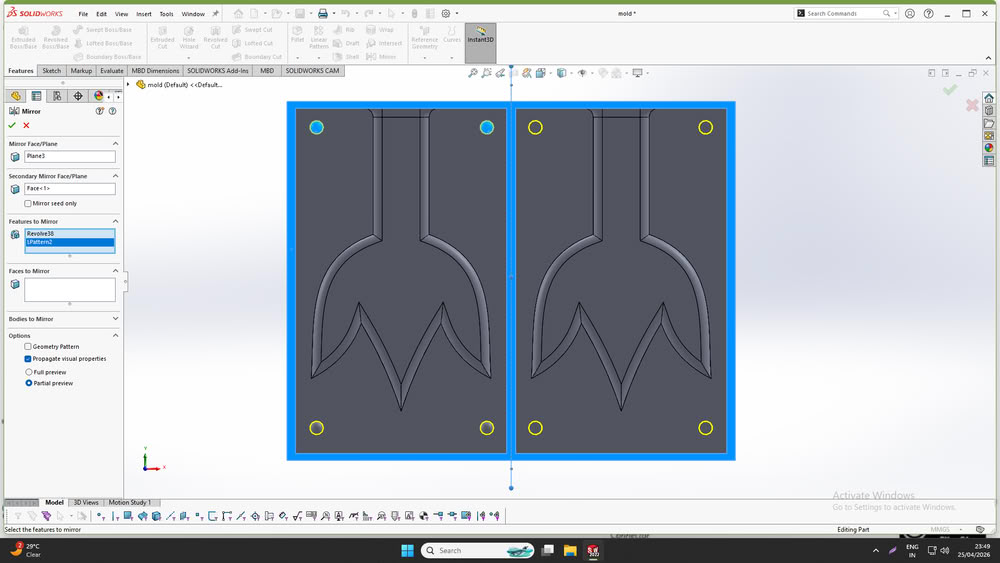
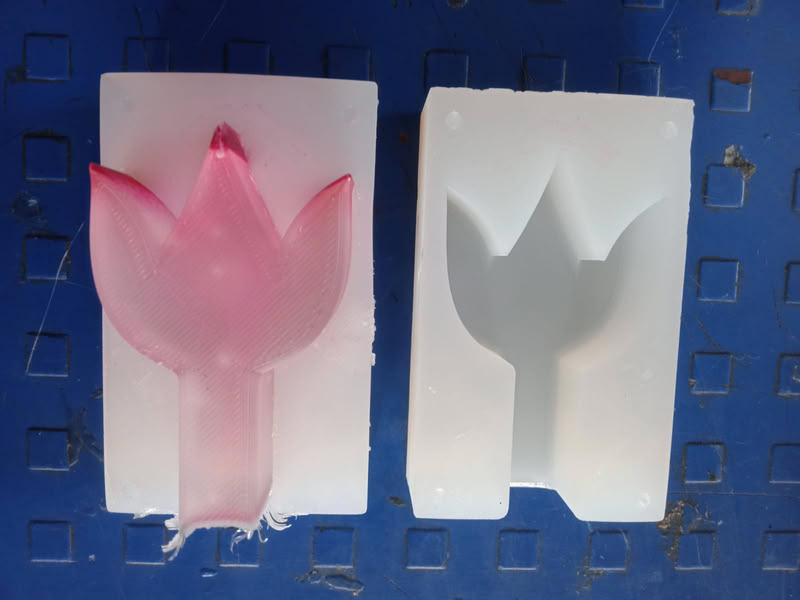
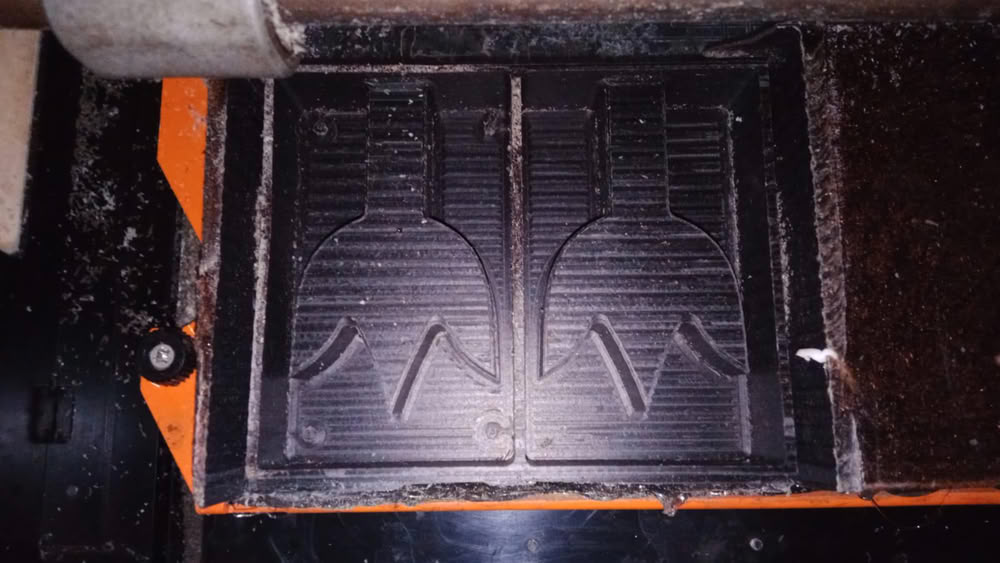
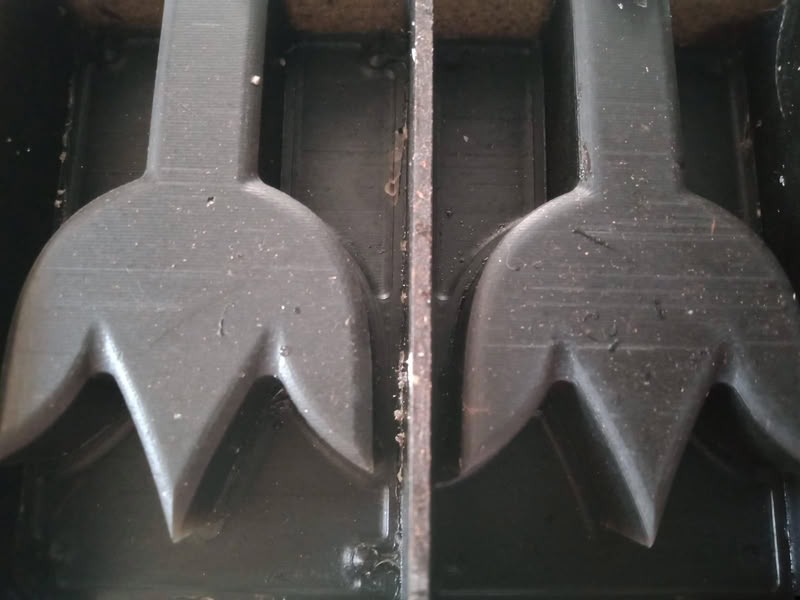
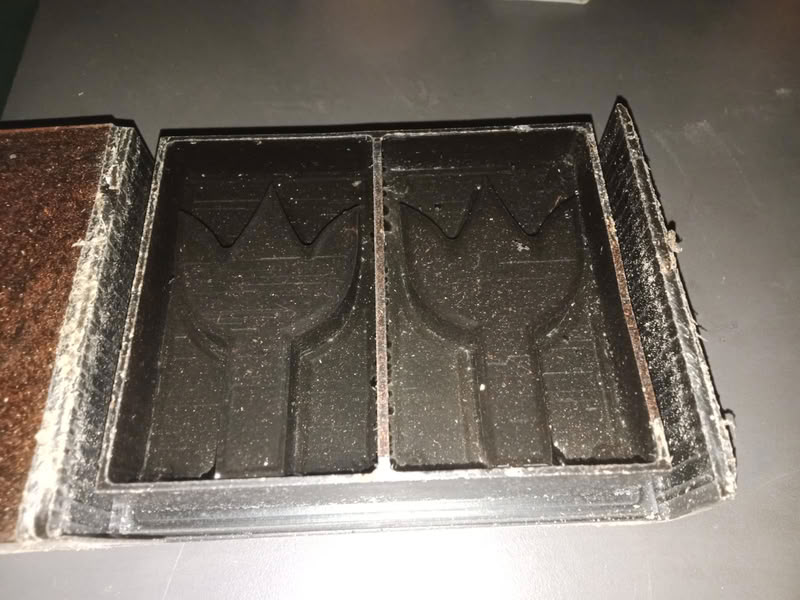
Then, I designed a flower shape, extruded it, and applied fillets to smooth the edges. Next, I added spheres on the inner sides and created holes on the opposite side so that the mold could hold properly and fit easily.


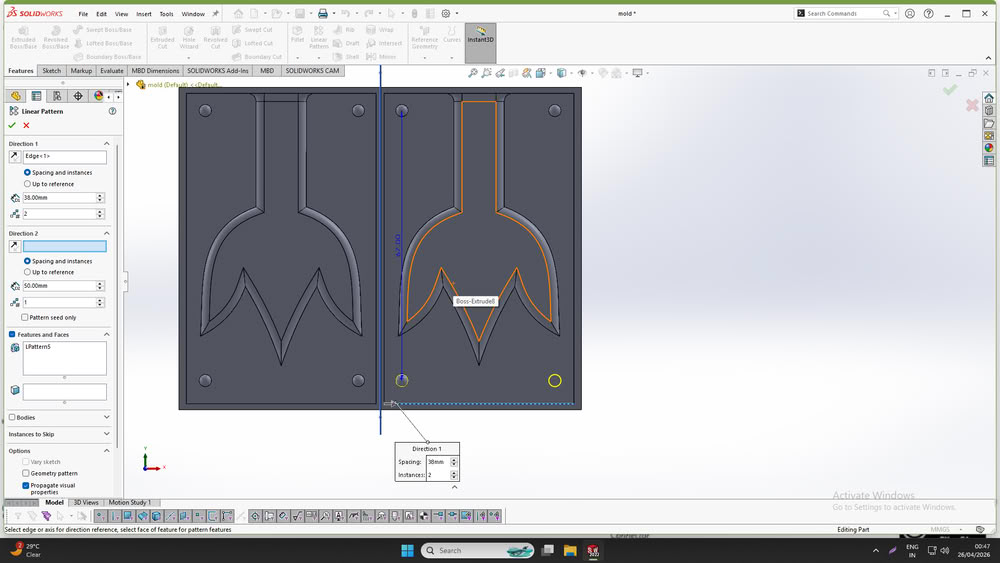
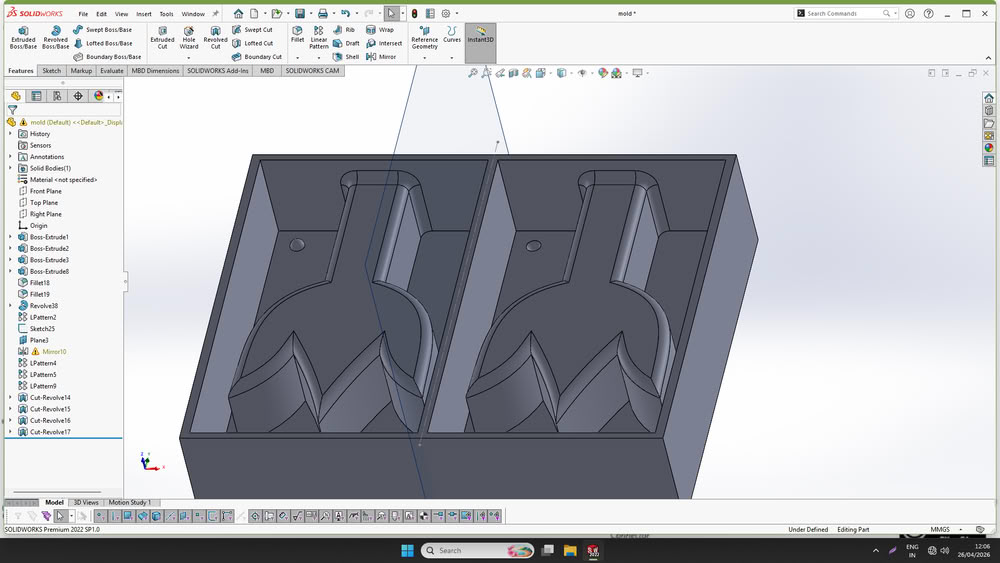
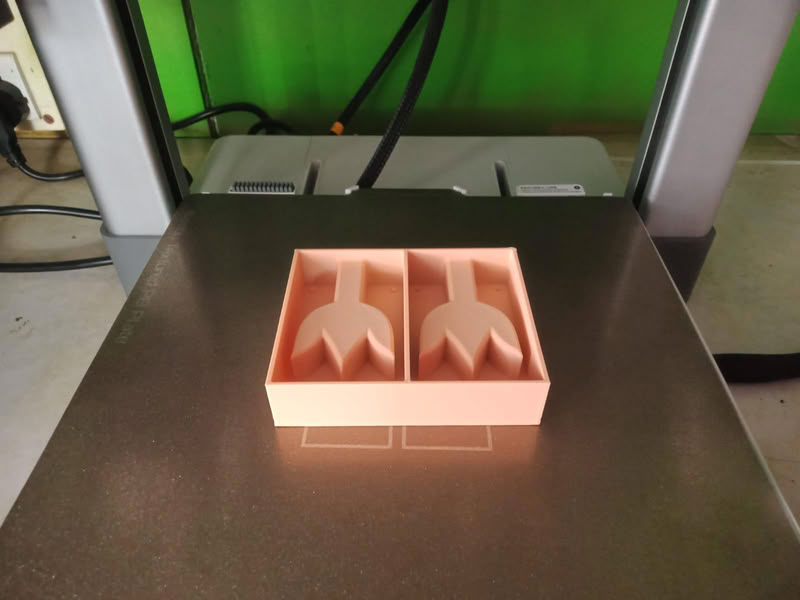
Finally, I saved the file in .stl format, sliced it using bamboo studio.
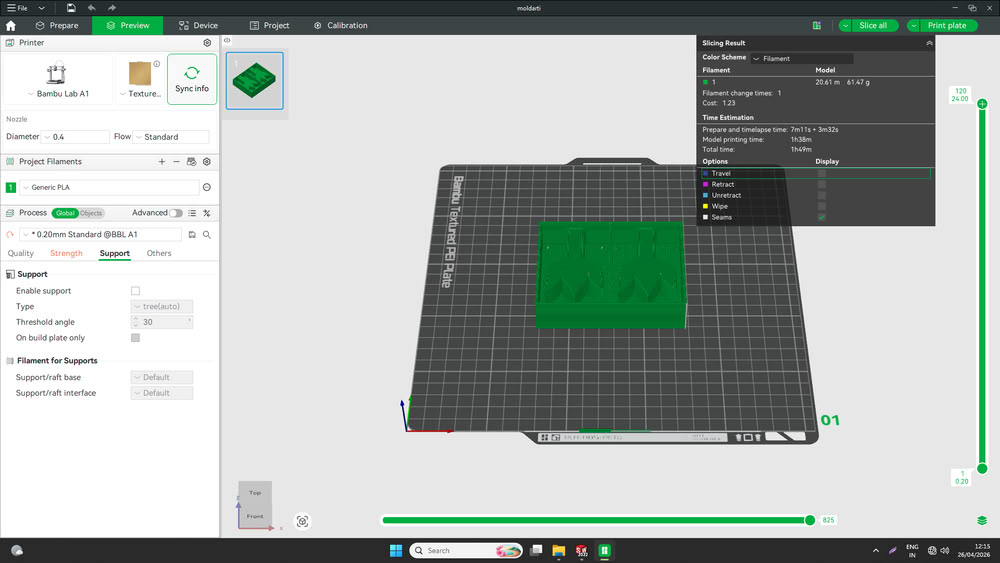
3D Printing
I printed my file using 3D printer.
Casting process:-
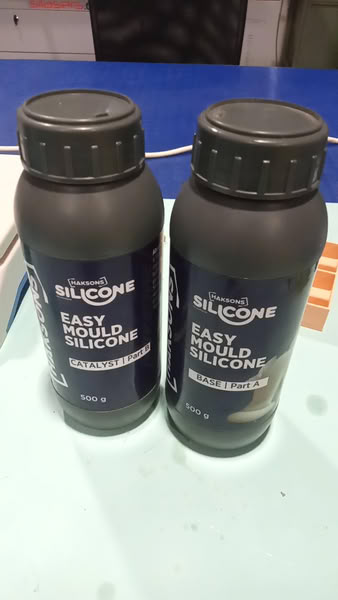
I used Silicone Rubber for the molding process, as shown below.
Calculations:-
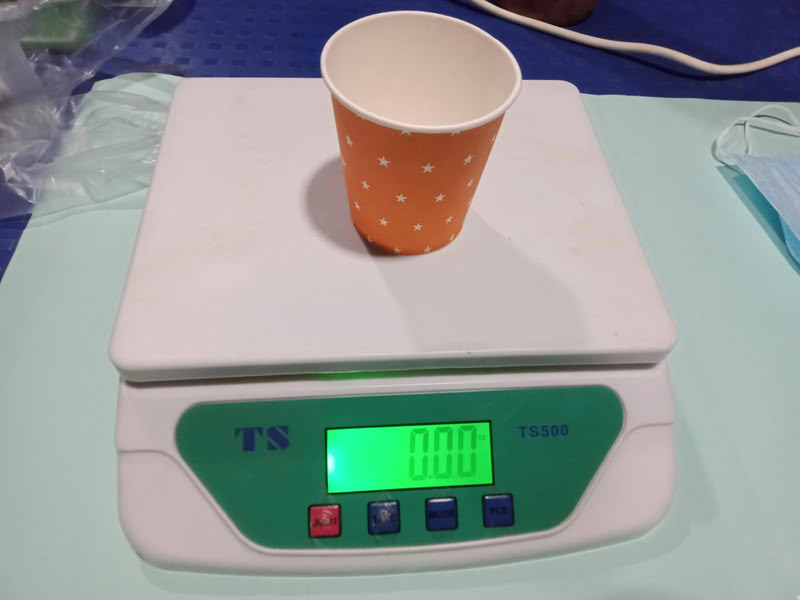
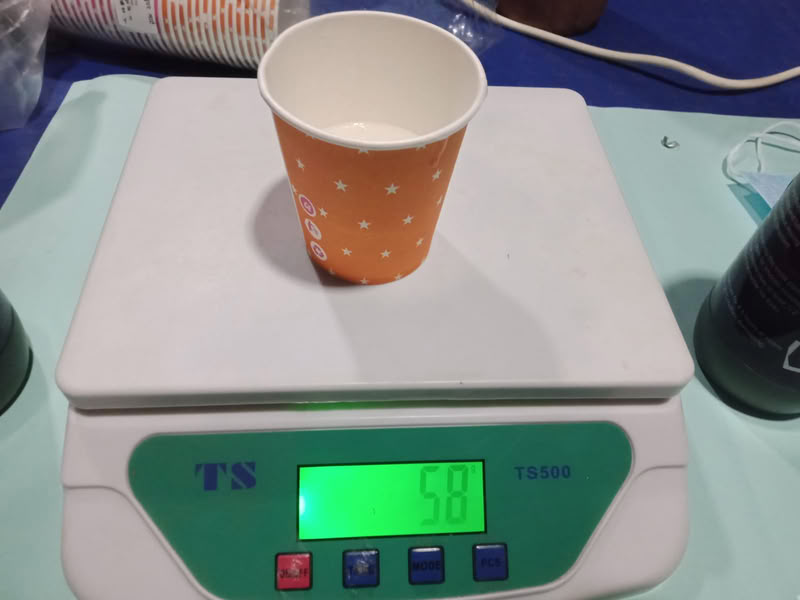
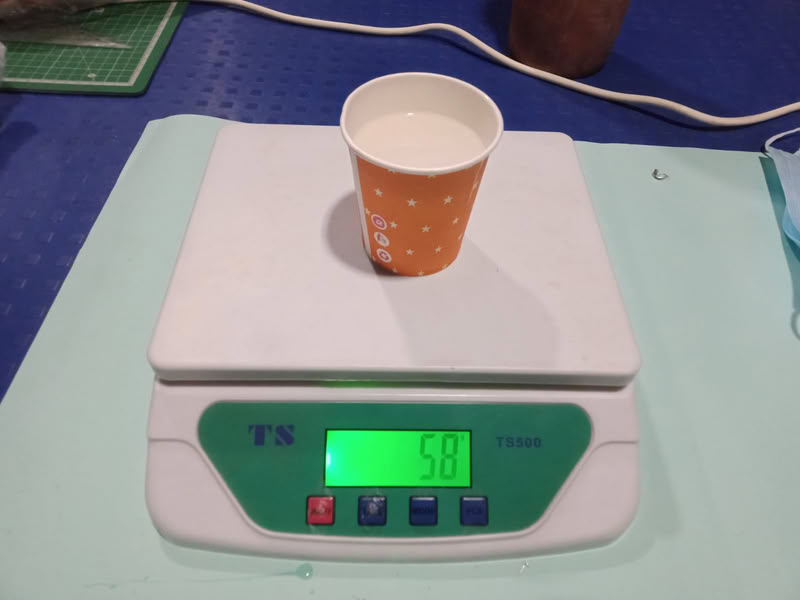
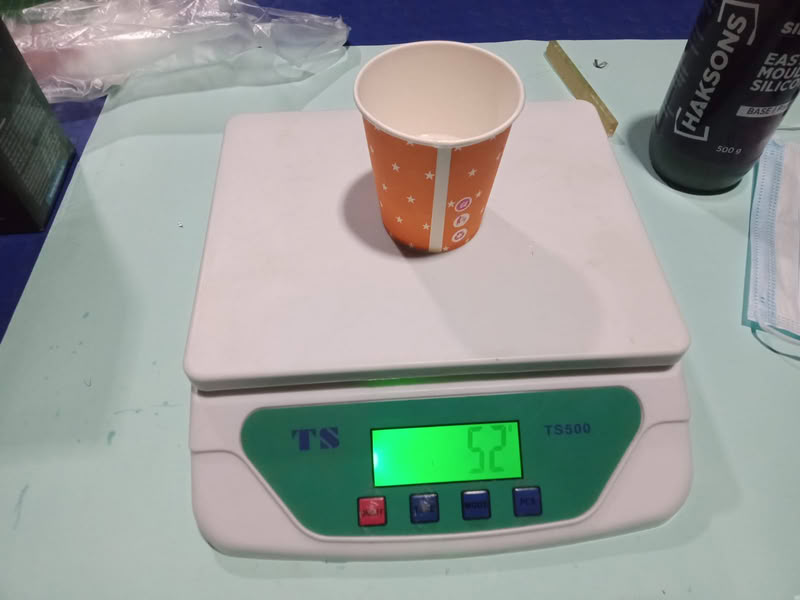
First, I poured water into my 3D printed mold and measured its volume. The measured volume of water was 103 mL. Since the density of silicone rubber is 1.0-1.1 g/mL, I calculated the required weight of silicone using the formula:
Weight of Silicone=Volume × Density=103 × 1.1 = 113.3g
After checking the silicone rubber bottles, I found that the mixing ratio of Part A and Part B was 1:1. Therefore, I divided the total weight equally:
Part A=Part B=113.3/2 = 56.65g
To ensure sufficient material, I took a slightly higher quantity: 58 g of Part A and 58 g of Part B.
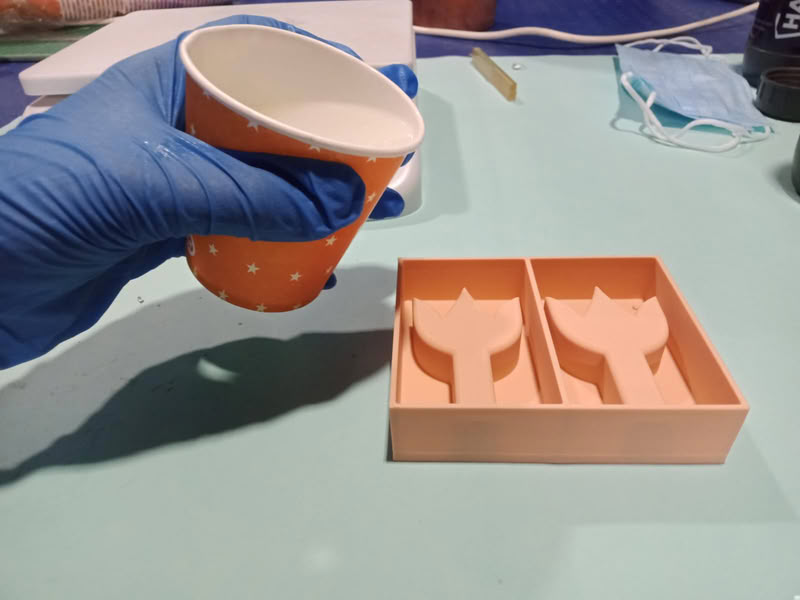
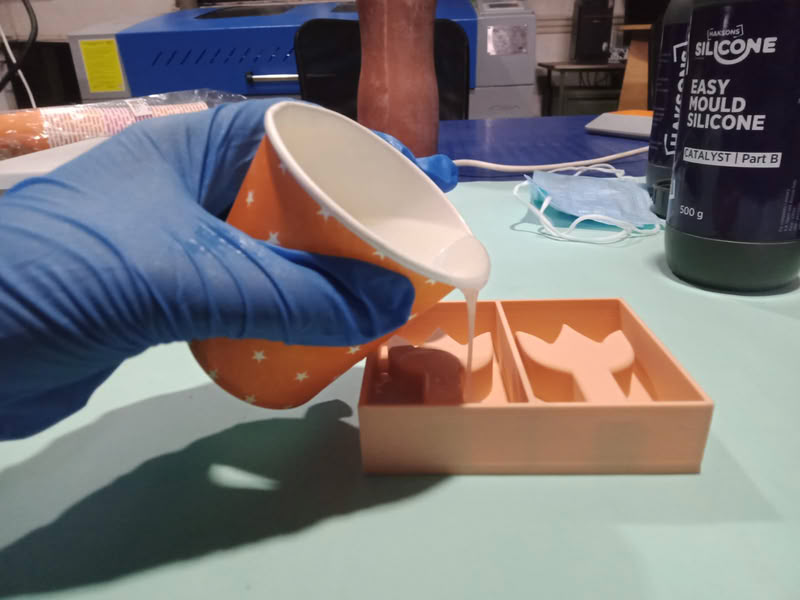
I mixed both solutions thoroughly and poured the mixture into the 3D printed mold.

Casting Process:
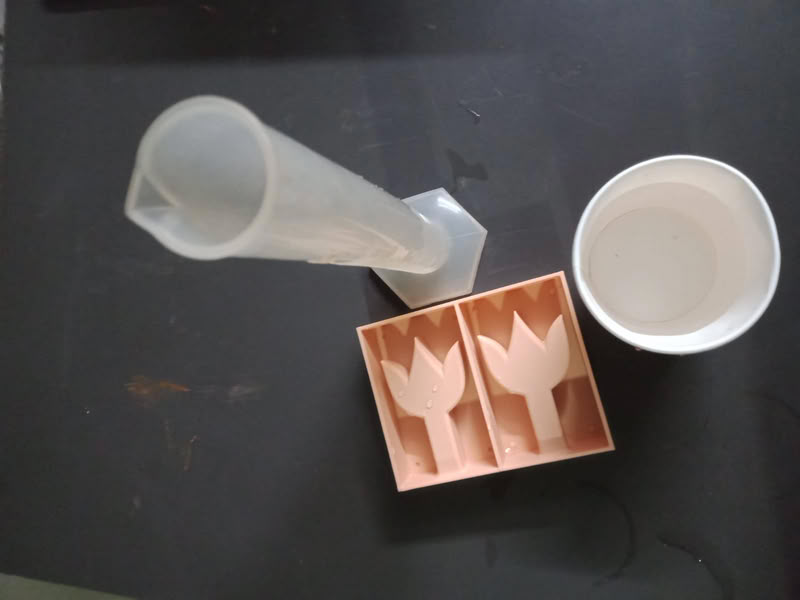
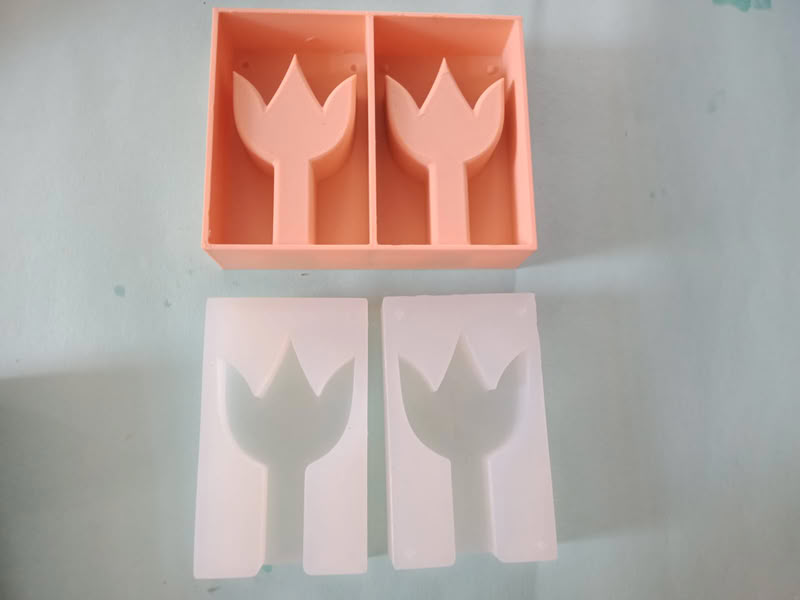
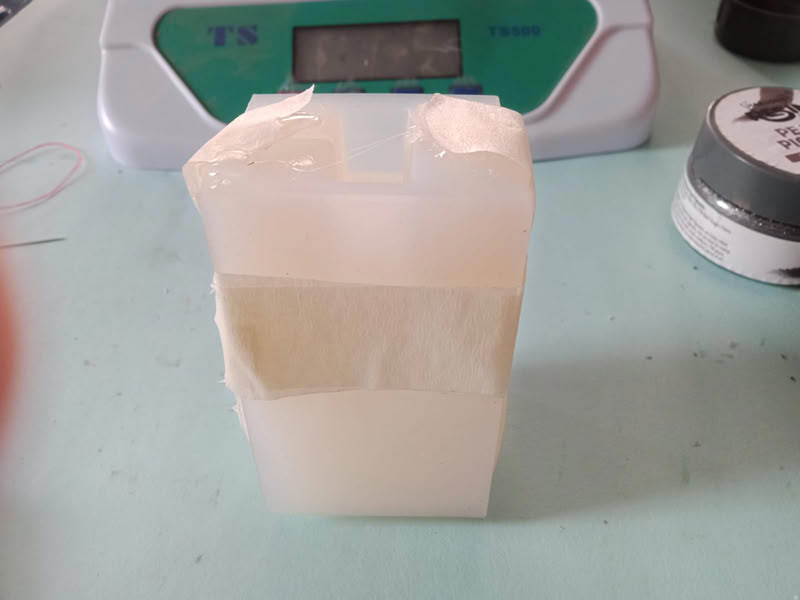
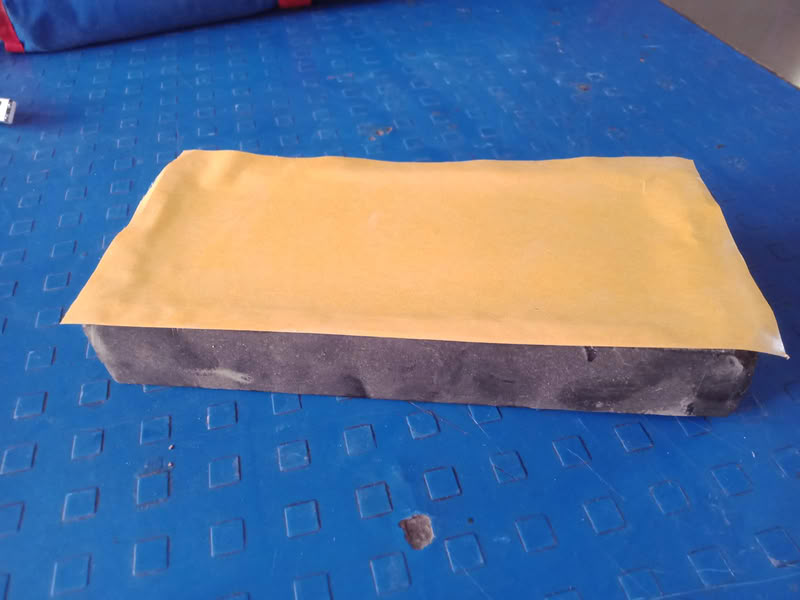
After 24 hours, I removed the silicone mold from the 3D printed mold successfully.
After removing the silicone mold from the 3D printed mold, I placed both parts together and secured them using tape.
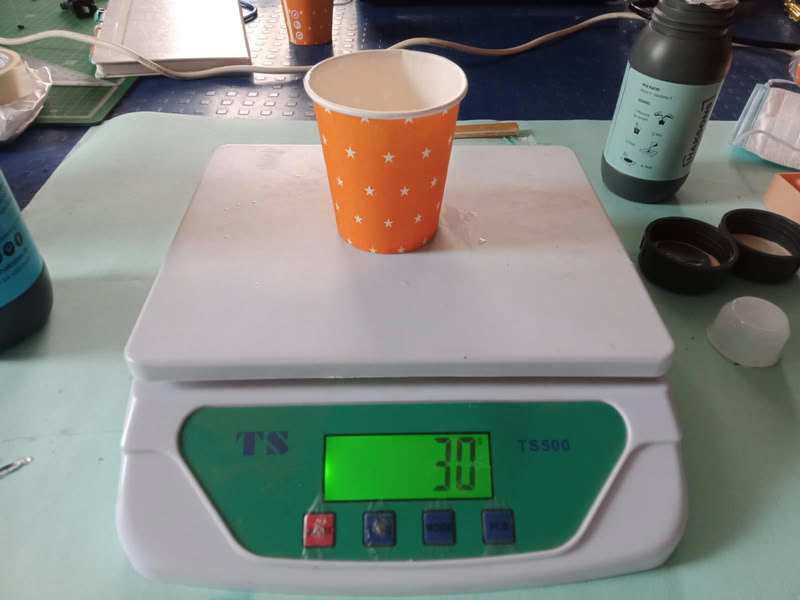
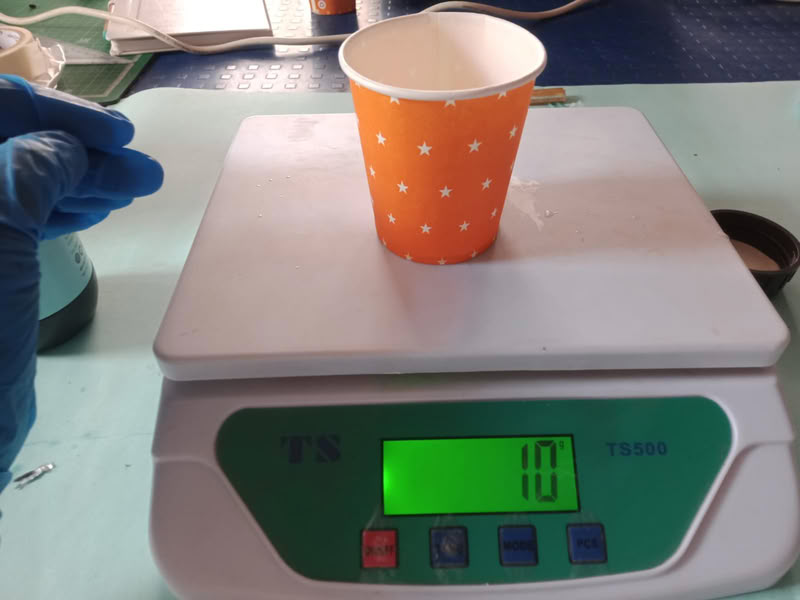
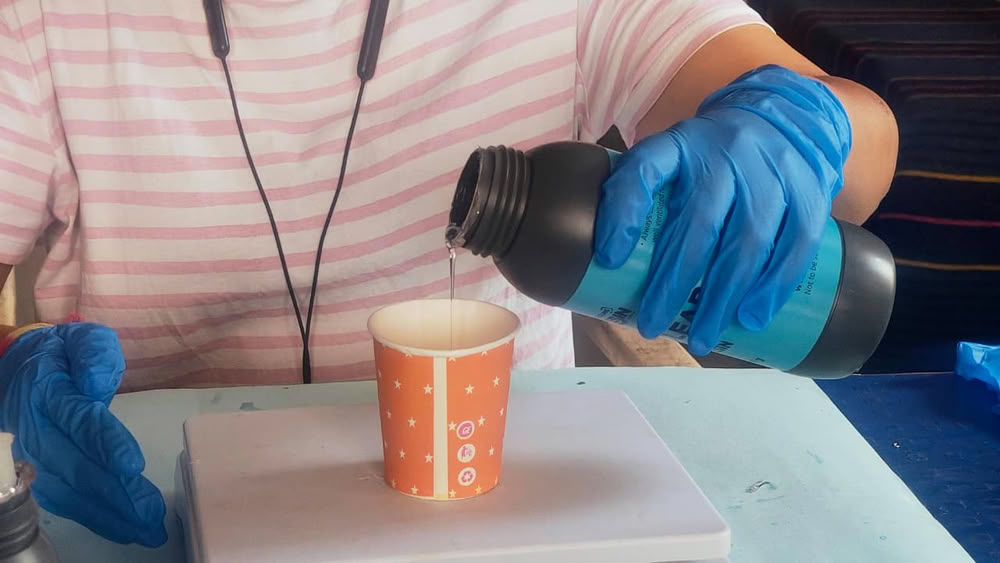
Then, I prepared the resin mixture. The mixing ratio mentioned on the bottles was 3:1, which means 3 parts resin and 1 part hardener. To measure the required quantity, I poured water into the assembled mold and found that its volume was 40 mL. Since the density of the resin and hardener is approximately close to 1 g/mL, 30 mL of resin was measured as nearly 30 g and 10 mL of hardener was measured as nearly 10 g on the weighing scale. After measuring both components correctly, they were mixed thoroughly before pouring into the mold for casting.
Since epoxy resin density is approximately close to water, volume was considered equivalent to weight (1 mL ≈ 1 g) for practical measurement using a weighing scale. so we assume density = 1g/ml.
 |
 |
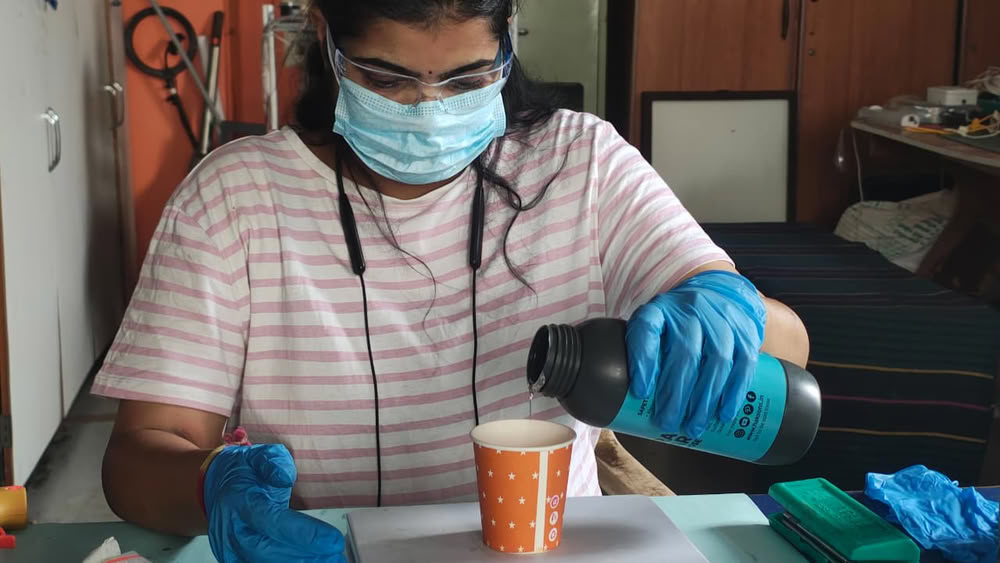
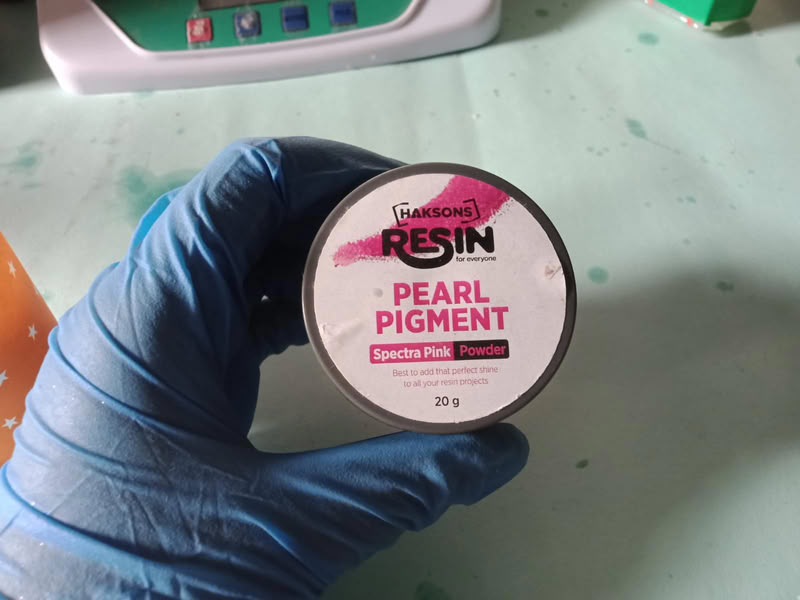
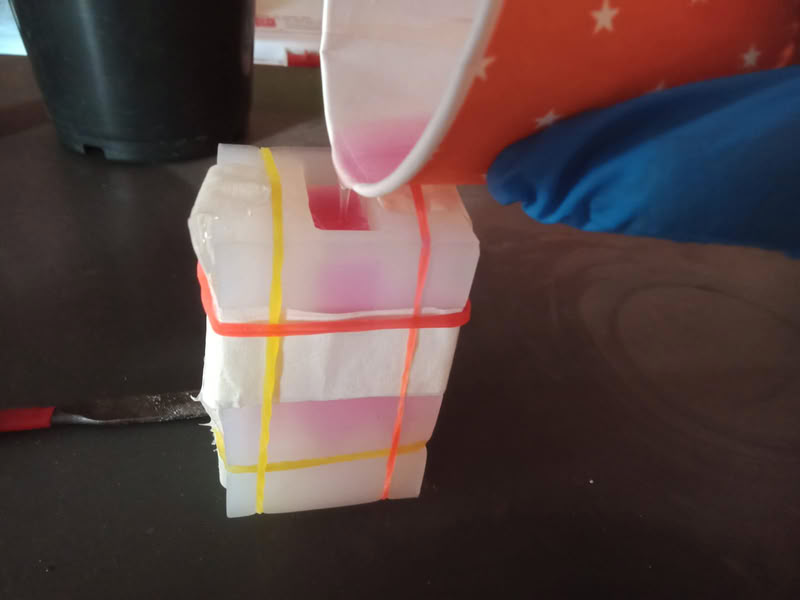
After that, I added pink color pigment to the mixture and mixed it thoroughly.
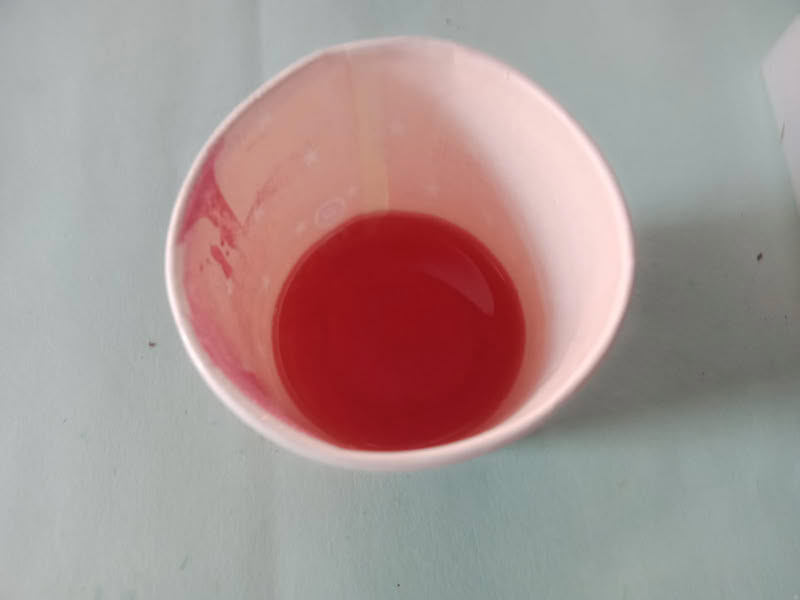
Finally, I poured the solution into the mold and left it undisturbed for 24 hours.
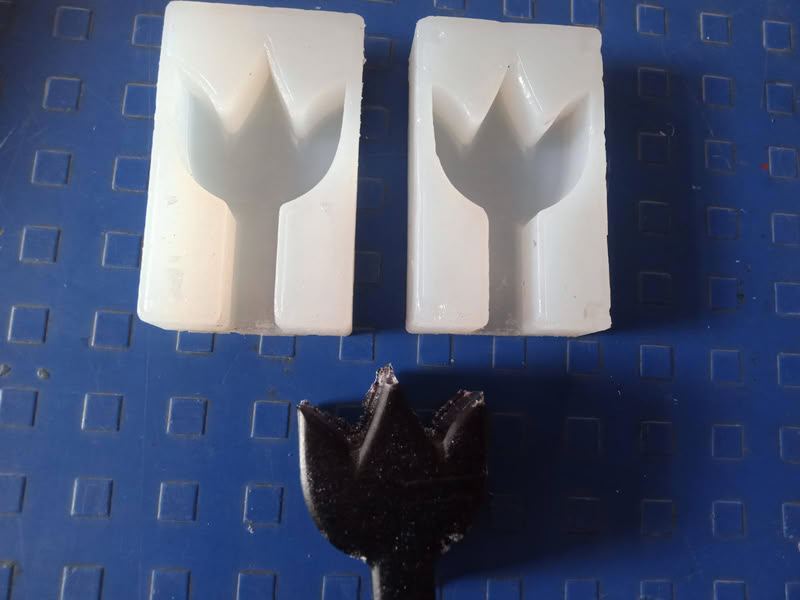
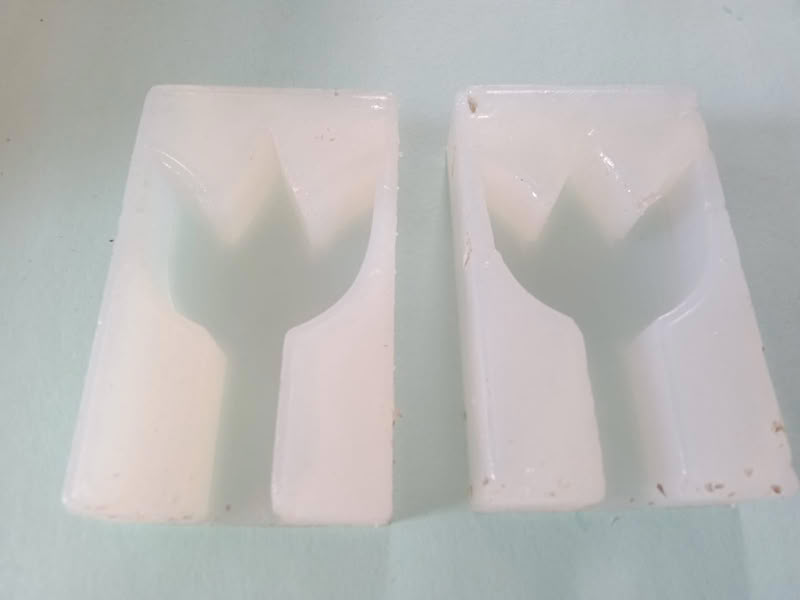
After curing, my resin mold was successfully prepared.
Here is the prepared mold.
Mold preparation
Placing machineable wax and bit:
First, I removed the old collet and fitted a new collet according to the bit size, which was 3 mm.
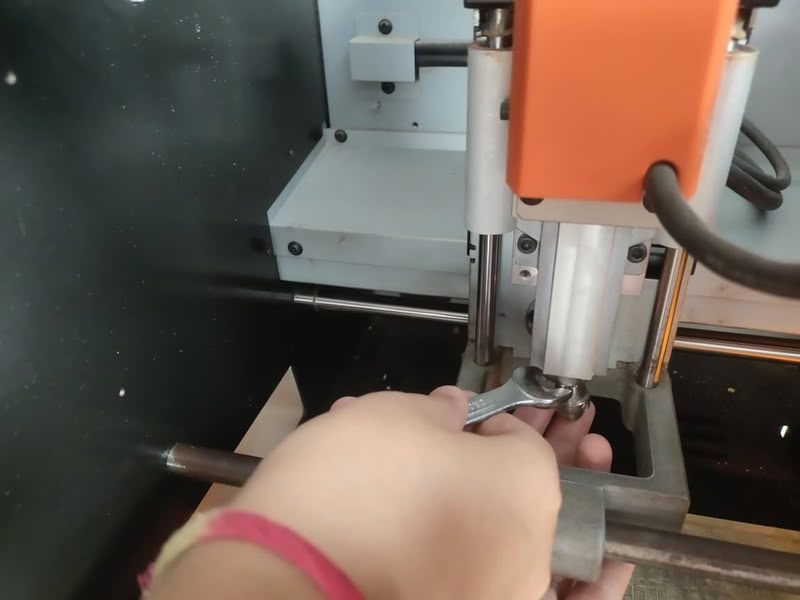
Then, I took a ready-made machinable wax block
placed it properly on the machine bed using PCB tape and a glue gun.
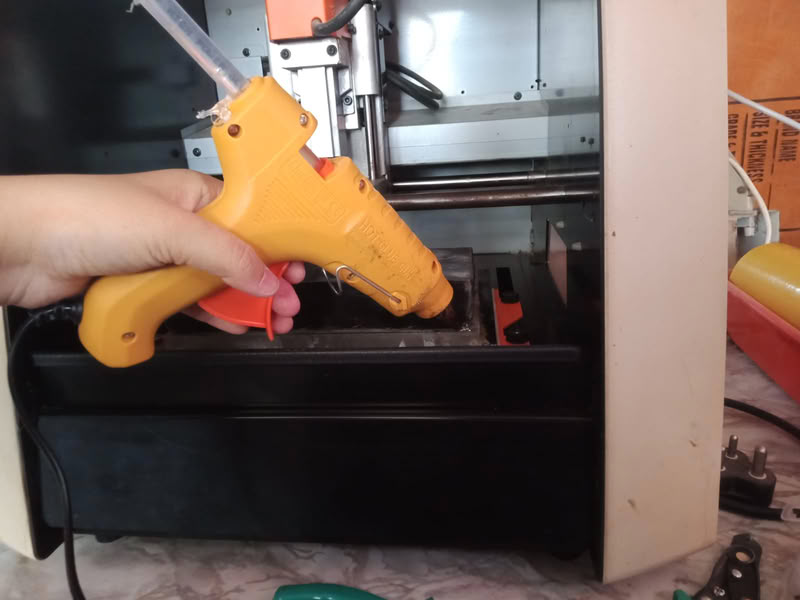
After that, the wax was firmly fixed to the bed.
Generating toolpath:-
Modela player 4 for g-code
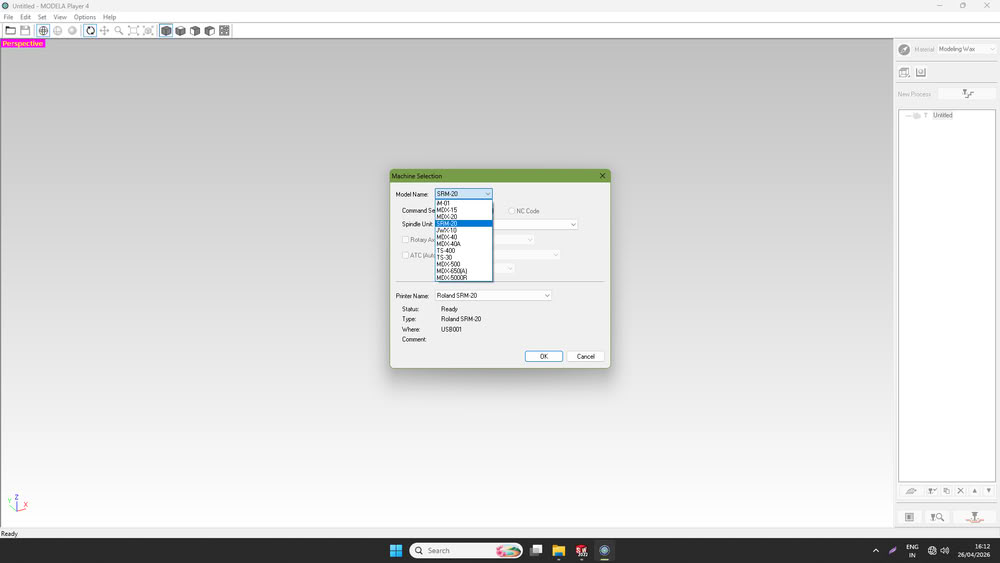
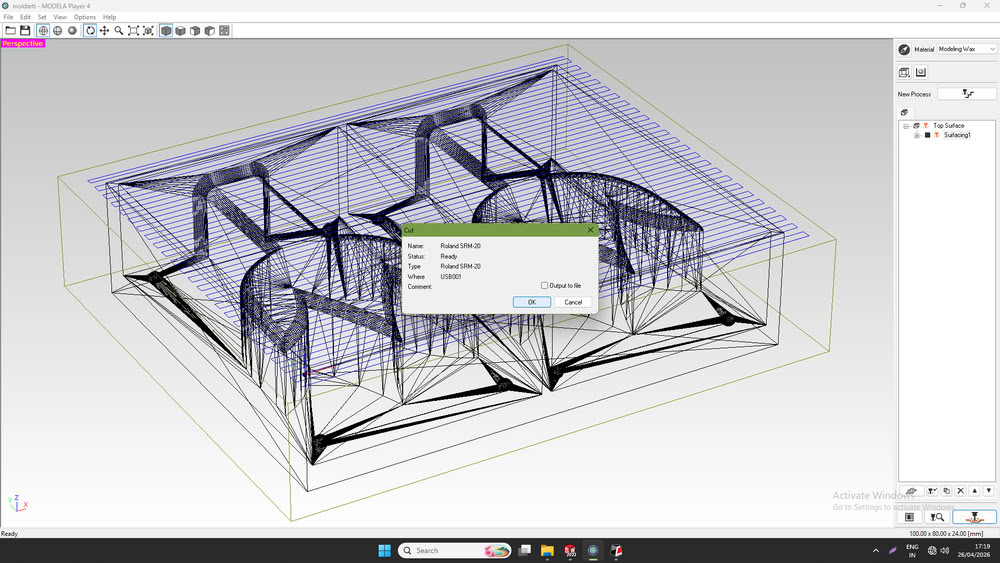
I used MODELA Player 4 for toolpath generation.

First, I opened the software and, from the file menu, selected the machine as Roland SRM-20, then clicked OK.
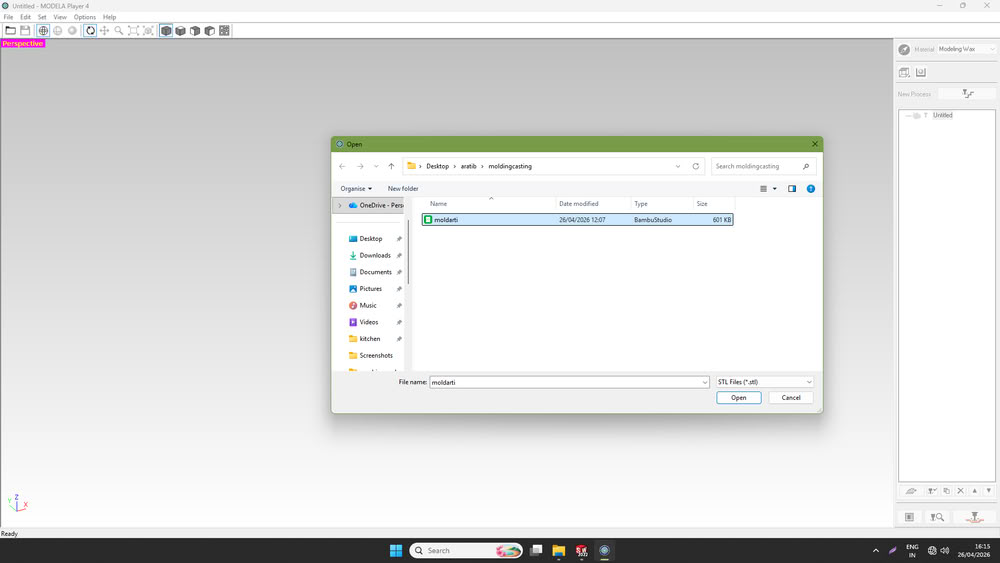
After that, I clicked on "Open".
selected my mold .stl file.
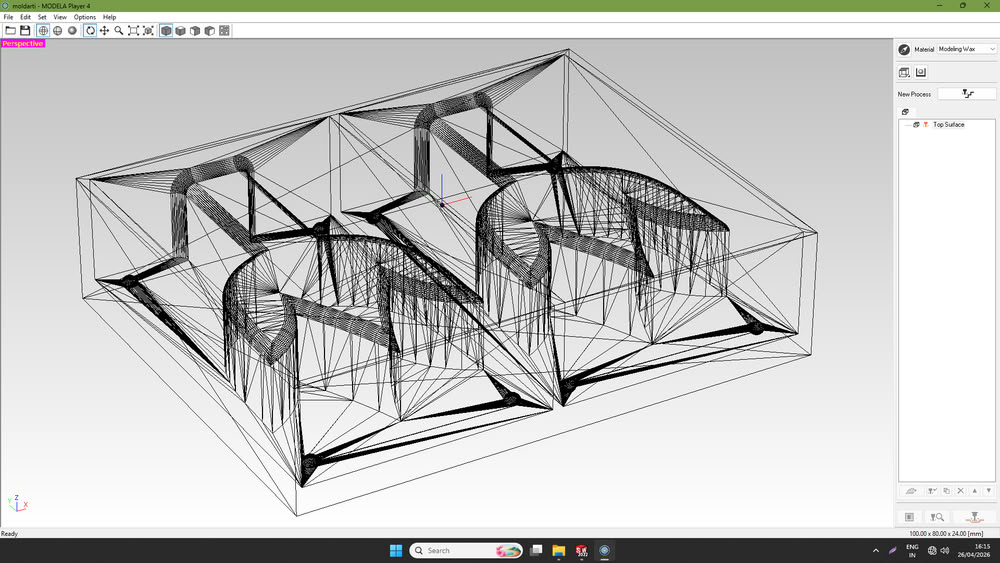
The file is visible on screen.
Once the file was opened, I clicked on “Set” and selected the model option.
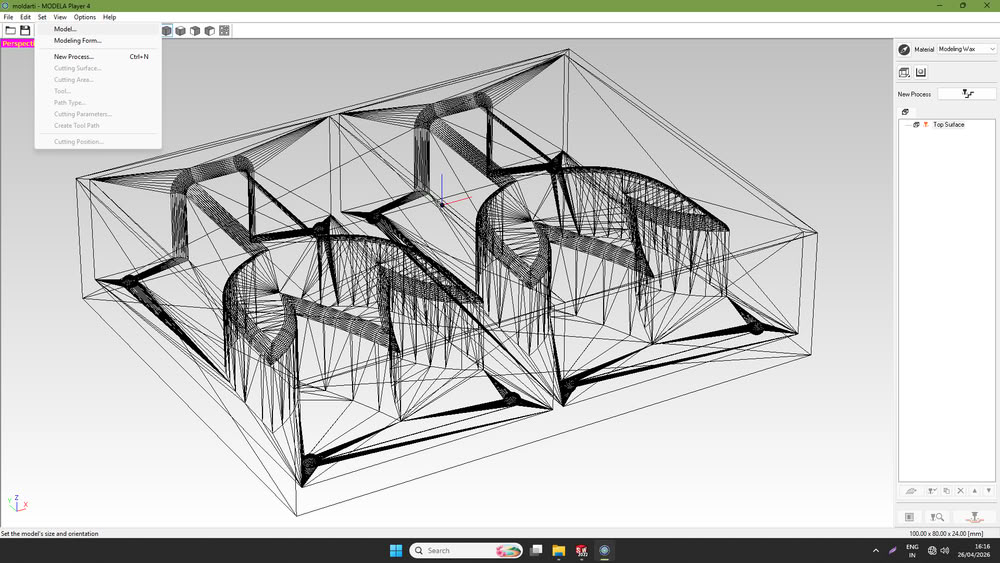
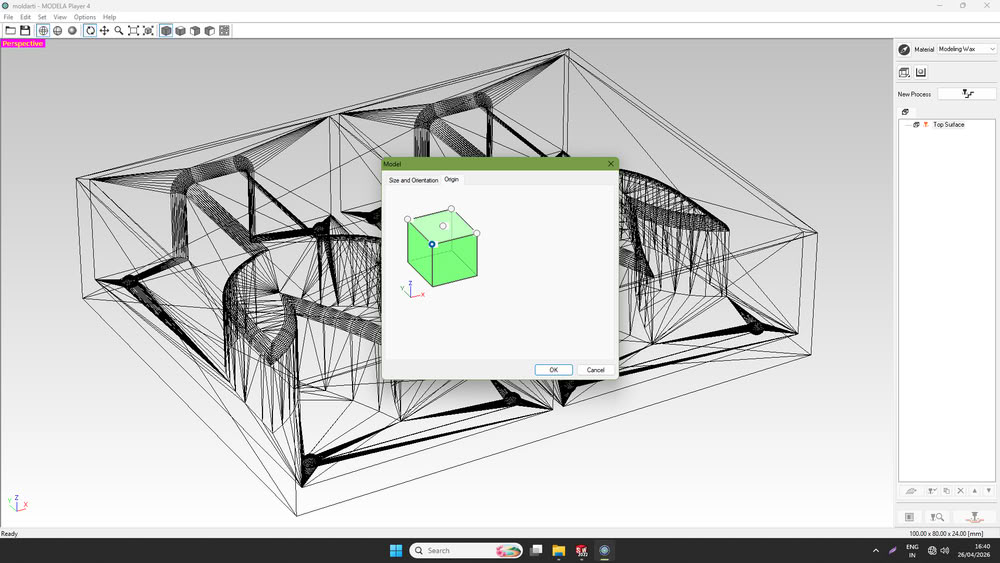
A dialog box appeared where I set the model size and clicked OK.
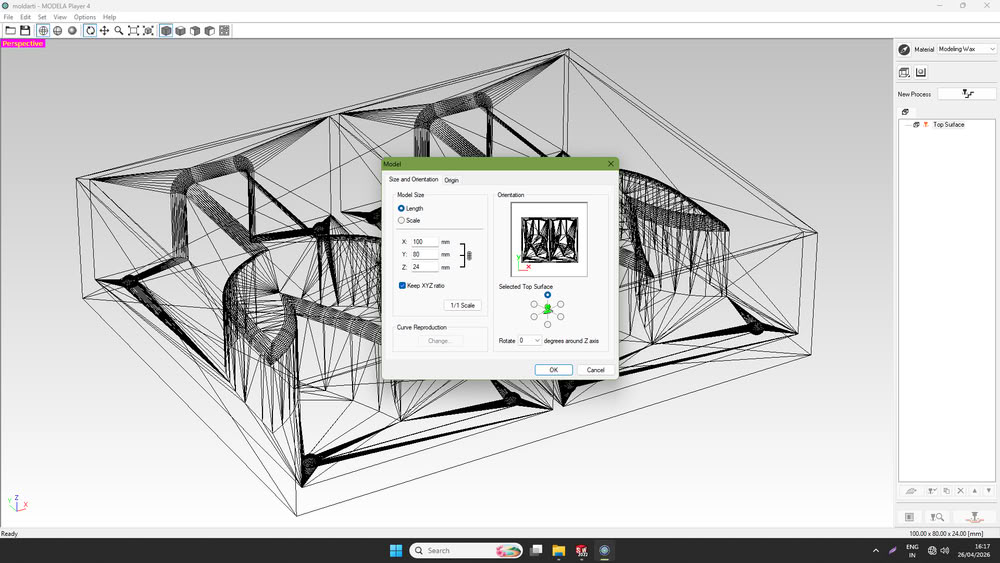
I also set the origin point from where the toolpath would start.
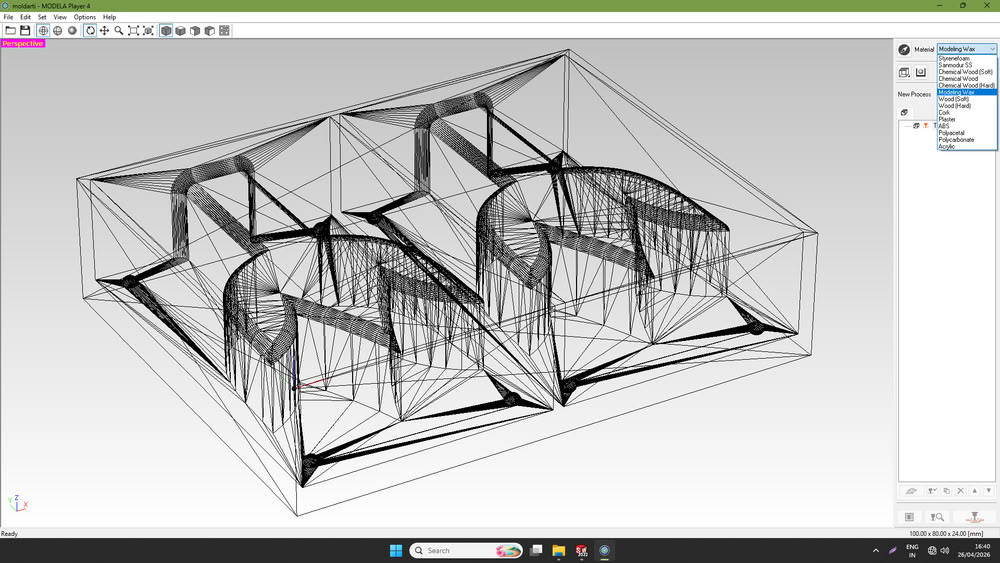
Next, I selected the material that I was going to mill.
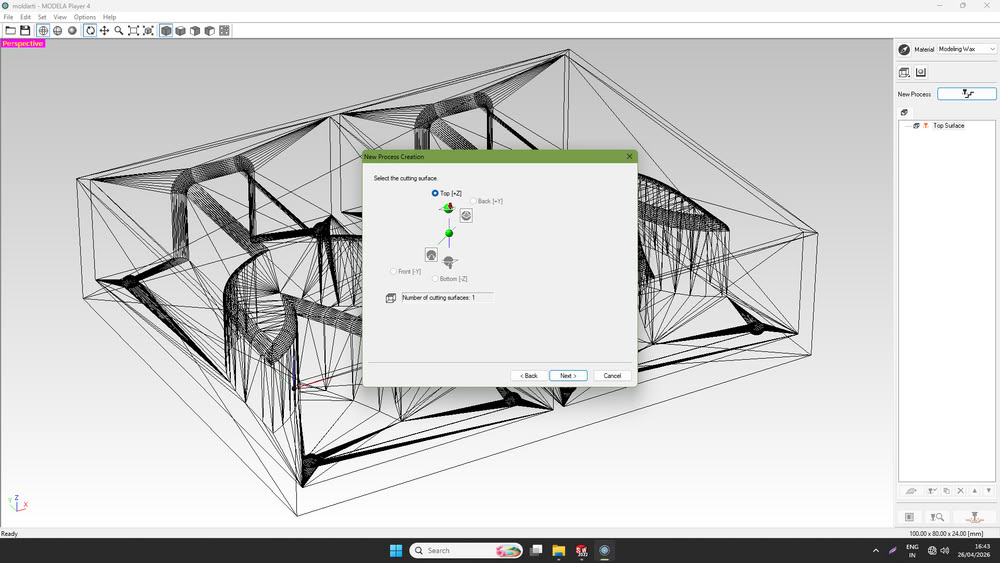
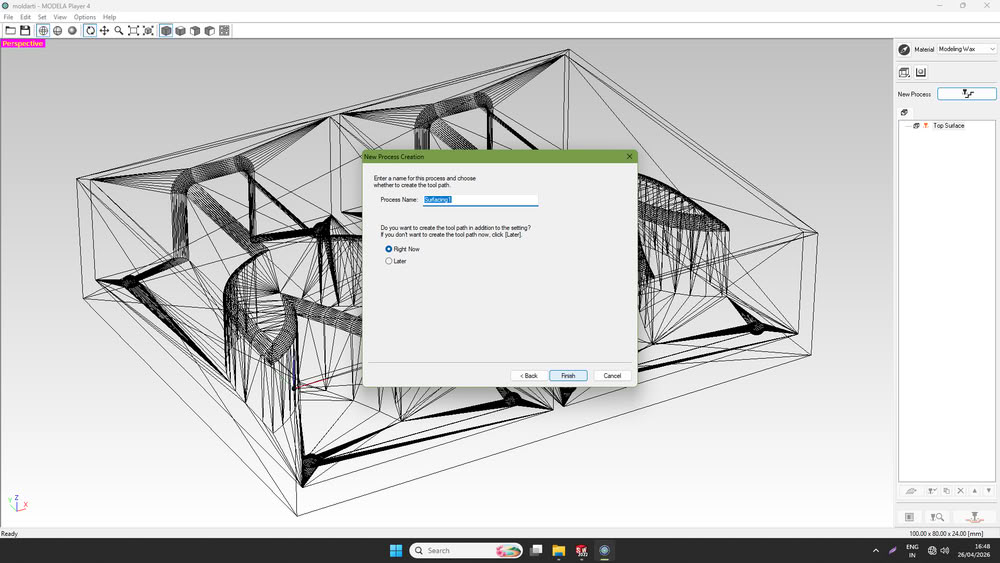
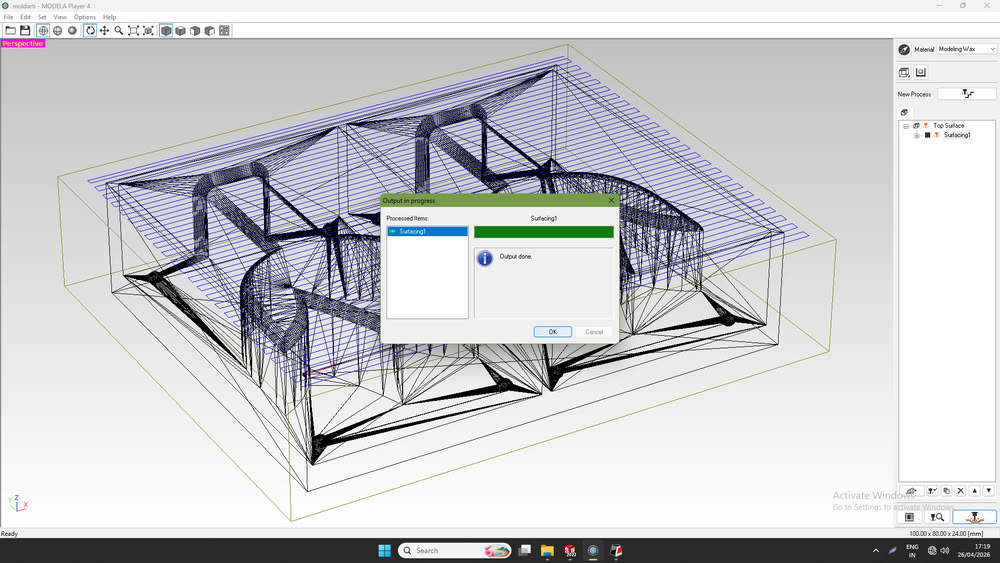
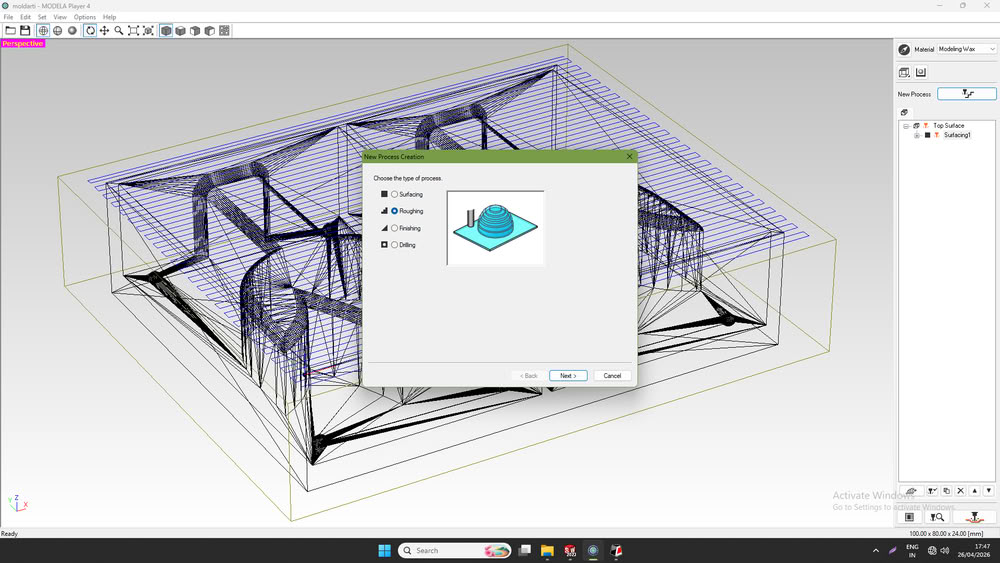
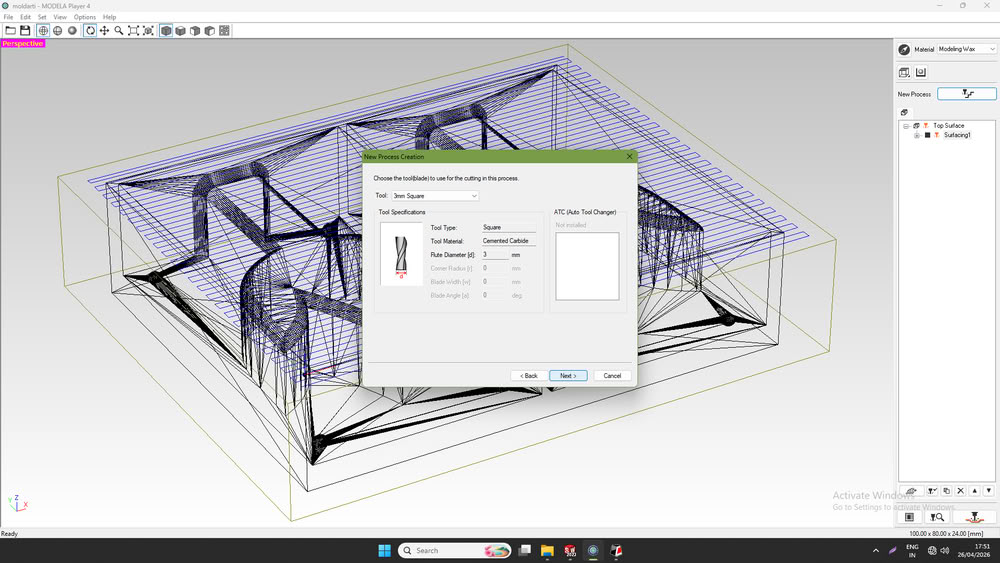
Then, I clicked on the “New Process” option and selected the “Surfacing” process, which is used to plane the surface of the material.
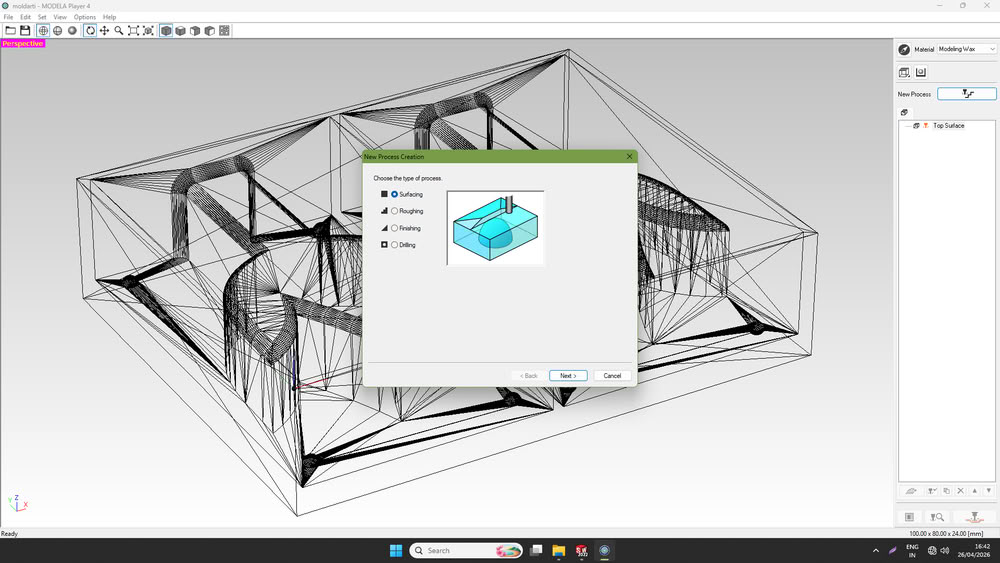
After that, I selected the cutting surface axis.
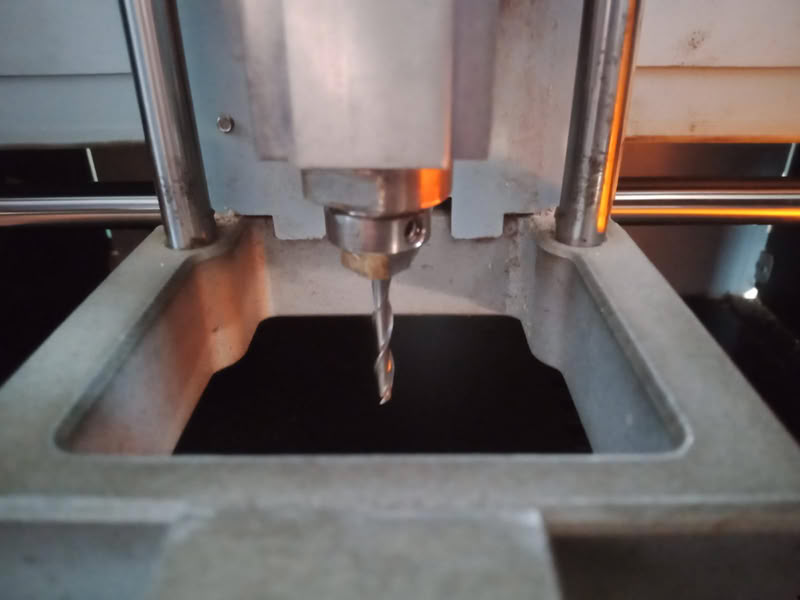
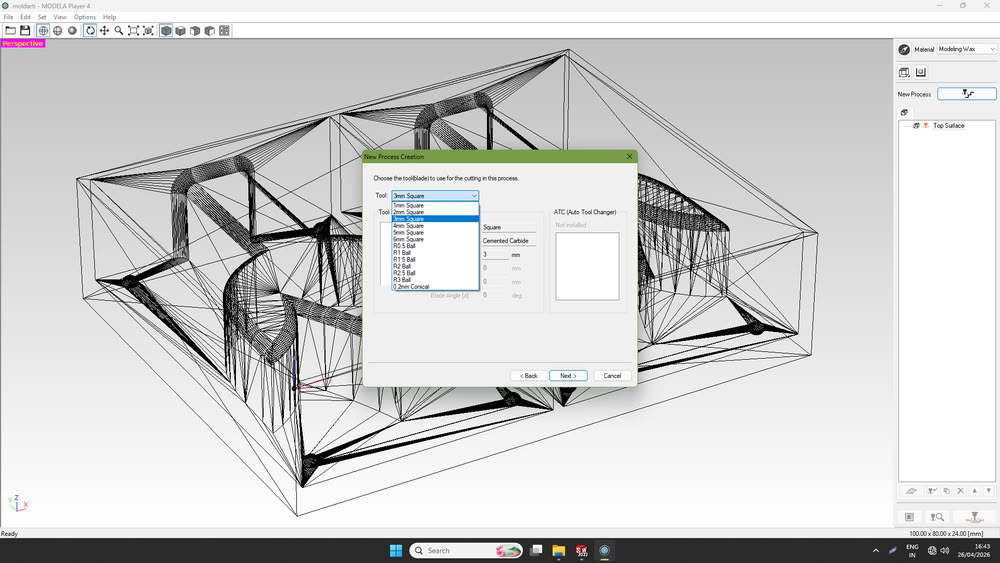
I chose a 3 mm square bit as the surfacing tool.
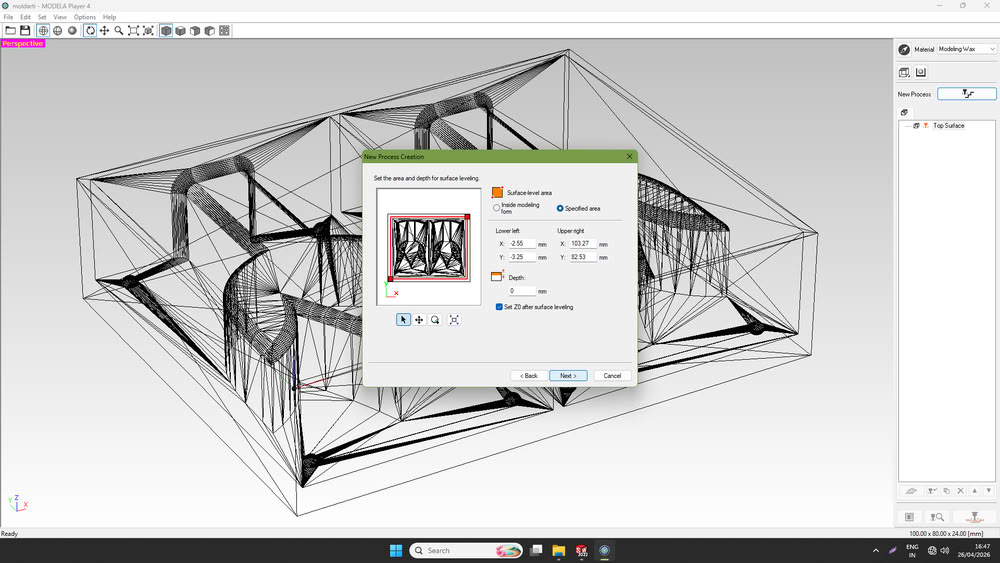
I then selected the depth area required for surfacing and clicked Next.
I clicked Next.
Again I clicked on next.
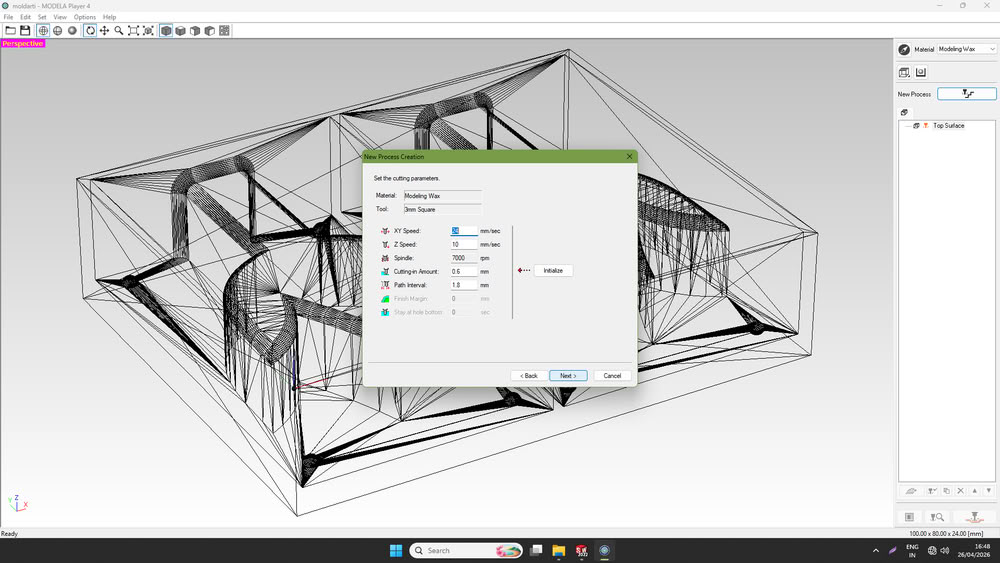
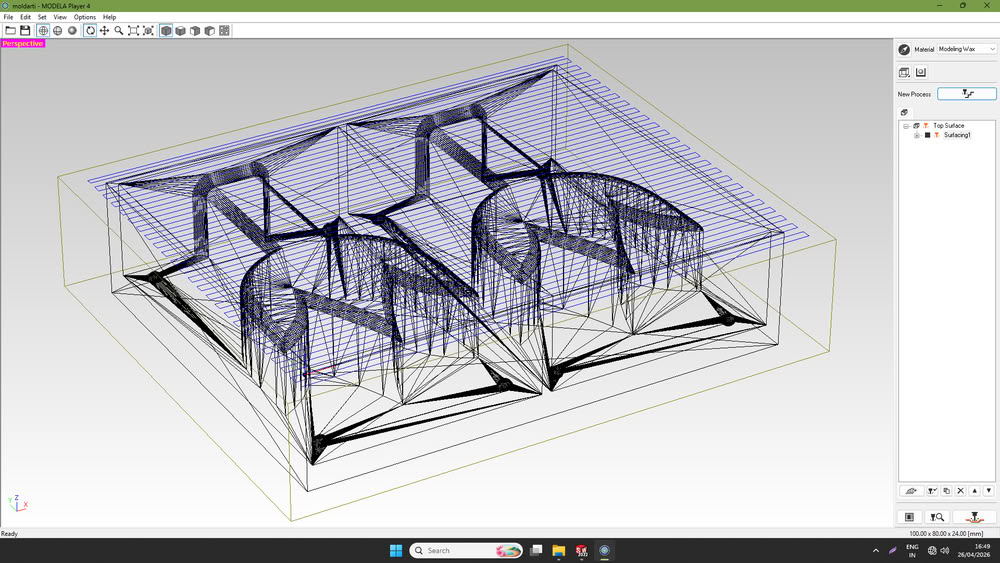
I clicked on finish and surfacing process becomes ready.
The surfacing area appeared on the screen, as shown in the photo.
At the bottom-right corner, there was an option called Cutting Position Setup, which I selected and clicked OK.
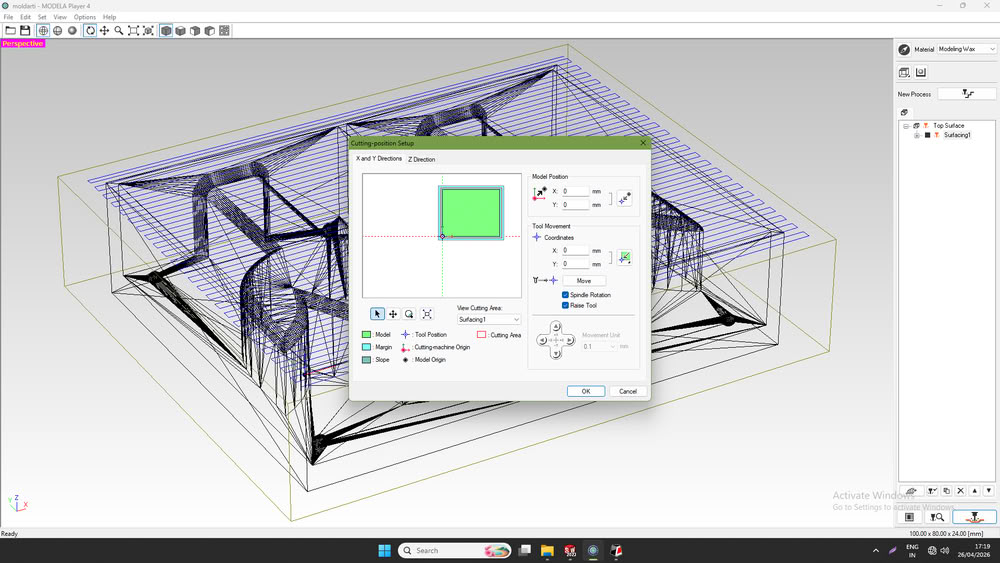
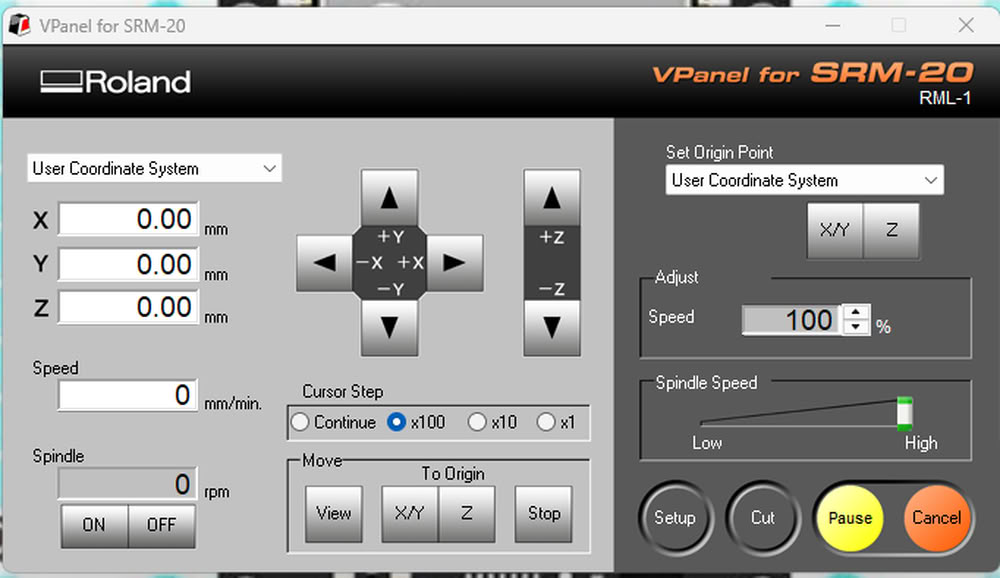
Then, I opened VPanel for SRM-20 and set the X, Y, and Z origins.
After that, I returned to MODELA Player 4 and clicked OK.
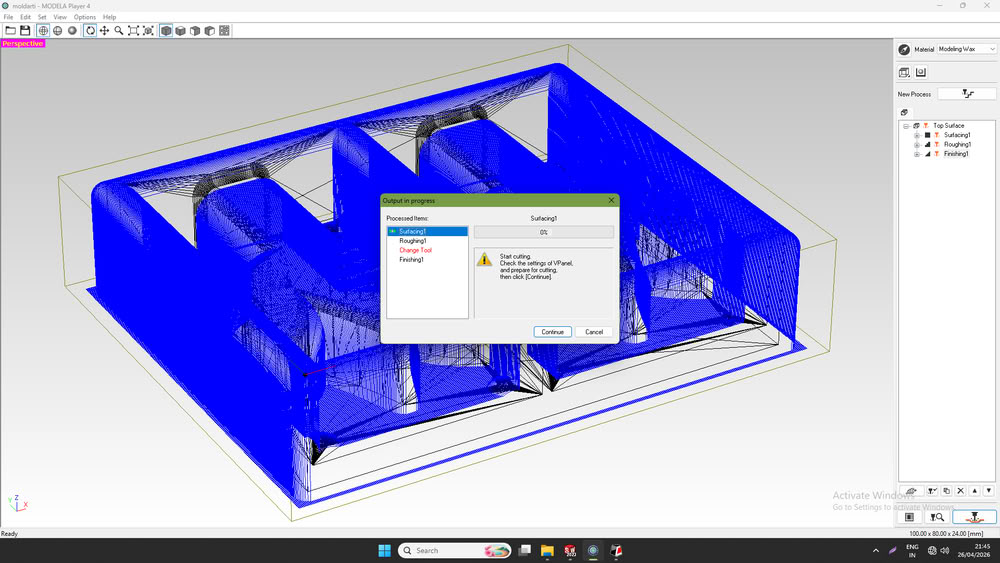
The surfacing process then started successfully.

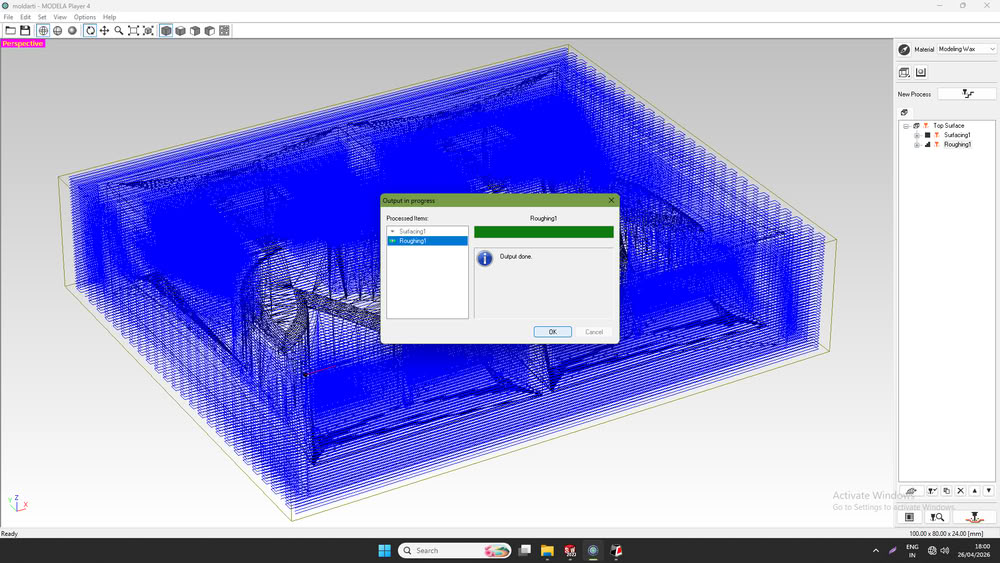
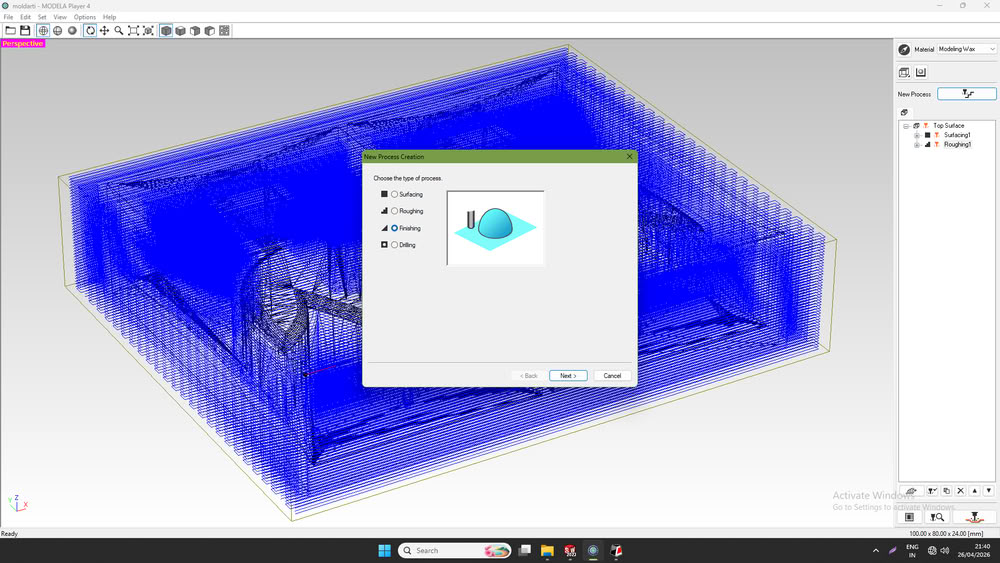
Roughing process:-
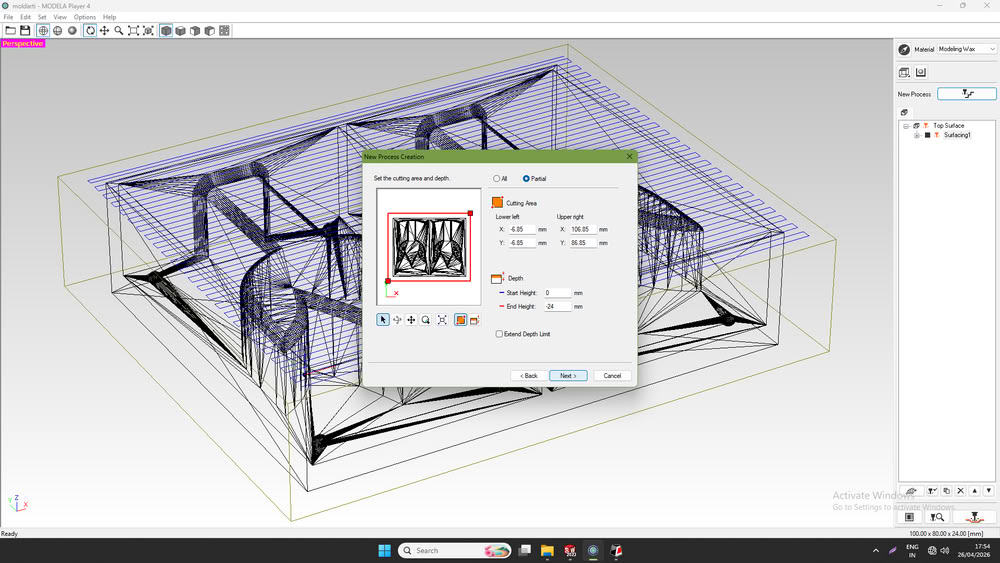
Similar to the surfacing process, the next process was roughing. I again went to the New Process option and selected the Roughing process
After that, I selected the surface.

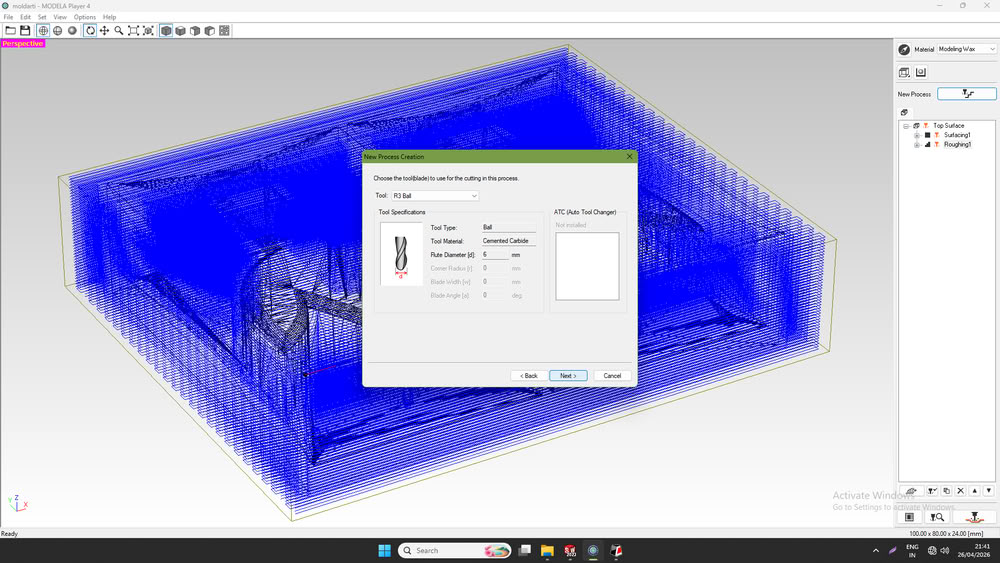
Then, I chose the required bit.
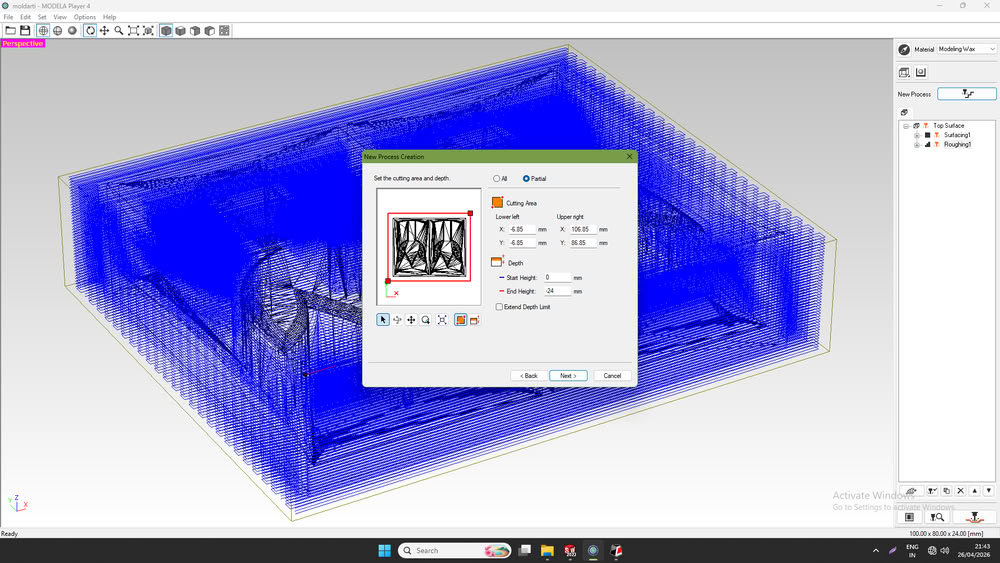
Then select cutting area and clicked on next.
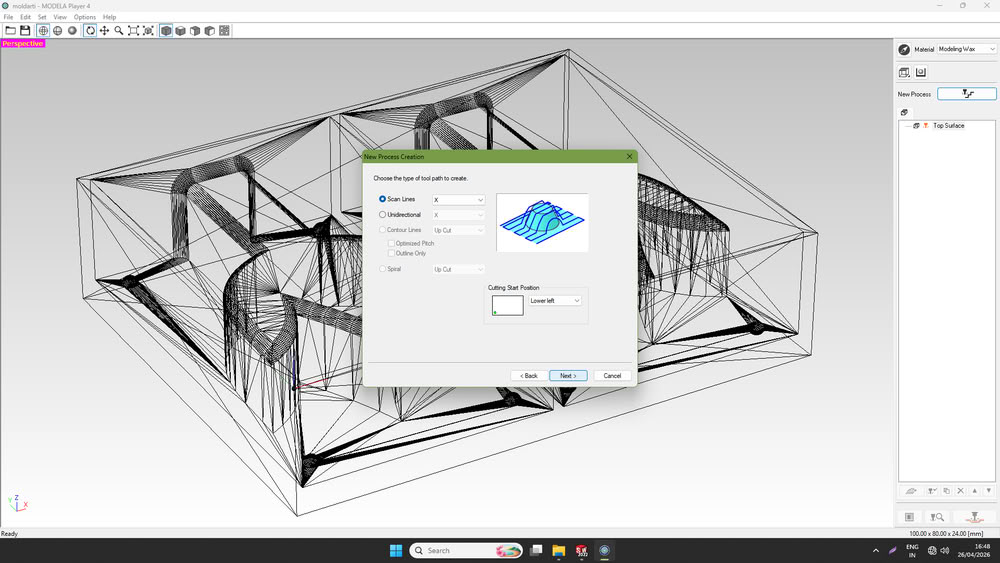
Then I selected the type of toolpath.
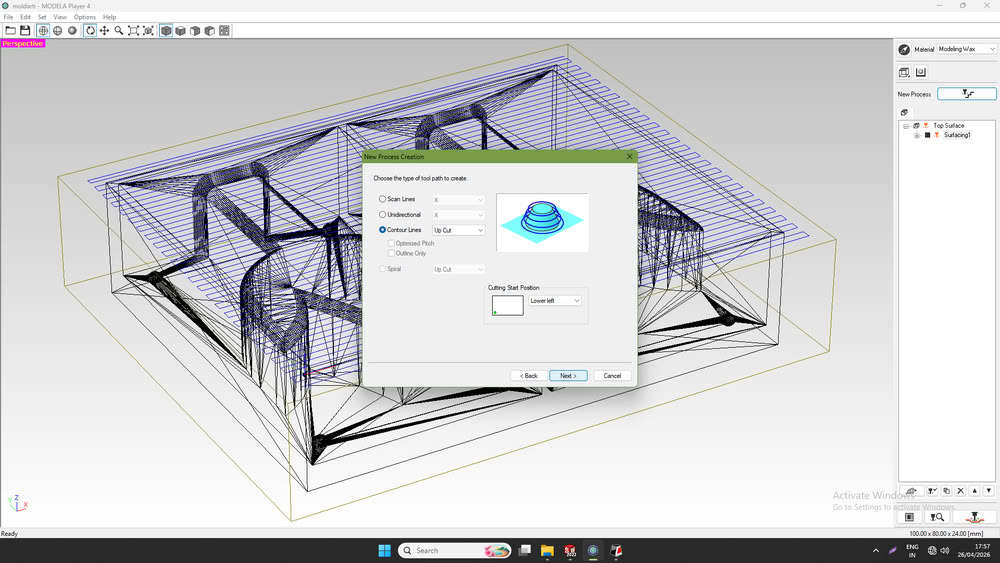
and then clicked finish.
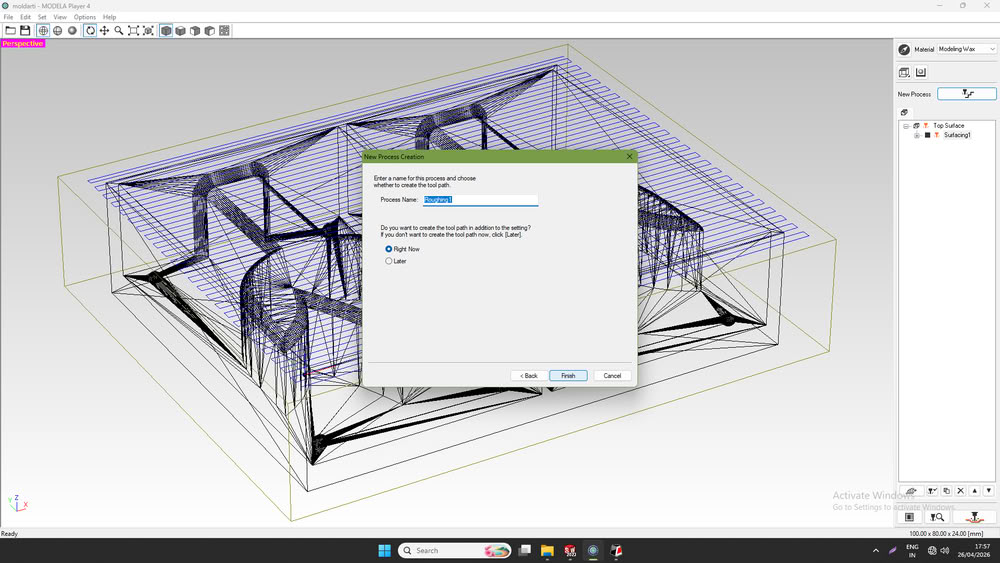
Then I start the roughing process.
Finishing process:-
In a similar way, I selected the finishing process.
This time, I selected a 3 mm ball nose bit for smooth texturing.
After that, I selected the cutting area
I chose the type of toolpath.
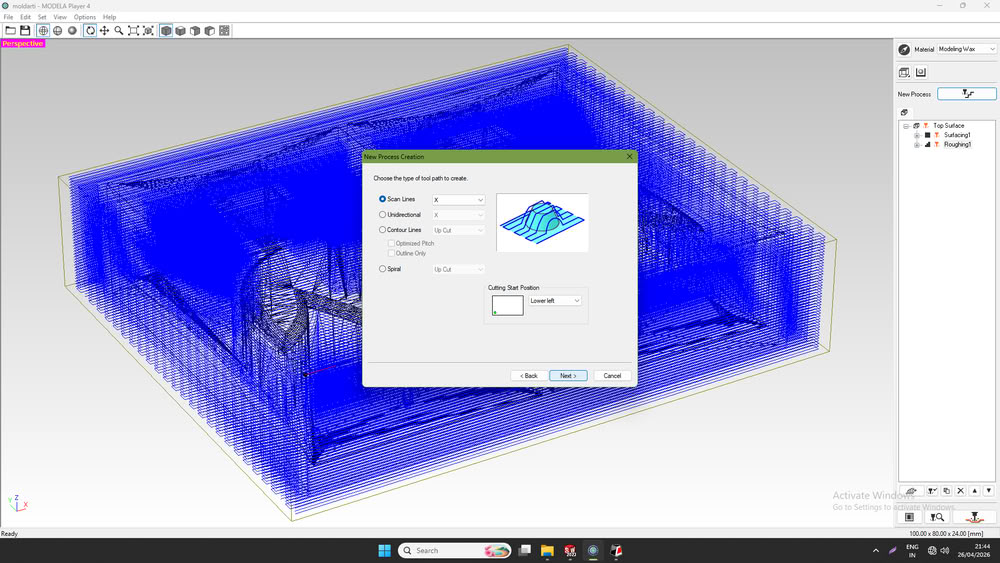
Then, I clicked on Finish, and the finishing toolpath was generated successfully.
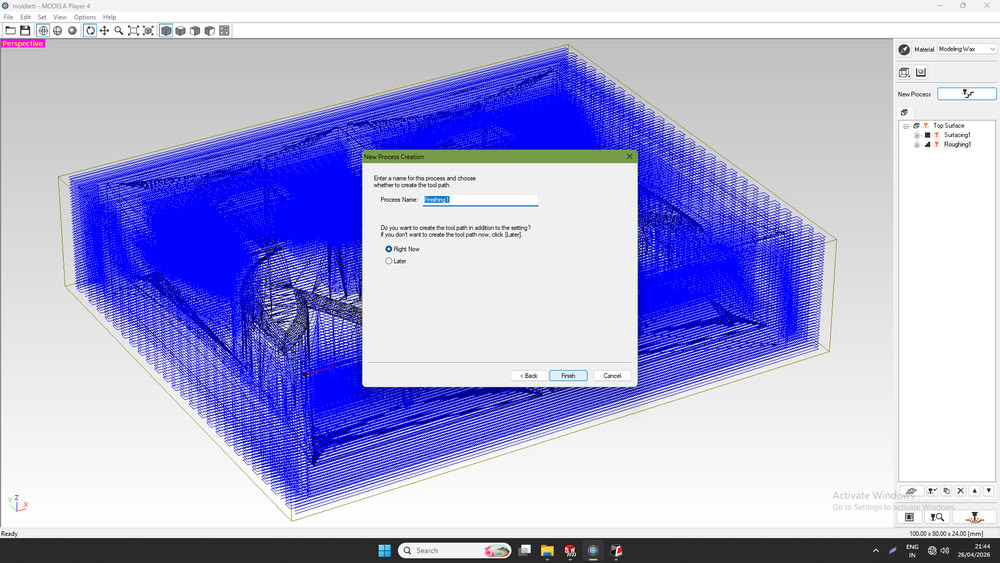
Finally, the finishing process started.
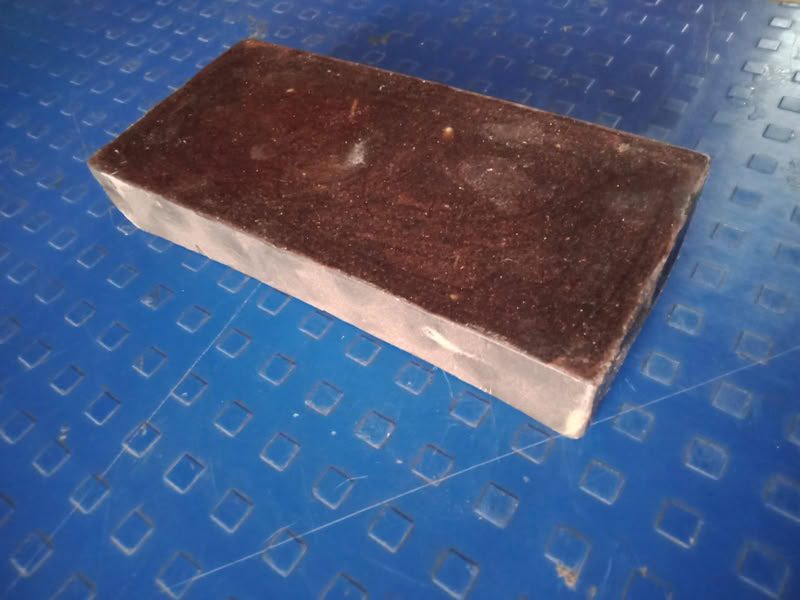
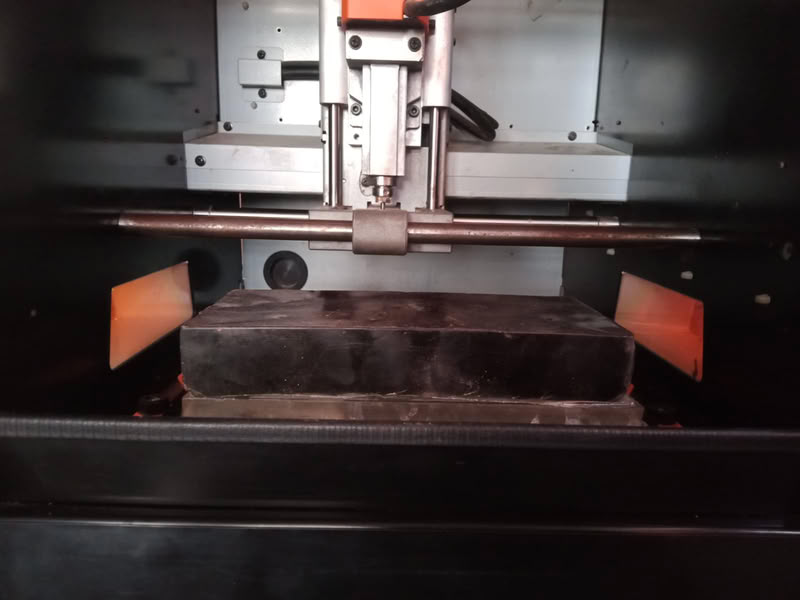
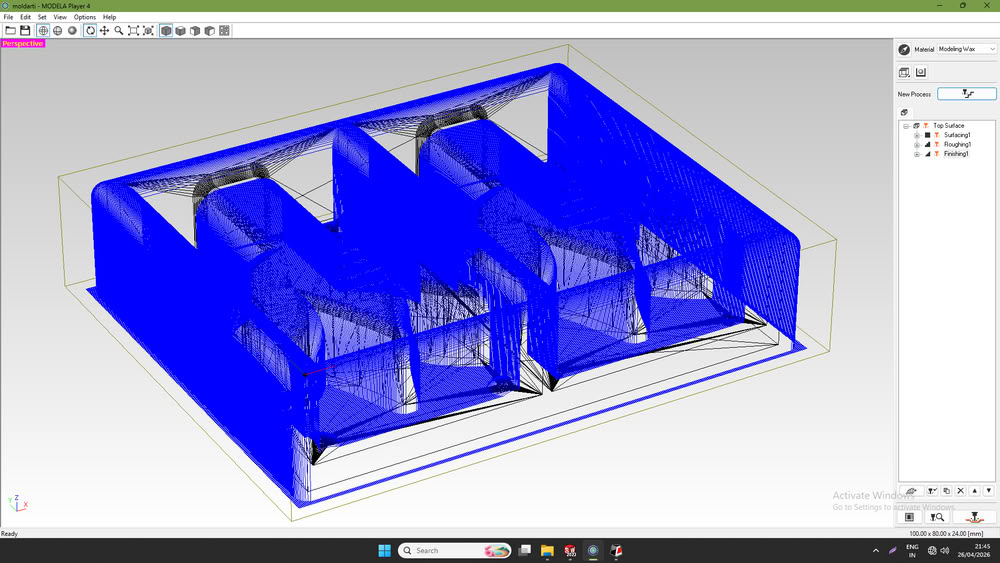
Here is the mold structure looks after roughing and finishing process:-
 |
 |
Casting process
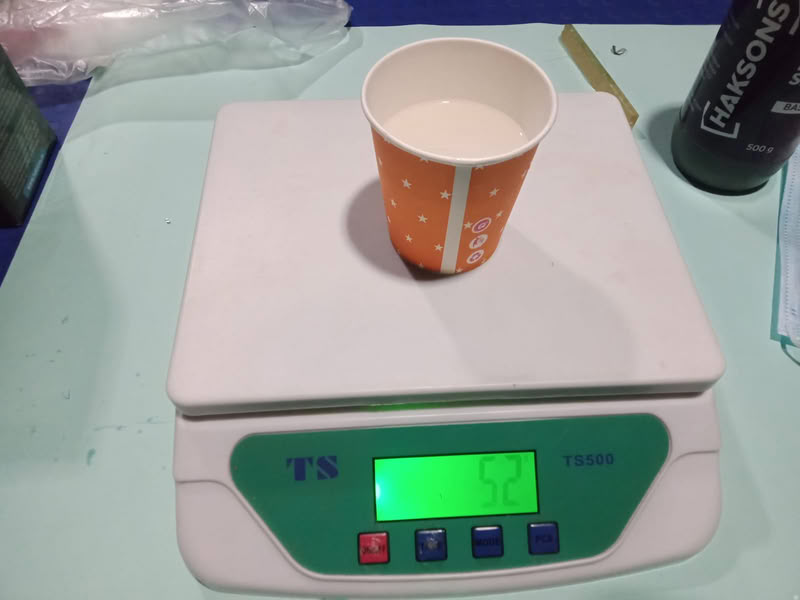
First, I poured water into my wax mold and measured its volume. The measured volume of water was 100 mL. Since the density of silicone rubber is approximately 1.0–1.1 g/mL, the estimated silicone requirement was close to 100–110 g.
Weight of Silicone=Volume × Density = 100 × 1.0 = 100g
After checking the silicone rubber bottles, I found that the mixing ratio of Part A and Part B was 1:1. Therefore, I divided the total weight equally:
Part A = Part B = 100/2 = 50g
Based on this measurement, I prepared the silicone mixture by taking 52 ml of Part A and 52 ml of Part B, keeping a small extra amount to ensure the mold would be filled completely without any shortage.
.jpg )
Then, I mixed both parts properly.
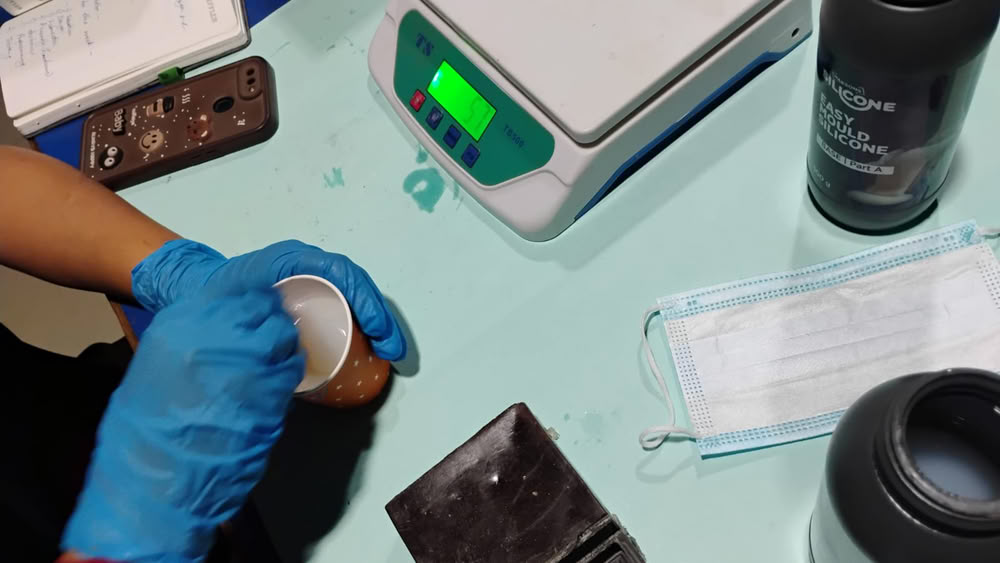
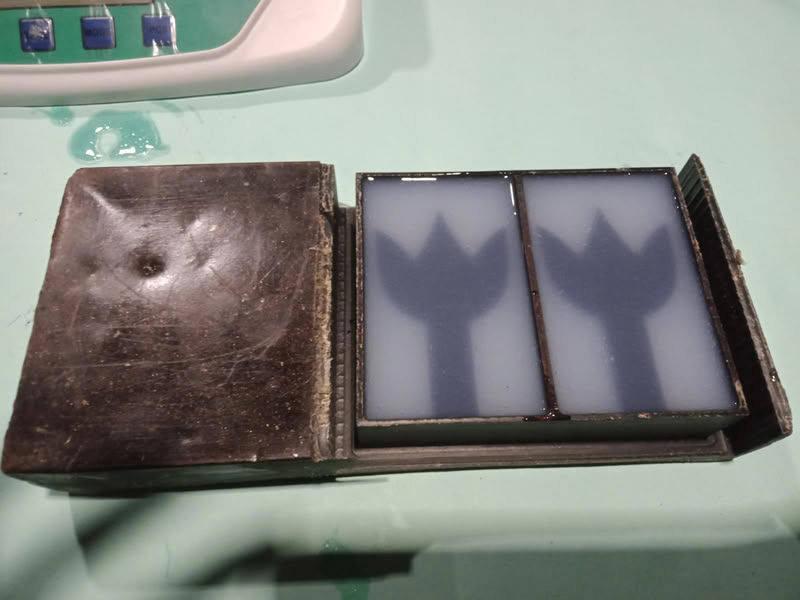
I poured the mixture into the wax mold to create the silicone mold.
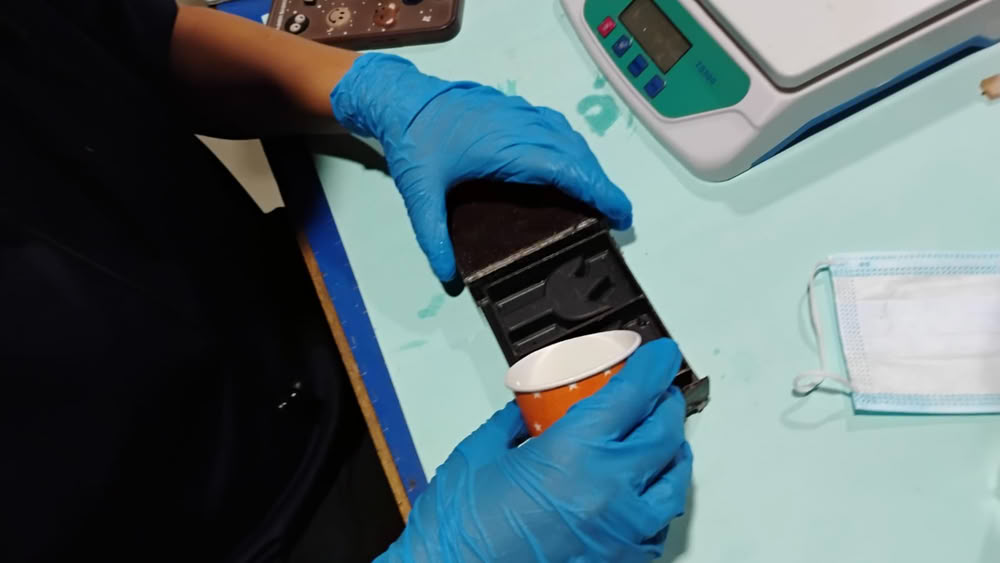
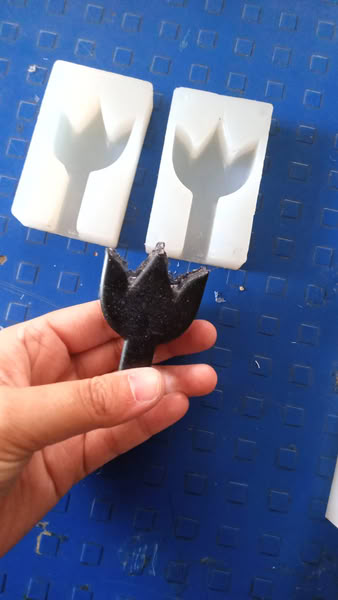
After curing for 24 hours, I carefully removed the silicone mold from the wax mold.
Since epoxy resin density is approximately close to water, volume was considered equivalent to weight (1 mL ≈ 1 g) for practical measurement using a weighing scale. so we assume density = 1g/ml.
Then, I prepared the resin mixture by taking 30 g of resin and 10 g of hardener according to the required ratio.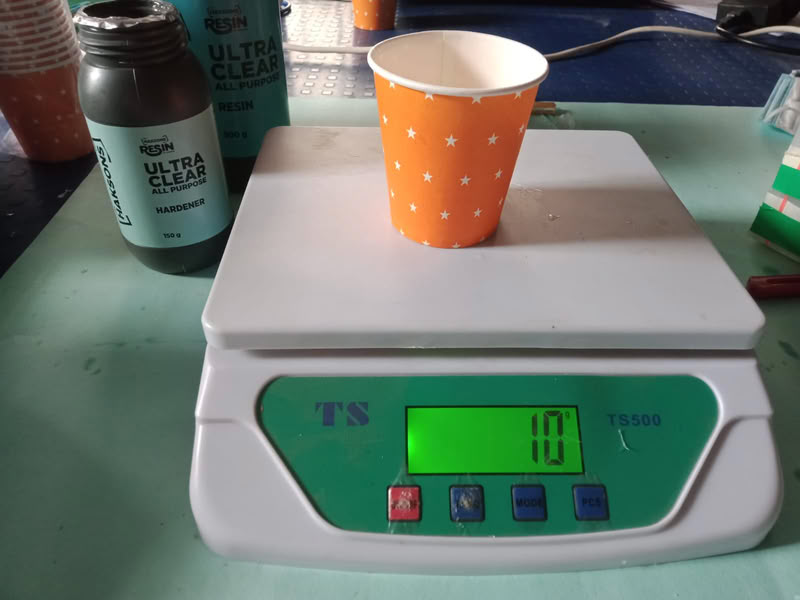

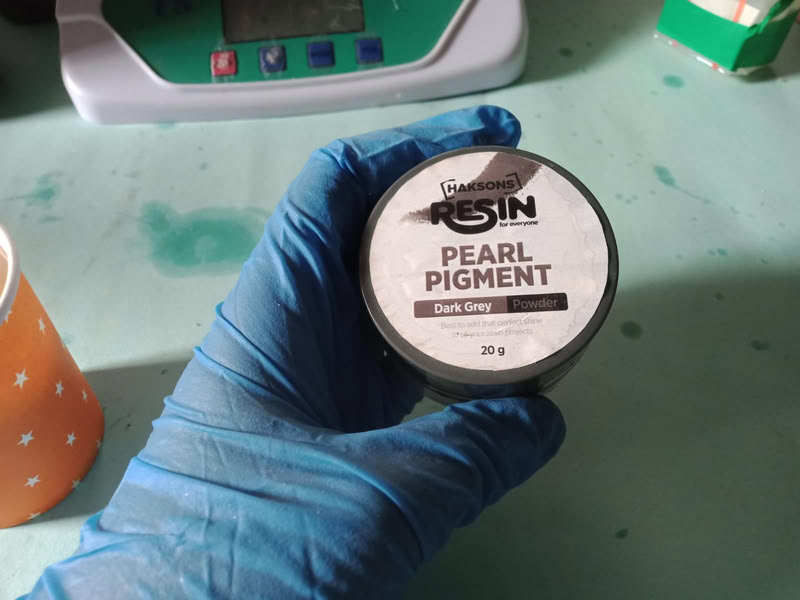
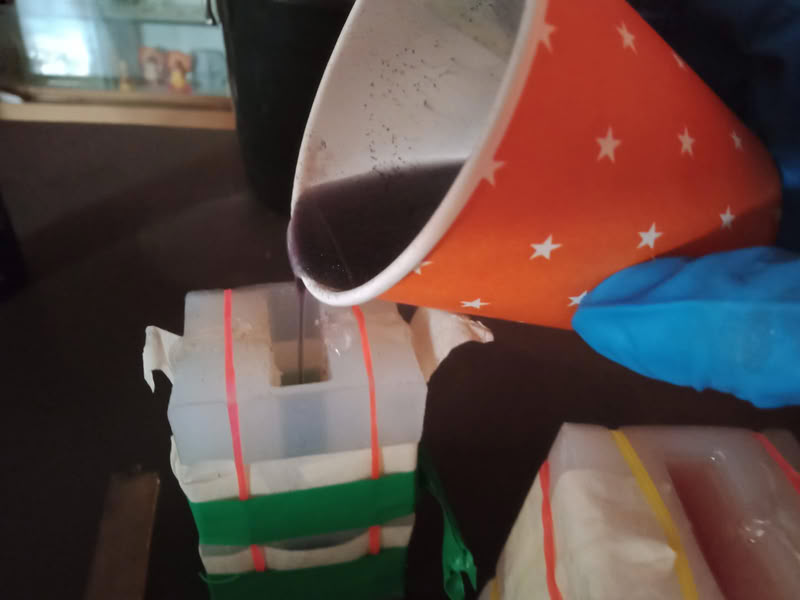
I added black pigment to the mixture and mixed it well.
After that, I poured the resin into the sealed mold.
Finally, after curing for another 24 hours, the final cast was ready.
Problem I faced during this assignment:-
During the molding and casting process, air bubbles were formed inside the mold material. To solve this issue, I mixed the material slowly and carefully to reduce trapped air. After pouring the material into the mold, I gently tapped and vibrated the mold so that the air bubbles could come out. This improved the surface finish and produced a cleaner final cast.
Design files
Click here to download design files