Week 3 | Computer Aided Cutting.
I complete laser cutting safety tours with lab users on a consistent basis. I always give laser users a full safety briefing on first use and like to have them recite them whenever they come back to use the machine.
What Type of Laser is Available at the FVSU Fab Lab
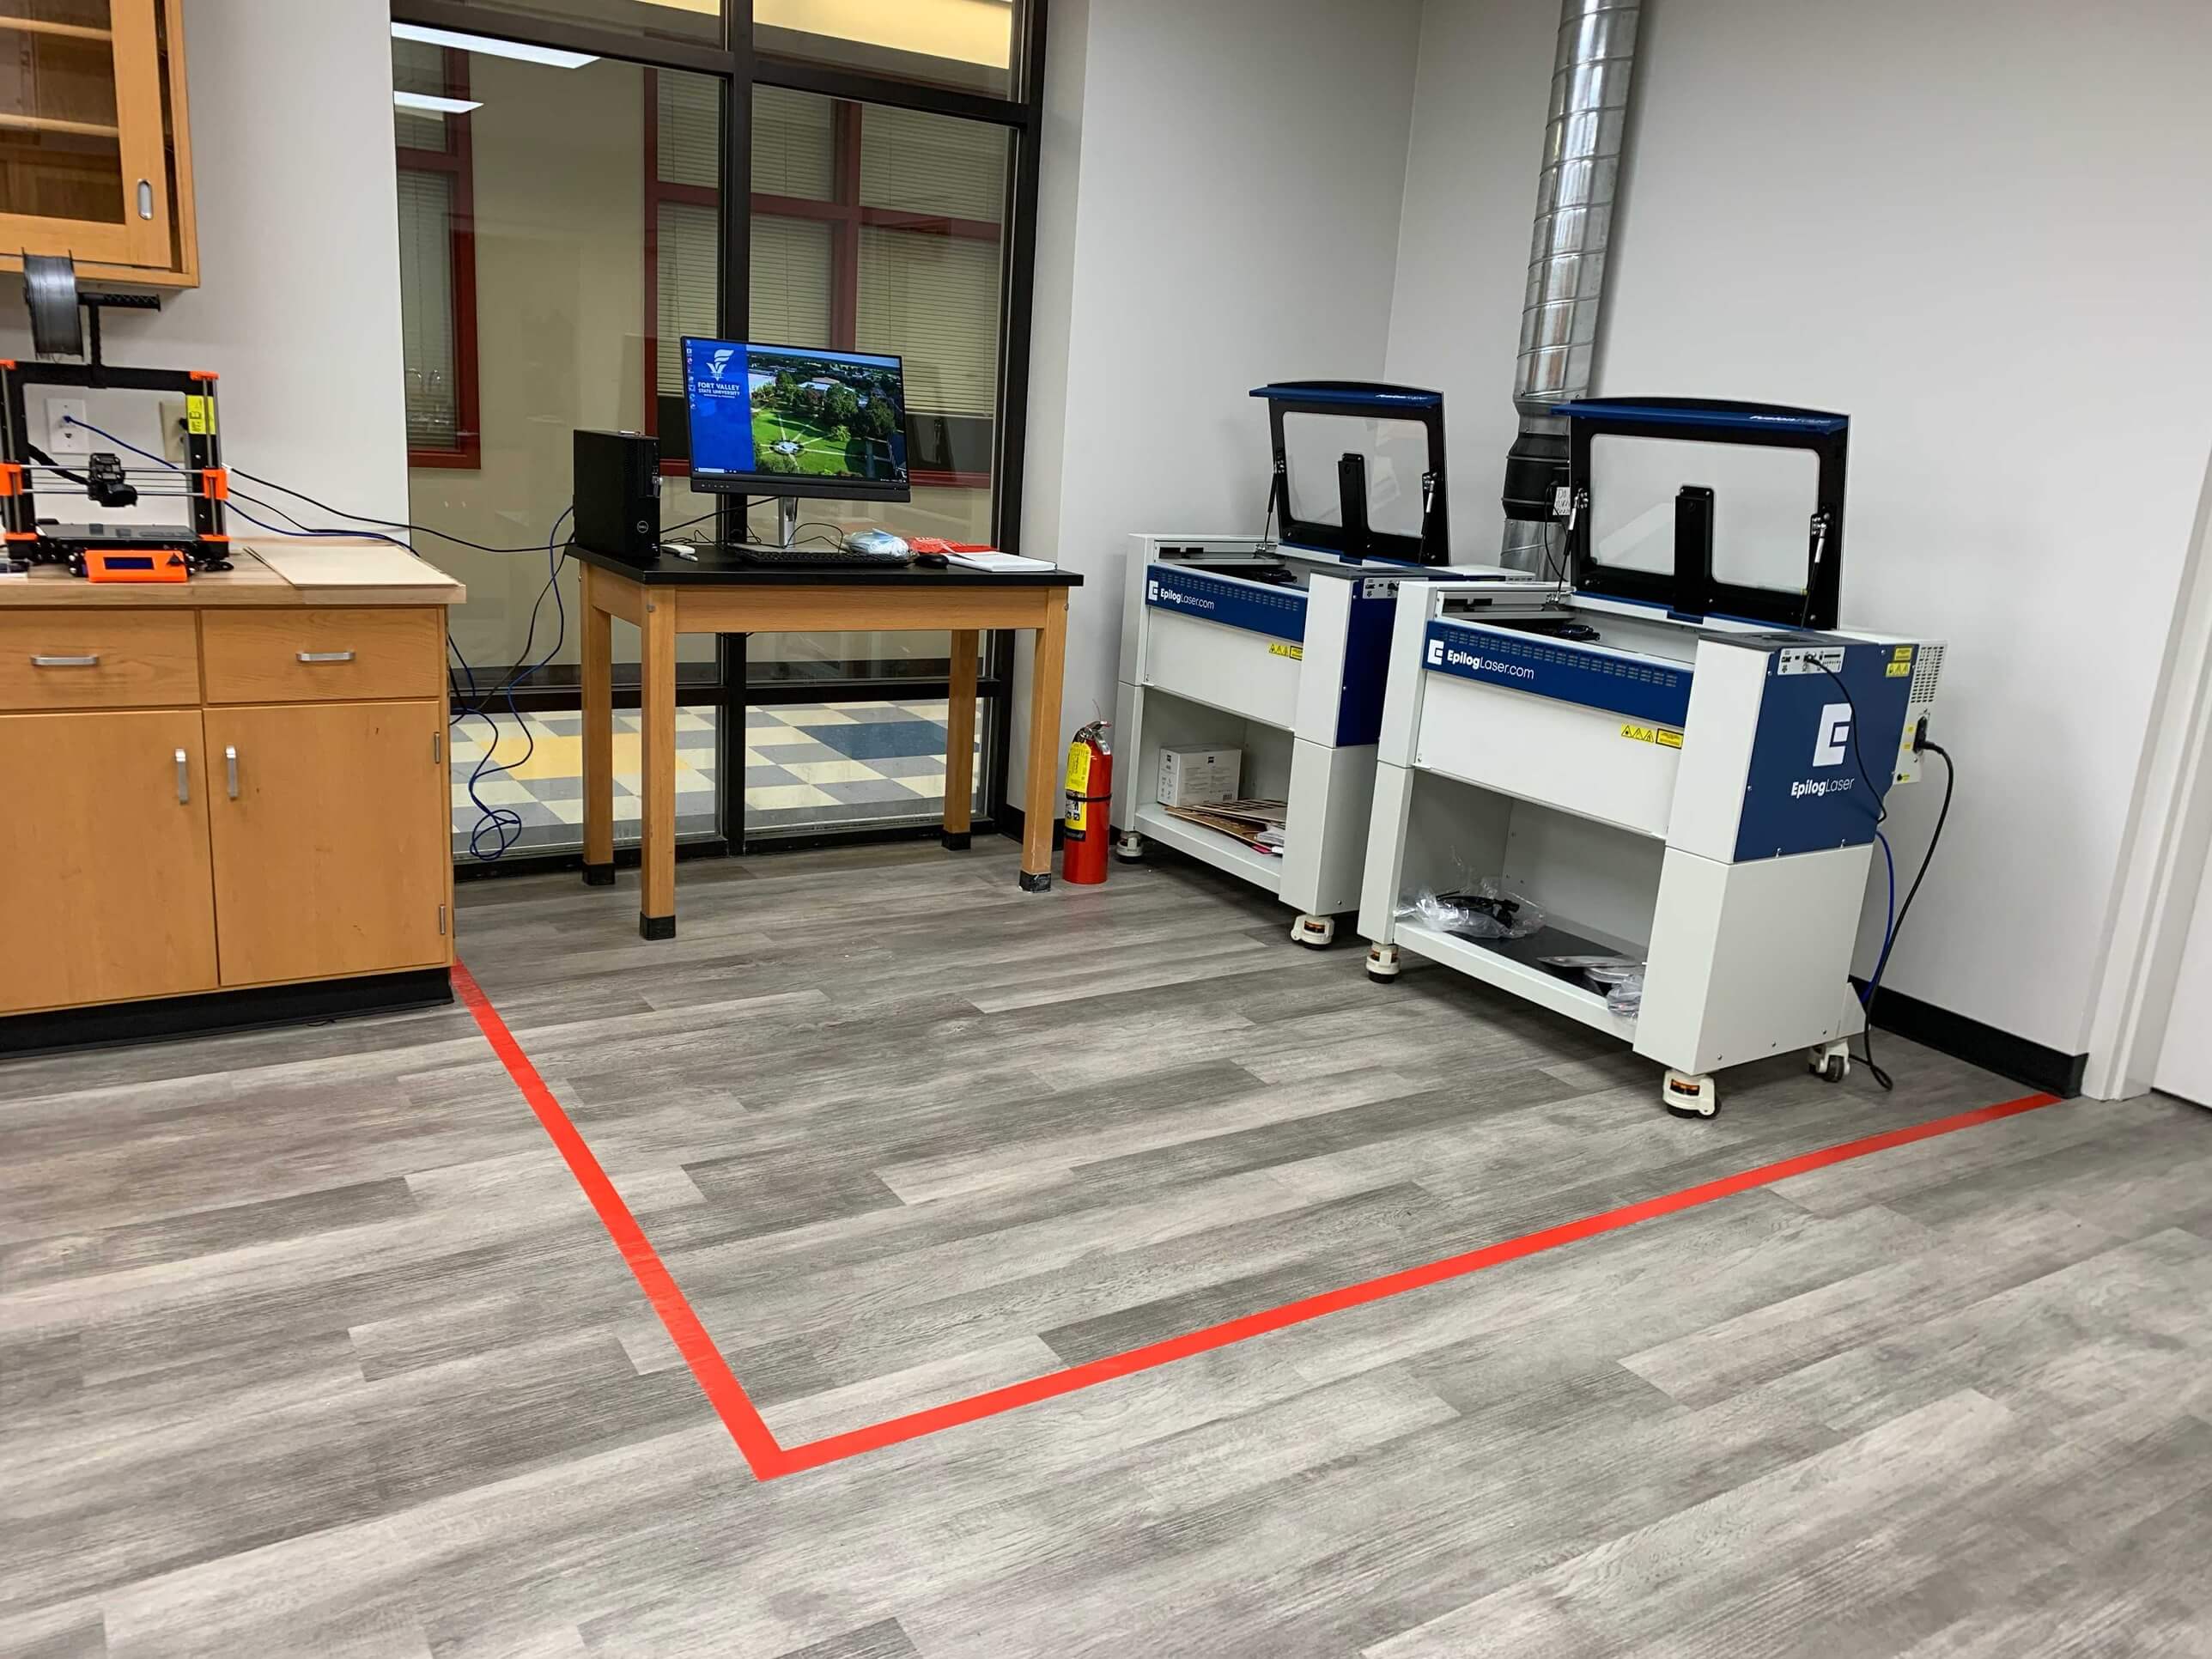
The FVSU Fab Lab is equipped with a 40W CO2 laser cutter and that also serves as a laser engraver. Our Laser cutter is a Full Spectrum Laser Muse Core 40W. It has a cutting area of 20" x 12" and can cut materials up to 1/4" thick. The laser cutter is equipped with an air assist system to help improve cutting performance and reduce the risk of fire. Our lab also has a rotary attachment that allows for engraving on cylindrical objects. It is important to notice that our lab is also equipped with safety features such as a red tape floor barrier around the cutting and design areas, an emergency stop button, and a ventilation system to remove fumes and smoke generated during cutting and engraving. We also provide safety goggles and masks for users to wear while operating the laser cutter, and we require all users to follow proper safety protocols when using the machine.
Safety Features
Our lab is equipped with safety features such as a red tape floor barrier around the cutting and design areas, an emergency stop button, and a ventilation system to remove fumes and smoke generated during cutting and engraving. We also provide safety goggles and masks for users to wear while operating the laser cutter, and we require all users to follow proper safety protocols when using the machine.
Images
My Parametric Design | Machine: Laser Cutter , Software: Inkscape
I am using this week as an opportunity to continue bringing my final project concept to reality. My final project needs a stand, and I have been working on designing a parametric stand that can be easily cut on the laser cutter. I would like for my piece to be easily customizable, so I have been working on a design that can be easily modified in Inkscape. I also highly prioritize the material that the stand will be made of. I am hoping for a nearly completely sustainable piece that can be made from recycled or biodegradable materials. I have been looking into using recycled cardboard for the stand, but I am also considering using wood or if I cannot find a suitable cardboard material. One reason I am considering using cardboard is that it is a very lightweight material, which would make the stand easy to move and transport.
Inkscape Design Process
For more information on setting up Inkscape and navigating the software, please see the Inkscape tutorial on the Fab Learning Academy website (link here). I have been using Inkscape to design my parametric stand for the past few weeks, and I have found it to be a very user-friendly software for vector design. I have been able to easily create and modify my design using the various tools and features available in Inkscape, such as the path tool, node editing, and layers. I have also been able to easily export my design as an SVG file, which can be directly imported into the laser cutter software for cutting. I print directly from Inskscape as an SVG file and the machine software immediately imports that file into the laser cutter software, which allows me to easily adjust the cutting settings and ensure that my design is properly aligned on the material.
Images
Machine Software Process
Once my design is imported into the laser cutter software, I can adjust the cutting settings to ensure that my design is properly cut. I typically adjust the power and speed settings based on the material I am using and the thickness of the material. I also make sure to properly align my design on the material to minimize waste and ensure that my design is cut accurately. Once I have adjusted the settings and aligned my design, I can start the cutting process and monitor it to ensure that everything is running smoothly. After the cutting process is complete, I wait a few minutes. This step should never be skipped. I make sure to mention this during the safety discussion. Fumes, dust and heat can be dangerous, so I always ensure proper ventilation and safety measures are in place. Waiting before opening the machine allows the fumes to dissipate and the material to cool down, which helps to prevent any potential health hazards or damage to the material. After waiting, I can safely open the machine and remove my cut pieces.
Images
Prototyping
For the prototype of my project, I decided to explore the reesources provided during Class 3. The Slide on Nesting and other Tools was really helpful. I found a file that I thought I may be able to use as the skeleton structure of my stand.
Results
After cutting my design on the laser cutter, I was very pleased with the results. The cuts were clean and precise, and the material was not damaged during the cutting process. I was able to easily assemble my cut pieces into a functional stand for the half scale prototype of my final project, and I am very happy with how it turned out. I am also very satisfied with the overall design and functionality of the stand, and I believe that it will be a great addition to my final project.
Revisions Needed
This week I did not have as many issues as may be expected, but I did have a few minor issues that I needed to address. One issue I had was with the alignment of my design on the material. I had to make a few adjustments to ensure that my design was properly aligned and that I was not wasting any material. Another issue I had was with the cutting settings. I had to adjust the power and speed settings a few times to ensure that my design was cut accurately and that the material was not damaged. Overall, these were minor issues that were easily resolved, and I am happy with the final results of my laser cutting project. I was also fortunate to have been through a similar process during Fabricademy when designing digital bodies. If you would like to see my work and a more detailed breakdown on parametric deisgns and the design process, please see my Fabricademy documentation (link here).
"Lorem ipsum dolor sit amet, consectetur adipiscing elit, sed do eiusmod tempor incididunt ut labore et dolore magna aliqua. Ut enim ad minim veniam, quis nostrud exercitation ullamco laboris nisi ut aliquip ex ea commodo consequat. Duis aute irure dolor in reprehenderit in voluptate velit esse cillum dolore eu fugiat nulla pariatur. Excepteur sint occaecat cupidatat non proident, sunt in culpa qui officia deserunt mollit anim id est laborum.
Useful links
- Heaven Whitby's Fab Learning Academy Inkscape Tutorial
- Heaven Whitby's Fabricademy Digital Bodies Tutorial (Parametric Design)
- Link to Heaven Whitby's Design Portfolio
Videos
From Vimeo
Sound Waves from George Gally (Radarboy) on Vimeo.
From Youtube