
Principles & Practices
✏️ Sketch of Final Project
For my final project, I plan to design and prototype an intelligent menstrual care dispenser intended for personal use. The project focuses on improving the menstrual experience by combining physical interaction, embedded electronics, sensors, and mobile connectivity.
The objective is not only to create a dispenser, but a smart companion device that supports, informs, and empowers users throughout their menstrual cycle. The system promotes hygiene, accessibility, and menstrual health, while also helping to reduce the stigma surrounding menstruation.

Click each section to expand the details:
The front features an elegant enclosure with an LCD screen displaying notifications such as period reminders, low product alerts, and motivational messages. A yellow accent line and warm lighting enhance visibility and create a friendly user experience.
Contains product output openings designed to dispense one sanitary item at a time, ensuring controlled and safe distribution.
Shows the refilling mechanism — users push and open the front door to access the internal storage area for easy restocking and maintenance.
Presents two design options. Option A uses spiral strips (like vending machines) with motion sensors for higher capacity and multiple openings. Option B simplifies with buttons instead of sensors, providing more internal space and one output hole per product. Both include a lower circuit box with motor, microcontroller, power supply, and a dedicated space for menstrual pain relief pills.
Complements the dispenser with period tracking, notifications, reminders, and interaction messages, keeping users informed and emotionally supported.
📋 Student Agreement
- Teaching principles and practices of digital fabrication
- Arranging lectures, recitations, meetings, and events for the class
- Evaluating and providing feedback on student work
- Offering clear standards for completing assignments
- Certifying and archiving student progress
- Supervising class preparation
- Reviewing prospective students, instructors, and labs
- Providing central staff and infrastructure for students, instructors, and labs
- Fund-raising for costs not covered by student tuition
- Managing and reporting on the program's finances, results, and impacts
- Publicizing the program
- Promoting a respectful environment free of harassment and discrimination
- Encourage a diverse, accessible, and equitable community
- Attending class lectures and participating in reviews
- Developing and documenting projects assigned to introduce and demonstrate skills, in enough detail to be able to reproduce them
- Honestly reporting on my work, and appropriately attributing the work of others (both human and machine, including AI prompts)
- Being prepared to answer questions about my work
- Allowing the Fab Academy to share my work (with attribution) in the class for purposes compatible with its mission
- Working safely
- Leaving workspaces in the same (or better) condition than I found them
- Participating in the upkeep of my lab
- Ensuring that my tuition for local and central class costs is covered
- Following locally applicable health and safety guidance
- Recognizing limits on lab and staff time
- Promoting a respectful environment free of harassment and discrimination
Micaela Lucrecia Córdova Carmelino
Project Management
🗂️ Git Tutorial
Despite having zero experience with terminals, this process went smoothly by following Fab Academy's Git Extended Cheat Sheet alongside my instructor.
Some minor complications I ran into:
- Ctrl + C / Ctrl + V don't work in Git Bash — you have to paste manually.
- Commands with double dashes "--" sometimes merged into one line when pasted, causing errors.
- I also learned about file size limits and submission requirements.
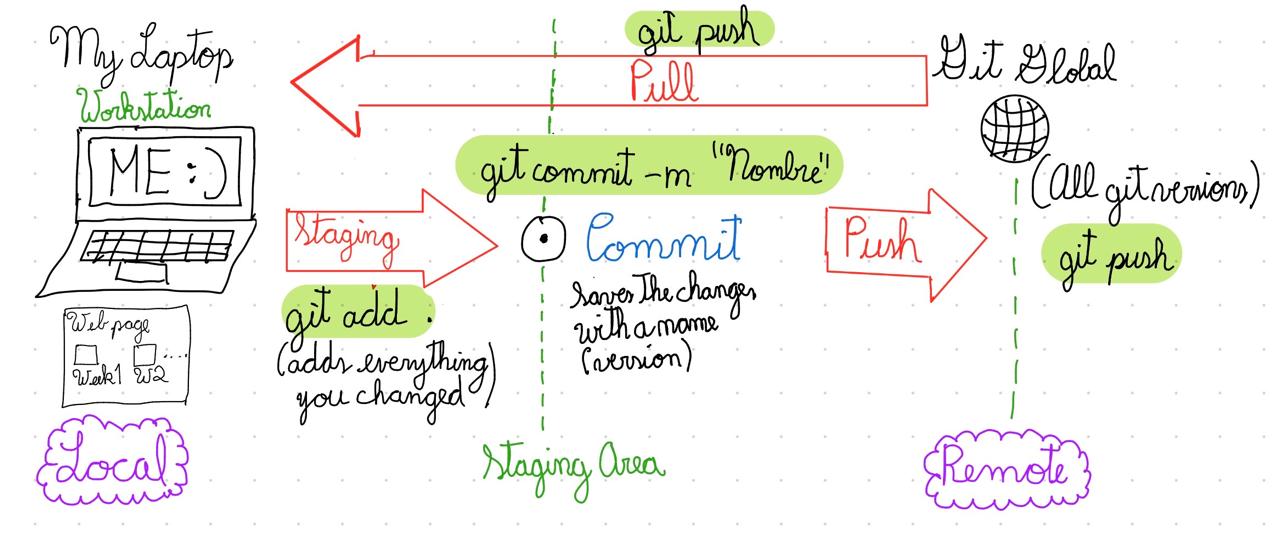
Before starting, it was important to understand what Git actually is. Git is a version control system that saves changes over time — letting you work locally, stage your changes, commit them as snapshots, and push them to a remote repository that everyone can see. Pulling brings the latest version back to your local machine.
🔧 SETUP GIT: Tutorial to enable access
-
Install GitBash for Windows from https://git-scm.com/install/windows and open it inside the general folder.
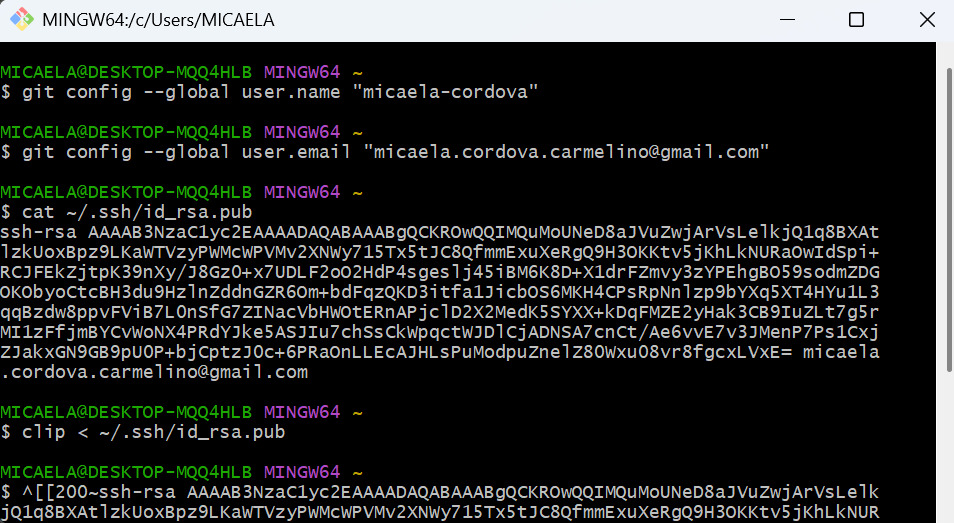
git config --global user.name "YOUR_USERNAME"git config --global user.email "jSmith@mail.com"
cat ~/.ssh/id_rsa.pub
ssh-keygen -t rsa -C "$your_email". Since I already had one, I just used cat ~/.ssh/id_rsa.pub to display it.
clip < ~/.ssh/id_rsa.pub (Ctrl + C does not work in Git Bash).
-
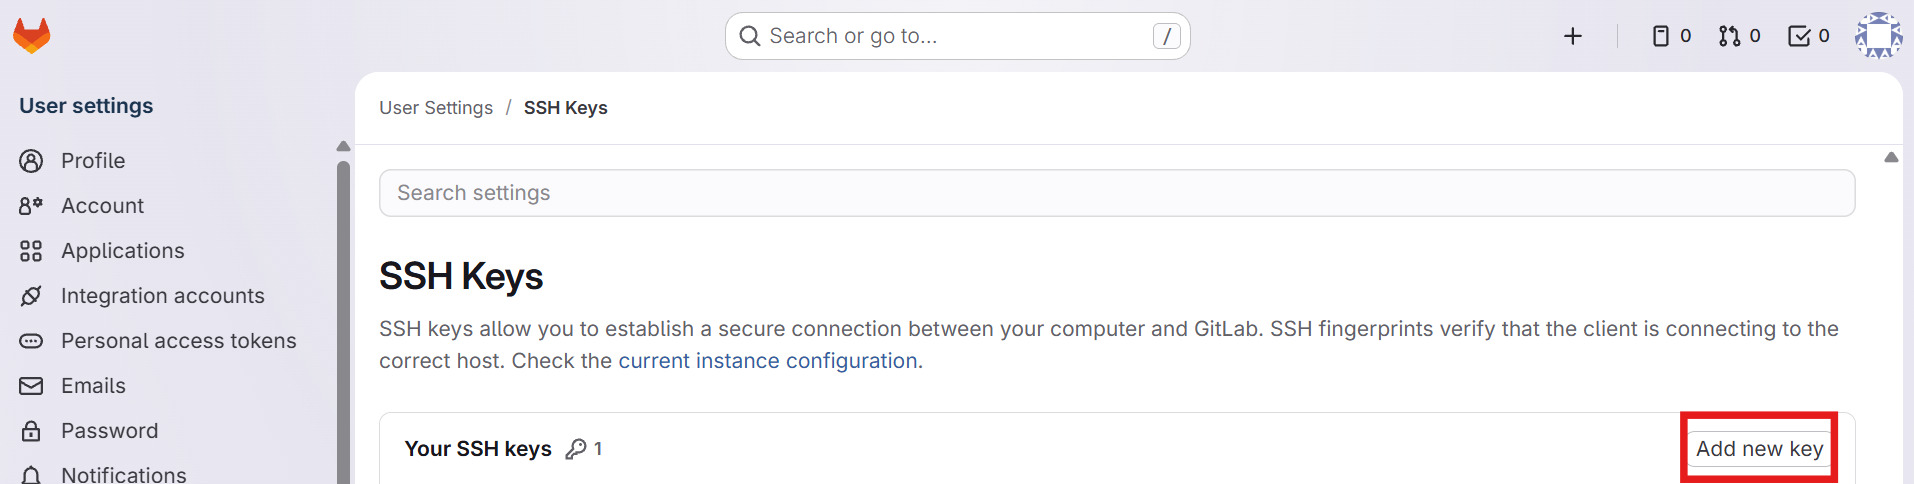
Add the copied SSH key to your GitLab profile — follow these four steps inside GitLab:
a. Enter your account
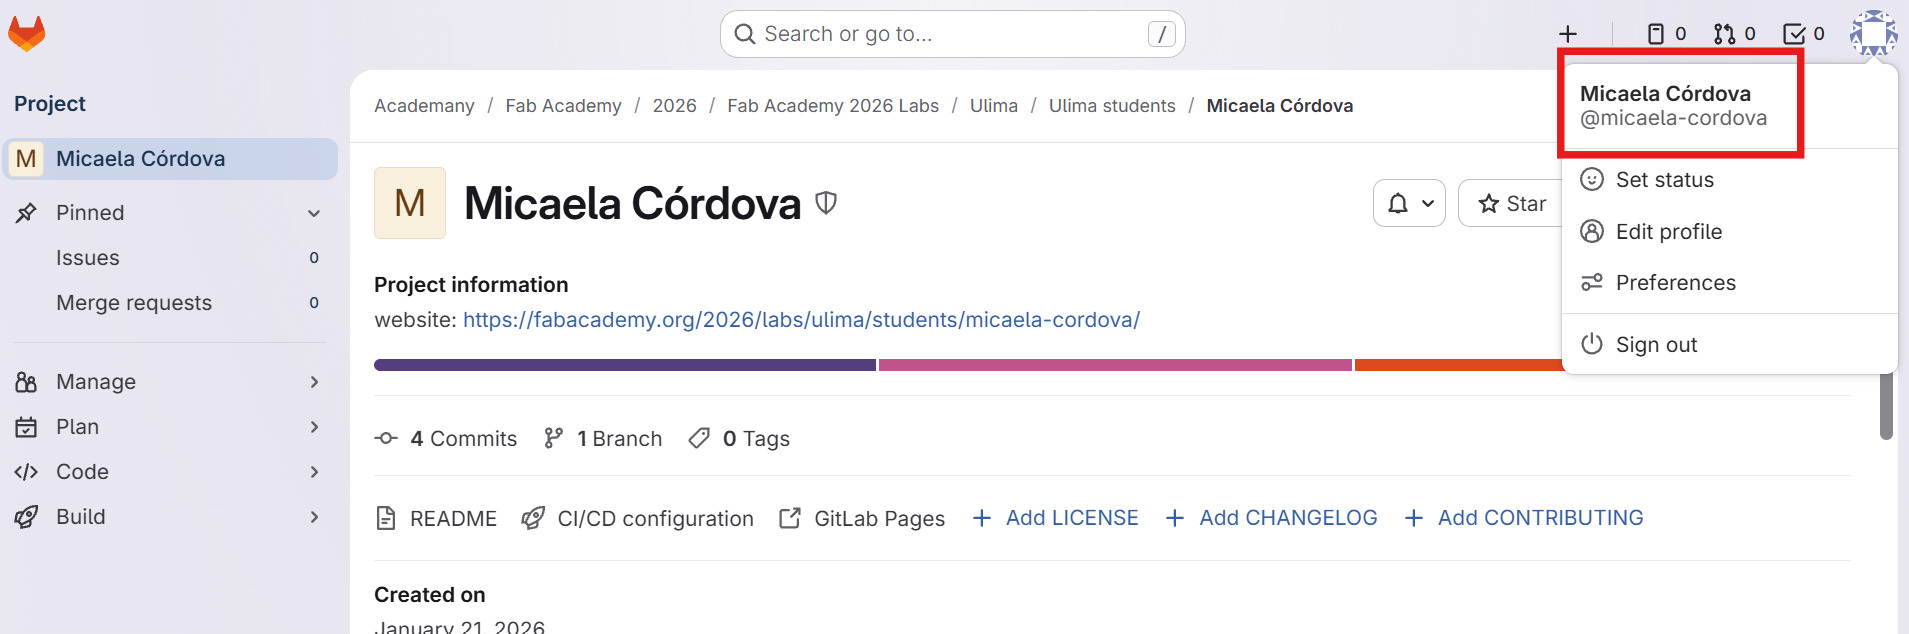
b. Edit profile
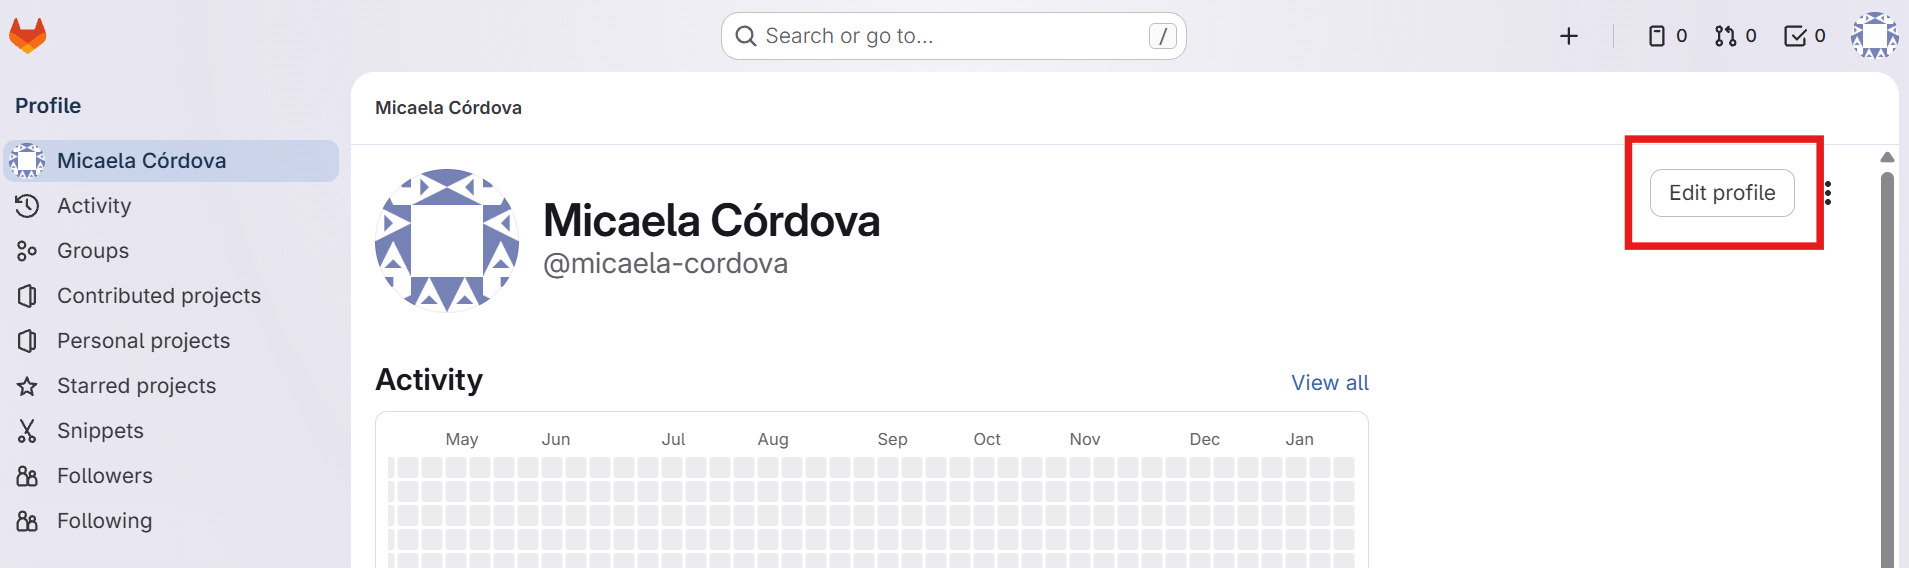
c. SSH Keys settings
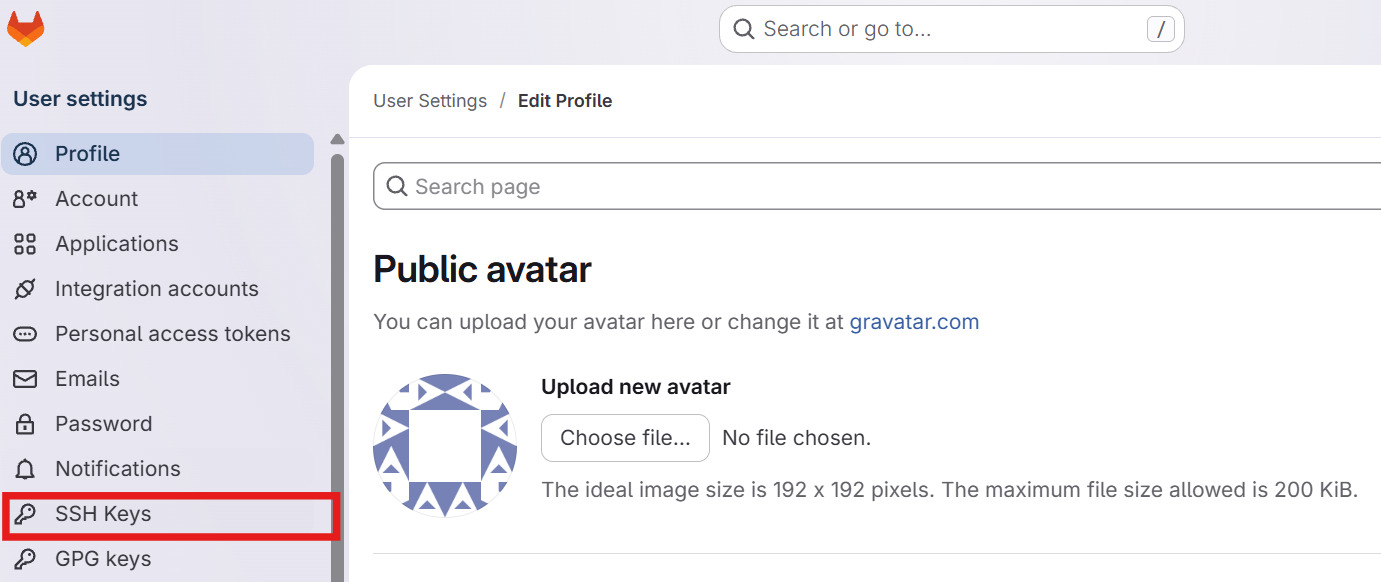
d. Paste SSH key
💻 Cloning my Repository to my Laptop
-
Create a folder on your local computer (I recommend Desktop — short path).⚠️ Warning: Don't create the folder in OneDrive or any place with a long path — it caused issues.
-
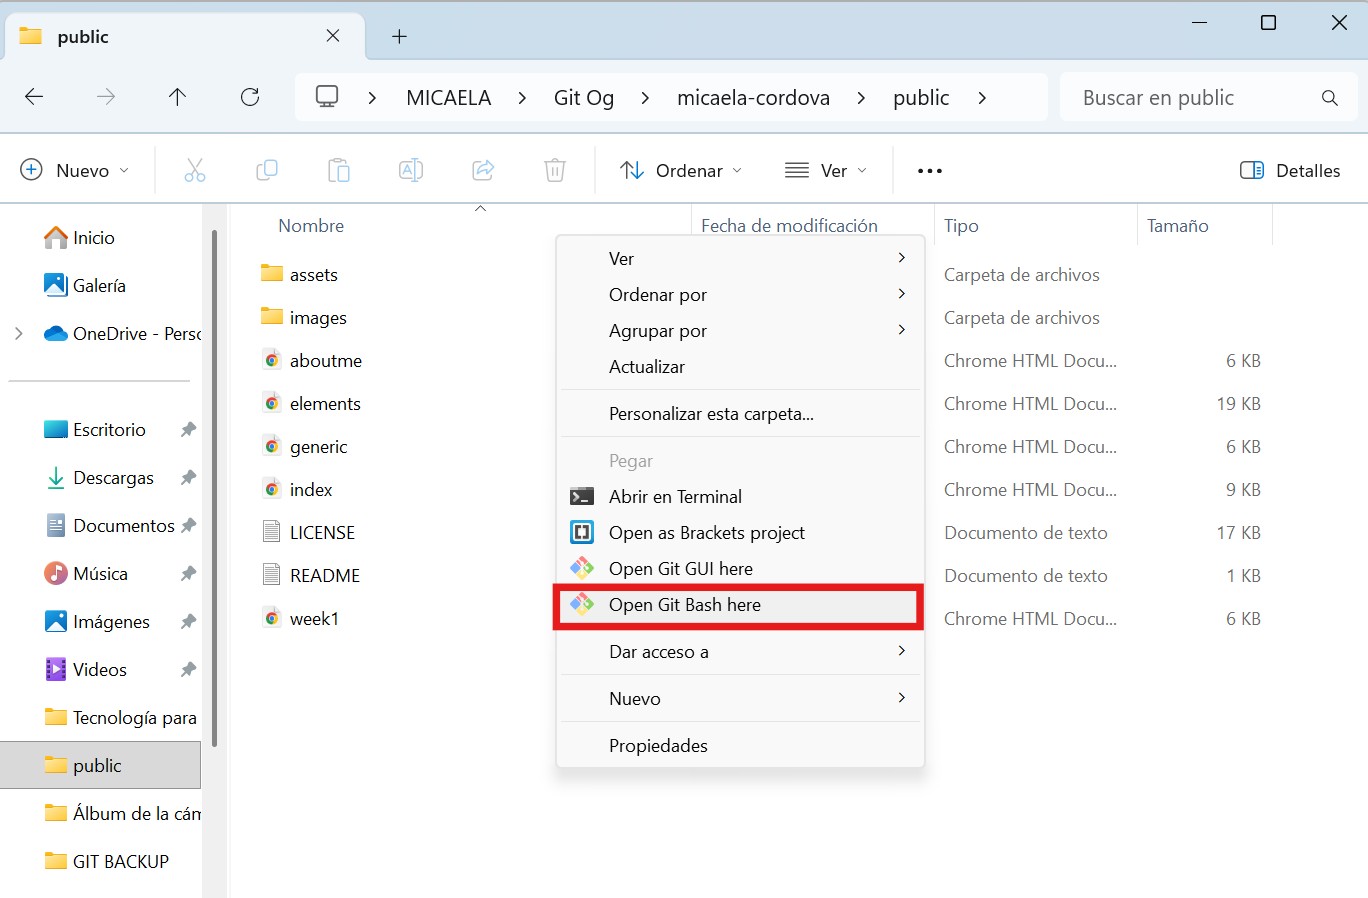
Open GitBash inside that folder (Right-click → "Open Git Bash Here").
-
Clone the site using your repository link:
git clone git@gitlab.fabcloud.org:academy/fabacademy/[My link]
⬆️ Editing the Website and Uploading Changes
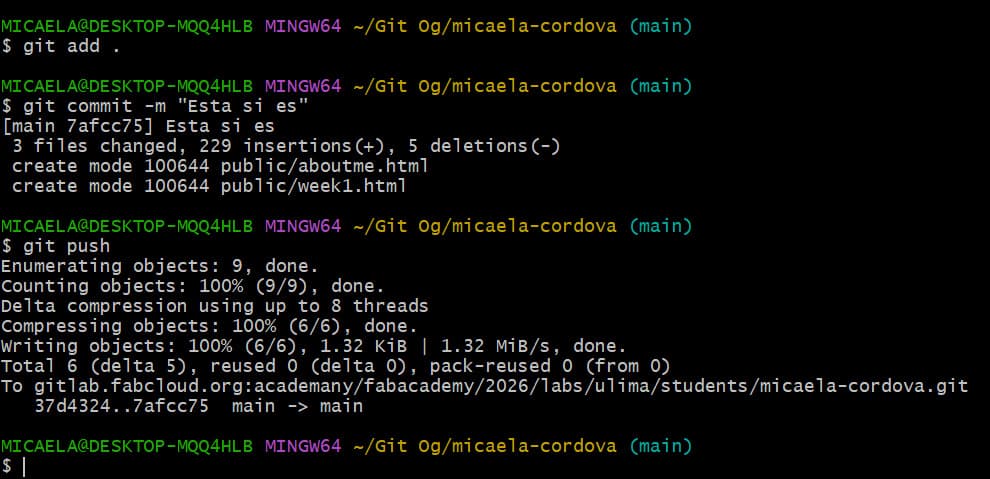
After making all desired changes in your editor and saving them, follow these three steps to push them to the remote repository:
-
Add changes to the next commit
git add .Stages everything in the current directory and all subfoldersgit add index.htmlStages only that specific file, even if you changed 10 othersgit add public/nameUsed to add a specific folder or file (HTMLs or images) -
Name the commit — tell Git what you did
git commit -m "Nombre"Creates a named version snapshot with your staged changes -
Push to the global repository
git pushUploads your committed versions to the remote repository
Means choosing which changes are ready to be saved as a version.
Avoid saving files with spaces in their names.
Basic Commands in Git
cd\ | Takes you to the top of the directory tree (C: drive) |
cd windows\systems32\ | Navigate to a specific folder |
cd.. | Go back one folder level |
git pull | Download the latest copy of the repository |
git merge | Merge a working copy |
git rm | Remove a tracked file |
git mv | Move or rename a file |
git status | See what changed or current status |
dir | View contents of a directory |
ls | View files as a list |
cd | Know which directory you're in |
cd Name | Move between directories |
mkdir | Create a new directory |
If the push fails due to file size, reset Git to delete the commit history. First check status:
git statusTwo types of reset:
git reset --soft — Resets the last commit without touching local files.git reset --hard — Resets to a specific commit and discards all uncommitted changes.
During Week 5, I encountered an issue in my repository. By accident, I had uploaded a PDF file larger than 10MB. When trying to push the changes to GitHub, the platform rejected the upload due to the file size limit.
Fortunately, I had already studied Git history management and repository cleanup commands during Week 1, so I applied those concepts step by step to solve the problem.
- Identify Large Files — First, I confirmed which file was exceeding the size limit using:
find . -type f -size +10M
This command searches the current directory and lists all files larger than 10MB. It helped me quickly identify the problematic PDF file inside theimagesfolder. - Remove the File from Git Tracking
git rm --cached images/apuntesfisicauniversidaddelpacifico.pdf
The--cachedoption ensures that the file is no longer tracked by Git but remains in the project folder. - Clean the Repository History
git filter-branch --force --index-filter \
'git rm --cached --ignore-unmatch images/apuntesfisicauniversidaddelpacifico.pdf' \
--prune-empty --tag-name-filter cat -- --all
This command rewrites the repository history and removes all traces of the large file. - Adjust Recent Commits (If Necessary)
git reset --soft HEAD~3
This allowed me to move back three commits while keeping my changes staged, giving me the opportunity to clean up and recommit properly. - Force Push the Clean Repository
git push origin --force --all
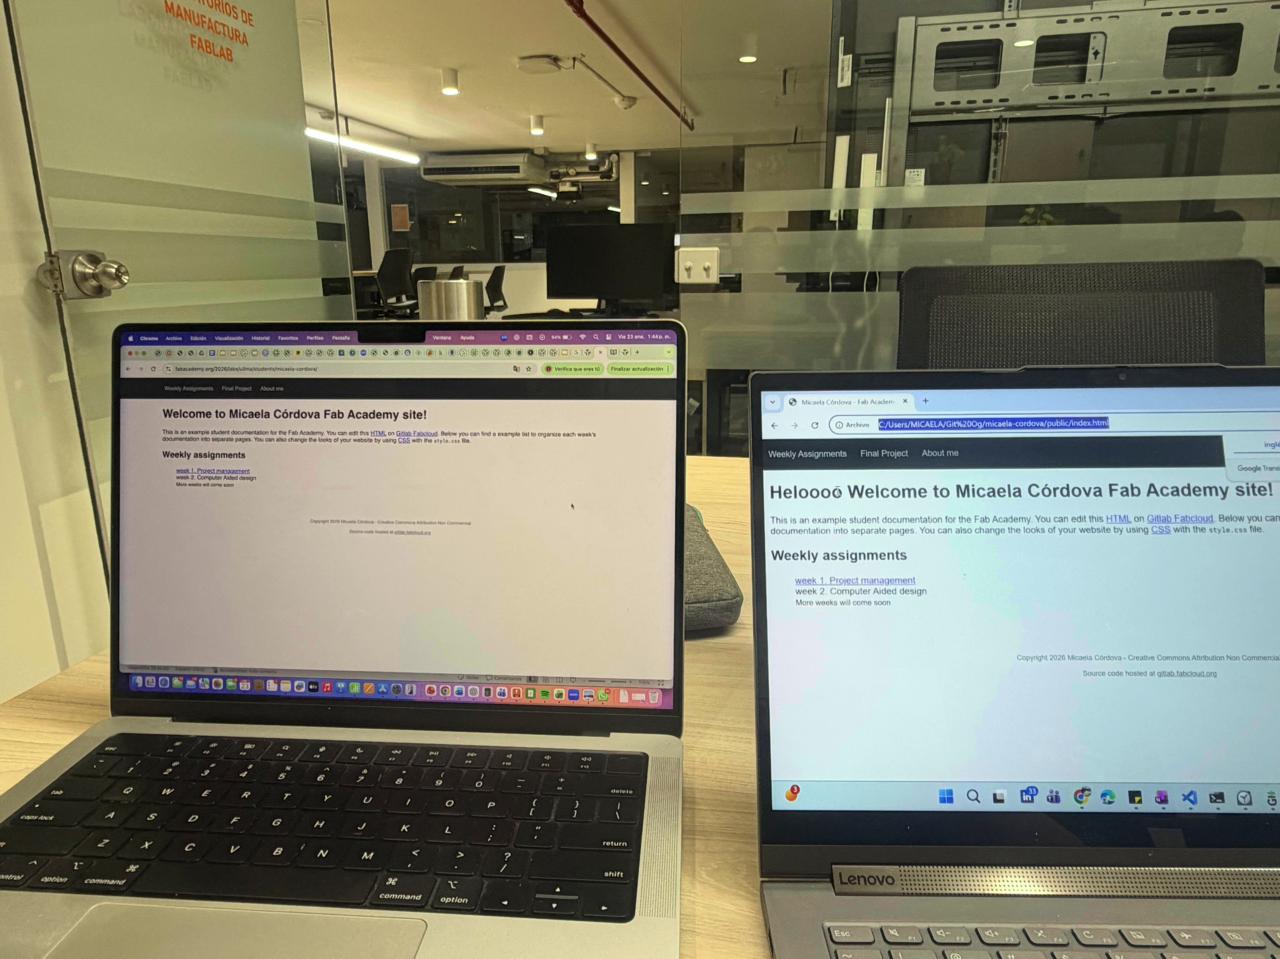
🌐 Building My Personal Web
Creating my personal website as a portfolio was exciting, but I soon realized I had to build everything from scratch. Even though I had experience with Python and other tools, it felt like starting over again — especially since I hadn't built a website since I was 15.
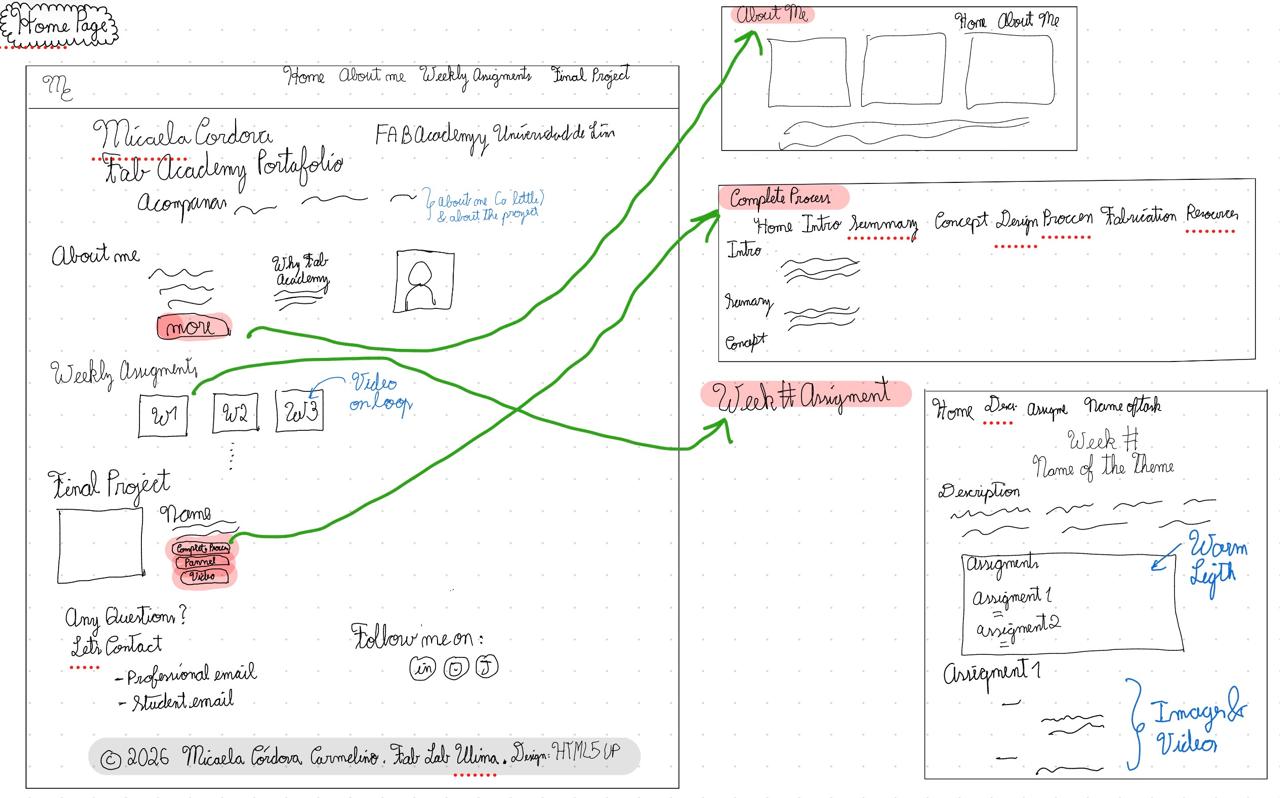
To begin, I sketched the layout of the different pages to define the structure, navigation, and main sections. My goal was to create a clear template so I could easily upload weekly progress. The reason for this is that I wanted to have everything ready so that each week, as I worked on assignments and made progress on my project, I could just enter the template and write the information.
For inspiration, I looked at Ofelia Sevilla's 2025 Fab Academy repository, which influenced how I organized and structured my own site in a clean and professional way.
I did not use any pre-made template for my repository. Every page was built entirely from scratch. With the help of Anthropic's Claude, I designed and coded a custom template for the index, About Me, Final Project, and each weekly assignment page. The content, structure, and design decisions are all my own — Claude assisted in refining the code, improving clarity, and ensuring consistency across pages.

💻 Code, Structure & Style
I chose Visual Studio Code as my editor — I had used it before for data analysis and I appreciated how it has Copilot integrated, which helped guide me while building the site.
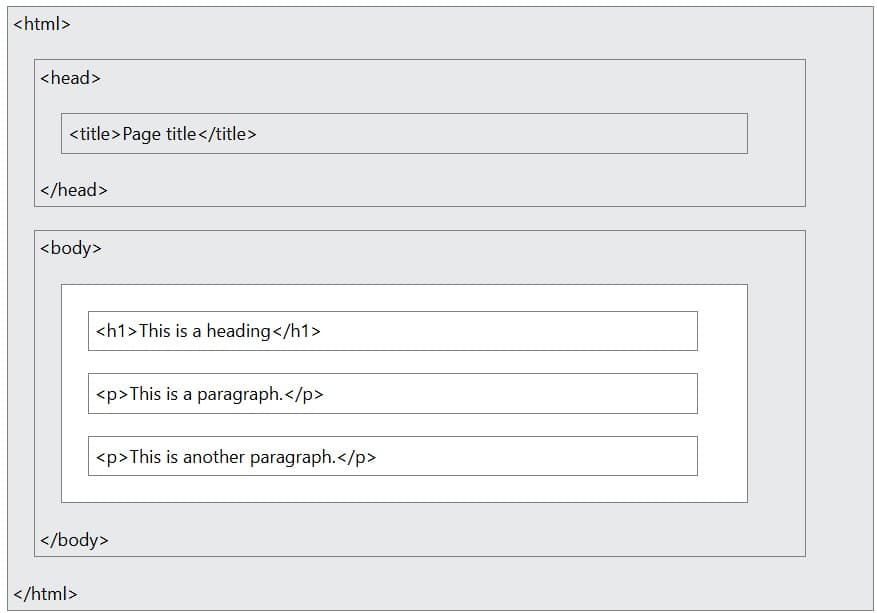
To learn the fundamentals, I visited W3Schools. The three pillars of any webpage are simple: HTML defines the structure and content, CSS controls the visual appearance, and JavaScript adds interactivity and animations. Understanding how these three work together made everything click.
The philosophy is simple: less is more, but with human warmth. Spacious layouts, a restrained color palette, soft shadows, and subtle animations — everything designed to feel approachable and clean without being cold.
My main references were Apple/macOS for its spacious minimalism, Notion for clear structure, and the YouTuber Scott Yu-jan — a front-end designer whose warm, polished style aligned perfectly with what I wanted to achieve.

🎨 Color Palette — hover to copy hex
HTML Important Codes That I Used
<!DOCTYPE html>Defines this as an HTML5 document<html lang="en">Declares the site language is English<html>Root element of the HTML page<head>Contains meta information about the page<title>Specifies the title shown in the browser tab<body>Container for all visible content<h1>Large heading<p>Paragraph<img src="images/photo.jpg" alt="description">Add images from local repository<li><a href="final.html">Final Project</a></li>Create navigation links to other pages