Group Assignment
## Group Assignment
- Review the safety data sheets for each of your molding and casting materials
- Make and compare test casts with each of them
-Compare printing vs milling molds
Full details on our **[Lab Group Page](https://fabacademy.org/2026/labs/techworks/week14/week14.html)**.
## Introduction
This week focused on molding and casting, two widely used fabrication techniques for reproducing objects and forms. The process begins by creating a mold, which acts as a negative of the desired shape, and then casting a material into it to produce a replica.
Depending on the materials being used, there are two common approaches: casting soft materials such as silicone into rigid molds, and casting harder materials such as plaster, concrete, or resin into flexible molds that allow for easier demolding. Through this week's assignments, I explored the fundamentals of mold design, material selection, and the complete workflow of creating and casting molds using digital fabrication tools such as CNC milling and 3D printing.

Figure 1: Overview of the week's molding and casting work.
## Molding & Casting using CNC Milling
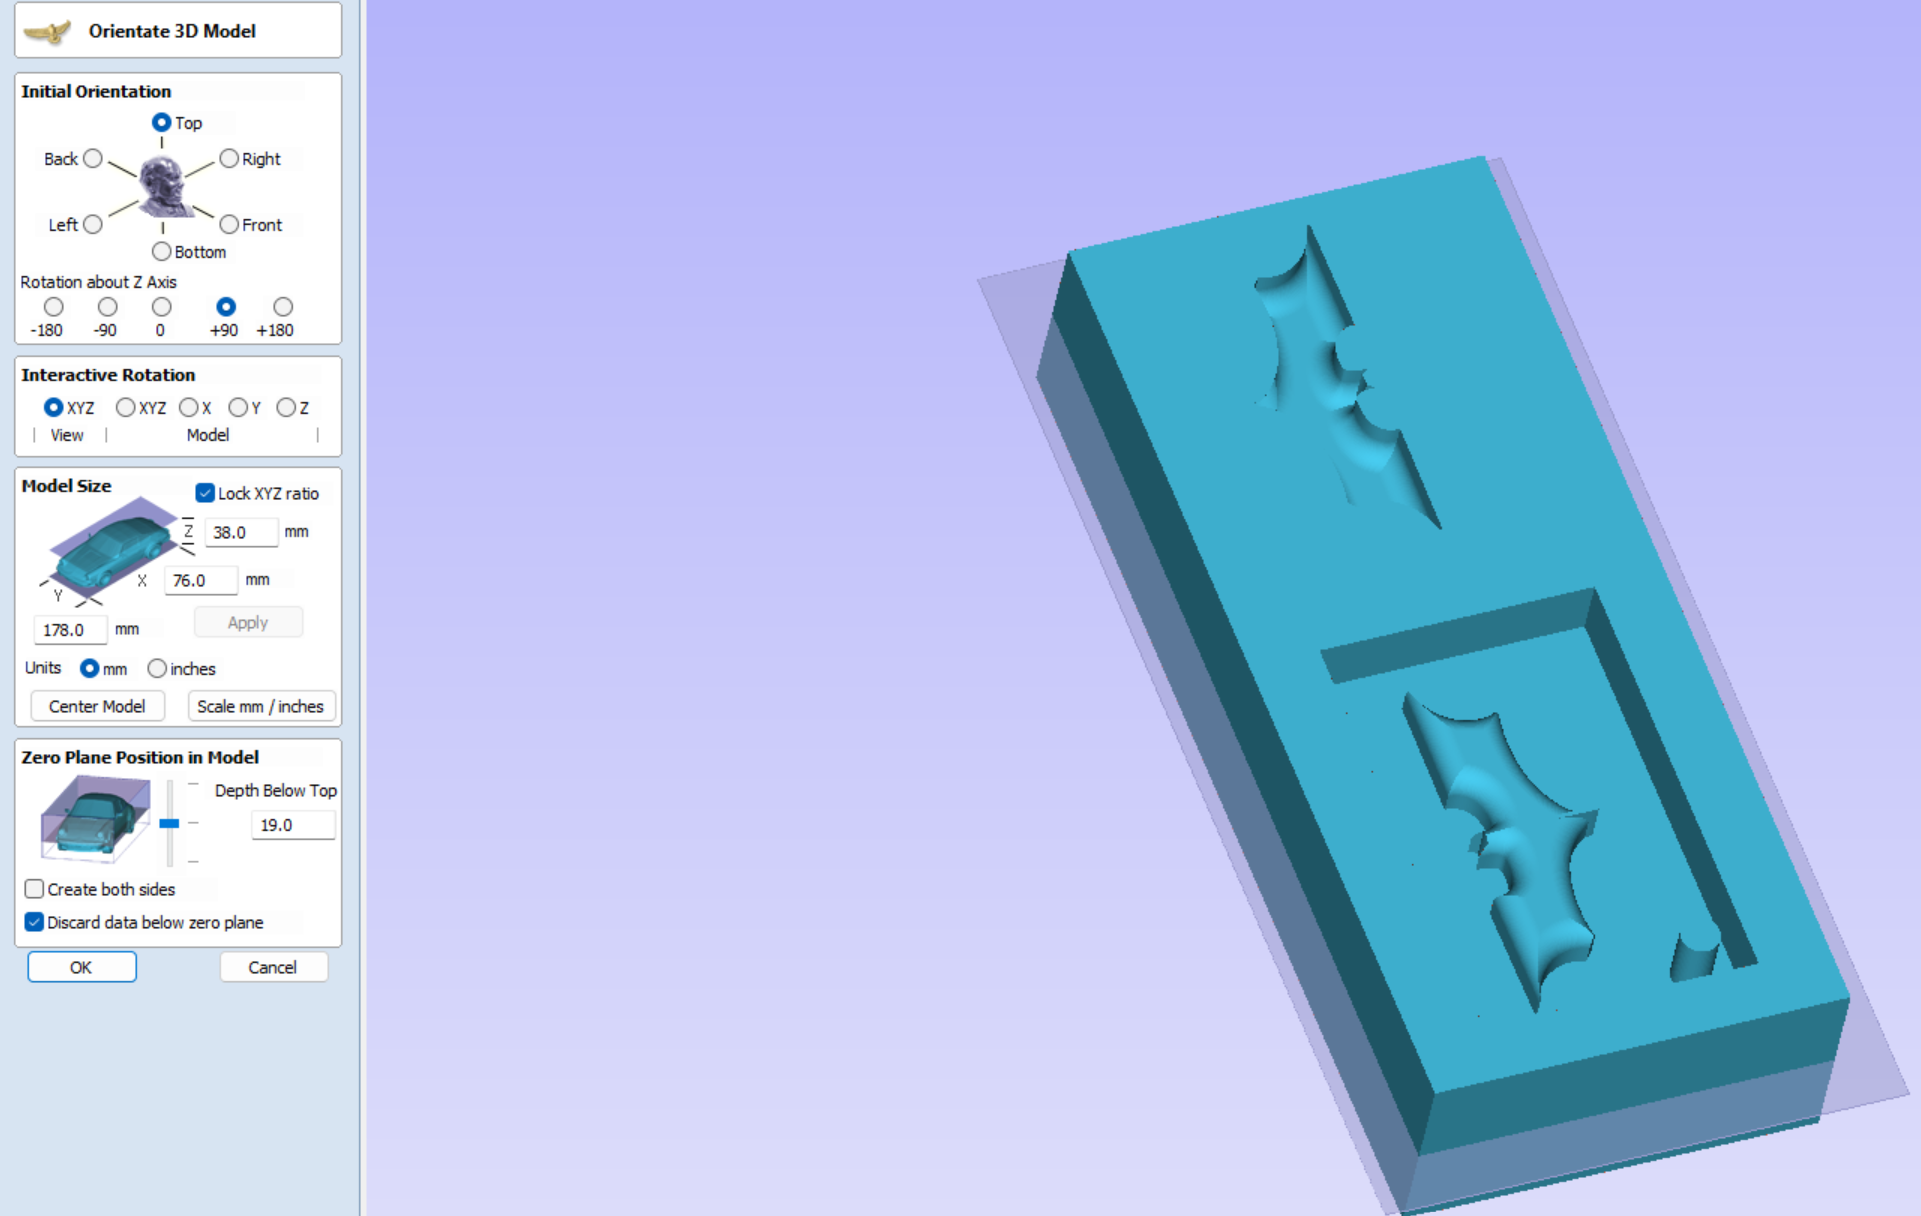
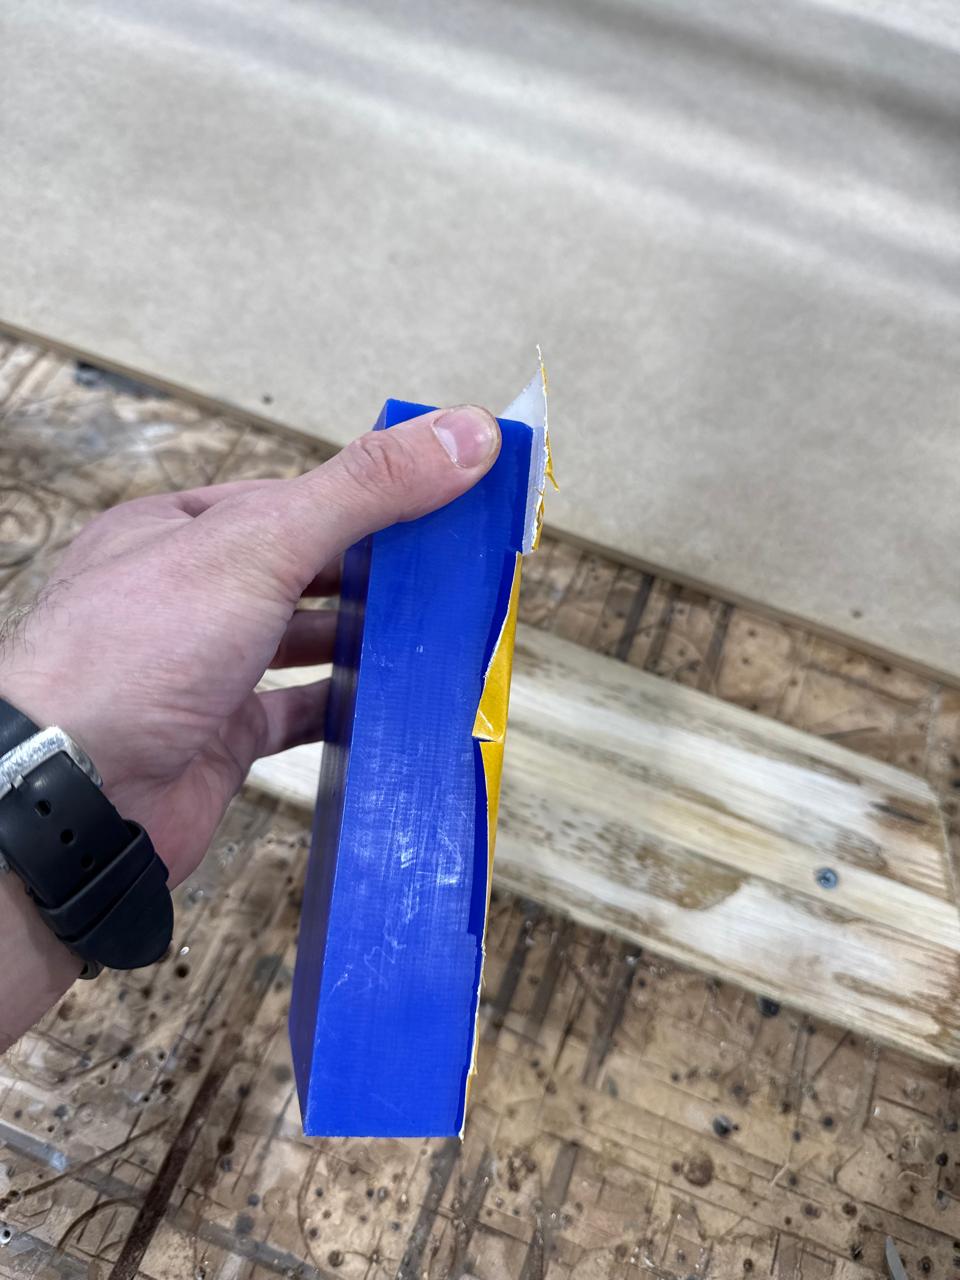
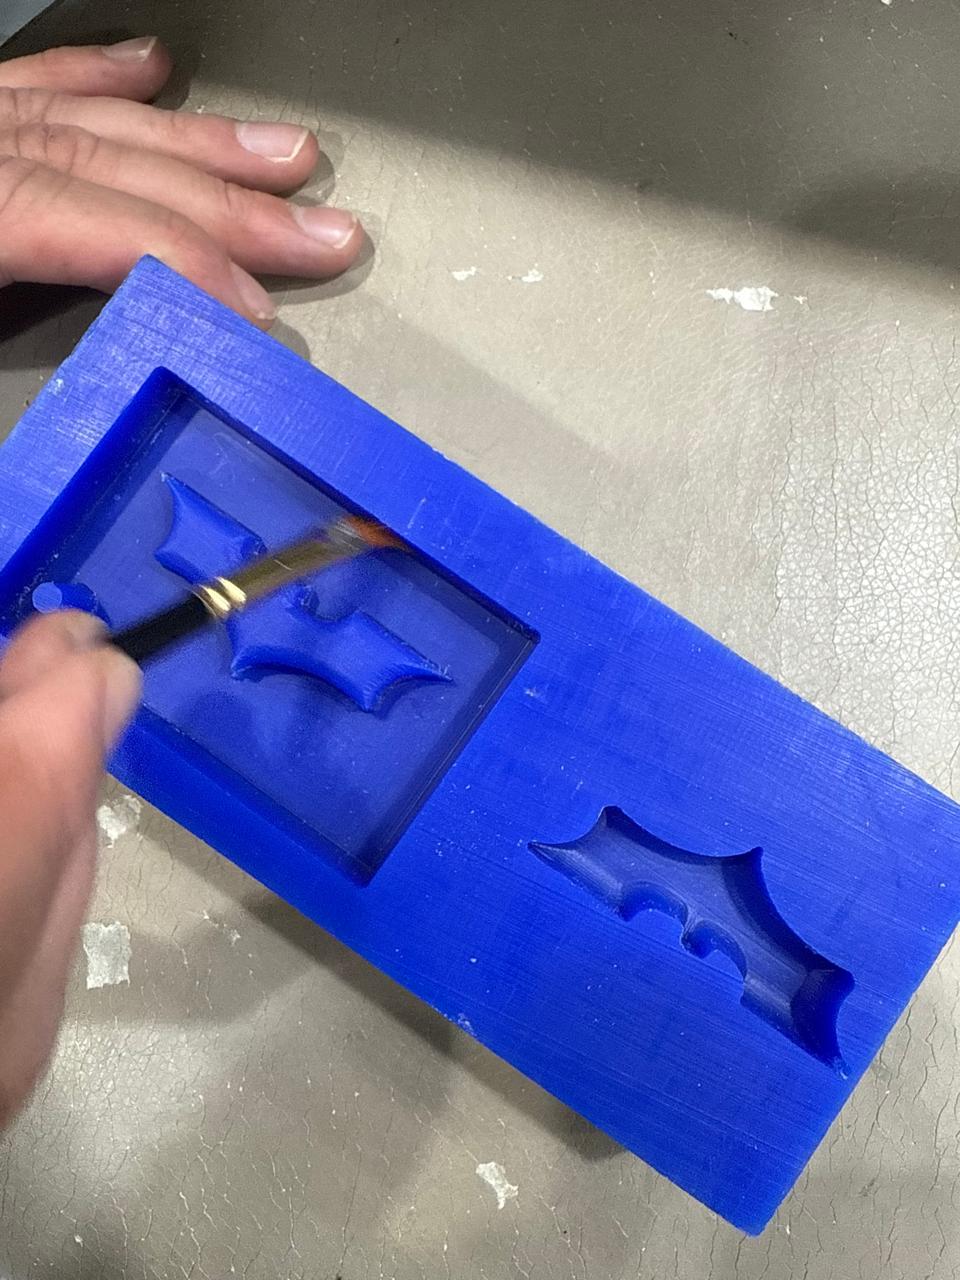
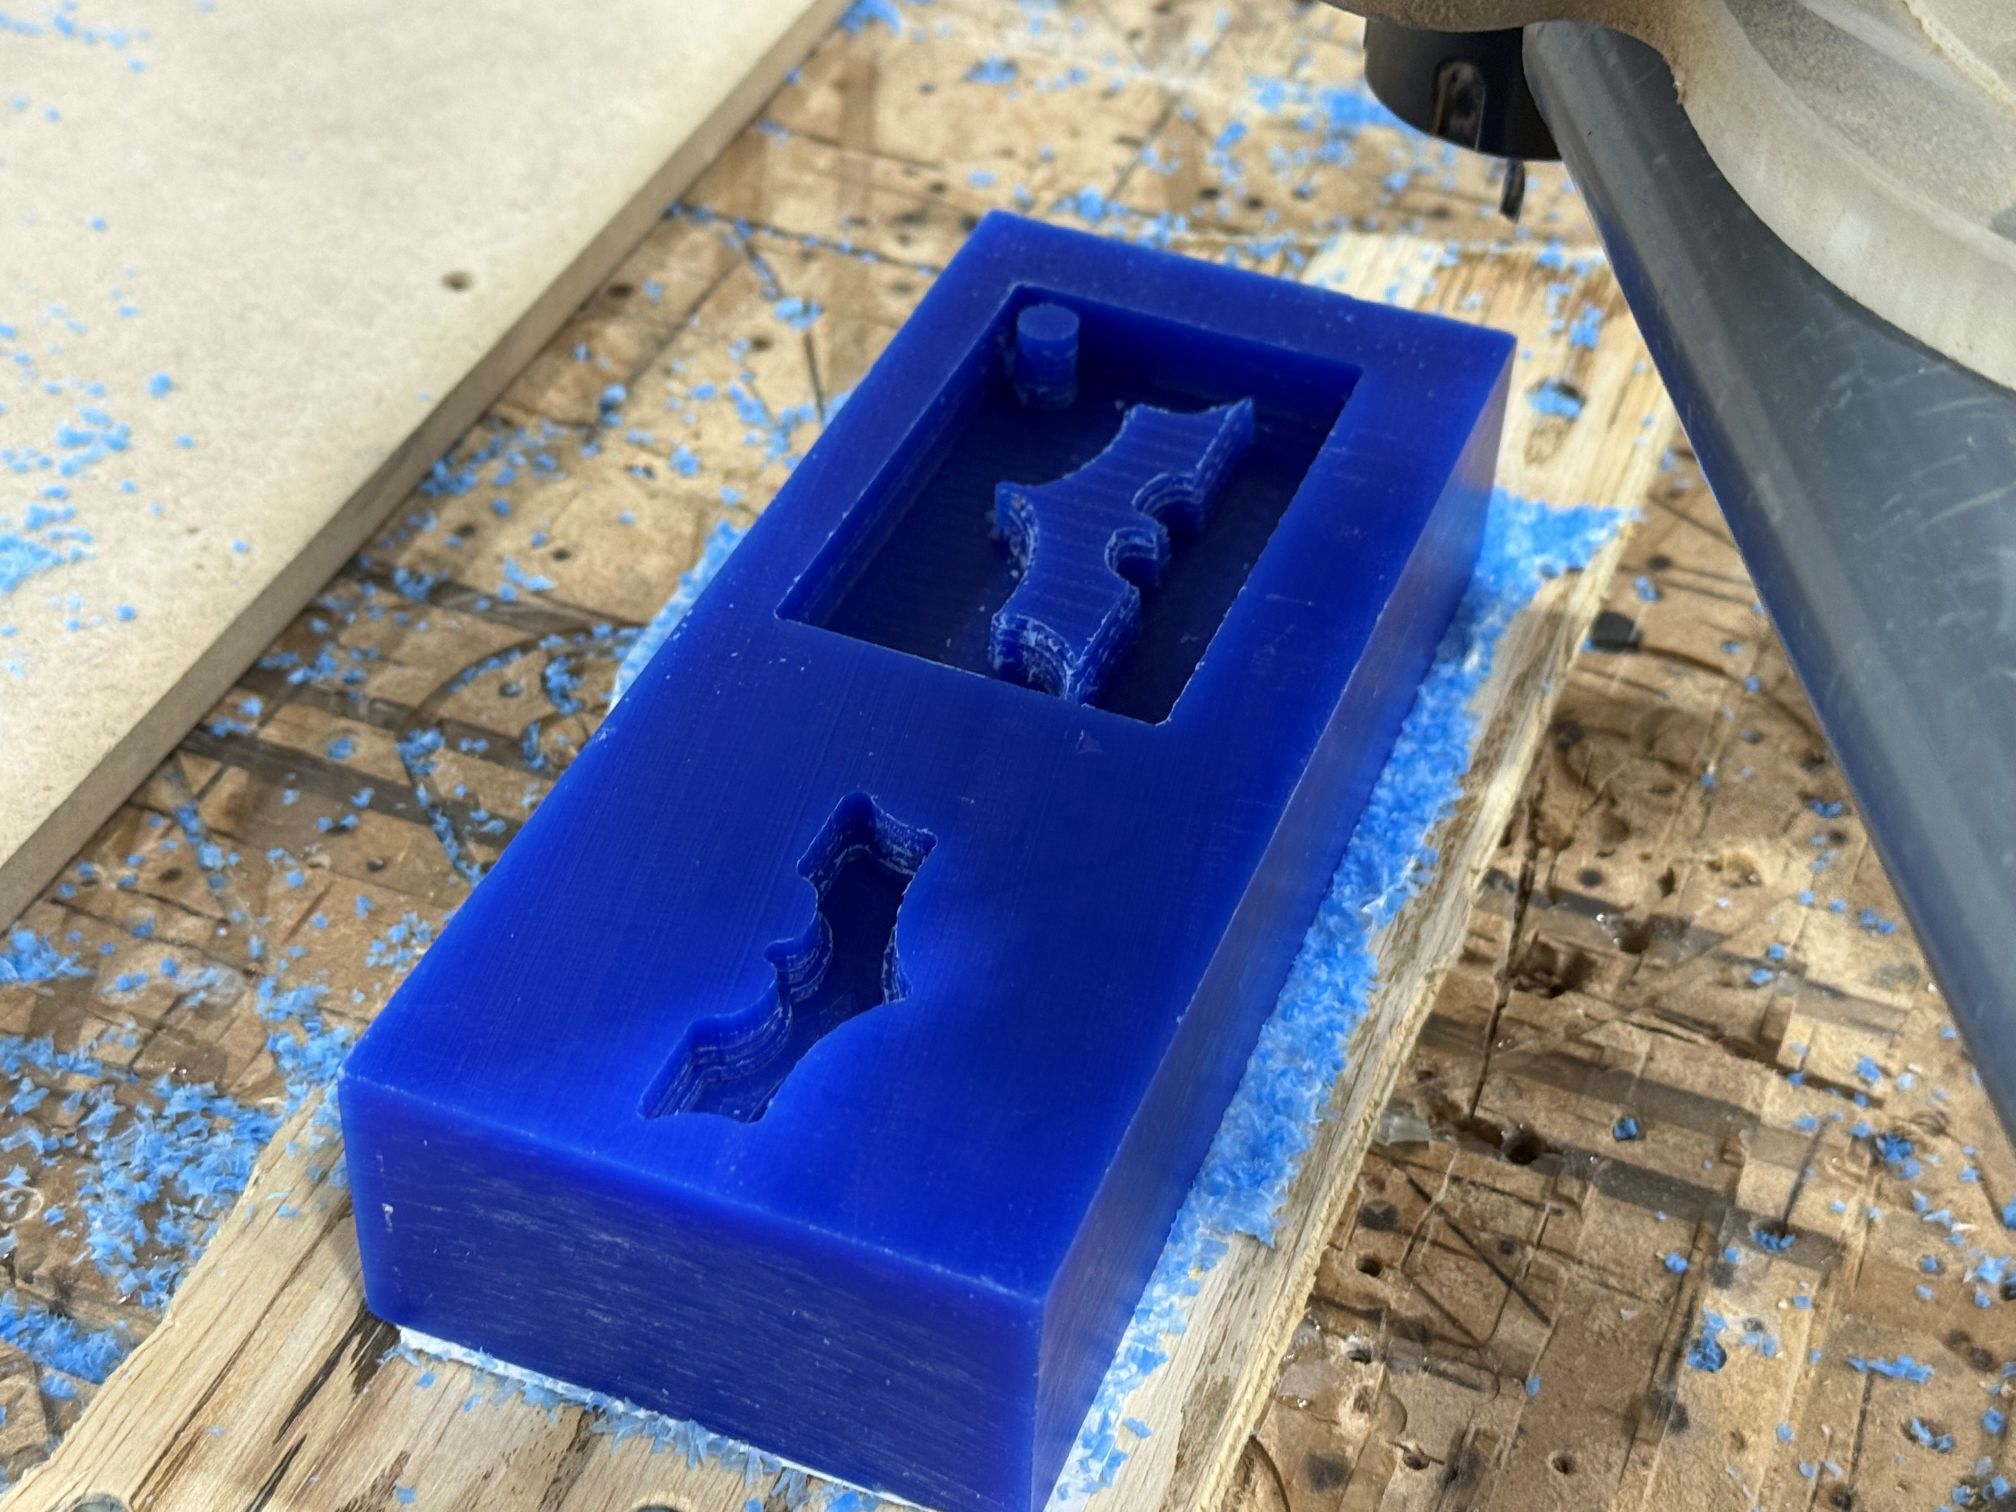
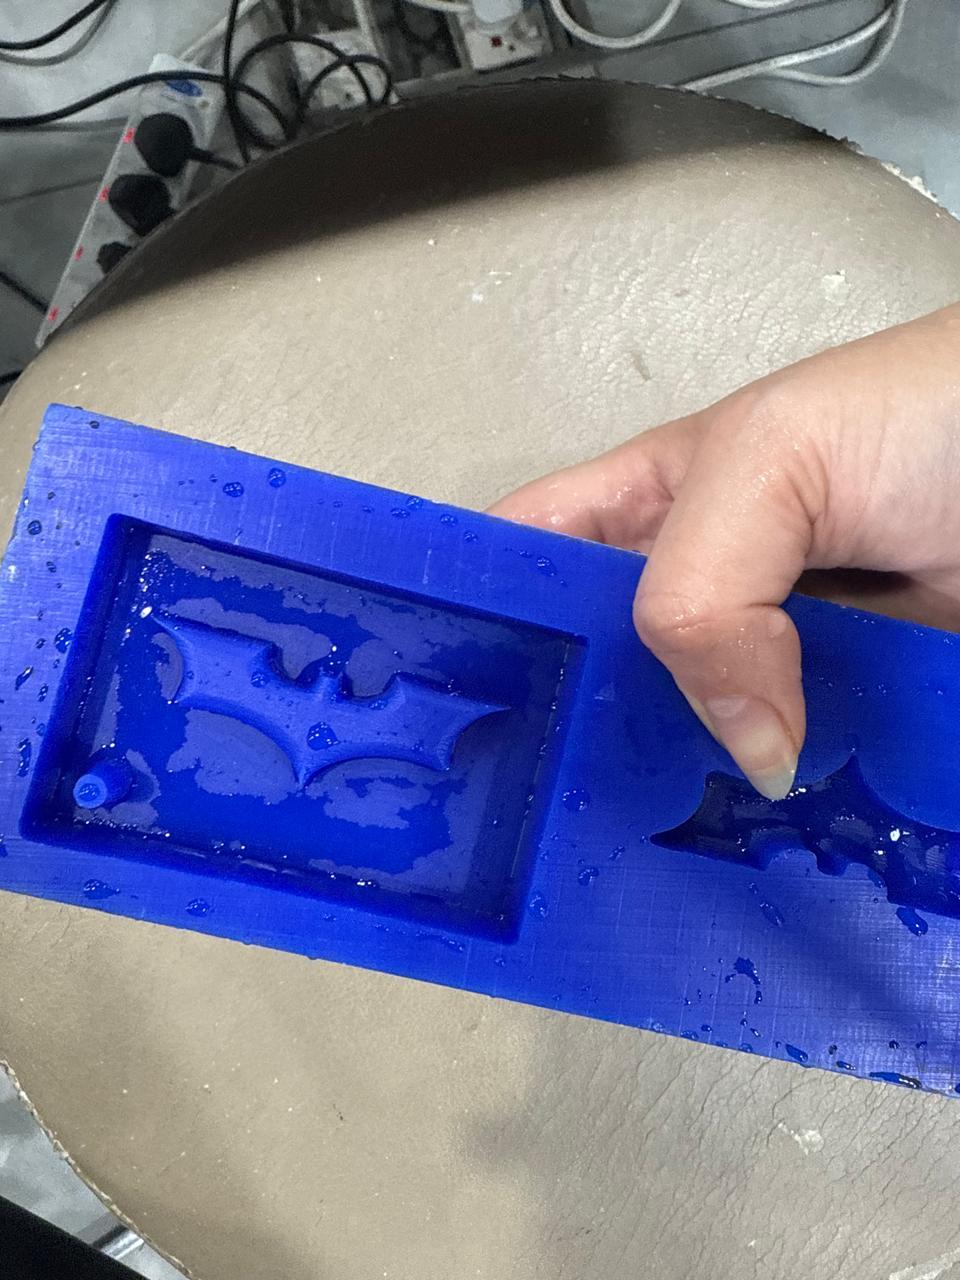
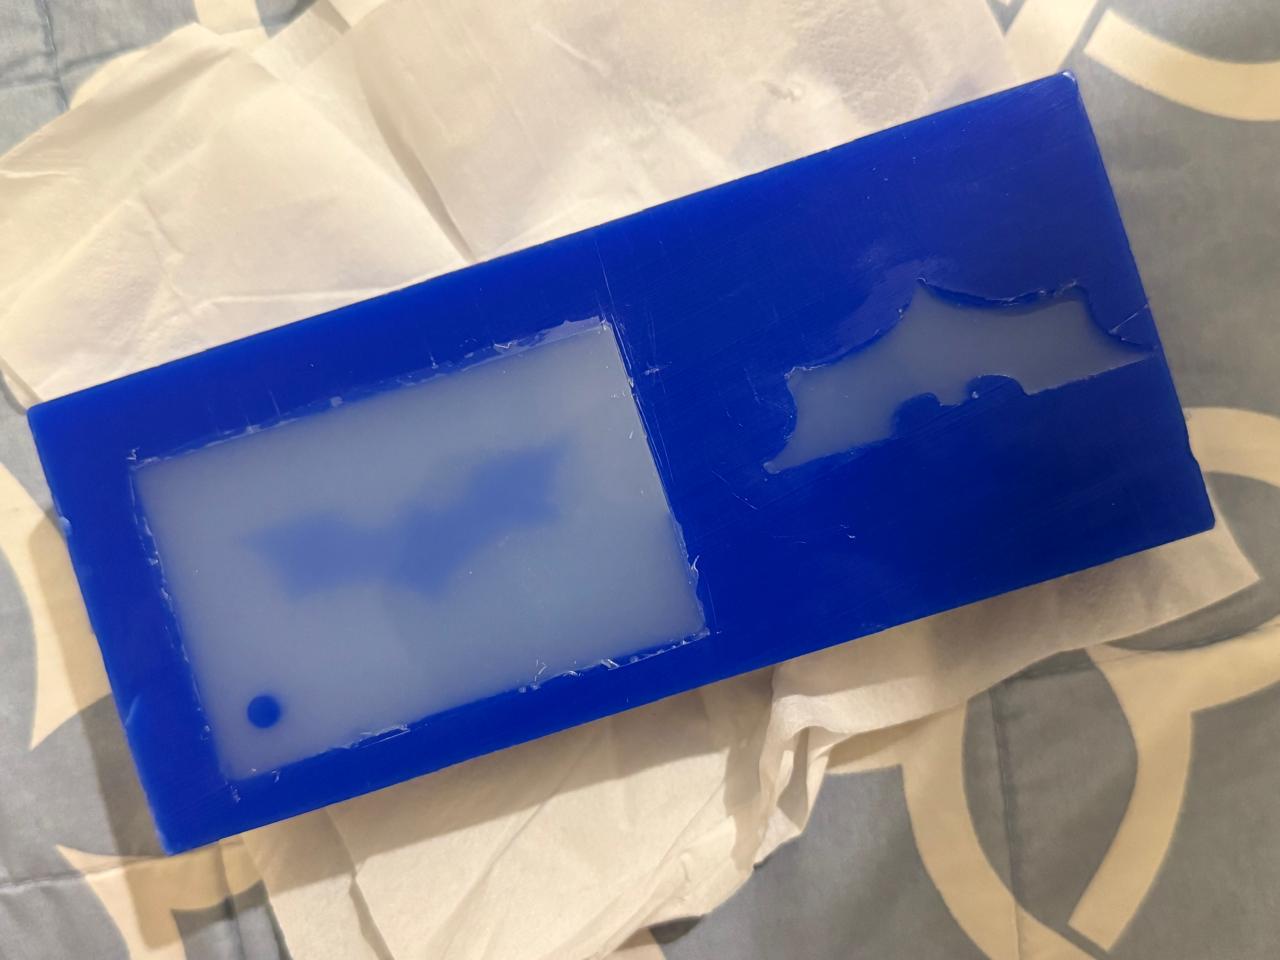
This was definitely my preferred fabrication method. I CNC milled a blue wax block to create two master molds: one that could be used directly as a rigid mold for casting flexible materials, and another that could be used to produce a flexible mold for casting rigid materials.

Figure 2: CNC-milled blue wax block with two Batman logo cavities.
### Mold Design
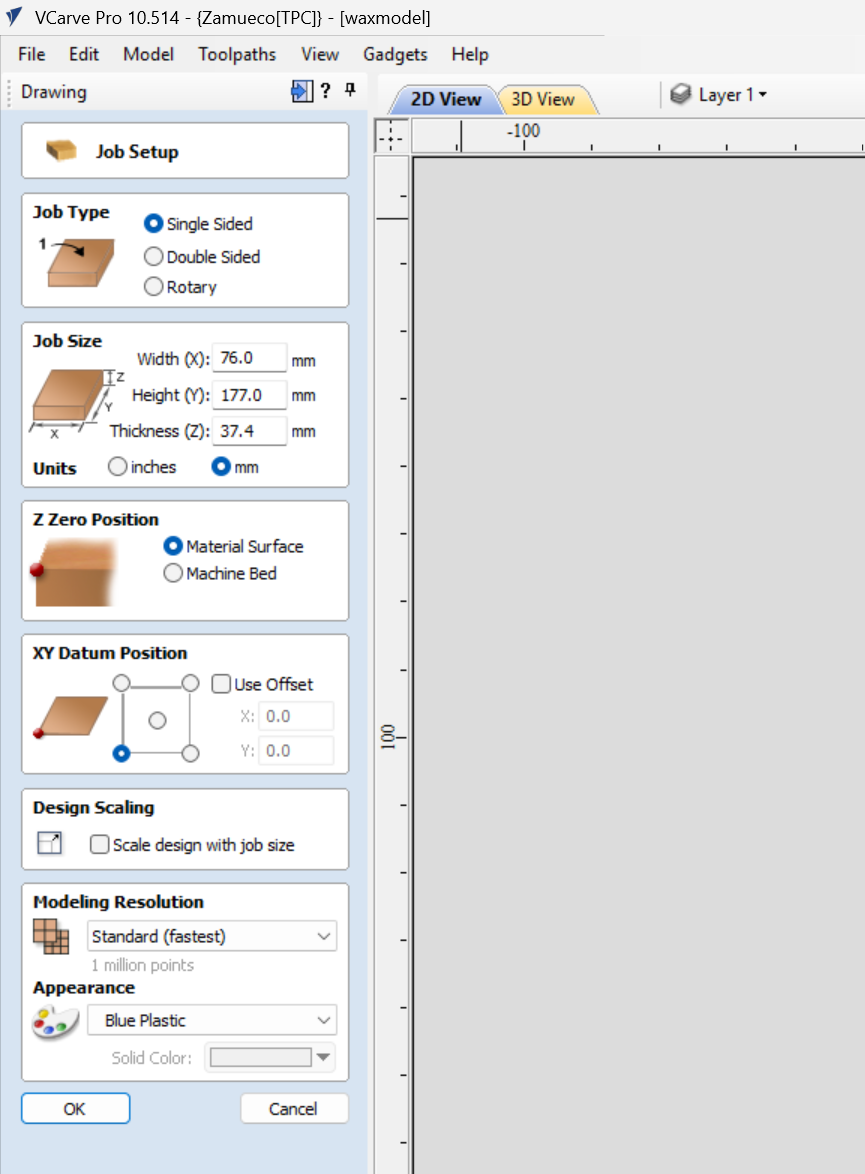
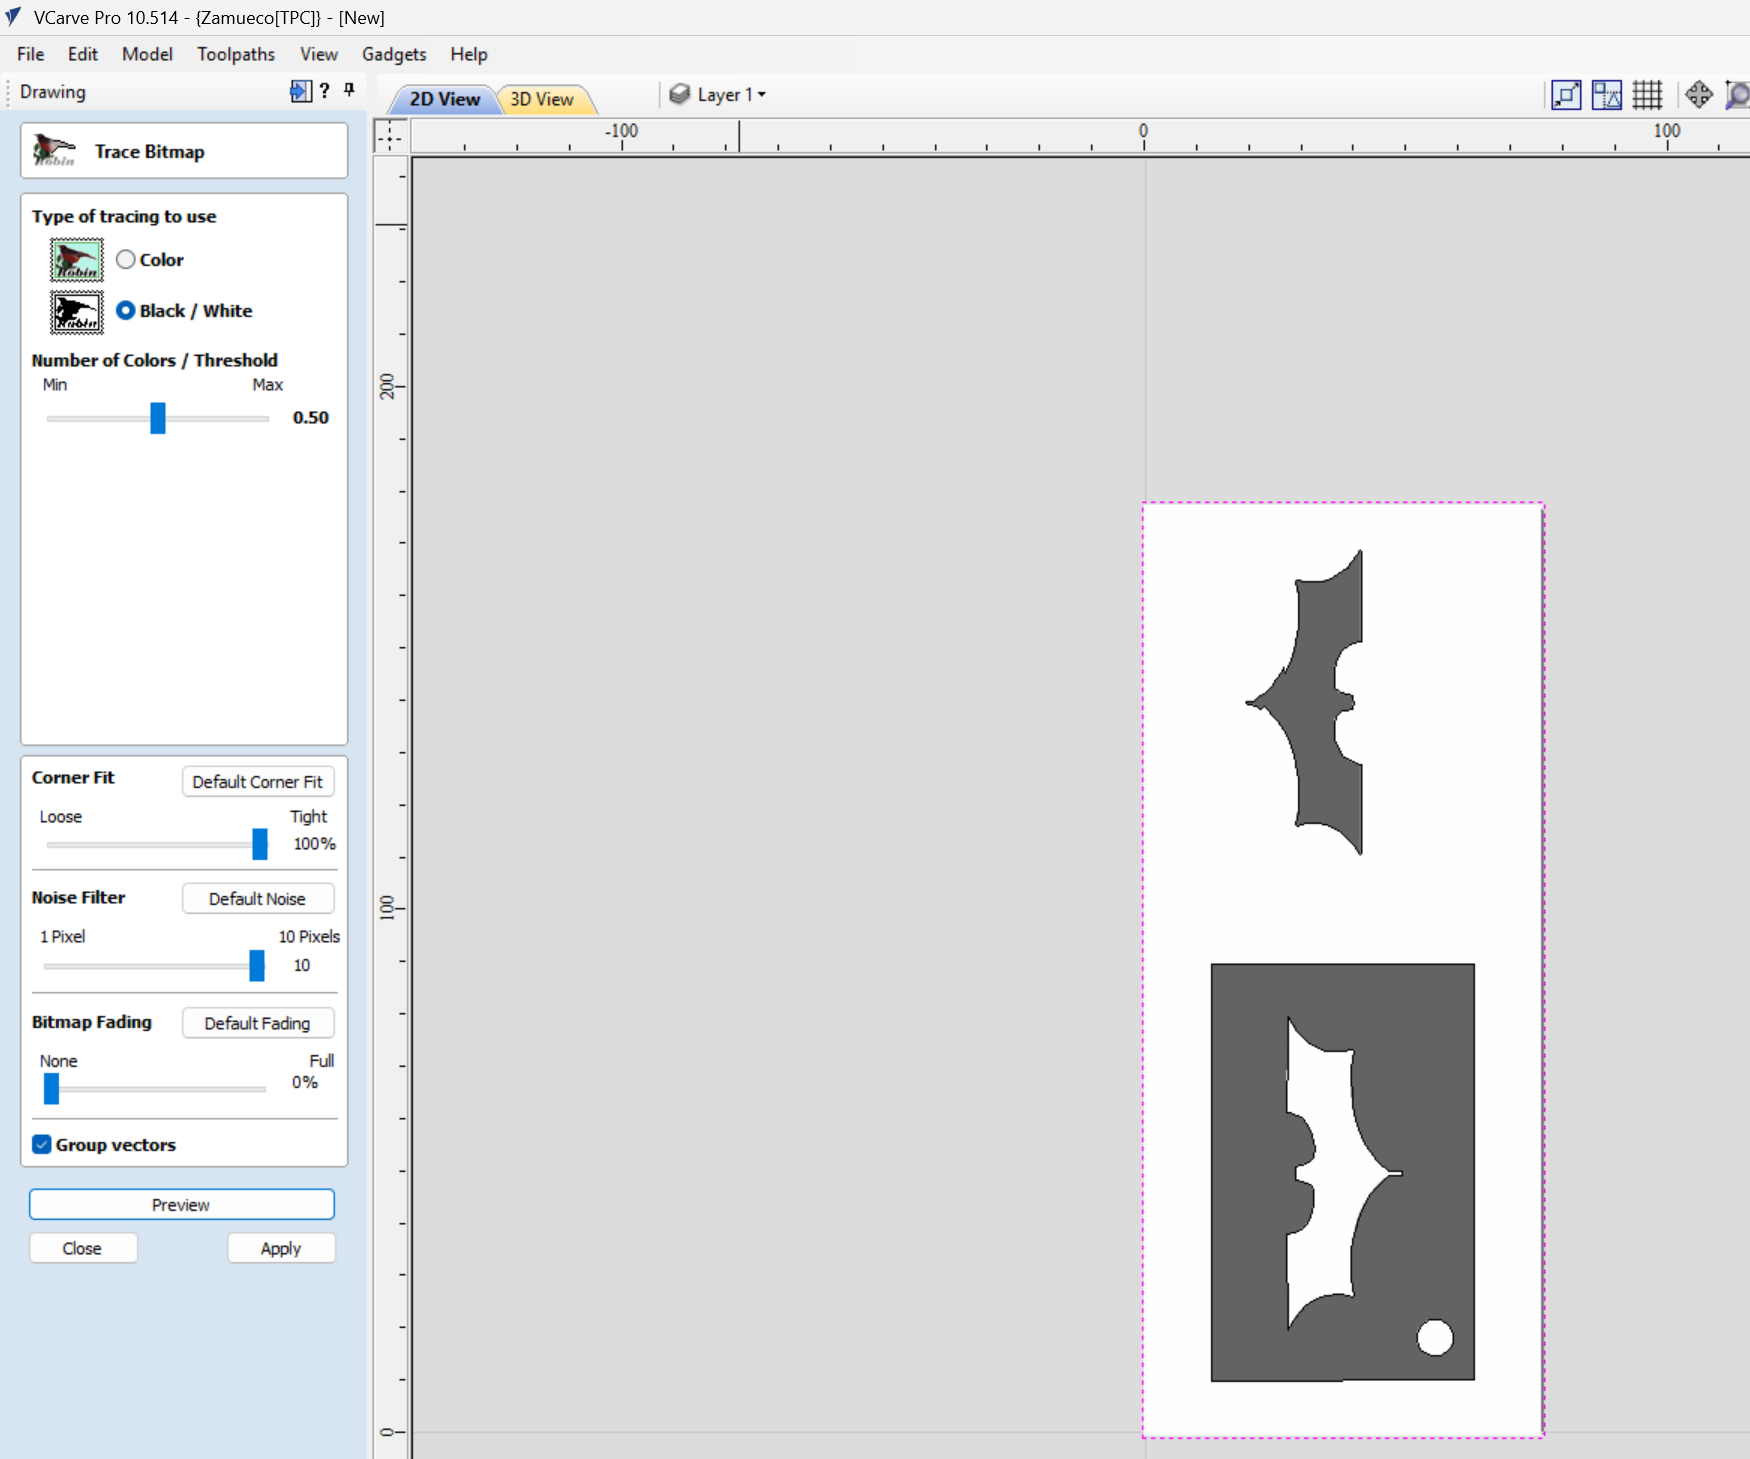
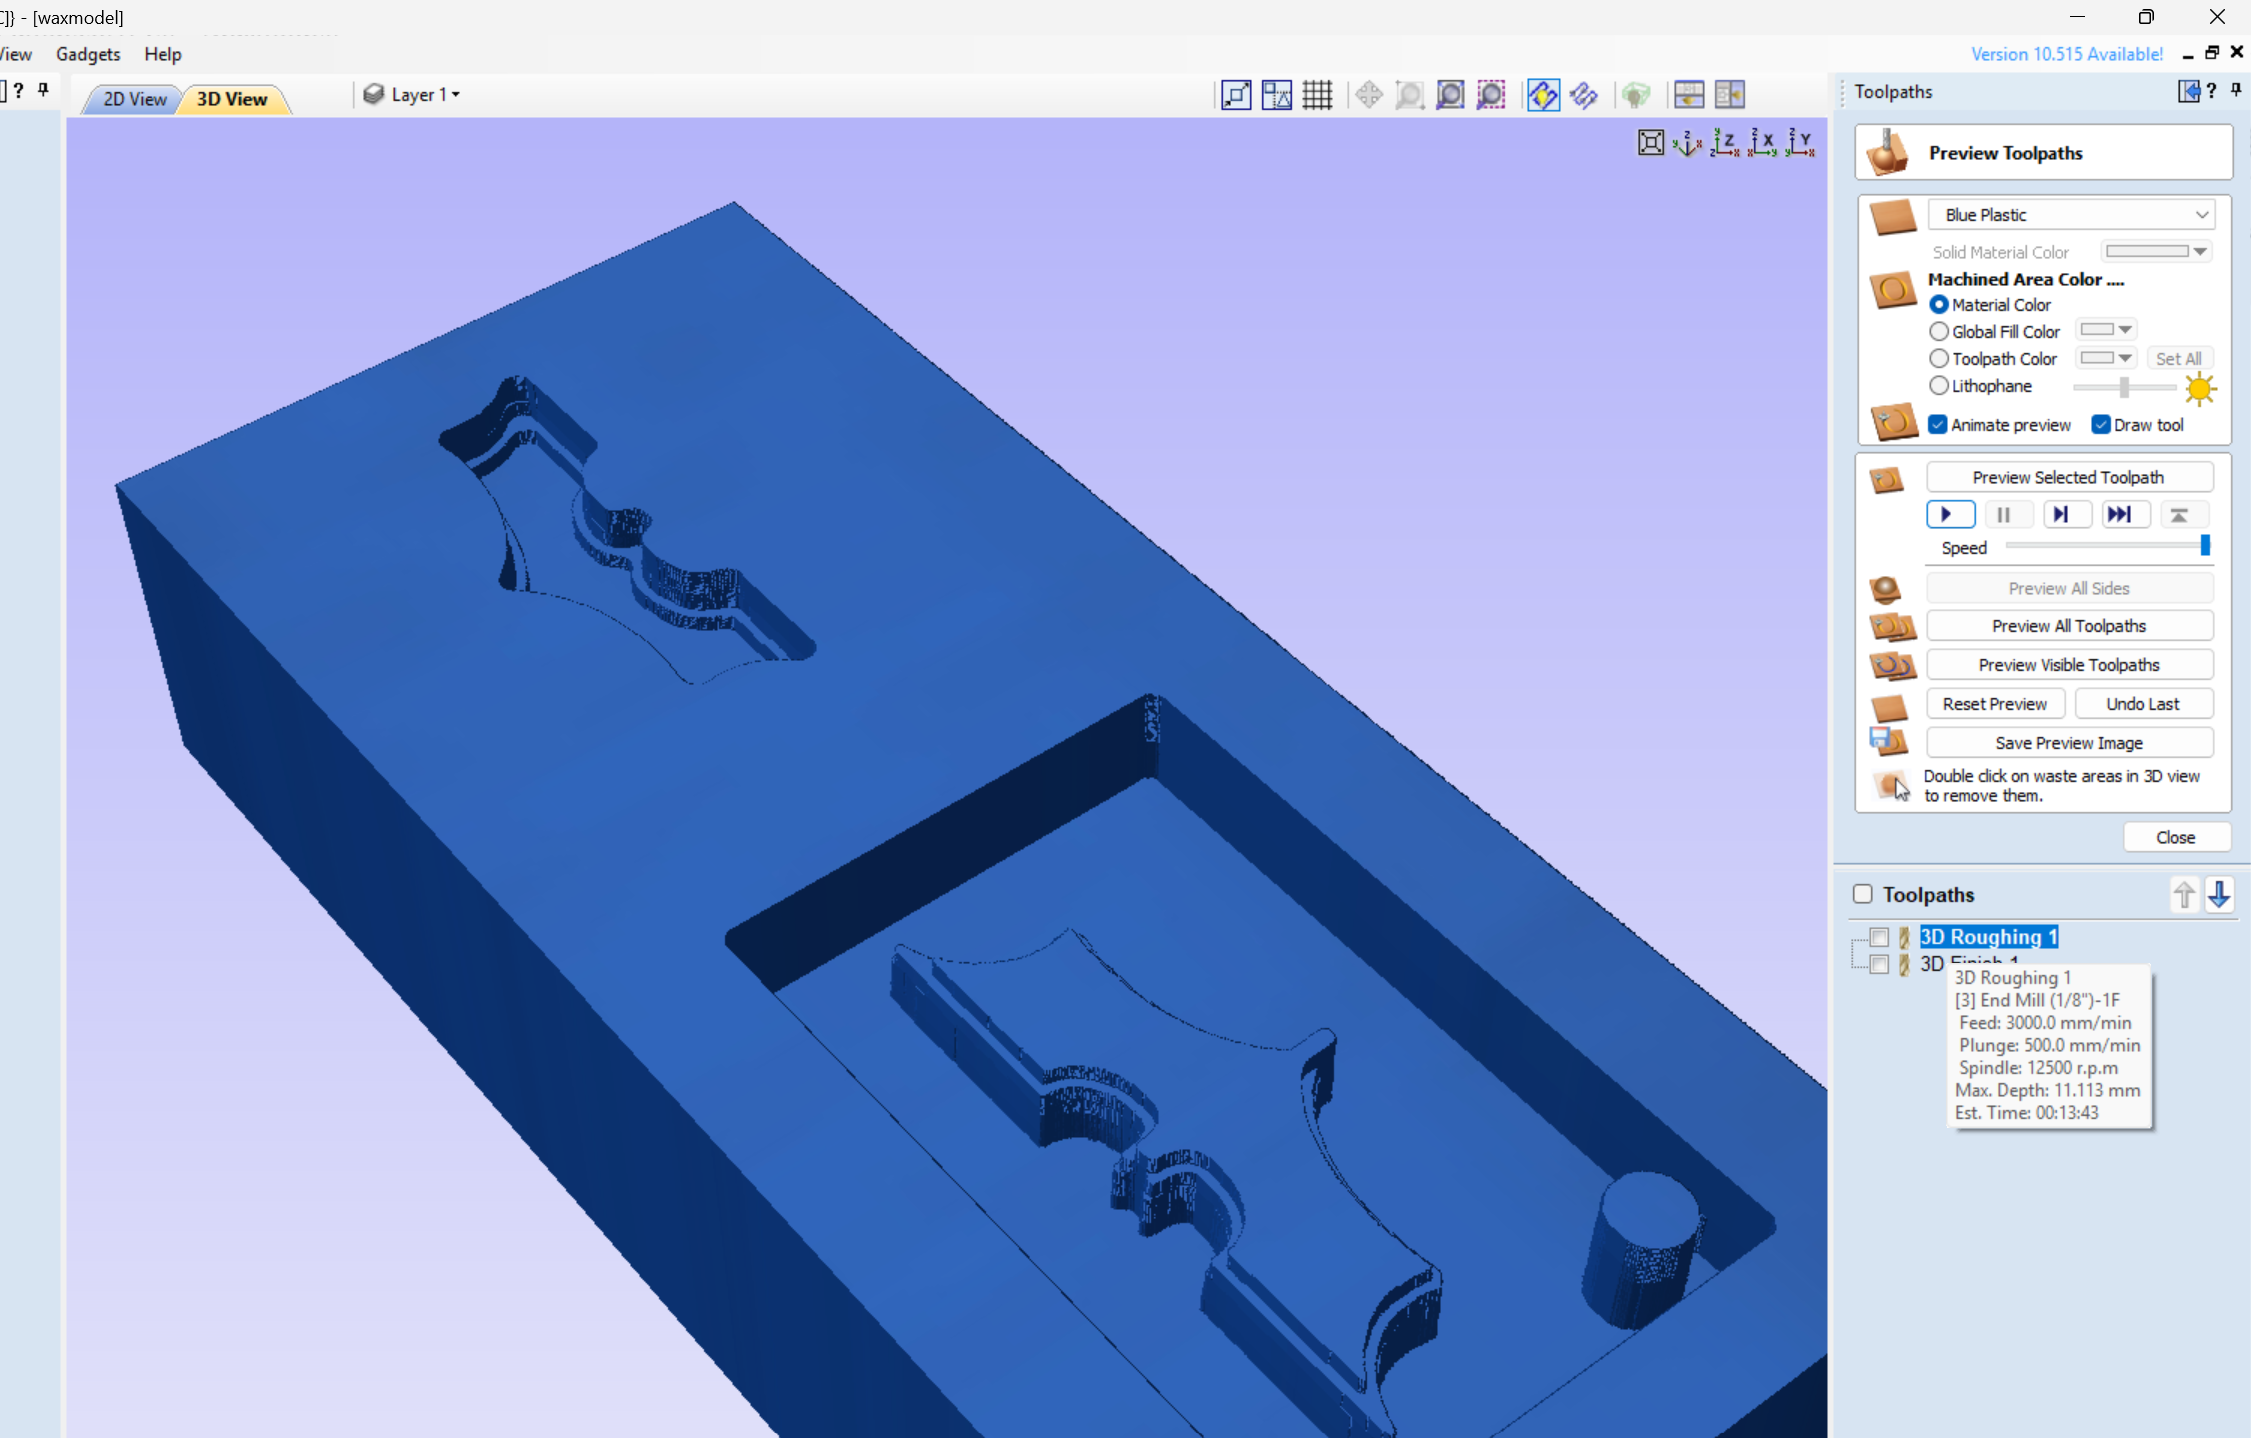
The mold was designed in Fusion 360 using an open-source Batman logo STL as the starting geometry. I created the mold cavity around the model using sketches, extrusions, fillets, and join operations, resulting in 2 machinable mold designs on one block ready for toolpath generation.
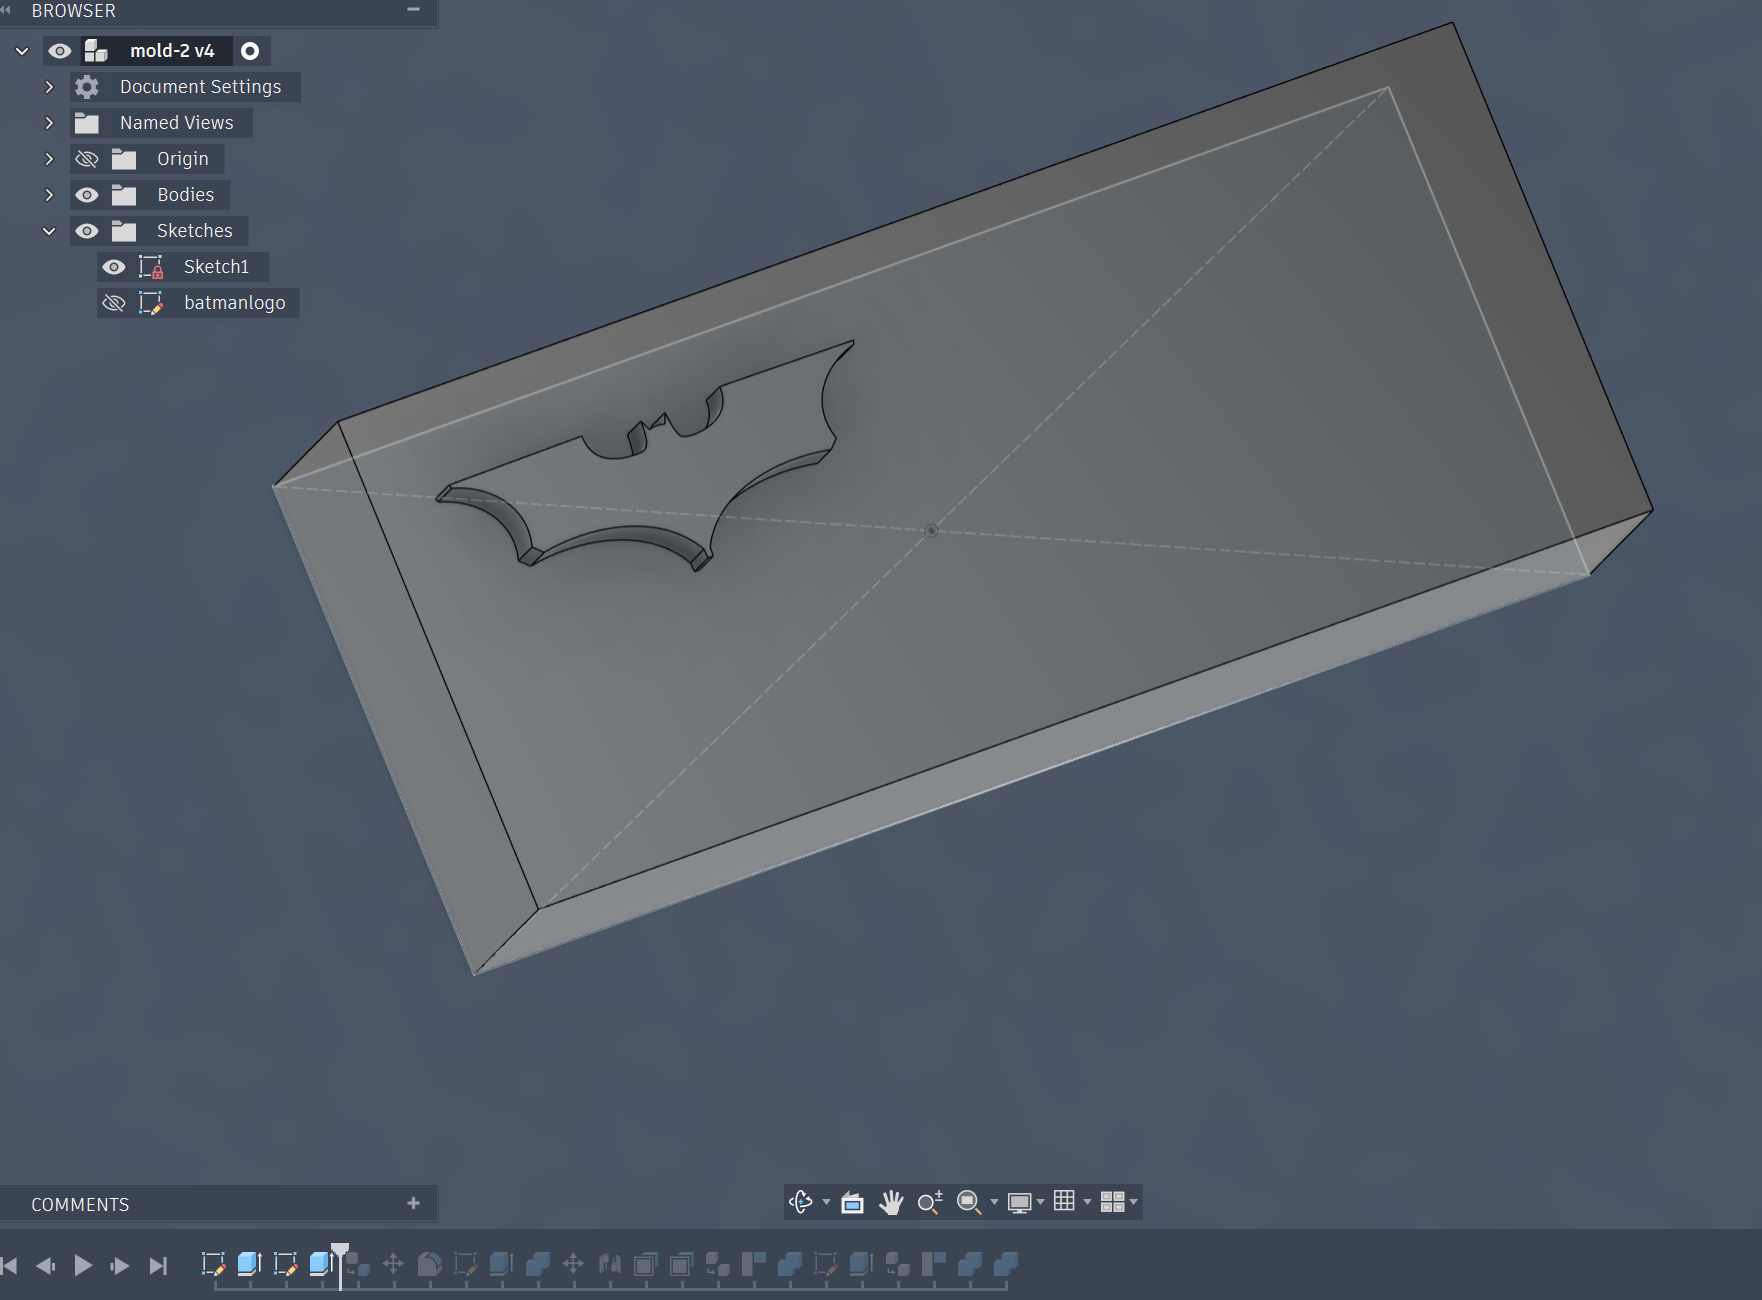
Extridomg the wax piece
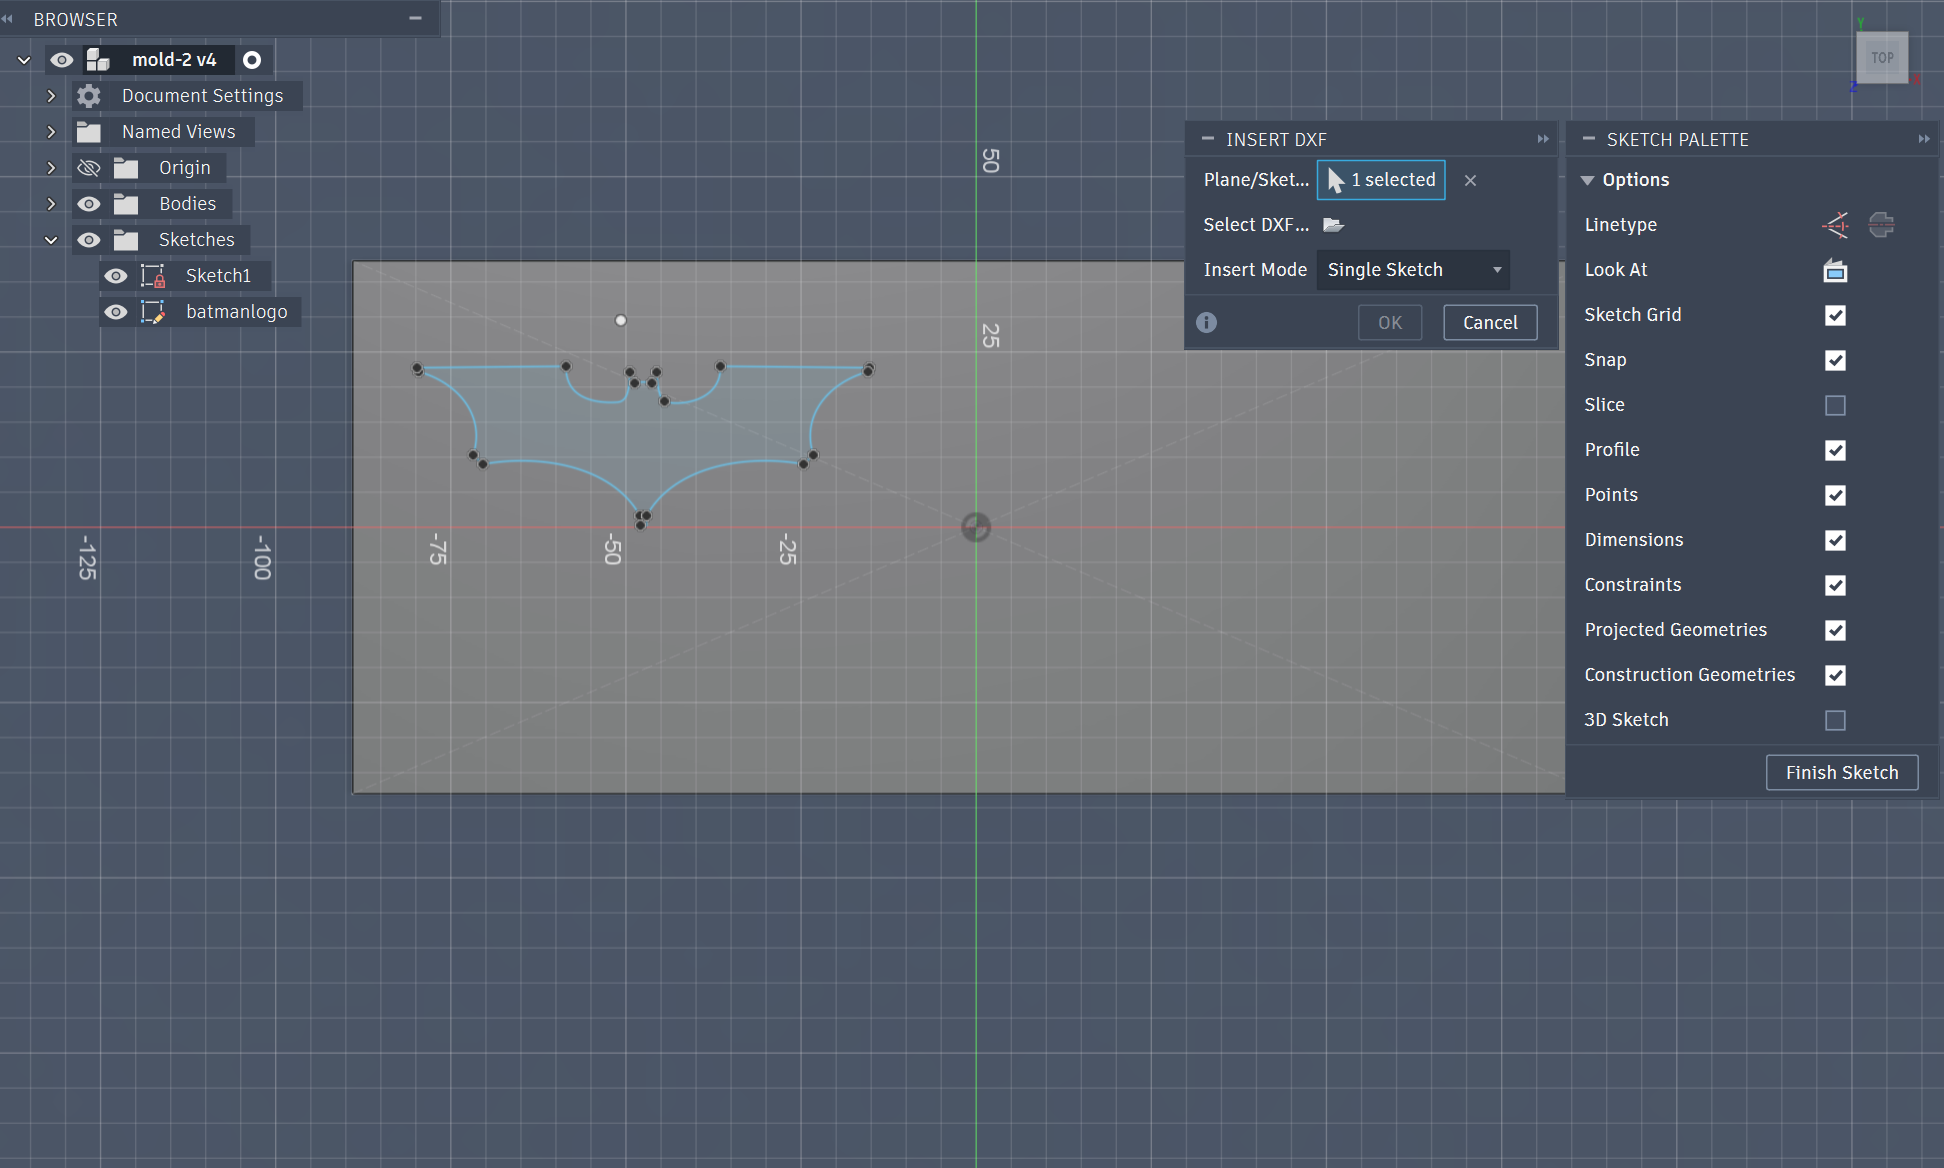
Importing the DXF and positioning it
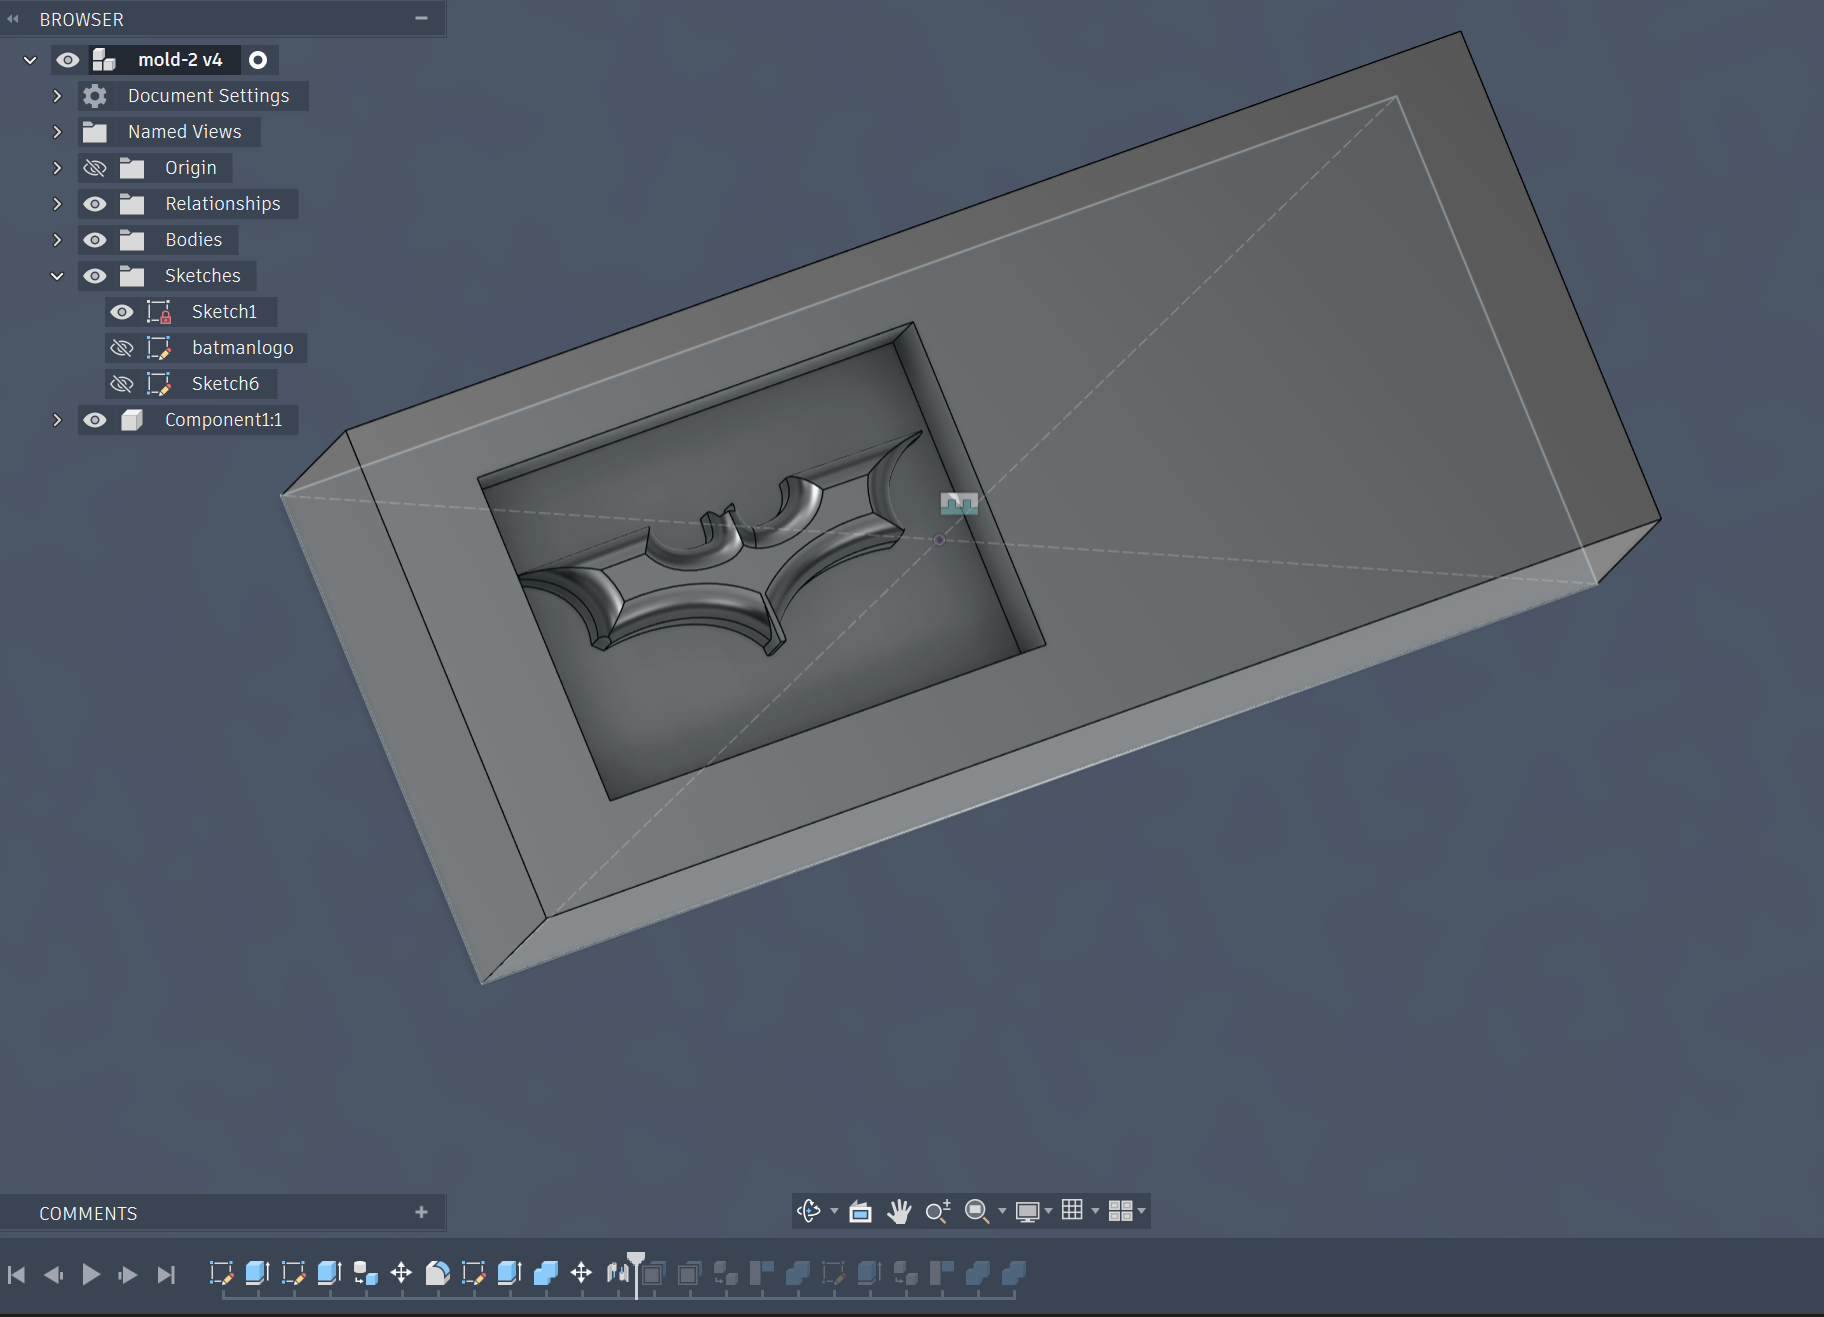
Extruding the batman logo and placing it 12mm under the top surface of the mold piece, it extudes 8mm
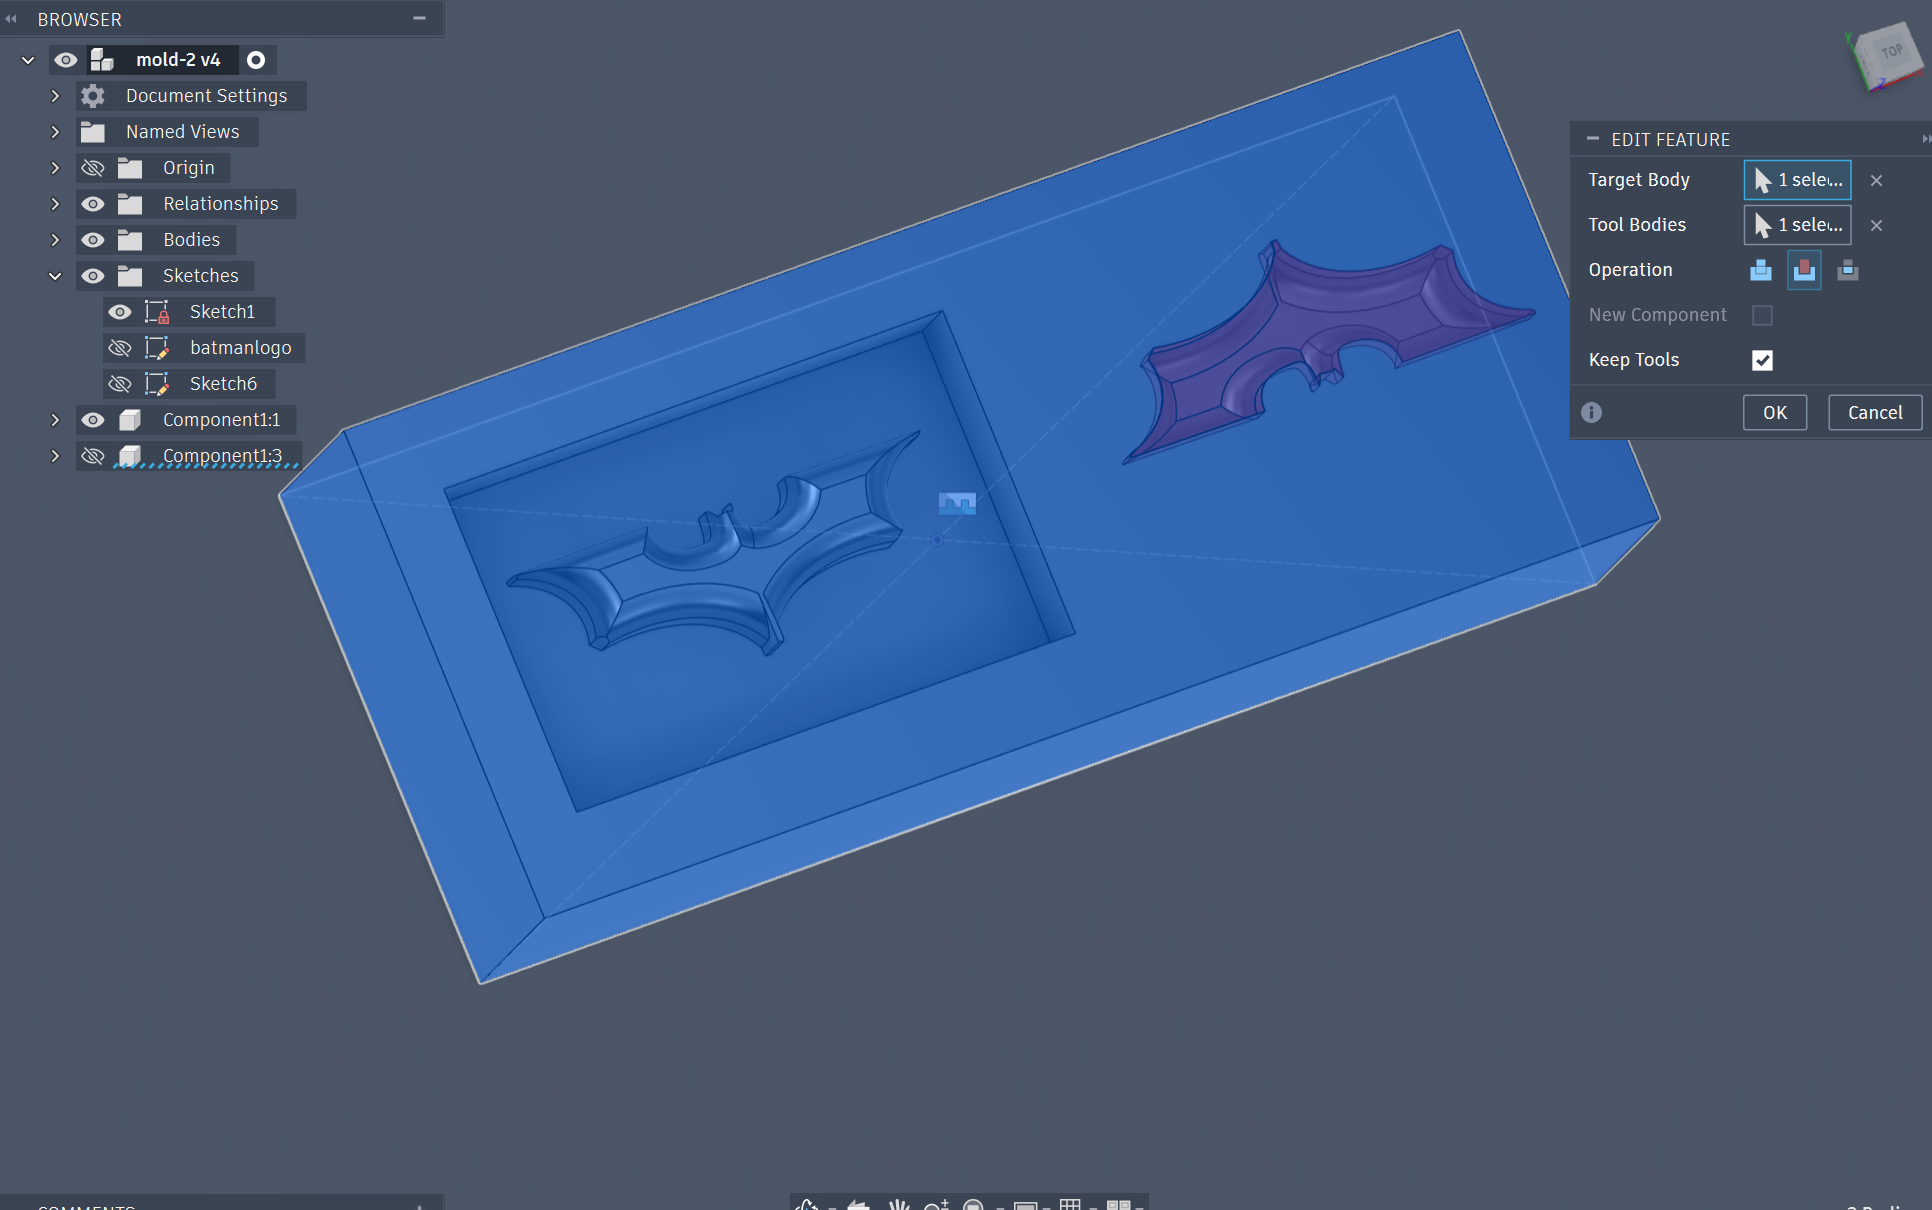
Repeating the process and using join/cut to create a direct mold for direct casting
### CNC Milling Process and Post Processing
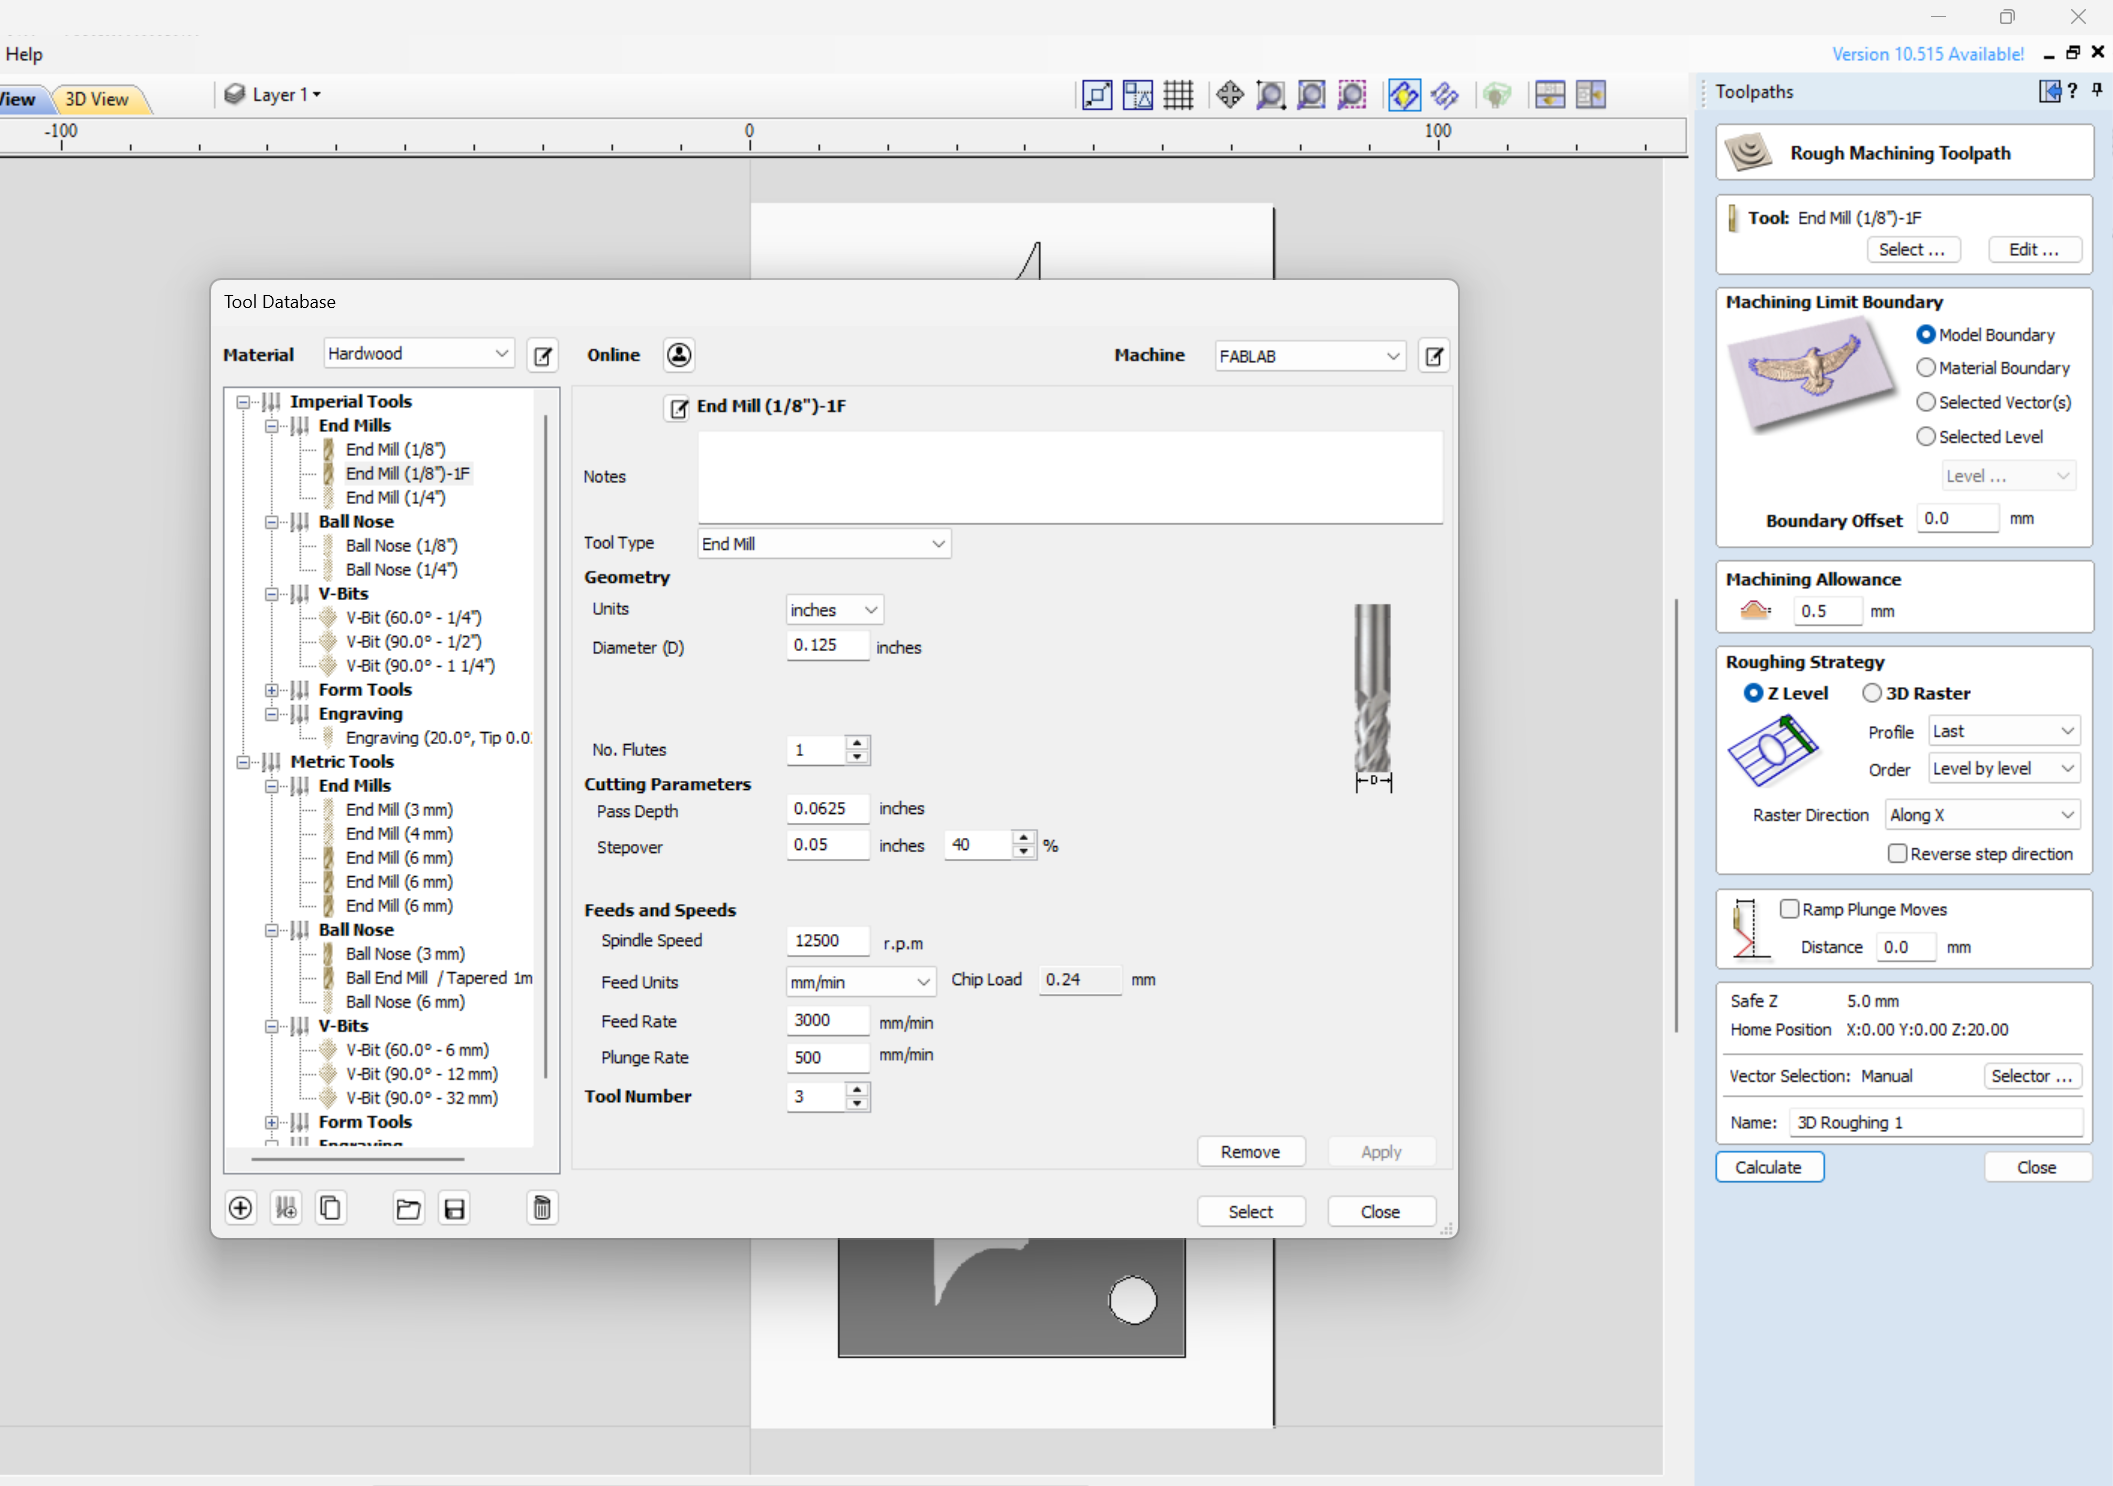
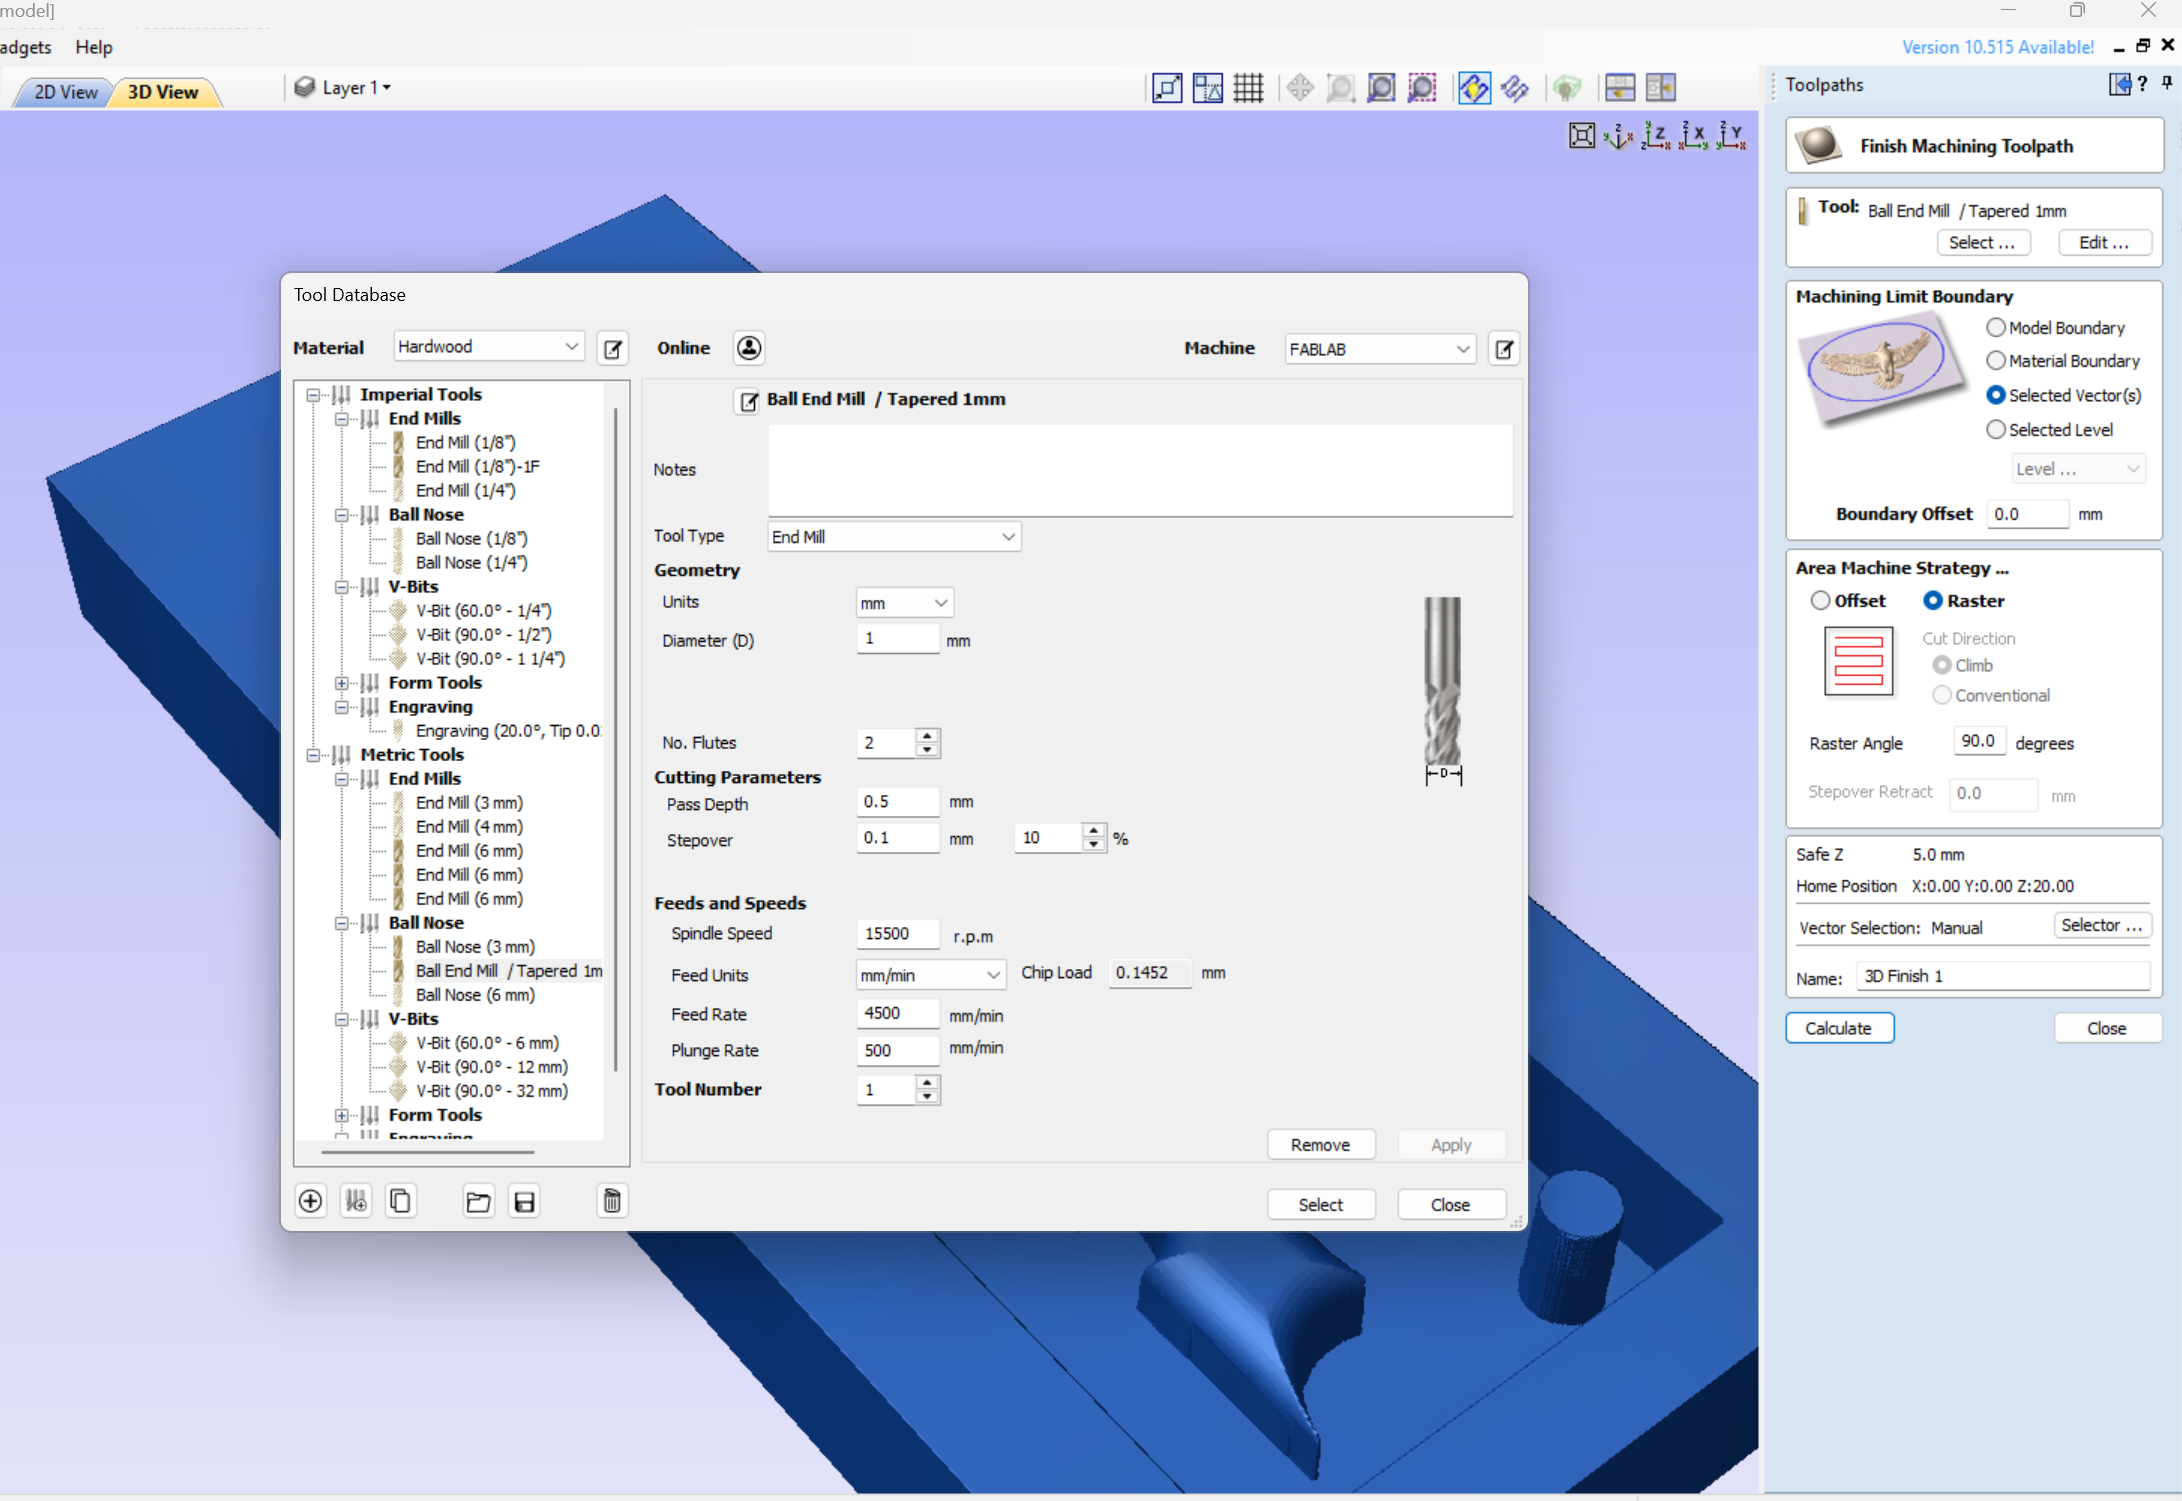
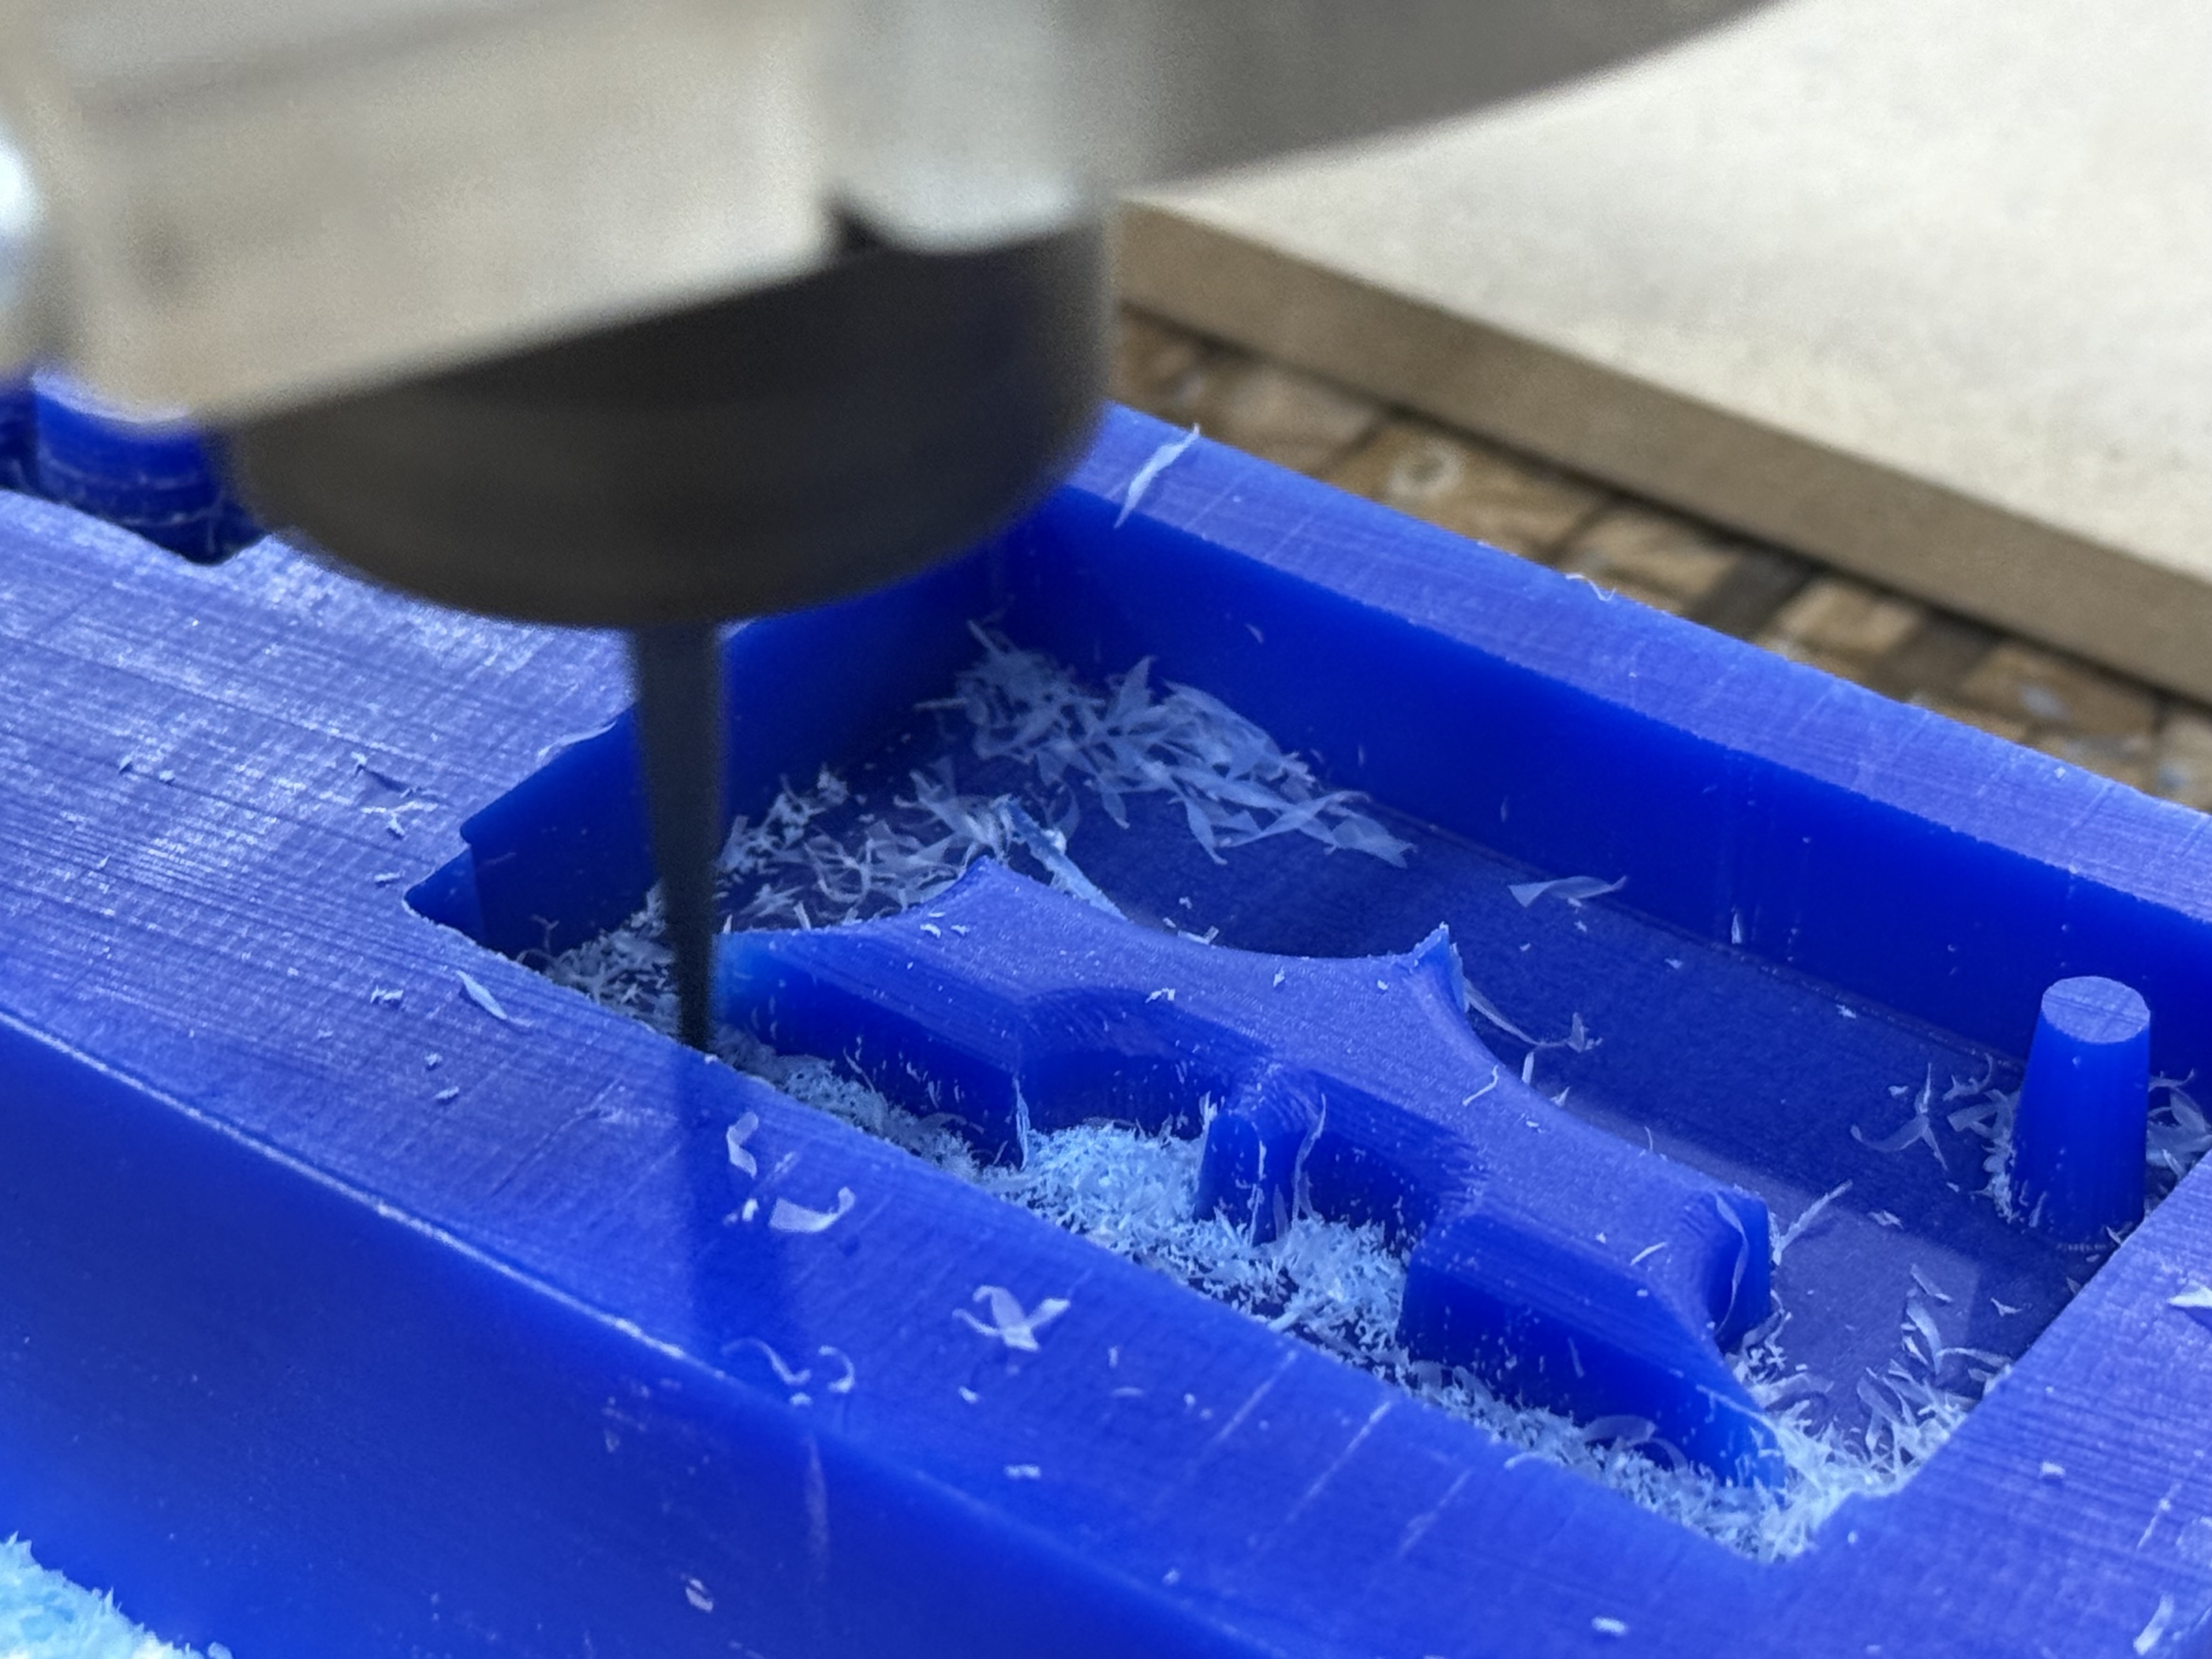
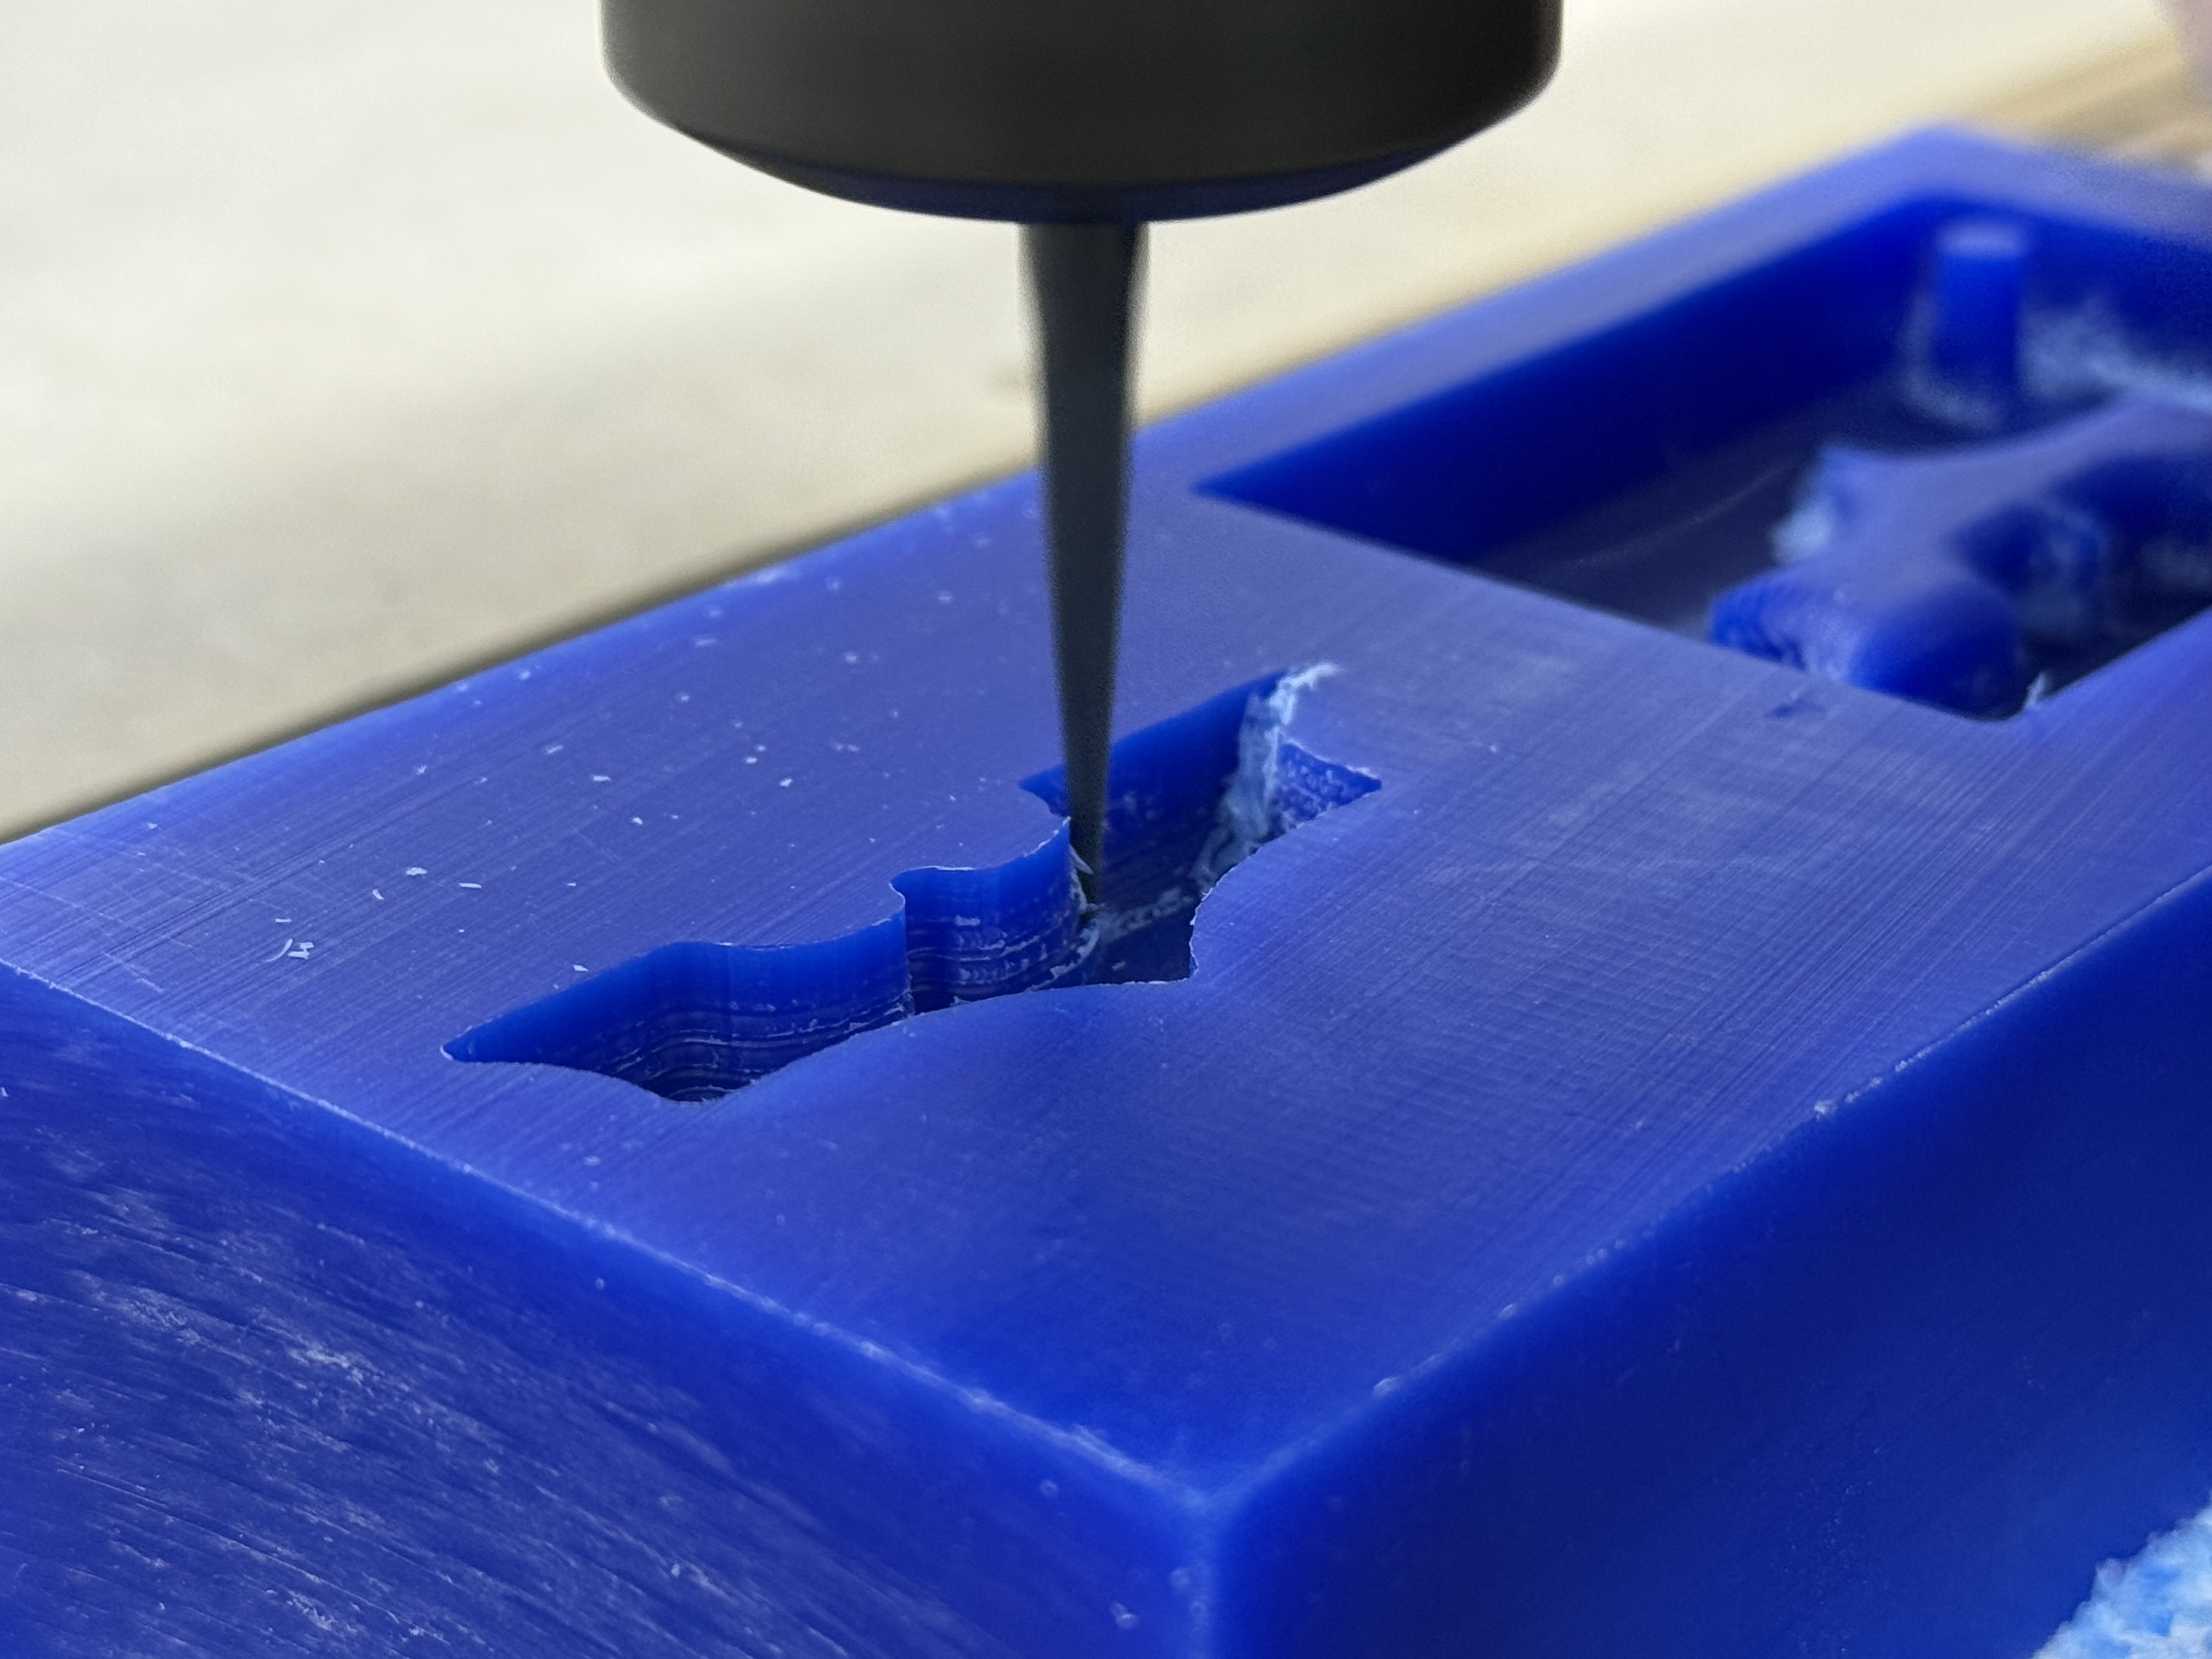
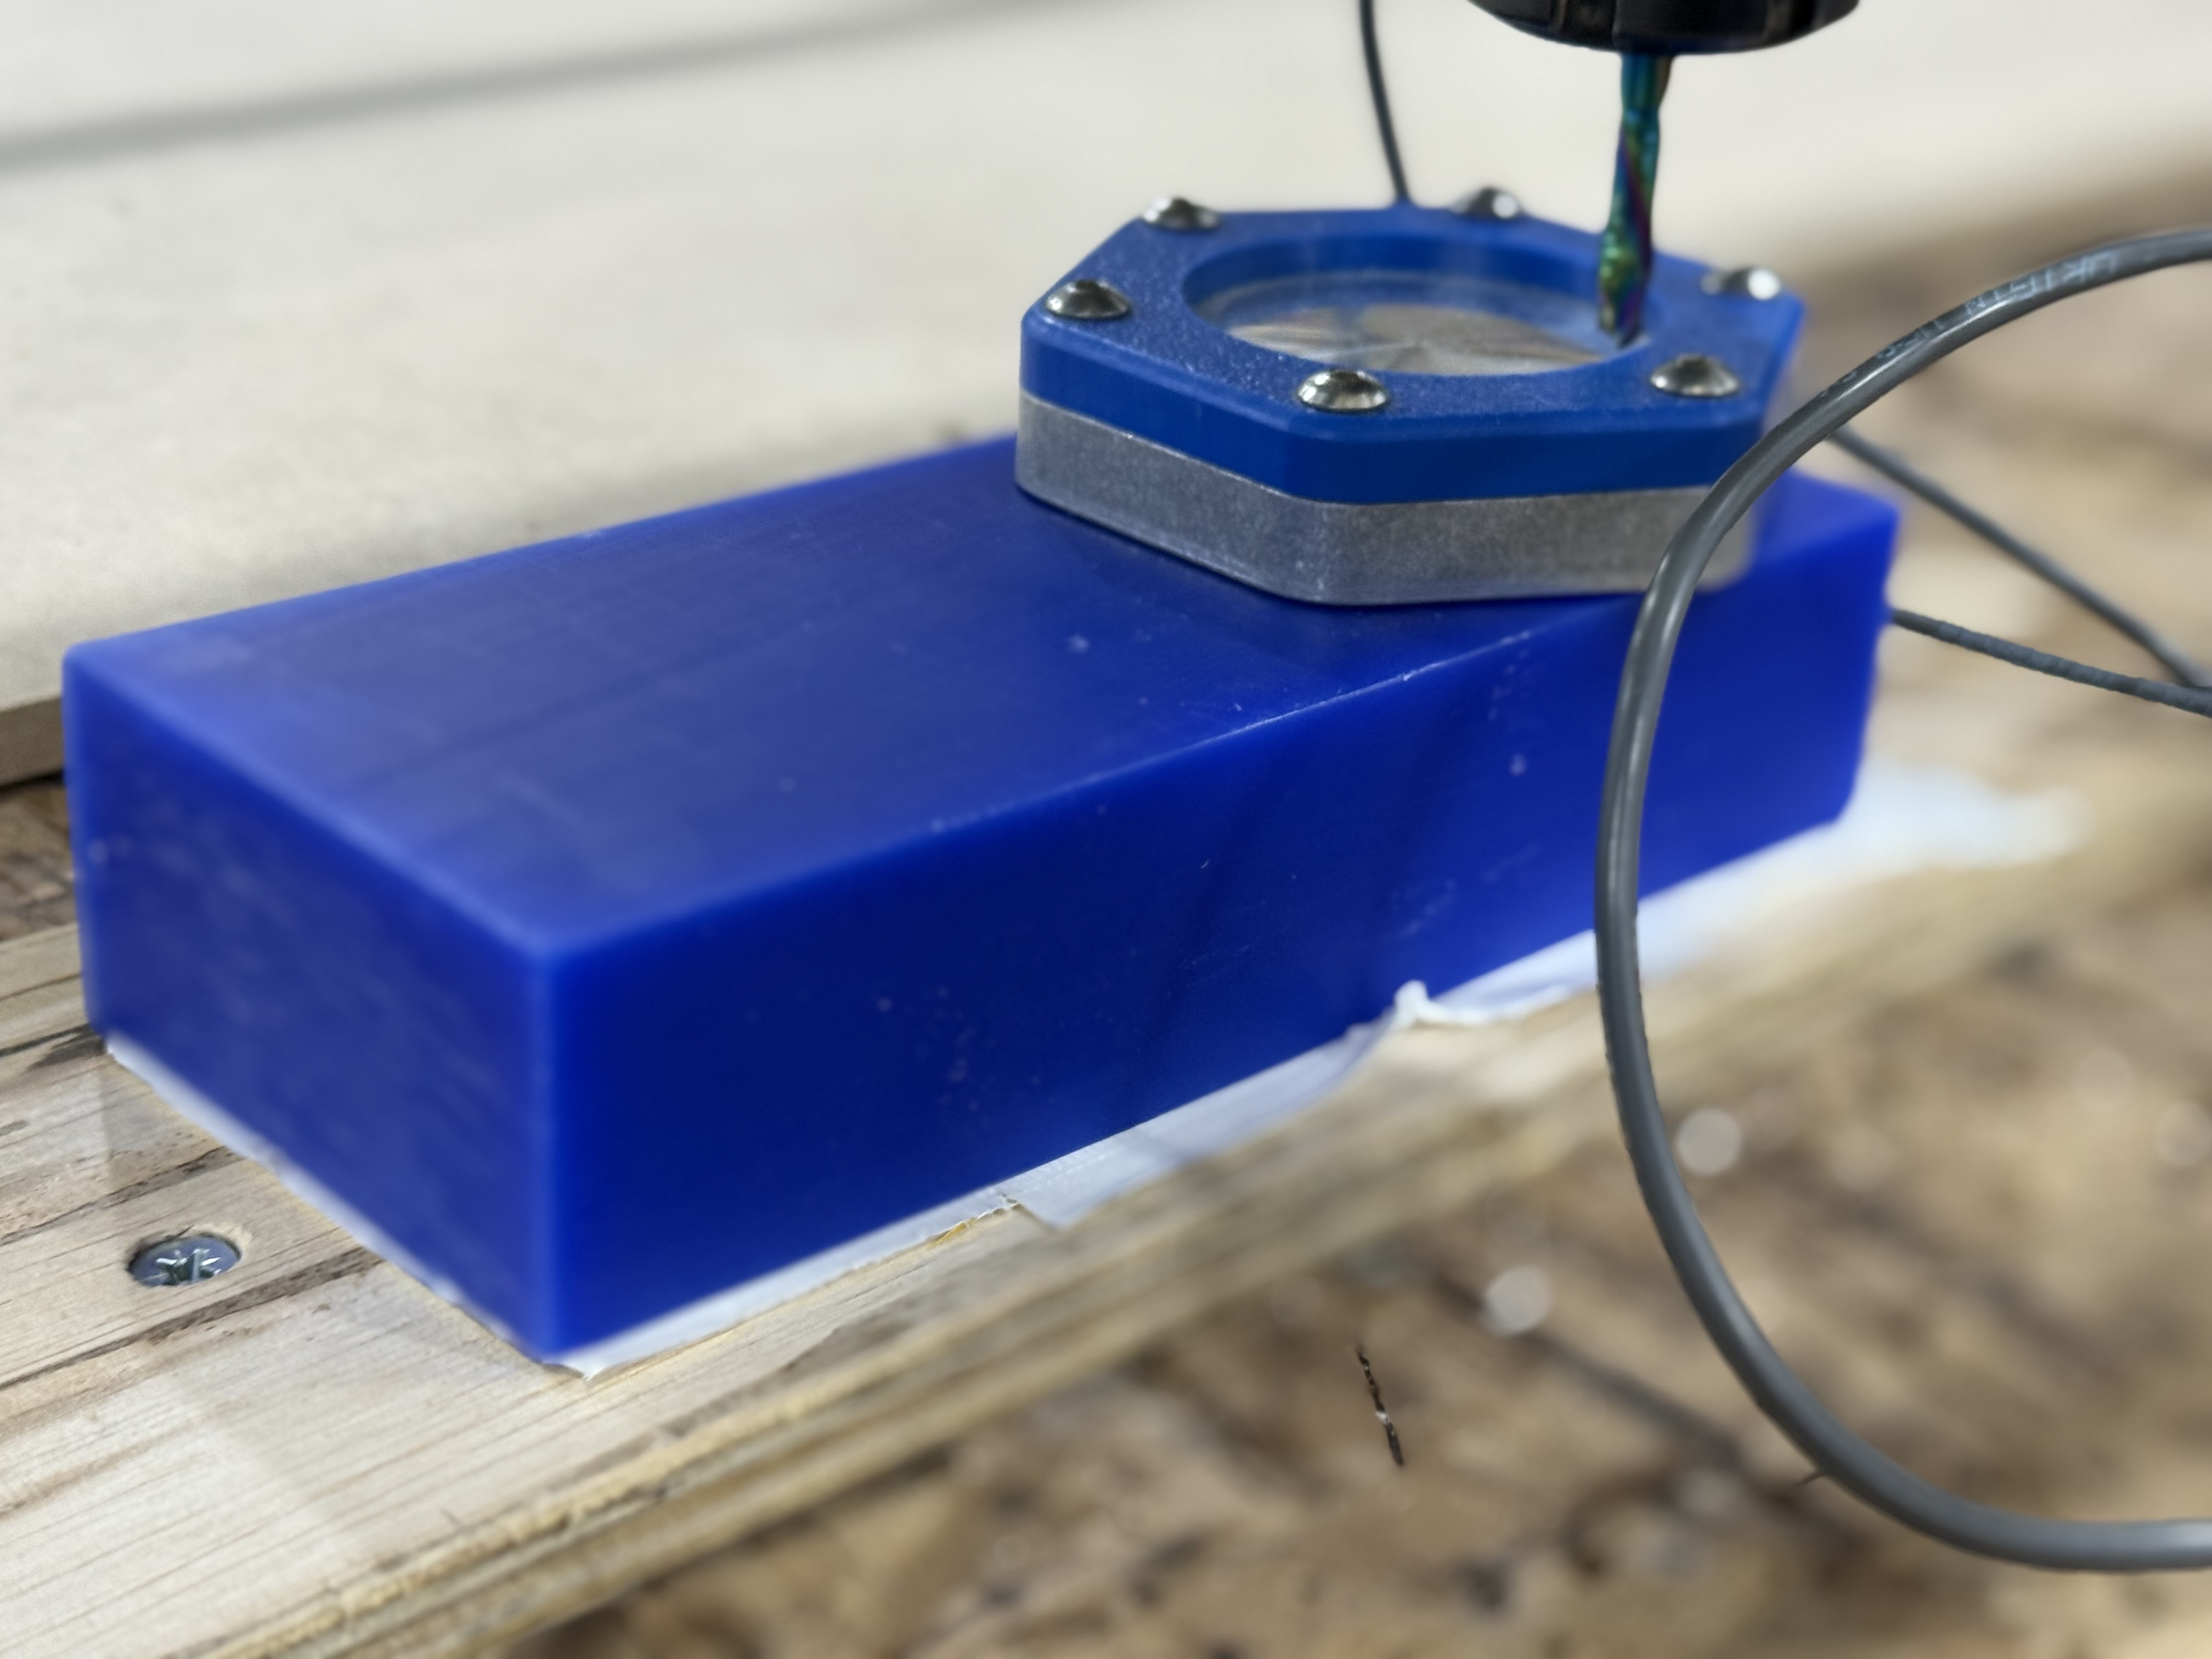
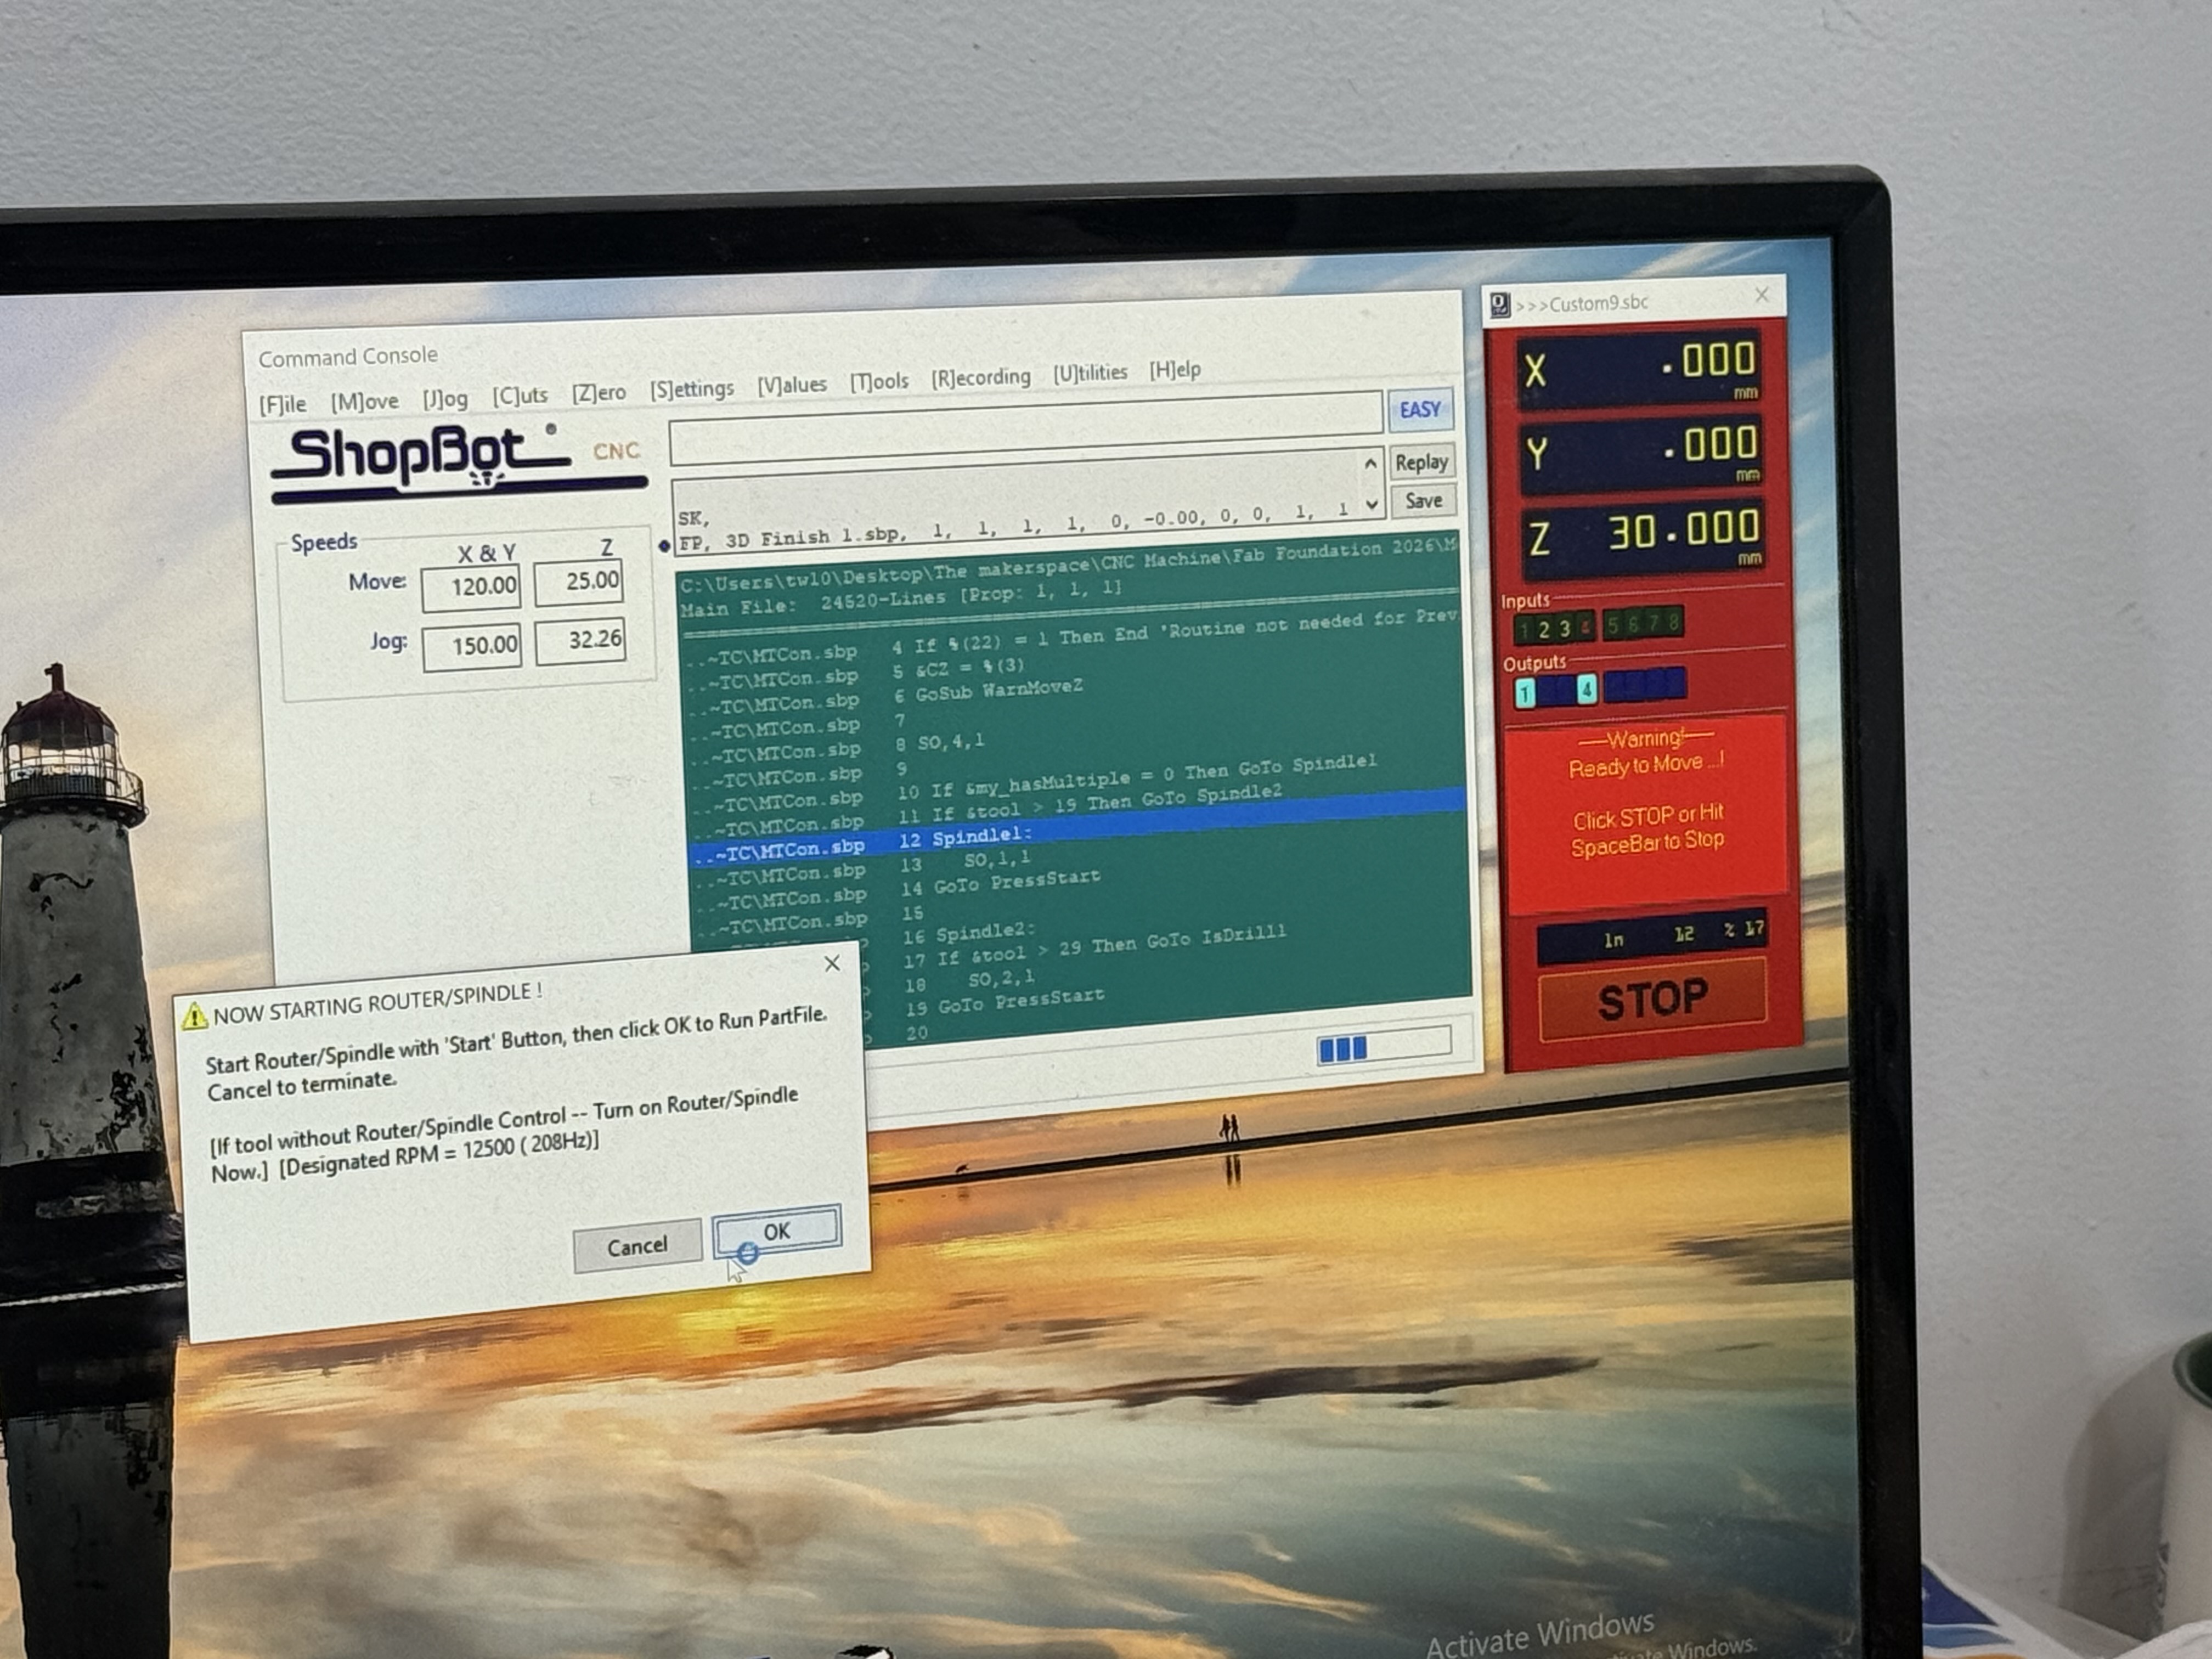
After completing the mold design, the CAM toolpaths were generated and the blue wax block was machined using a CNC mill. The process began with a roughing pass using a 1/8" flat end mill to remove the bulk of the material, followed by a finishing pass using a 1 mm tapered bit to capture the finer details of the geometry. Once milling was complete, the mold was cleaned using a soft paintbrush to remove any remaining wax chips and prepare it for casting.
- Prepare the mold design and generate CAM toolpaths in Fusion 360.
- Secure the blue wax block onto the ShopBot bed using double-sided tape.
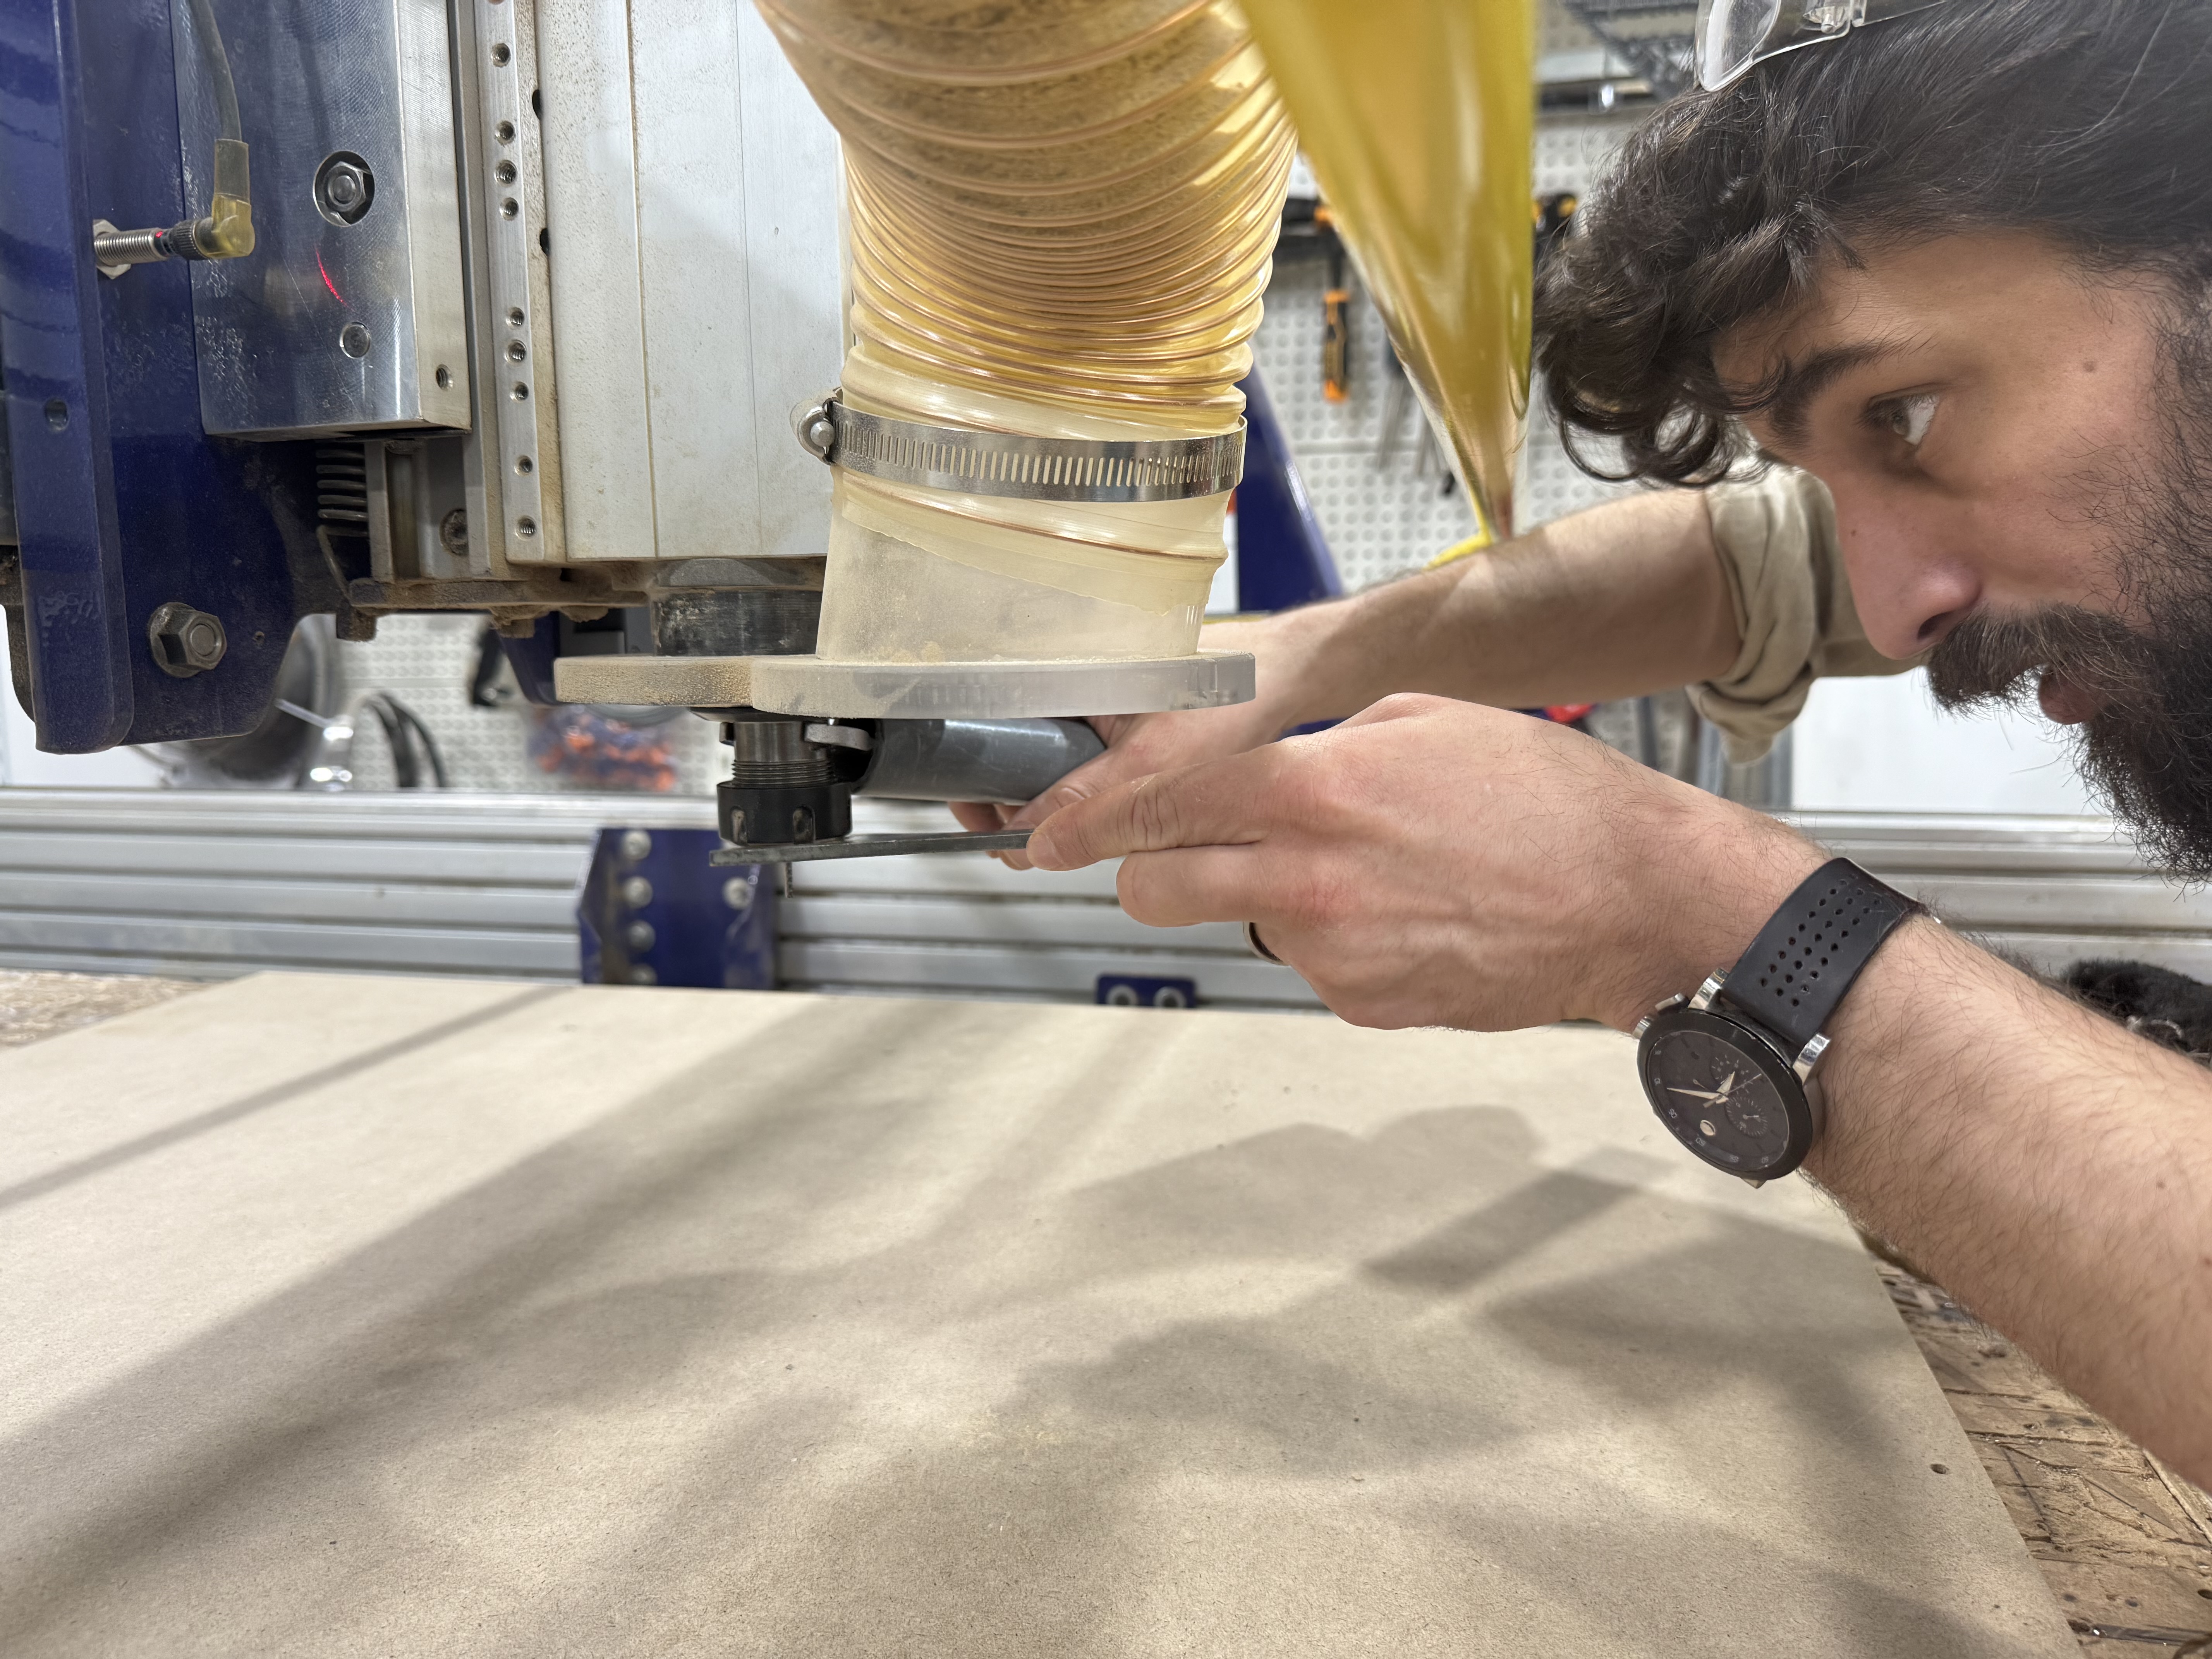
- Install and zero the 1/8" flat end mill.
- Run the roughing toolpath to remove the bulk of the material.
- Replace the tool with a 1 mm tapered bit.
- Re-zero the Z-axis after the tool change.
- Run the finishing toolpath.
- Remove the wax block from the machine bed.
- Clean the mold using a soft paintbrush to remove wax chips and debris.
- Inspect the mold and prepare it for the casting process.
## Casting Materials and Comparison
Within this part I used a combination of rigid and flexible materials. The following section presents the materials used, their key properties, and the results obtained from each casting process.
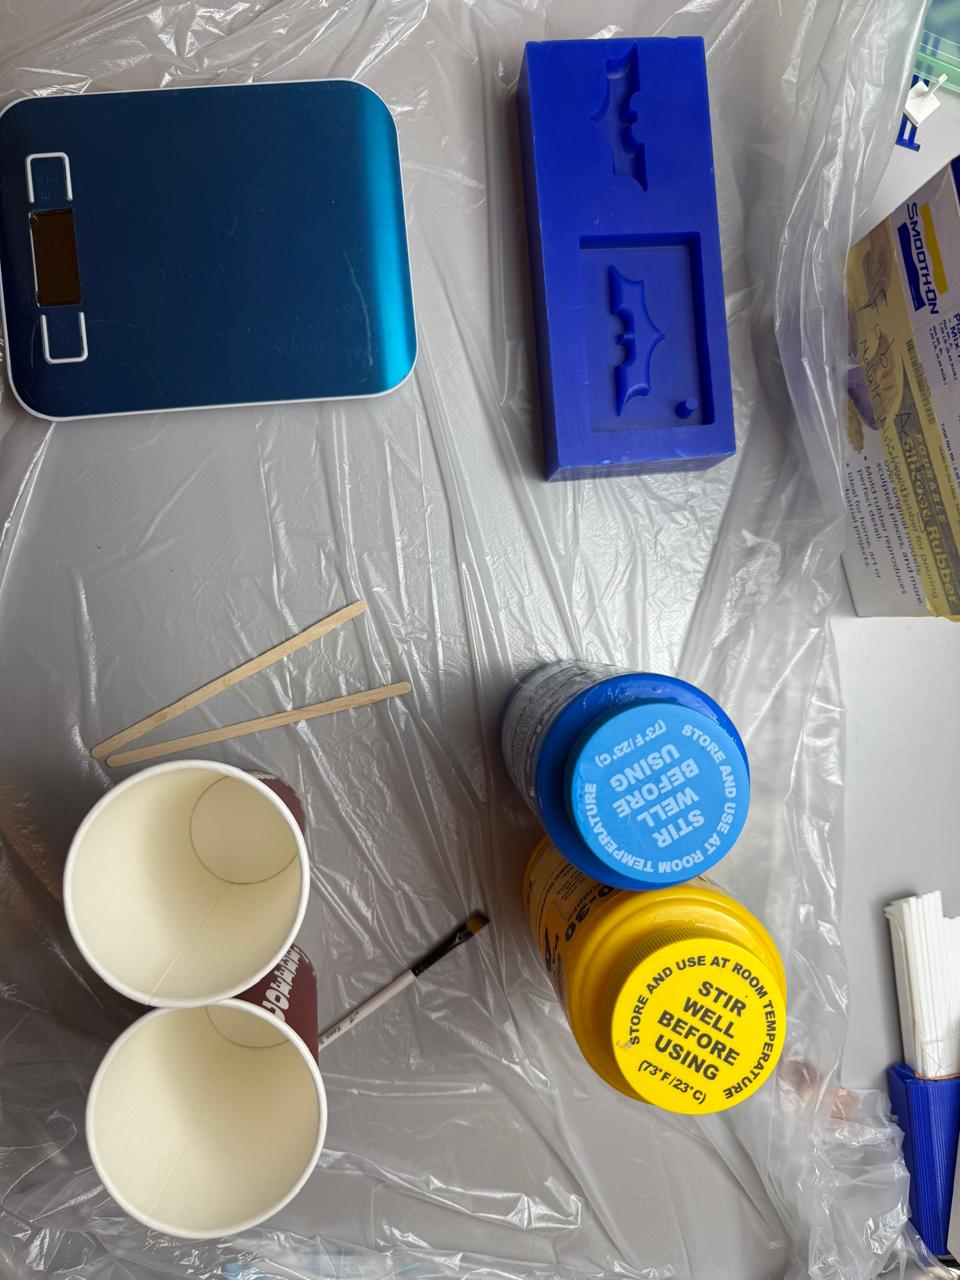
### Smooth-On Ecoflex

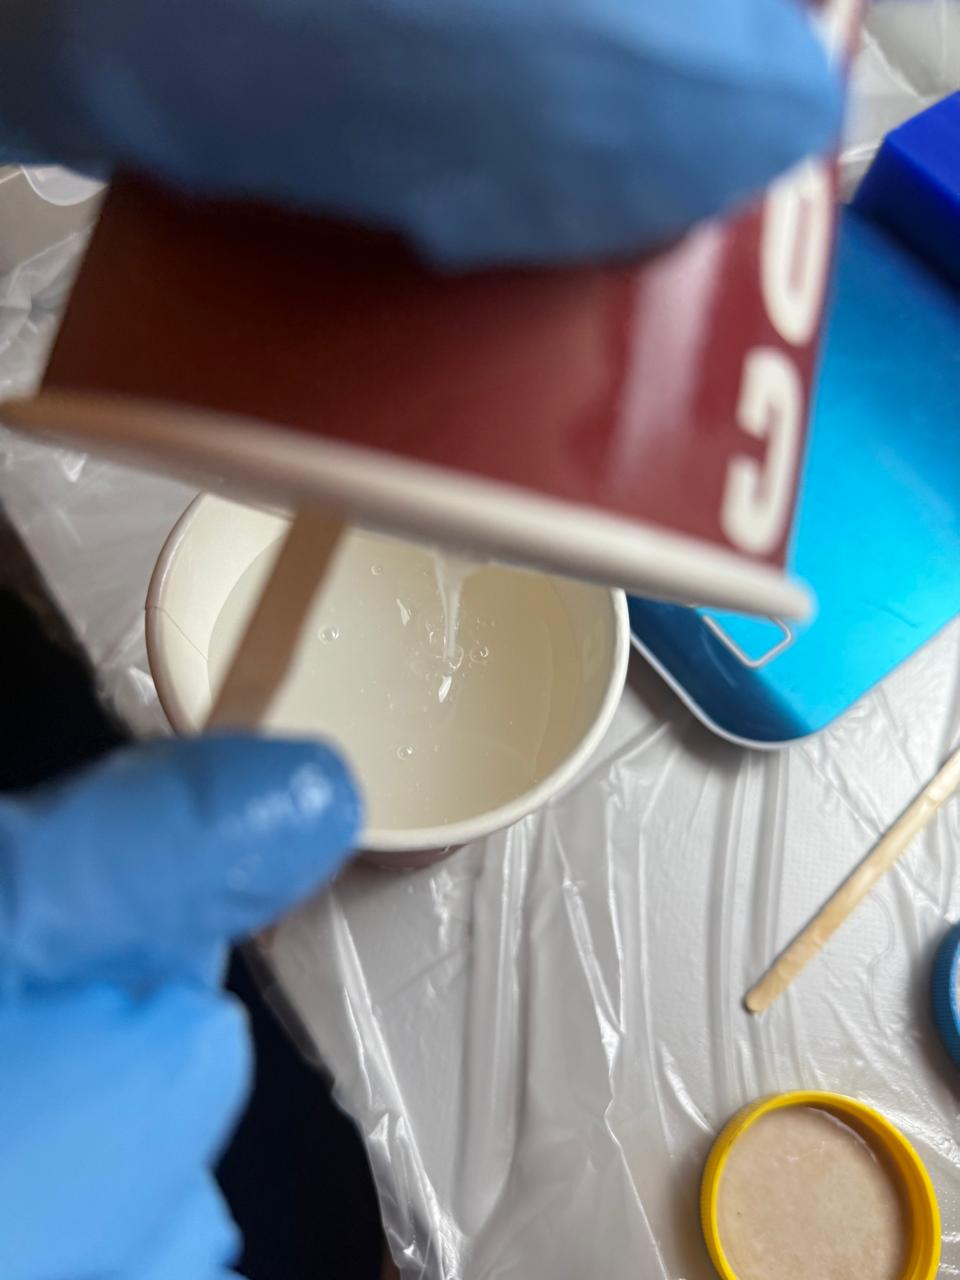
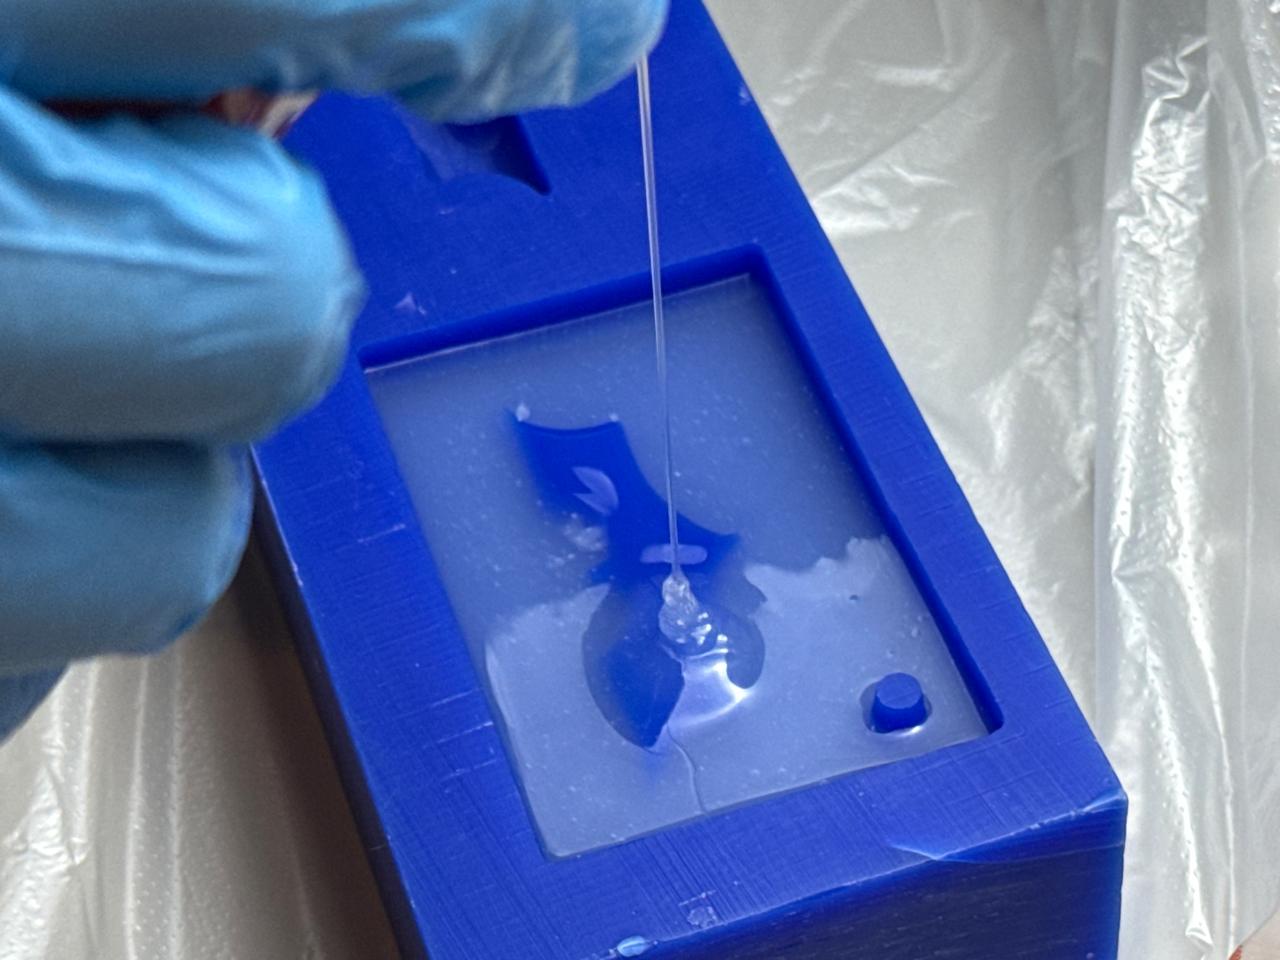
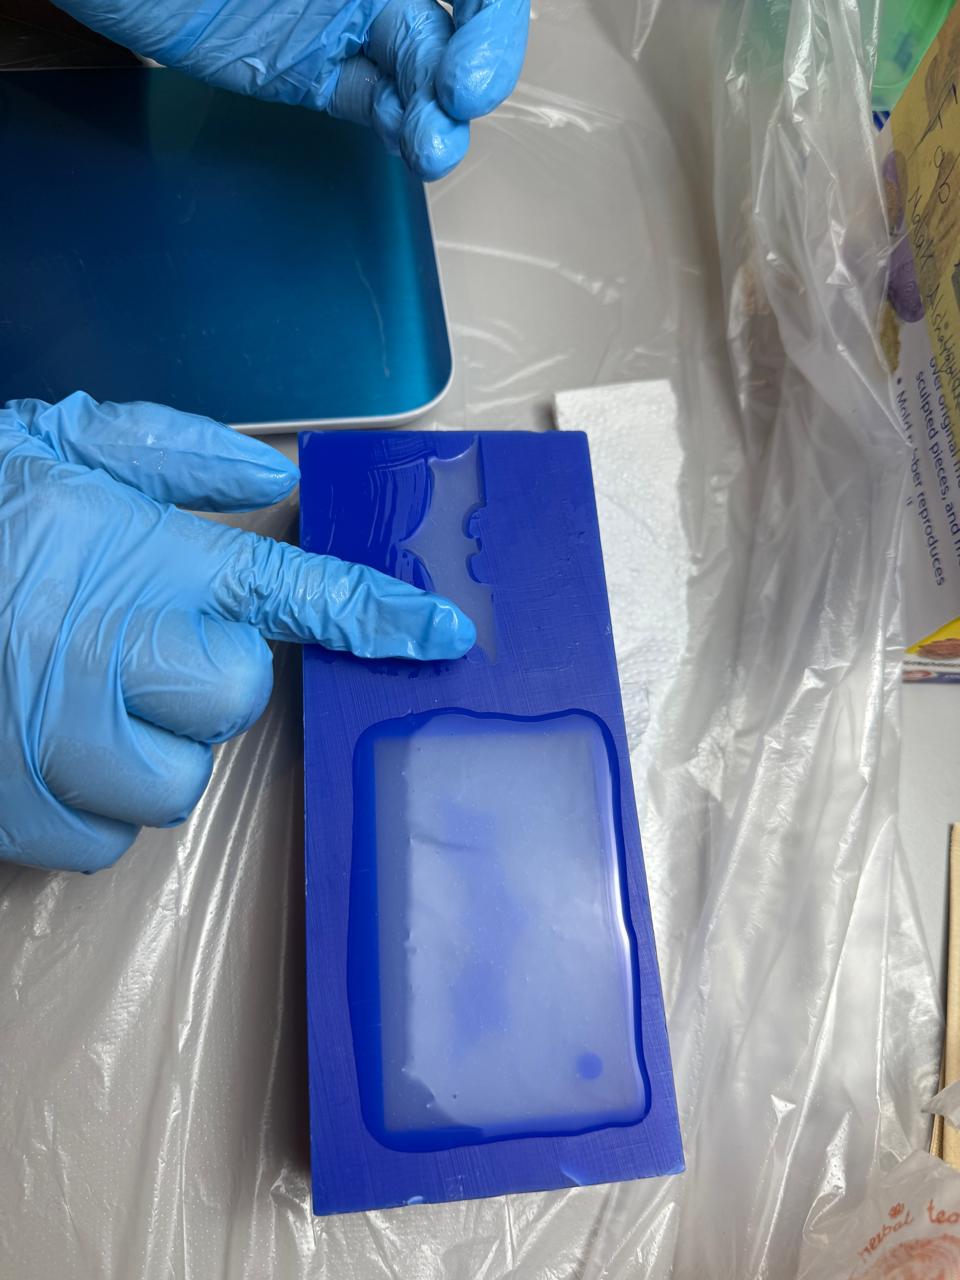
Figure 3: Ecoflex silicone poured into the blue wax molds.
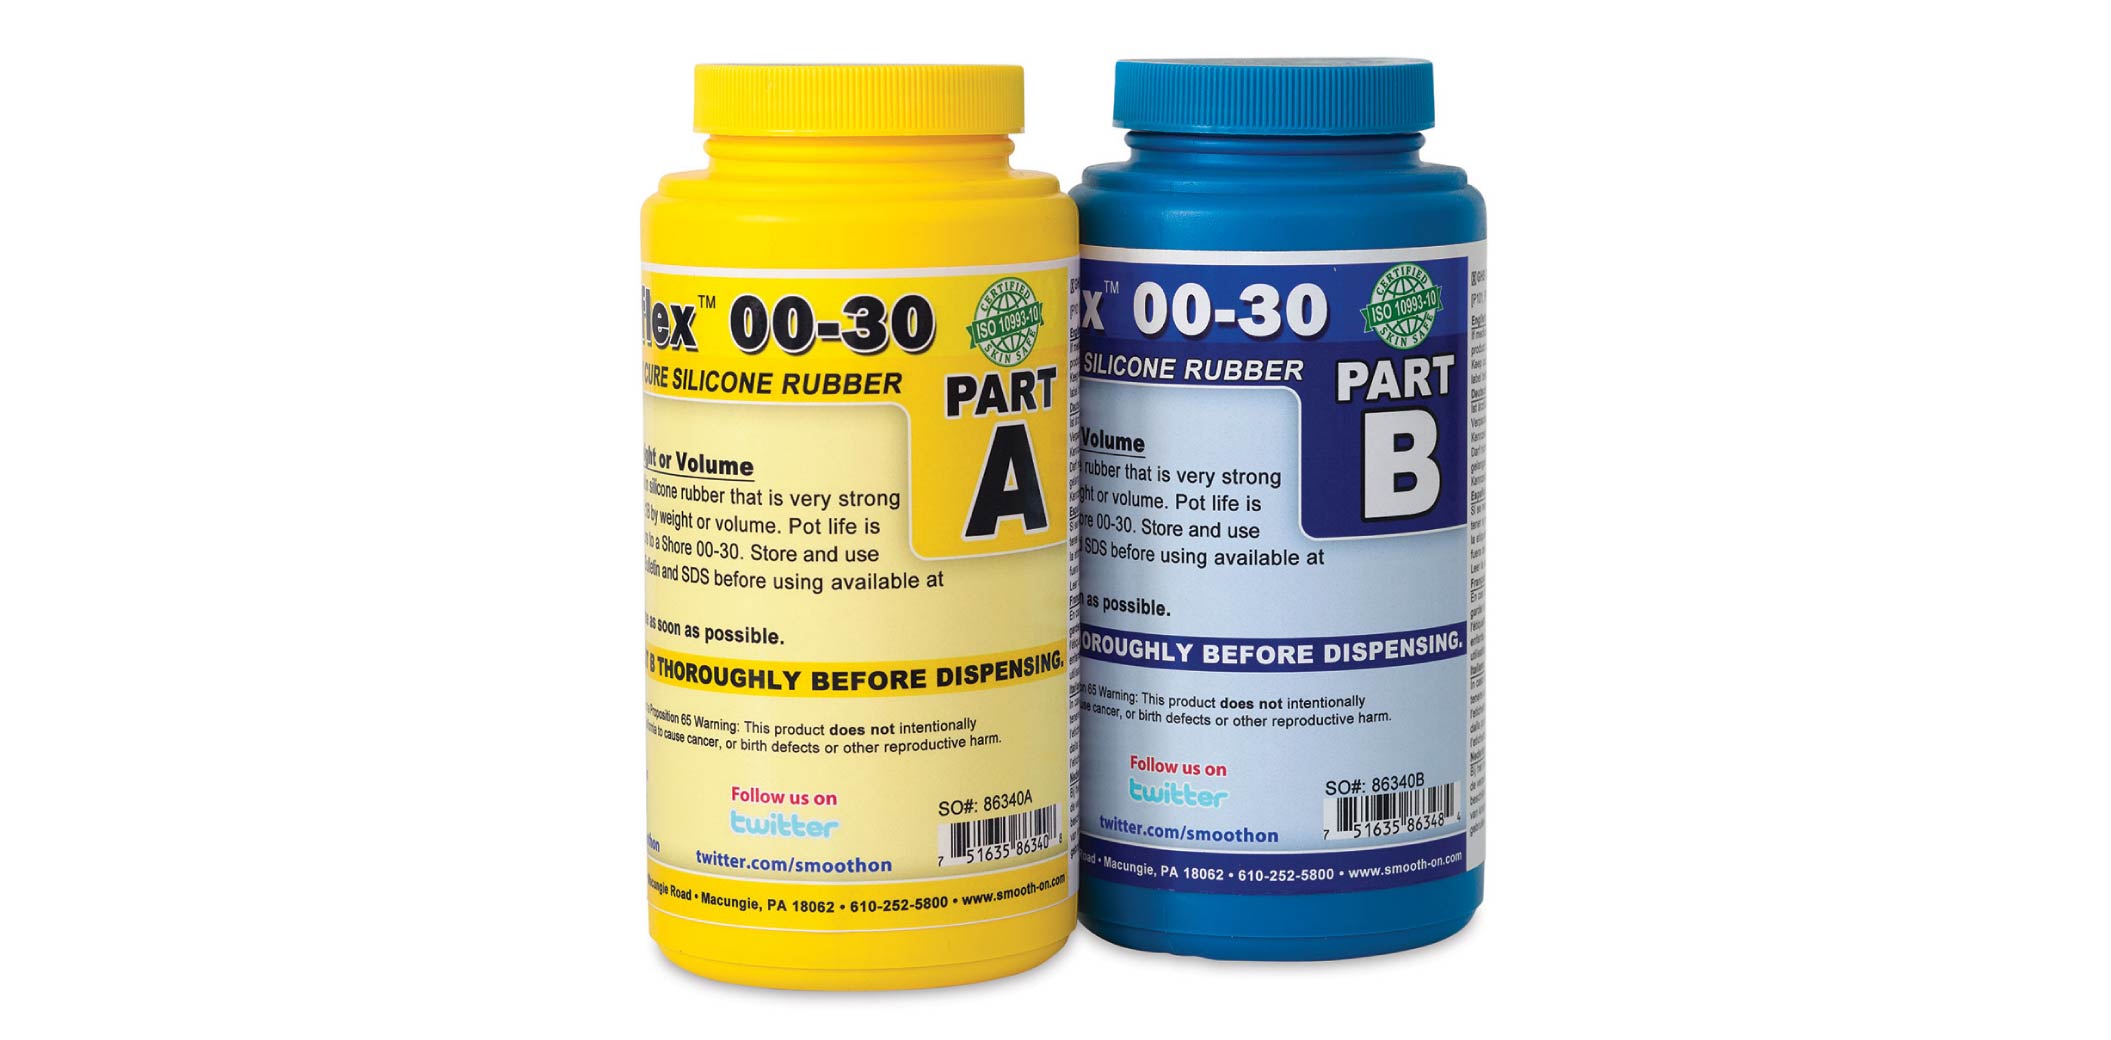
I cast Smooth-On Ecoflex silicone directly into the CNC-milled blue wax molds. The larger cavity was used to produce a flexible silicone mold of the Batman logo, which could later be used for casting rigid materials, while the smaller cavity was used to create a flexible Ecoflex replica of the logo itself.
**Process:**
- Measure Ecoflex Part A and Part B in a 1:1 ratio by weight or volume.
- Mix thoroughly until uniform.
- Pour the mixture into both CNC-milled blue wax molds.
- Remove trapped air by gently tapping the mold.
- Leave to cure for 5 hrs – 6 hrs.
- Demold.
**Result Characteristics**
- Flexible and elastic after curing.
- Captured fine details of the mold geometry.
- Smooth surface finish.
- Easy demolding from the blue wax mold.
- No visible tearing or damage during removal.
- Suitable for use as both a flexible cast and a flexible mold for rigid materials.
### Cement Jesmonite (Quick Casting)

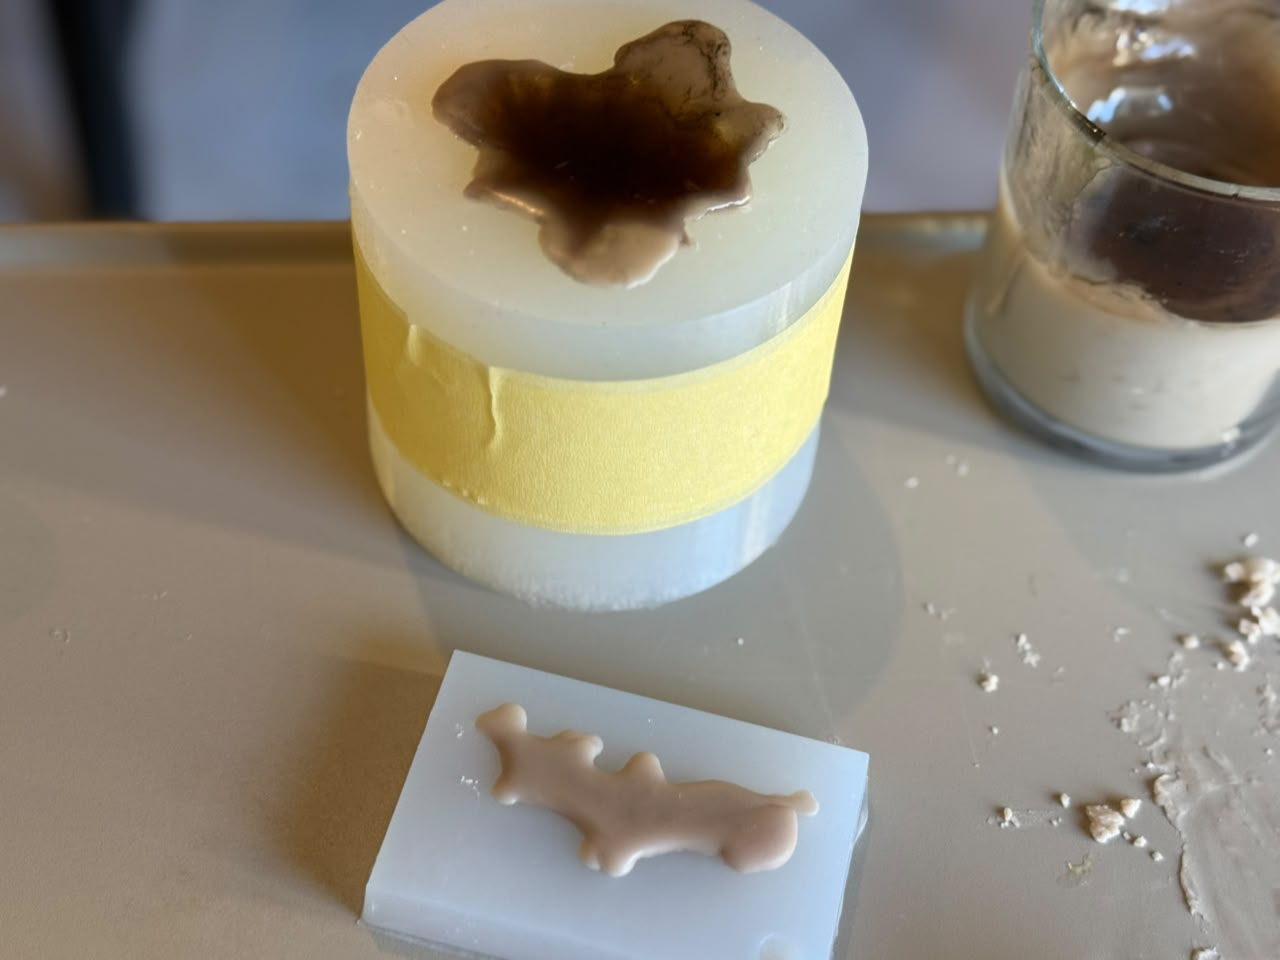
Figure 4: Jesmonite cast from the Ecoflex Batman mold.
I used the flexible Ecoflex mold to cast Jesmonite decorative cement, demonstrating the process of casting a rigid material in a flexible mold. The mold released easily after curing while preserving the details of the Batman logo.
**Process:**
- Prepare the Ecoflex mold.
- Weigh 100 g of Jesmonite Base and 40 g of Jesmonite Liquid.
- Mix thoroughly until a smooth, lump-free consistency is achieved.
- Pour the mixture slowly into the Ecoflex Batman logo mold.
- Gently tap the mold to release trapped air bubbles.
- Leave the cast to cure until fully hardened.
- Carefully demold the Jesmonite Batman logo.
- Allow the cast to fully dry before handling or finishing.
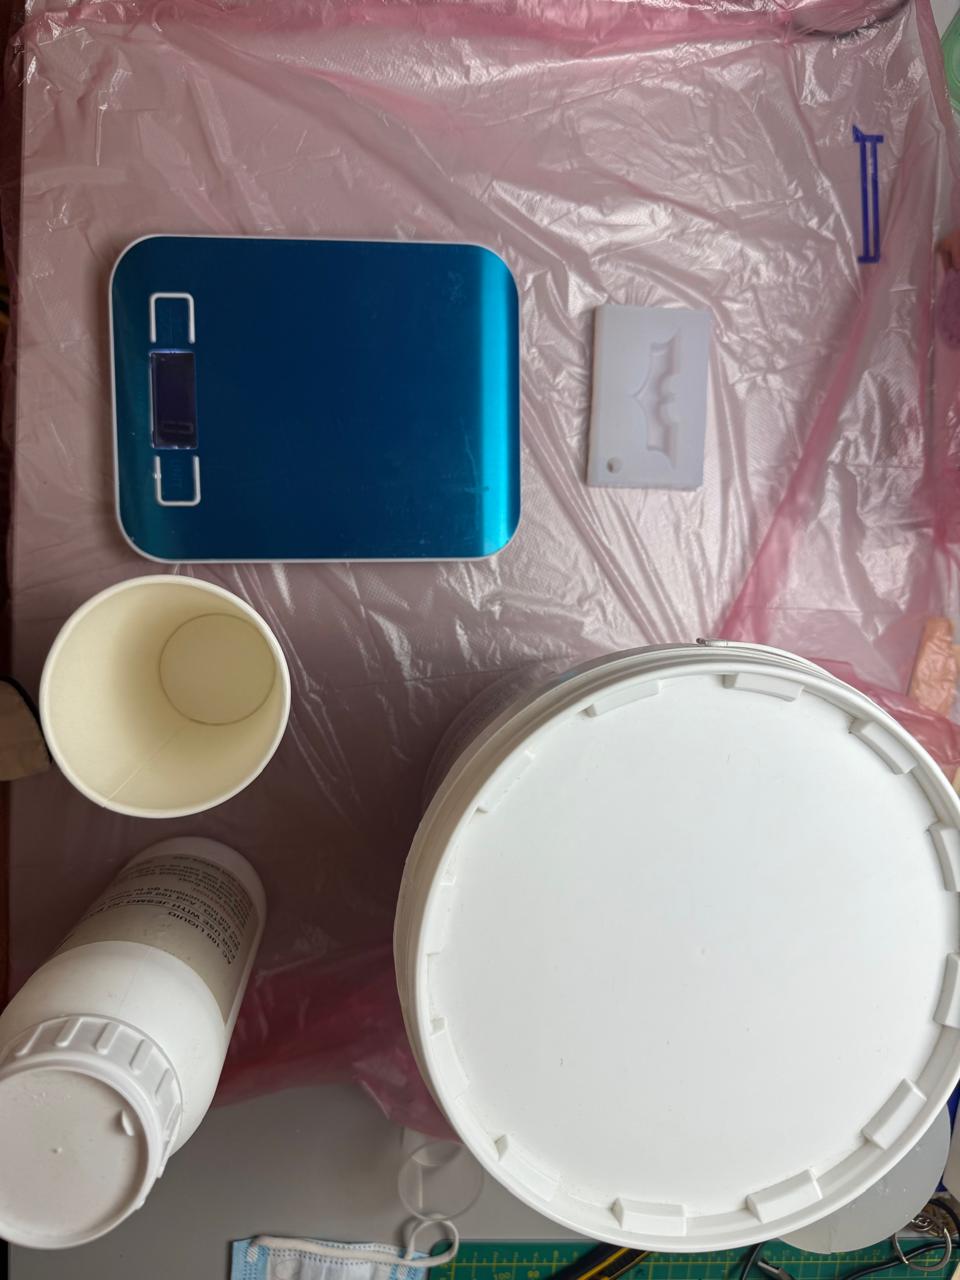
Prepare tools and Materials
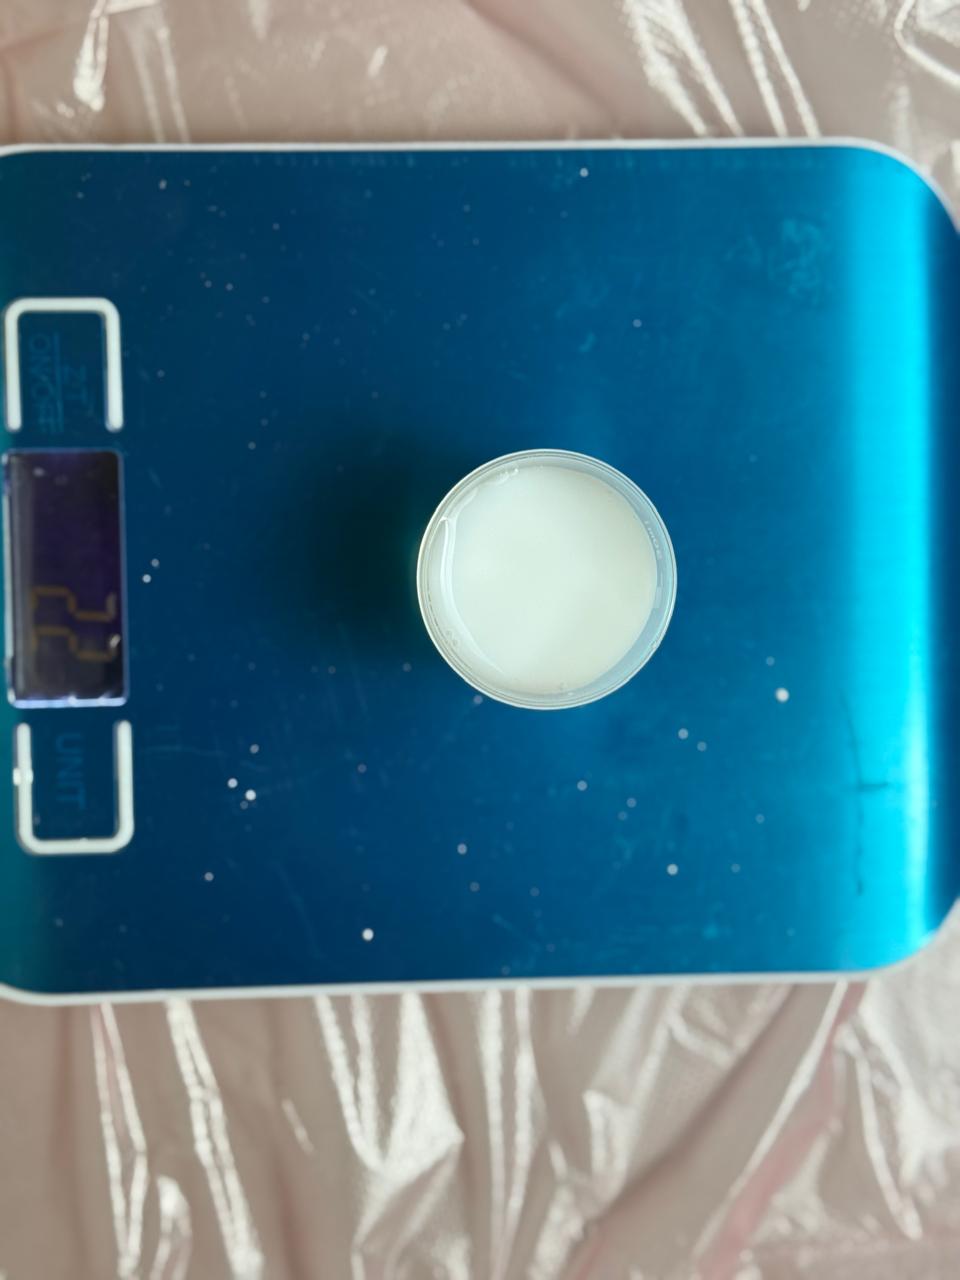
Weight Liquid Agent 40 gm to every 100 gm base
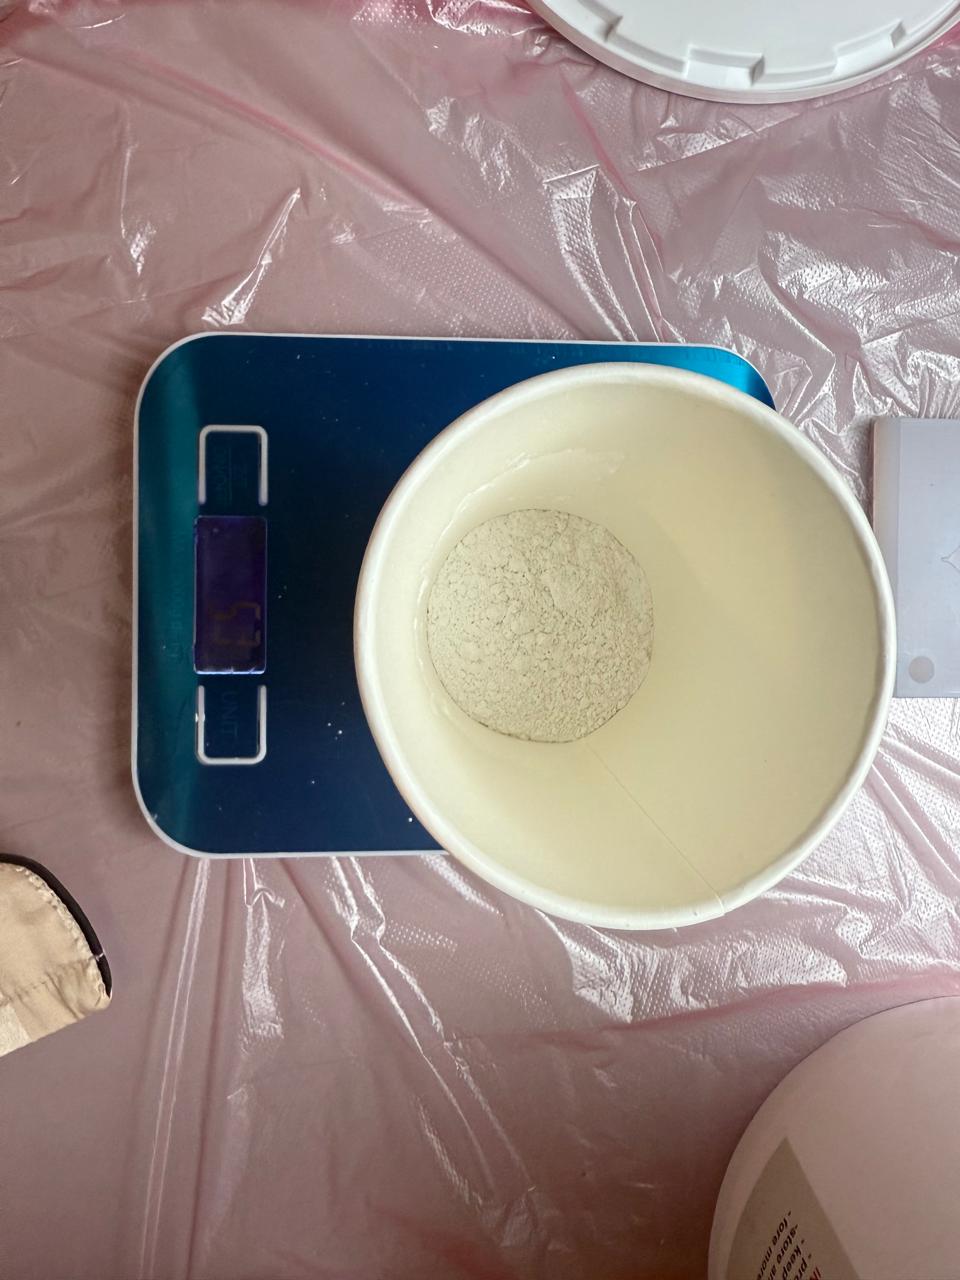
Weight Cement Base
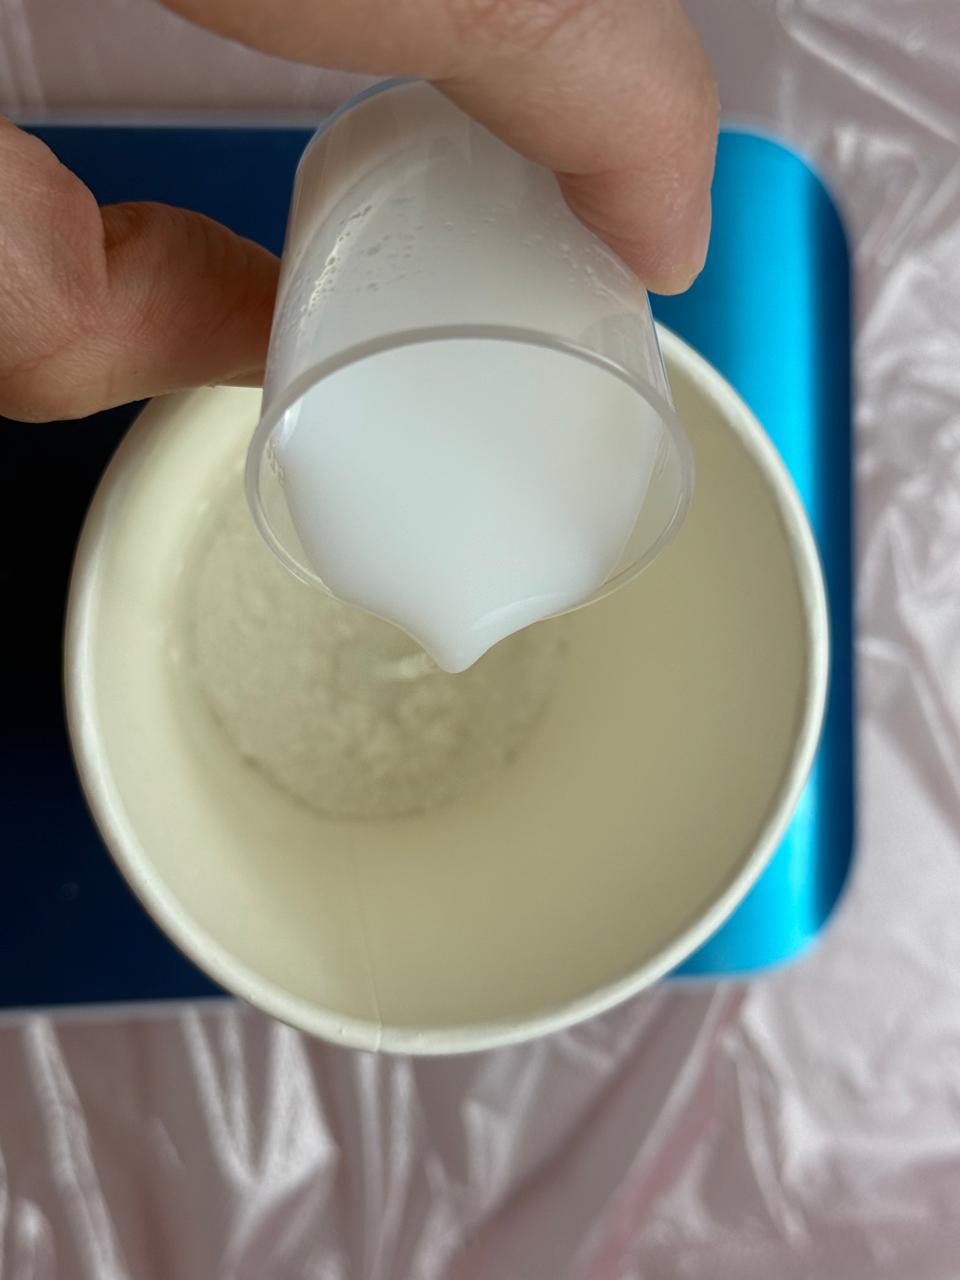
Mix base and liquid
Remove the bubbles slowly
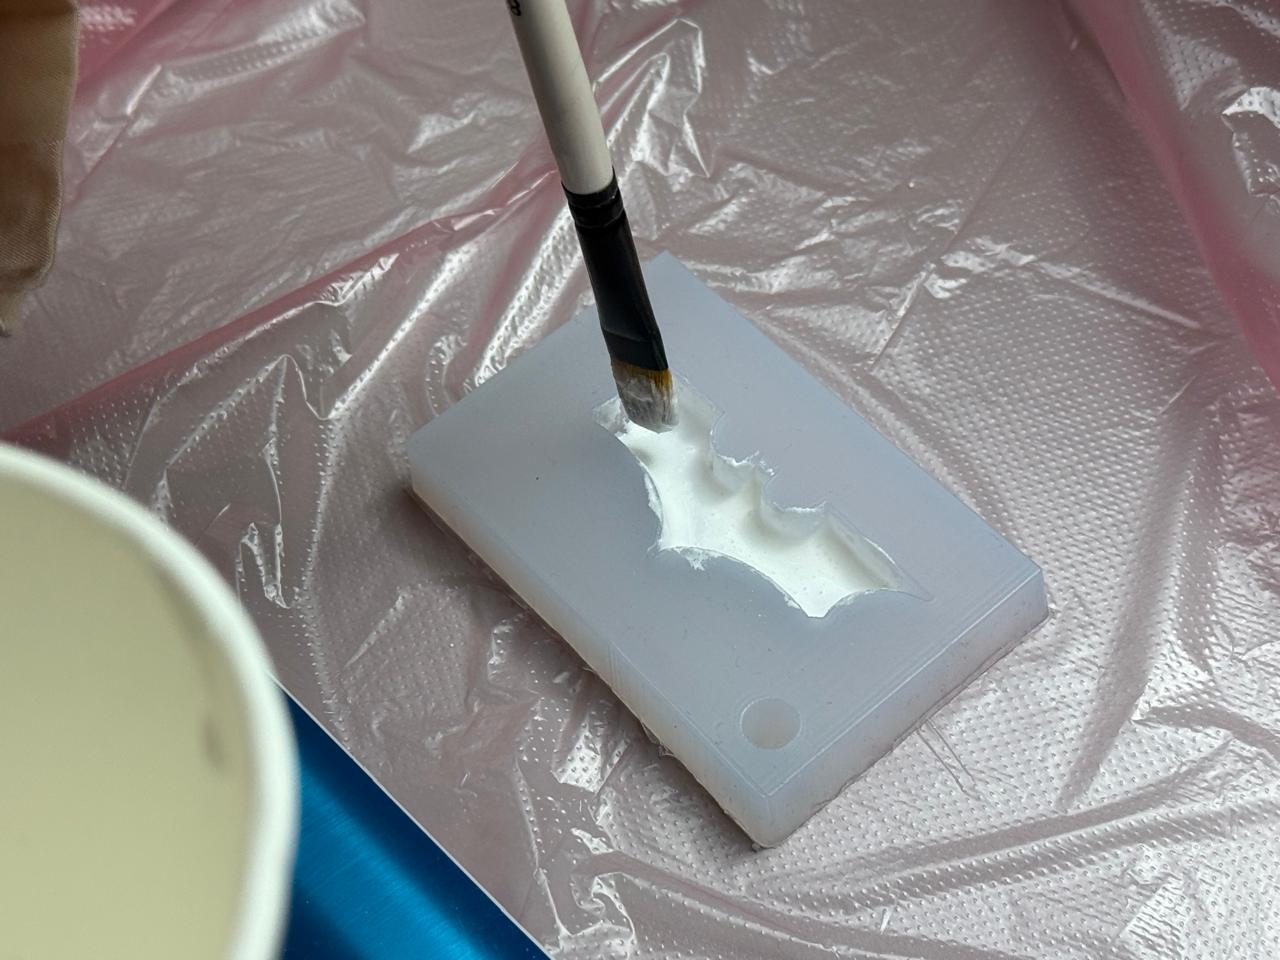
Painting Details 2
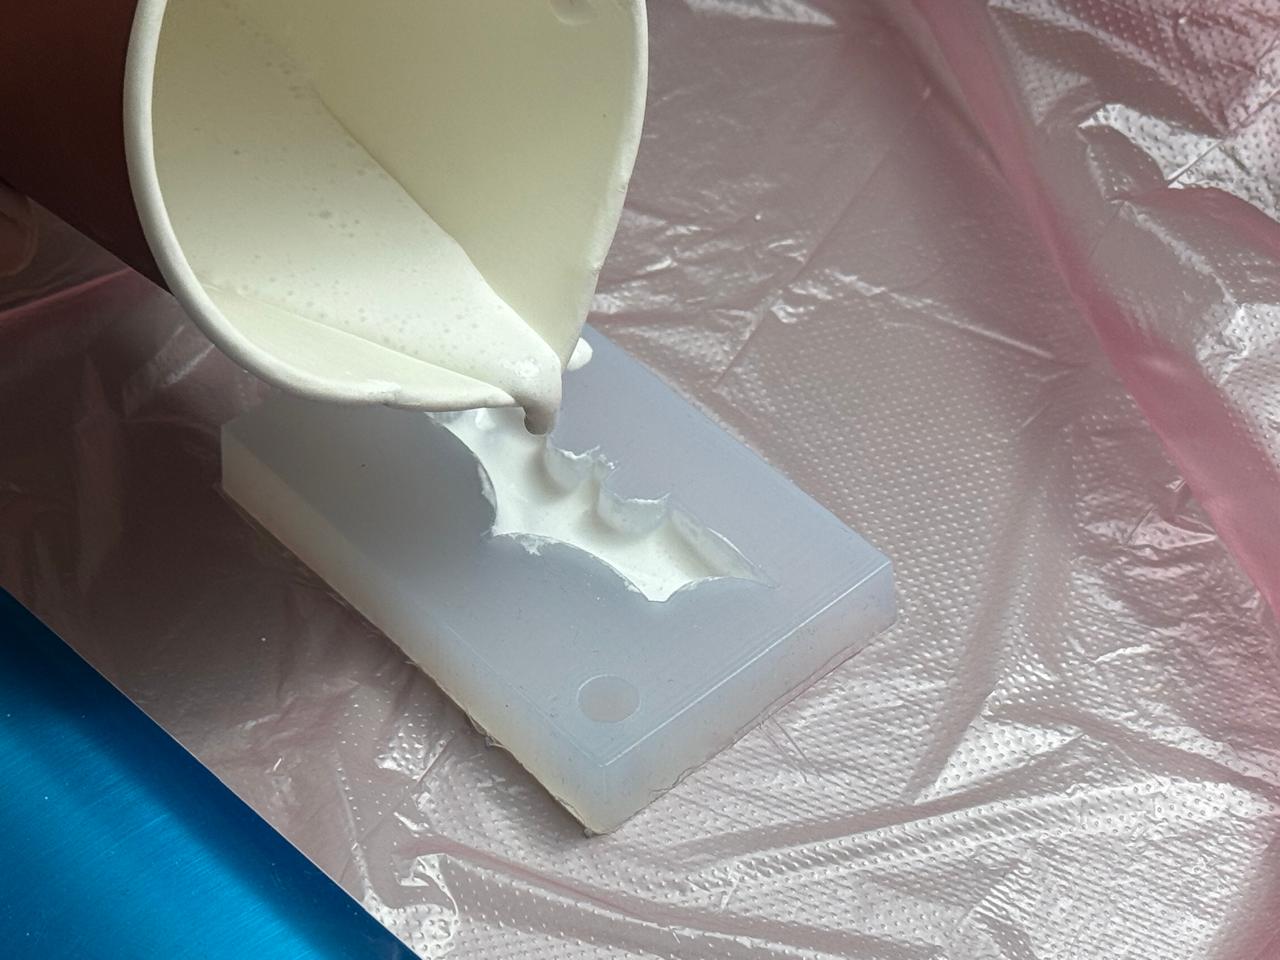
Cast in mold
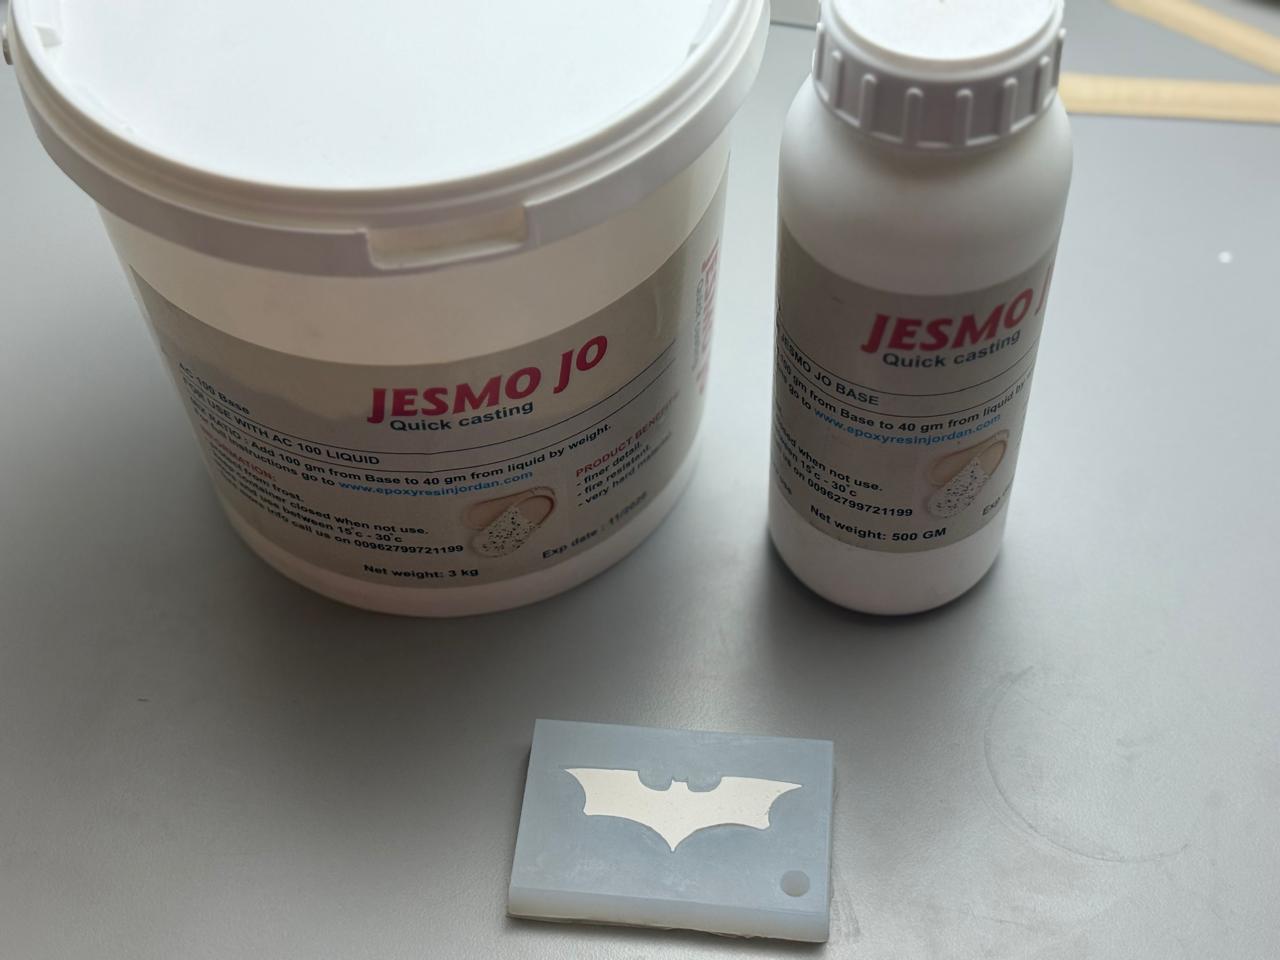
Results
**Result Characteristics**
- Rigid and durable.
- Good detail reproduction.
- Smooth surface finish.
- Easy demolding due to the flexible Ecoflex mold.
- Minimal surface defects.
- Accurately replicated the Batman logo geometry.
### Candle Wax

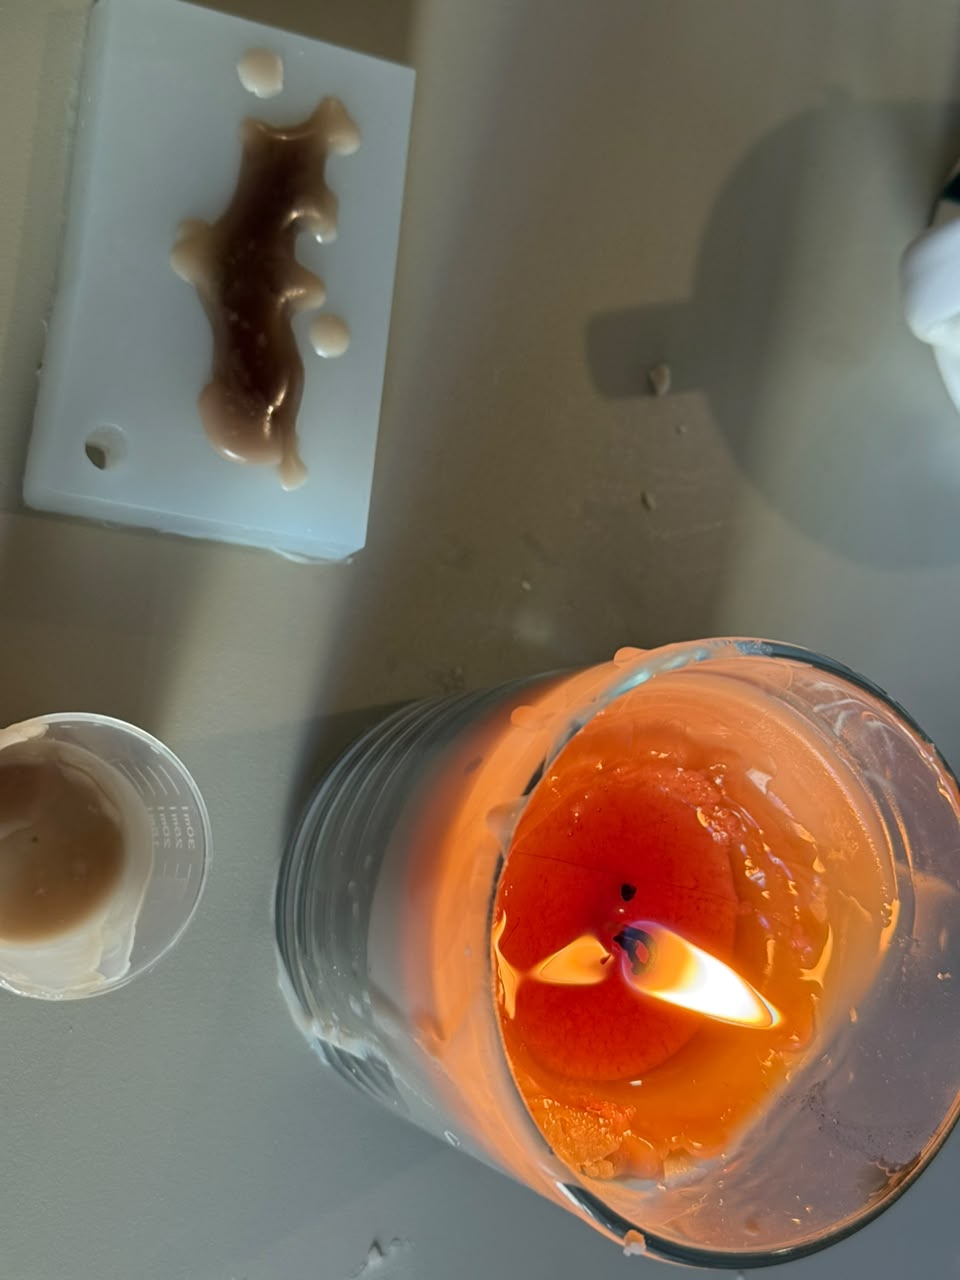
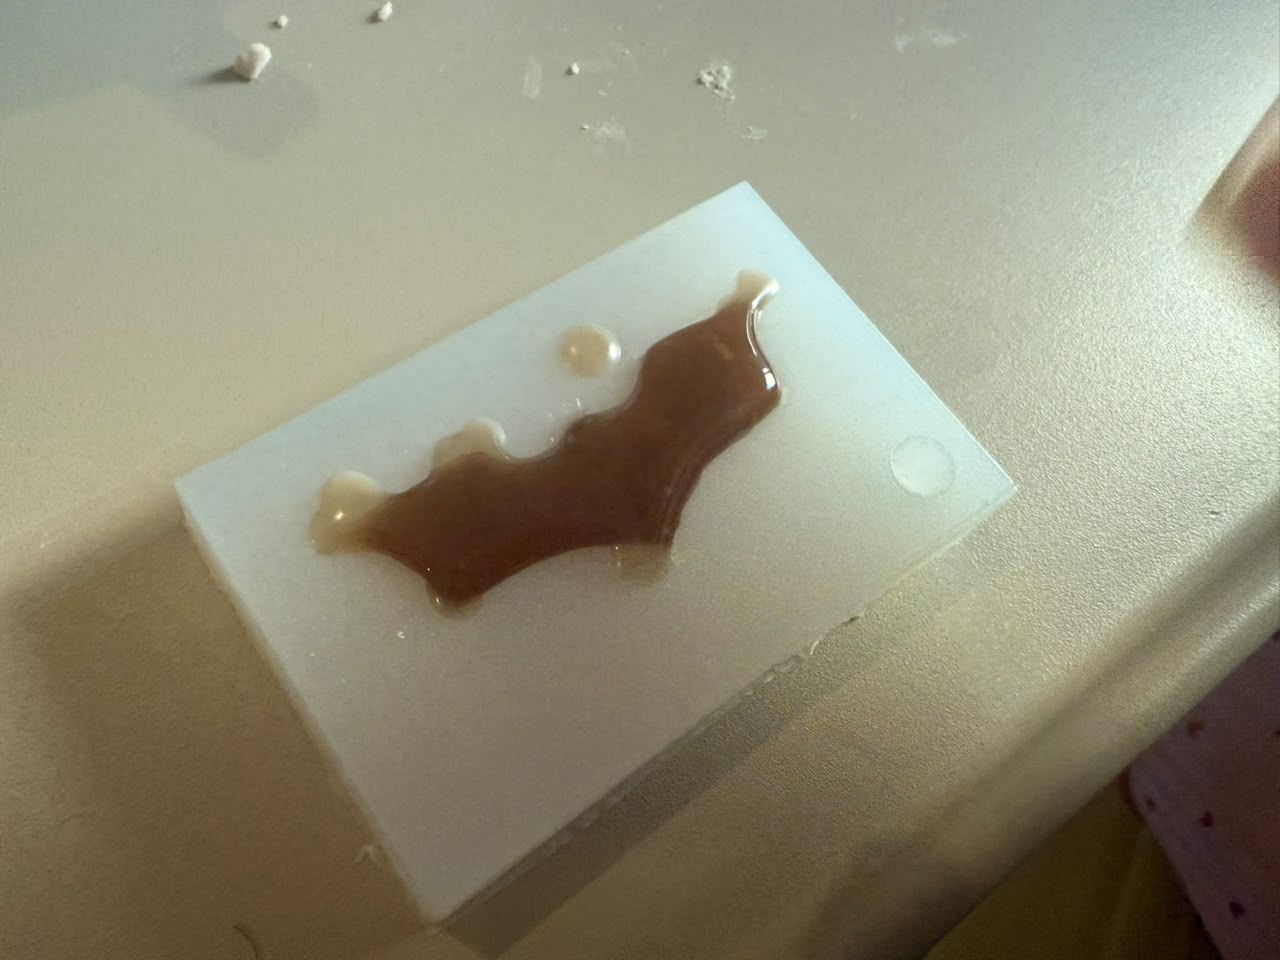
Figure 5: Candle wax cast from the Ecoflex mold.
As an additional test, I melted a household candle and poured the liquid wax into the Ecoflex Batman mold. After cooling and solidifying, the wax was easily demolded and successfully reproduced the shape and details of the logo.
**Process:**
- Reheat the wax from an existing cup candle until fully liquid.
- Pour the melted wax into the Ecoflex Batman mold.
- Allow the wax to cool and solidify completely.
- Carefully demold the wax cast.
- Inspect the final cast for detail reproduction and surface quality.
**Result Characteristics**
- Captured fine details of the mold geometry.
- Smooth surface finish.
- Easy demolding from the Ecoflex mold.
- Rigid when cooled and solidified.
- Minor shrinkage during cooling.
## Molding and Casting using 3D Printing
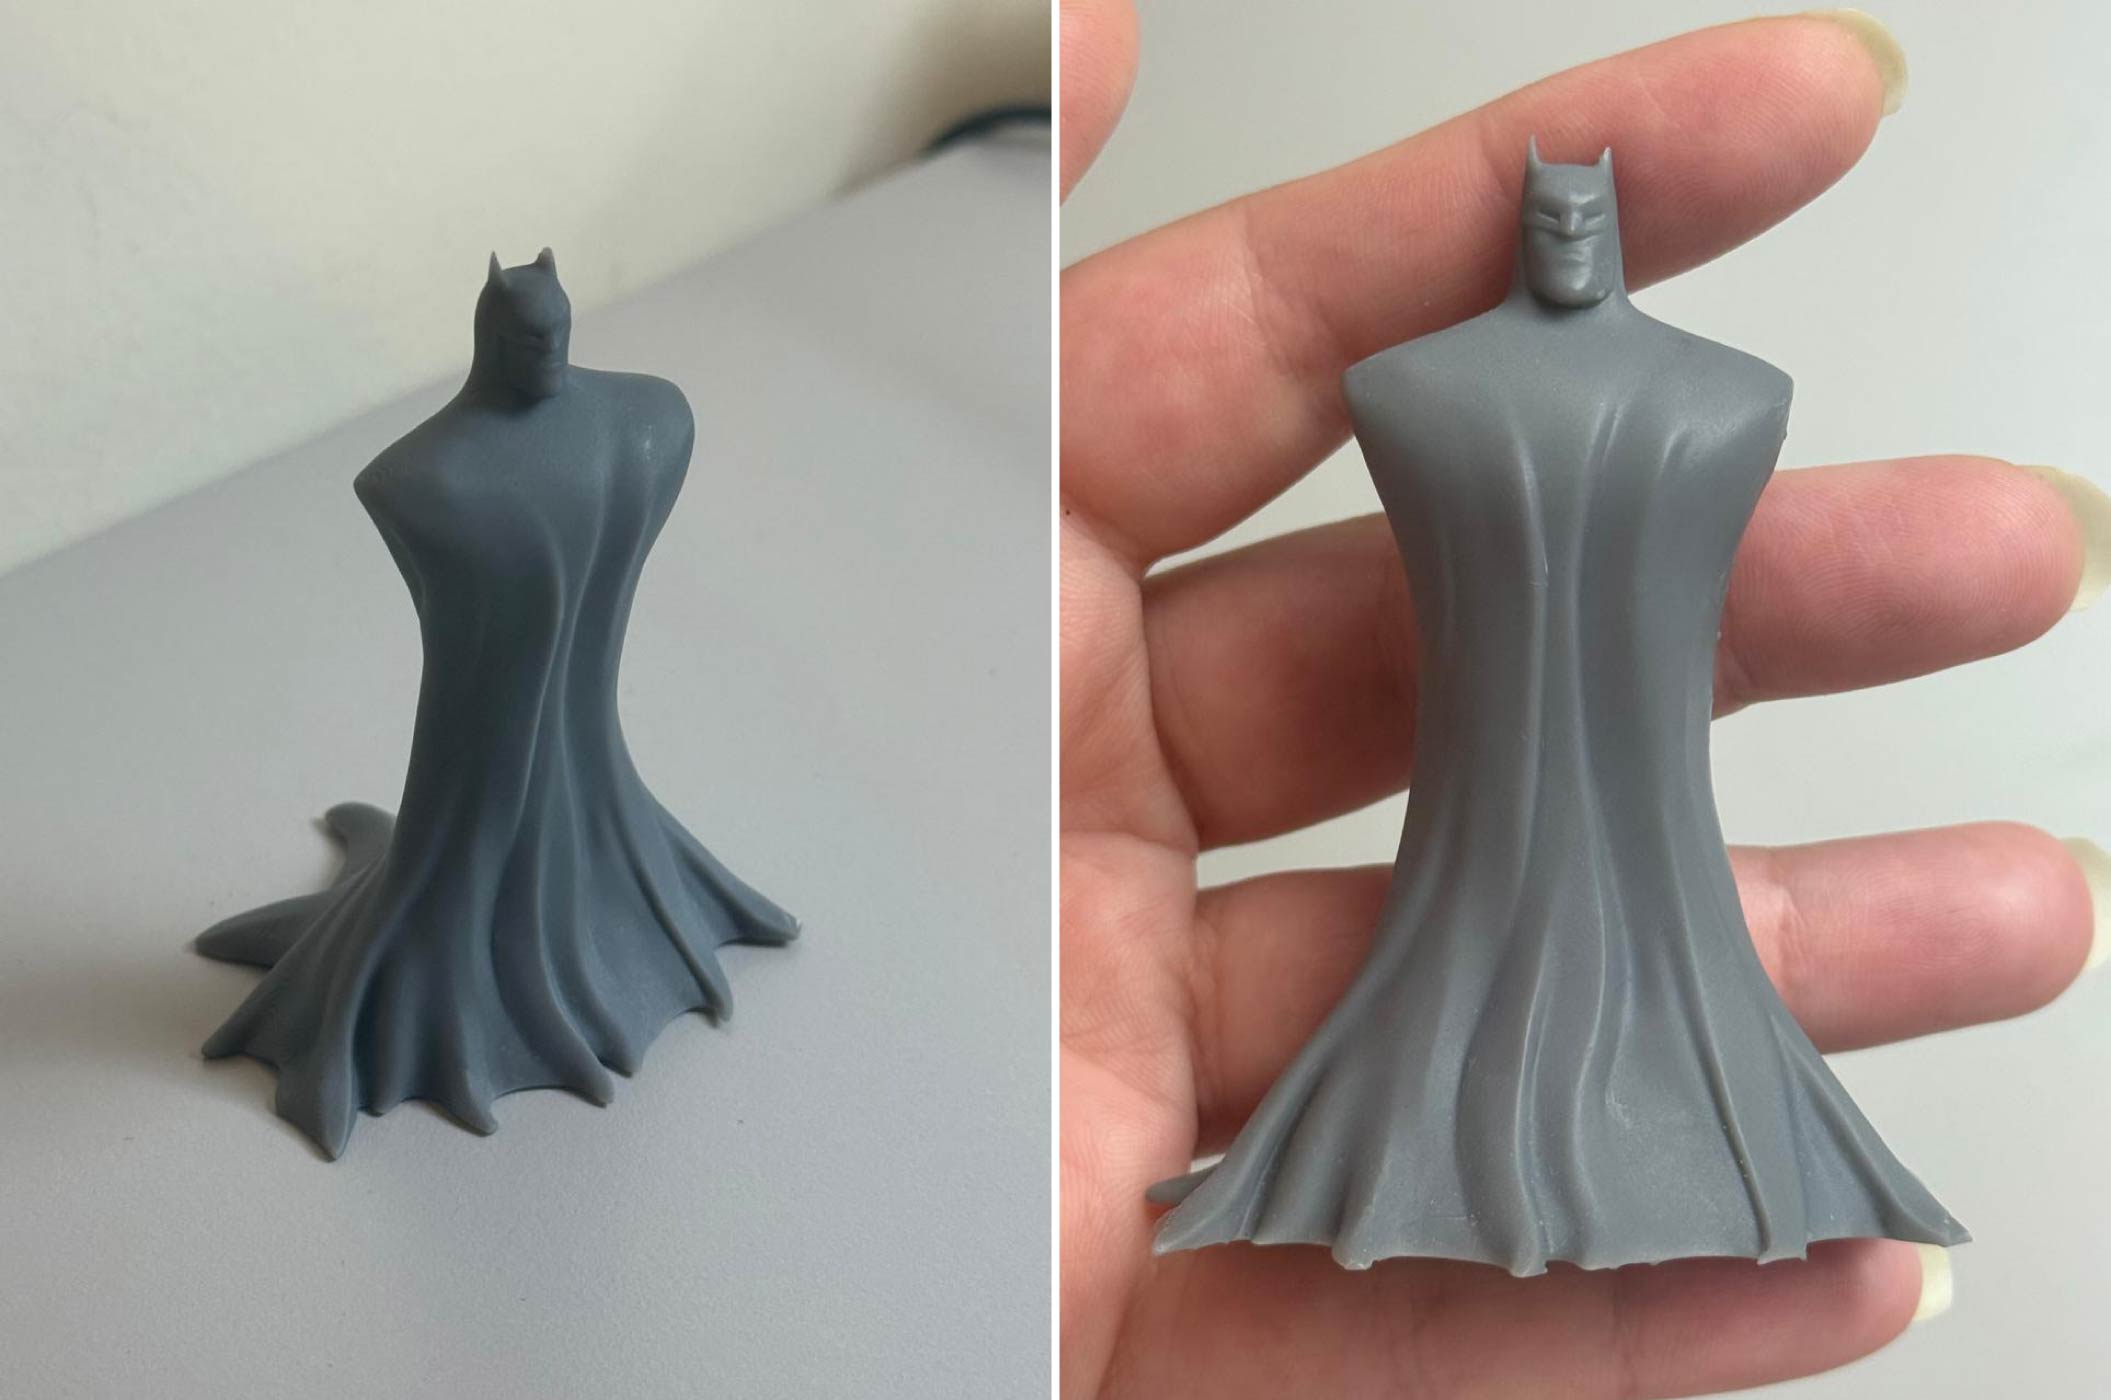
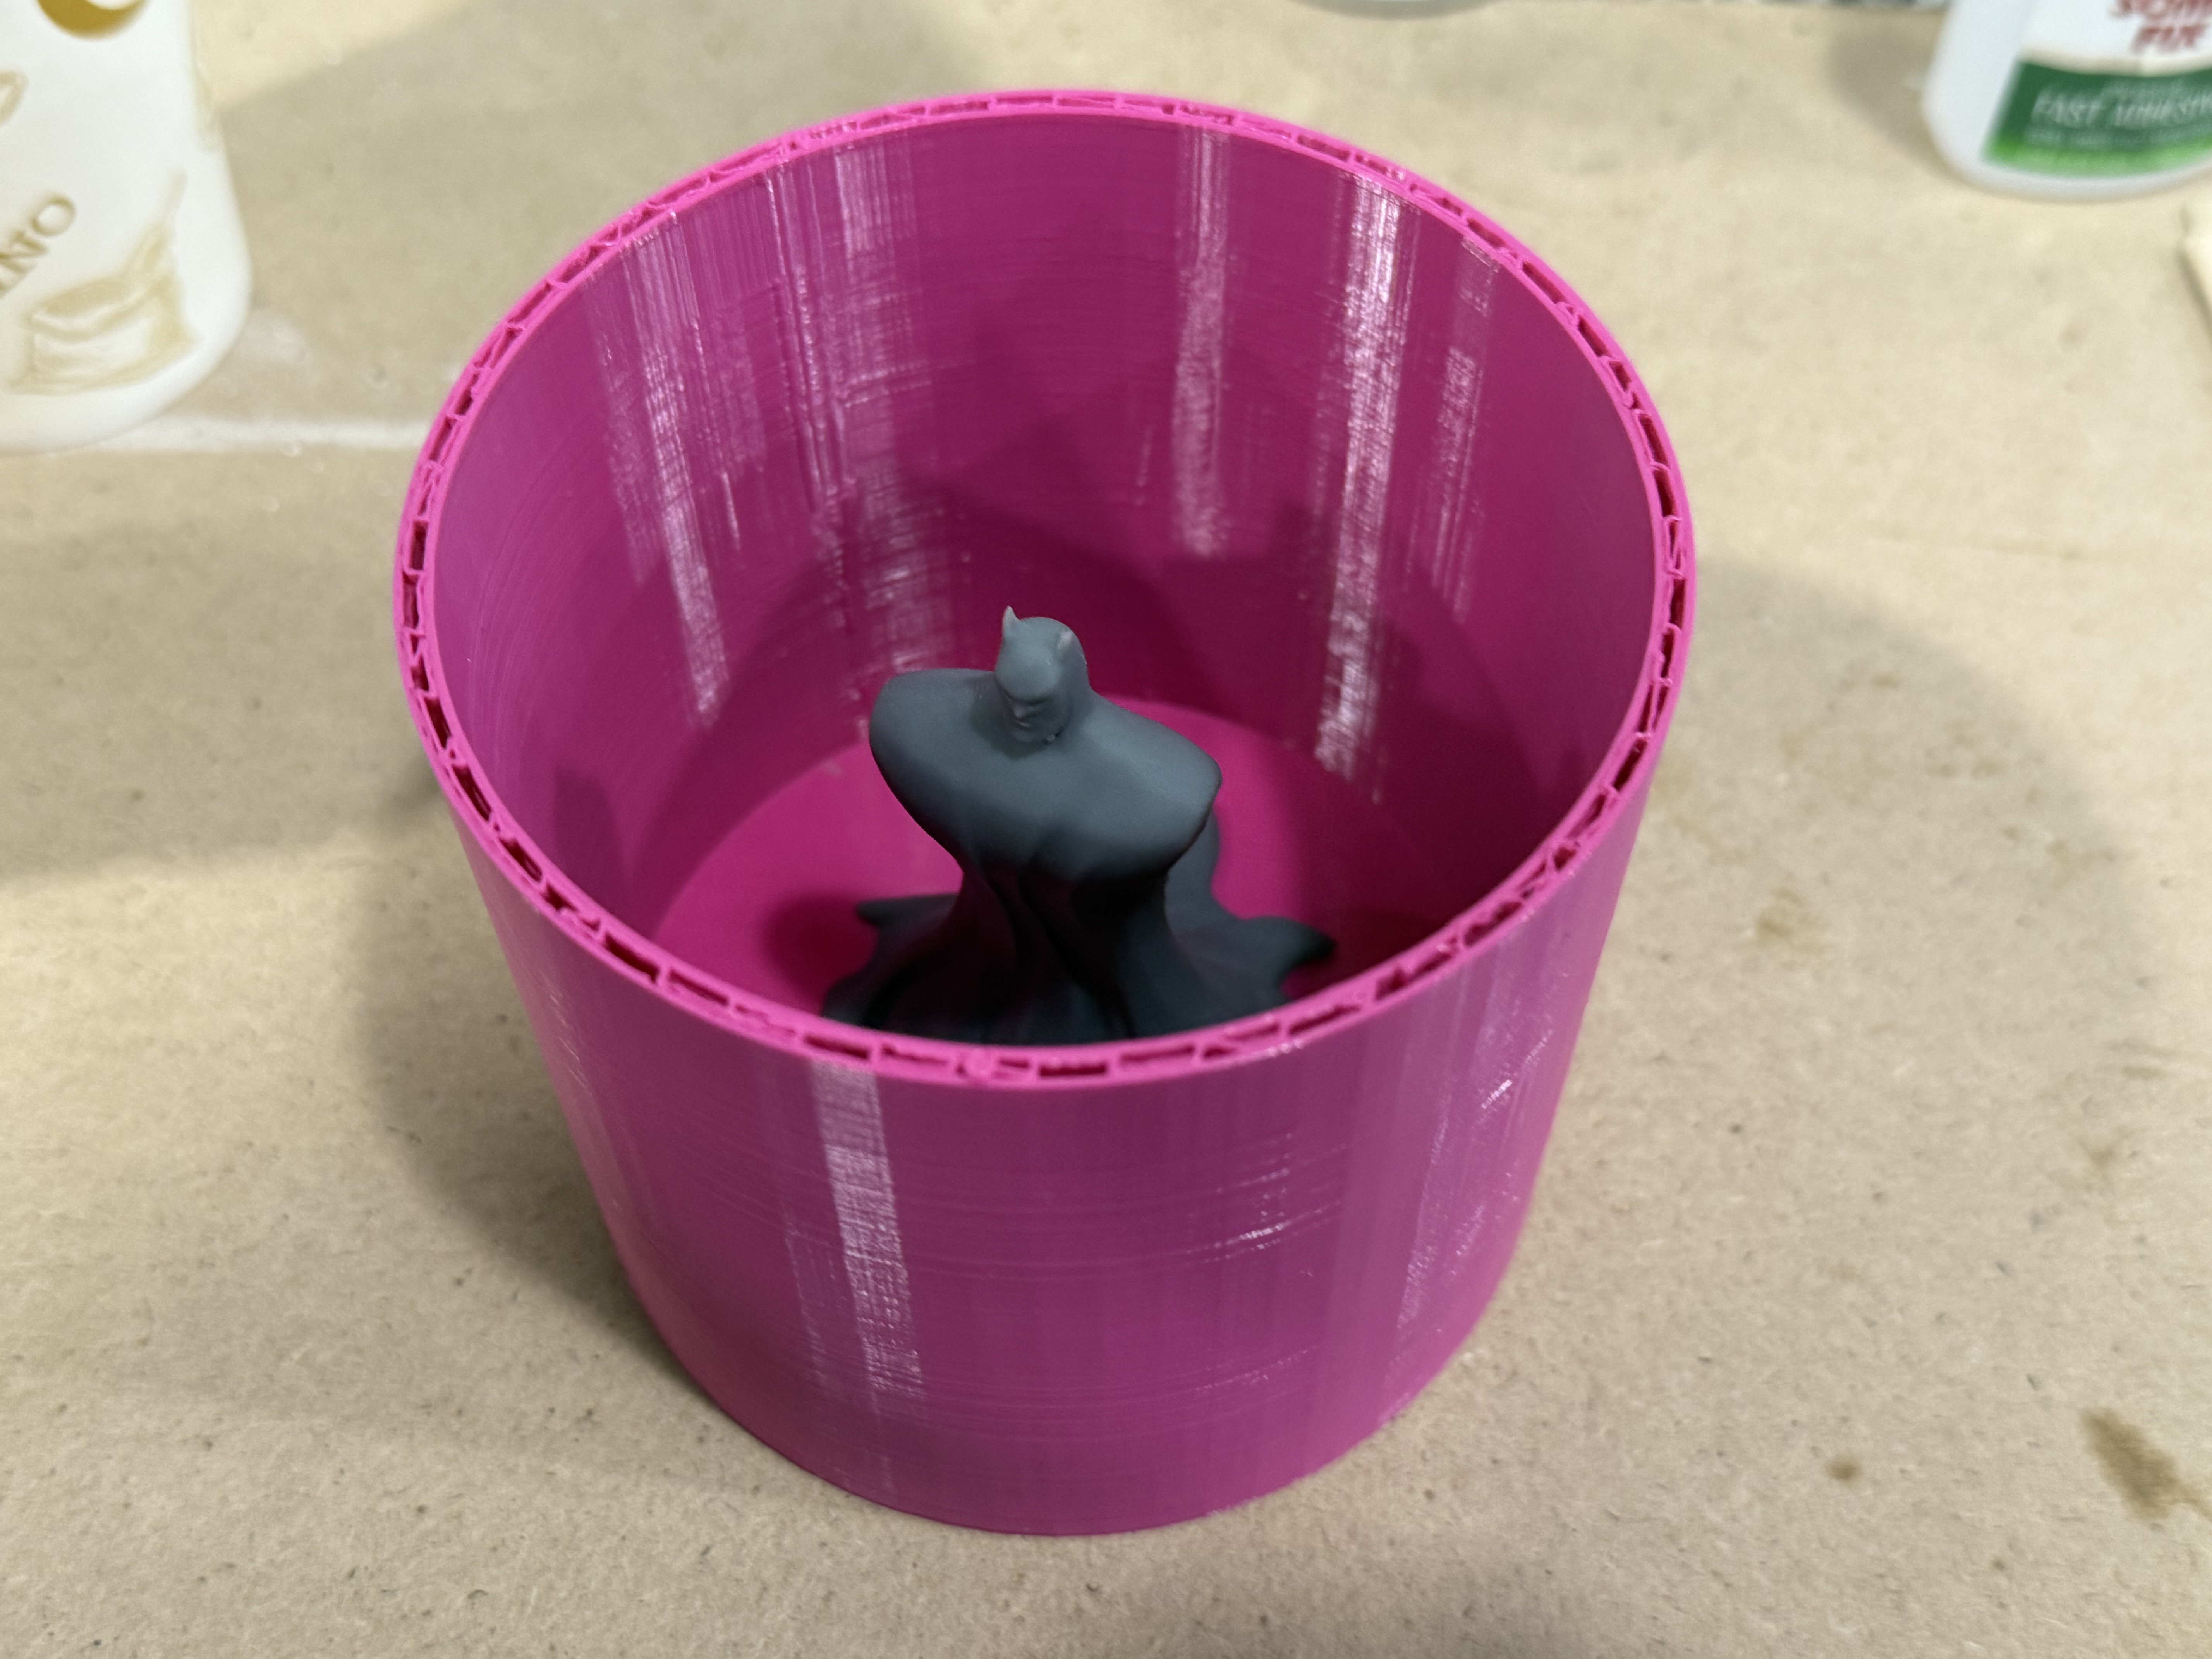
To compare mold-making methods, I used the SLA-printed Batman figure produced during [Week 5](week-five.html) as a master model. The figure was fixed inside a 3D-printed cylindrical container and cast with Smooth-On Sorta-Clear silicone to create a semi-flexible mold. The resulting mold was then compared with the Ecoflex mold in terms of flexibility, detail reproduction, and casting performance.
### Mold Design and Fabrication
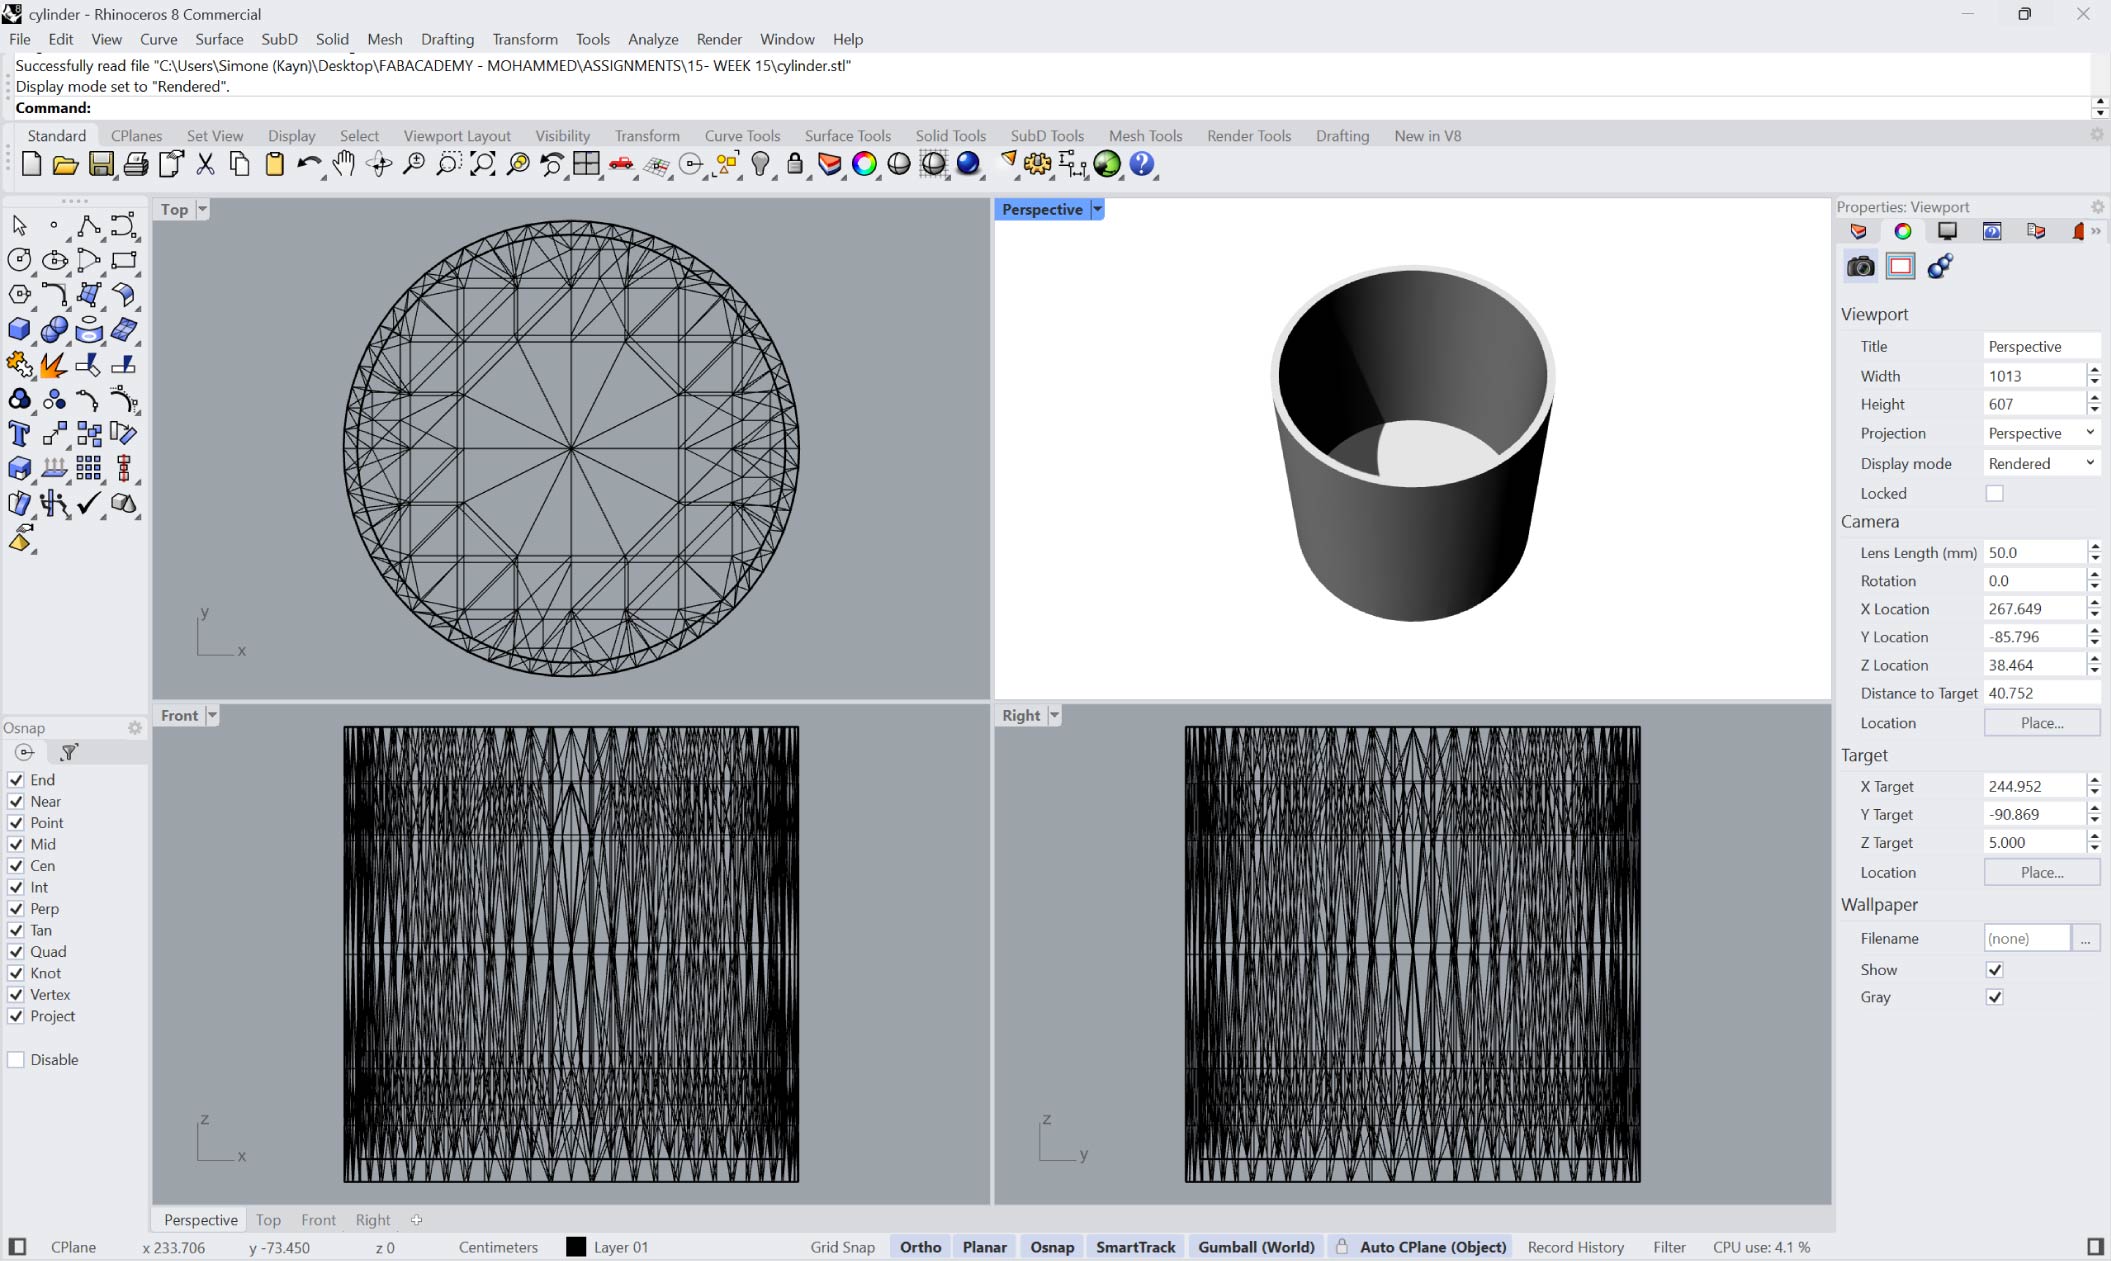
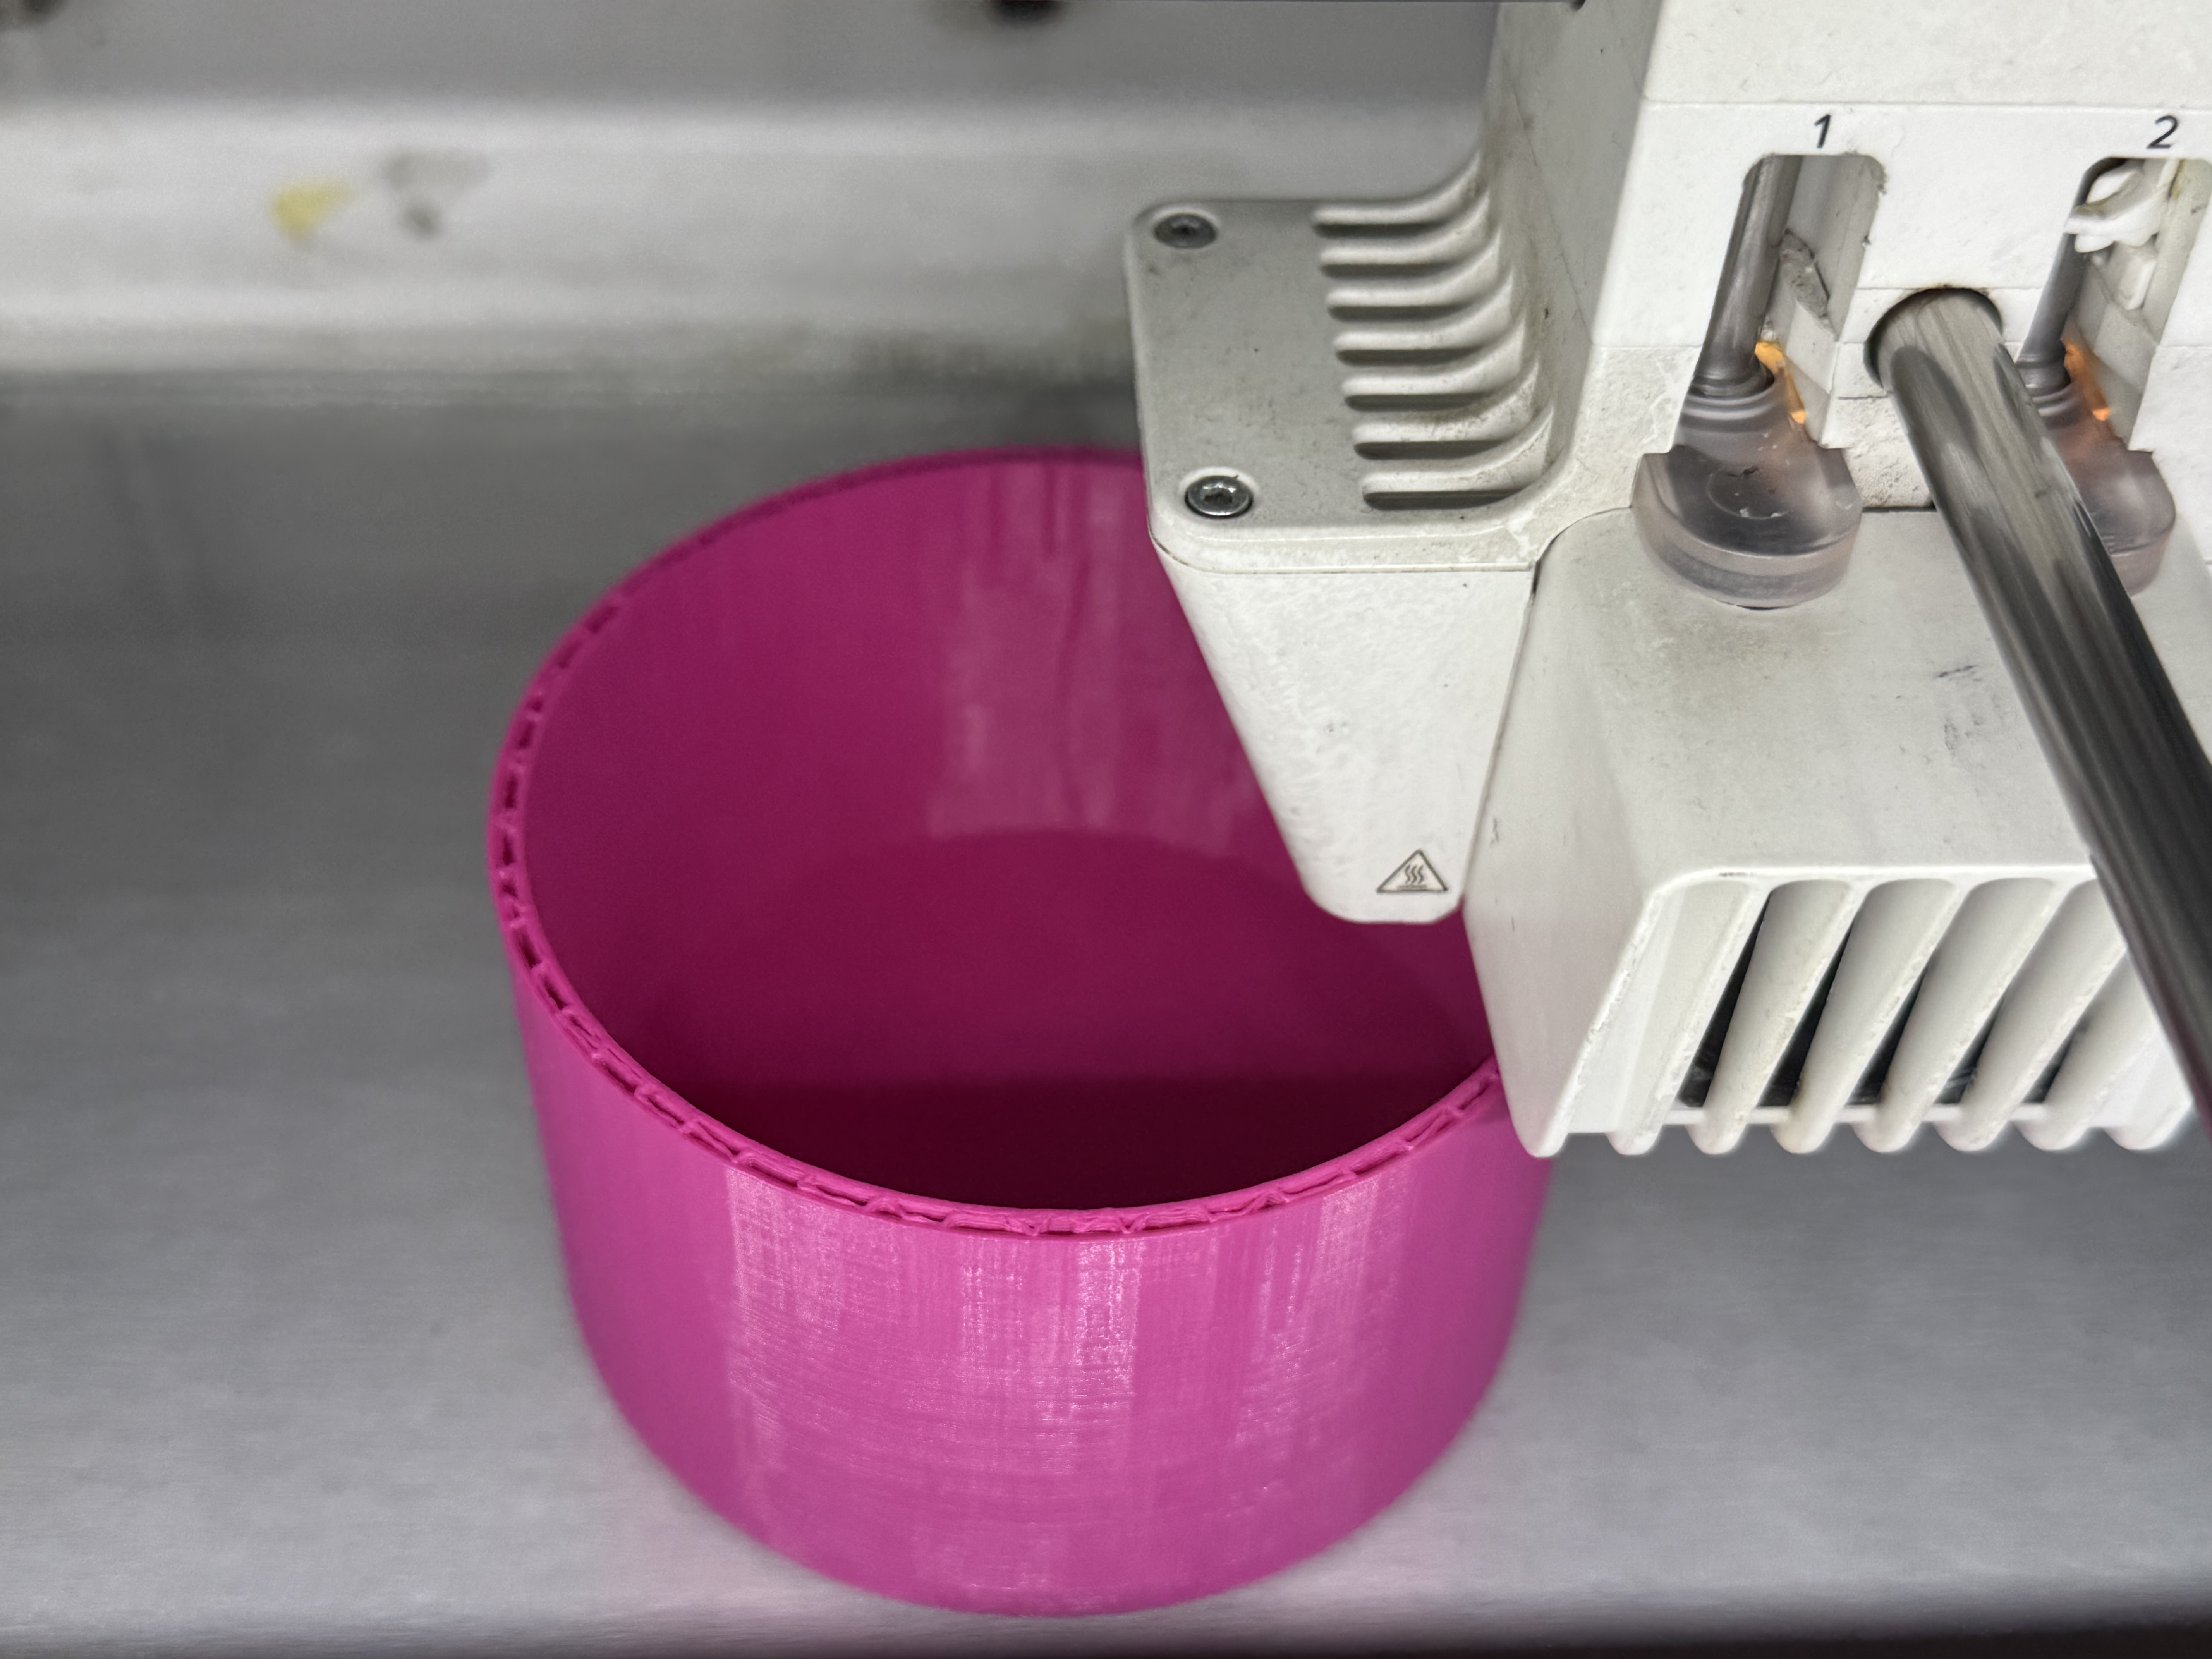
The mold was designed around the SLA-printed Batman figure by creating a simple cylindrical container in Rhino. The cylinder was sized to provide sufficient clearance around the model and contain the silicone during casting, resulting in a straightforward one-part mold suitable for reproducing the figure.

Figure 6: SLA Batman figure inside the 3D-printed container, cast with Sorta-Clear silicone.
### Casting Materials
**a. Cement Jesmonite (Quick Casting)**
Once the Sorta-Clear mold had fully cured, Jesmonite decorative cement was mixed and poured into the mold cavity. After curing, the cast was easily removed from the flexible mold, producing a rigid Batman figure with good detail reproduction and a smooth surface finish.
Process is similar to casting cement in the Ecoflex mold in the previous experiment.

Figure 7: Jesmonite Batman figure cast from the Sorta-Clear silicone mold.
**Characteristics:**
- Rigid and durable after curing.
- Smooth surface finish, however some bubbles were introduced.
- Really hard demolding.
## Lecture Notes
### Key Takeaways
- **Rigid vs. Flexible Molds:** Cast soft materials into rigid molds; cast rigid materials into flexible molds for easy demolding.
- **CNC Wax Milling:** Blue machinable wax is ideal — no release agent needed for silicone, and it's re-machinable.
- **Toolpath Strategy:** Always rough before finishing; match bit geometry to the desired surface quality.
- **Material Comparison:** Ecoflex for ultra-flexible parts, Sorta-Clear for semi-rigid molds, Jesmonite for durable rigid casts.
| Week | Topic | Lecturer |
|:---|:---|:---|
| 12 | Molding & Casting | Neil Gershenfeld |