## Weeks Assignment
Prepare drafts of your final project summary slide (presentation.png, 1920x1080)
and video clip (presentation.mp4, 1080p HTML5,
< ~minute, < ~25 MB), put them in your root directory,
and check that they are linked in the final presentation schedule
- **[Summary Slide](https://fabacademy.org/2026/labs/techworks/students/mohammed-azizi/presentation.png)**
- **[Video Clip](https://fabacademy.org/2026/labs/techworks/students/mohammed-azizi/presentation.mp4)**
## Project Scope
### Introduction
For this week we answered and addressed questions related to our final project to narrow down and define
the expected outcomes of the project and the scope ahead.
My project [Digital Contour Gauge](../final-project.html), scans an irregular contour or profile via linear
sliding **Tines**, which slide across a potential difference track to translate the relative position of
each tine and renders that position as a curve/graph which can be then relayed to an interface and converted
to a useable DXF file.
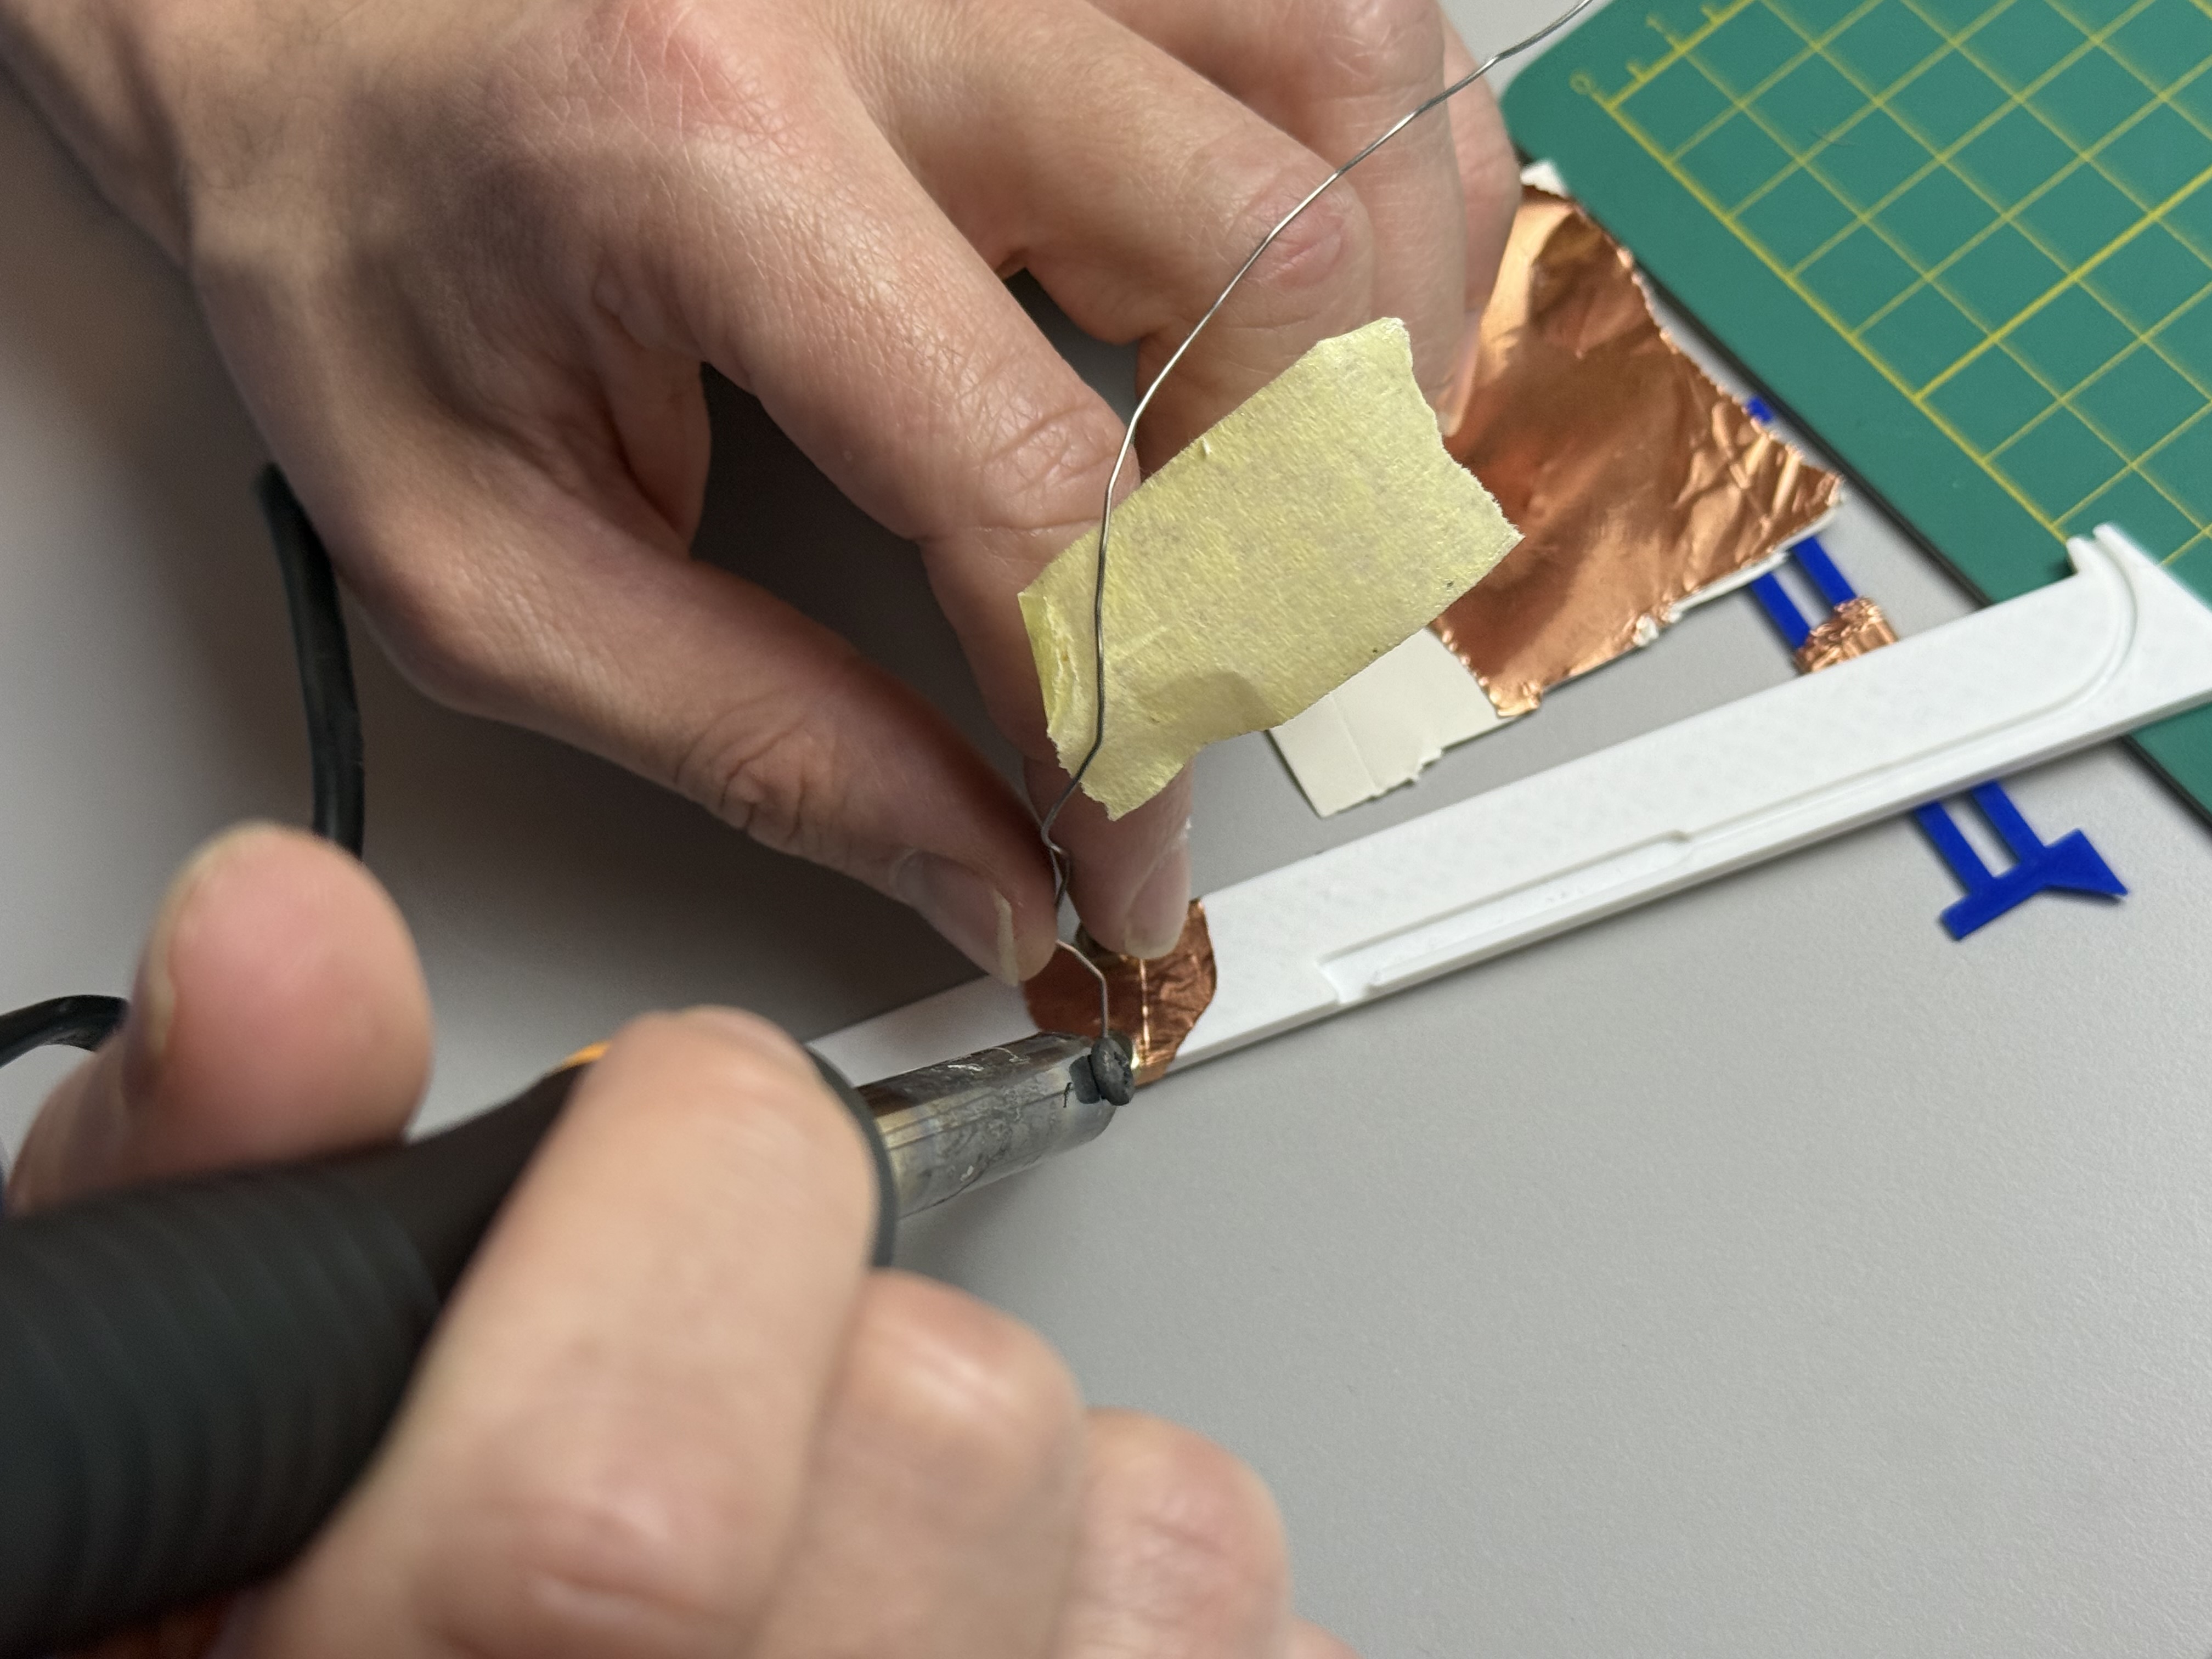
*Week 17 behind the scenes.*
### Literature Review
The contour gauge as a whole is not a new concept and the mechanical model has been revised in multiple versions
such as different lengths,lock mechanims,sizes ,materials and mechanical locking mechanisms.
There has only been one true [docuemented](https://www.instructables.com/Digital-Contour-Gauge) by [tbrais](https://www.instructables.com/member/tbrais/) attempt at instructables which tackles converting the mechanical version
to a digital version using an arduino uno,breadboard and third party tools to visualize the outcomes on a rhino/grasshopper
Reference: [https://www.instructables.com/Digital-Contour-Gauge] (https://www.instructables.com/Digital-Contour-Gauge)
However a complete integrated working prototype has not yet been made to date.
### Project Design
The design approach for my project was to reverse engineer the mechanical model first and start modelling after
verifying all the mechanisms and concepts. This led me to start on a 2D level at first to define my dimensional constraints
and it heavily relied on my KiCAD design of the electronic base.
Below is a goal checklist to finalize my design.
[x] 2D Dimensional Constraint Sheet (AutoCAD)
[x] Full KiCAD design file and components definition
[x] Full 3D design file (Fusion) and visualization
## Project Schedule
| Week | Topic | Key Activity | Status |
|------|-------|--------------|--------|
| **Phase 1 — Concept & Design Foundations** |||||
| 01 | Principles & Practices | Initial project proposal; evaluated auto-feeder concept before settling on the digital contour gauge idea. | ✅ Completed |
| 02 | CAD Modelling | Modelled the profiler leg in Fusion 360 and FreeCAD; finalised the contour gauge as the final project. | ✅ Completed |
| 03 | Computer-Controlled Cutting | Experimented with living hinges to understand flexible mechanical structures for profiler legs. | ✅ Completed |
| **Phase 2 — Electronics & Prototyping** |||||
| 04 | Embedded Programming | Selected ESP32C over RP2040 for Wi-Fi capability and Wokwi simulation support. | ✅ Completed |
| 05 | 3D Modelling & Scanning | Printed profiler components from Thingiverse; tested PLA material variants for leg manufacturing. | ✅ Completed |
| 06 | PCB Design | Drafted electronic schematic; studied multiplexers, ran simulations, and built a component parts list. | ✅ Completed |
| 07 | Computer-Controlled Machining | Continued 3D printing iterations; investigated custom potentiometer design and actuator mechanism options. | ✅ Completed |
| **Phase 3 — Electronics Production & Sensing** |||||
| 08 | Electronics Design | Finalise PCB schematic with multiplexer array; confirm component selection and place component orders. | ✅ Completed |
| 09 | Electronics Production | Fabricate and solder PCB; test continuity, power rails, and multiplexer switching logic. | ✅ Completed
| 10 | Input Devices | Integrate position sensors / potentiometers into each profiler leg; validate analog signal readout per channel. | ✅ Completed |
| 11 | Output Devices | Connect display module and any actuator feedback; verify visual output matches captured contour data. | ✅ Completed |
| **Phase 4 — Mechanical Assembly & Connectivity** |||||
| 12 | Mechanical Assembly | Assemble final frame and leg array; test mechanical travel, alignment, and structural rigidity. | ✅ Completed |
| 13 | Networking & Communications | Implement ESP32C Wi-Fi stack; transmit captured contour data to a local server or web endpoint. | ✅ Completed |
| 14 | Interface & Application Programming | Build a web or mobile UI to visualise the digital contour profile in real time. | ✅ Completed |
| **Phase 5 — Integration, Testing & Delivery** |||||
| 15 | Wildcard / Advanced Fabrication | Explore different options to fabricate the components, focused on using Laser engraving the PCB | ✅ Completed / Planned |
| 16 | System Integration | Bring all subsystems together — mechanical, PCB, firmware, and UI — and run full end-to-end tests. | 📋 Planned |
| 17 | Testing & Debugging | Identify hardware/software faults; calibrate leg sensors for accuracy and repeatability. | ✅ Completed |
| 18 | Optimisation & Iteration | Refine performance, accuracy, and usability based on test feedback; finalise enclosure and BOM. | 🔵 Final Phase |
| 19 | Documentation | Write full project documentation: design files, assembly guide, firmware repo, BOM, and reflection. | 🔵 Final Phase |
| 20 | Final Presentation | Present the completed digital contour gauge prototype; demonstrate live capture and reflect on the build journey. | 🔵 Final Phase |
## Project BOM
# Bill of Materials — Digital Contour Gauge
| # | Subsystem | Component | Qty | Specifications / Notes |
|---|-----------|-----------|-----|------------------------|
| 1 | Core Electronics | Seeed Studio XIAO RP2040 | 1 | Main MCU; alternatively XIAO ESP32C3 for Wi-Fi and built-in LiPo charging |
| 2 | Core Electronics | CD74HC4067 16-Channel Multiplexer | 2 | Handles 16 analog channels sequentially |
| 3 | Sensor Stackup | Milled FR1 Single-Sided Copper Board | 1 | Base stator with 16 vertical traces |
| 4 | Sensor Stackup | Velostat Conductive Plastic Sheet | 1 | Resistive layer for voltage division across tines |
| 4 | Sensor Stackup | FR1 copper sheet | 2 | PCB Copper board-single layers 120x250 mm |
| 5 | Sensor Stackup | Brass or Copper Busbars | 2 | Distribute 5V and GND along Velostat edges |
| 6 | Mechanicals | Custom Sliding Tines | 16 | FDM 3D printed in PLA |
| 7 | Mechanicals | Main Enclosure Chassis | 1 | FDM 3D printed structured outer housing |
| 8 | Mechanicals | 1mm Conductive Steel Wire | 1 roll | Cut and mounted onto tine tips for contact |
| 10 | Mechanicals | M3 Bolts and Nuts | 4 sets | Structural fastening |
| 12 | Display | 1.3" or 2.4" ST7789 / ILI9341 SPI TFT | 1 | Color screen; requires MOSI, CLK, CS, DC, RST and PWM backlight pin |
| 13 | Power | 3.7V LiPo Battery (500–1000 mAh) | 1 | Connects to native battery pads on XIAO ESP32C3 |
| 15 | Passives | 10µF 25V Capacitors (0805) | 2 | Noise filtering and via bridging on PCB |
| 16 | Passives | 10kΩ Resistors (1206) | 2 | Pull-down resistors for multiplexer SIG lines |
| 17 | Passives | 0Ω Resistors (1206) | 1 | PCB trace bridge |
| 18 | Input | Tactile SMD Push Buttons | 2 | Surface mount; for UI interaction (e.g. mode select, capture trigger) |
| 19 | Connectors | 2.54mm Female Pin Headers | 2 rows | MCU docking, screen docking, and board-to-board connections |
| 20 | Connectors | JST 2-Pin Headers | 2 | VCC and GND signal bridging to bottom copper layer |
| # | Component | Qty | Specifications / Notes |
|---|-----------|-----|------------------------|
| 1 | PLA Filament — White | 1 roll | For main enclosure chassis and structural parts |
| 2 | PLA Filament — Blue | 1 roll | For custom sliding tines and accent components |
In my final BOM I narrowed down the project scope to 16 tines instead of 32, and switched from the 4 pin oled screen to a 7 pin colored spi screen
also I removed the pull down resistors for each trace and stuck to using two resistors for the tactile switches.
### Material Procurements
All the electronic components where acquired locally from MikroElektron store in Amman,Jordan.
PLA Filaments,fastners and FR1 copper boards where available in the lab and can be obtained locally from MikroElektron and other 3D filament stores
## Project Components
| System | Component/Approach | Primary Function |
|---|---|---|
| Control | Seeed Studio XIAO ESP32-C3 | Core logic, wireless connectivity (Wi-Fi/BT), and I/O. |
| Sensing | Sandwich Stator (Velostat + Milled PCB) | Converts tine displacement to analog voltage. |
| Multiplexing | 1x CD74HC4067 (16-Channel) | Maps 16 individual tines to a single ADC pin. |
| Mechanical | Spring-Loaded 3D-Printed Tine | Features embedded conductive 1mm wire for wiper contact. |
| Interface | 1.8" TFT SPI Display | Visualizes contour data and system menu. |
| Communication | UART, Web HTML Interface | Data transmission and remote profile monitoring. |
| Power | 3.7V LiPo + Regulation | Portable power for MCU and sensor grid. |
## Processes & Workflow
Throughout the development of this project, several digital fabrication and engineering processes were employed.
The mechanical components were designed using **parametric 3D modelling**, ensuring dimensional accuracy and
iterative adjustability, then sliced using **Cura** for FDM 3D printing. The custom PCB was designed in **KiCad**
and milled using the **Roland SRM-20** desktop milling machine, with toolpaths generated via **Mods CE**. Before
fabrication, the potentiometer voltage divider circuit and signal filtering stages were validated through
**LTSpice simulation**. Components were mounted using **solder paste and reflow soldering techniques**, with
desoldering and rework applied where corrections were needed. Board continuity and signal integrity were verified
using a **multimeter**. On the software side, **firmware was developed and flashed** to the Seeed XIAO ESP32-C3
using the Arduino framework, including logic for ADC multiplexing, display rendering on the **1.8" TFT screen**,
and a **web-based HTML interface** for remote profile monitoring over Wi-Fi. The Velostat-based sandwich stator
sensor was manually fabricated and calibrated to map raw ADC readings to meaningful displacement values. Final
integration involved assembly, wiring, and power regulation testing with the **3.7V LiPo** battery system.