Group Assignment
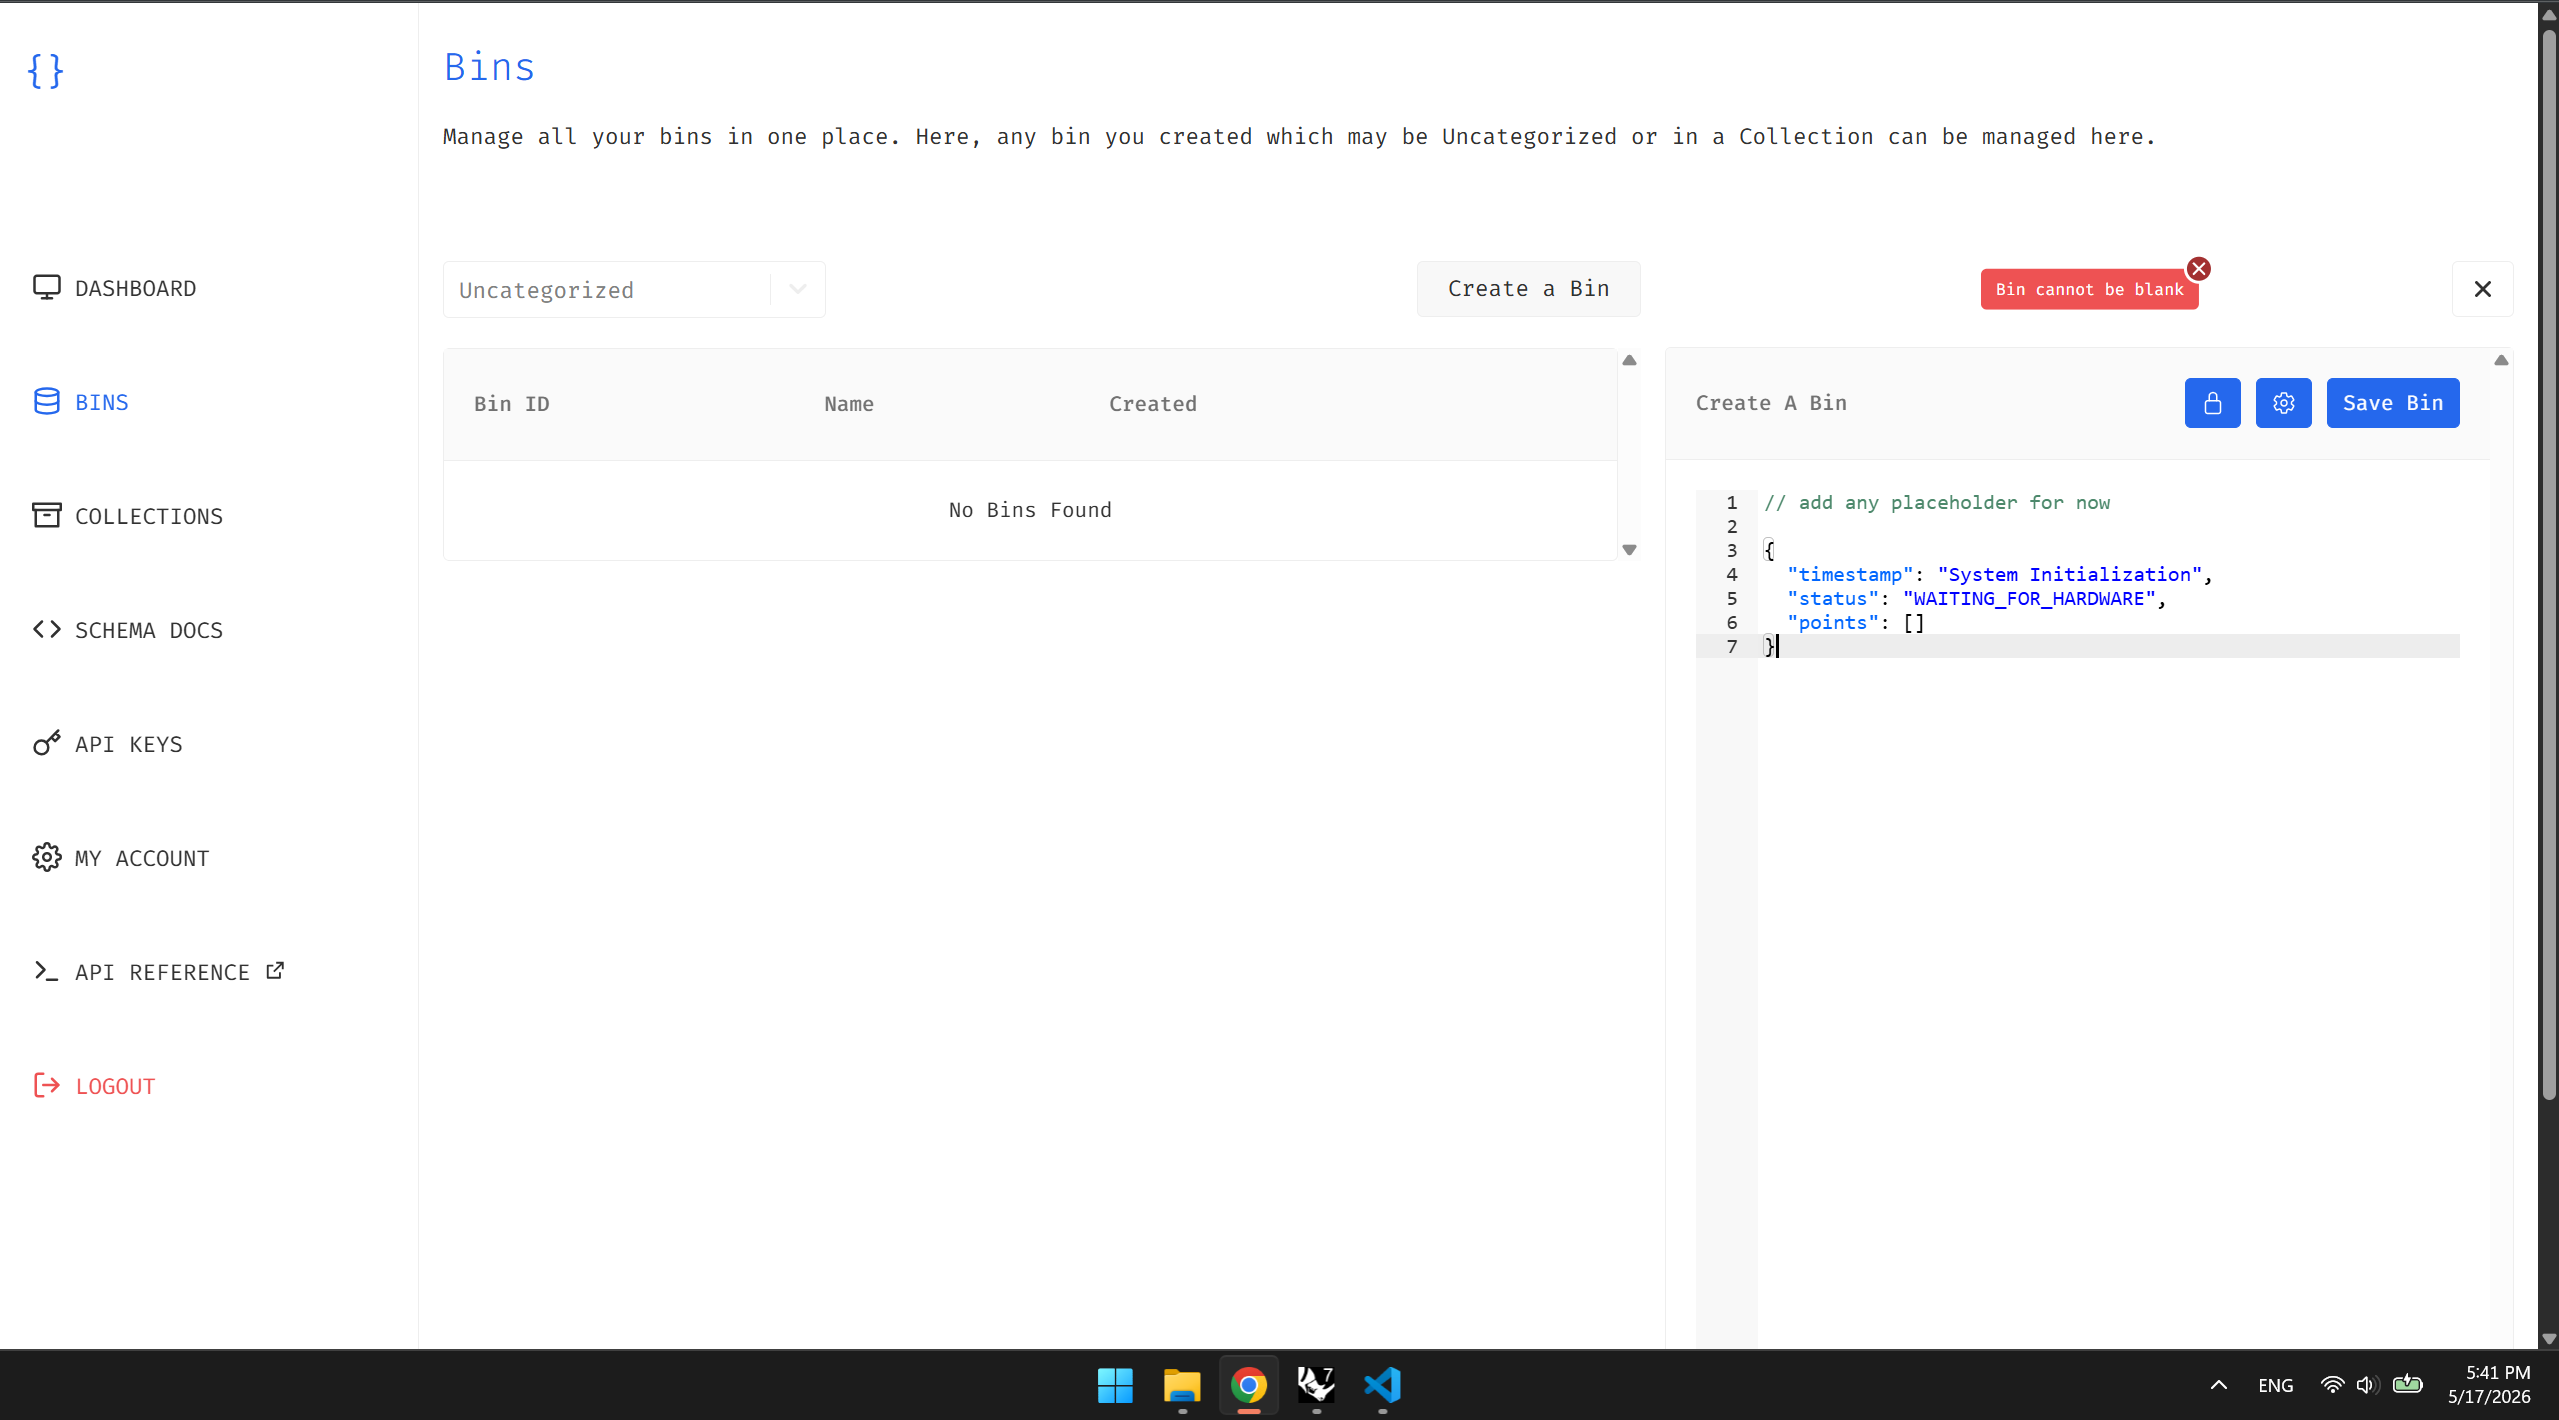
Creating a Bin on jsonbin
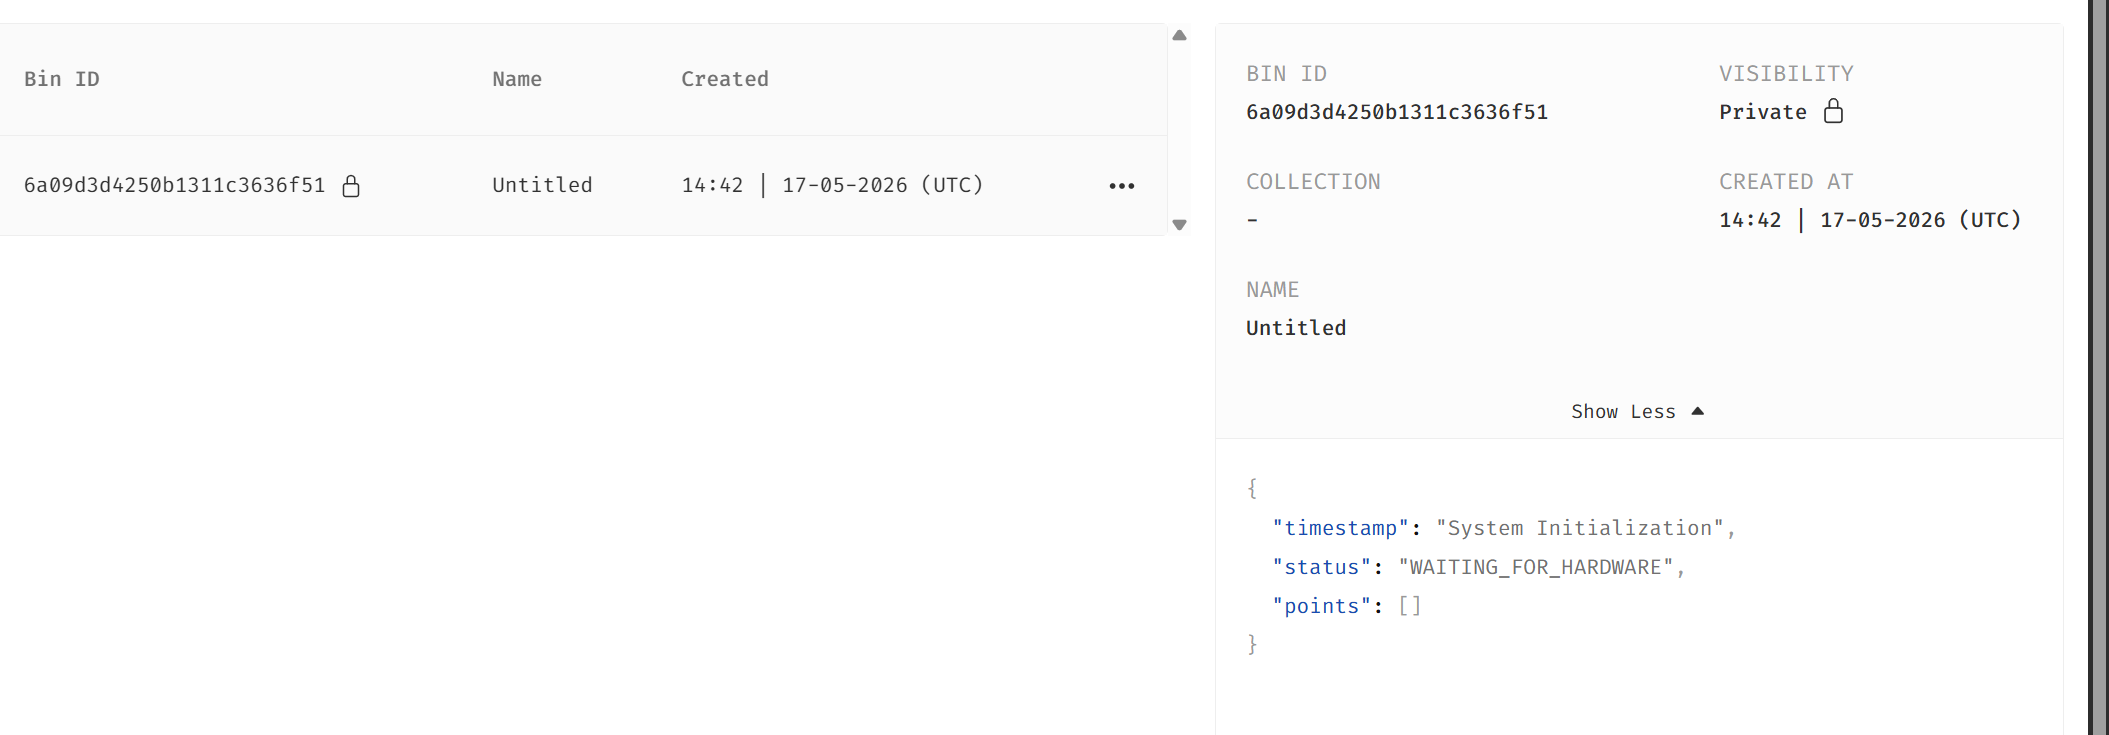
Bin ID extraction
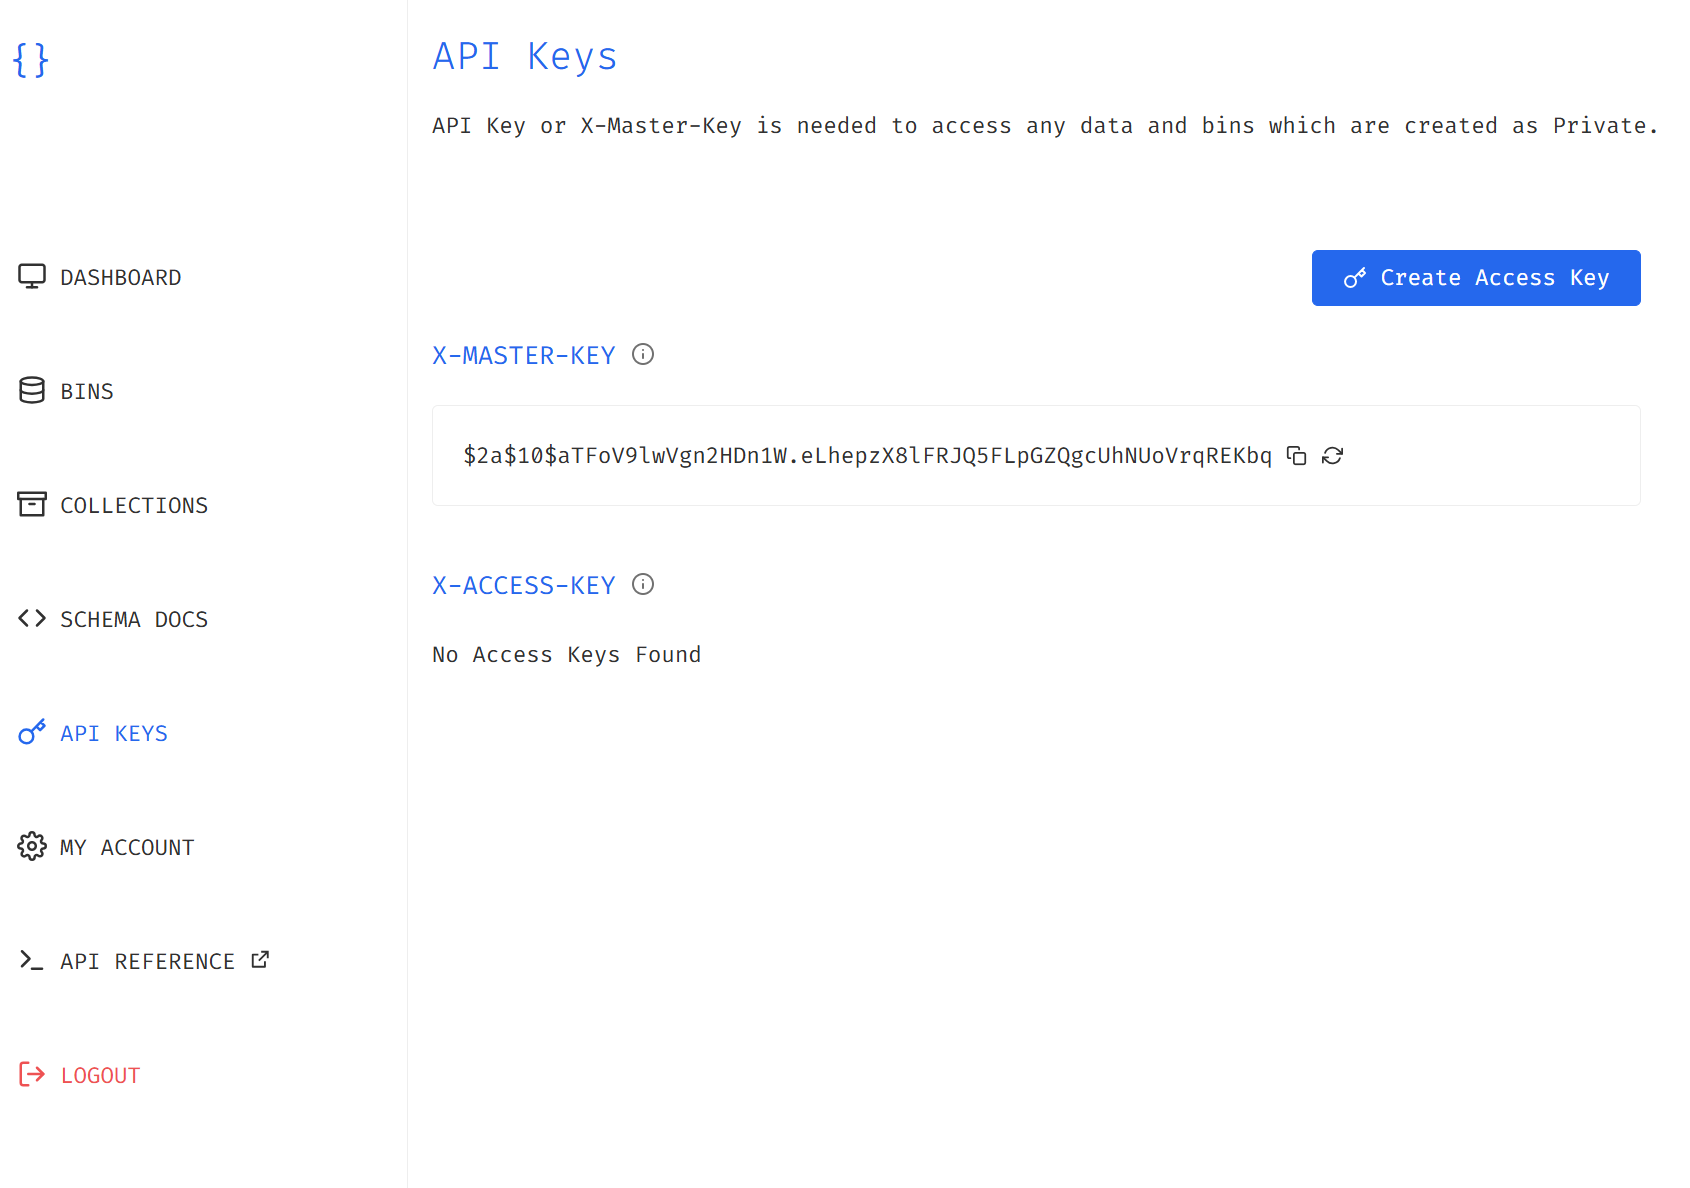
API key extraction
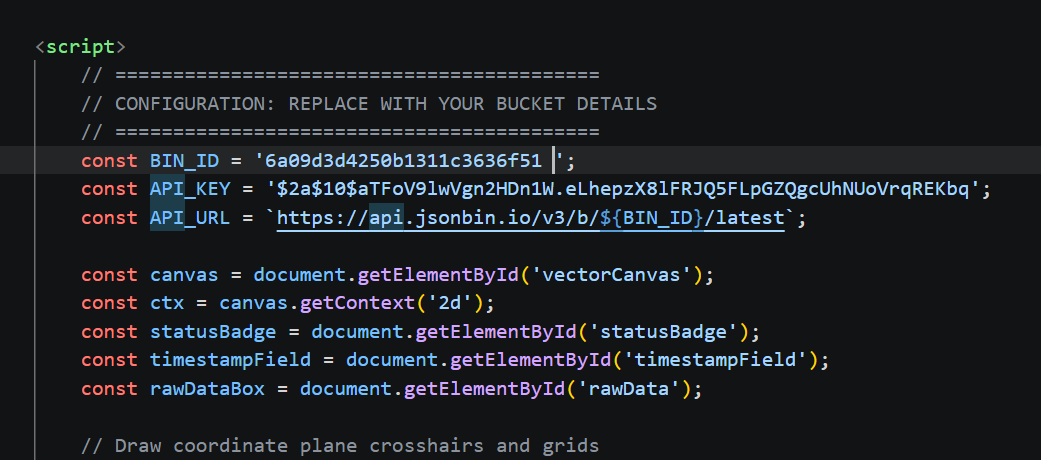
Placing the keys in index.html
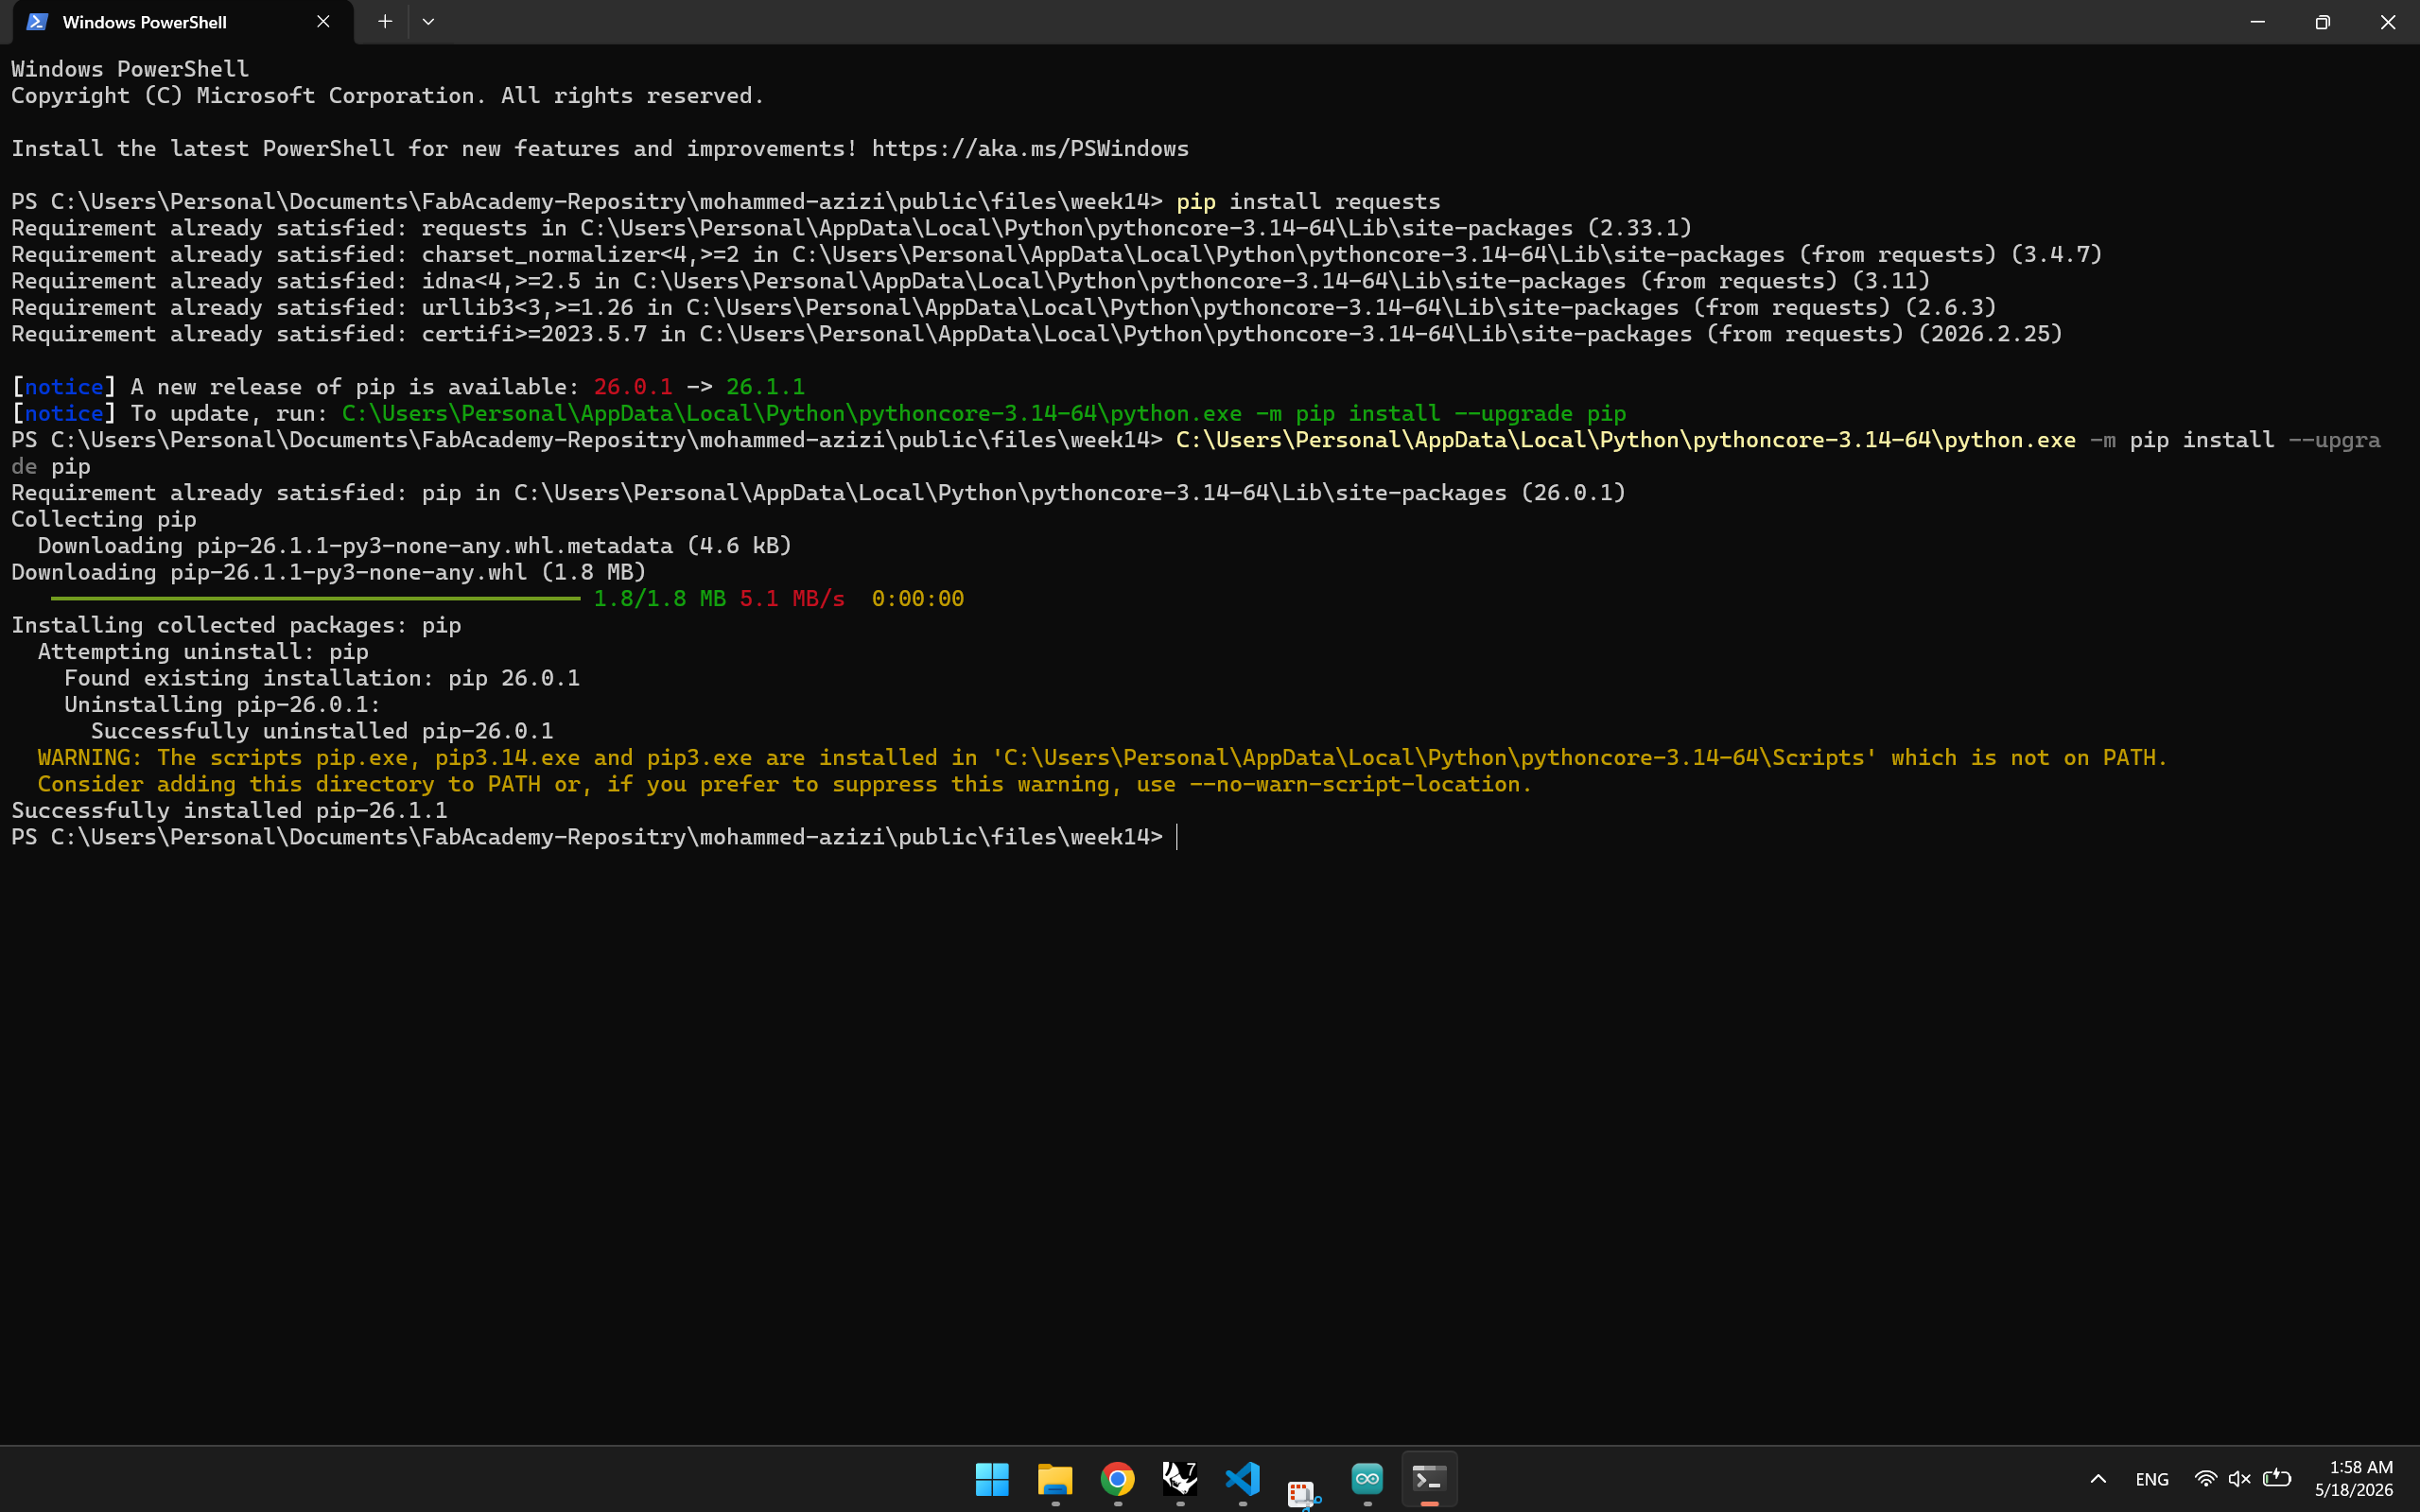
Installing requests web library
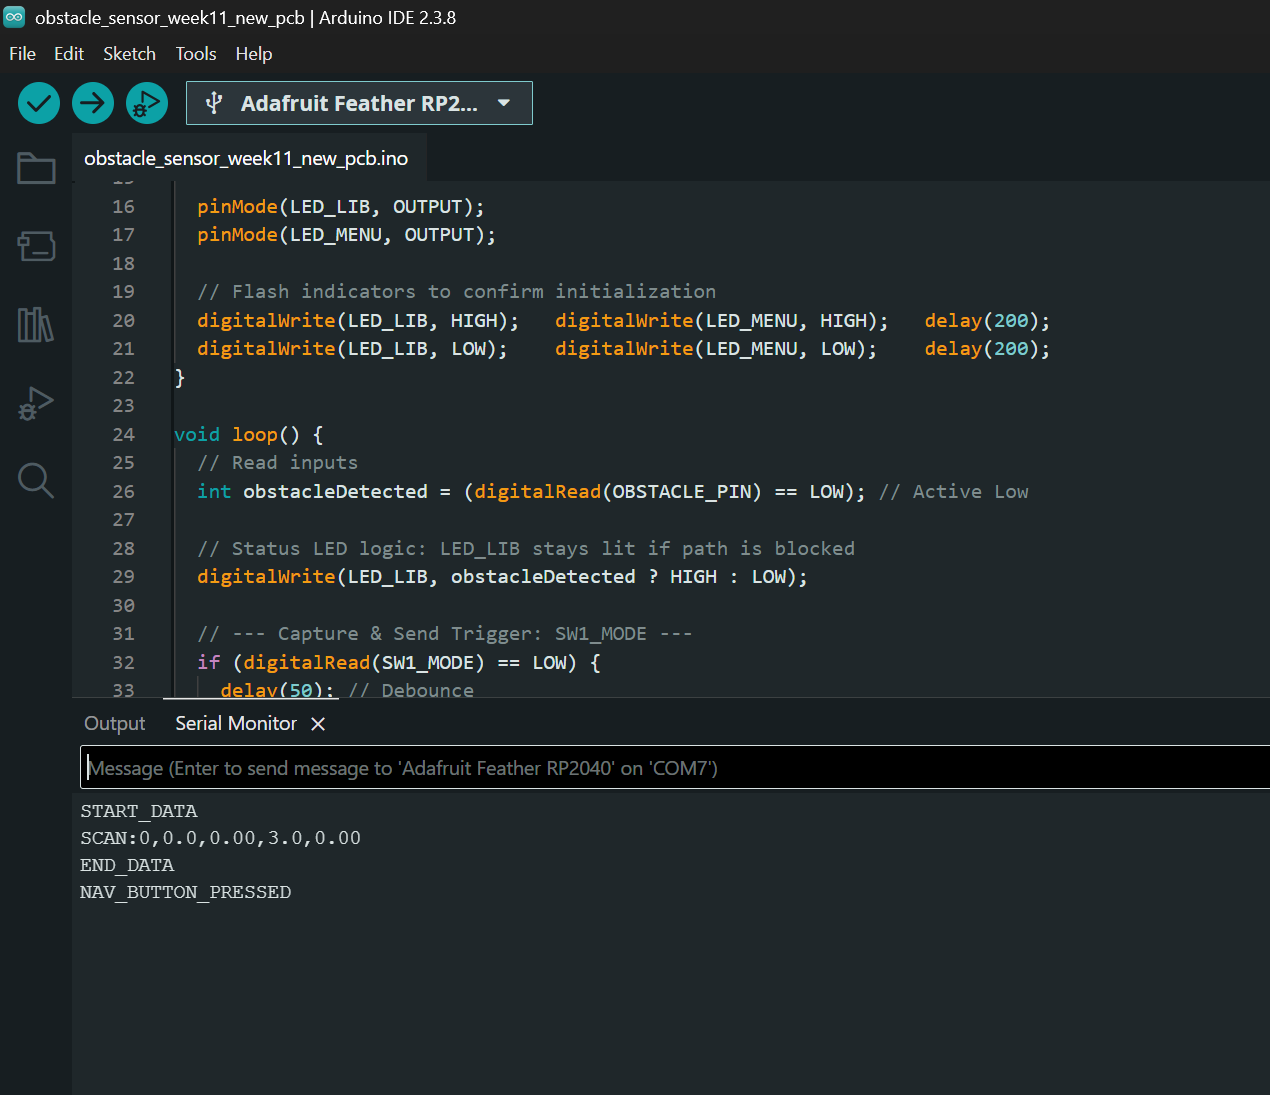
Verifying the code on RP2040

First Python Run

Data Log Success

Bin stores JSON successfully (Switched from private to public)
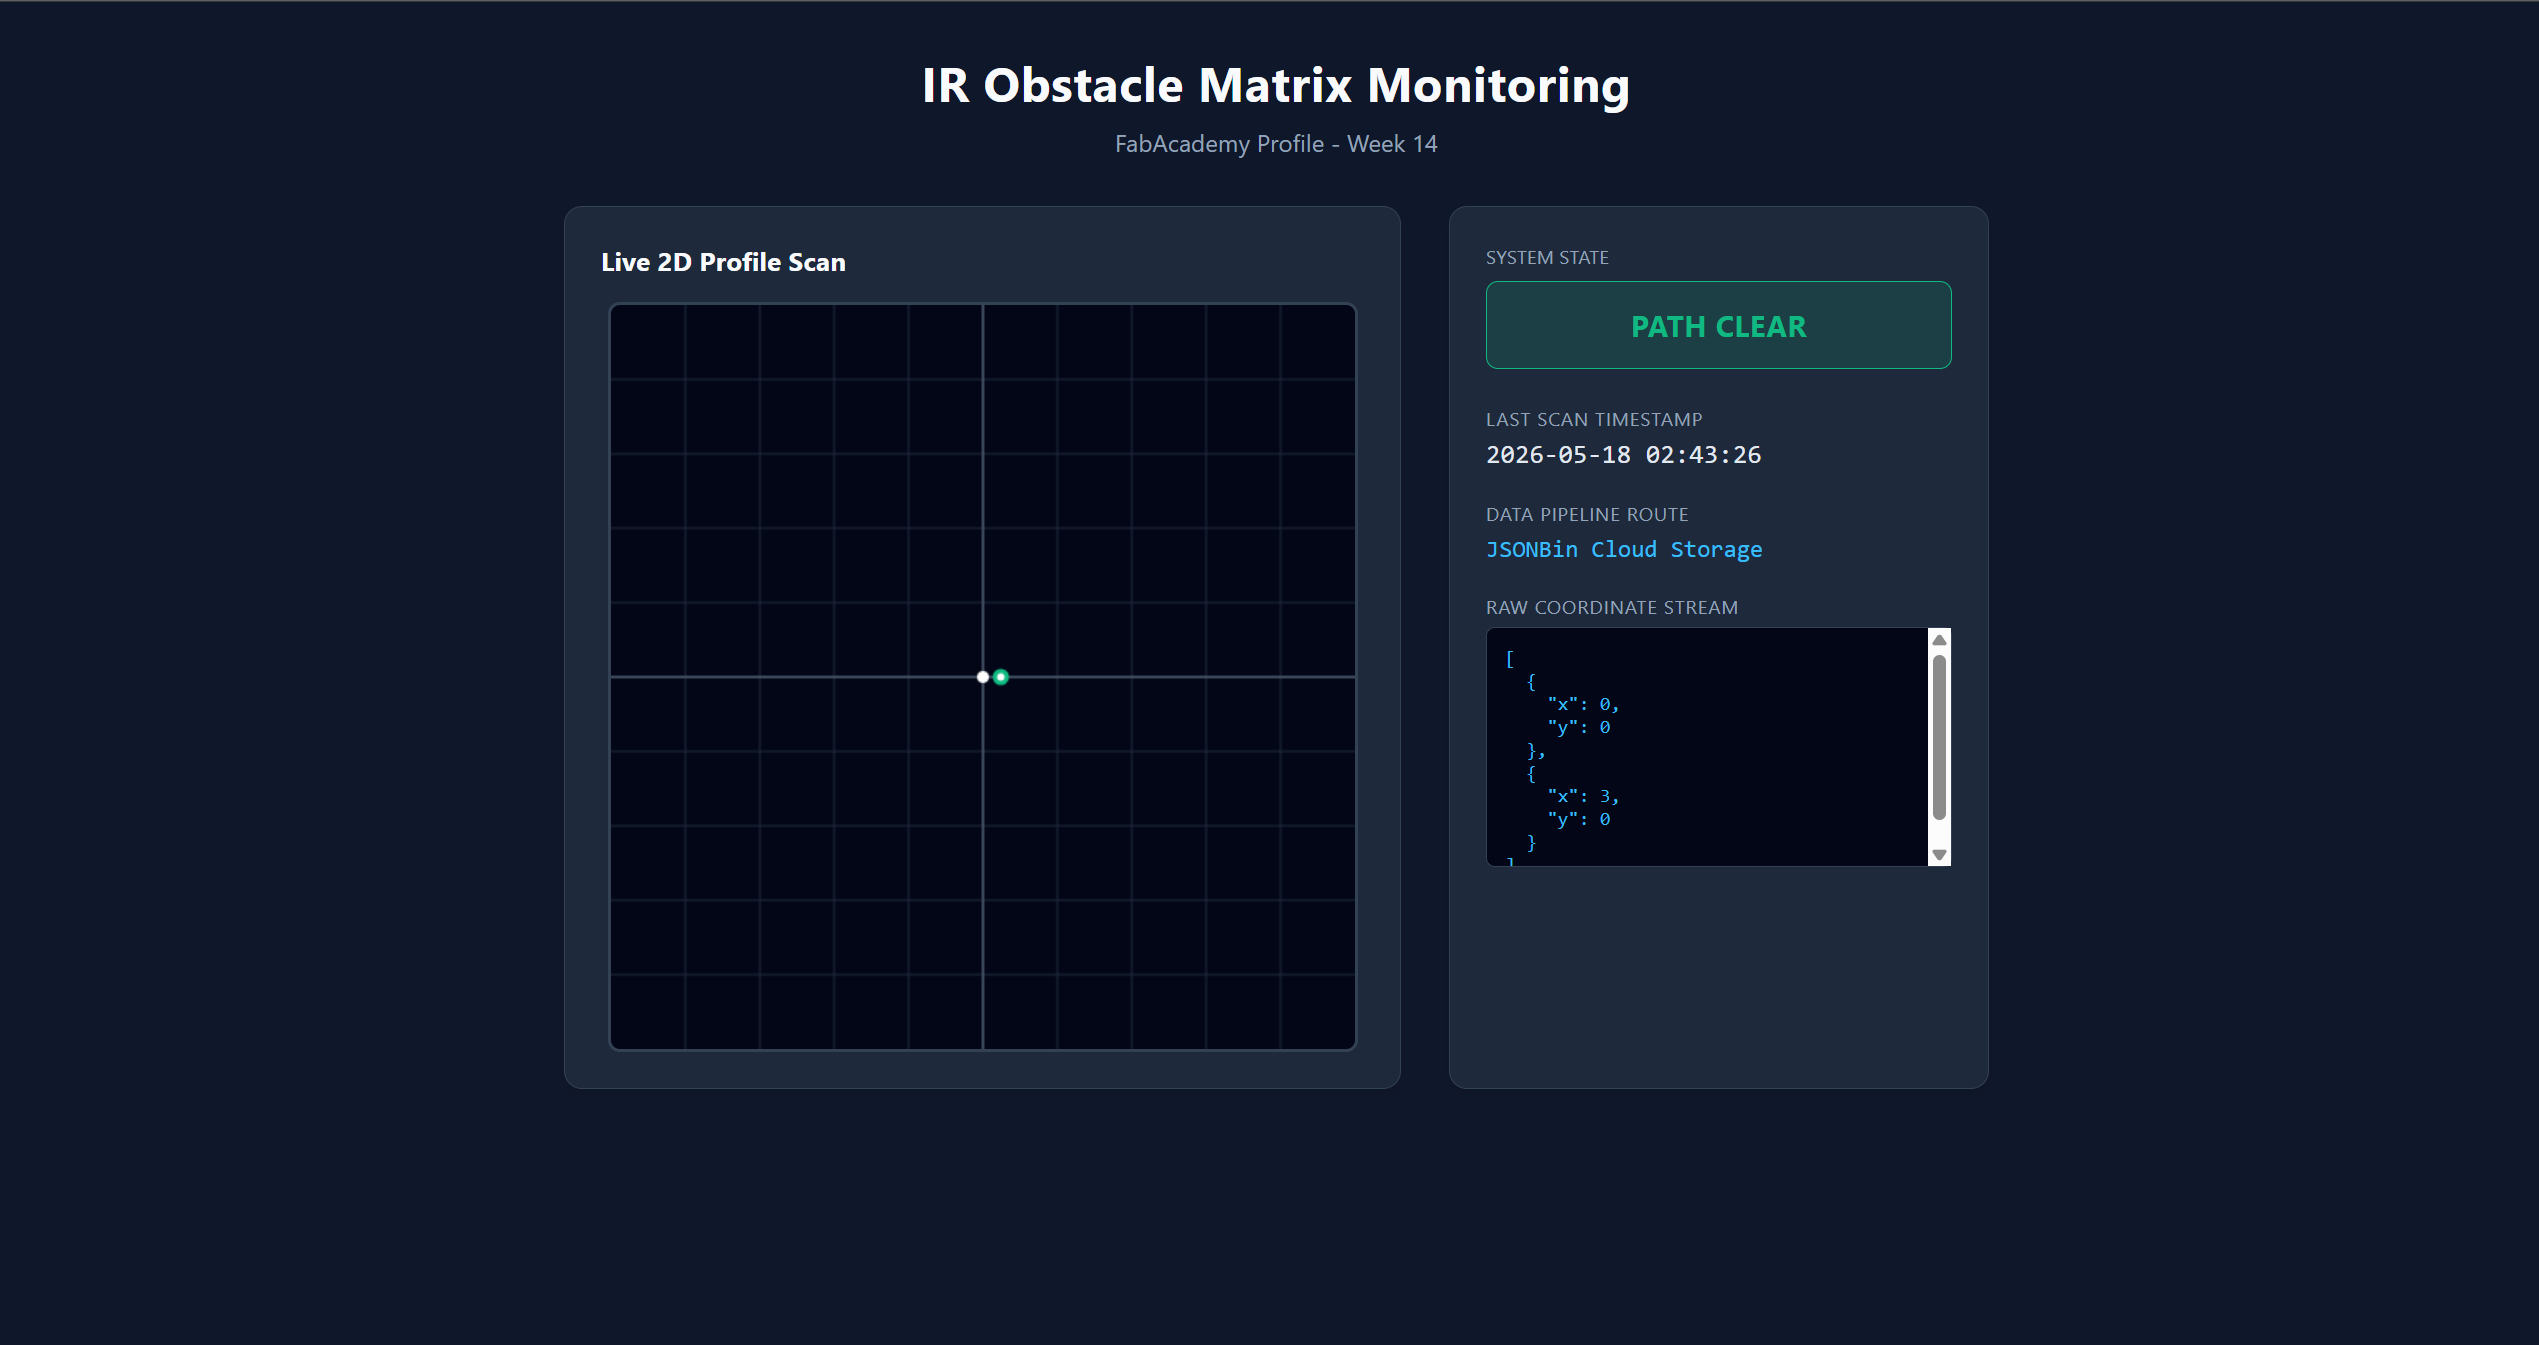
HTML interface is live and running!
Resources & Assets
References
Source Files