Week 1: Principles & Practices.
A.k.a. Welcome! Documentation is your new personality📄🧠
🪛 Things drilled into us from Day 1:
(Repeated for emphasis. And trauma.) (ಥ﹏ಥ)
- 📌 Documentation is everything.
- ✅ Simple + Working ❌ Complex + Broken.
- ✍️ Document as you go
- 🌀 Spiral development & Demand vs Supply side time.
- 🗜️ Compress files. Please. (._. )
- 🫥 If no documentation, it didn’t happen :')
- 🧹 Clean as you work
- 📄 Did I mention documentation? 💀
📋 Assignment Brief
- 💥 Log in, download, install, and learn how to use different softwares and apps.
- 🌐 Build a personal website to showcase our work.
- 🧠 Ideate the Final Project (existential crisis included)(;´Д`)
- ✍️ Sign, commit, and push the student agreements.
To make this manageable (and slightly less terrifying), I divided the assignment into four parts:
⚙️ Setting Up
I started by downloading and installing Git… and then immediately realised I had no idea what I was doing 🙂 Thankfully, my mentors Jesal Mehta and Pranav Gawde helped me through the entire process ( ´ ▽ ` )
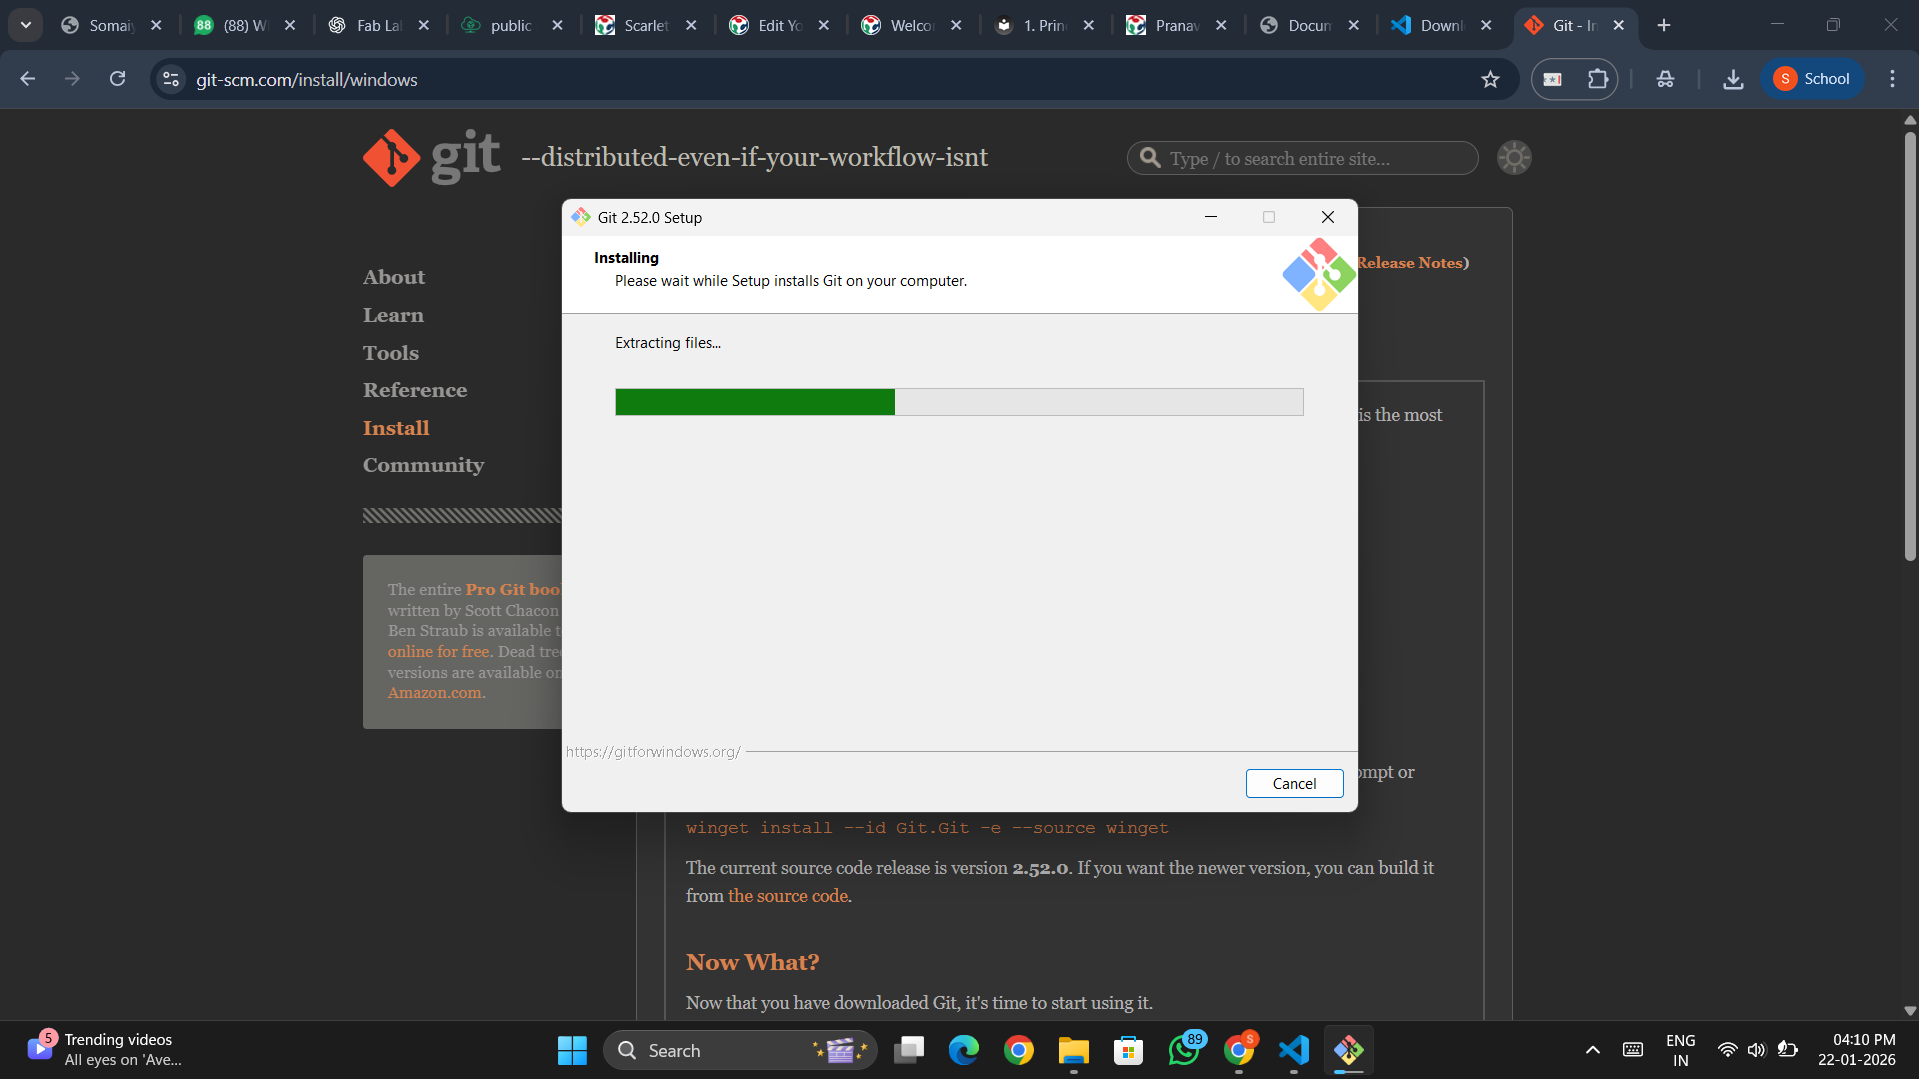
1️⃣ Installing Git
- Install Git to enable local repository management.
- Download Git for Windows from the official website.
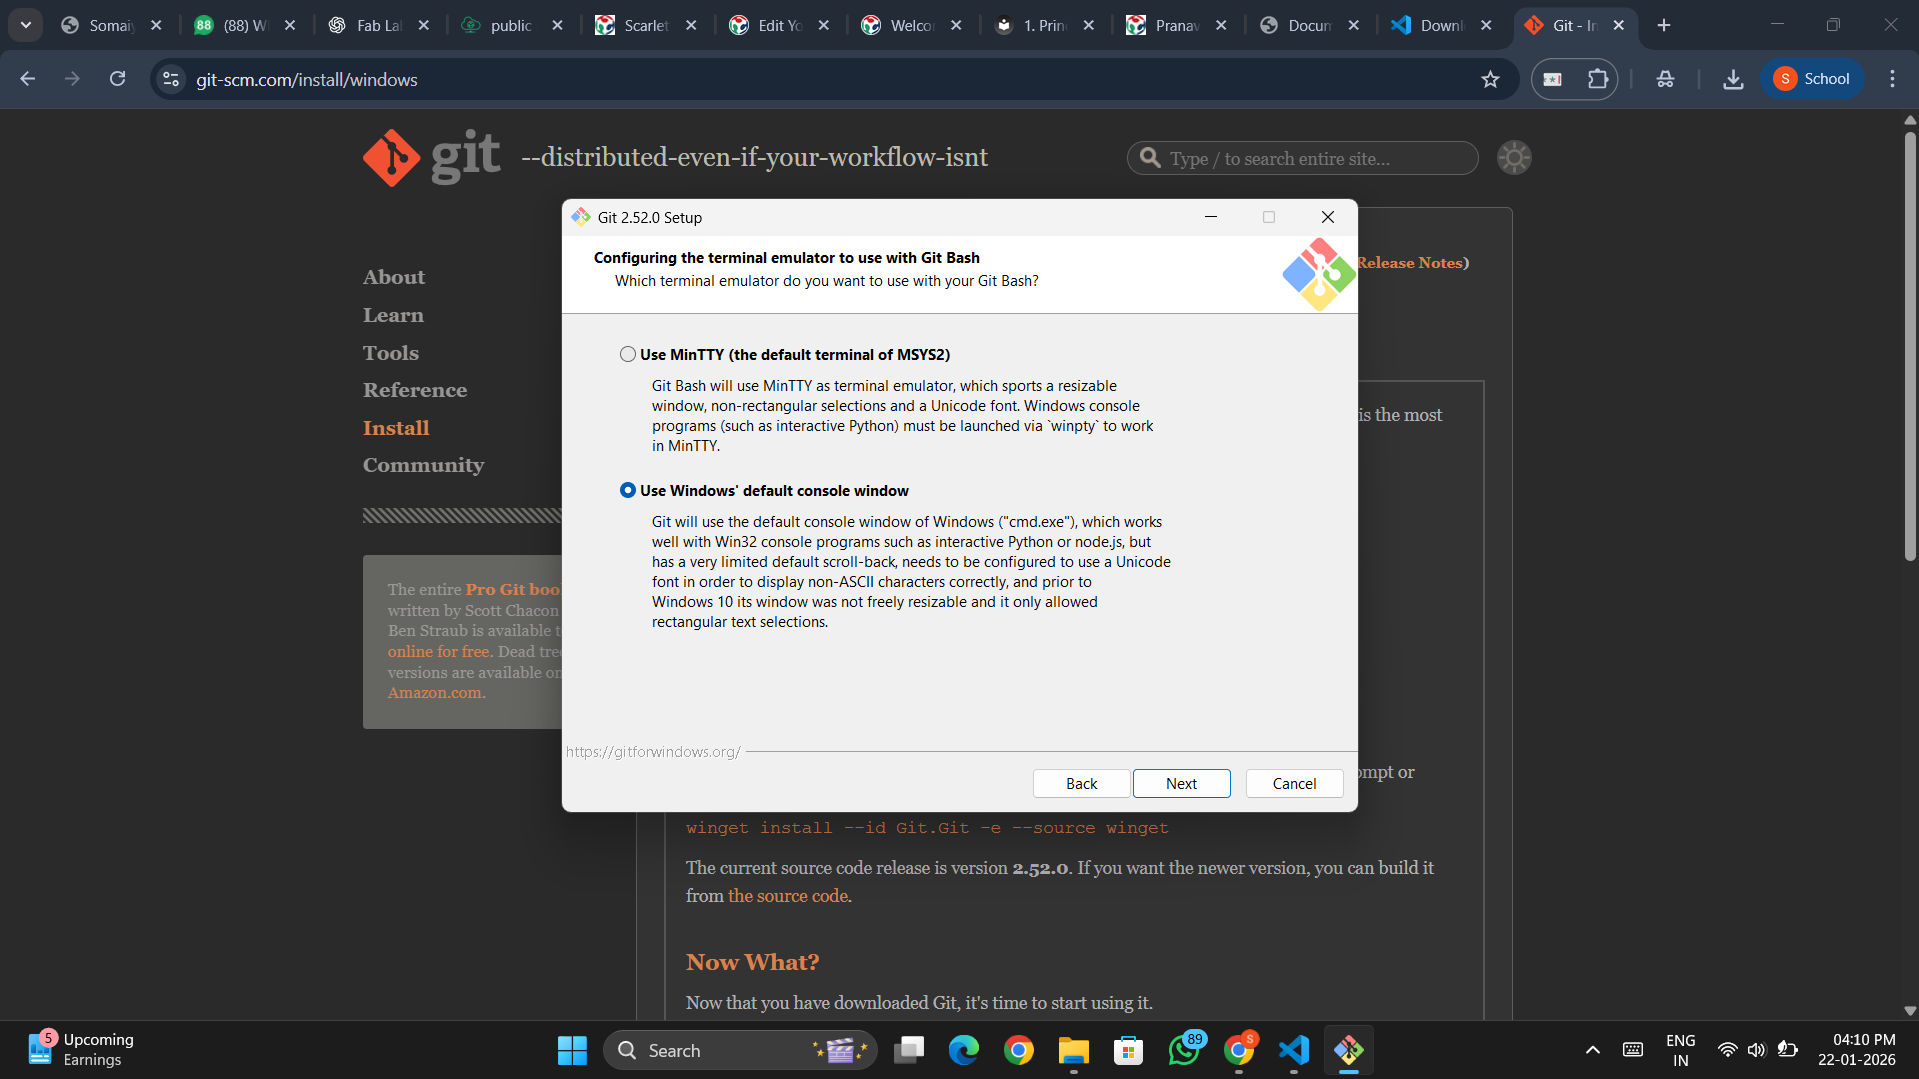
- The setup wizard asks a lot of questions — most can be skipped by clicking Next
- However, there are a couple of important settings I had to change:
Change the following:
- Initial branch name → LET GIT DECIDE
- Terminal emulator → Windows default console window
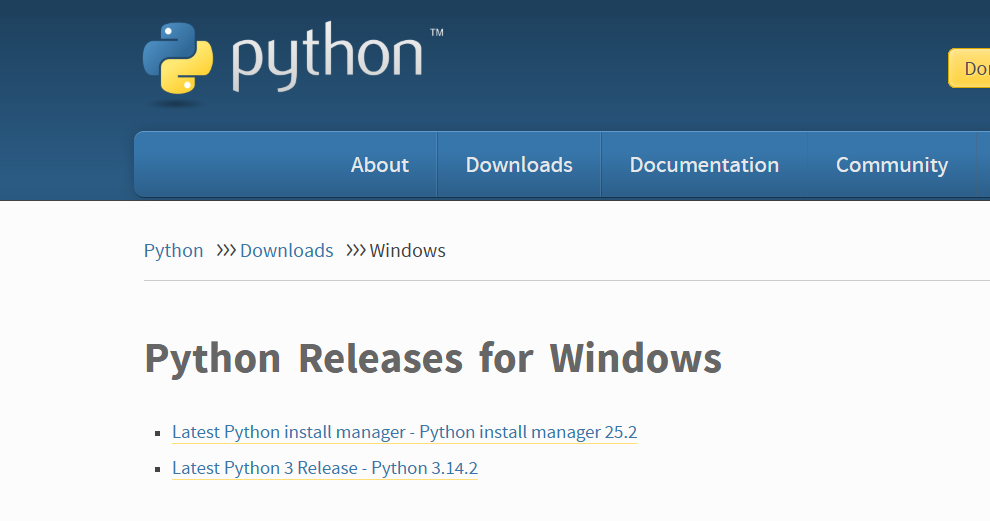
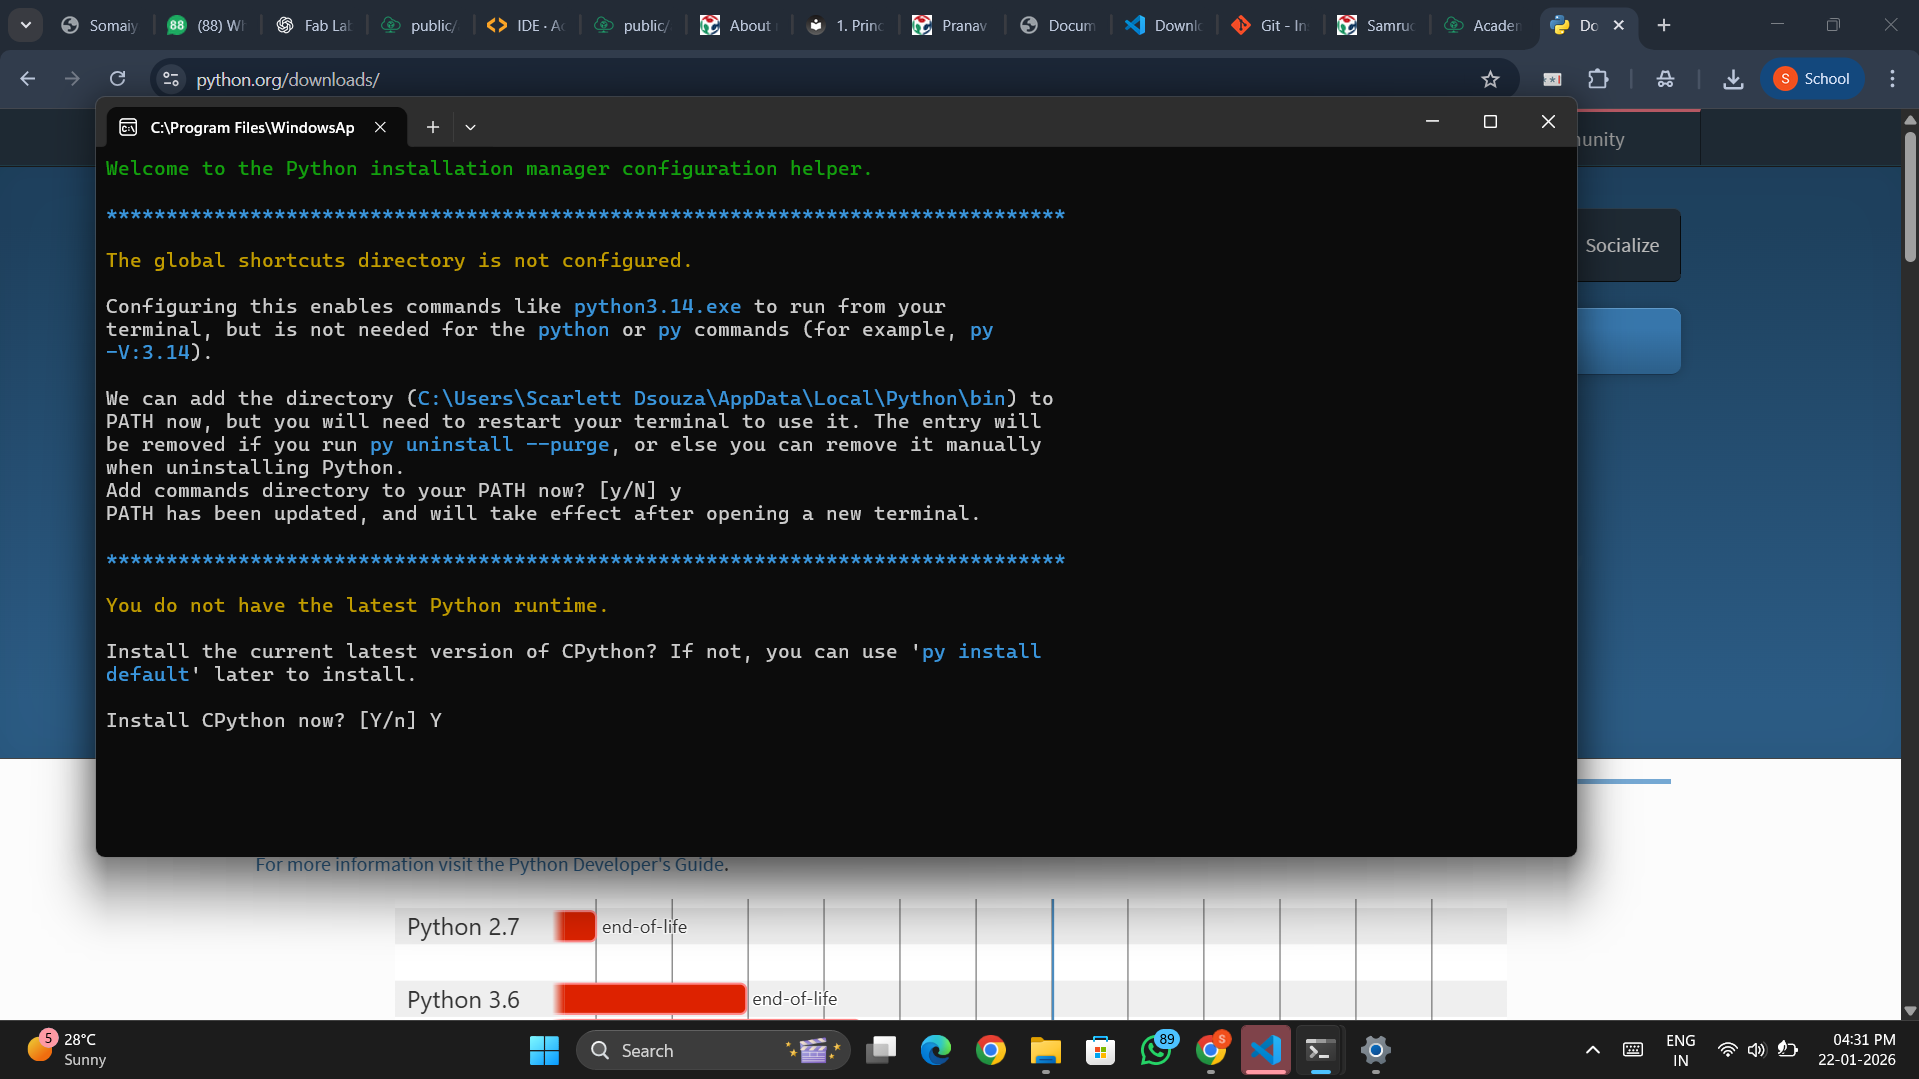
2️⃣ Setting Up Python 🐍
Honestly… no idea how I did this?? (╥﹏╥)
- ❌ Initially installed the Windows Python Manager (bad idea)
- 💥 This caused a lot of issues.
- Mentors noticed I had installed the wrong version.
- Fixed by installing Python – Windows installer (64-bit)(⌐■_■)

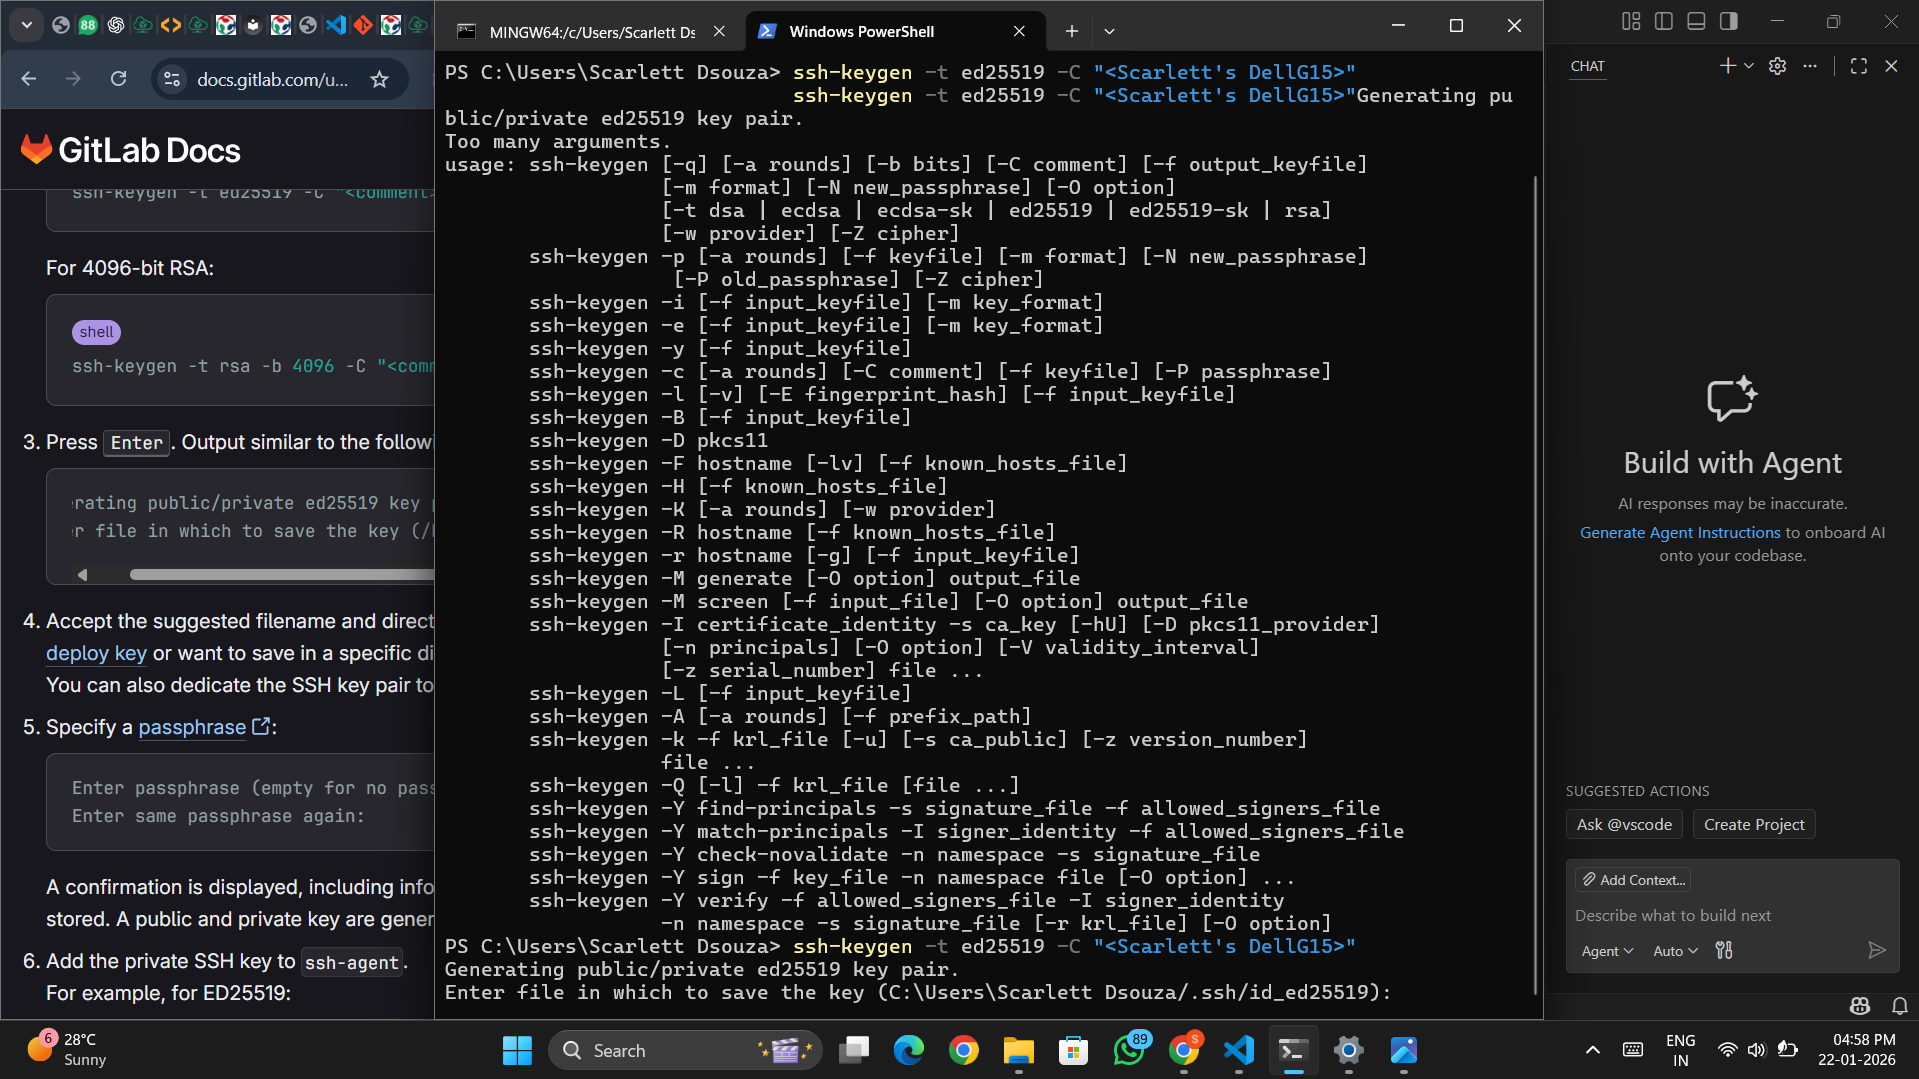
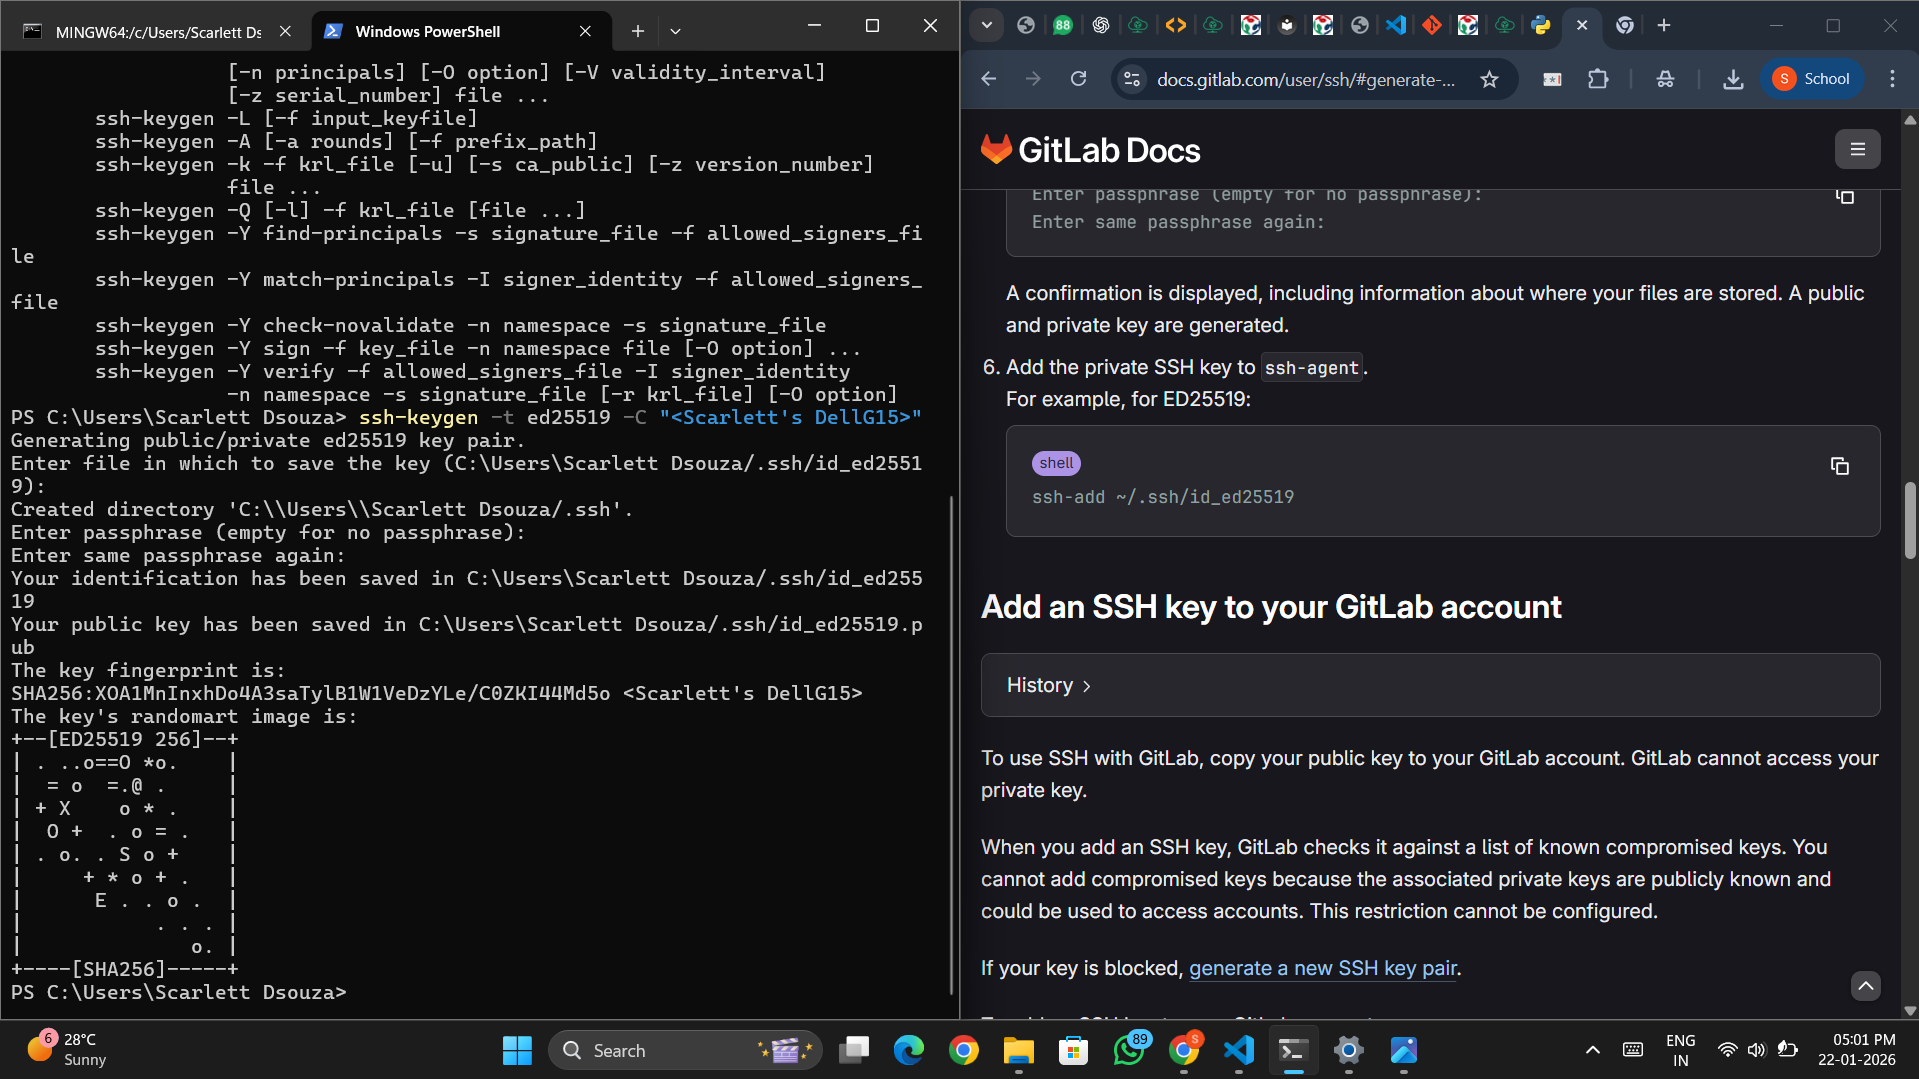
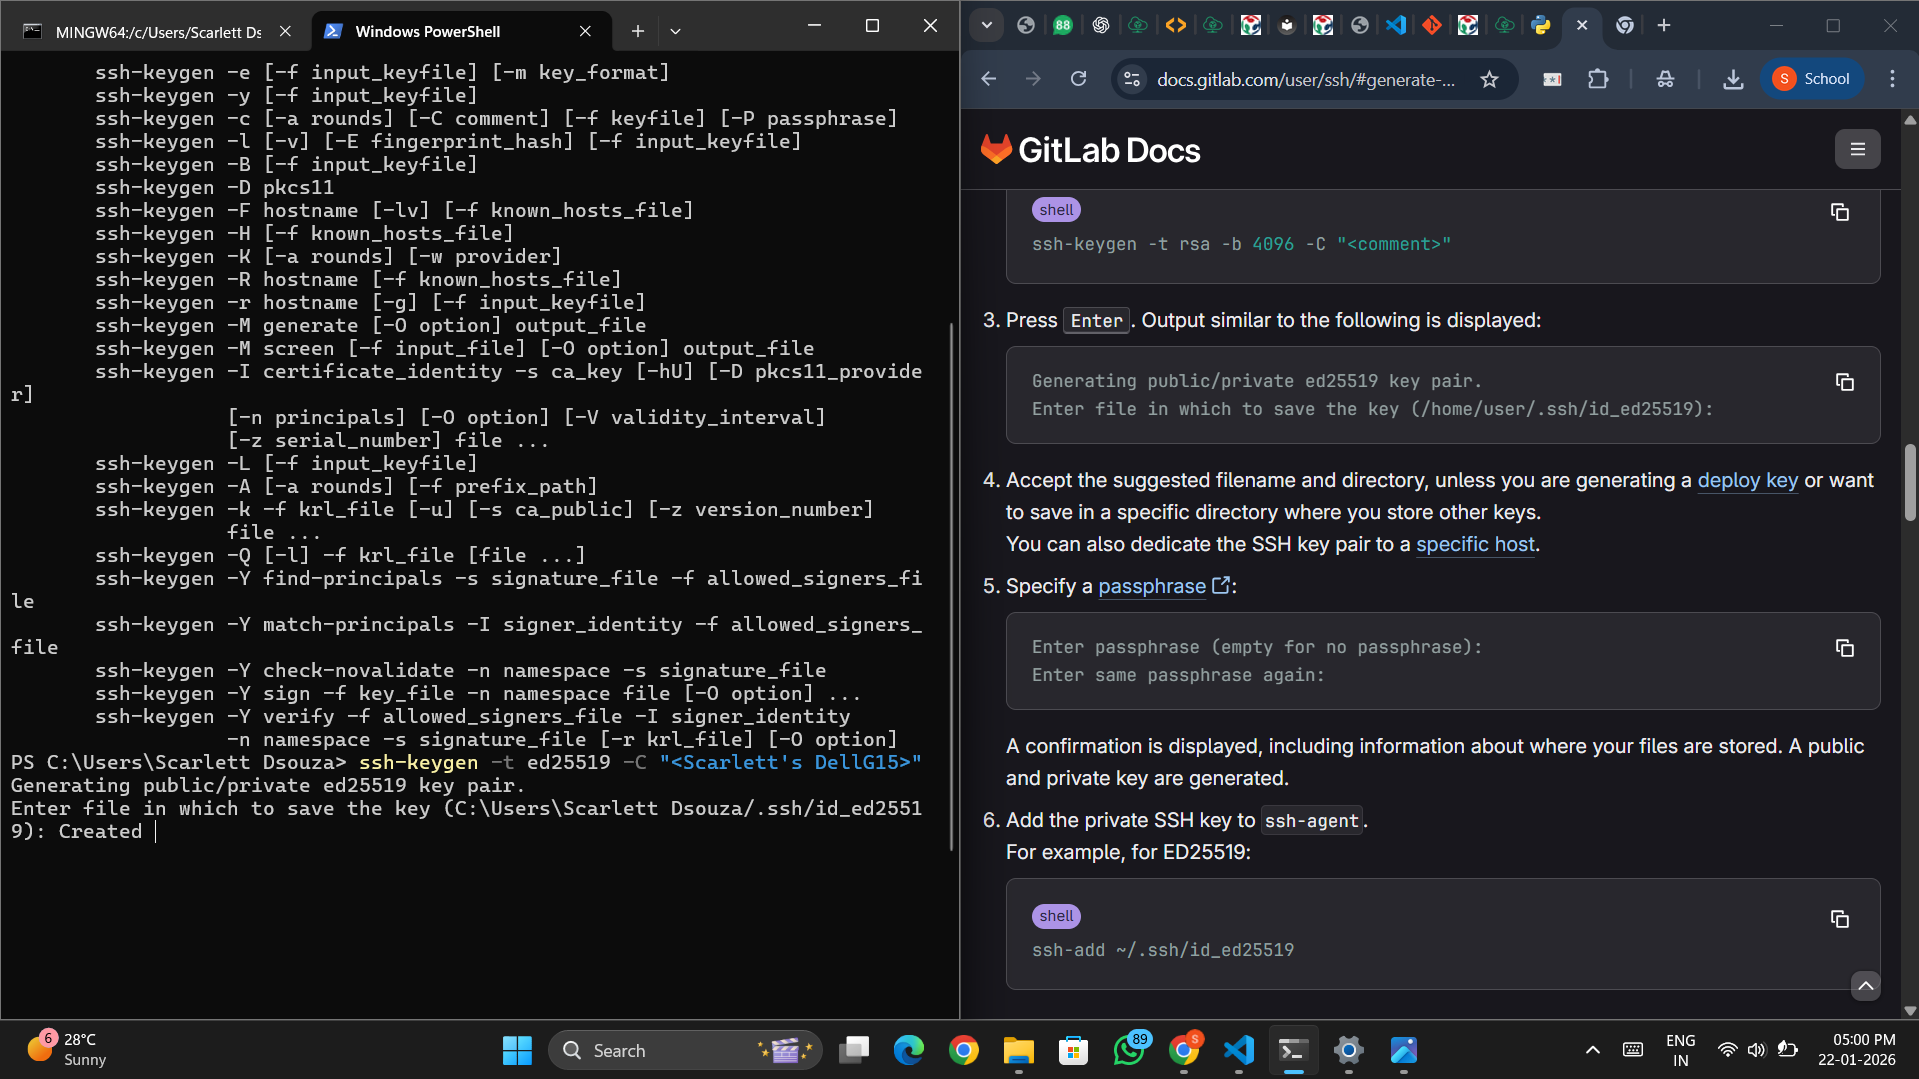
3️⃣ Generating an SSH Key 🔐
An SSH key is a secure digital passkey that lets your computer connect to servers without repeatedly entering a password.
- 🔑 Private key — stored on my computer
- 🌐 Public key — shared with GitLab
When both match, access is granted ✨
- Opened Command Prompt.
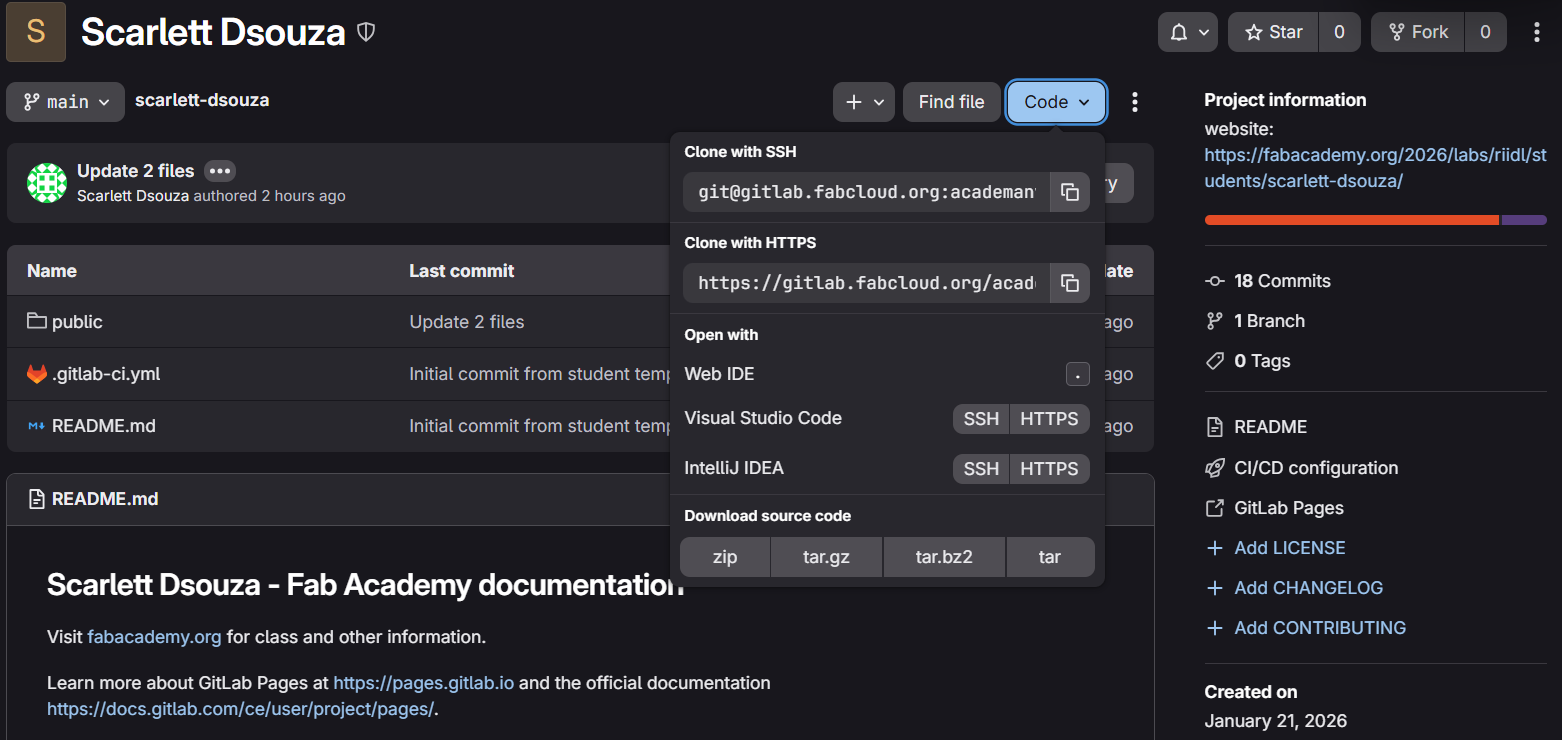
- Copied SSH key generation command from GitLab.
- Pasted and ran the command.
- Connected Git to my local drive.
- Added the key to GitLab under Preferences.


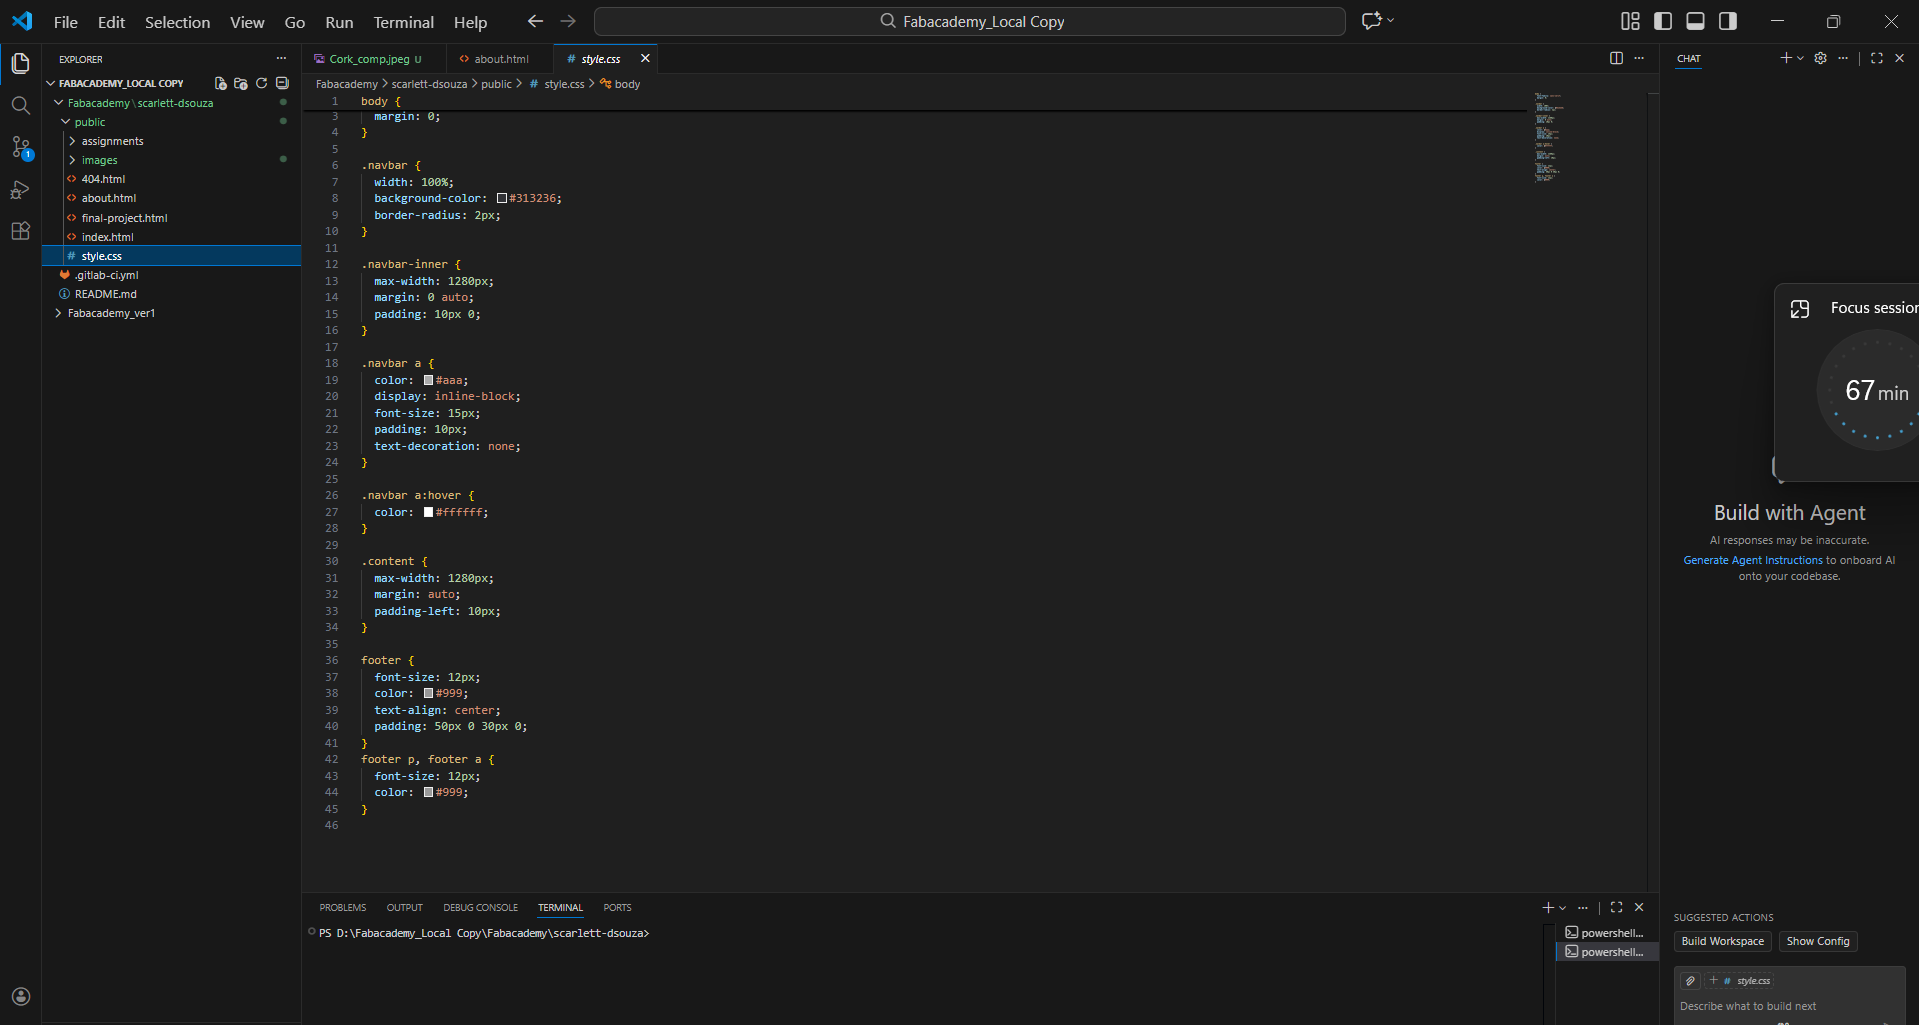
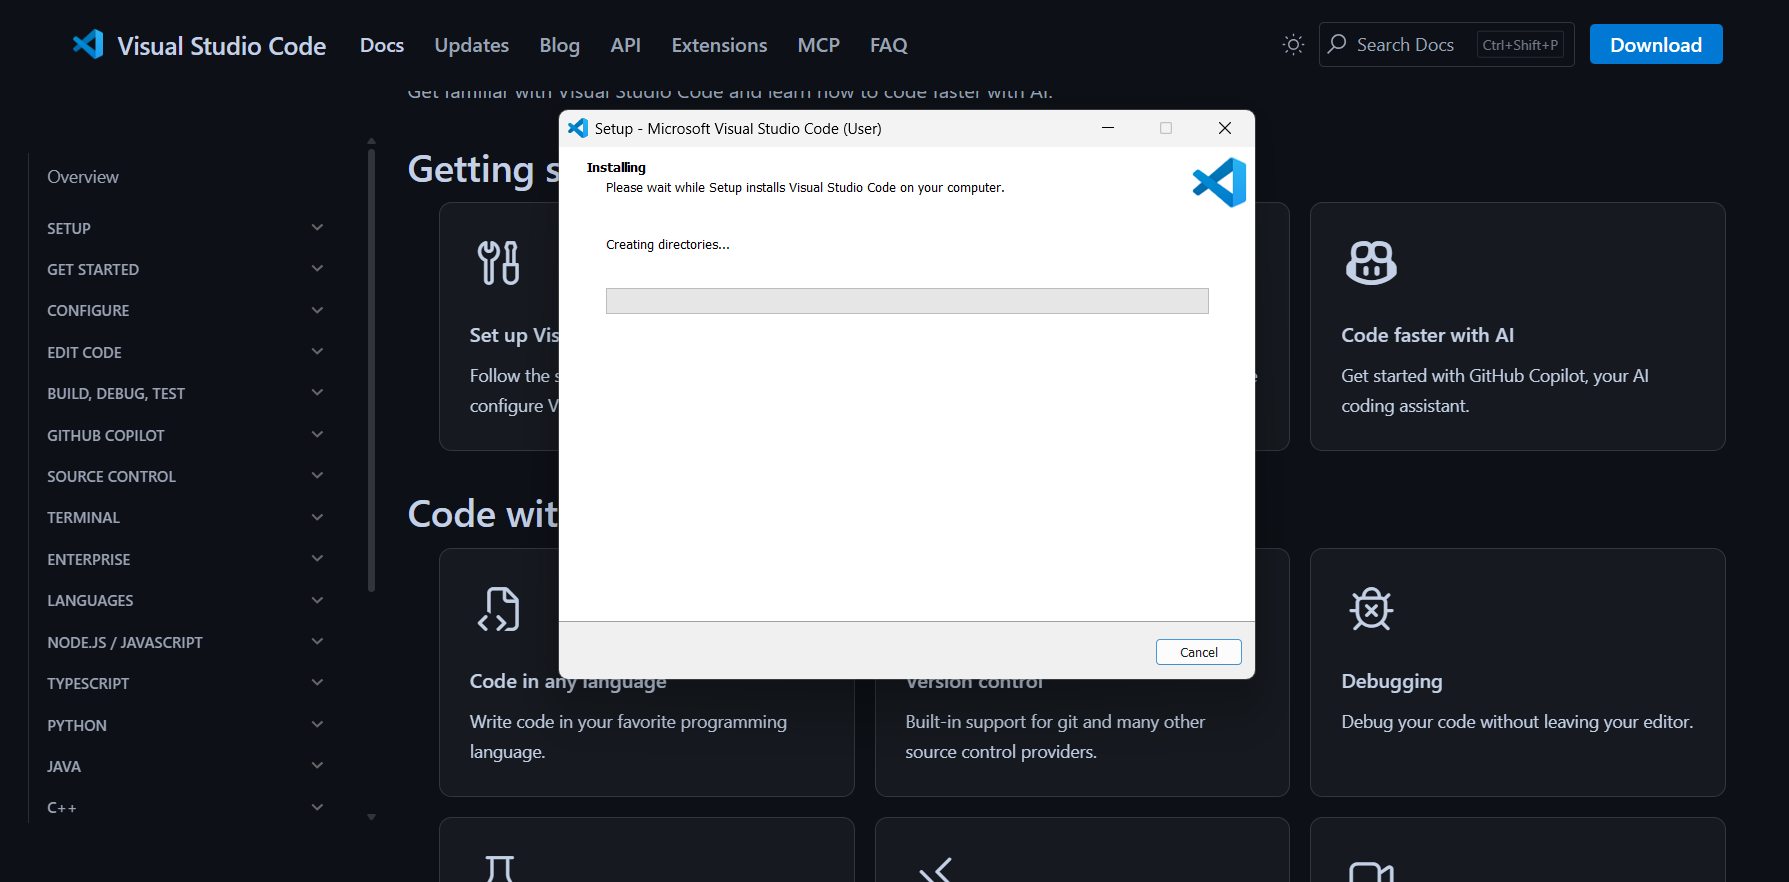
4️⃣ Setting Up VS Code
- Downloaded Visual Studio Code.
- Opened my cloned repository folder 📁
- Edited and managed HTML files locally.
5️⃣ Authorising Git
- Used SSH key to authorise Git.
- Opened integrated terminal in VS Code.
- Ran git clone with repository ID.
- Repository successfully cloned (づ。◕‿‿◕。)づ