Invention, Intellectual Property and Income - Assignment:
Dissemination Plan
The project is shared openly so it can be replicated, adapted, and improved by others. Technical documentation is published on GAB Academy as a progressive log of the design and development process. The source code is published on GitHub with comments to make it easier to understand. As a complement, a demonstration video is produced showing the device in real operation. The intended audience includes engineering and design students, physical therapists interested in monitoring tools, and the maker community in general.
| Channel | Content | Audience |
|---|---|---|
| GAB Academy | Technical documentation and process log | Students, instructors, evaluators |
| GitHub | Commented source code, schematics and README | Maker community, developers |
| Demo video | Real device operation in use | General audience, therapists, makers |
Future Possibilities
The current device is a functional foundation. The following iterations aim to increase precision, usability, and application potential. Each possibility has a concrete path to move from idea to reality.
| Possibility | How to make it happen |
|---|---|
| BLE connectivity with mobile app | The XIAO nRF52840 already has BLE built in; develop an app with Flutter or MIT App Inventor to visualize data in real time |
| Automatic movement pattern classification with ML | Use the dataset generated with the current device to train a lightweight model that can run on the microcontroller |
| 3D-printed ergonomic enclosure | Design in Fusion 360 using the real component dimensions; iterate with printed prototypes until achieving a good fit on the wrist and forearm |
| Relocation of the heart rate sensor | Explore placement on the palmar side of the wrist or on the finger, where surface blood flow allows more reliable MAX30102 readings |
| Validation in physical rehabilitation settings | Collaborate with physical therapists to define clinically relevant thresholds and compare readings against reference equipment |
What has been completed, and what remains?
The core detection and feedback system is fully operational. Remaining tasks focus on robustness, enclosure, and generating the data that will support the next stages of the project.
| Status | Task |
|---|---|
| ✅ Done | LSM6DS3 + BNO08x integration for accelerometer fusion |
| ✅ Done | Real-time jerk calculation and abnormal movement detection |
| ✅ Done | Haptic feedback via DC motor when high jerk is detected |
| ✅ Done | OLED displays heart rate at rest and switches to visual alert on abnormal movement |
| ✅ Done | Heart rate reading with MAX30102 integrated into the system |
| ⏳ Pending | Fine calibration of the jerk threshold by activity type |
| ⏳ Pending | Build a labeled movement dataset (normal vs. abnormal) |
| ⏳ Pending | Final enclosure and device assembly |
| ⏳ Pending | Complete and commented source code documentation |
What's working? What's not?
Abnormal movement detection, haptic feedback, and on-screen visualization work reliably as an integrated system. The fusion between the LSM6DS3 and BNO08x produces more stable acceleration readings than either sensor alone, making the jerk calculation robust against small involuntary movements. The OLED correctly switches between heart rate mode and alert mode, and the motor triggers vibration immediately with no noticeable delay.
The most problematic component in the current configuration is the MAX30102. Placed on the dorsal side of the forearm, the sensor is not positioned over an area with sufficient surface blood flow for reliable photoplethysmographic readings. The device does return heart rate values, but these can be less accurate than readings obtained at the palmar wrist or finger. This does not prevent the system from functioning, but it is a limitation to consider when interpreting pulse data.
What questions need to be resolved?
These are the most important open questions for the next stages of the project. Some are technical, others methodological.
| Question | Why it matters |
|---|---|
| What jerk threshold reliably separates intense normal movement from abnormal movement? | Defining this with real data prevents false positives during activities like running or quick gestures |
| How should the dataset be structured to be useful for future ML models? | Correct labeling from the start avoids having to collect data twice |
| Is it viable to relocate the MAX30102 to the palmar side without redesigning the device? | Improving pulse accuracy without increasing hardware complexity |
| How efficient is power consumption during continuous use? | Determines whether firmware optimization or a different power source is needed |
What will happen when?
The upcoming weeks focus on closing technical pending items, generating the initial dataset, and consolidating the final project presentation.
| Week | Activity |
|---|---|
| Current week | Full documentation, integration testing of all modules |
| Week 2 | Start data collection and structure the labeled movement dataset |
| Week 3 | Jerk threshold calibration with real data; firmware parameter adjustment |
| Week 4 | Enclosure design and assembly; demo video; final presentation |
What have you learned?
The most important lesson was that jerk is a more informative metric than raw acceleration for detecting movement quality. Acceleration describes how fast the body is moving; jerk describes how abruptly that movement changes — which is exactly what characterizes a spasm or an abnormal compensatory gesture.
Fusing two accelerometers — the one built into the XIAO and the external BNO08x — proved more effective than relying on a single sensor with filtering. The combined readings are more stable and reduce noise without sacrificing sensitivity to real events.
Working with the MAX30102 during movement showed that commercial wearables invest significant resources in motion artifact rejection algorithms for PPG signals, not just in hardware. The physical placement of a sensor on the body is a critical design decision, not a minor detail.
Finally, working with haptic feedback demonstrated that vibration is more effective than visual alerts during physical activity, since it does not require the user to look at the device. This points toward designs where the motor is the primary communication channel with the user while in motion.
Creative Commons License
To protect the project and define how others can use it, a Creative Commons license was generated using the official license chooser on Creative Commons. The process involves answering a few questions about how you want your work to be used, and the tool recommends the most appropriate license. The following steps walk through how the license was selected and applied to the project.
1. Answer the license chooser questions: The chooser walks you through a series of decisions that define the conditions of your license. Each question addresses a different aspect of how you want others to interact with your work.
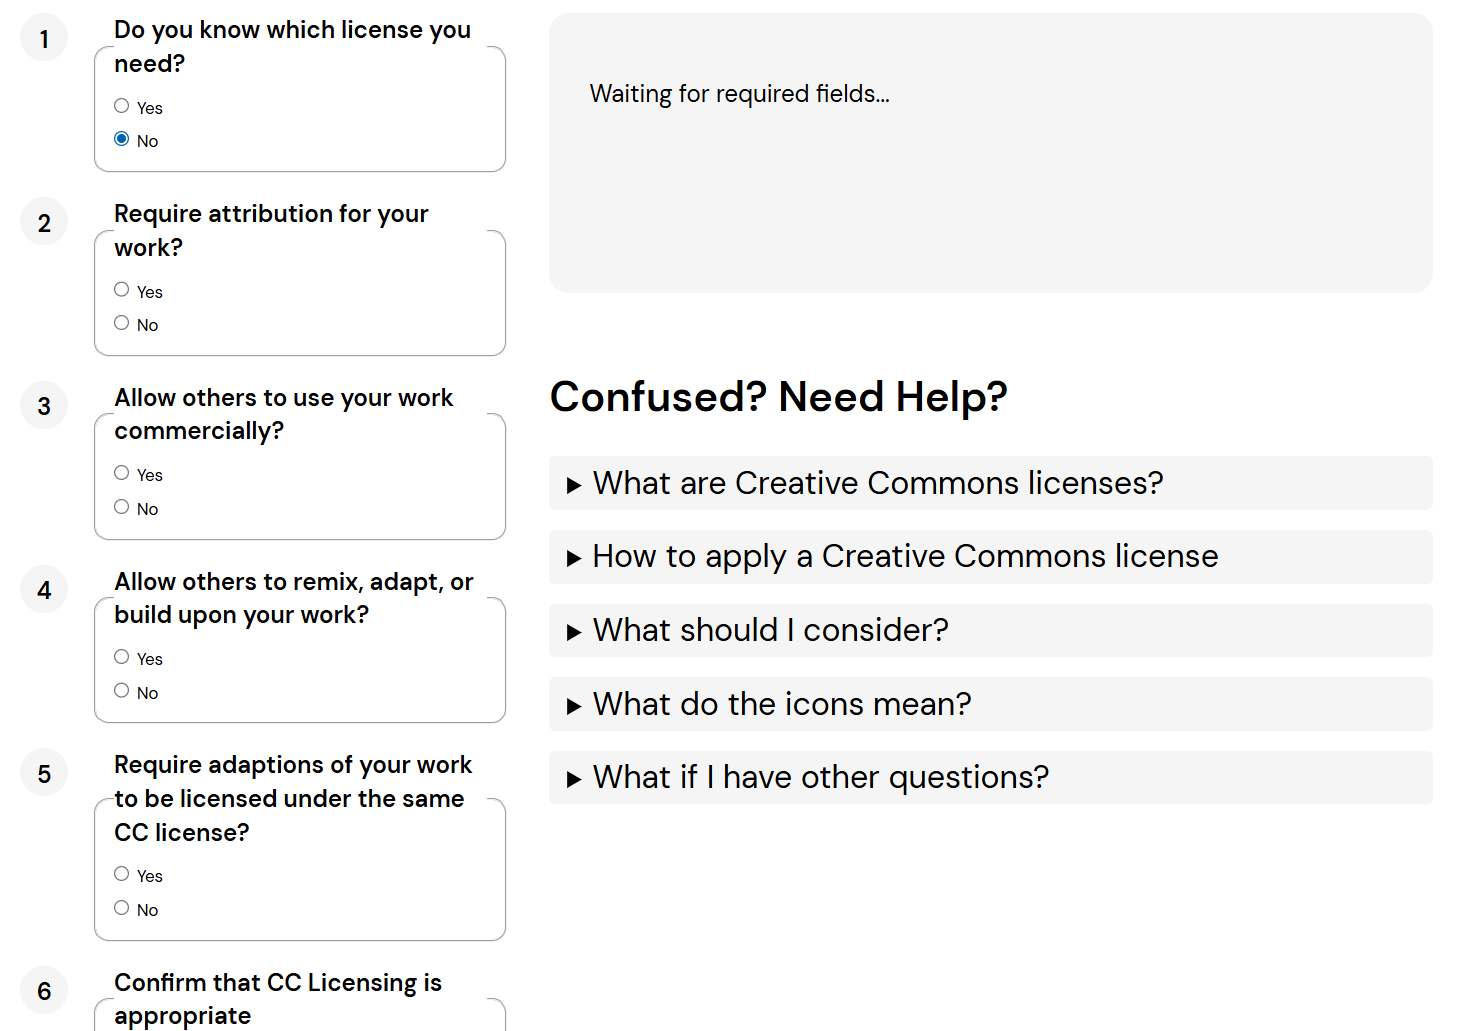
- Do you know which license you need? Whether or not you already have a specific license in mind — if not, the tool will guide you through the rest of the questions to find the right one.
- Require attribution for your work? Whether you want anyone who uses or shares your project to credit you as the original creator.
- Allow others to use your work commercially? Whether you are open to others using your project for commercial purposes or prefer to limit it to non-commercial use only.
- Allow others to remix, adapt, or build upon your work? Whether others can take your project as a base and create their own modified versions from it.
- Require adaptations to be licensed under the same CC license? Whether any modified version of your work must carry the same license terms as your original.
- Confirm that CC Licensing is appropriate — whether a Creative Commons license is the right fit for the type of work you are sharing.
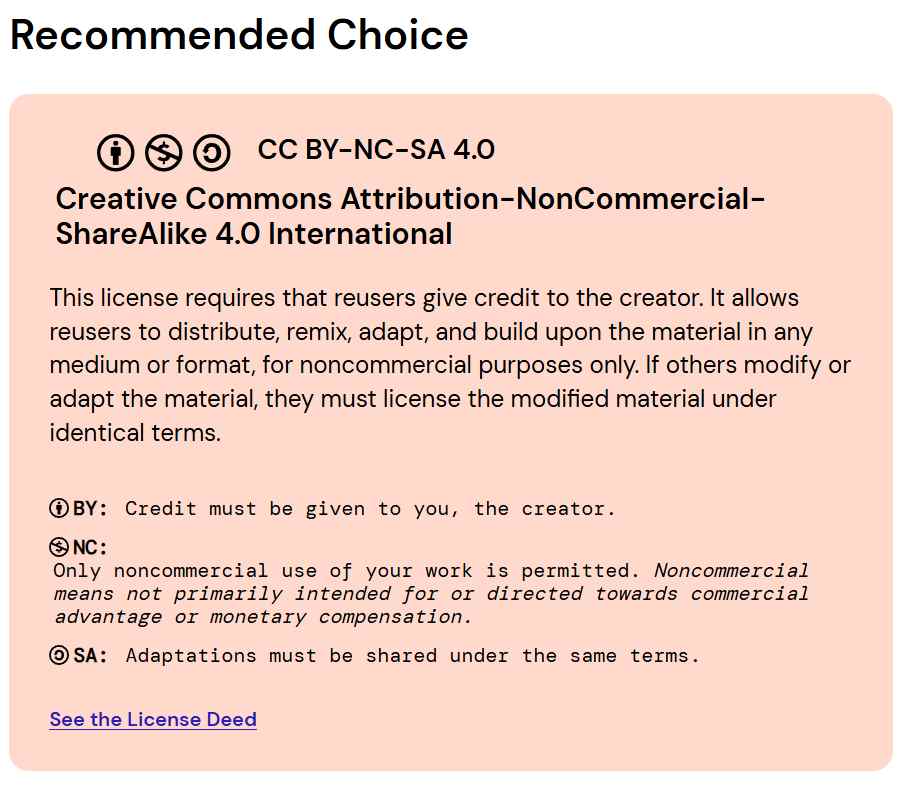
2. Recommended license — CC BY-NC-SA 4.0: Based on the answers above, the tool recommended the Creative Commons Attribution-NonCommercial-ShareAlike 4.0 International license. This means anyone can share or adapt the project as long as they credit the creator, limit use to non-commercial purposes, and release any modified version under the exact same license terms.
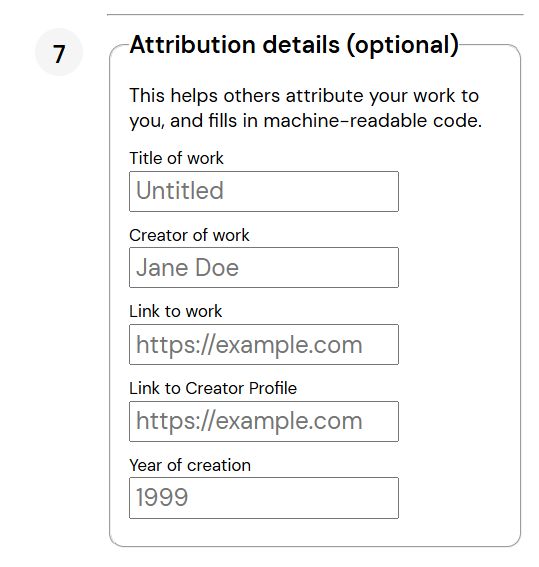
3. Fill in the attribution details: Step 7 of the chooser allows you to add metadata that makes your license machine-readable and easier to attribute. Fill in the title of the work, your name as creator, the link to the project page, your creator profile link, and the year of creation. These fields are optional but strongly recommended.
4. Add the license to the project footer: Once generated, copy the license badge and attribution text provided by the tool and paste it into the footer of your Final Project page. This makes the license immediately visible to anyone visiting the documentation and clearly communicates that the work is open — but with defined conditions.
