Molding and Casting
This week's assignment consisted of exploring molding and casting processes to produce custom parts. Using a mold allows for replicating a piece quickly and easily, which is especially useful for mass production. For this task, I was required to design and manufacture a mold, in my case, I used 3D resin printing and then use that mold to create a final piece through the casting process.
During the group assignment on molding and casting, the team analyzed safety data sheets and compared, through practical tests, the flexibility of 3030 silicone with the rigidity of epoxy resin. They also evaluated two methods for manufacturing master molds: 3D printing in resin, which offers a high level of detail but requires care to avoid inhibiting the silicone curing process, and CNC milling in machinable wax, a precise and reusable alternative without adverse chemical reactions and suitable for creating food-grade molds.
Group Assignment Week 13
Mold Design
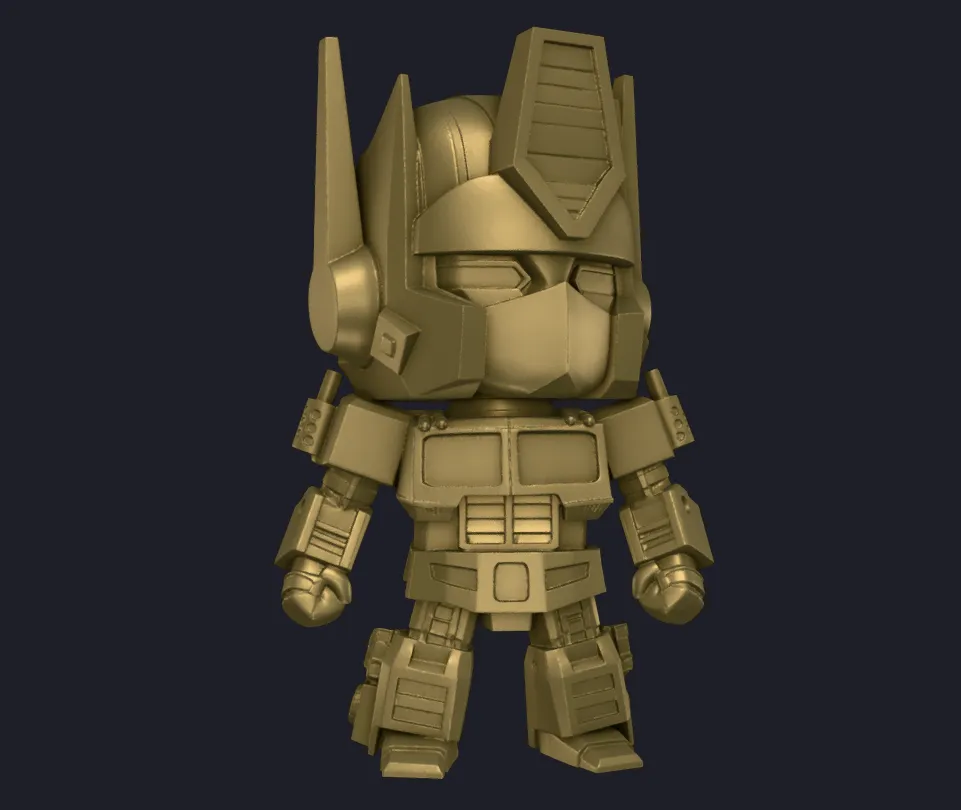
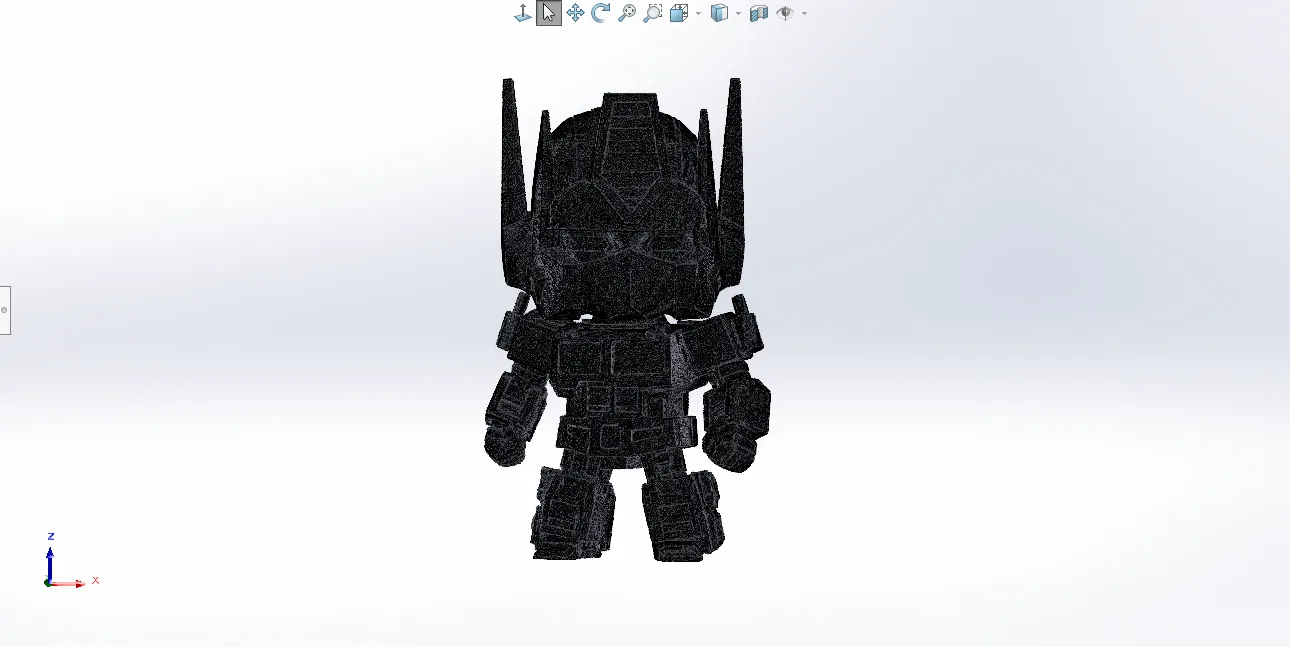
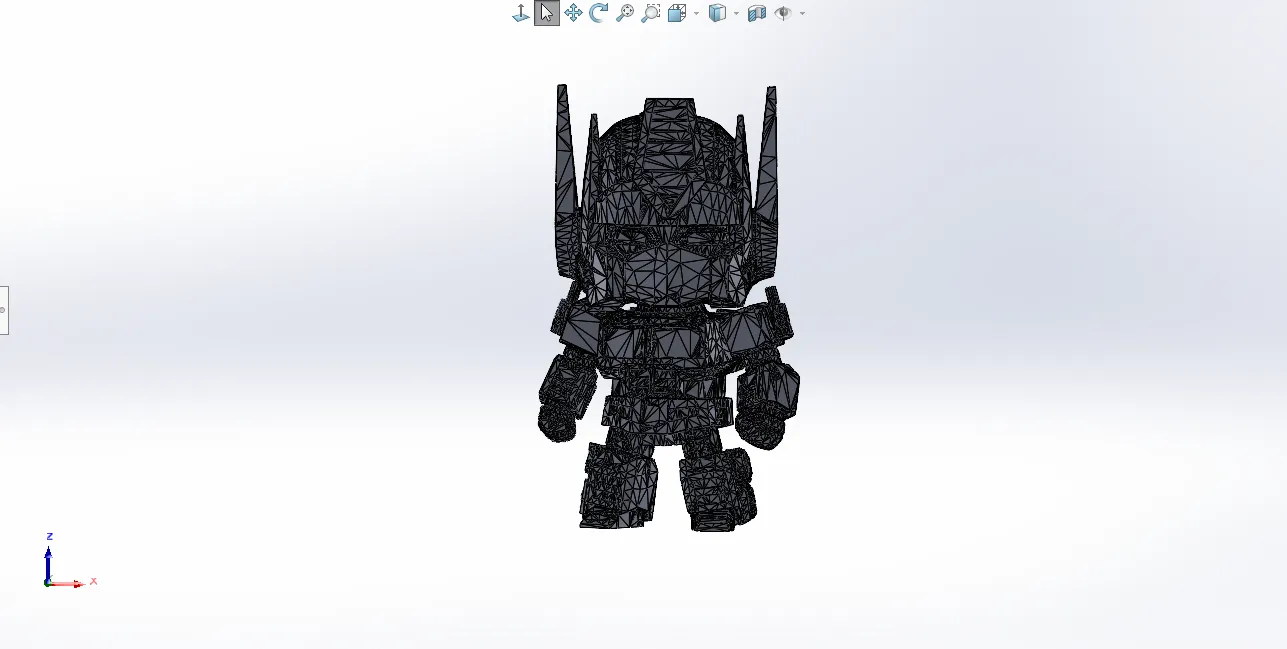
First, I downloaded an STL model from the web of something I liked: a Chibi Optimus Prime by NeoVoxelEd:
Optimus Prime Chibi Model
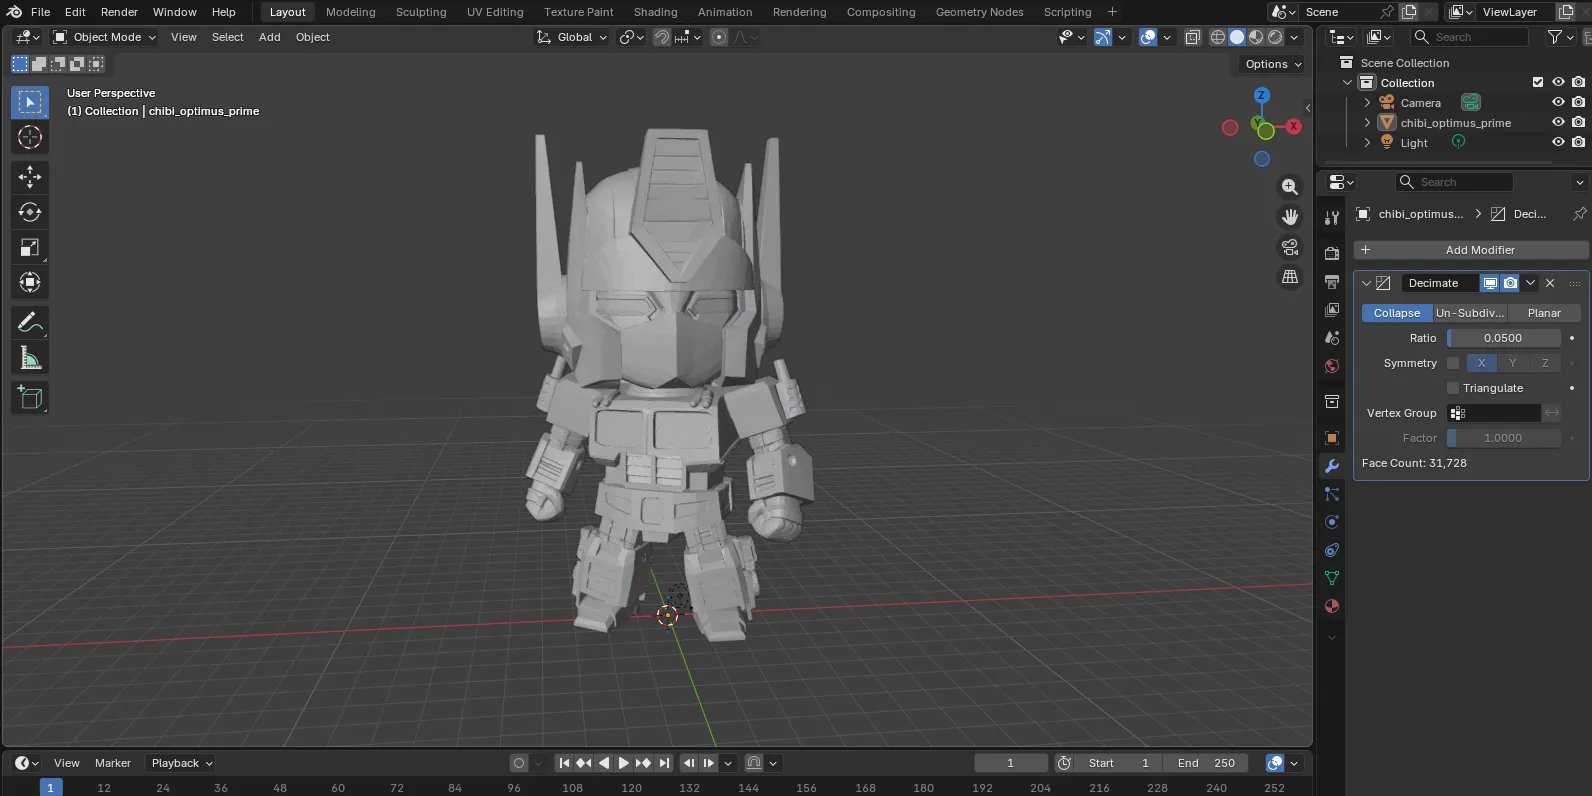
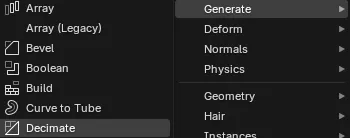
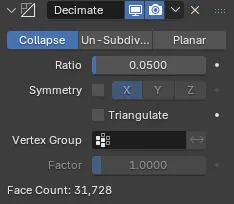
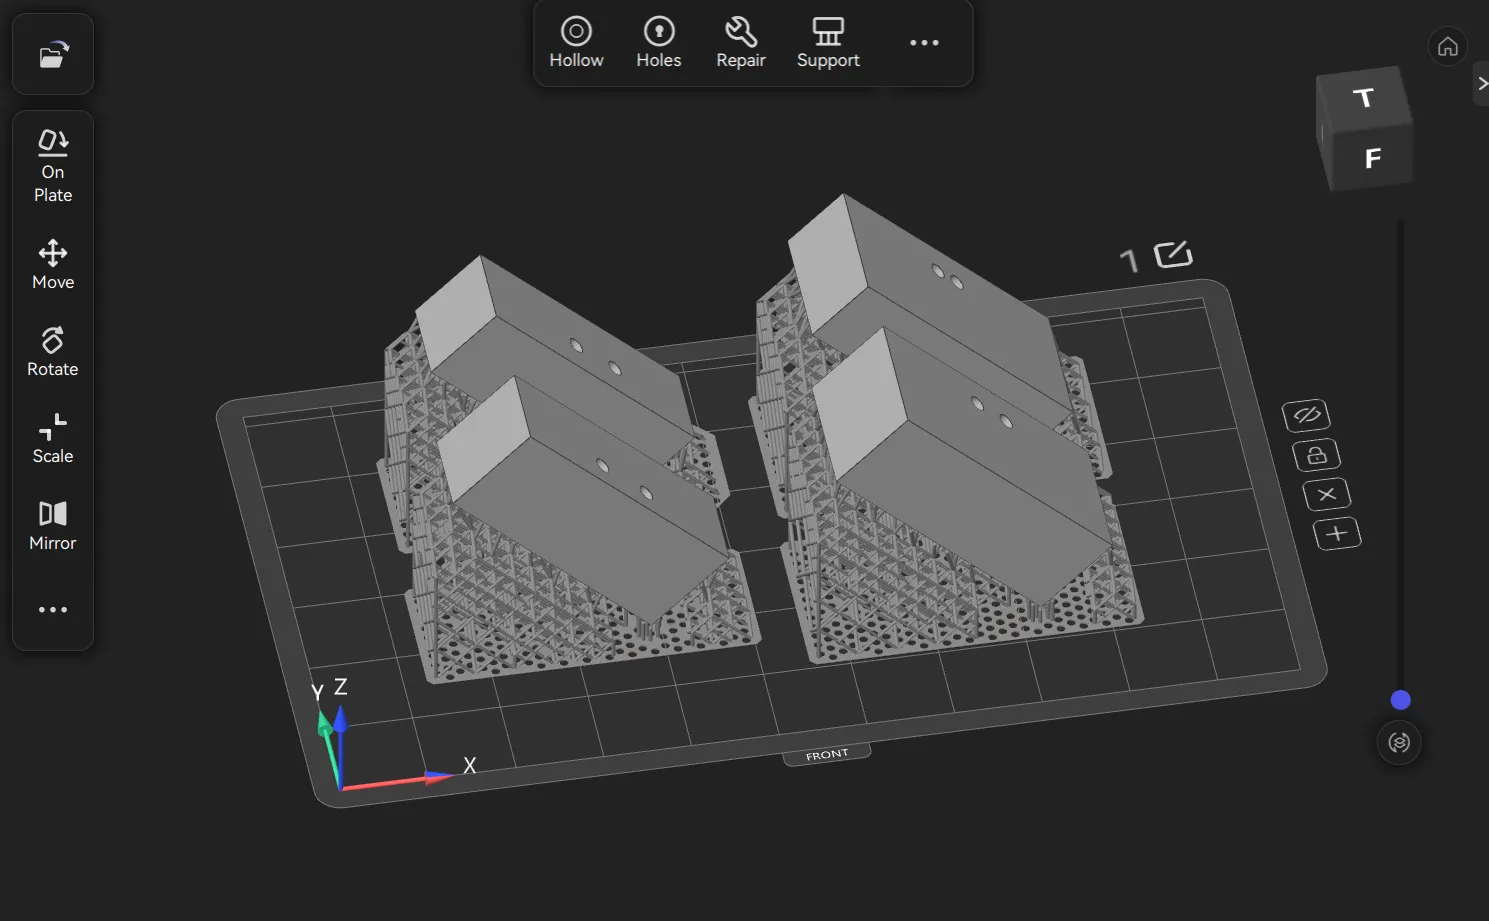
Upon downloading the model, I noticed it contained too many geometric triangles, which would have made the mold-making process take too long or cause my computer to crash. Therefore, I decided to import the model into Blender to reduce the triangle count and simplify the workflow.
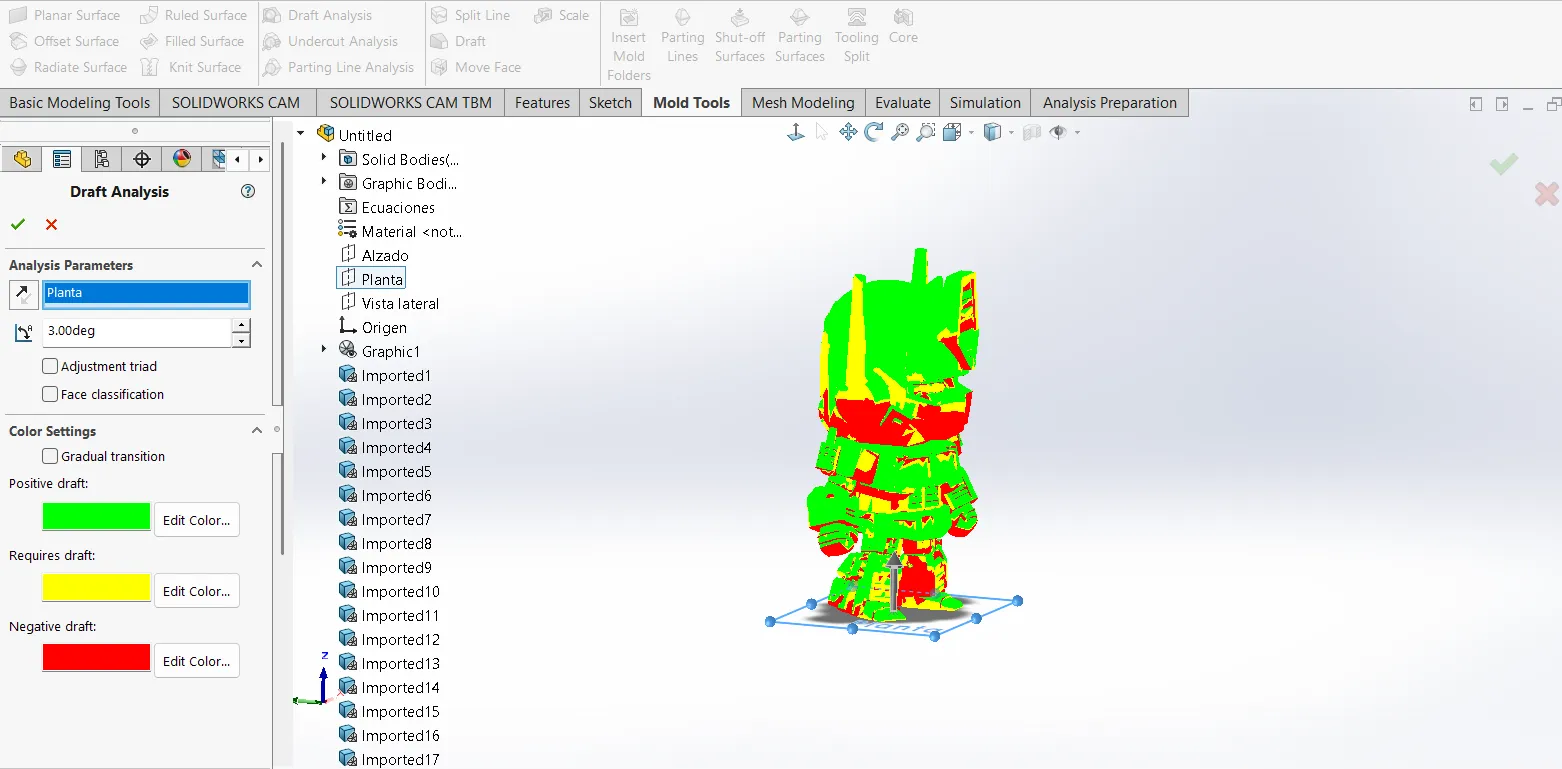
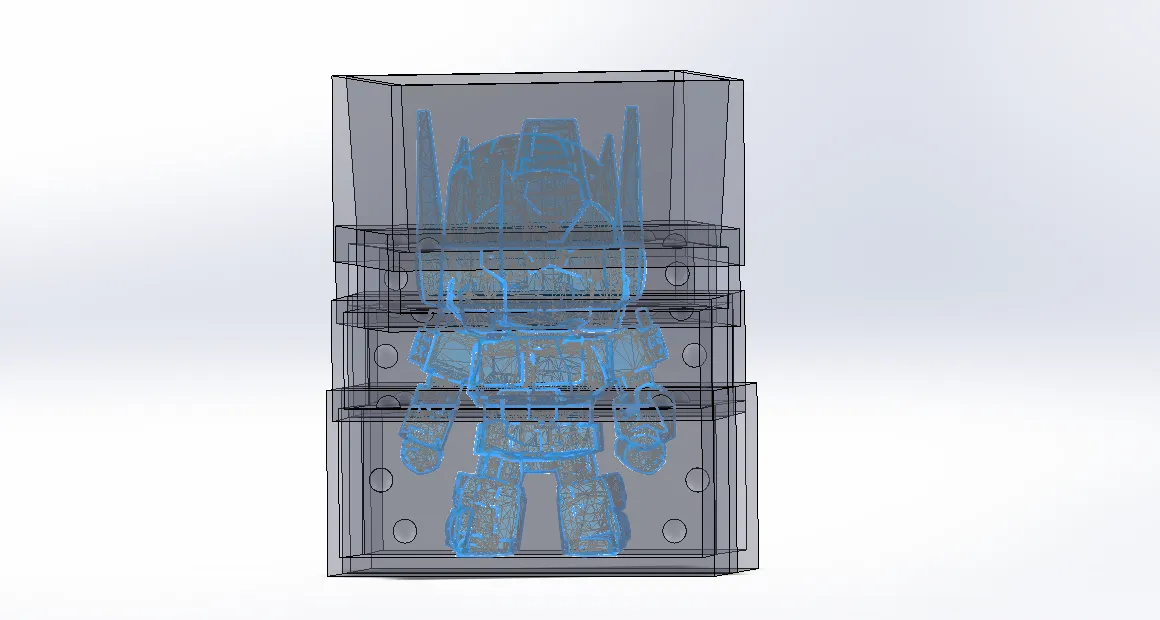
With the triangles reduced, I proceeded to create the mold in SolidWorks. First, I had to convert the mesh model into a solid using the Convert to Mesh Body tool. Then, I performed a Draft Analysis located in Mold Tools to identify undercuts and ensure the mold could open correctly. This helped me spot areas that might cause trouble during demolding.
Using the information about the undercuts, I began splitting the model into sections to avoid them. I ended up with 7 parts. For each one, I generated a mold by constructing walls around the part and creating strategic registration joints so that the final silicone mold would align perfectly.
Once the molds were designed, I created an assembly to verify that all components fit correctly and formed the final mold structure.
Mold Making
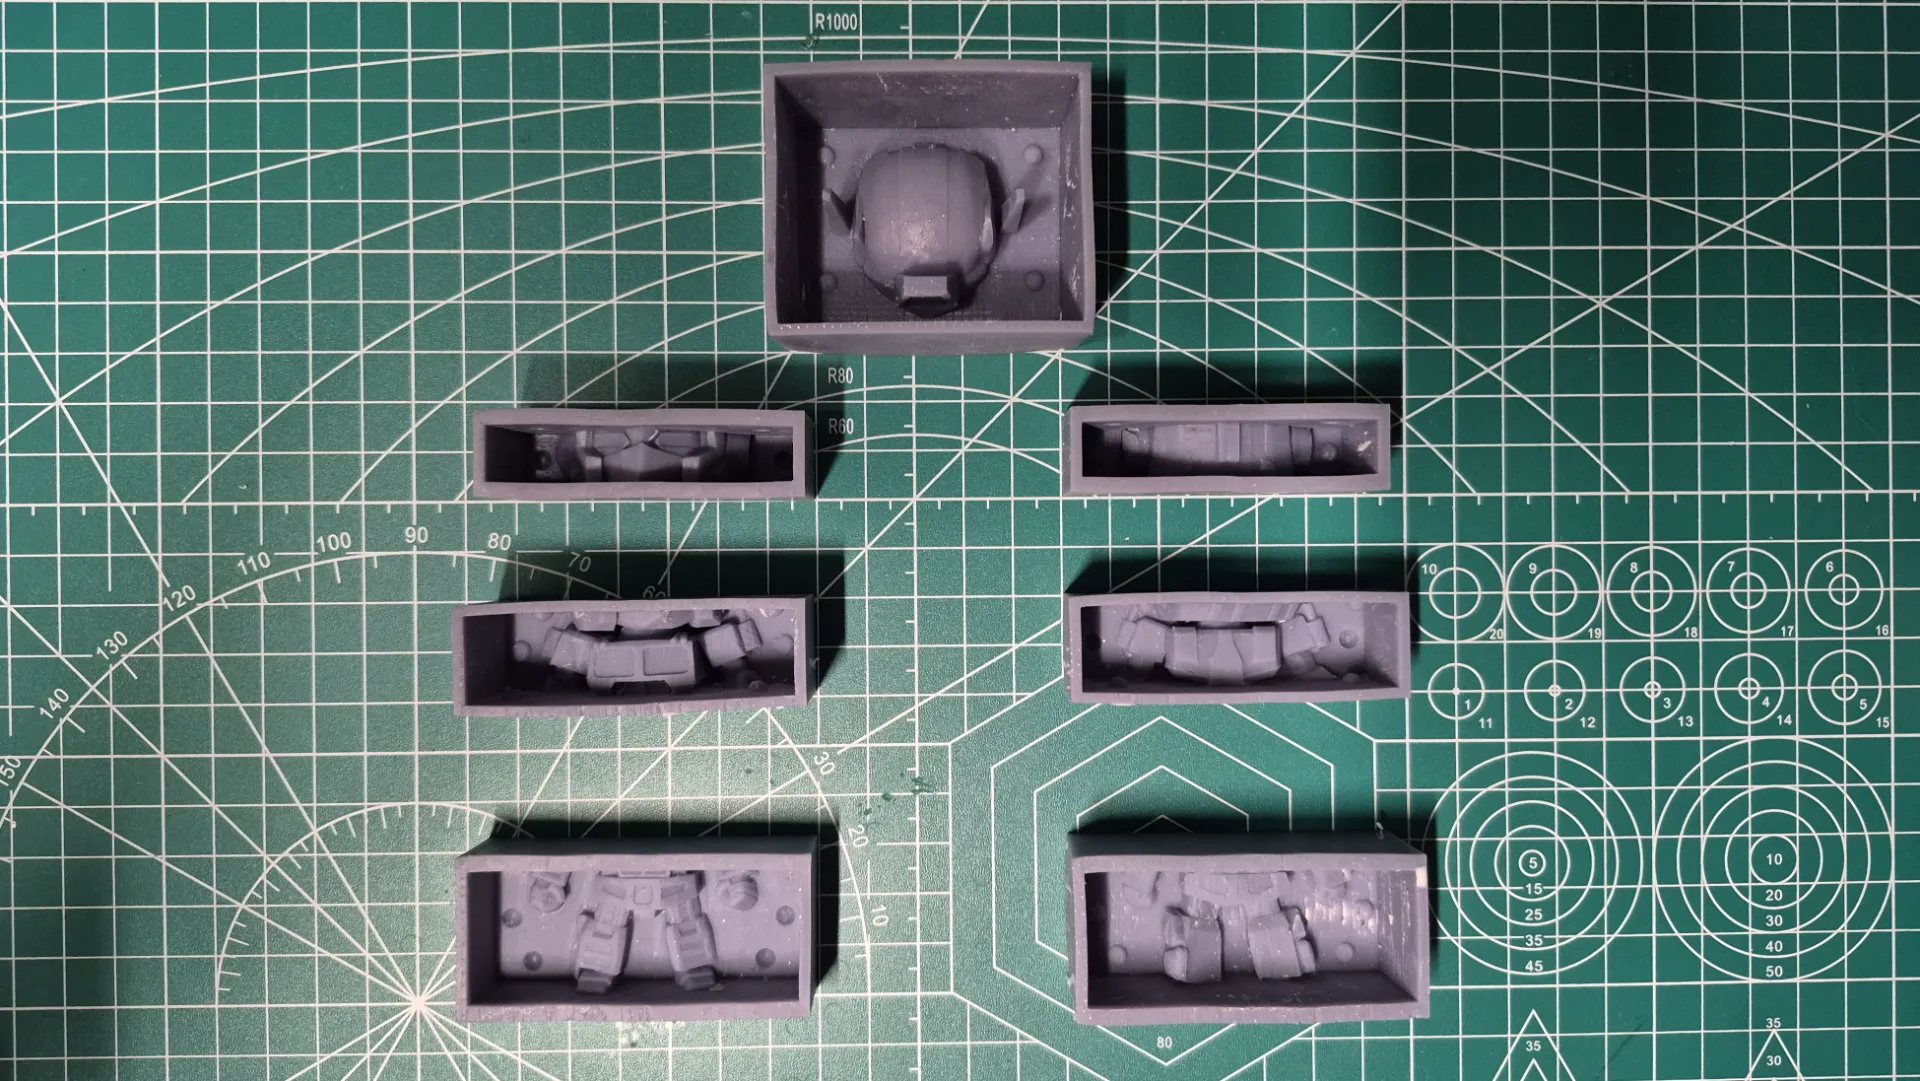
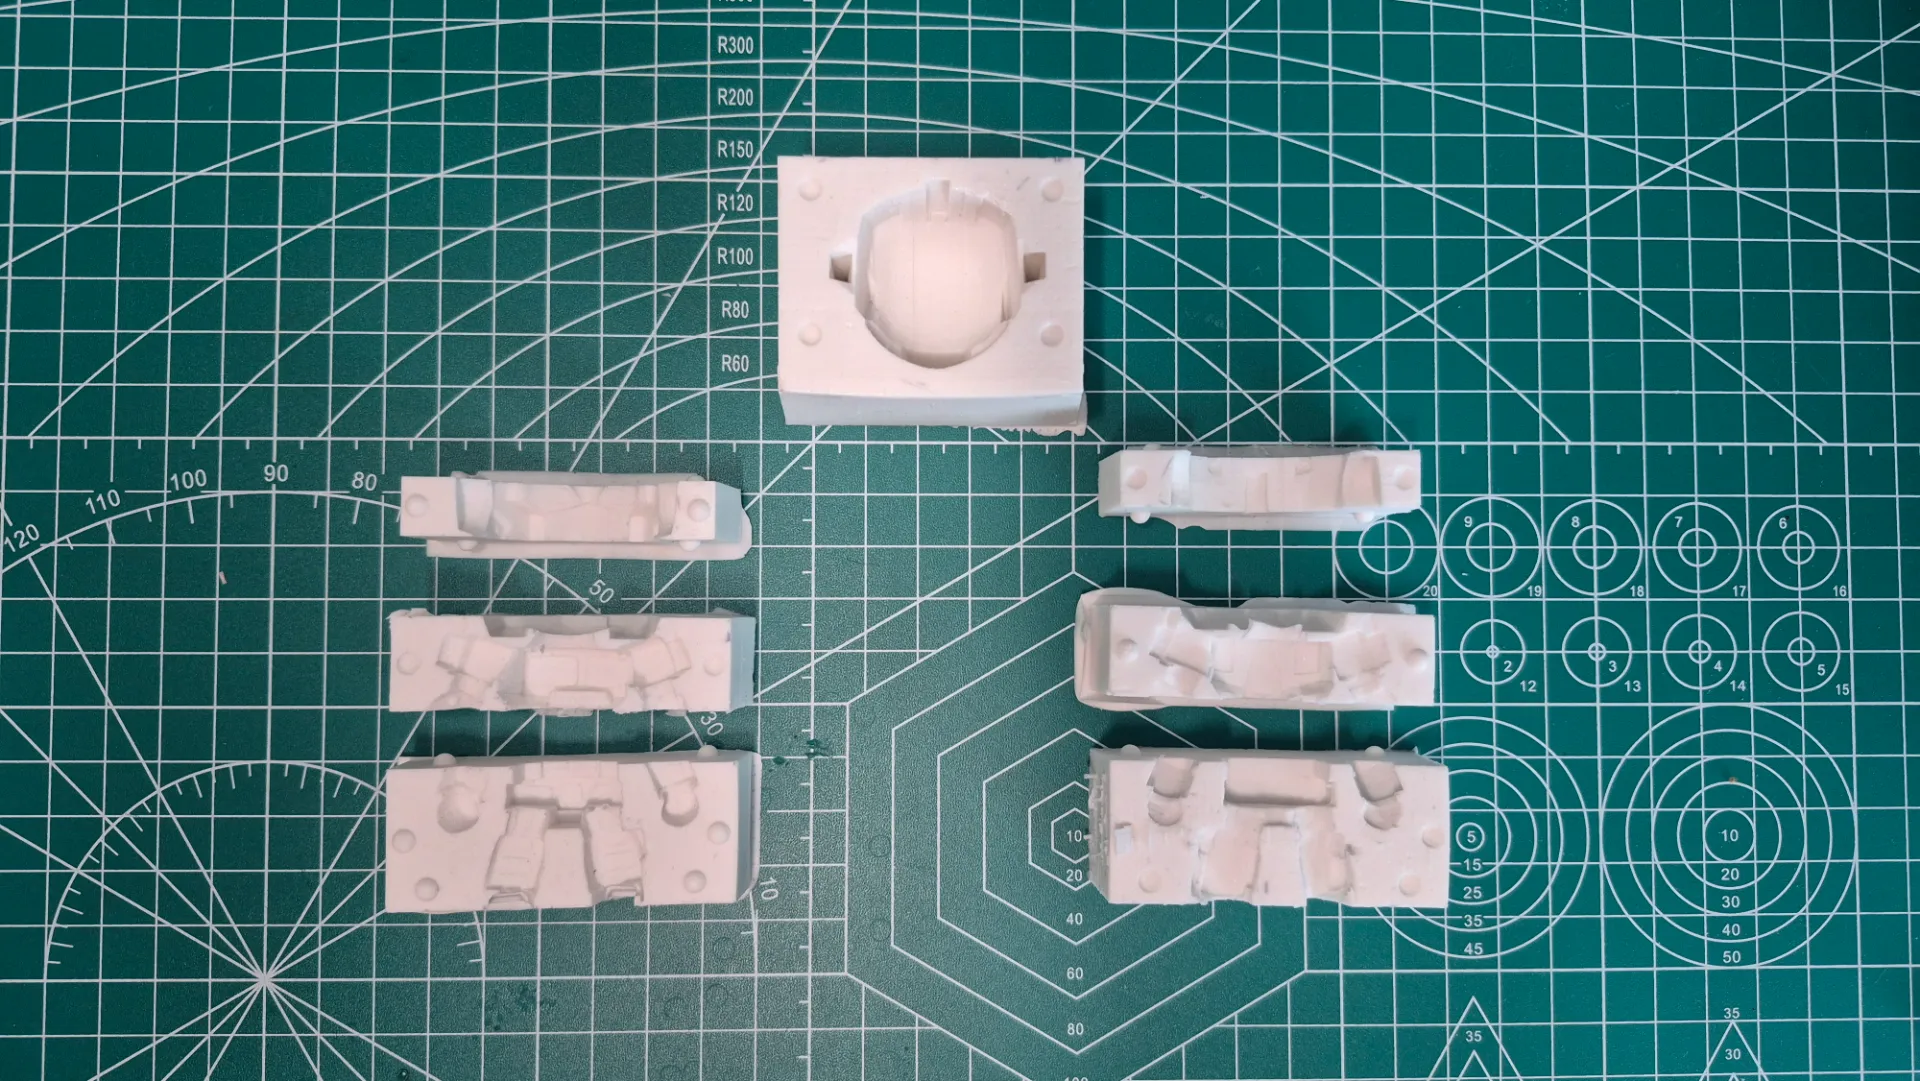
After cleaning and curing the prints, this was the final result of the positive mold:
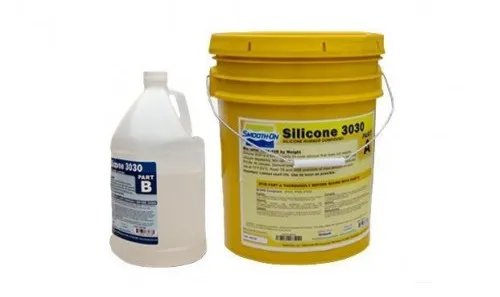
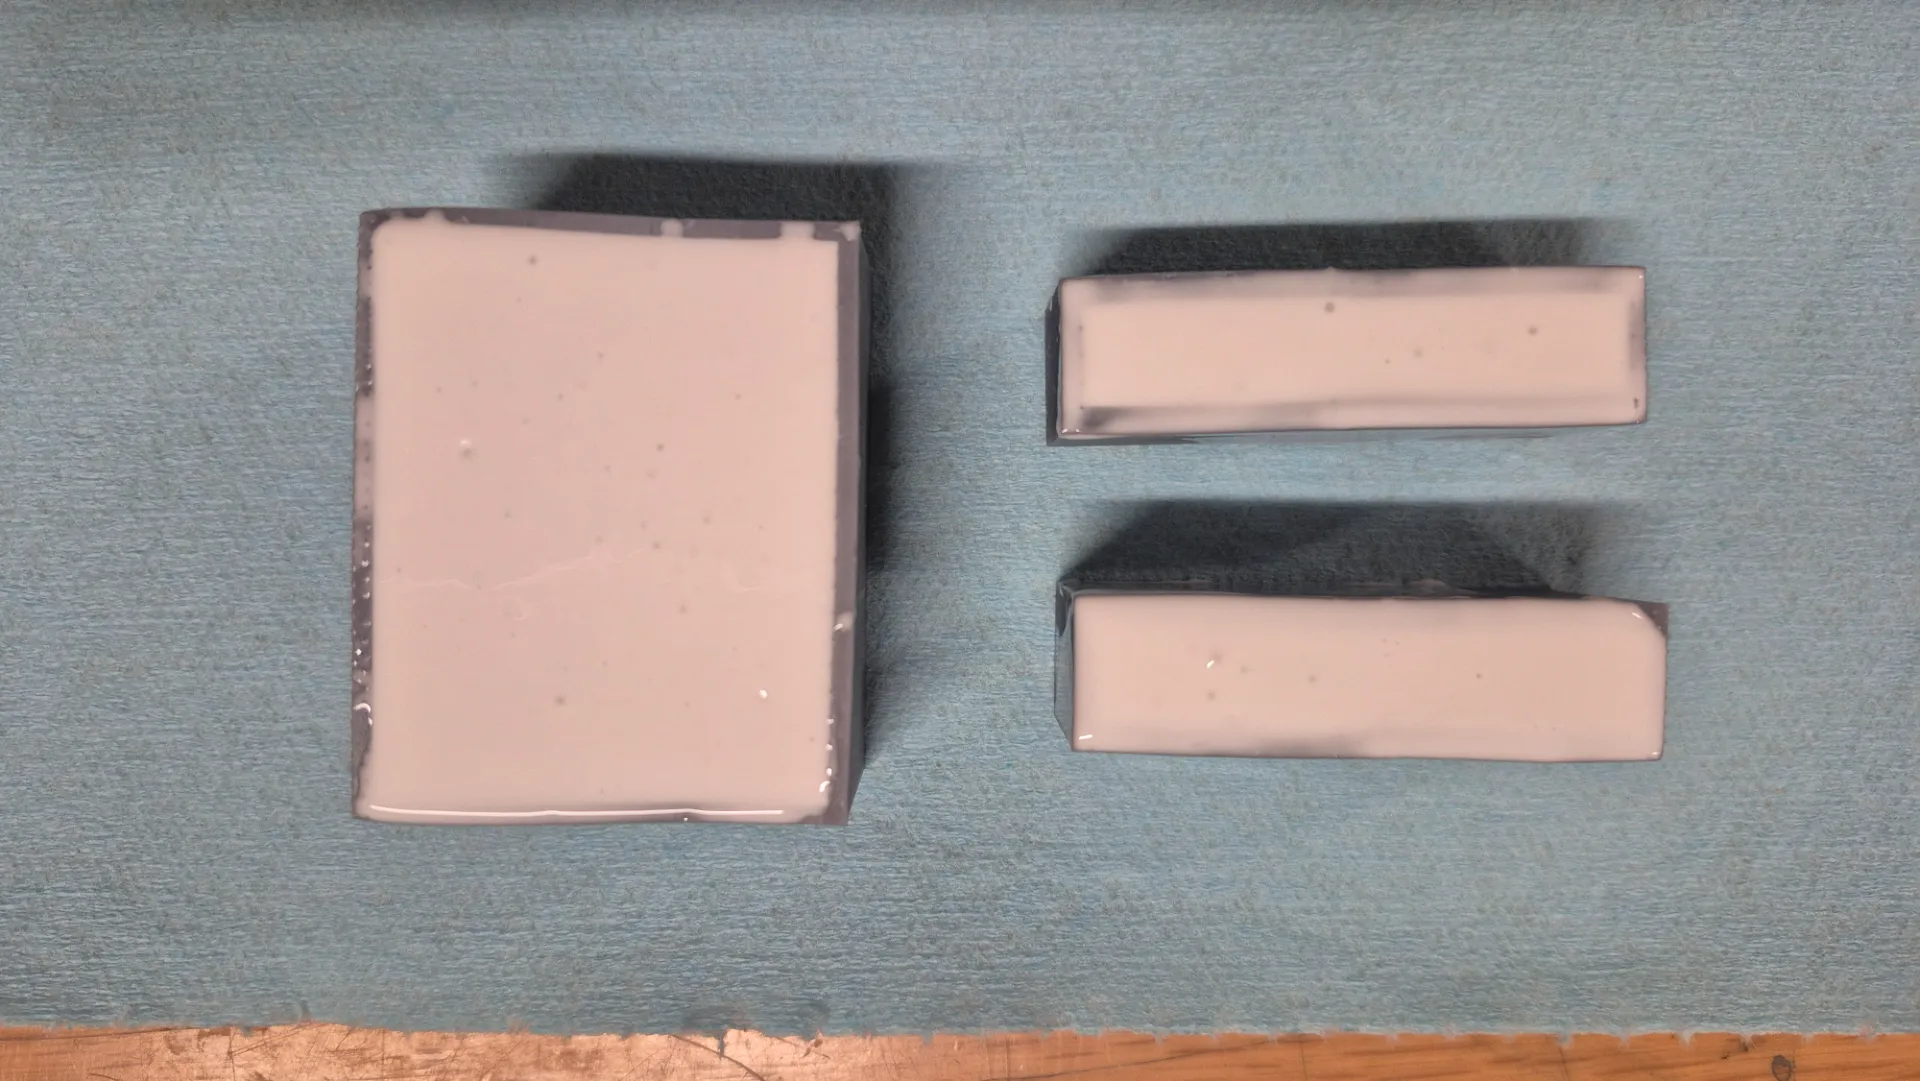
With the positive mold ready, I proceeded to create the silicone mold. I used the 3D-printed parts as a base to pour the silicone. This resulted in a flexible mold that can be opened and closed to cast the final pieces. For this, I used 3030 two-part silicone with an A:B mixing ratio of 10:1.
It was crucial to mix the silicone in less than 2 minutes to prevent it from curing while pouring, ensuring it remained uniform and covered all details. After mixing, I poured it from a significant height to create a thin thread, which helps eliminate bubbles. I let the molds cure for 24 hours to ensure the silicone achieved the necessary flexibility to open and close the mold without damaging it.
Cast Making
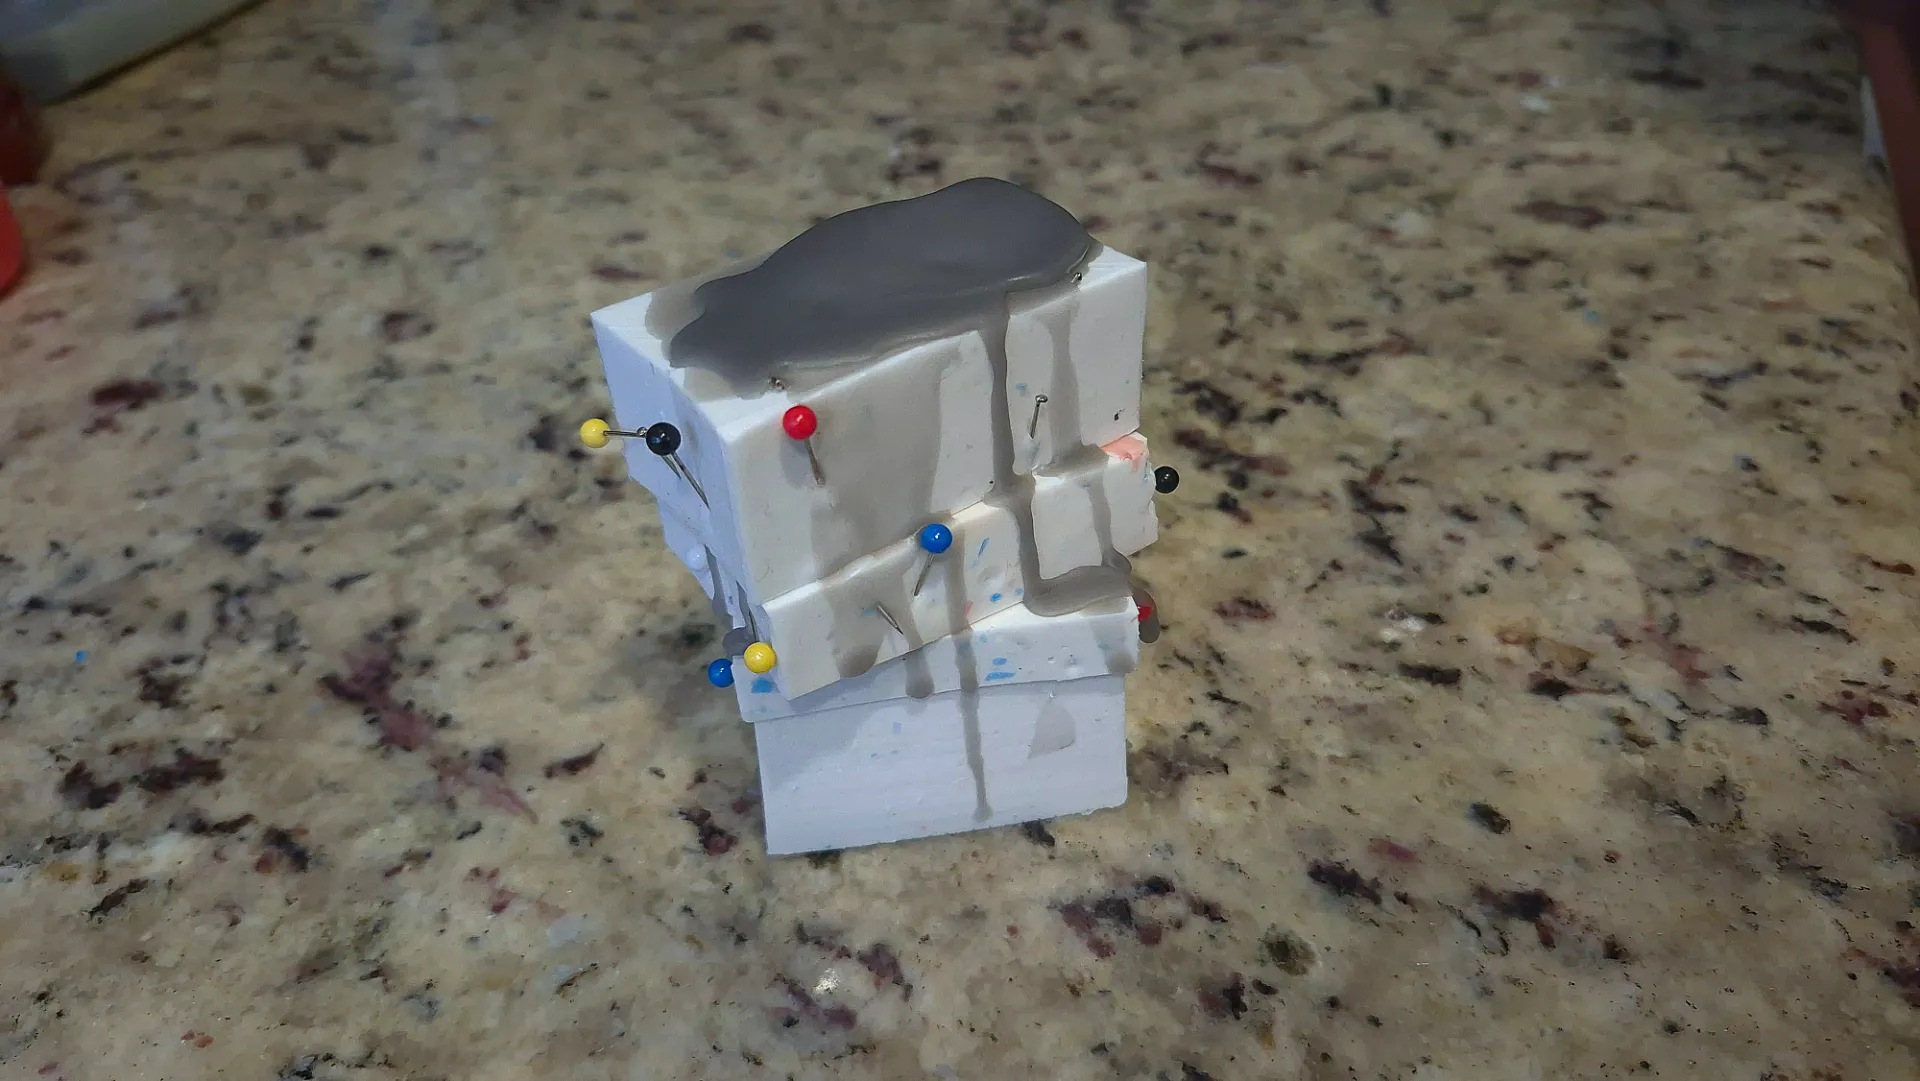
With the silicone molds ready, I proceeded to create the final piece by pouring candle wax colored with crayons. First, I melted the wax in a bain-marie along with the colored crayons. I poured the colored wax into specific areas where I wanted that color to be prominent. Then, I assembled the mold, securing its parts with pins, and poured grey wax to fill the rest of the mold.
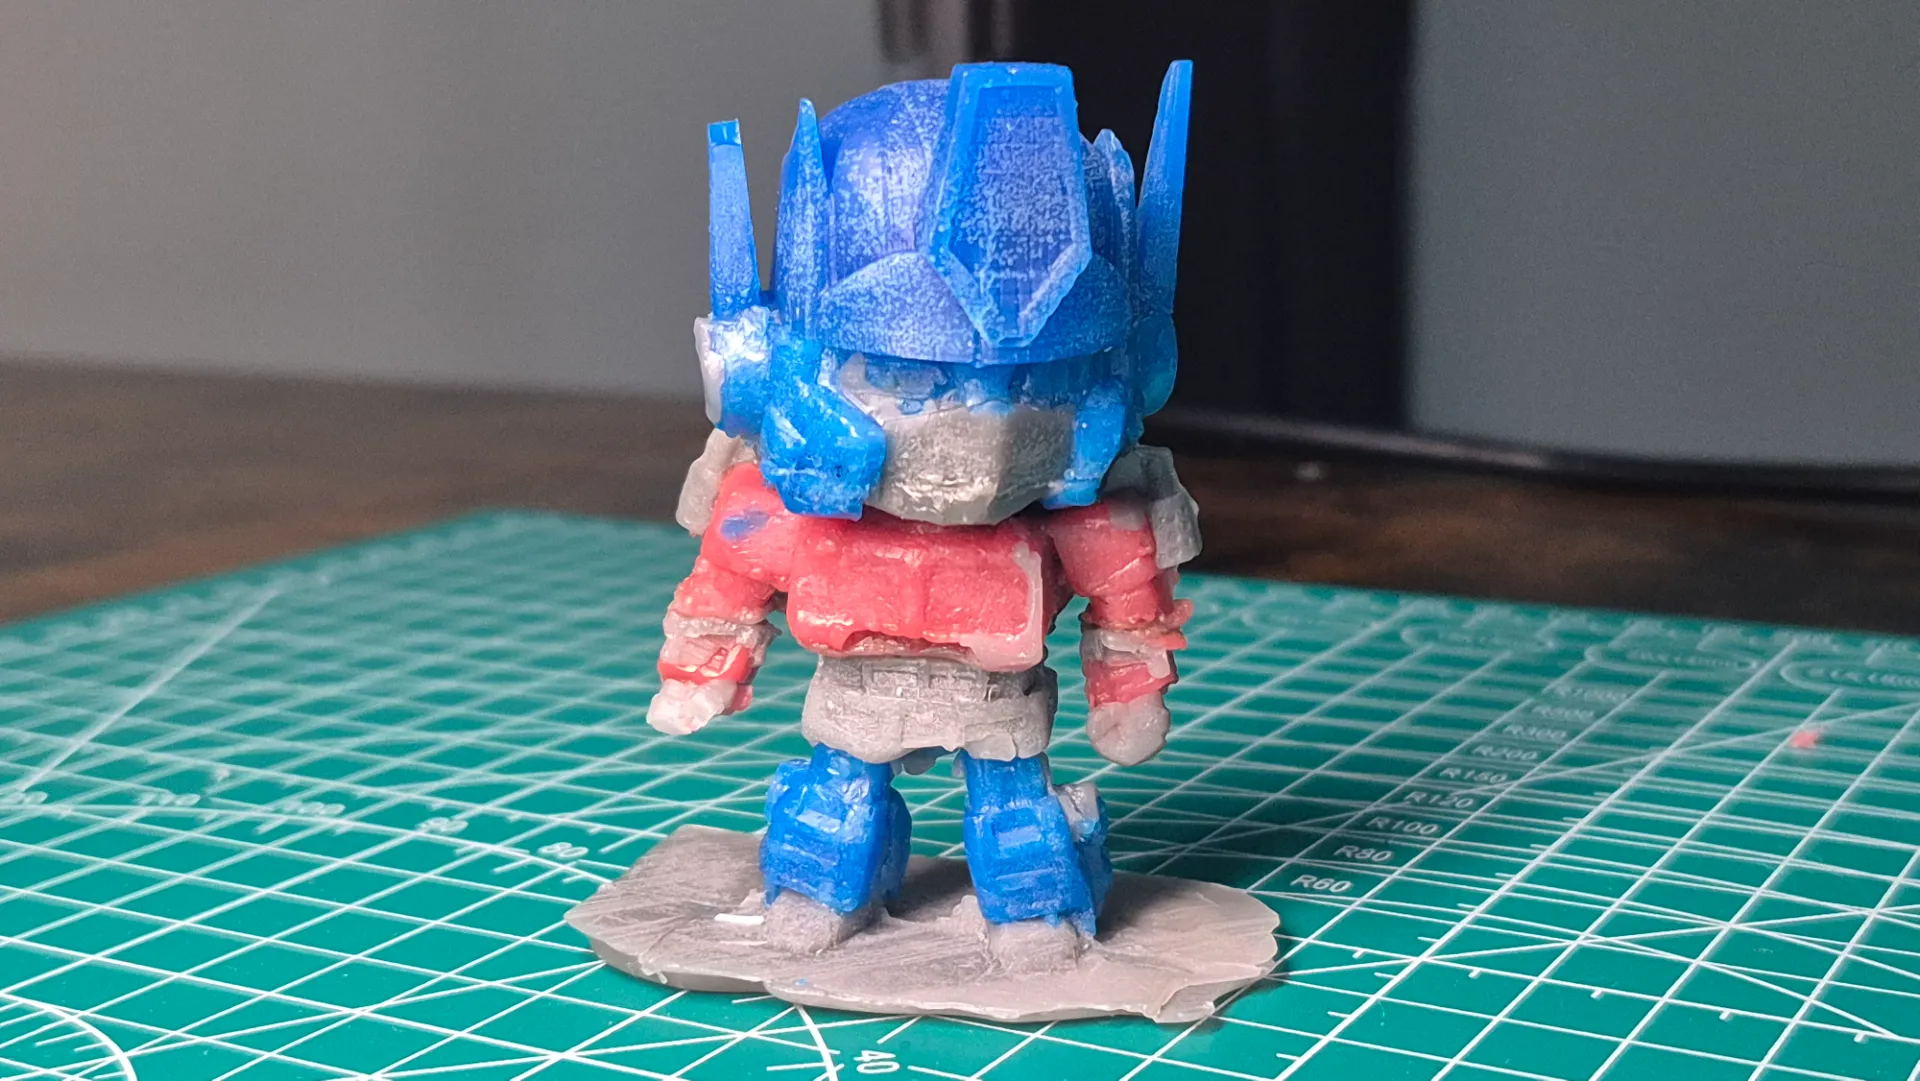
Final Result
This was the final result after letting it cool down and opening the mold: