

Week 05
3D Scanning and Printing
// MAIN OBJECTIVE \\
The goal of this week is to understand the fundamentals of 3D printing and scanning by learning how to use the 3D designed software for printing STL archives and how to convert a real world object to a digital 3D render (also in STL format) for printing. I will show a lot of different ways to scan something and 3D print it.
If you want to see our Group Assignment for this week, click HERE →
Scanning Softwares
Before we start to scan something, it is crucial to understand how all the 3D scanning software programs work. Once we know the basics, we can start to scan a lot of things. Let's see which ones I chose for this repository:
- EinScan →
- CrealityScan →
- MakerWorldScan → (you will need a makerworld account).
EinScan
EinScan is a professional-grade 3D scanning software designed to work with spinning 3D hardware. It functioning by capturing high-resolution geometric data from physical objects by projecting structured light patterns. It provides a robust environment for processing point clouds and generating high-quality meshes suitable for scanning or 3D printing.
Calibration Process
Calibration is a crucial step for start scanning. You must position the calibration board precisely as indicated and press calibrate, this command start tilting and moving the board along different axes so the scanner can understand its spatial boundaries and adjust its cameras.
Calibration demonstration in Einscan.
Interface
The interface is highly intuitive, featuring a straightforward workflow on the right panel that guides you from calibration to scanning and finally meshing. The main viewport gives a real-time visualization of the point cloud as the object is being scanned.
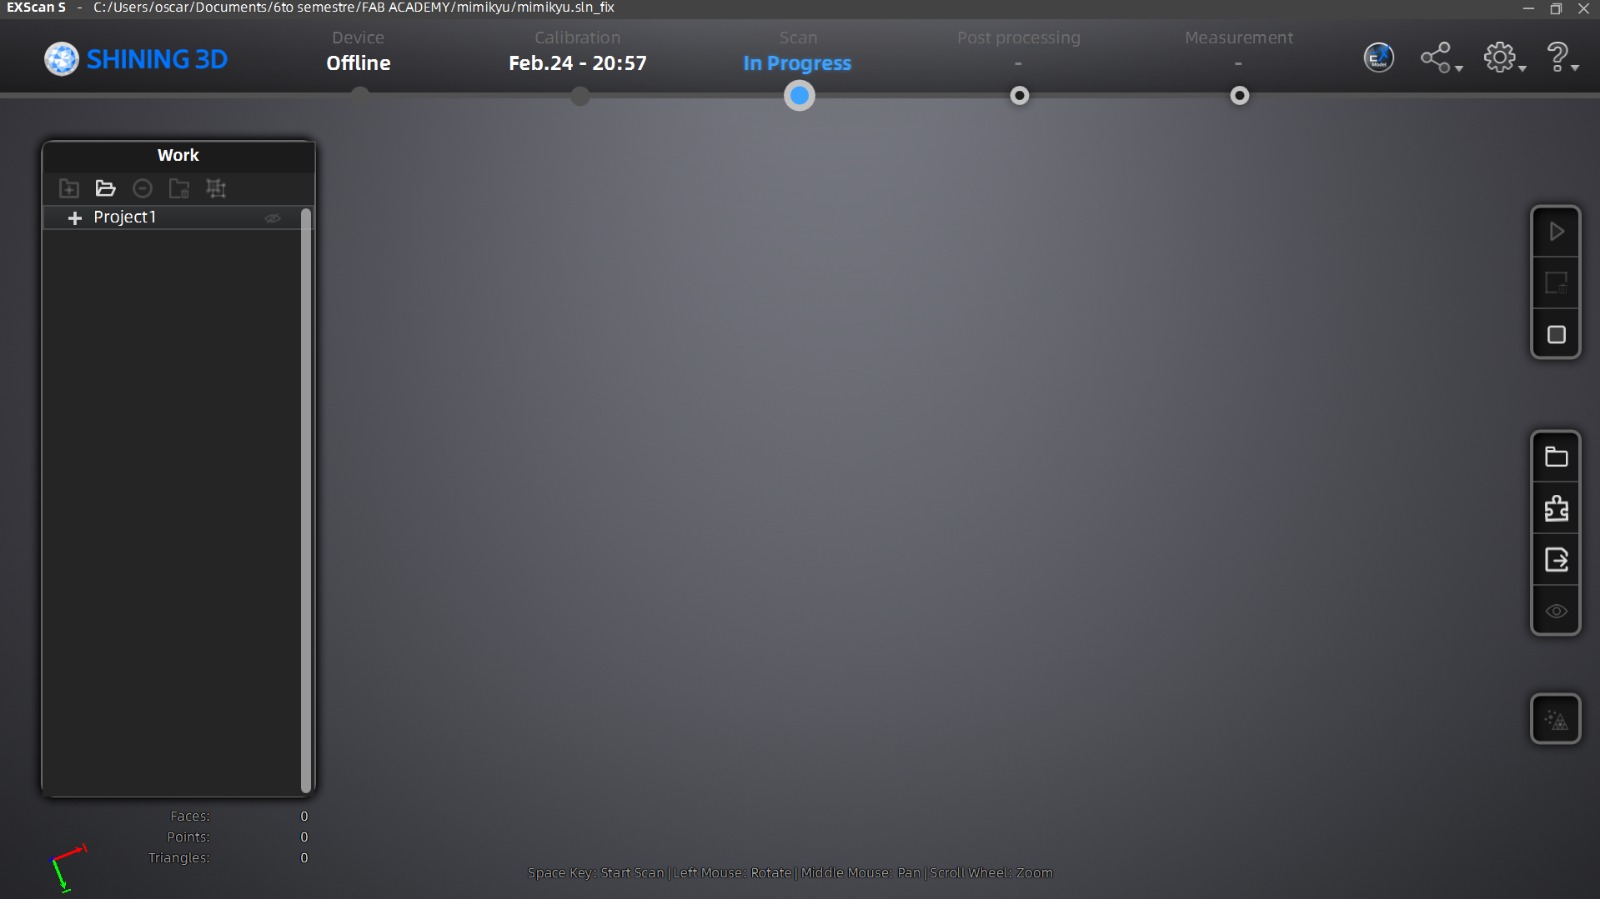
EinScan interface.
Scanning and Results
Once calibrated, I placed the object on the turntable and began the capture. The software automatically stitched the passes together to form a complete point cloud.
Scanning with EinScan.
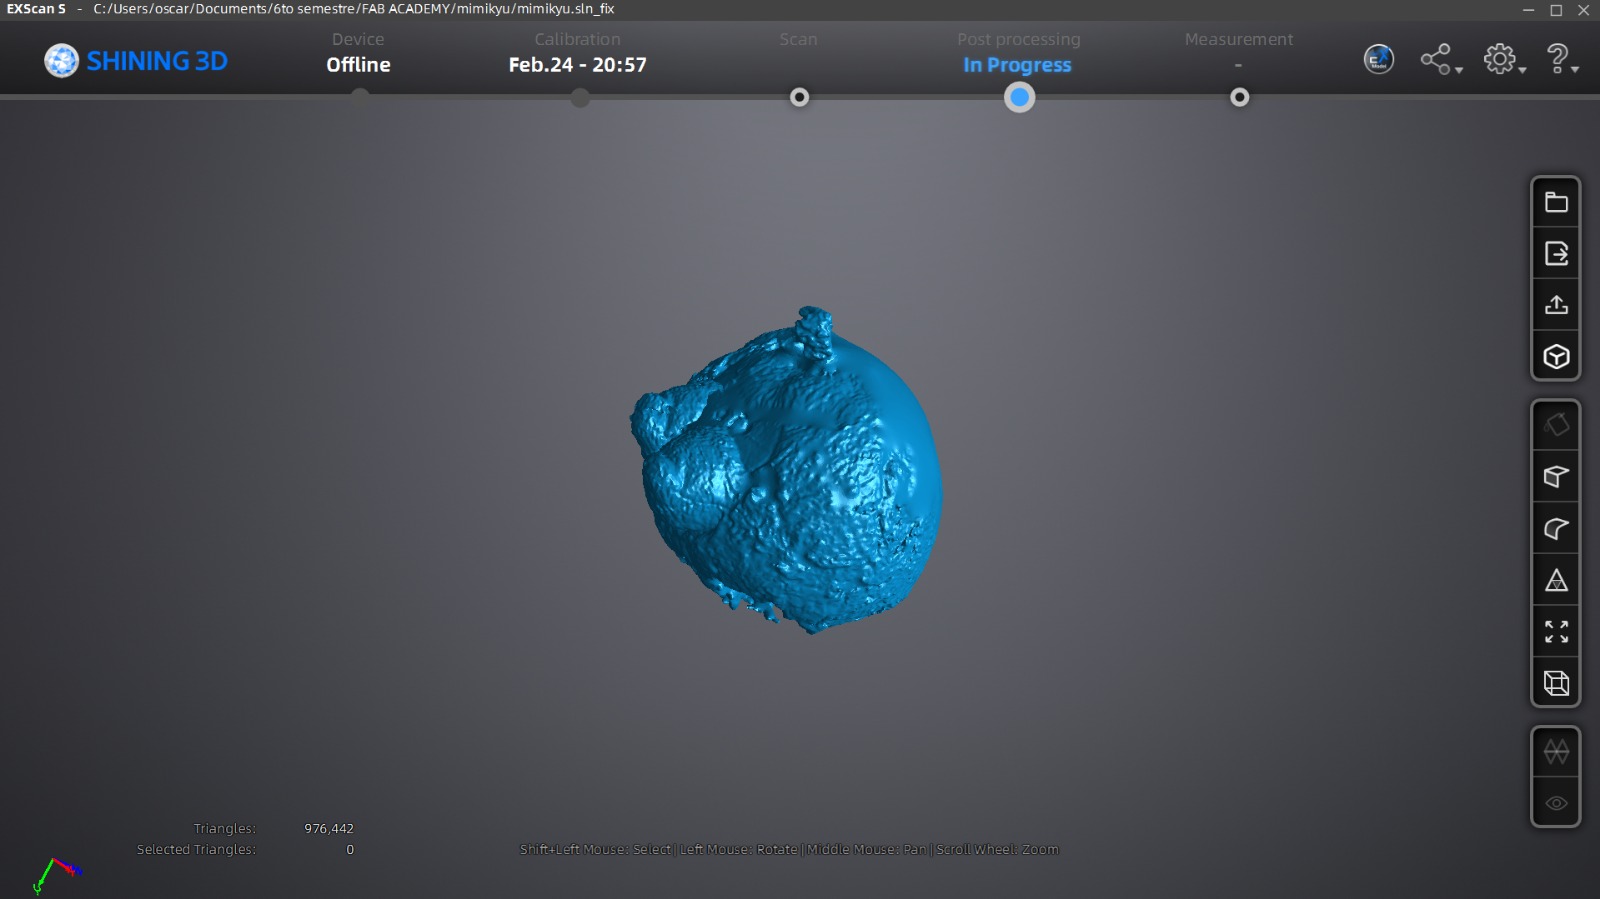
Final meshed result from EinScan.
Conclusion: EinScan proved to be accurate for capturing small figures. The structured workflow minimizes errors, making it a reliable tool for professional-level digitizing.
CrealityScan
CrealityScan is an advanced scanning software specifically tailored to work alongside Creality's line of 3D scanners. It focuses on quality and speed, offering automated algorithms for point cloud optimization, noise reduction, and seamless mesh generation, making it ideal for texturized quick prototyping.
Interface
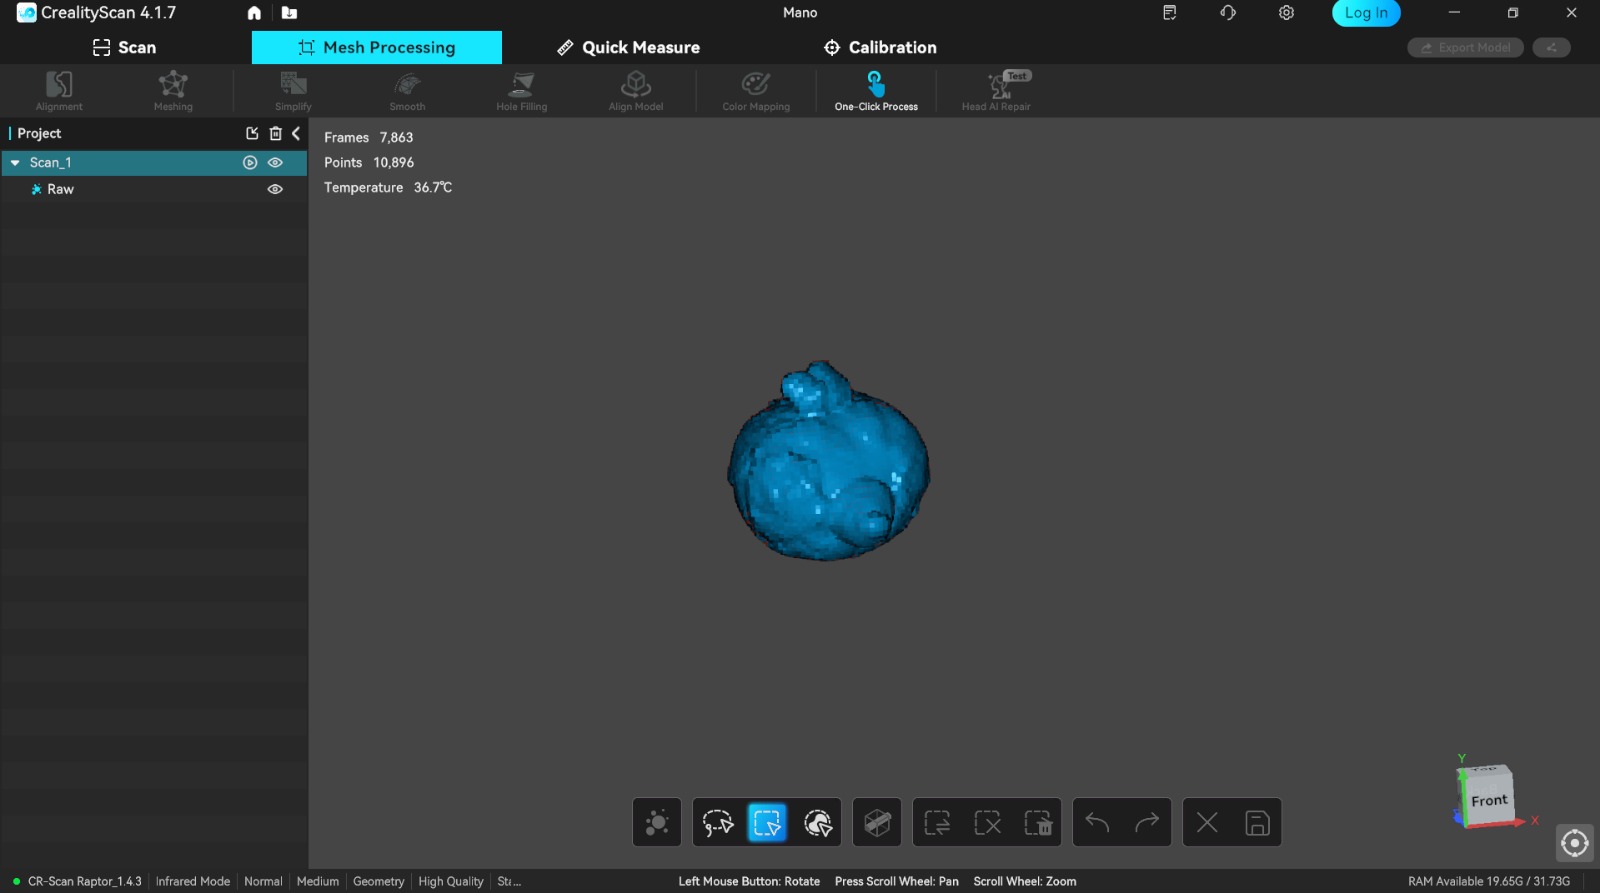
The software is a clean, modern layout. The primary tools are easily accessible, and the visual feedback during the scanning process helps maintain optimal distance and tracking of the object.
CrealityScan interface.
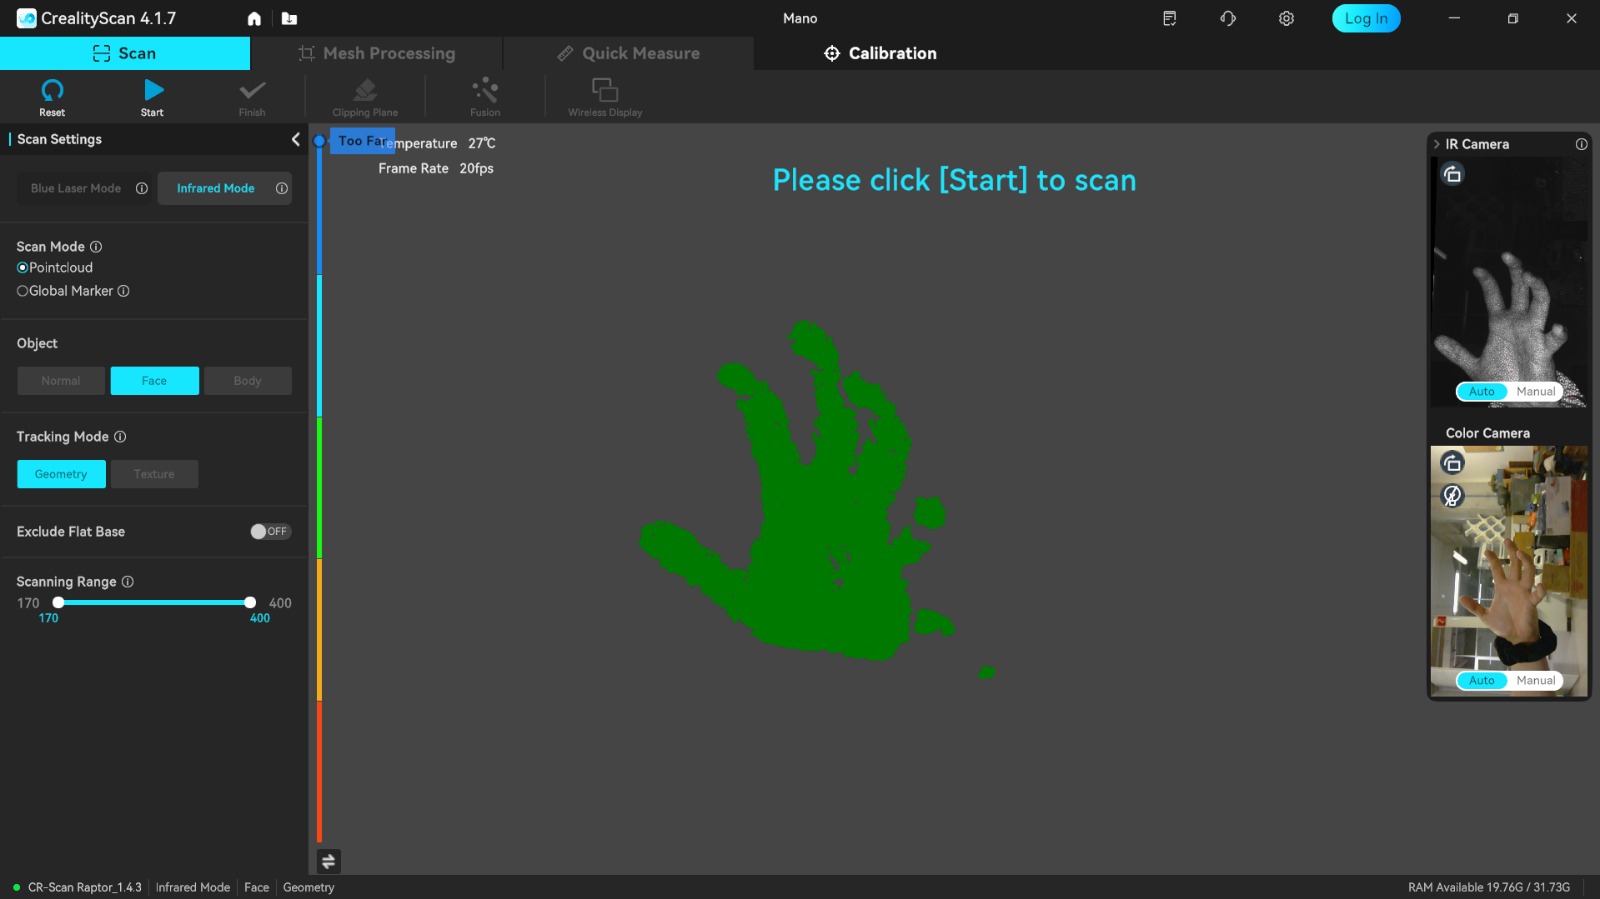
Quality
This scanner doesn't need to calibrate, the quality of the result depends on the distance between the object and the scanner.
My epic fail with the distances.
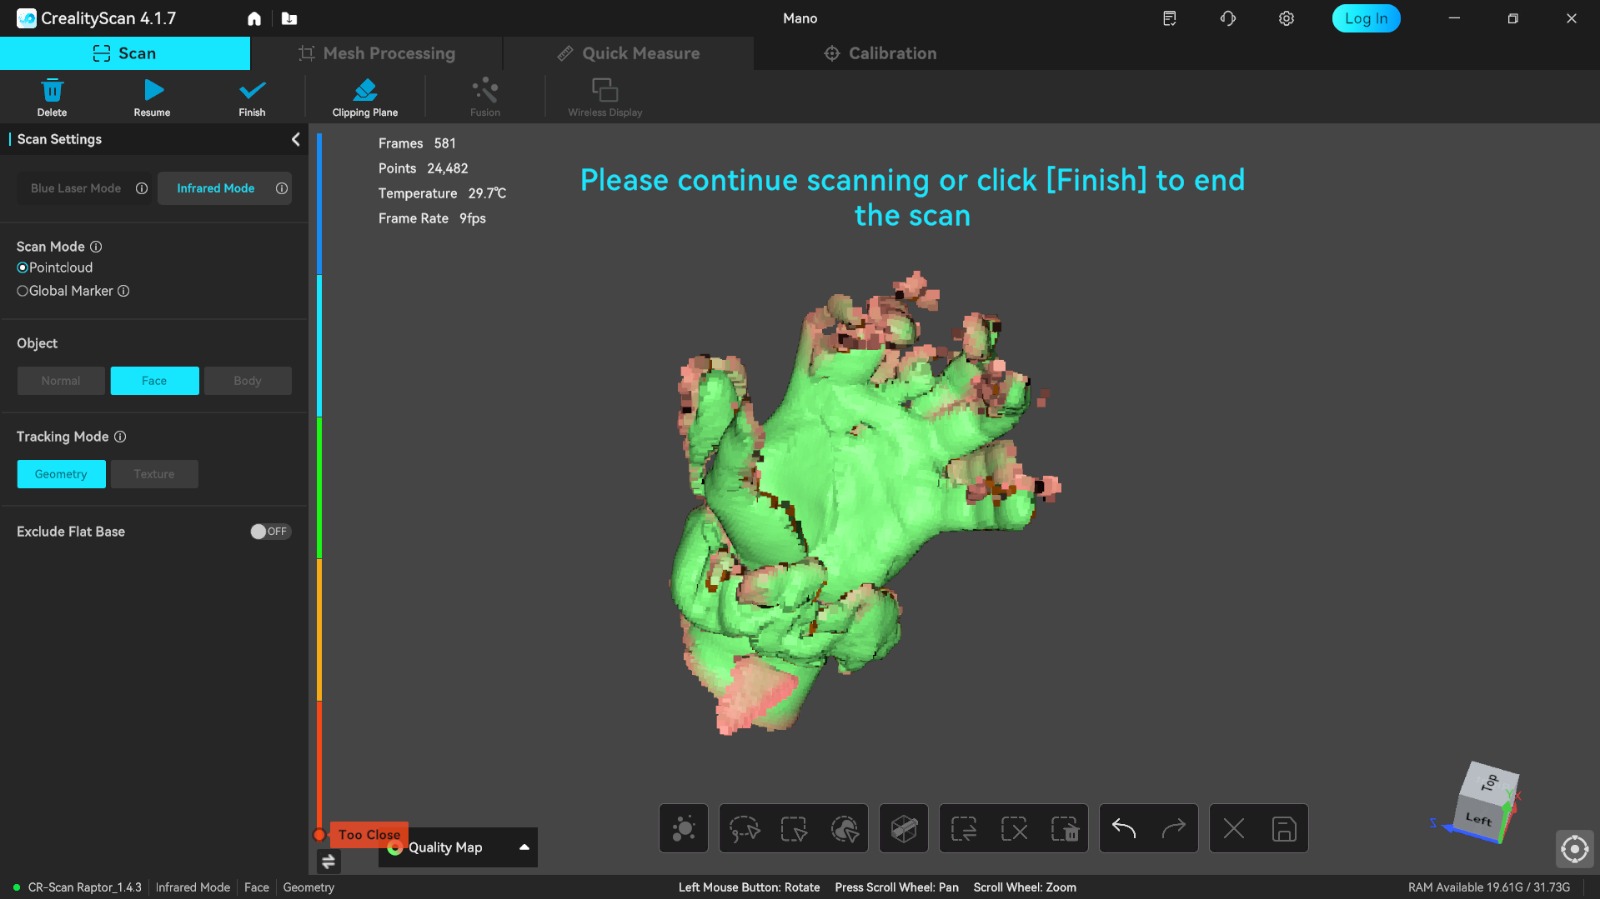
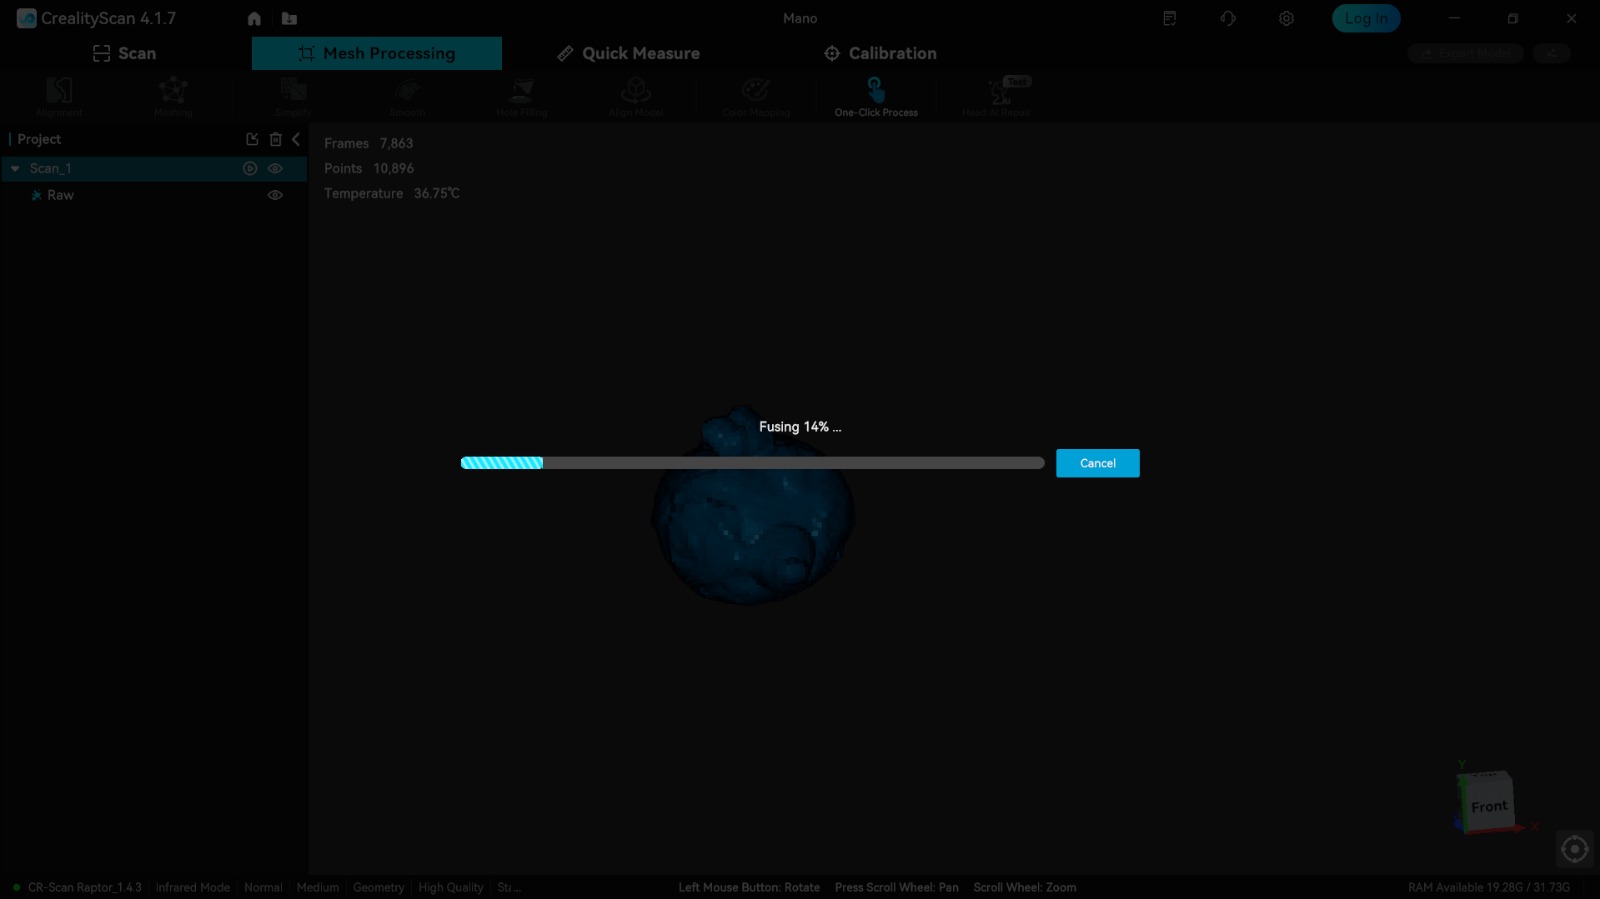
Scanning and Results
The scanning process was smooth, with the software doing an excellent job of tracking features even without the use of excessive markers.
Scanning process with CrealityScan.
Final mesh model.
Applying the texture.
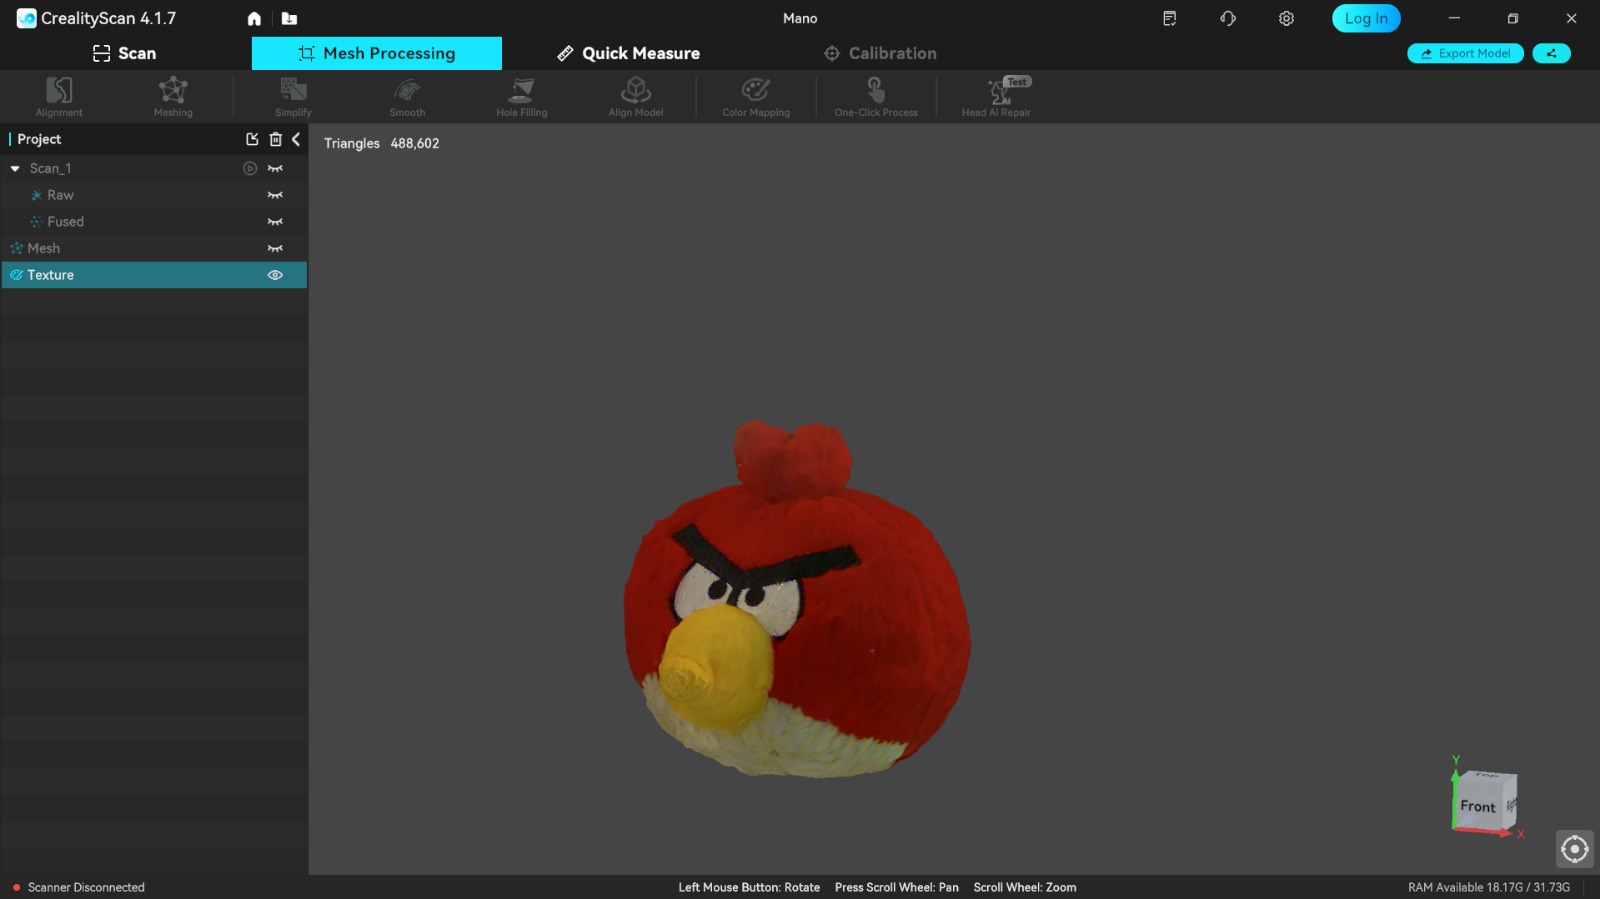
Final STL result.
Conclusion: CrealityScan offers a great balance between ease of use and quality. It processes data remarkably fast, making it highly efficient for everyday scanning tasks and it can scan textures precisely.
MakerWorldScan
MakerWorldScan is a cloud-based AI scanning tool that relies on photogrammetry and artificial intelligence to reconstruct 3D models from standard 2D videos. It requires no specialized hardware, just a smartphone camera and a MakerWorld account.
Interface
The interface is super simple, just follow the steps precisely and then upload your video, and if you have any question you can check the guide.
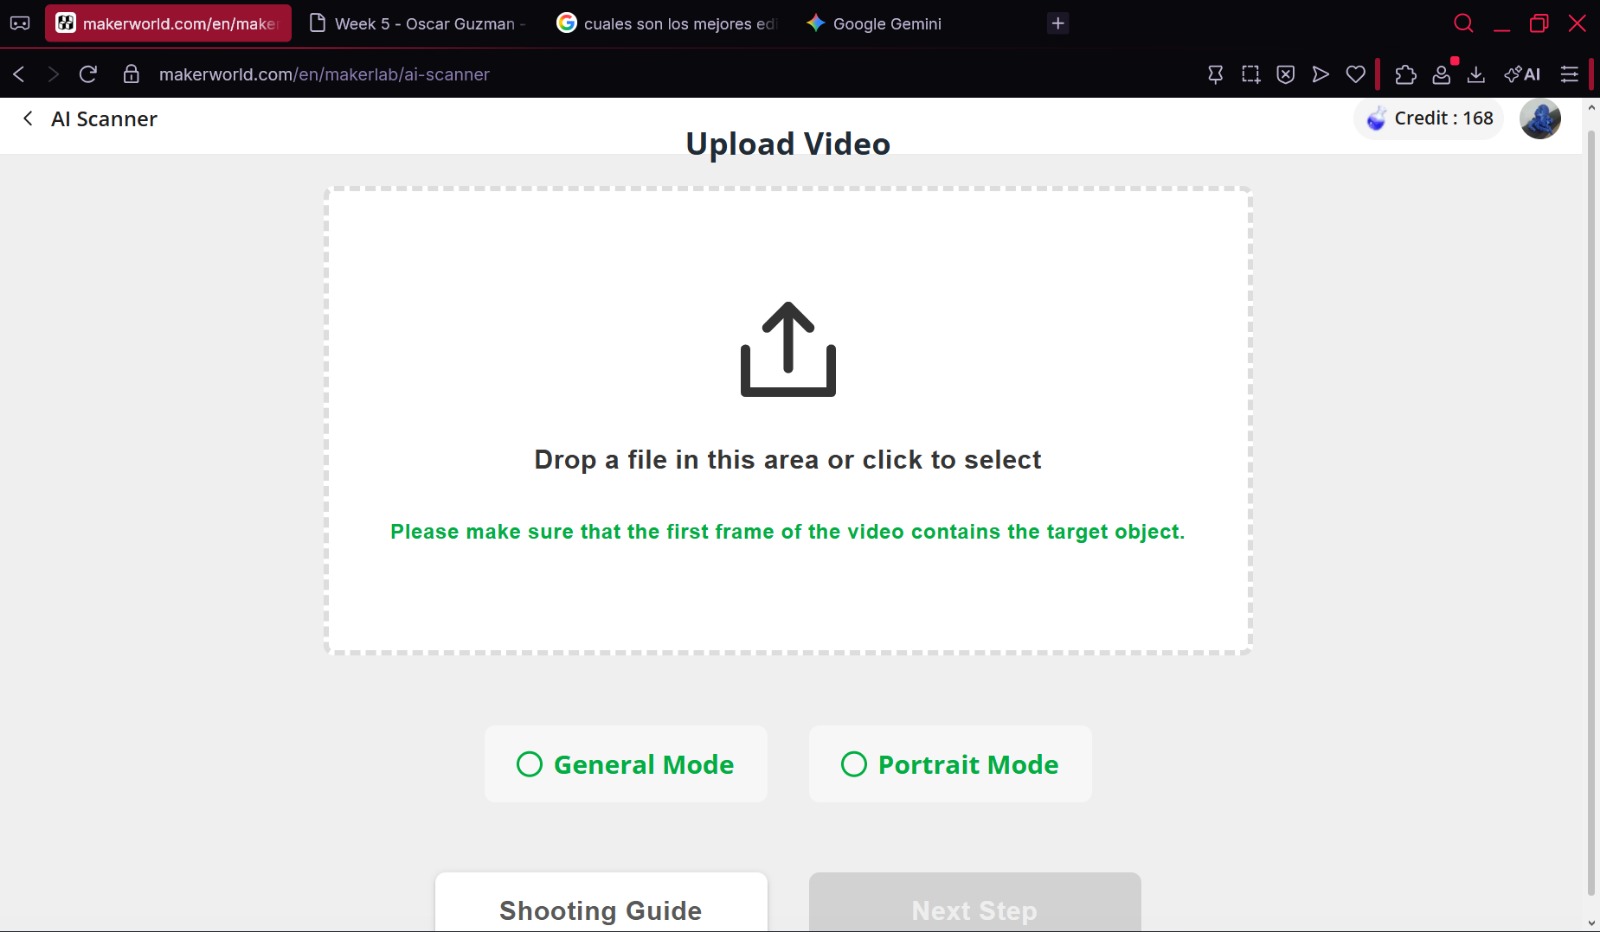
MakerWorldScan web interface.
Instructions
- Ensure the subject is well-lit and stands perfectly still.
- Record a continuous video moving slowly around the subject in a full 360-degree circle, repeat in the same video three times with all the angles (top, middle and bottom).
- Keep the subject centered in the frame at all times.
- Wait for the cloud processing to generate the 3D mesh (you can leave the window and open it whenever you want).
The video I used to scan myself.
Once I took the video, I uploaded it to the MakerWorld page:
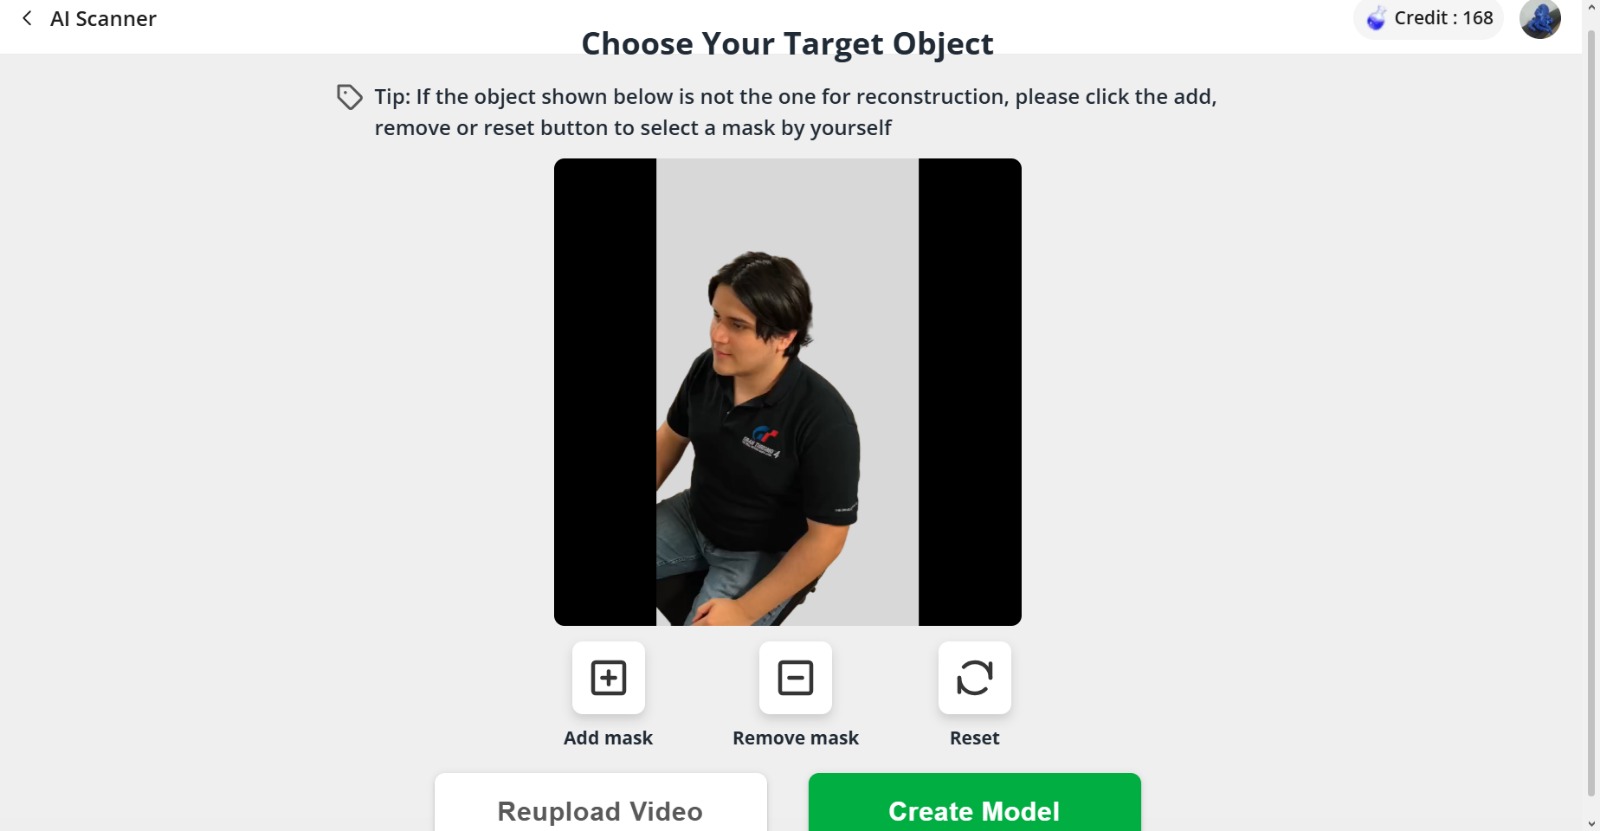
Selecting the video and setting up all the stuff.
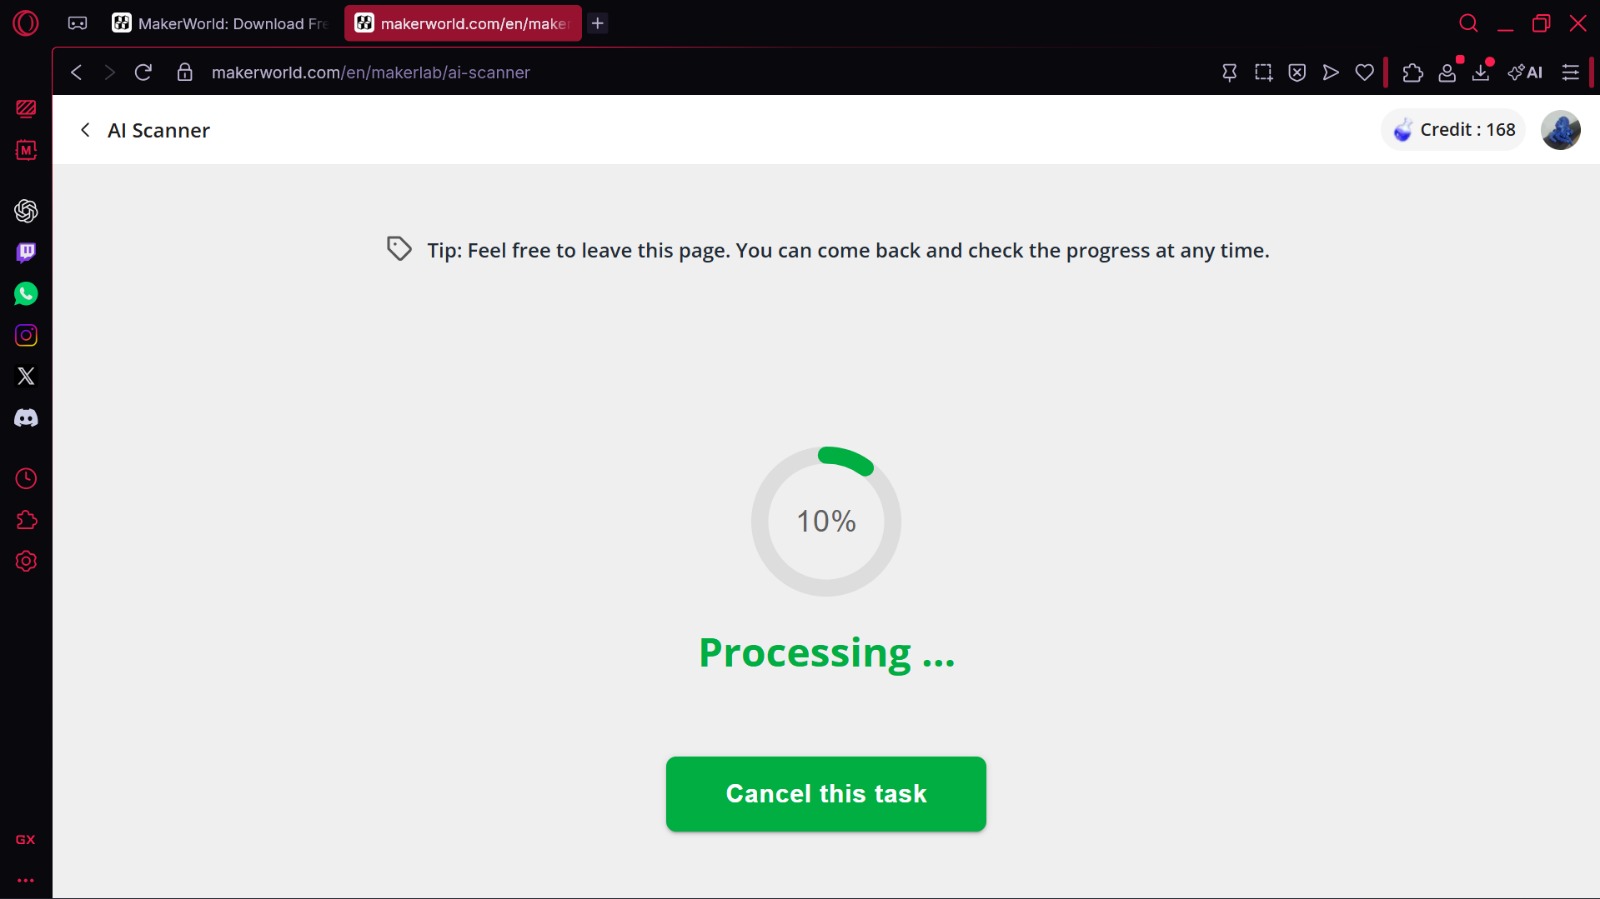
Pressing start and wating to obtain my stl.
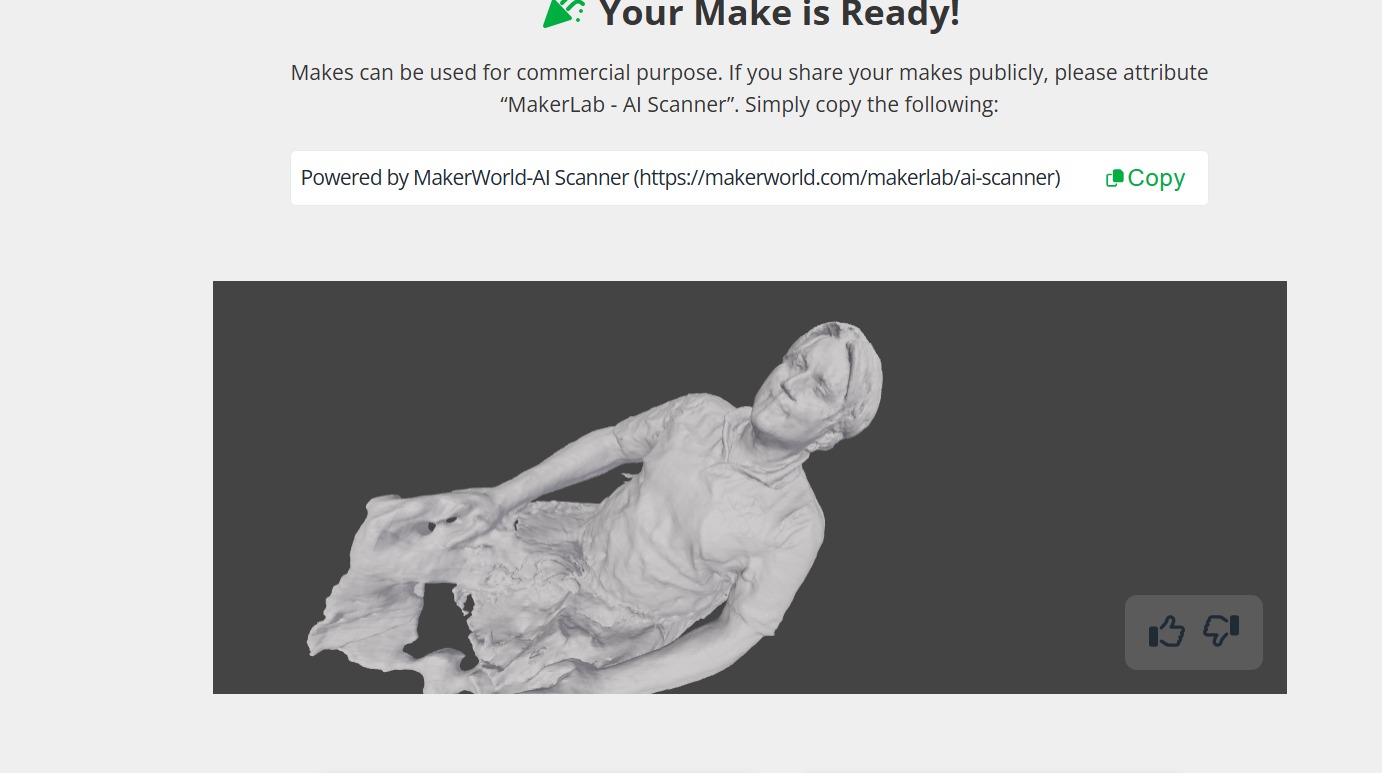
The final 3D model generated by AI.
3D Printing
Blender Design: Articulated Gyarados
For the 3D designed part of this week, I made an articulated Gyarados in Blender. Utilizing Blender's powerful design and sculpting tools, I was able to create the head shapes while incorporating mechanical hinges made in SOLIDWORKS. The challenge was ensuring that the tolerances between the joints were precise enough to print-in-place without fusing together, while still maintaining the aesthetic details of the creature.
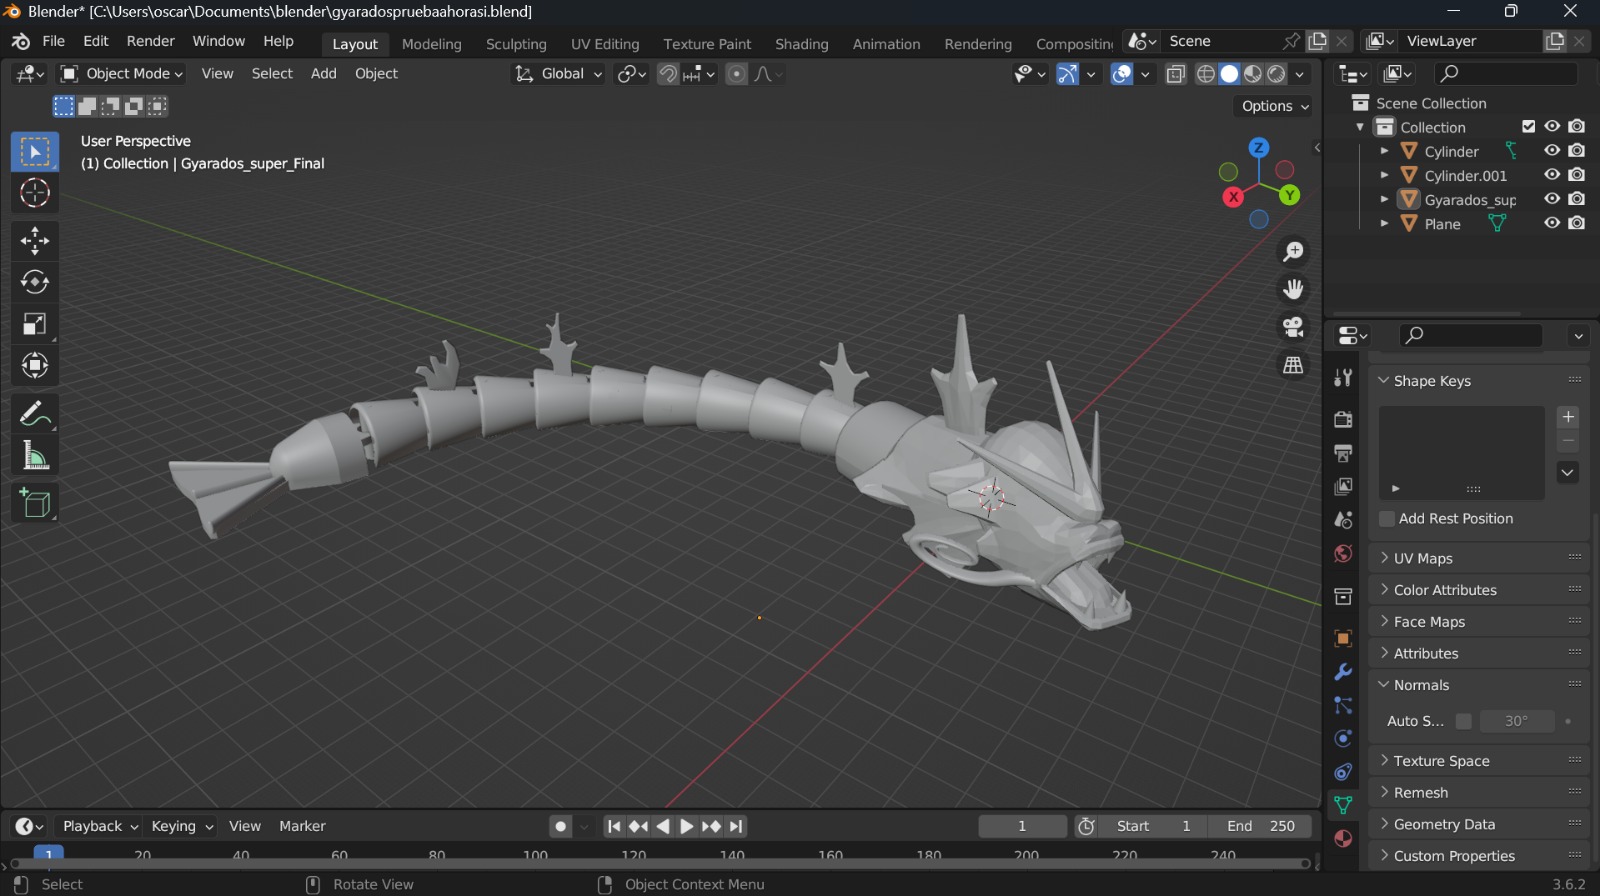
The Blender Gyarados.
Exporting the Model
To prepare the model for the slicer, I selected all the necessary meshes, ensured the scale and transformations were applied, and went to File > Export > Stl (.stl).
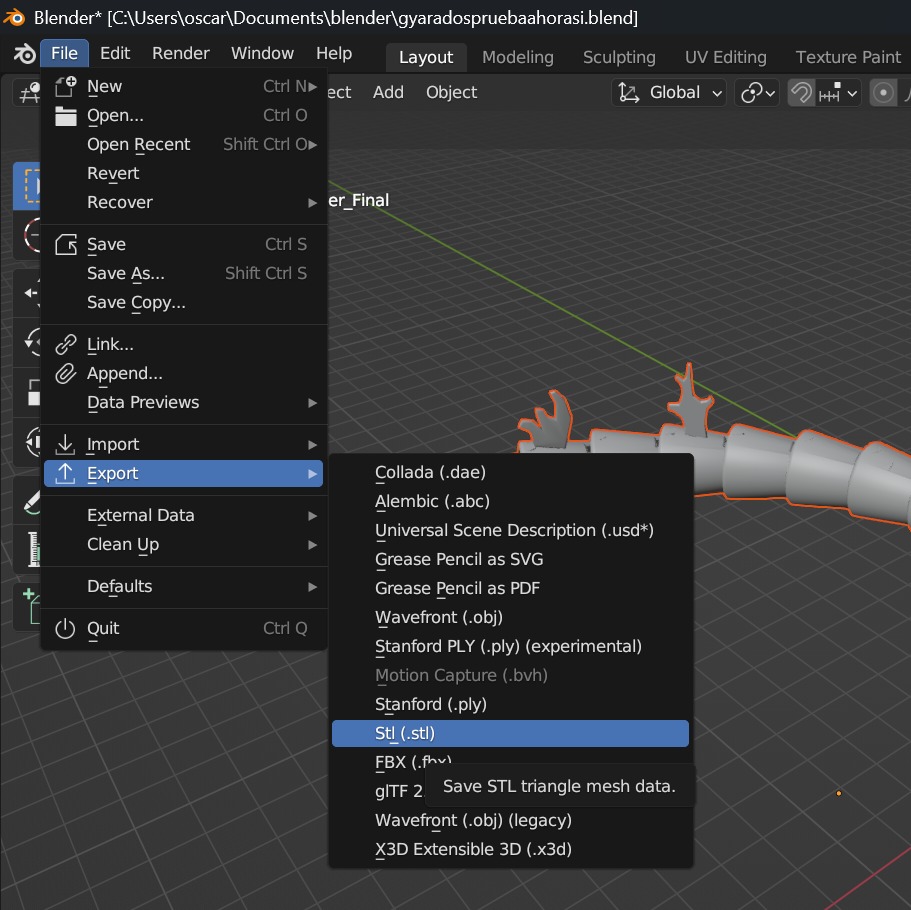
Selecting the export option in Blender.
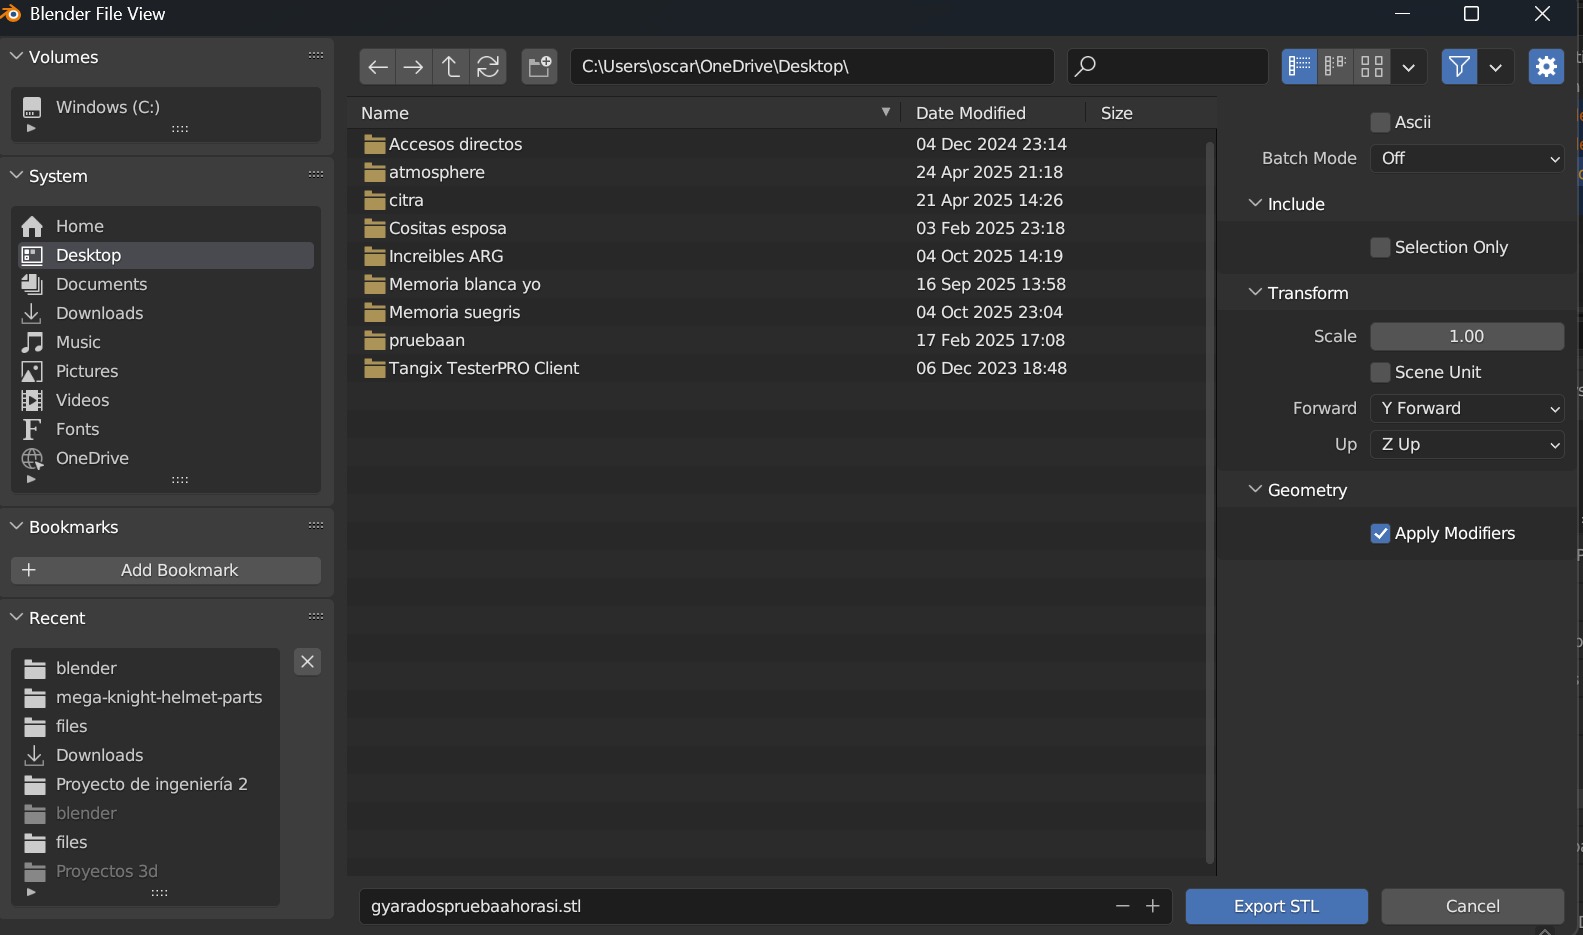
Configuring the export settings and saving the STL file.
Slicing with Bambu Studio
To slice the model, I used Bambu Studio because my target machine for this print is a Bambu Lab A1.
Interface and Tools
Bambu Studio offers a well designed, modern interface specifically optimized for Bambu Lab printers. It features an intuitive top toolbar for arranging, scaling, and painting supports, while the right panel handles all the detailed print settings like layer height, infill, and speed.

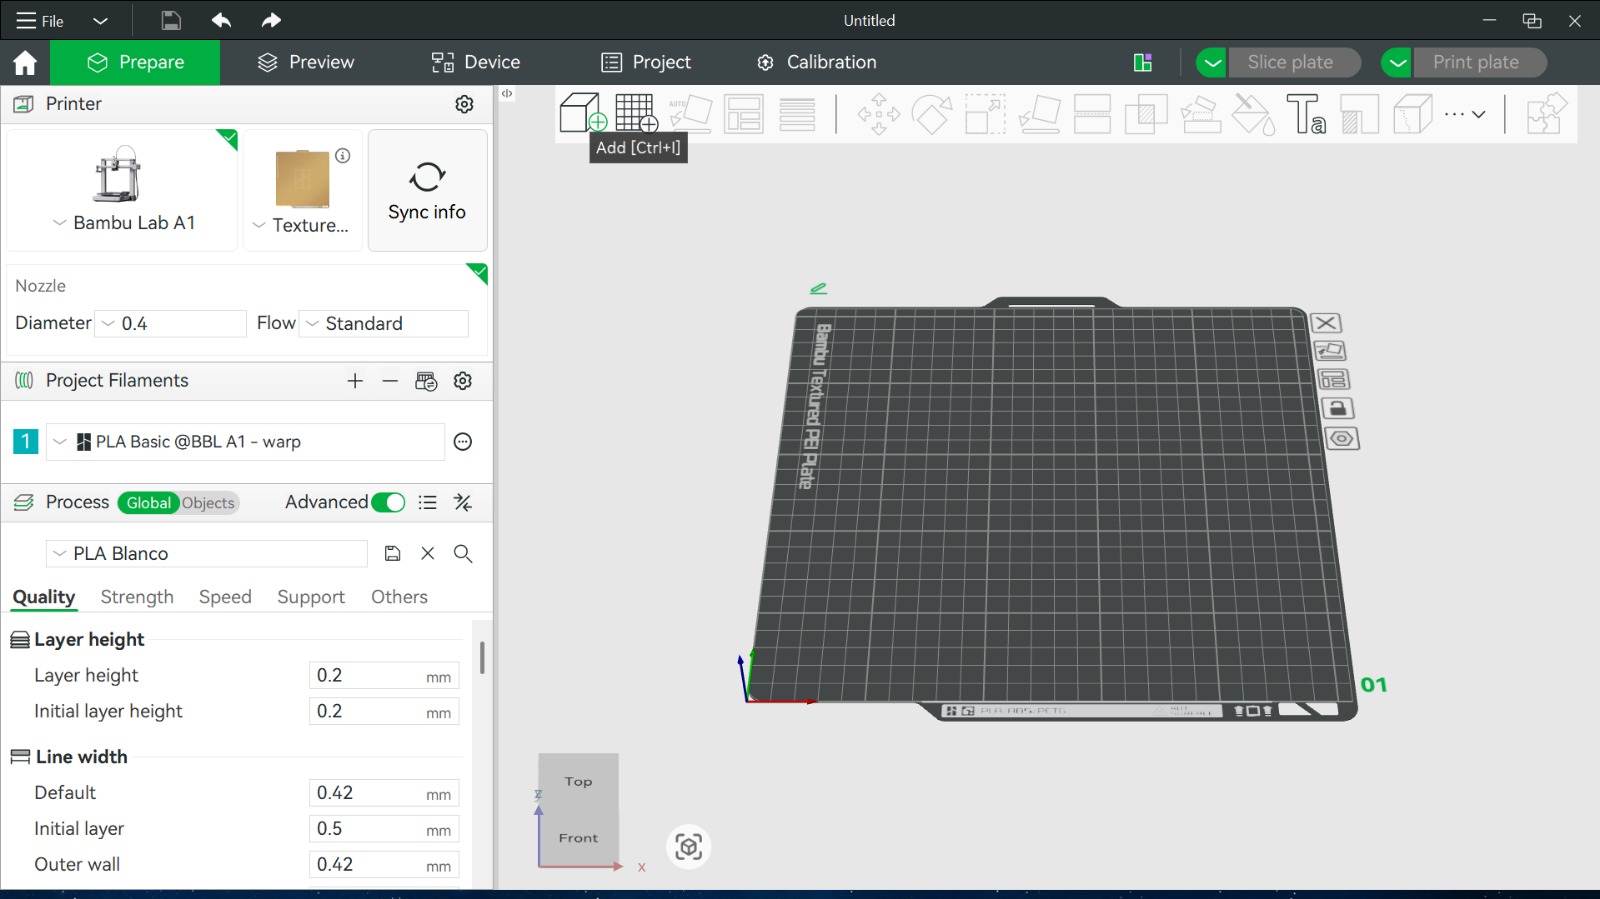
Bambu Studio main workspace.
Importing and Slicing
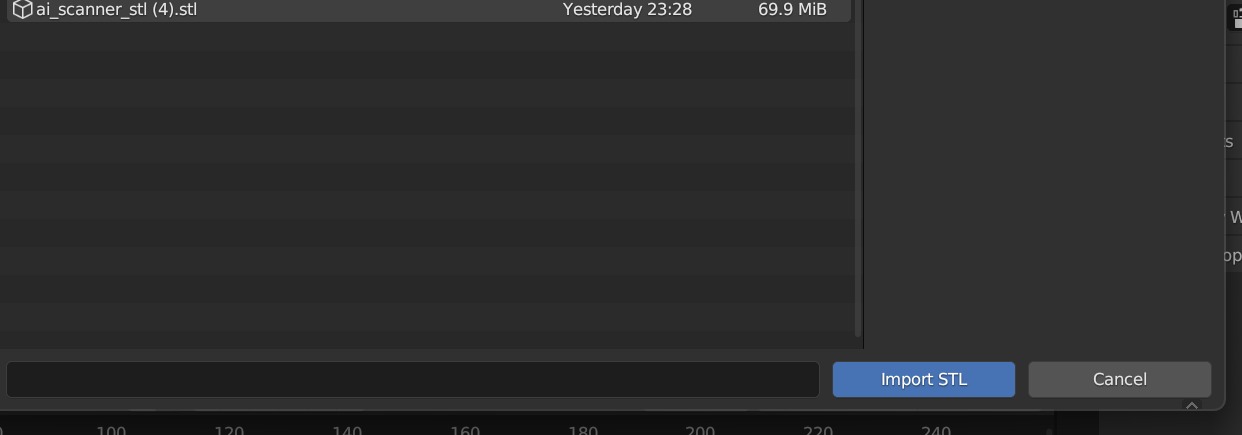
I imported the Gyarados STL by dragging and dropping it into the virtual build plate.
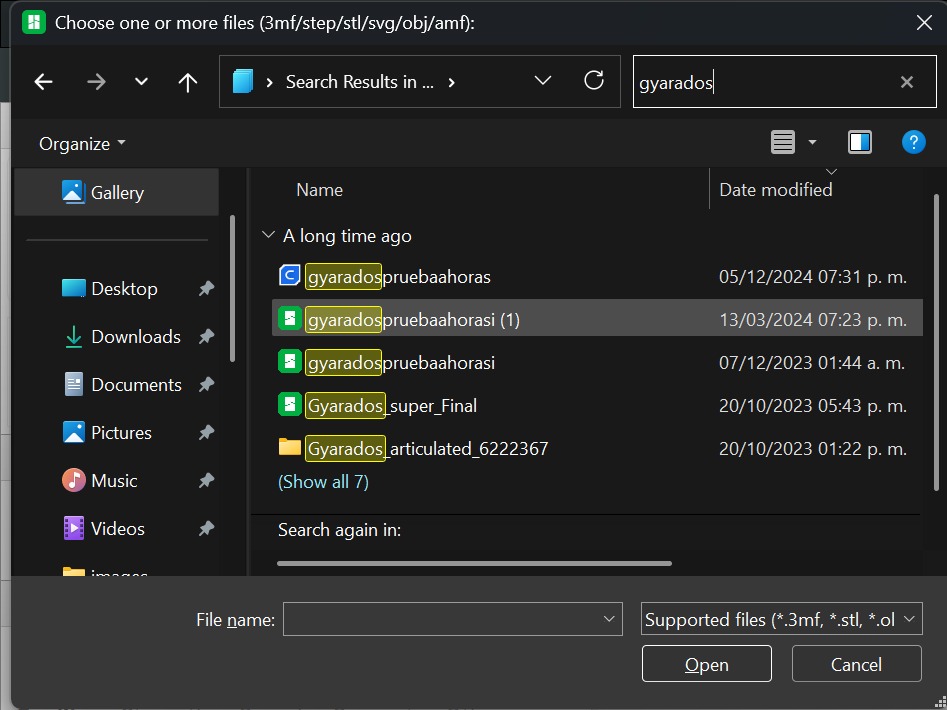
Selecting the archive.
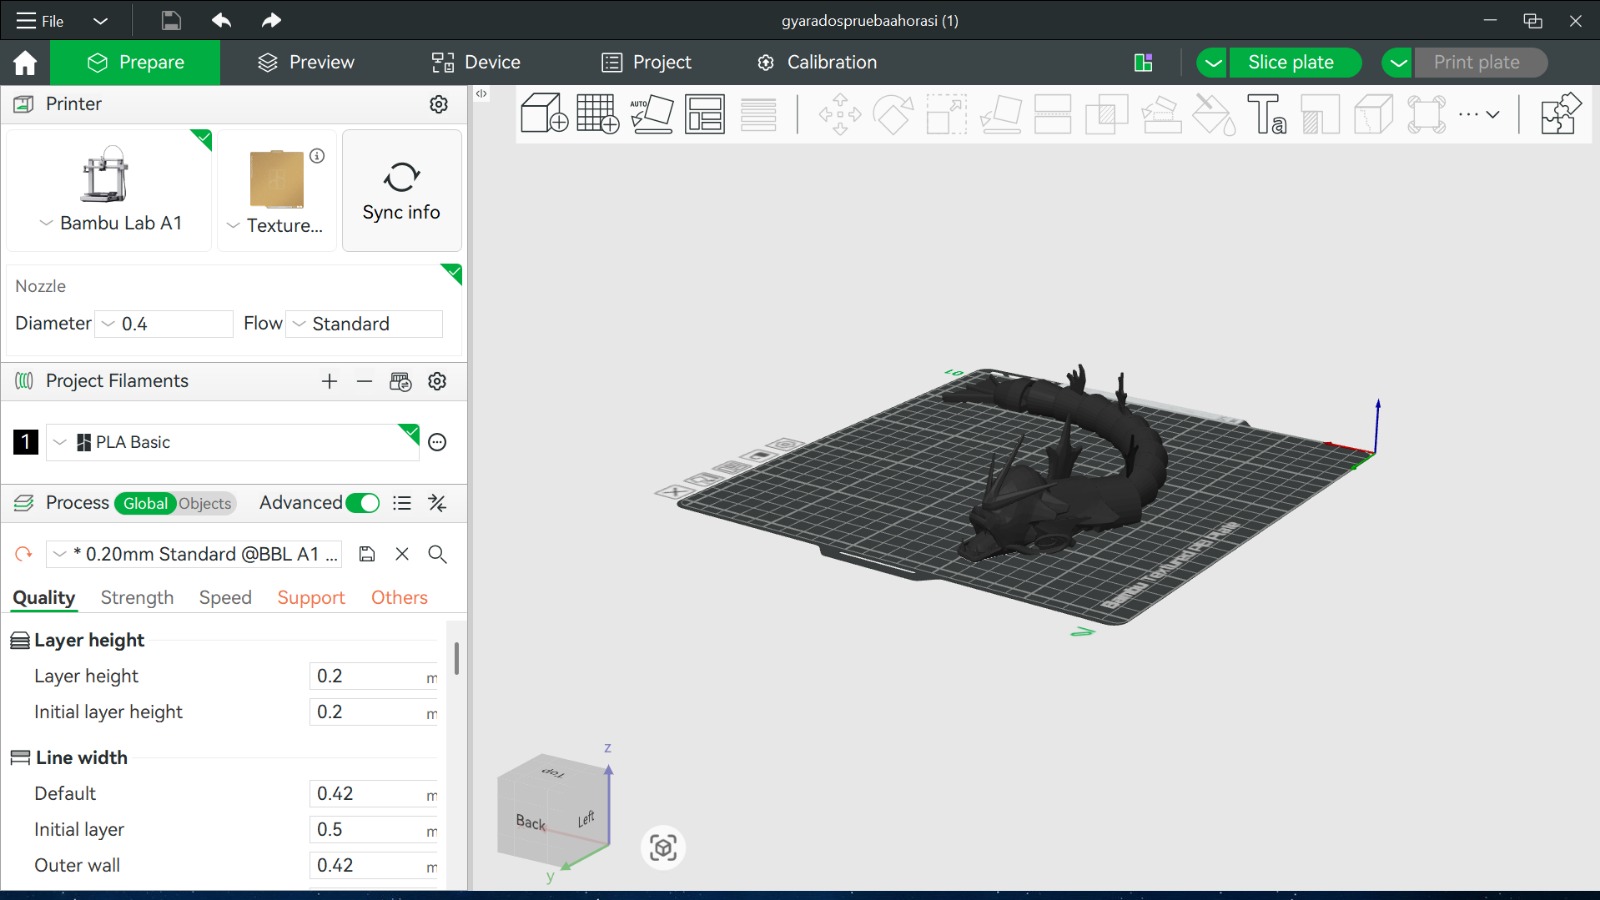
The model loaded onto the build plate.
Next, I configured the print settings and generated the G-code. (You can find an in-depth explanation of these slicing parameters, materials for 3D printing and more information in our Group Assignment link at the top of the page).
Slicing the model.
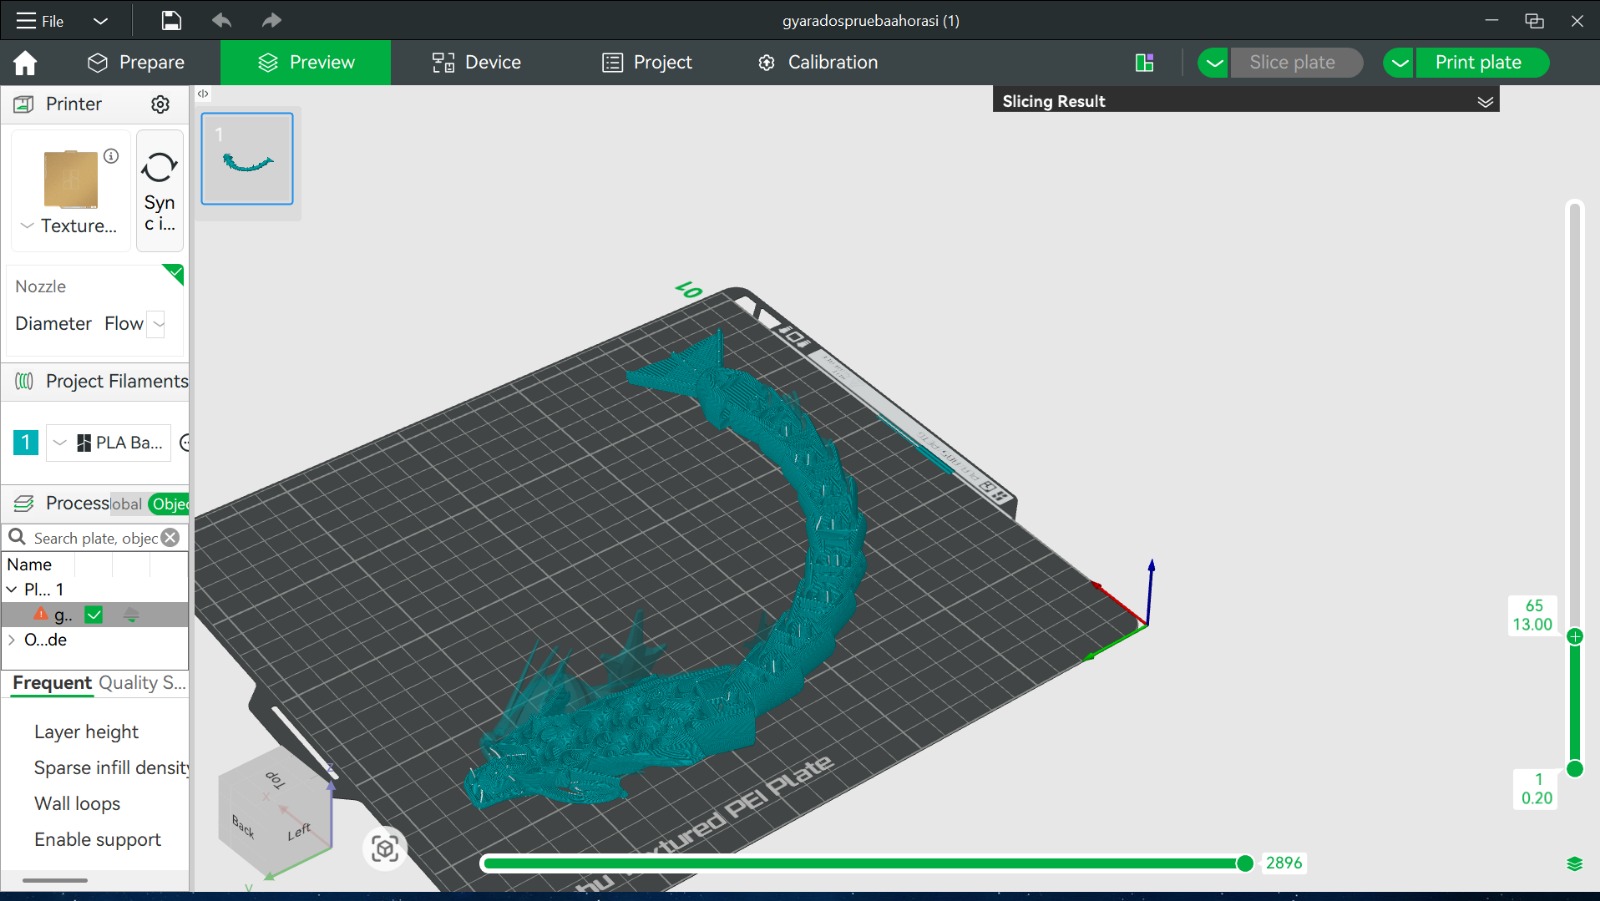
Previewing the generated toolpaths and layers.
Finally, I sent the G-code directly to the Bambu Lab A1 over Wi-Fi.

Sending the print job to the machine.
Printing Process and Results
Timelapse of the Gyarados printing on the Bambu Lab A1.
Extras and Hero Shots
Gyarados result:
Testing the aticulated gyarados movement.
With all my models fully scanned, I decided to print one of them and make a little sculpture with the scan of my face. First of all, once we have the STL, we need to cut it and scale it using Blender, here are all my steps for doing that:
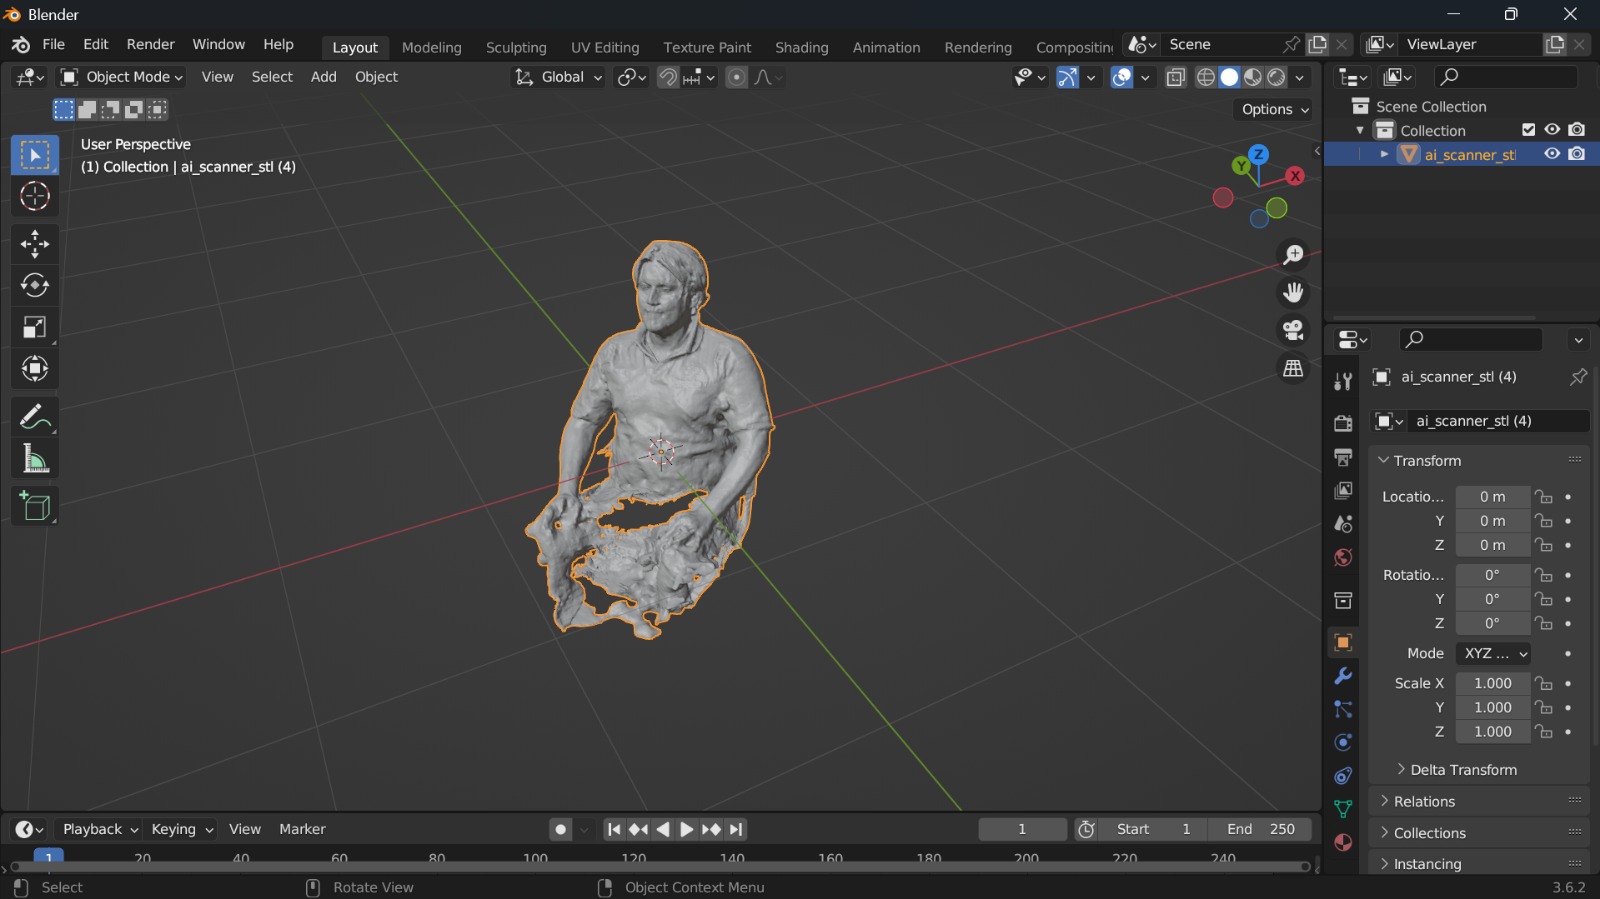
First, the model was imported.
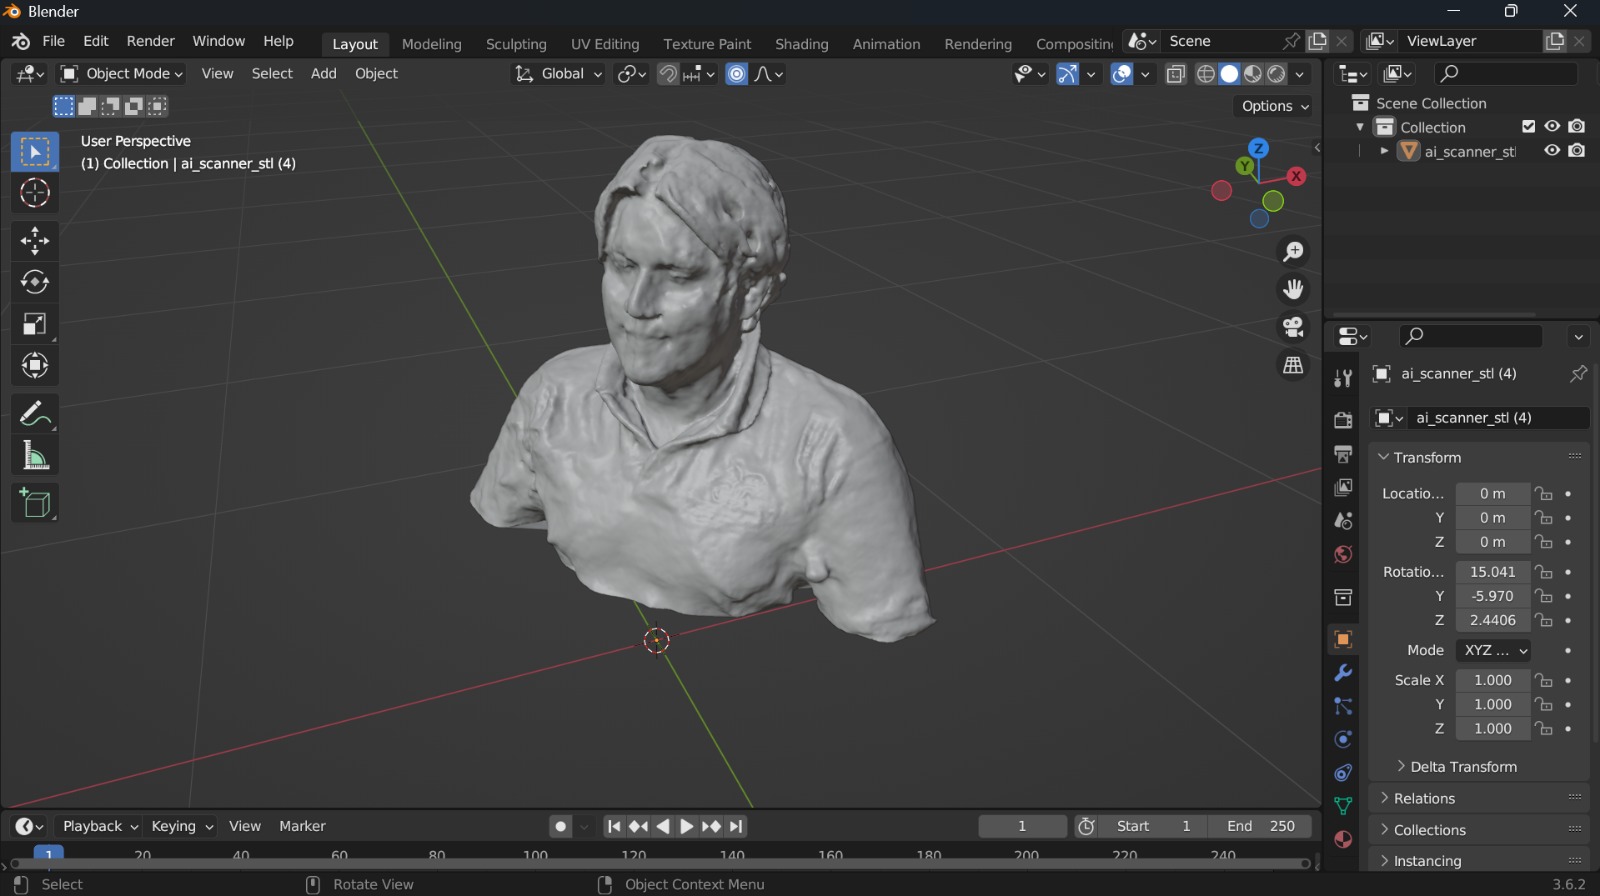
The base was cut using the tool Bisect.
Timelapse of polishing details and sculpting.
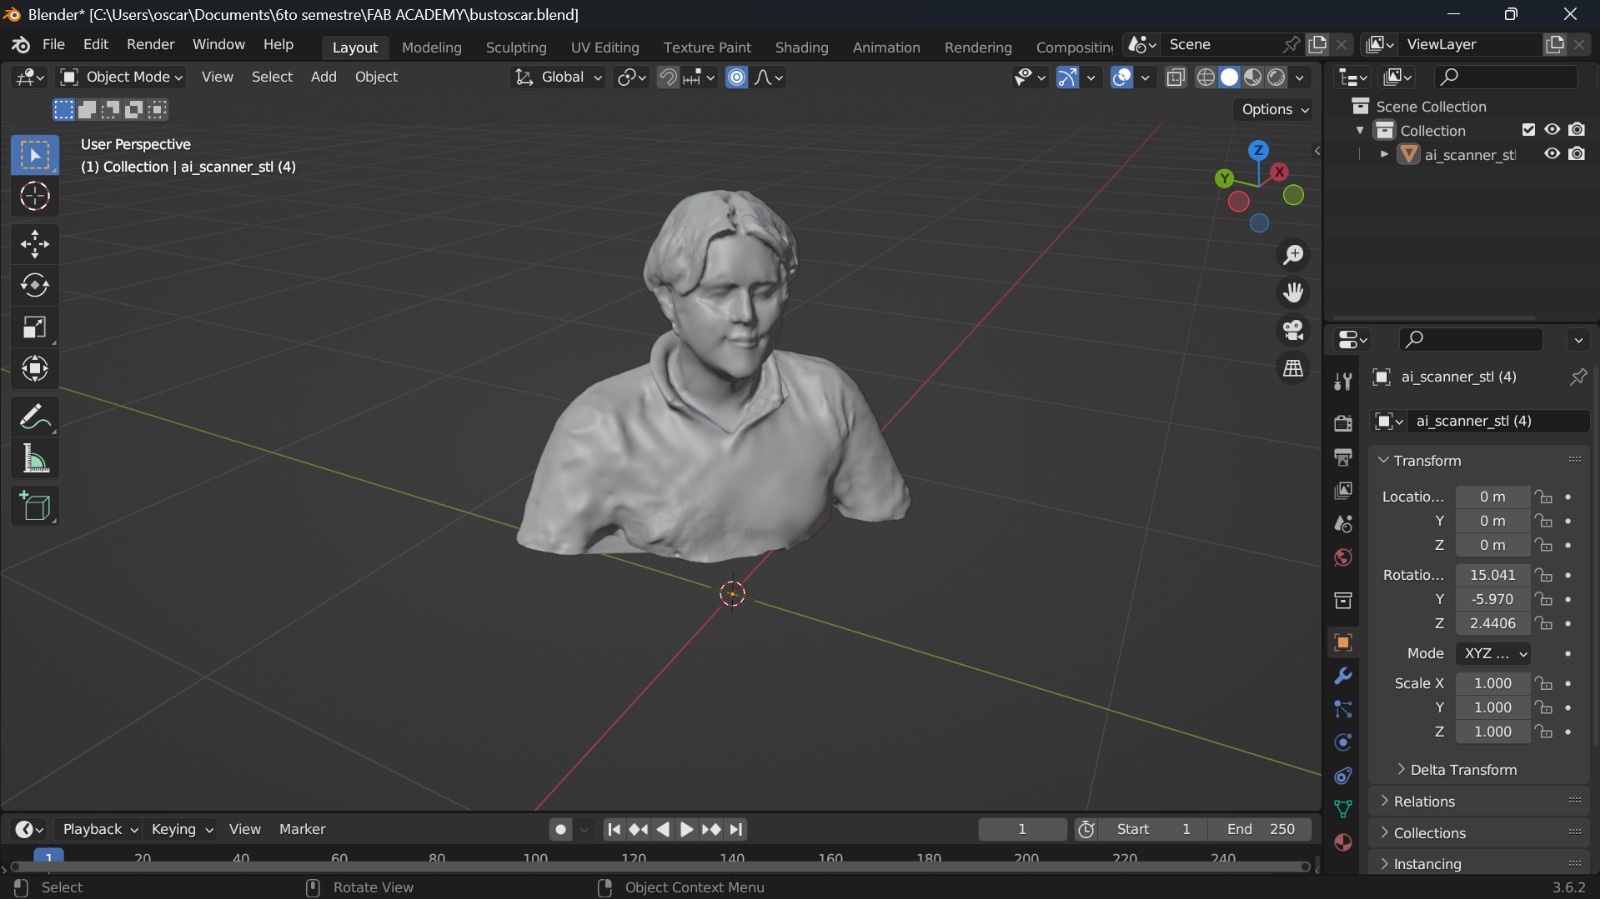
Final STL result.
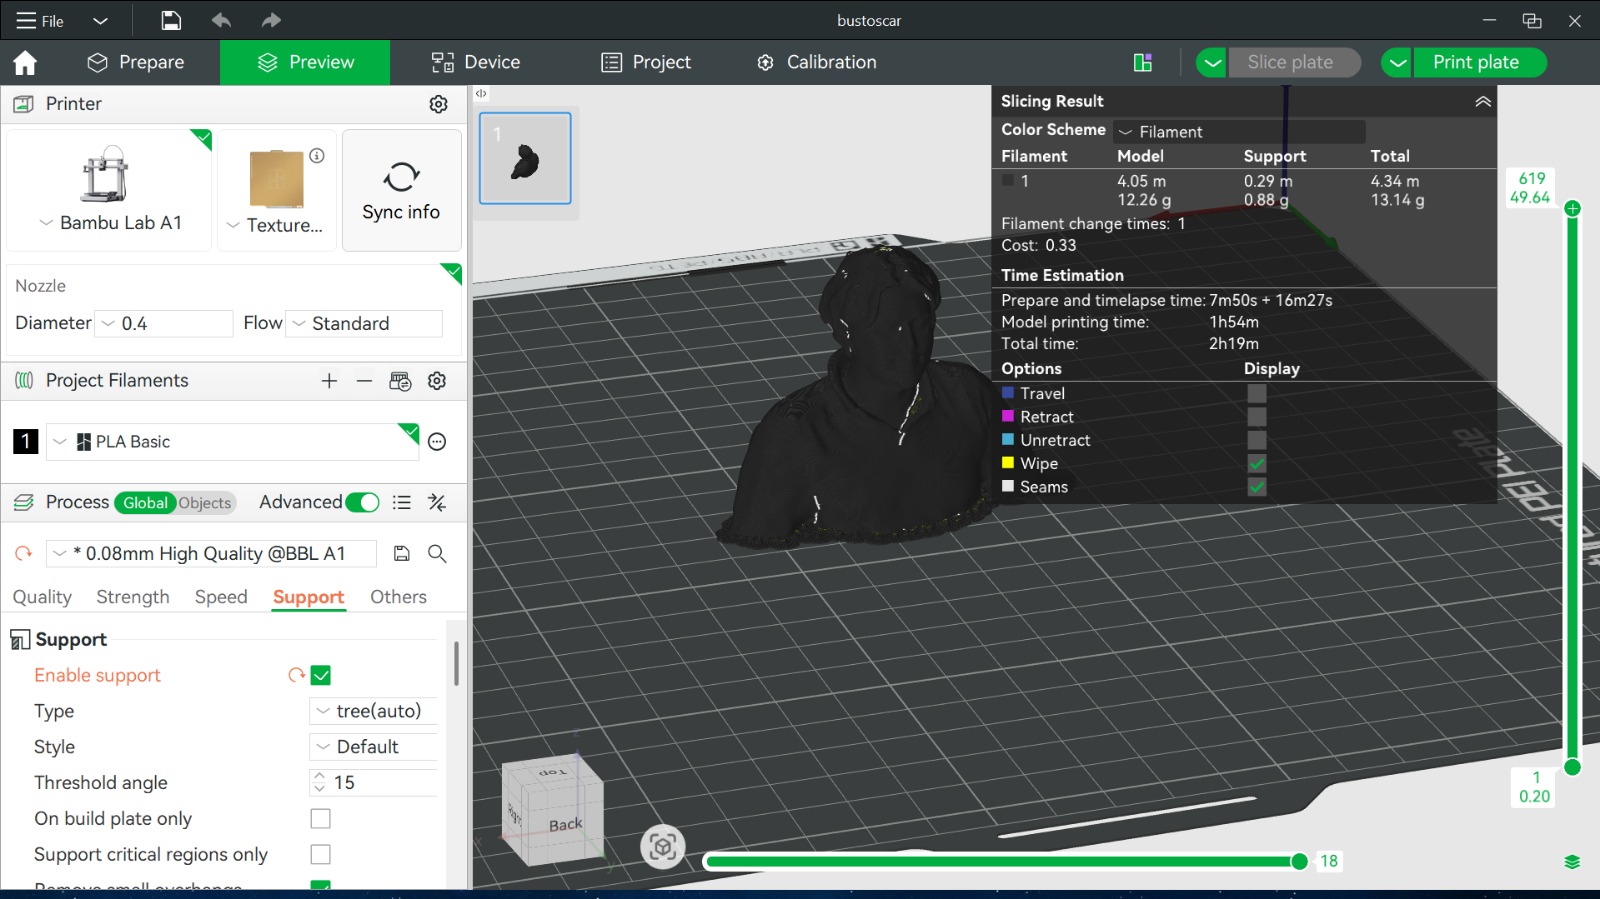
Slicing and printing.
My timelapse for my 3D printed sculpture.
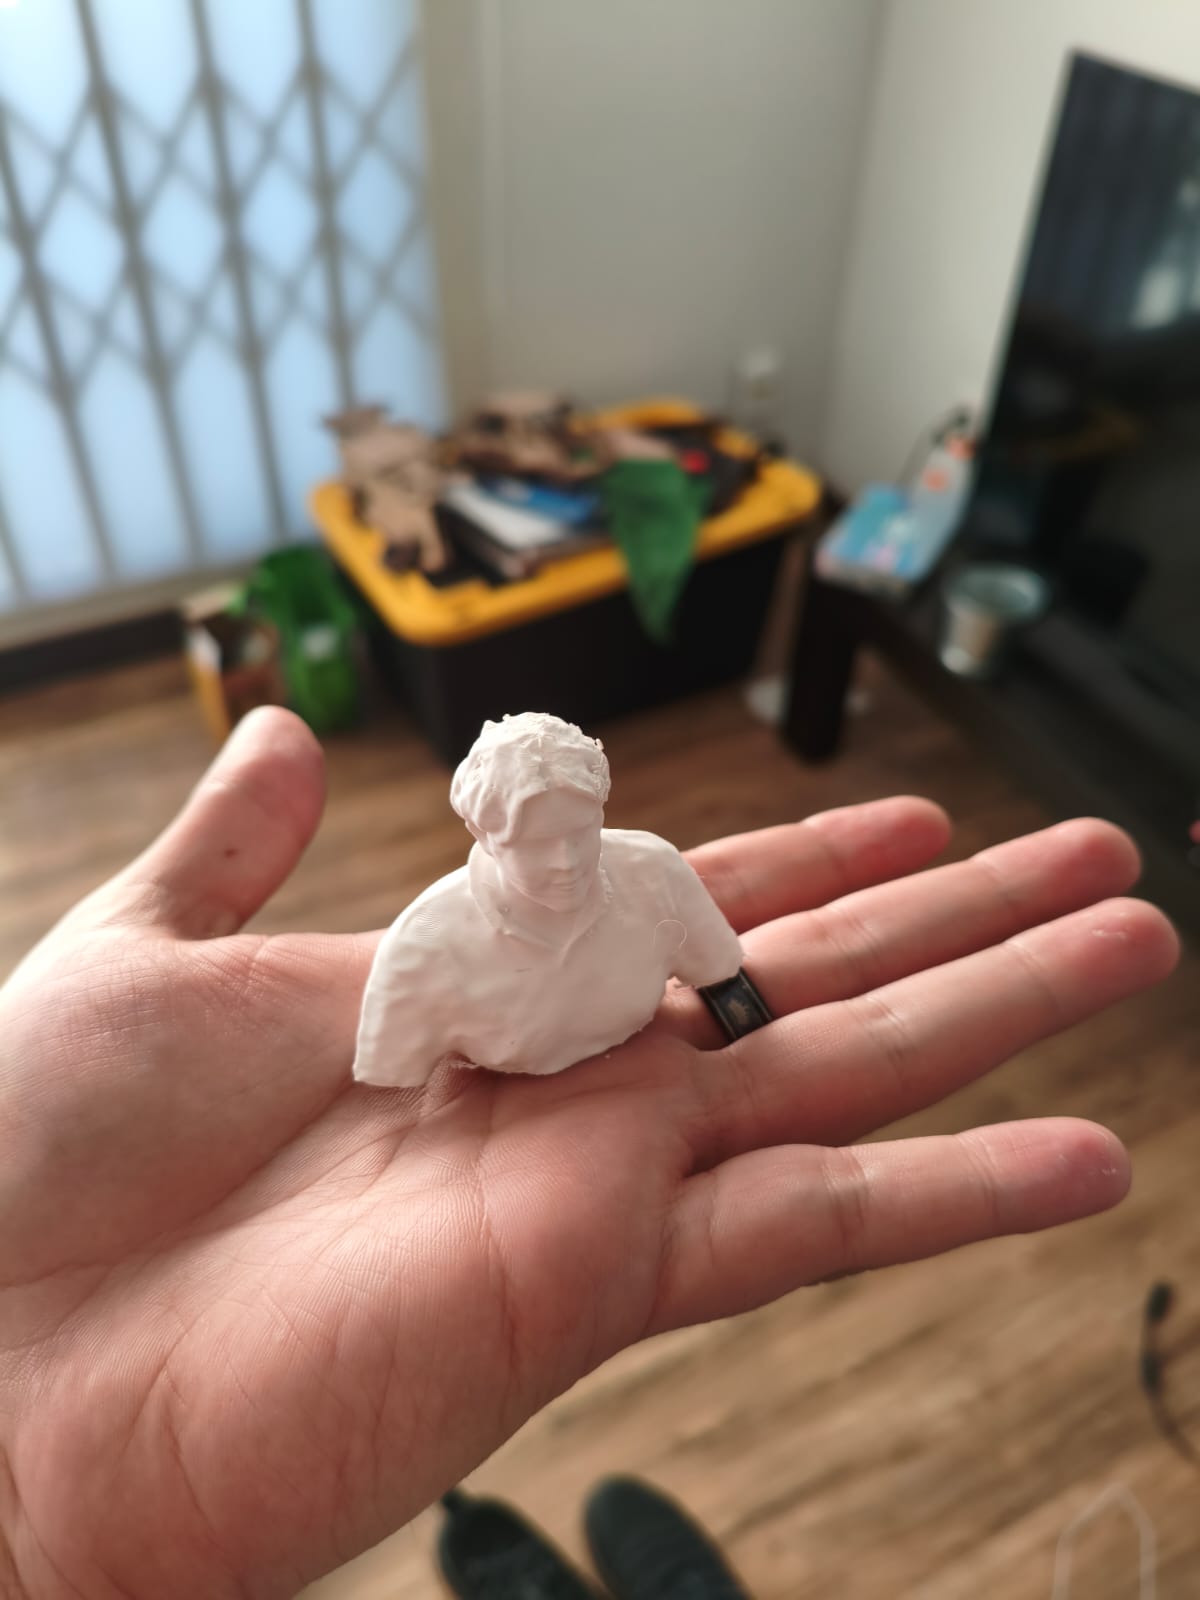
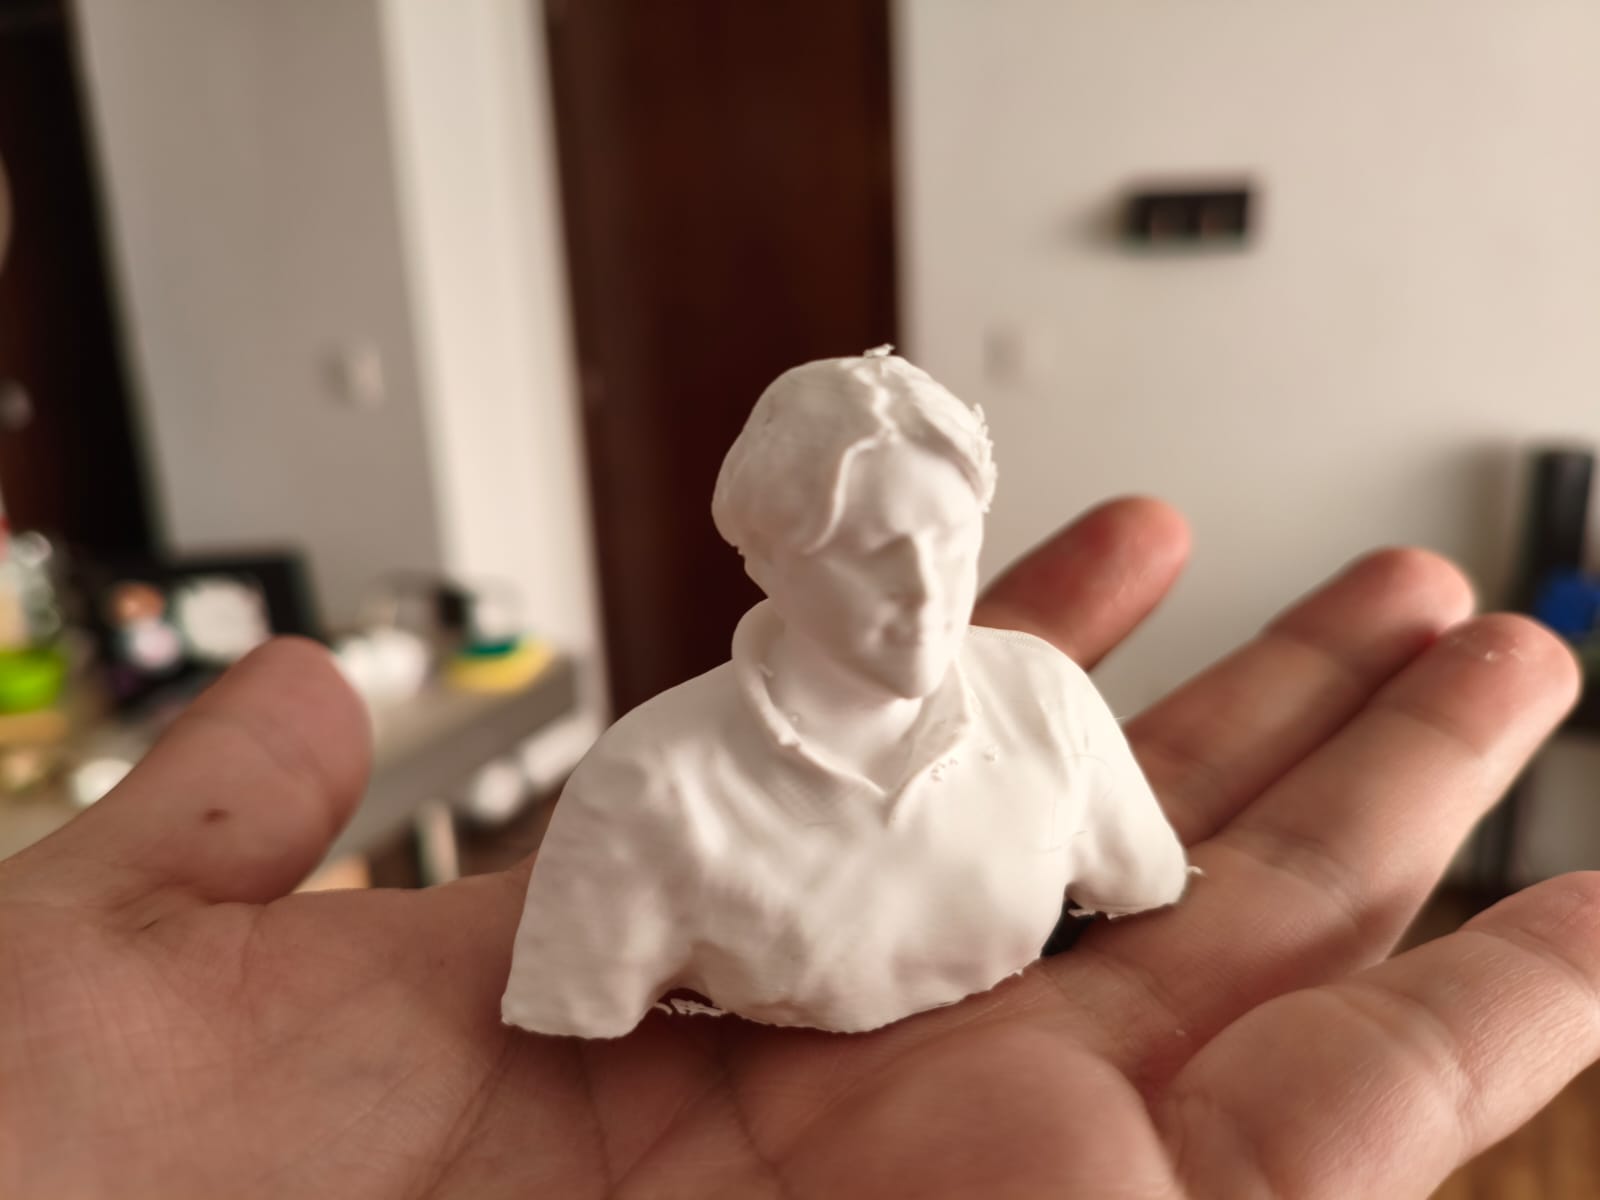
Final results.
Conclusion
This week taught me the immense value of prototyping and reverse engineering via 3D scanning and printing. I now undestand how to navigate slicing and printing software, handle tolerances for print-in-place mechanisms, and digitize real-world objects. I will be directly implementing these techniques into my Final Project → to design, and 3D print custom aerodynamic parts and structural mounts for my handmade drone, ensuring lightweight and perfectly fitted components.
Files
Here you can download the original STL files I used for this week's assignments (3D printing and CrealityScan) :