

Week 01
Project Management
// MAIN OBJECTIVE \\
The first week in this course was a basic and advanced guide to learn how to modify our website documentation, install Git, learn the basic version control commands, and build everything in my repository using HTML and CSS.
Student Agreement, Introduction & Basic Setup
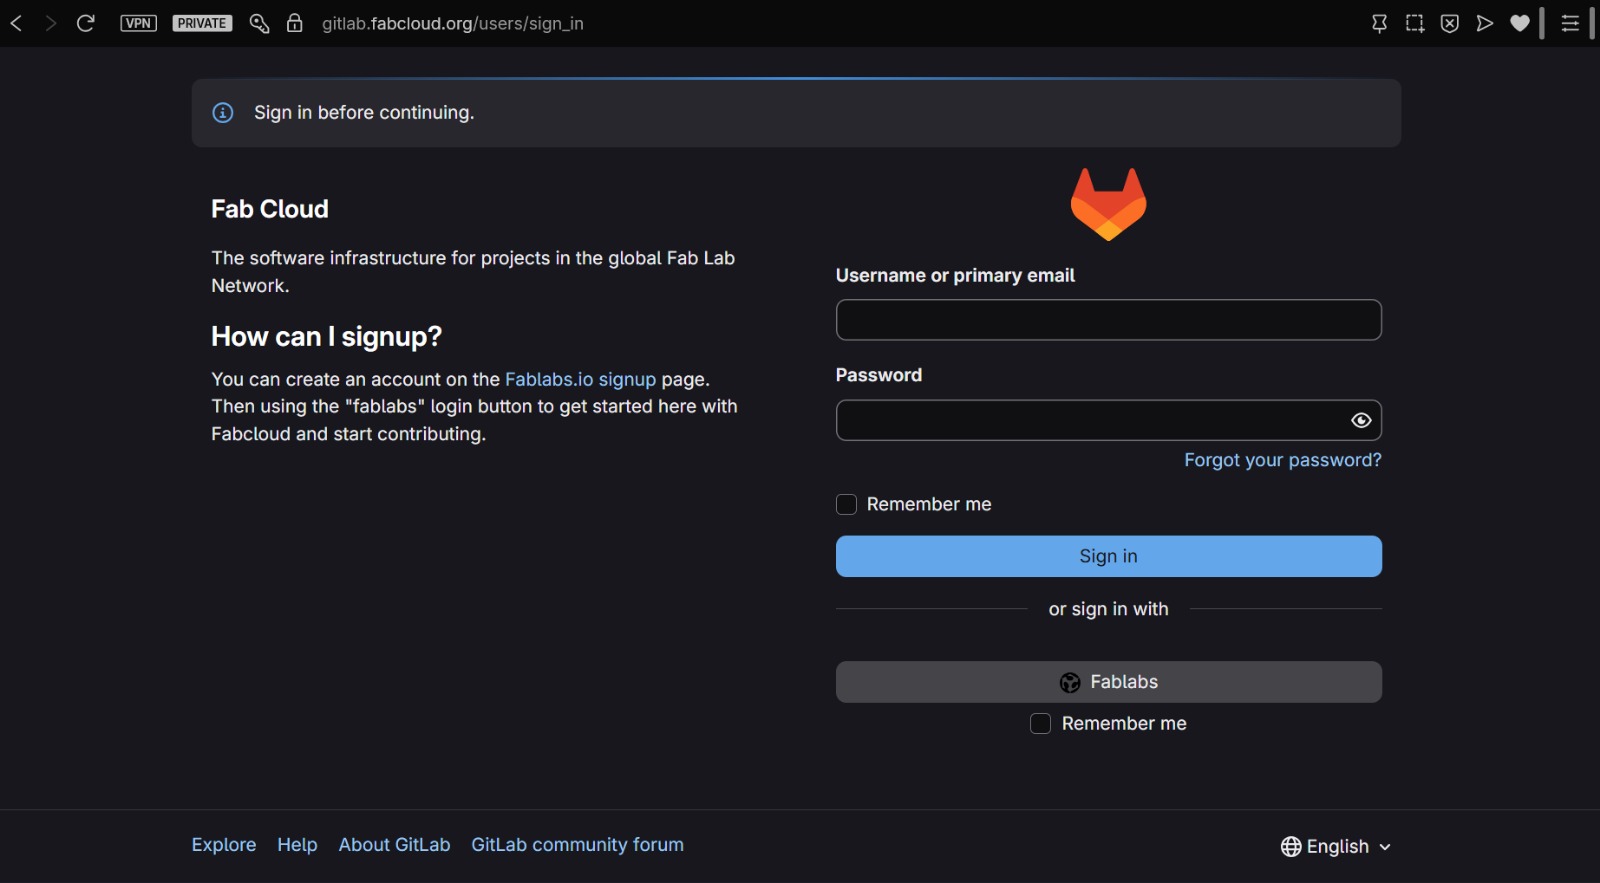
Here begins everything. First of all, if you want to see the STUDENT AGREEMENT, you can click HERE →. I installed Git for GitLab and Visual Studio Code, which are basic programs to develop my website. Then I cloned the example website and connected my user identity to the repository.
The next step was to start learning the basic commands. Here is a summary of the most important ones:
| COMMAND | DESCRIPTION |
|---|---|
| git clone <URL> | Clone the repository from Git to our computer |
| git add . | Add all changes to the git repository |
| git add folder/ | Specify changes you want to add |
| git commit -m "MESSAGE" | Add the title of the changes you want to do |
| git push | Upload all the changes to GitHub/GitLab |
| git status | Verify the status of your gitlab compared to your Visual Studio |
| git pull | Save changes from the repository to your computer |
| git reset --soft | Delete the commits (last pushed) |
| git reset --hard | Delete all the commits and files (only emergency) |
| git reset --soft HEAD~2 | Delete the specific number of commits you want |
Advanced HTML-CSS commands
Once the basics were covered, I moved on to connecting with the remote repository using SSH keys and pushing my first changes to the cloud, modifying an example website, which includes every command and environment for making my personalized repository. Here are the steps for cloning a Gitlab URL:
1.- Logging in with the Fab mail.
2.- Copying the repository link in Visual Studio Code.
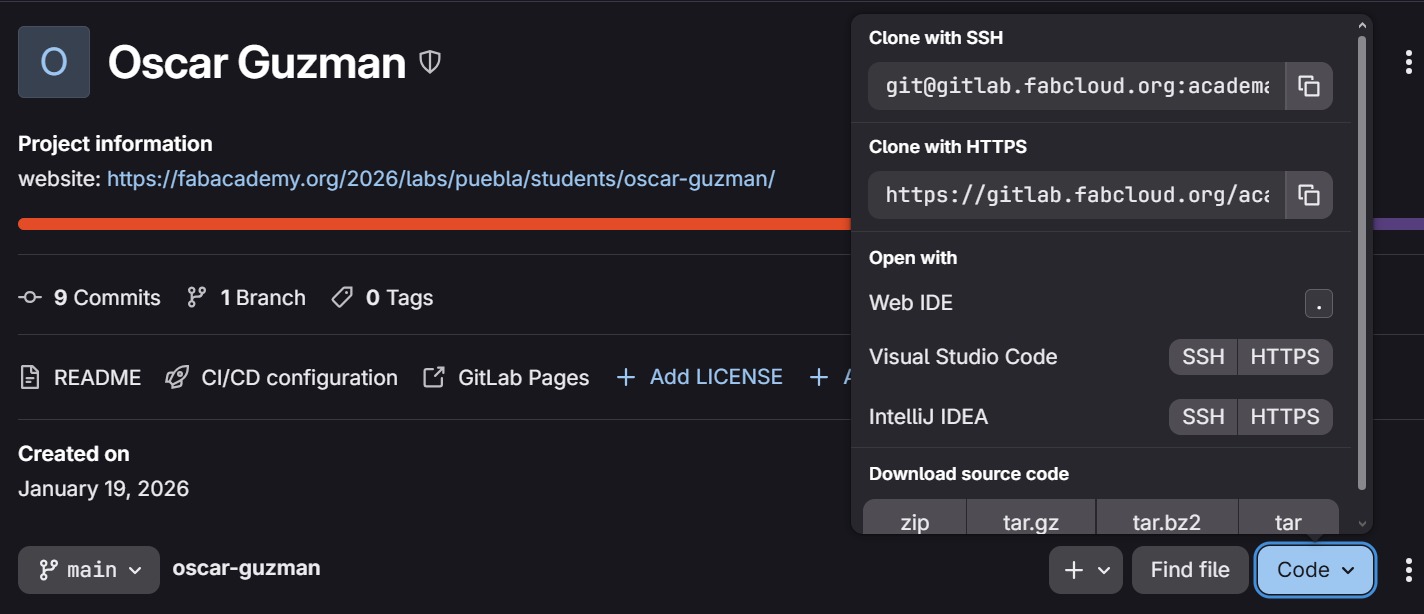
3.- Cloning the repository link.

4.- Adding, commiting and pushing changes.

One of the most important tools in website design is the "skeleton" or the HTML coding. We learned some important parts that every site needs to have to be considered good: Header, Main, Footer, Body, Links, Buttons, Animations, etc.
<!DOCTYPE html>
<html lang="en">
<head>
    <meta charset="UTF-8">
    <meta name="viewport" content="width=device-width, initial-scale=1.0">
    <title>FAB ACADEMY 2026 - Oscar Guzman</title>
</head>
<body>

<header>
 <h1>Bienvenido a mi ejemplo</h1>
 <h2>Bienvenido a mi ejemplo</h2>
 <h3>Bienvenido a mi ejemplo</h3>
</header>

<main>
        <section>
            <h2>OBJETIVO</h2>
            <p>Aprender HTML</p>
        </section>
    </main>

    <footer>
        <h2>Documentación≷/h2>
        <p>Aquí va lo de abajo</p>
    </footer>
  </body>
</html>
Example of a basic website in HTML.
Once you finish doing the base of the site, you must make it nice to the user view, so this is when CSS rises to make everything aesthetic and pretty.
{
    box-sizing: border-box;
    margin: 0;
    padding: 0;
}

body {
    background-color: #0a0a0a;
    color: #e2e8f0;
    font-family: 'Inter', sans-serif;
    line-height: 1.6;
}

h1, h2, h3, .week-number {
    font-family: 'Roboto Mono', monospace;
}

a {
    text-decoration: none;
    color: inherit;
    transition: 0.3s;
}
Example of a basic design coding in CSS.
You can see my example page HERE →
My modifications
Once the class was over, I thought of many ideas to make a good looking repository. First I thought of something elegant, dark and simple that fits the color palette of FAB, then I thought about TRON, so I investigated about CSS and took advantage of the Gemini AI to design a Fab-Tron style for my repository.
To get a solid base, I sent a huge prompt for Gemini, then I modified everything to my taste:
I'm taking a very important course, and I'm using a pre-built GitLab repository to upload changes by cloning it in Visual Studio Code to a personal student website. This website is a personal portfolio with several HTML files and folders where I'll include various things (it's all in English, by the way, which is important): an "About Me" section, weekly notes from the course, and a final project. Each item covered weekly needs to be broken down very thoroughly, almost step-by-step, to create a complete and impressive portfolio for future reference. But remember, content is more important than visuals (this isn't a beauty contest), so prioritize the content first, and then make sure it looks nice. I'm going to send you the index page for my website. I'd like it to look very nice, but please use black, dark blue, red, and dark green for a very elegant look.
My base prompt for Gemini.
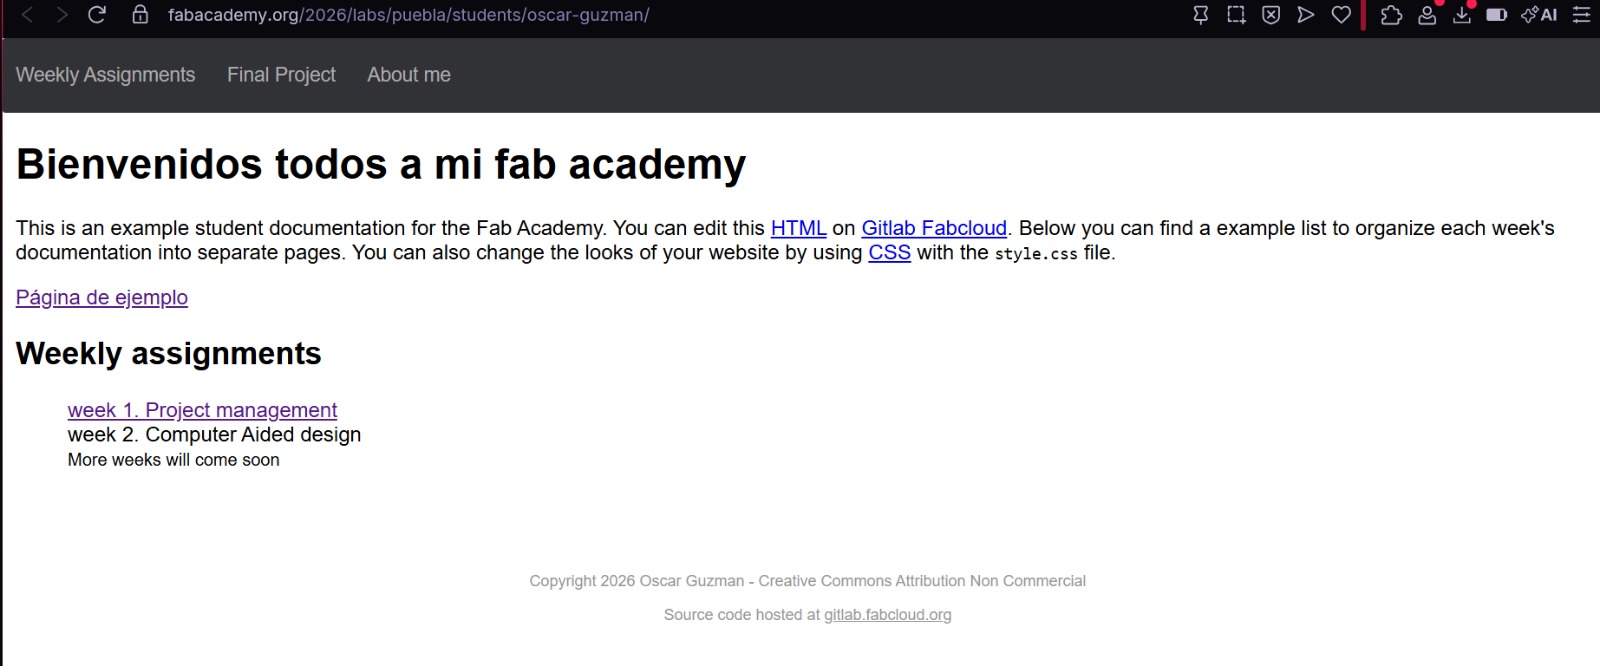
Snapshot of my first repository modifications, trying the basic git commands.
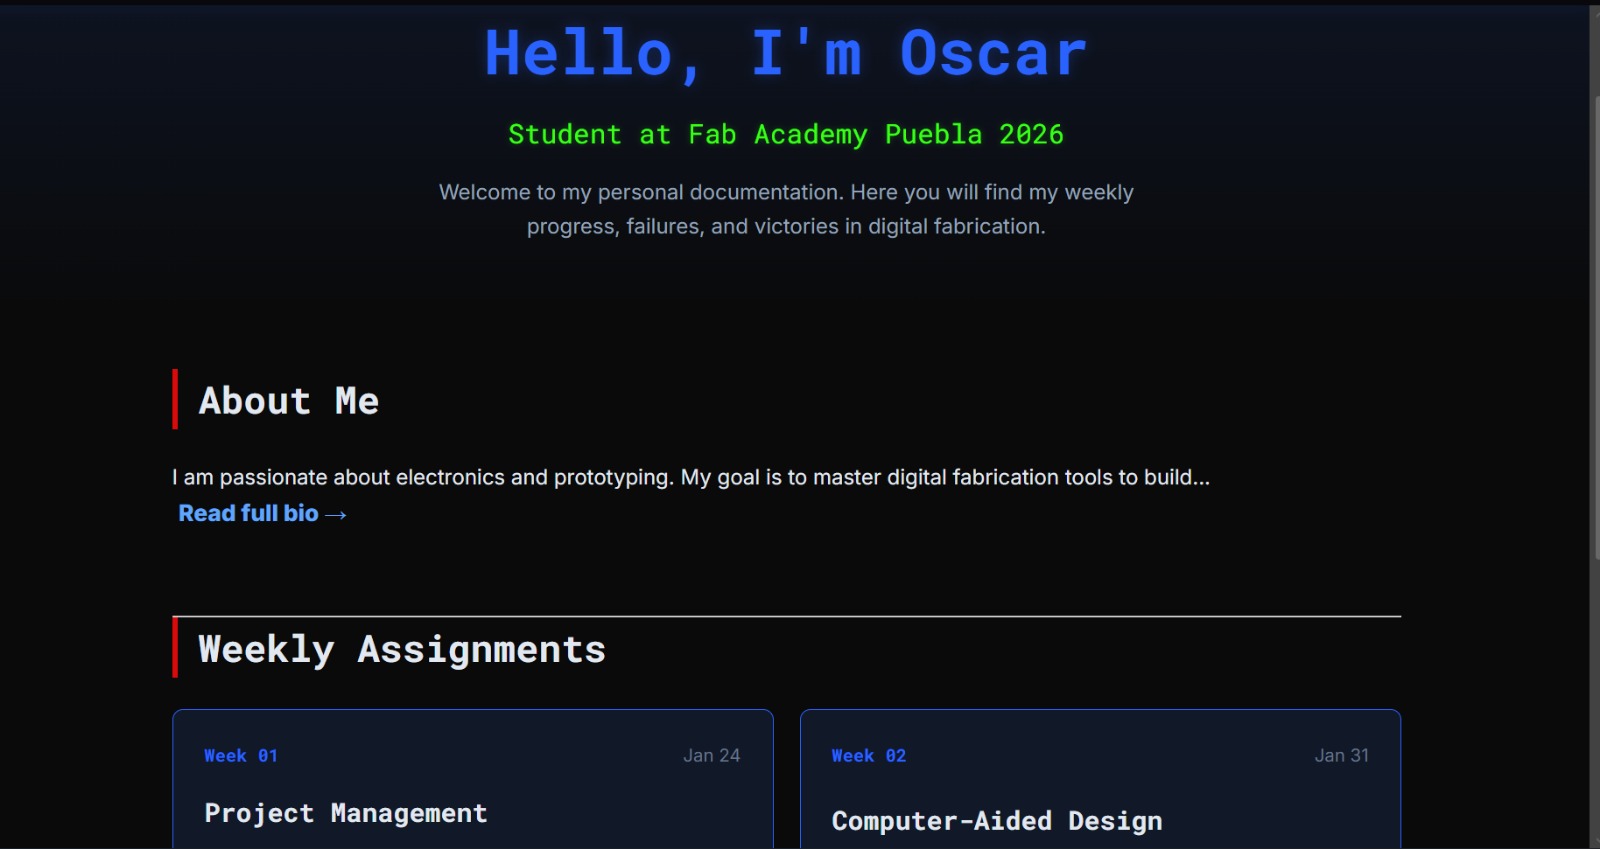
Snapshot of the base of my repository design.
After that, I started to modify a lot of things like the pop-off menu panel, buttons, animations, colors, interface, content, links and I applied that modifications to all my other sections of this repository.
Example of my week01 page adapted to this style.
Conclusion
This week was crucial for establishing the workflow I will be using for the rest of the course. Understanding Git and Visual Studio Code allows me to modify my repository so my documentation is safe, with accesibility and organized. I am satisfied with the visual result of this repository and ready for the next week :> .