2D Design
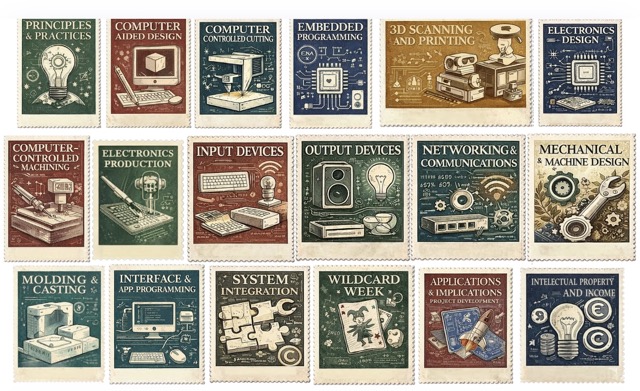
For the 2D part of the assignment, I wanted to convert one of my sticker images into a scalable vector file. This would allow me to use the same graphic in different sizes without losing quality. To compare software behavior, I used the exact same raster image in both Affinity Designer and Inkscape.
I began by experimenting with image vectorization in both programs. My first impression was that I liked that both tools offer pre-established templates when starting a new document, although in Inkscape these templates are more intuitive to access than in Affinity.
Affinity Designer — Vector Trace Workflow
1. I imported the original raster sticker image into the Affinity Designer workspace and used it as the bitmap reference.
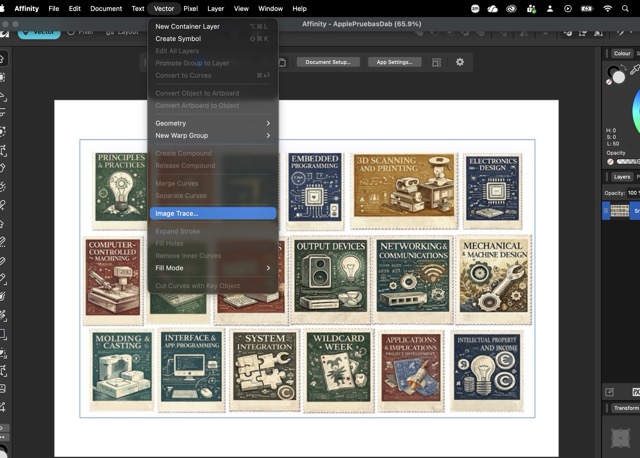
2. I selected the image and opened the Vector Trace panel, which automatically detects the contours of the raster image.
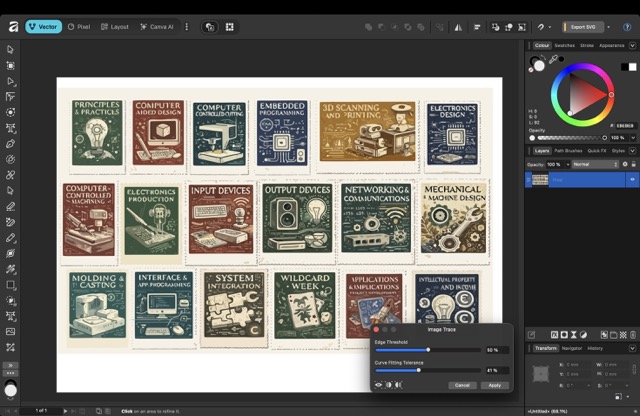
3. I tested different threshold, smoothness, and corner sensitivity values to see how the software interpreted the edges and internal details.
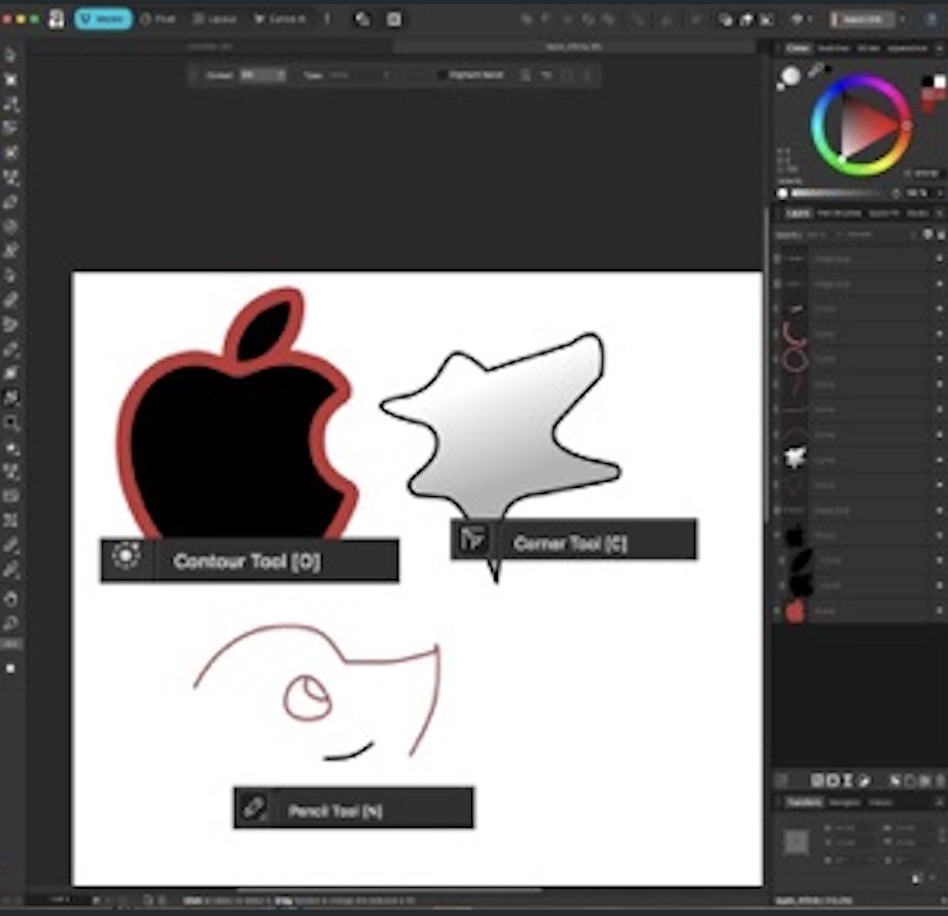
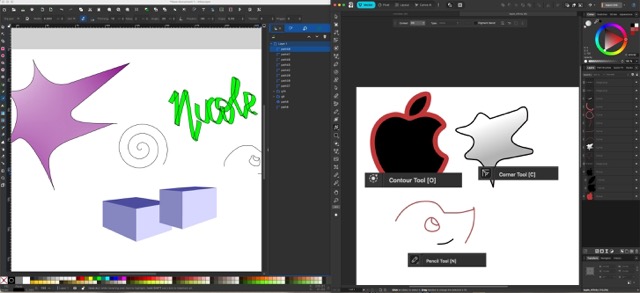
4. After adjusting the parameters, I applied the trace and Affinity generated editable vector paths. I also experimented in another file the different tools in affinity. Here is the image of my experimentation:
Through this process I observed that Affinity Designer offers a visually intuitive workflow and very good manual editing tools, but its automatic vectorization required additional cleaning after the first conversion.
Inkscape — Trace Bitmap Workflow
1. I imported the exact same raster sticker image into Inkscape to make a direct comparison under the same conditions.
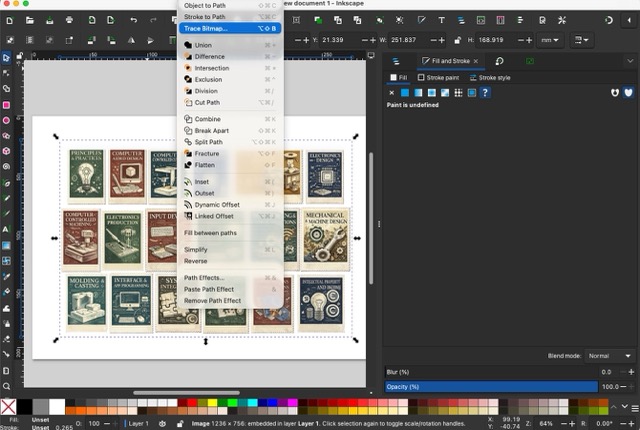
2. I selected the image and used the Path → Trace Bitmap function, which is Inkscape's automatic raster-to-vector conversion tool.
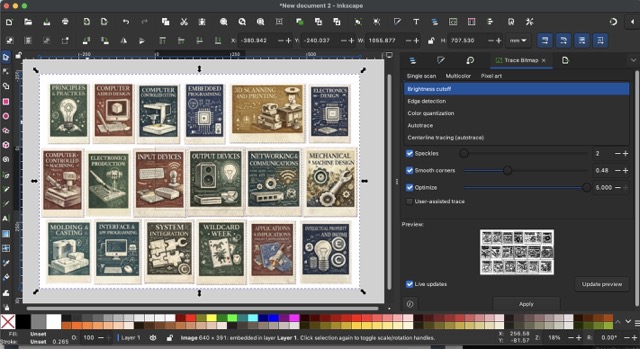
3. Inside the Trace Bitmap panel, I tested different modes such as brightness cutoff and edge detection.
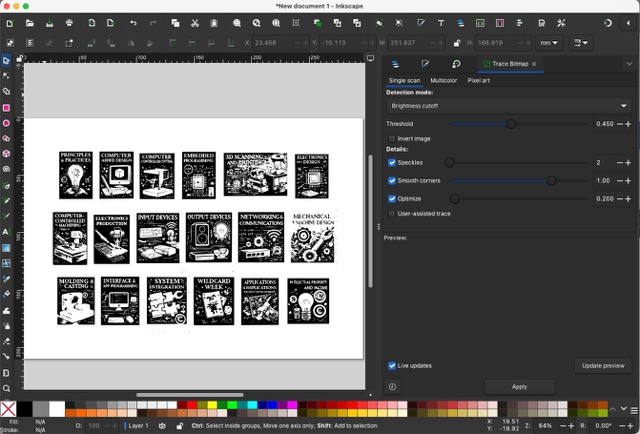
4. I deleated the image on the back to see how the image trace was.
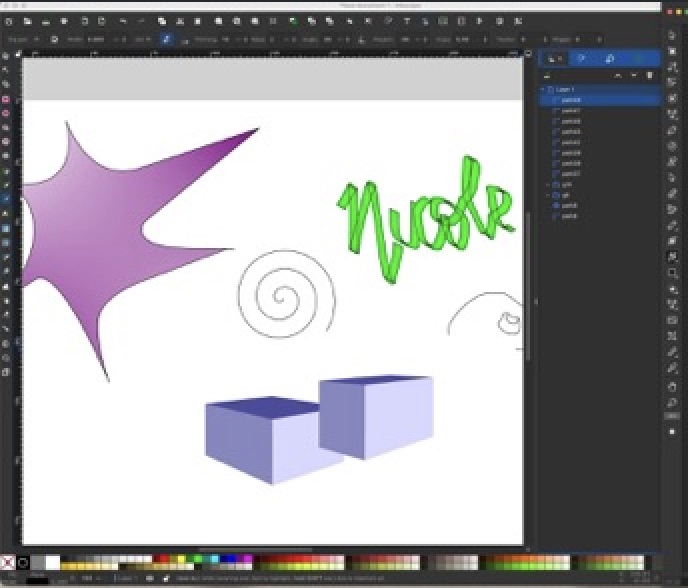
5. After that I started experimenting with some other features, here is an image of what I did.

6. Since I liked Inskape for image vectorization better I did the same bitmap trace with a logo that may design team made.
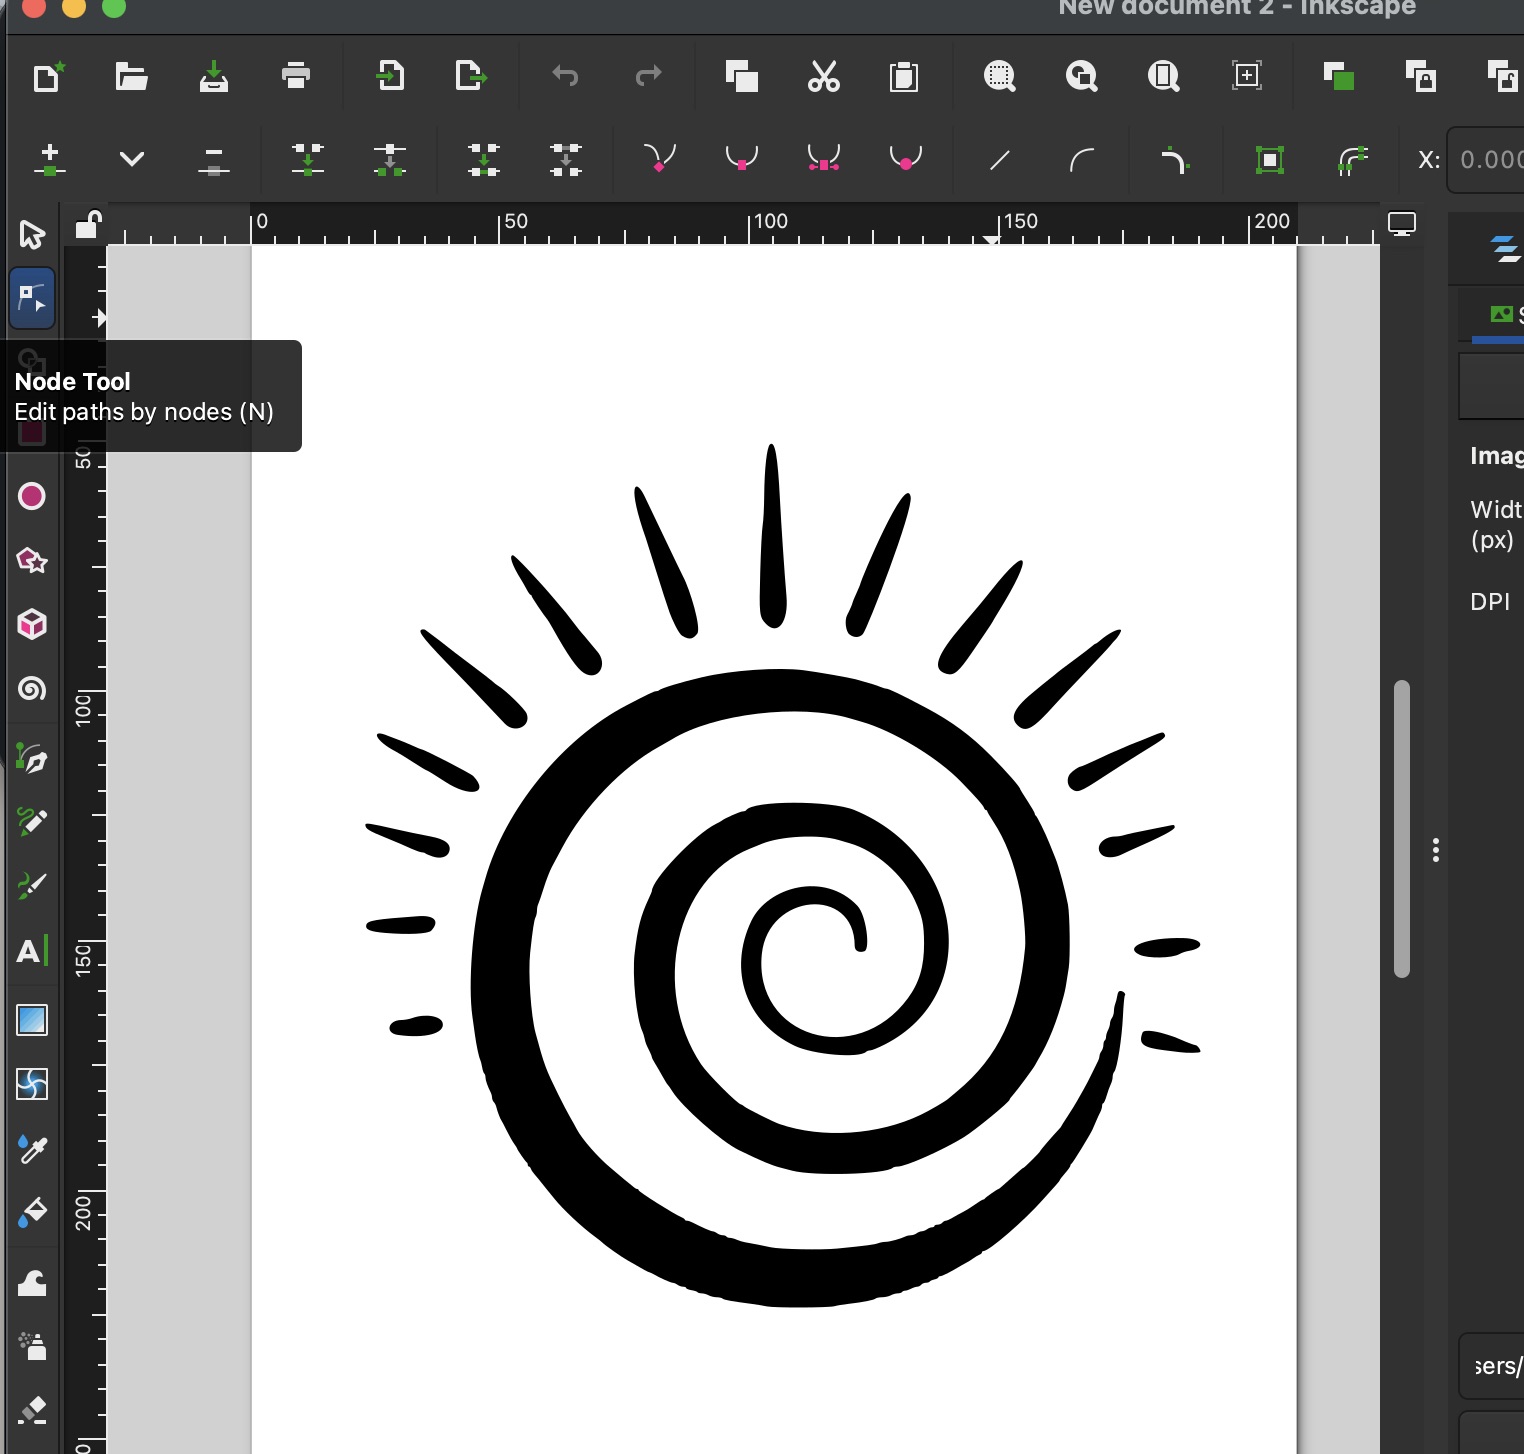
7. I had to deleate some vectors with the node tool to refine it, but to do that you have to ungroup the object first in -Object- Ungroup. After deleating some unwanted nodes it came out very good.
I liked a lot that in inkscape there are more values things you can edit for image vectorizartion and the results were better than I expected.
Final 2D Comparison
When reflecting on both tools, what I liked most about Inkscape is the large amount of tutorials available online, since it has been on the market for much longer, whereas Affinity is relatively new. I had downloaded Affinity before starting Fab Academy, but initially found very few tutorials. During this week, however, I discovered more resources, including a YouTube tutorial by the channel Yoney Gallardo, which was especially helpful.
After experimenting with both programs, I concluded that what I like most about Affinity is how easy it is to switch between vector and pixel workflows. It offers advanced tools, feels intuitive, and allows you to search for and customize your toolbar, which improves efficiency. On the other hand, Inkscape stands out as a strong tool for vector work. It also includes interesting features, and one of my professors mentioned that Inkscape supports many add-ons that allow direct interaction with machines, such as vinyl cutters, without needing to export files to a separate machine-specific program. This is particularly useful for Fab Academy, and I hope to experiment with these add-ons in the coming weeks.
3D Design
For the 3D part of the assignment, I compared Onshape and SolidWorks. To evaluate both softwares under the same geometric conditions, I decided to model a cellphone because it contains simple extrusions, rounded corners, camera holes, side buttons, and charger details. This allowed me to test several common parametric CAD operations.
Onshape — Parametric Modeling Workflow
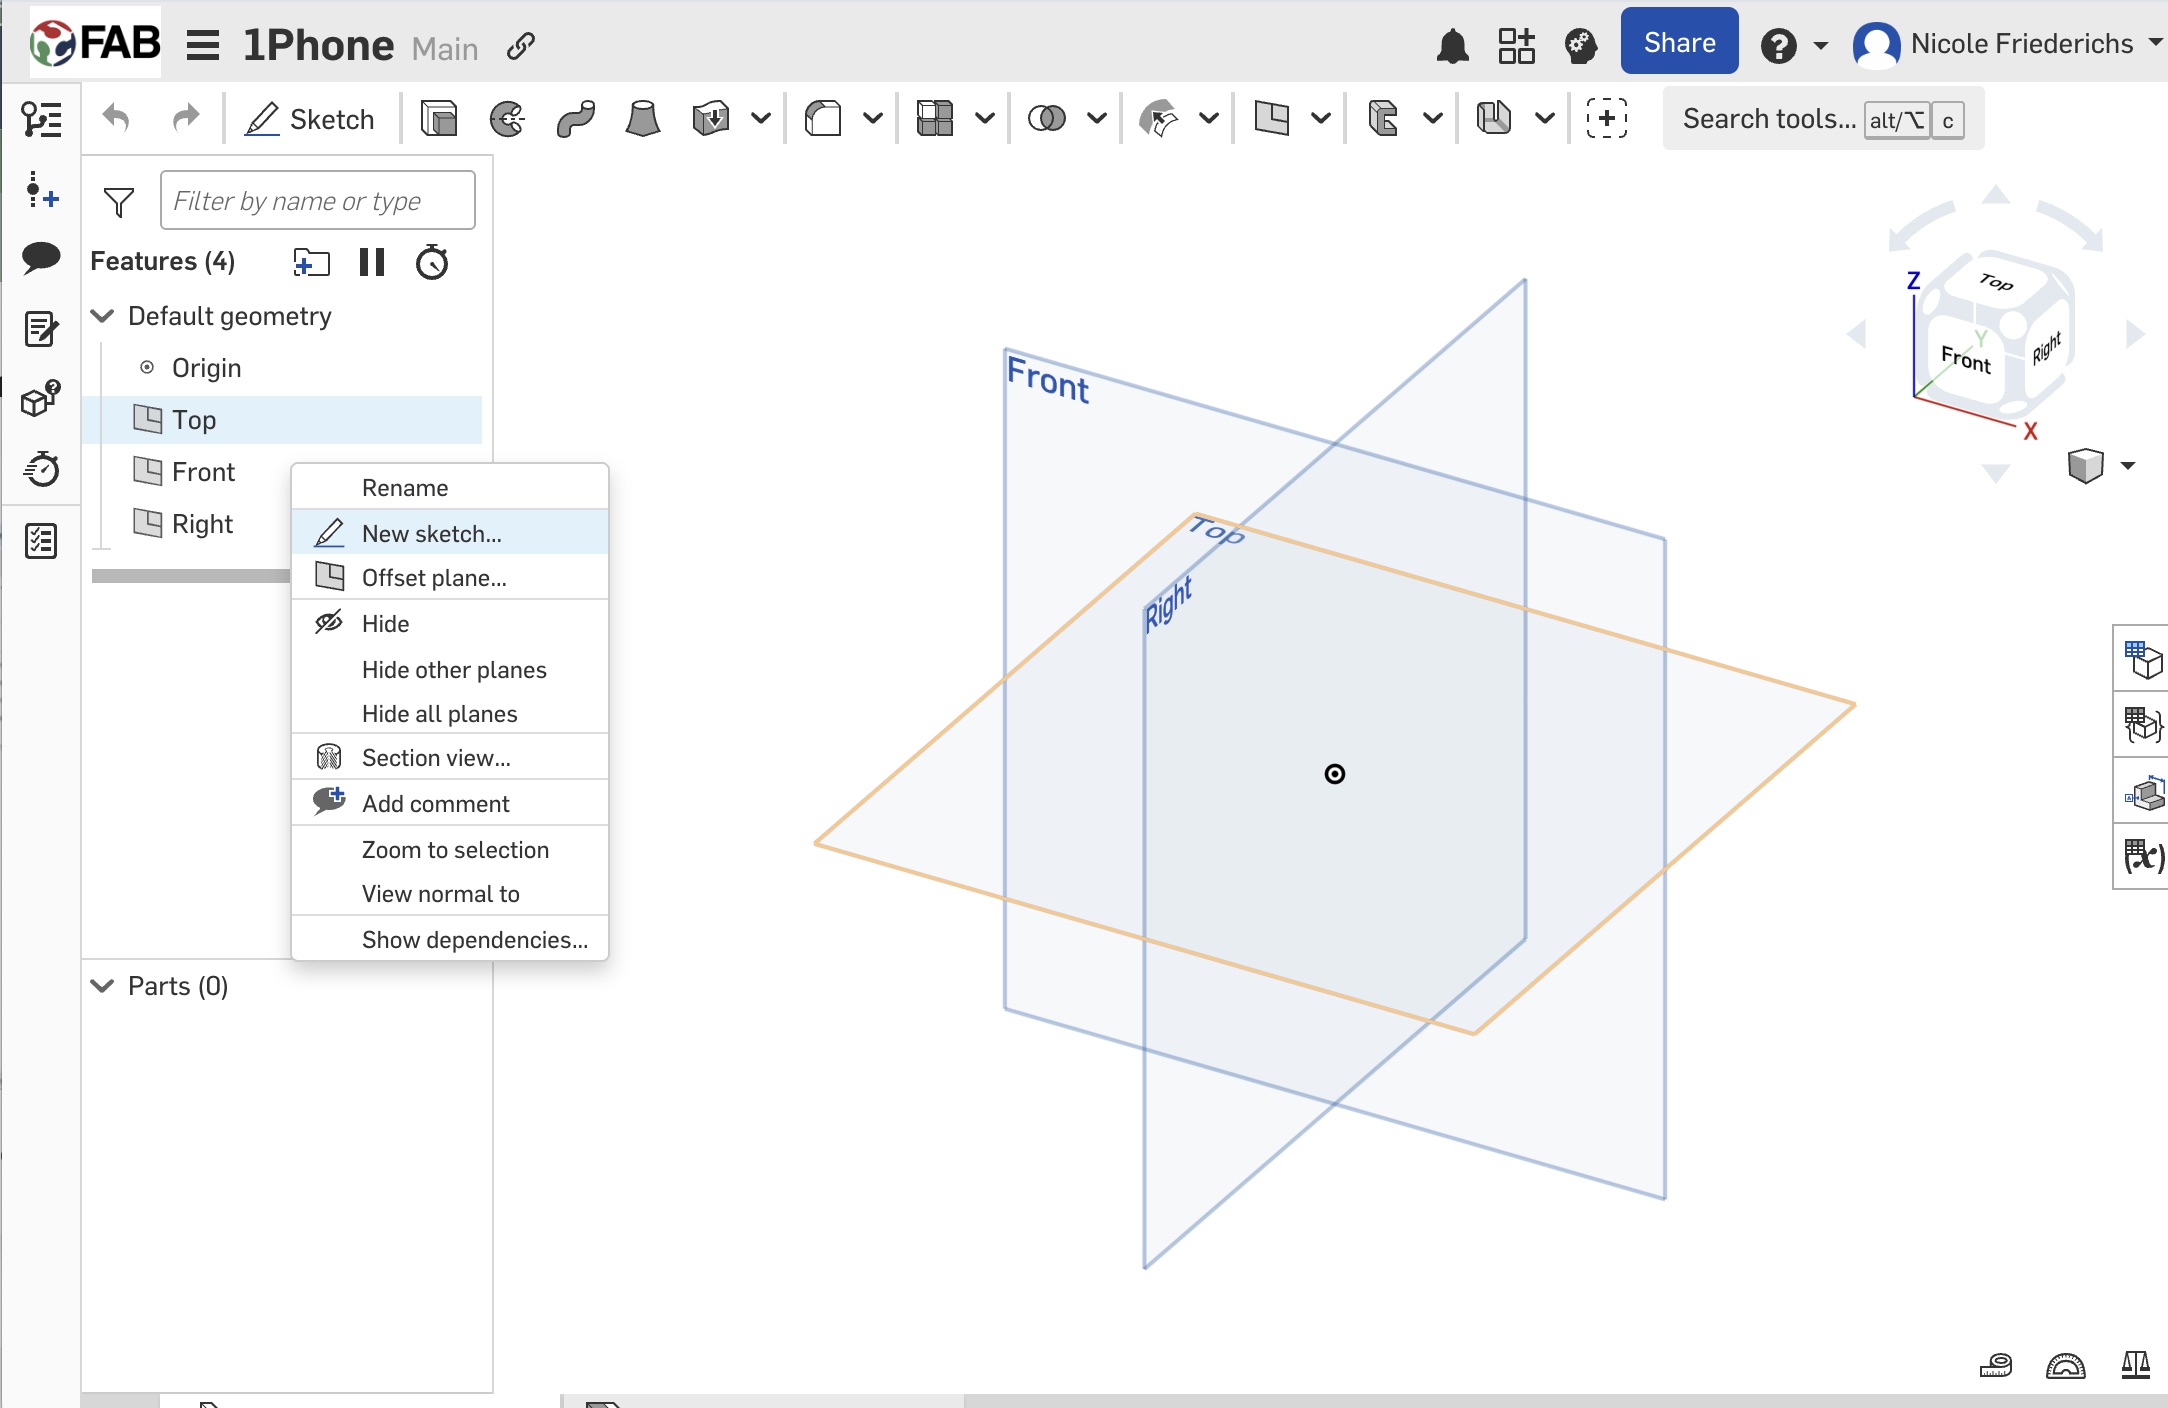
1. I started a new sketch on the Top Plane and drew the rectangular outline of the cellphone.
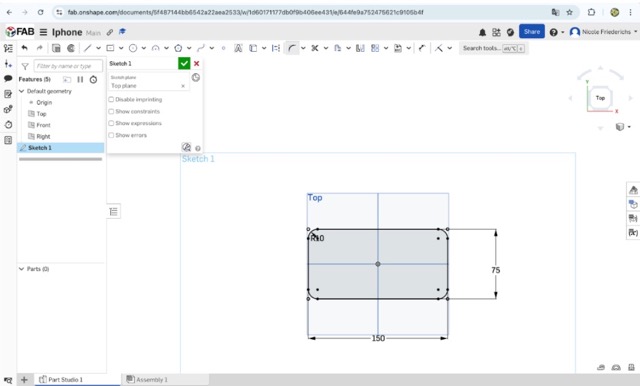
2. I added exact dimensions to fully constrain the base sketch and keep the model parametric.
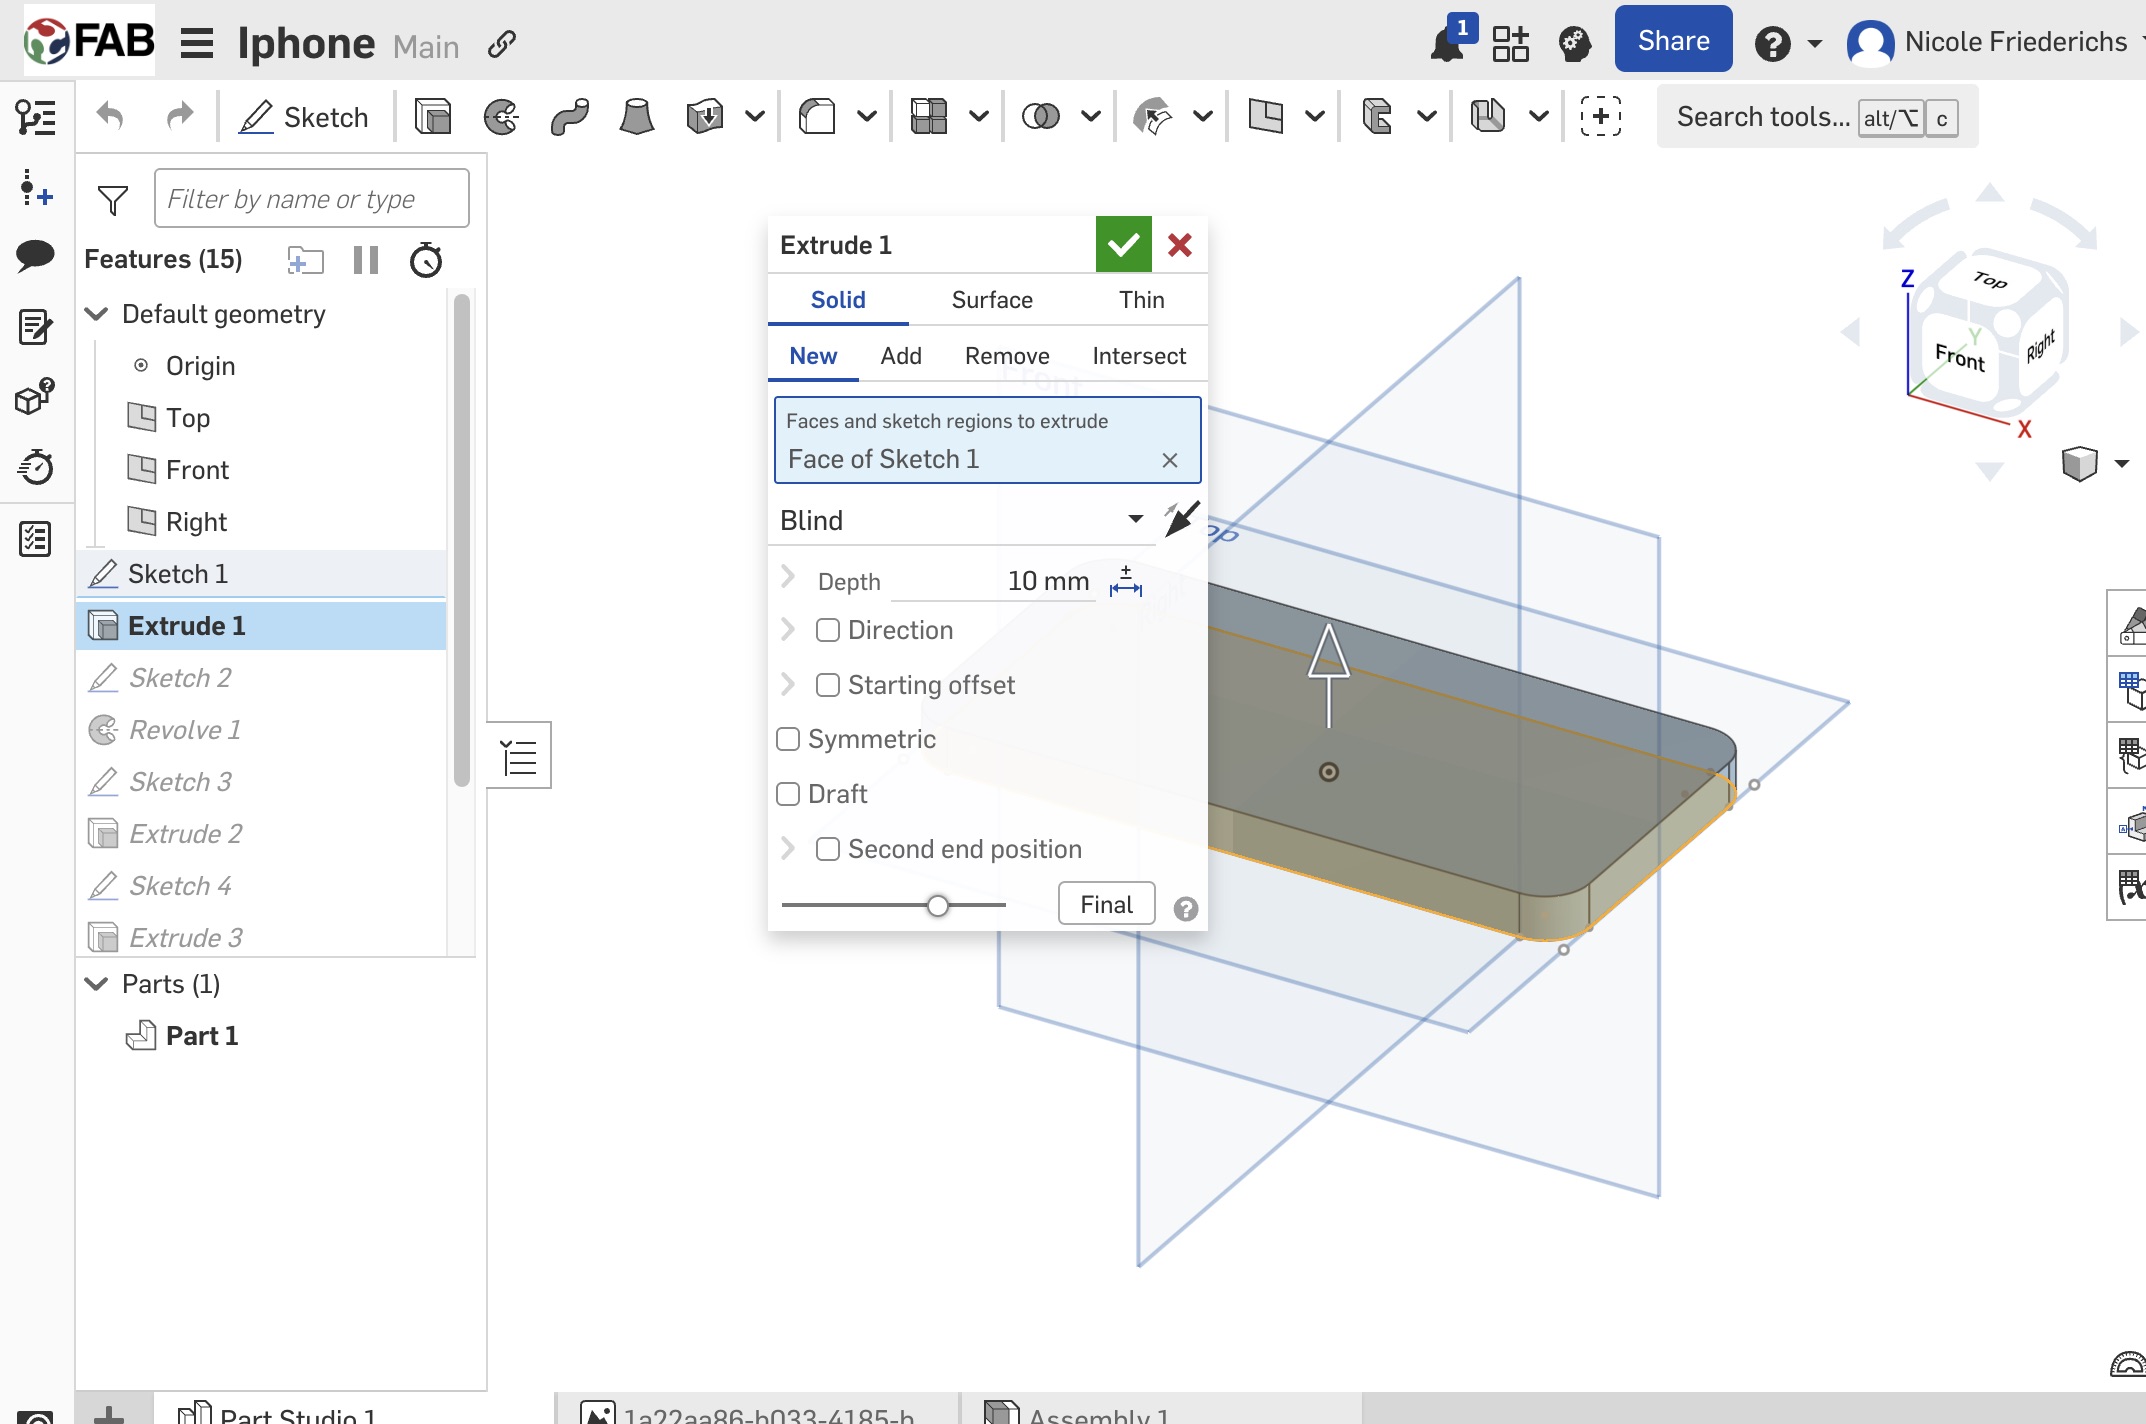
3. I used the Extrude feature to generate the thickness of the main phone body.
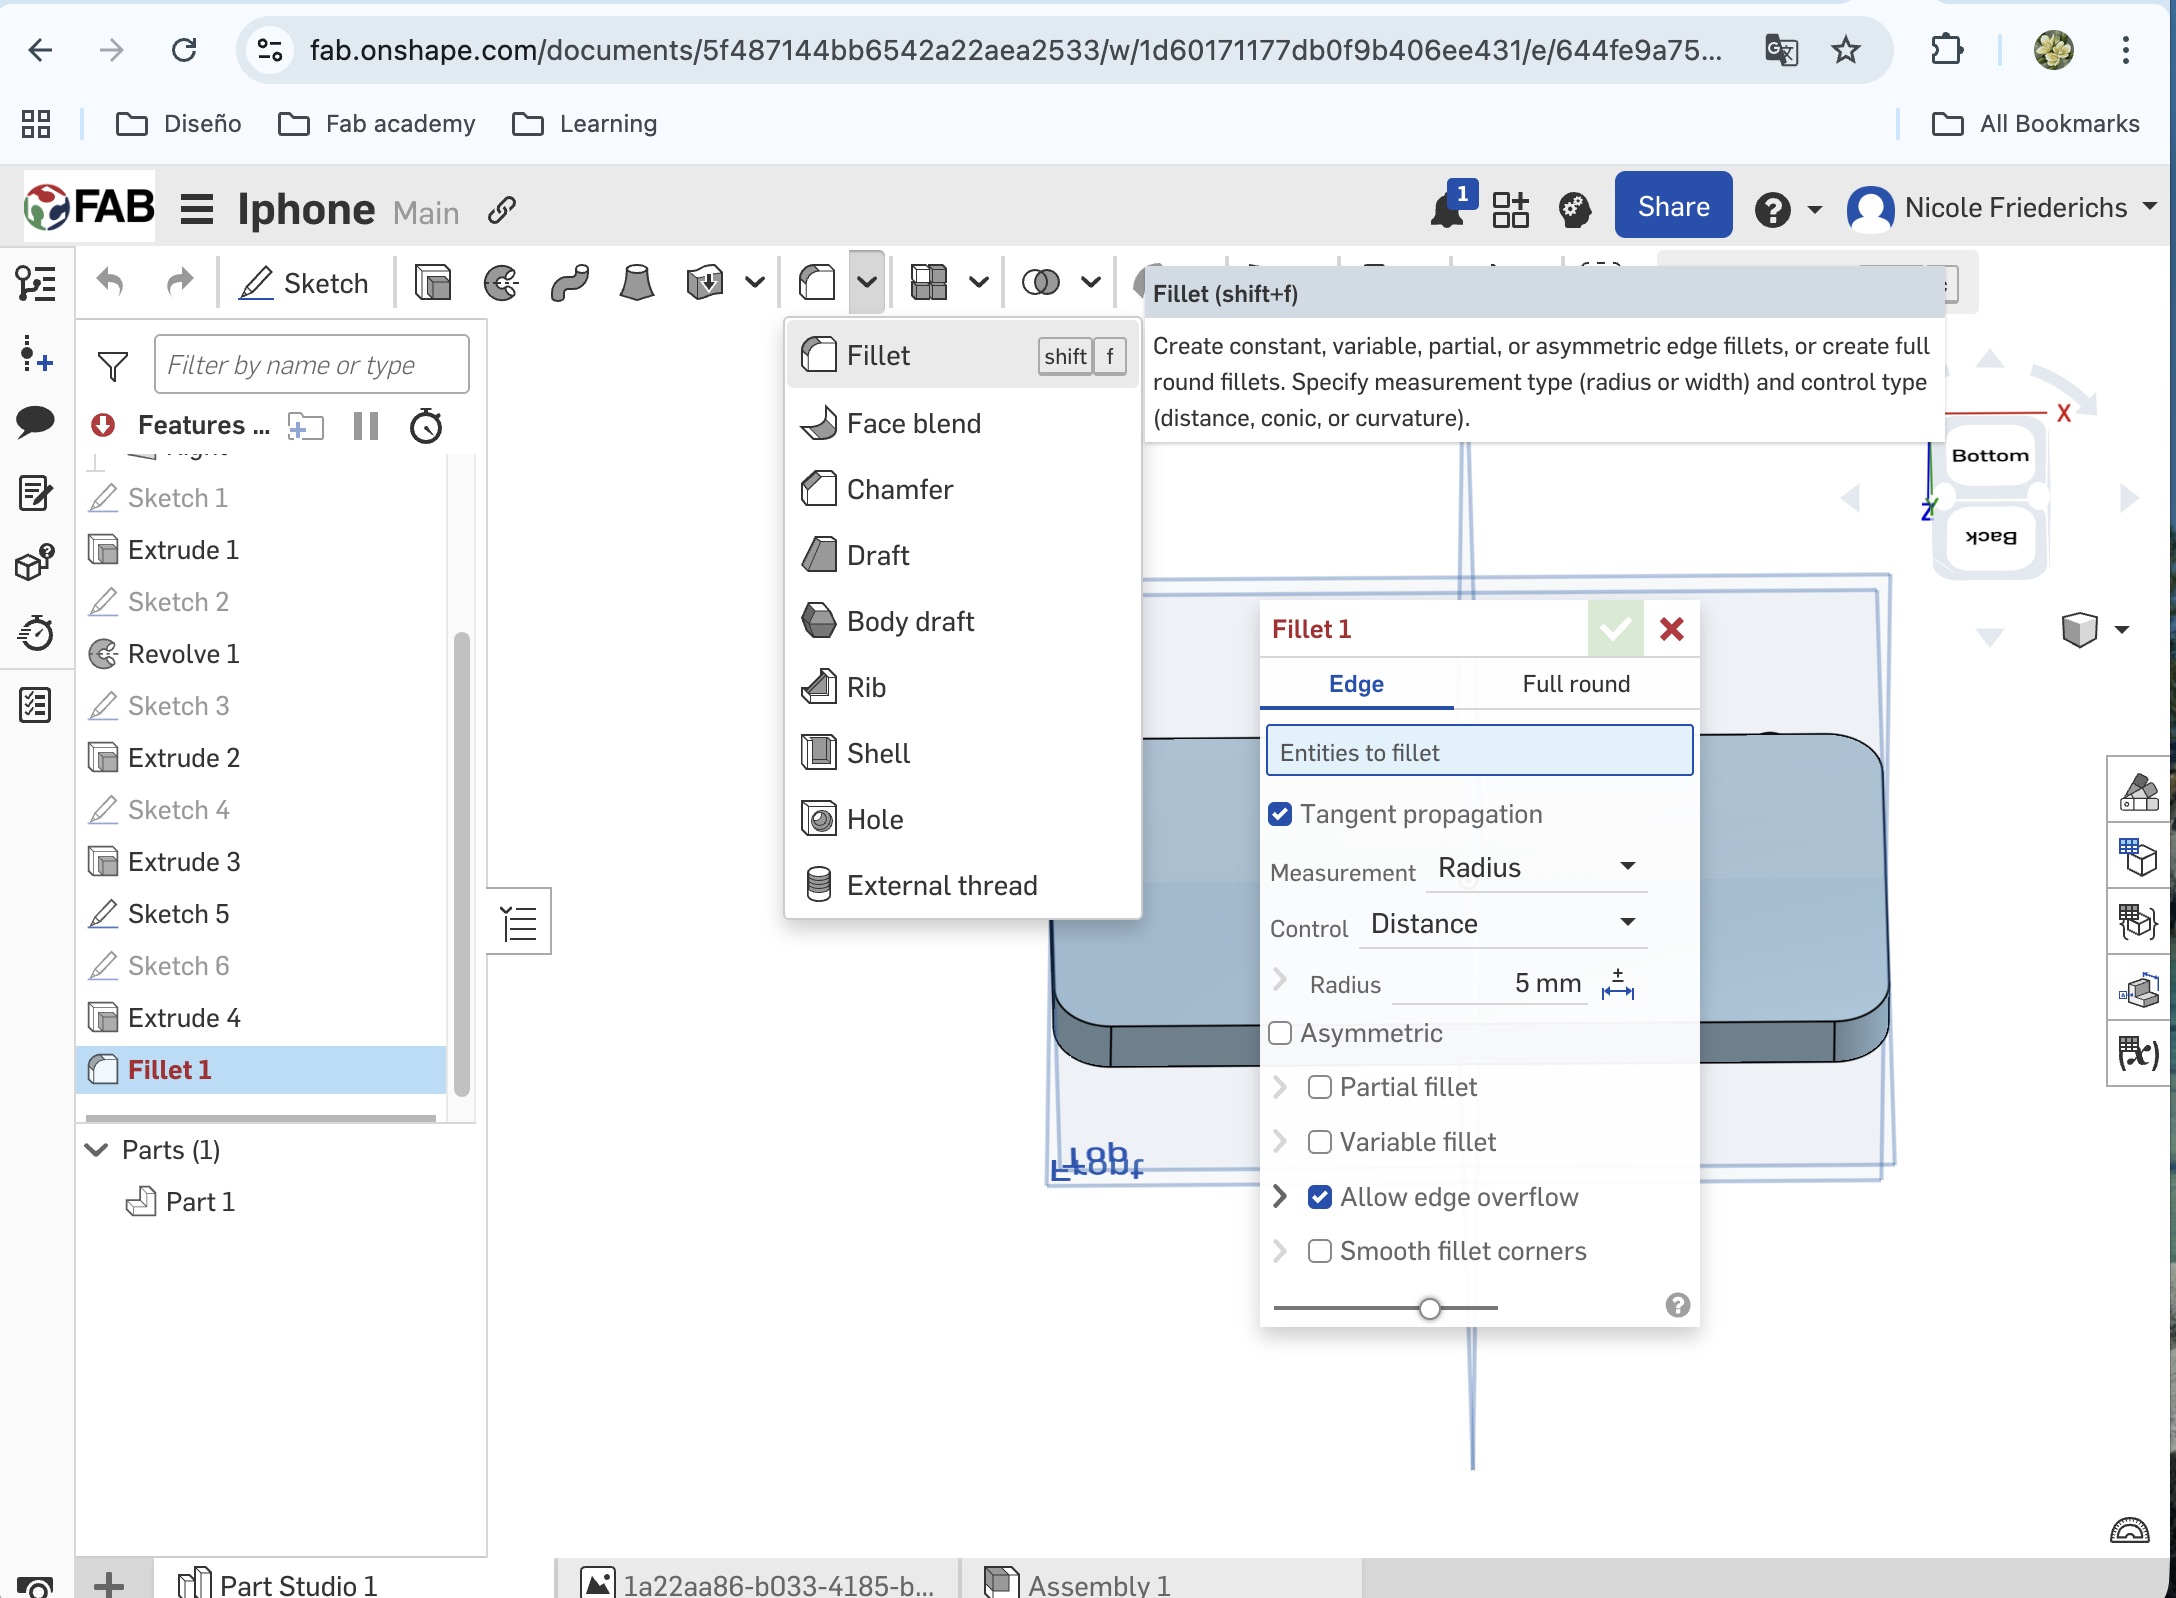
4. I applied fillet features on the external corners to create the rounded geometry.
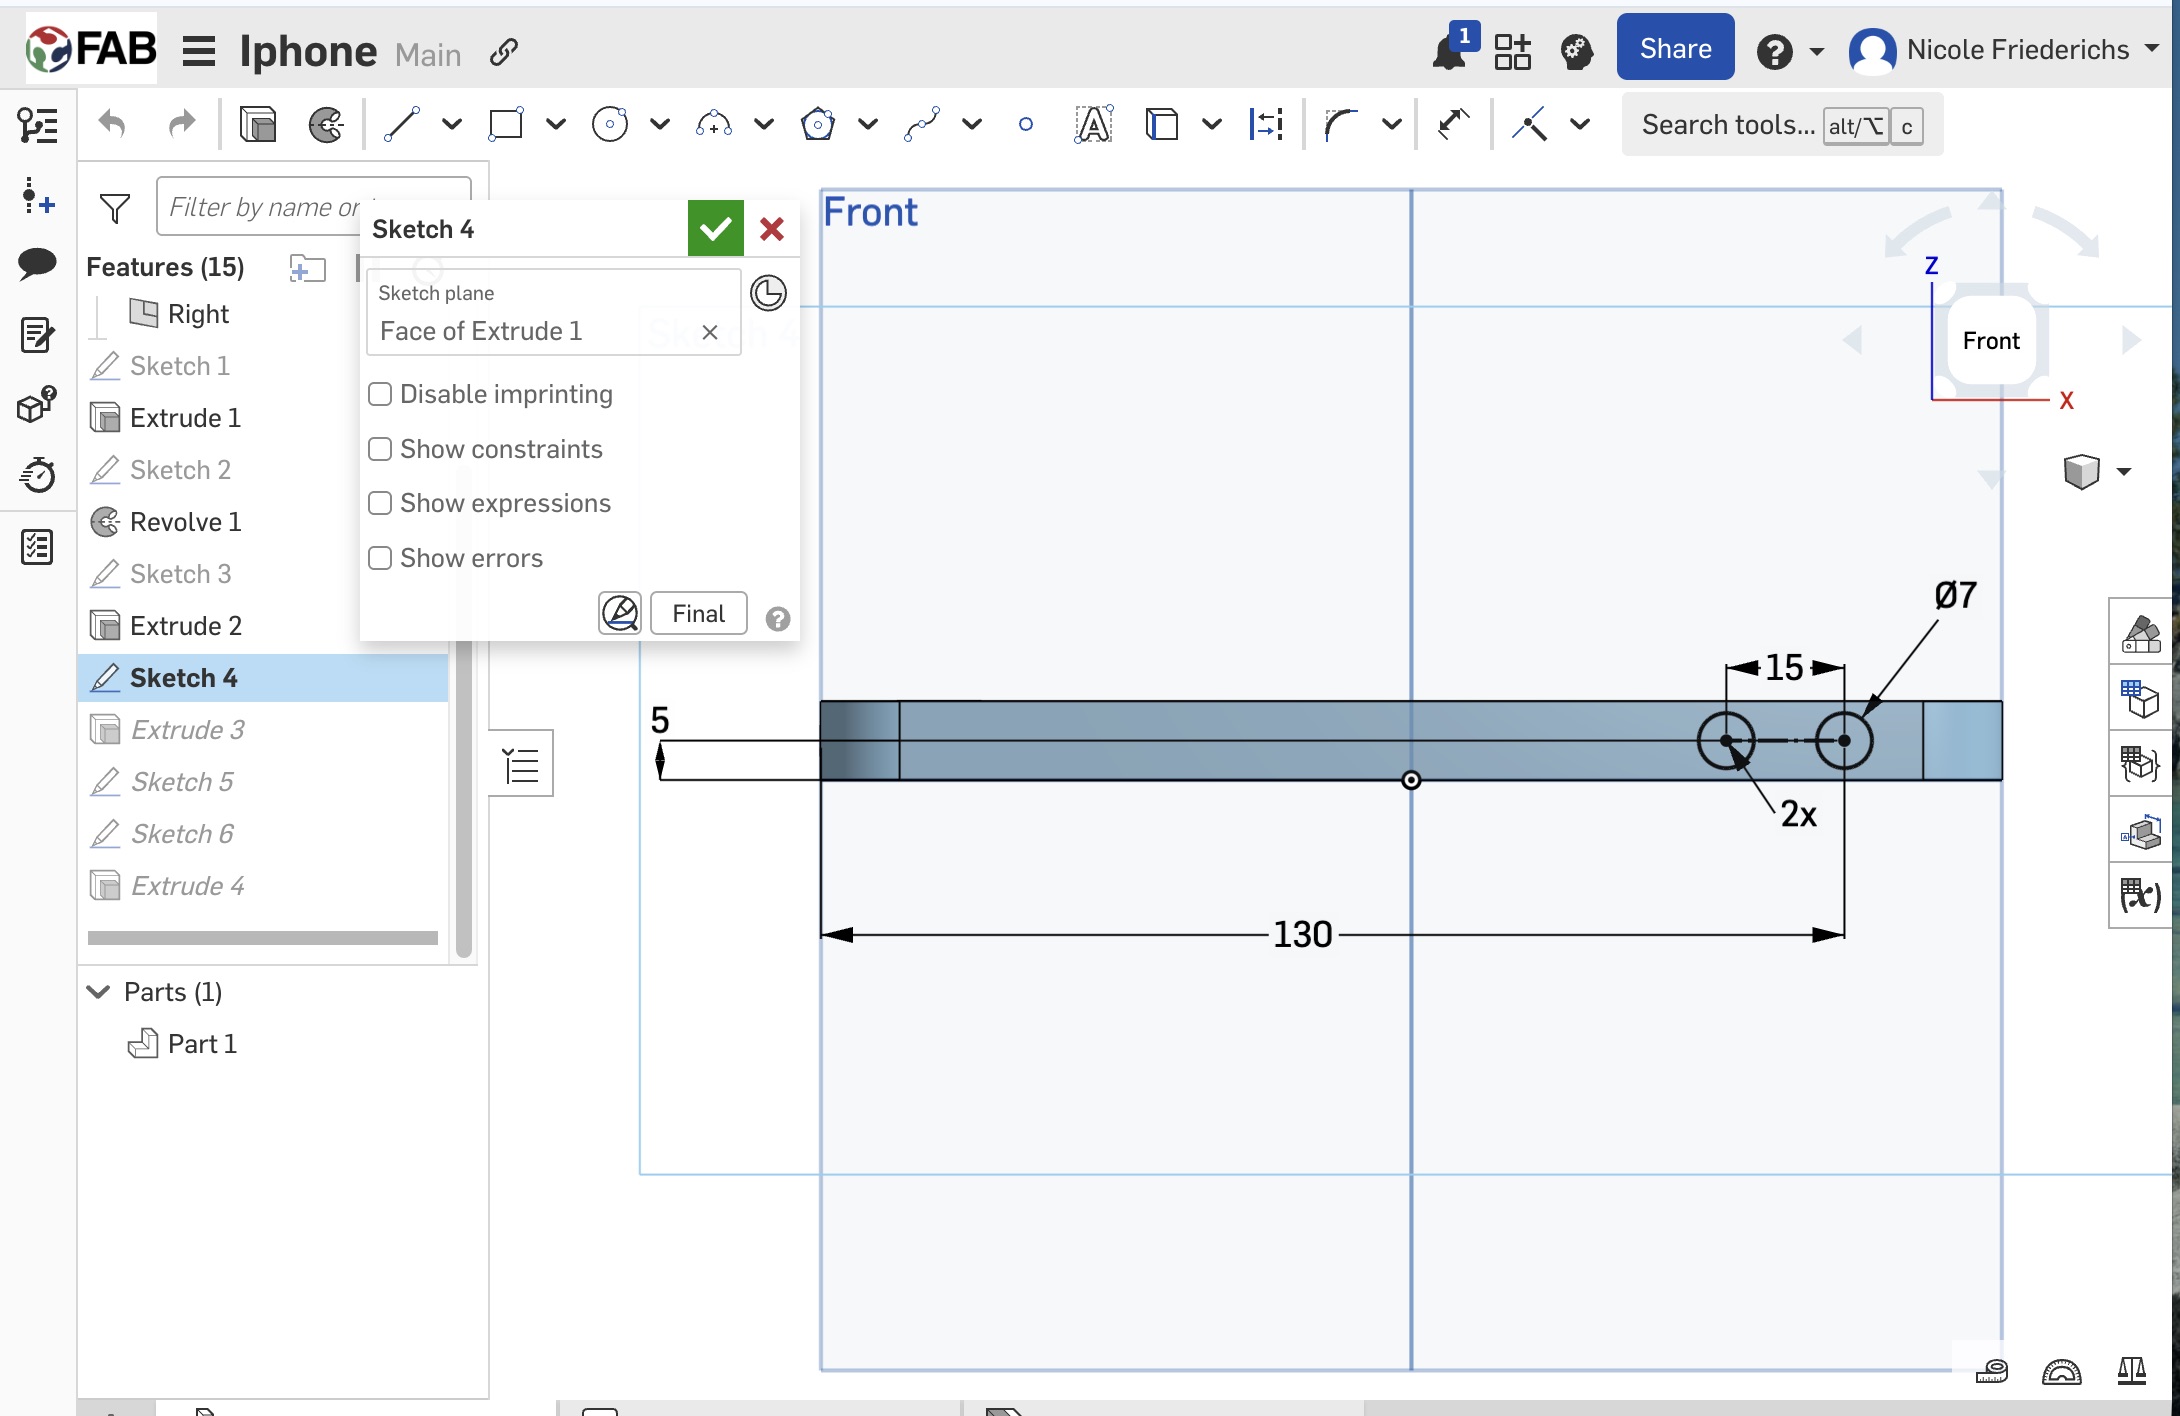
5. I opened secondary sketches on the side faces and drew the charger slot and button positions.
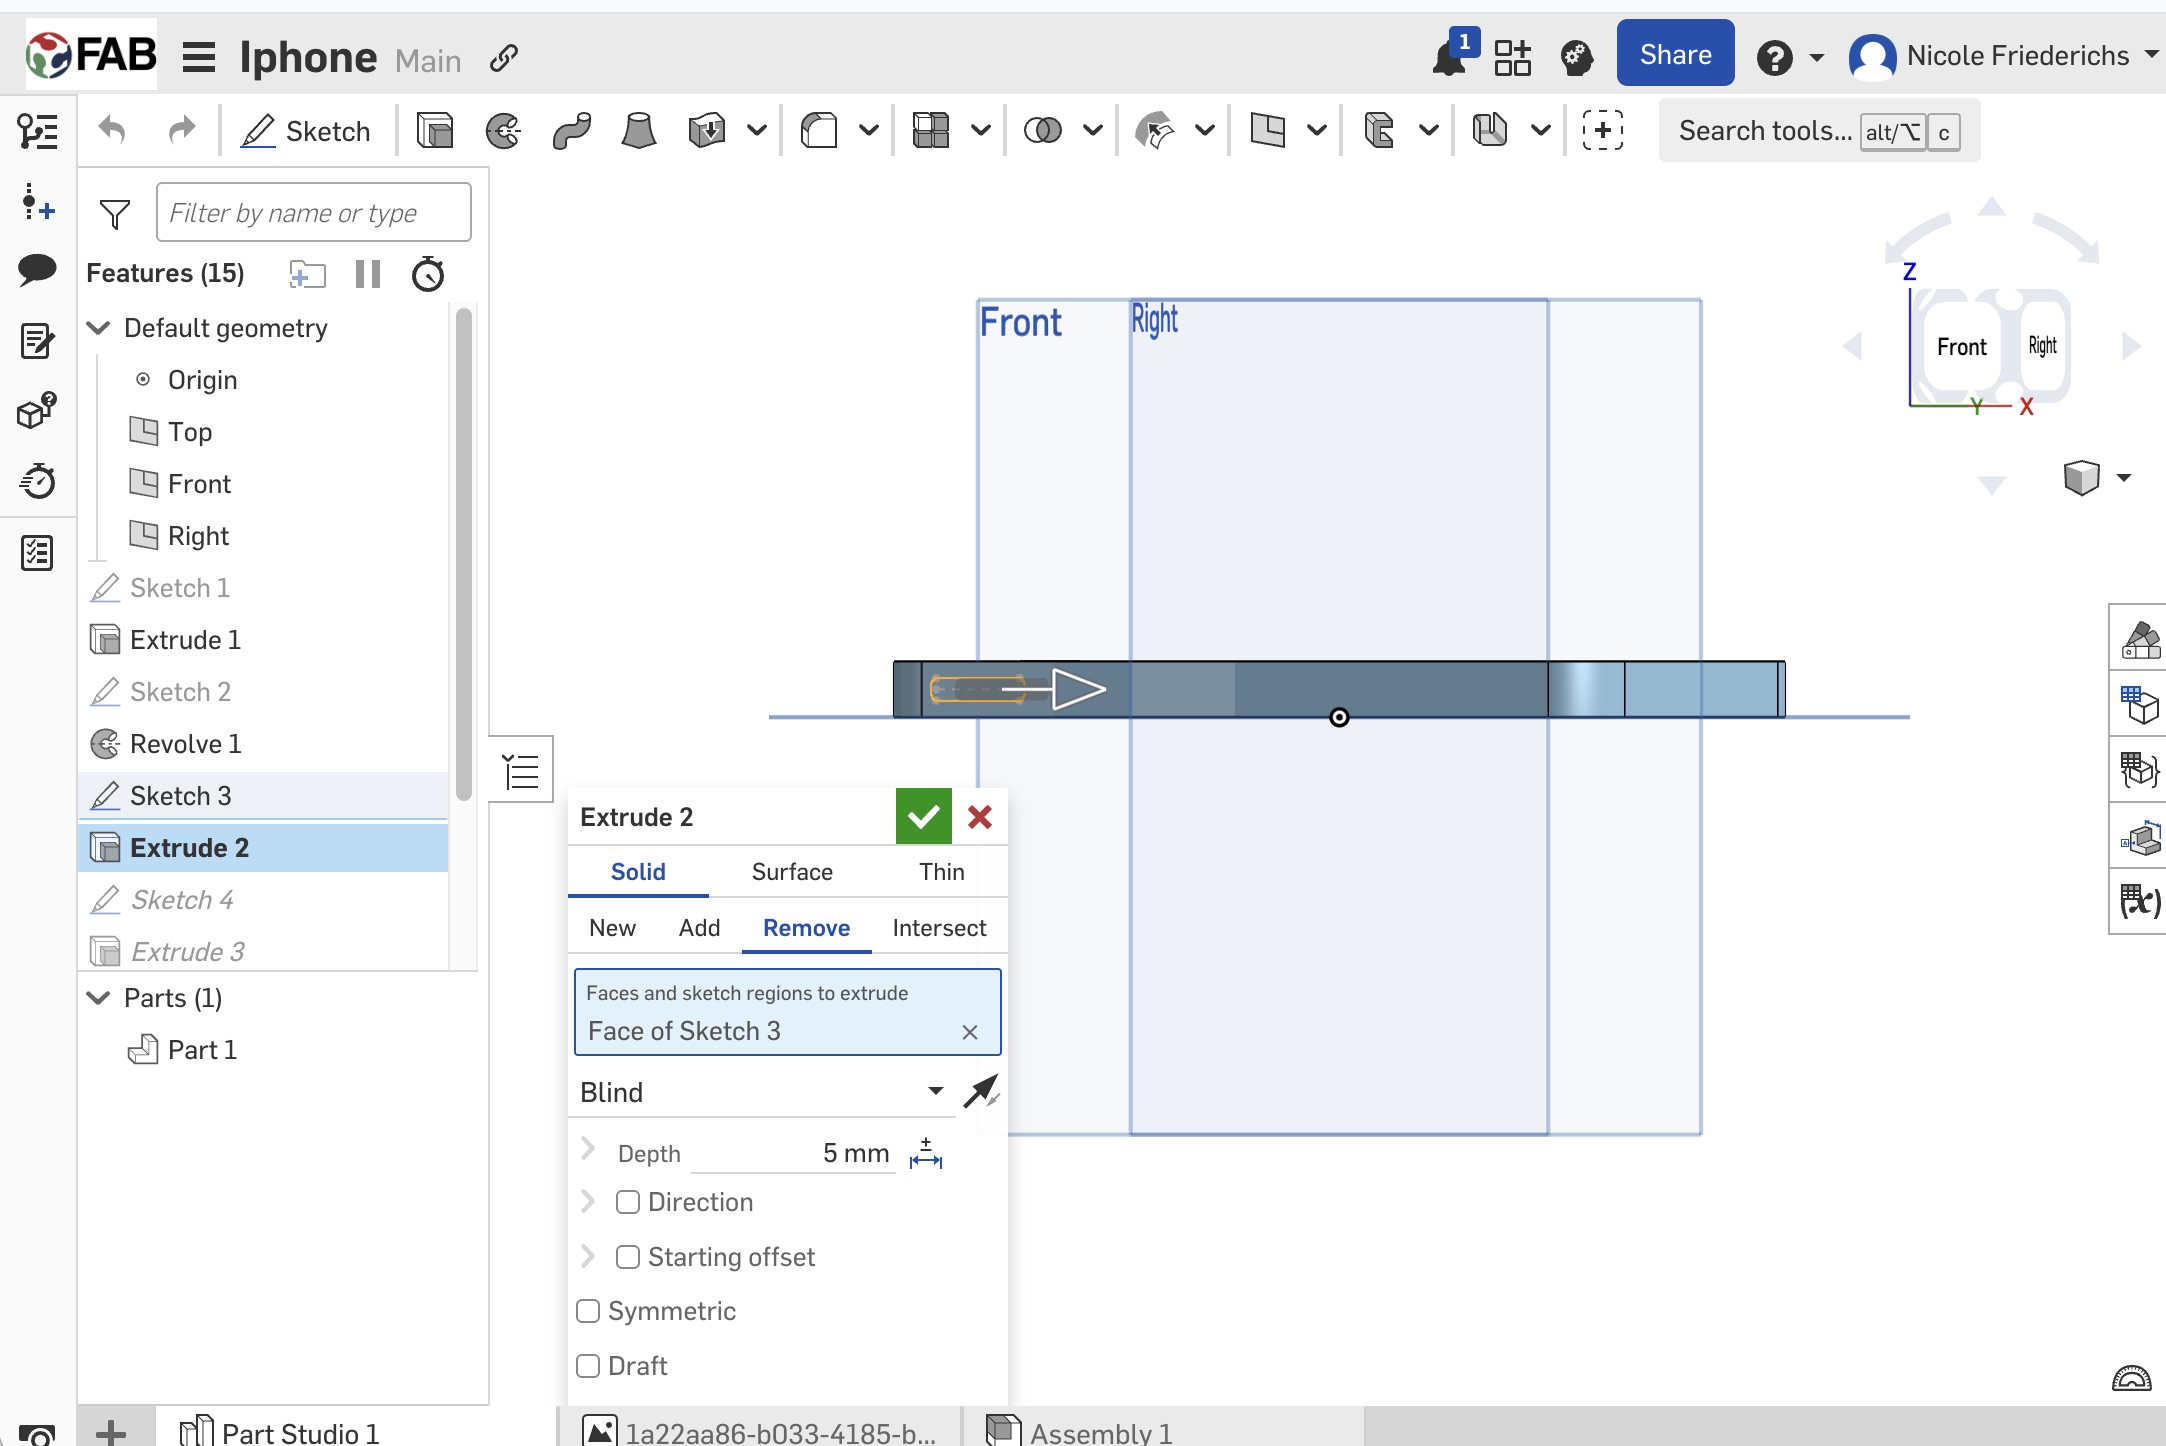
6. I used Extrude Remove to cut those details into the main body.
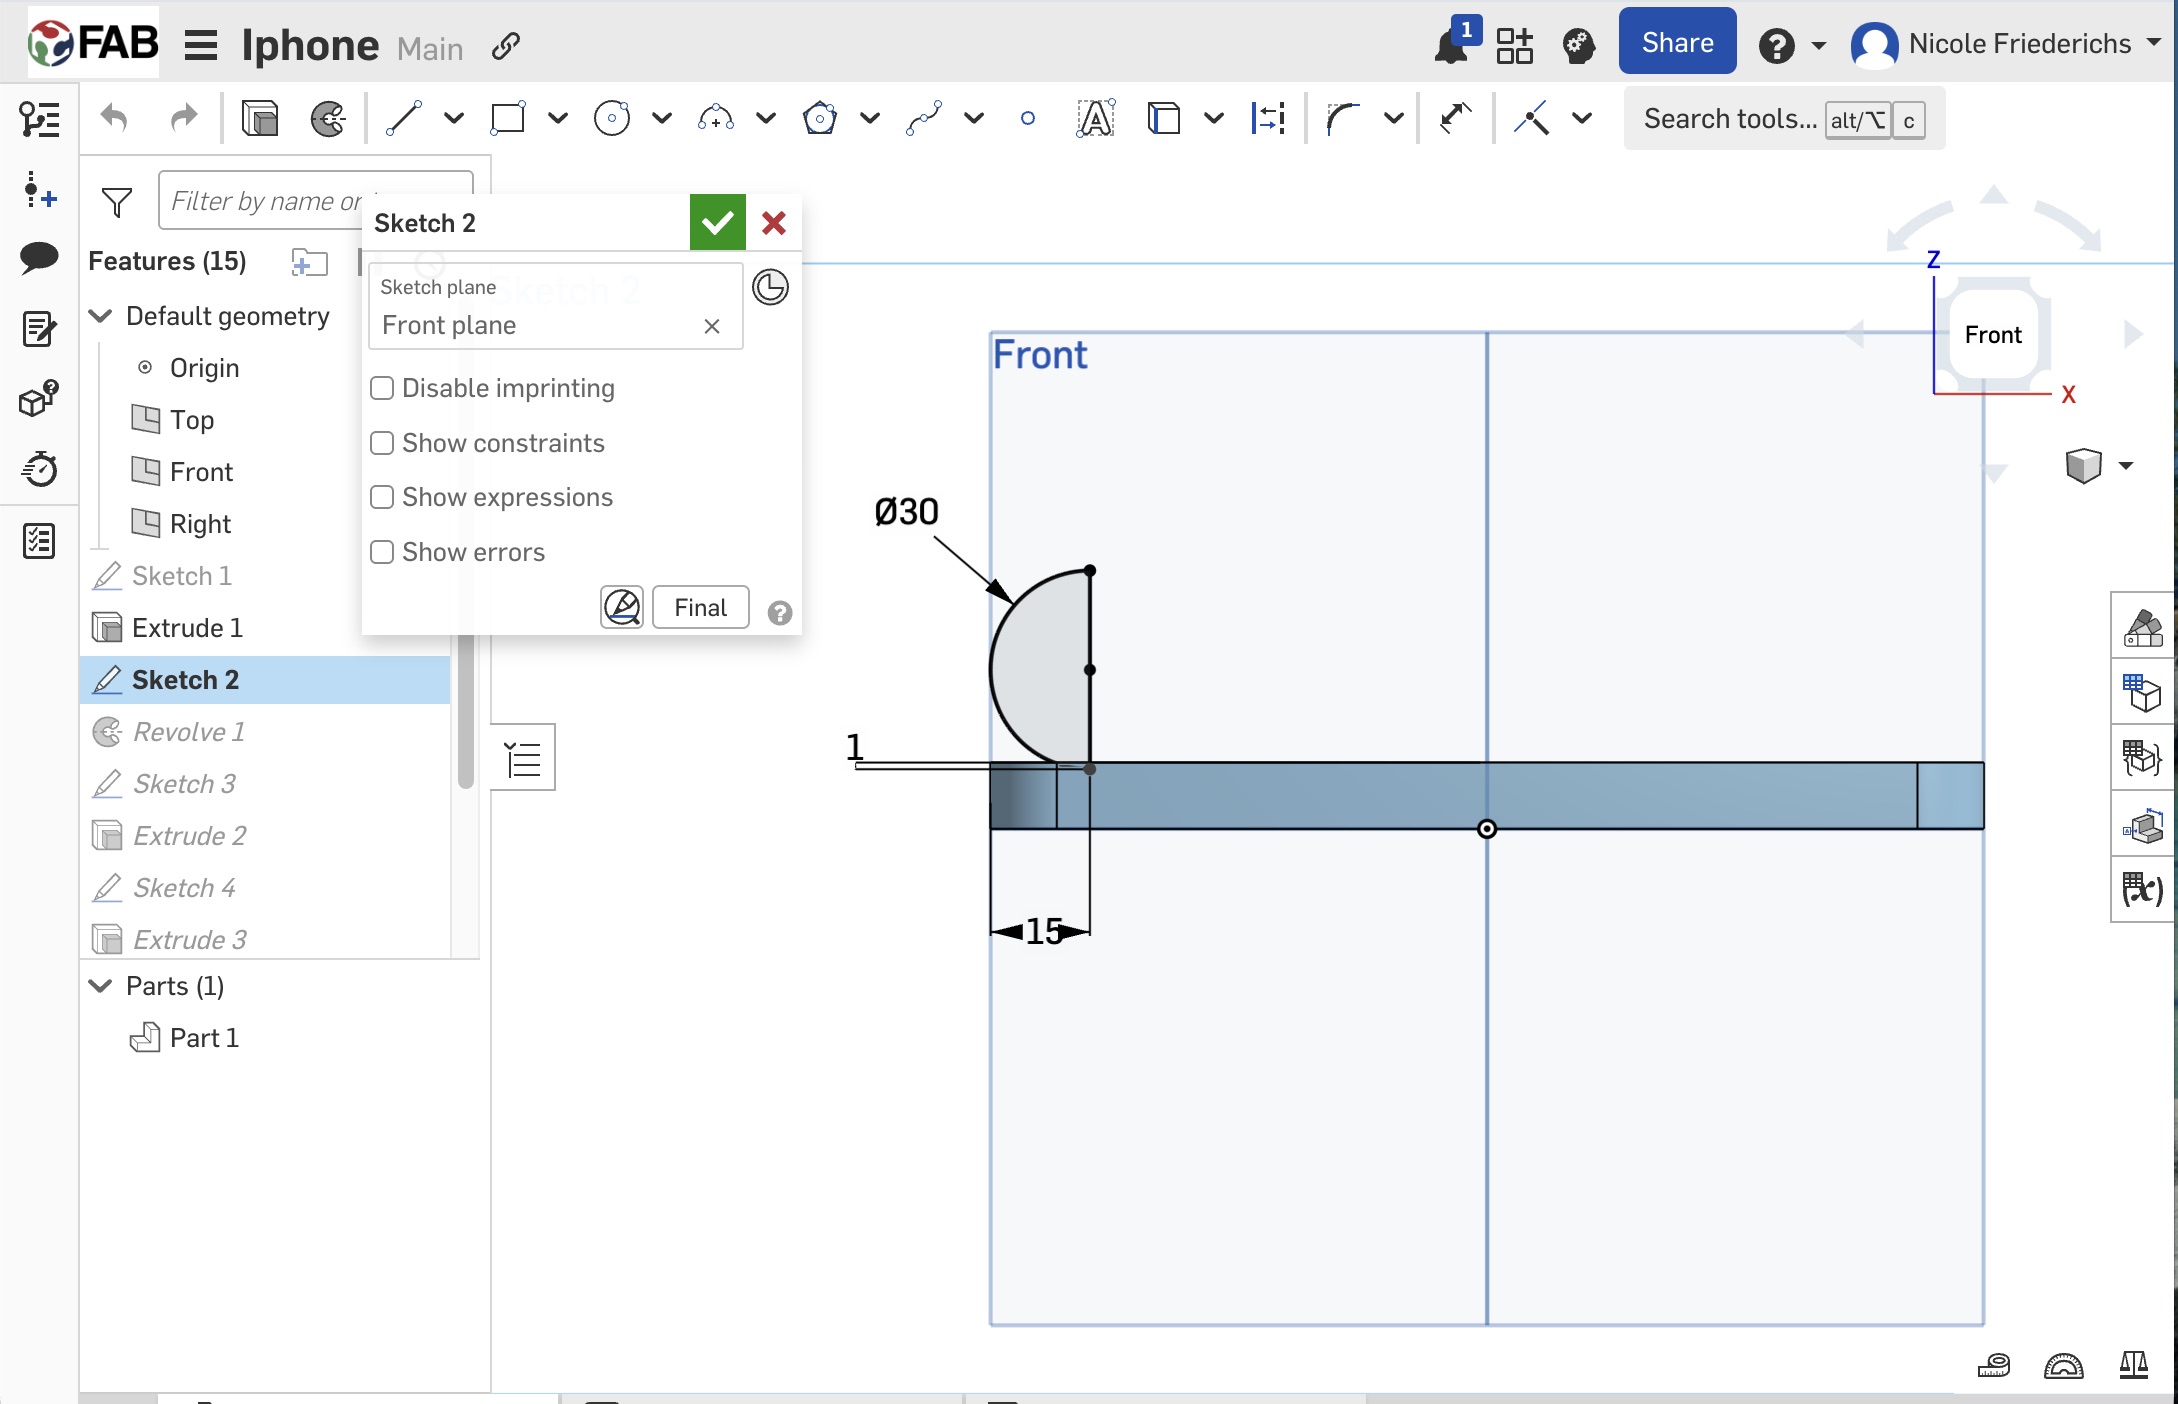
7. I added a sketch for the button.
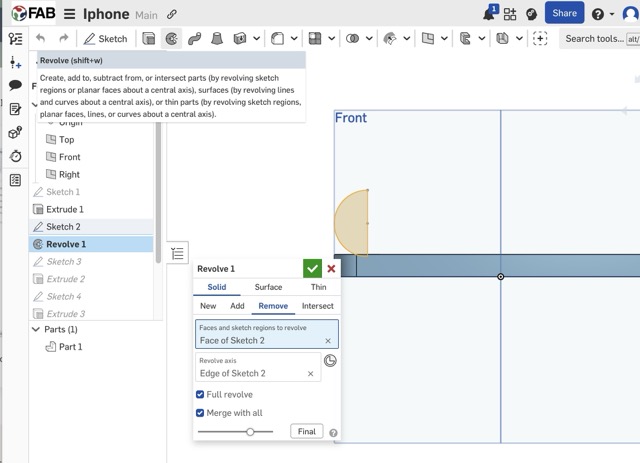
8. Finally, I used a revolved cut to make the button.
This workflow showed me that Onshape has a very intuitive browser-based modeling system and a simple sketch-to-extrude relationship that makes the design process easy to follow.
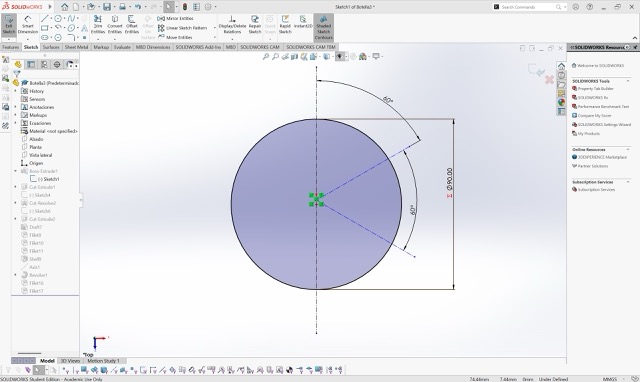
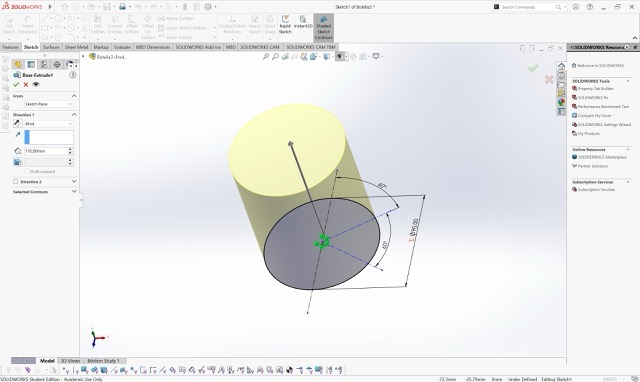
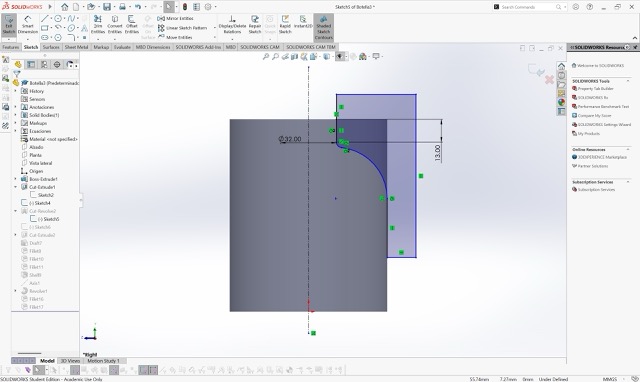
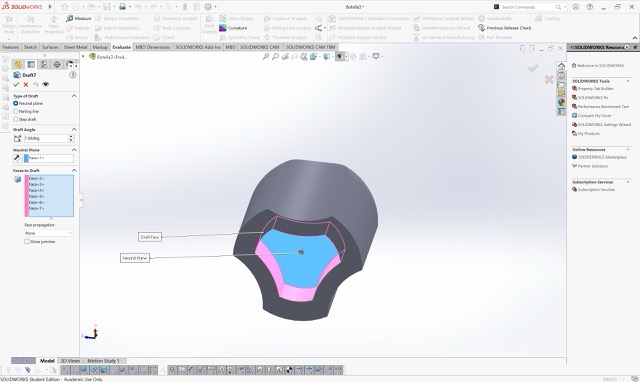
SolidWorks — Parametric Modeling Workflow
For Solid I followed the same principles and used the same commands. The only thing that changes is where things are located, but both programs follow the same logic. Here is a video of my process:
Process Video
Compared to Onshape, SolidWorks offered a more organized feature tree and more precise control over each sketch and feature, which made the workflow feel more professional and engineering-oriented.
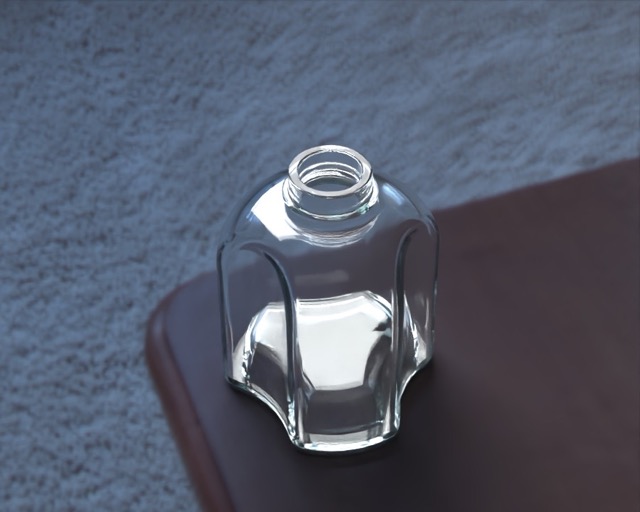
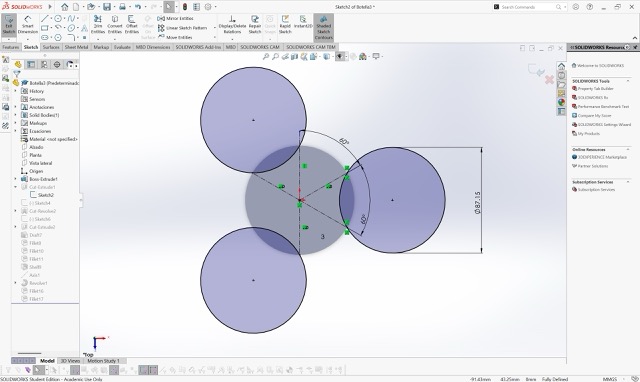
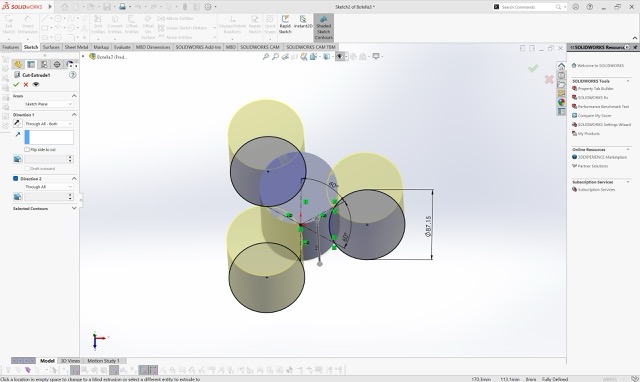
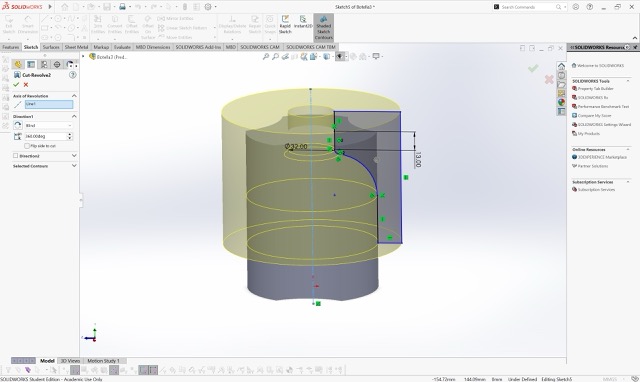
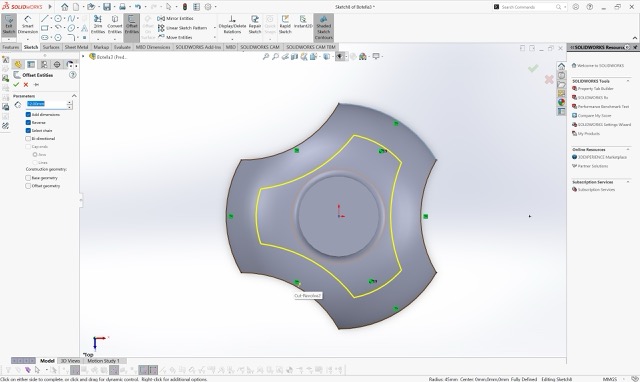
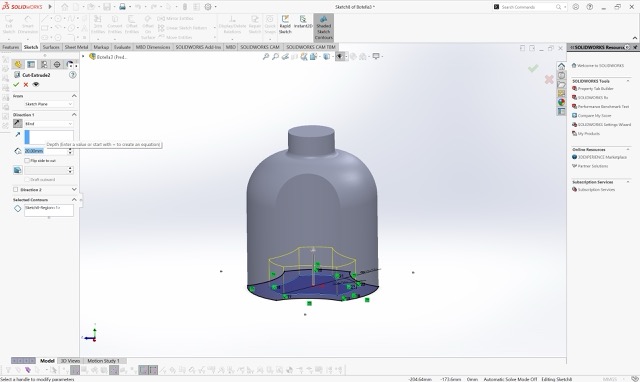
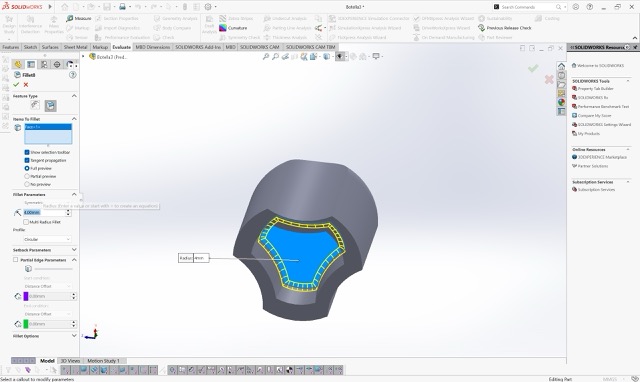
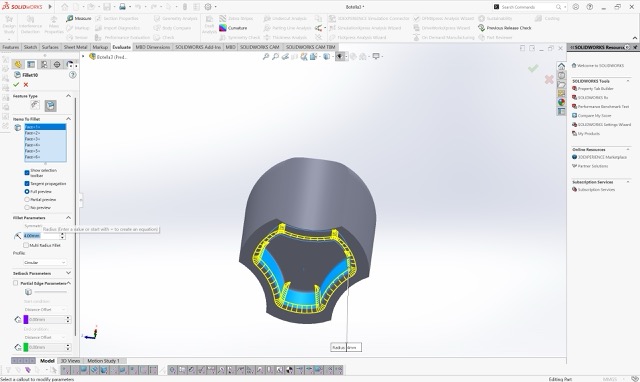
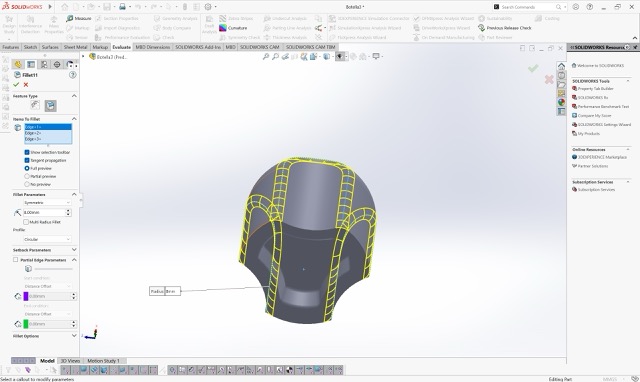
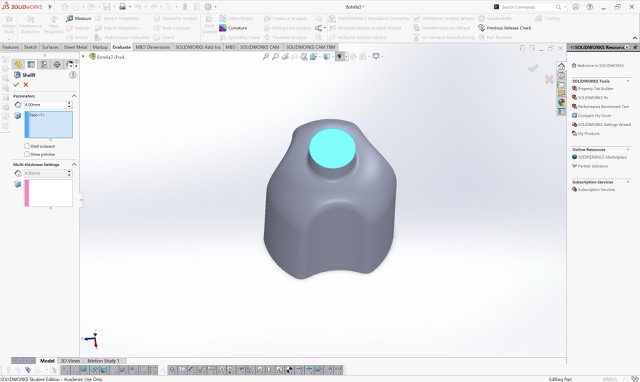
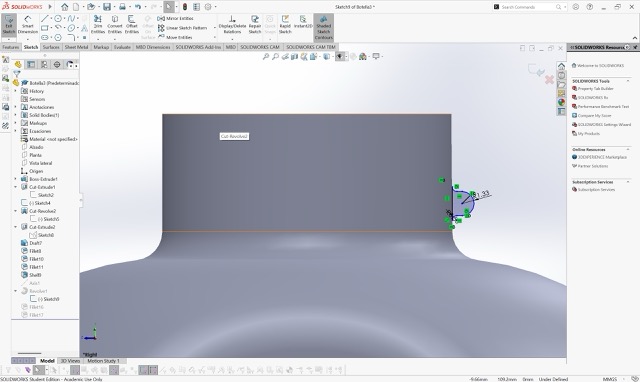
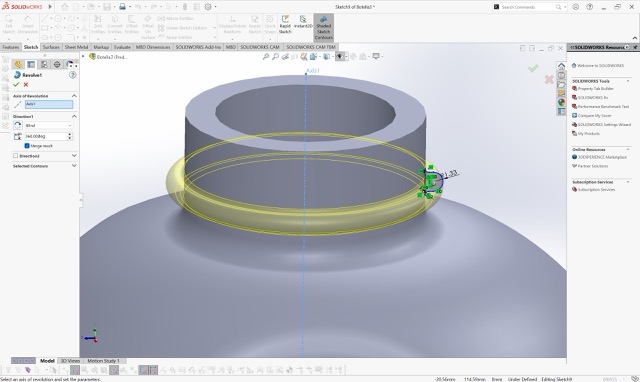
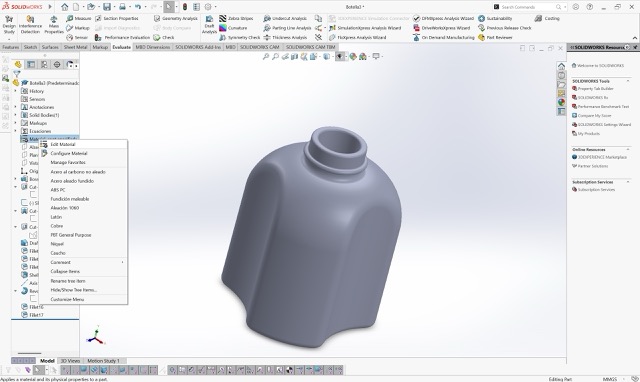
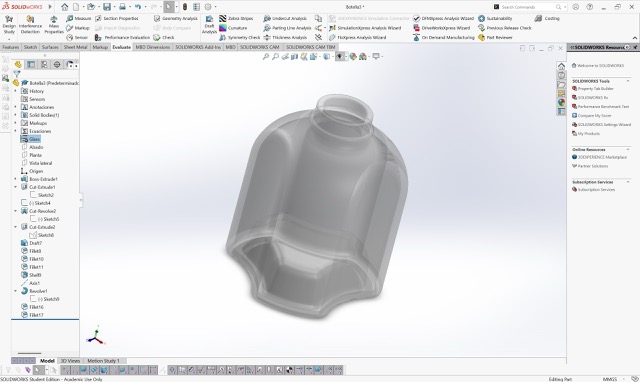
Bonus: SolidWorks Bottle Design
To keep experimenting with SolidWorks, I also modeled a bottle from scratch. Slide through to see the full step-by-step process.
Final 3D Comparison
After modeling the same object in both softwares, I noticed that both use the same parametric logic based on sketches and feature operations. However, Onshape provides a lighter and more accessible browser workflow, while SolidWorks offers deeper feature control and stronger engineering precision. This comparison helped me better understand how the same object can be built using similar CAD principles but different software experiences.
Media Compression
Fab Academy pages contain many screenshots and screen recordings, which can make the website slow to load if the original files are uploaded directly. Since this week included several CAD screenshots and one SolidWorks process video, I also optimized my media files before embedding them into the documentation.
Image Compression on macOS
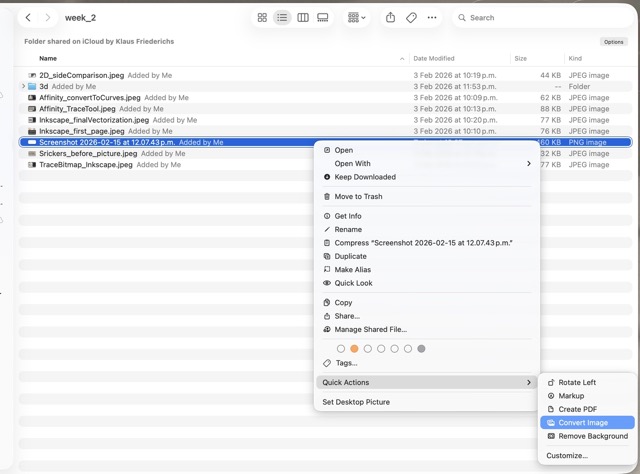
1. Since I have a MacBook my image compression process was very simple — just go into Files and click on Quick Actions → Convert Image.
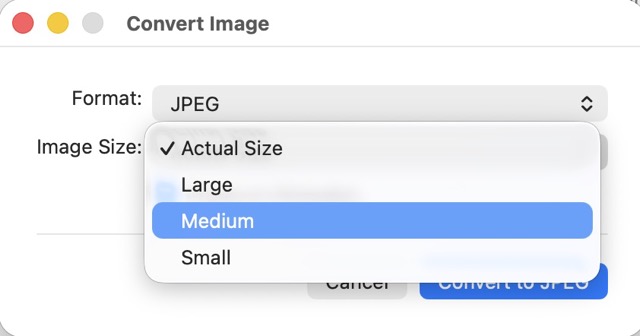
2. Change the size to Medium.
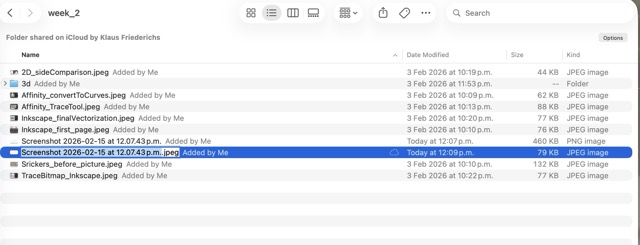
3. As a result you will have a smaller image without losing a lot of quality — here it went from 460 KB to 79 KB.
How to Compress Videos for Web on Mac using FFmpeg
If you need to compress heavy videos for your web documentation without losing visual quality, FFmpeg is the best tool for the job. Here is the step-by-step process for macOS users.
What is Homebrew?
Before we install FFmpeg, we need Homebrew. Think of Homebrew as an "App Store" for your Mac's Terminal. Instead of manually downloading ZIP files and moving them to hidden system folders, Homebrew automatically downloads, installs, and configures developer tools with just one command.
Step 1: Install Homebrew
Open your Terminal app and paste the following command. Press Enter and follow the on-screen instructions (it might ask for your Mac password).
/bin/bash -c "$(curl -fsSL https://raw.githubusercontent.com/Homebrew/install/HEAD/install.sh)"Step 2: Install FFmpeg
Once Homebrew is ready, installing FFmpeg is extremely easy. Paste this command and press Enter.
brew install ffmpegWait a few moments while it downloads and installs.
Step 3: Prepare the Compression Command
To compress the video, use the Mac drag-and-drop trick to avoid typing long folder paths:
① Type the first part of the command in Terminal, leaving a blank space at the end:
ffmpeg -i② Open Finder, find your original video (e.g., my_video.mov), and drag and drop it directly into the Terminal window — it will automatically write the exact path.
③ Press the spacebar, then type the rest of the command:
-vcodec libx264 -crf 28 compressed_video.mp4Step 4: Run the Command
Your final command should look something like this:
ffmpeg -i /Users/yourname/Desktop/my_video.mov -vcodec libx264 -crf 28 compressed_video.mp4Press Enter. You will see text scrolling rapidly — this means the compression is working! Your new compressed_video.mp4 will be saved in your main user folder. Find it quickly with Cmd + Shift + H in Finder.
Why these settings? (The Magic of CRF 28)
-vcodec libx264 — Converts the video to H.264, the universal standard for web browsers.
-crf 28 — The Constant Rate Factor. A value of 28 is the "sweet spot" for web documentation: it drastically reduces file size (e.g., from 50 MB to 2 MB) while keeping visual quality almost identical to the human eye.
Quick Example Video