1. Project management
Getting to know git
The first thing I learned this week was Git, which is a repository for backing up and saving everything you do. First, I cloned the page in Visual Studio Code and learned the basic Git commands, which are:
Principal commands:
- git clone
→ Copies the files in the cloud to your local directory - downloads the folders - git add . → Uploads the changes (a dot (.) adds all the changes you made, or you can use a forward slash (/) followed by the folder name)
- git commit -m "MESSAGE" → Commits the files you're uploading (add a comment to describe the change you made)
- git push → Uploads the changes to the cloud
Less common commands:
- git status → shows you the status of your repository relative to the cloud
- git pull → Use it if you fall behind the repository
- git reset --soft HEAD-1 → deletes the commits. There are two types of resets: hard and soft (soft resets only the commit). NEVER use hard reset.
Learning about HTML and CSS
This week was my first time learning a programming language. Here you can se my first coding example guided by my professor:
I had to review the class and did a html glossary and tips. Here are my tips and the glossary:
HTML tips
- Start with the html : 5 base code. Start writing html and click on the html : 5 option.
- use "!--" to take notes on your code
- To redirect within your pages copy its relative path by clicking on the item and right button
- To return to the page write “../” before the link
- Don't forget to compress your images (I use a Mac Book, so I just clicked right button>quick actions>image size>medium (jpg format))
- Make an images folder for every week to find your images easier
- Do not put any special characters or spaces in your file names
- To insert an image just put it in the folder and write in your code img
- Put a percentage in the with of the image so it fits better on any device.
- Install Prettier- code formatter to organize your code each time you save it.
- You can put the links in between paragraphs
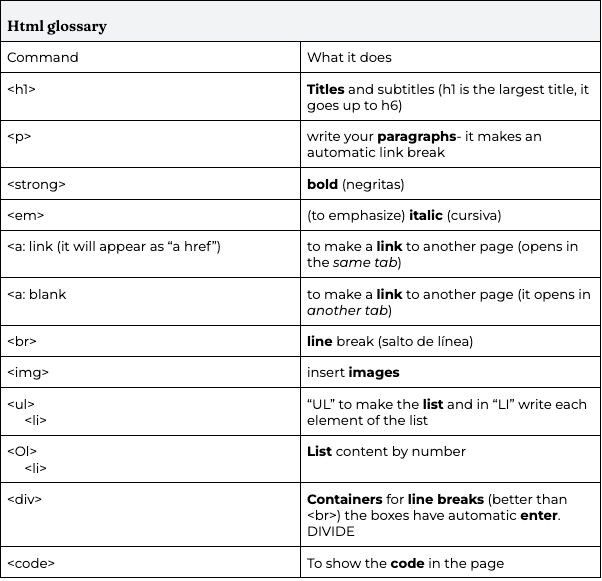
Glossary
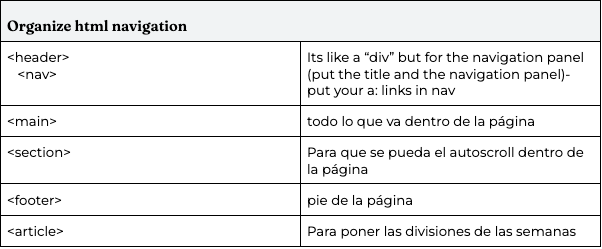
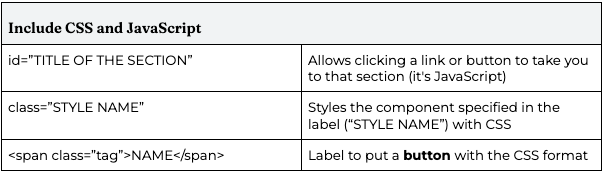
Finally I used the CSS file that our local instructor provided and experimented with it to understand CSS better
Page design
I designed how I wanted my page to be in Canva first, I wanted it to seem like the information was organized, because of that I made different folders to store the documentation information. This is What the design looked like:
To make it I used Claude CODE, because I did learn html, and a little bit of java and css. But for the time we had I wouldn't be able to code the page form scratch. What surprised me, was that during the weeks by making the changes I got to learn a lot more about webpage programming.
Documentating the weeks:
If you have a template like me I highly recomend following the procces I used for the documentation. This process was developed and perfected throughout the weeks.
For the documentation I first wrote everything in a google docs document, at first everyone told us to document as we go and I highly recommend it. After I had the documentation I pasted it with this great prompt in Claude:
          Act like a skilled web developer and help me integrate my project documentation into HTML. Below, I'll provide you with the information for my “The week” week. Please follow these instructions strictly:

Translate: All text must be in English. Maintain a professional, engineering-like tone.
Accuracy: Do not add fabricated information or remove any data from what I provide. Only translate and organize.
5 Folder Structure: Keep the folder names as subheadings in the text I shared. Visual Formatting (HTML): Provide me only the HTML code. Do not add embedded CSS styles blocks, as I will be using my own stylesheet.
Template: Use the standard structure from previous weeks (attached to this chat) to maintain visual consistency. Use semantic tags  to ensure the information is organized and intuitive. Images: Where I mention diagrams or photos (e.g., "Diagram Photo," "Sketch Image"), use img tags with descriptive alt text and classes that will allow me to easily style them later. I want you to put everything in its indicated folders. The documentation must be in English. Do not add or remove anything from what I have. I want you to use the template from previous weeks, which I will attach, and try to make the information look better visually on the page without modifying any of the content. I only need you to create the HTML file, and I will attach the CSS I already have. If you need to add anything, let me know, and I will add it to the file. This is the template/example from previous weeks: [ATTACH OR PASTE YOUR REFERENCE HTML/CSS.
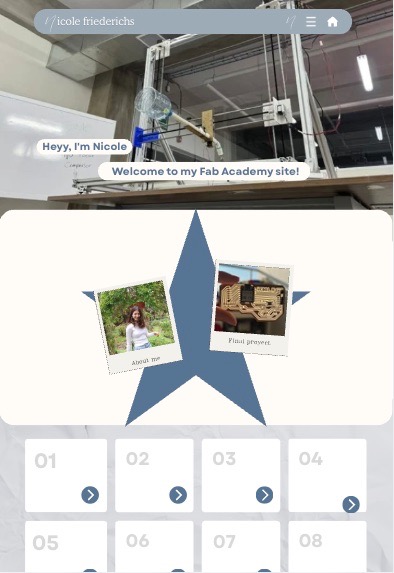
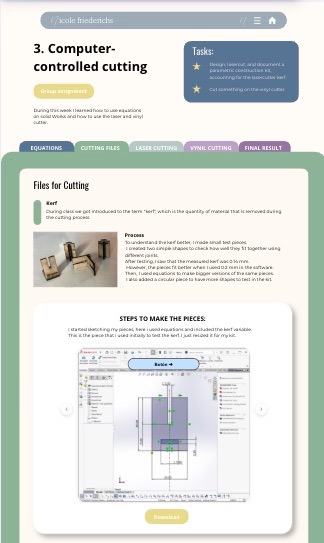
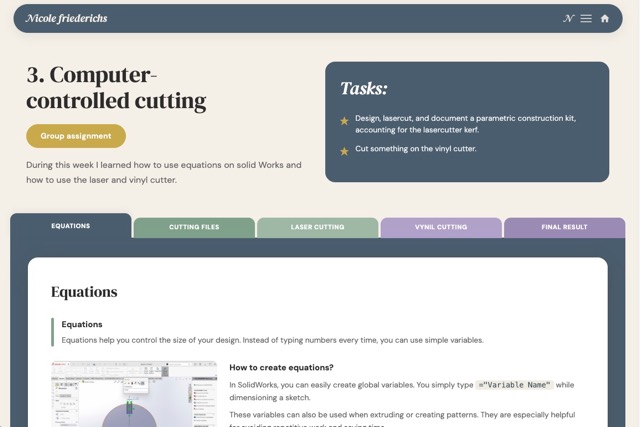
The code helped me to translate what I had into the page and not modify my information or add fake one. This was the final page result:
Final proyect
To choose what I will be working on for the next 20 weeks, I began by exploring everyday problems and poorly designed systems through a brainstorming process. I am especially interested in creating something that addresses a real necessity and that people would actually want to replicate.
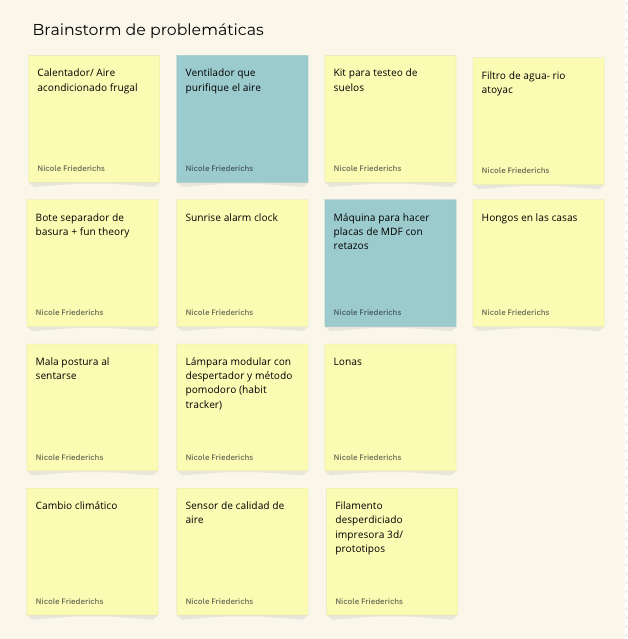
During this brainstorming phase, one of the ideas that caught my attention the most was a fan that also purifies the air. I had recently heard that using a fan can negatively affect health when there is no proper ventilation, since it can cause harmful particles to remain suspended and spread in the air rather than being removed. This became especially relevant to me because my father spends a lot of time working in a closed office with a fan constantly turned on.
I then started looking for solid data to validate this concern and found that it is indeed a real problem. According to the United States Environmental Protection Agency (EPA), people spend around 90% of their time indoors, where pollutant concentrations can be two to five times higher than outdoor levels. Additionally, the World Health Organization reports that household air pollution caused approximately 2.9 million deaths worldwide in 2021, including more than 309,000 children under the age of five.
Seeing that indoor air quality is both a relevant and impactful issue, I identified it as a meaningful topic for Fab Academy and began sketching possible ways to approach and address this problem through design.
First sketches
