MISSION BRIEFING
Fab Academy has officially started! For this first week, my main goal was getting comfortable with the workflow: using Git for version control and building this website from scratch with HTML & CSS.
I decided not to use a pre-made template because I wanted full control over the design (hence the comic book theme). I also started brainstorming ideas for my Final Project, looking for a way to mix sports with electronics.
STEP 01: THE ARSENAL (TOOLS & PROTOCOLS)
Before writing any code, I needed to set up my laptop environment. I followed the standard protocol to establish a secure link with the Fab Academy servers.
1.1 THE SETUP
First, I equipped my computer with the necessary software:
TOOL A: GIT
The version control system (the engine).
DOWNLOAD GIT
1.2 INFILTRATION SEQUENCE (CLONING)
STEP A
LOCATE THE TARGET
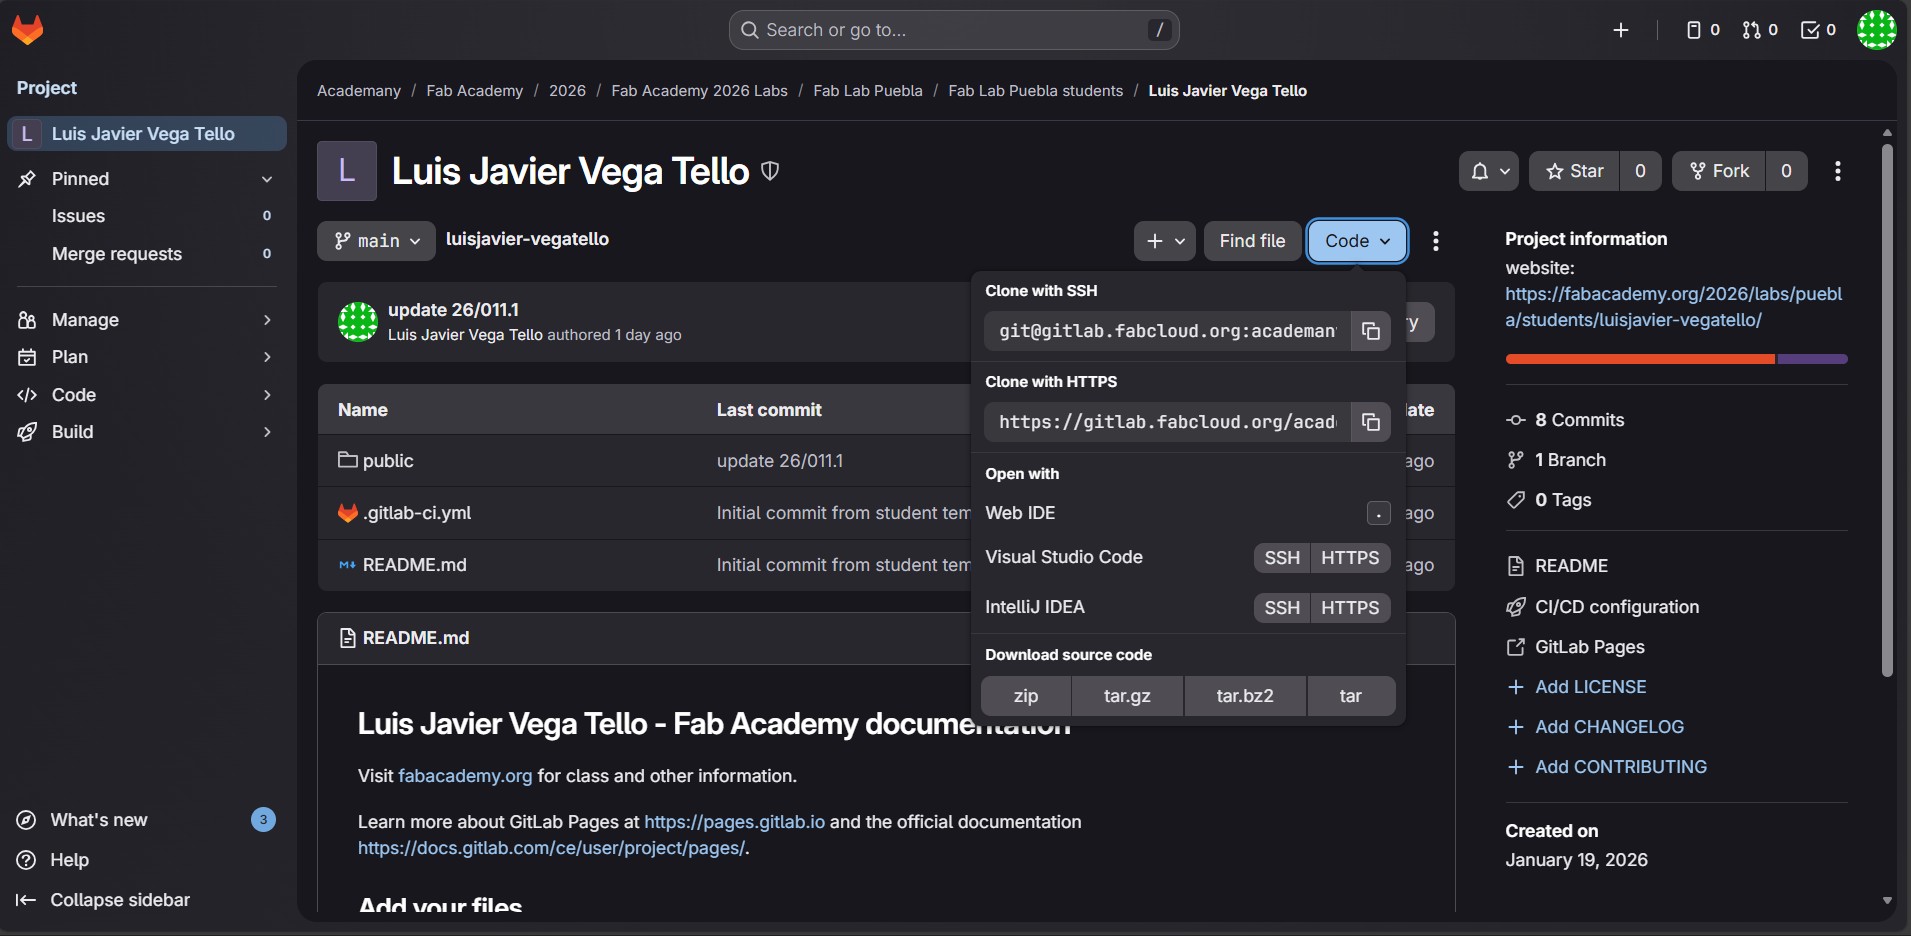
I went to my GitLab profile, clicked the blue "Code" button, and specifically selected "Clone with HTTPS" to copy the URL.
STEP B
EXECUTE CLONE COMMAND
I opened the terminal (Git Bash) in my documents folder and ran the command. It asked for my username and password.
javier@laptop ~
$ git clone https://gitlab.fabcloud.org/javier/repo.git
Cloning into 'javier-repo'...
Username for 'https://gitlab.fabcloud.org': javier
Password: ********
Unpacking objects: 100% (15/15), done.
STEP C
ENTER THE BASE
Once downloaded, I entered the folder to start working.
$ cd javier-repo
1.3 COMMAND CHEATSHEET
The essential commands I use to control the repository:
| COMMAND |
ACTION |
| git clone [url] |
Downloads the repo to your computer. |
| git add . |
Stages all new changes (saves them locally). |
| git commit -m "msg" |
Labels the changes with a message. |
| git push |
Uploads the changes to GitLab. |
| git status |
Checks for unsaved changes. |
1.4 HTML STRUCTURE
I learned that HTML is just the skeleton. Here's a cheat sheet of the tags I used:
A. TEXT FORMATTING
<h1>Big Title</h1>
<h3>Subtitle</h3>
Big Title
Subtitle
<b>Bold Text</b>
<i>Italic Text</i>
Line <br> Break
Bold Text
Italic Text
Line
Break
B. LISTS, LINKS & MEDIA
<ul>
<li>Bullet 1</li>
</ul>
<a href="#">Link</a>
<img src="image.jpg">
STEP 02: DATA COMPRESSION
One of the most important rules in Fab Academy is keeping the repository light. We can't upload huge images, so I established a strict Optimization Protocol to compress everything before pushing.
THE PROCESS
-
Format Strategy: I use
.jpg for photos (better compression) and .png only for diagrams.
-
The Tool: I rely on TinyPNG to shrink file sizes without losing quality.
-
Resolution Limit: No image exceeds 1000px in width, which is plenty for web viewing.
COMPRESSION RESULTS
Evidence: The image quality looks practically the same, but it loads instantly.
*Note: Following the rules, I also signed the Student Agreement. You can view the signed document in the About Me section.
STEP 03: SUIT UP (THE EVOLUTION)
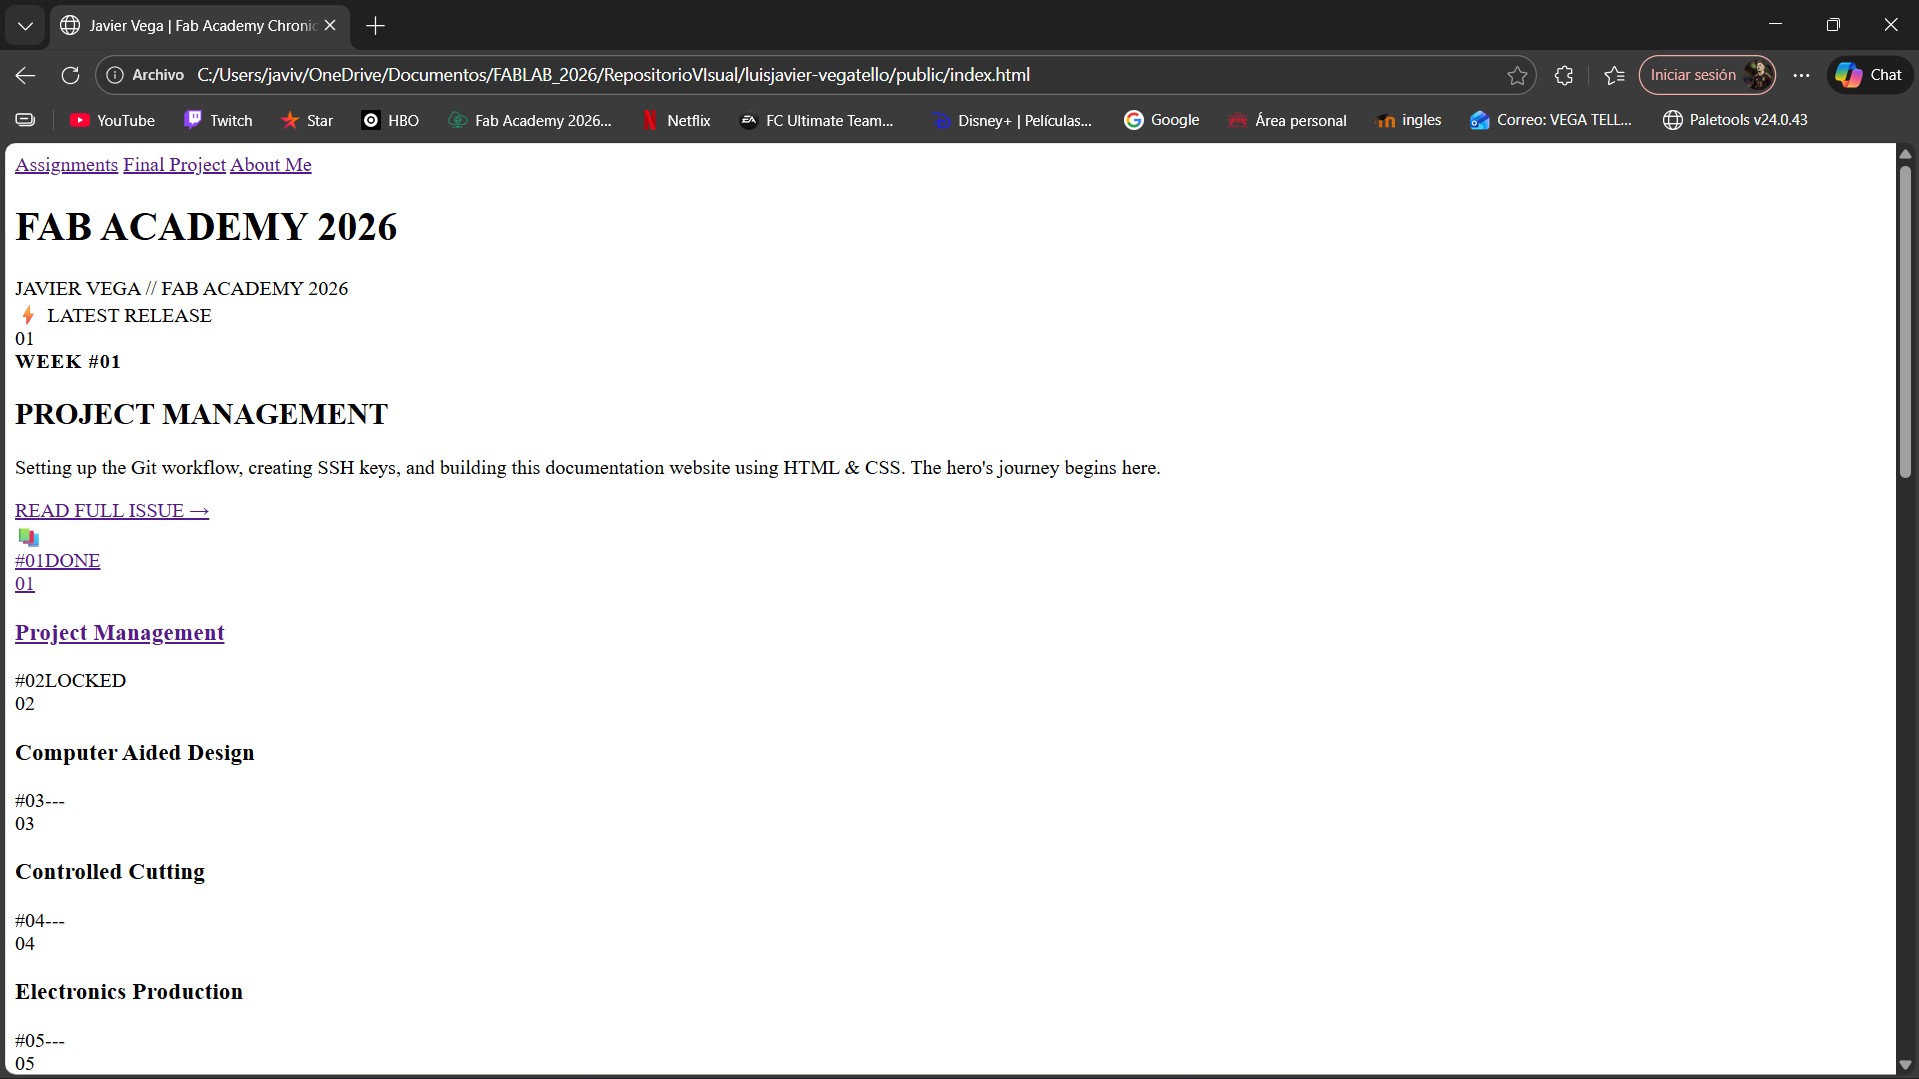
My website didn't look like this at first. At the beginning of the week, it was just a boring HTML skeleton. I used CSS to give it the comic book style.
PHASE 1: SKELETON (HTML)
Plain text, standard fonts, no layout.
PHASE 2: HERO SUIT (CSS)
Grid layout, Custom fonts, Color palette.
THE STYLE FORMULA
I wanted the website to be easy to maintain and visually consistent. Here are the main CSS tricks I used:
1. GLOBAL COLOR PALETTE
Instead of repeating hex codes everywhere, I stored my colors in Variables. This means I can change the entire theme by modifying just 4 lines of code.
:root {
/* I define the colors once here */
--c-yellow: #FFEA00; /* All Might Yellow */
--c-red: #FF0000; /* Hero Red */
--c-blue: #0044CC; /* U.A. Blue */
--c-black: #121212; /* Ink Black */
}
/* Then I use them like this: */
button { background-color: var(--c-blue); }
2. DUAL TYPOGRAPHY SYSTEM
A comic book needs to shout but also be readable. I imported two distinct fonts from Google Fonts:
- 'Bangers': Used for HEADLINES. It looks like sound effects.
- 'Roboto': Used for paragraphs. It is clean and easy to read.
h1 { font-family: 'Bangers', cursive; } /* The Title */
p { font-family: 'Roboto', sans-serif; } /* The Story */
3. THE "INK" EFFECT (Borders)
To simulate the look of a printed comic page, I added thick black borders to everything. I also use Hard Shadows (no blur) to make elements pop.
.card {
border: 3px solid var(--c-black); /* Thick outline */
box-shadow: 10px 10px 0px black; /* Solid shadow (No blur) */
}
APPENDIX: AI ATTRIBUTION
As part of the documentation process, I utilized AI tools to assist with the code structure and design conceptualization. Following the Fab Academy guidelines, here are the prompts used:
🤖 CHATGPT / GEMINI PROMPTS
-
"Help me generate a CSS stylesheet for a comic-book style portfolio using HTML. Include hard shadows and black borders."
(Used for: Website styling and visual identity)
-
"Explain the basic Git commands (clone, add, commit, push) for a beginner documentation page."
(Used for: Organizing the Git Protocol section)
-
"Help me finalize my project idea; I know what I want to do, but I need to develop it further."
STEP 04: SYSTEM GLITCHES (TROUBLESHOOTING)
It wasn't all smooth sailing. During the deployment process, I ran into a problem with the images.
⚠️ THE ERROR: BROKEN IMAGES
After pushing to GitLab, the images showed up as broken icons, even though they worked fine on my laptop.
🖼️ ❌ image_not_found.jpg
✅ THE FIX: RELATIVE PATHS
I realized the code was looking for images in the wrong folder. I fixed it by correcting the relative paths.
<img src="images/week01/photo.jpg">
<img src="../images/week01/photo.jpg">
*The ../ tells the browser to go up one level out of "assignments" to find the "images" folder.
MISSION ACCOMPLISHED
Week 1 is done! My personal archive is live, Git is running, and the visual style is ready. Time for the next mission.