Group assignment
Objective
-
Review the safety data sheets for each of your molding and casting materials
-
Make and compare test casts with each of them
-
Compare printing vs milling molds
Here I share the link to my group assignment.
Indivual assignment
- Design a mold around the process you’ll be using, produce it with a smooth surface finish that does not show the production process toolpath, and use it to cast parts.
This week focused on the design and fabrication of a mold for casting a part. My prior experience with molding processes was limited; although I understood the theoretical concepts, I had not previously fabricated a mold.
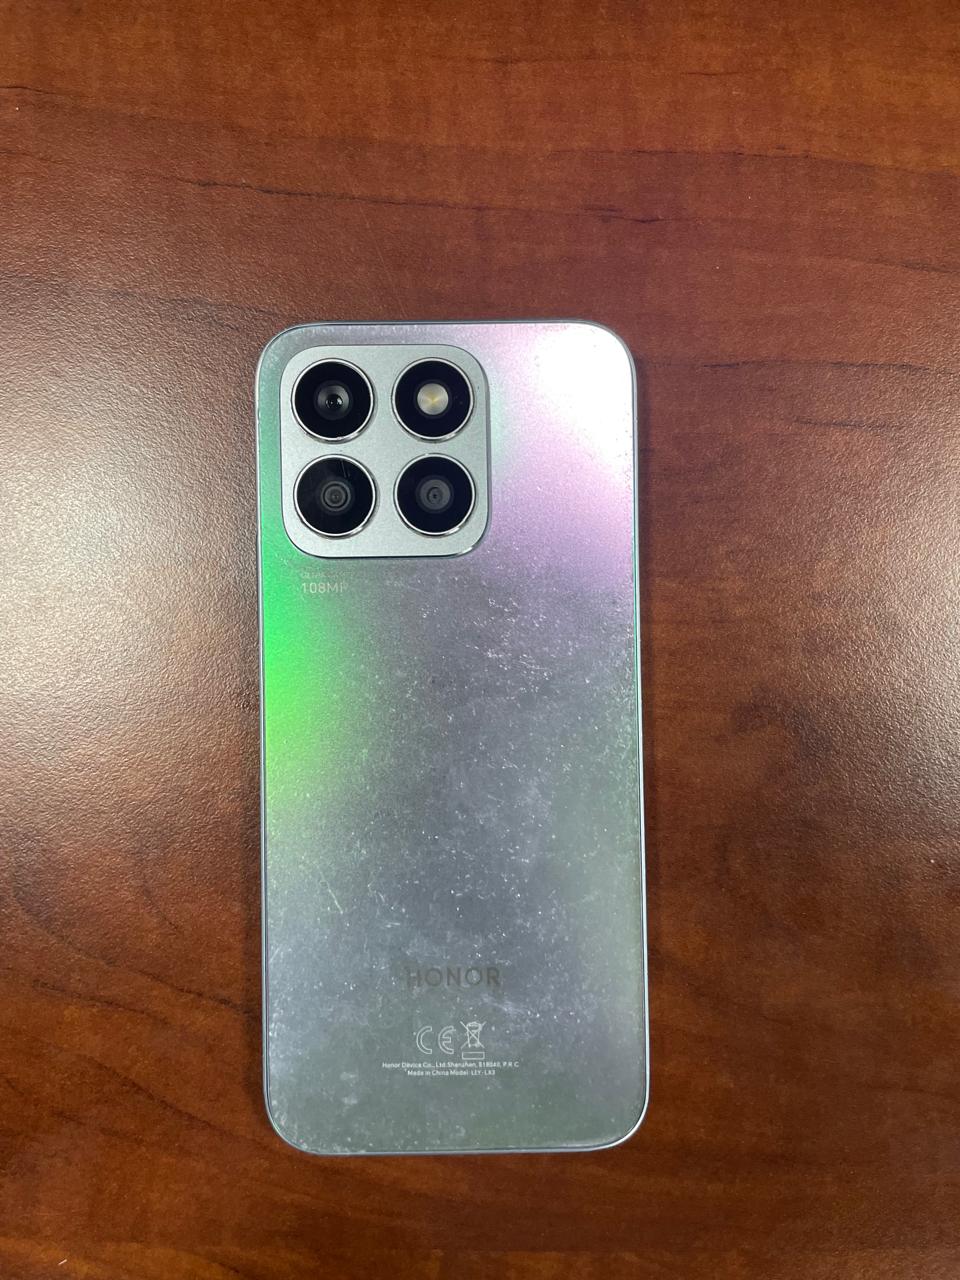
For this assignment, I proposed designing and fabricating a mold to produce a custom phone cover.
The following video documents the CAD design process of the mold, developed using Fusion 360.
The workflow began by collecting the phone’s technical specifications to ensure dimensional accuracy. Reference images from multiple angles were also gathered to support the modeling process. A parametric 3D model of the phone was then created. Based on this geometry, a custom cover was designed, incorporating clearances for functional elements such as buttons and the USB-C port. A honeycomb lattice pattern was applied to optimize material usage while maintaining structural integrity.
The mold design process started by generating a solid block, followed by an extrusion configured to create a separate body. The "Combine" tool (cut operation) was used to subtract the cover geometry from the block, resulting in the negative cavity. Additional features were integrated, including injection channels, air vents, and alignment pins to ensure proper registration between mold halves during assembly.
Final model results
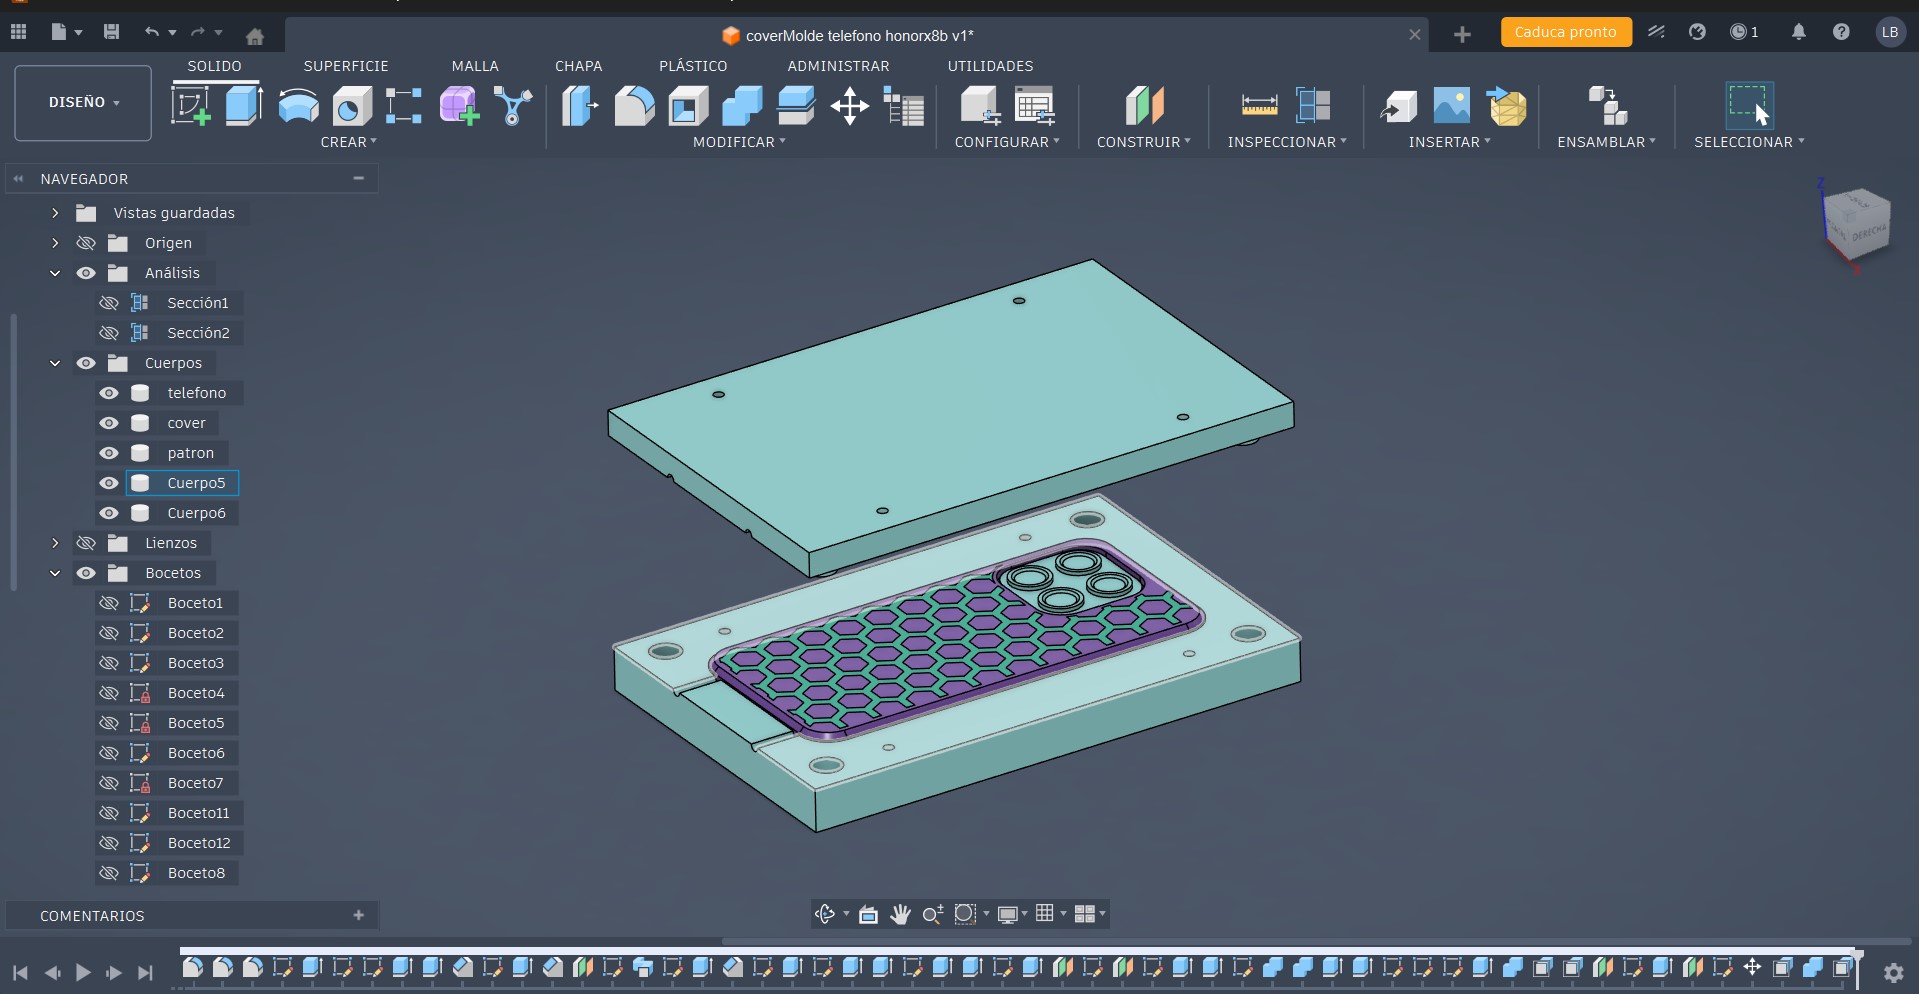
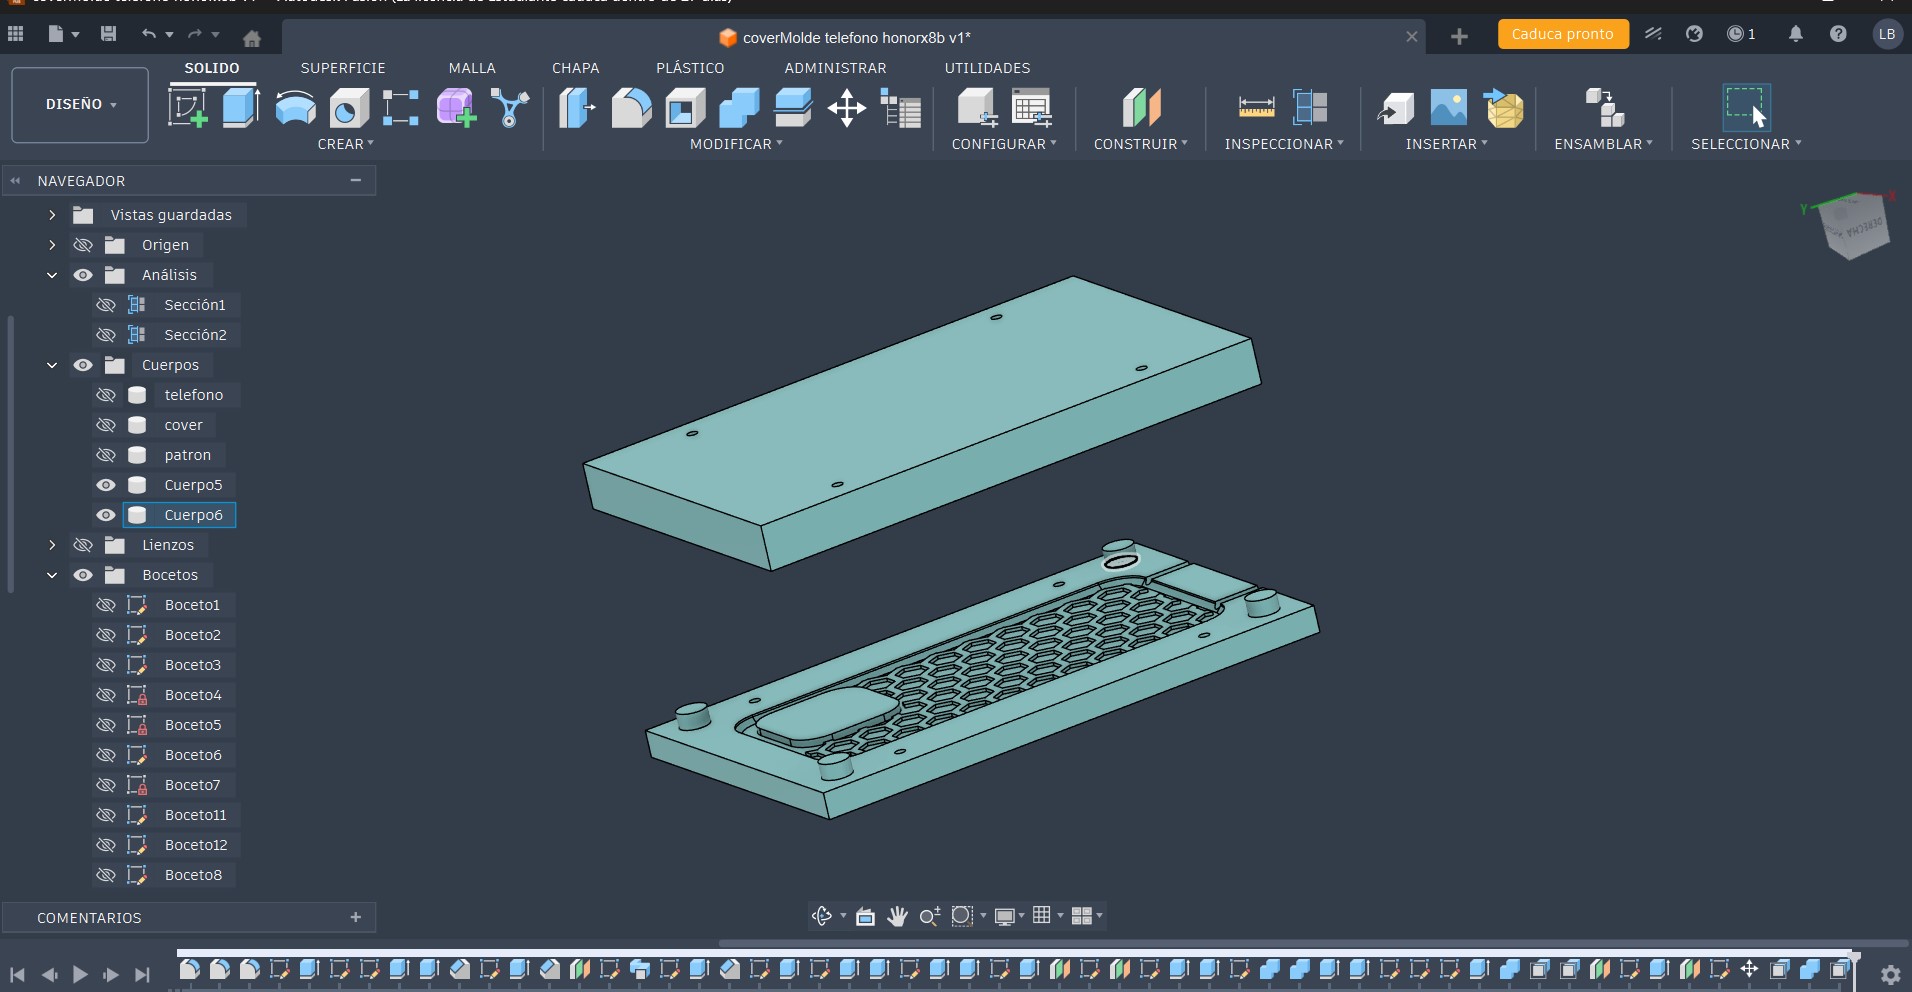
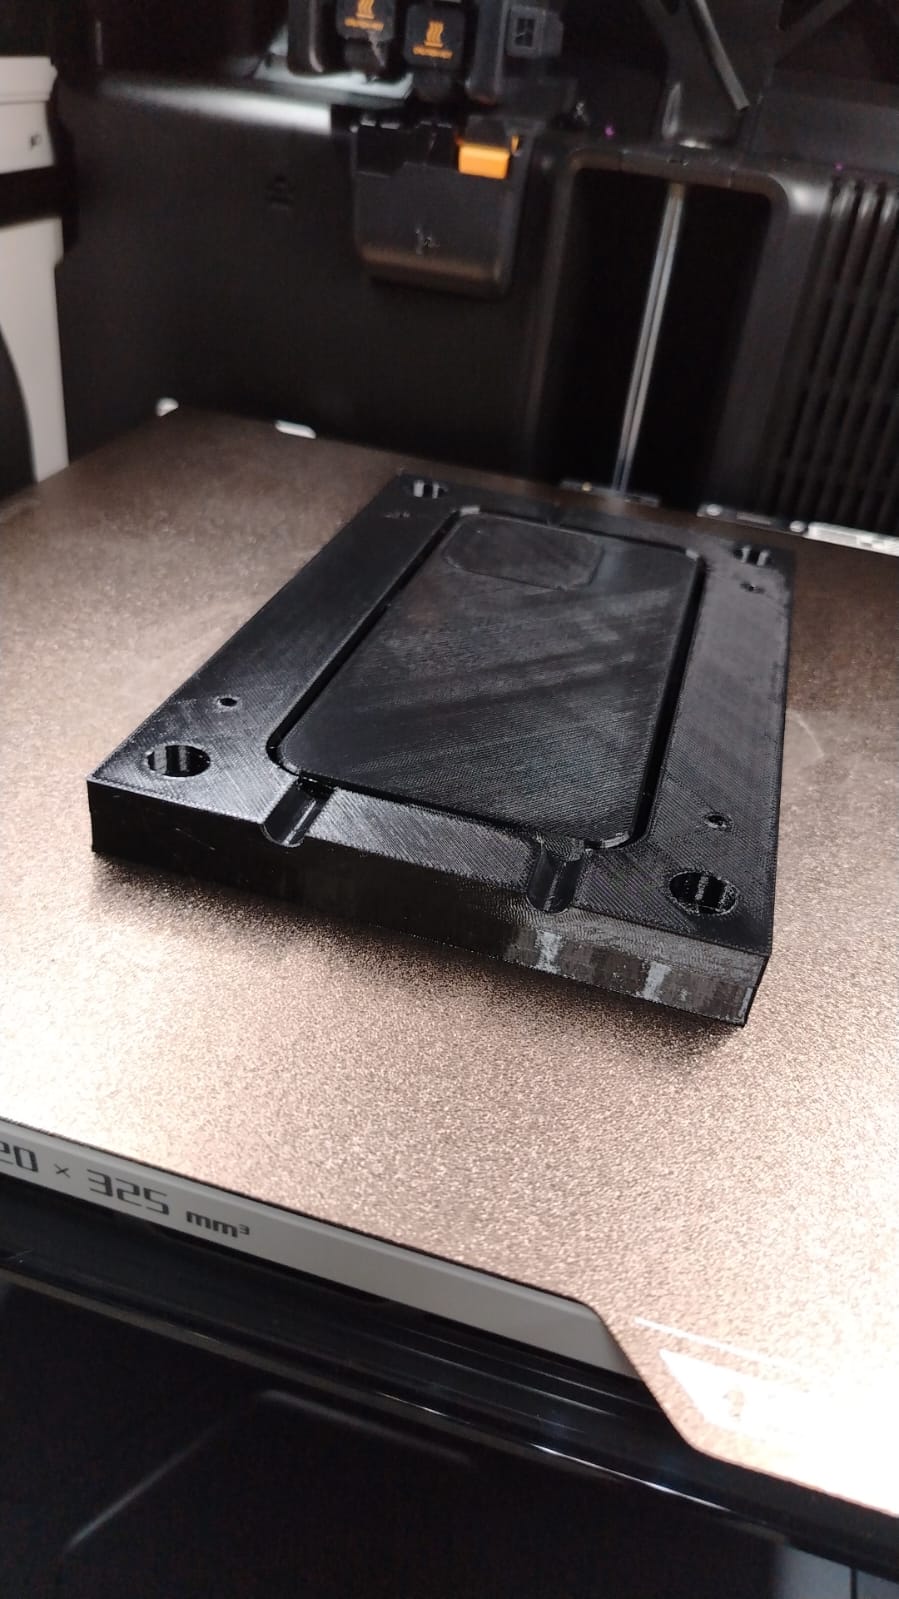
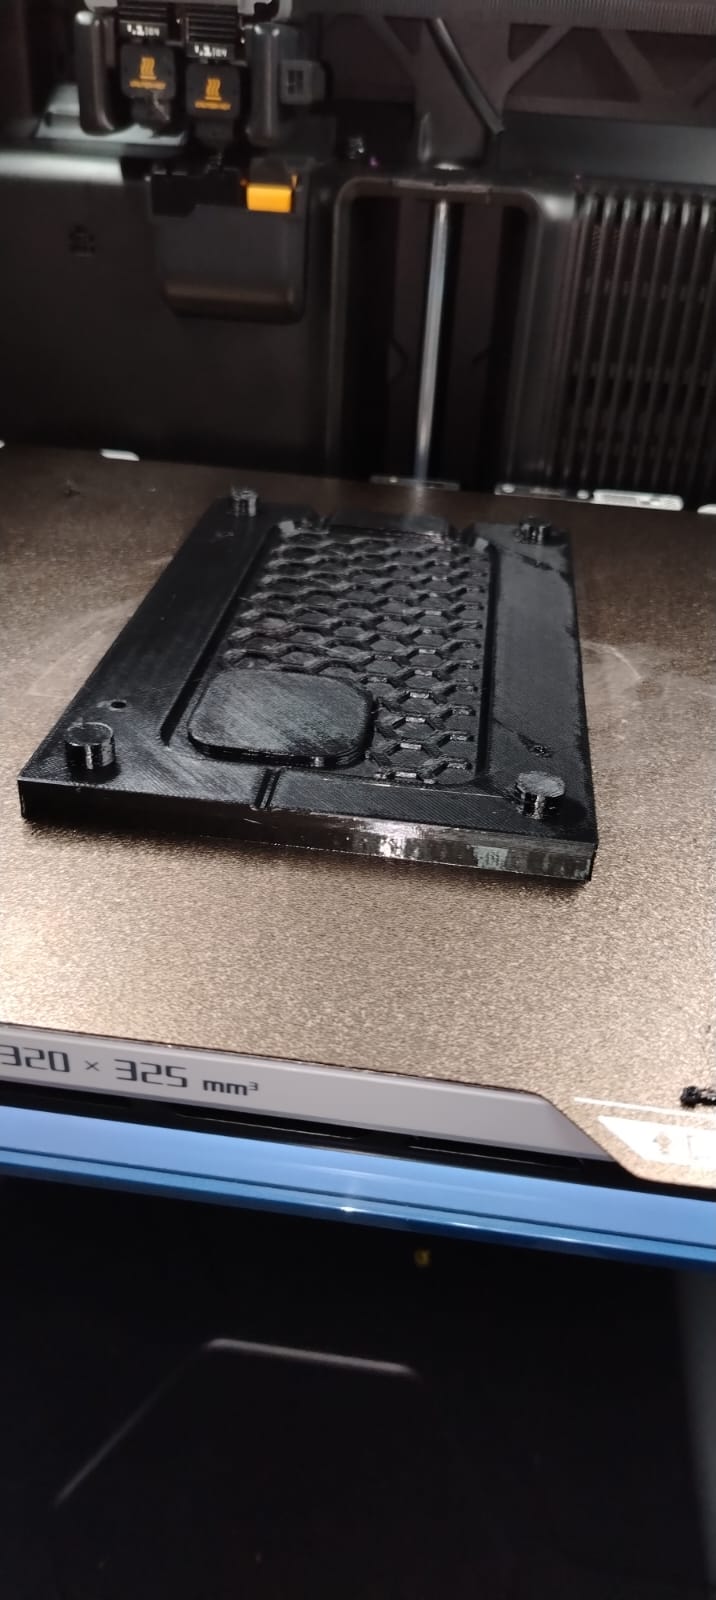
The mold components were fabricated using a Bambulab H2D 3D printer. Variable layer height was applied to improve surface quality in critical regions. The selected material was black PETG filament due to its thermal resistance and mechanical stability. The design consists of a two-part mold intended for liquid silicone injection through a dedicated inlet channel.
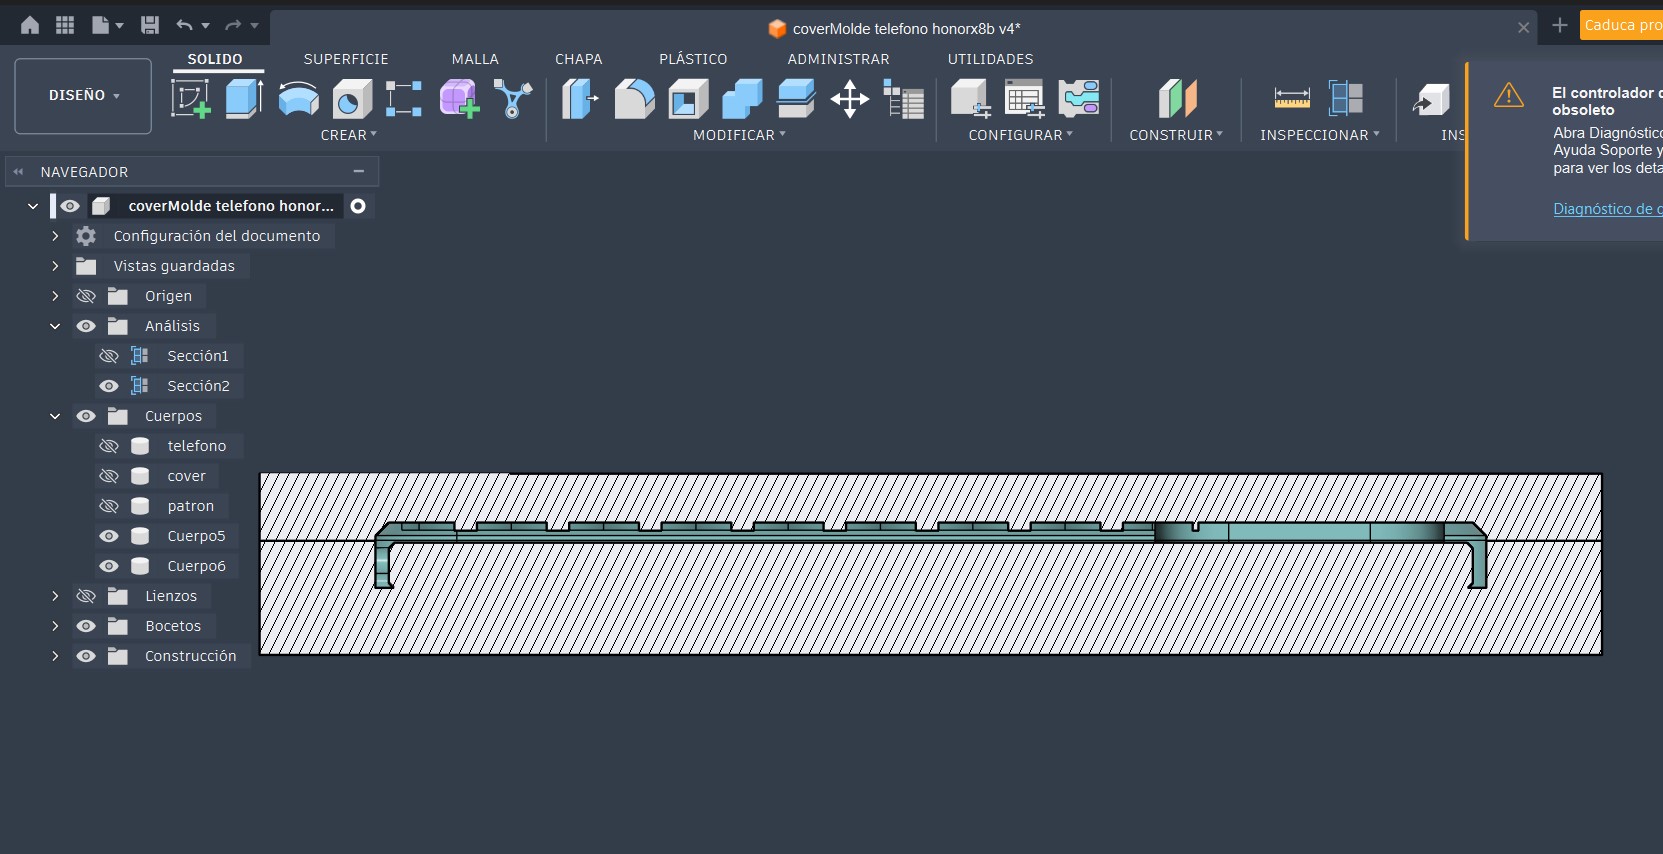
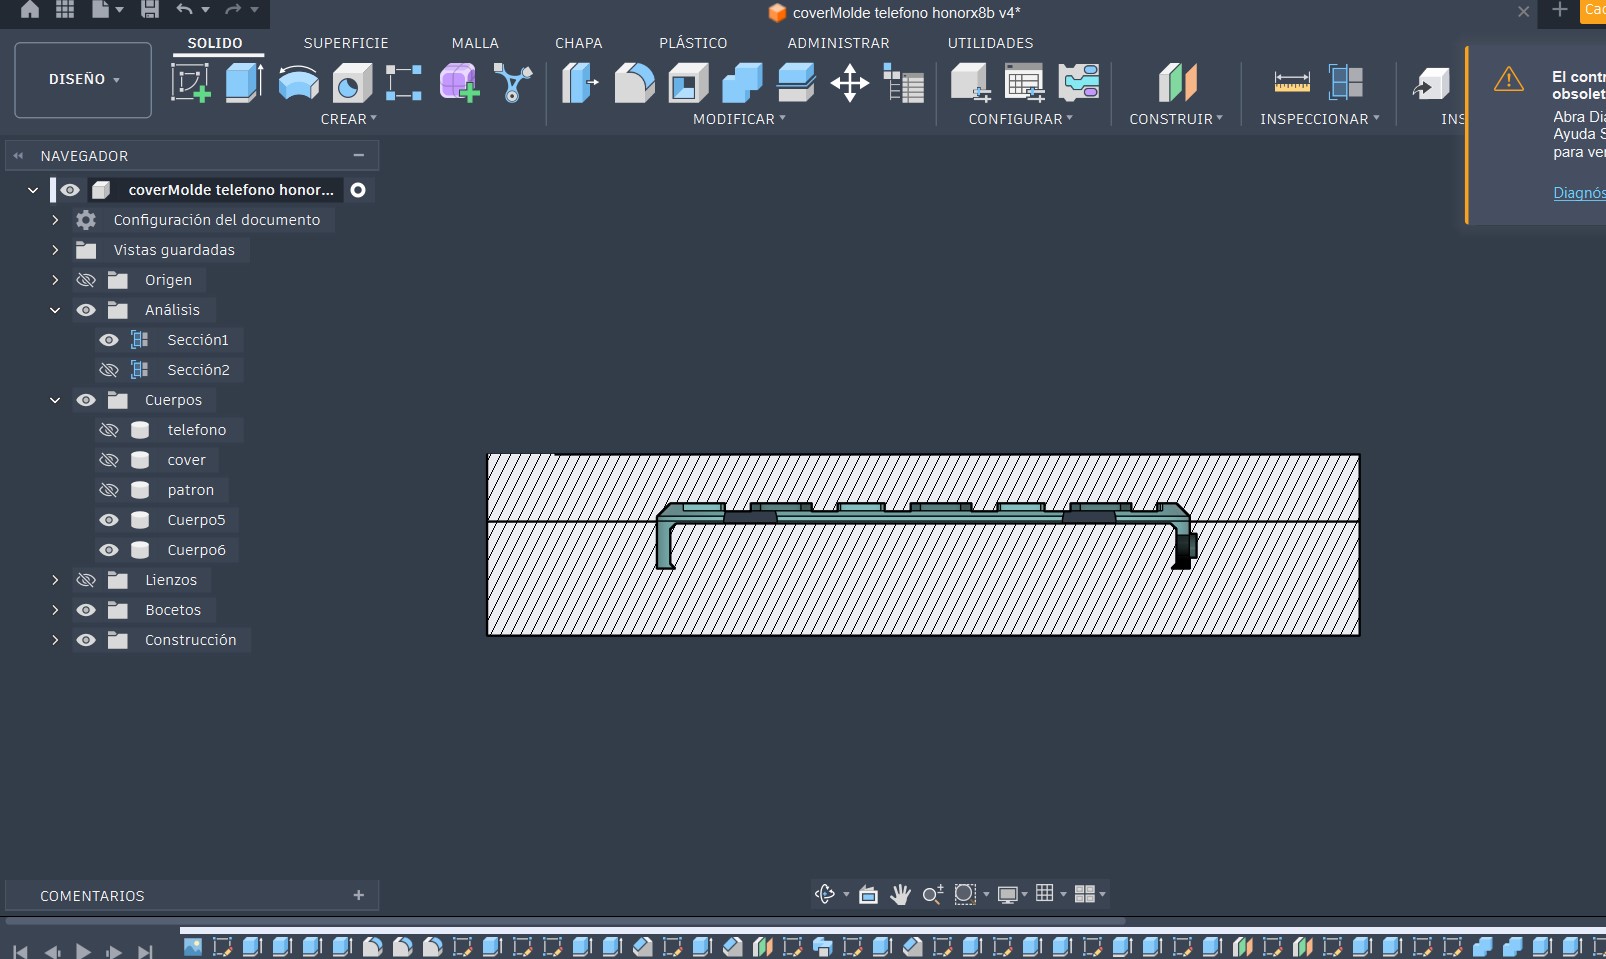
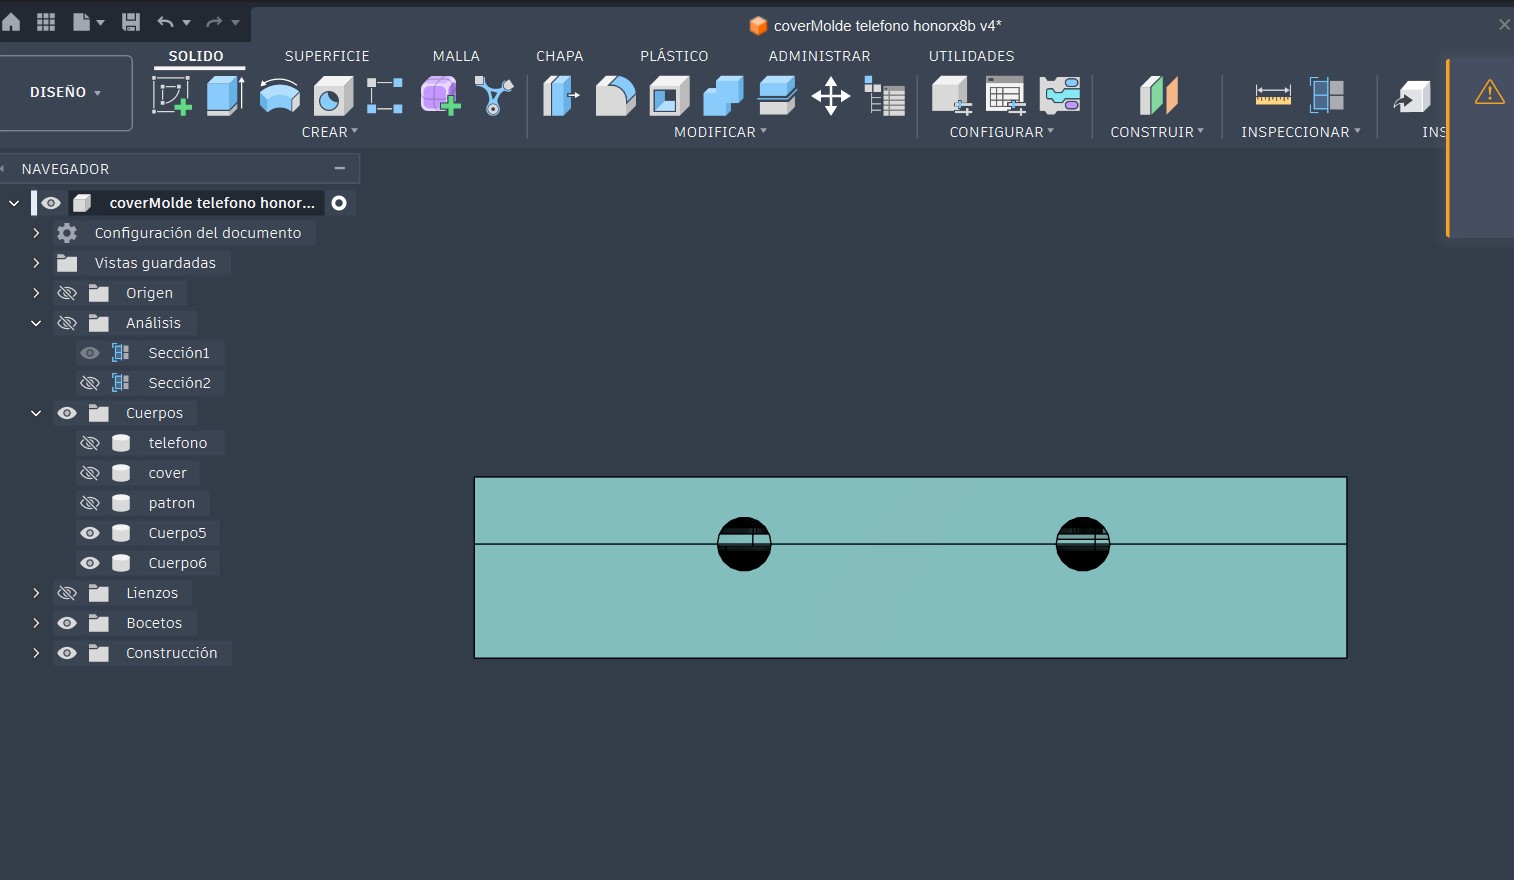
3D Printed Mold
Mold A: Phone cover cavity
Mold B: Counterpart
During the molding phase, an issue arose due to the degradation of the OOMOO 30 silicone, which had hardened and was no longer usable. As an alternative, locally available silicone sealant was considered. However, this material exhibits significantly higher viscosity, which negatively affects its flow characteristics and limits its suitability for injection-based molding processes.
technical data sheet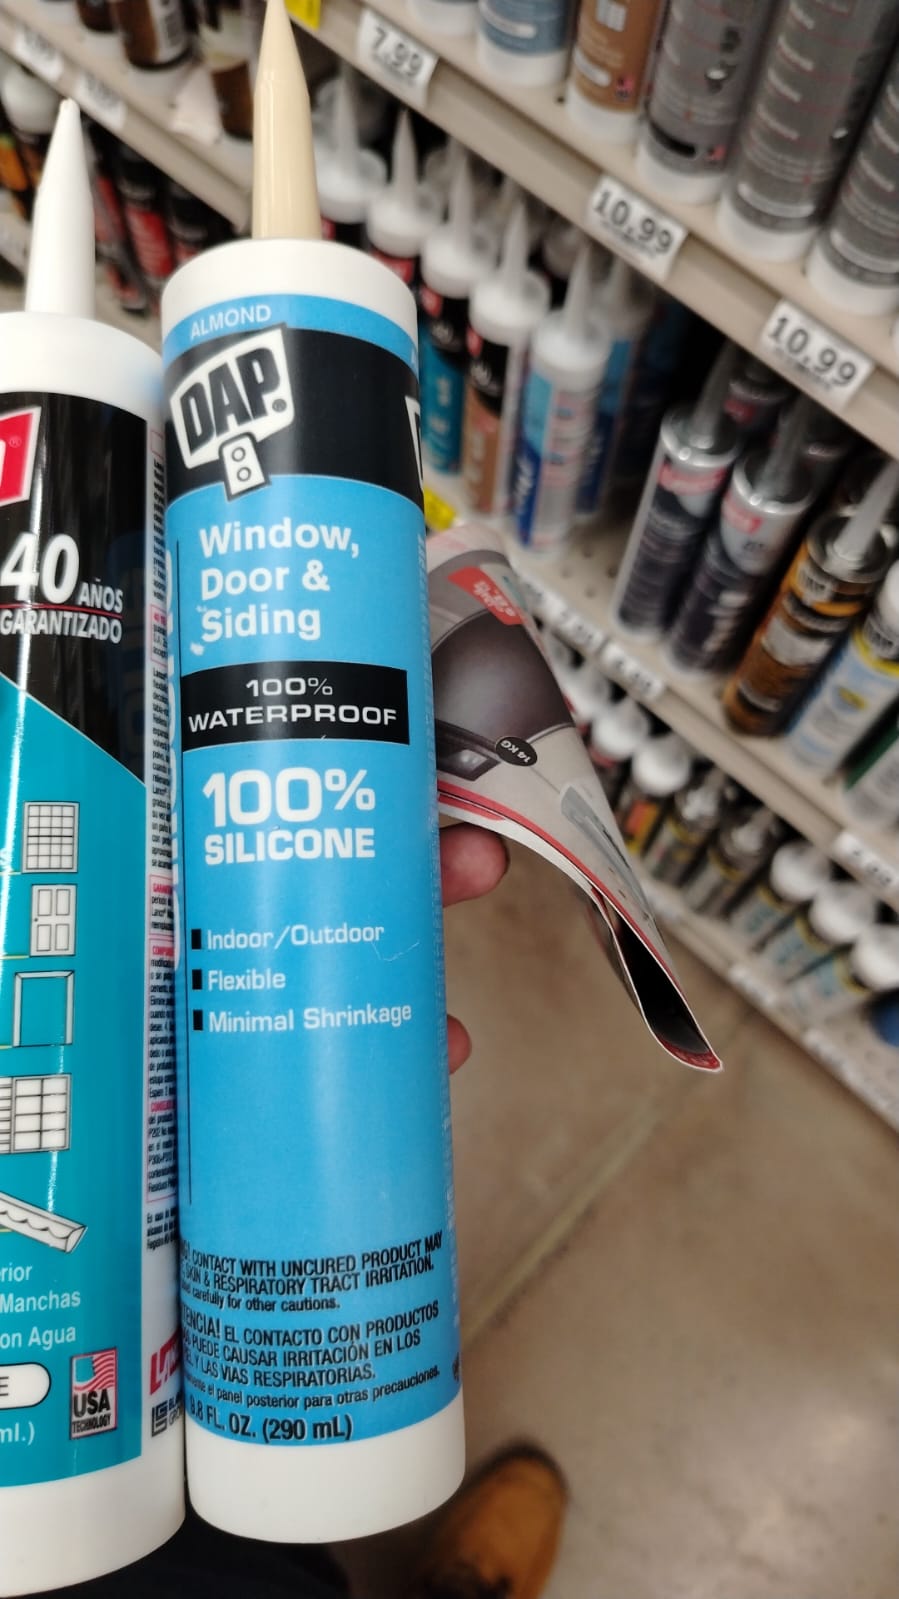
The molding process was carried out as shown in the following video.
Due to the high viscosity of the available silicone, the injection approach was not feasible. Instead, the material was manually applied to both mold halves before assembly. The system was left to cure for approximately 26 hours. However, incomplete curing was observed, particularly in internal regions, likely due to limited air exposure and unsuitable material properties. The final result did not meet expectations, demonstrating the critical importance of proper material selection.
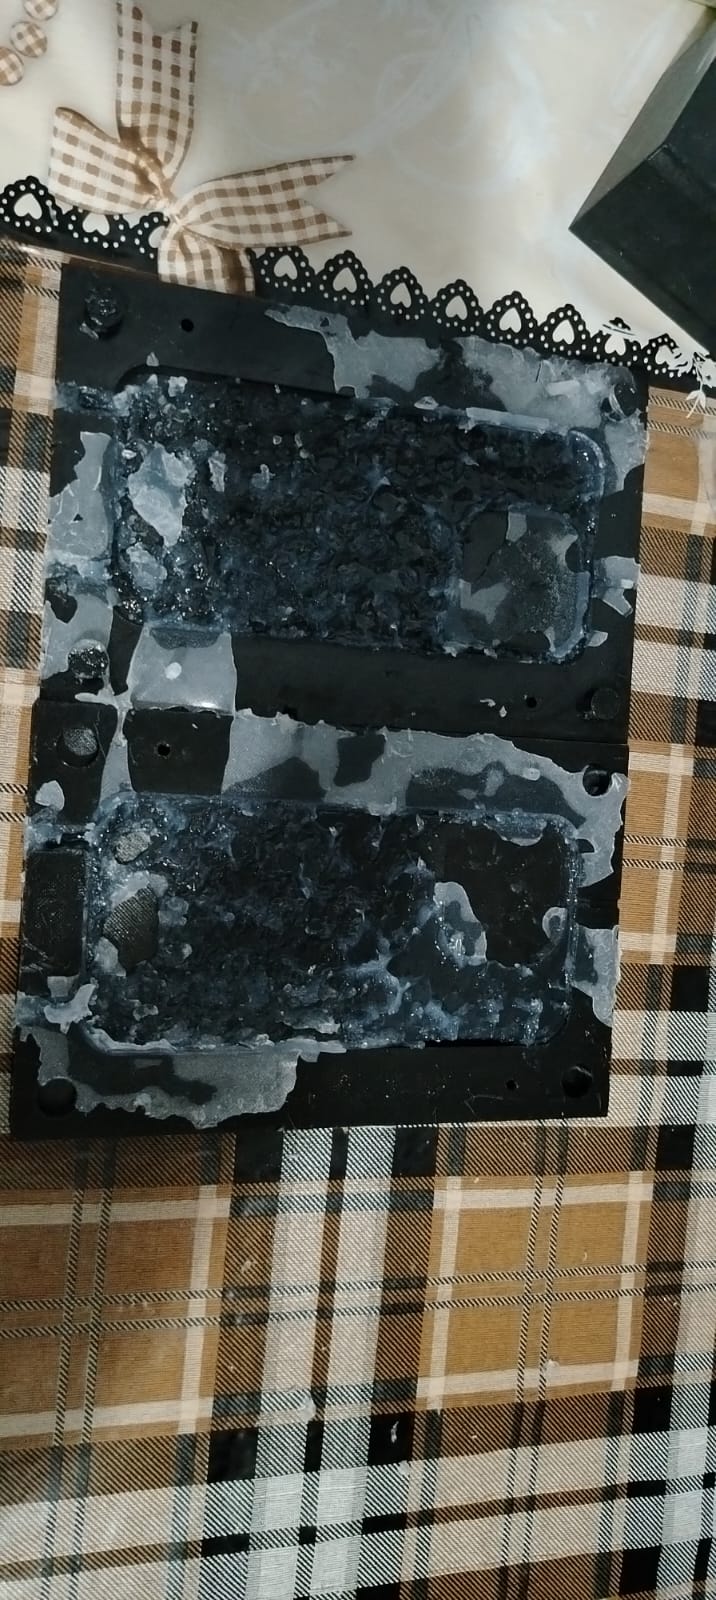
Failure analysis
Expired OOMOO 30 silicone lost its functional properties and could not be used.
Substitution with high-viscosity sealant prevented proper flow and cavity filling.
Inadequate material selection directly impacted the success of the molding process.
Based on these results, I decided to pivot to a simpler and more controllable process: casting a candle using paraffin wax. This material is widely available, has predictable melting behavior, and is well-suited for low-complexity molds. The mold would again be fabricated באמצעות 3D printing using PETG.
Candle design and mold
The candle geometry was designed in Fusion 360 using a parametric approach. The mold was subsequently developed based on this geometry, ensuring proper draft angles and release considerations.
The following video summarizes the design process.
The mold was fabricated using a 0.24 mm layer height, 15% infill with a grid pattern, and PETG filament.
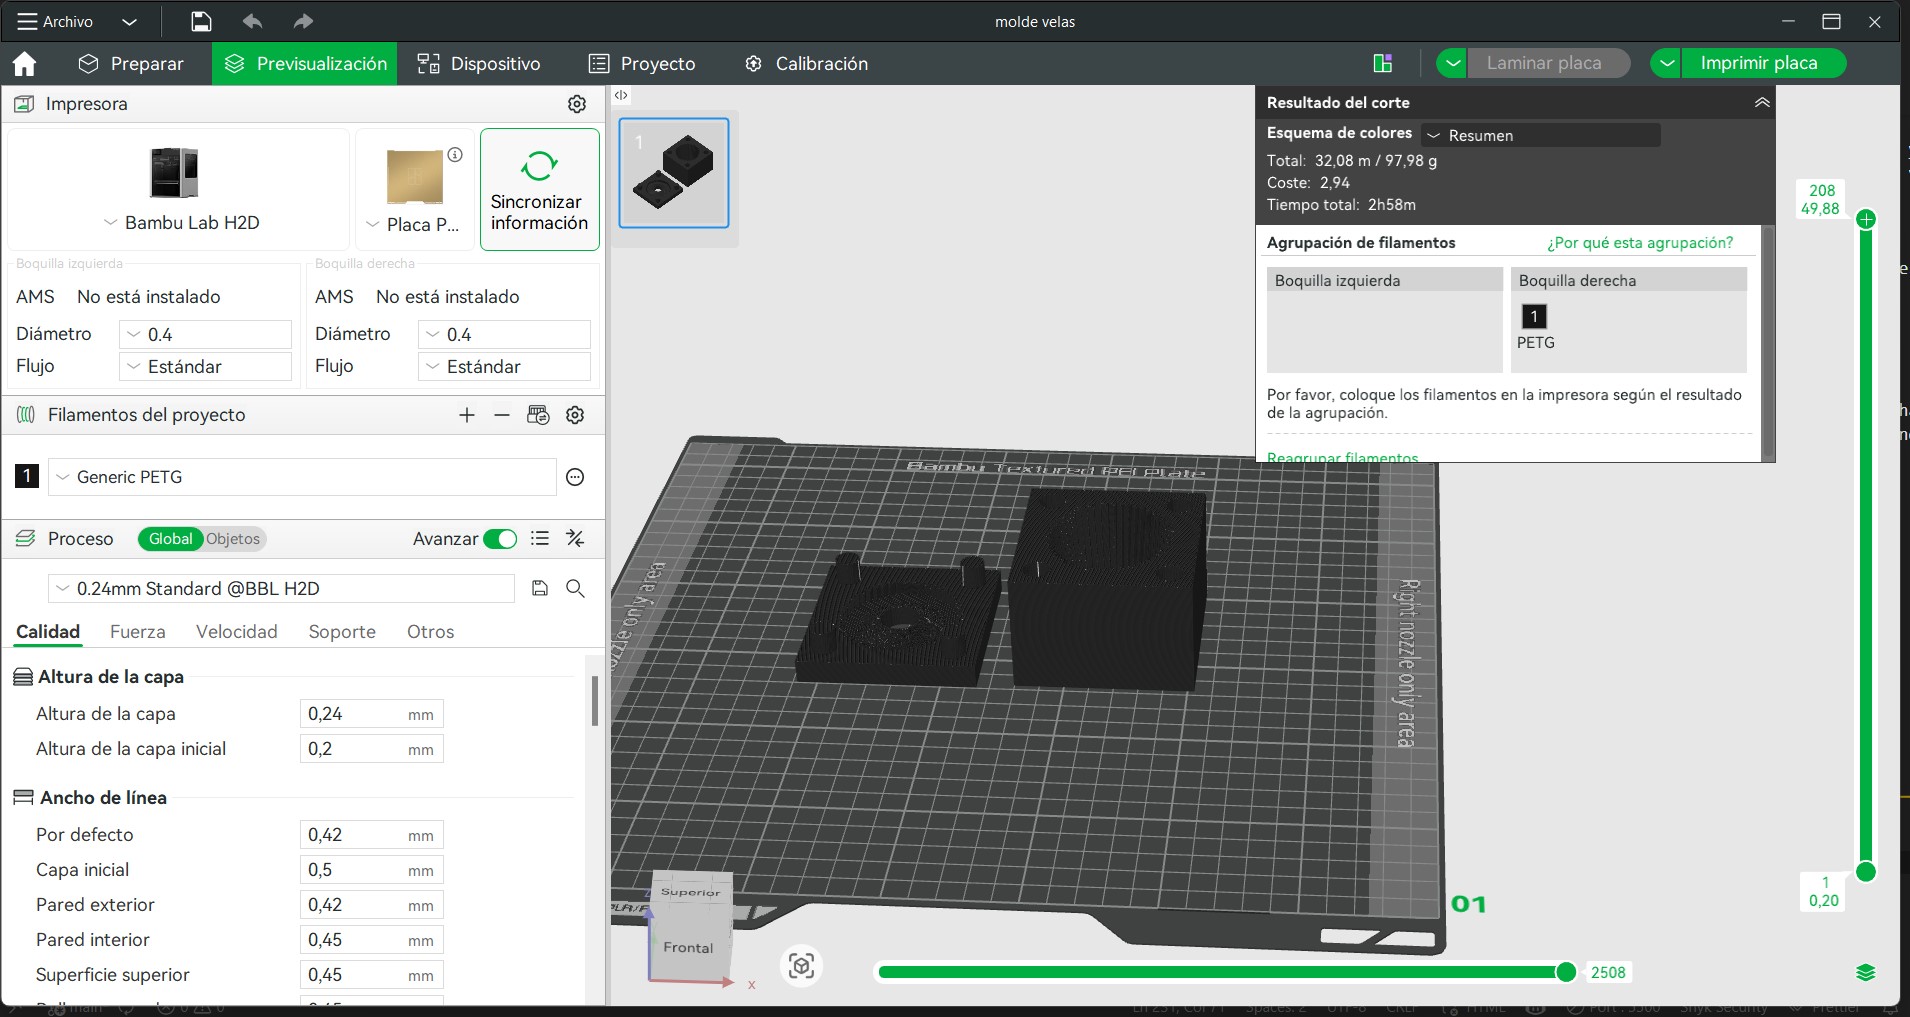
Prior to casting, surface treatment steps were applied to improve demolding performance:
-
A spray varnish was applied to seal the layer lines inherent to FDM printing, reducing surface roughness and preventing wax adhesion.
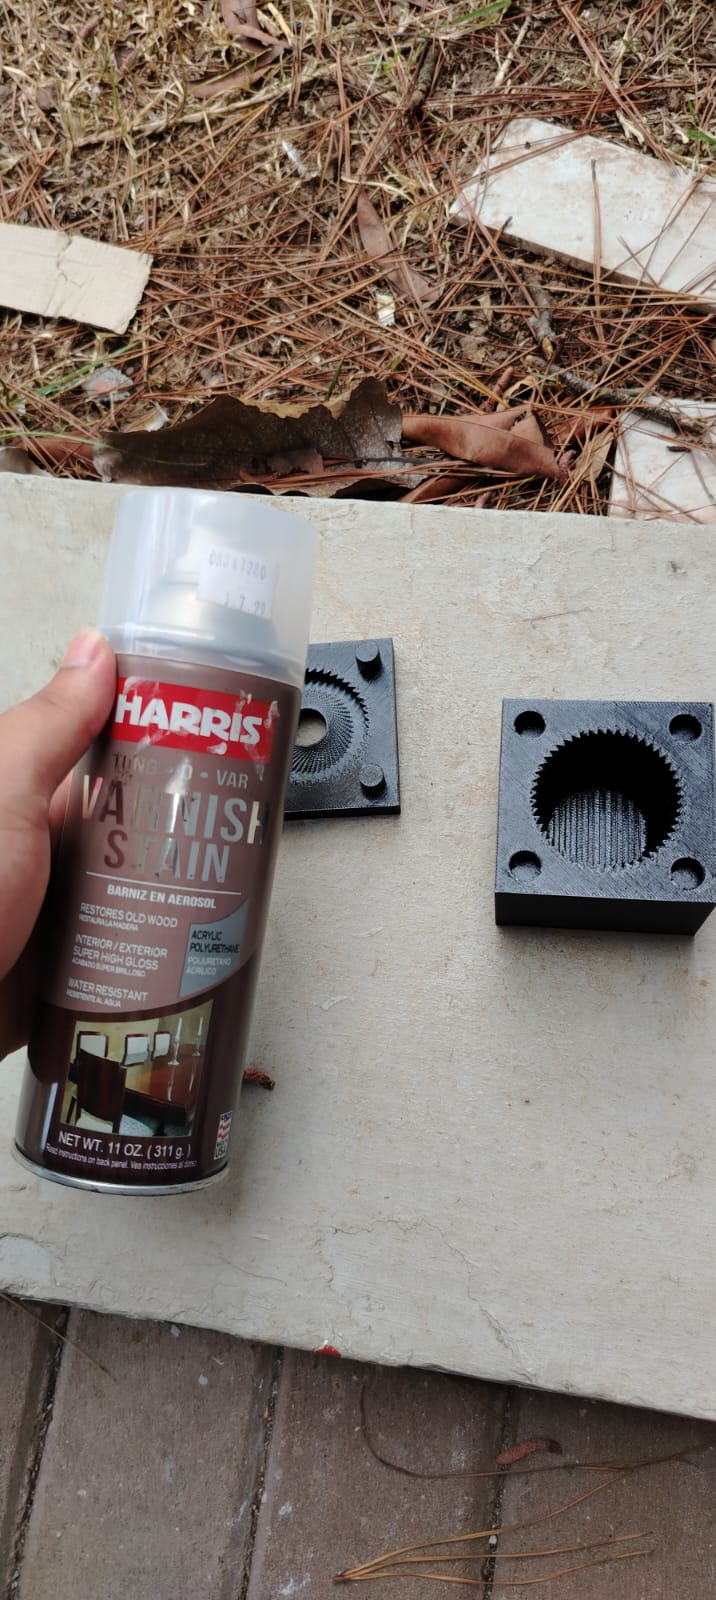
-
After curing, a thin layer of cooking oil was applied as a release agent to facilitate demolding.
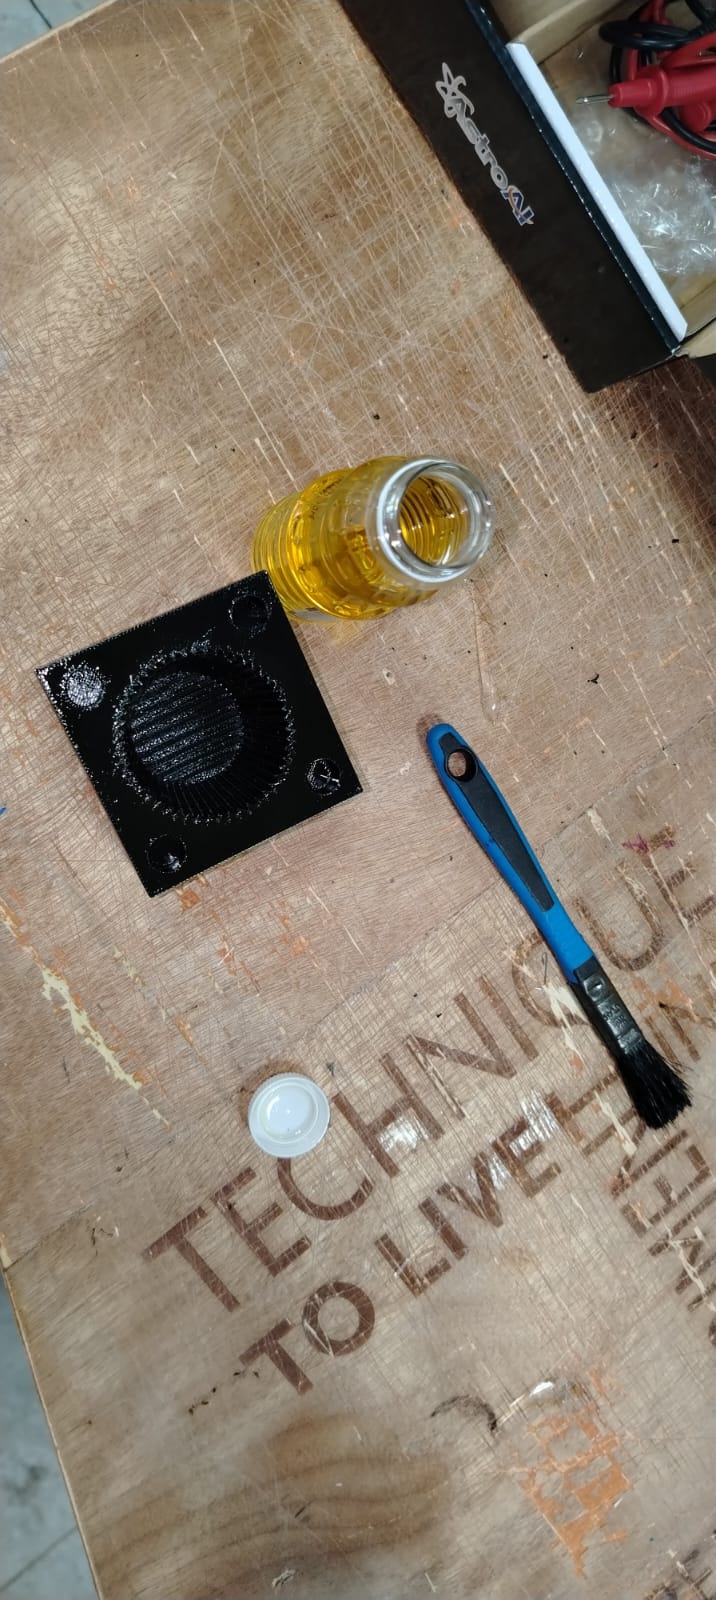
-
Paraffin wax was melted using an electric stove and a metal container, reaching approximately 150°C to ensure complete phase transition.
-
The molten wax was then poured into the mold cavity under controlled conditions to minimize air entrapment.
Subsequently, the wick was positioned and fixed at the geometric center of the mold cavity to ensure uniform burning behavior.
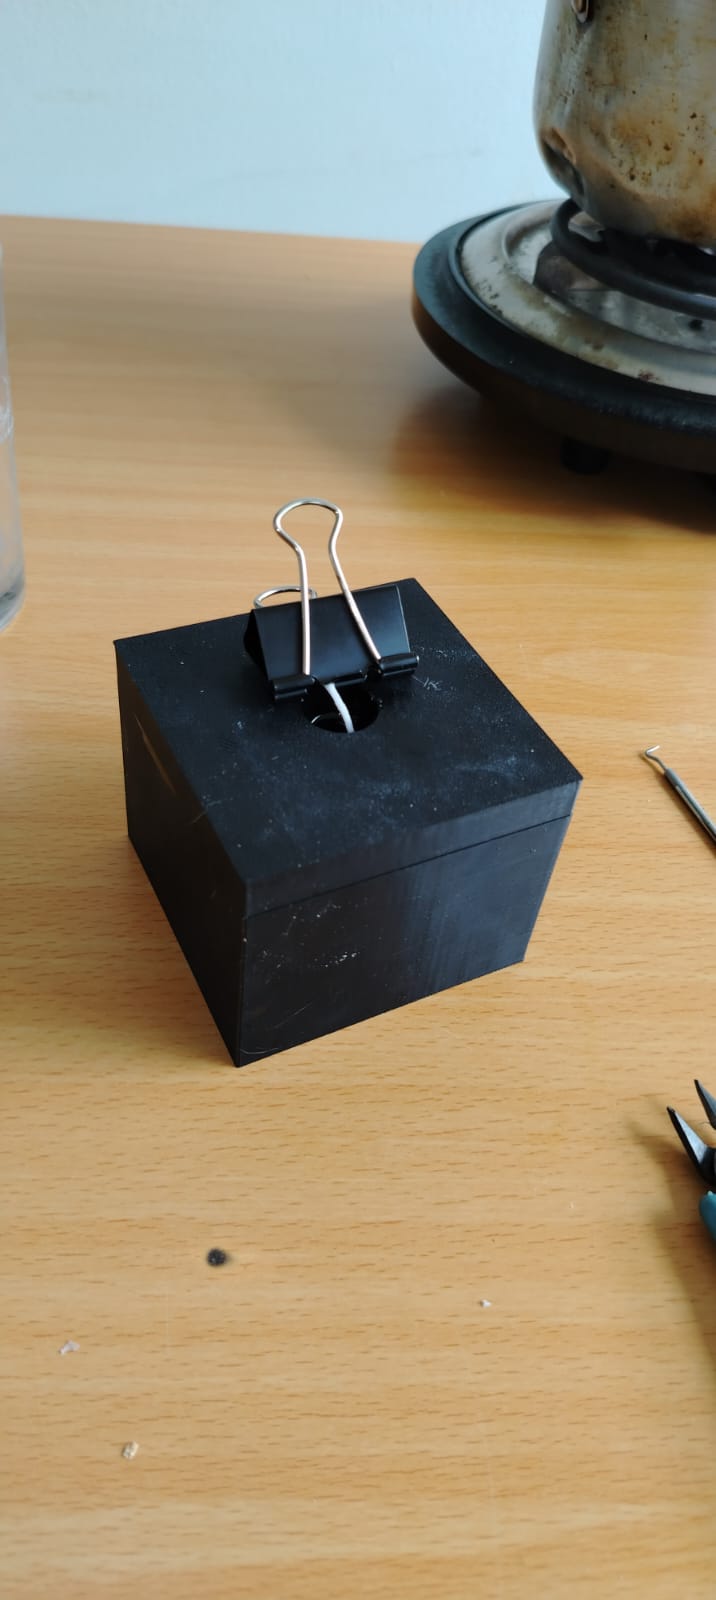
The wax was allowed to solidify for a total of 12 hours at ambient temperature (~25°C). Although paraffin wax typically solidifies within 2–4 hours depending on volume and environmental conditions, an extended curing time was used to ensure complete phase transition and internal stabilization. After approximately 6 hours, a volumetric shrinkage effect (~5–10% typical for paraffin wax) caused a केंद्रीय depression in the upper surface. To compensate for this, additional molten wax (at ~70–80°C pouring temperature) was added to refill the cavity and maintain geometric consistency. The system was then left to stabilize for an additional 6 hours.
After the curing period, the mold was placed in a freezer at approximately -10°C to -15°C for 1 hour. This thermal contraction step exploits the متفاوت coefficients of thermal expansion between PETG (~60–80 µm/m·°C) and paraffin wax, facilitating separation. As a result, demolding was significantly easier, and the part was released with minimal mechanical force.
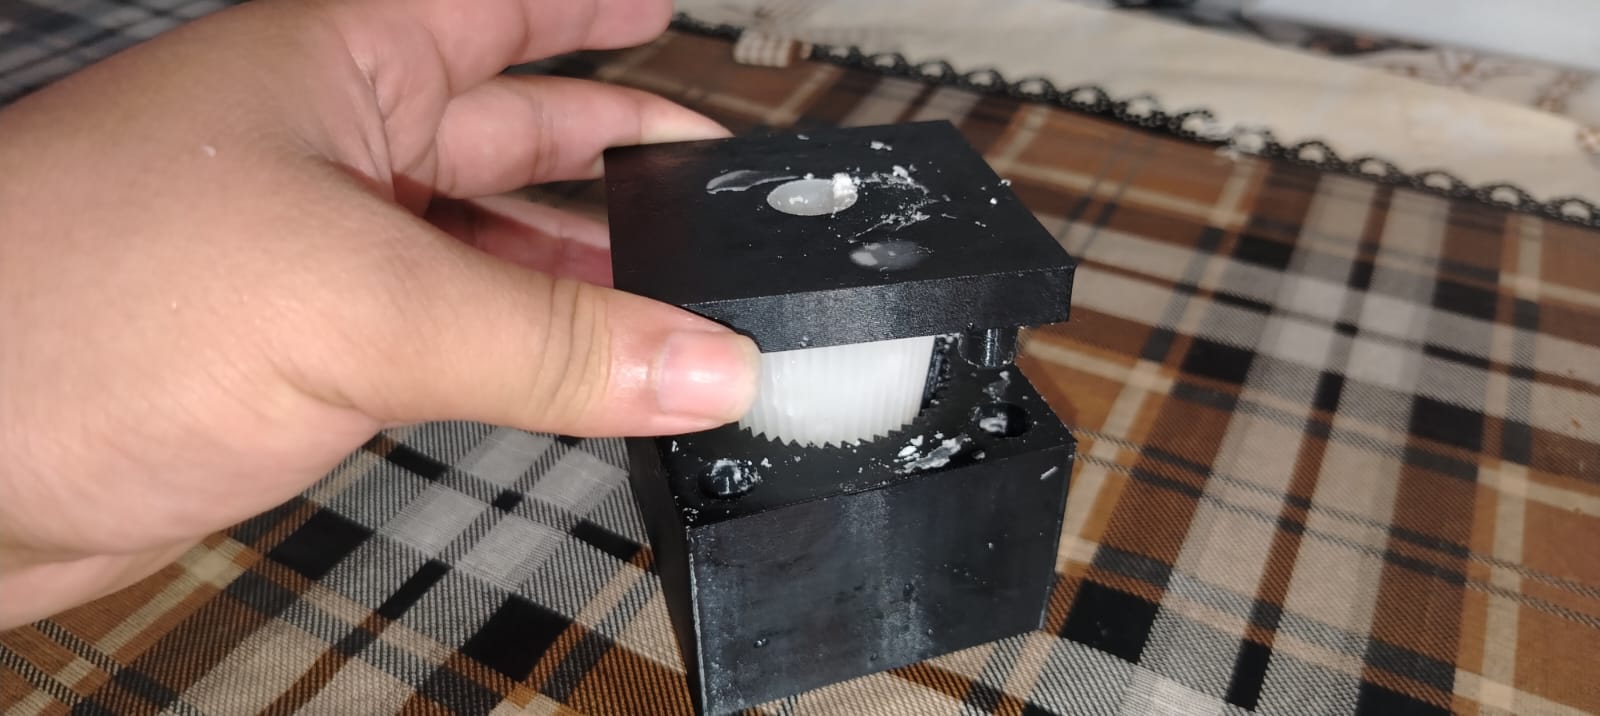
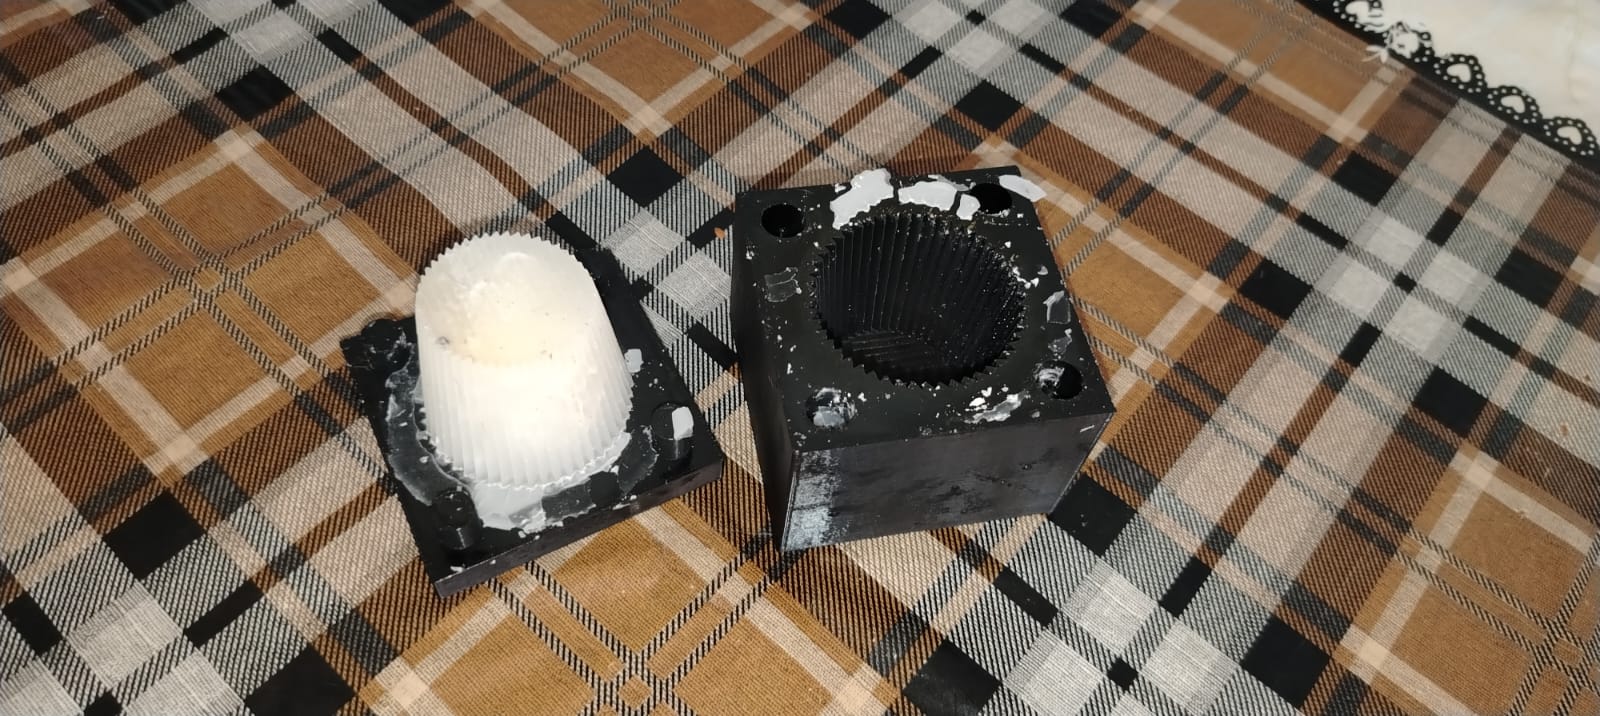
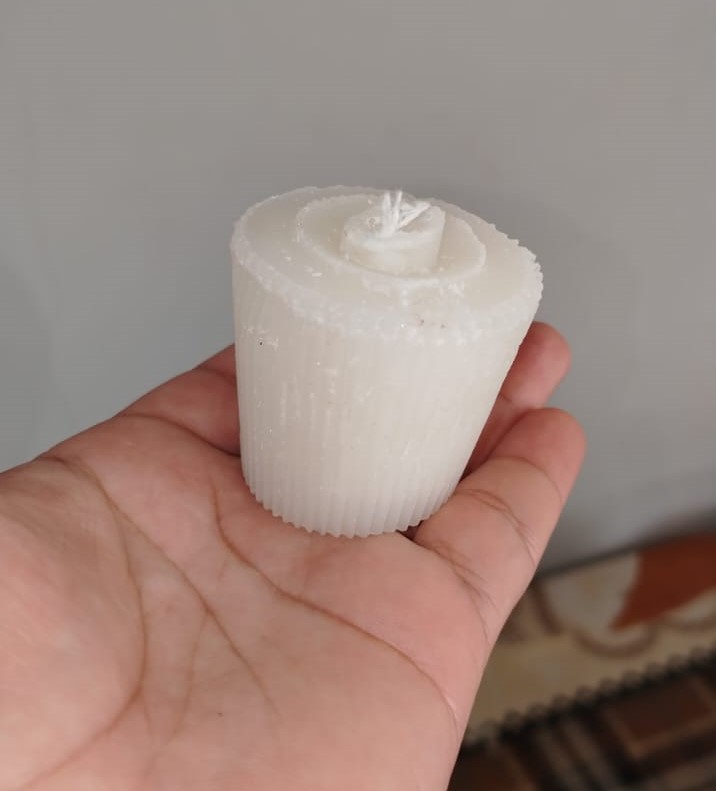
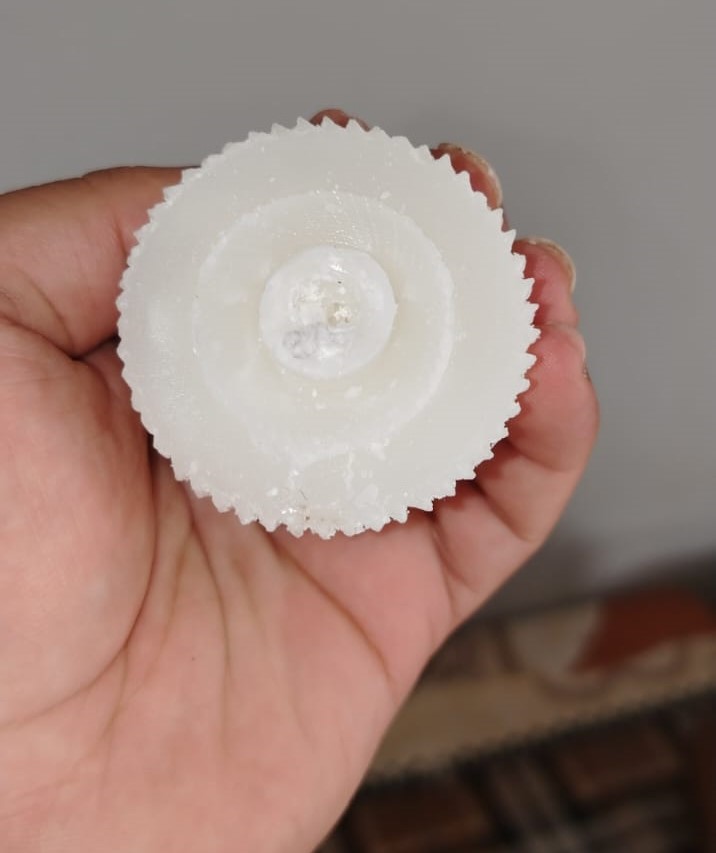
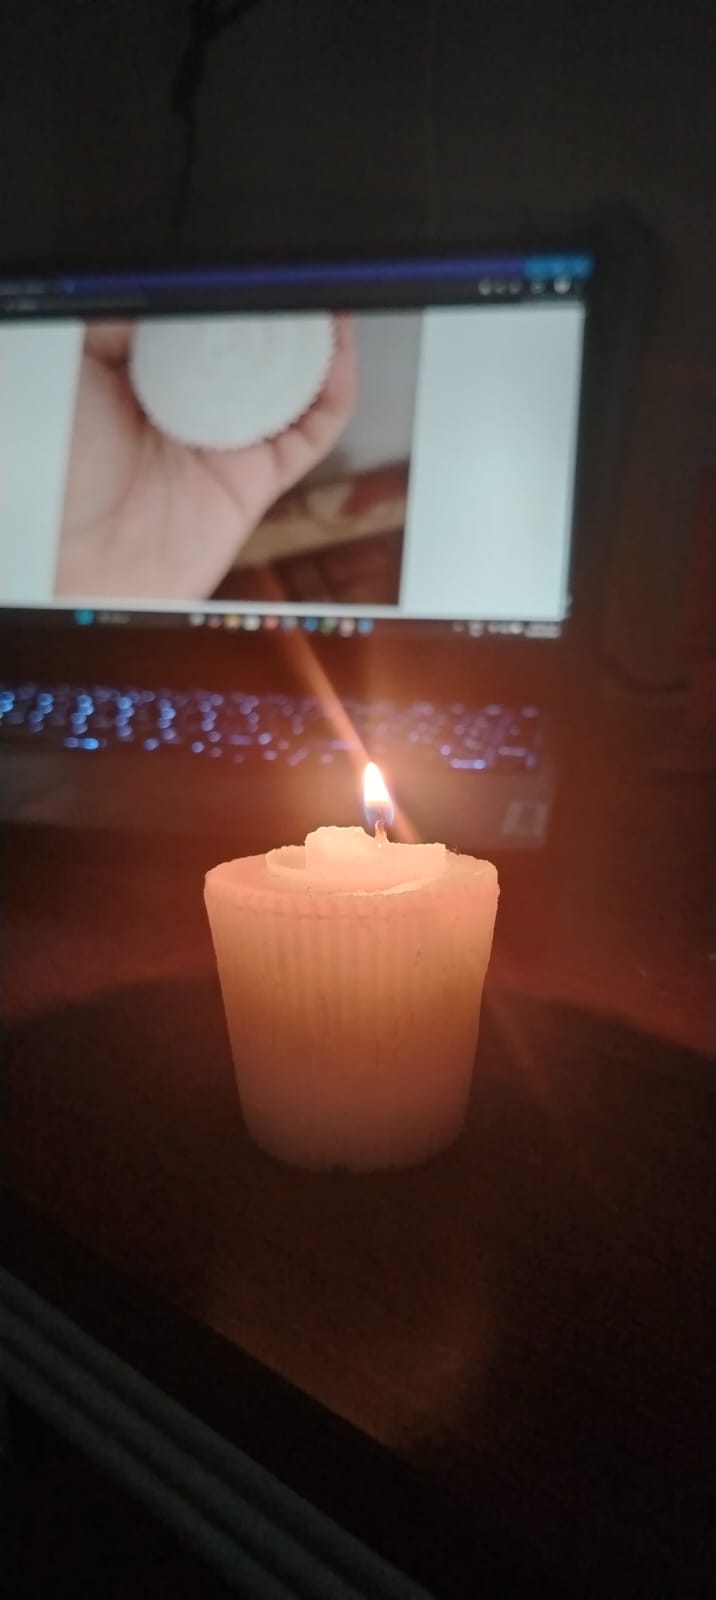
The final results are shown below:
Learning outcomes
This week I developed a deeper understanding of mold design workflows using Fusion 360, including cavity generation, parting strategies, and the integration of functional features such as vents and alignment systems. A key technical takeaway is the importance of material selection and validation prior to fabrication. The failure in the initial silicone casting attempt demonstrated how factors such as viscosity, curing mechanism, and material shelf life directly affect process viability.
Additionally, I observed the تأثير of thermal properties (melting point ~60°C, pouring temperature ~70–80°C, and shrinkage behavior) in paraffin wax casting. The use of surface treatments (varnish + release agent), combined with controlled cooling and post-processing (thermal contraction), significantly improved demolding performance and surface finish quality. These parameters are critical when aiming for repeatable and reliable casting results.
Download File
Mission accomplished! 😊