Week 16: Wildcard Week
Introduction
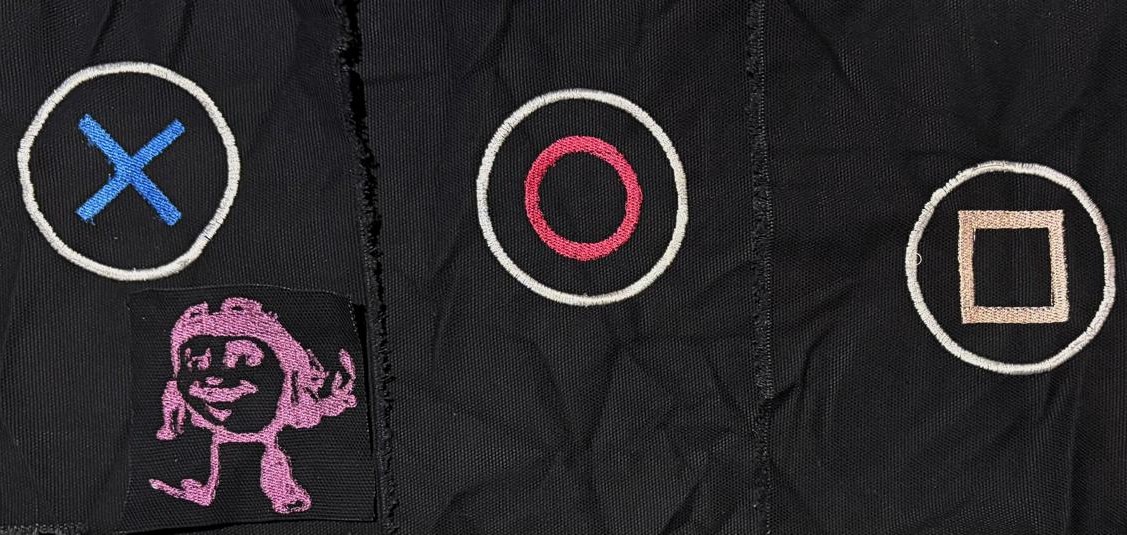
This week I'll be doing some embroidery for my final project, and I'll also be creating a character from a Mexican video game. For my final project, I'll be embroidering three symbols representing the buttons on a PlayStation controller to show which areas we should land the punch.
Embroidery
Embroidery consists of decorating fabric or other materials using needles and thread to create patterns, designs, or textures on a surface. It can be done by hand or with computerized embroidery machines that automate the stitching process. Different types of stitches, thread colors, and fabrics are combined to produce decorative or functional designs, ranging from simple logos and text to highly detailed artistic patterns. Embroidery is commonly used in fashion, textiles, crafts, and product personalization because it provides durable and visually appealing results.
Design
x Patch
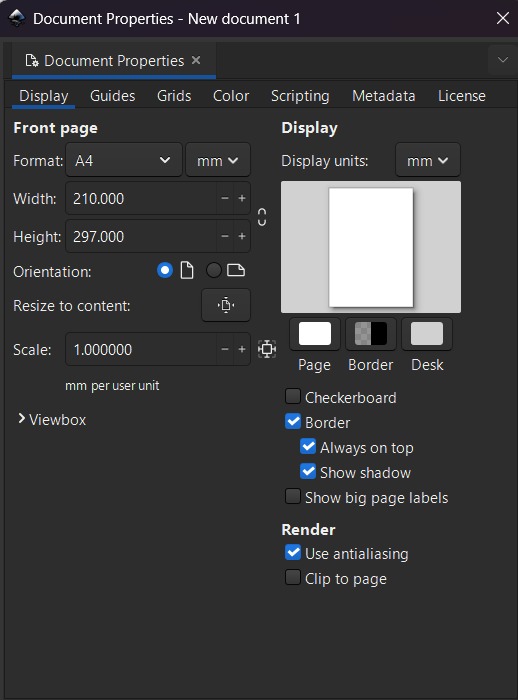
2. Then we have to change the size of the workspace, we can do it by pressing CTRL + SHIFT + D or looking at the top left corner, pressing File and selecting Document Properties. For my labs machine we have to set it in 100 X 100 mm.
x Patch
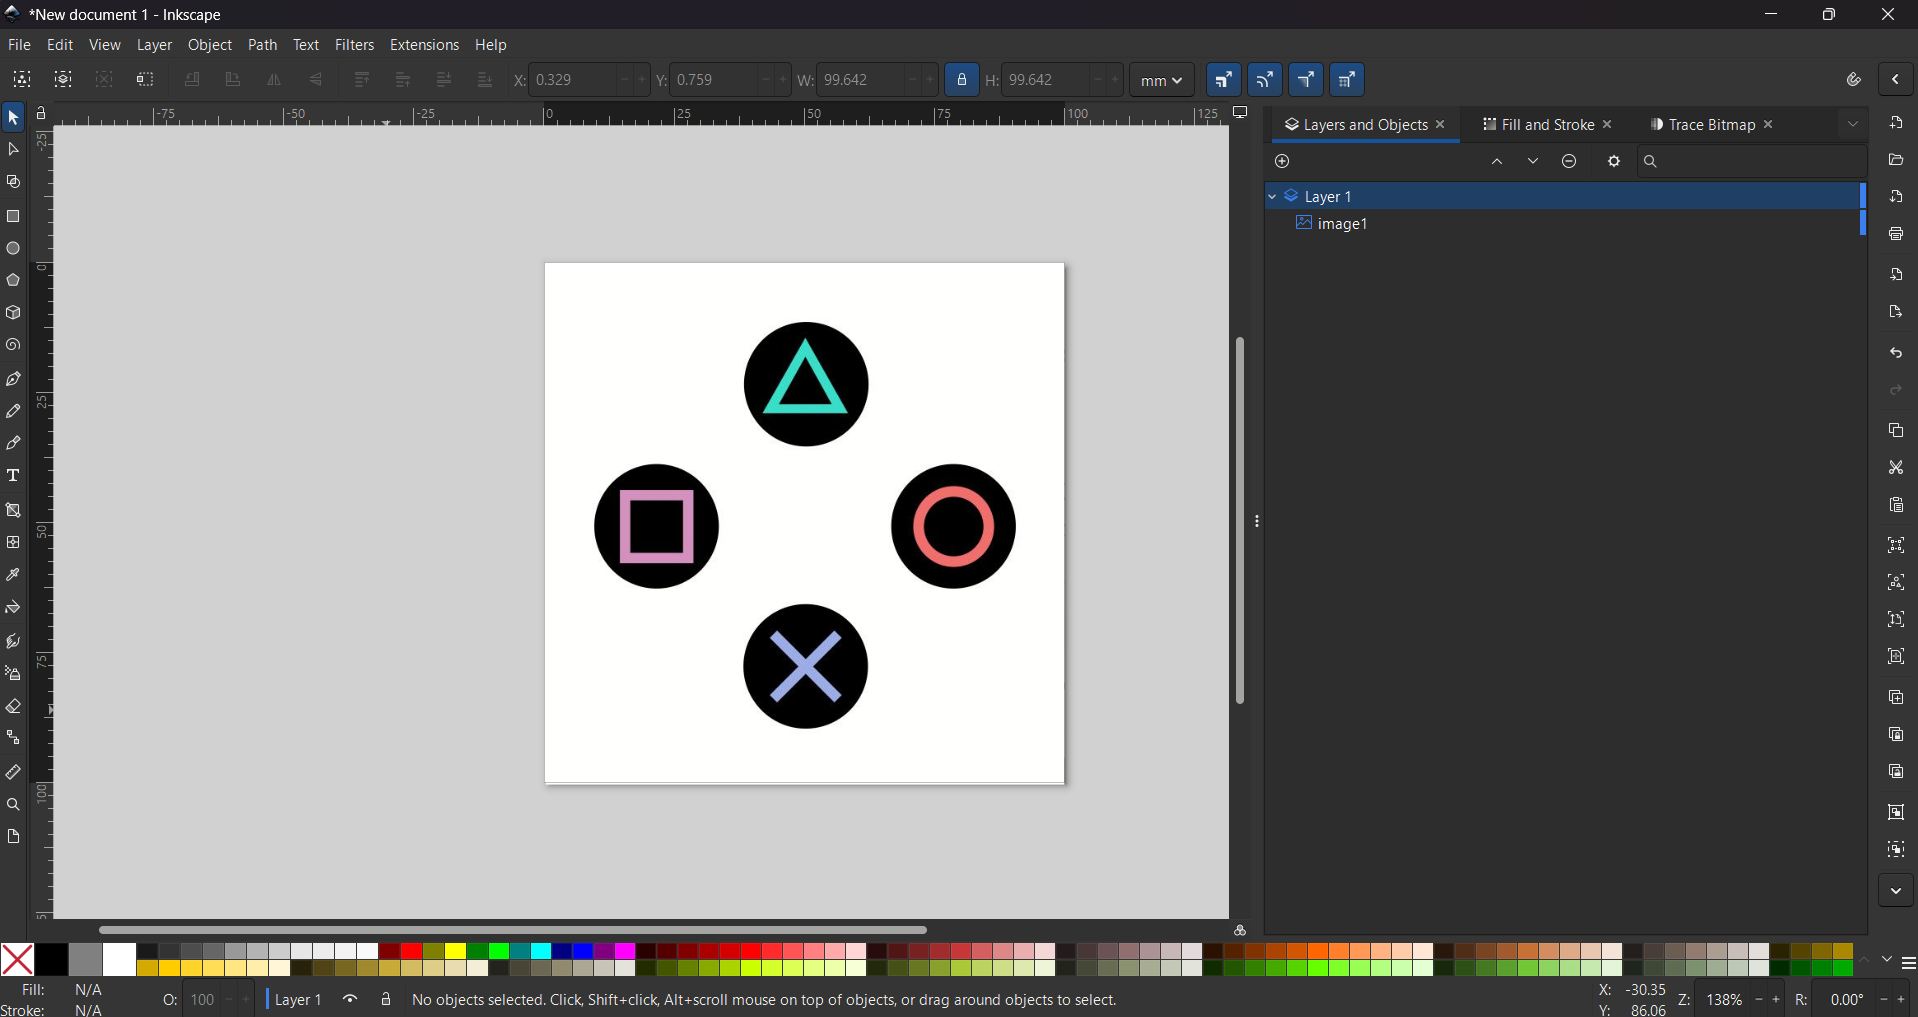
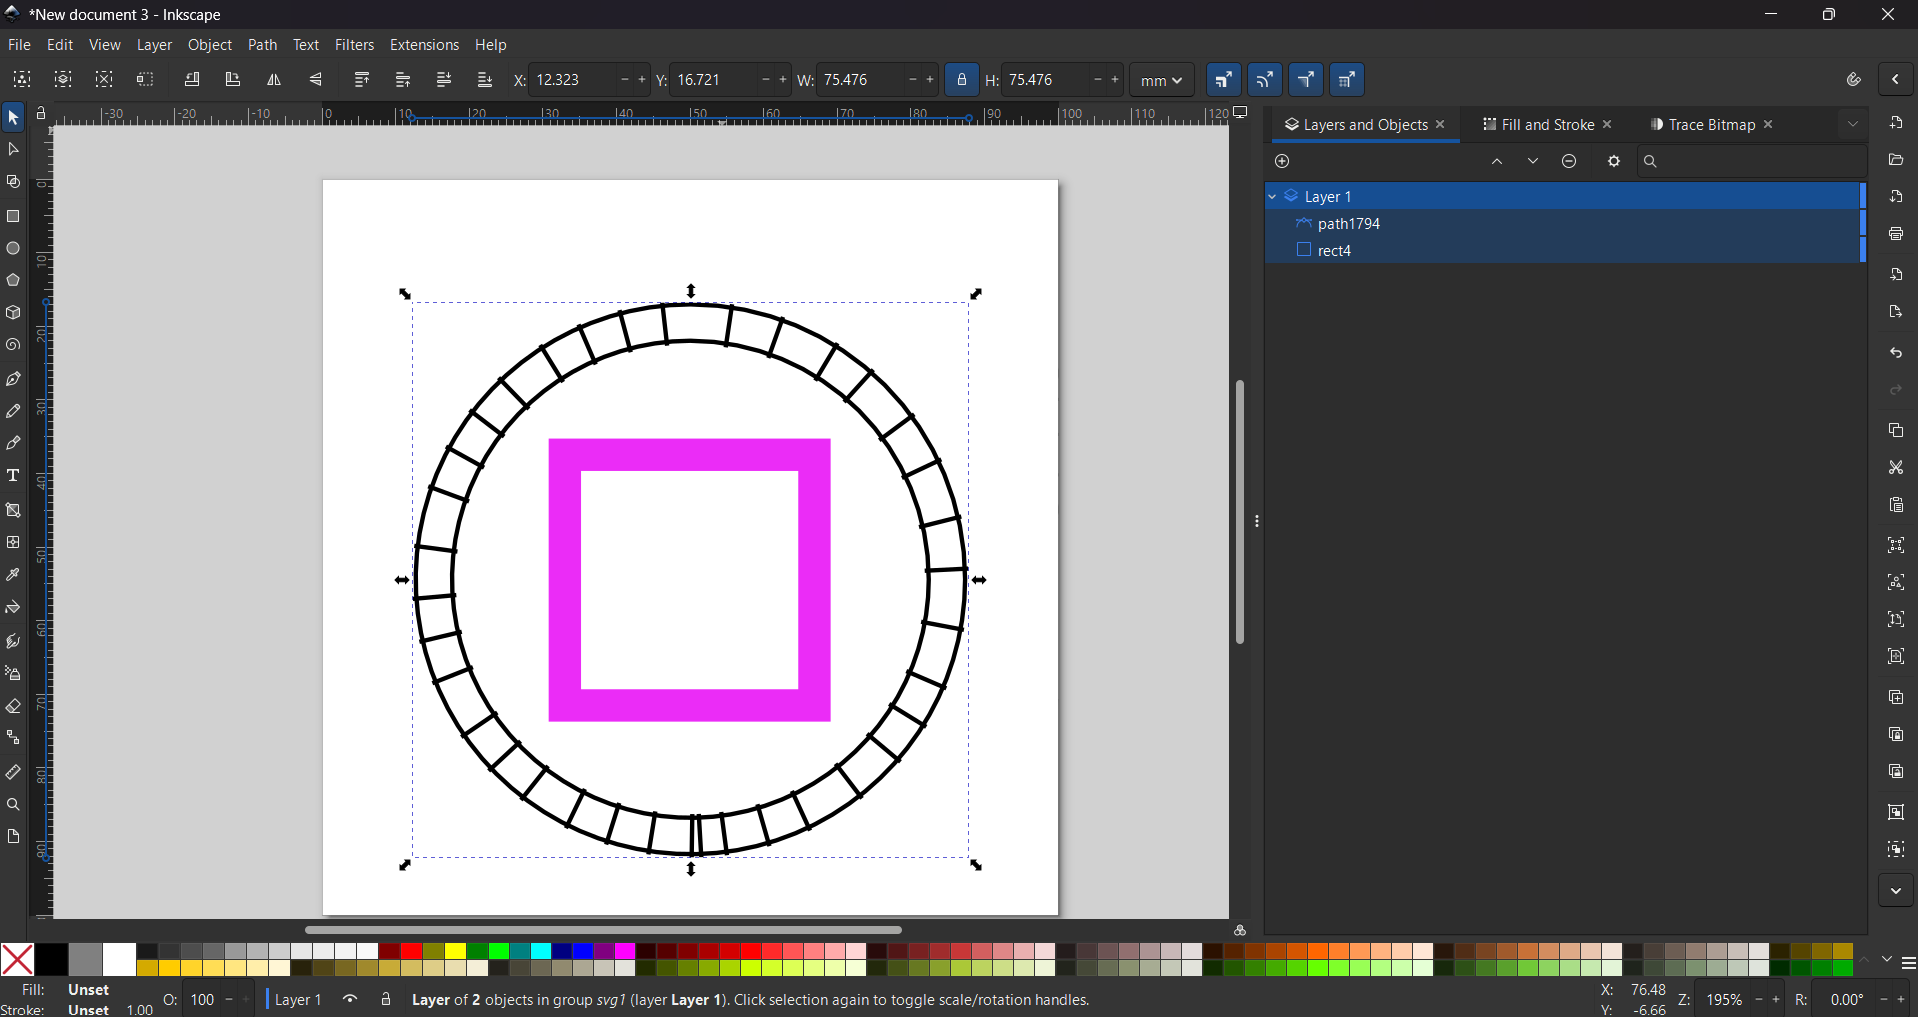
3. Then I used an image of the PlayStation buttons from the web and just left the button I wanted.
x Patch
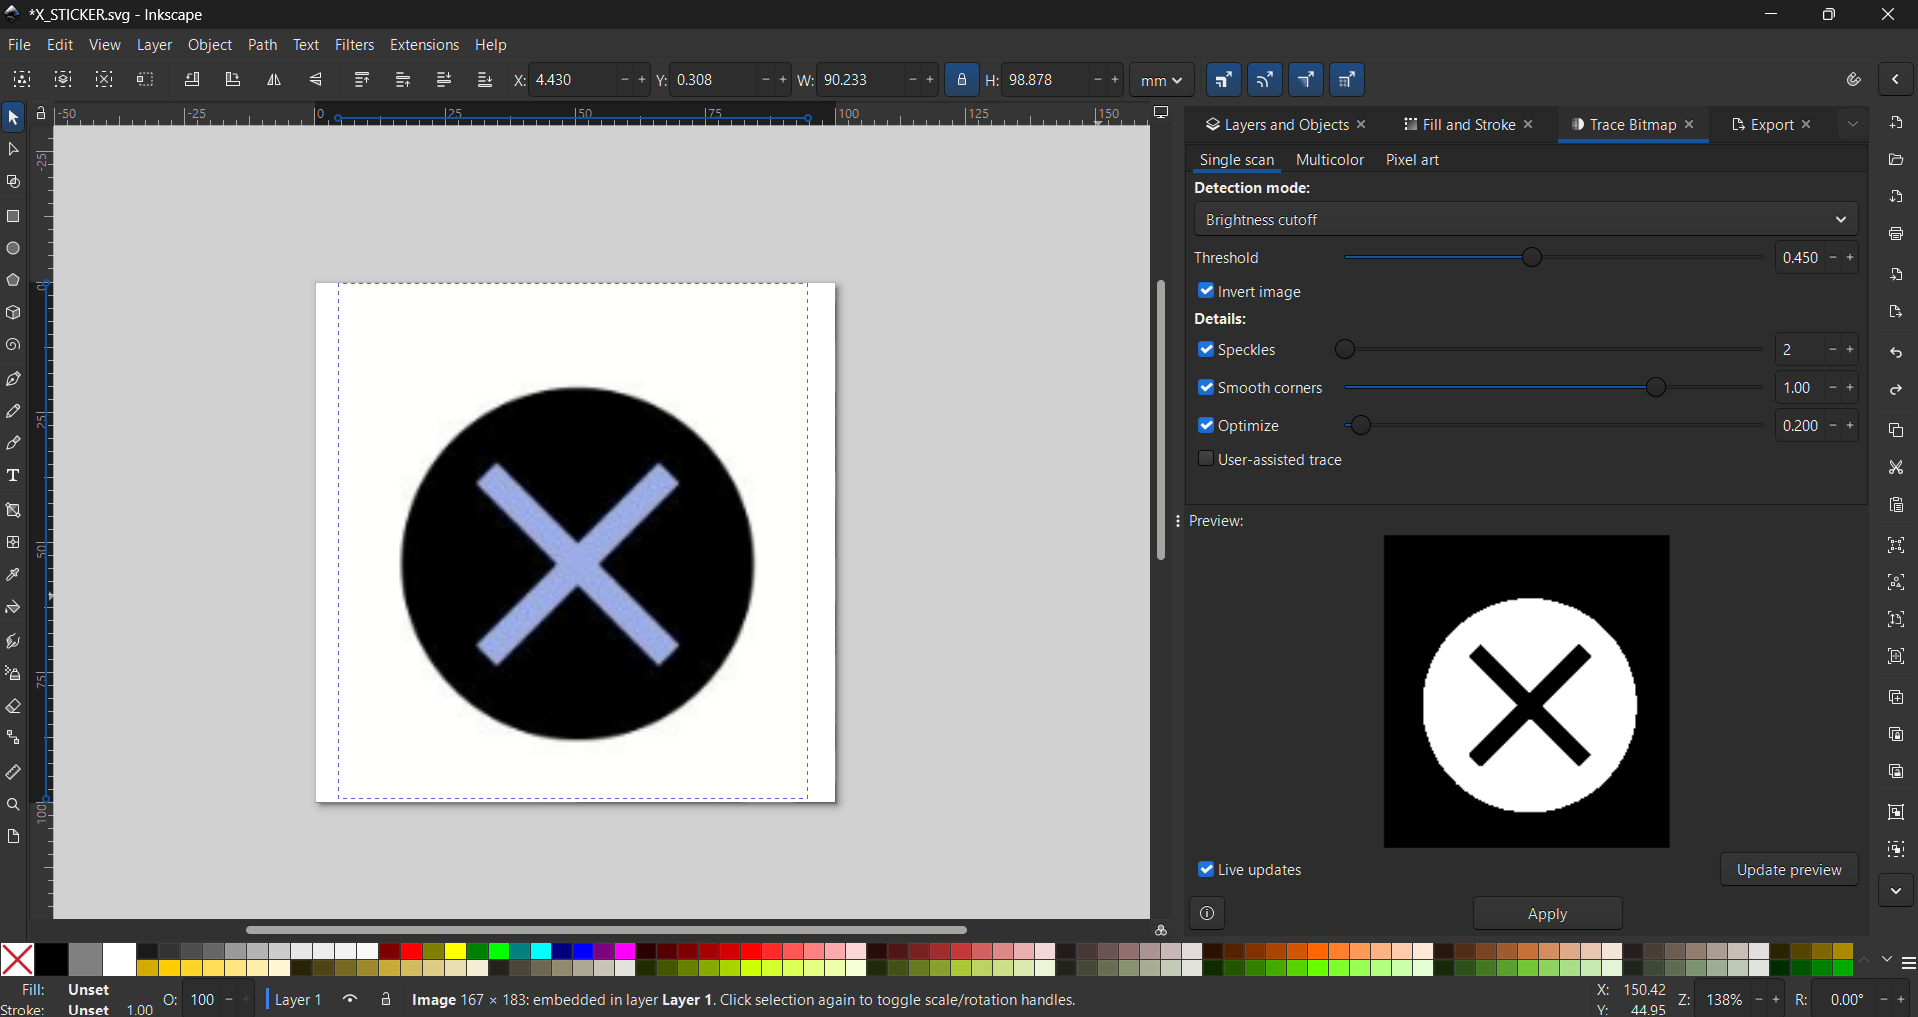
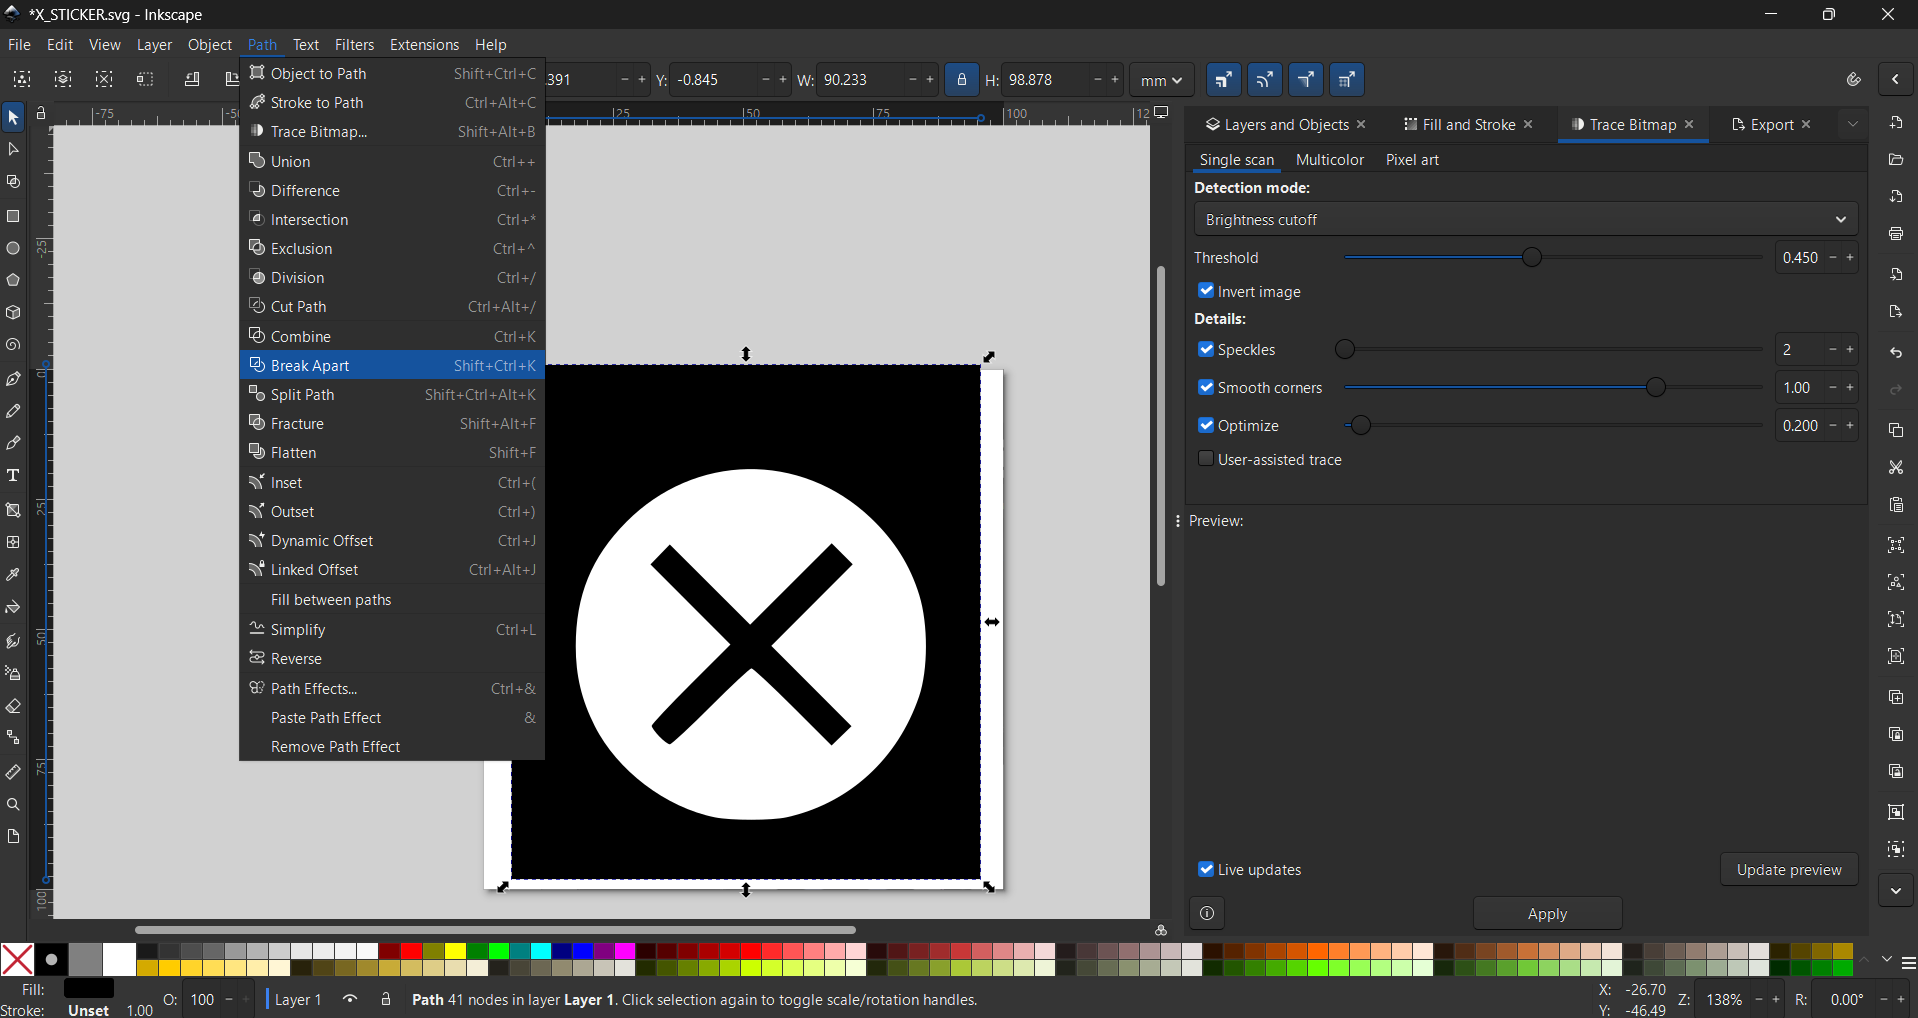
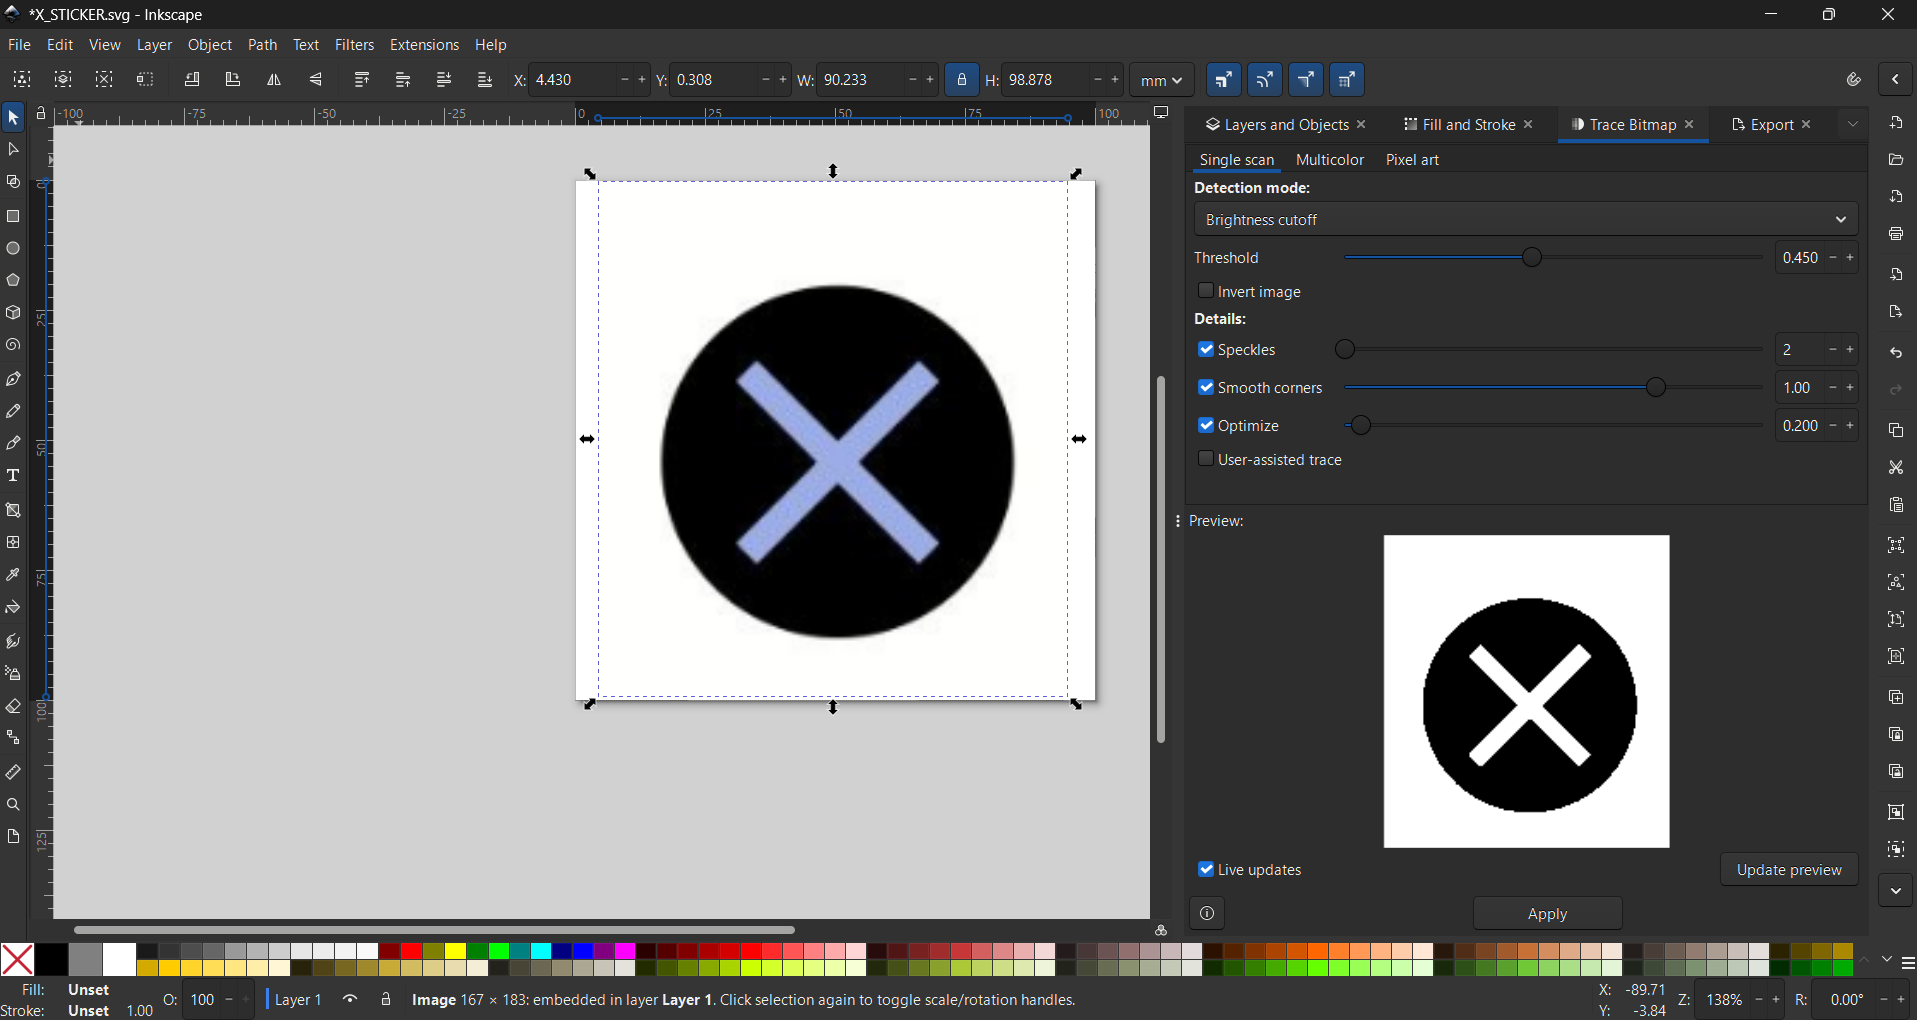
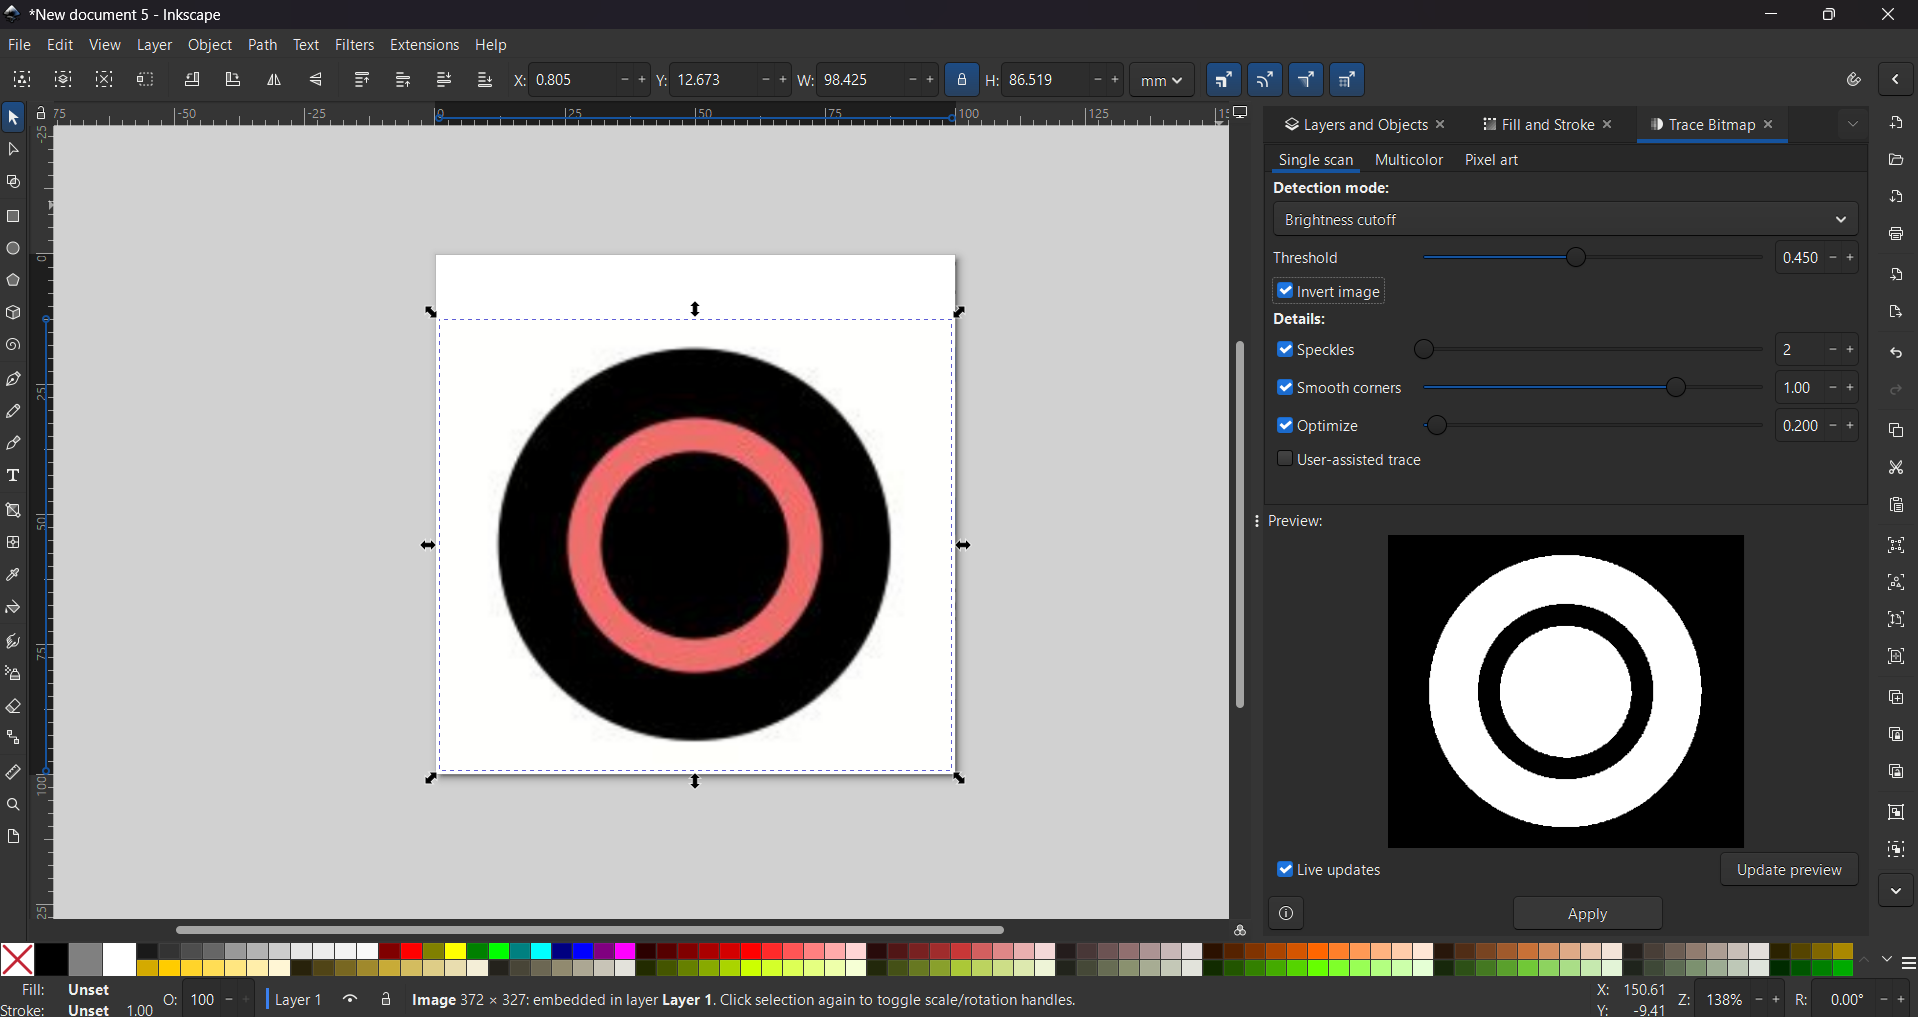
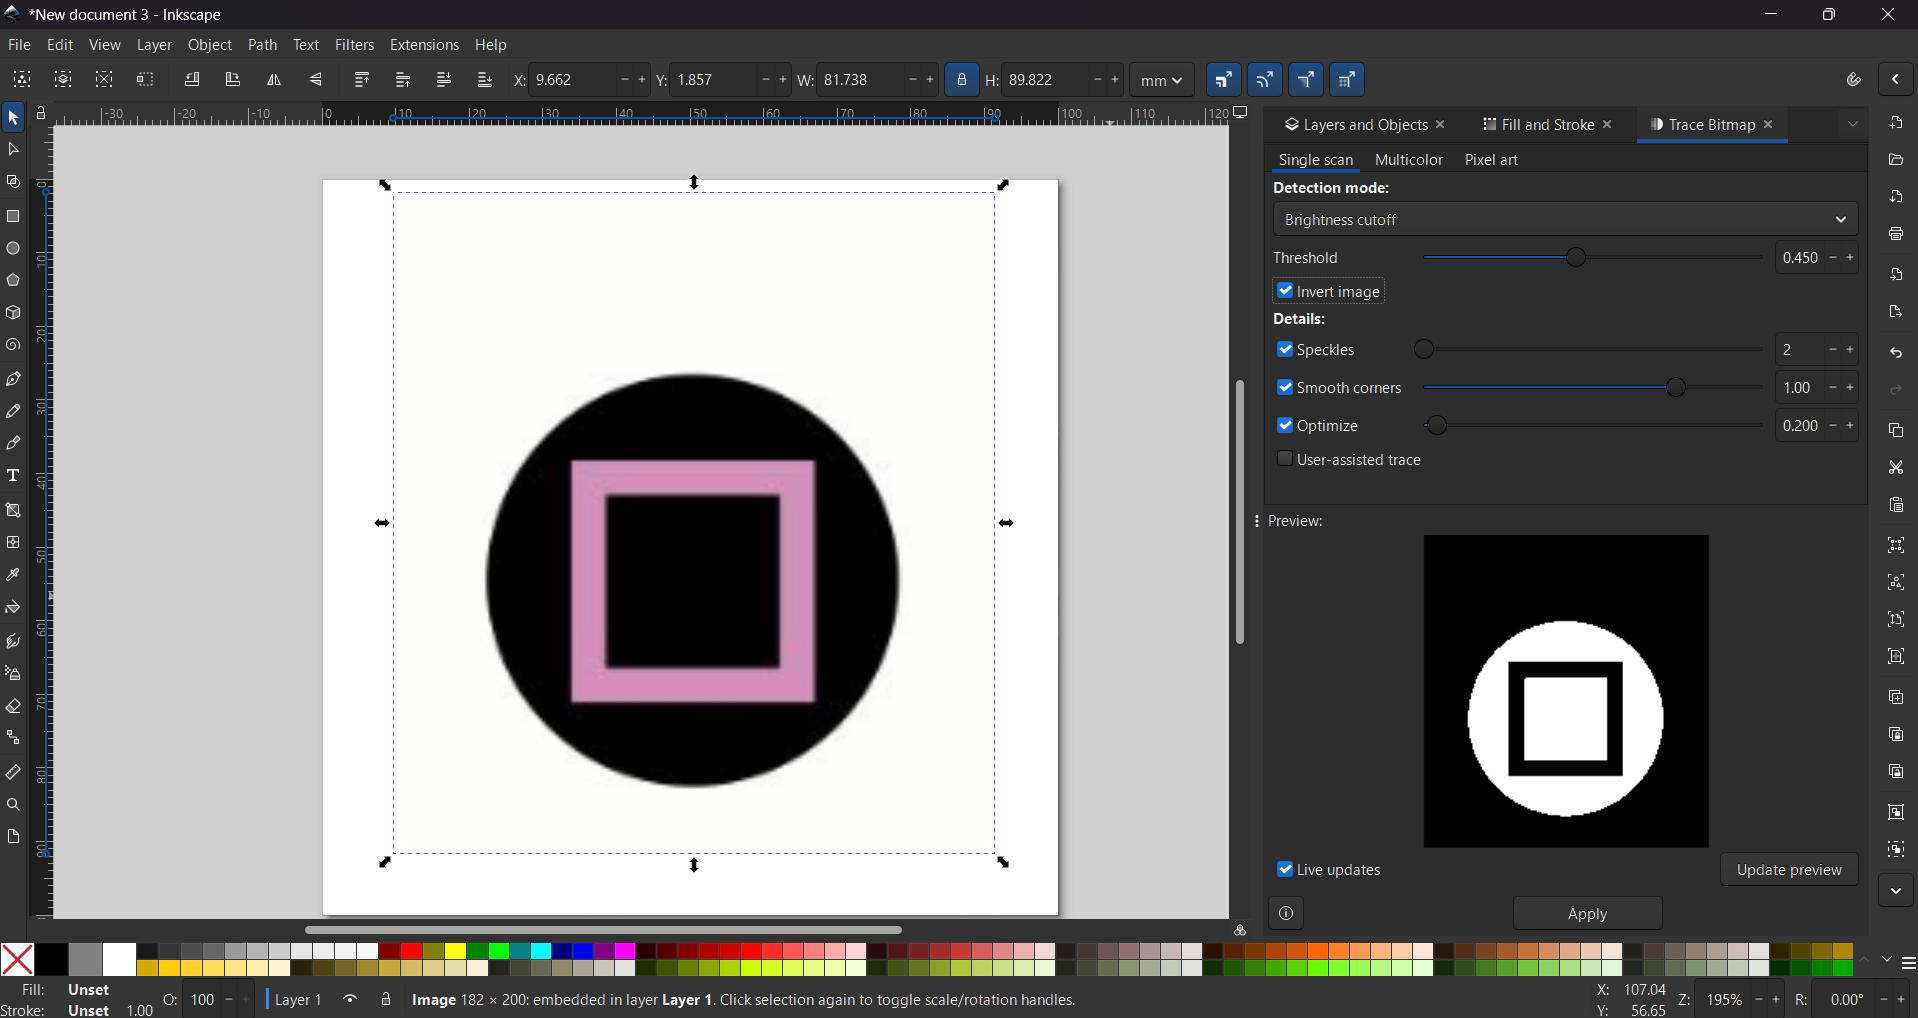
4. Next, we need to vectorize the image using the Trace Bitmap tool, then select Brightness Cutoff and adjust the threshold and smooth corners.
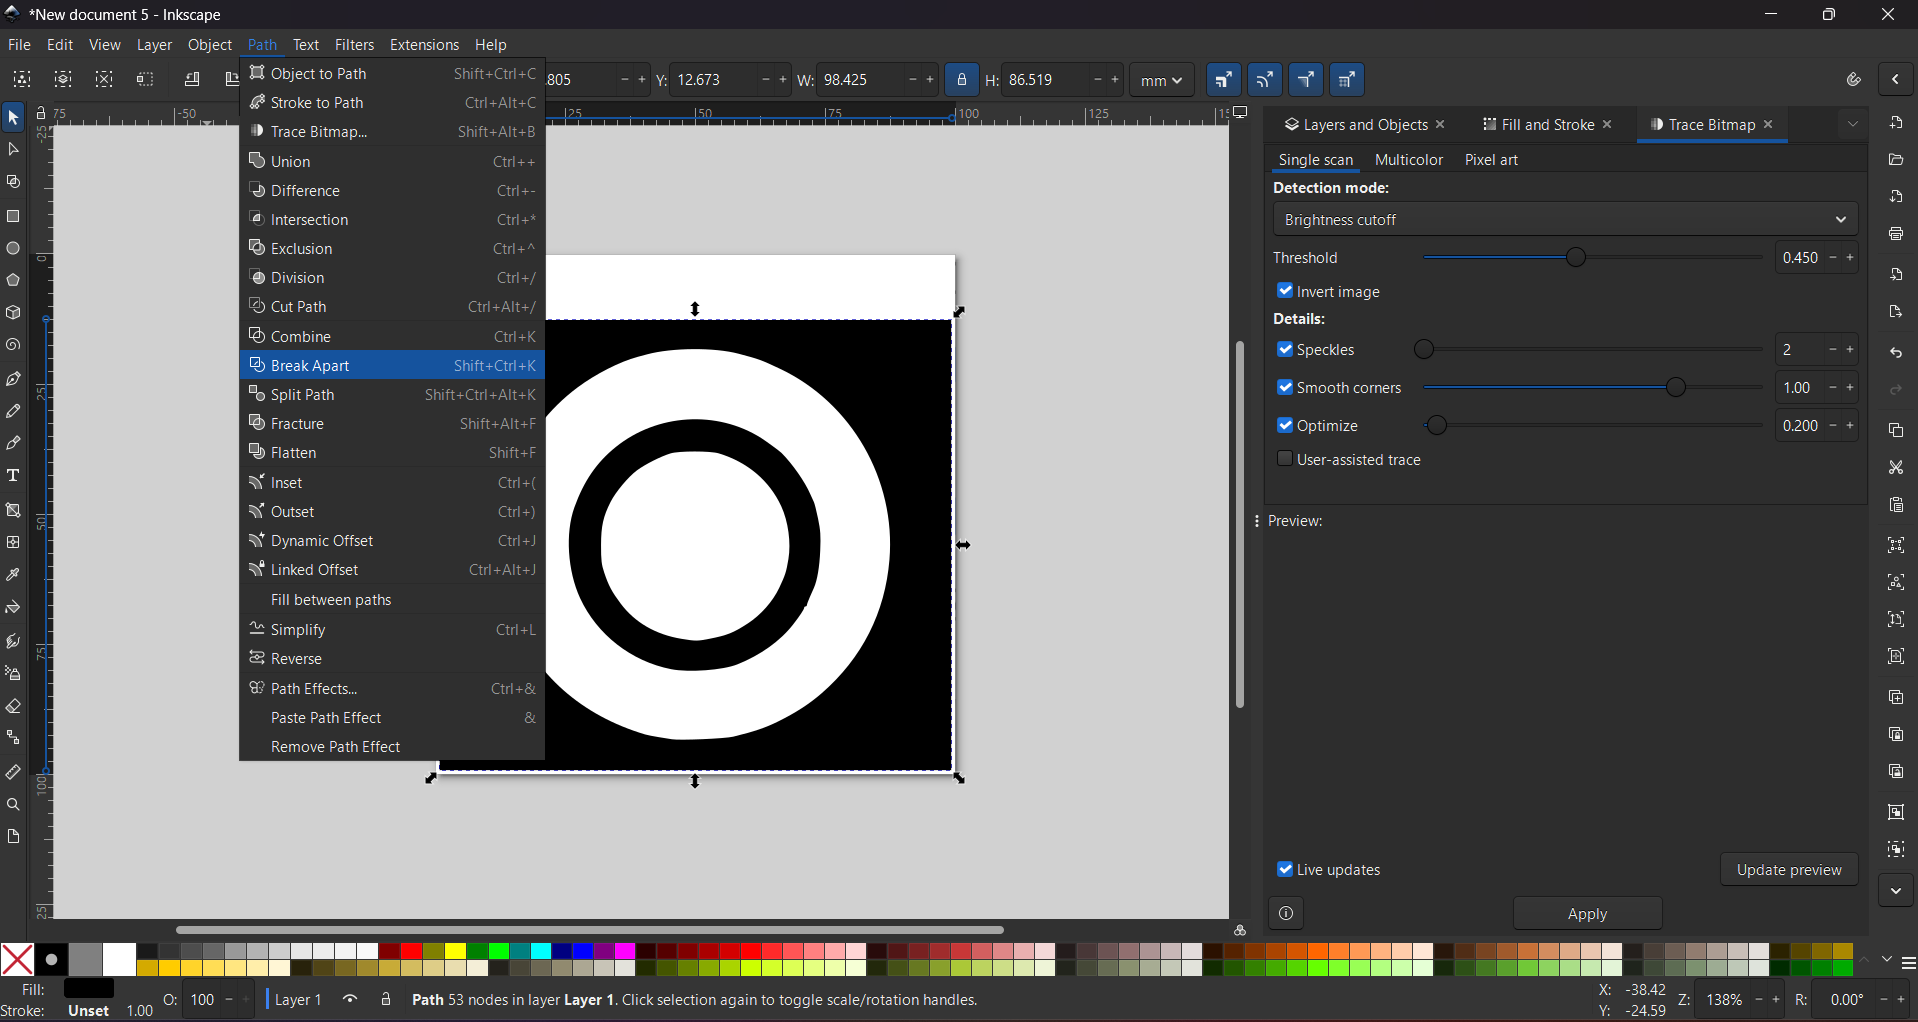
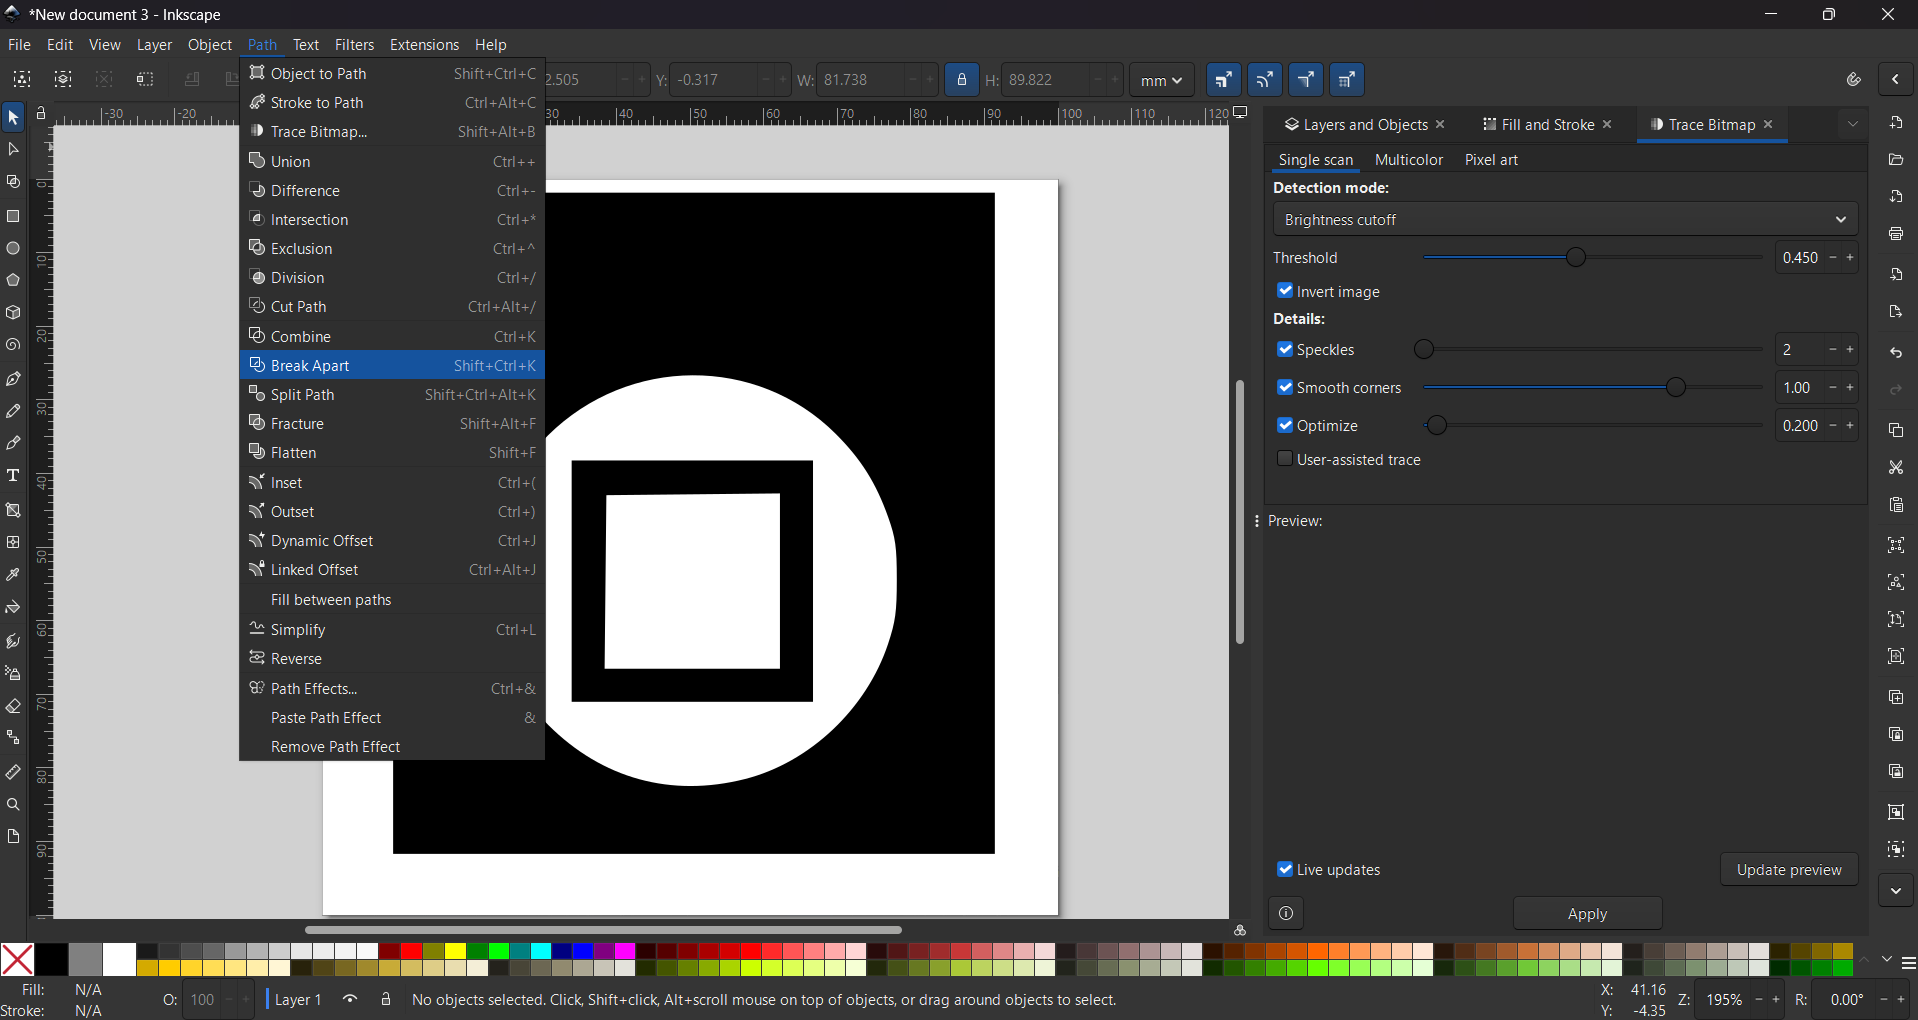
5. We also have to go to Path and select Break apart, this is to separate a vector into different parts. this will work for us to change the embroidery of each part and changing colors.
x Patch
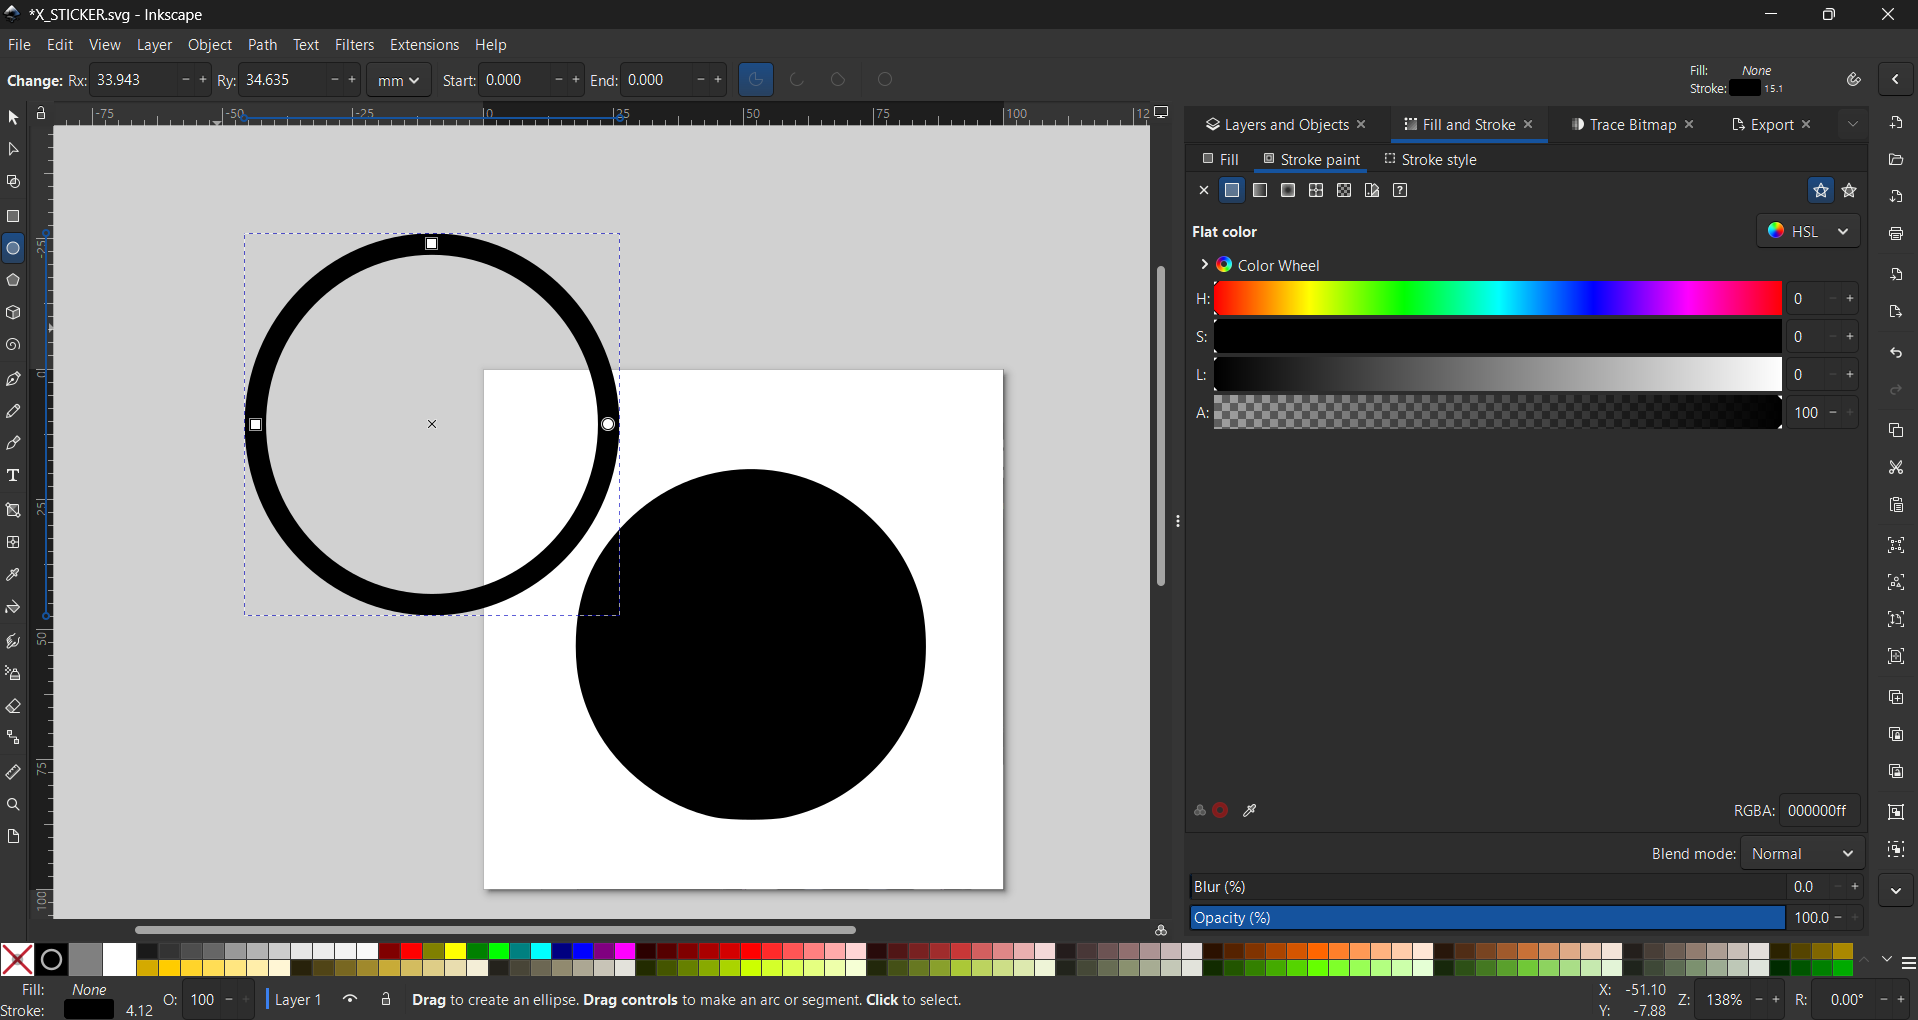
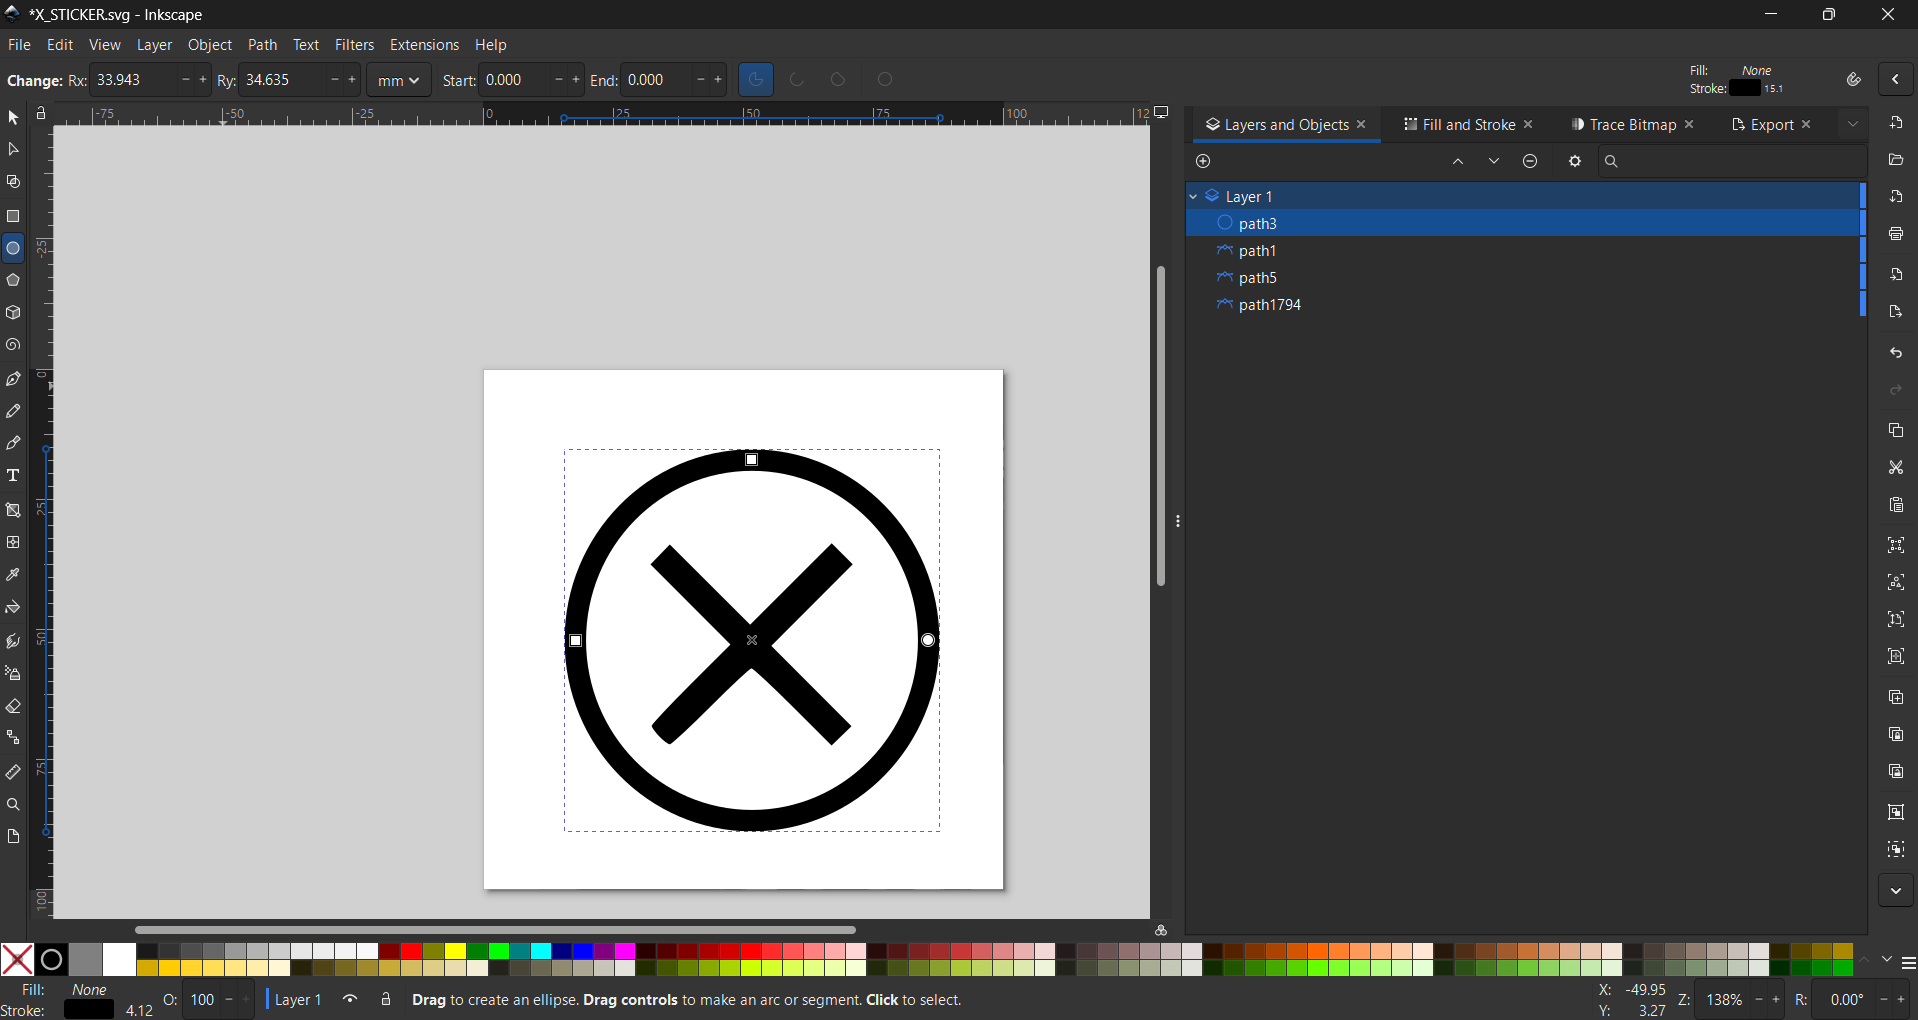
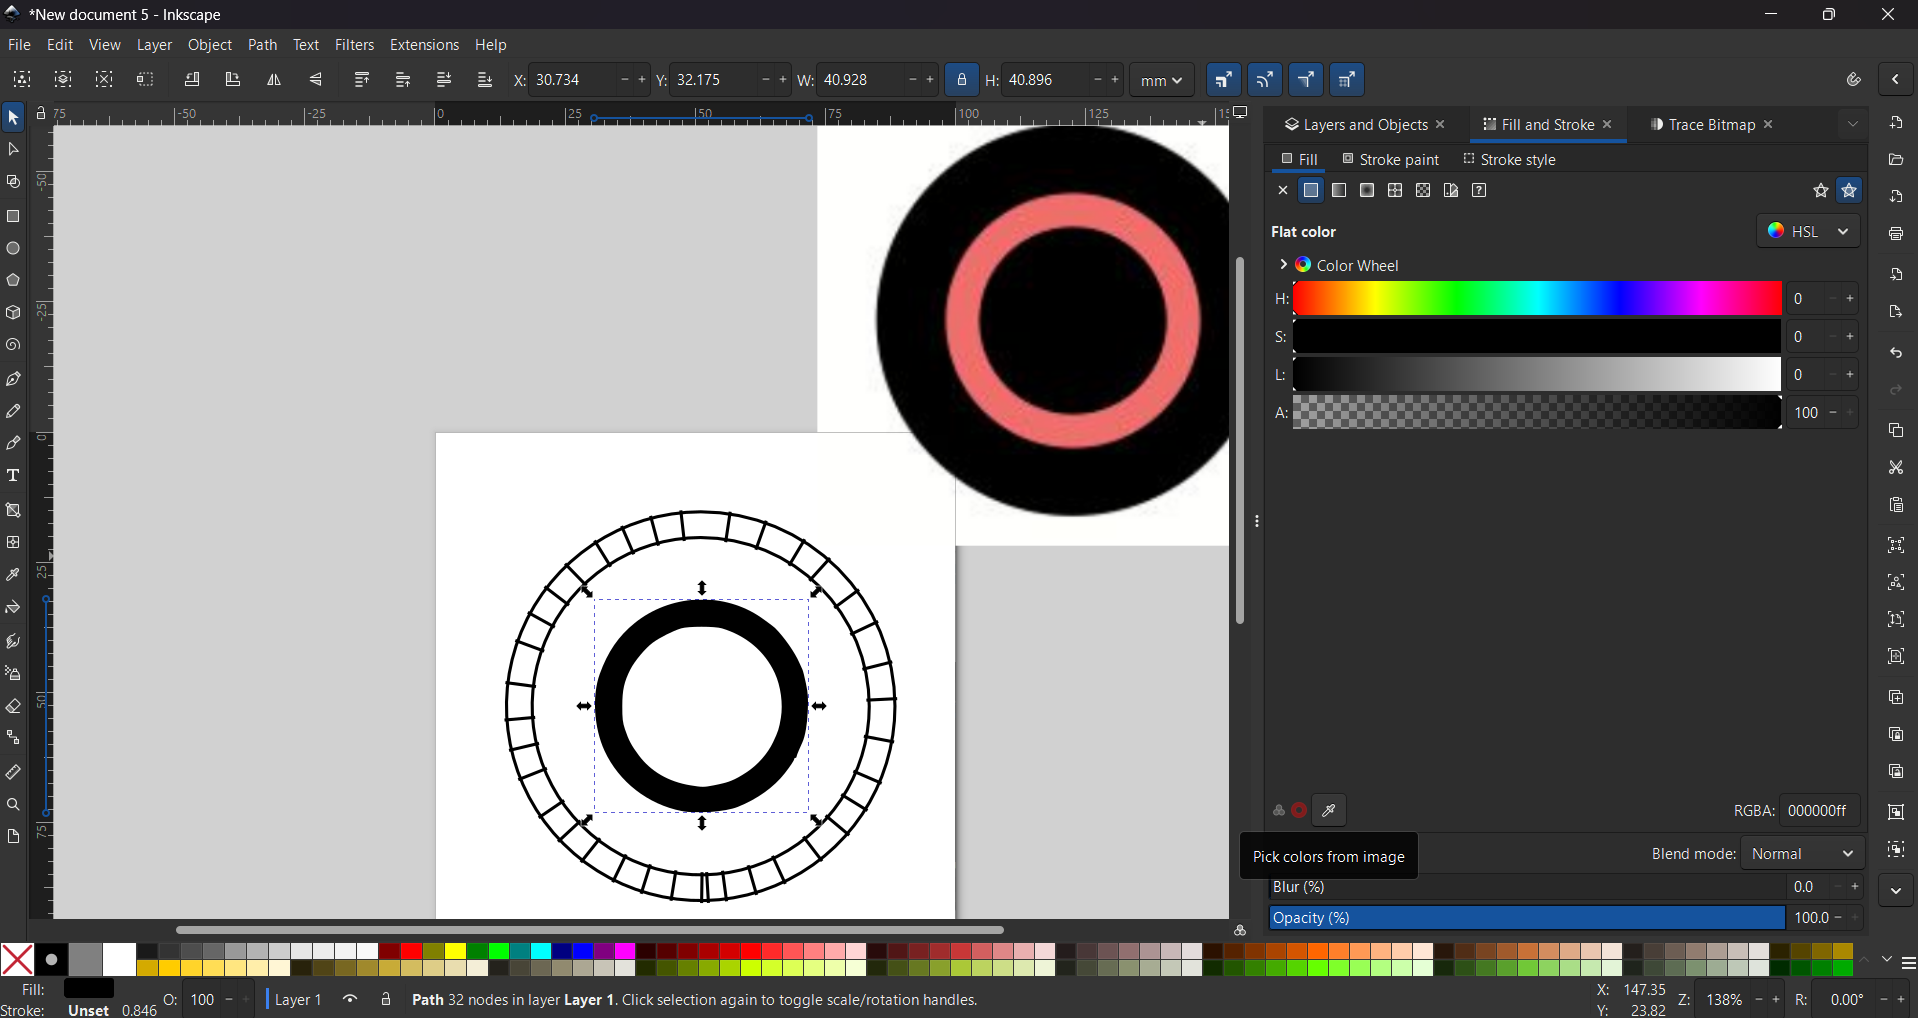
6. Then we must erase the parts we don't need. Next, to add a stroke, select a shape without a fill. In my case, I selected a circle.
x Patch
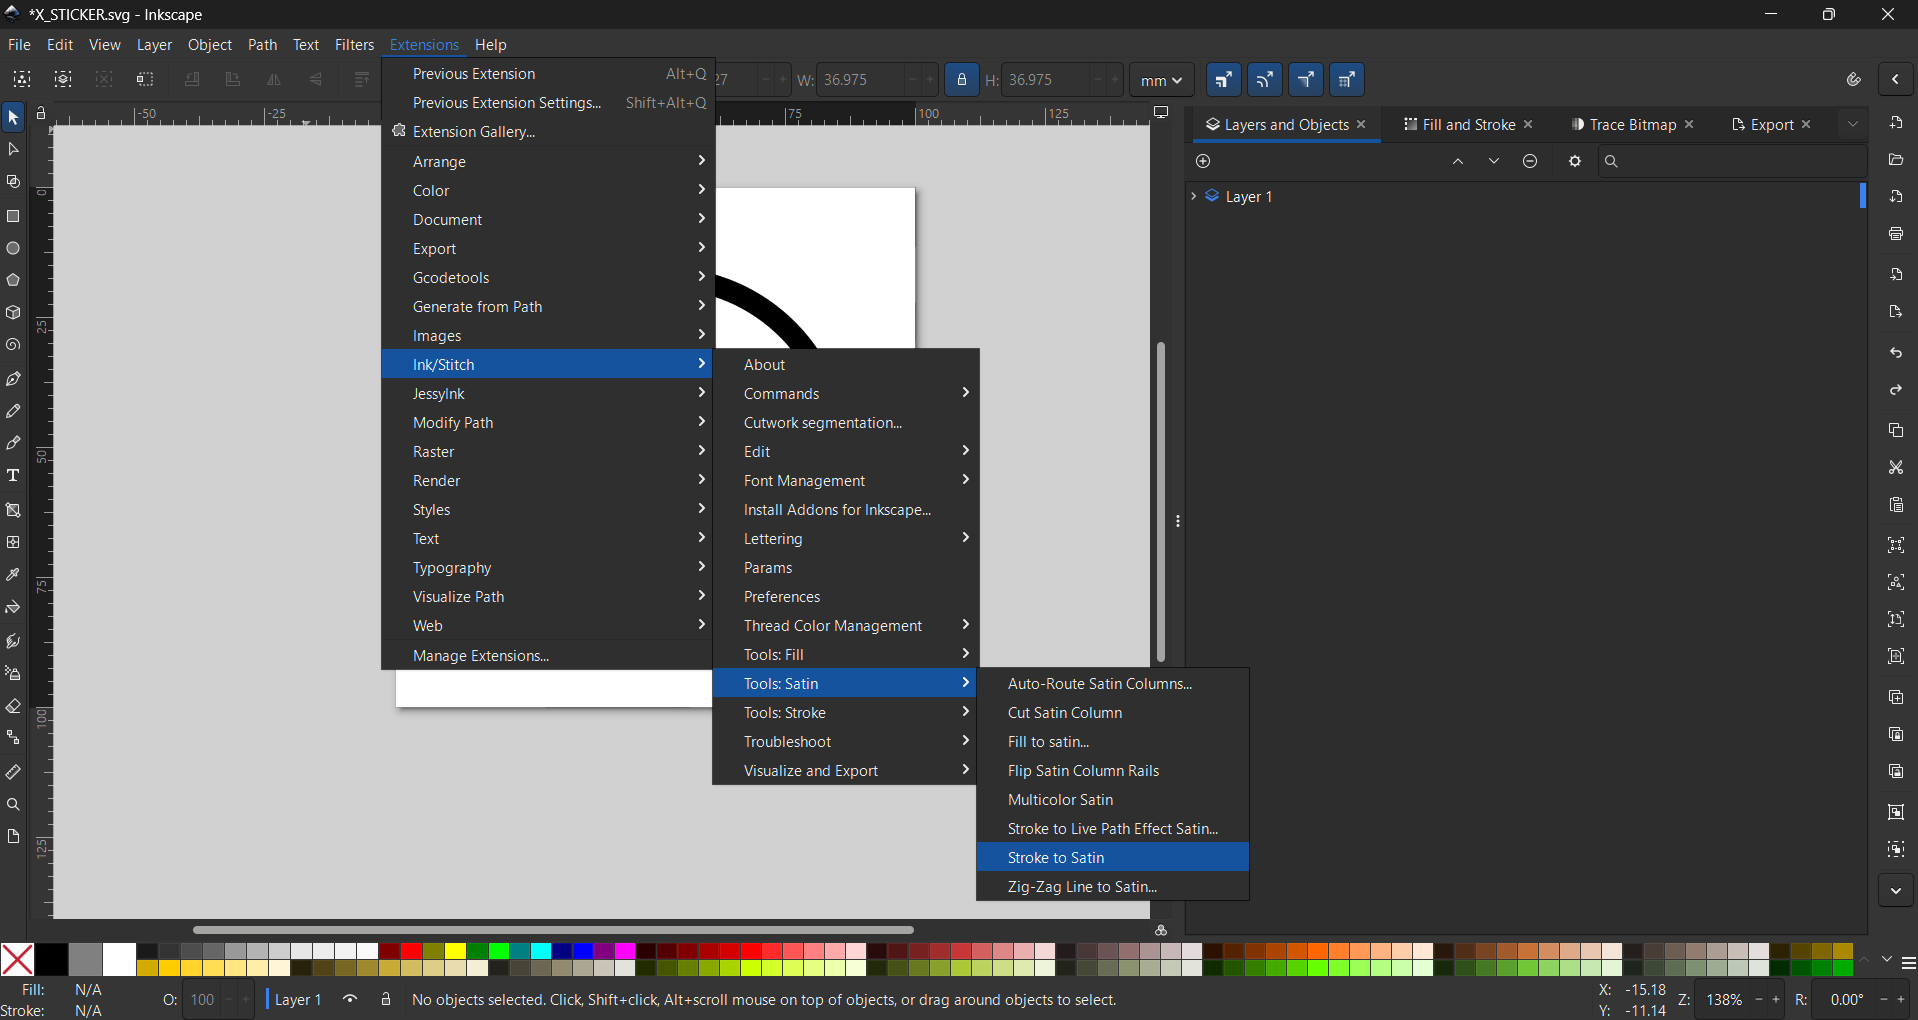
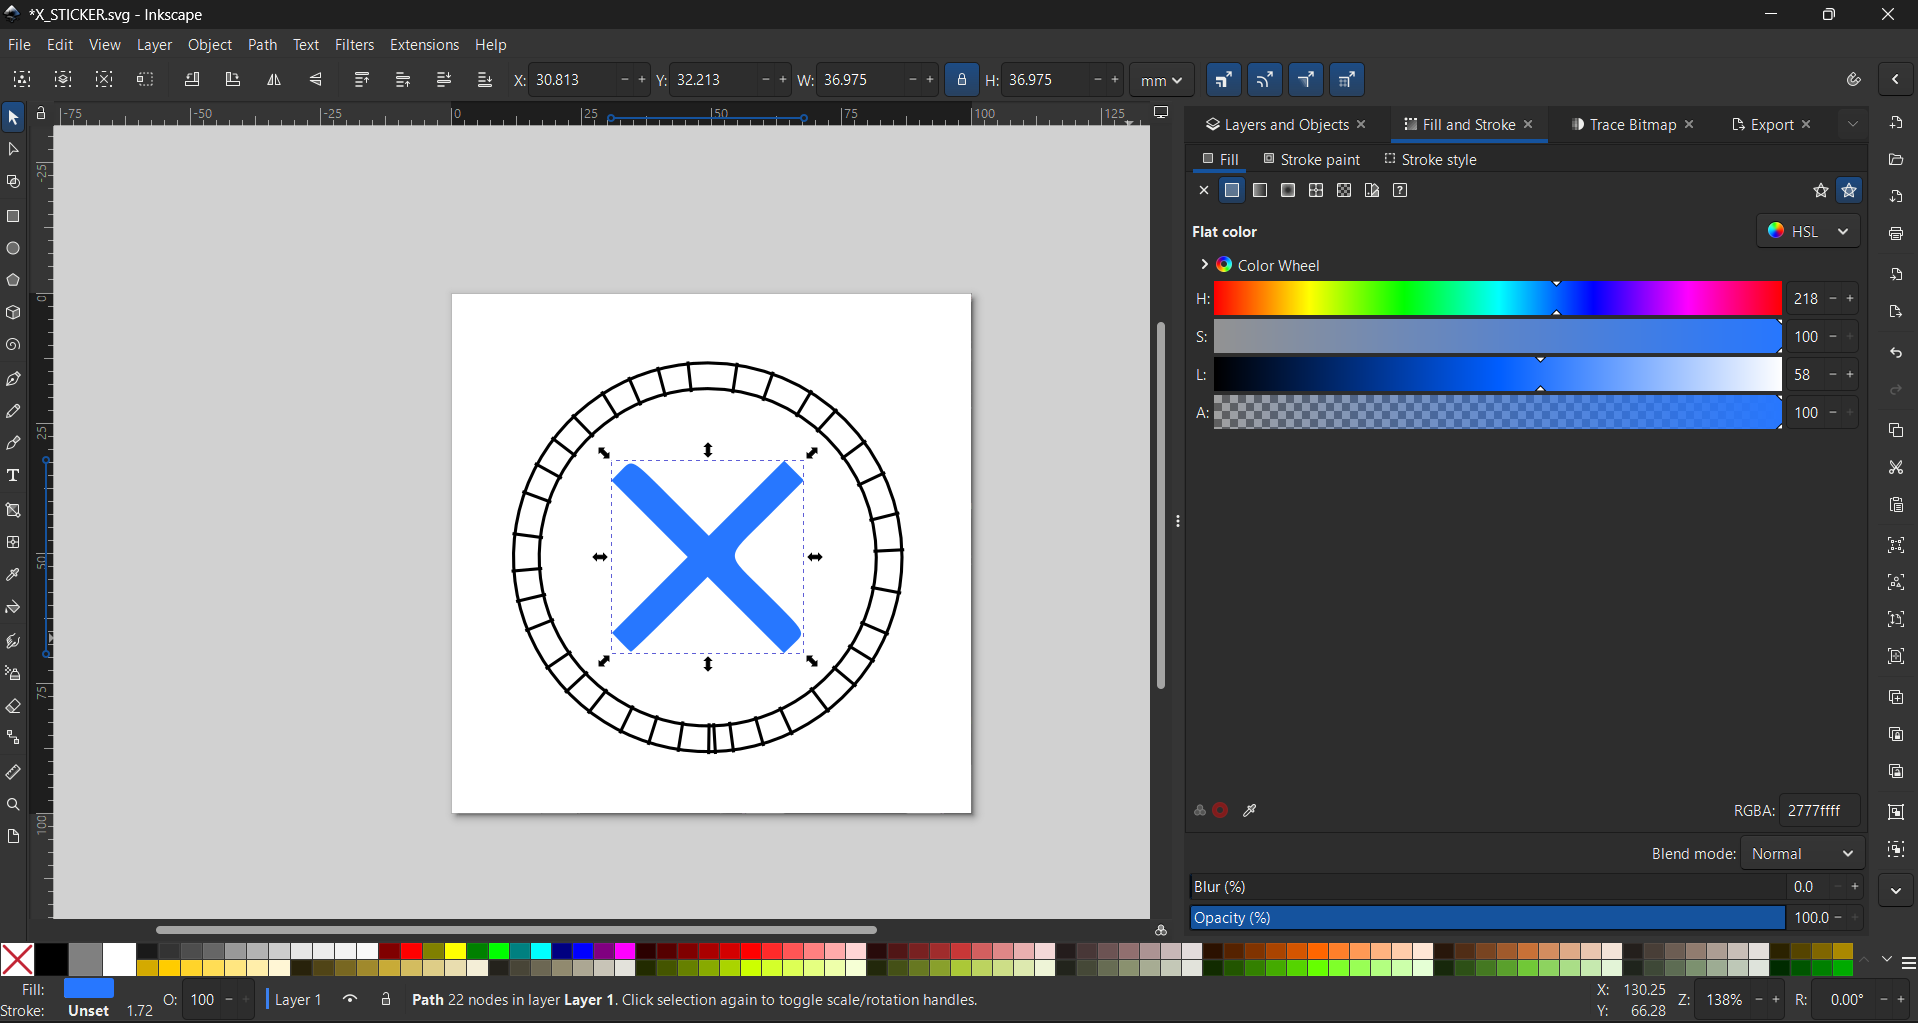
7. Then increase its thickness, go to Extensions, select Ink/Stitch, and finally choose Stroke to Satin.
x Patch
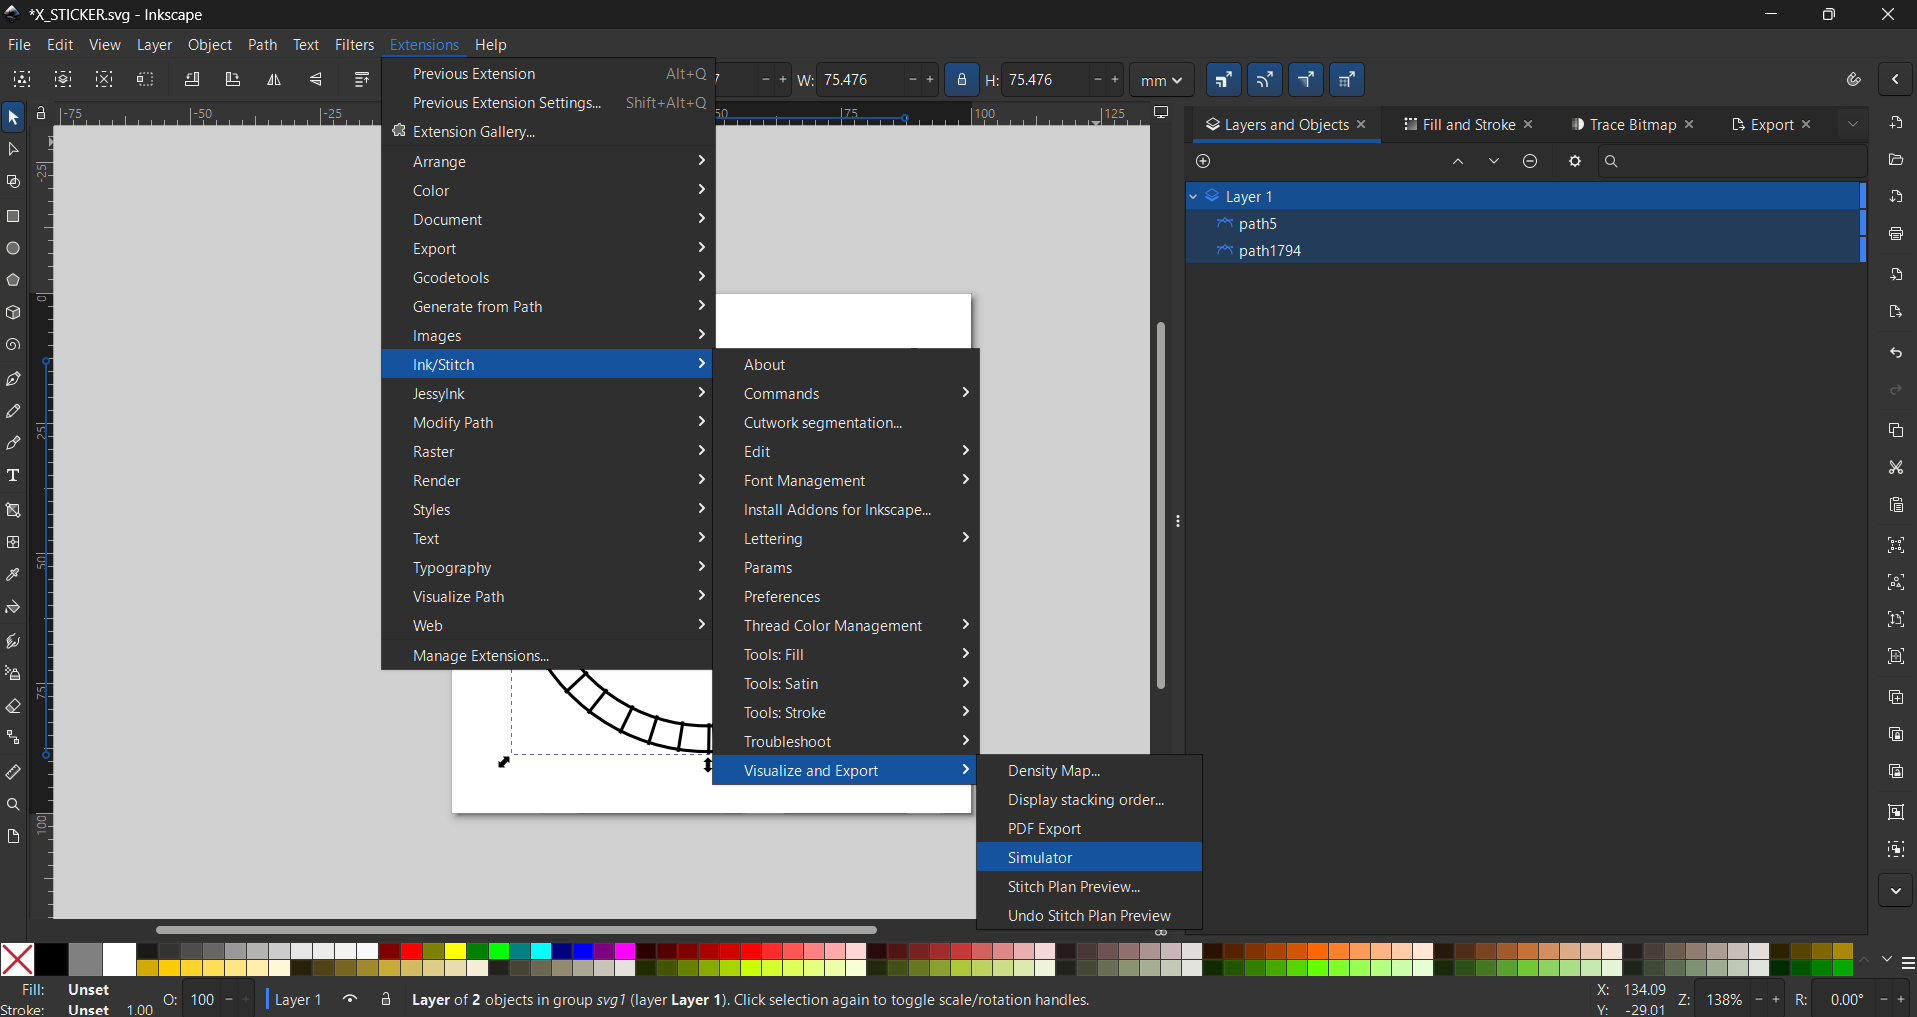
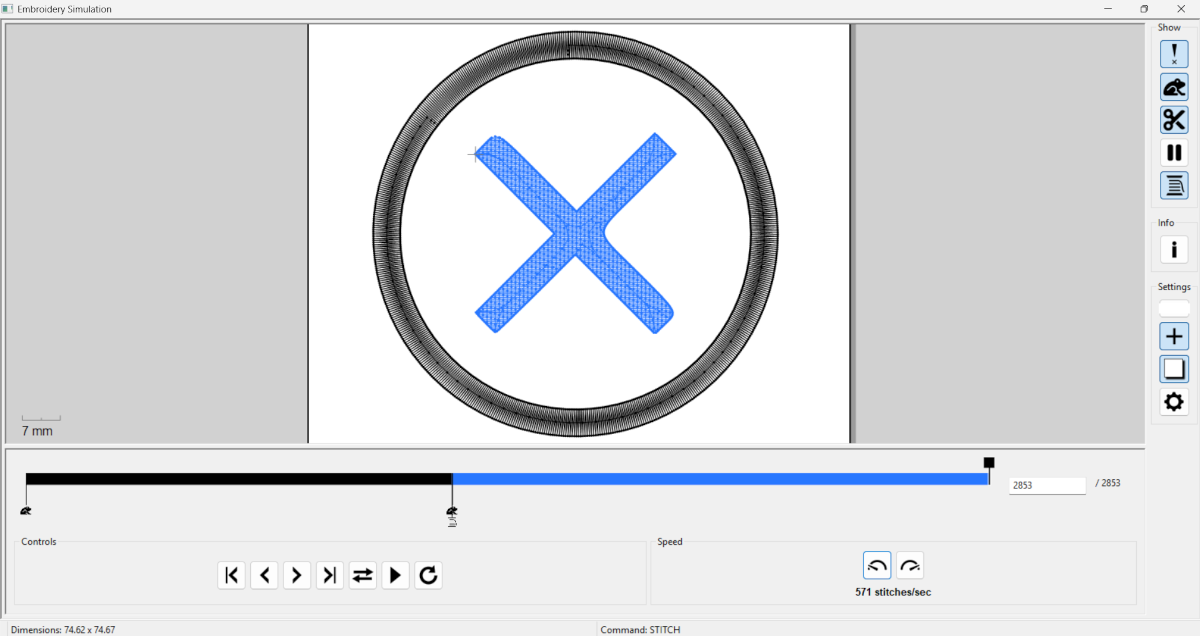
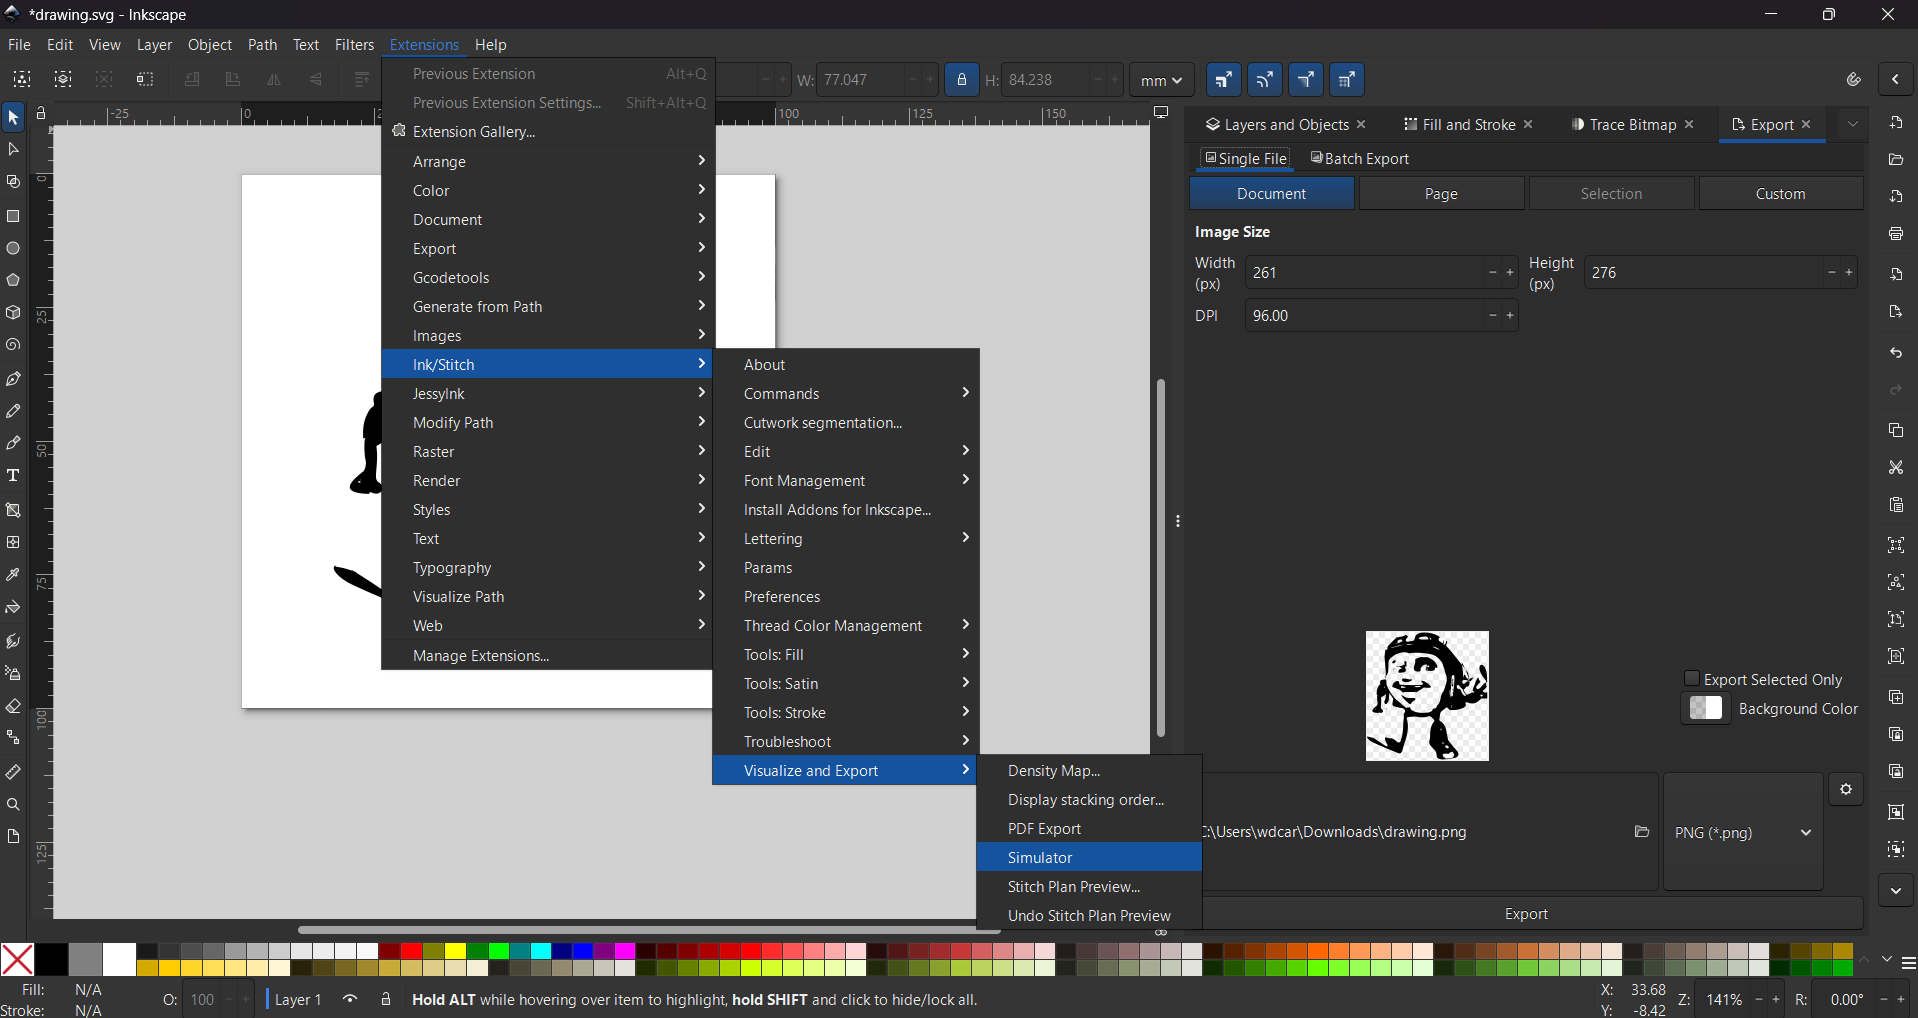
8. Now comes the interesting part. We need to go to Extensions, then Ink/Stitch, where we can do two things: change the parameters and view a simulation. To change the parameters, while in Ink/Stitch, select Params, and a pop-up window will appear where you can modify the embroidery process. To run a simulation, stay in Ink/Stitch, click Visualize and Export, and finally select Simulation.
x Patch
Params
Satin

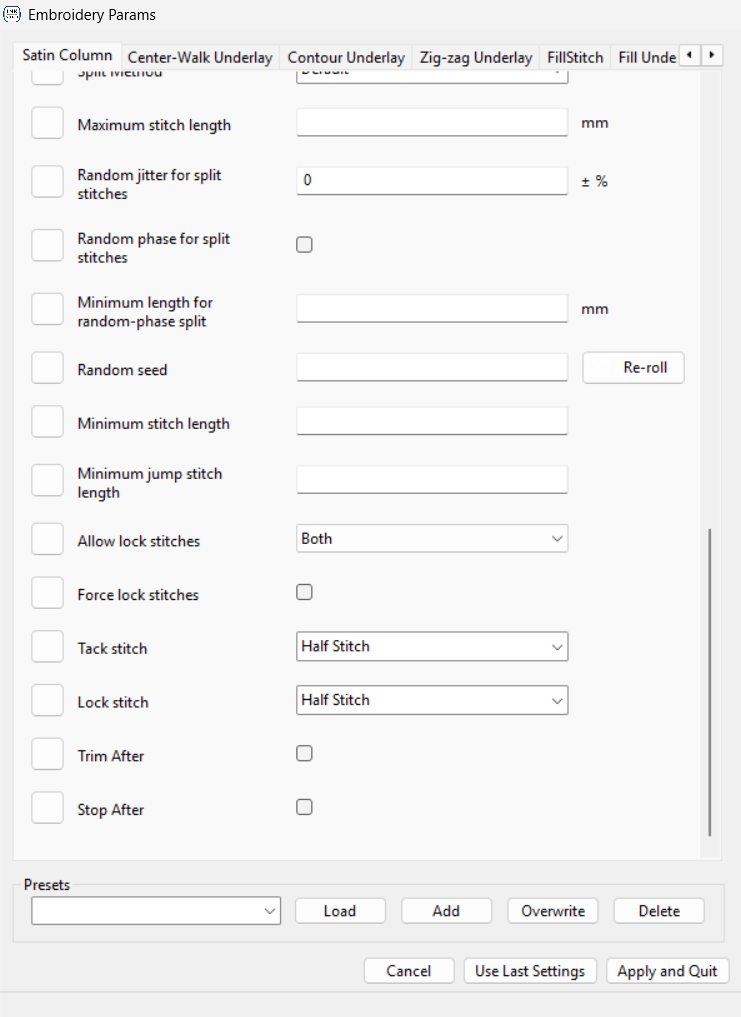
Fill
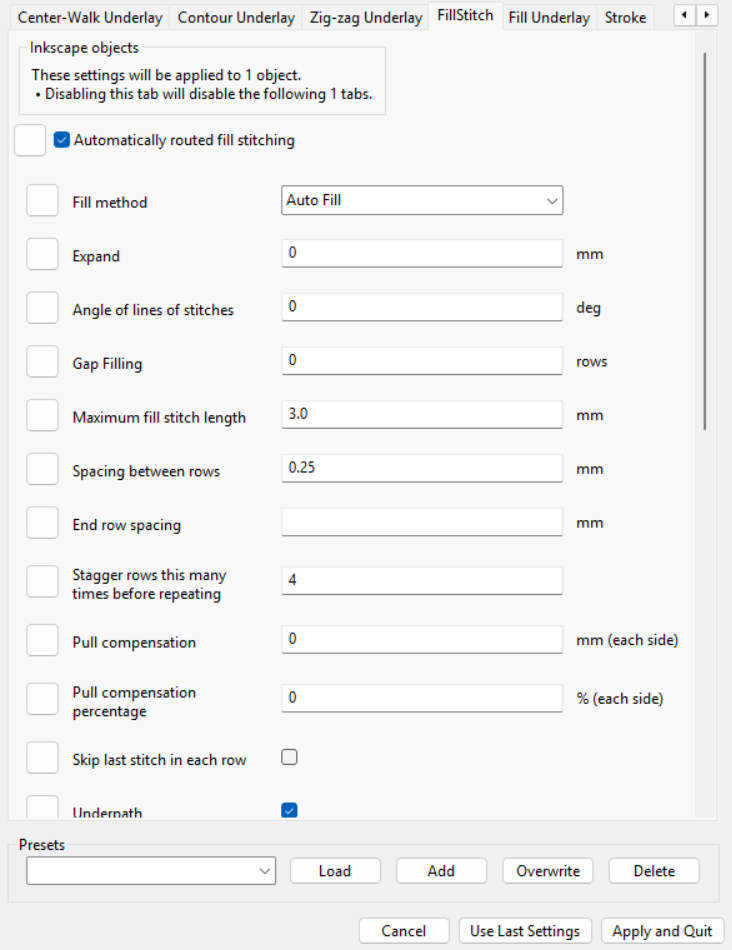
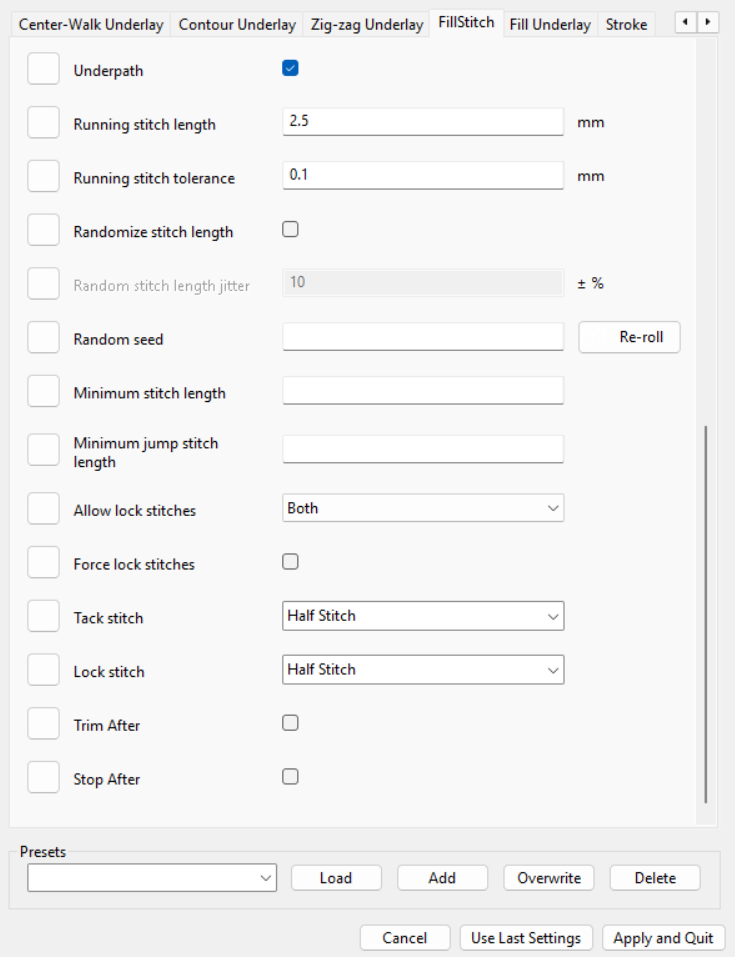
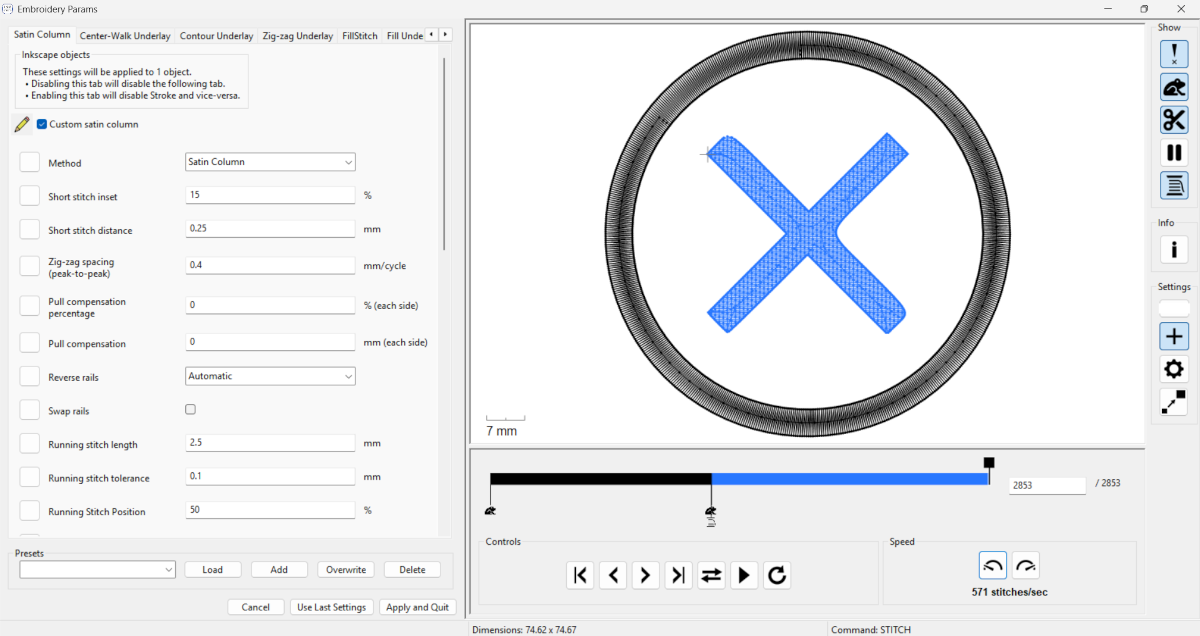
Parameters.These are the settings for the satin columns and for filling the shapes. In this section, you can modify the initial stitches, which start as three knots by default, as well as the spacing between stitches, the pattern to be used, and the number of rounds to be executed.
○ Patch

1. First we have to open a new file.
○ Patch
2. Then we have to change the size of the workspace, we can do it by pressing CTRL + SHIFT + D or looking at the top left corner, pressing File and selecting Document Properties. For my labs machine we have to set it in 100 X 100 mm.
○ Patch
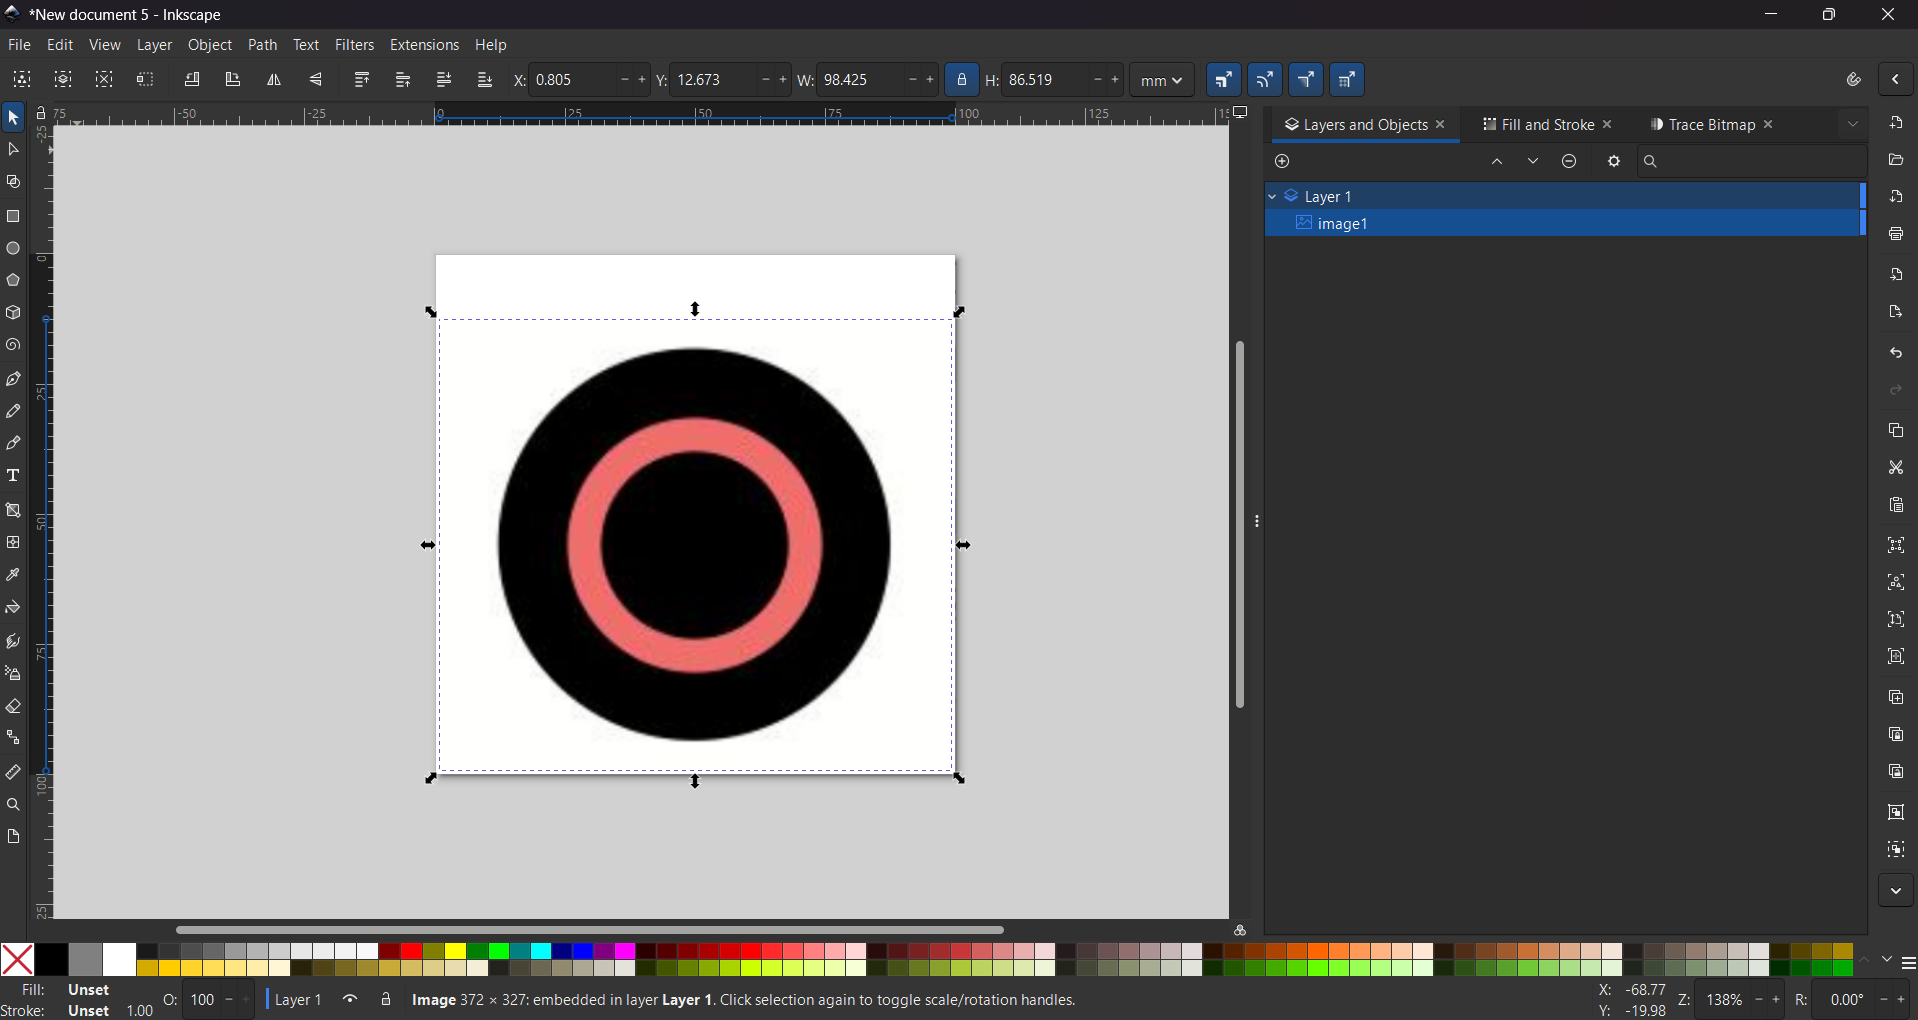
3. Then I used an image of the PlayStation buttons from the web and just left the button I wanted.
○ Patch
4. Next, we need to vectorize the image using the Trace Bitmap tool, then select Brightness Cutoff and adjust the threshold and smooth corners.
5. We also have to go to Path and select Break apart, this is to separate a vector into different parts. this will work for us to change the embroidery of each part and changing colors.
○ Patch

6. To use erase a shape that is over another we must use the Difference tool. First we have select the shape we want to erase, then select the shape we want to have the difference in, and then click on the tool. This is useful when the “break apart” command creates shapes that won't work for us. To add the contour I just copied the one I made for the X patch, so I will to skip that part. To change the colors we can select the original image, then use Fill and stroke and select the small tool at the the bottom-left corner, the one that looks like a dropper, to copy the image color.
○ Patch
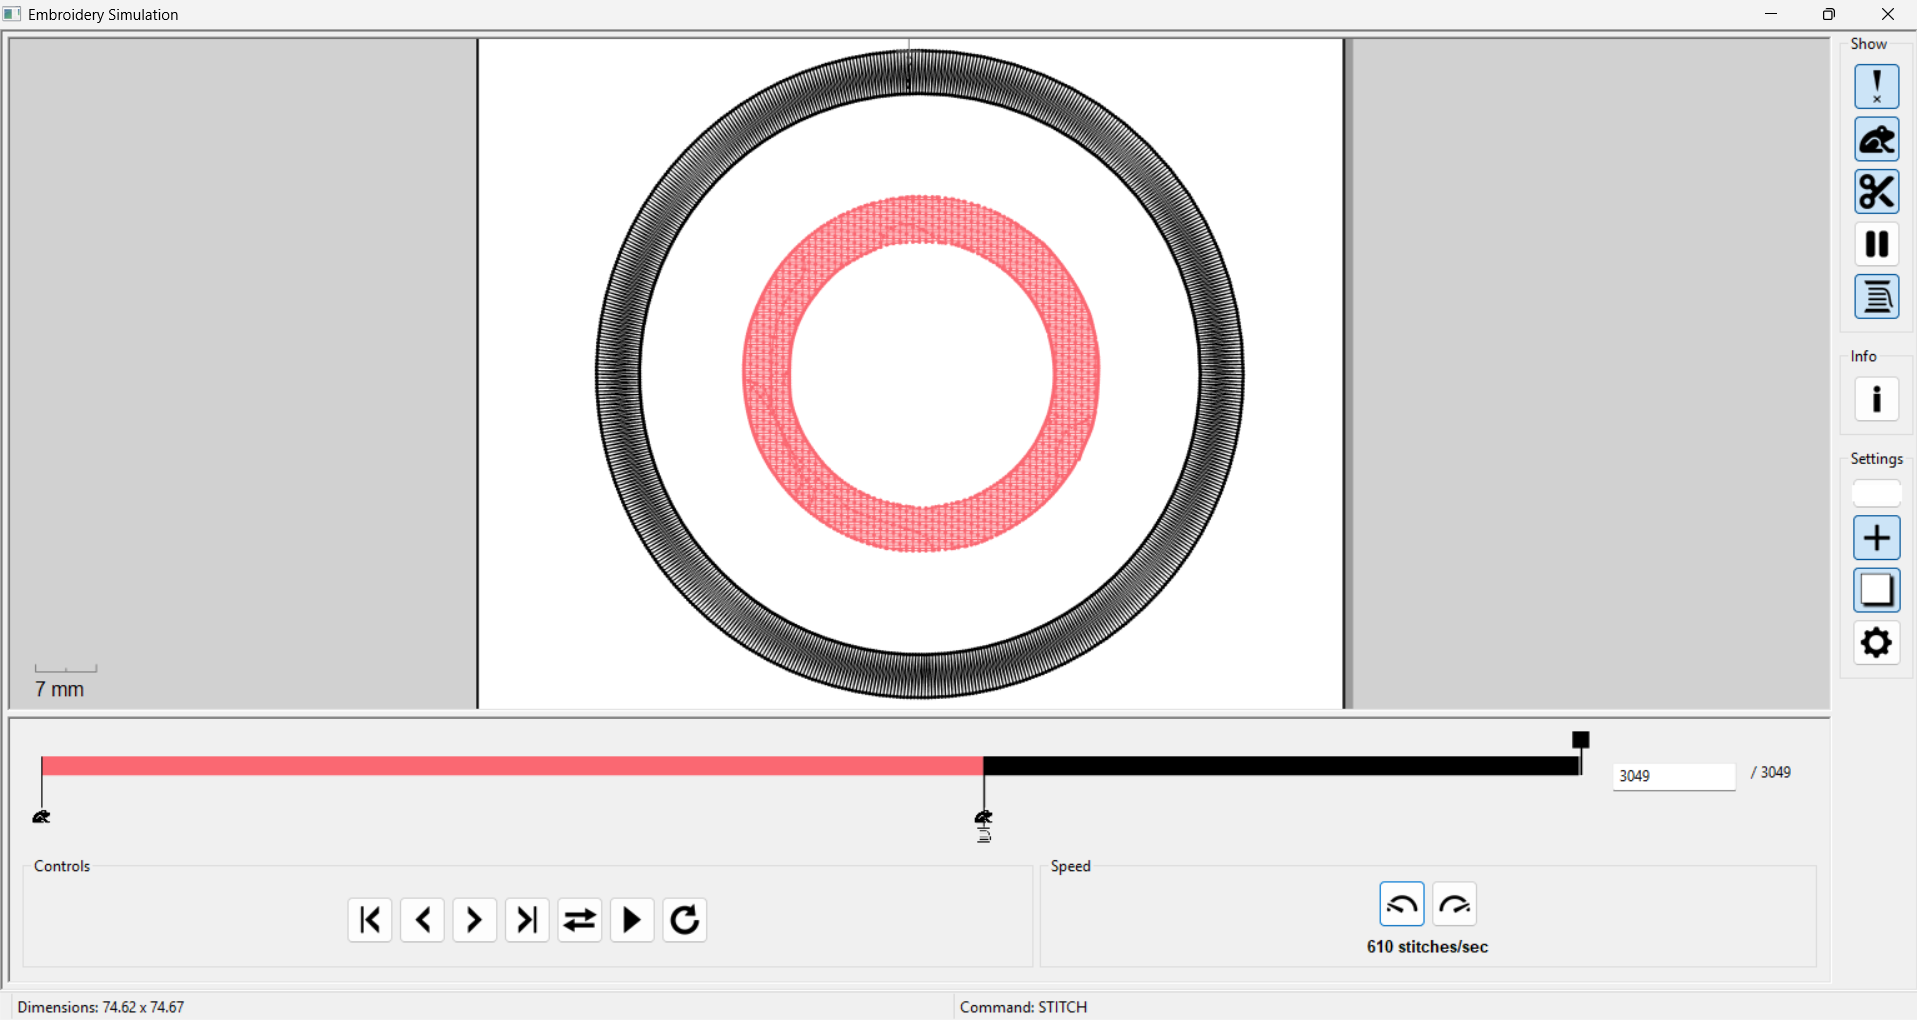
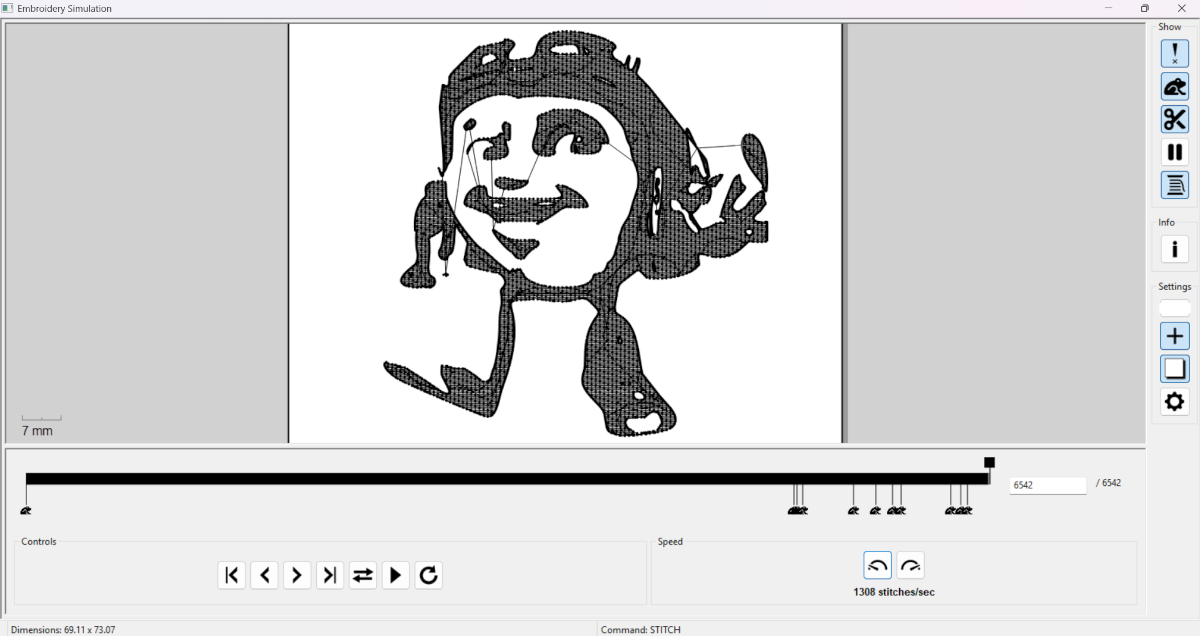
7. We need to go to Extensions, then Ink/Stitch, where we can do two things: change the parameters and view a simulation. To change the parameters, while in Ink/Stitch, select Params, and a pop-up window will appear where you can modify the embroidery process. To run a simulation, stay in Ink/Stitch, click Visualize and Export, and finally select Simulation. In the simulation we can watch the stitches per color, the route the trace will follow and the cuts, in my case, I didn't use them.
○ Patch
Params
Satin
Fill
Parameters.These are the settings for the satin columns and for filling the shapes. In this section, you can modify the initial stitches, which start as three knots by default, as well as the spacing between stitches, the pattern to be used, and the number of rounds to be executed.
□ Patch
1. First we have to open a new file.
□ Patch
2. Then we have to change the size of the workspace, we can do it by pressing CTRL + SHIFT + D or looking at the top left corner, pressing File and selecting Document Properties. For my labs machine we have to set it in 100 X 100 mm.
□ Patch
3. Then I used an image of the PlayStation buttons from the web and just left the button I wanted.
□ Patch
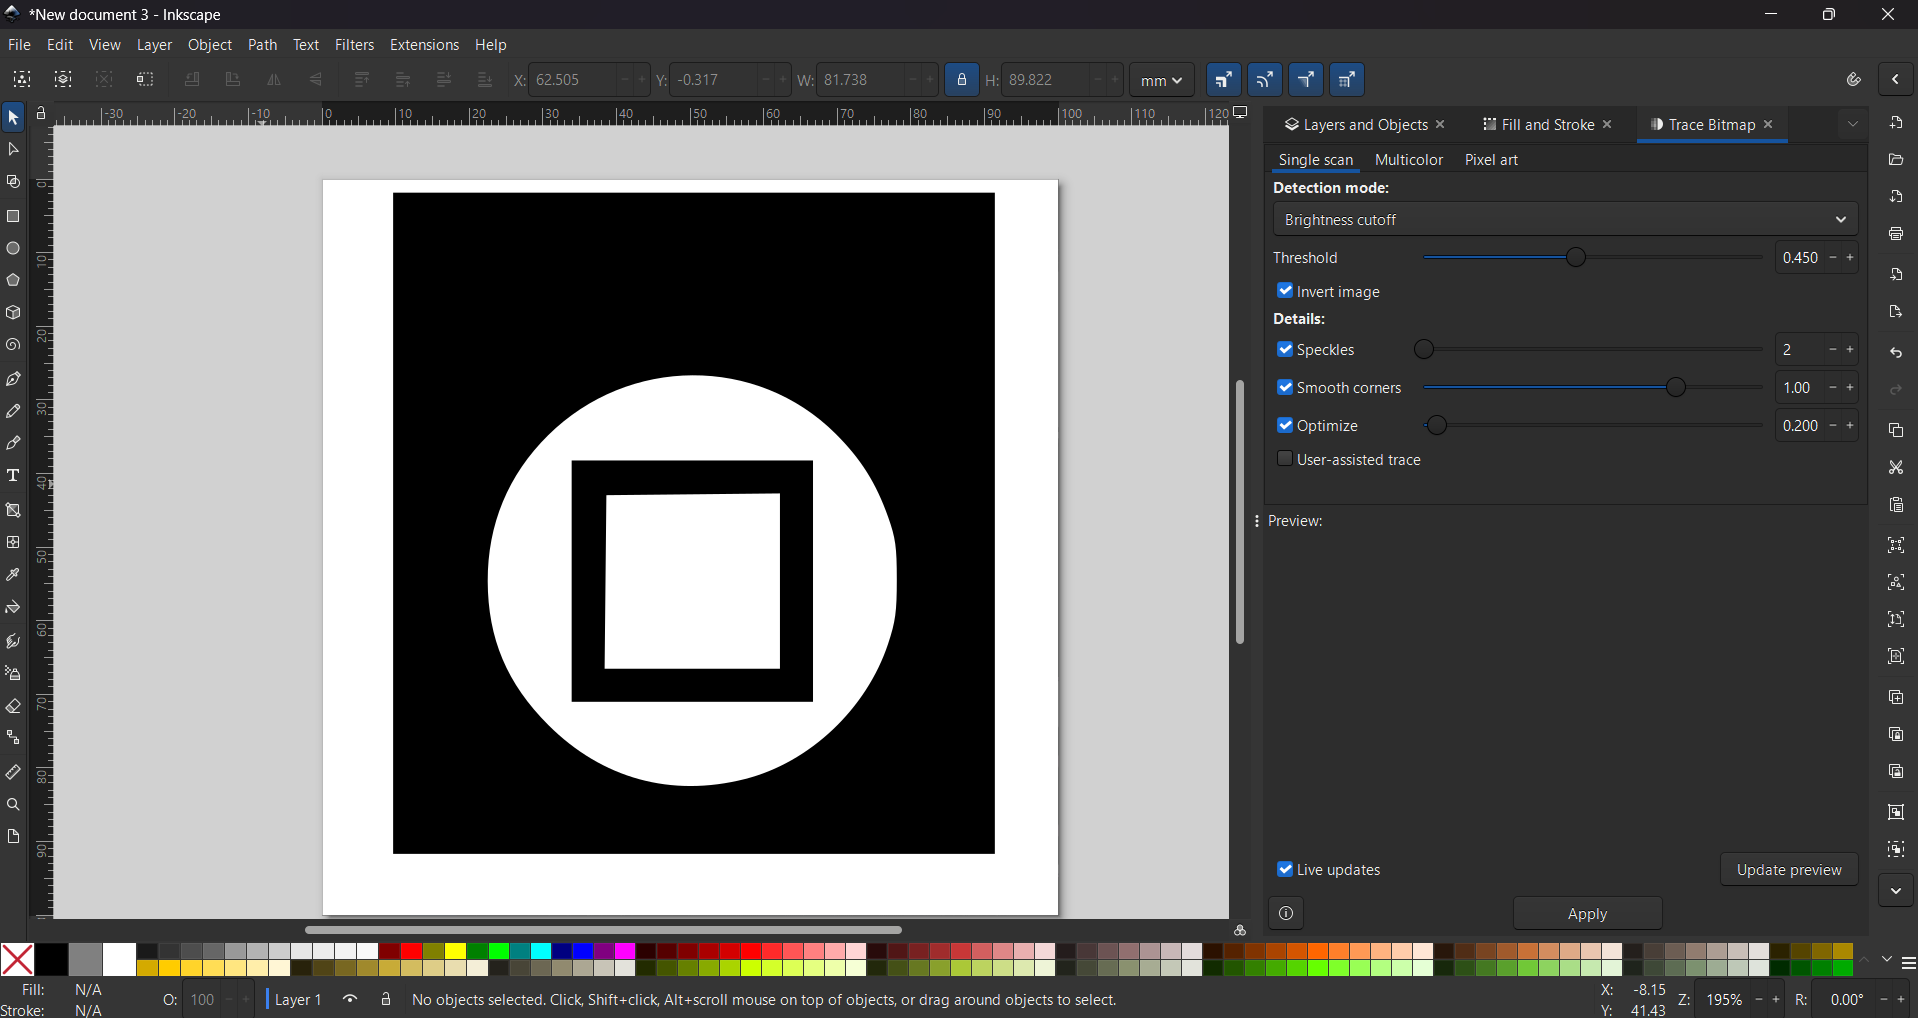
4. Next, we need to vectorize the image using the Trace Bitmap tool, then select Brightness Cutoff and adjust the threshold and smooth corners.
5. We also have to go to Path and select Break apart, this is to separate a vector into different parts. this will work for us to change the embroidery of each part and changing colors.
□ Patch
6. To use erase a shape that is over another we must use the Difference tool. First we have select the shape we want to erase, then select the shape we want to have the difference in, and then click on the tool. This is useful when the “break apart” command creates shapes that won't work for us. Next, to add the contour I just copied the one I made for the X patch, so I will to skip that part. To change the colors we can select the original image, then use Fill and stroke and select the small tool at the the bottom-left corner, the one that looks like a dropper, to copy the image color.
□ Patch
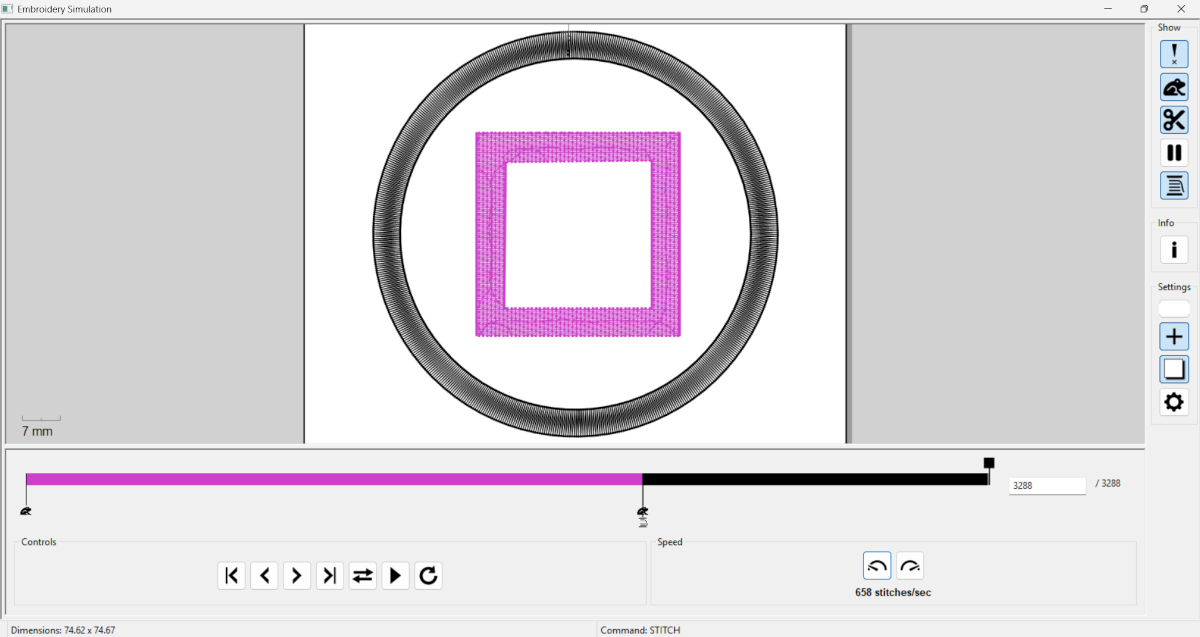
7. We need to go to Extensions, then Ink/Stitch, where we can do two things: change the parameters and view a simulation. To change the parameters, while in Ink/Stitch, select Params, and a pop-up window will appear where you can modify the embroidery process. To run a simulation, stay in Ink/Stitch, click Visualize and Export, and finally select Simulation. In the simulation we can watch the stitches per color, the route the trace will follow and the cuts, in my case, I didn't use them.
□ Patch
Params
Satin
Fill
Parameters.These are the settings for the satin columns and for filling the shapes. In this section, you can modify the initial stitches, which start as three knots by default, as well as the spacing between stitches, the pattern to be used, and the number of rounds to be executed.
Boing Uva Patch
1. First we have to open a new file.
Boing Uva Patch
2. Then we have to change the size of the workspace, we can do it by pressing CTRL + SHIFT + D or looking at the top left corner, pressing File and selecting Document Properties. For my labs machine we have to set it in 100 X 100 mm.
Boing Uva Patch
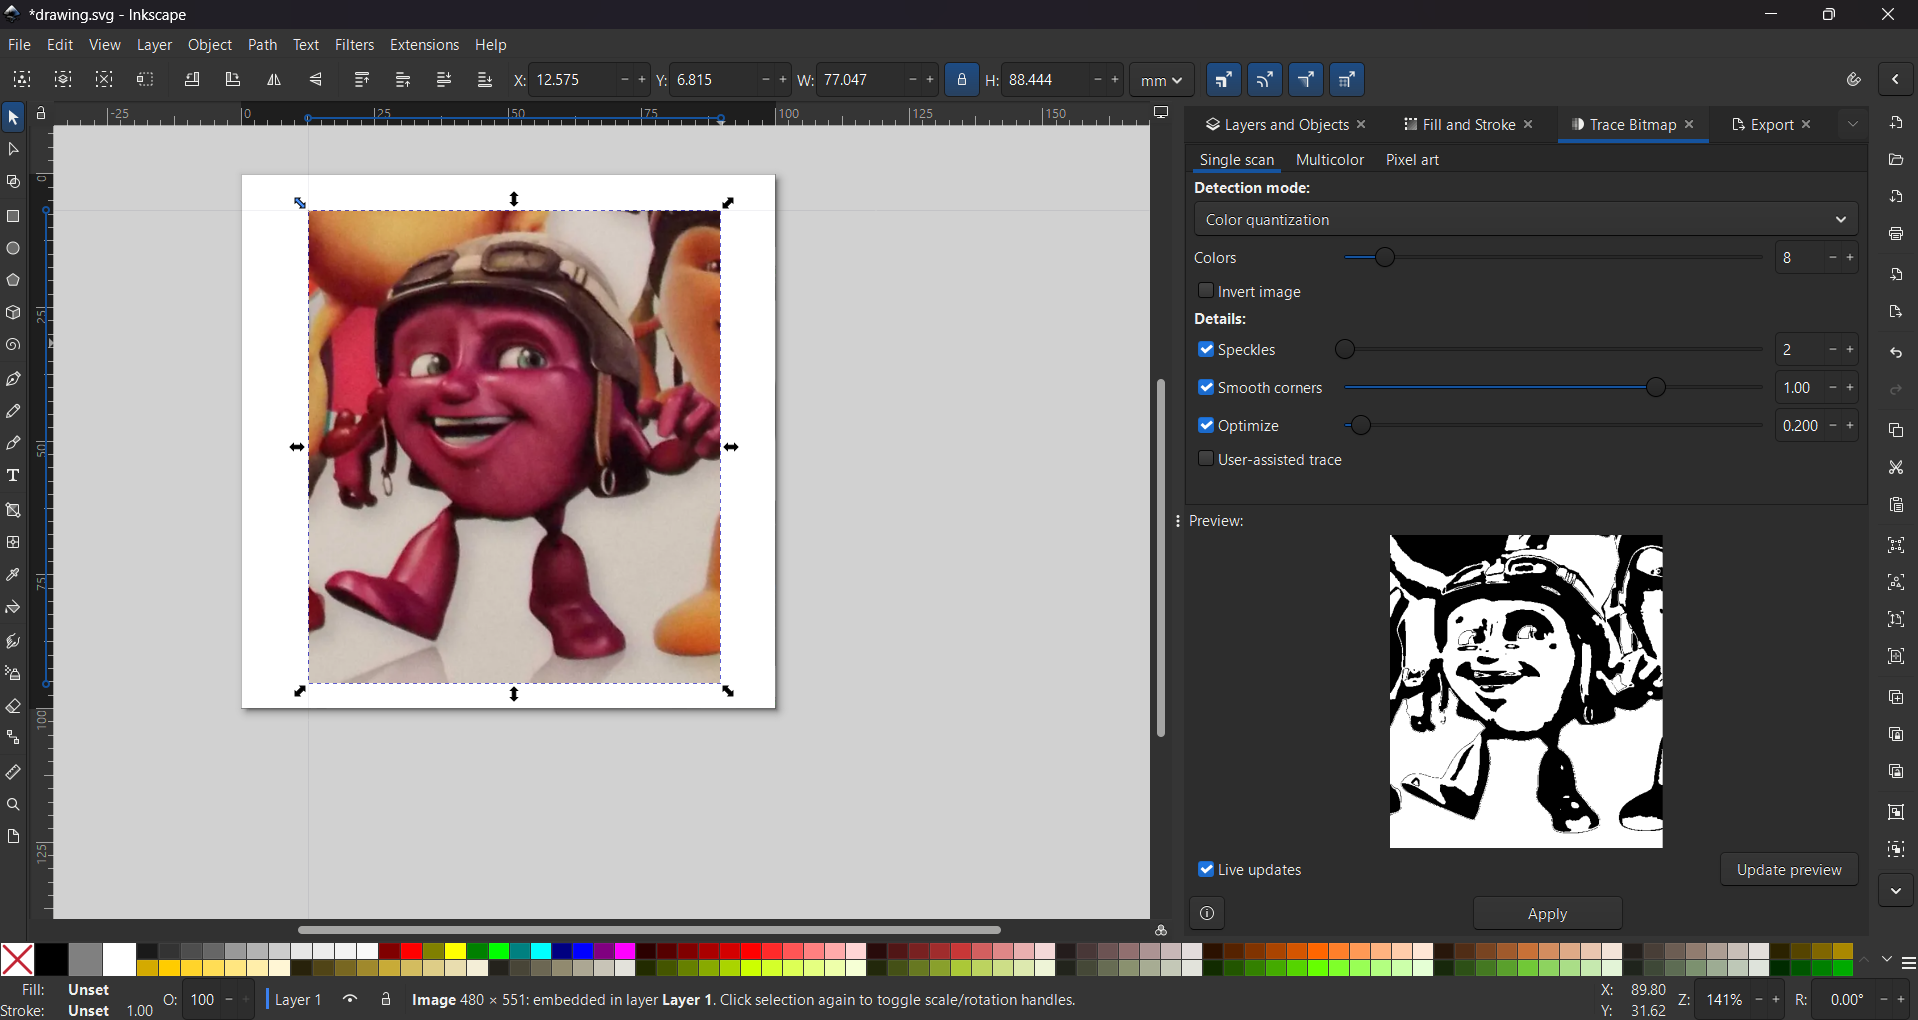
3. Then I used an image of the Boing Juice character I wanted.
Boing Uva Patch

4. Next, we need to vectorize the image using the Trace Bitmap tool, then select Color Quantization and adjust the threshold and smooth corners.
5. We also have to go to Path and select Break apart, this is to separate a vector into different parts. this will work for us to change the embroidery of each part and changing colors.
Boing Uva Patch
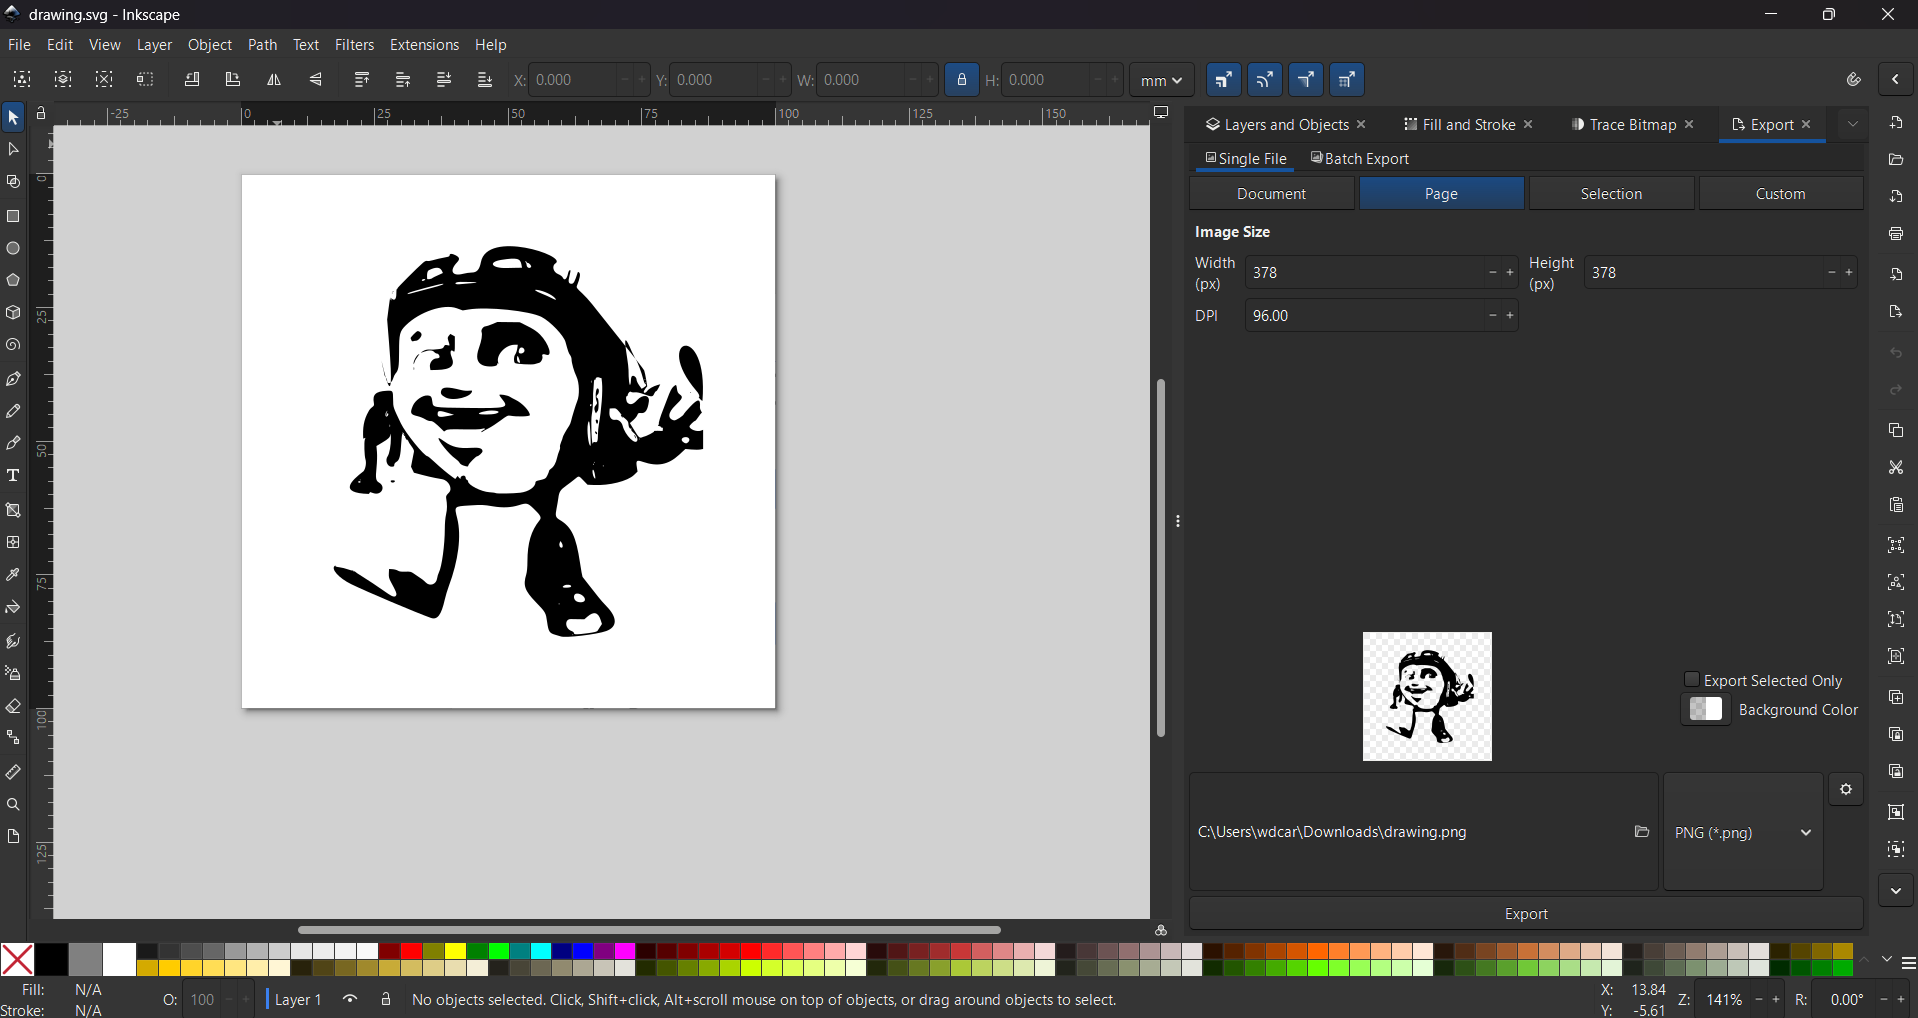
6. Then I just erased the parts I didn't want and just left my character.
Boing Uva Patch
7. We need to go to Extensions, then Ink/Stitch, where we can do two things: change the parameters and view a simulation. To change the parameters, while in Ink/Stitch, select Params, and a pop-up window will appear where you can modify the embroidery process. To run a simulation, stay in Ink/Stitch, click Visualize and Export, and finally select Simulation. In the simulation we can watch the stitches per color, the route the trace will follow and the cuts, in my case, I didn't use them.
Boing Uva Patch
Params
Satin
Fill
Parameters.These are the settings for the satin columns and for filling the shapes. In this section, you can modify the initial stitches, which start as three knots by default, as well as the spacing between stitches, the pattern to be used, and the number of rounds to be executed.
Quick note: I used the same parameters for every patch, that is why I have the same images.
.pes
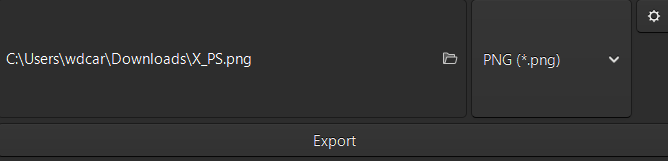
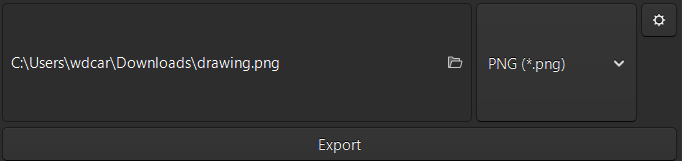
Export. To export we have to go to file and look for export, we can also press CTRL + SHIFT + E. Then change the format to .pes.
Embroidery
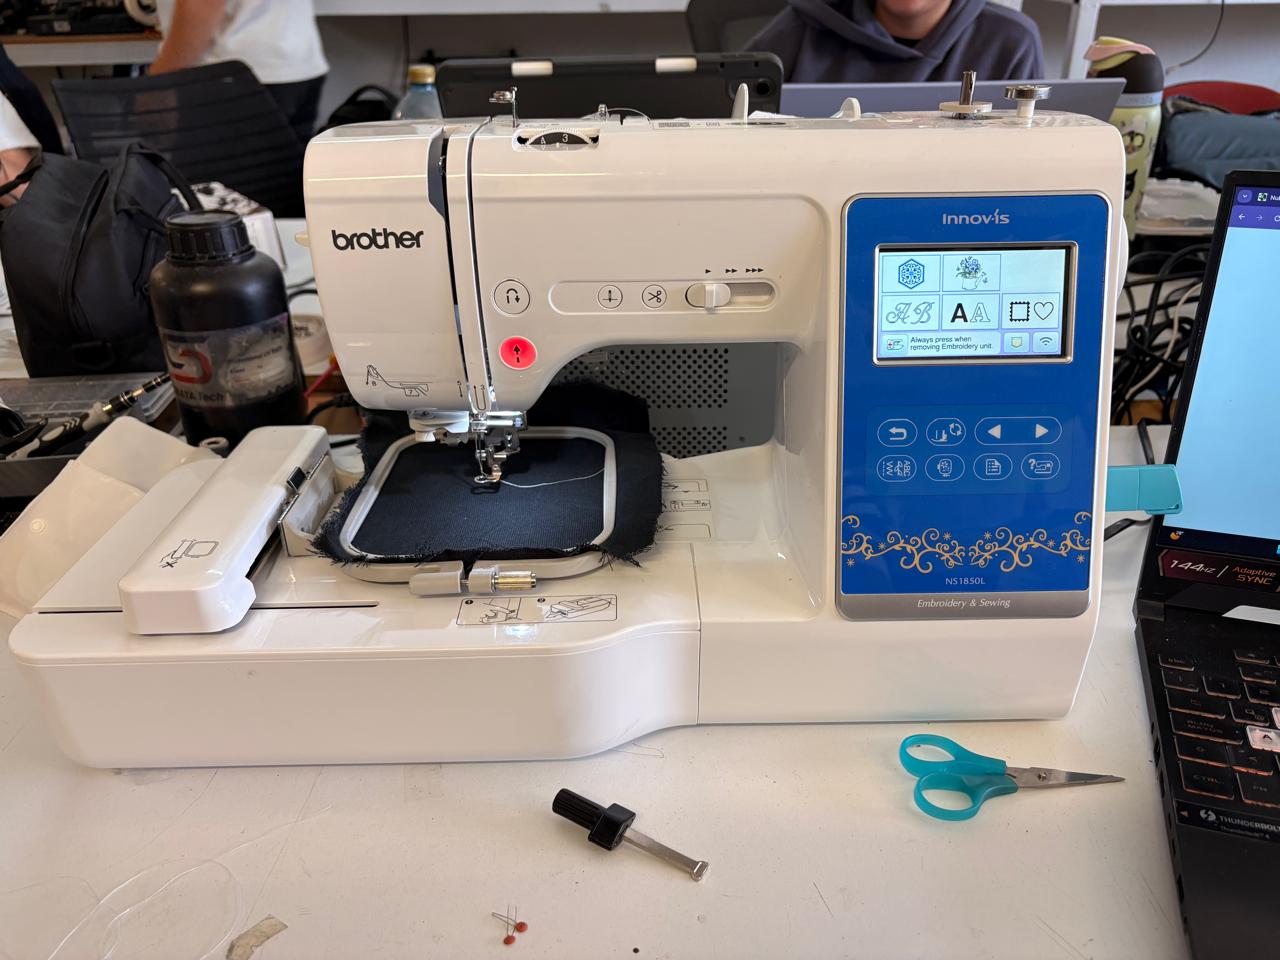
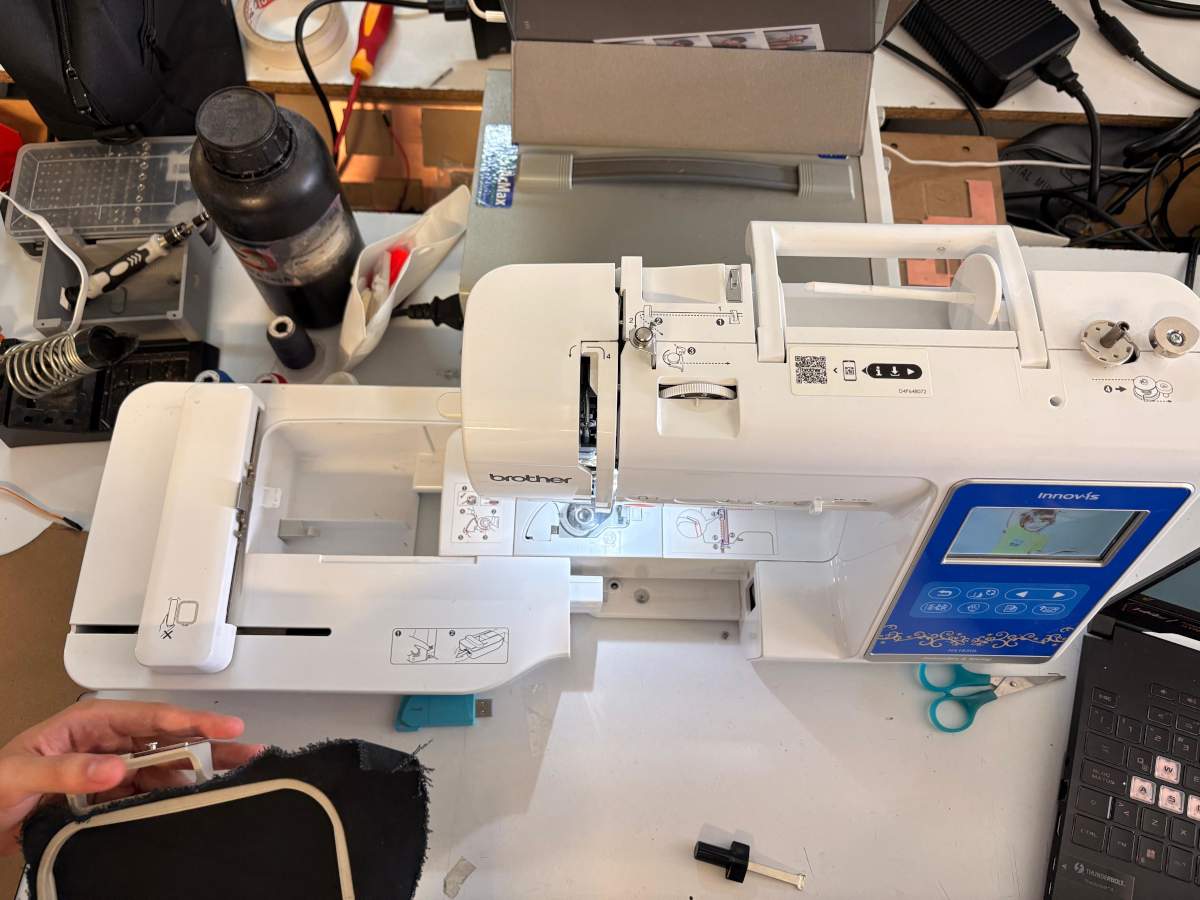
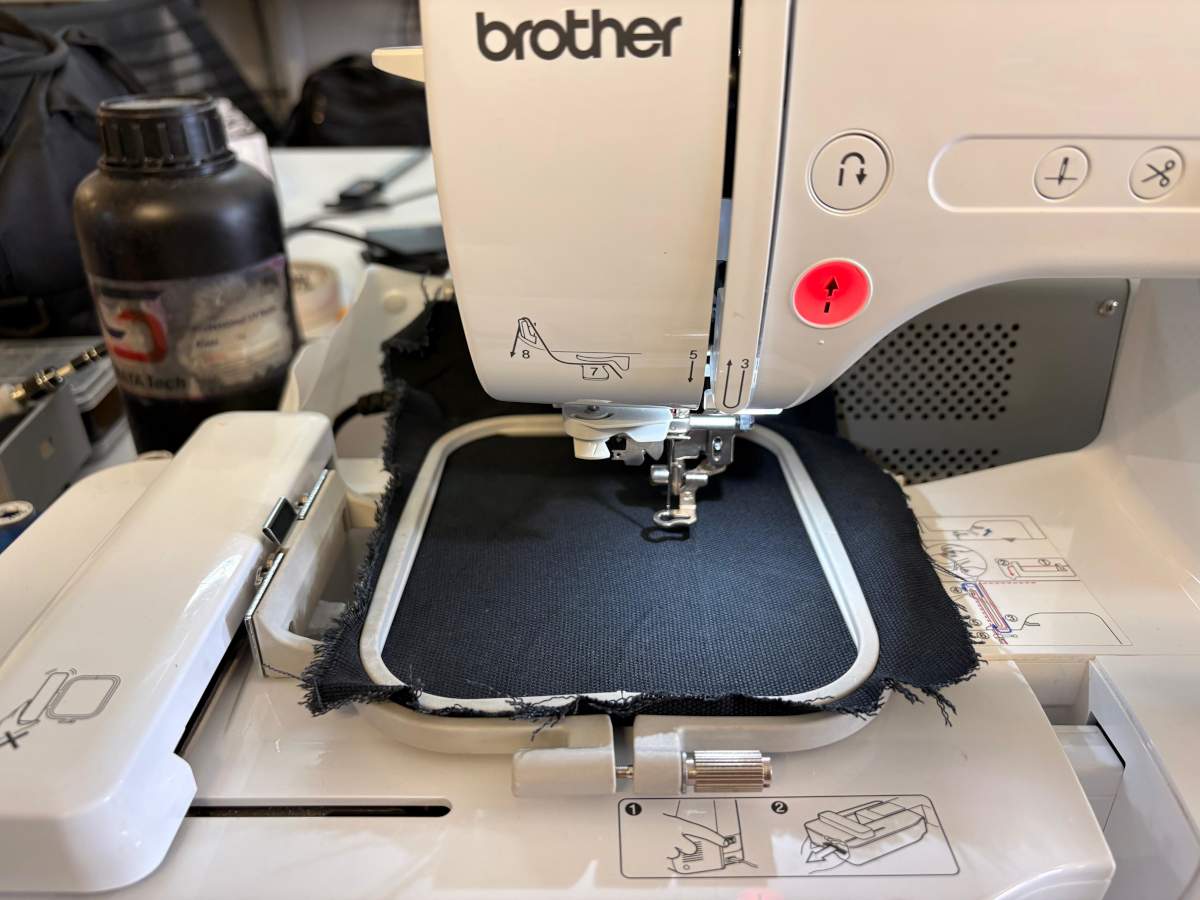
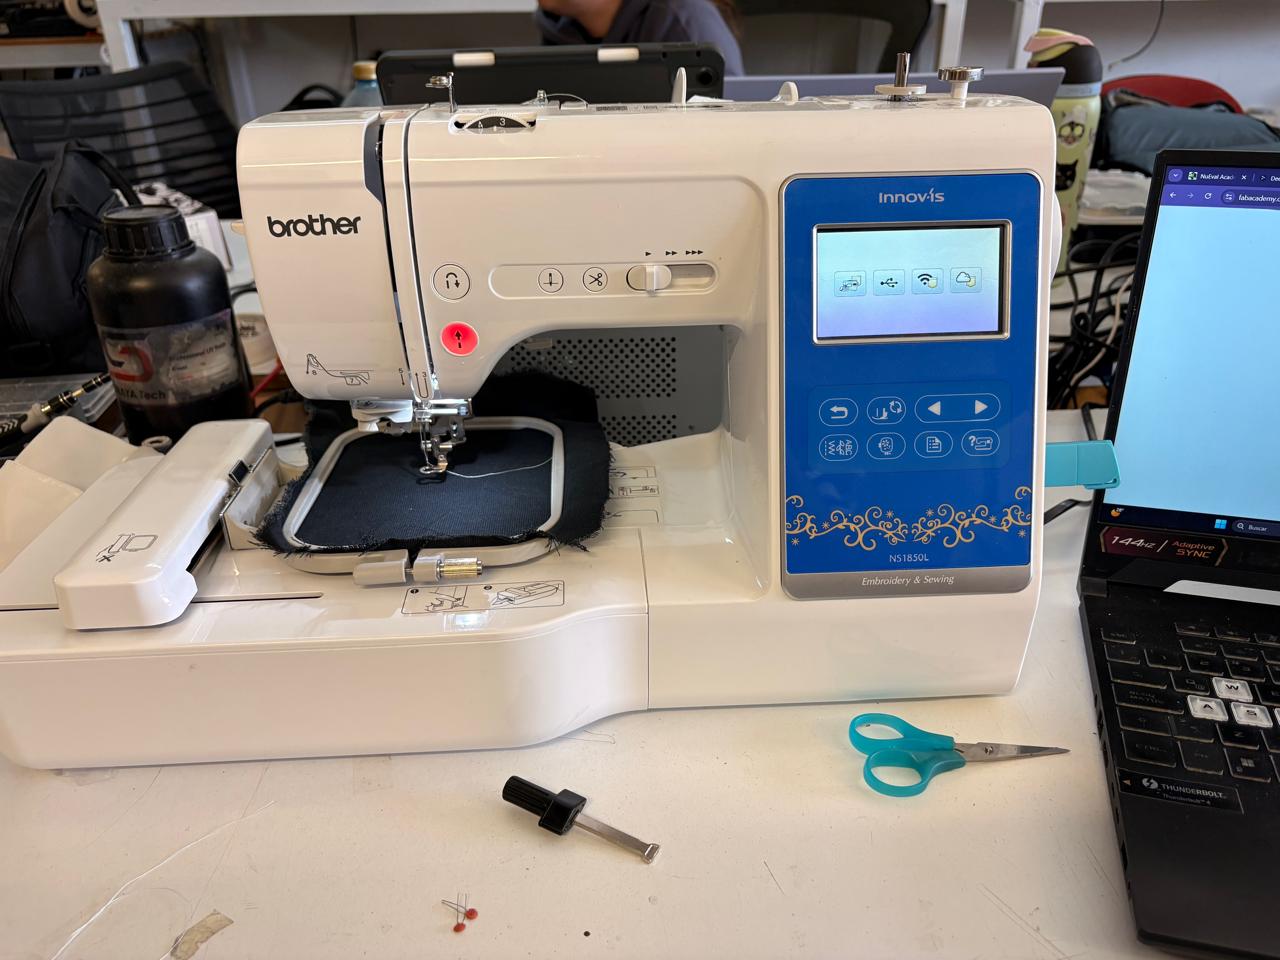
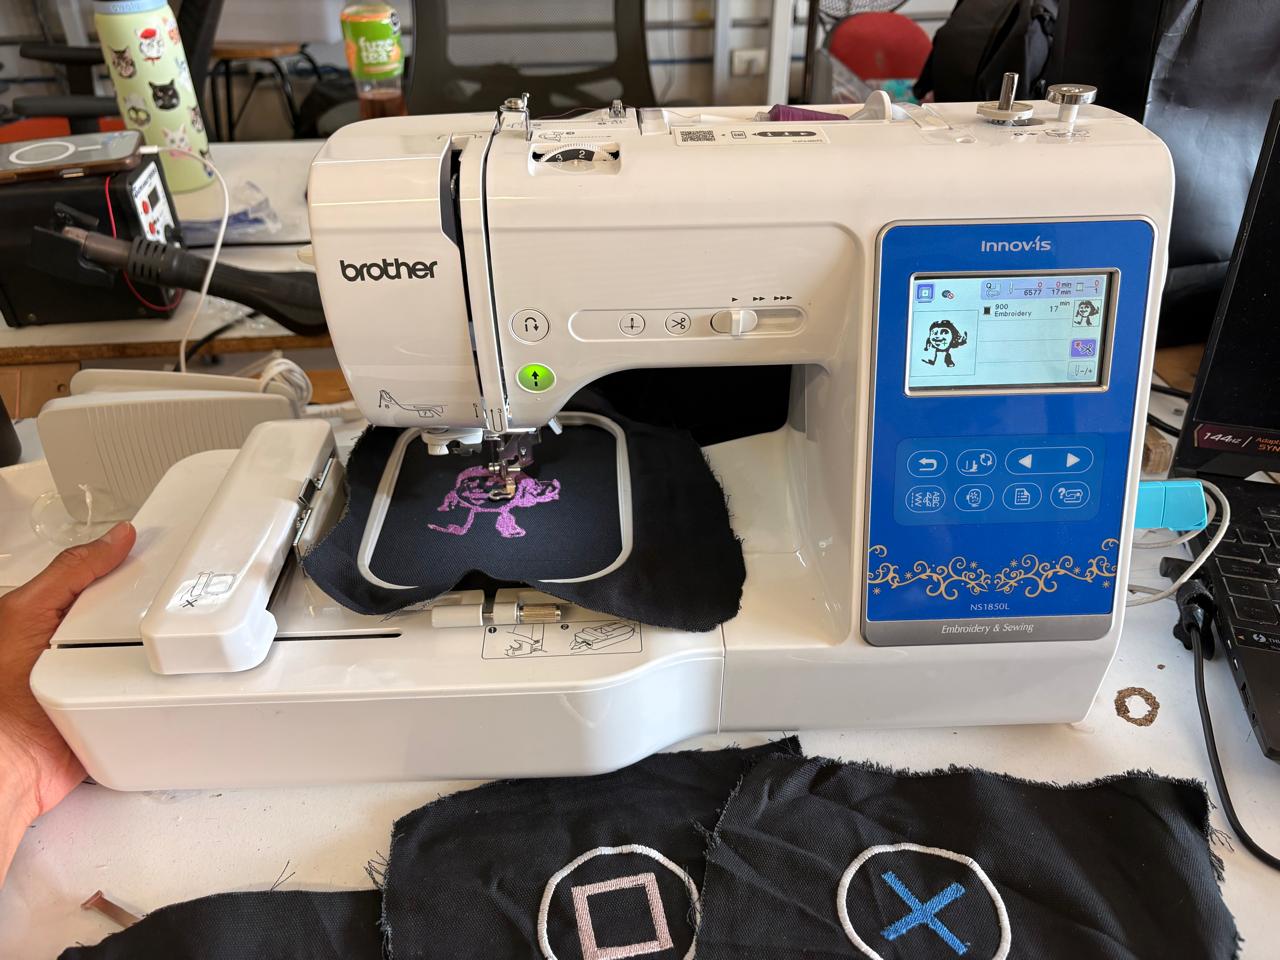
Brother NS1850L
For embroidering in our lab we have the brother NS1850L.
Embroidering
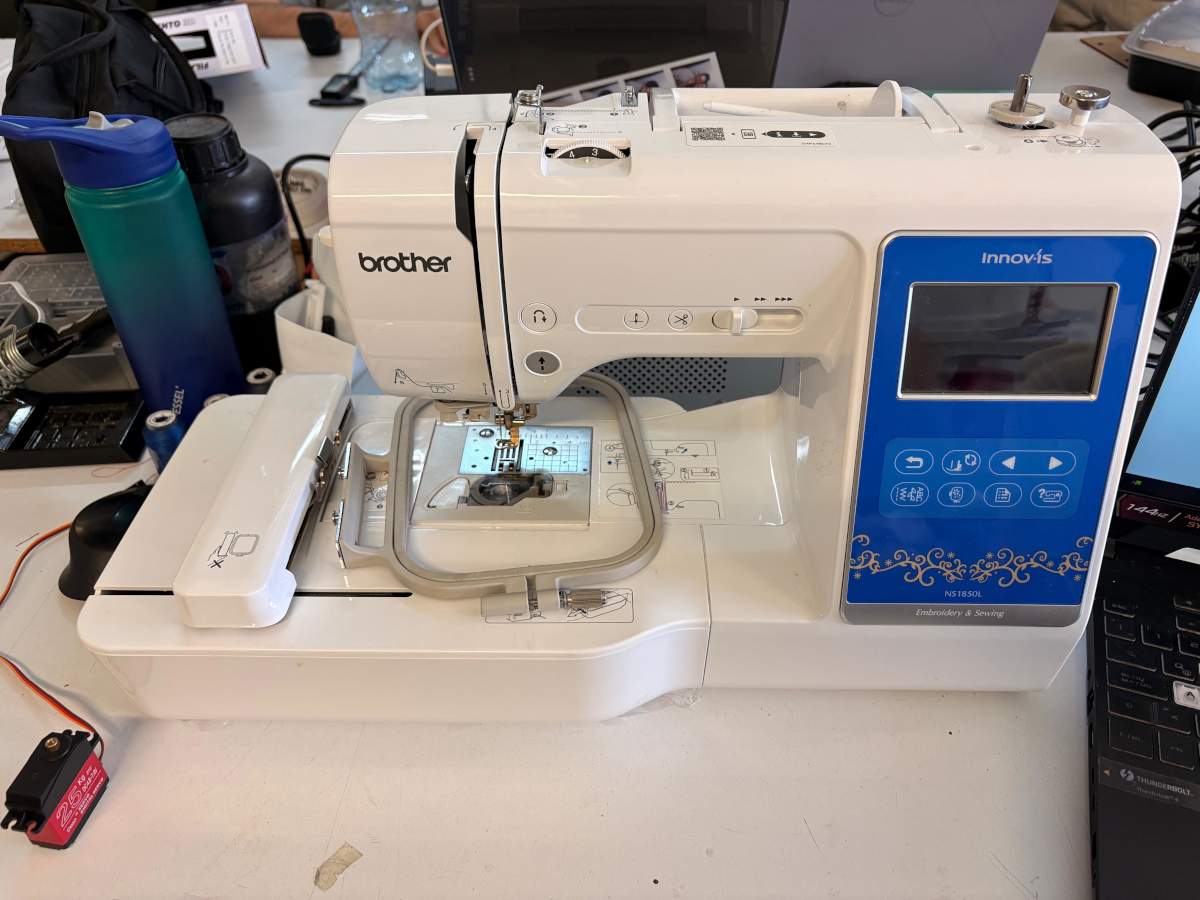
1. To start embroidering, we first need to know how to thread the machine. Fortunately, the machine has instructions printed on it showing how to thread each section. First we need to open the machine, for that we have to press the lateral button and pull it to the side, it must look like the second image.
Embroidering
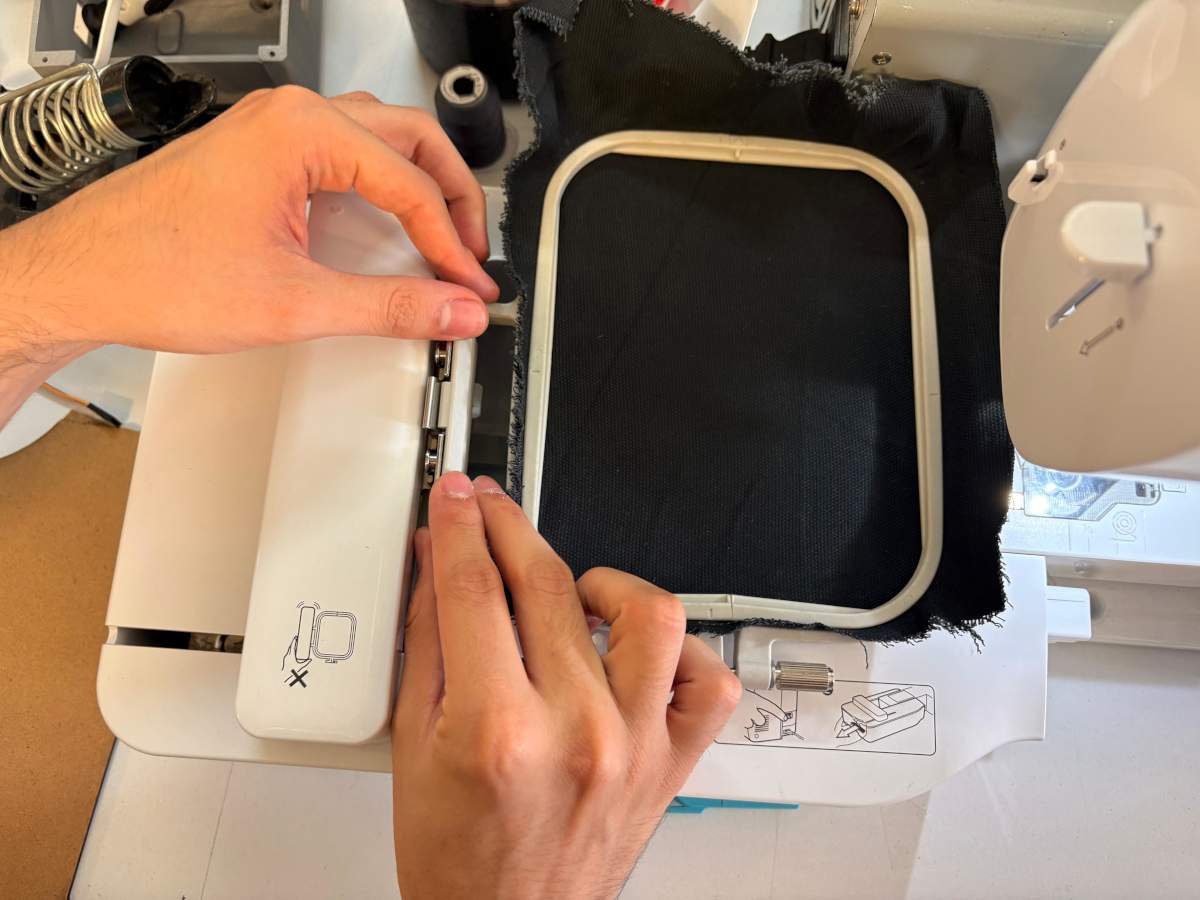
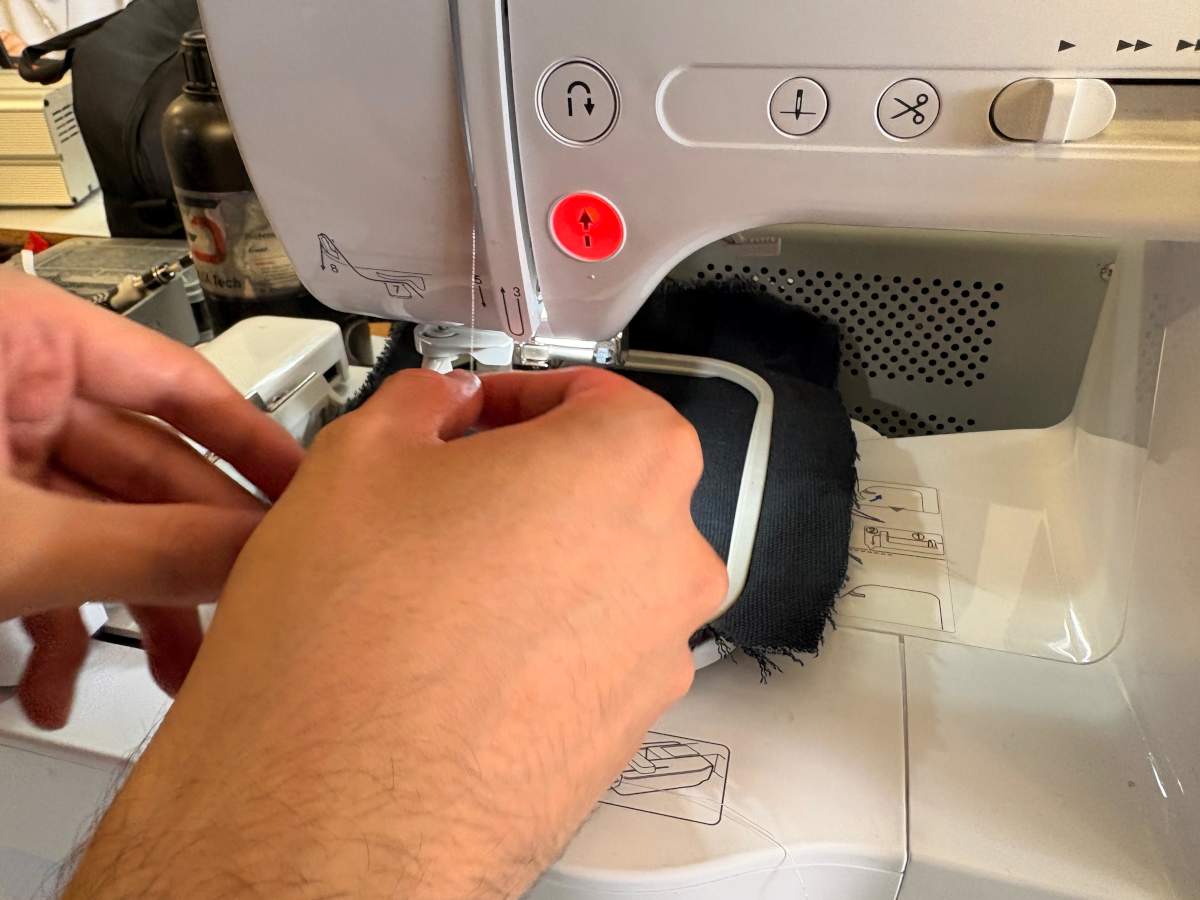
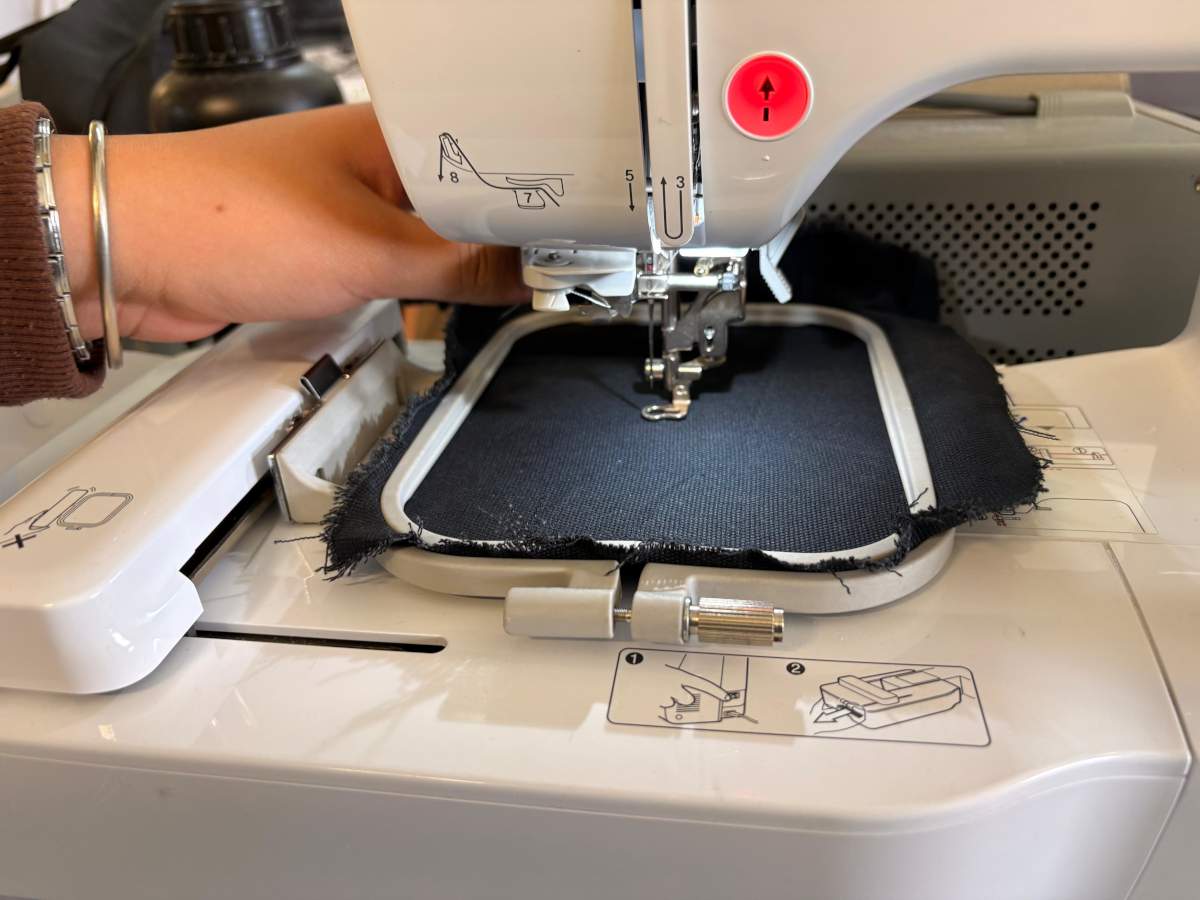
2.Next, we need to place the fabric in the machine’s small frame. When positioning the fabric, make sure the two small arrows on the frame are looking at each other, and then tension the fabric to prevent damage to the machine’s needle or poor results. Next we have to place it in the machine.
Note.The video show a more difficut way to place the fabric.
Embroidering
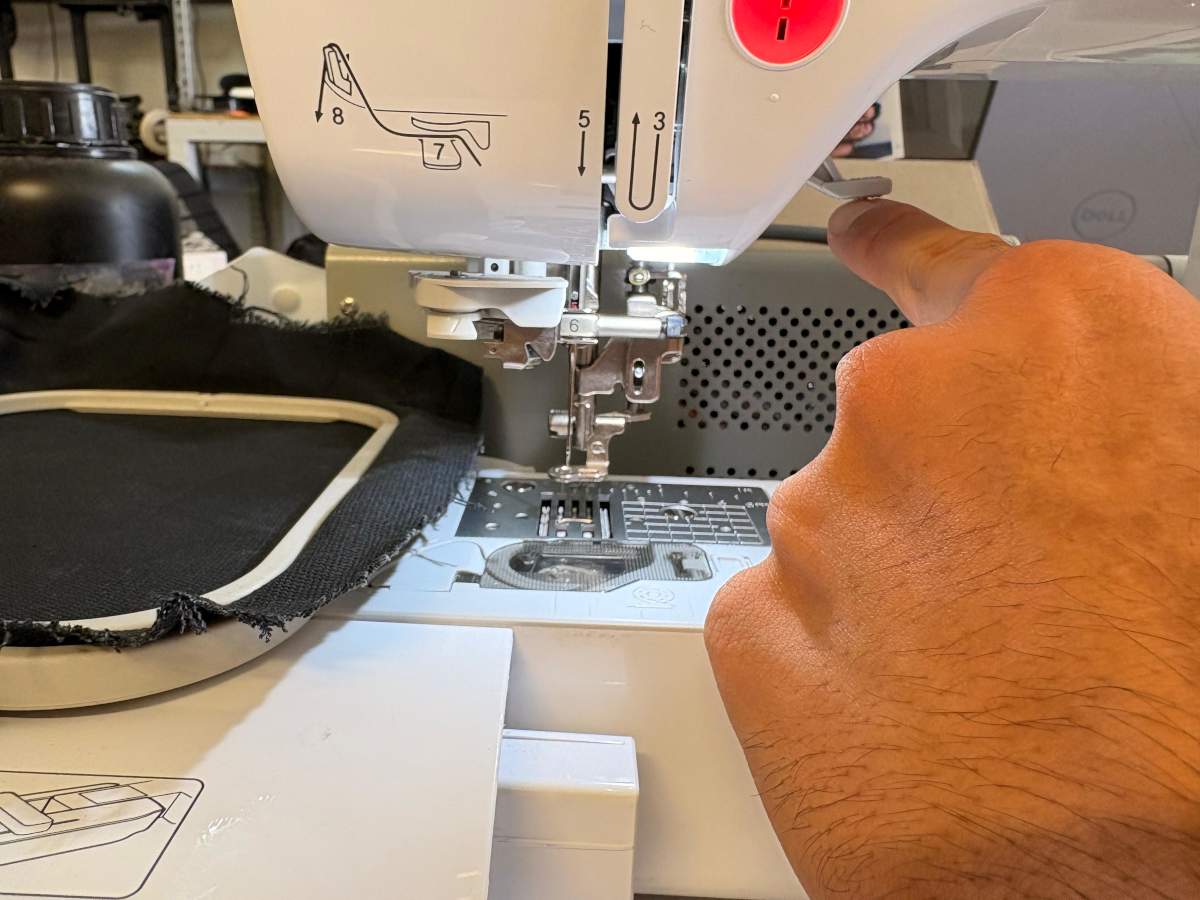
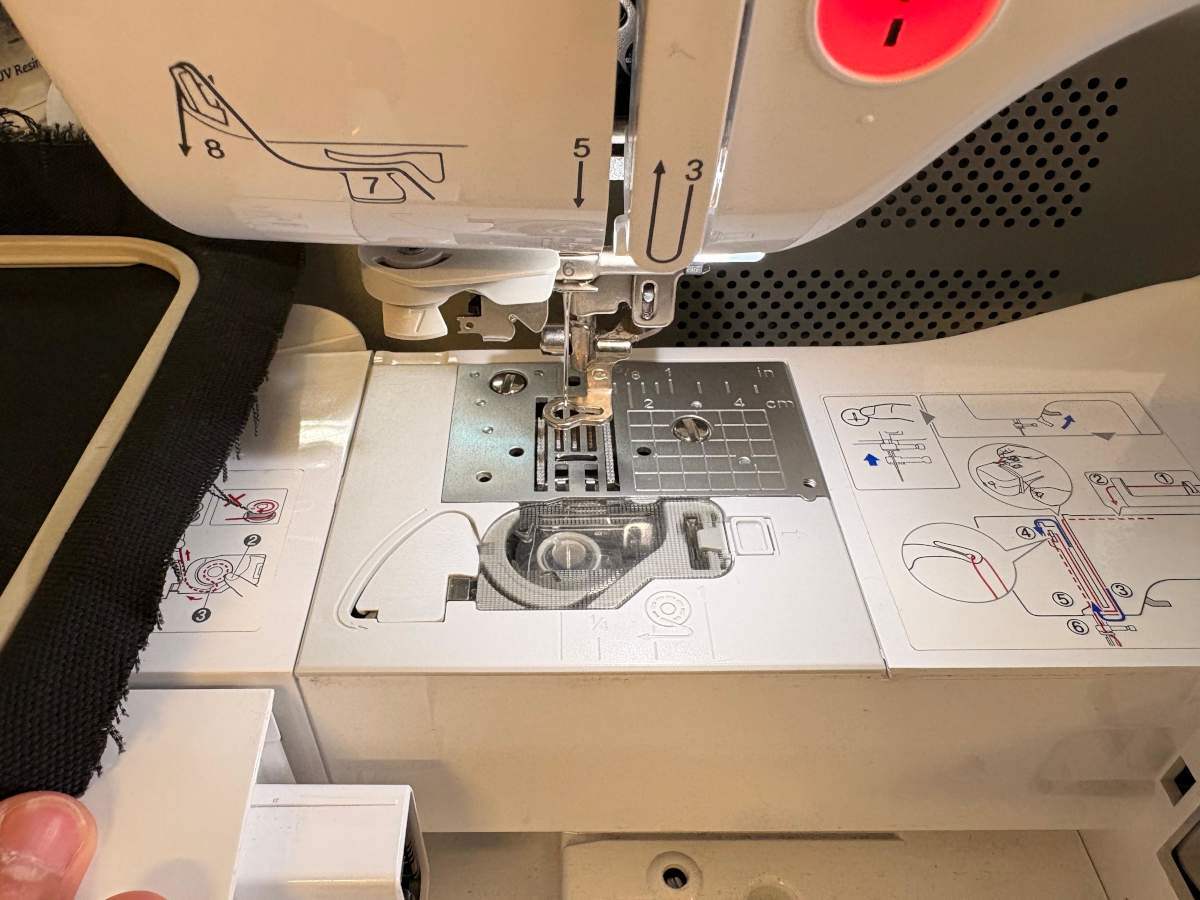
3. Then, we must pull the lever up, this is because we don't want to harm the needle. We also need to make sure there is enough thread in the inside bobin; this thread is essential for attaching the upper thread.
Embroidering
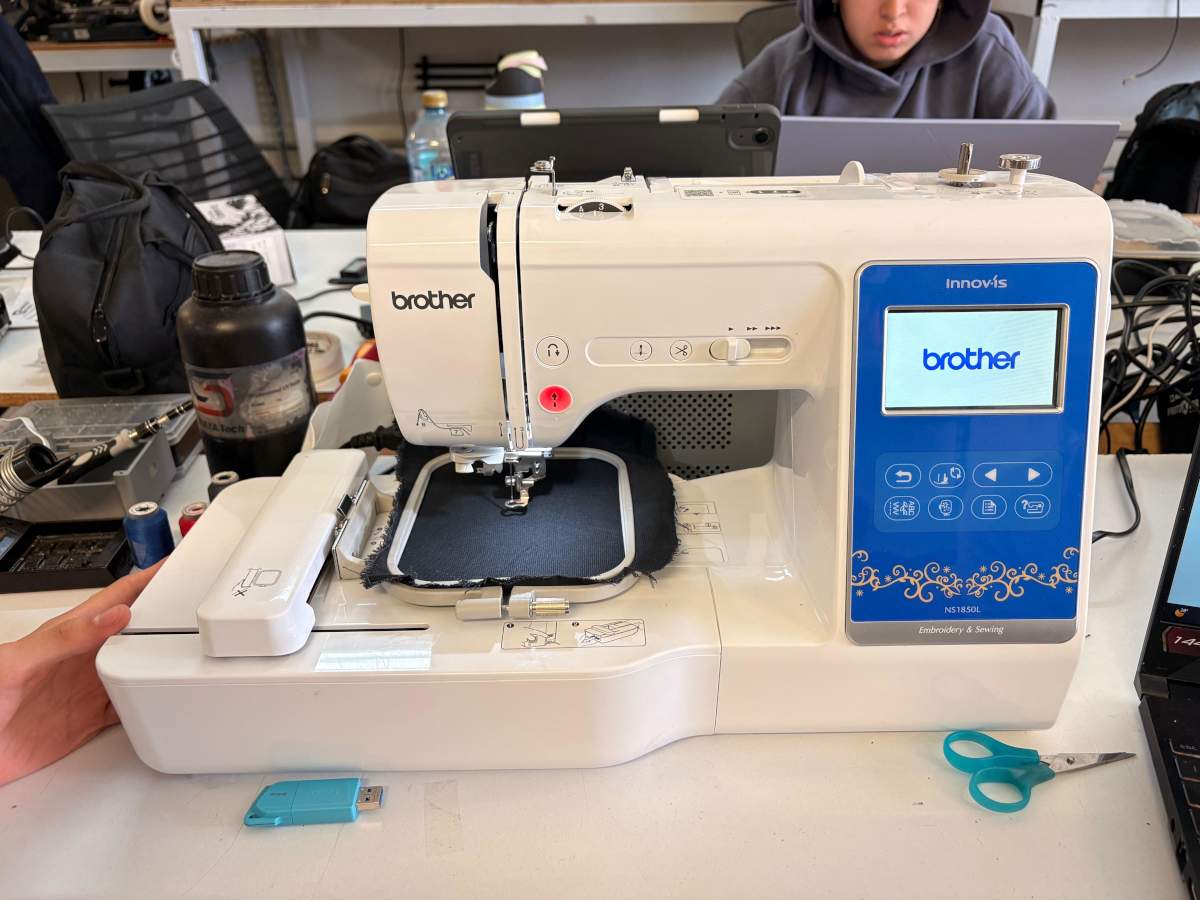
4. After making sure it is enough thread, we must place the fabric and then turn on the machine.
Embroidering
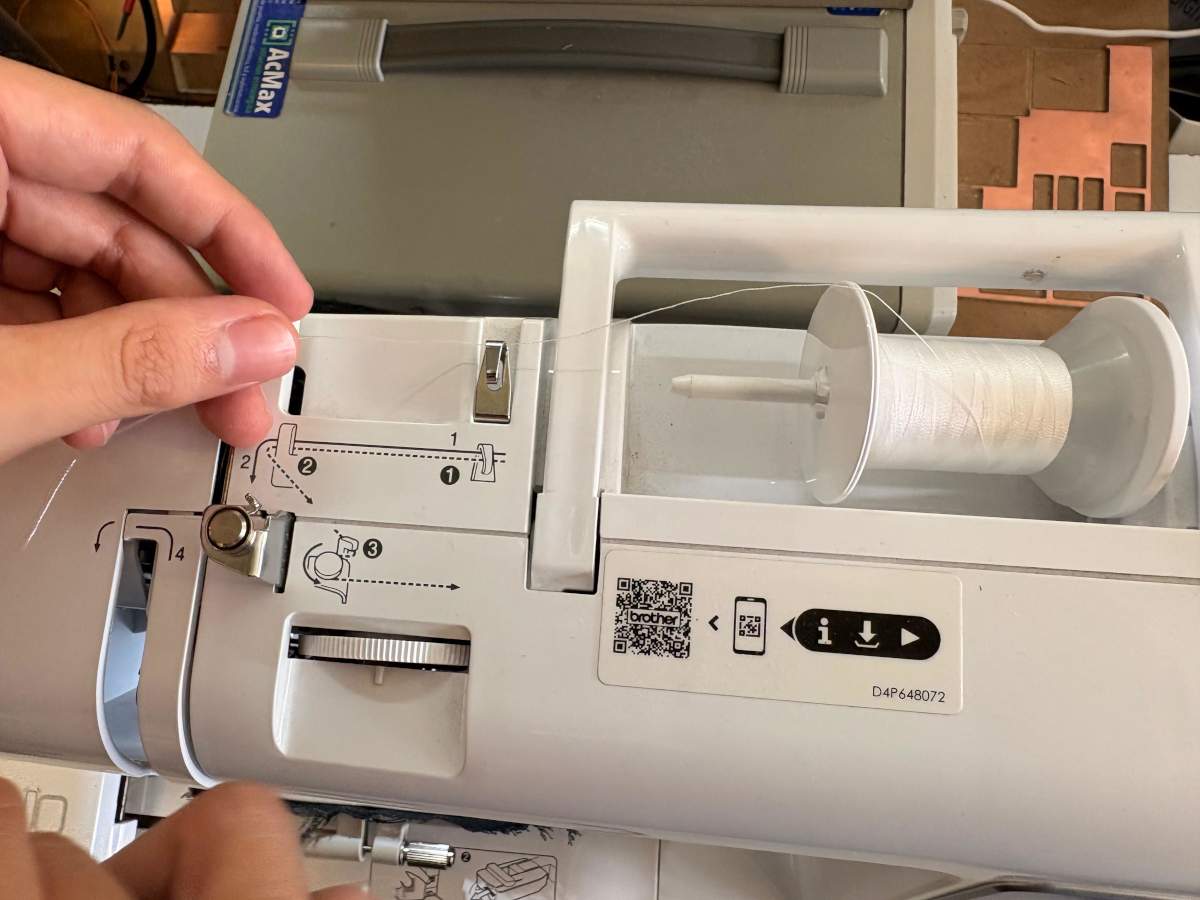
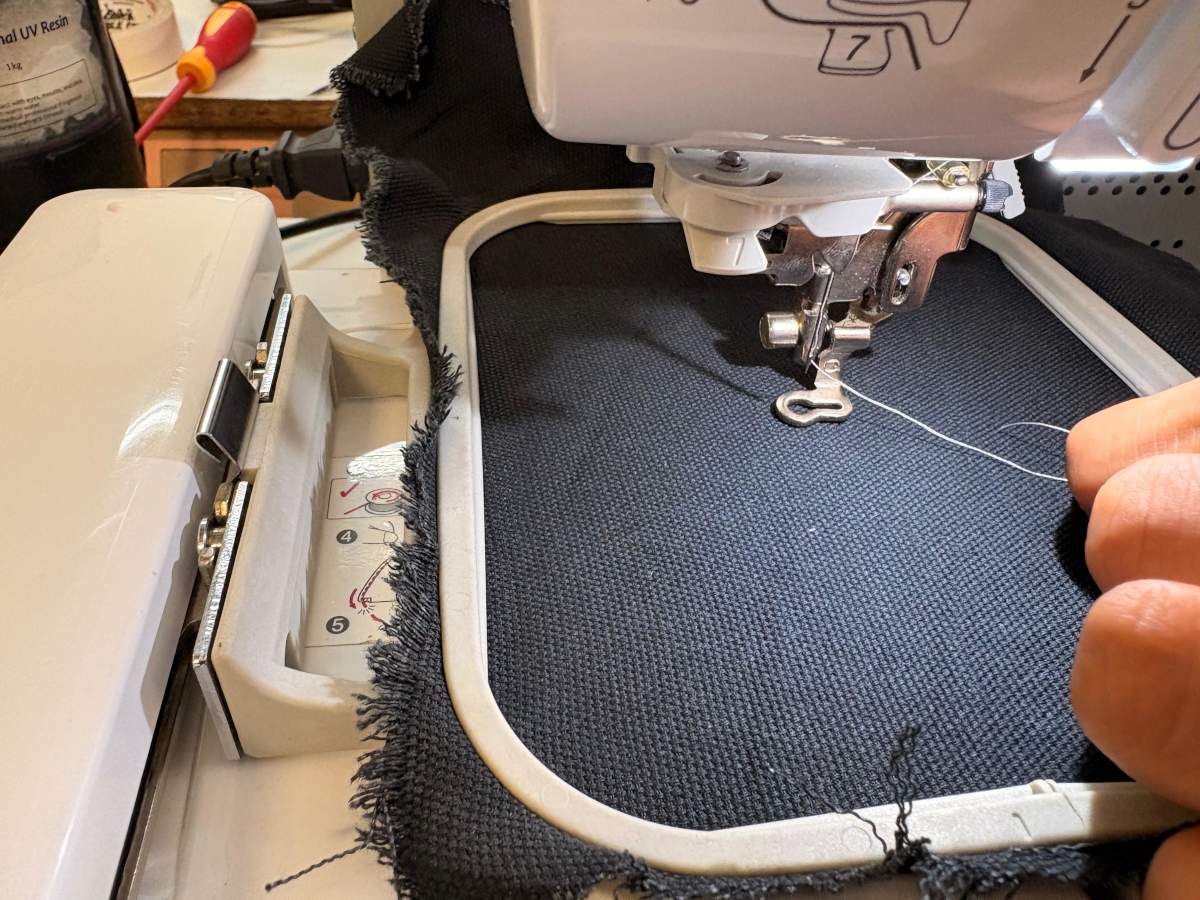
5. Subsequently, we have to place the upperthread, the color we want and then follow the steps the machine shows to place it correctly. First, we have to hook it onto the little hook, and then insert it into the slot so we can lower it.
Embroidering
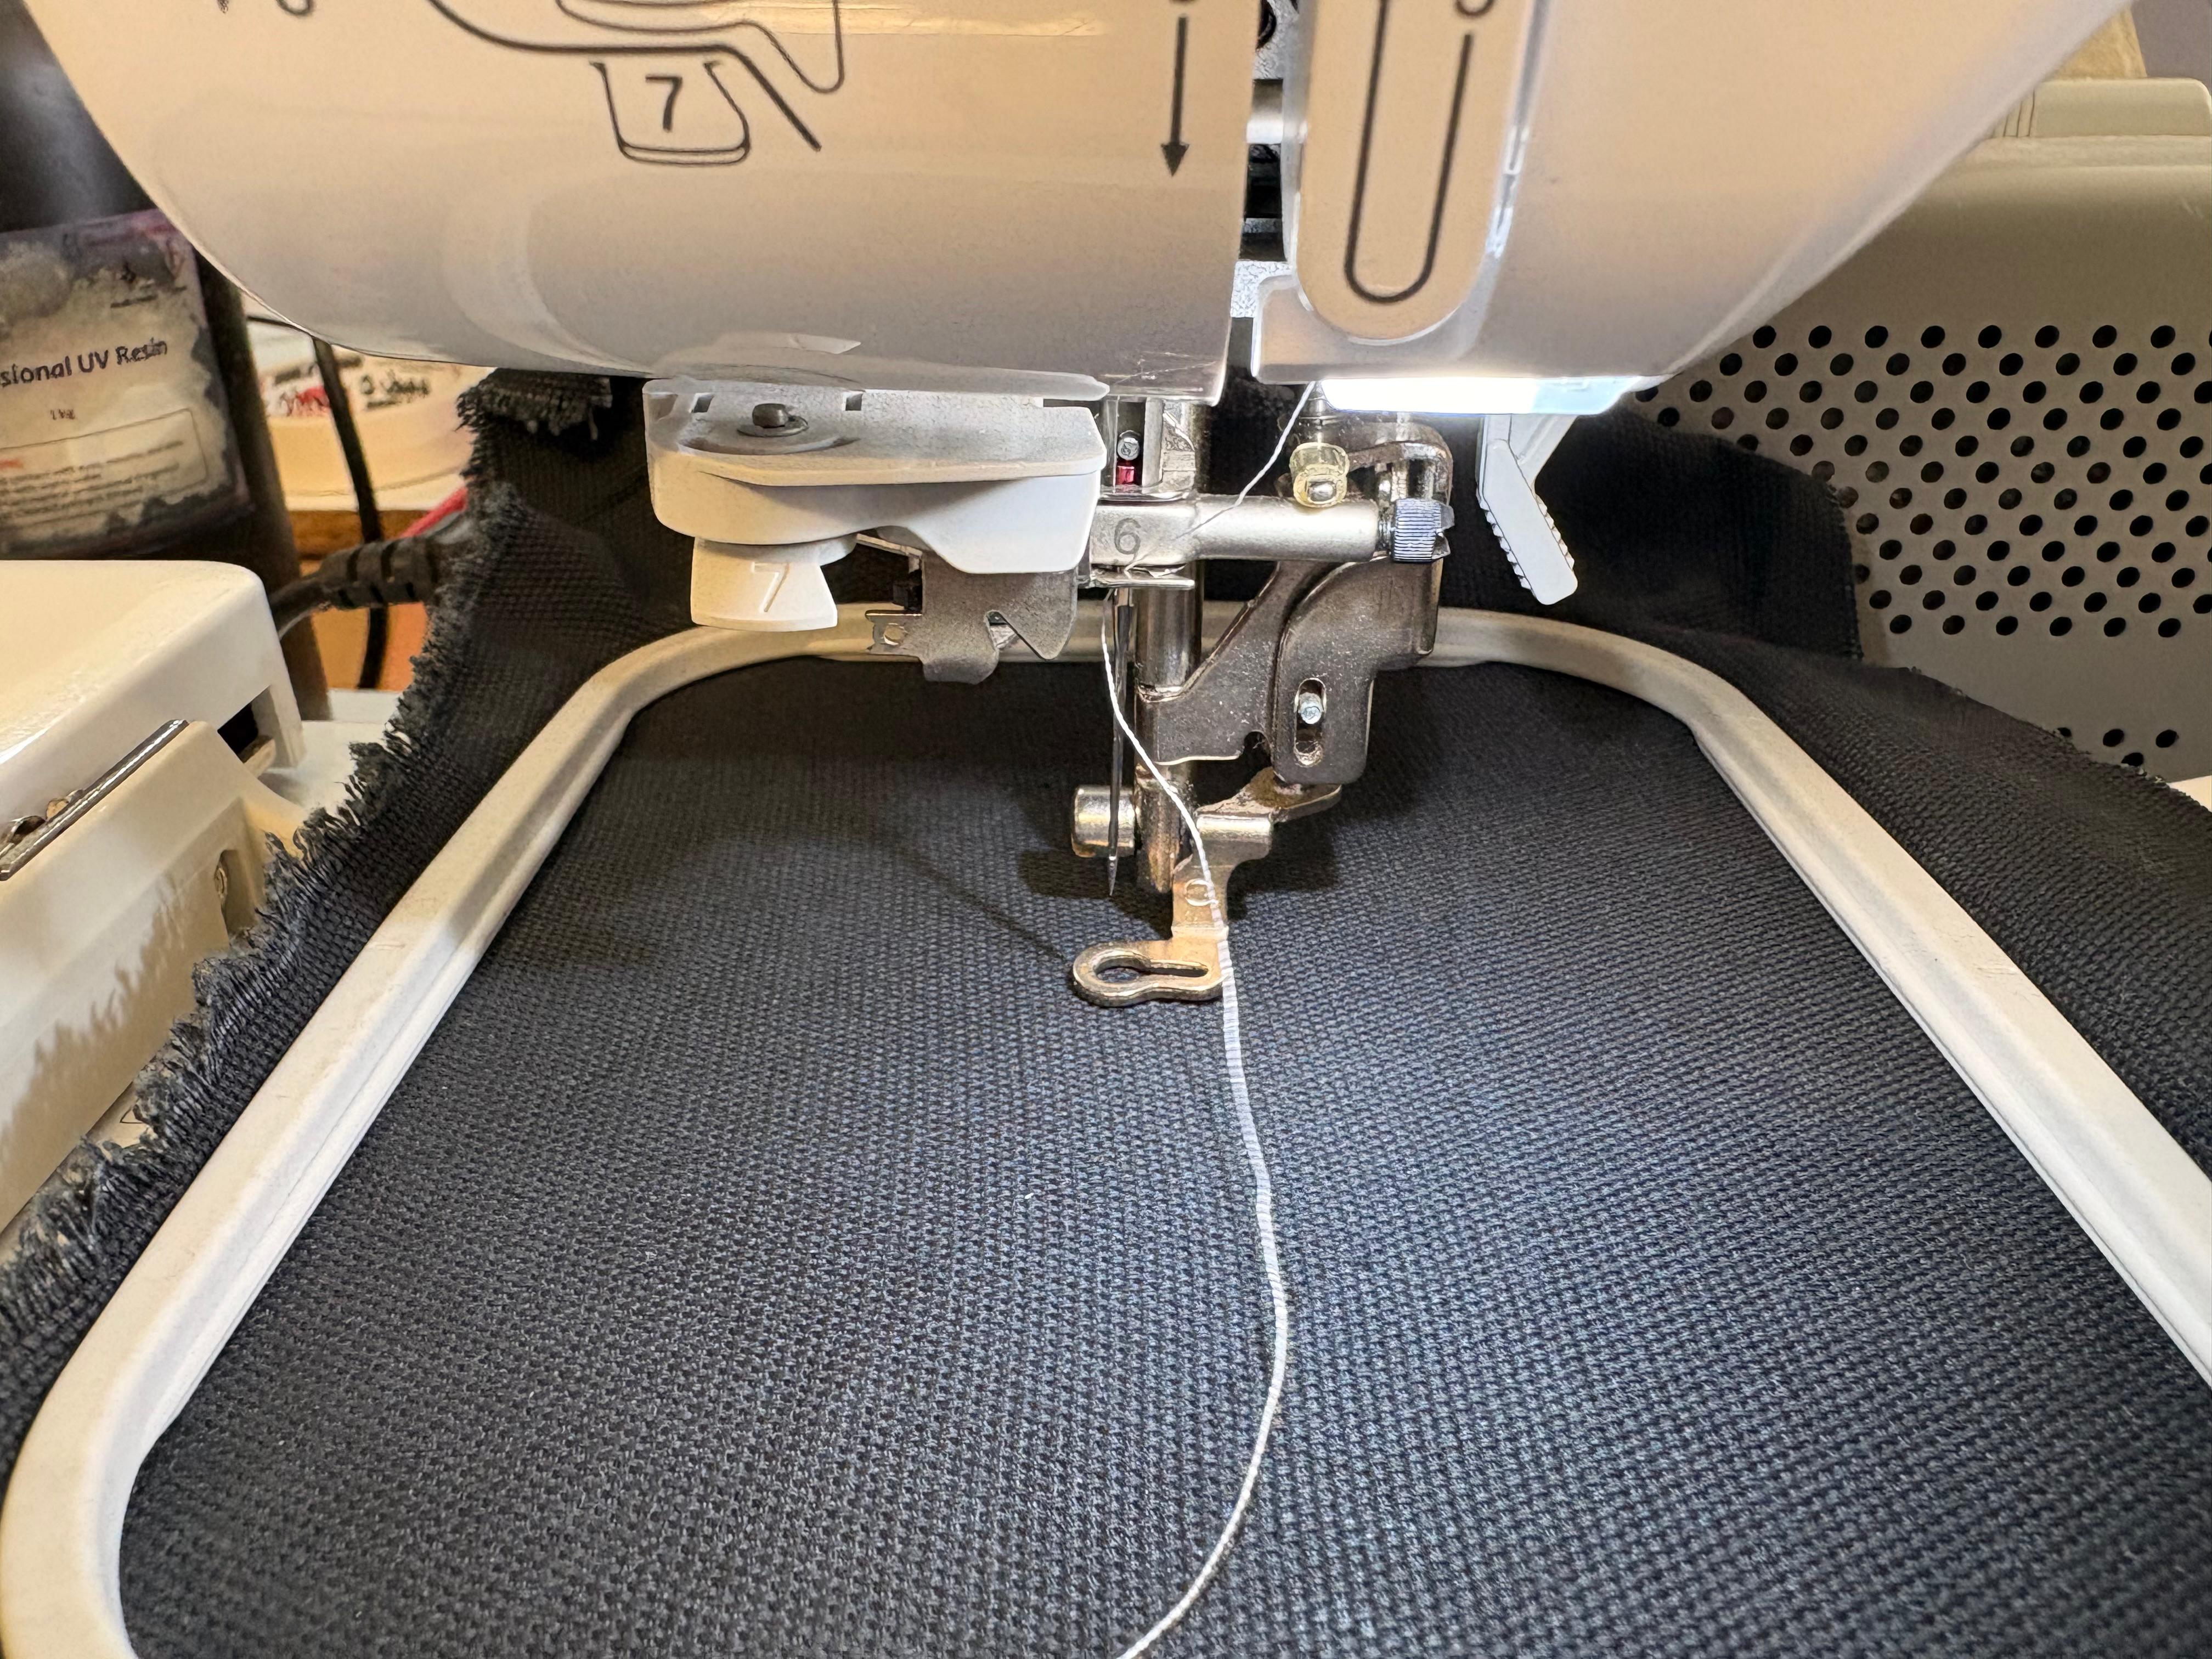
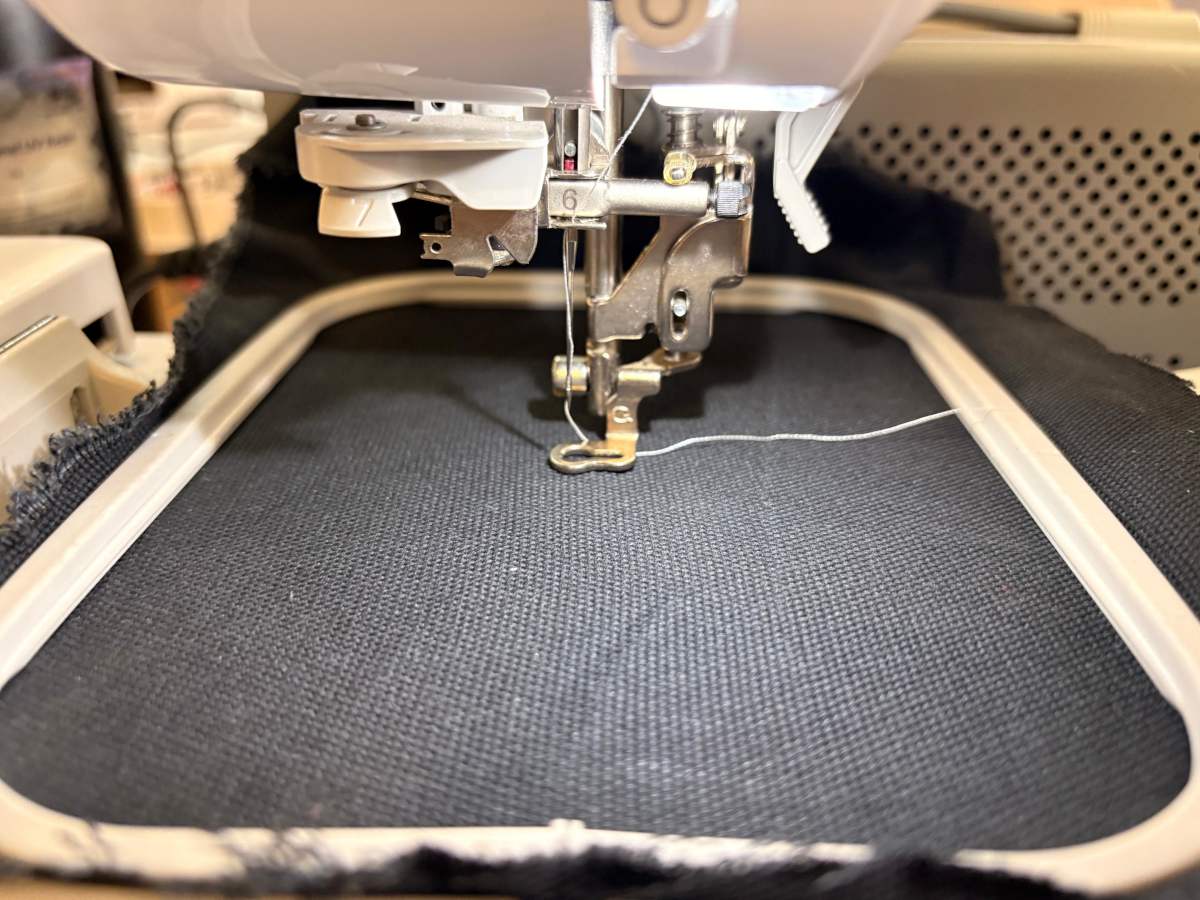
6. Next, we need to pull it up along the curve, fit it into the groove on the inside, attach it to another hook, and lower it back down. Once it’s down, we need to thread it through the space marked with a six, immediately attach it to the front hook, and pass it through the space marked with a seven. Finally, we need to cut the thread and pull a small lever on the side, and the thread will automatically thread itself onto the needle.
Embroidering
7. To finish threading the machine, place the thread under the presser foot and lower the lever to secure it against the fabric.
Embroidering
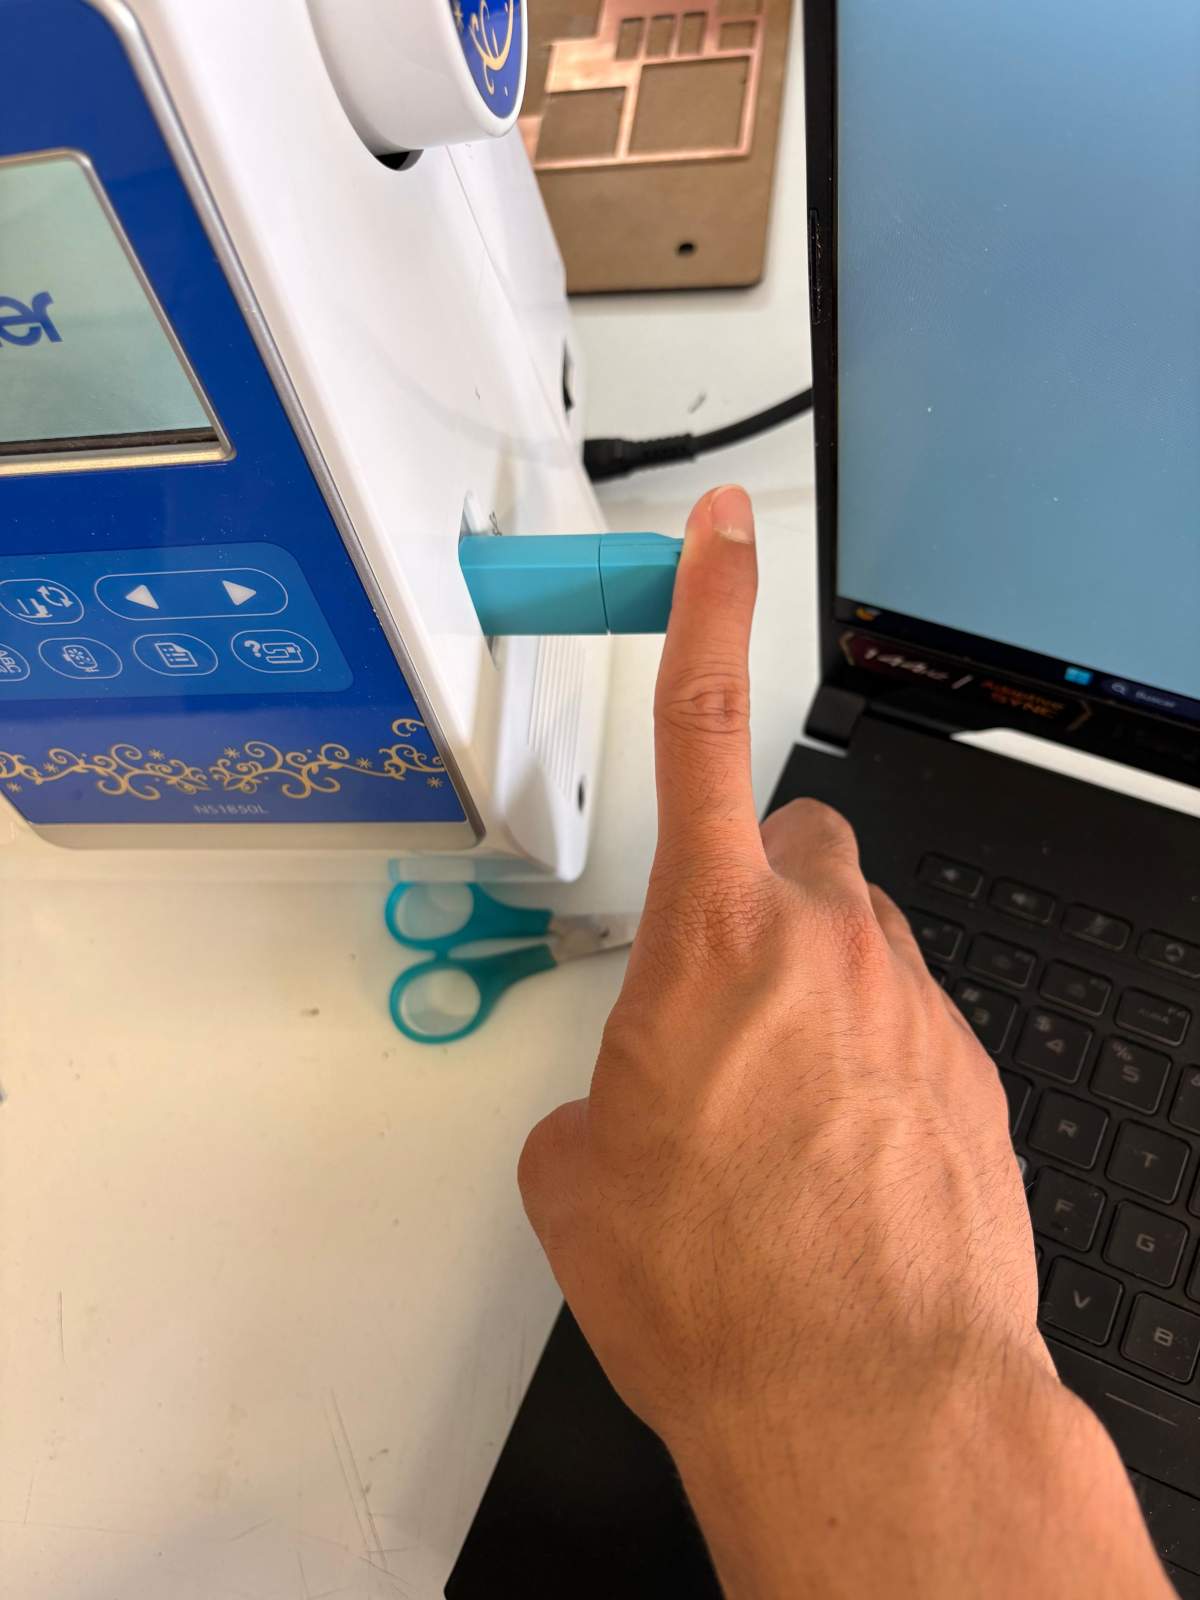
8.We have to place our USB to open our files.
Embroidering
STEPS FOR OPENING A FILE.
1. Frst, We have to press the USB Symbol.
Embroidering
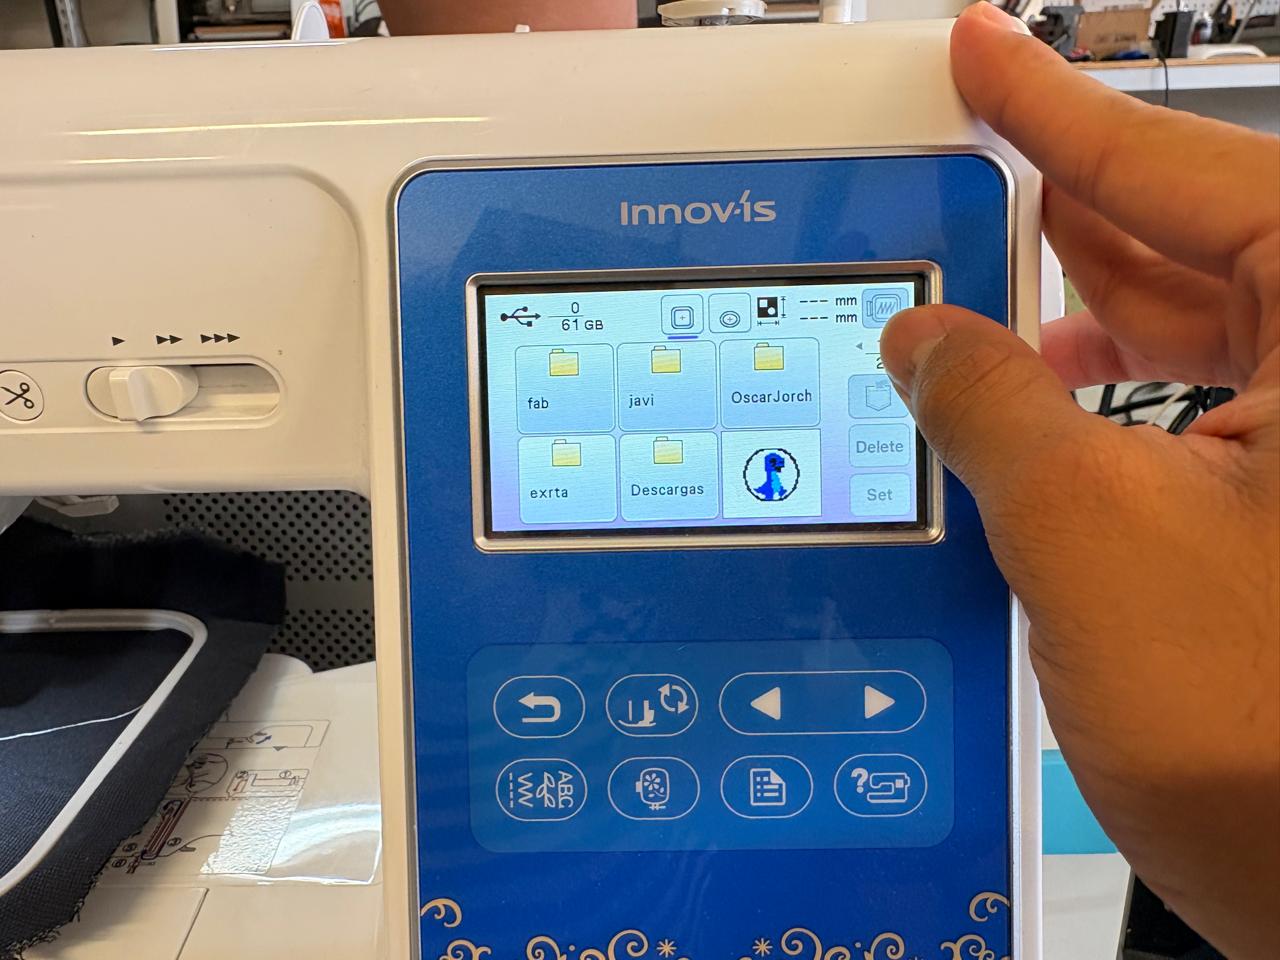
STEPS FOR OPENING A FILE.
2. Then, using the arrows in the control panel we can move through the files and look for our desired image. Next, we must use touch screen an select our image.
Control Panel.
Arrows. To go back and forth.
Return arrow. To return to the previous screen.
Embroidering
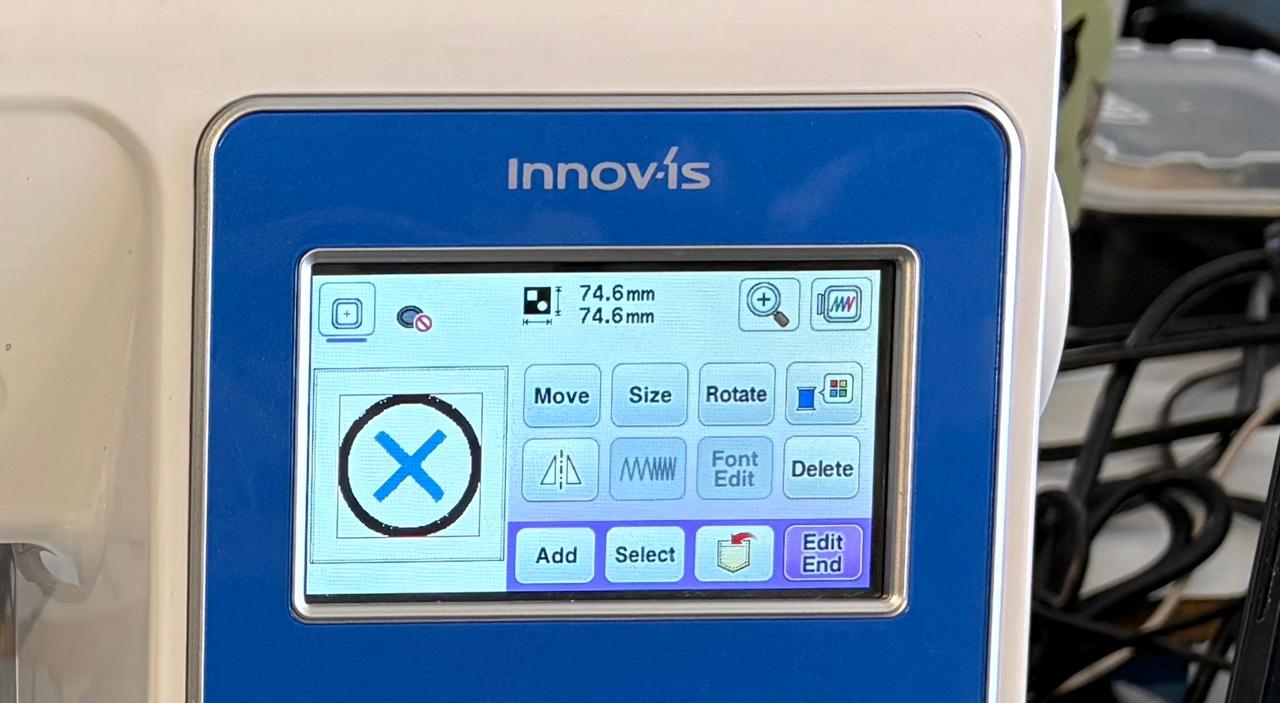

STEPS FOR OPENING A FILE.
3.After selecting our shape, we can edit it. If we don't need to make any changes, we should click the purple button that says “Edit End.”
STEPS FOR OPENING A FILE.
4. Later, we can change its position. If we don't need it, we should press the button labeled “embroidery.”
STEPS FOR OPENING A FILE.
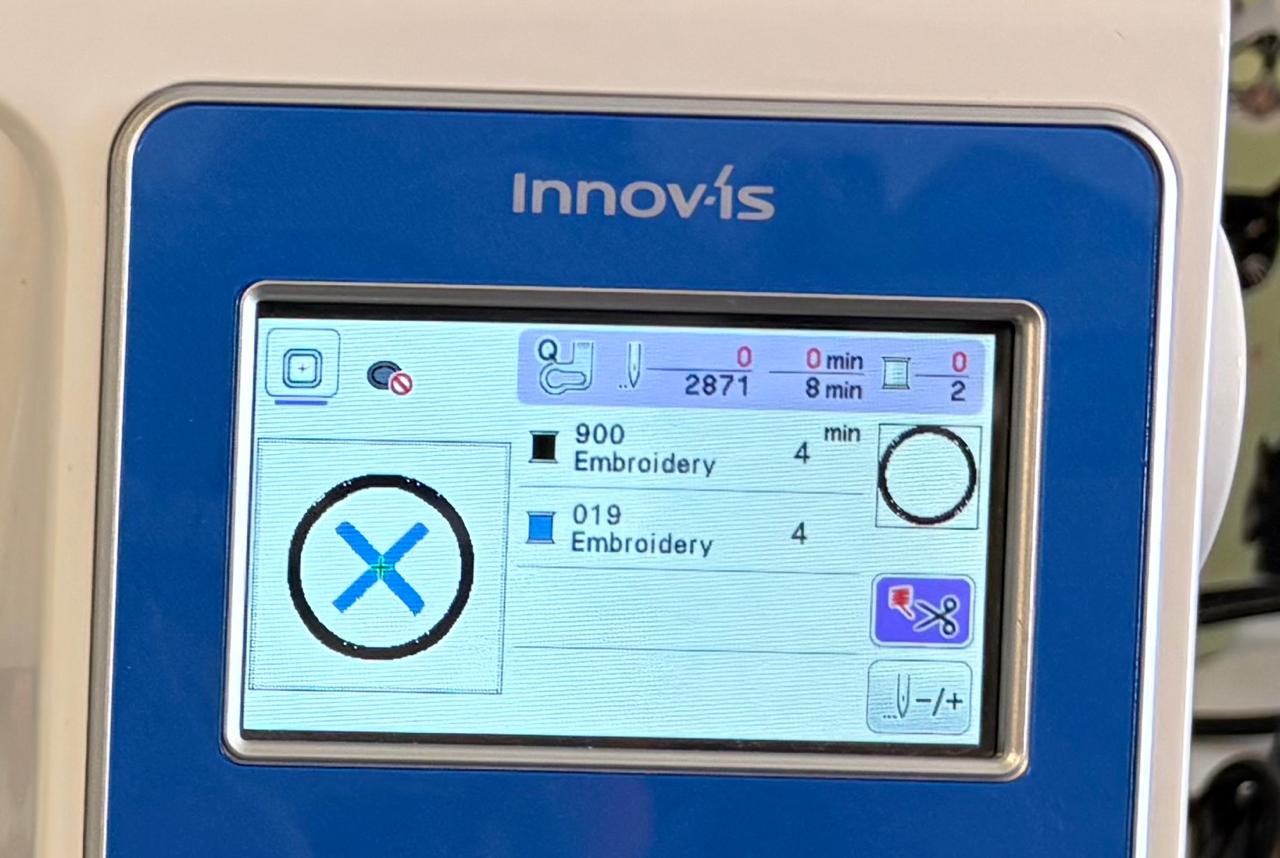
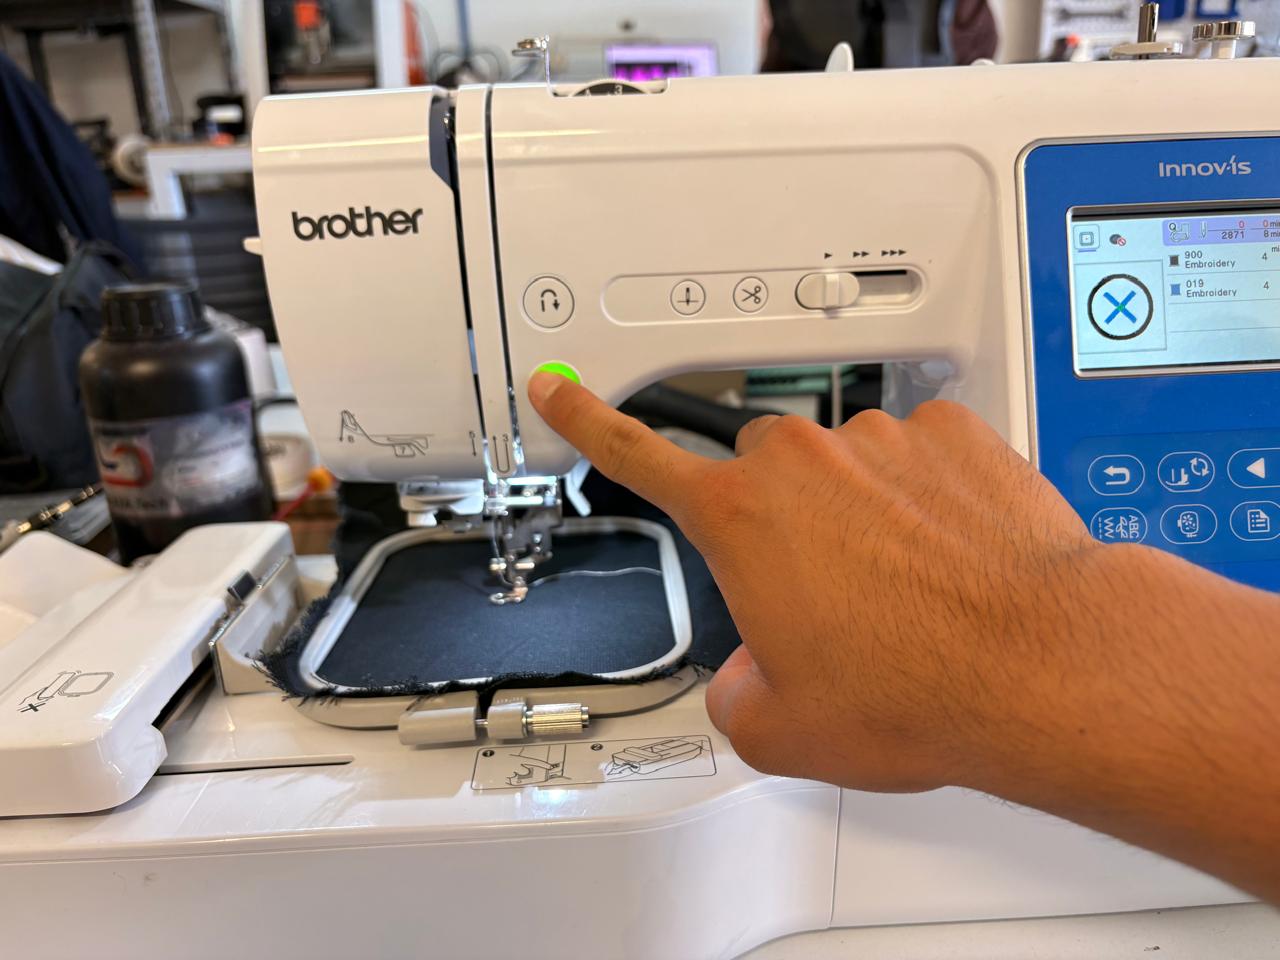
5.Finally, it will show us how long the process will take. To get started, all we have to do is press the button shown, which will turn green once the machine is ready.
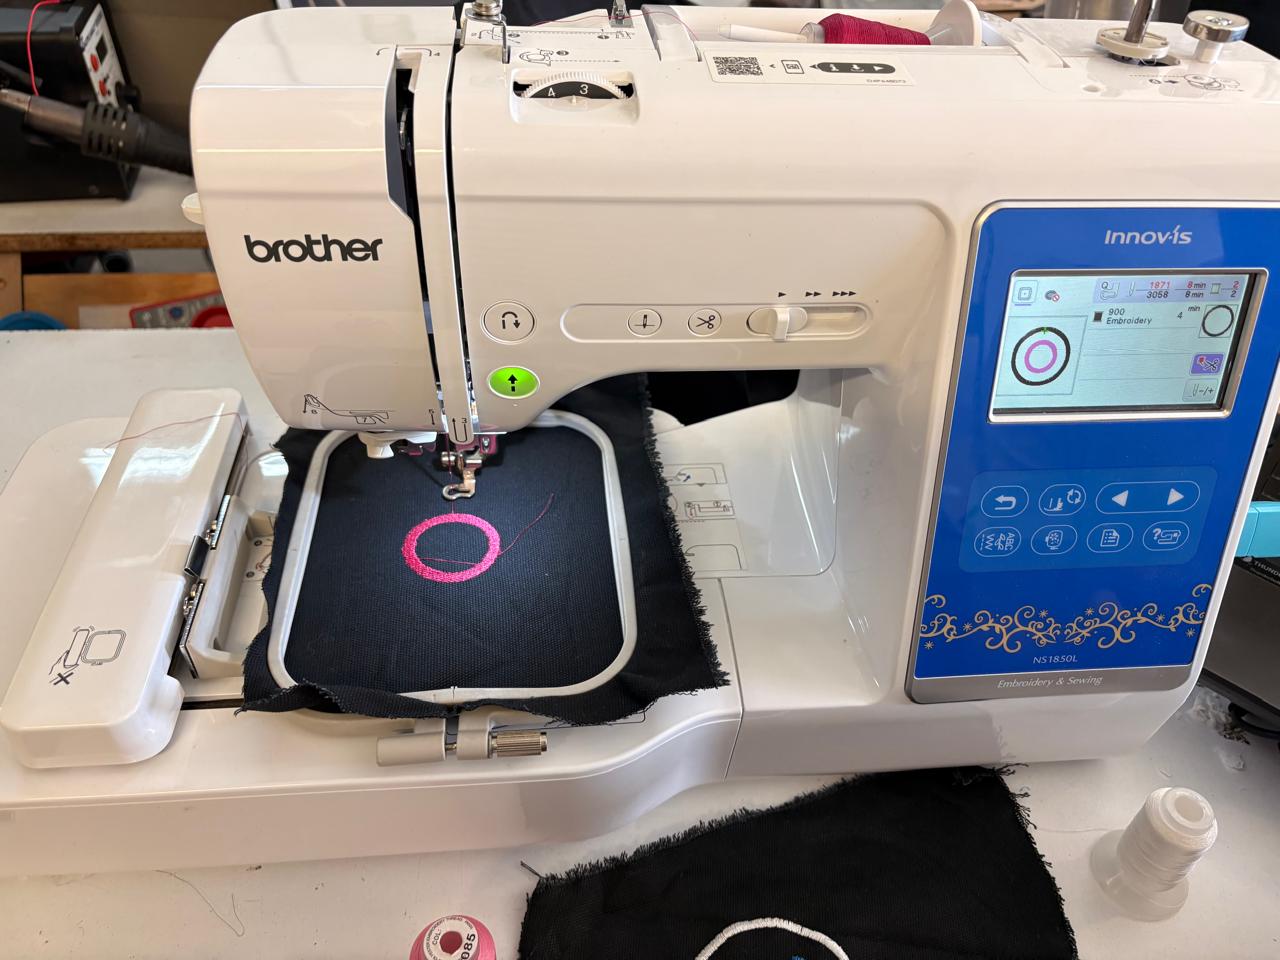
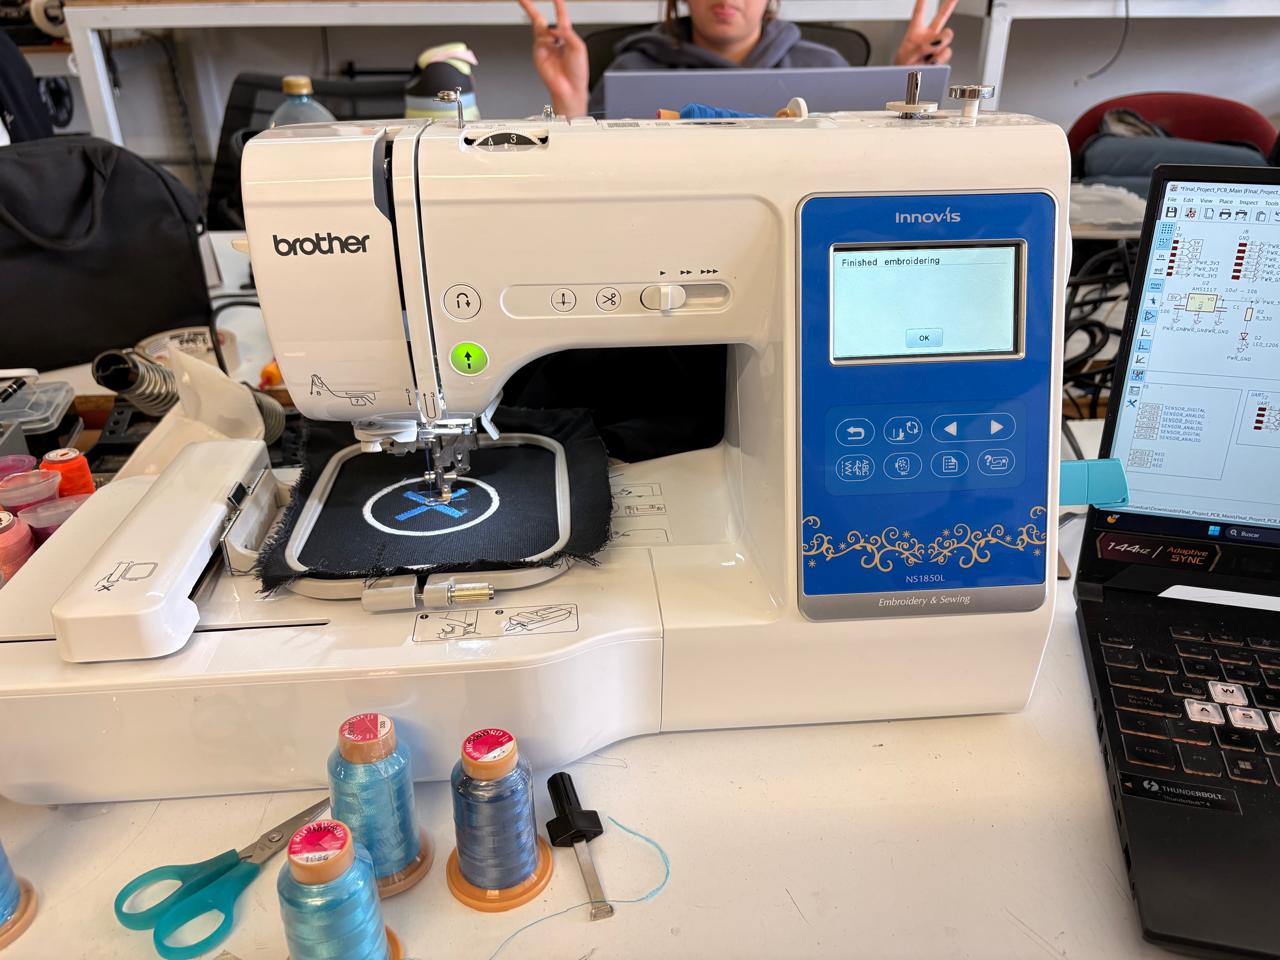
Results
Moulding
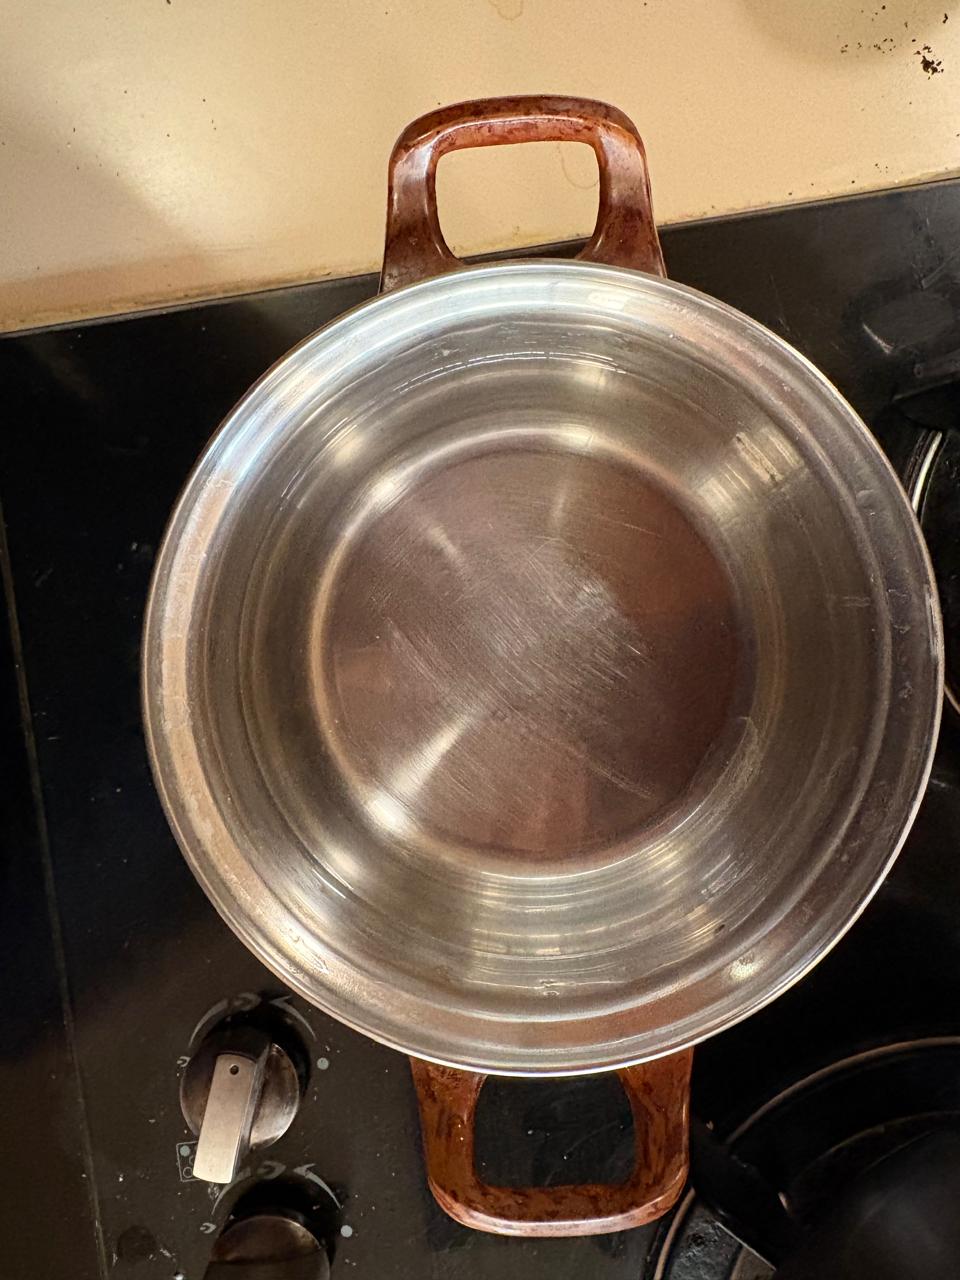
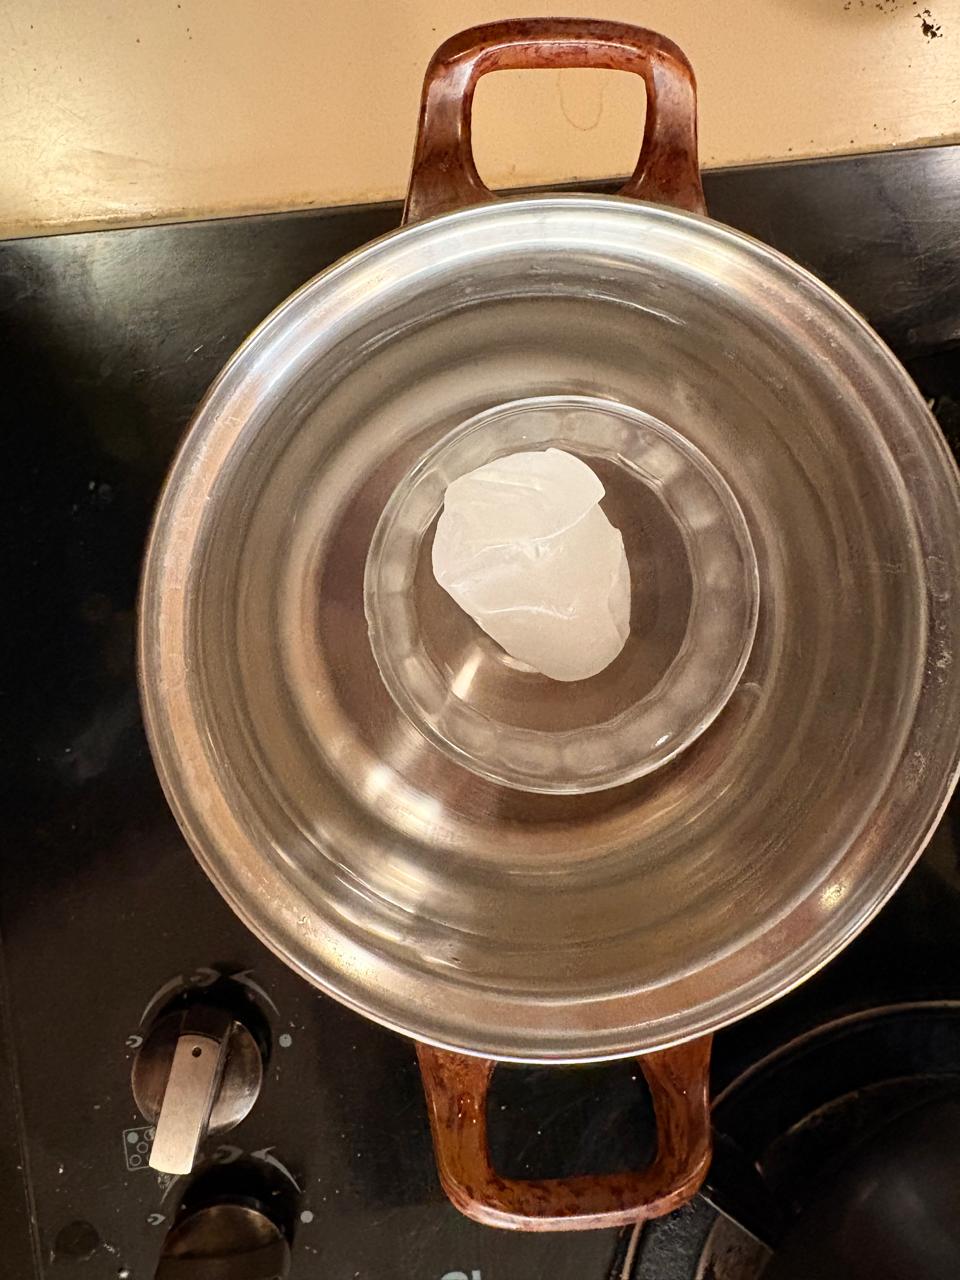
1.First, place the casserole on the stove and fill it with water. Then place the glass container with the wax inside and start heating it.
Materials.
1. Glass container
2. Wax
3. Casserole
Moulding
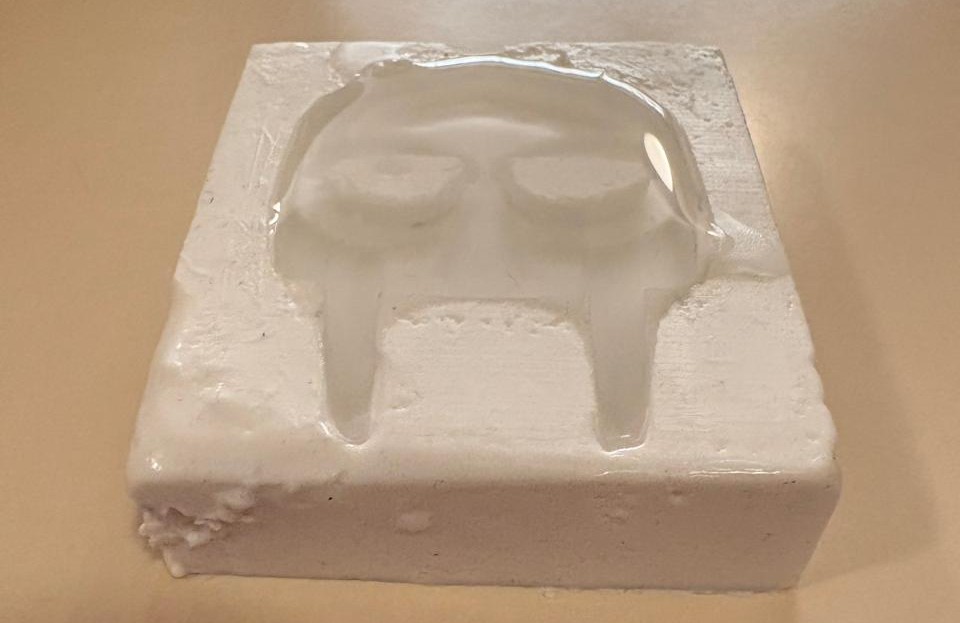
2. Having melted the wax we have to pour inside the mold and wait until it solidifies.
RESULT
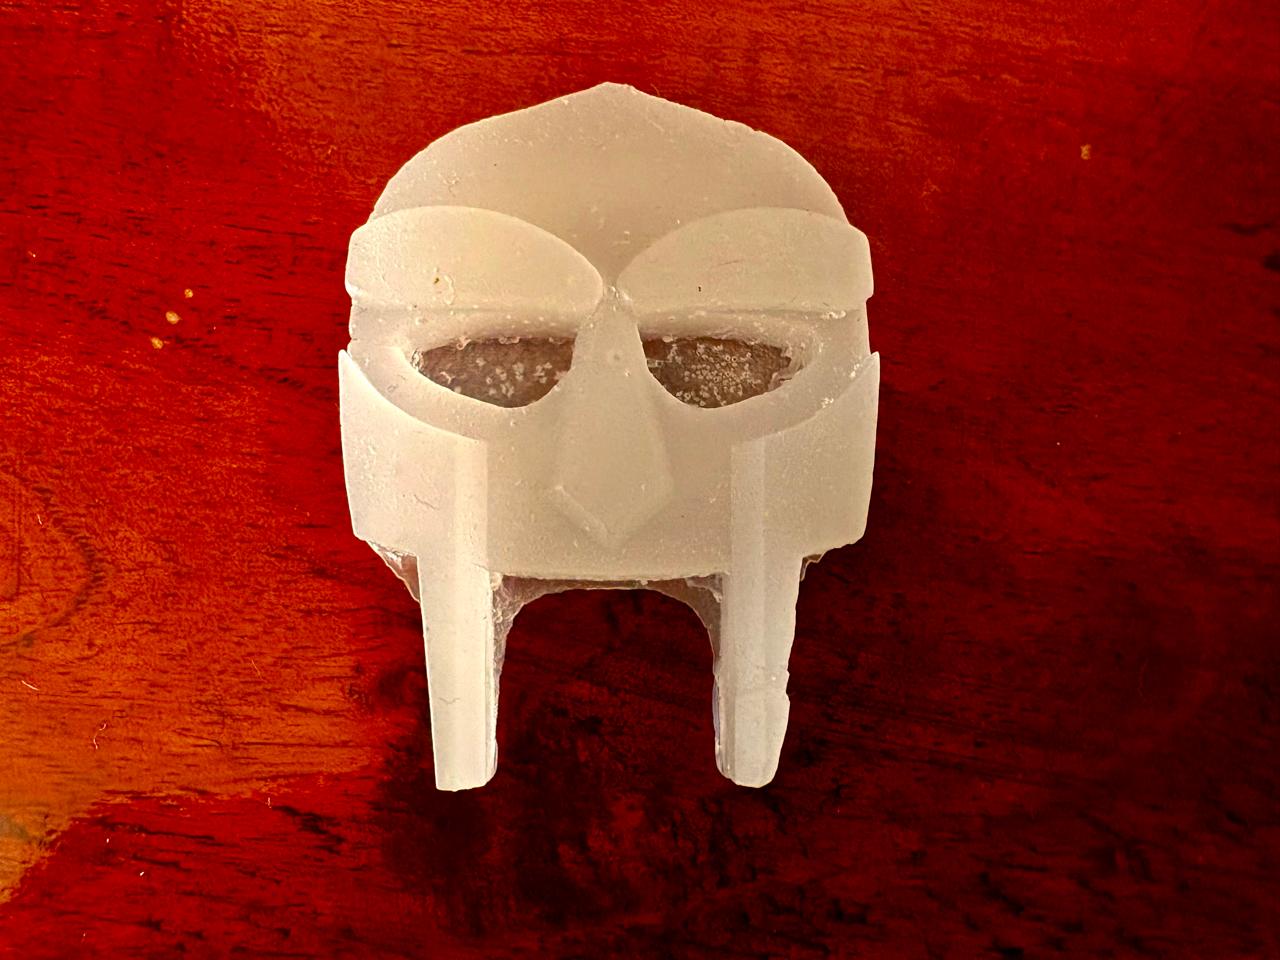
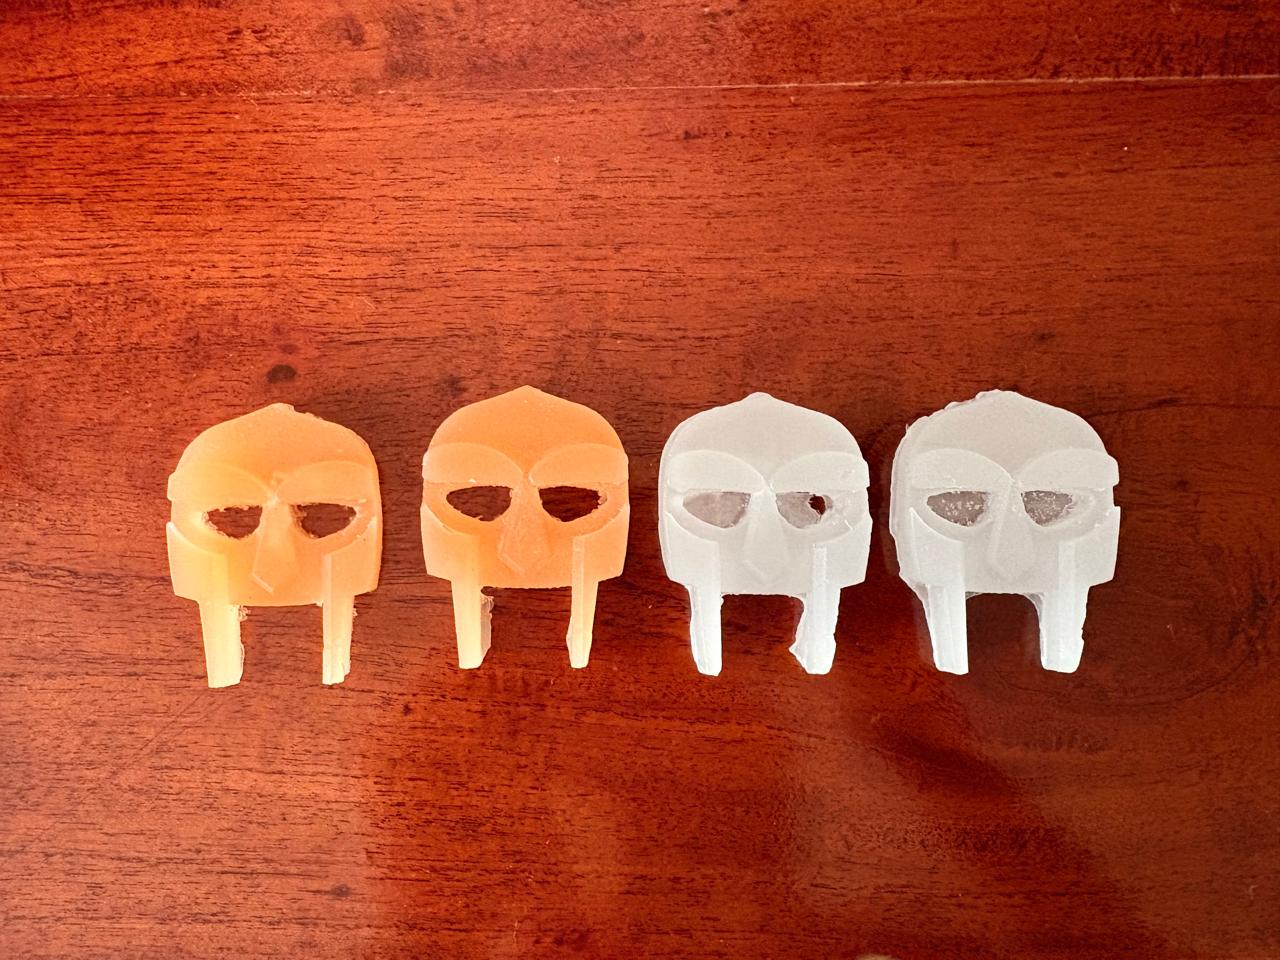
3. Finally we can change the wax color and get different results.
Learning outcomes
This week, I learned a lot about embroidery and the complete process behind creating embroidered designs with a machine. I started by learning how to prepare and digitize a design so that the embroidery machine can reproduce it automatically and accurately.
I also learned how important it is to correctly position both the thread and the fabric before starting the embroidery process. Proper alignment is essential to achieve clean and accurate results. In addition, I realized how significant the choice of fabric and needle can be. If the fabric is too thick or not appropriate for the design, there is a higher risk of damaging the material or wasting resources during the process.
Another important thing I understood was the need to select the right fabric depending on the desired background and final appearance of the embroidery. Making good material choices not only improves the visual result but also helps reduce unnecessary material usage.
Above all, this experience allowed me to better understand what embroidery is really like, especially because it is not something I do very often.