Week 1. Project management
Introduction
This is the first week of the Fab Academy 2026. The purpose of this week was to develop our website and understand how to update our repository using Visual Studio Code and Git. In addition, the Fab Academy agenda and workflow were explained.
We were also instructed to develop a sketch for our final project.
Setting up our Git account
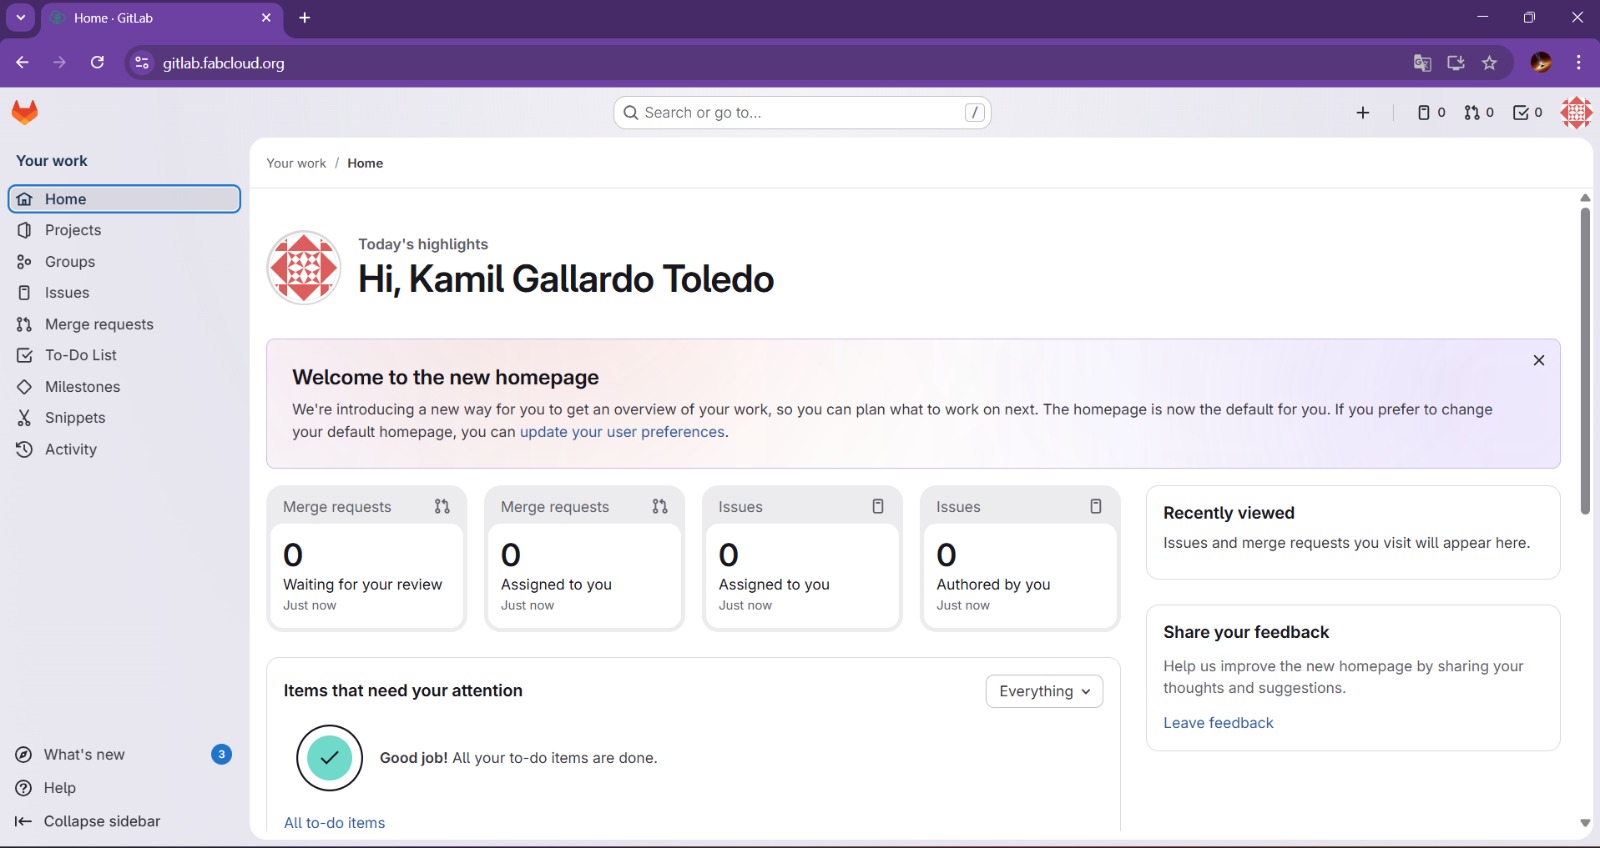
We first enter in our e-mails and log in with our recently created fabcloud gitlab account.
After that, we should download Git Bash Software and Visual Studio Code from the official websites, those two will be our predeterminated softwares for editing our website and repository.
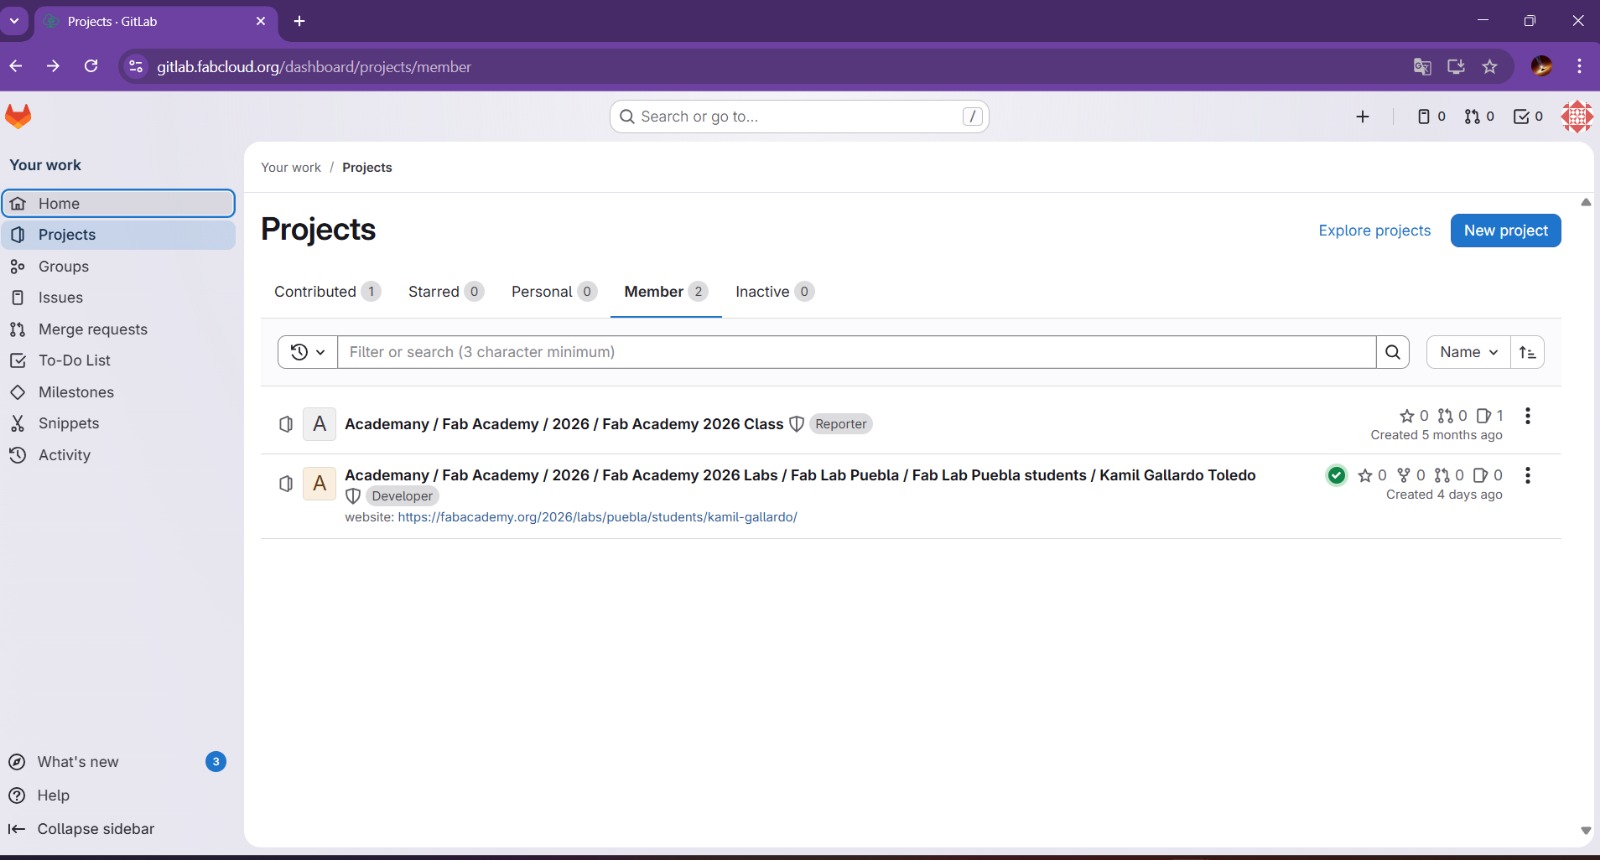
Then, we need to copy our website template from our gitlab account following the next steps:
- Go to homepage by clicking in the fox symbol in the upper left corner.
- Click the Projects section.
- In the Projects section, select Member and click on the second link.
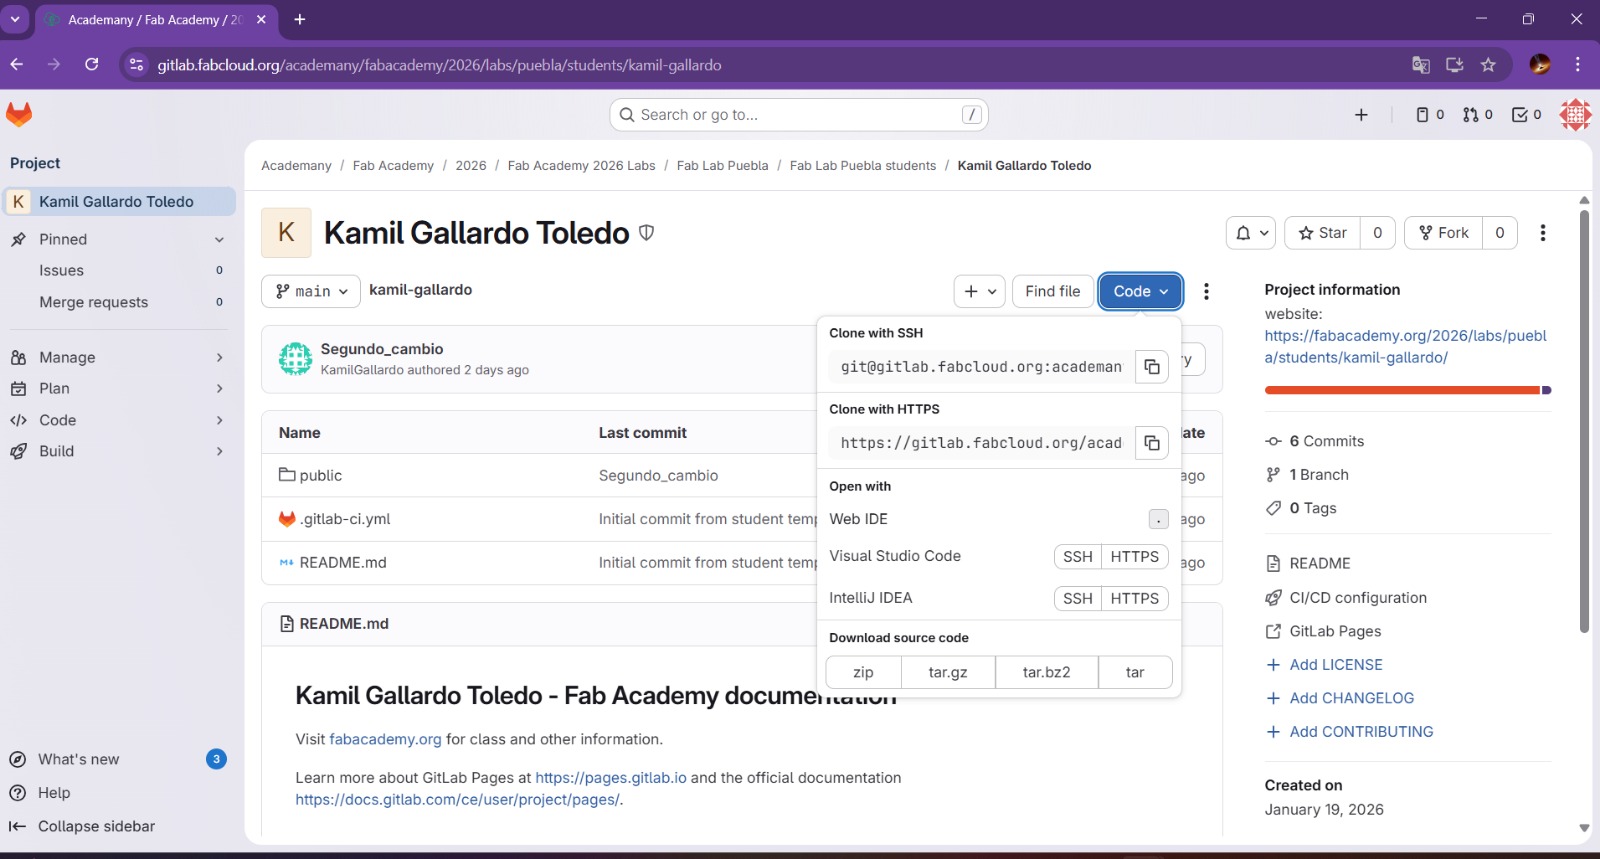
- Afterwards, we should click on the code button and copy the Clone with HTTPS URL.
Once that is done, the folder must have this structure.
kamil-gallardo (your repository name)
      │
      ├── .git/
      ├── .gitlab-ci.yml
      ├── README.md
      │
      └── public/
          │
          ├── index.html
          ├── style.css
          ├── script.js
          │
          ├── images/
          │   ├── Final_project/
          |   |   └──Memory_game.jpeg
          │   ├── Week_01/
          |   |   ├──Clonig_repository.jpeg
          |   |   ├──Git_account.jpeg
          |   |   ├──Pasting_in_PC.jpeg
          |   |   ├──Project_section.jpeg
          |   |   └──The_big_3.jpeg
          |   |
          |   ├──Pruebafoto.jpeg
          |   └──YO.jpeg
          │
          ├── files/
          |   └── 2025184712.pdf
          |
          └── assignments/
              └── week1.html
Using Git and Visual Studio Code
Git Basics
Git is a distributed version control system that allows you to save, track, and coordinate changes to files (mainly code), facilitating collaborative work and the recovery of previous versions.
- git clone <URL> : Clone a repository.
- cd . : Open a folder.
- git add <name-of-file> : Add new files to an existing repository.
- git add . : Add all new files or modifications to the repository.
- git commit -m "message" : Commit the changes to our repository, the message is for clasify the change.
- git push : Transmit the commits of our local repository to the remote repository, this will integrate the changes into the webpage.
- git status : Display the current state of the working directory and the staging area.
- git reset : Erases de previous commit.
Cloning and uploading a repository
First we need to create a folder in our computer, it will be the place were we are going to save our repository.
After that, we have to open the terminal of our windows PC. The fastest methods are pressing Win+X and selecting "Terminal" or searching for "cmd" in the start menu. But there's also another method, open the terminal from Visual Studio Code, I'll explain this method.
- Open the folder we created earlier, in Visual Studio Code, in my case its name is "FAB26", then we click the Terminal section and select New Terminal.
- Once in the Terminal, we input git clone <URL-of-FabAcademy> and begin to clone it in our folder.
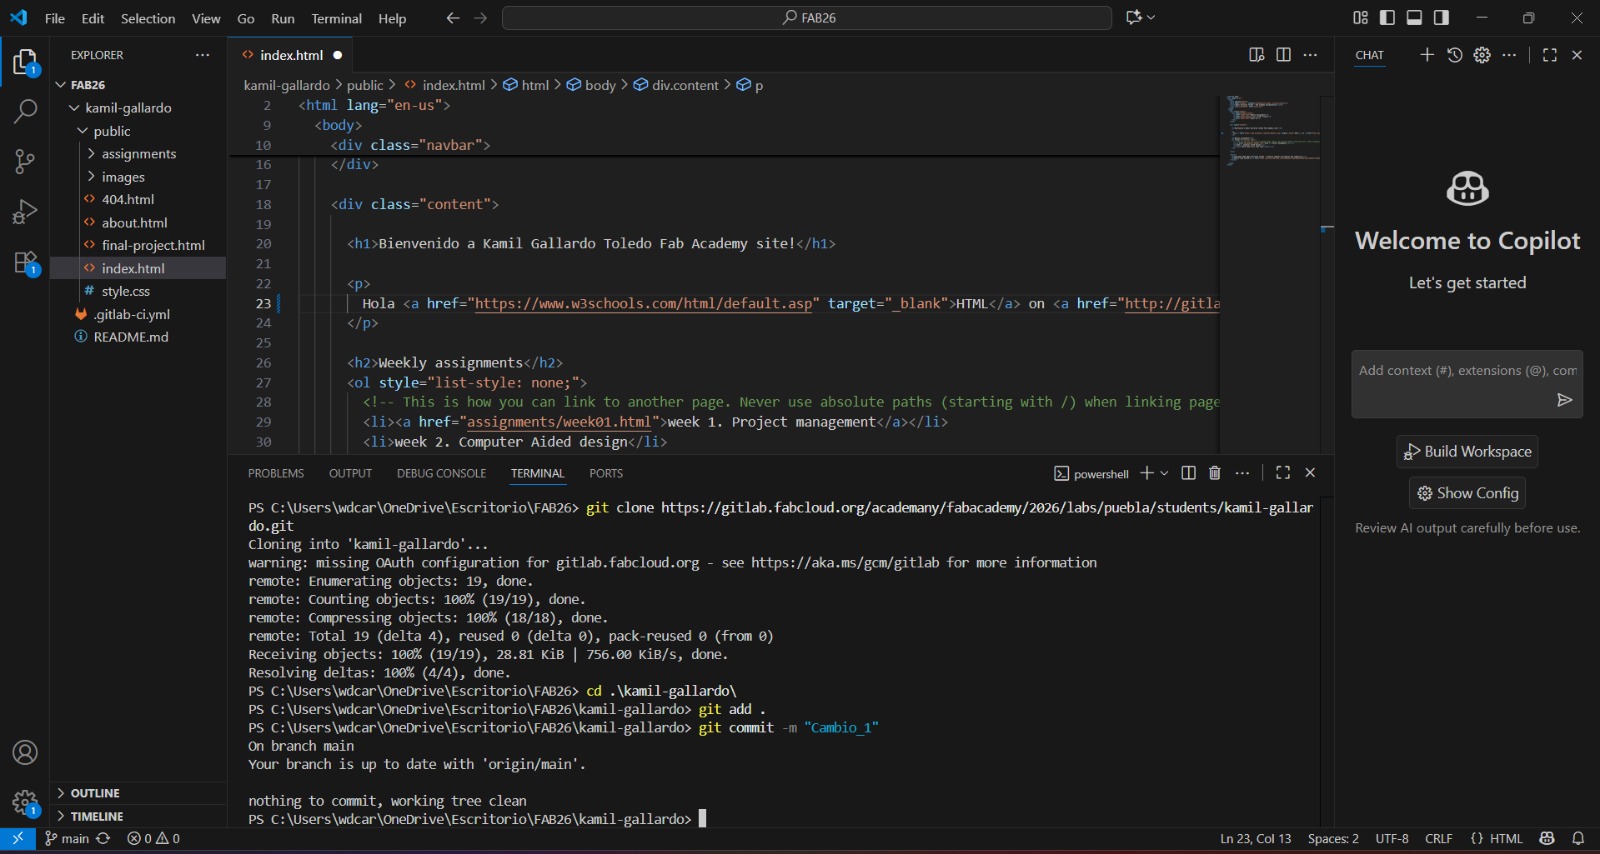
After copying our website to our own computer, it's time to make the first changes in it.
HTML and CSS Basics
HTML
HTML (HyperText Markup Language) is the markup language used to structure the content of a web page, such as text, images, links, and forms, using tags.
Document structure tags
- <!DOCTYPE html> : Represent the document type. It is the first thing an HTML document must have.
- <html> : This is the main element of our document. Since HTML is nested (this means that elements can contain other elements), It contains everything.
- <head> : Contains the metadata of our document. The metadata basically is structured information that describes our documents.
- <meta charset="utf-8"> : Declares the character encoding for our document.
- <meta name="viewport" content="width=device-width, initial-scale=1, user-scalable=no"> : Sets the viewport to the device's screen scale.
- <title> : The name of our document that will be shown in the browser.
- <link rel="stylesheet" href="path-to-css-file"> : Links our document to a CSS file.
- <body>: Contains all of the content of our document, like text, images, videos, links, etc.
- <header> : Its the header of our page.
- <div> : It sets a division between the content inside of it and the content outside.
- <section> : Sets a section in the document.
- <nav> : Defines the content inside of this tag as a navigation menu inside our page.
- <h1> to <h6>: Defines headings from <h1> as the most important heading to <h1> as the least important.
- <p> : Creates a paragraph.
- <br> : Inserts a line break.
- <strong> : Display the content in Bold.
- <em> : Display the content in cursive.
- <ul> : Creates a bullet point list.
- <ol> : Creates an numbered list.
- <li> : Defines a list item inside one of the previous two lists.
- <a> : Defines a hyperlink, it requires an href attribute that contains the URL of the link.
- <img> : Inserts an image, it requires a src attribute that contains the URL of the image.
- <video> : Inserts a video, it requires a src attribute that contains the URL of the video.
- id : Identifies the element with a unique name.
- class : Identifies the element with a class name.
- style : Provides inline CSS to the element.
- width :Edit the width of the element.
- height : Edit the height of the element.
- target : Controls how a link will be opened, this can be the default "_self" to open the document in the same window, or "_blank" to open a new window.
- download : Makes the link download the linked file.
Text
Lists
Visual tools
Some useful attributes
CSS
CSS (Cascading Style Sheets) is the style language that defines the appearance and design of a web page, controlling colors, fonts, sizes, and the layout of HTML elements.
- First, it is essential to link our CSS document to the HTML, using the link function explained earlier.
- Once linked, we can go to our main.css document.
- Within the CSS document, we can establish the design and aesthetic characteristics of our HTML.
And that's it, that is how we can start editing our website.
Example page
Our local instructors gave us a brief introduction on how to develop our web pages, and we learned how to use some of the tags and attributes described above.
They taught us how to change the title of the web page, how to place images and edit their attributes, how to make lists, how to place 3D models, and how to add sections and divs.
example page9. Uploading our files to the Internet.
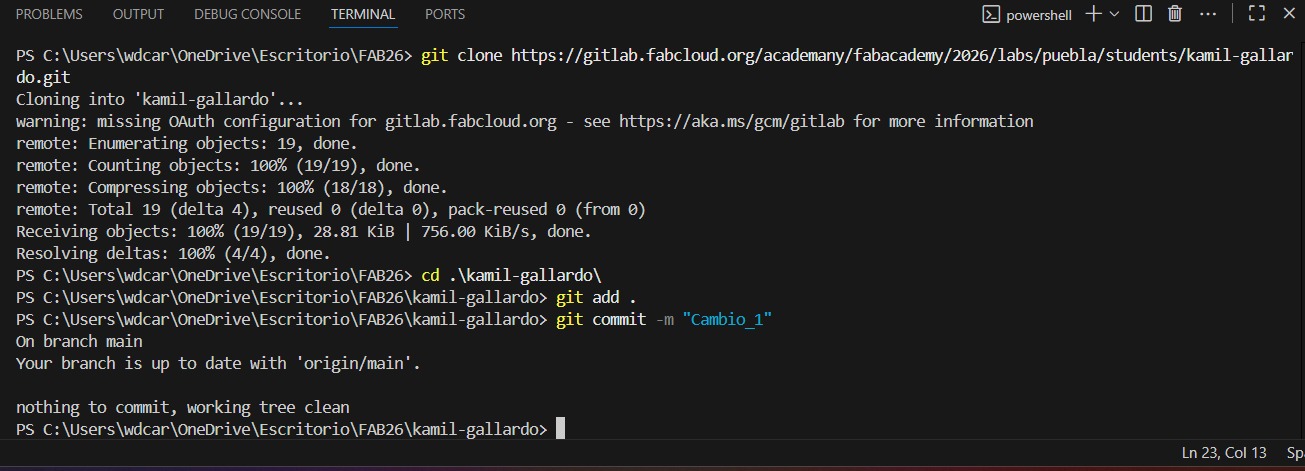
To upload our files to the internet, we have to use what we have learned and apply the big 3: git add ., git commit -m "message"and Push.
- git add . : Add all new files or modifications to the repository.
- git commit -m "message" : Commit the changes to our repository, the message is for clasify the change.
- git push : Transmit the commits of our local repository to the remote repository, this will integrate the changes into the webpage.
And remember, every time that you have to modify your webpage, use the big 3.
Learning outcomes
This week I learned a lot about using HTML and CSS. This wasn't my first time using both languages, but I did learn some new things. On the other hand, I was unfamiliar with Git, and it has been a pleasant experience, as it allows me to have more direct contact and greater control over the files I upload to my website.