
WILDCARD WEEK
Individual assignments
- Design and produce something with a digital process (incorporating computer-aided design and manufacturing) not covered in another assignment, documenting the requirements that your assignment meets, and including everything necessary to reproduce it. Possibilities include (but are not limited to)
For this week, we had to produce something that included a digital process. In this case, we were given the option of manufacturing or computer-aided design. For this purpose, I created an embroidery patch using the Brother Innovis NS1850L sewing and embroidery machine. The process of making the patch or embroidery is very simple.
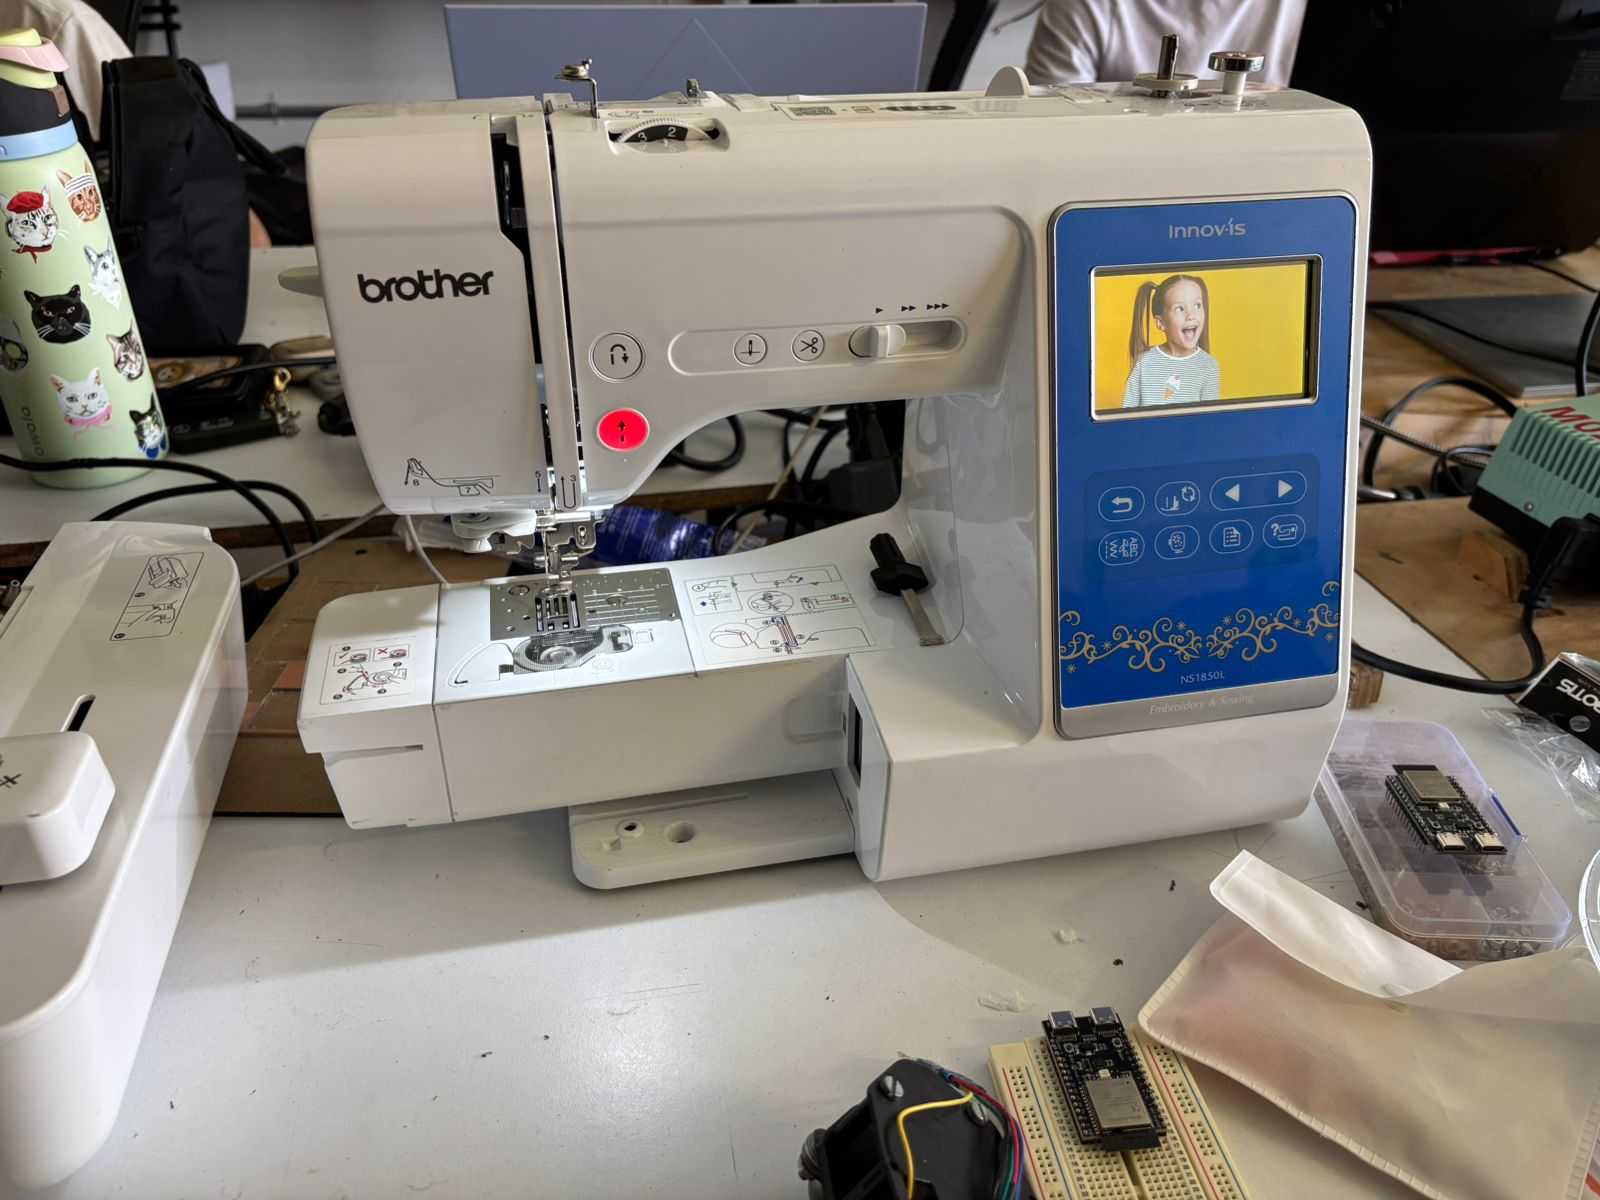
What is the Brother Innovis NS1850L?
It is a sewing, quilting, and embroidery machine. It has WiFi connectivity. It allows users to create different embroidery patterns and includes 35 built-in embroidery designs.
Digital Design
For the design process, the first thing I had to do was download an image of what I wanted my embroidery to be. In my case, I decided to make the logo of my favorite band called Starset. The logo is a star. Once I downloaded the image, I used the software Inkscape to prepare the file needed by the machine. I followed these steps:
- Download the Ink/Stitch extension (https://inkstitch.org/). This is an extension used in Inkscape specialized for embroidery.
- After installing it, I opened File → Document Properties. In this section, I changed the page size to match the sewing machine’s work area. In my case, it was 10 cm by 10 cm.
- Once the size was changed, I placed my image on the work area and adjusted it according to how I wanted it to appear using the Trace Bitmap and Single Scan options. Since my image was black and white, I inverted the image and applied these changes.
- After making these changes, I deleted the background image and kept only the star. I also adjusted its size according to my preference.
- I selected my image and then clicked Path → Break Apart. This option allows the image to be divided into different sections. The tool makes it possible for the machine to follow a proper stitching path to create the embroidery. You can observe these sections by selecting the image; a layer divided into different paths should appear.
- Once this was done, I selected Extensions → Ink/Stitch → Visualize and Export → Simulator. This allows the software to run a simulation video of the process the sewing machine will follow. If you want to edit the process or the filling method, you should select Extensions → Ink/Stitch → Edit. In the Fill Method section, different filling methods will appear; choose the one you prefer.
- After selecting this, choose File → Export. A window will open on the right side. Then, change the format in the lower-right box to Ink/Stitch Brother Embroidery Format (.pes). Next, select the folder where you want the file to be exported and export it in .pes format.
- Finally, save the file to your USB drive.
Using the Embroidery Machine
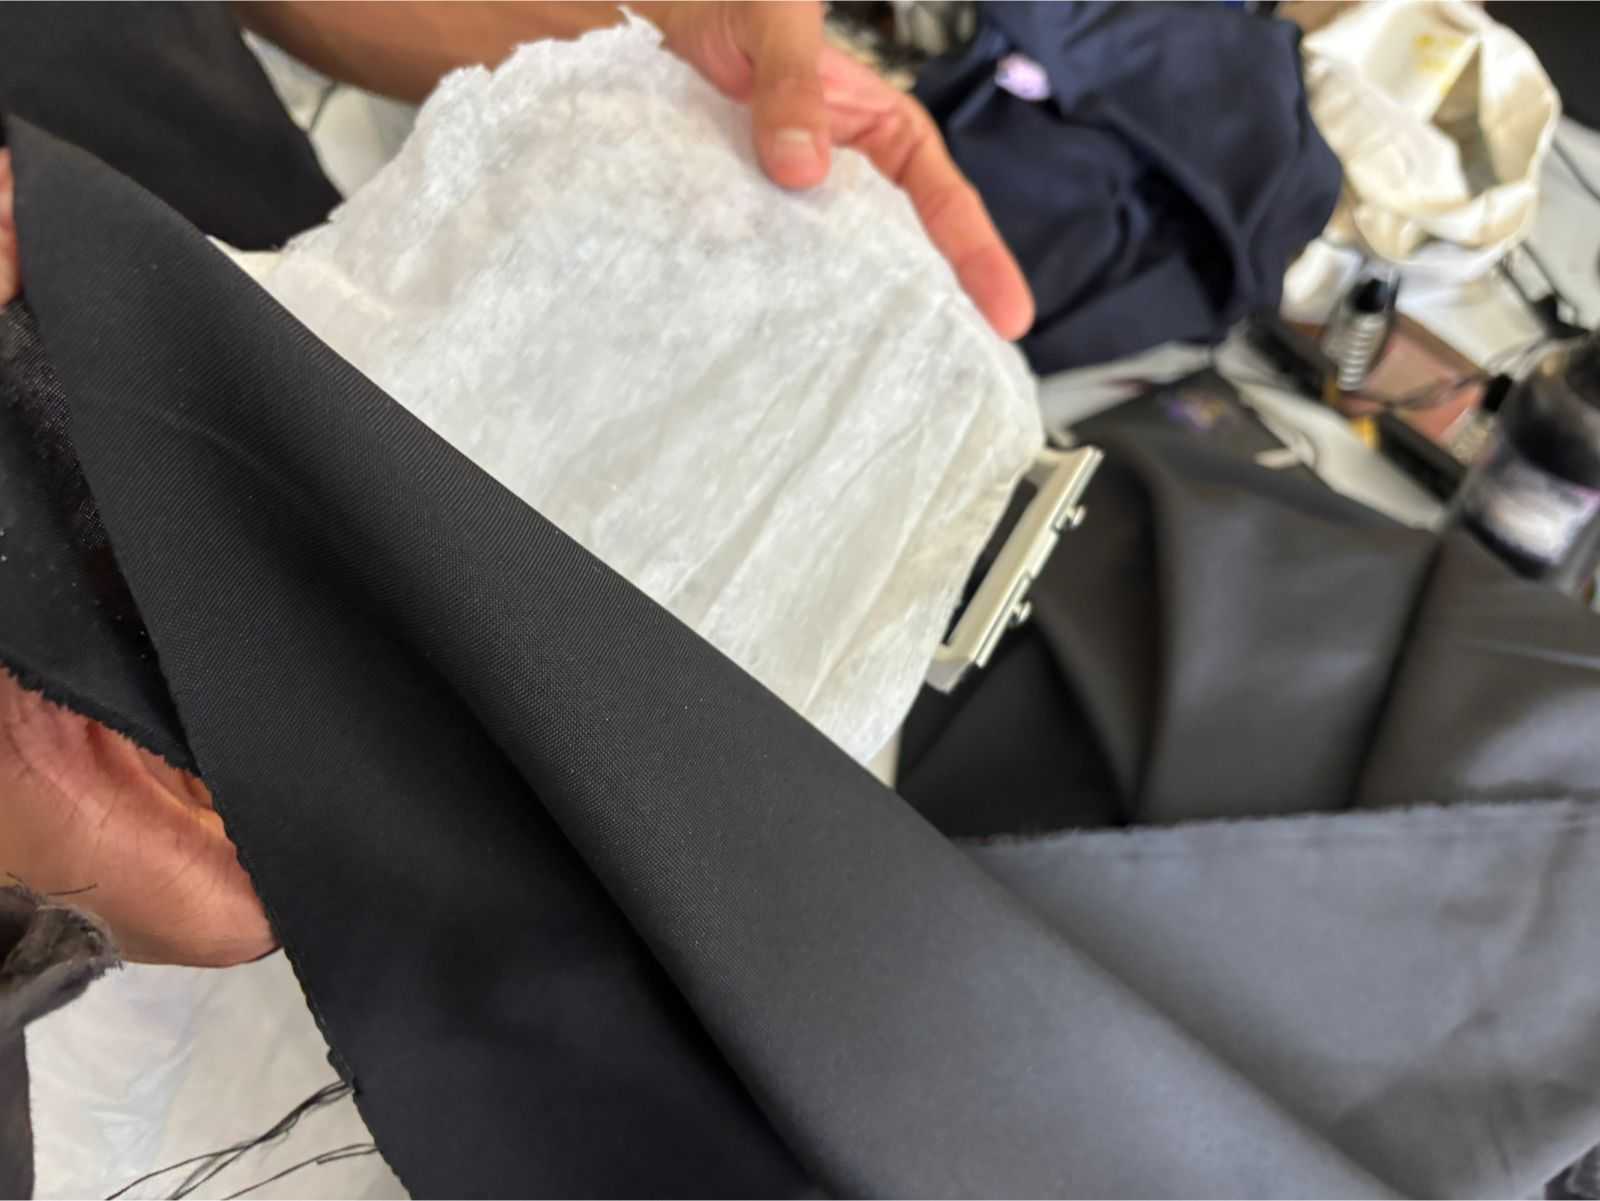
- First, two types of fabric were prepared: one cotton fabric and another thicker fabric. However, it is important to know that this sewing machine can work with many different types of fabrics, so you may choose others as well.
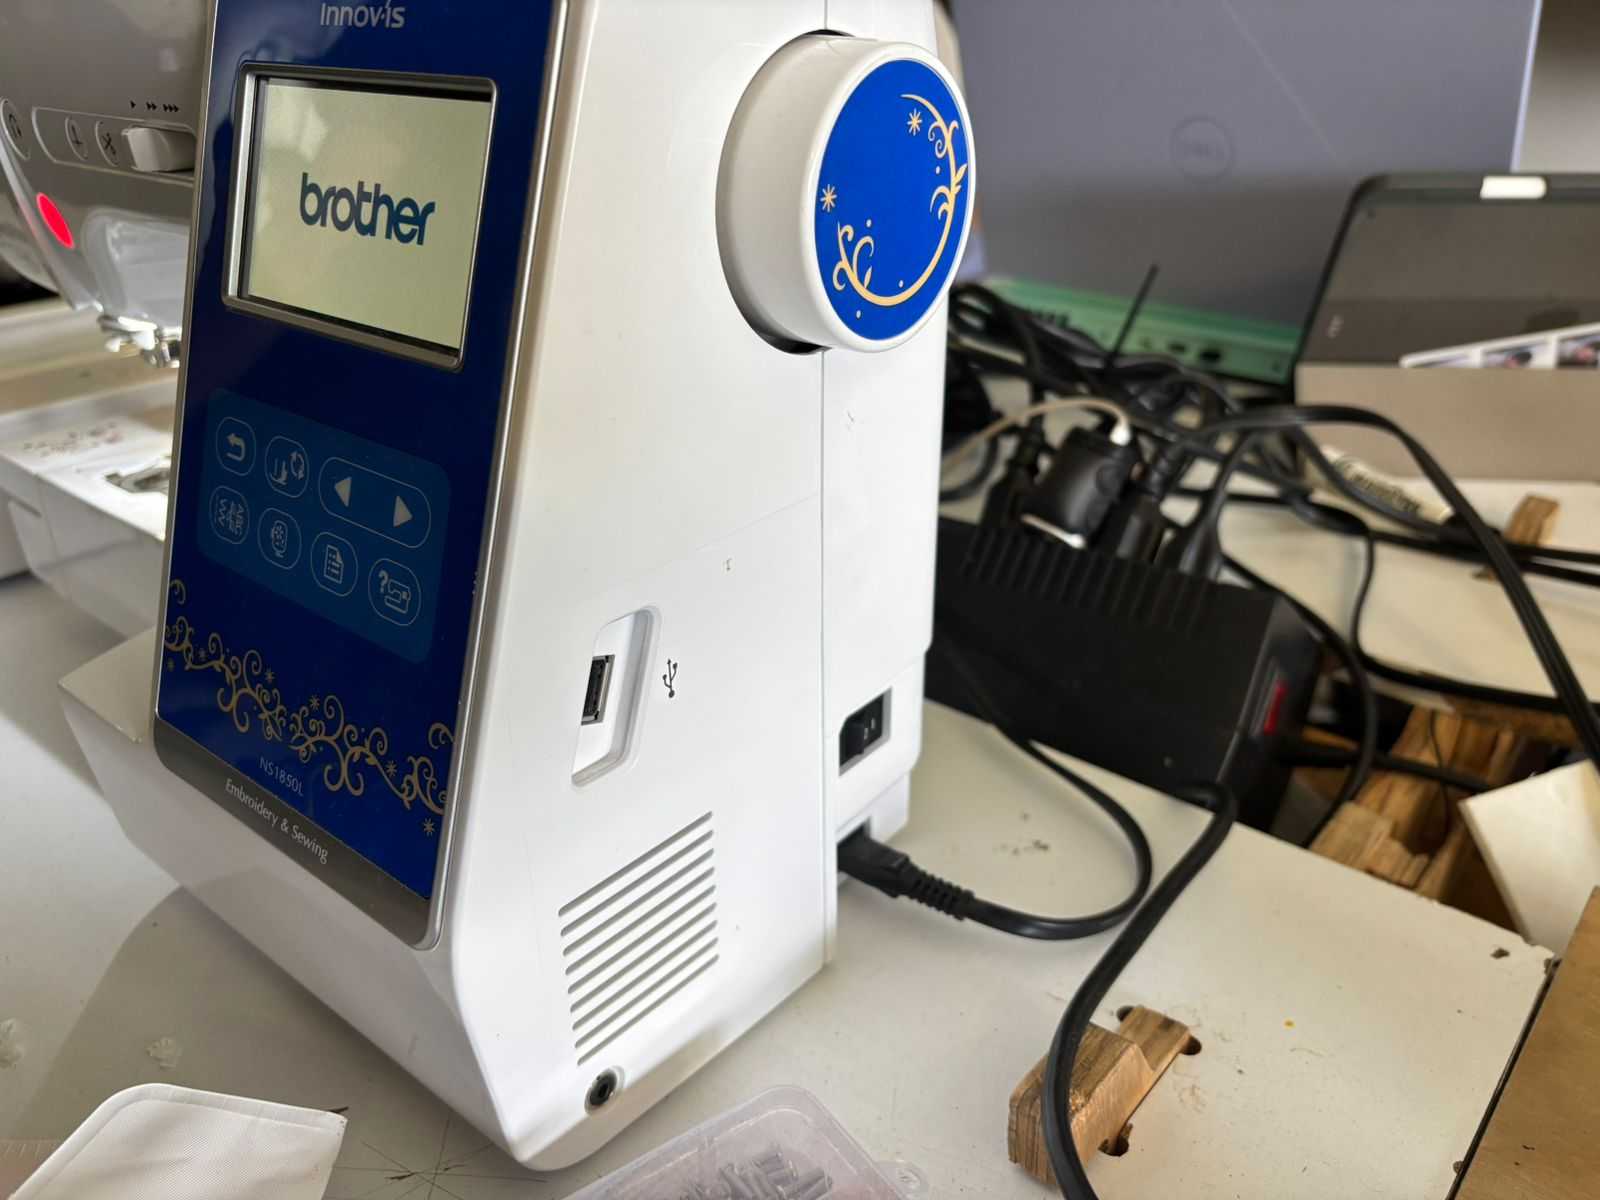
- Once this was done, the sewing machine was turned on. The power button is located on the side of the machine.
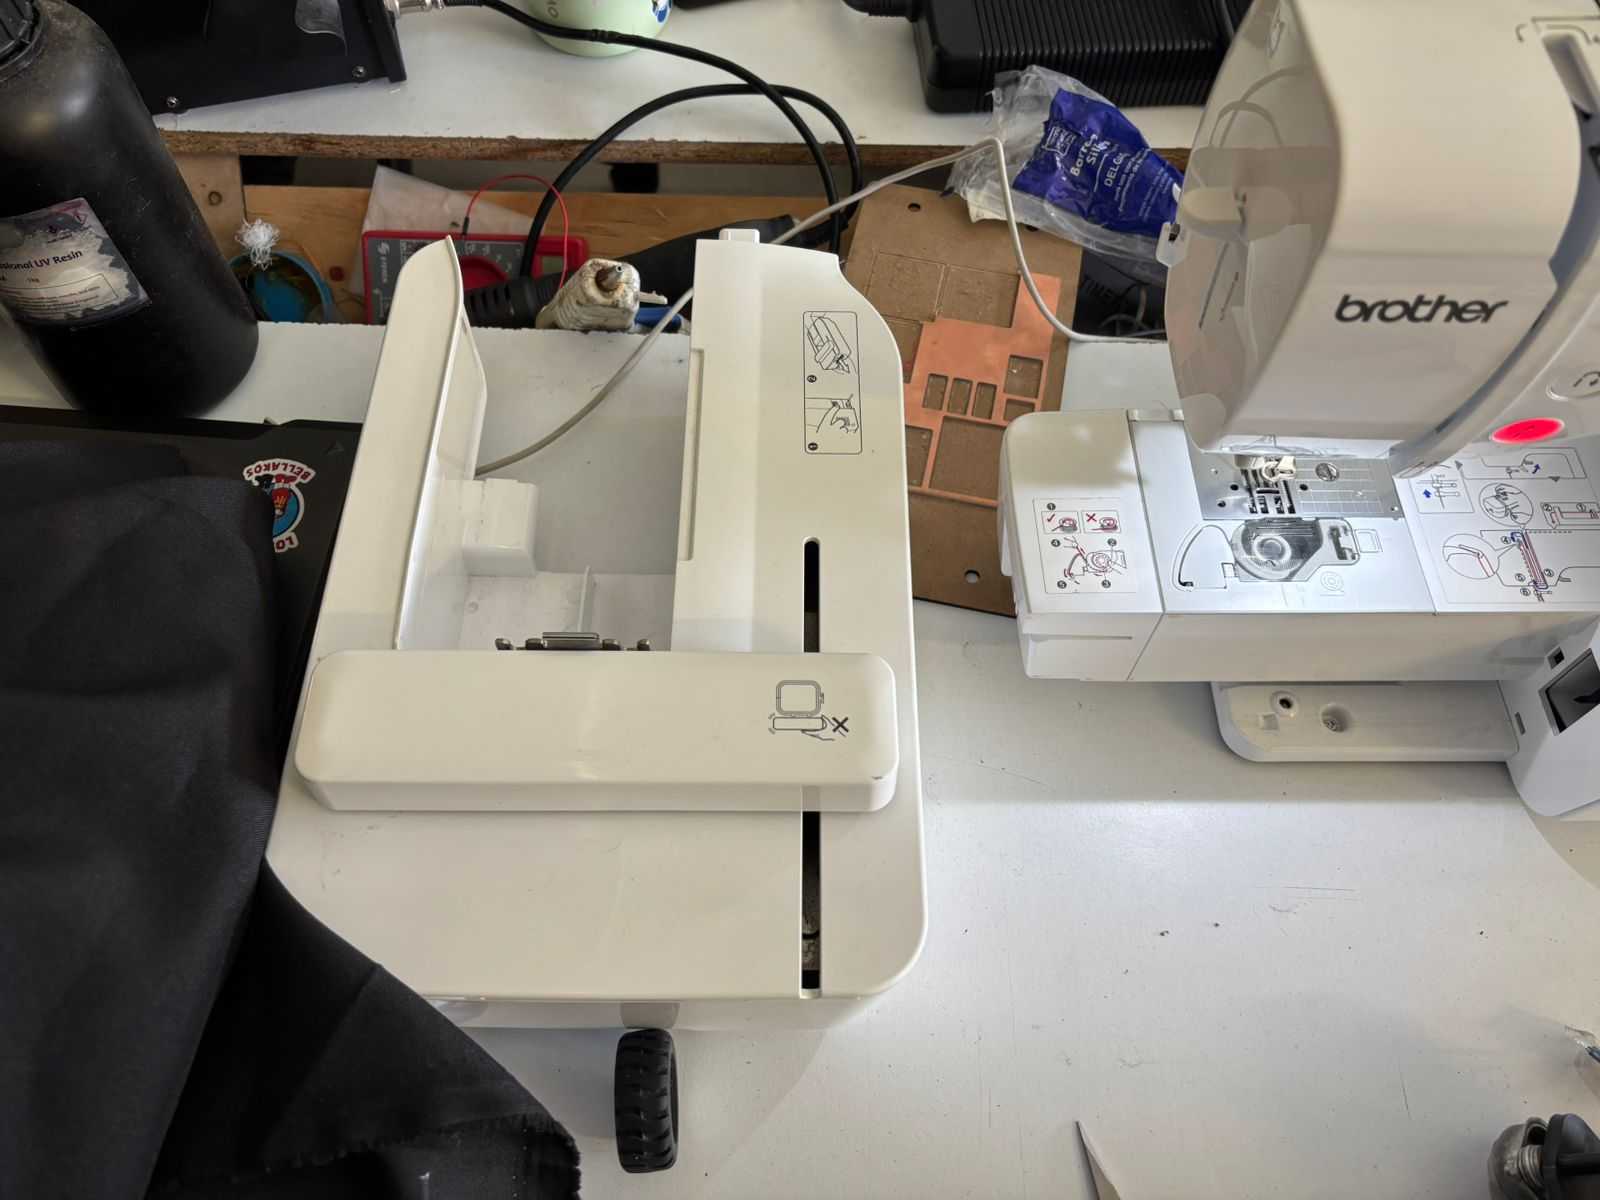
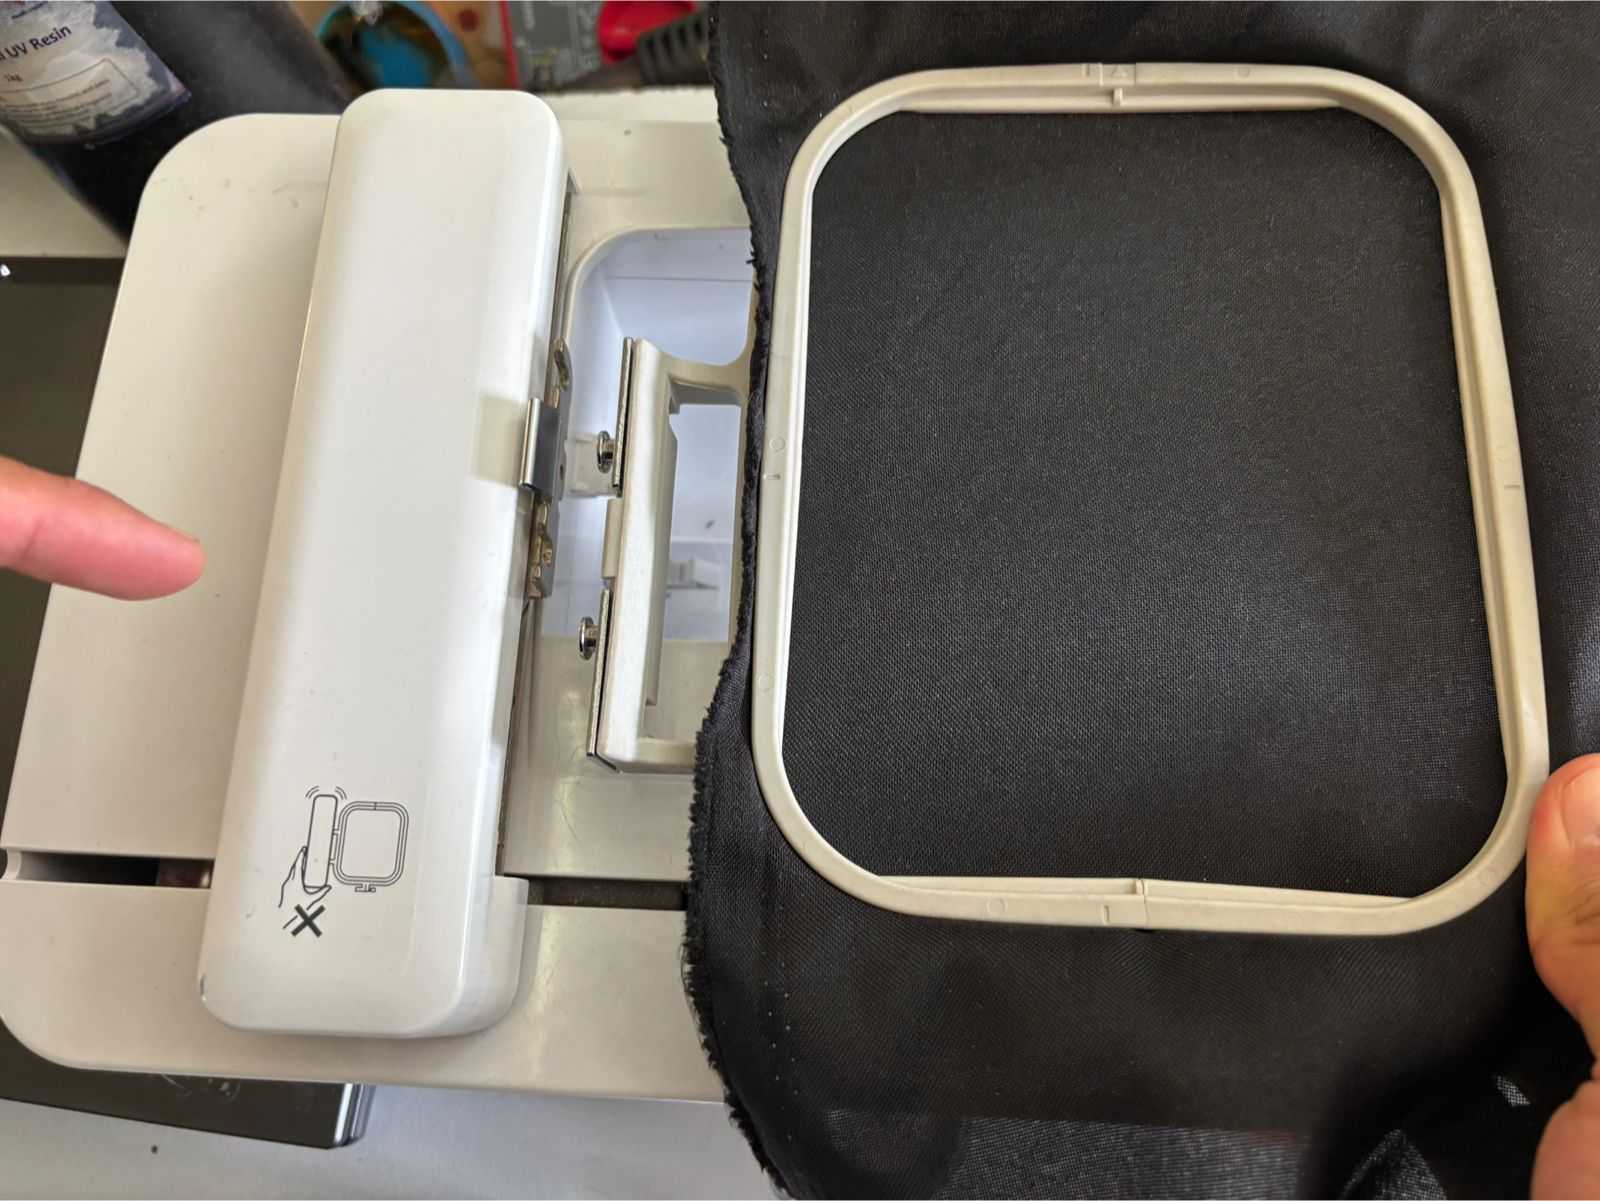
- Next, the extension table was removed.
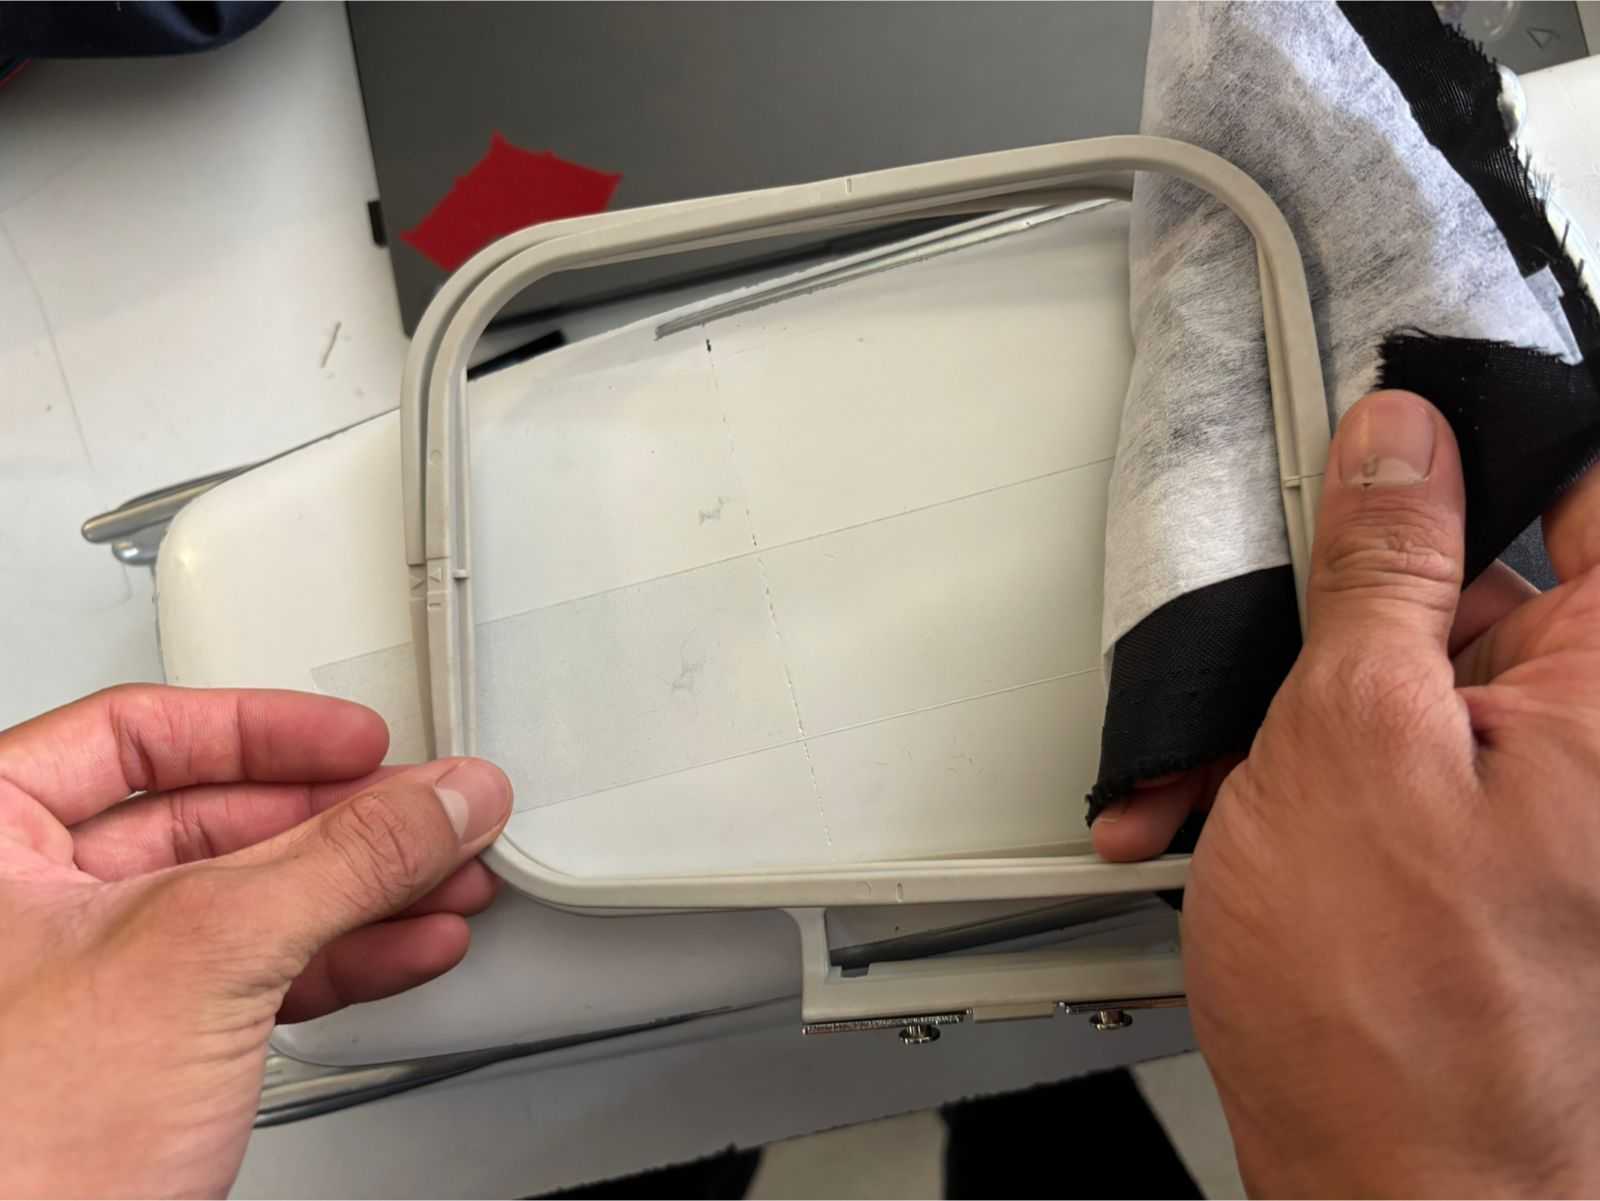
- Then, the cotton fabric was placed underneath the thicker fabric. Both fabrics were placed inside the embroidery hoop included with the machine.
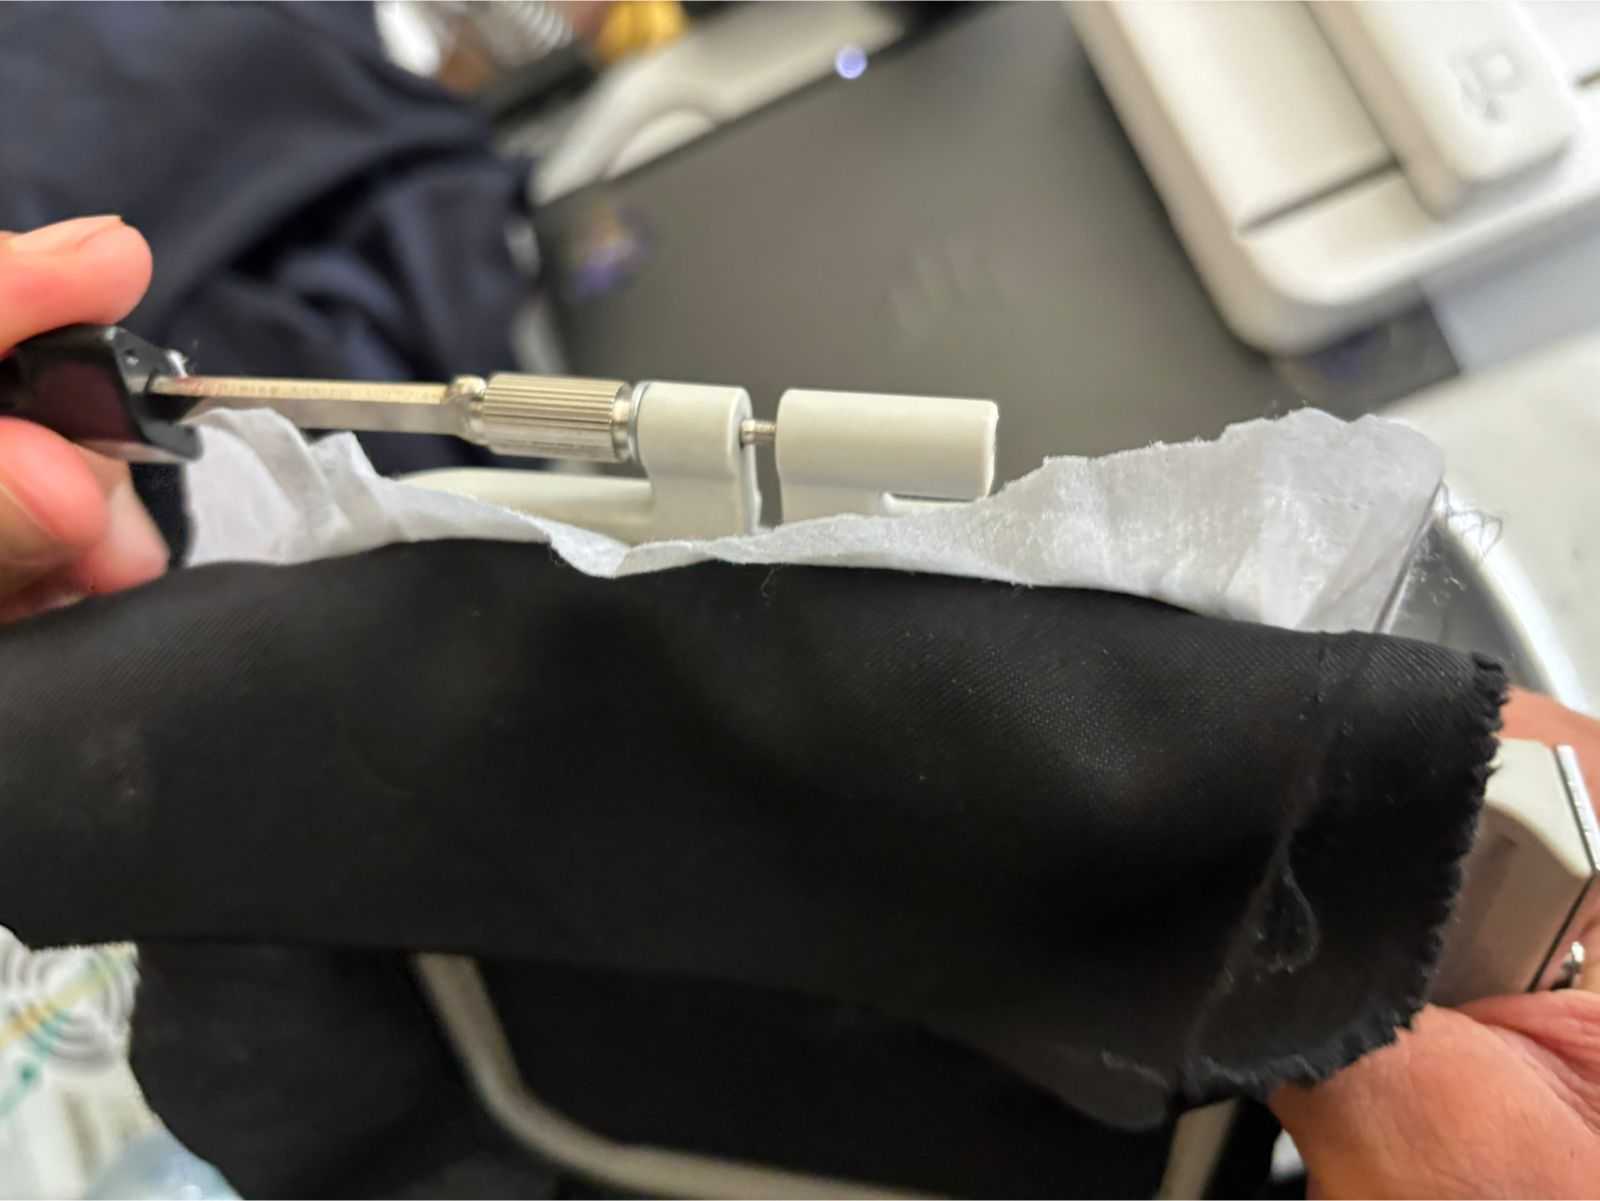
- After this, the hoop was tightened by pressing both parts together with the embroidery foot, and the fabric was adjusted so it became very tight.
- Once this was done, the hoop was placed over the extension table. Then, the extension table was reattached to the machine, carefully sliding the embroidery hoop under the embroidery needle.
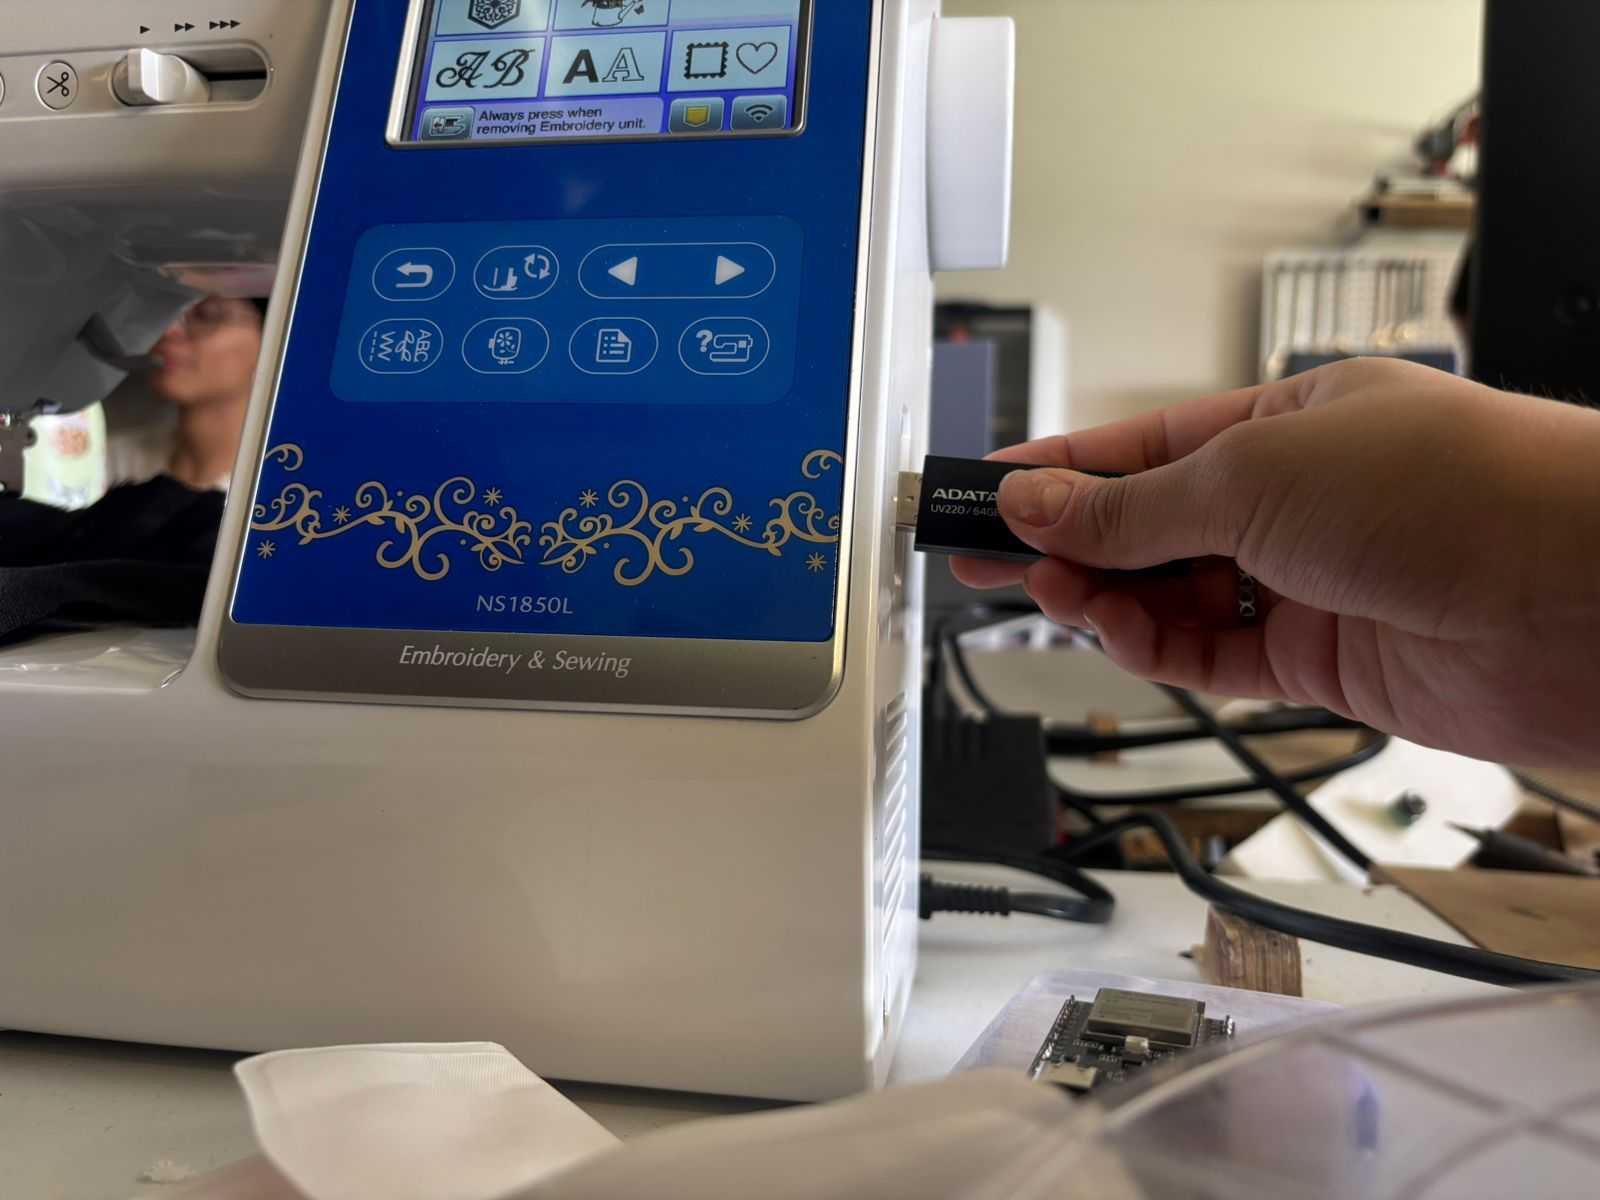
- After that, the USB drive was inserted into the right side of the machine.
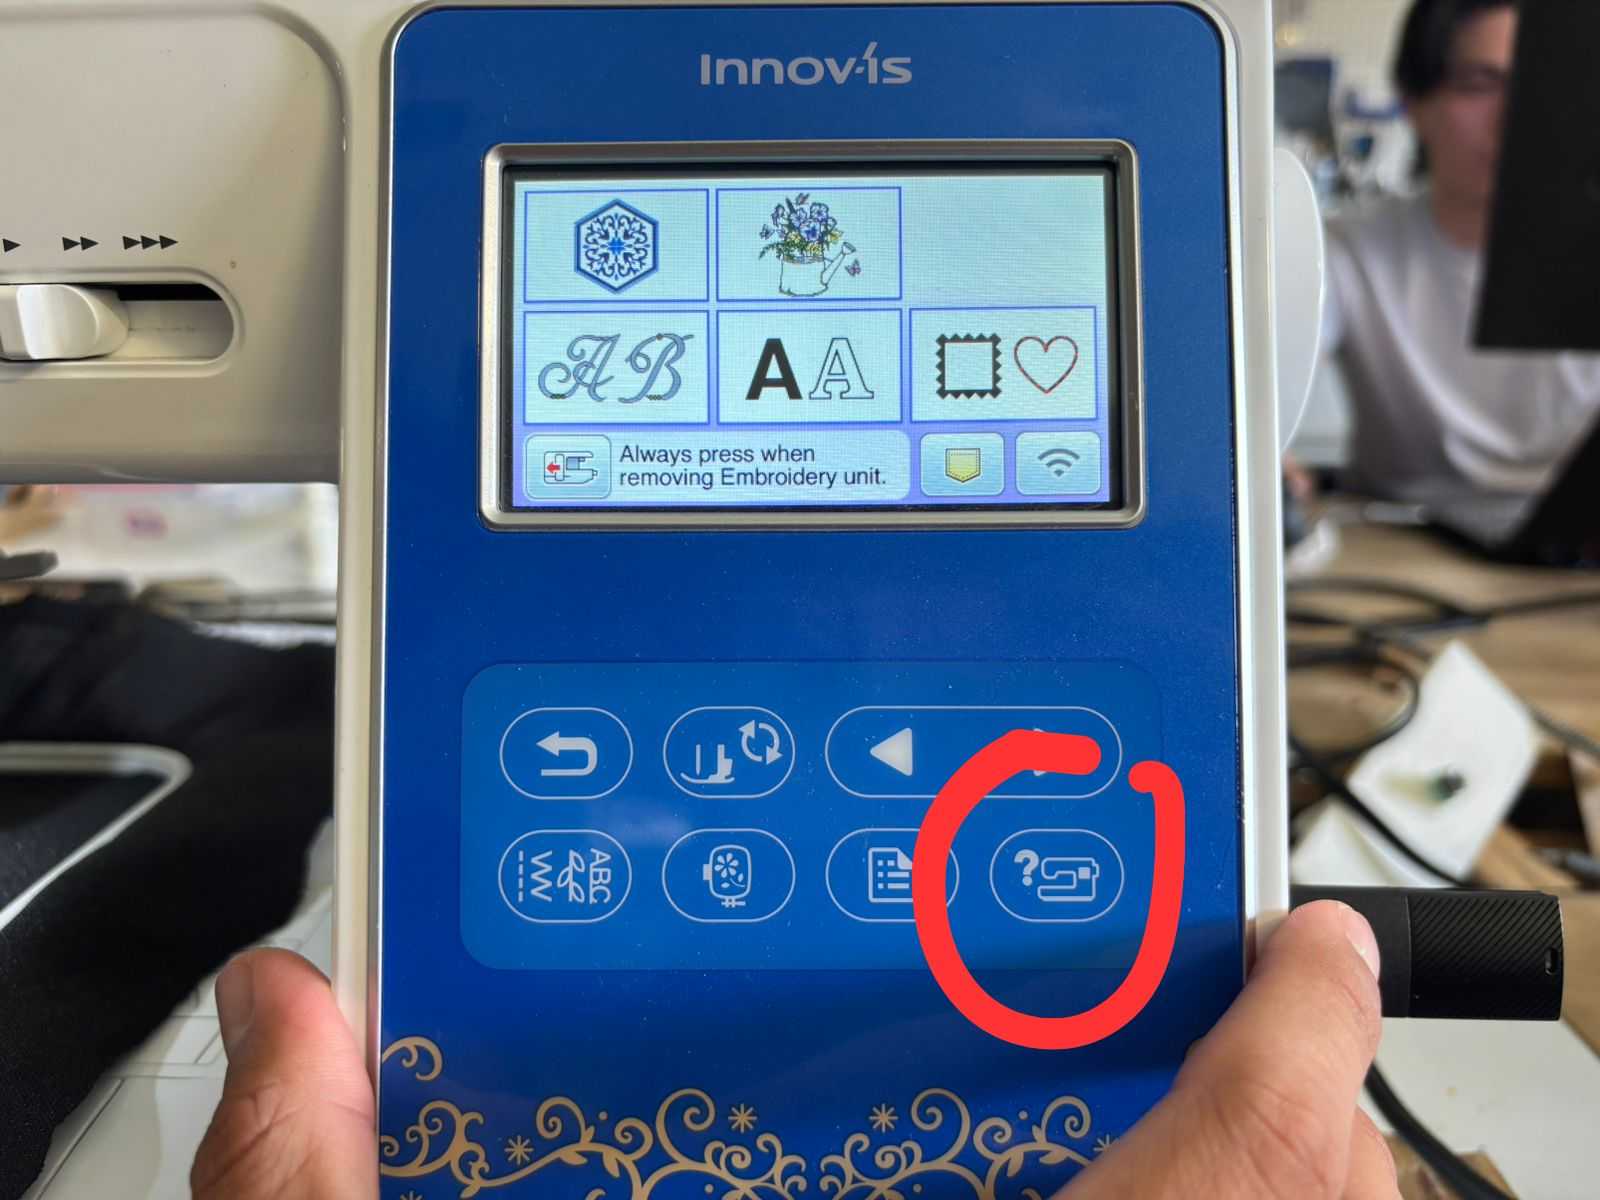
- Once the machine is turned on, a start menu will appear. Click the following button.
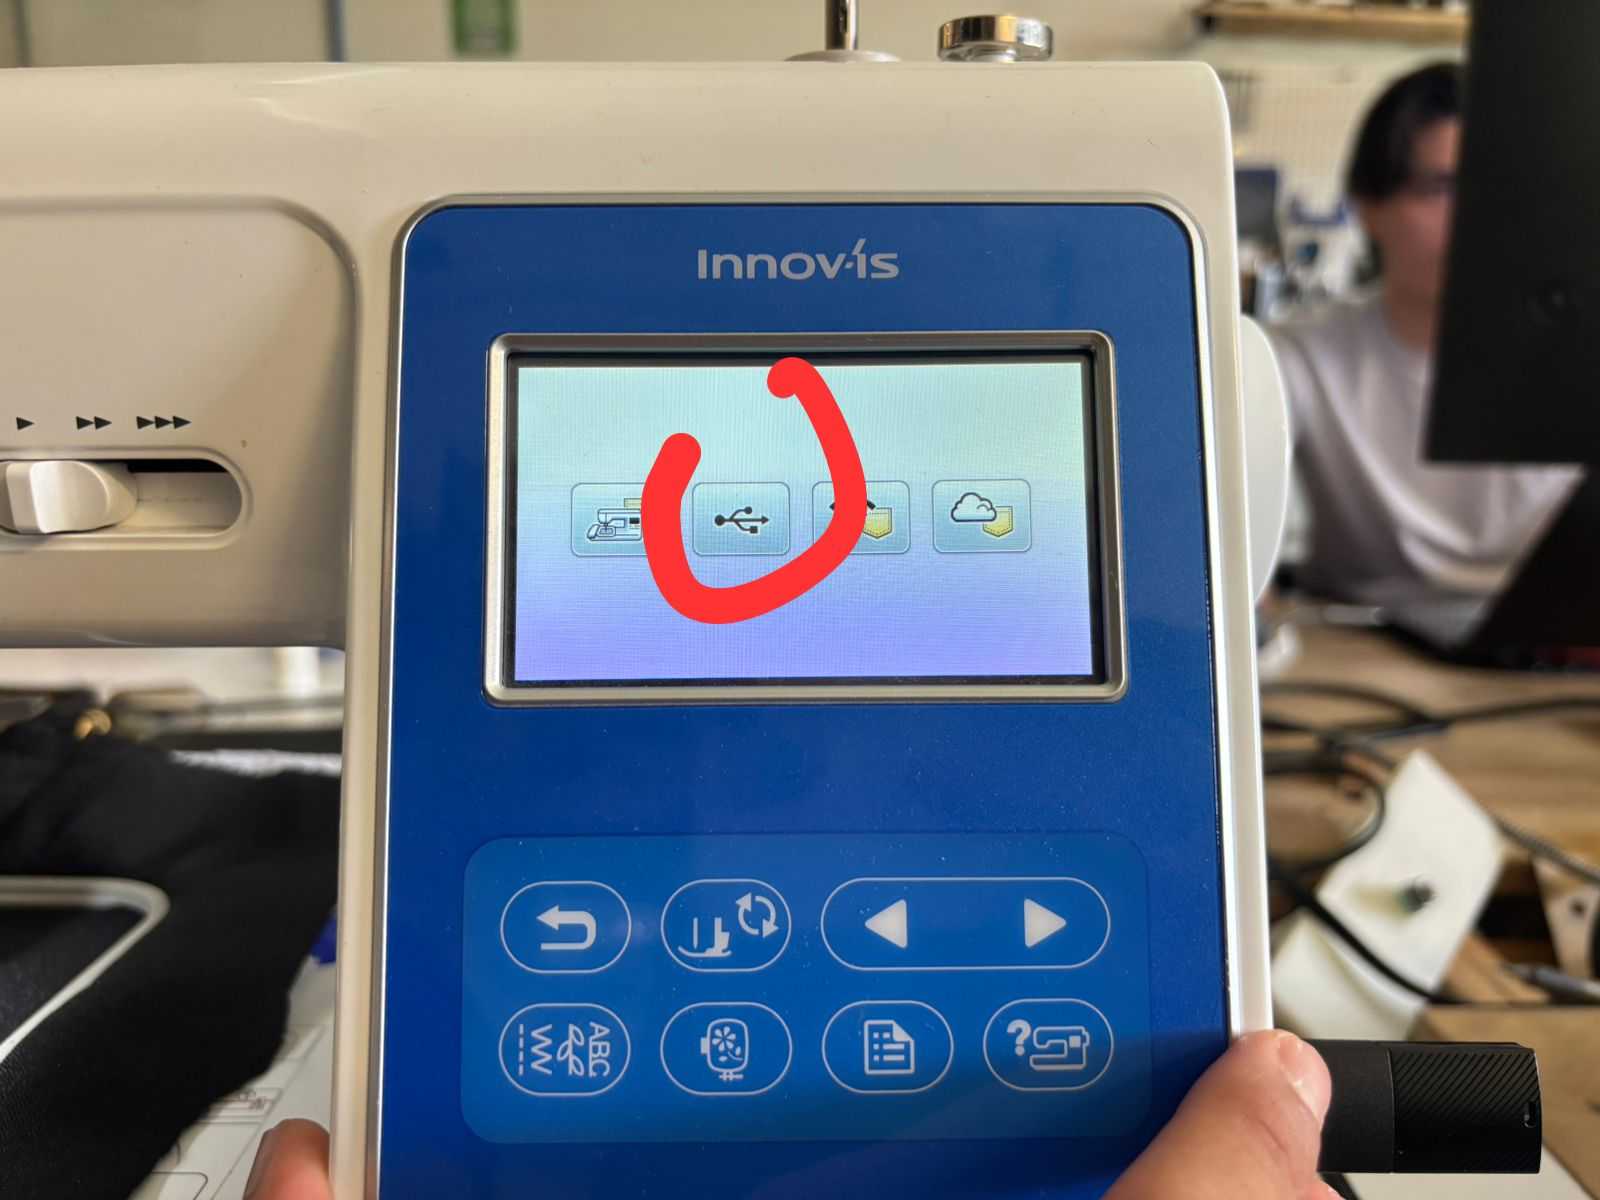
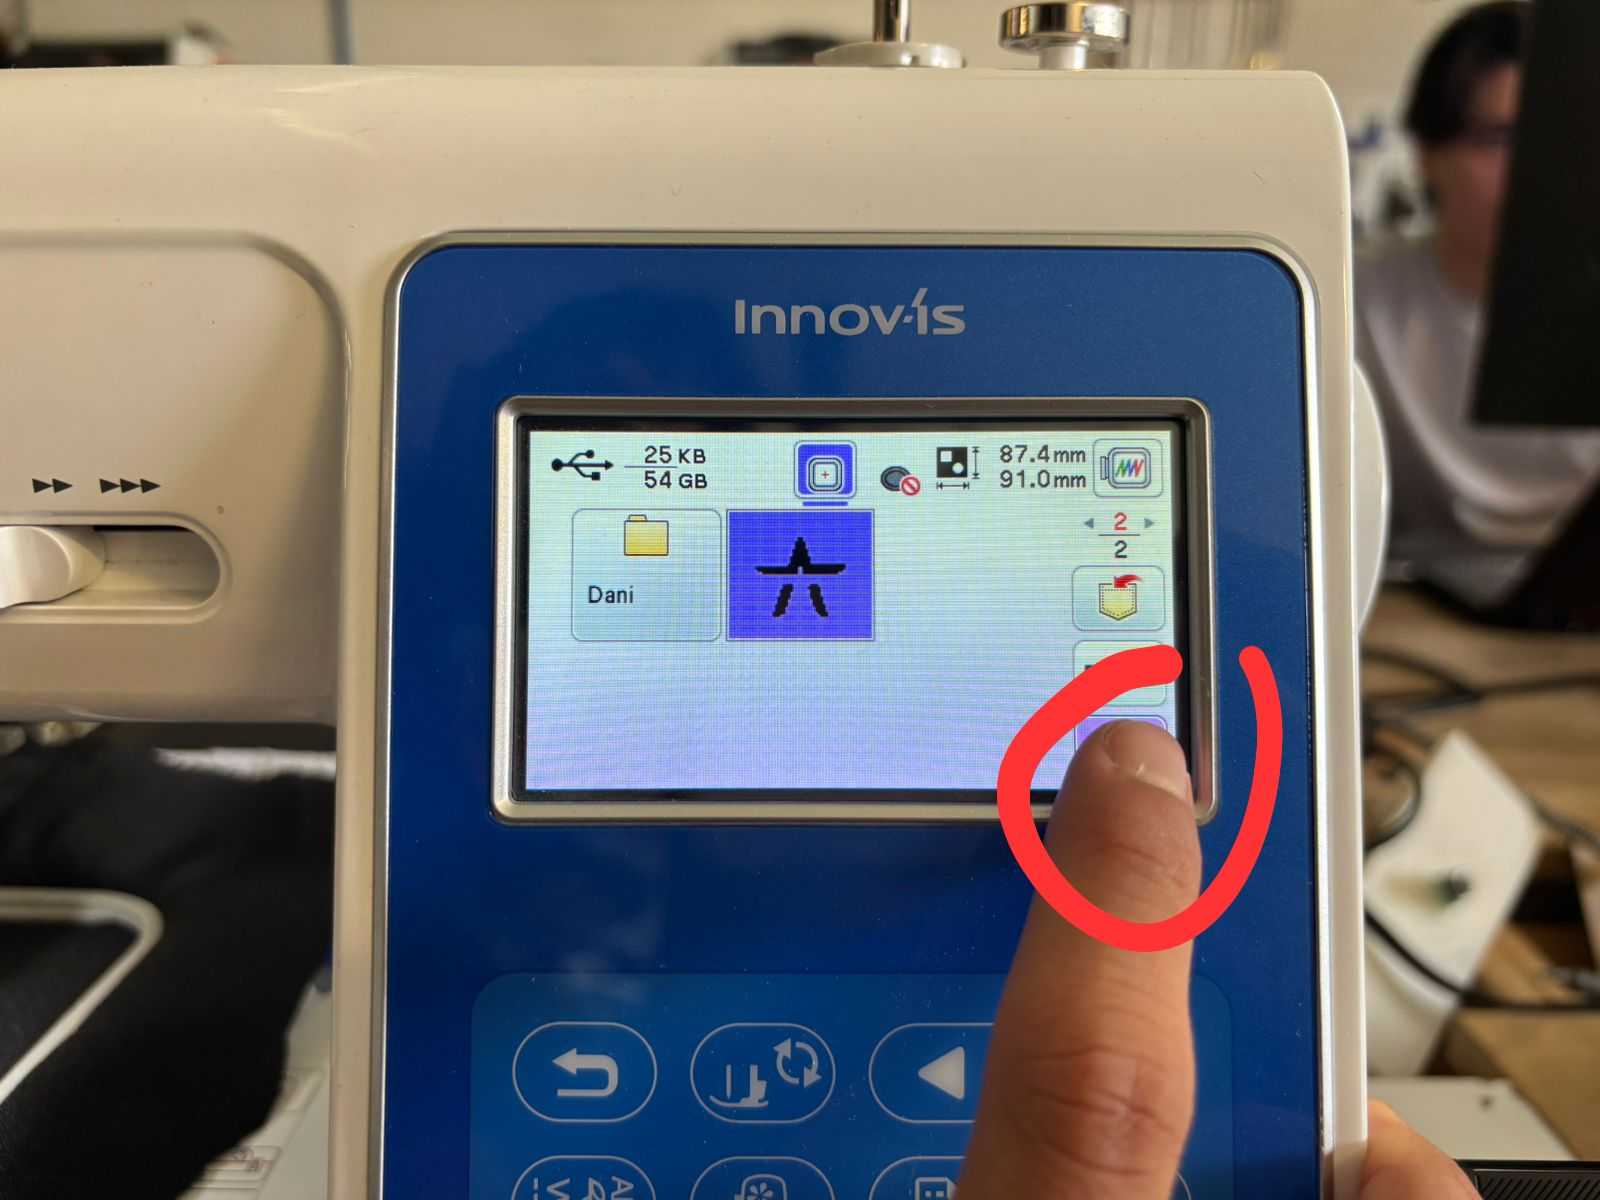
- The following interface will appear, and the next button should be selected.
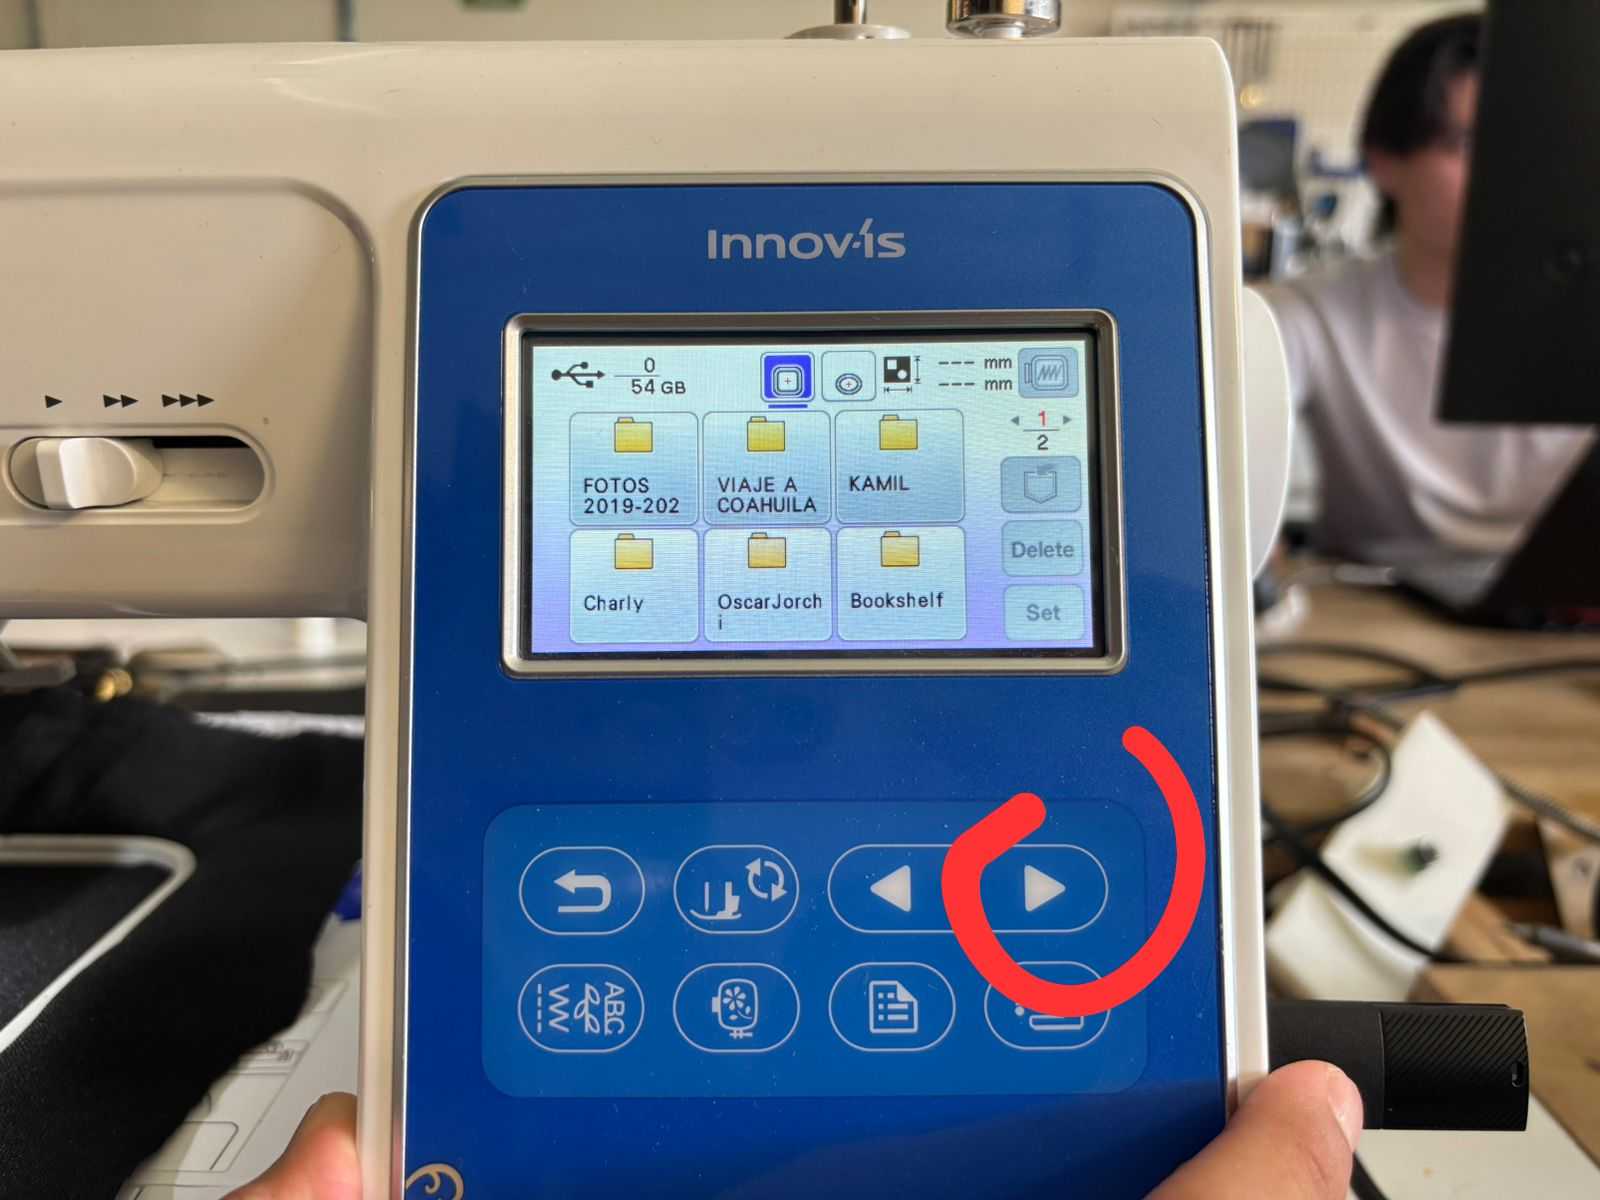
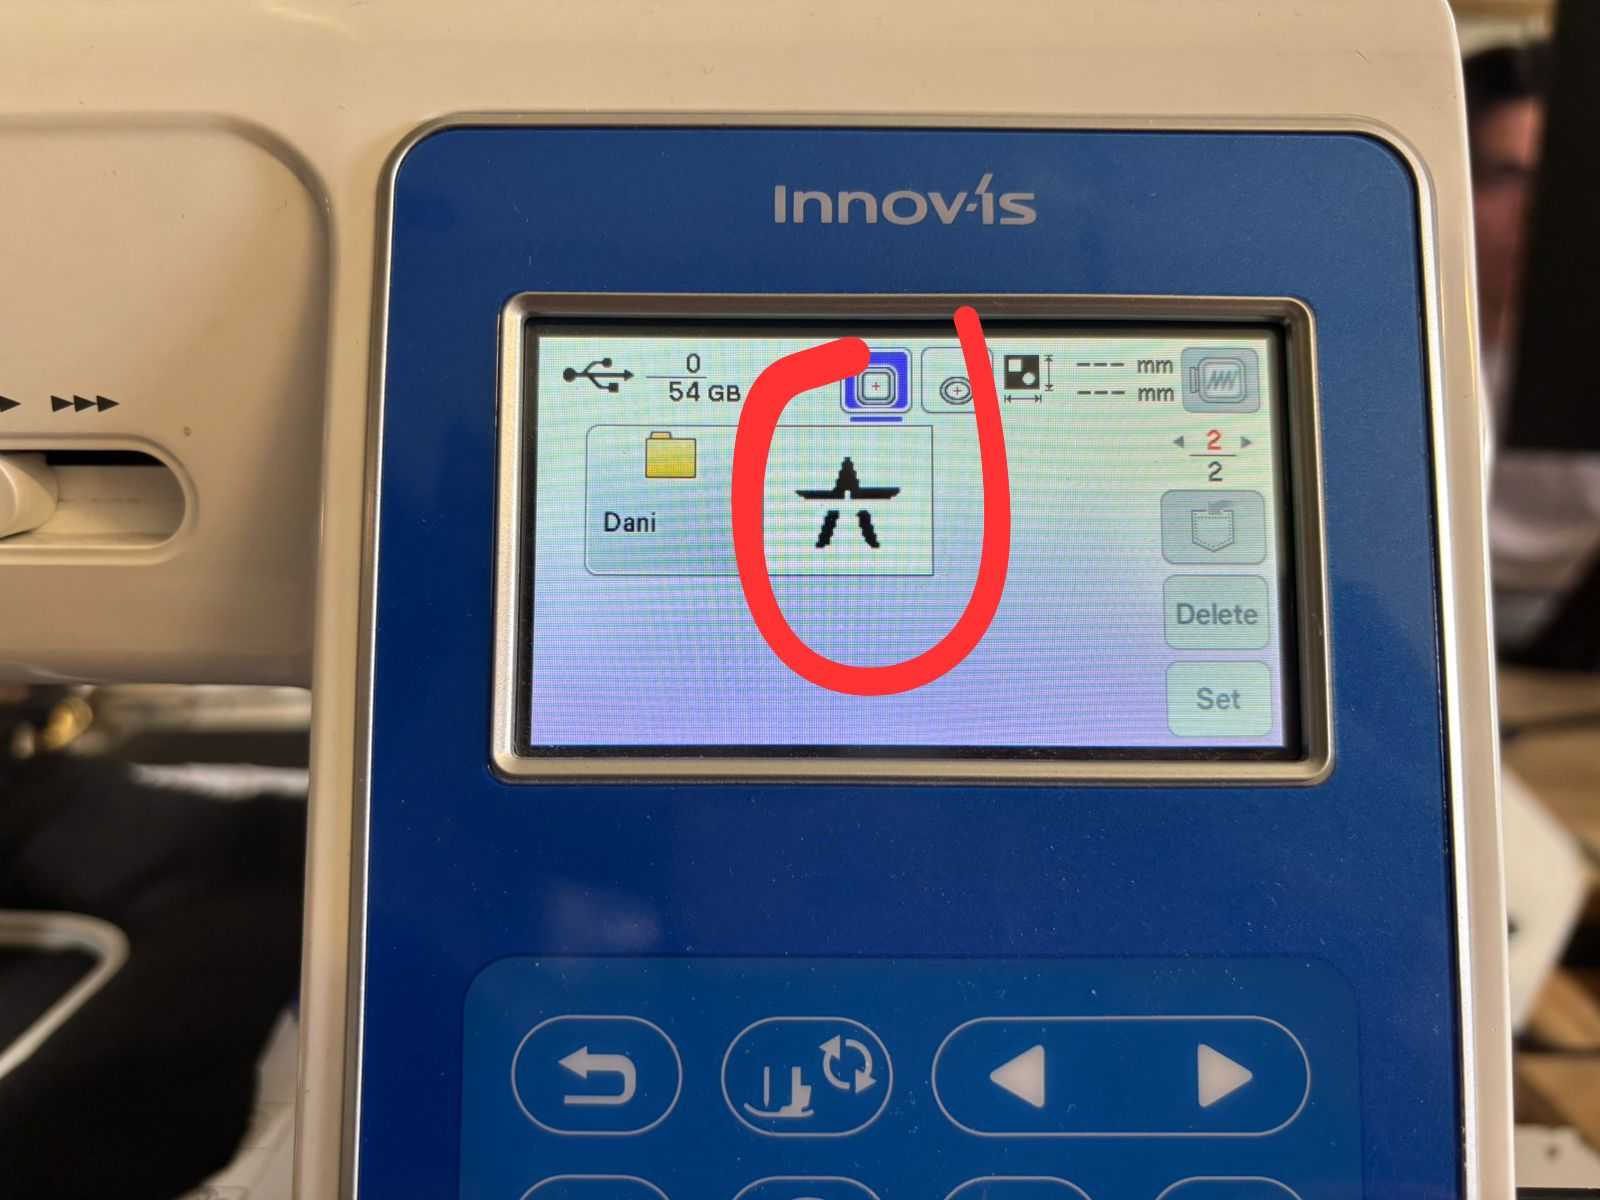
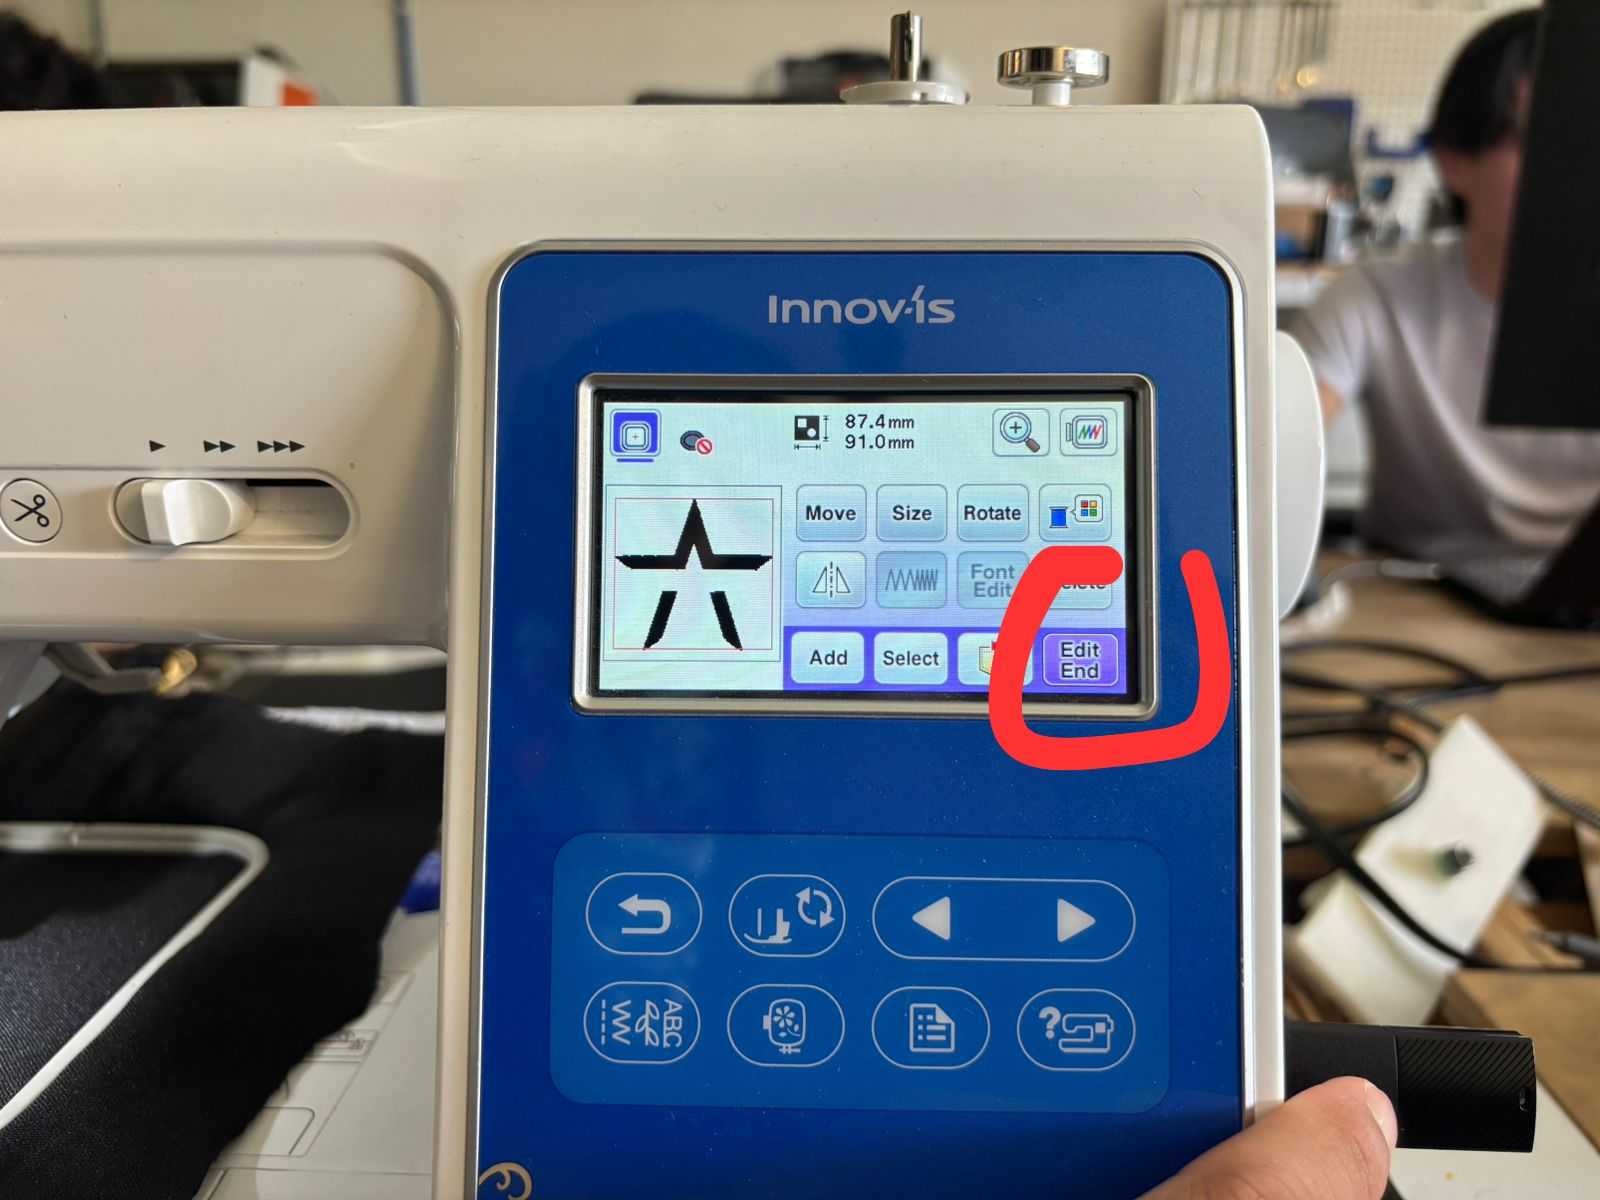
- This will allow access to the files stored on the USB drive. Find your file and select it. Then, select Set. Finally, select Edit End.
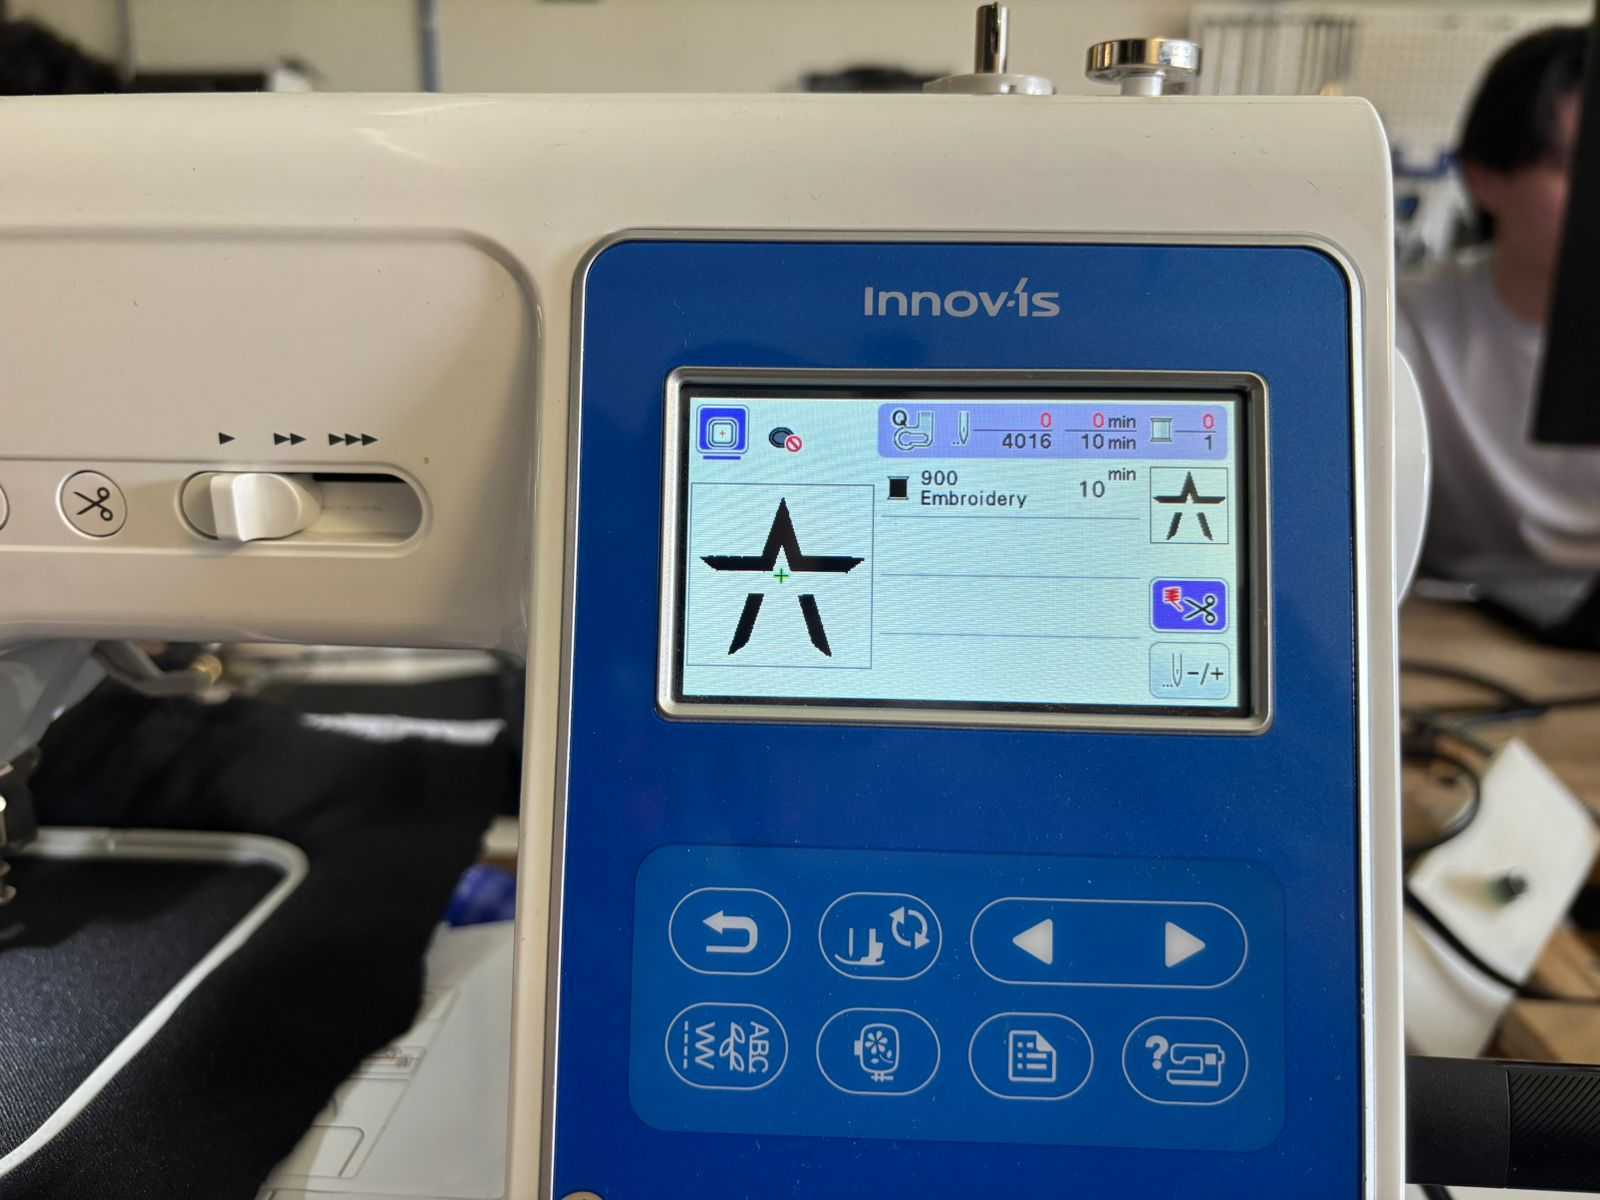
- At this point, the embroidery design that will be created will appear on the screen.
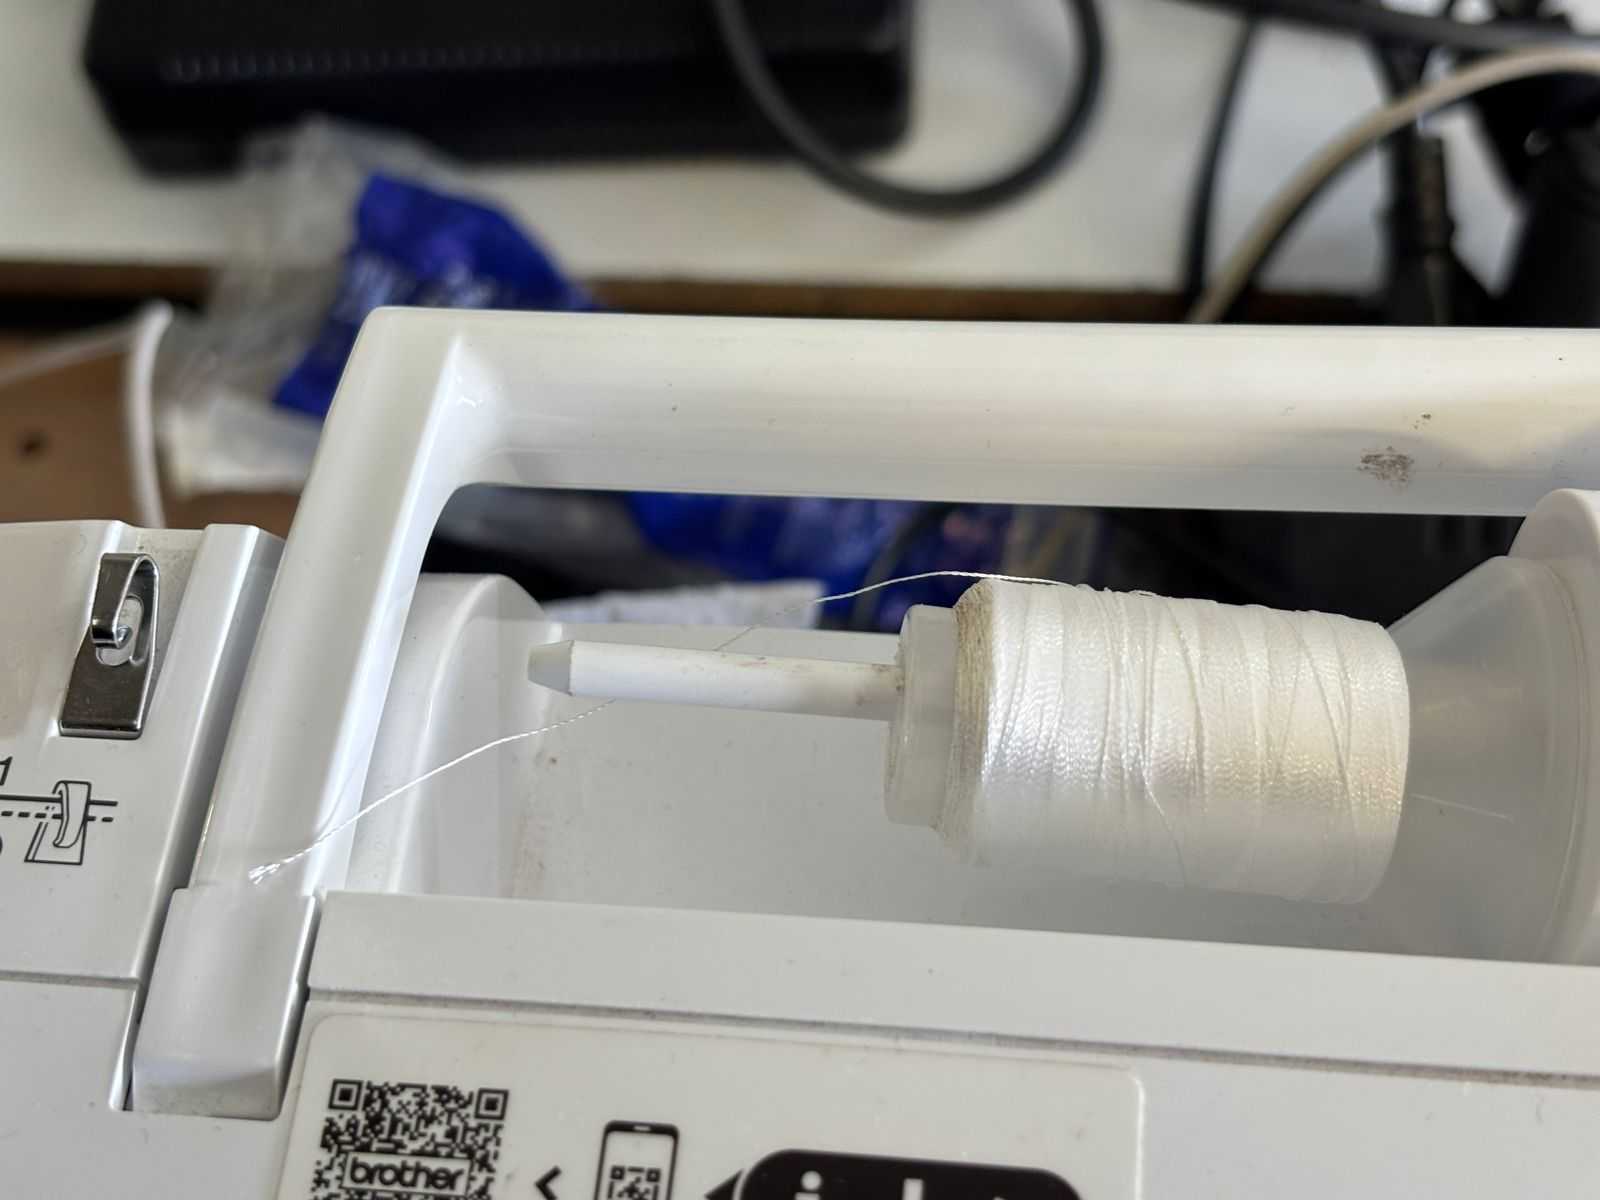
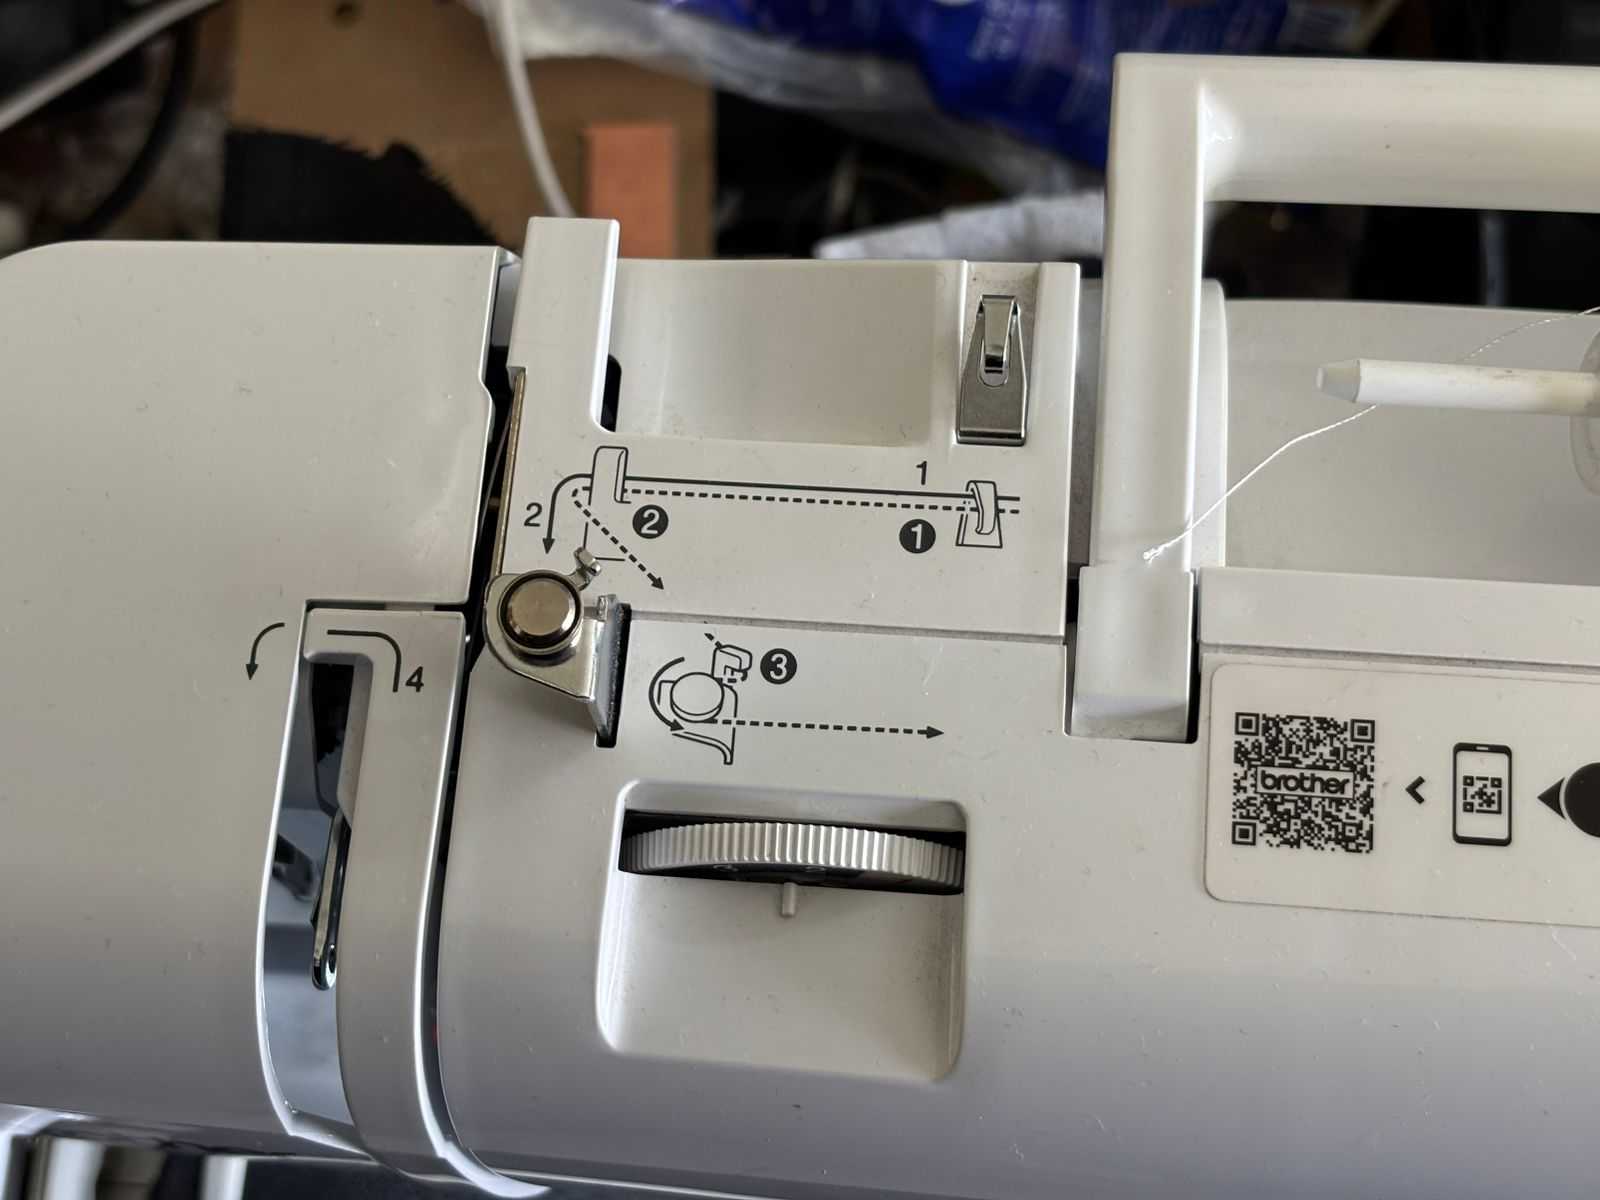
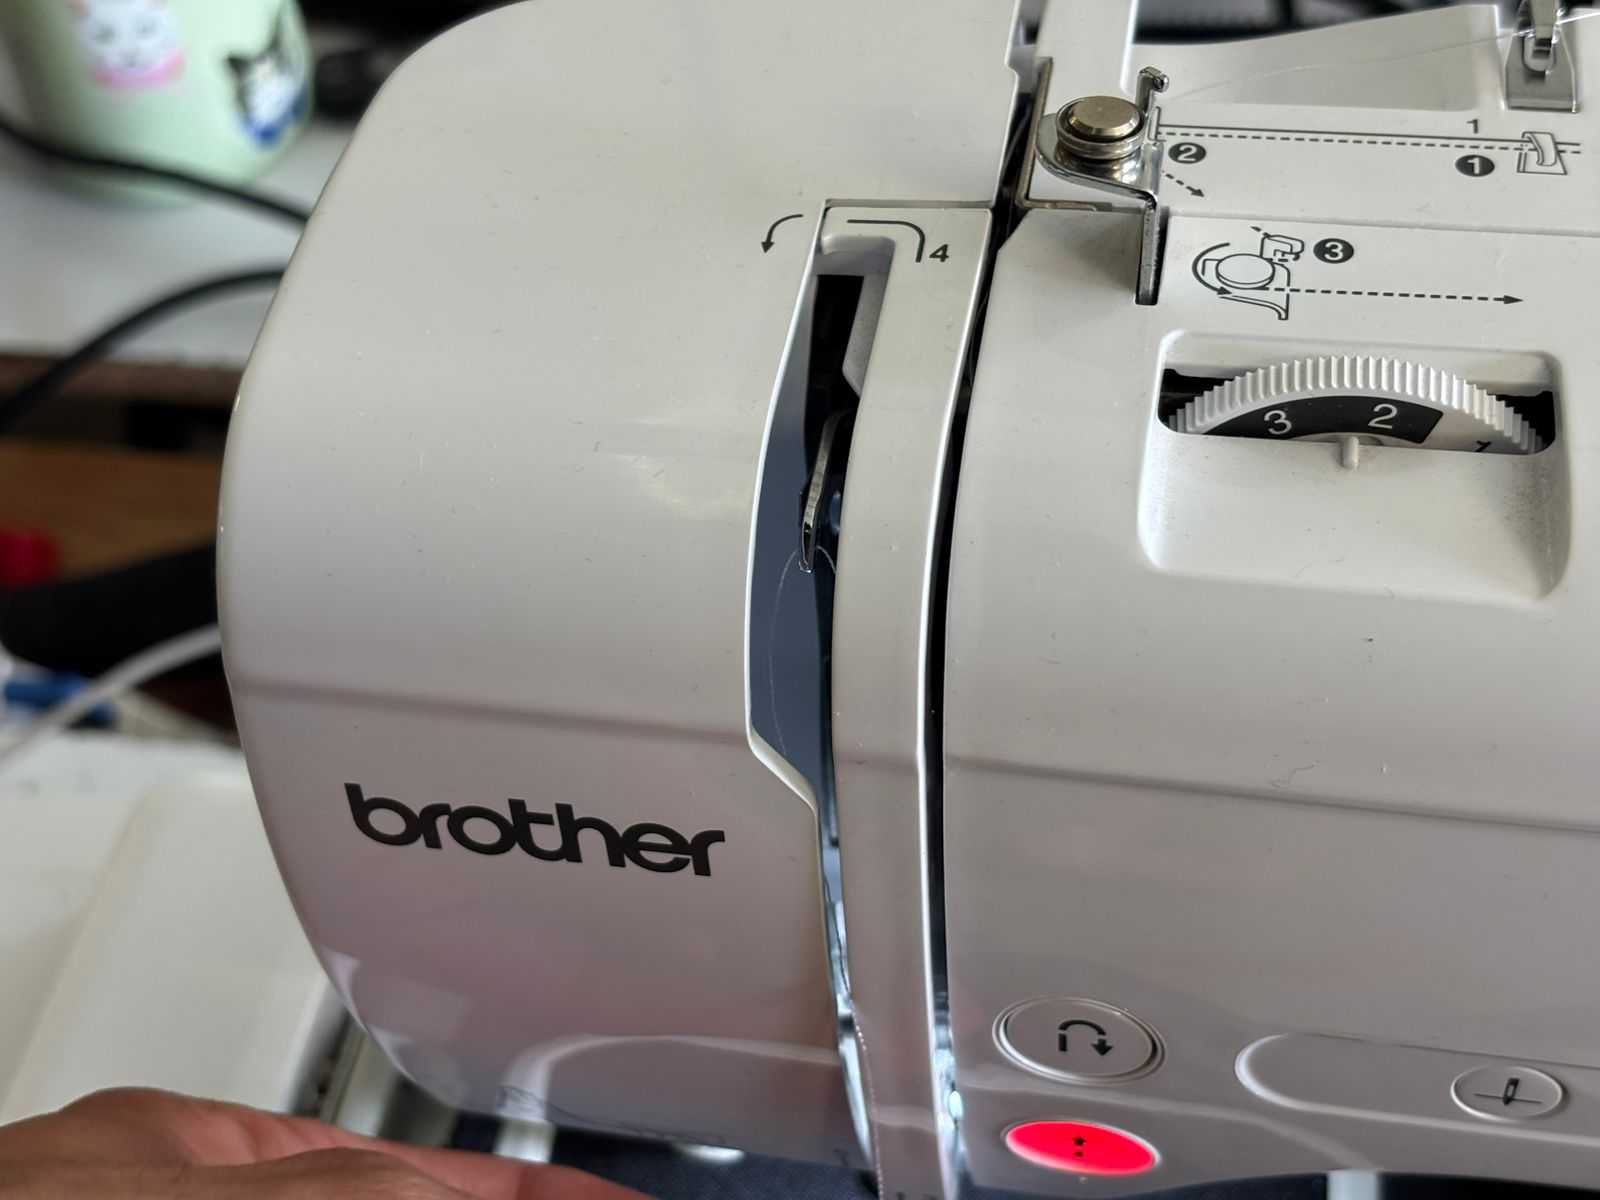
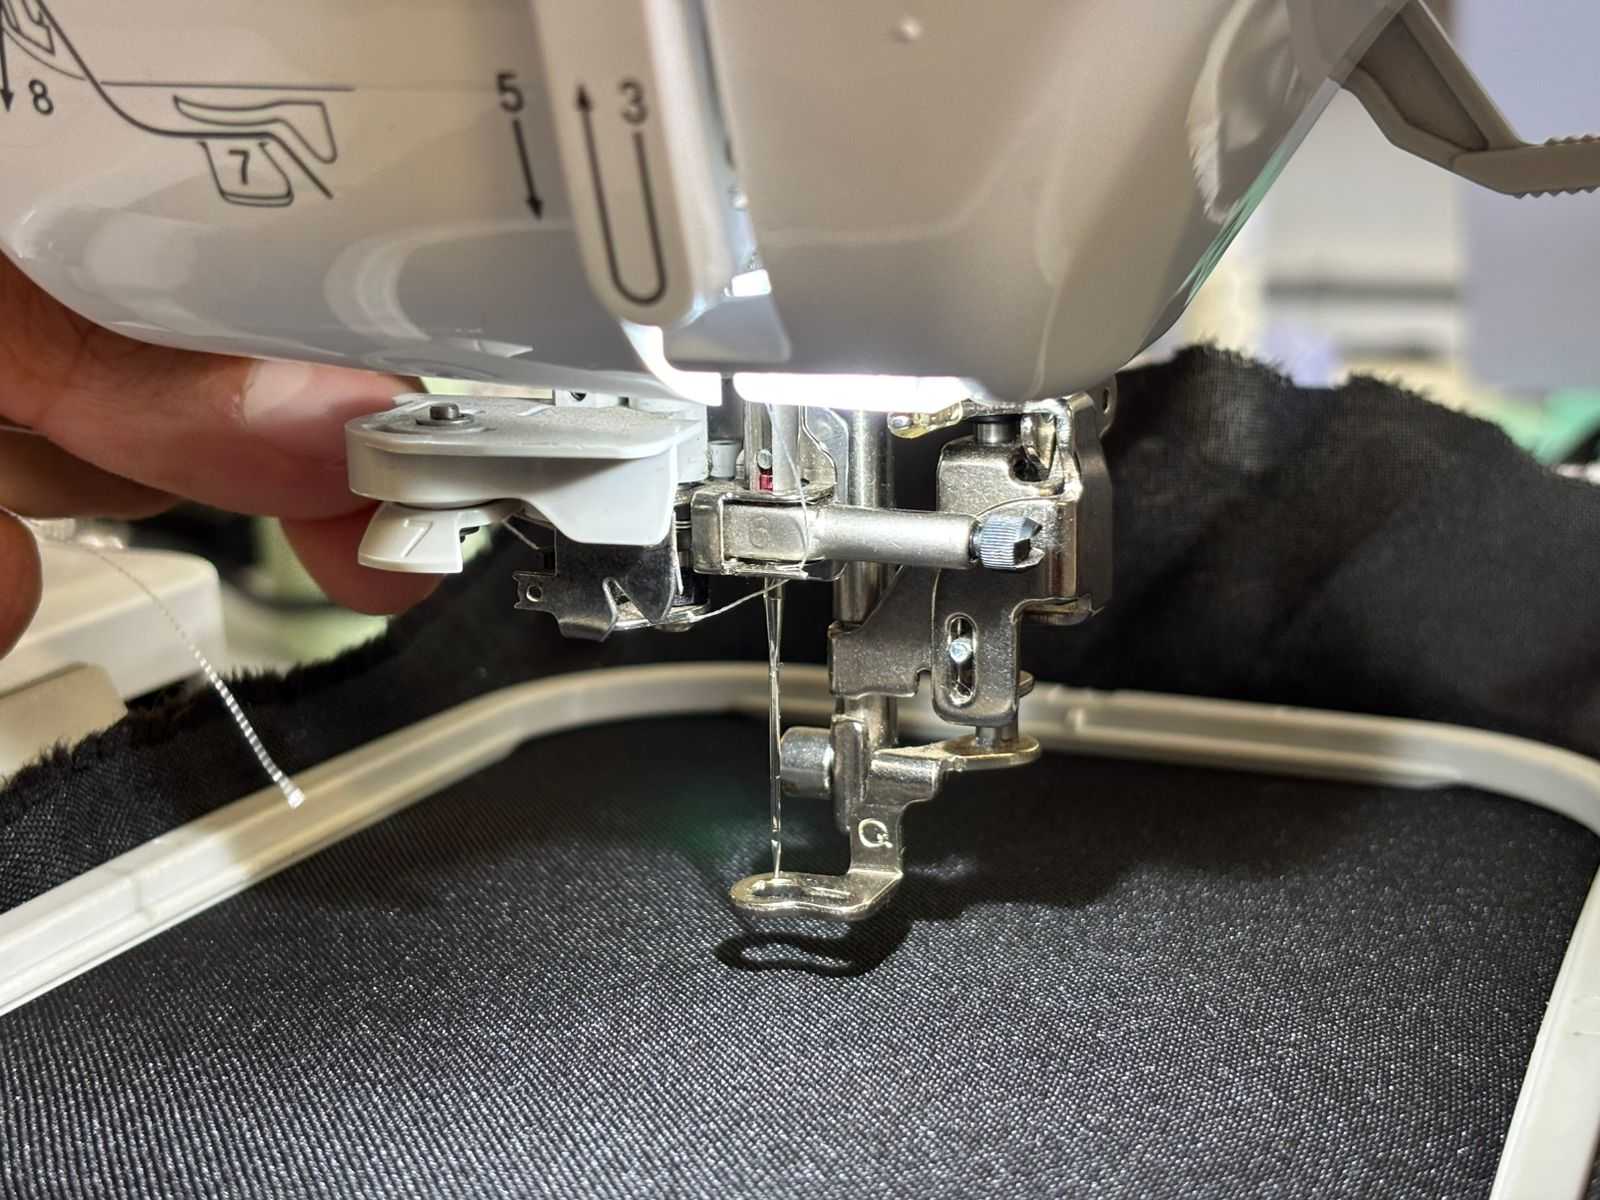
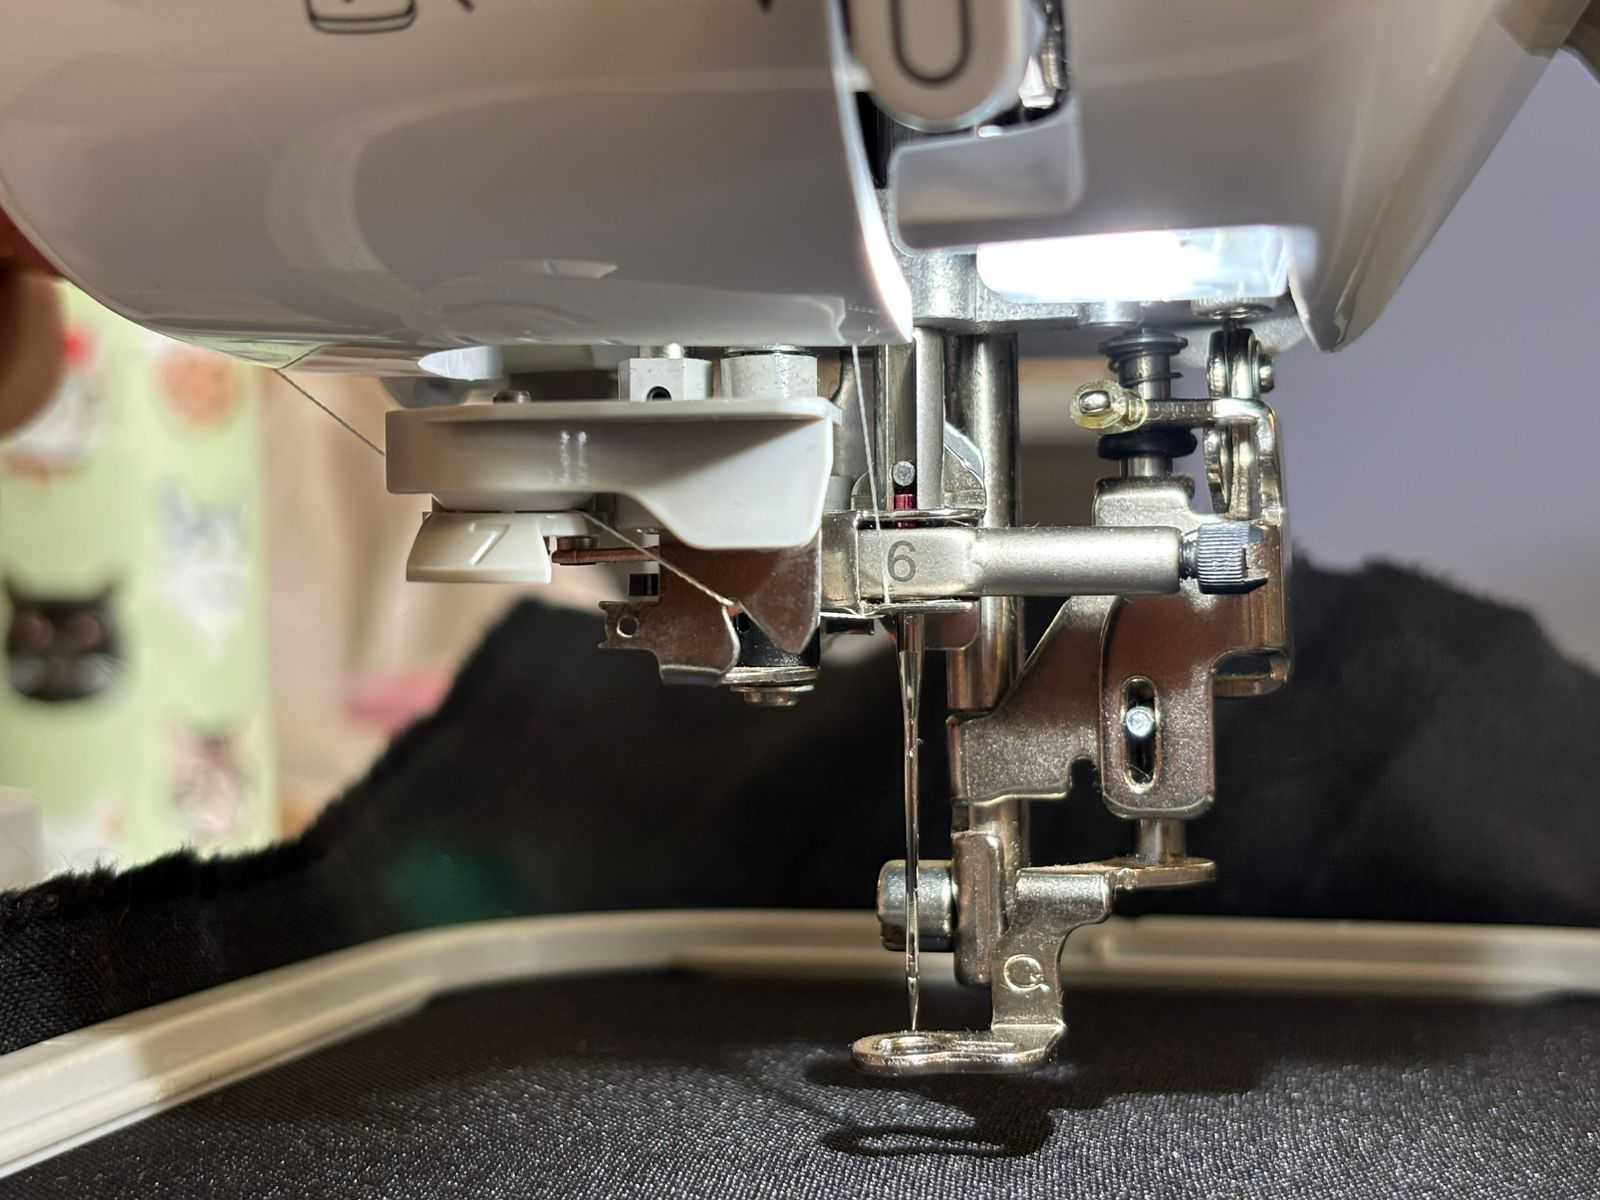
- Choose the thread color you want; in my case, I used white thread. To position the thread correctly, the machine provides a series of numbered instructions indicating each step that must be followed.
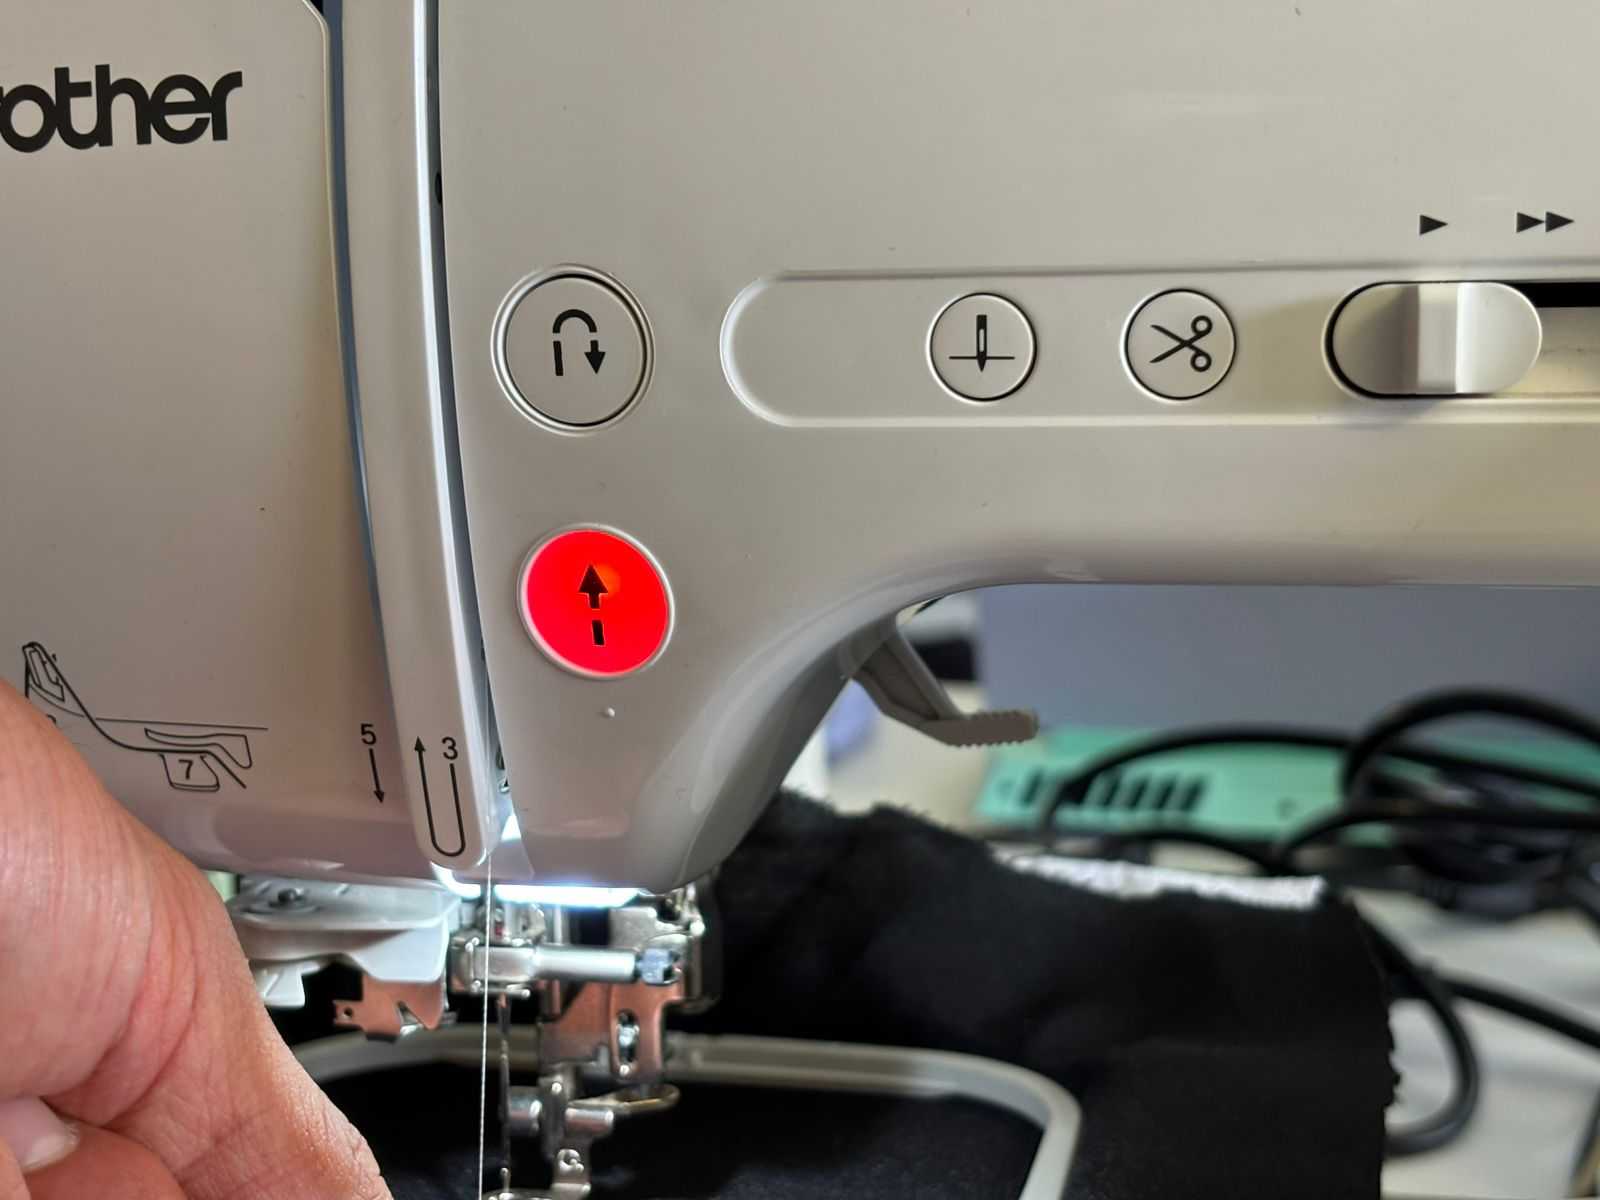
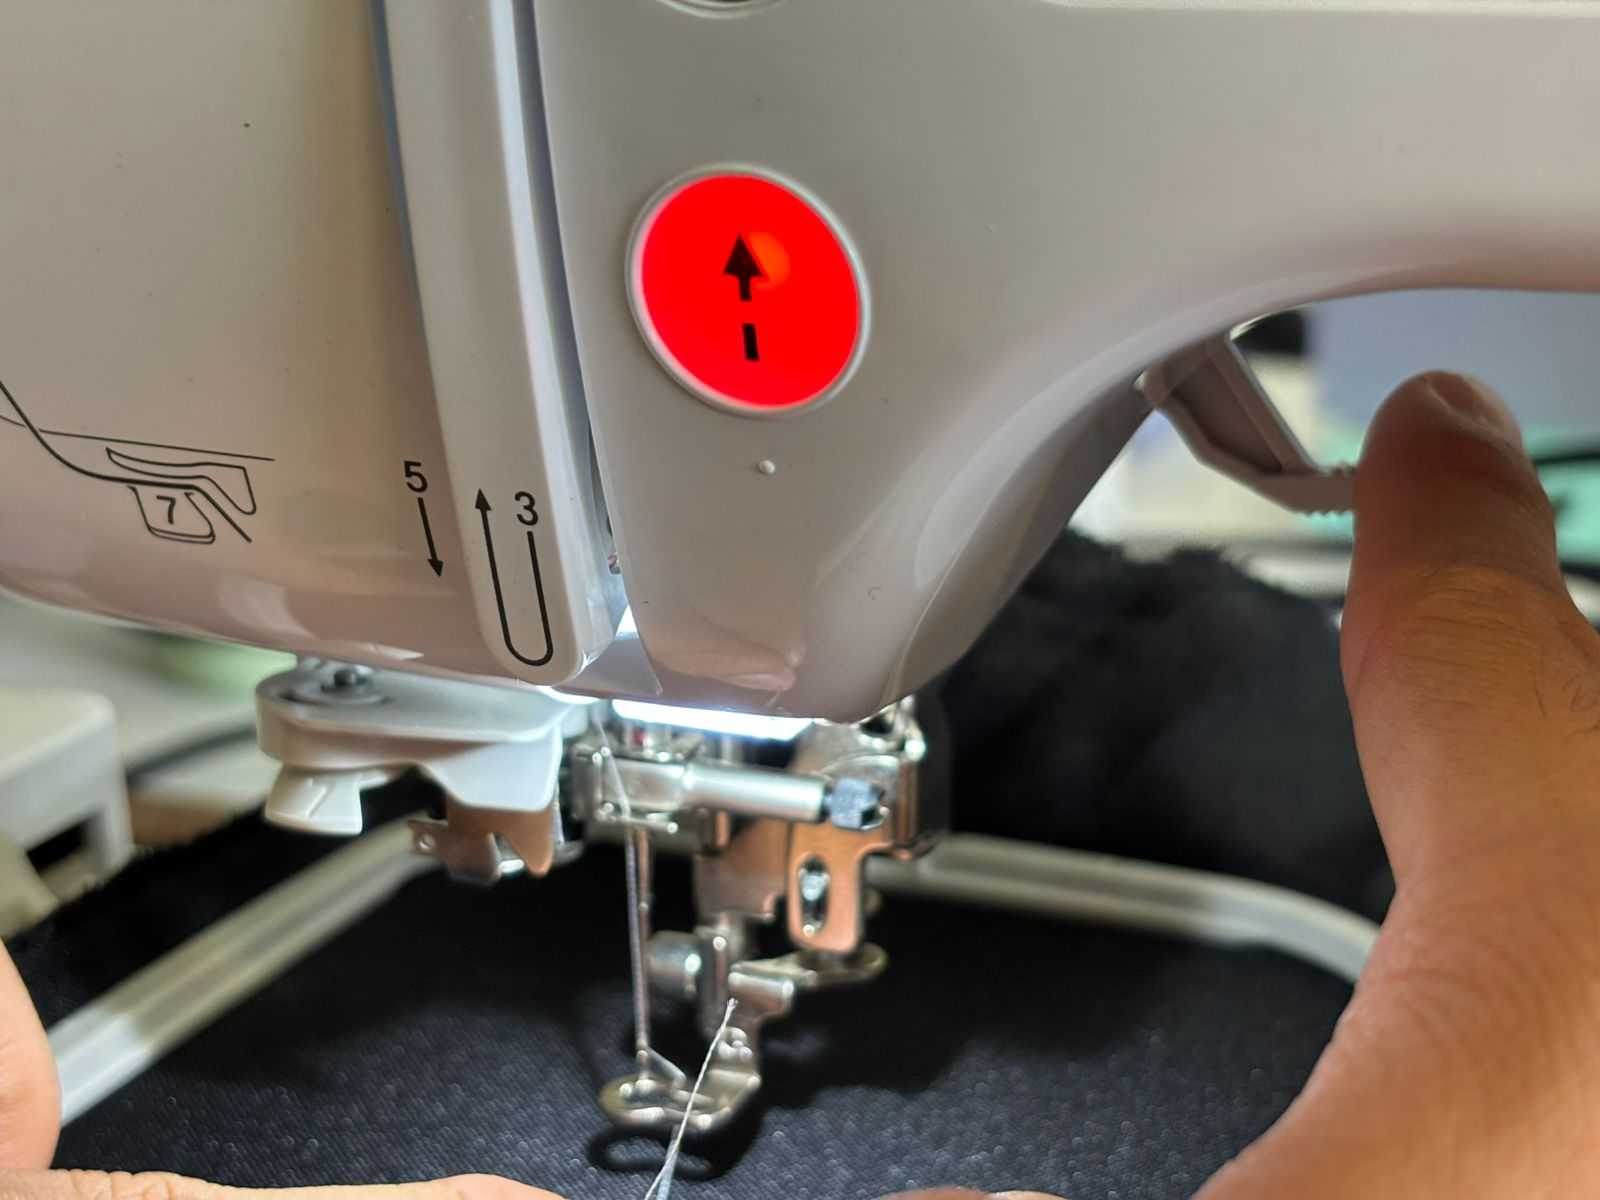
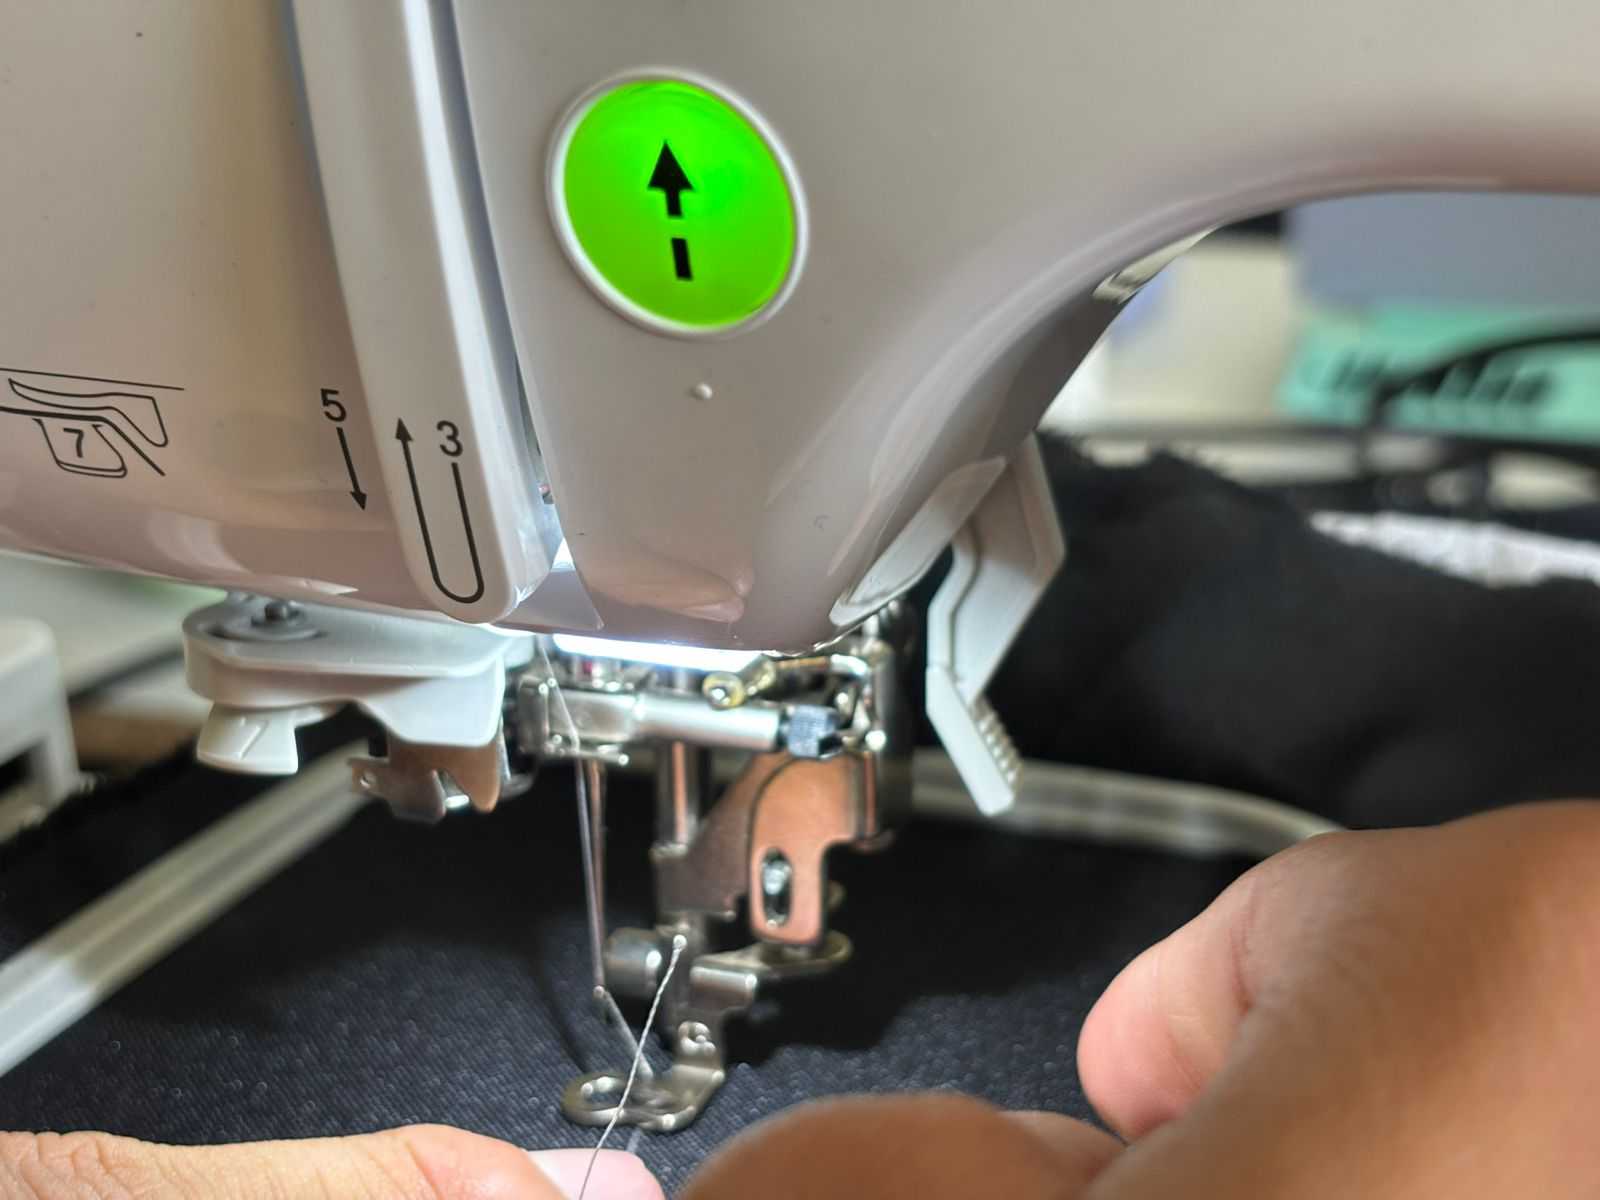
- After completing the steps, lower the sewing needle. The button will change from red to green once this is done.
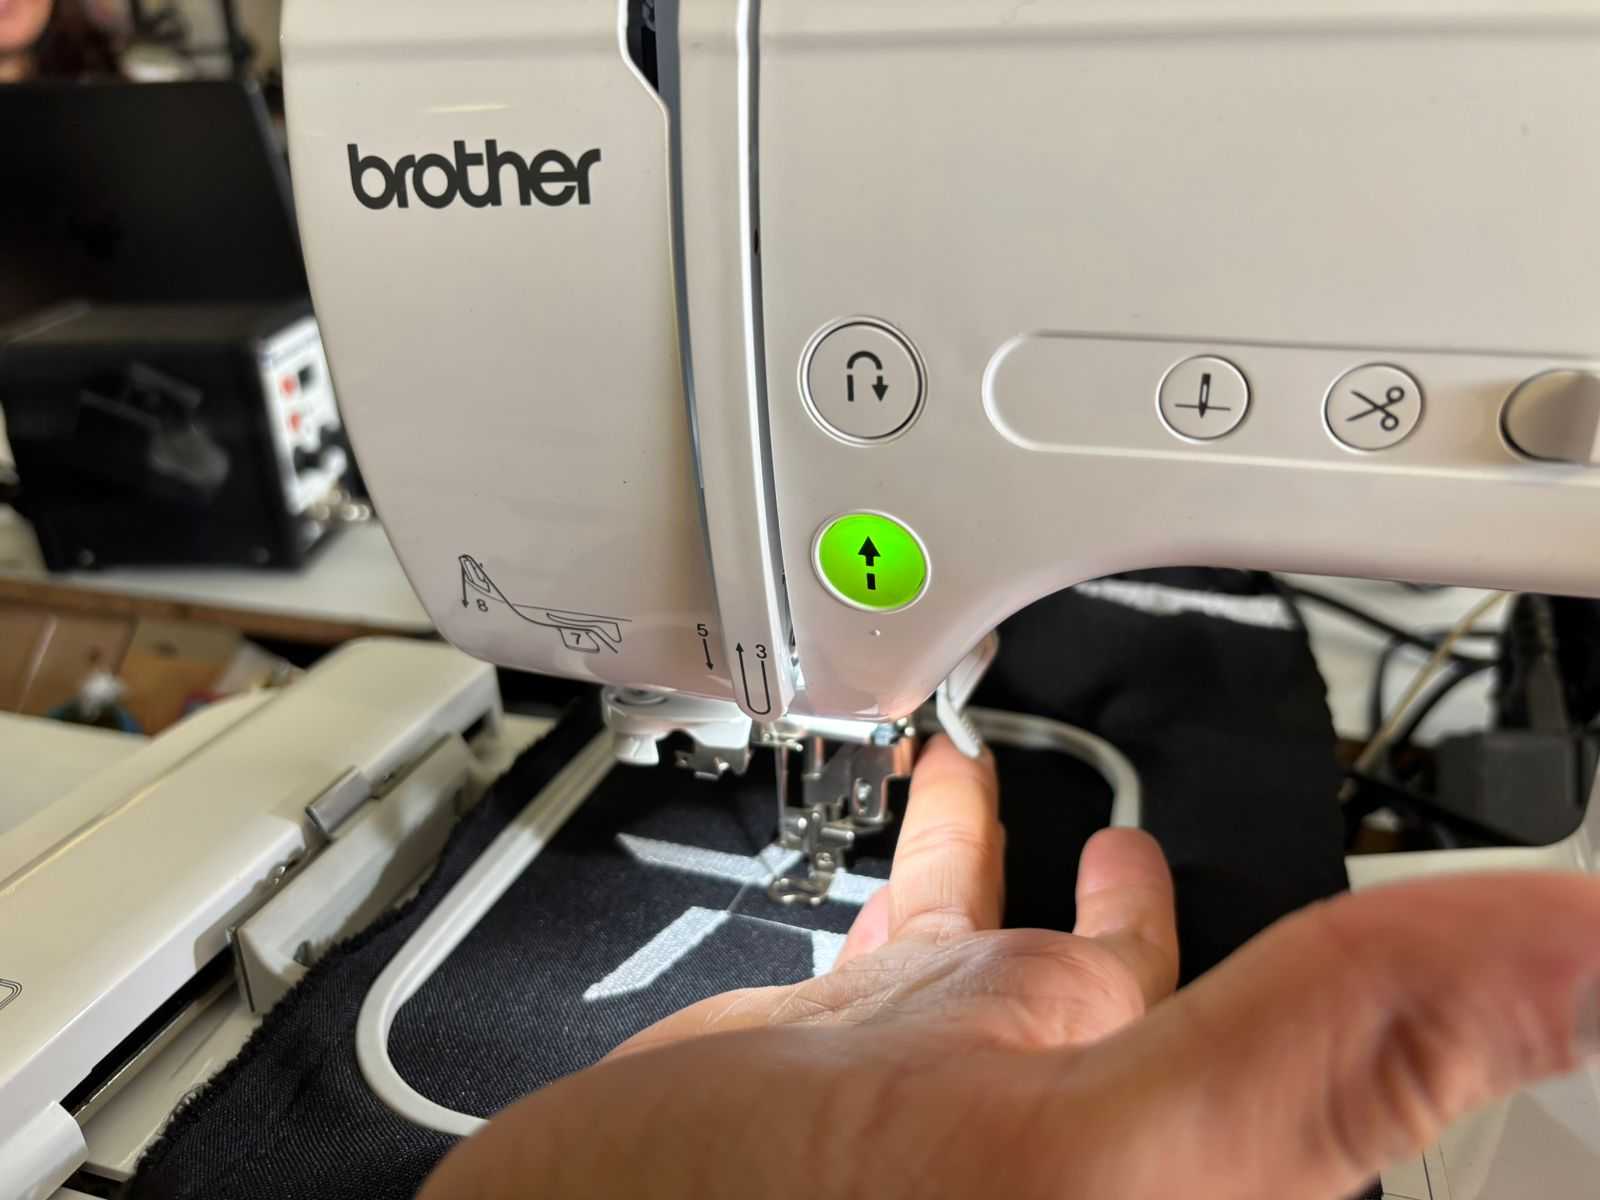
- After this, continue the embroidery by pressing Start. It is important to supervise the process to ensure everything is working correctly.
- Once the embroidery is finished, raise the needle and remove the embroidery hoop together with the fabric.
- Finally, store everything properly.
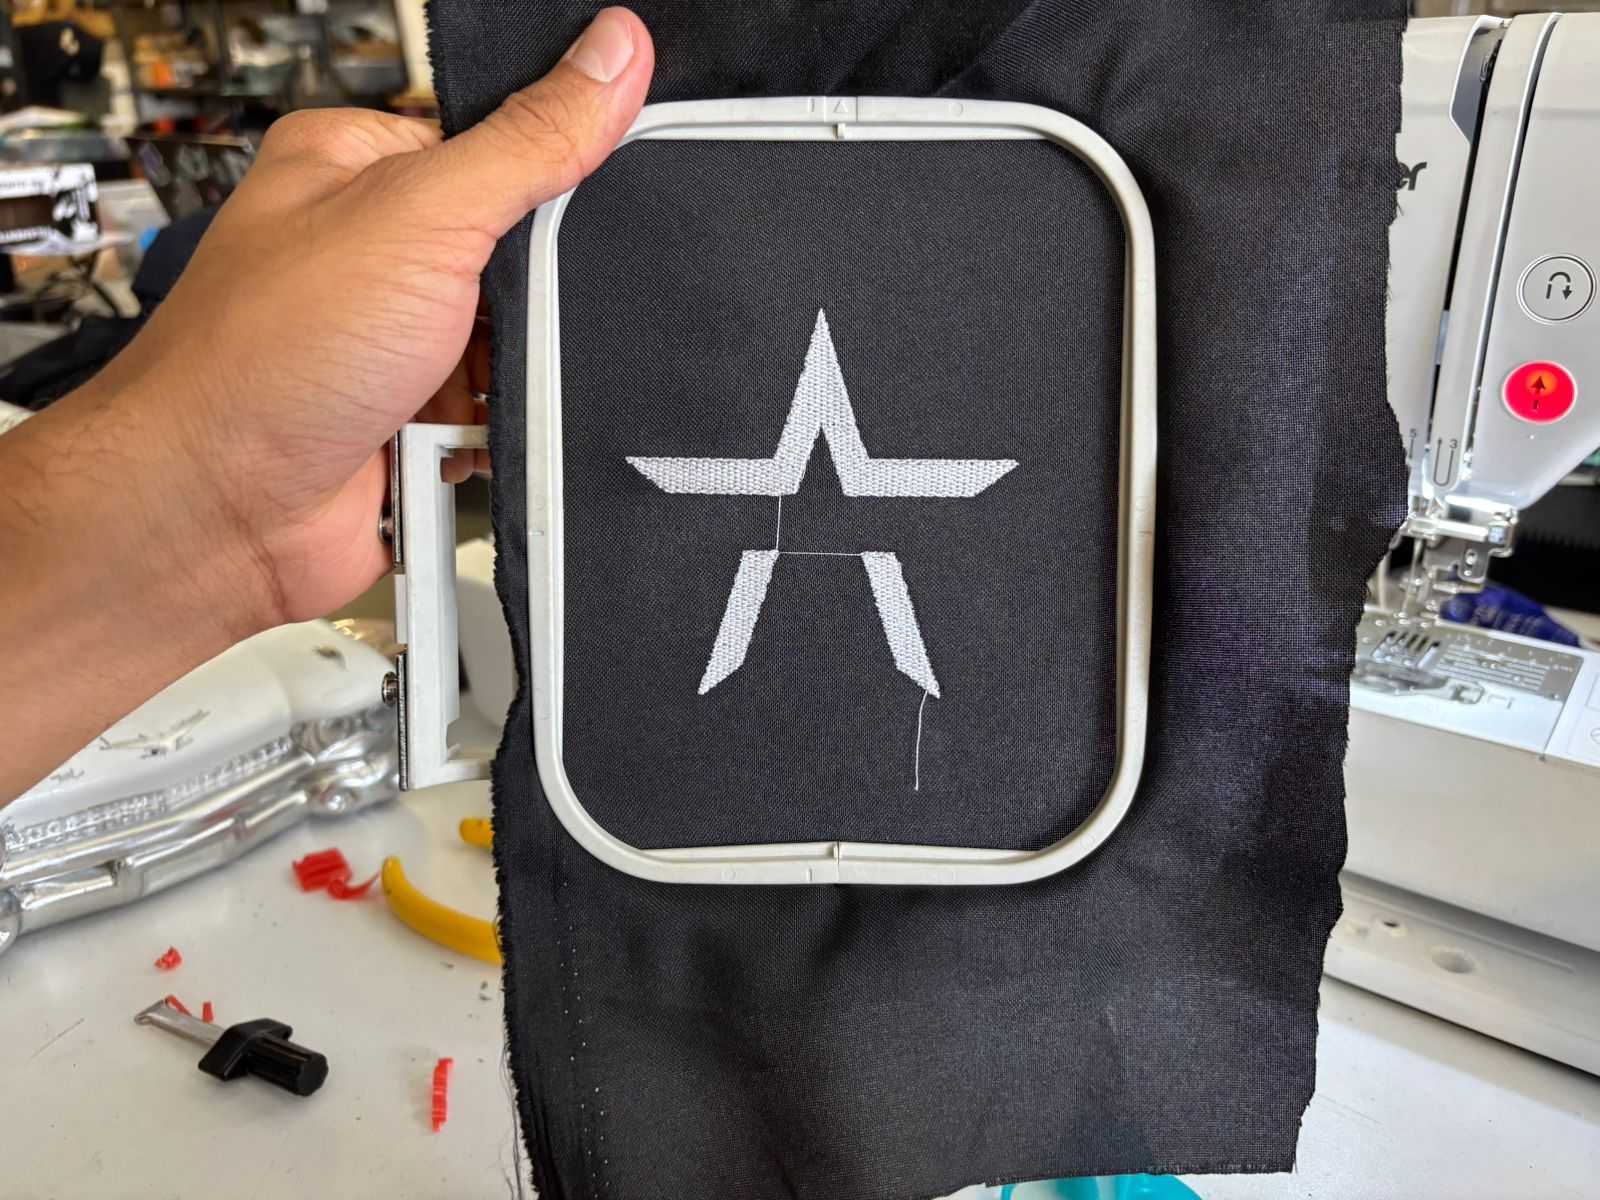
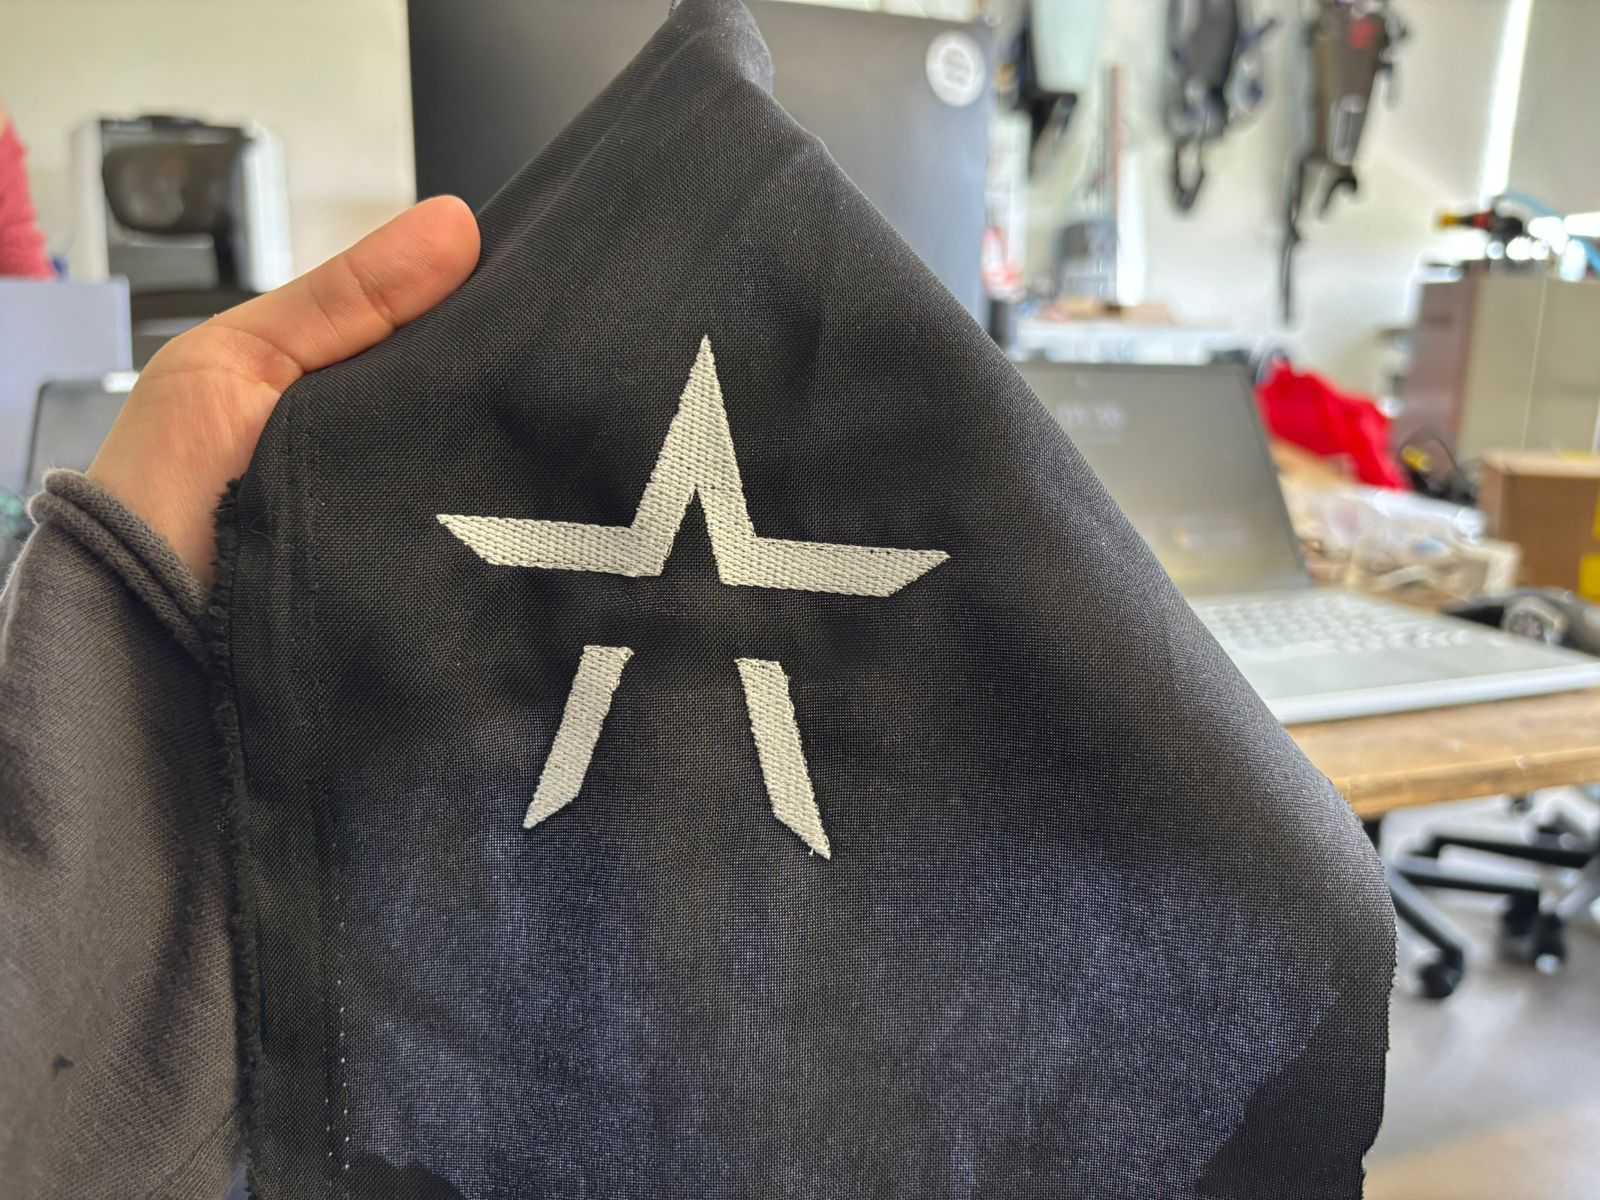
- In this way, the following result was obtained.
Conclusions
It is important to learn different processing and manufacturing techniques. Without a doubt, this week was very interesting. Even though I had never worked with this type of machine before, the process is very simple and intuitive, making it perfect for learning and applying it to different areas such as design, embroidery creation, and more.
If you want to access to my work from this week, please click here to download!