Students Bootcamp
Introduction
During the first week, the course officially began, during which the main activities to be developed throughout the semester, the general schedule, and the weekly workflow were explained. The primary focus of this week was the development and editing of the personal website. For this purpose, students learned how to clone a base repository and edit it using Visual Studio Code. In addition, fundamental GitLab commands were introduced, enabling proper project management and version control. The following sections describe in a structured manner the activities carried out and the knowledge acquired.
What is Git?!
Git is a version control system that allows the management and storage of different versions of a project within repositories. Its main advantage lies in the ability to retrieve previous versions of files, which is particularly useful in the event of errors or unintended modifications. In this way, Git facilitates organized, collaborative, and secure work throughout the development of projects.
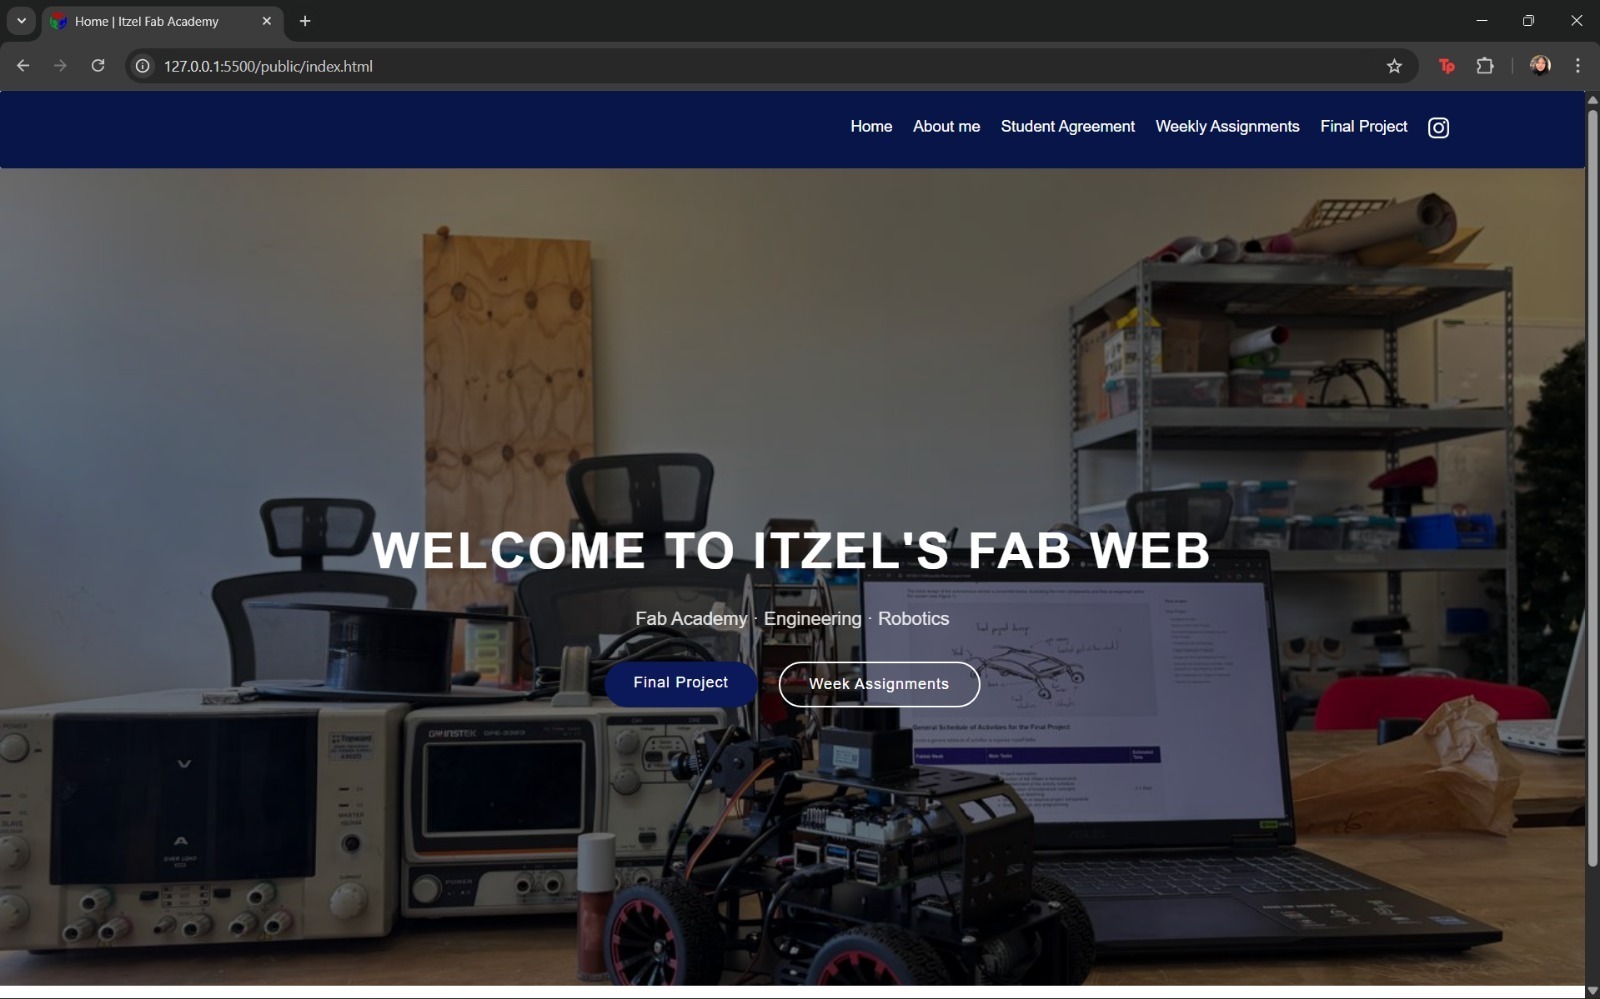
Initial Website
It was explained that the development of the website would be based primarily on three languages: HTML, CSS, and JavaScript. HTML is a markup language used to structure the content of a webpage through opening and closing tags. CSS is a style language that allows defining the visual appearance of elements, such as colors, sizes, and positioning. Finally, JavaScript is a programming language that runs in the browser and enables actions and interactivity within the webpage. Initially, a base template hosted on GitLab was used as the starting point for the development of the personal website throughout the semester.
The following section presents two images showing the website before and after the implemented modifications. This process represented a significant challenge, as I had no prior experience in web development. Nevertheless, I greatly enjoyed learning and exploring new commands, which were progressively applied throughout the development of my website.
In order to edit this template, it was necessary to clone the repository and work locally using Visual Studio Code.
Repository Cloning Process
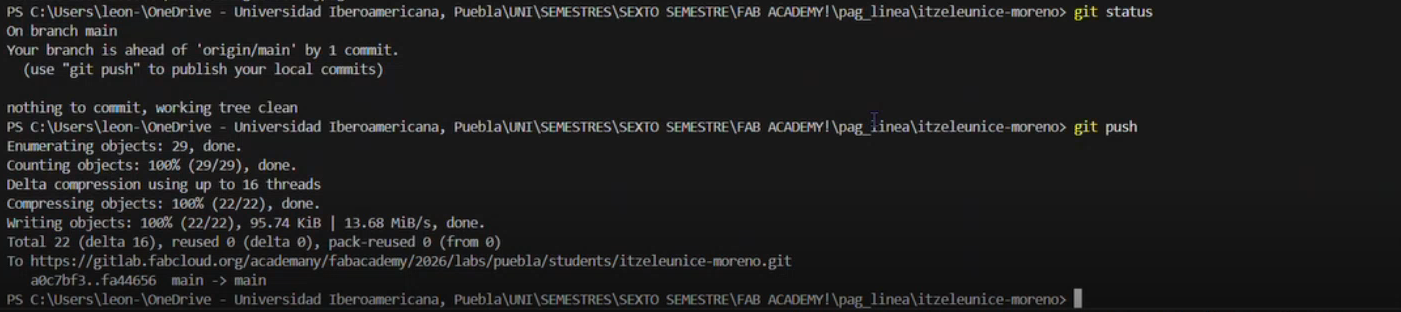
To carry out the repository cloning process, it was necessary to learn and use a set of basic Git commands:
- git clone
: downloads and clones a repository from the remote server. - git add: registers the changes made to the files.
- git commit -m “message”: saves the changes along with a brief description.
- git push: uploads the changes to the remote repository.
- git status: displays the current state of the repository relative to the remote version.
- git pull: Retrieves and merges all changes from the remote repository that are not present on the local machine. This command is commonly used when the local repository is behind the remote version.
- git reset:Removes the most recent commit from the repository history. There are two main types of reset. The first one is soft reset, the command is
git reset --soft HEAD1and it removes the commit while preserving the modified files in the working directory. And, the second is hard reset, it removes the commit and deletes the associated file changes, aligning the local repository with a previous state. You can use it with the commandgit reset --hard HEAD~1. - cd: it means "continuous delivery" and it changes the current directory.
The general procedure consisted of logging into GitLab, copying the repository cloning link, and opening a local folder in Visual Studio Code. Subsequently, the git clone command was executed in the integrated terminal along with the corresponding URL. Once the repository was cloned, the project folder was accessed and the necessary modifications were made. To reflect the changes on the live website, the commands git add, git commit, and git push were executed sequentially.
Step-by-step procedure:
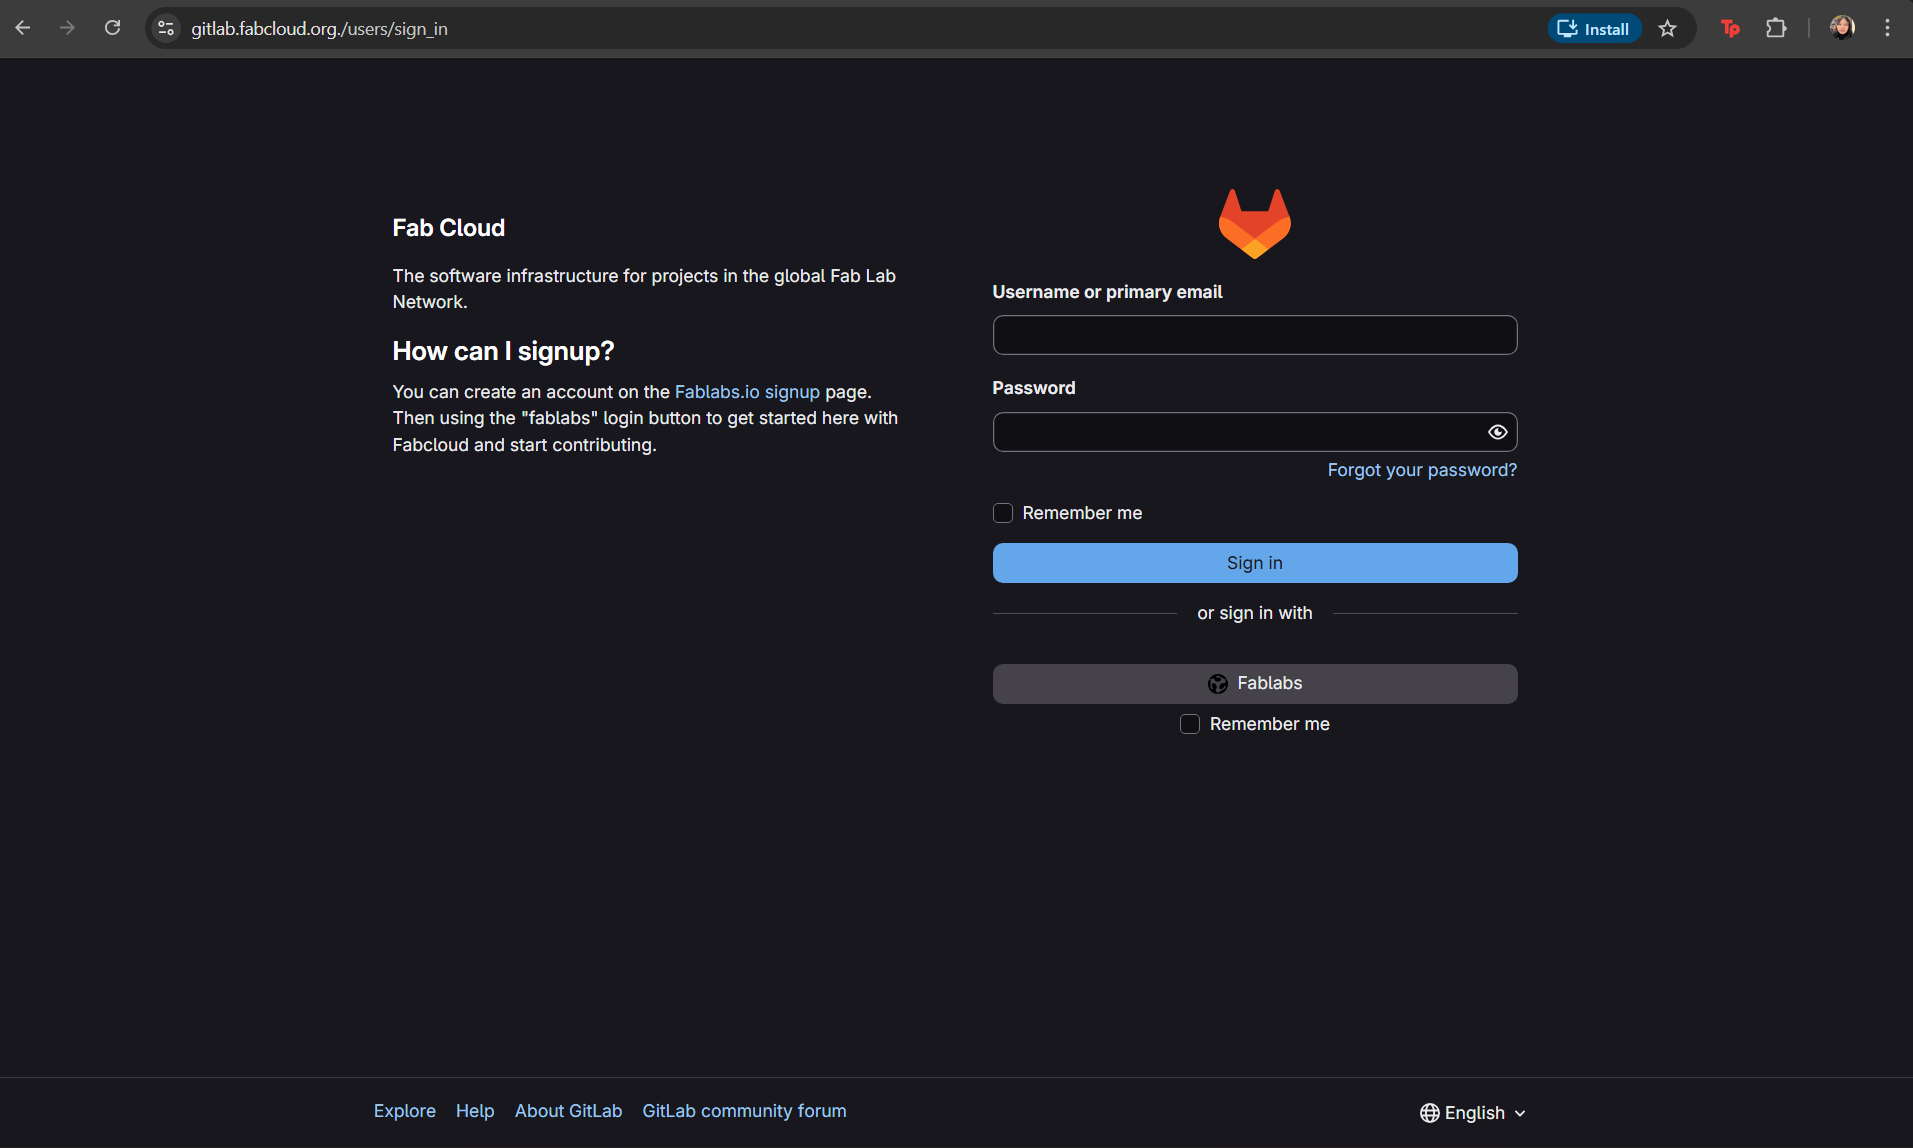
1. Log in to gitlab.fabcloud.org.
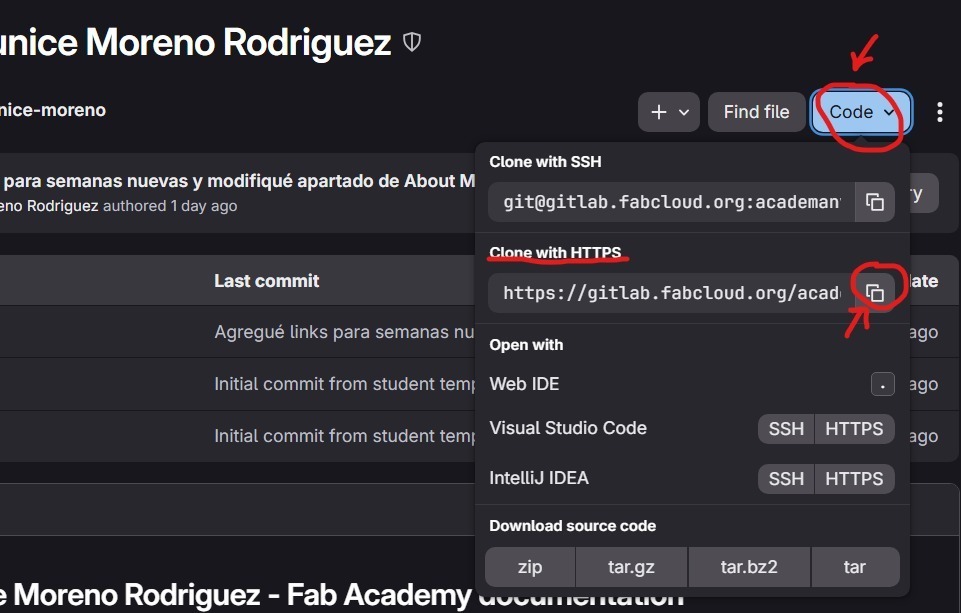
2. Navigate to Homepage → Projects → Academy / Fab Academy → Code, and copy the link under “Clone with HTTPS”.
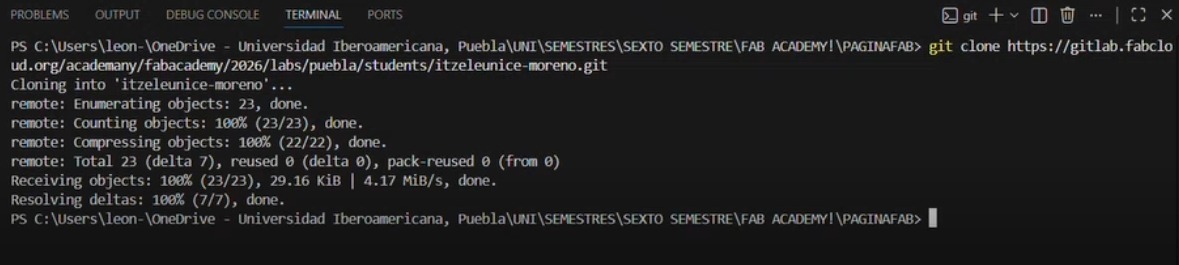
3. Open Visual Studio Code → File → Open Folder, select the desired folder, then open a new terminal and type git clone, paste the copied URL, and press Enter.
4. Navigate to the project directory using cd site followed by the folder name. After making modifications, apply the changes using git add ., git commit -m "MESSAGE", and finally git push.
Basic structure of page
Here is the base page folder and file:
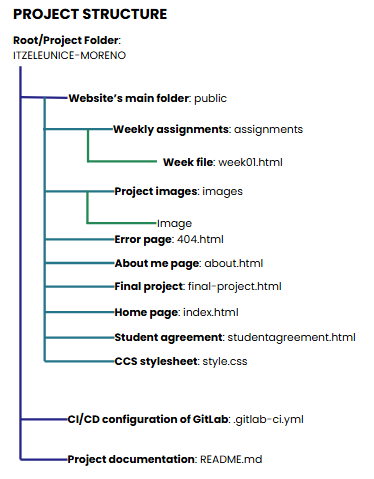
Based on the visualized diagram, the main structure that the code should follow after being cloned can be observed (in this case, an additional HTML file named “student-agreement” was added). Each of these components is essential within the structure of a website, as they fulfill specific organizational and functional roles. Their main purposes are:
Folder
- Root Folder:This directory contains the entire project within the local device. It serves as the main container for all files and folders related to the website.
- Public Folder:This folder contains the files that are deployed to the web server. It represents the root directory of the website as it is accessed online.
- Assignments Folder:This directory is used to organize weekly progress. It contains individual .html files corresponding to each week, where detailed documentation is presented.
- Images Folder:This folder stores all images used throughout the website, ensuring proper organization and easier resource management.
Files
- index.html File:This is the main page of the website. It contains the most relevant information intended to be displayed to users upon initial access.
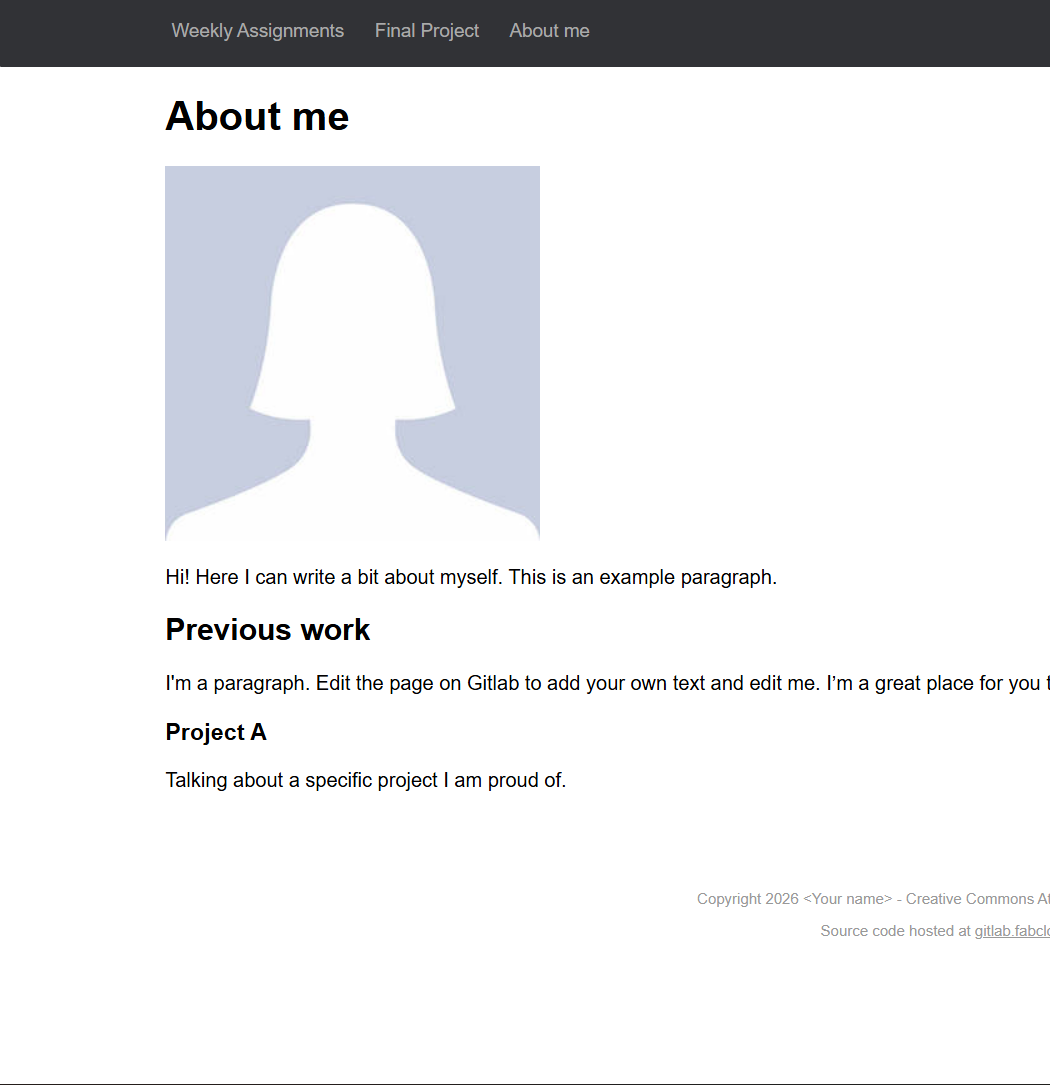
- about.html File:This page is dedicated to presenting personal information about the creator of the website, including background, interests, and relevant skills.
- final-project.html File:This file is used to document the final project, including its description, development process, and technical details.
- studentagreement.html File:This page outlines the academic responsibilities and commitments assumed by the student throughout the course.
- weekassignments.html File:This file displays an index of the weekly assignments, providing organized access to the documentation for each week.
- 404.html File:Its primary function is to display a “page not found” message when a user attempts to access a non-existent URL within the website.
Other Important Files
- style.css File:Cascading Style Sheets (CSS) file responsible for defining the visual appearance and layout of the entire website, including colors, typography, spacing, and positioning.
- .gitlab-ci.yml File:This file enables GitLab CI/CD automation. It allows the website to be automatically deployed whenever the git push command is executed.
- README.md File:This file serves as the main documentation of the project, providing an overview, instructions, and relevant information regarding the repository.
Learned Concepts
During this first week, several modifications considered fundamental for the initial development of the website were carried out. Learning basic Git parameters proved to be particularly relevant, as it established a solid foundation for the use of more advanced tools in the future. Since my academic background does not directly cover this type of content, this experience represented a meaningful and enriching learning process.
How to use CSS?!
While developing my website, I began experimenting with different commands, initially to become familiar with programming concepts, but also to explore tools that could be useful for the overall design of the page. It is essential to understand CSS, which is a language used to style web pages. Through CSS, I was able to implement several modifications that significantly improved the visual design of the website. First, within Visual Studio Code, I created a new file with the .css extension. To correctly write a CSS rule, a selector is defined, followed by opening curly braces in which declarations are placed. Each declaration consists of a property and its corresponding value. The following example corresponds to a declaration used to add blue content boxes in order to visually separate sections within the Student Agreement page.
            .rounded-box{
              border-radius: 25px;
              border: 2px solid #150a56;
              padding: 20px;
              width: 100%;
              height: 100%;
            }
In this way, the declarations defined within the .css file can be referenced and applied within .html files. A wide variety of properties can be used within CSS declarations. Among them, the most frequently applied during this project were:
- margin: defines the outer spacing of an element.
- padding: sets the inner spacing of an element.
- width and height: determine the width and height, respectively.
- background-color: defines the background color.
- position: adjusts the position of an element.
- color: sets the text color.
- border-radius: allows the creation of rounded corners for content boxes.
- font-size: defines the font size.
Before further exploring these parameters, it was necessary to understand the basic structure of a webpage, which is divided into three main sections: header, body, and footer. The header typically contains the logo and main navigation; the body includes the main content; and the footer displays secondary or complementary information.
Additionally, fundamental HTML tags were reviewed, including:
Basic HTML file elements:
- <!DOCTYPE html:> indicates an HTML document.
- <html lang="en">: specifies the language of the document.
- <head>: defines the document header.
- <title>: sets the webpage title.
- <body>: contains all visible webpage content.
- <h1>to<h6>: heading tags, where higher numbers correspond to smaller text size.
- <!-- -->: comments
- <p>: paragraph text.
- <strong>: bold text.
- <em>: italic text.
- <a>: hyperlinks, with the href attribute defining the destination.
- <br>: line break.
- <div>: document division.
- <img>: image insertion, which can be complemented with width and height attributes.
- <li>: list items.
- <a href="...>: hyperlinks, with the href attribute defining the destination.
Additional HTML elements:
- <link>: added to index.html to include external resources such as icons for the browser tab.
- <ol>: ordered lists.
- <ul>: unordered lists.
Examples of using HTML Elements
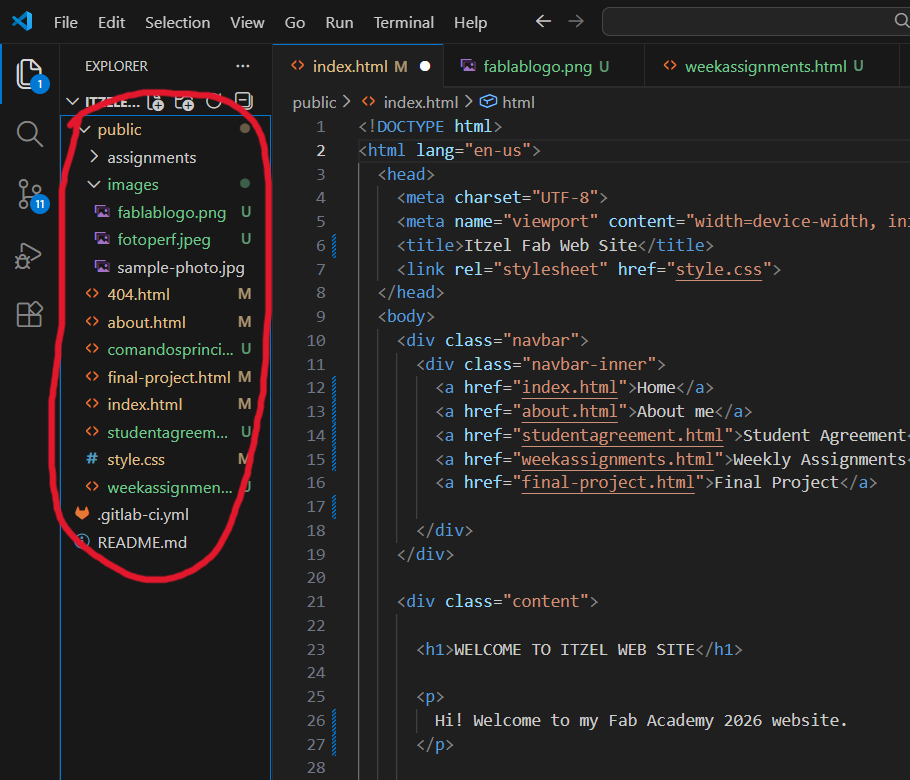
The next example corresponds to a portion of the code used in the .html file to program the navigation bar.
            div class="navbar"
              div class="navbar-inner"
                  a href="index.html">Home
                  a href="about.html">About me
                  a href="studentagreement.html">Student Agreement
                  a href="weekassignments.html">Weekly Assignments
                  a href="final-project.html">Final Project
              /div
            /div
Examples of using CSS Elements
In contrast, the styling and visual properties of the page were defined through declarations written in the .css file.
              .navbar {
                width: 100%;
                background-color: #081548;
                border-radius: 2px;
              }

              .navbar-inner {
                max-width: 1280px;
                margin: 0 auto;
                padding: 1% 0;
                display: flex;
                justify-content: flex-end;
             }
Main Changes on the Page
During the first week, the work focused on three fundamental aspects: content, the correct application of programming commands, and the overall design of the webpage.
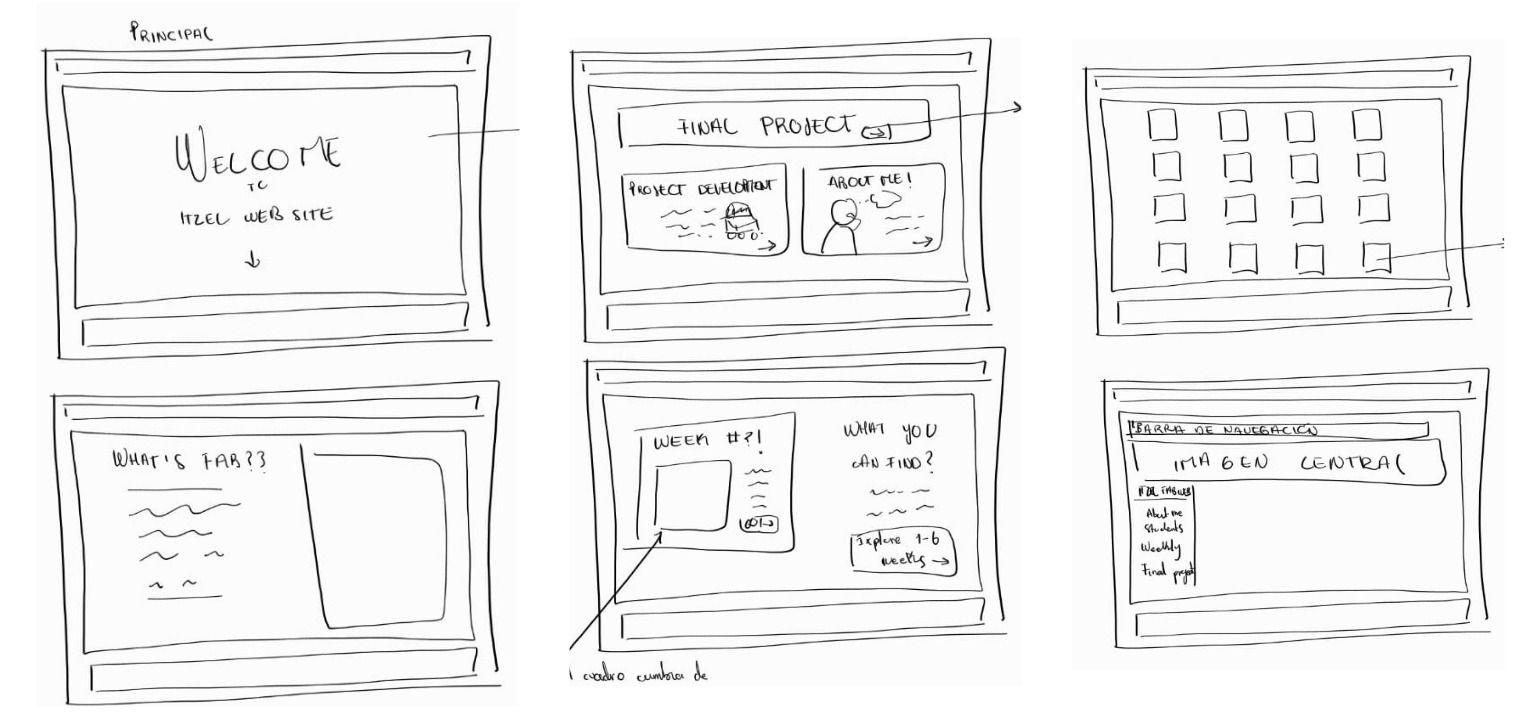
The development process began with the creation of a preliminary sketch that defined the intended visual layout of the website. As the programming progressed, several changes were implemented based on aesthetic preferences and design improvements identified during development.
The first major modification carried out during the week was the design of the navigation bar, in which the following sections were integrated.
- Home: directs users to the main page based on the initially provided index template.
- About Me: presents personal information, interests, skills, and previous experiences, accompanied by a representative image.
- Student Agreement: a section dedicated to outlining the academic responsibilities assumed as a student, visually organized into blocks for improved readability.
- Weekly Assignments: organizes direct links to the activities corresponding to each week of the course.
- Final Project: describes the final project proposal, including general information, sketches, and key development elements.

Regarding the design, a basic template provided by the course was initially used to understand fundamental commands. Subsequently, a more elaborate template with icons and graphical elements was implemented, enabling the exploration of additional commands. Prior to the final implementation, a conceptual sketch of the website was created. The selected color palette was based on dark blue tones, white, and gold, complemented with images and icons reflecting personal interests.
Subsequently, the focus shifted to the design of the main homepage. Finally, additional modifications were applied to the remaining sections of the website, primarily involving the inclusion of images, dynamic content boxes, color-coded tables, and highlighted sections to emphasize relevant information.
Tips That Helped Me
- I expanded my knowledge through this website, which was particularly helpful for learning new HTML and CSS commands. It offers clear and well-structured exercises that can be used to develop a personalized webpage.
- Experimentation is essential when learning. Trying new commands and options facilitates deeper understanding and integration into the webpage.
- Creating a preliminary sketch is recommended. In terms of webpage design, it is important to consider what users should visualize, the chosen color palette, and personal preferences.
- Maintaining an organized file and folder structure is crucial to avoid confusion among elements.
- Asking for help is essential. Learning from others allows for the identification of mistakes and opportunities for improvement.
If you want to know more information, you can access here to my gitlab file!