18. Invention, Intellectual Property and Income
The initial prototype of the alarm hamster demonstrates the feasibility and functionality of the design. Moving forward, we will focus on refining and improving the prototype expanding its capabilities.
Short-term Goals
- Improve the prototype: Continue improving the mechanics of the prototype, for example, modifying the height for the wheels, in addition to adding an area to facilitate programming while the hamster remains closed.
- Change the cable arrangement so that opening the hamster is easier if repairs are required.
Medium-term Goals
- Modify the interface: A database could be added where you can monitor how fast the user woke up by counting the time between when the alarm started sounding and when the user took to turn it off.
- Evaluate the possibility of releasing the product to the market as a fun alternative for waking up.
Long-term Goals
- Product launch: Plan a product launch strategy that includes marketing campaigns.
- Continuous improvement: Implement user feedback to continuously improve the product, adding new functions and capabilities to meet changing needs.
Future Possibilities
- Compact PCB design: Use JLC PCB services to manufacture smaller and more efficient printed circuit boards that optimize the design.
- Large-scale manufacturing: Transition the prototype to large-scale manufacturing, ensuring uniformity and quality in each unit produced.
- Improved sensor technology: Integrate more advanced sensors for better detection and response.
The tasks that have already been completed are the development of each of the individual components with the corresponding boards; what is missing is the integration of the motors with the hamster shell already closed.
Dissemination Plan
For the dissemination of this project, the primary focus will be on an open-source hardware model. The goal is to share the 3D models, PCB designs, and code with the maker community so that anyone can replicate, learn, or modify their own hamster alarm. However, to align with my medium- and long-term product launch goals, I will also explore the commercial route. This would involve selling DIY kits or fully assembled and manufactured units for users who prefer a ready to use product.
Questions that need to be resolved
- How long can the hamster be on before the battery runs out?
- How far can the board be from the internet to be able to configure the alarm?
What I have learned
When designing an object that has a limited space to place the cables, components, and boards, it becomes a difficult task to see the arrangement of the cables. What I have learned is that it should be modeled as much as possible to visualize the available space that will be counted on.
Creative Commons License
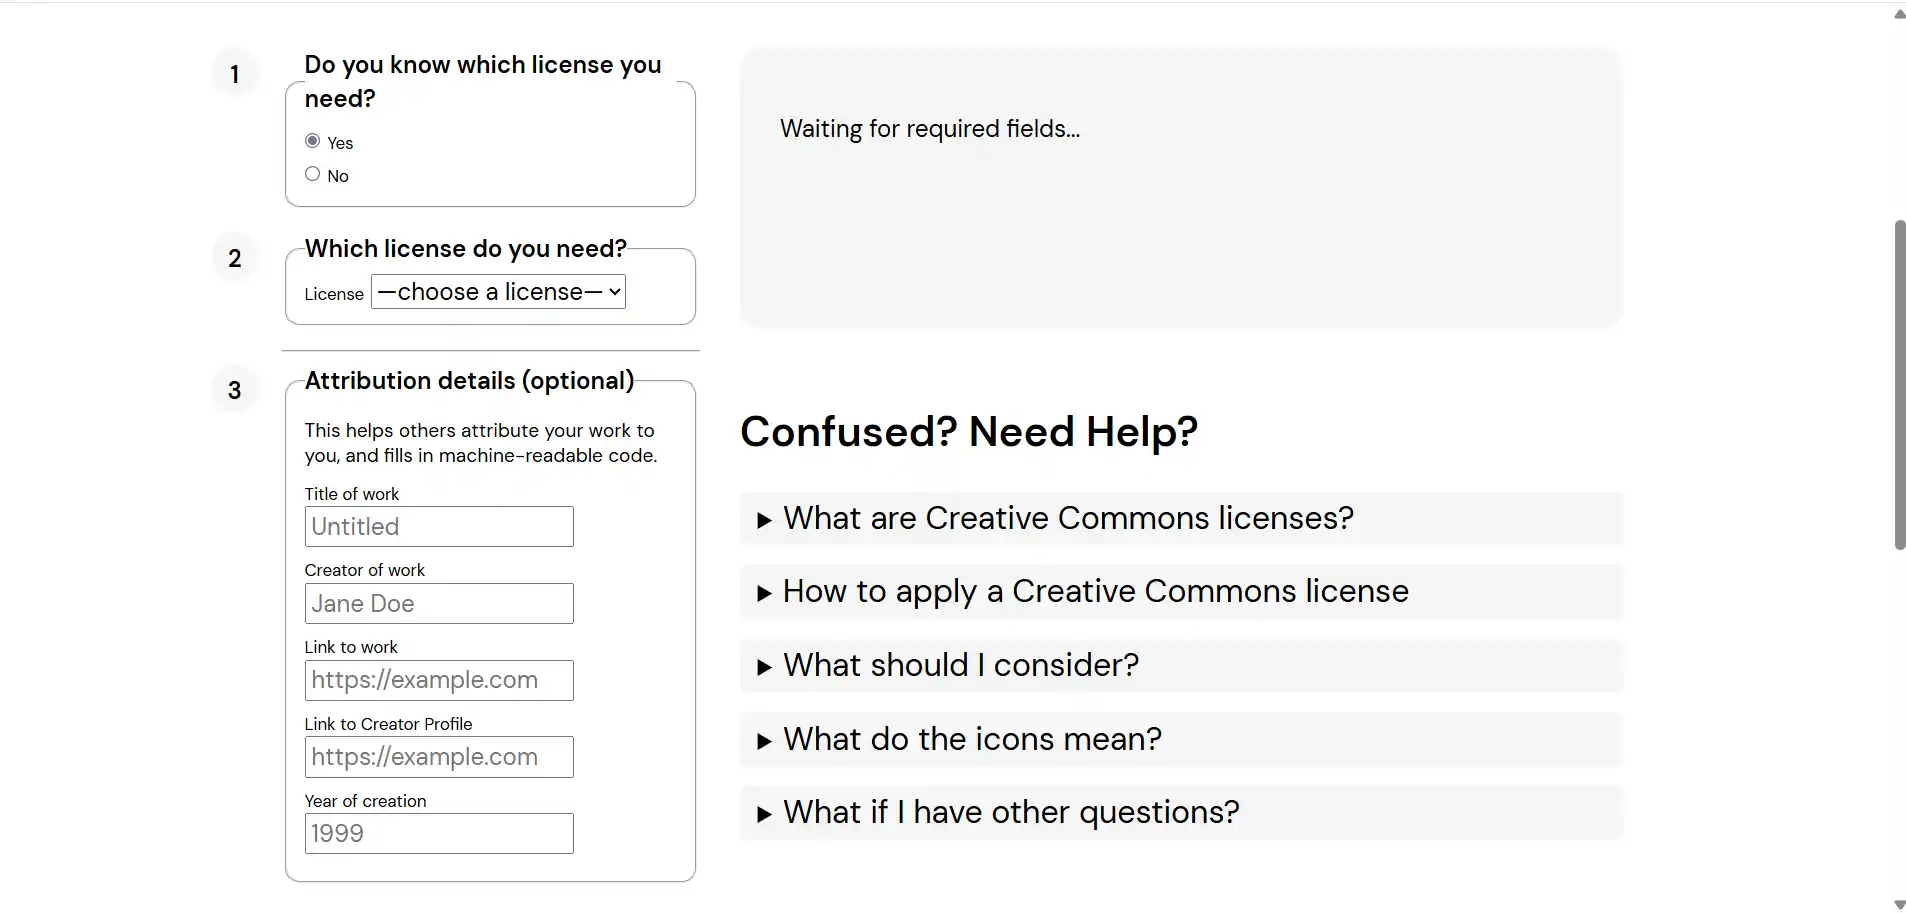
The first thing I did was open the Creative Commons page; since I didn't know which license to select, I went to the chooser section where you have a small questionnaire that helps you select the license you want.
This is the menu that appears if you already know what license you require:
This is the menu that appears if you still don't know which license to choose:
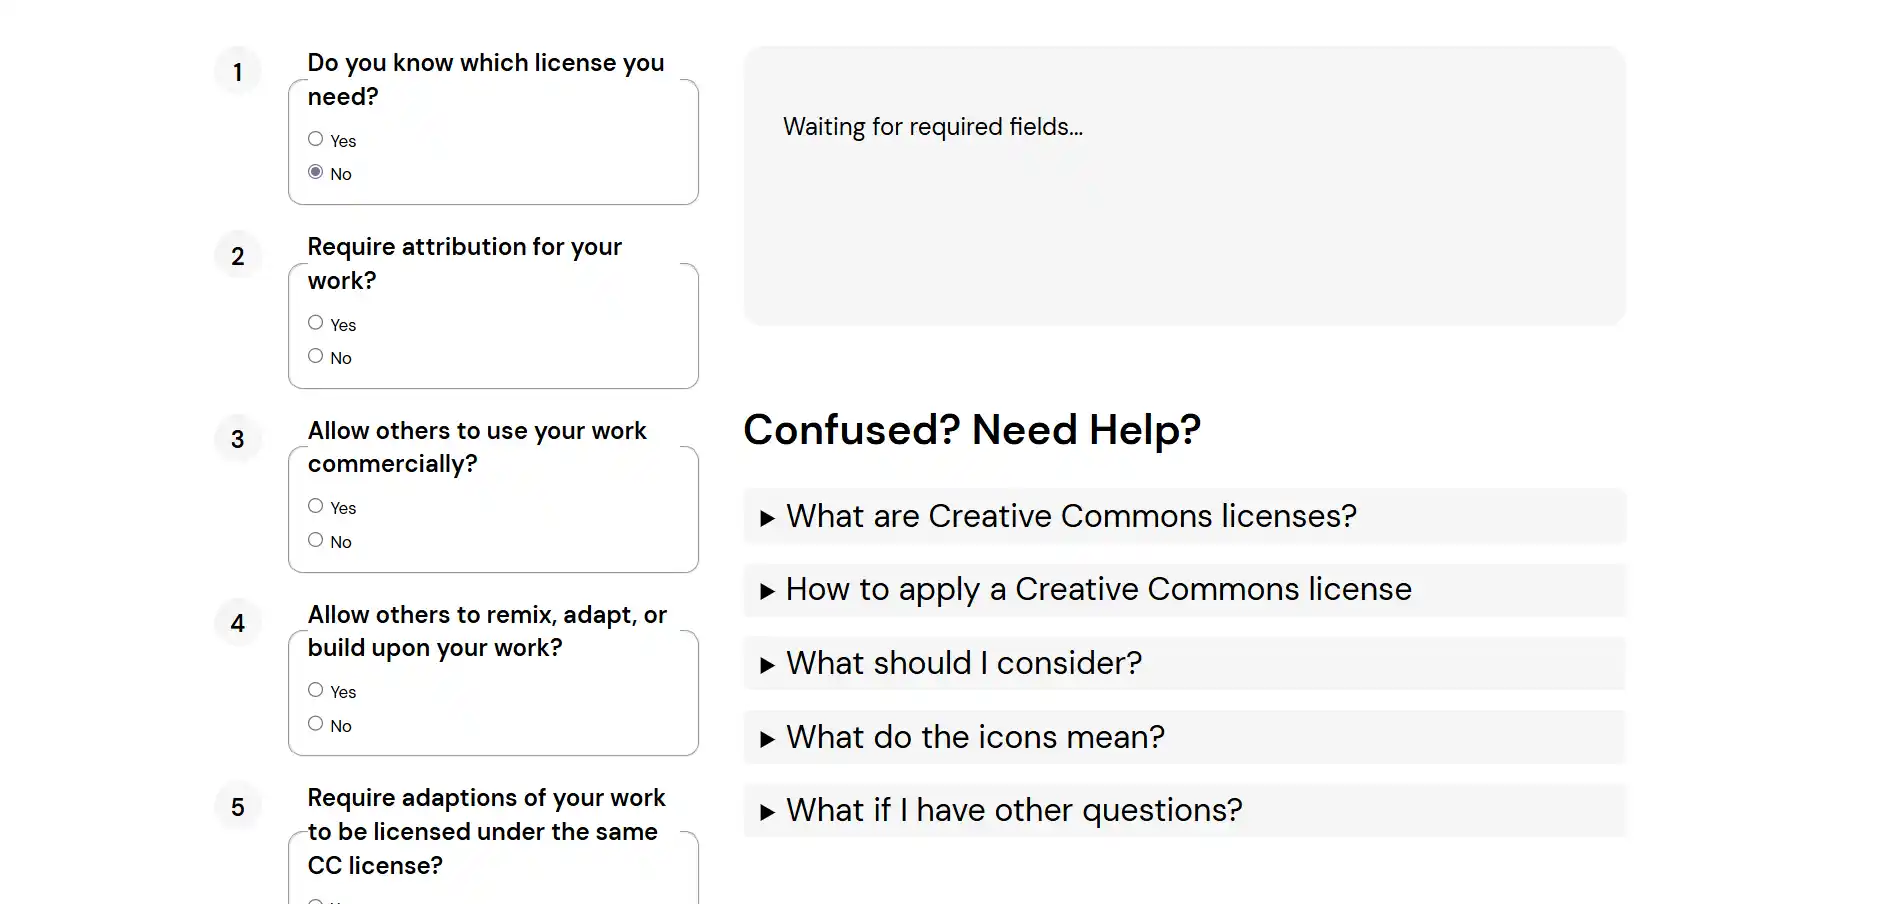
The questions that appear are the following:
- 1.- Require attribution for your work? This question defines whether the people who use your work are obliged to give you credit for having created it.
- 2.- Allow others to use your work commercially? This question defines whether you authorize other people to earn money using your creation. If you select no, they can use your work for educational, personal, and non-profit purposes; if they want to earn money with your work, they need to contact you.
- 3.- Allow others to remix, adapt, or build upon your work? This question is about whether people can modify your work or if they have to use it exactly as you placed it.
- 4.- Require adaptations of your work to be licensed under the same CC license? This question can mean that while you placed it with the freedom to use it, another person modifies your work and places this new version as not usable.
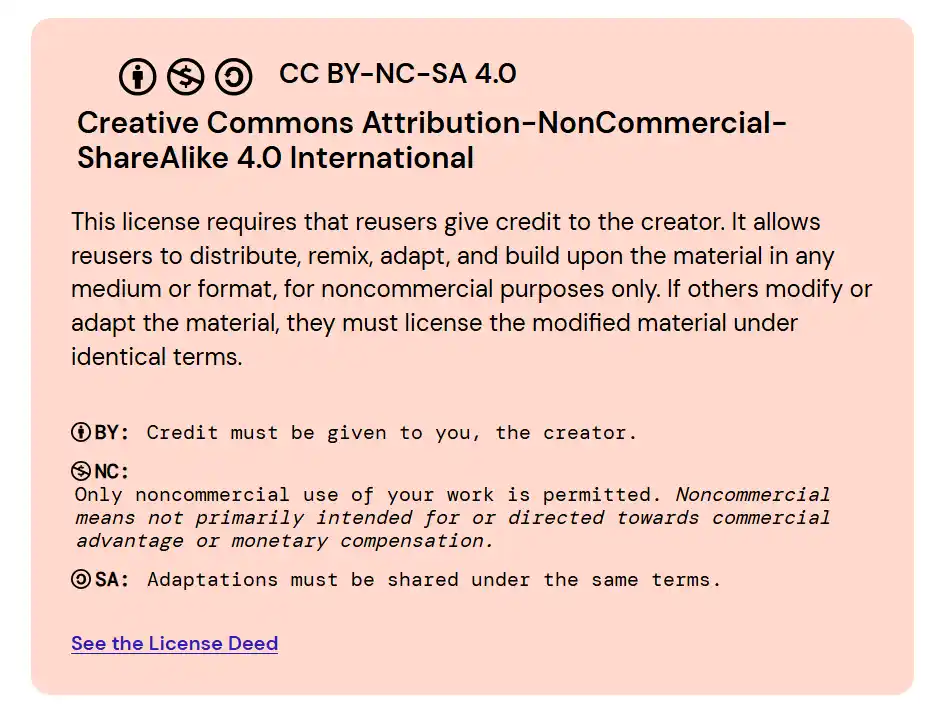
The recommended license that came out was the following:
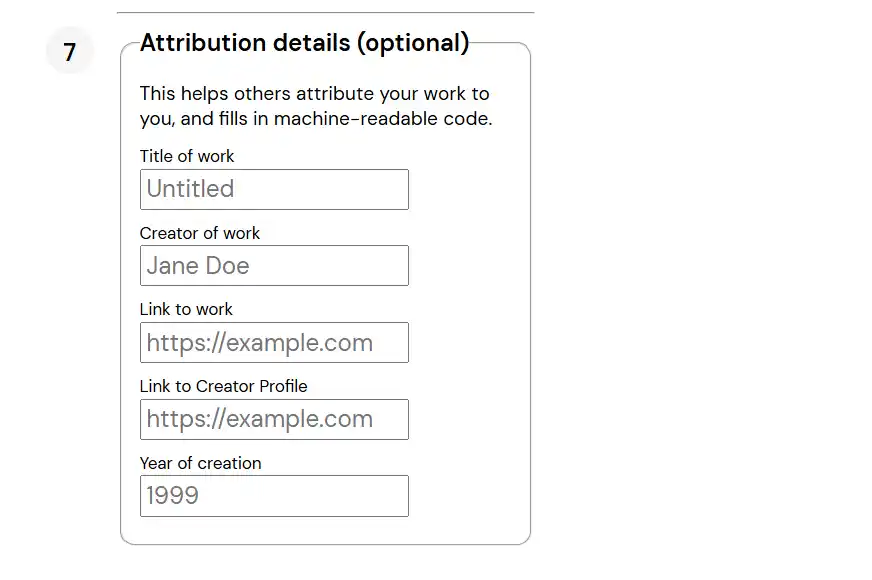
The last section that appears is to place the details of the work.
Then I returned to the question of whether I already knew which license I needed and placed the corresponding data for my project. At the bottom, in Mark Your Work, I got the necessary HTML code to place on my page.
I placed it in the footer along with the license that the fab had already given us, and this is how it looks.