16. Wildcard
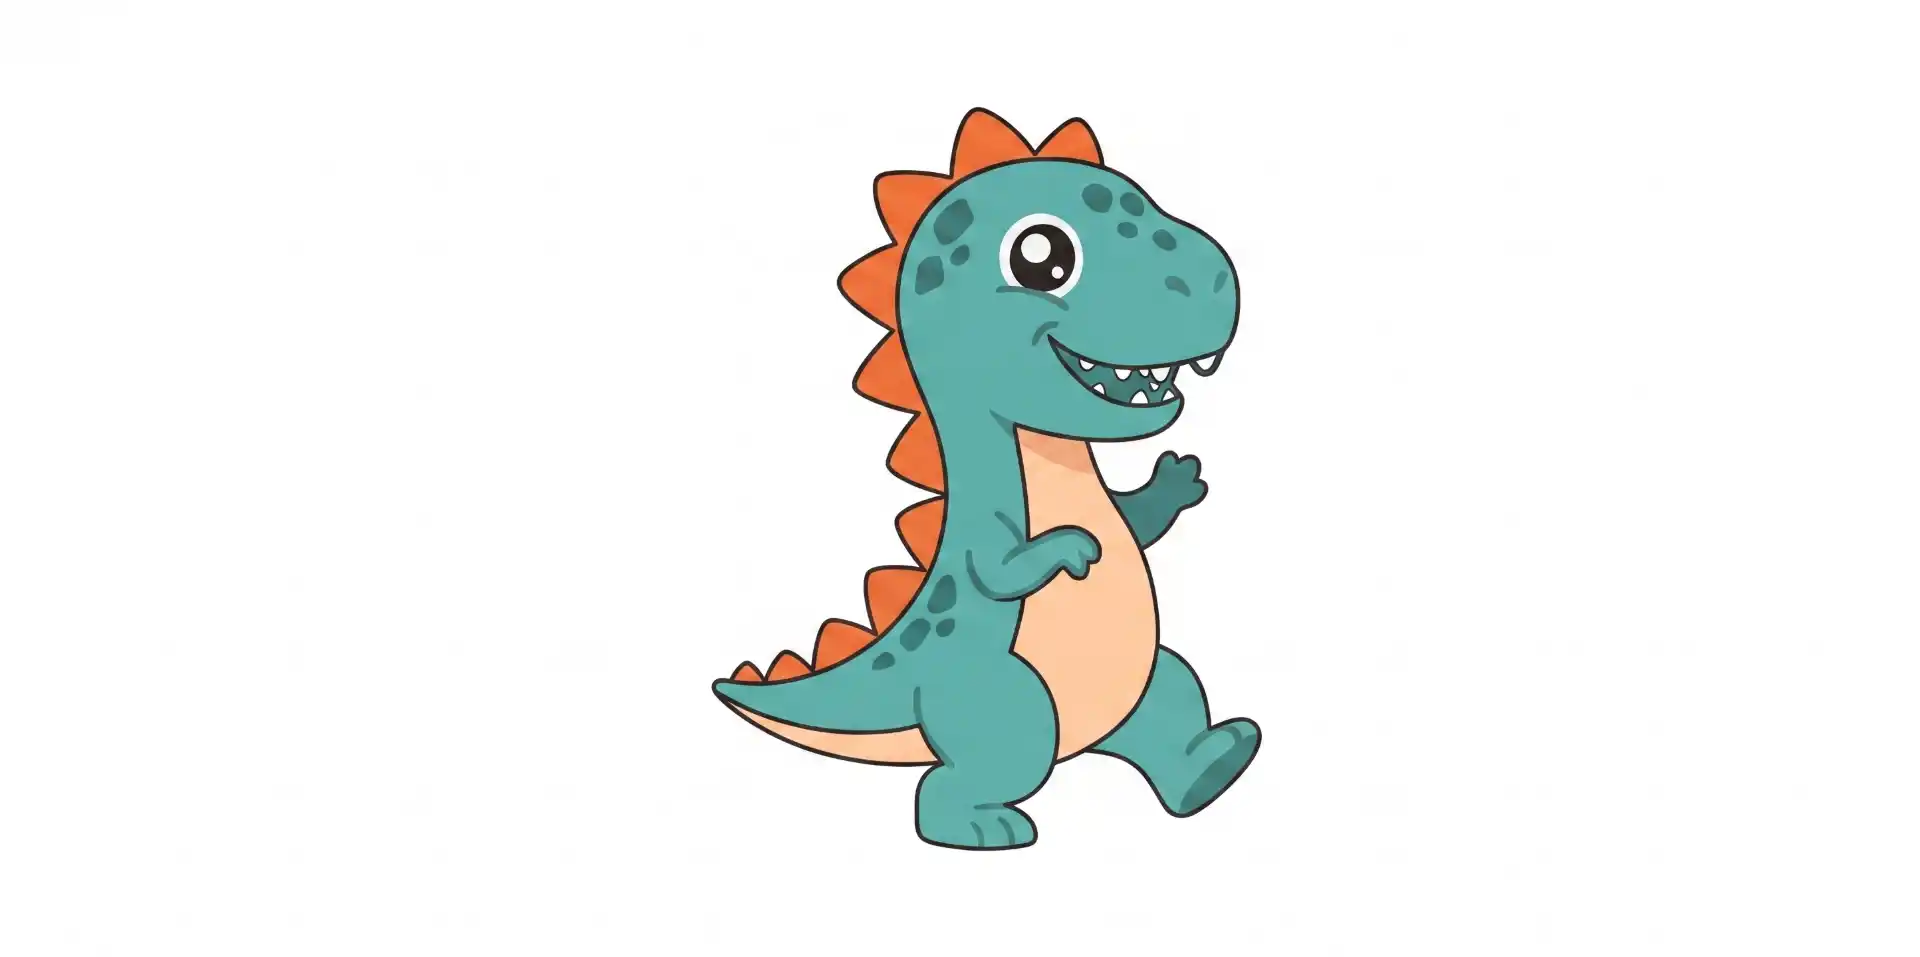
This week was wildcard where from the examples I decided to make an embroidery, the machine we have in the Fab Lab Puebla is the Brother NS1850L, the first thing I did was obtain the image of the dinosaur for my embroidery which Gemini made for me with the following prompt:
“Make me a T-Rex dinosaur in cartoon style that has the borders of the corresponding color Flaticon style to be able to embroider it”
The image I obtained was the following:
Inkscape
1.- The first thing we need is to have Inkscape and download the Ink/Stitch extension.
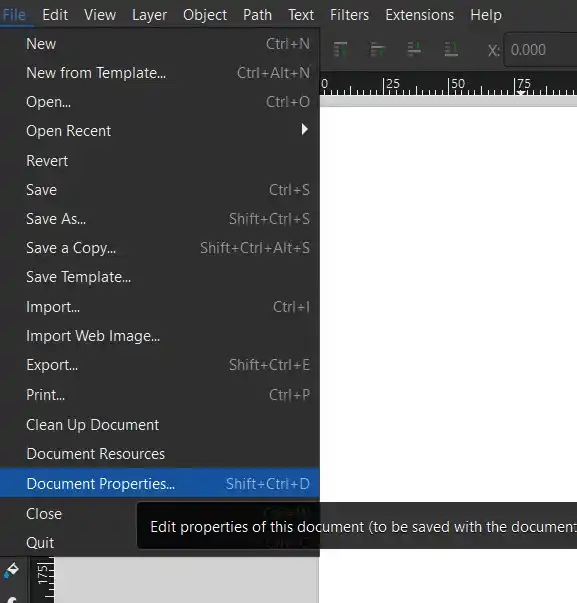
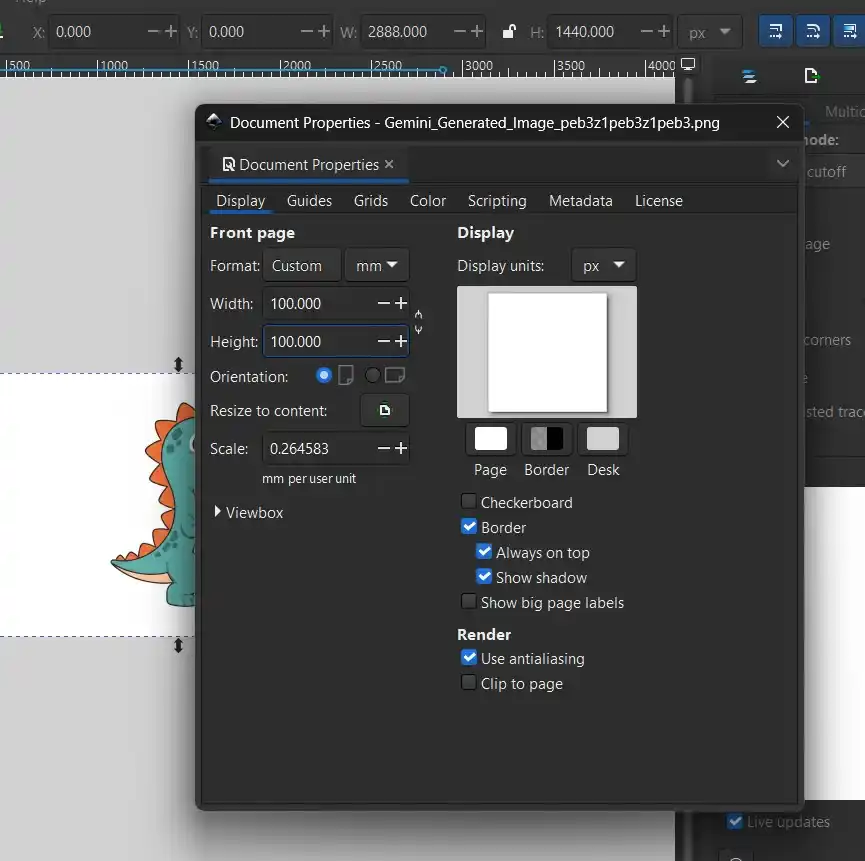
2.- I opened a new document in Inkscape with the measurements that my patch can have depending on the dimensions of the embroidery machine which in this case was 100 mm x 100mm.
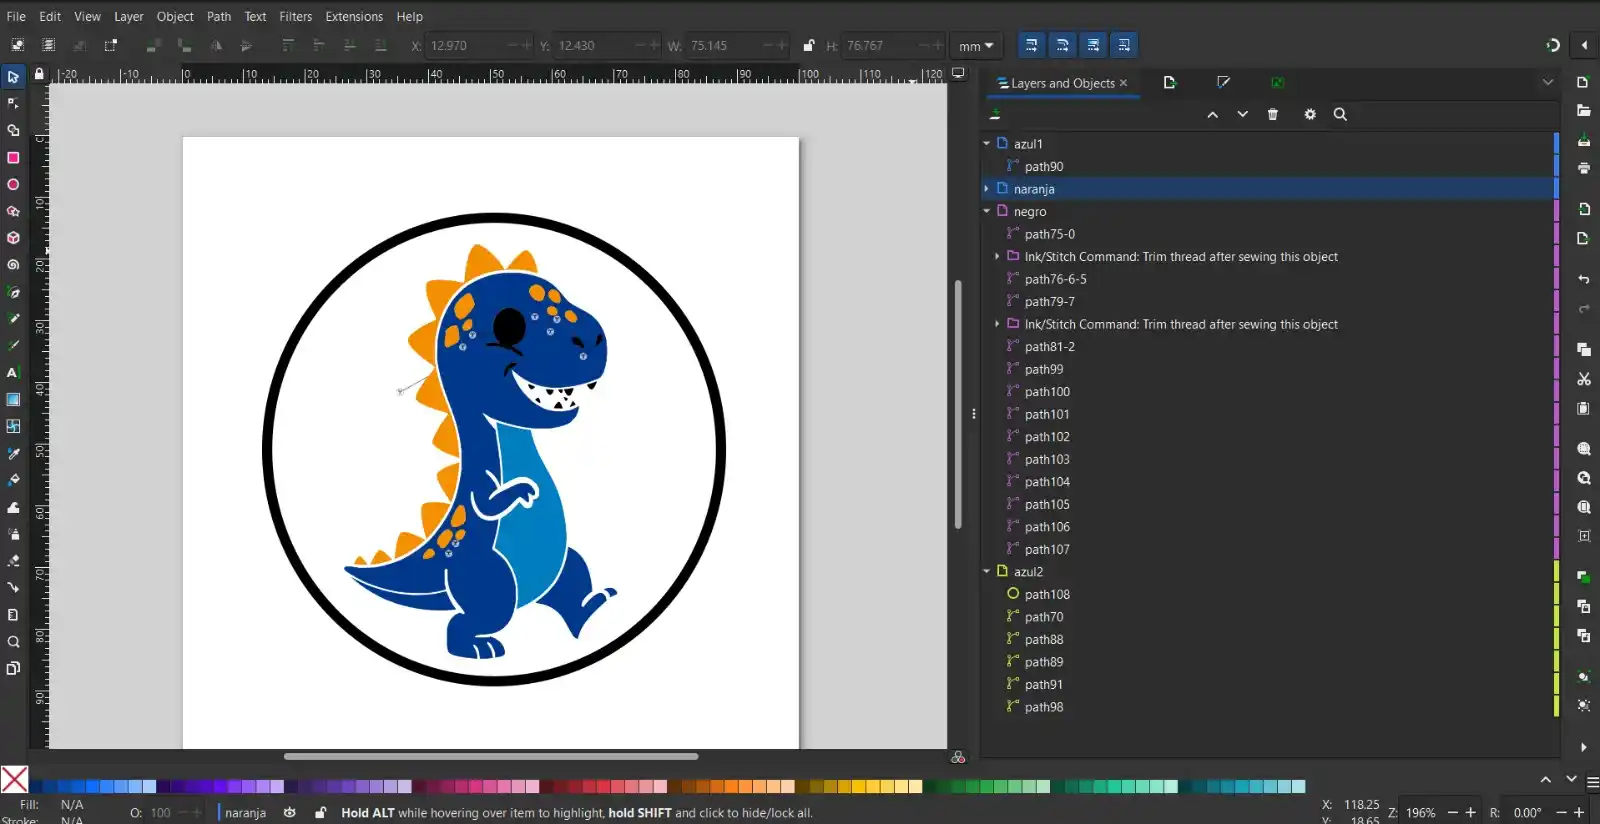
3.- I opened my image in that document and modified its size to fit the workspace.
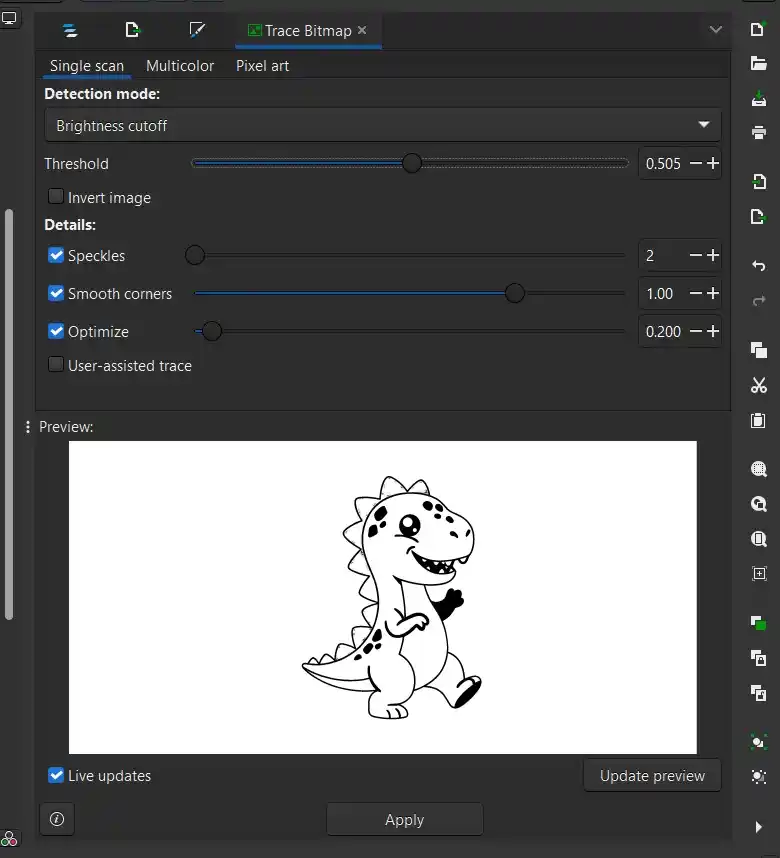
4.- I vectorized the image with the Trace Bitmap option, with the Threshold bar we can change how much our lines are marked, at the extremes it looks all black or all white.
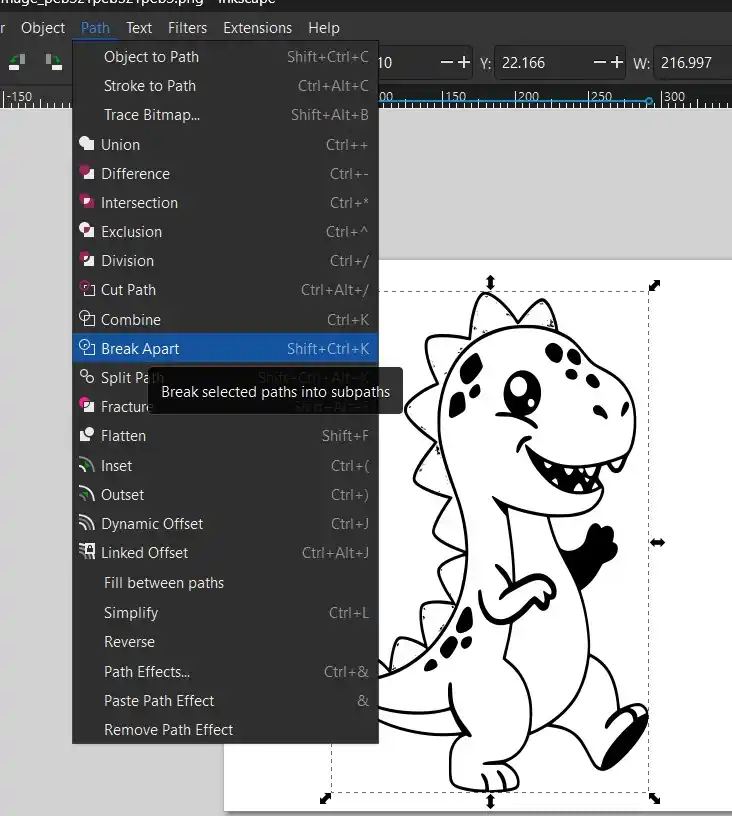
5.- Then with the Path>Break Path option to divide the polygons of the image to be able to place the different colors.
6.- To change the color we can double click on the layer we want and then in the colors menu or in the color bar that appears at the bottom of the screen it can be modified.
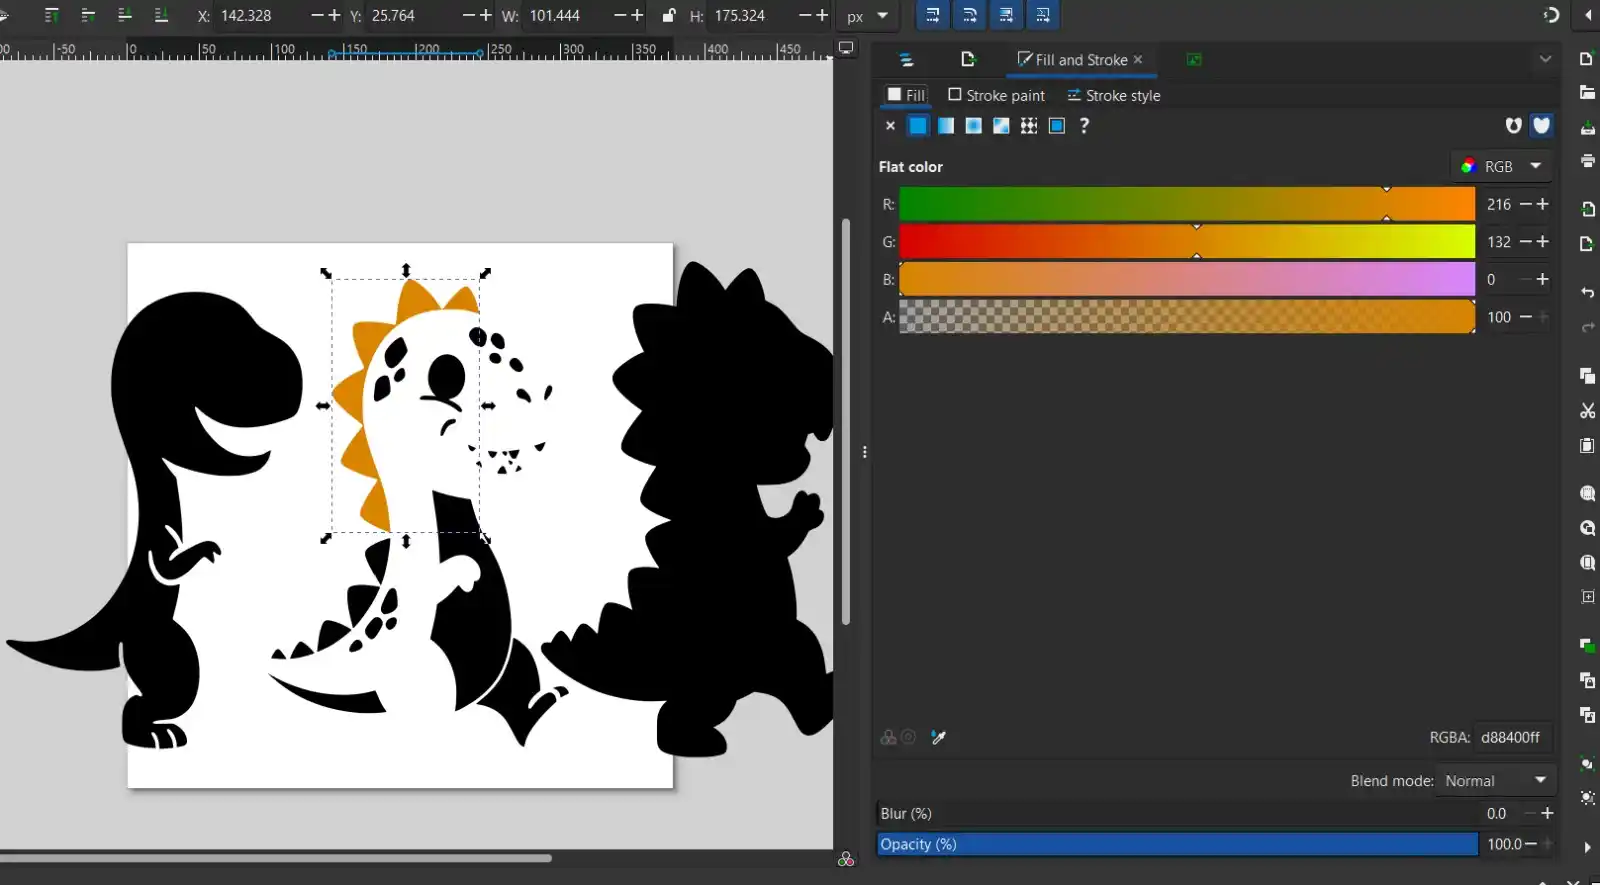
7.- By double clicking on the polygon we can group each one inside a layer depending on the color it has.
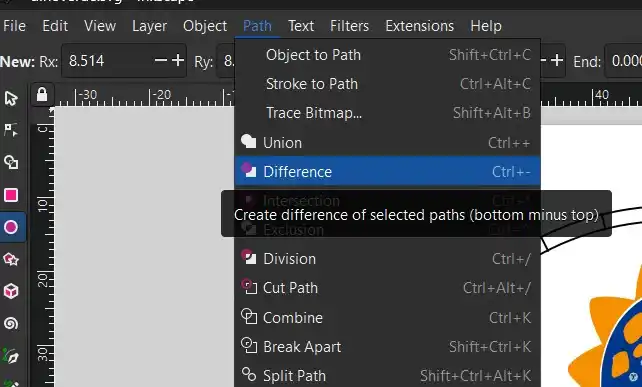
8.- So that we do not have polygons over others we must select both polygons Path>Difference so that we do not have polygons crashing.
Ink/Stitch
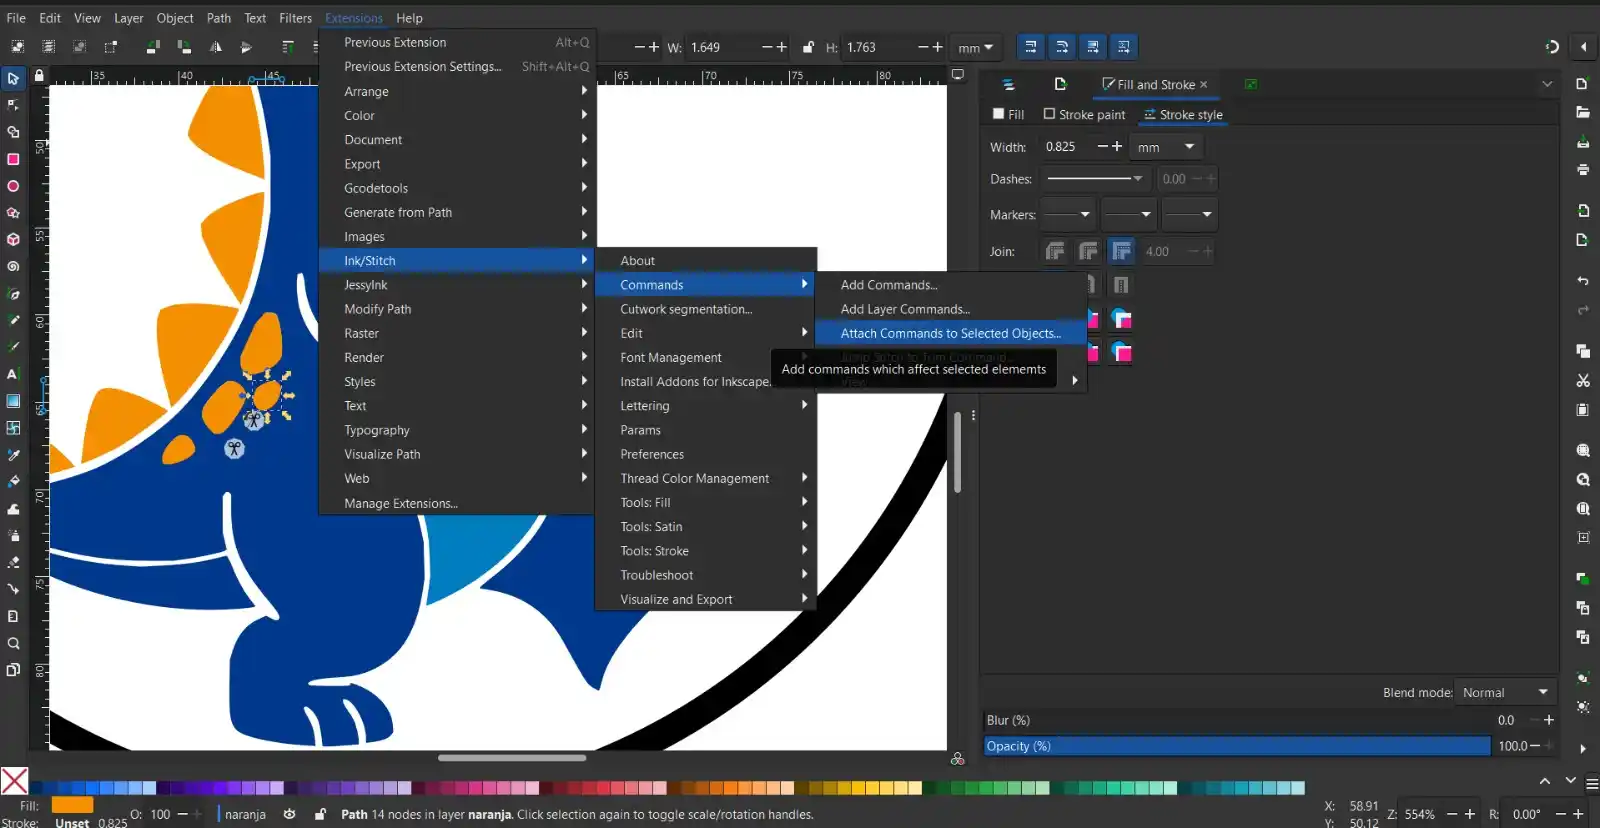
1.- So that we have cuts between each time there is a long path between two points ruining ours we have the tool from Extensions > Ink/Stitch >Commands> Attach Commands to select object selecting first the point where the thread comes from towards the end, the following menu will appear:
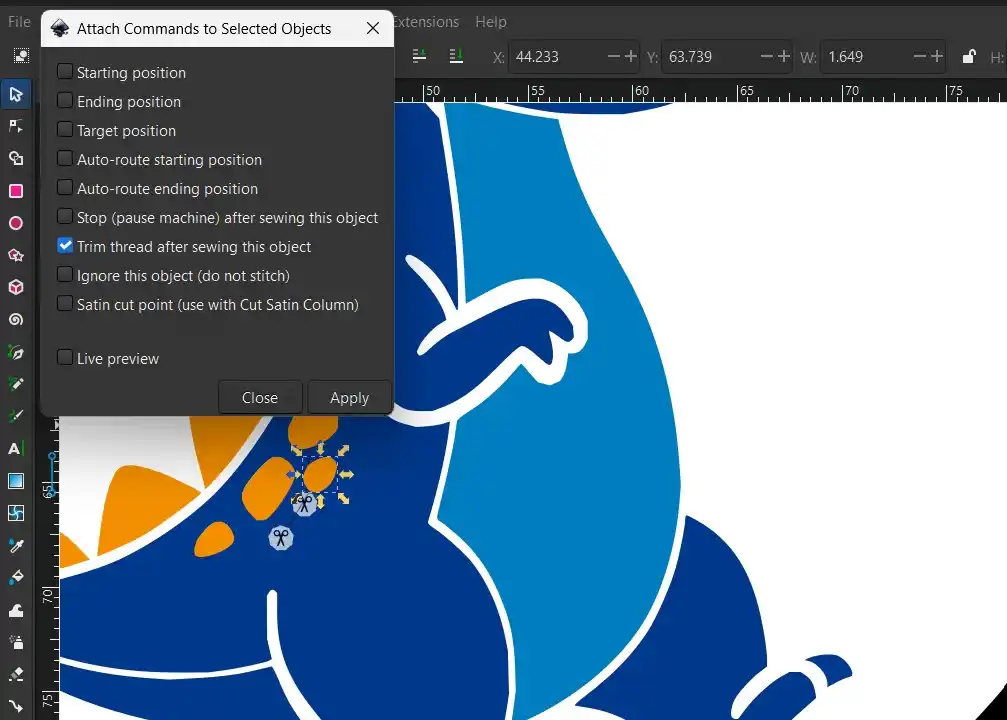
2.- We select the option of Trim thread after sewing this object> Apply.
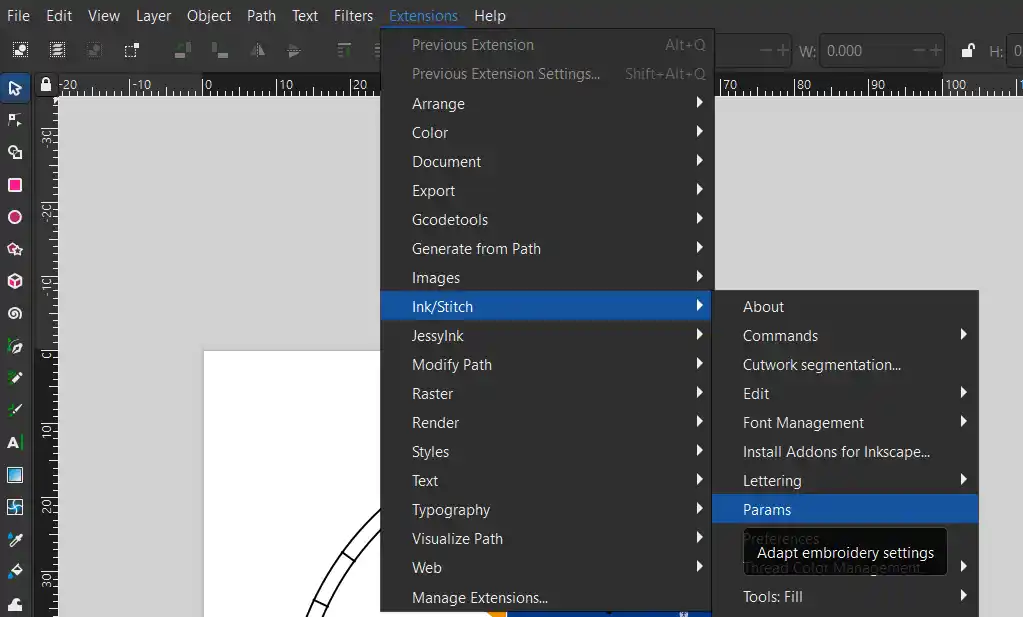
3.- Then to change the Fill style we must go to Extensions > Ink/Stitch> Params
We have to do this on each color layer to select the type of fill we want in that section; pressing params automatically opens the preview.
4.- There are these possible fills:
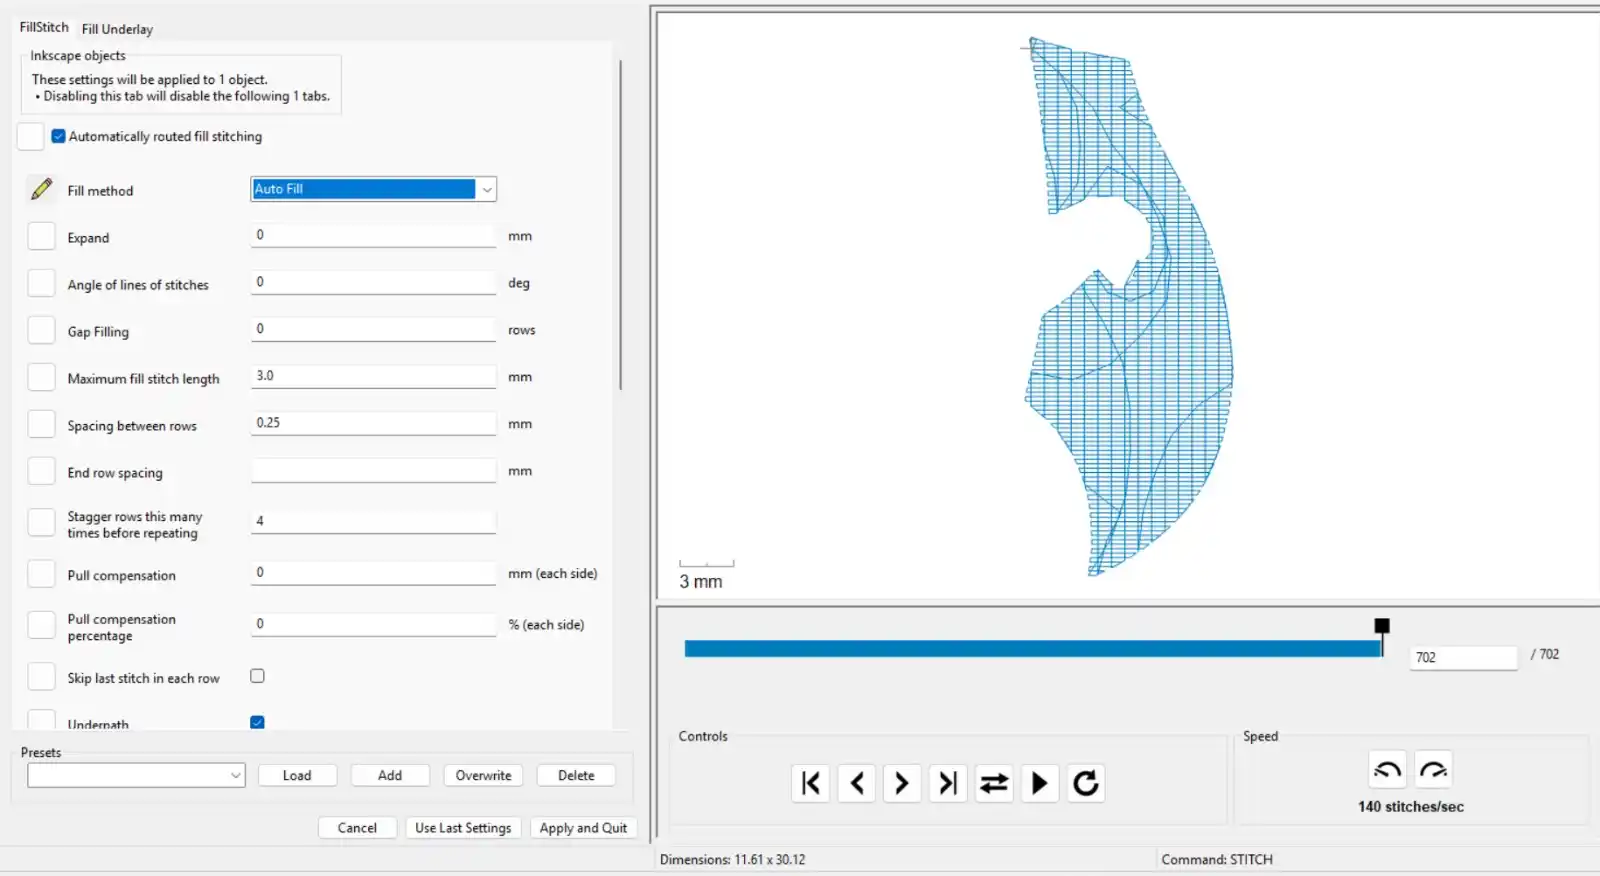
- Auto Fill:This method intelligently calculates the best route to fill the area. It usually divides the shape into subsections or blocks to minimize thread jumps and optimize the embroidery.
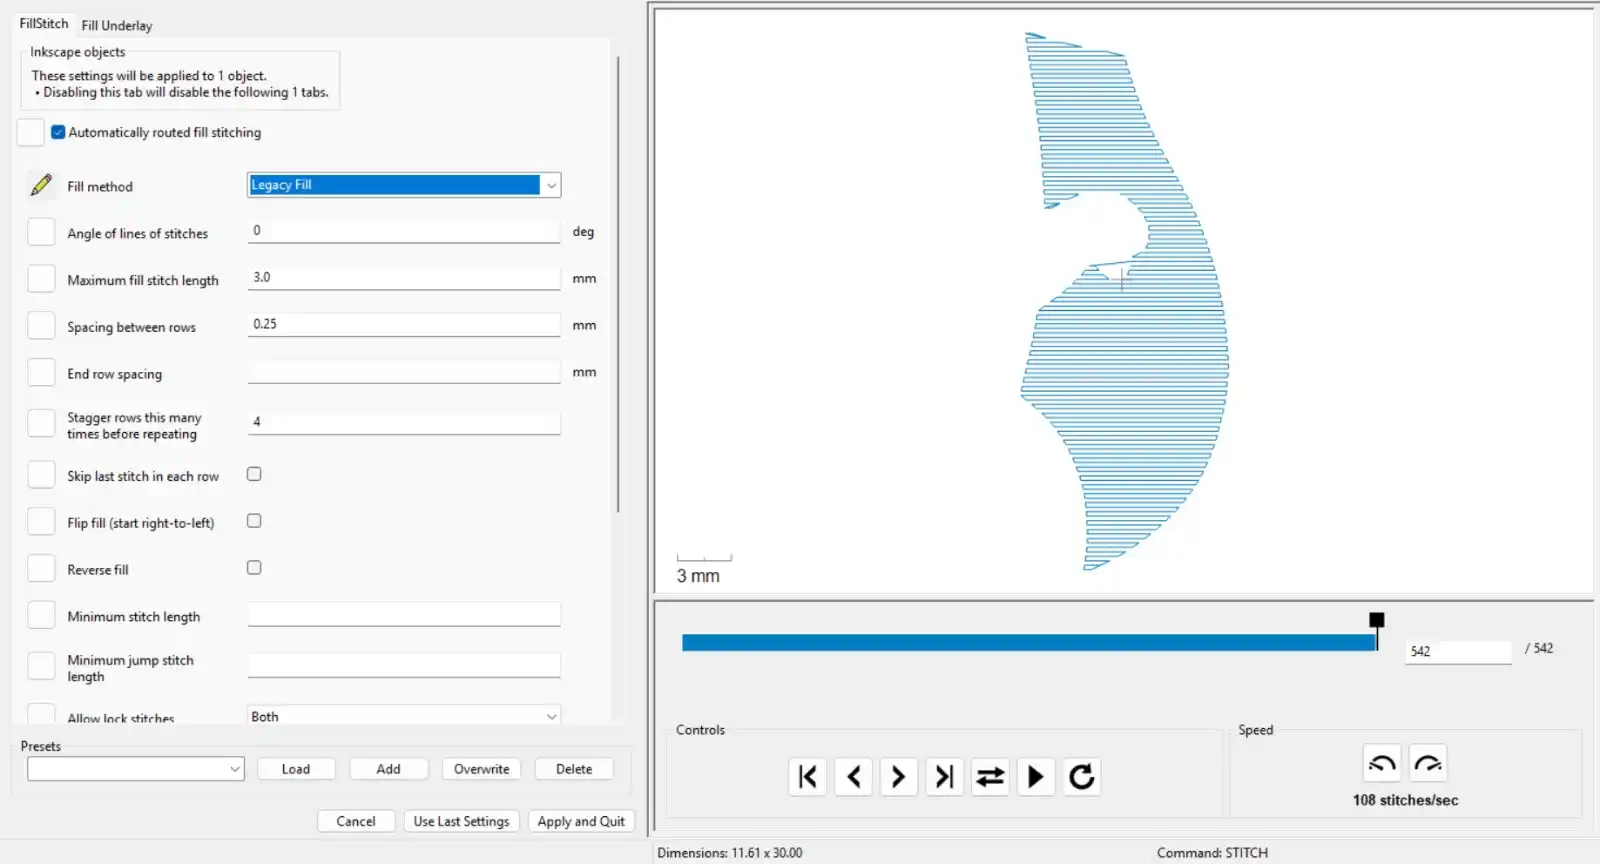
- Legacy Fill:It fills the shape with completely straight and parallel stitch lines (horizontal, by default) from one end to another. It is a flat pattern that does not adapt to the curves of the shape.
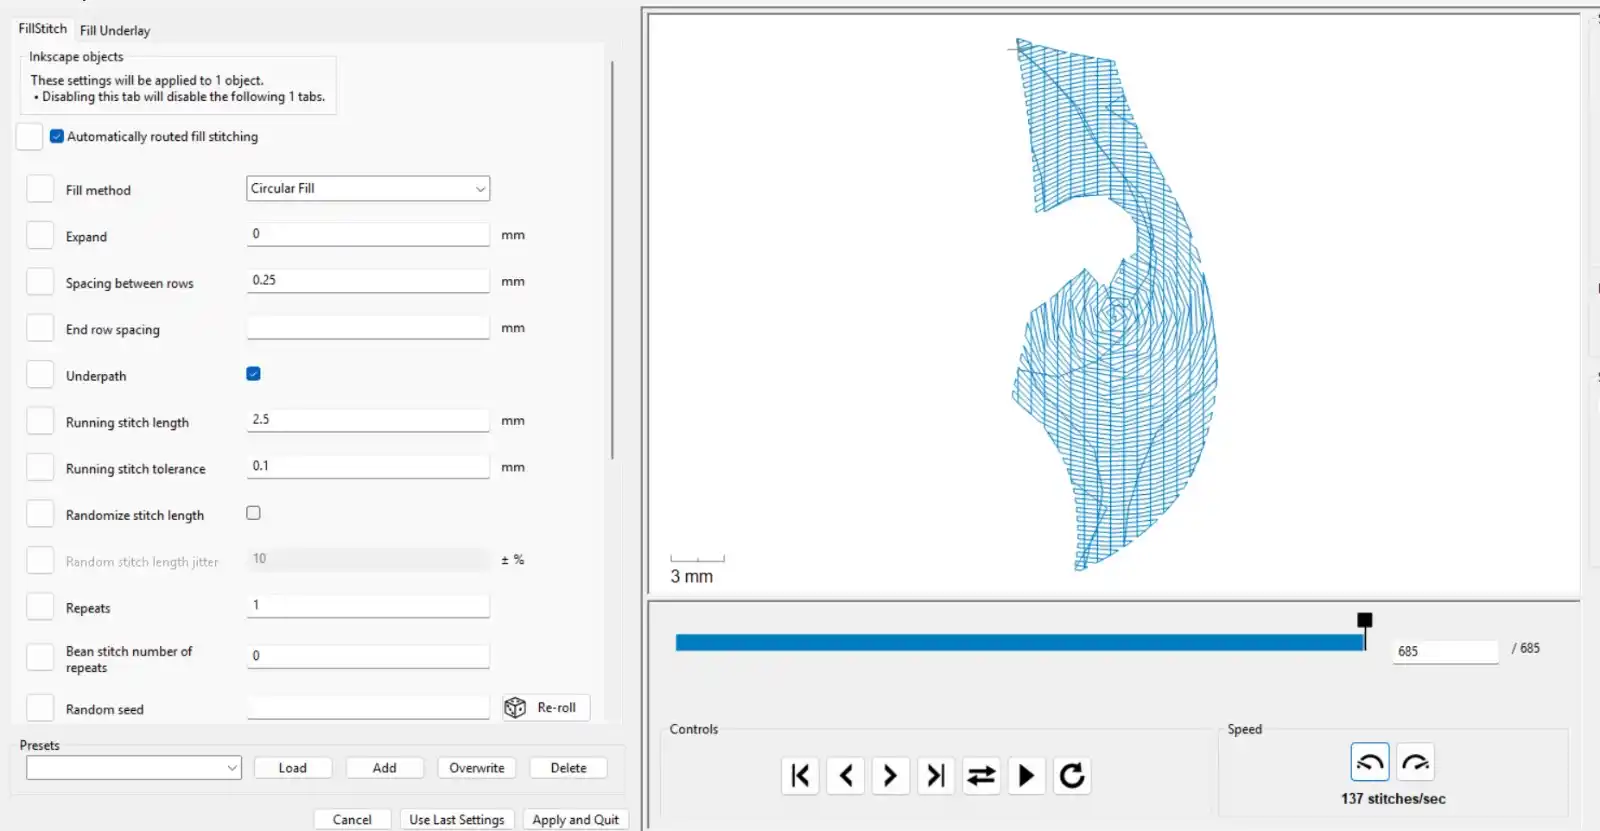
- Circular Fill:Instead of using straight lines, this method generates a pattern of concentric or spiral stitches. The lines flow and curve, adapting to the interior geometry of the design
For this design, I chose the Circular Fill pattern because visually it looked much prettier; the flow of the stitches accompanied and perfectly highlighted the natural curve of the dinosaur's stomach.
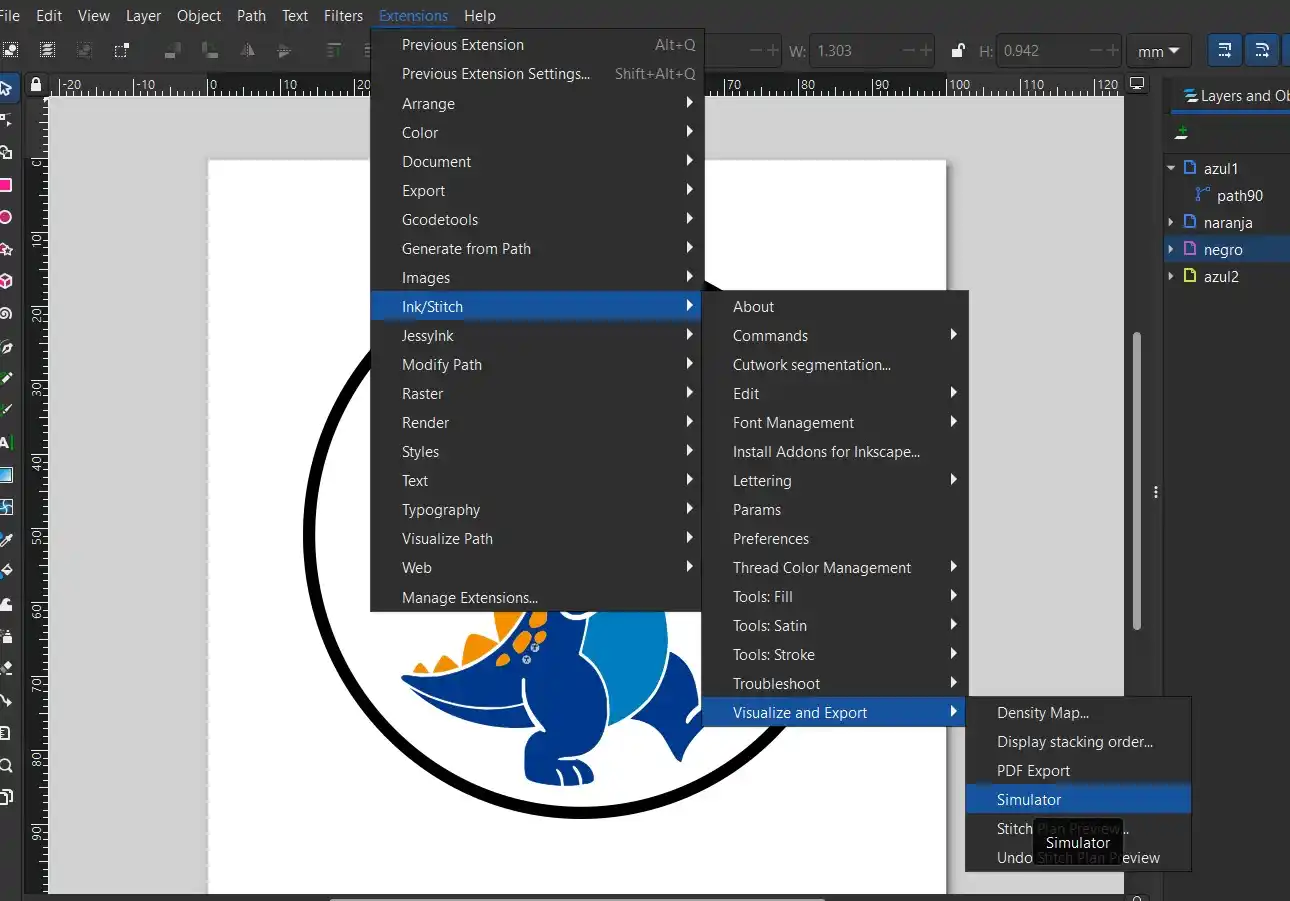
5.- Then to visualize them we can go to Extensions > Ink/Stitch > Visualize and Export > Simulator
To see the complete simulation of the entire embroidery, we must select the full image.
6.- We save the file on a USB with a .pes extension
Brother NS1850L
1.- The first thing we must do is place a not so soft fabric and pellon underneath, on the embroidery frame, it is important to stretch it very well.
2.- Then we place the frame over the bed and place the bed.
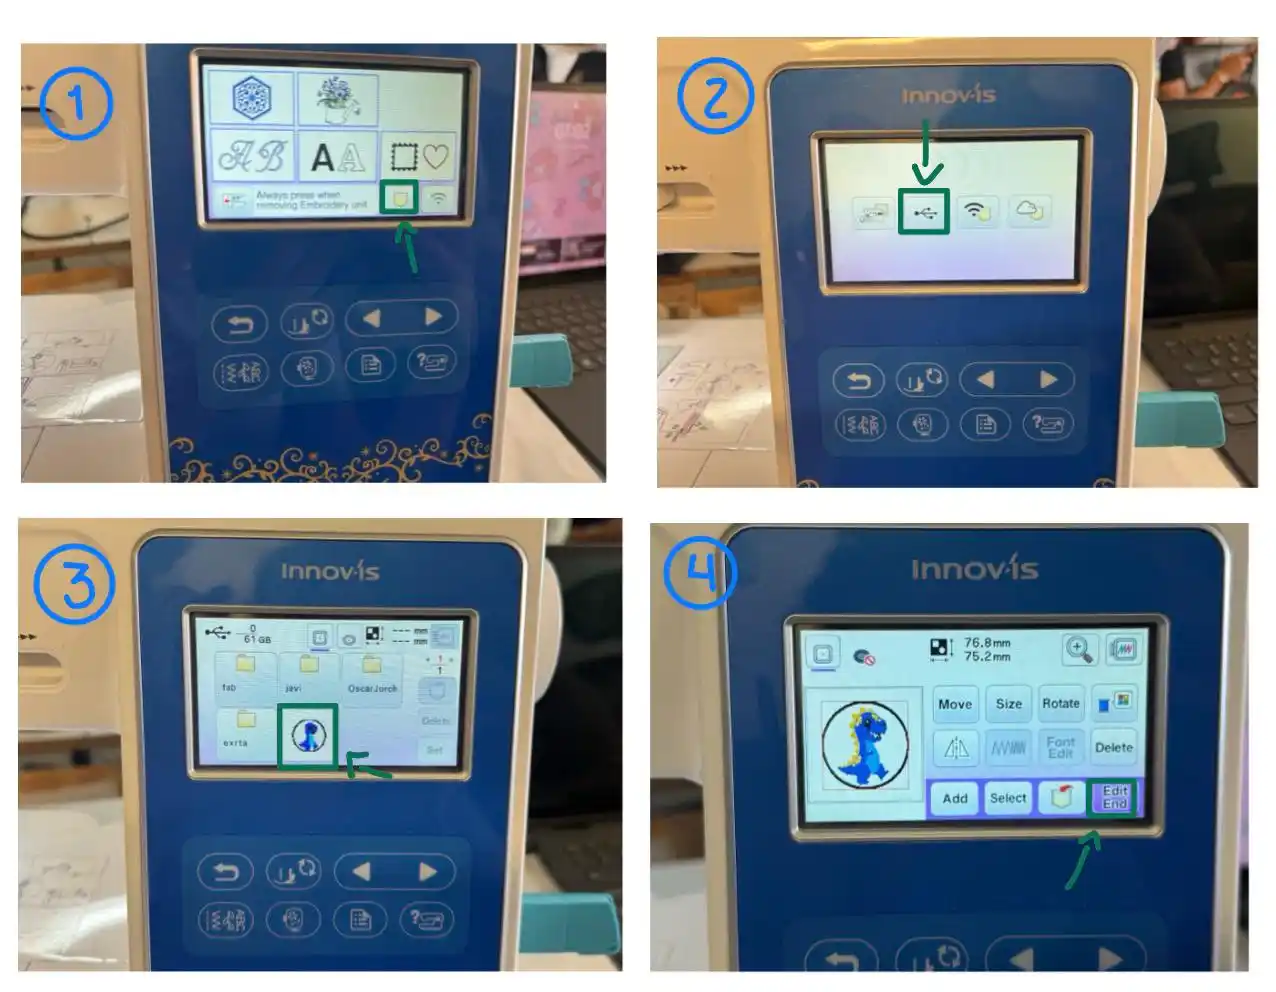
3.- We plug in the USB and follow the next steps:
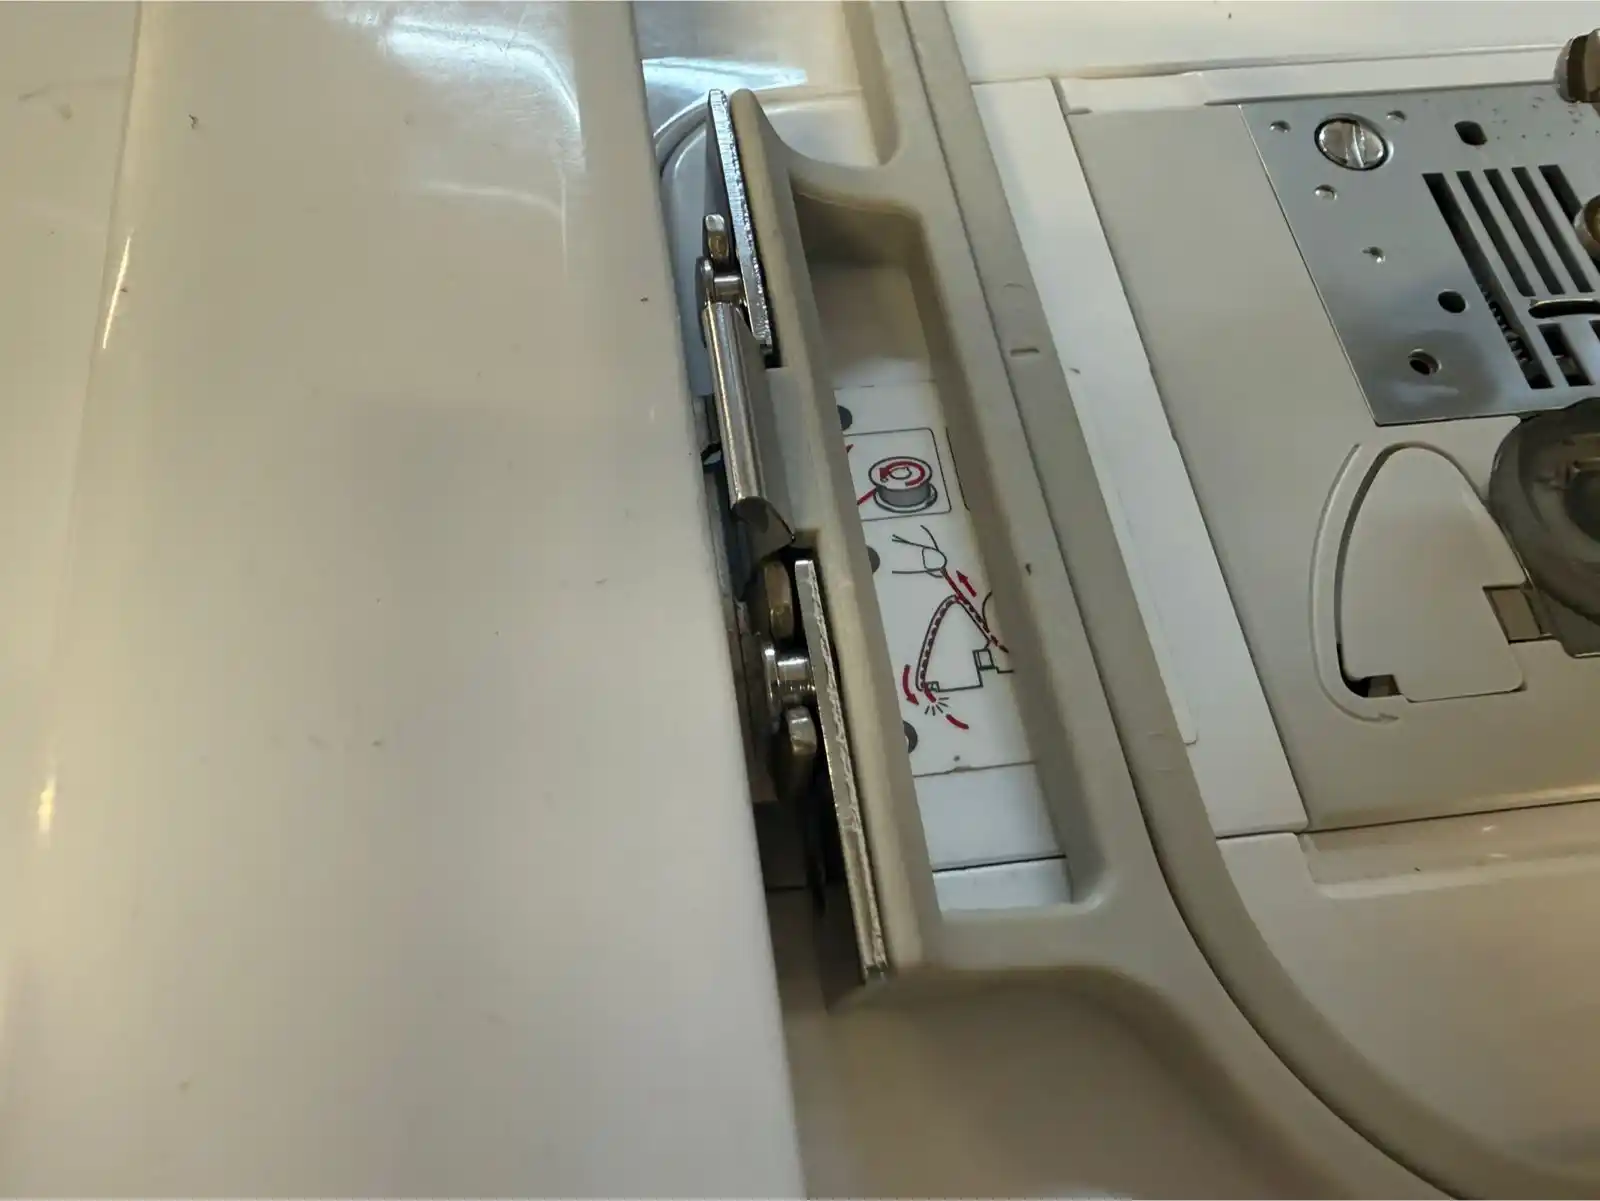
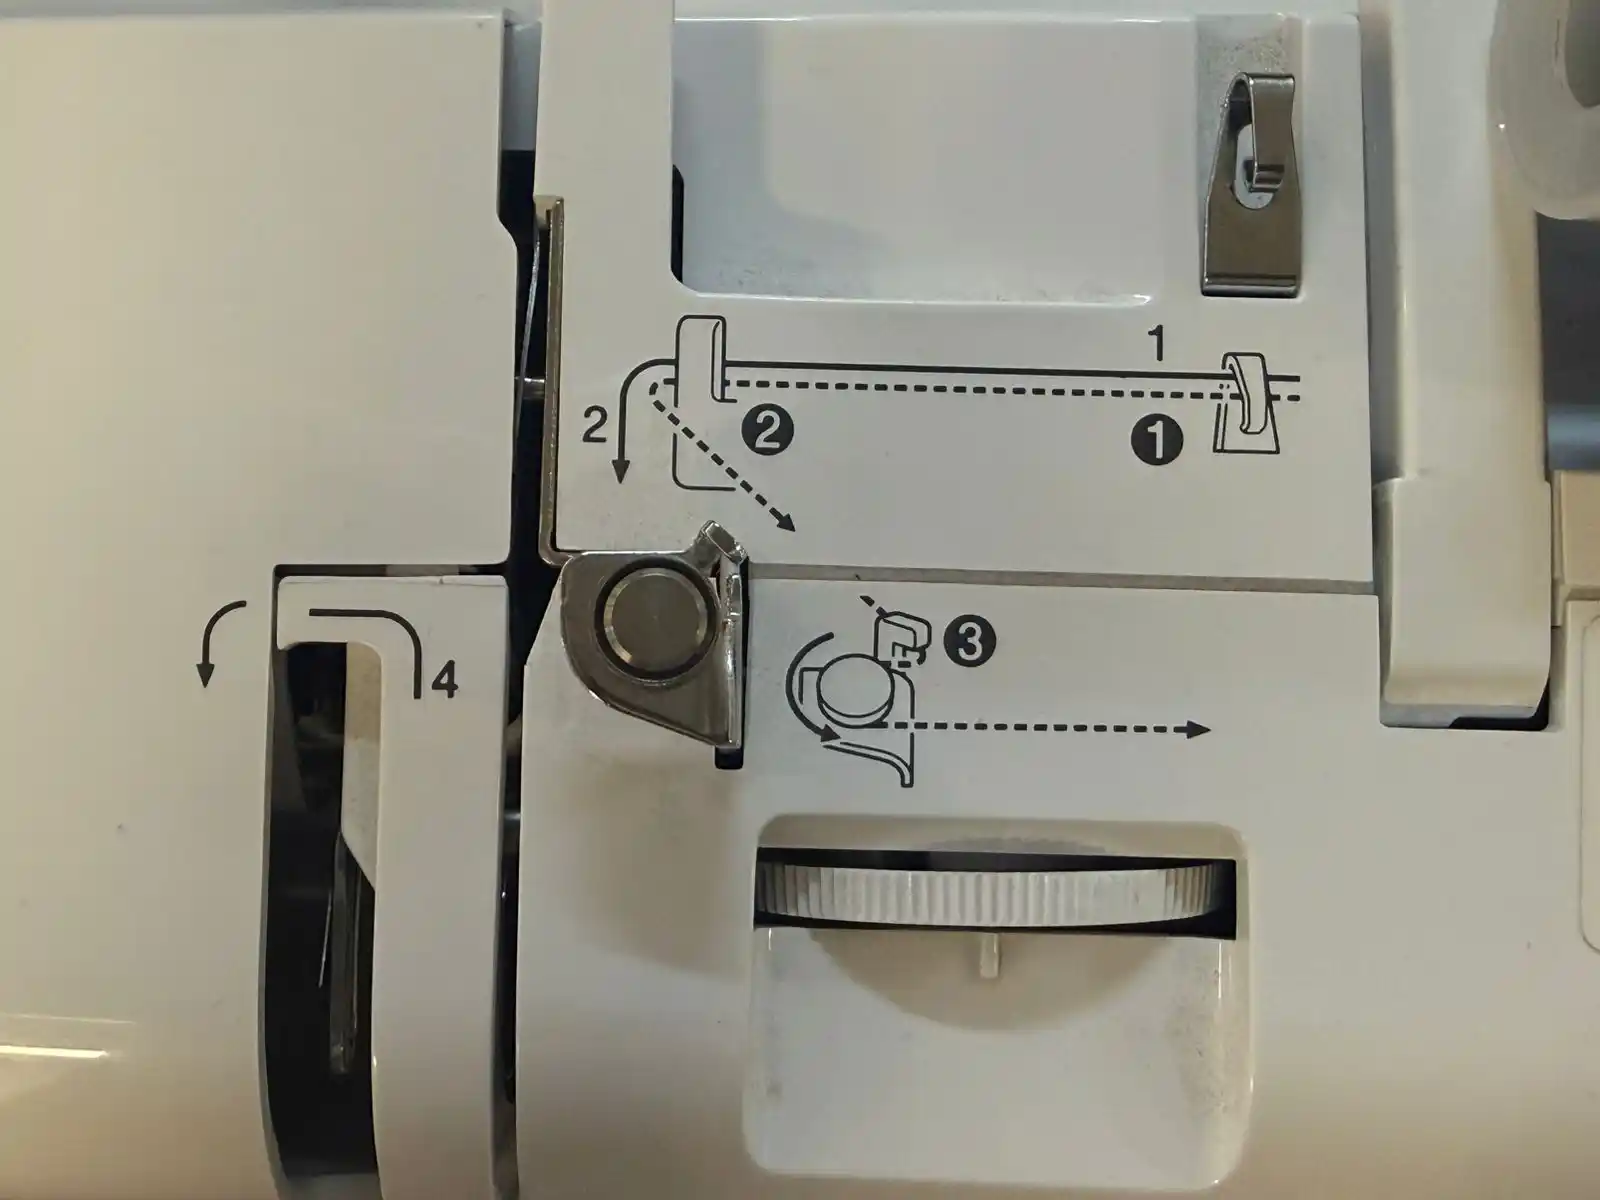
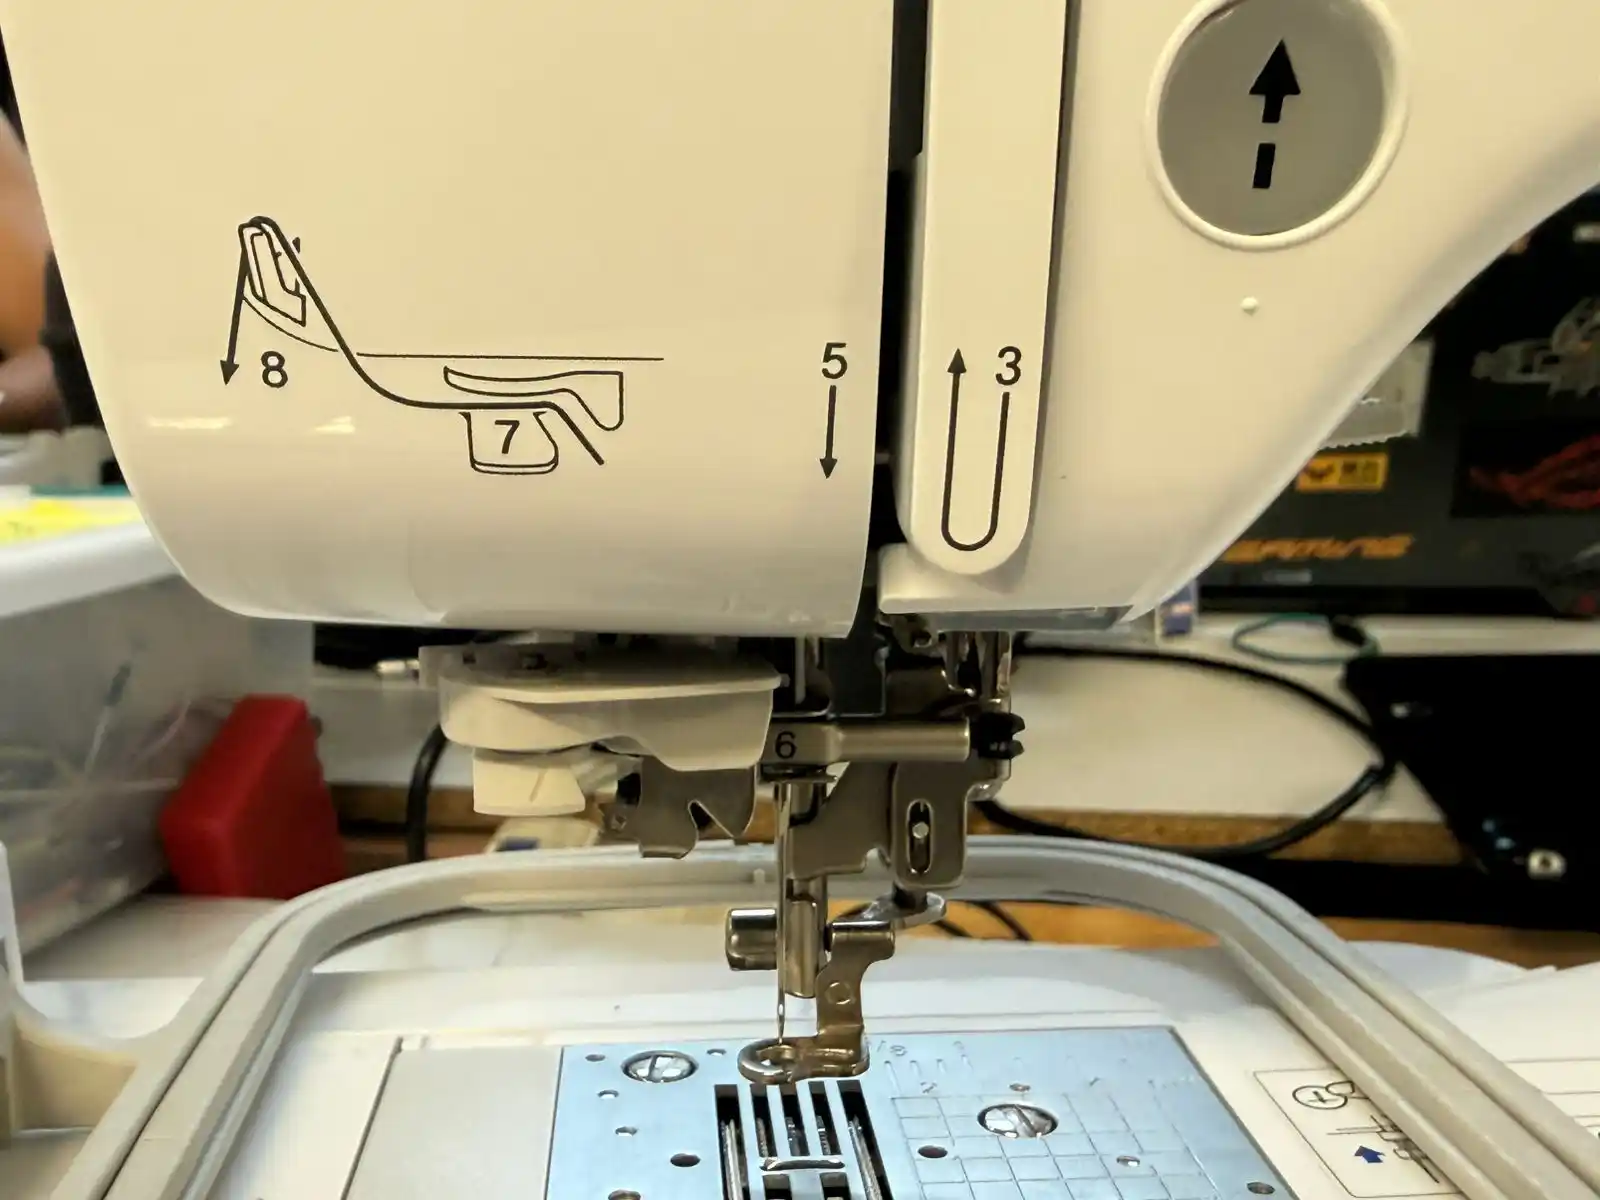
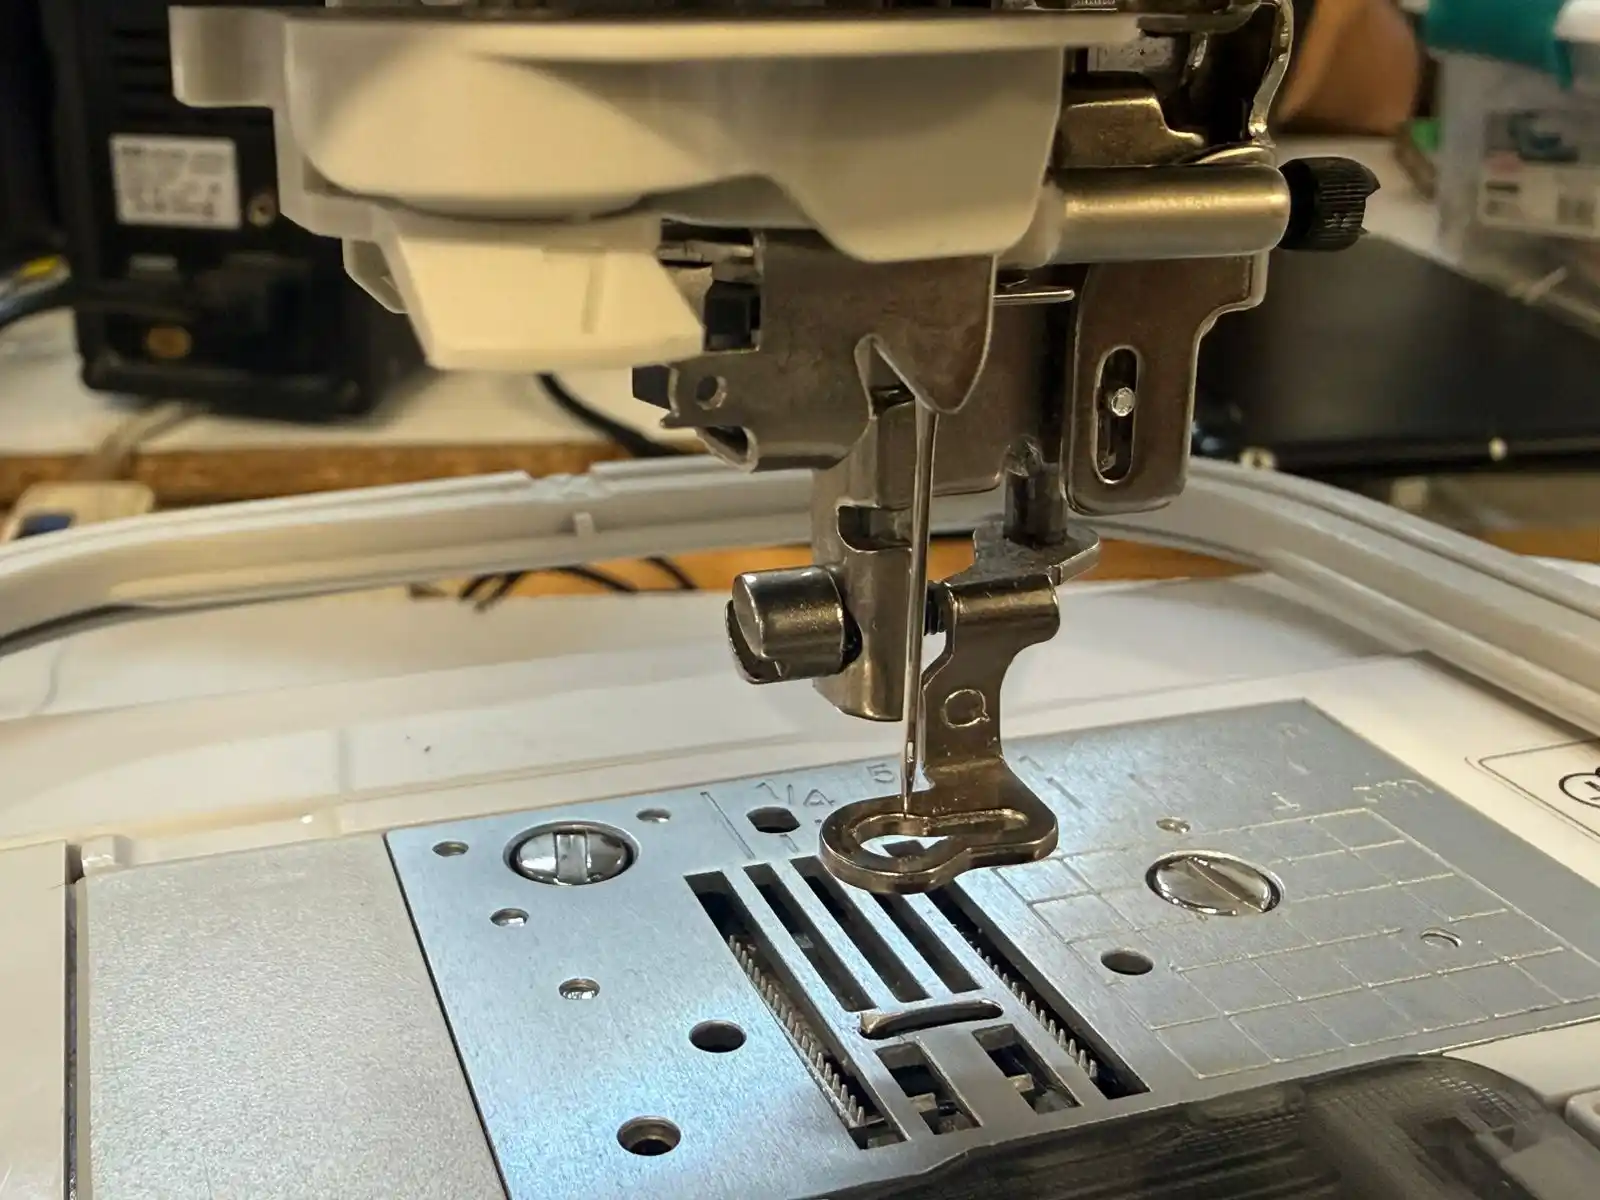
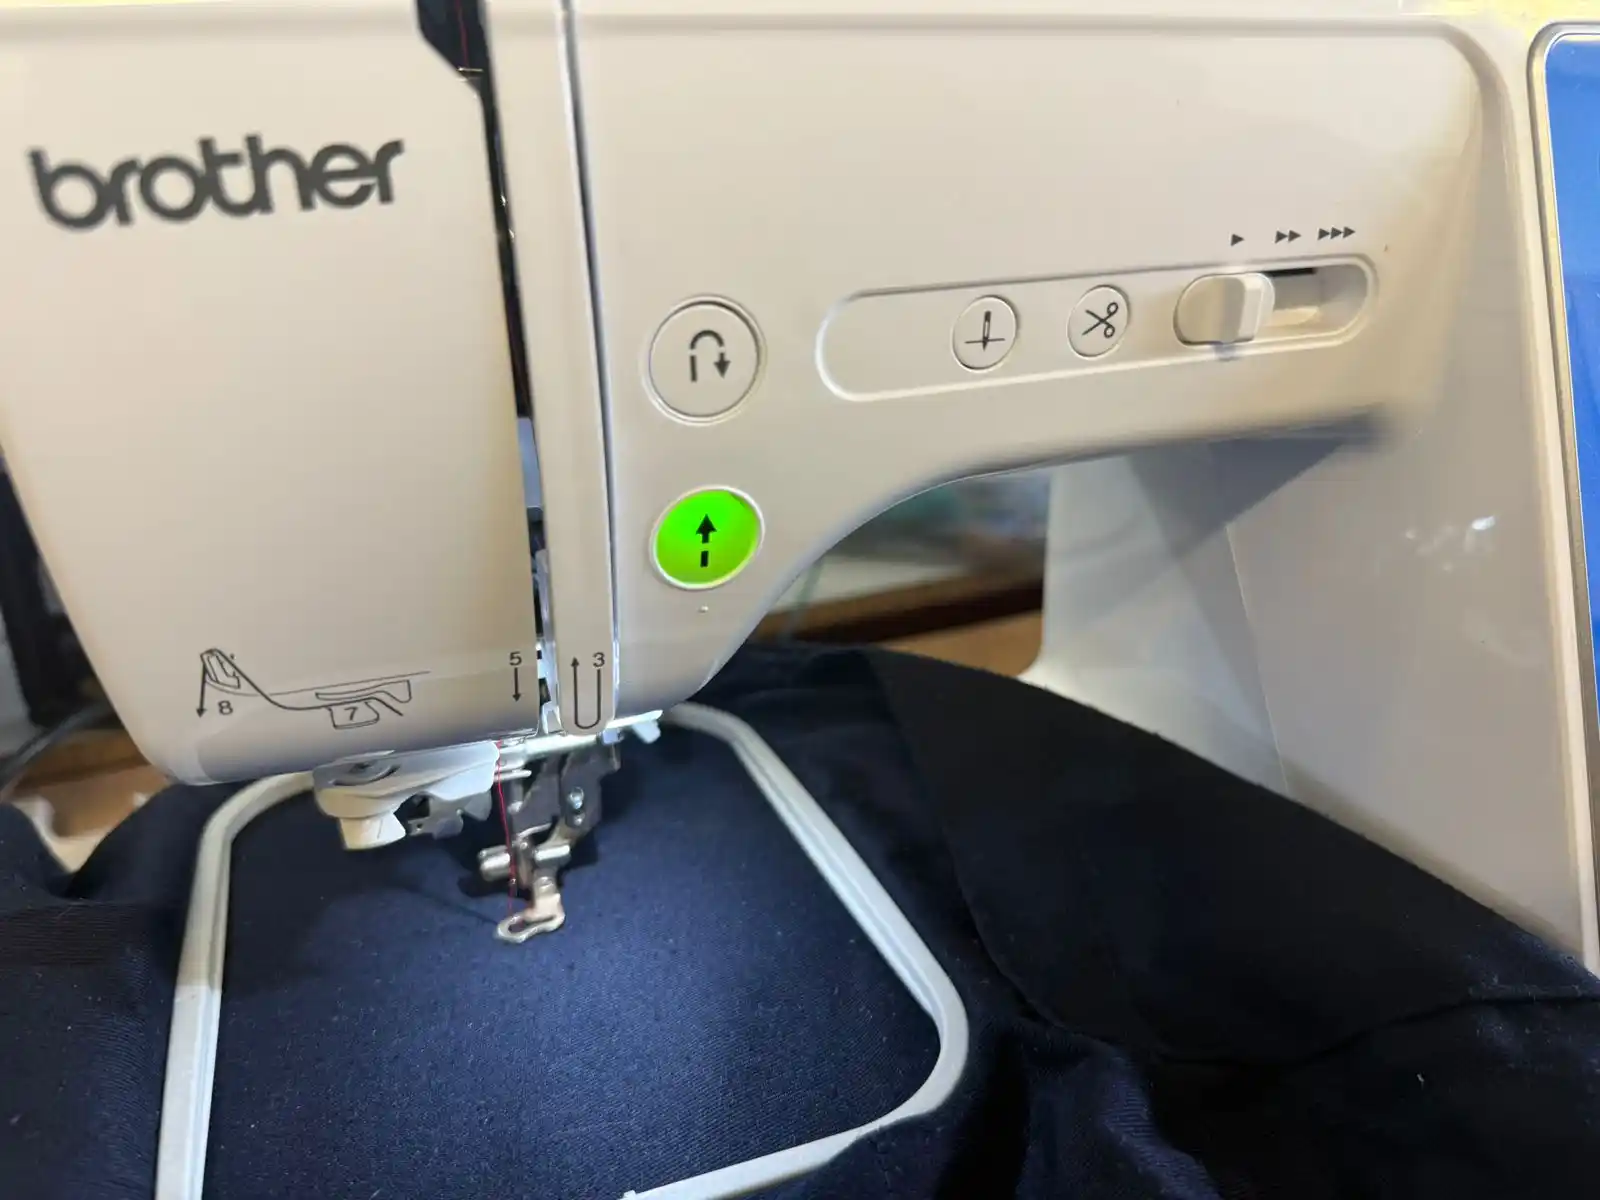
4.- We select the thread color and place it following the numbers found on the embroidery machine's path.
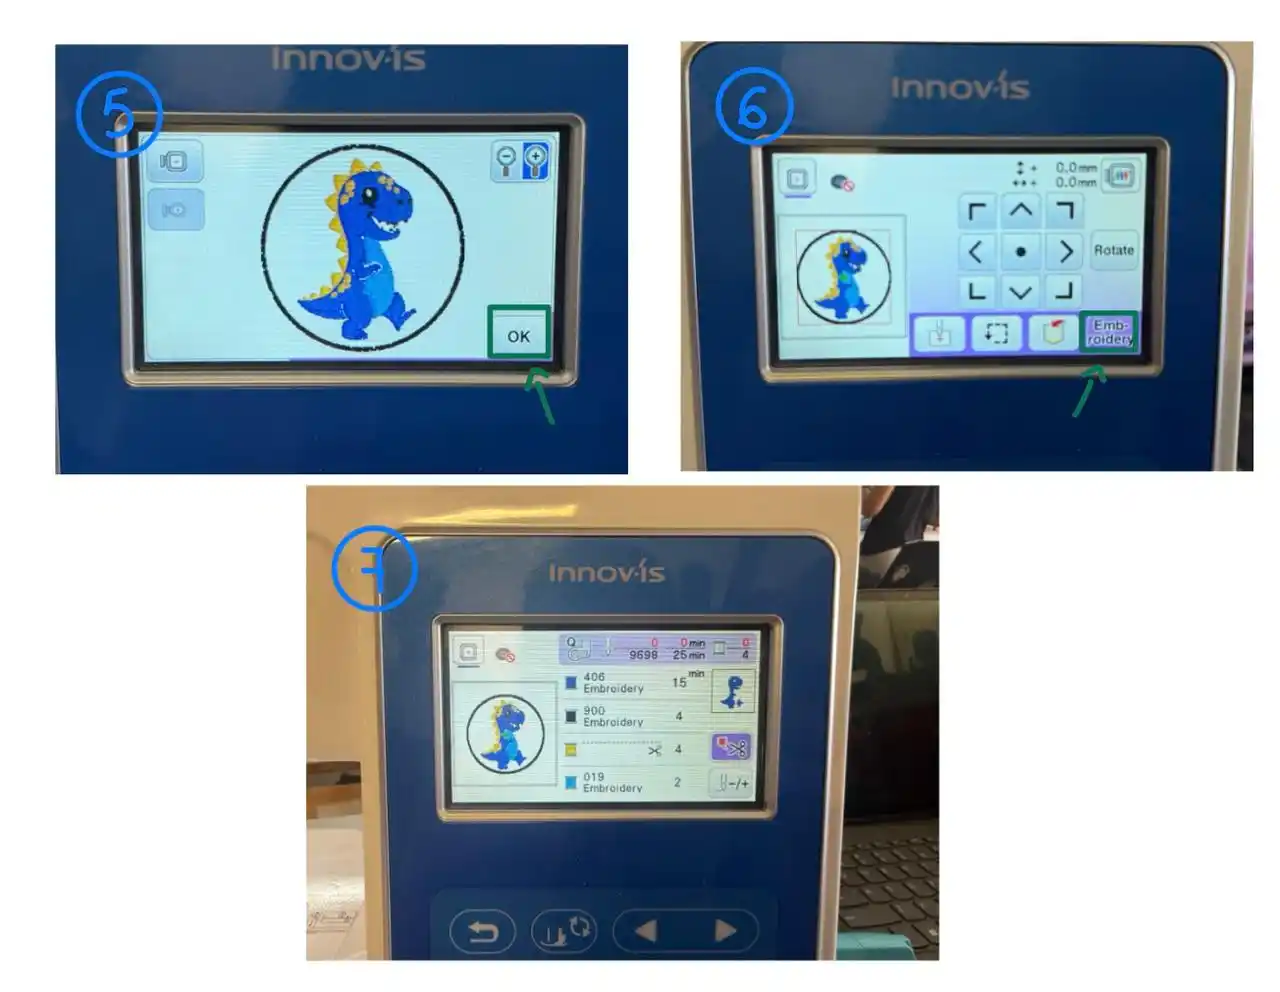
5.- We lower the lever and wait for the button with the arrow to turn green.
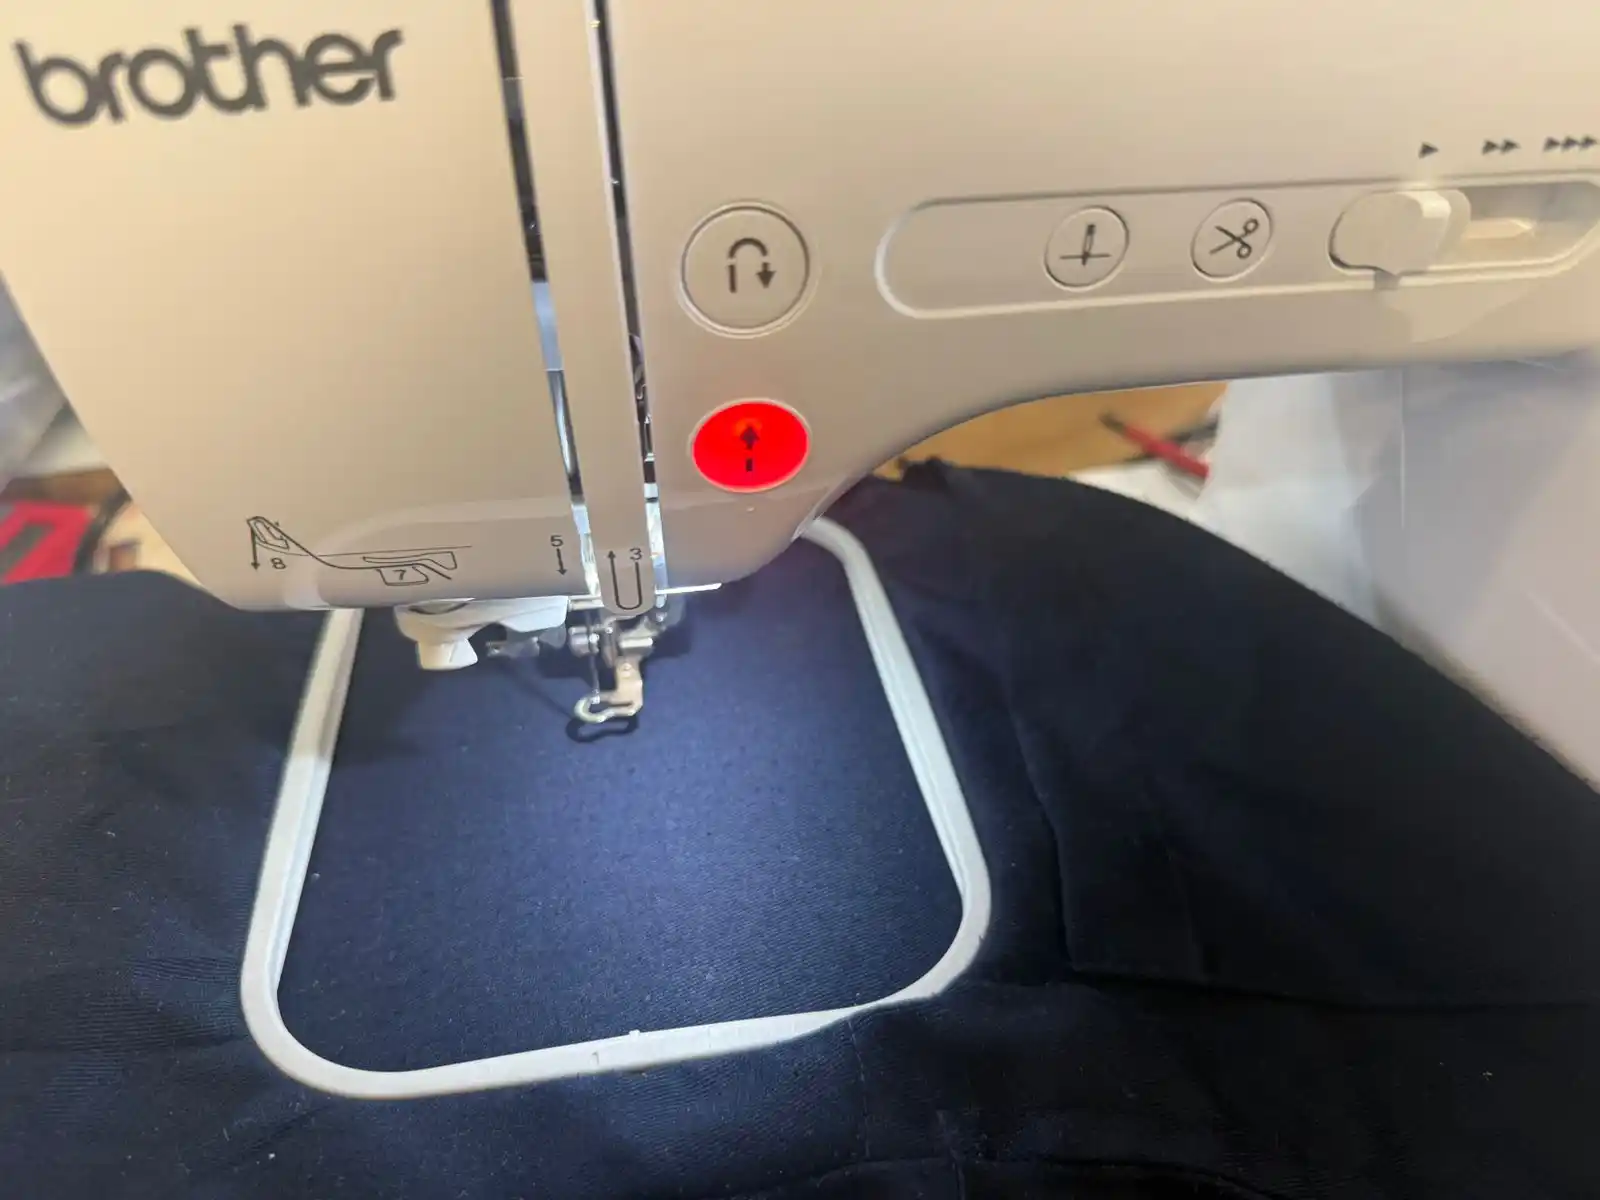
6.- We press the button and start embroidering.
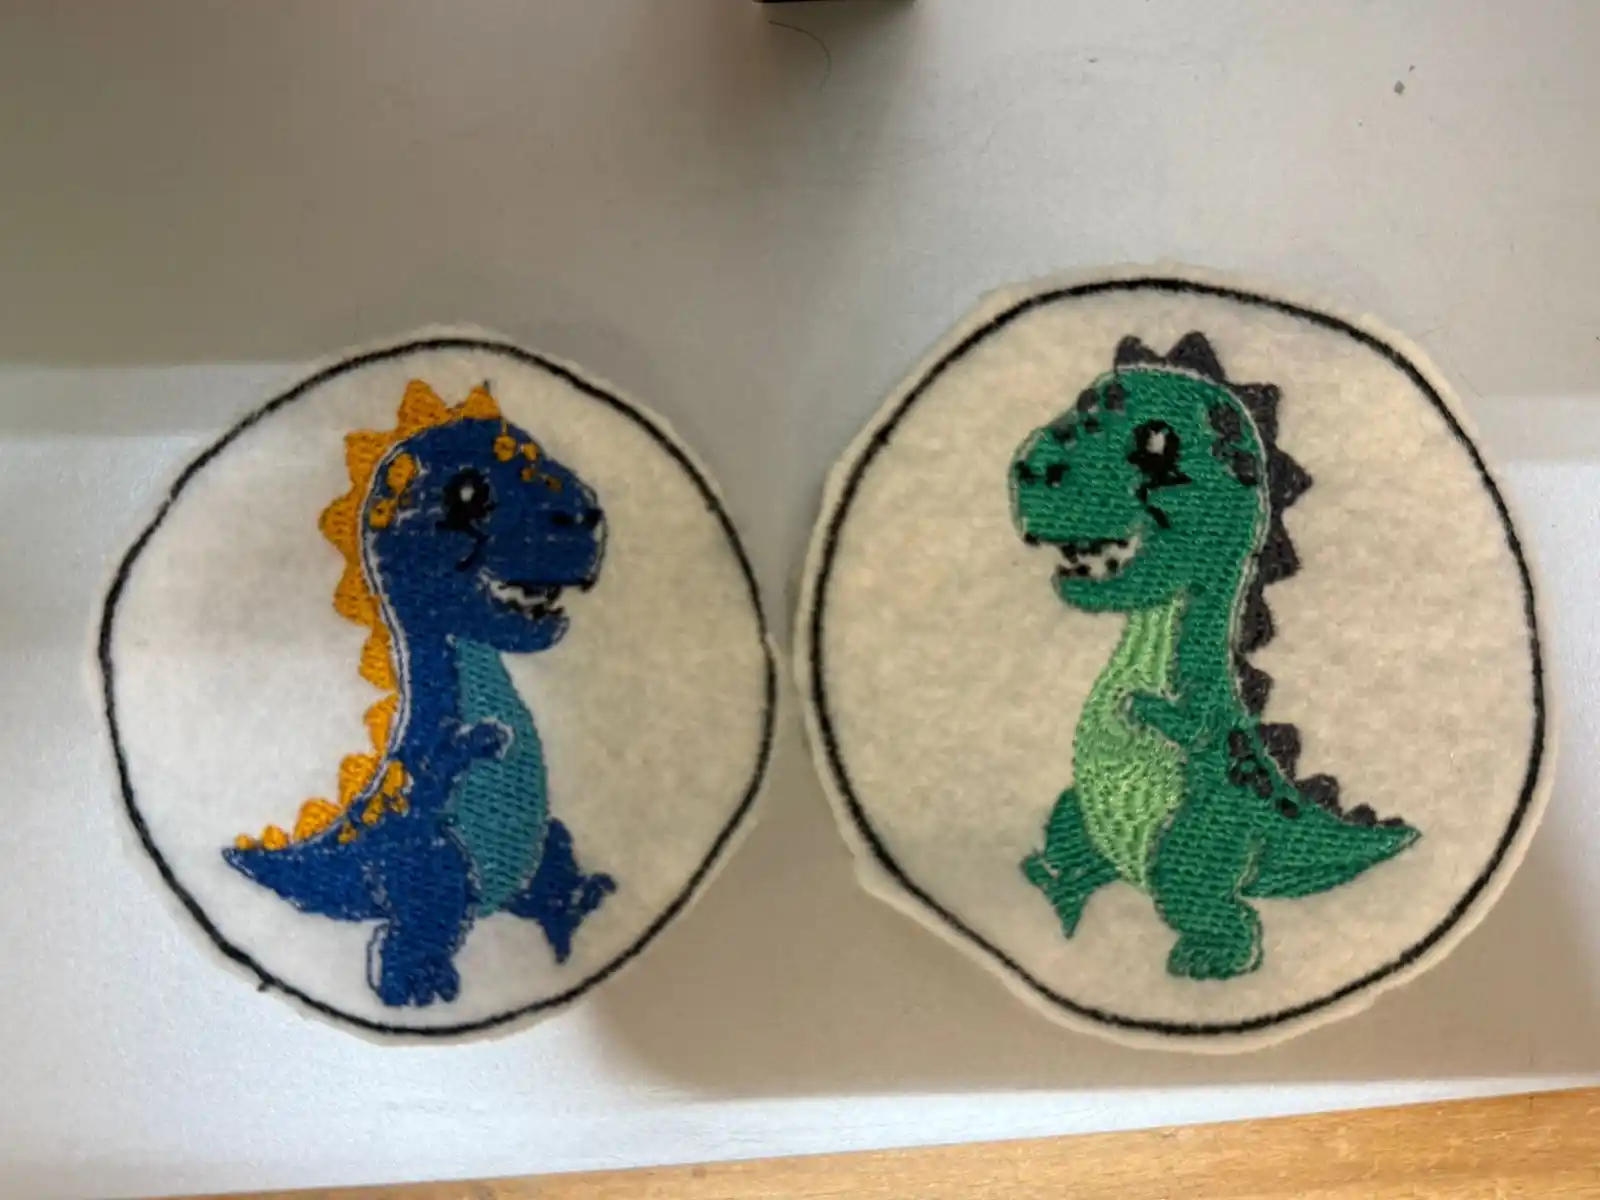
Result