1. Principles and Practices, Project Management
The goal of this week was to create a webpage and start brainstorming our final project. This webpage will serve as a way to document all the knowledge acquired during the Fab Academy. This week, I will explain a little bit about the process I followed to create this site.
To create our page, we are going to use HTML, CSS, and JavaScript. HTML is a markup language used to structure the page, CSS handles the styling (colors, fonts, layout), and JavaScript is responsible for executing the actions. The first thing we did was activate our GitLab account to use the repository provided by the Fab Academy.
HTML (HyperText Markup Language) It is not a programming language, but a markup language. Its function is to build the website's architecture using tags.
Cascading Style Sheets (CSS) It is a style sheet language used to describe the presentation of a document written in HTML.
1. clone repository
Basic commands for Git
| Command | Description |
|---|---|
git clone <URL> or <SSH> |
Clone the repository from Git to our computer |
cd folder_name |
Enter a folder from the terminal |
git add . |
Add all changes to the page |
git add folder/ |
Specify which changes you want to add |
git commit -m "MESSAGE" |
Add a title to the change you are going to add |
git push |
Upload changes to GitHub |
git status |
Verify the status of your page in the repository |
git pull |
Download changes from the repository |
git reset --hard HEAD~2 |
Delete the indicated commits and files |
git reset --soft HEAD~2 |
Delete the indicated commits |
Next, to clone our repository to our computer, we followed these steps:
- Download and open Visual Studio Code and Git.
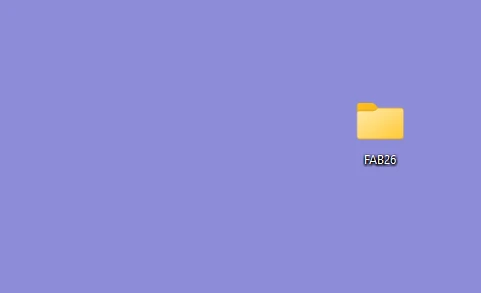
- Create a folder on our device for our repository.
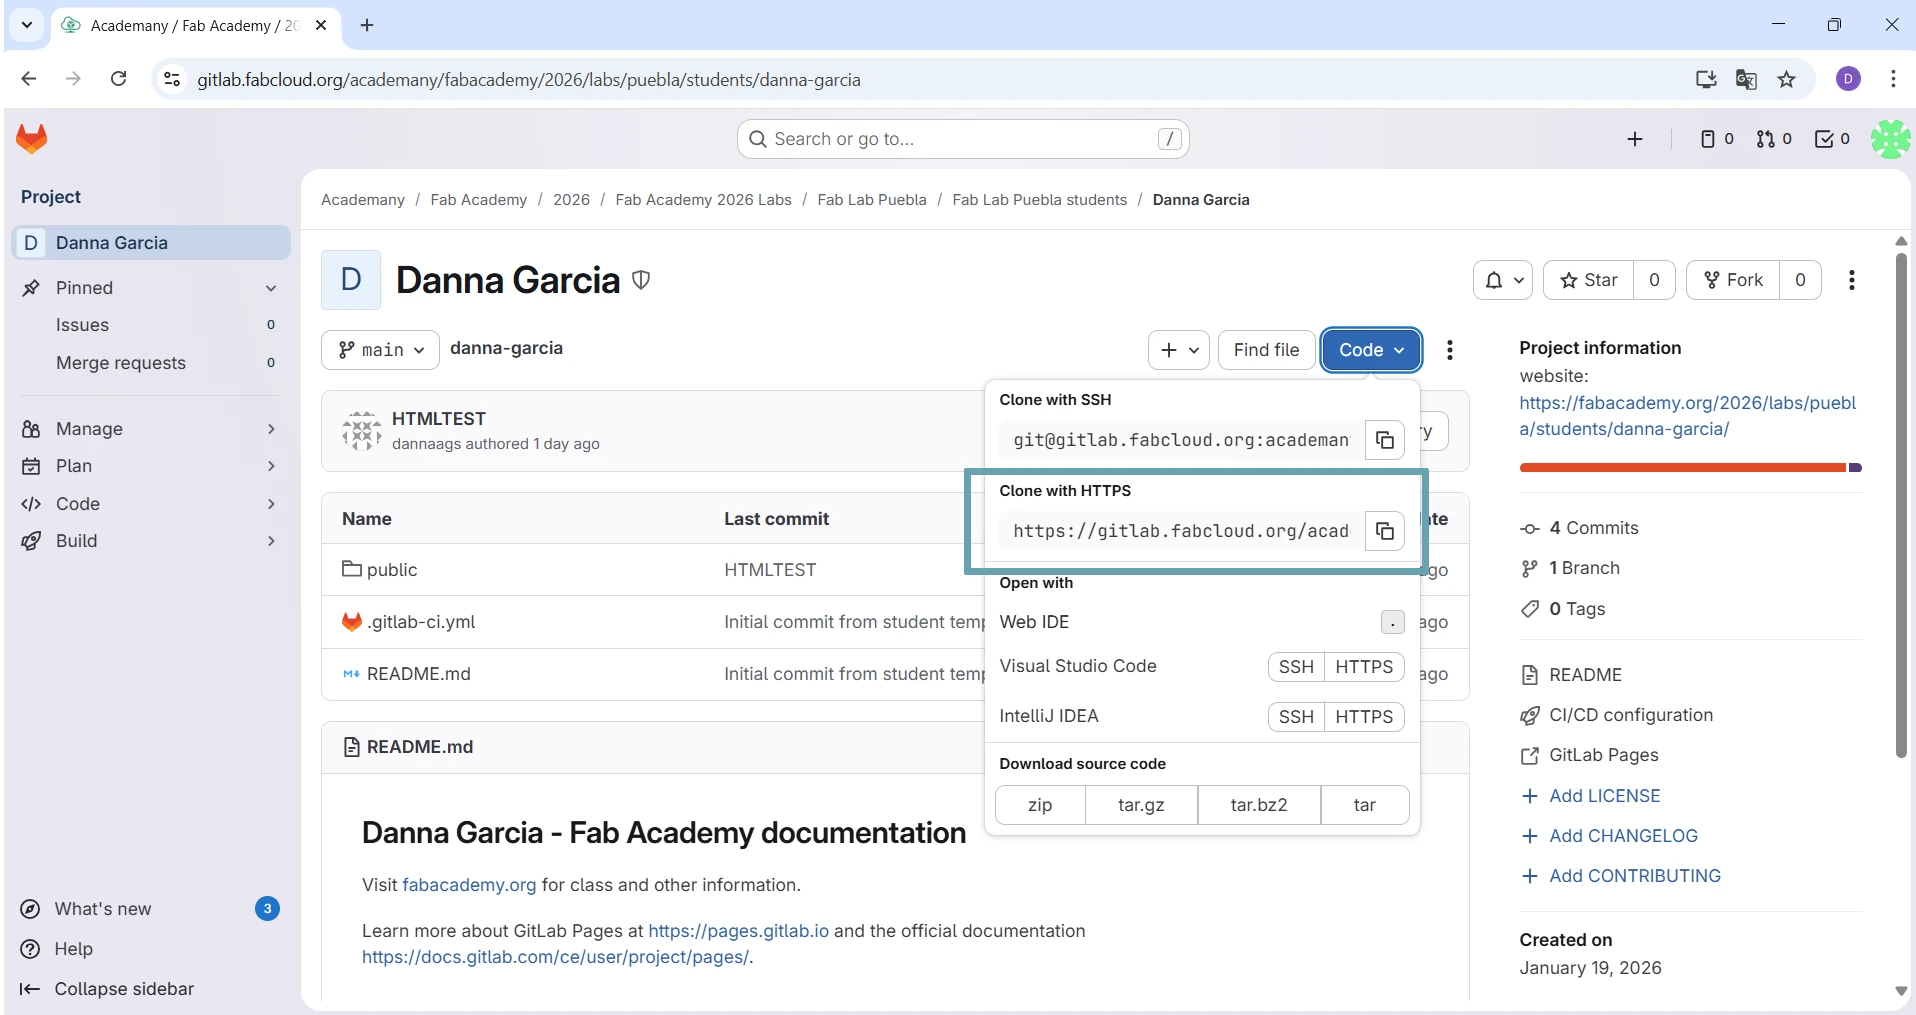
- Open the folder in Visual Studio Code and open the terminal. Enter the command git clone followed by the URL found in our GitLab profile. When you click the blue button that says Code, you must select the option that says Clone with HTTPS.
- Enter our username and password.
- Open our folder using the cd command.
- The basic structure your page must have to function is the following:
- And that's it, we can now start making changes to our page.
cd danna-garcia/public/assignments
danna-garcia (your repository name)
│
├── .git/                 <-- (Hidden folder) Stores the change history.
├── .gitlab-ci.yml        <-- Config file. Tells GitLab how to publish.
├── README.md             <-- Text file with basic information.
│
└── public/               <-- VERY IMPORTANT FOLDER
    │
    ├── index.html        <-- Your main page; site won't work without it.
    ├── style.css         <-- Your styles (colors, fonts).
    ├── script.js         <-- Your JavaScript code.
    │
    ├── images/           <-- Organized folder for your photos.
    │   ├── profile.jpg
    │   └── diagram.png
    │
    └── assignments/      <-- (Optional) For weekly assignments.
        ├── week1.html
        └── week2.html
2. Basic commands for HTML
| Command | Description |
|---|---|
<h1>Text</h1> |
Used to place titles and subtitles, there are up to h6 and the letter gets smaller |
<p>Hello I am Danna</p> |
Place paragraphs |
<br> |
Page break |
<b>Text</b> |
Text in bold |
<a href="link"></a> |
Links that open in the same tab |
<a href="link" target="_blank"></a> |
Place links that open in another tab |
<ul></ul> |
Lists with dots |
<ol></ol> |
Lists with numbers |
<li> |
Lines that will be inside the list |
<div></div> |
Division that serves to separate the parts of your page so it is more ordered |
<img src="image location"> |
Images |
Basic structure of html:
    <!DOCTYPE html>
    <html>
    <head>
        <title>Titulo</title>
    </head>
    <body>

    </body>
    </html>
3. CSS in my page
To make my page look pretty, I used CSS to add different colors and images with different shapes. What I did was the following:
- Declare the functions in CSS with the characteristics I wanted: shape, color, size, etc.
- In my HTML code, you import these functions depending on the characteristic you want.
color |
Changes the text color (e.g., color: #2874A6;) |
background-color |
Changes the background color of an element |
font-size |
Defines the font size (e.g., 16px, 1.5rem) |
font-family |
Changes the font type (e.g., Arial, Helvetica, sans-serif) |
text-align |
Aligns the text (left, center, right, justify) |
font-weight |
Defines the font thickness |
width |
Defines the width of the element (e.g., 100%, 500px) |
height |
Defines the height |
margin |
The space outside the element |
These are some examples of how it looks:
CSS:
  .about-text-content h1
  {
  color: #004b75;
  margin-top: 0;
  font-size: 3rem;
  font-weight: 900;
  }
HTML:
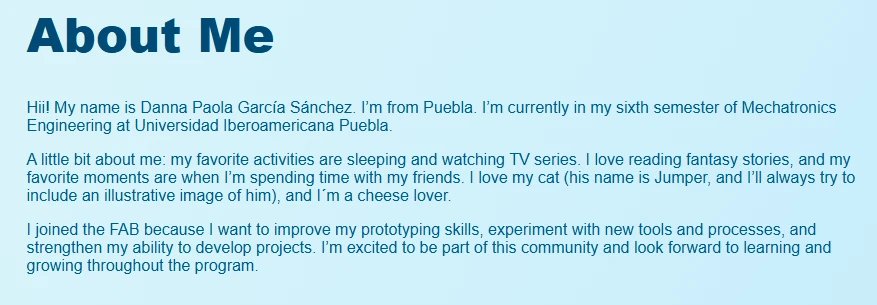
  <div class="about-text-content">
    <h1>About Me</h1>
    <p>Hii! My name is Danna Paola García Sánchez. I’m from Puebla. I’m currently in my sixth semester of Mechatronics Engineering at Universidad Iberoamericana Puebla.</p>
    <p>A little bit about me: my favorite activities are sleeping and watching TV series. I love reading fantasy stories, and my favorite moments are when I’m spending time with my friends. I love my cat (his name is Jumper, and I’ll always try to include an illustrative image of him), and I´m a cheese lover.</p>
    <p>I joined the FAB because I want to improve my prototyping skills, experiment with new tools and processes, and strengthen my ability to develop projects. I’m excited to be part of this community and look forward to learning and growing throughout the program.</p>
  </div>
CSS:
  .project-img {
  width: 50%;
  height: auto;
  display: block;
  margin: 0 auto 20px;
  border-radius: 15px;
  border: 5px solid #ffffff;
  box-shadow: 0 5px 15px rgba(0,0,0,0.1);
  margin-bottom: 20px;
  object-fit: cover;
}
HTML:
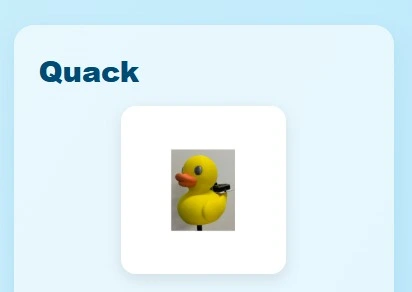
  <h3 class="project-title"> Quack </h3>
  <img src="images/week01/quack.webp" alt="Quack" class="project-img">
So that my page would have different fonts and colors, I asked Gemini to help me. This was the prompt I used to design the interface that is visualized weekly:
"Generate an HTML and CSS template. Use a blue background, main titles in dark blue, and subtitles in uppercase blue, sans-serif typography."
4. Problems I had
- I made a lot of mistakes entering the paths to switch tabs within my page; whenever I tried to return to the main page, it said it didn't exist, but after making this same mistake a few times, I got used to checking the paths to follow the correct route.
- Not compressing images becauseI forgot that I had to compress them to avoid exceeding the space limit, which is ~10MB per week.
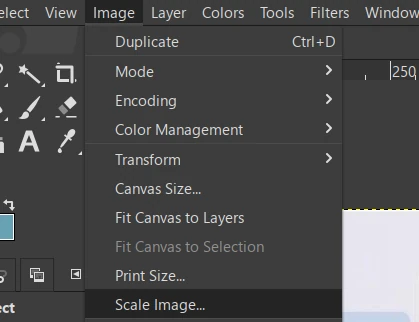
5. Compressing images
To compress the images I used to report this week I used GIMP, what must be done is the following:
- Open the program and open our image.
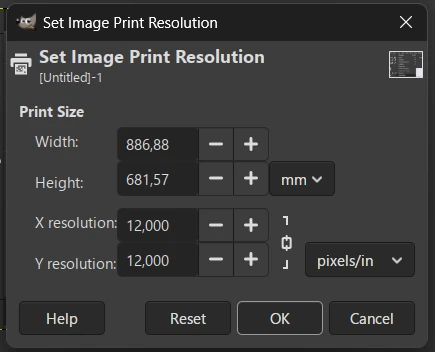
- Go to the Image tab and then to Print Size.
- In this menu we must lower the resolution in X and Y.
- Export the image as .webp.
6. Making changes to the page
What we have to do every time we want to upload our changes is the following:
Use the command git add ., then enter git commit -m "MESSAGE" and finally git push; with these 3 commands we will see the changes made to our page.

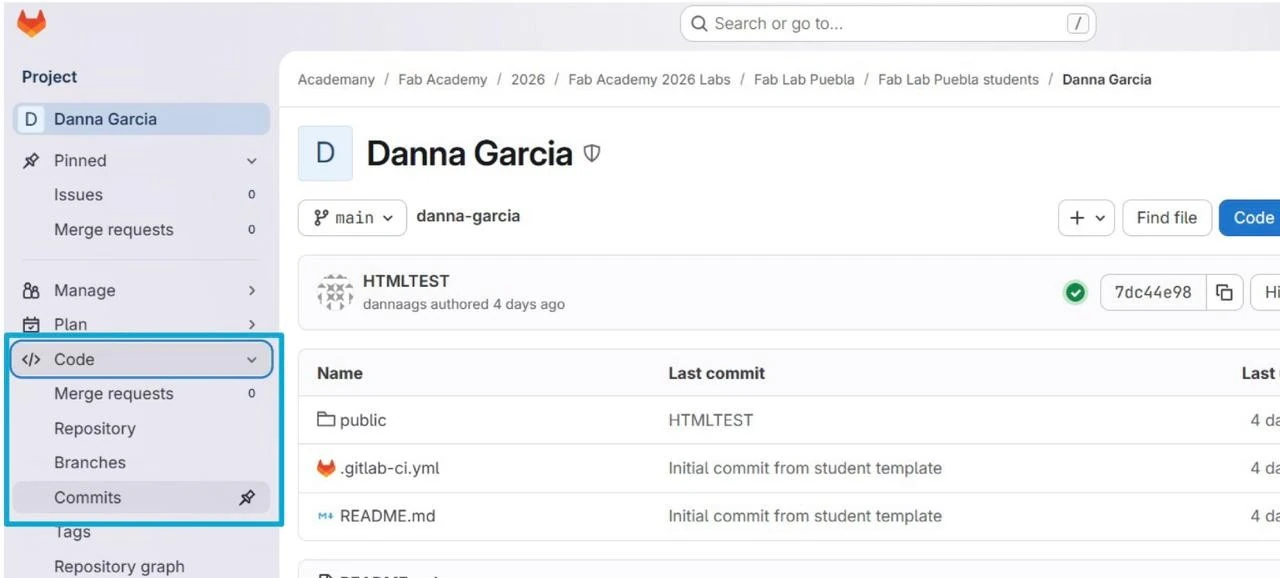
7. To verify the changes
- Enter our GitLab profile.
- Then go to Code and then to Commits.
- In this section, you can verify if the change you made was uploaded.