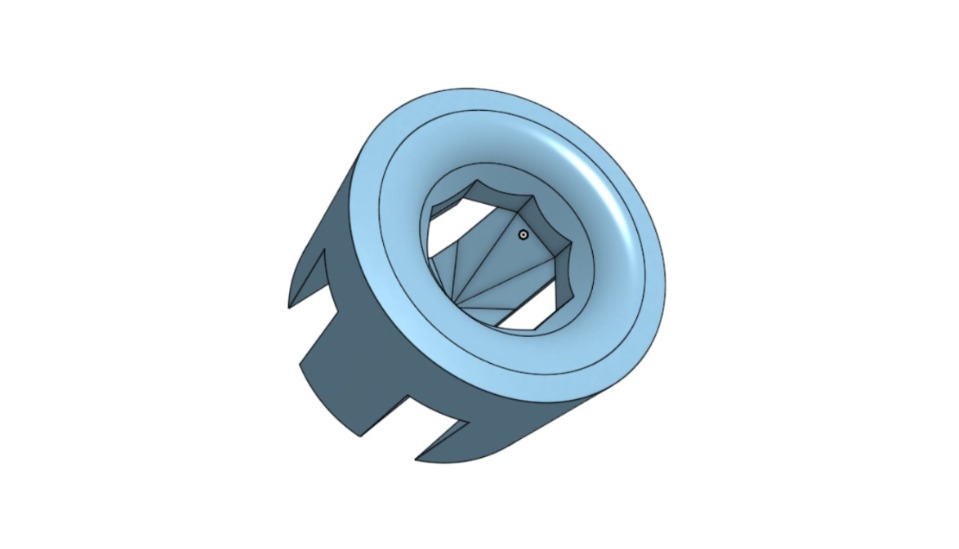
3D Model Programs
Software required
To begin building in the computer modeling world, I established a solid foundation with these essential tools (Click to download it):
3D Programs Downloads
My notes
- Solid Works: You need a license, which I already had because my institution (Universidad Iberoamericana Puebla) provides it to me.
- On Shape: I think it’s a great tool for beginners, especially for people who can't invest much capital, since the application is free. Additionally, I like that it's cloud-based (online), as these types of programs are usually quite heavy for computers to run.
- Fusion 360: You also need a license for this one; in my case, Fab Lab provided it. I didn’t end up using the program; however, I found the installation process very complicated due to everything I had to do just to register.
Comparing Programs
Solid SolidWorks
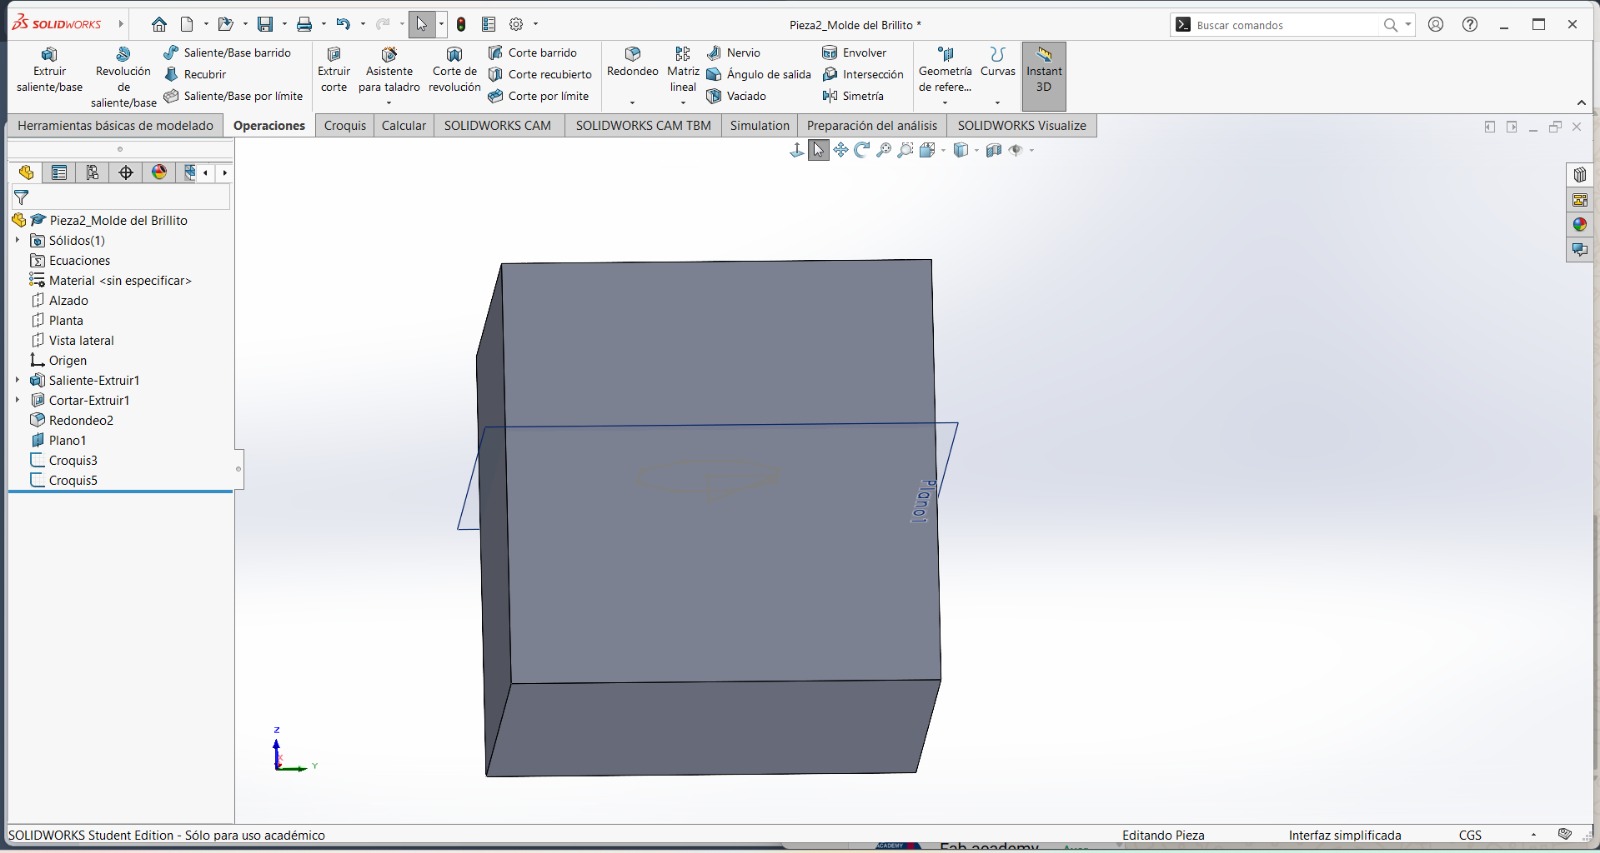
1. Intuitive Usability
I believe it's possible to start using it only if you already have prior knowledge of 3D modeling tools. However, it has many functions and tricks that are necessary to learn through tutorials or classes.
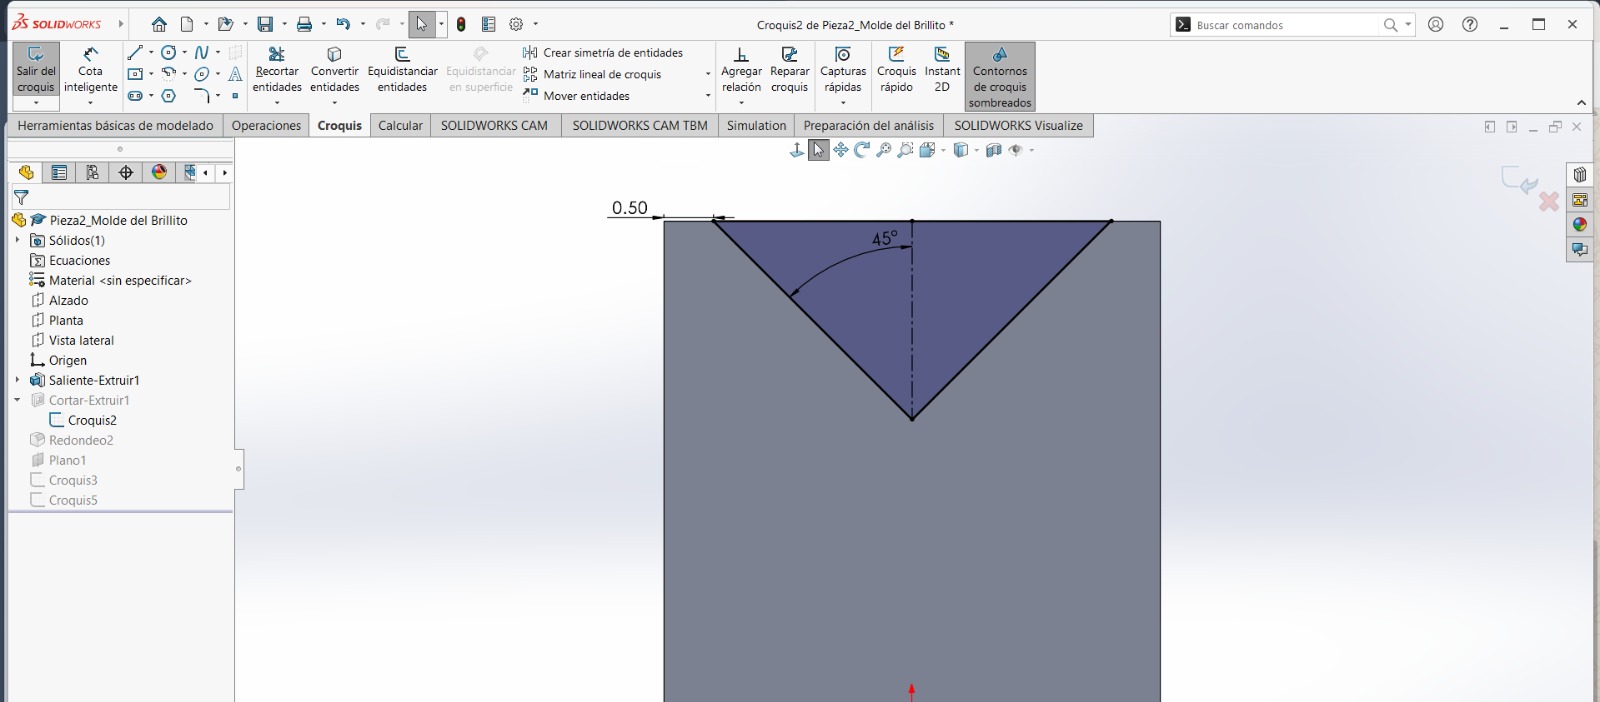
2. 2D Design (Croquis)
Freehand drawing feels complex in Solid. Personally, I've gotten used to changing views almost entirely with the mouse, but I think this also makes designing complex without a mouse to move between views (something Onshape solves very well); however, its "Control + Number" shortcuts help a lot.
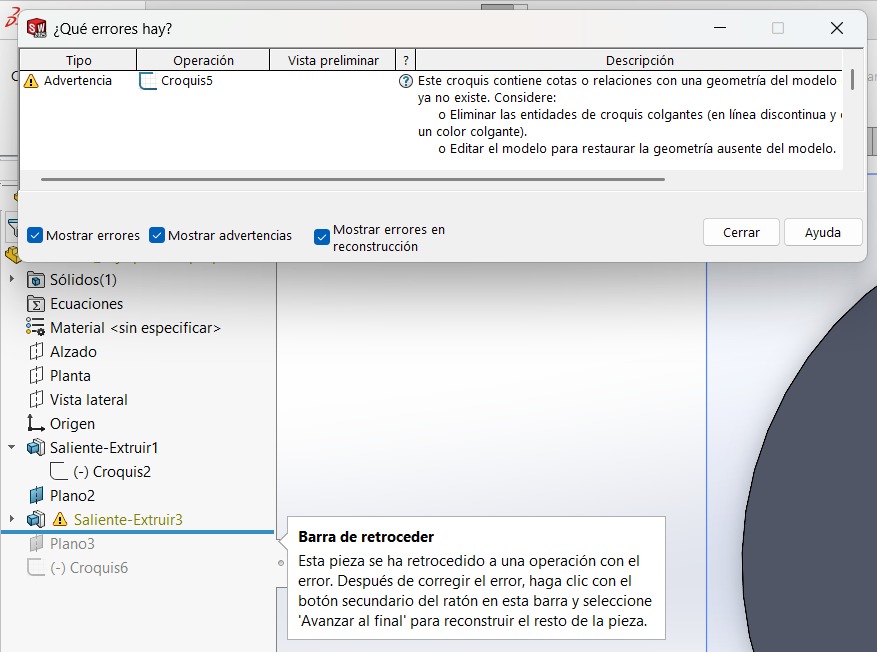
3. Plane Interaction
Something that bothers me and wastes my time is that if you go back to a previous operation that affected another one, it doesn't flag any errors in the dependent operations. You have to delete them or look into each operation in the tree to find the error, but it doesn't tell you the specific part where the error is, and you waste a lot of time trying to find it.
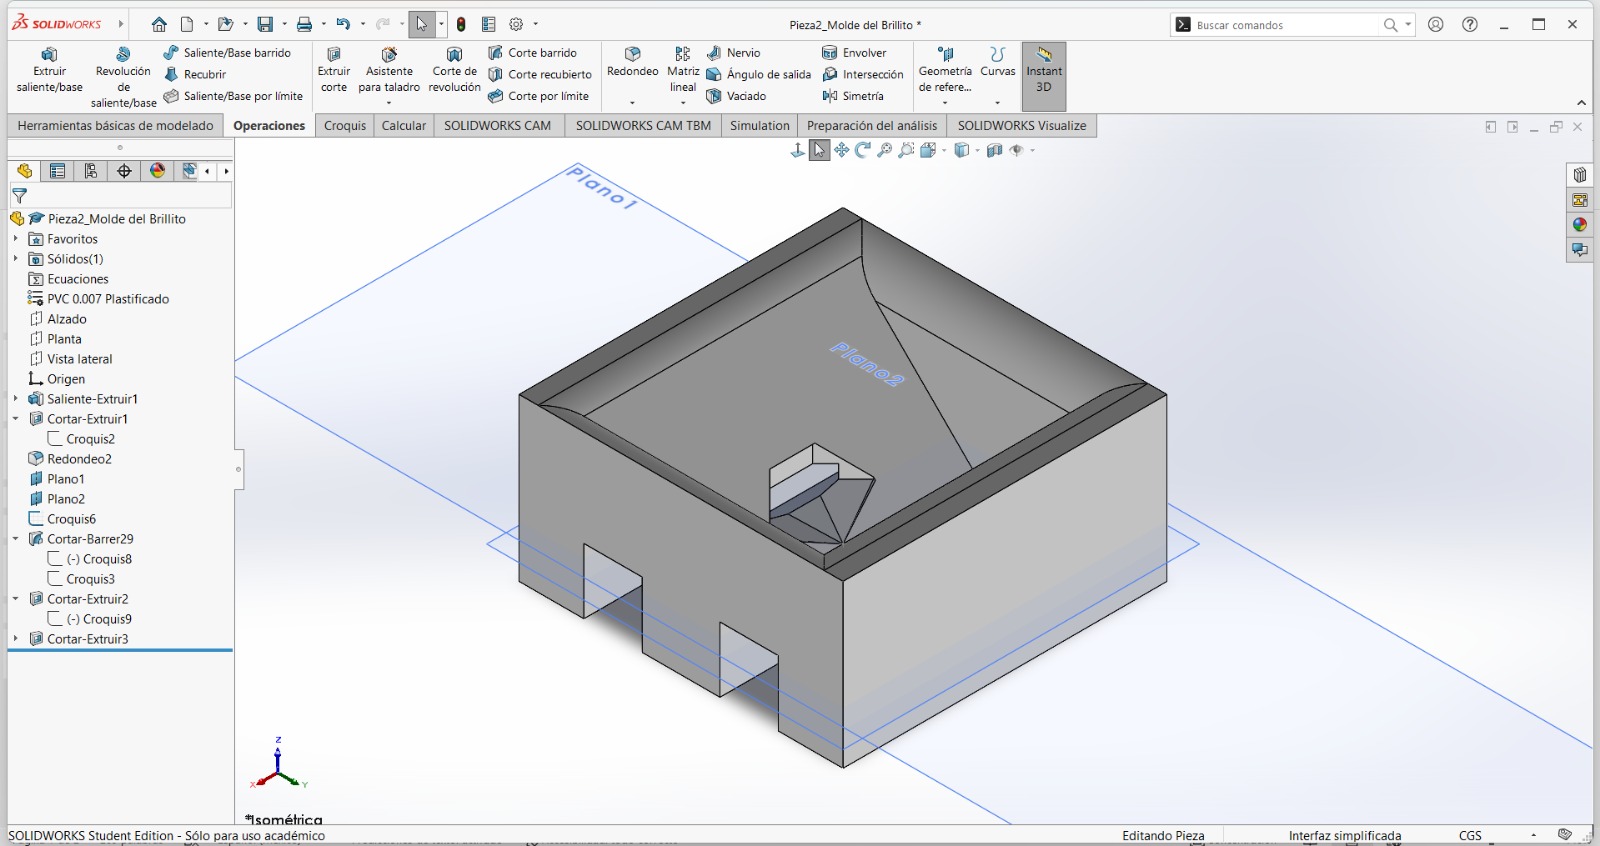
4. Add / Remove Material
t bothers me that there are always many errors when trying this type of operation because the program doesn't interpret very small gaps well. Even if you ask AI, it gives good ideas, but many times they don't work because it depends heavily on your program version.
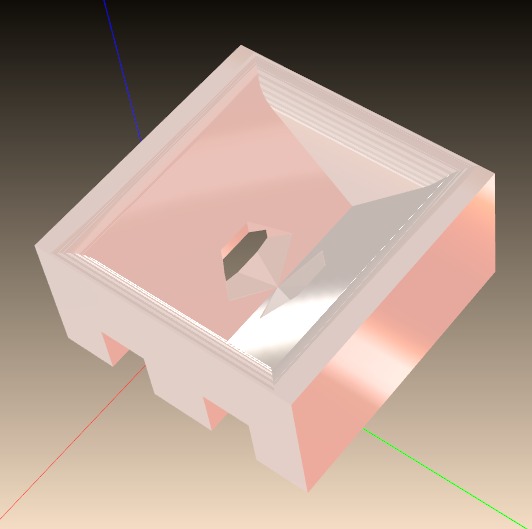
5. Rendering
I really liked the rendering section because, in addition to being able to add many materials, you can play with lights and shadows for a better render. Furthermore, you can place them in many environments already loaded in the SolidWorks library or add your own. The only disadvantage is that it requires an extra add-in for the application.
Onshape
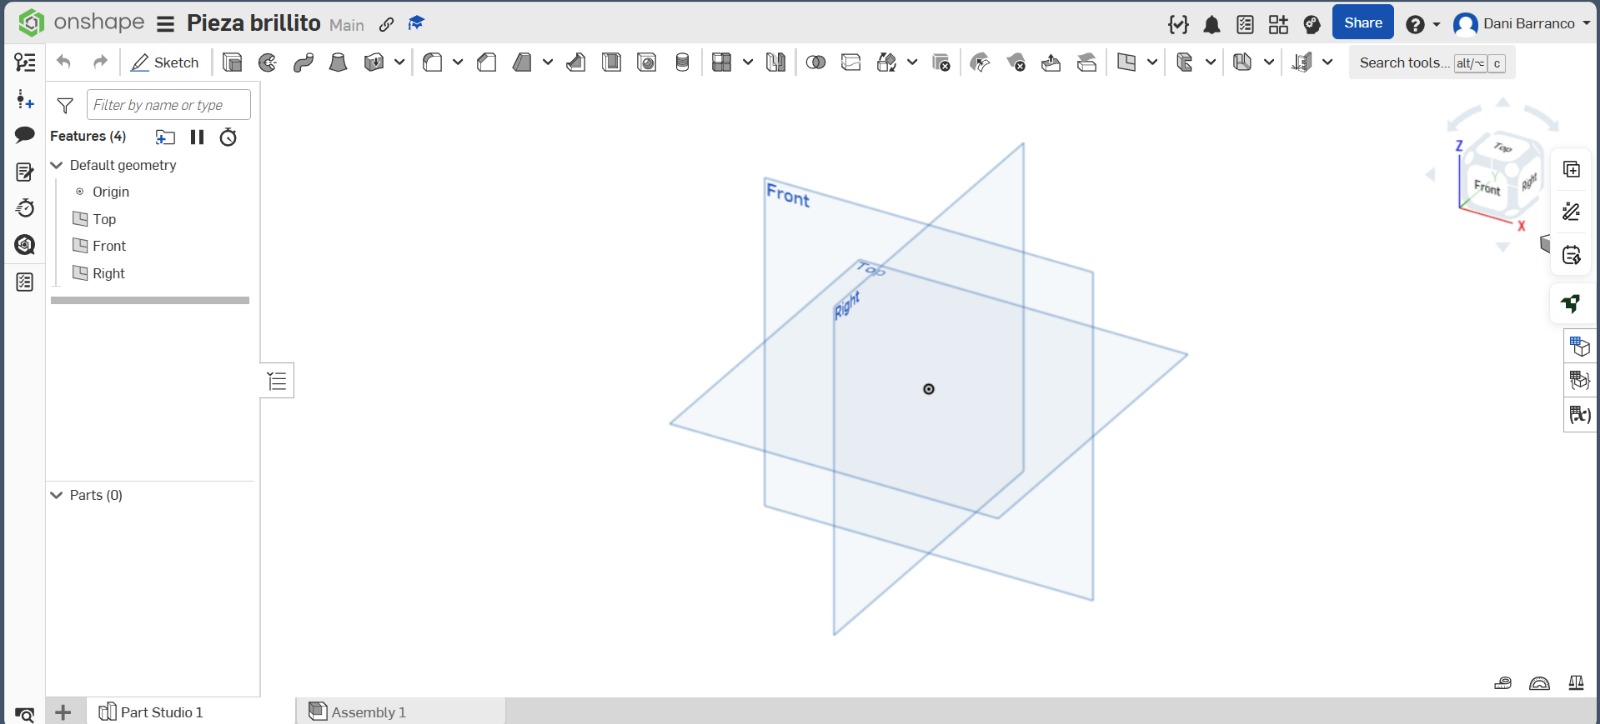
1. Intuitive Usability
I think that for a first encounter with this type of interface, it is very good because there are many options condensed into a single operation, which does not clutter your workspace. It allows you to better relate one tool to another, which is very positive for a beginner. Additionally, you can work from any computer because everything is cloud-based.
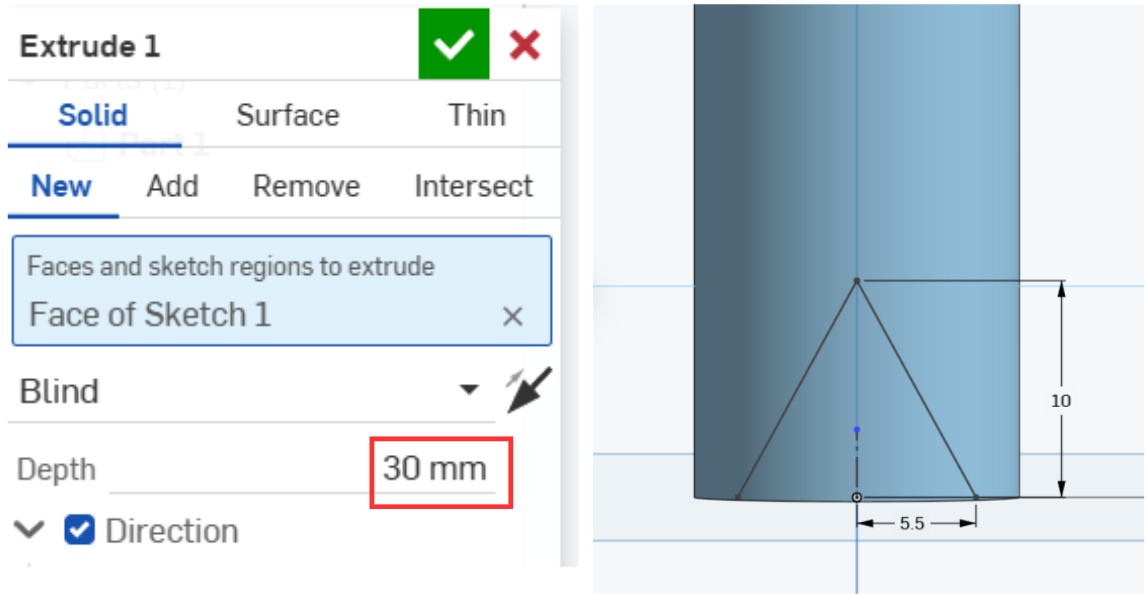
2. 2D Design (Croquis)
I don't like that everything is always in blue, because I never know if it's properly dimensioned. Also, I don't quite like that the pointer is in a constant state of selection and cannot be deselected with the "Esc" key.
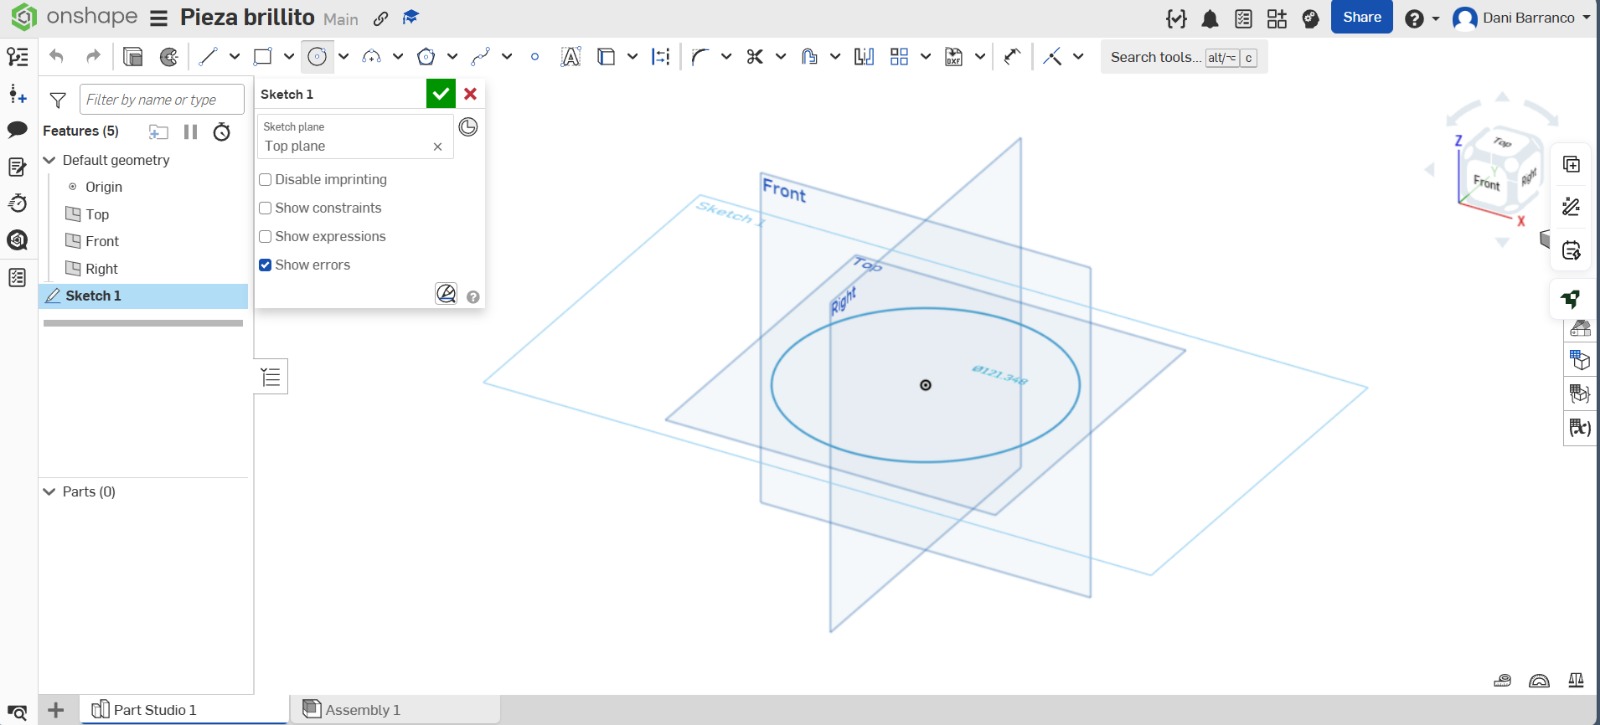
3. Plane Interaction
Something I loved is that if you go back to a previous operation that was related to another, it doesn't show any errors; instead, it shows the subsequent operations exactly as you left them. I don't like that you get lost in the plane you are working on in sketches because they don't change color like in SolidWorks.
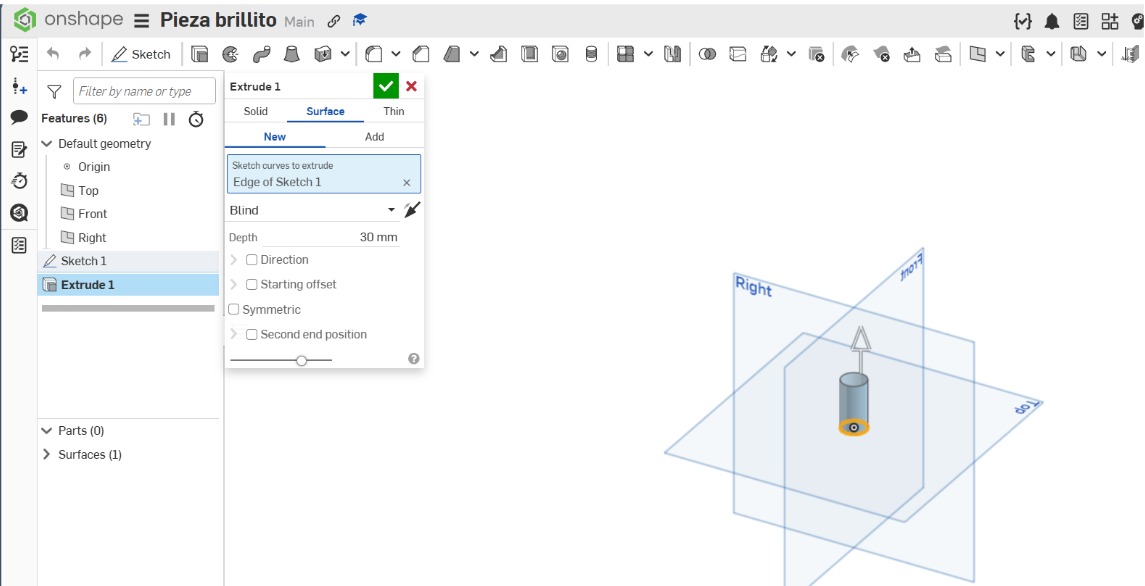
4.Add / Remove Material
I find the menu a bit more complicated due to the options; however, I like that the add and remove material operations are contained within the same button, as it maintains a minimalist interface without cluttering the space.
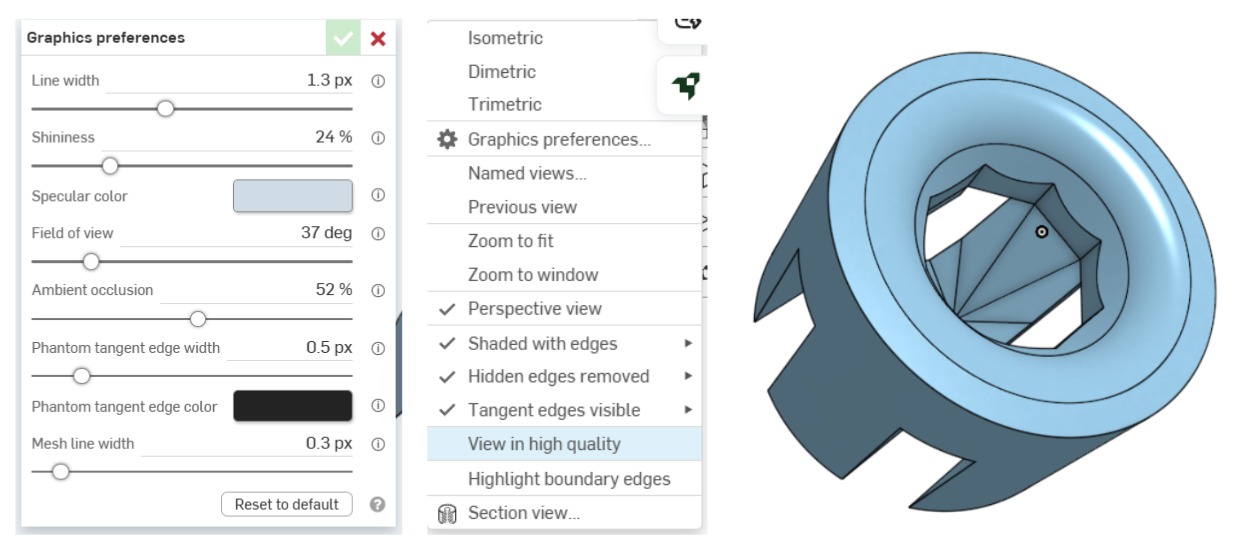
5. Rendering
It doesn't have a rendering program as such, but it does have options to improve the image while editing. Additionally, there are plugins made by others, but they are paid.
Who wins?
Personally, I believe that while Onshape has many points in its favor, SolidWorks is a program that covers much more in terms of technical aspects. It can perform simulations and calculate numerous physical properties of the parts. It also considers rendering an important feature, which is vital when presenting a piece to a client or showcasing our portfolio. For the reasons mentioned above, I prefer SolidWorks.
Extra 3D modeling tools
| # | Tool Name | Main Use / Strength |
|---|---|---|
| 1 | Thingiverse | The largest community for discovering, making, and sharing 3D printable things, primarily focused on open-source hardware and DIY projects. |
| 2 | Printables | A high-quality 3D model database by Prusa Research that features a wide variety of printable models, community contests, and rewards. |
| 3 | GrabCad | A professional community of designers and engineers. It is the best source for technical CAD models, professional parts, and collaboration tools. |
| 4 | Tinytooks | A niche platform focused on small-scale 3D models and miniatures, ideal for finding detailed components for specific model-making projects. |
| 5 | map2stl.com | A specialized tool that allows users to convert geographical maps and terrain data into 3D printable STL files. |
| 6 | Maker Design Lab | Provides useful online generators for creating boxes, gears, and complex patterns specifically optimized for laser cutting and 3D design. |
| 7 | Maker Kit | A platform offering specialized UI kits and component libraries to help makers build and document their software or hardware projects faster. |
| 8 | Maker World | A comprehensive 3D model platform by Bambu Lab that integrates directly with cloud printing services for a seamless user experience. |
2D Design
Software Required
To master vectorization and 2D layouts, I explored these powerful tools (Click to visit):
2D Programs
My Notes
- Inkscape: It is Open Source, which means there is a huge community providing help and free resources. It is excellent for automatic vectorization.
- Affinity: A professional-grade tool that separates Vector and Pixel workspaces effectively. While powerful, some advanced AI features require a paid subscription.
Inkscape vs. Affinity
| Concept | Inkscape | Affinity |
|---|---|---|
| Interface Usability | Very intuitive for automatic tasks. The "Trace Bitmap" operation is highly efficient and remembers your settings for subsequent images. | Great differentiation between Vector and Pixel tools. It allows access via Canva accounts, but AI tools are locked behind a Plus subscription. |
| Processing | It can struggle with high-density files; I experienced a crash when processing a complex AI-generated sticker of my dog. | Very stable, though it lacks a direct equivalent to Inkscape's automatic "Trace Bitmap" feature for quick vectorization. |
My inspiration for this task
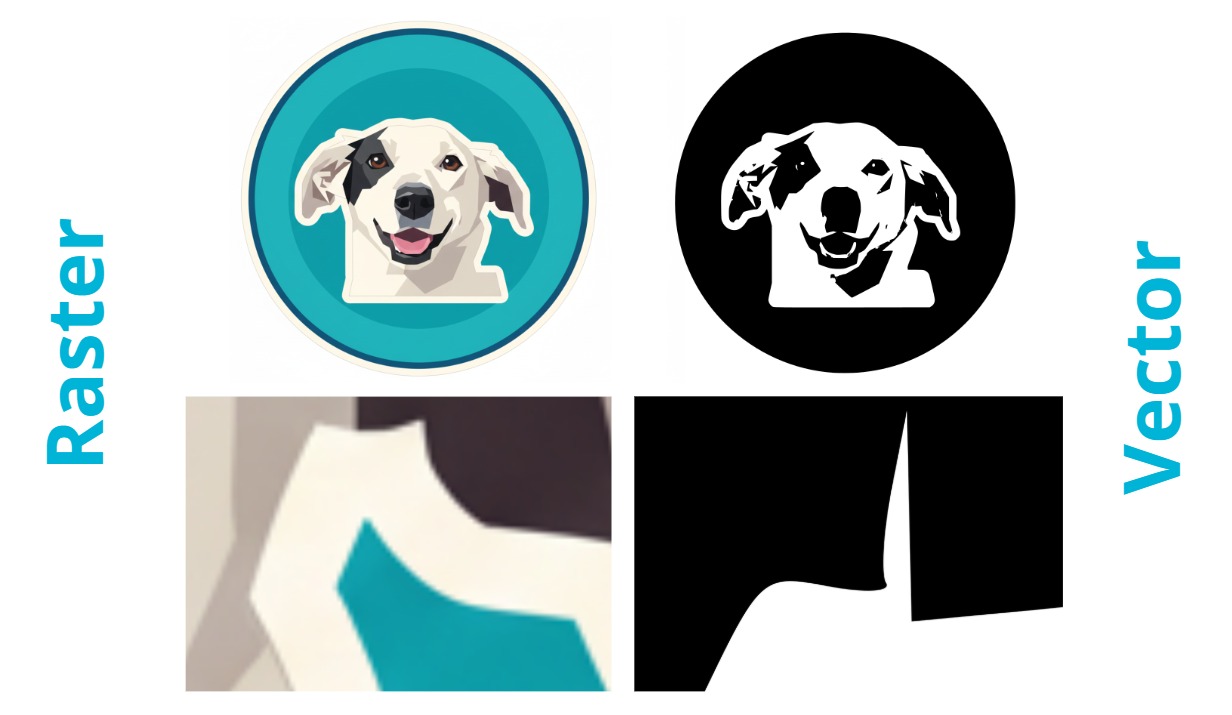
Inspired by Dr. Doofenshmirtz from Phineas and Ferb, I named my machine using the "-inator" suffix. For this project, I used a photo of my dog to practice the transition from Raster to Vector.

Raster Vs Vector My Explanation
As seen in the comparison, standard images (pixels) lose sharpness when zoomed in. By vectorizing the image, I created mathematical paths that never deform. This is vital for laser cutting, as it ensures the machine follows a clean line rather than a blurry grid of pixels.
2D Design: File Formats
Understanding the difference between formats is crucial for choosing the right tool for fabrication:
| Feature | Raster (Pixels) | Vector (Paths) |
|---|---|---|
| Composition | Made of a grid of colored squares (pixels). | Based on mathematical paths and geometric shapes. |
| Common Extensions | .JPEG, .PNG, .IMG | .SVG, .PDF, .AI |
| Scalability | Loses sharpness and "pixelates" when enlarged. | Infinite scalability; never loses quality. |
| Fabrication Use | Difficult for laser software to interpret accurately. | Superior for laser cutting as the machine follows precise paths. |
Who wins in 2D?
While Affinity offers a polished professional interface, I find Inkscape to be the winner for fabrication projects. Its "Trace Bitmap" tool is perfect for turning creative ideas into laser-ready vectors quickly and for free.
Extra 2D Design Tools
| # | Tool Name | Main Use / Strength |
|---|---|---|
| 1 | Templatemaker | An excellent resource for creating custom-sized papercraft and packaging templates. It generates dielines for boxes and shapes that can be exported for laser cutting. |
| 2 | 3axis.co | A massive repository of free vector files (DXF, CDR, BMP, SVG) specifically curated for laser cutting, CNC routers, and plasma cutting projects. |
| 3 | MakerCase | A specialized web tool for designing custom enclosures and boxes. It automatically generates the finger joints or t-slots needed for laser-cut assembly. |
| 4 | Maker Design Lab | A comprehensive platform offering tutorials and automated generators for technical design elements like gears and patterns, optimized for digital fabrication. |
My process
I will show you how to vectorize an image in Inkscape.
I will show you how to vectorize an image in Affinity Designer.
Media Compression Software (FFmpeg)
To keep the website fast, I use FFmpeg to compress videos. This tool reduces file size significantly while maintaining 720p quality.
Compression Recipe (Command):
ffmpeg -i input.mp4 -vf "scale=-2:720" -c:v libx264 -preset slow -crf 30 -pix_fmt yuv420p -movflags +faststart -an output.mp4Command Breakdown
| Parameter | Control / Effect | Notes |
|---|---|---|
-i input.mp4 |
Input File | Specify the name of the video you want to compress. |
-vf "scale=-2:720" |
Scaling Filter | Resizes to 720p while keeping the aspect ratio. |
-c:v libx264 |
Video Codec | H.264 standard for best web compatibility. |
-preset slow |
Encoding Speed | Slower compression results in a smaller file size. |
-crf 30 |
Constant Rate Factor | Quality level (0-51). 30 is a great balance for the web. |
-pix_fmt yuv420p |
Pixel Format | Ensures compatibility with all modern browsers. |
-an |
Remove Audio | Vital for web background videos to save space. |
Image Compression
The most efficient way I've found to compress images while maintaining optimal quality for the web is through WhatsApp. Unlike videos, WhatsApp handles image resizing very well for quick loading.
Process for Images:
- Step 1: Attach the image in a chat text bar and send it.
- Step 2: Open the sent image within the conversation.
- Step 3: Click on the three dots menu (options).
- Step 4: Select the "Save as" option to get the compressed file.
Video Compression (FFmpeg)
To reduce video file size for the website, I use FFmpeg. Here is the step-by-step process I followed:
FFmpeg Installation & Usage
1. Download
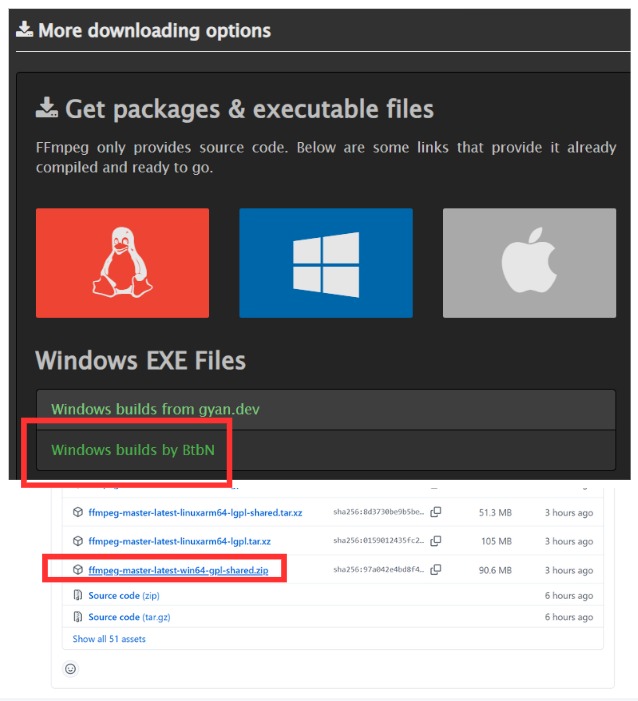
Visit the official FFmpeg website. For Windows, select the "By BtbN" option and download the .zip file.
2. Terminal Navigation
Unzip the folder and open your terminal. Use the cd command to navigate to the path. Tip: Always put your path between single quotes '' to avoid "ObjectNotFound" errors caused by spaces in folder names.
3. The Compression "Recipe"
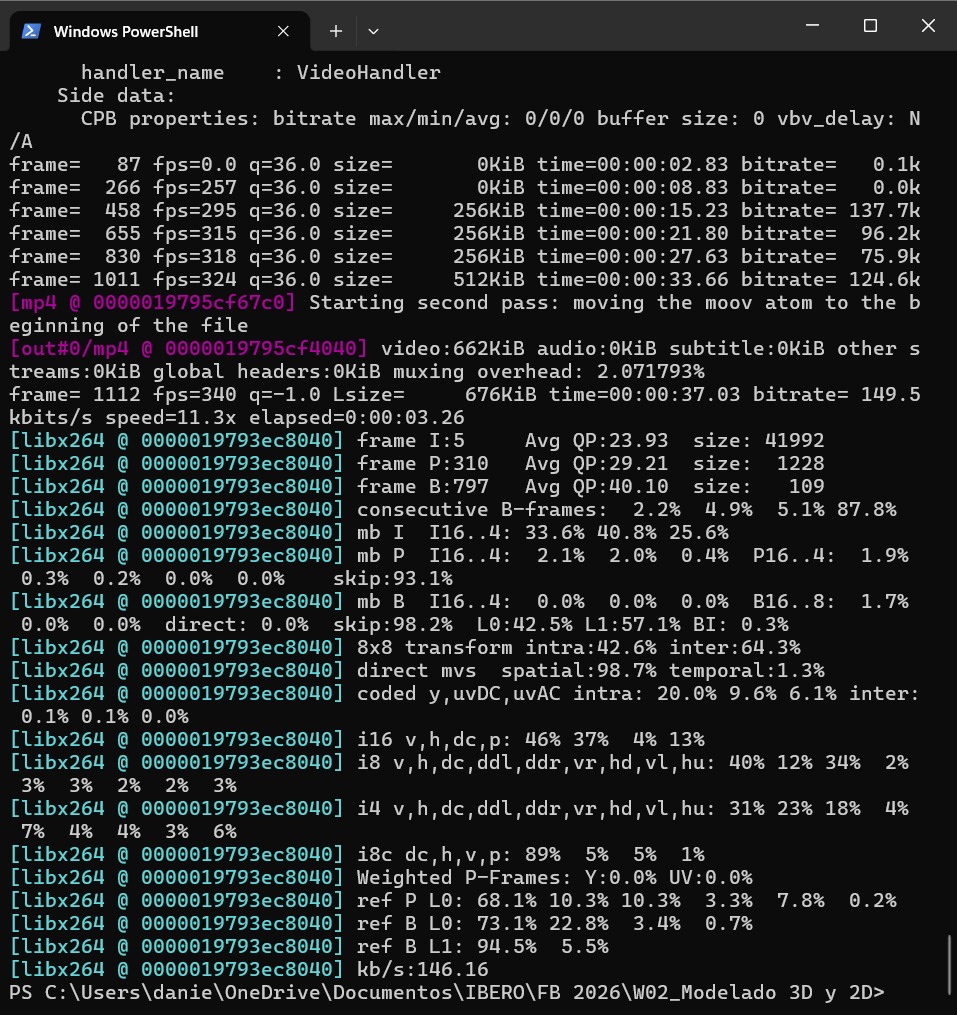
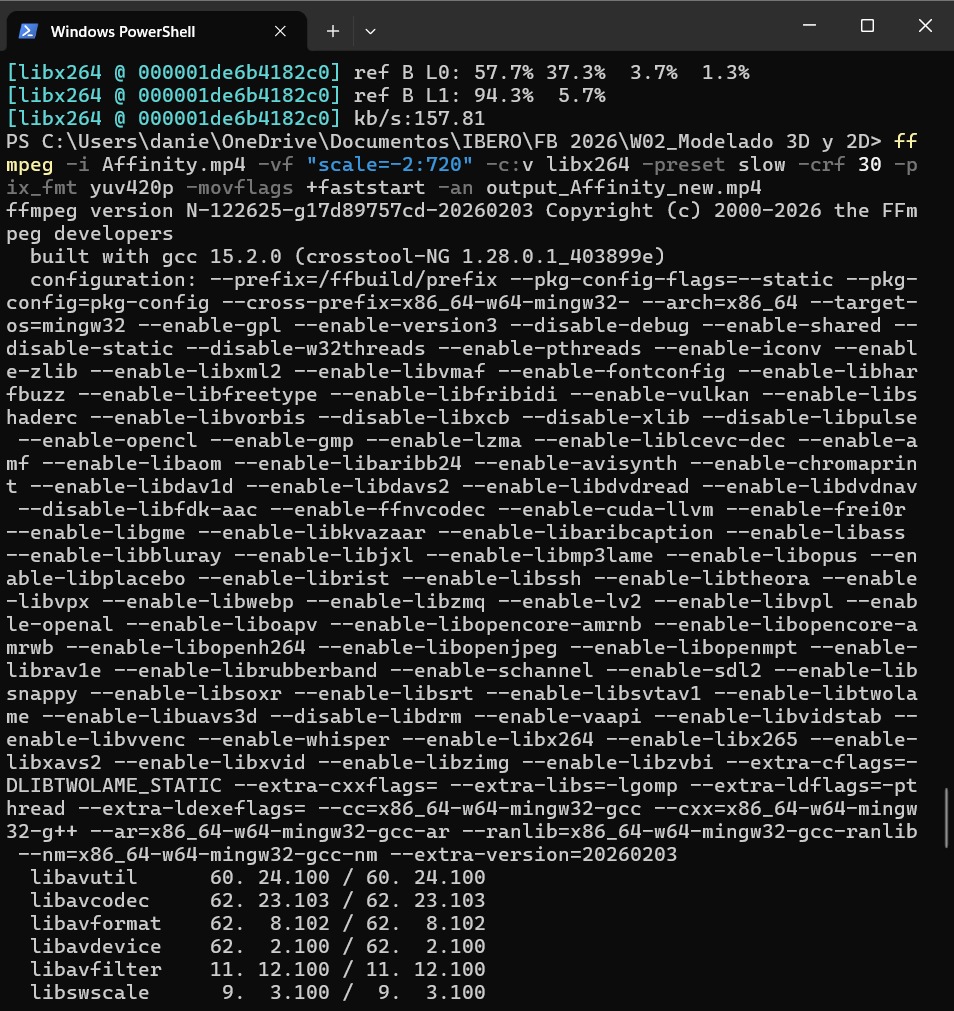
Run the following command to compress your video to 720p without audio:
"ffmpeg -i input.mp4 -vf "scale=-2:720" -c:v libx264 -preset slow -crf 30 -pix_fmt yuv420p -movflags +faststart -an output_new.mp4"
Compression Summary
Here you can find the difference between the original and compressed files:
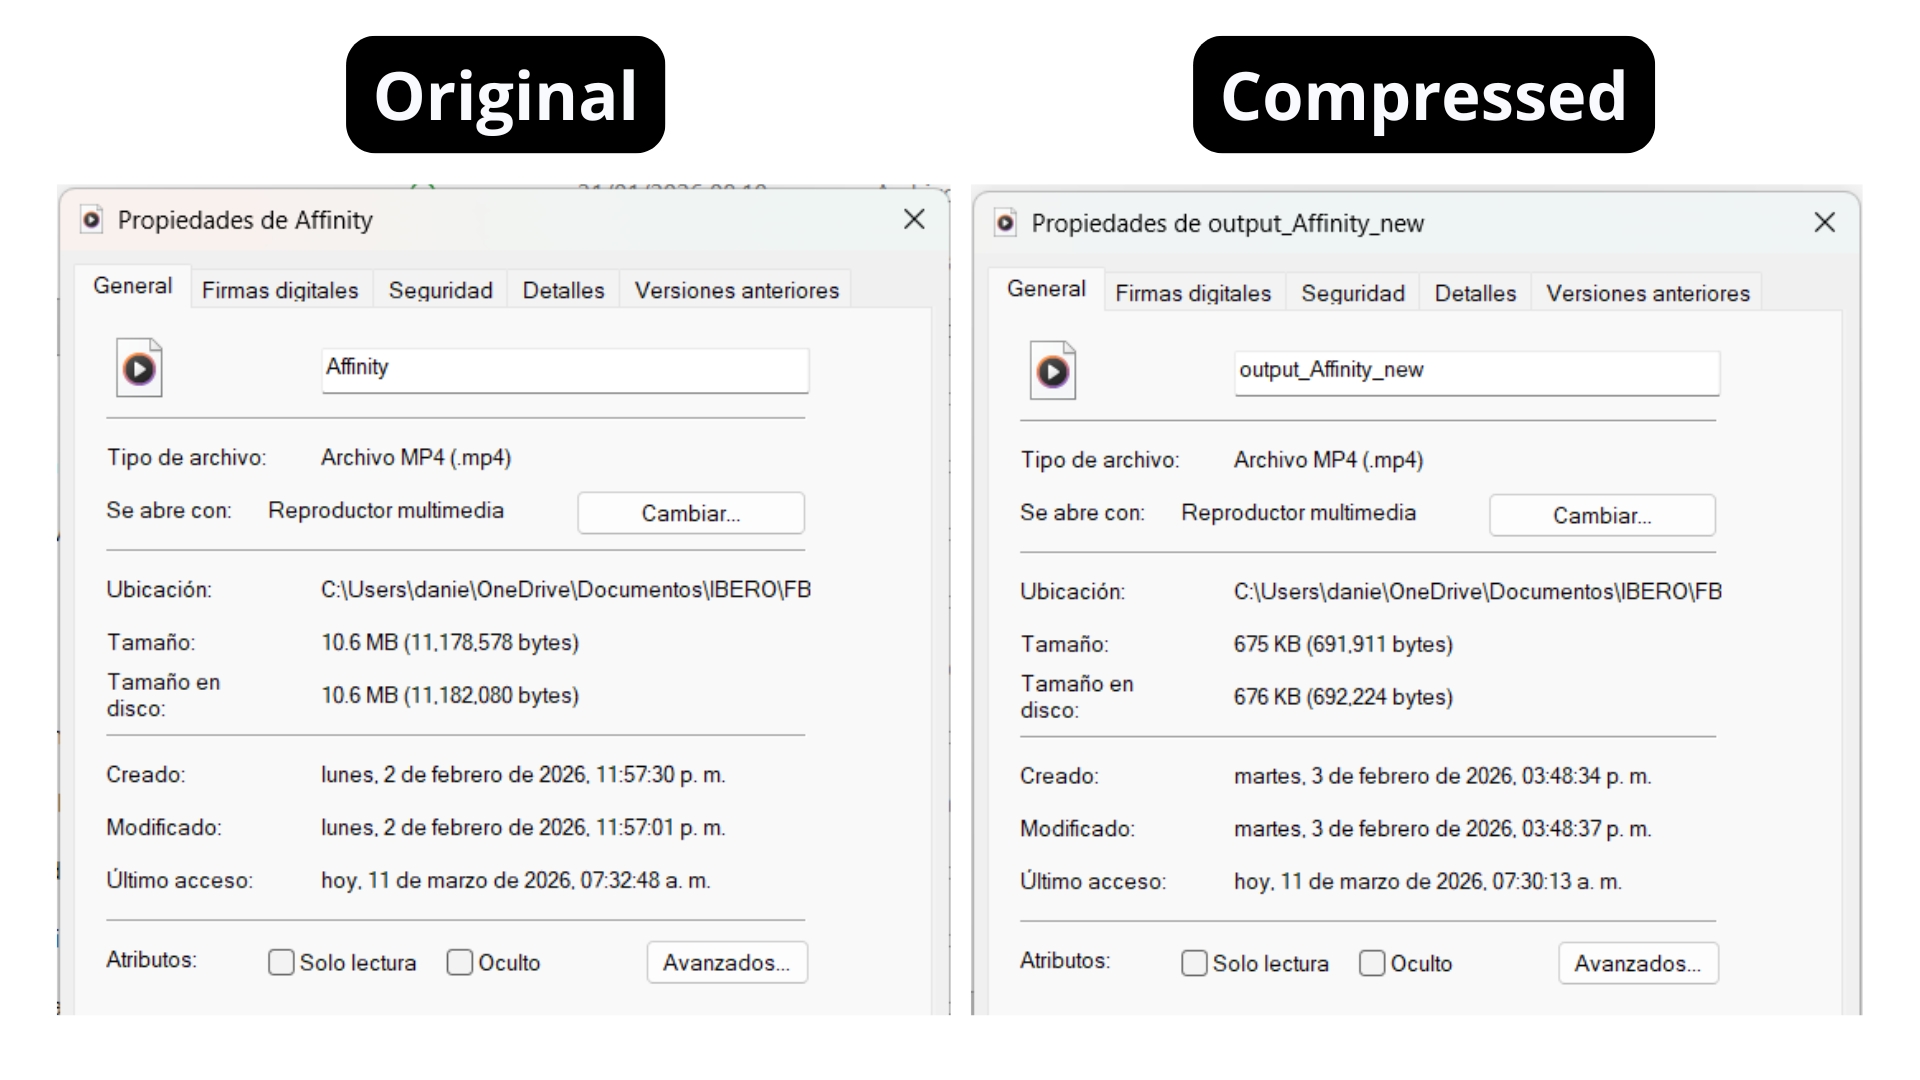
As you can visualize, the compression has reduced the file size while maintaining acceptable quality.
What I learned this week:
- I compared 3D modeling software (SolidWorks, Onshape, and Fusion 360) and concluded that SolidWorks is the most comprehensive for technical aspects such as simulations and professional rendering.
- I understood the difference between raster images (pixels) and vector images (mathematical paths), and I learned how to vectorize images in Inkscape to prepare them for laser cutting.
- I learned how to compress videos with FFmpeg using a specific command "recipe" and how to efficiently compress images via WhatsApp to optimize my website's loading weight.