Project Management Basics
Git
Git is a version control software for projects, mainly code. Git works by making "snapshots" of the existing project, storing them in a sequence. It's like a file system that allows you to revert changes and keep track of every single modification to your files.
Git is a MUST when working on any kind of project that relies on code, as it allows developers to not only do everything I've already said, but to use many other advanced features, like merging to versions of the same file, creating alternative versions of the main files, called "branching", etc.
In order to start using Git, you need to install it. Go to Git's Official Download Page and follow instructions according to your operating system: For Windows you must use Git's installation tool. For MacOS you can use the installation tool, or you can use either XCode or Brew for more experienced user. For Linux, Git comes installed by default in most distributions.
To start using git, you can create a repo in your local device.
- From the terminal, run
git initin your selected folder to start a new Git repo. Some files will be created, DO NOT TOUCH THEM. They contain your repo's information. - You can now get working! Remember to stay inside your repo's folder all the time.
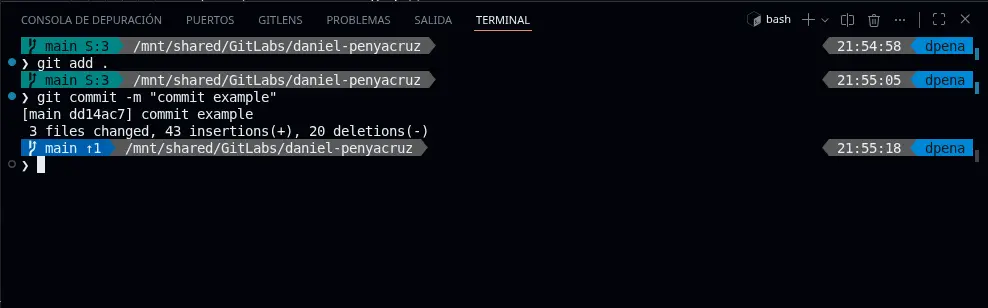
When you get to a point where you want to make a "checkpoint" in your work, you must commit your changes:
-
Start by running
git add .to save all modifications to all files made. If you wish to add only a specific file, you can rungit add <path/to/file.txt>, changing<path/to/file.txt>with your file's path in your folder. -
Commit changes to the repo
git commit -m "<commit-message>", changing<commit-message>with a small massage to help you remember what changes are being made.
- If you want to see your current, un committed work, you can run
git status.

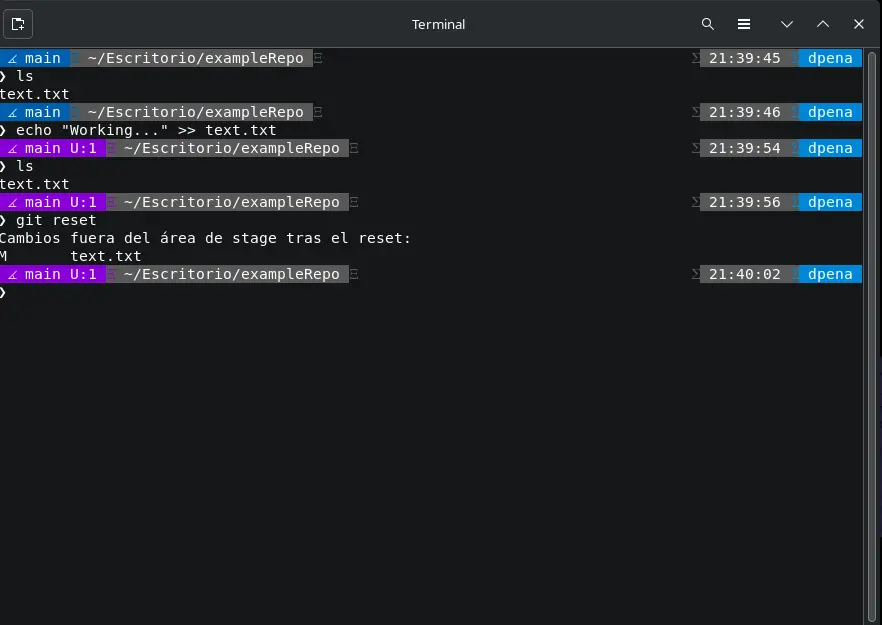
- If by any chance you need to revert your current work and go back to a previous commit, you can run
git reset. Your current work will be deleted, changing you back to your previous commit state.
With this basic git commands, your work is now structured and protected.
GitLabs
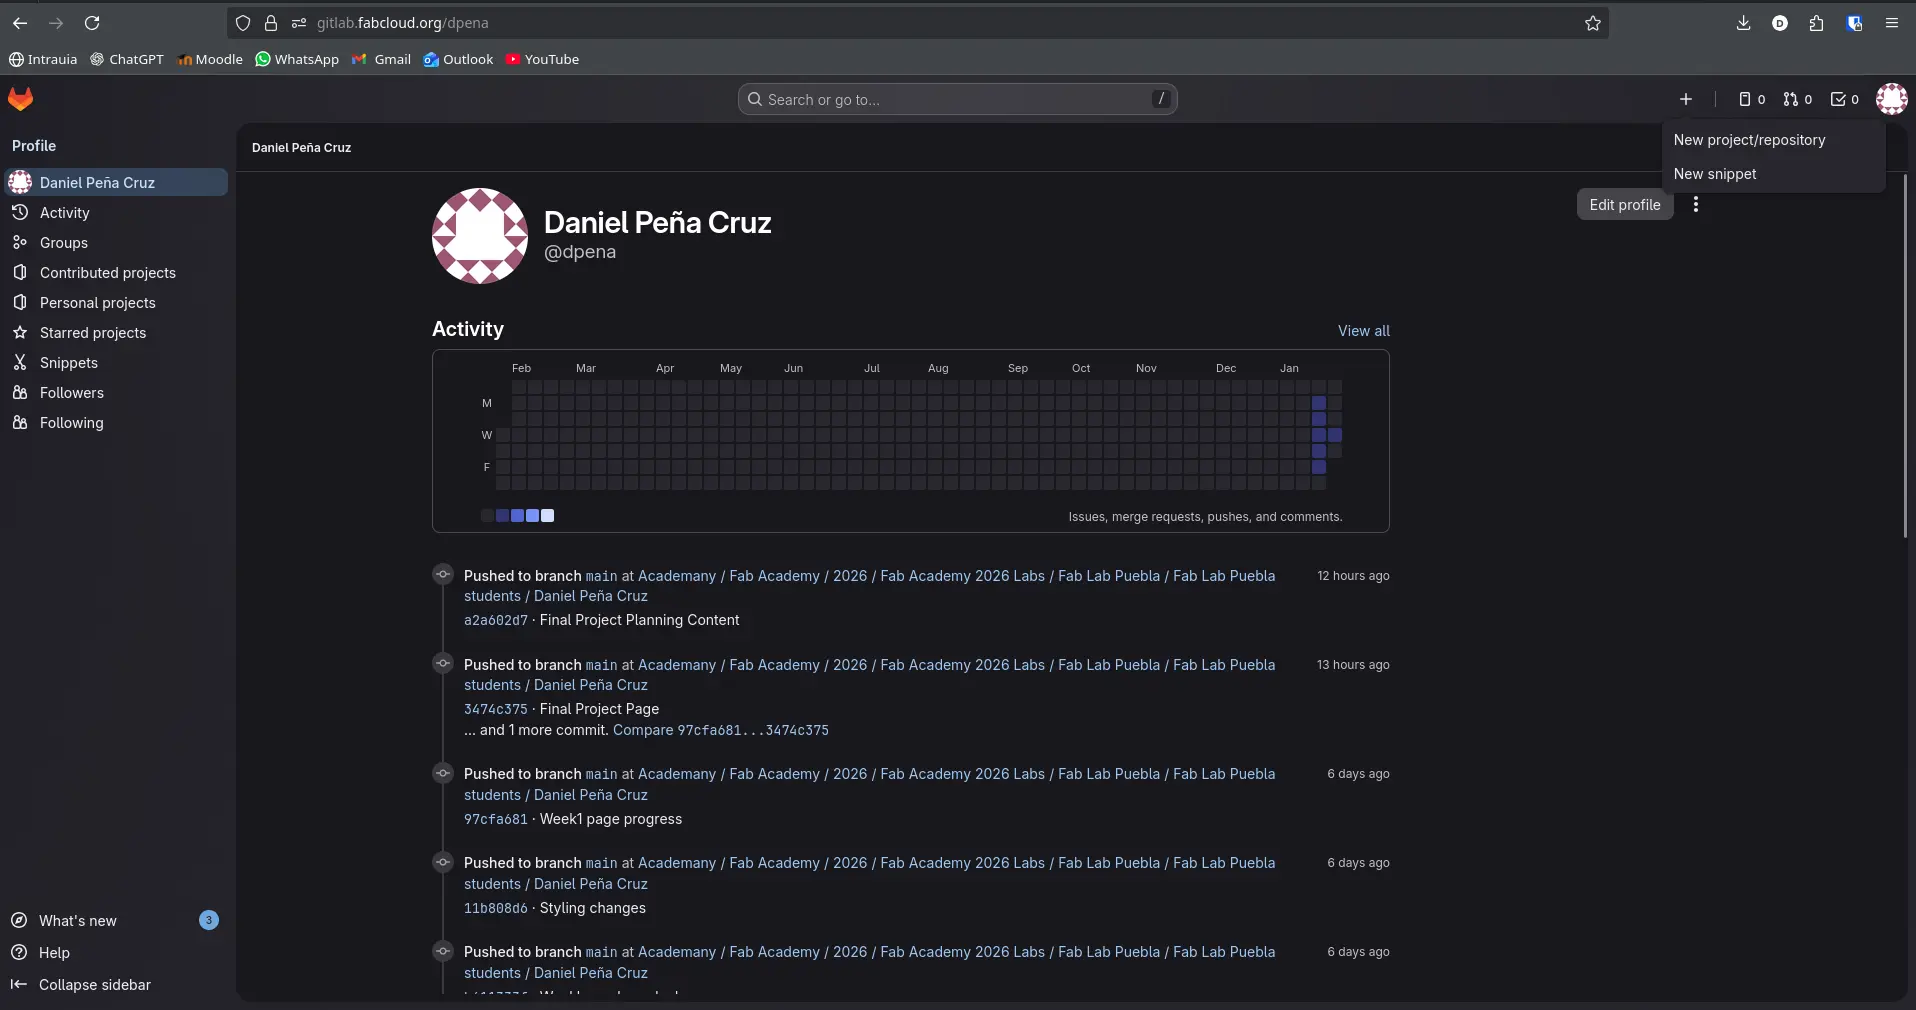
if Git is like a book that records every change and modification to your code, GitLabs is a public library, where devs all around the world host their code repositories. It works by showing and registering any git changes made by any contributor to the repository (repo from now on), using Git and it's commands.
GitLabs allows collaborations from people all over the world, working in the same project. It also works as a portfolio, allowing you to store all your work and show how much you contribute to other projects.
To start using GitLabs:
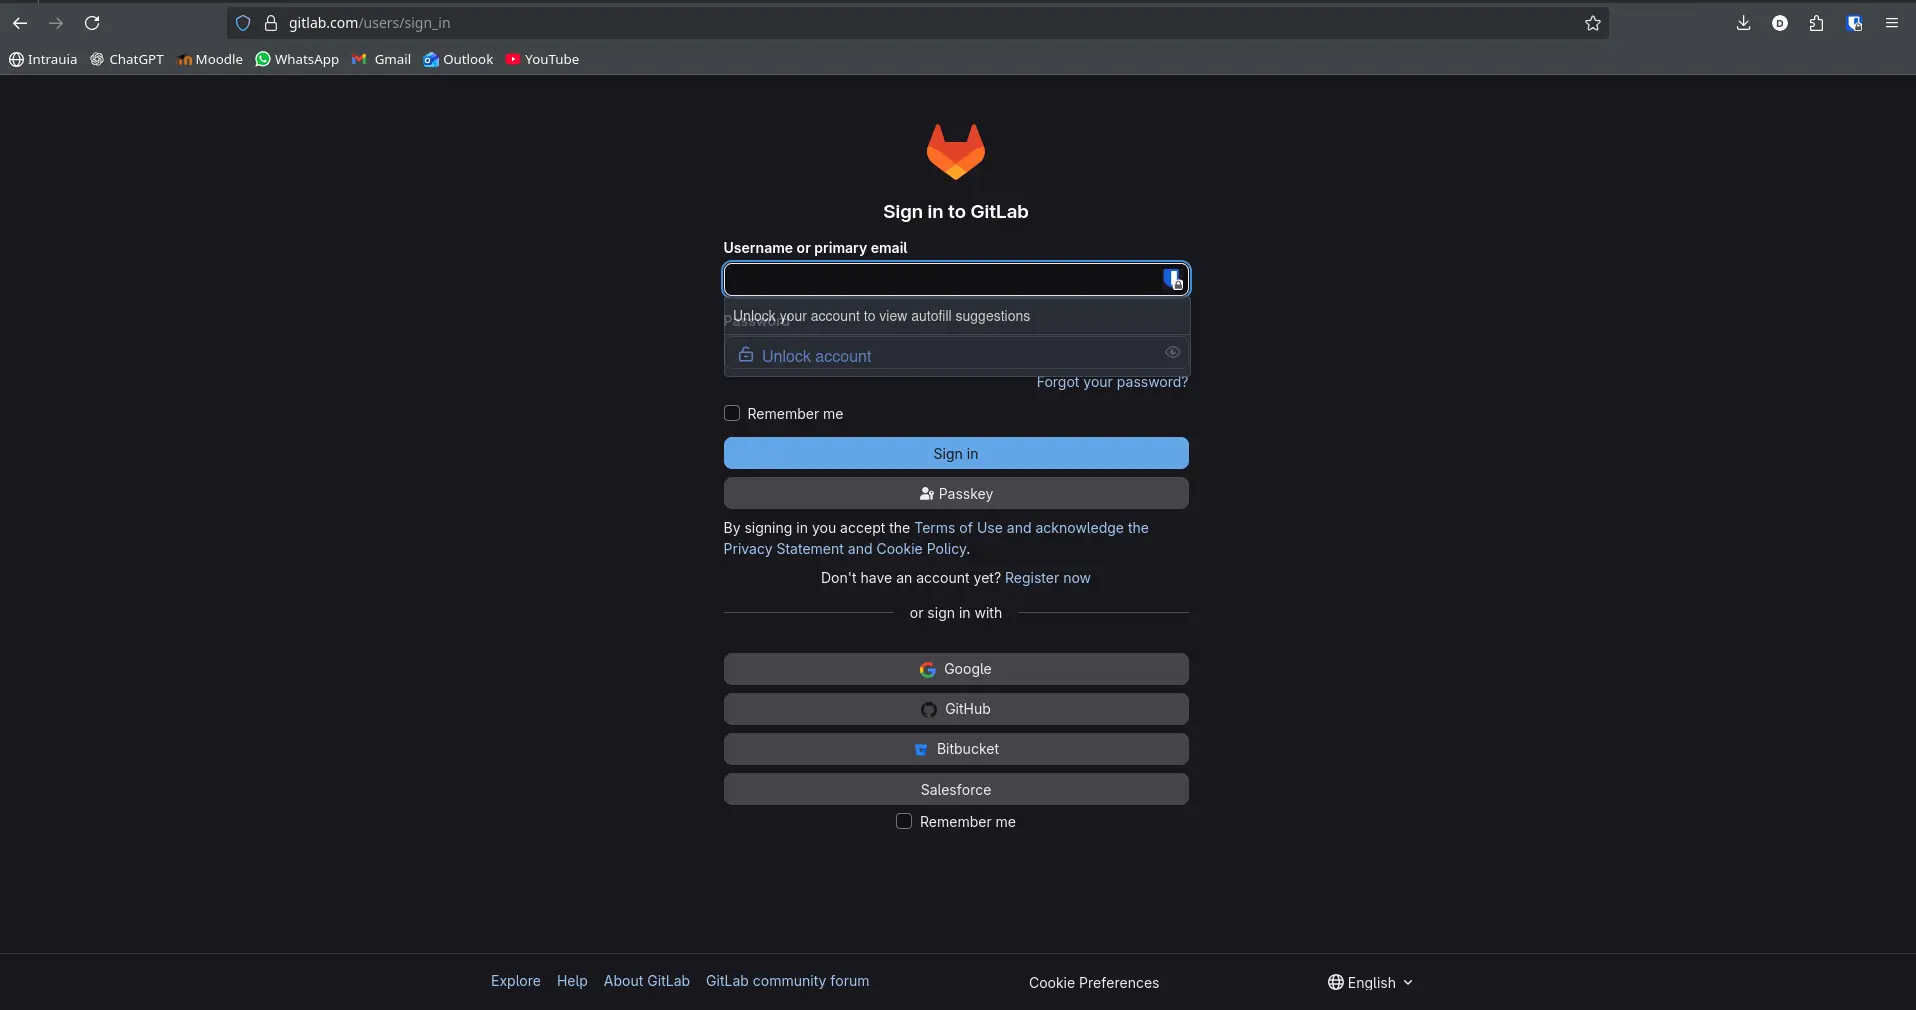
- Create an account or login using an existing GitHub or Fab.io account
-
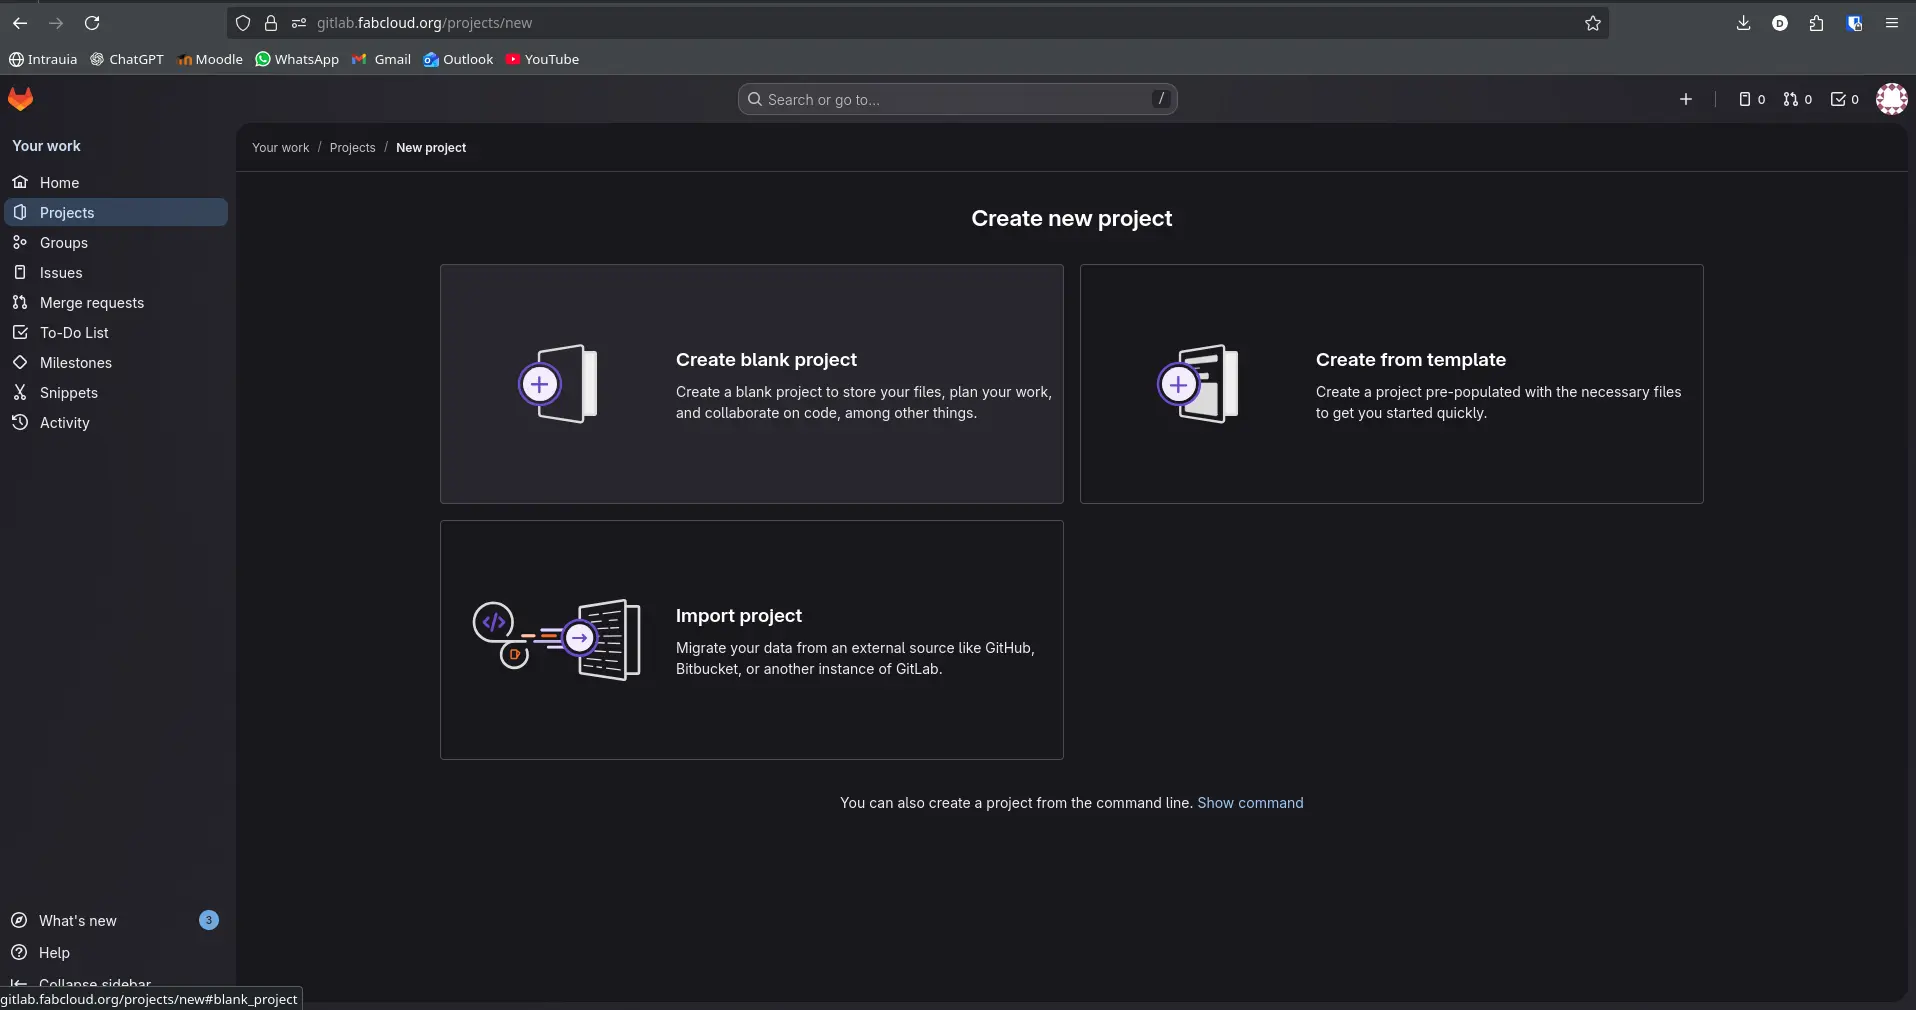
Go to your profile page. At the top right corner, click the "+" sign > "New project/repository"
- Select "Create blank project"
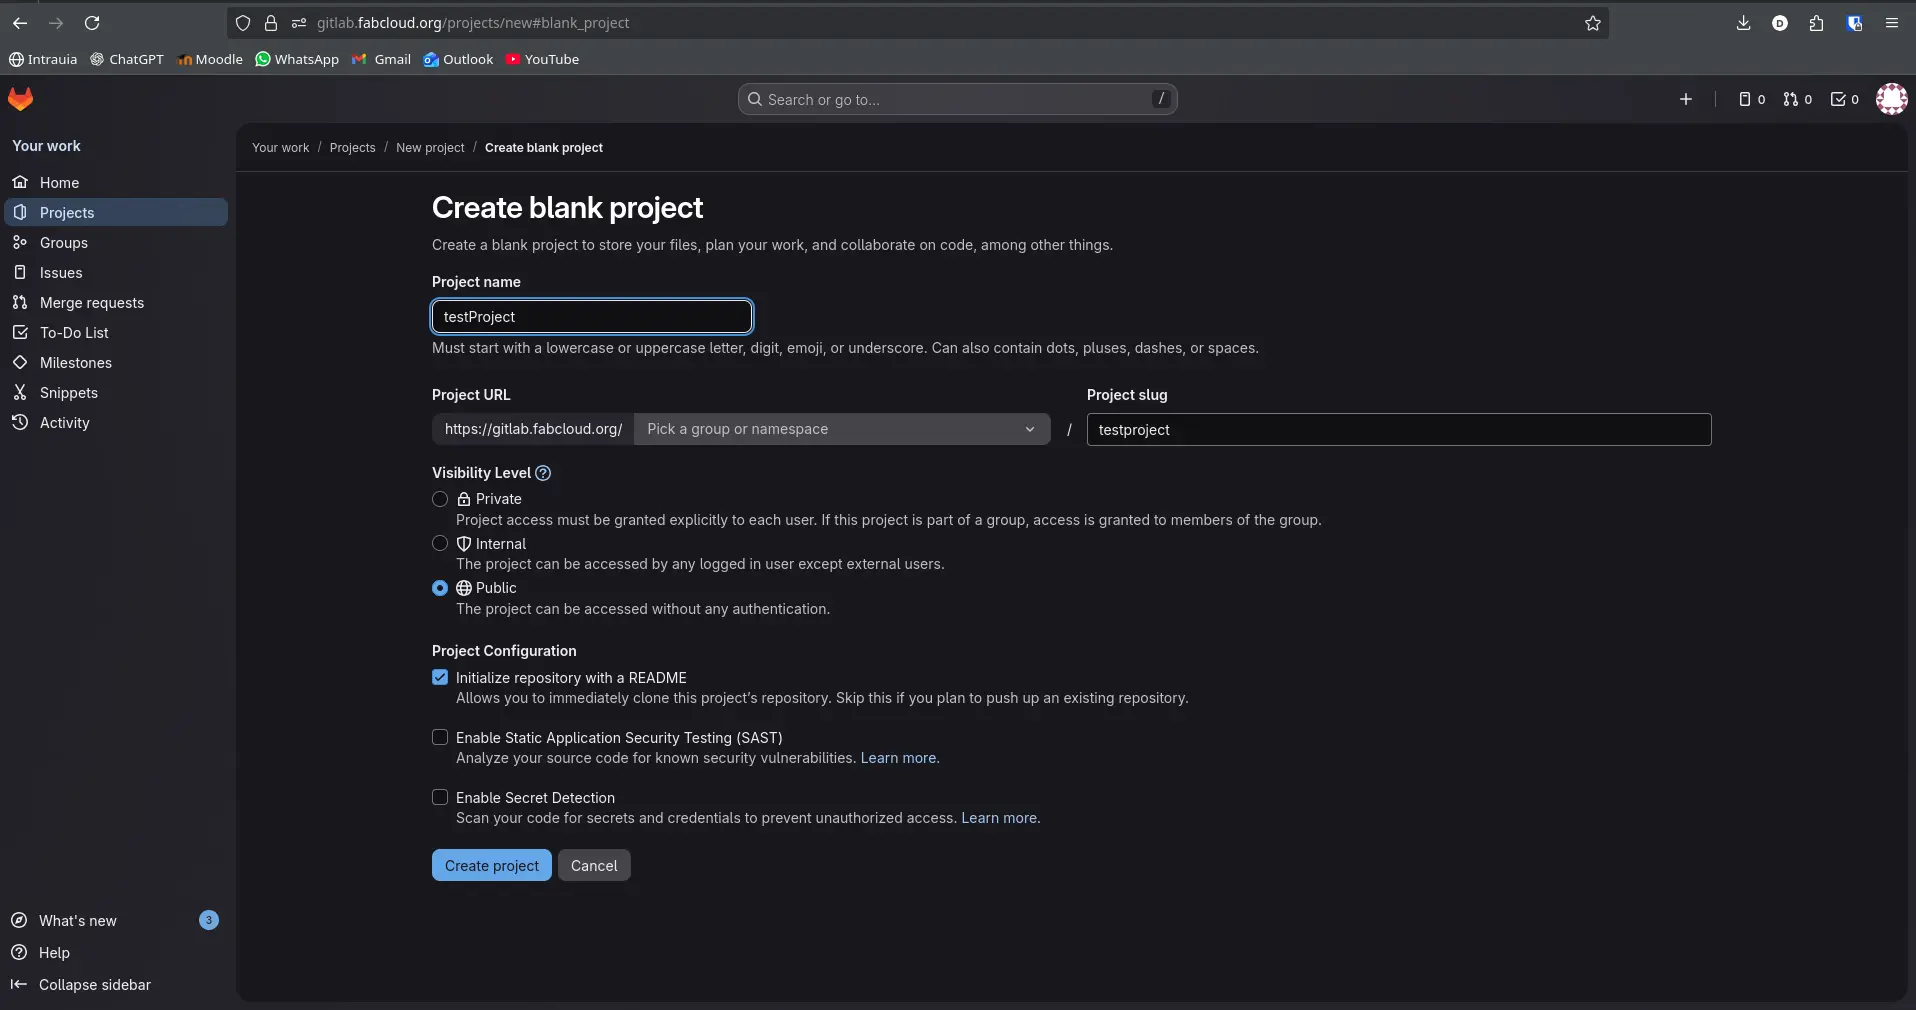
Select a name for your project. Select a default Project Url. Then, select your visibility level. Public is recommended for portfolio work, Private for personal work. Then click "Create project"
- Your repo is finally ready to use!
To add code to your repo, you have two options: The first one is adding files with the "+" button, or modifying an existing file with the Virtual Development Environment of Gitlabs.
The second one involves linking your existing local Git repo to your existing GitLabs repo.
To start, we need to create a Personal Token in order to authenticate our user as the repo's owner.
- For starters, go to you profile picture icon and select "edit profile".
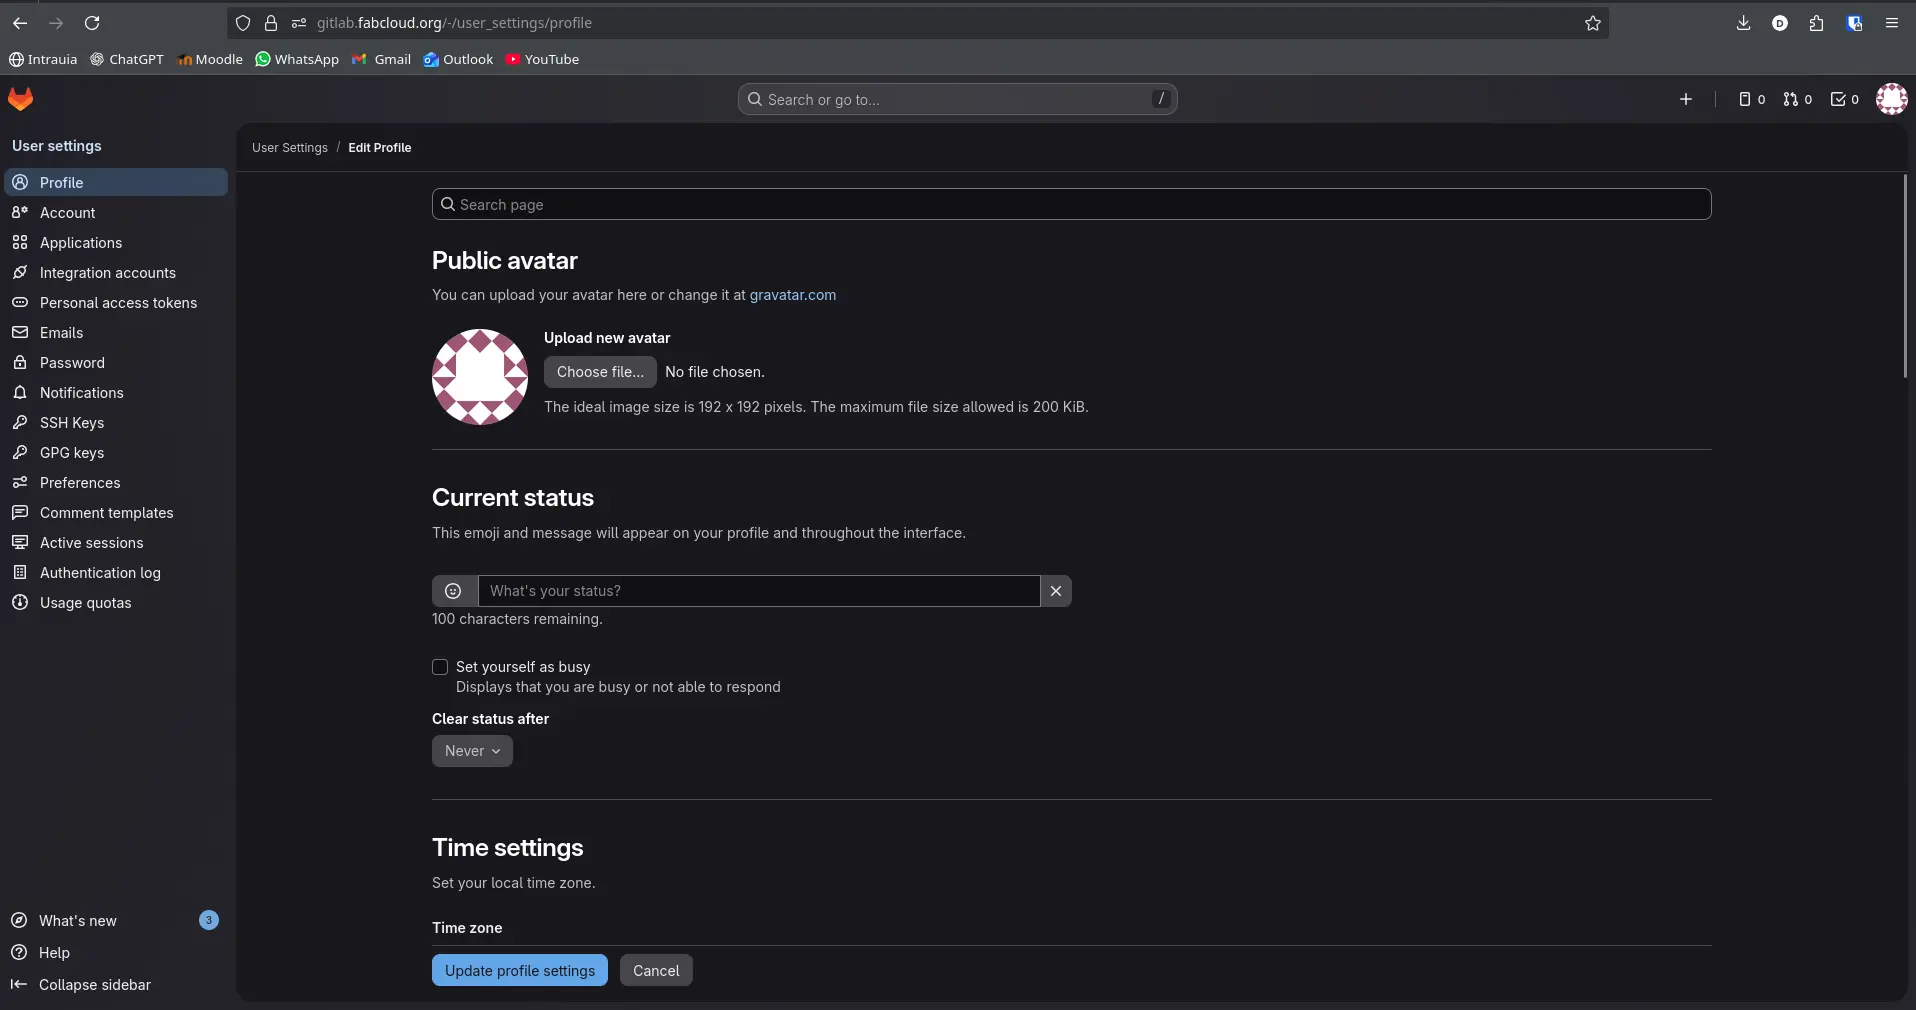
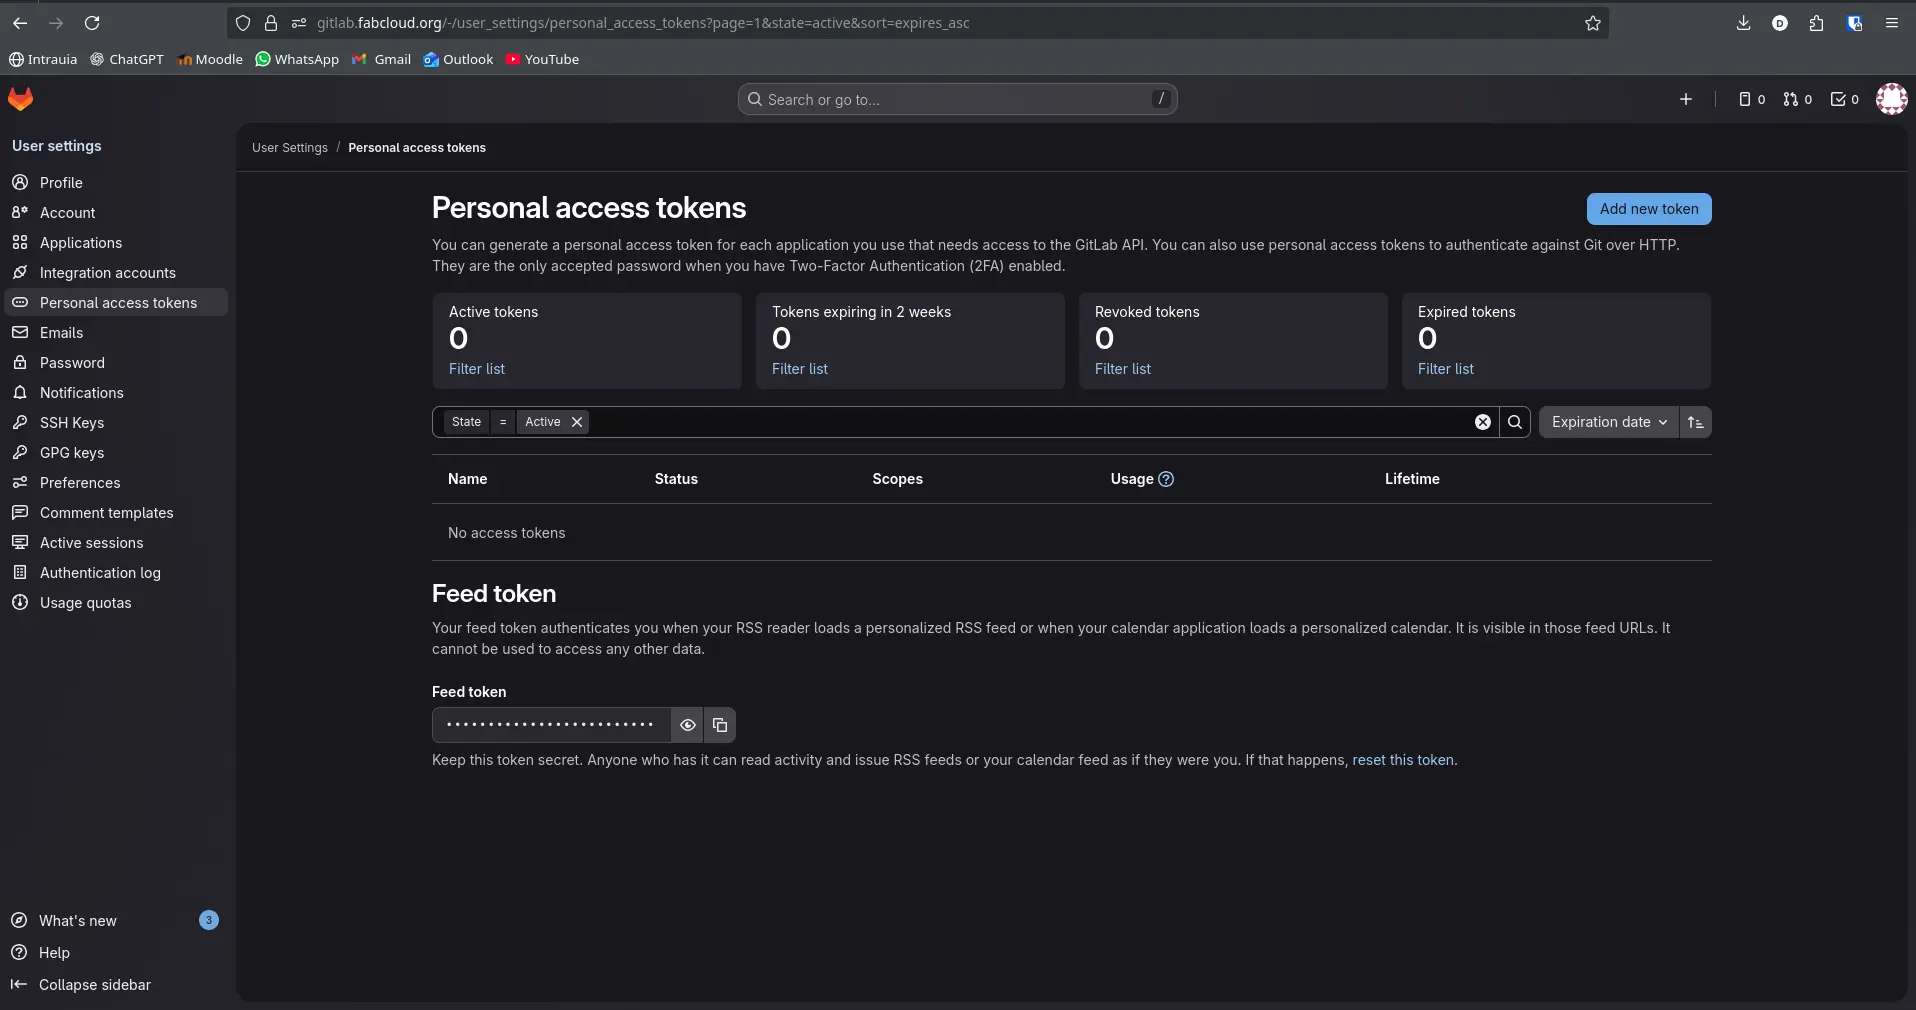
- Go to the "Personal access tokens" tab.
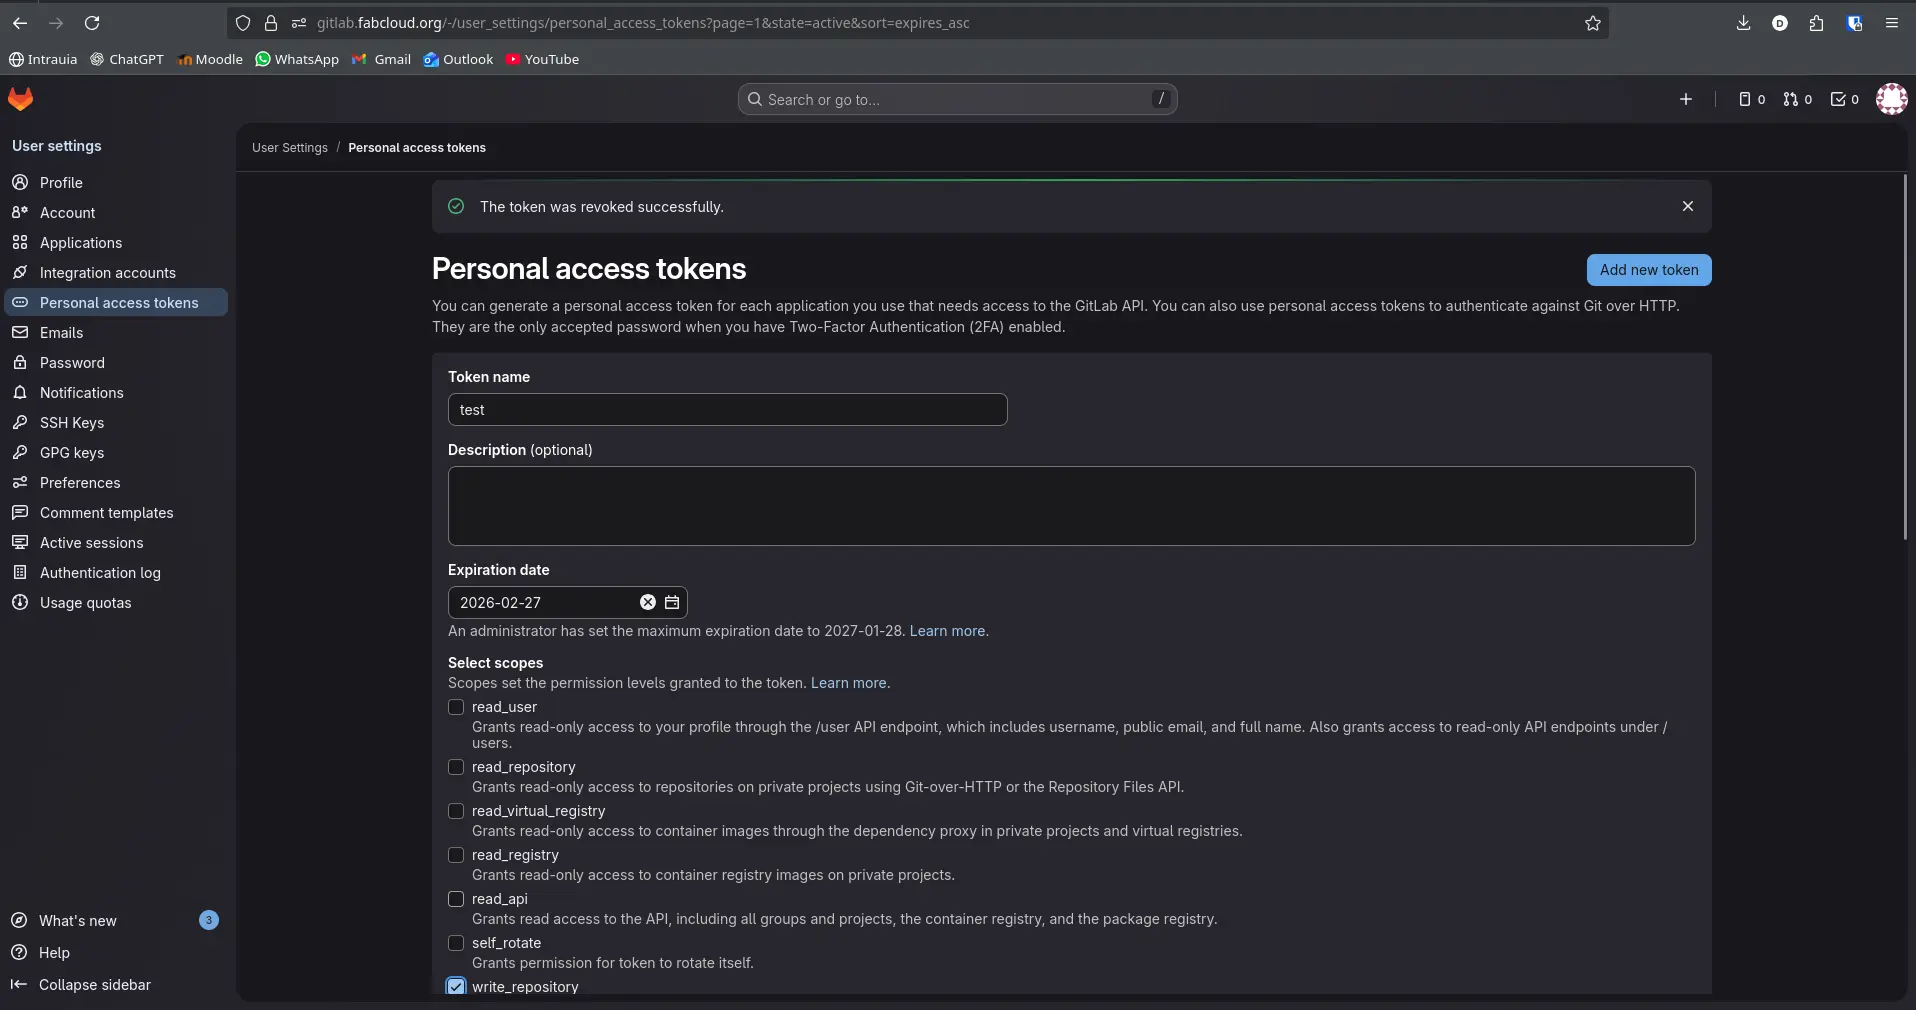
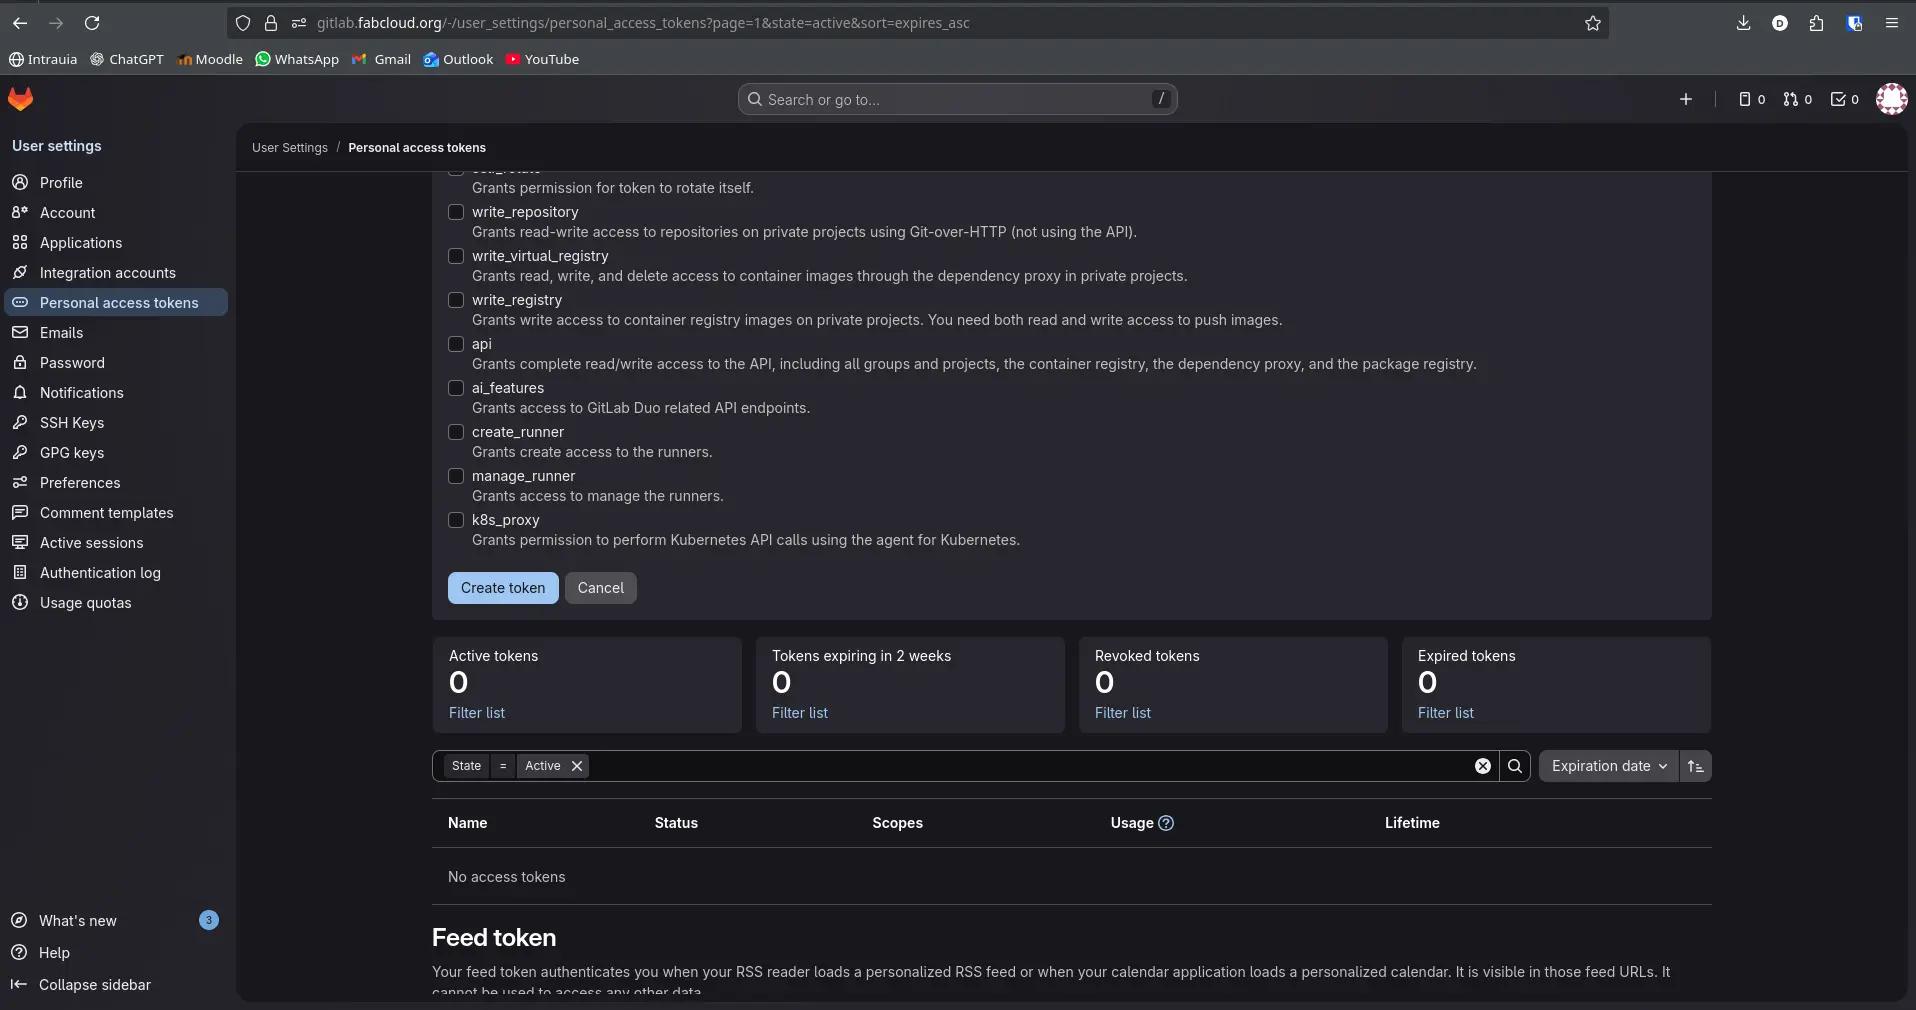
- Select "Add new token". Then fill in your token name, a description of it's purpose and select the "write_repository" checkbox.
- Click "Create token" at the bottom of the page.
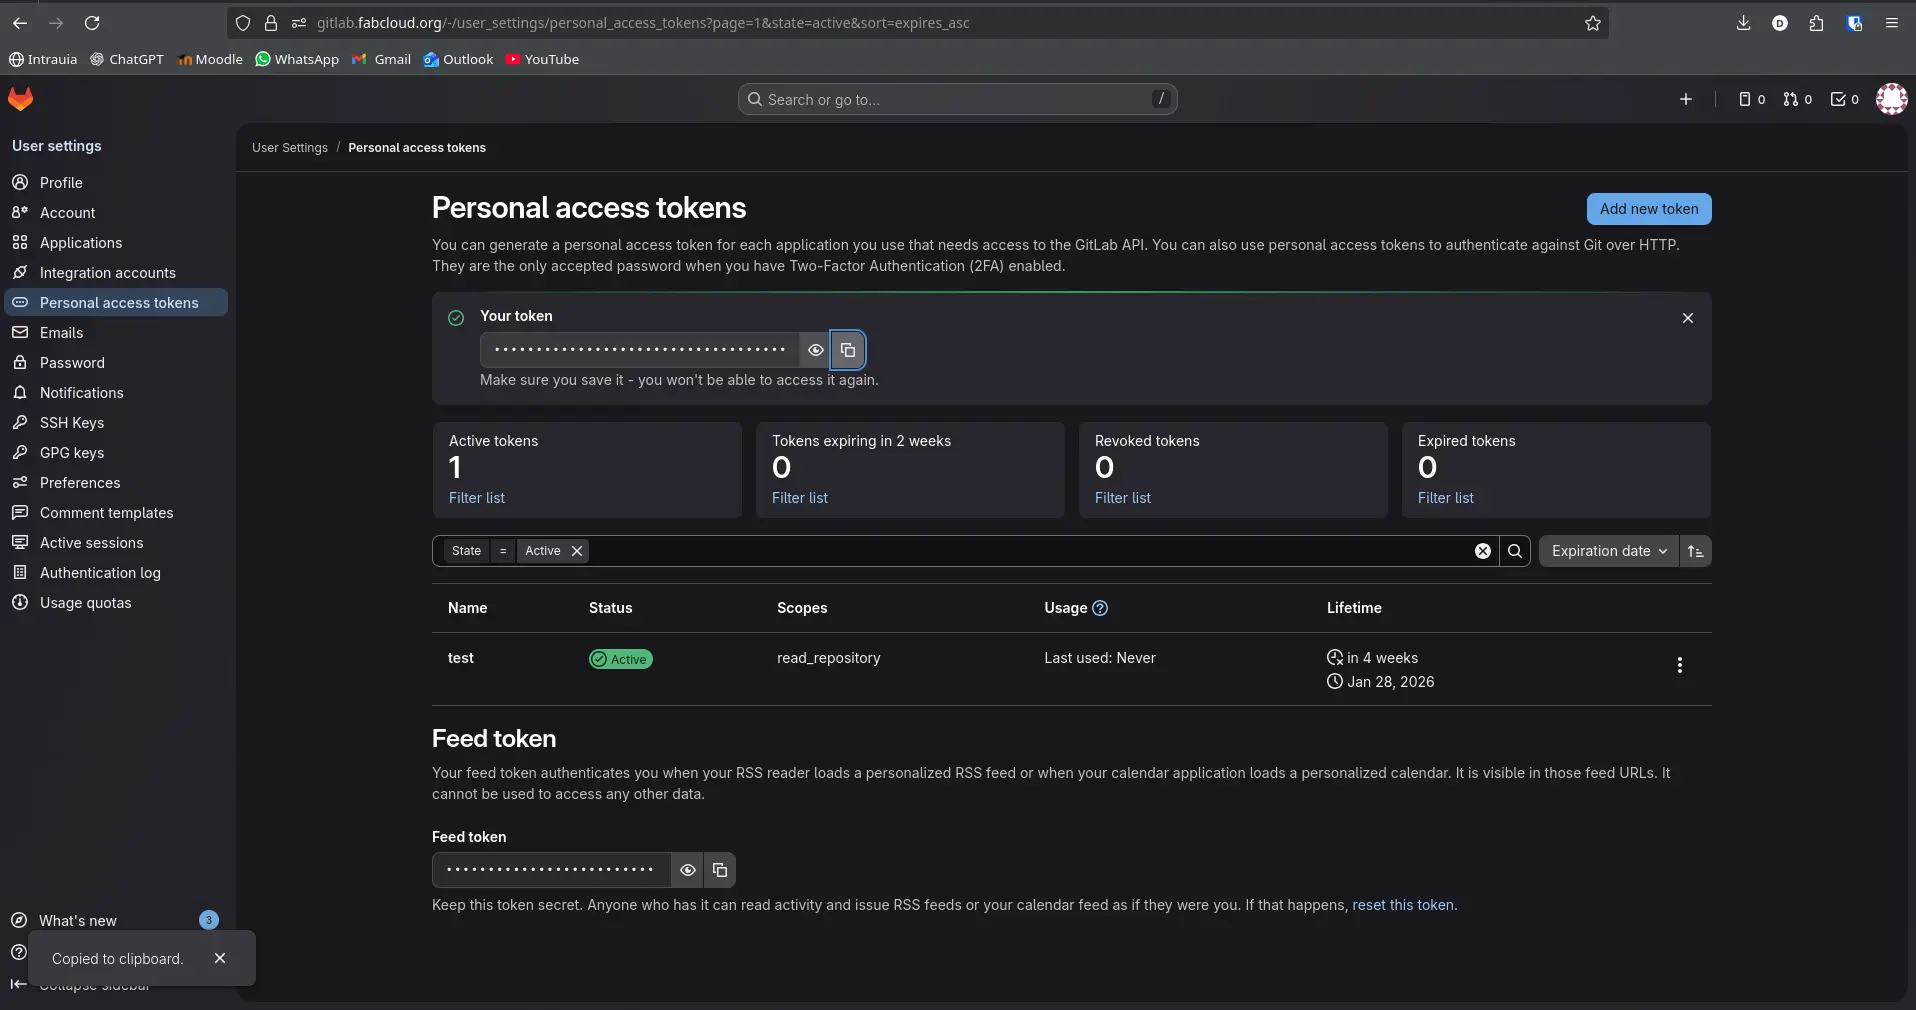
- You will be prompted a hidden key. Copy it and save it somewhere, we'll use it later on.
You have created your first Personal access token. Now, go to your repo and click the "Code" button. You will be given two options.: Https and SSH keys. While experienced devs may prefer to use SSH keys, for this example we'll be using Https. Copy the Https link.
- In your terminal, navigate to your local repo and run
git remote add origin <https_link>replacing<https_link>with the Https link you copied from your repo. Then run
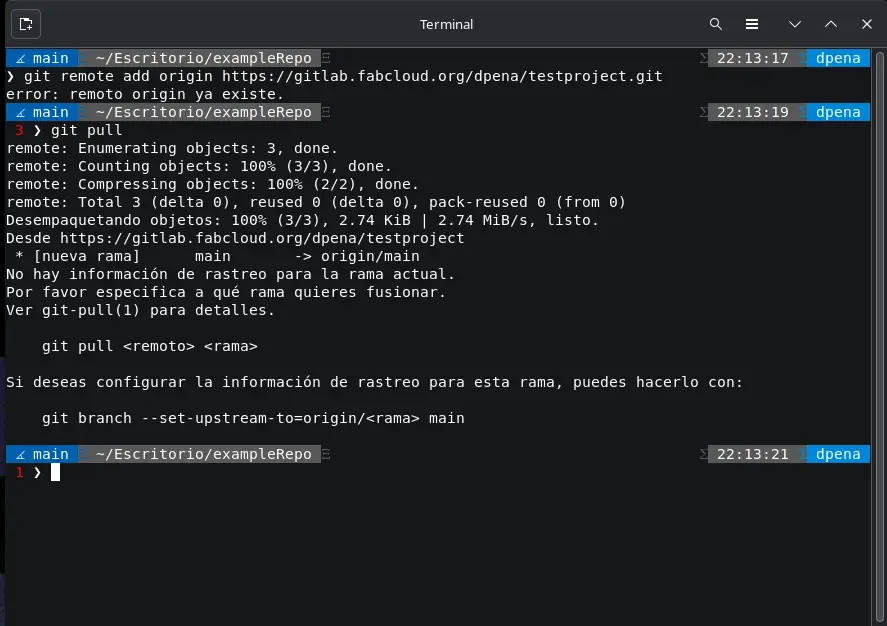
- Then, run
git pull --rebase origin mainto get any changes already made to the GitLabs' repo (usually the README file). This step syncs the local repo main branch to the GitLabs' repo. - At last, run
git push -u origin mainas your first push to the GitLabs' repo.

And now, whenever you commit changes to your repo, you can just run git push to push your local changes to your GitLabs' repo.
Documentation and Software
An important skill to learn, not only for this FAB Academy, is to correctly document your work. In Project Management, documentations is an essential step that ensures a proper workflow and a good collaboration environment.
My documentation software of choice is Obsidian. Obsidian is note taking app similar to Notion, but made to run MD (Markdown) language. Markdown is a language that allow to format text without the need of HTML or a Word Document.
For video recordings I use OBS Studio, a famous screen recording software often used for live streaming. For photos I just use my OS (Debian + GNOME) default screenshot tool.
For anything code related I use VSCode for mayor projects, and Vim for minor file edits.
For task management I just use Google Tasks, as my personal digital environment heavily relies on Google software.
Workflow
My workflow mainly consists on these steps:
- Separate the current assignment into small, digestible task. The more granular the better.
- For anything I don't previously know from the assignment topic, I destine some time of my day for soaking as much information around it as possible. This includes crash courses, documentations and tutorials.
- I start working in assignments. For any completed assignments, I document every step in Obsidian, taking photos and videos where necessary
- I repeat the previous steps until all tasks are completed.
- At last, I publish my week's work into my portfolio.
About the week's work pages
Something I discovered while creating my portfolio is that you can actually translate Markdown to HTML. This is helpful, as all my documentation is written in Markdown. This means that with a properly defined CSS styling in place, I can just paste the translated HTML code and my page will build itself naturally.
I used this page to translate my Markdown into HTML.
Web Development Basics
HTML
In order to create our very first web page, we must understand how web pages work. Every web page in the world consists on three main aspects: It's structure, it's styling and it's functionality. HTML, or "Hyper Text Markup Language", is the standard for describing a web page structure. It works with labels that tell the web browser how an element must be rendered. These labels must open and close, and can include other labels inside them.
The most basic HTML structure consists on 3 main tags. The <html> tag declares that every label inside it is meant to be rendered as a web page. The <head> tag declares the metadata of the page, including language codifications, title and, eventually, styling. And the <body> tag declares everything actually inside the web page. There are many other elements that can be included in order to give more structure to your web page. You can check this HTML cheatsheet for more information.
<!DOCTYPE html>
          <html>
          <head>
          <title>Page Title</title>
          </head>
          <body>

          <h1>My First Heading</h1>
          <p>My first paragraph.</p>

          </body>
          </html>
With this template, you can create your very first web page. To see your page in your browser of choice, copy the full direction of your .html file into the browser.
CSS
We've already got the structure of our first web page. Now it is time to give it some style. CSS, or "Cascading Style Sheet" is the core language used to describe how HTML elements should be presented, giving them a visual formatting. CSS can handle color, position, spacing, size, and much more. Dominating CSS is essential for achieving your desired web page, as without it HTML elements will always look the same default style.
CSS works with the same HTML elements but the way you declare CSS rules is different. CSS language consists on two parts: The HTML element to modify and the modifiers:
p {
              color: red;
          }
In this example, our HTML element is the <p> tag for paragraphs. Inside the {} brackets we are declaring the CSS rules every <p> tag must follow, in this case changing it's color to red. Every HTML element has a set of attributes that can be modified, allowing you to personalize your page as you desire. You can check this CSS cheatsheet for more information.
JavaScript
Created in 1995 by Brendan Eich, JavaScript revolutionized web technologies. This programming language was created with the purpose of giving functionality and motion to web pages. While not obligatory, JavaScript is useful for certain scenarios where your web page must be dynamic and/or interactive. Frameworks like React JS or Angular JS, all based on JavaScript, allow you to make full-on apps on the internet, as they render the web page on-the-go.
For purposes of this portfolio, HTML and CSS will suffice, although JavaScript will be used in certain cases for specific functionalities.
If you are interested in learning JavaScript, I recommend you look at the official JavaScript cheatsheet if you are familiar with programming languages' documentation. Another resource I recommend for a more hands-on learning experience is Codecademy's Free JavaScript for beginners
Figma
Design is one of the most important steps during web development. Planning ahead your page's design is a must for an organized and fluent workflow. Figma is a web-based design tool mostly for web and app development. With just the basic knowledge of Figma you can create your own designs, which can then be implemented into your page with HTML and CSS.
To use Figma, you must:
- Create an account.
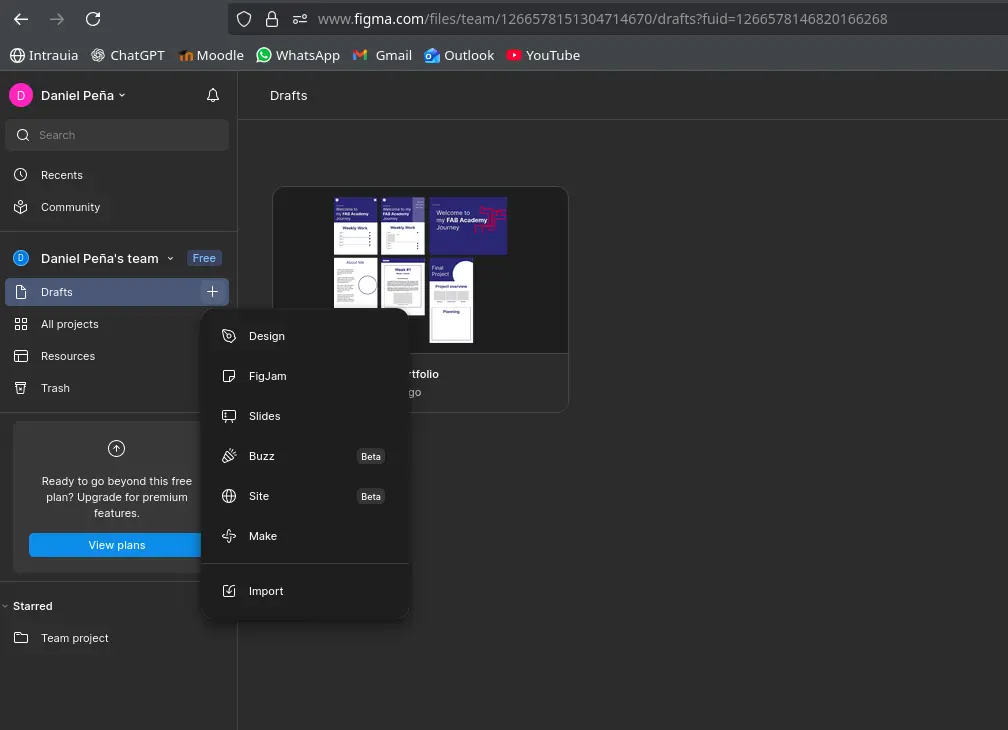
- You will be prompted to your dashboard.

- Create a new design, clicking the "+" sign to the right of the "Drafts" tab.
- You will be prompted to a blank design page.

From here you are free to design your page as you wish, adding shapes, text, color, etc. This Free Figma Crash Course for Beginners by You-tuber DesignWithArash is a perfect way to learn the basics and start sketching your first web page.
You will end with a design you can follow to create your actual web page, like mine:
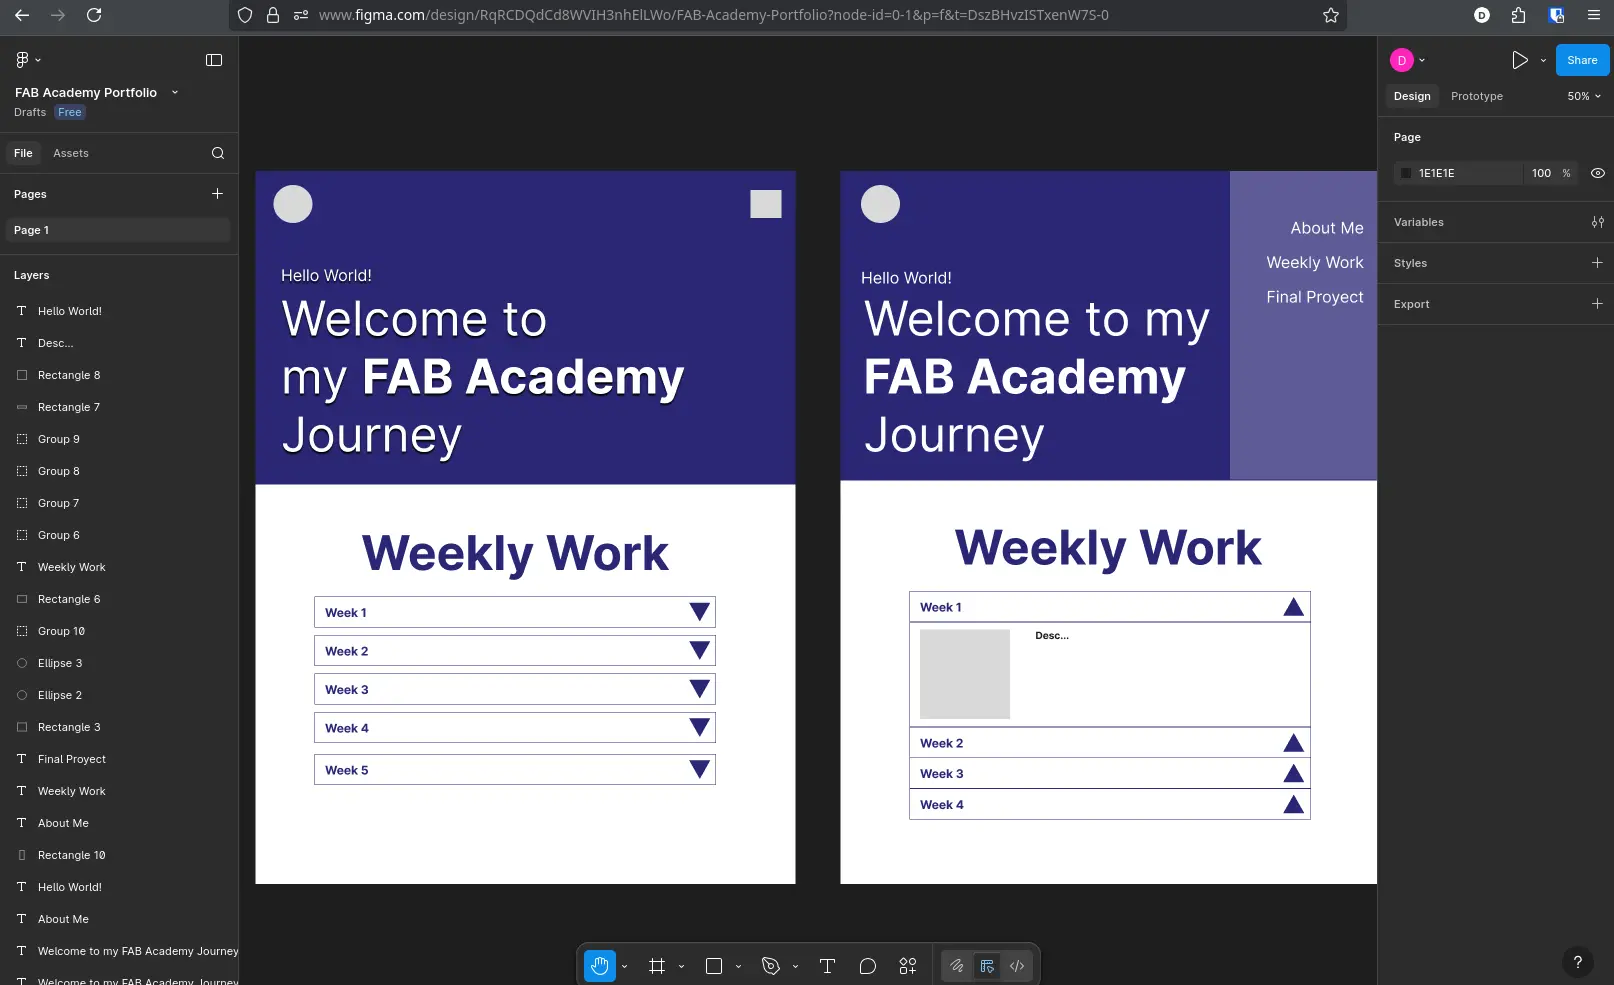
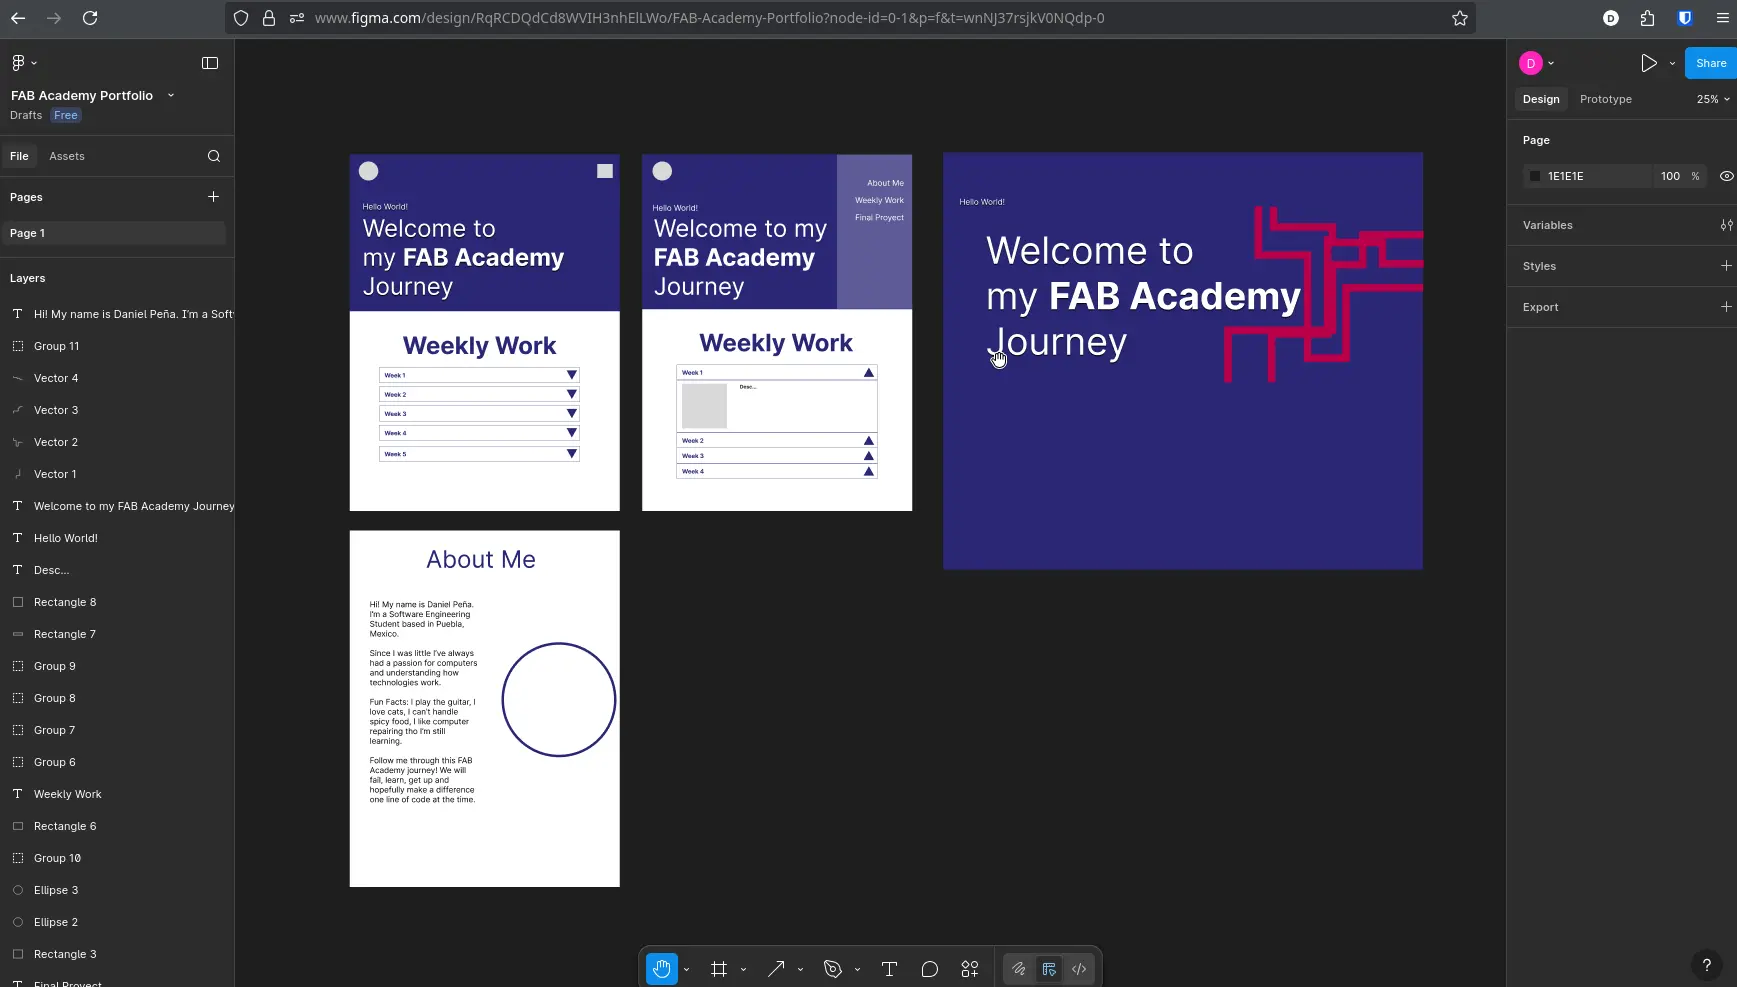
You can recognize this design from my actual FAB Academy 2026 portfolio.
Bootstrap
We have our web page structure thanks to HTML and our design. Using CSS we can create almost any web page element we desire. But when it comes to more complex elements, like footers, navigation bars, menus, image carousels, etc., creating this elements with vanilla HTML and CSS requieres a deep understanding on this languages. It's not imposible, but for must beginners it's a really hard task.
Bootstrap is a CSS framework, aimed at giving the user pre-decorated HTML elements, ready to use in any web page. With Bootstrap you don't need to code elements yourself as it offers pre-built navbars, menus, forms, buttons, etc. Bootstrap excels at speeding up the web page development, giving it a basic but stylish design from the get go. Plus, every Bootstrap made element can be further modified with custom CSS to better achieve your page's design.
To use Bootstrap, you must add the following lines in the <header> of your page:
<link href="https://cdn.jsdelivr.net/npm/bootstrap@5.0.2/dist/css/bootstrap.min.css" rel="stylesheet" integrity="sha384-EVSTQN3/azprG1Anm3QDgpJLIm9Nao0Yz1ztcQTwFspd3yD65VohhpuuCOmLASjC" crossorigin="anonymous">

          <script src="https://cdn.jsdelivr.net/npm/bootstrap@5.0.2/dist/js/bootstrap.bundle.min.js" integrity="sha384-MrcW6ZMFYlzcLA8Nl+NtUVF0sA7MsXsP1UyJoMp4YLEuNSfAP+JcXn/tWtIaxVXM" crossorigin="anonymous"></script>
With this, you are ready to go. Bootstrap + some CSS manipulation will help you achieve that your desired design more professionally and in less time. The best way to learn how to use Bootstrap is by reading it's Documentation, as it is full of examples on how to use their main elements.
For my portfolio, the most relevant elements used where:
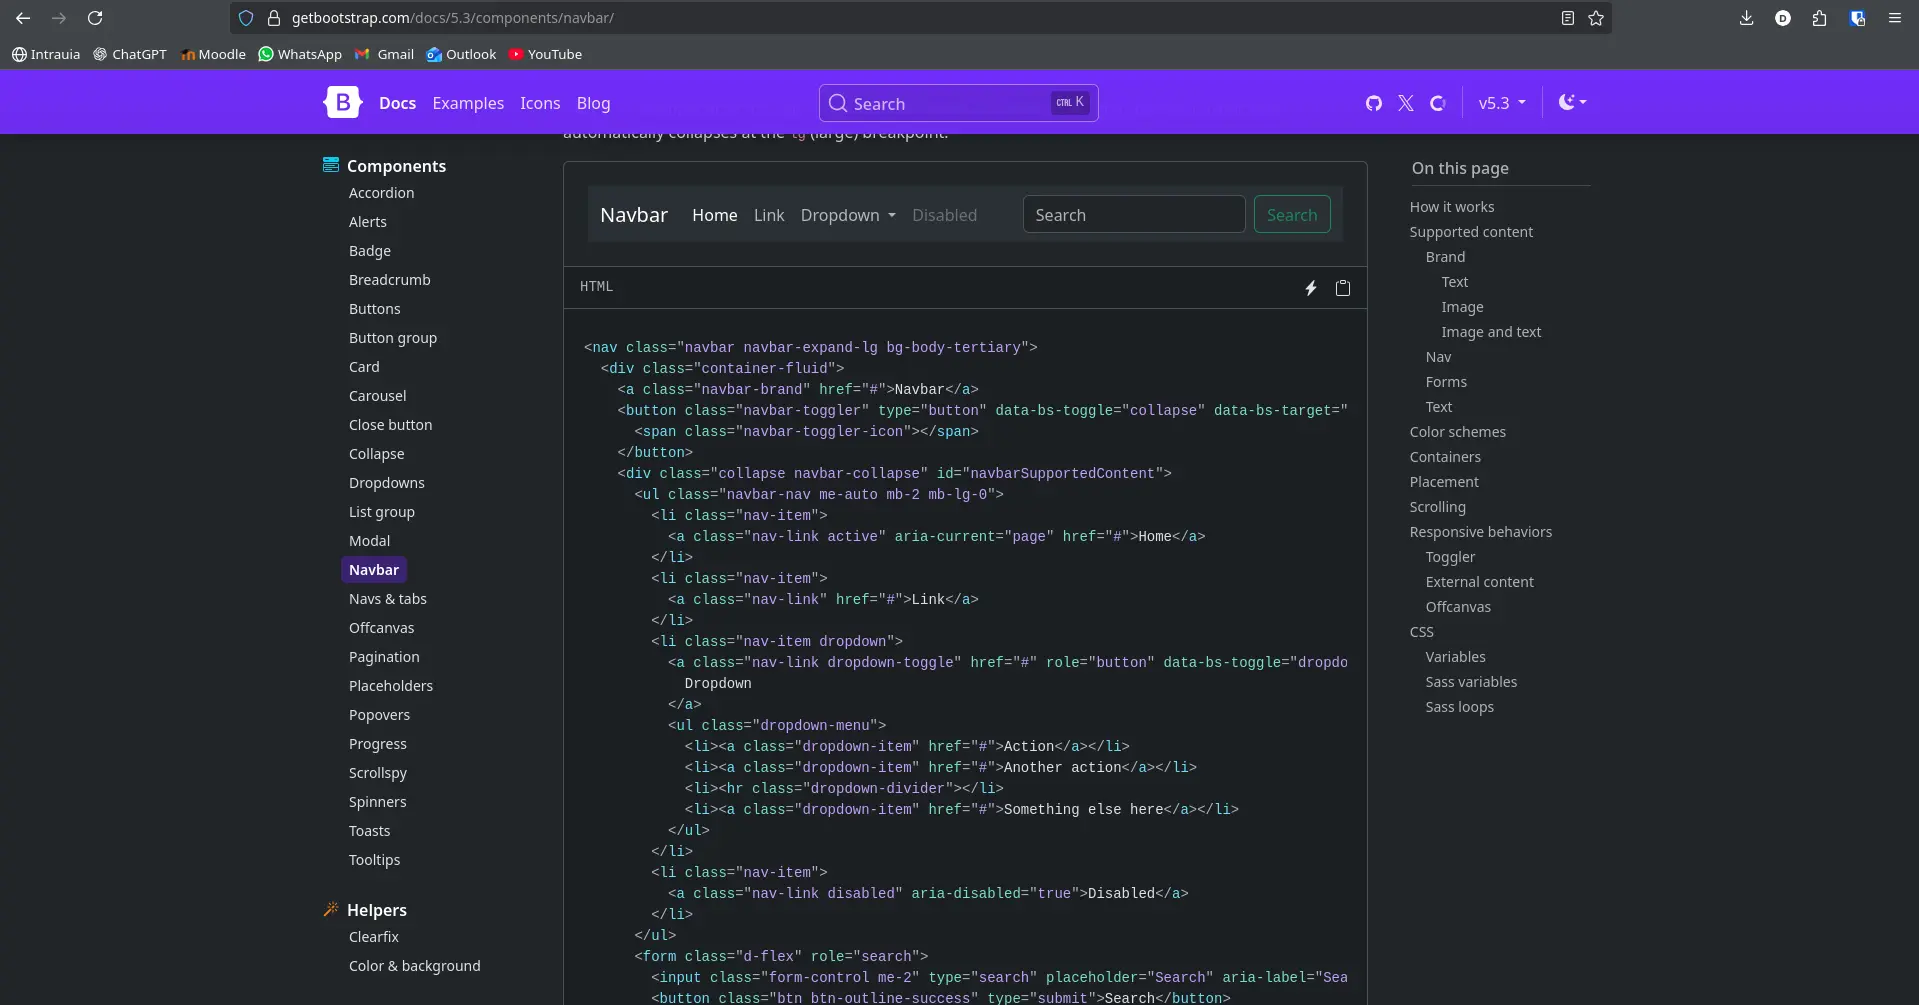
- A "navbar" element for the header.
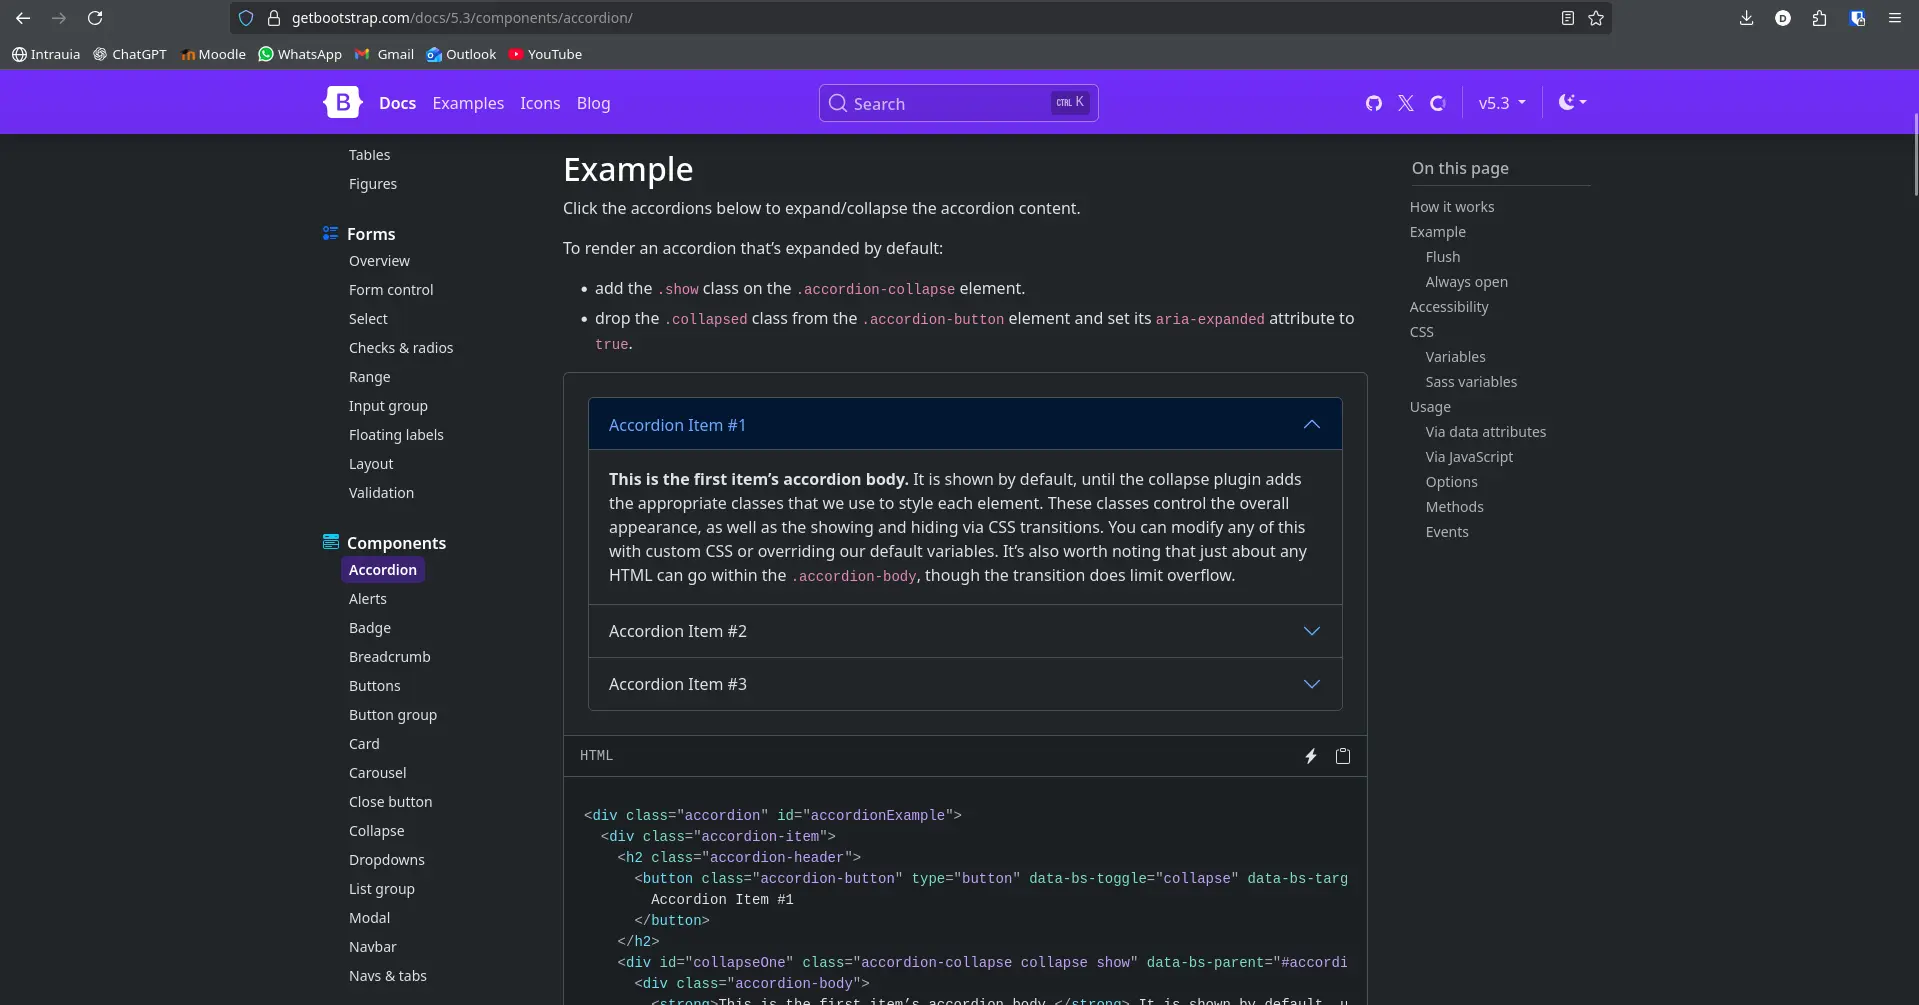
- An "Accordion" for the weekly work section.
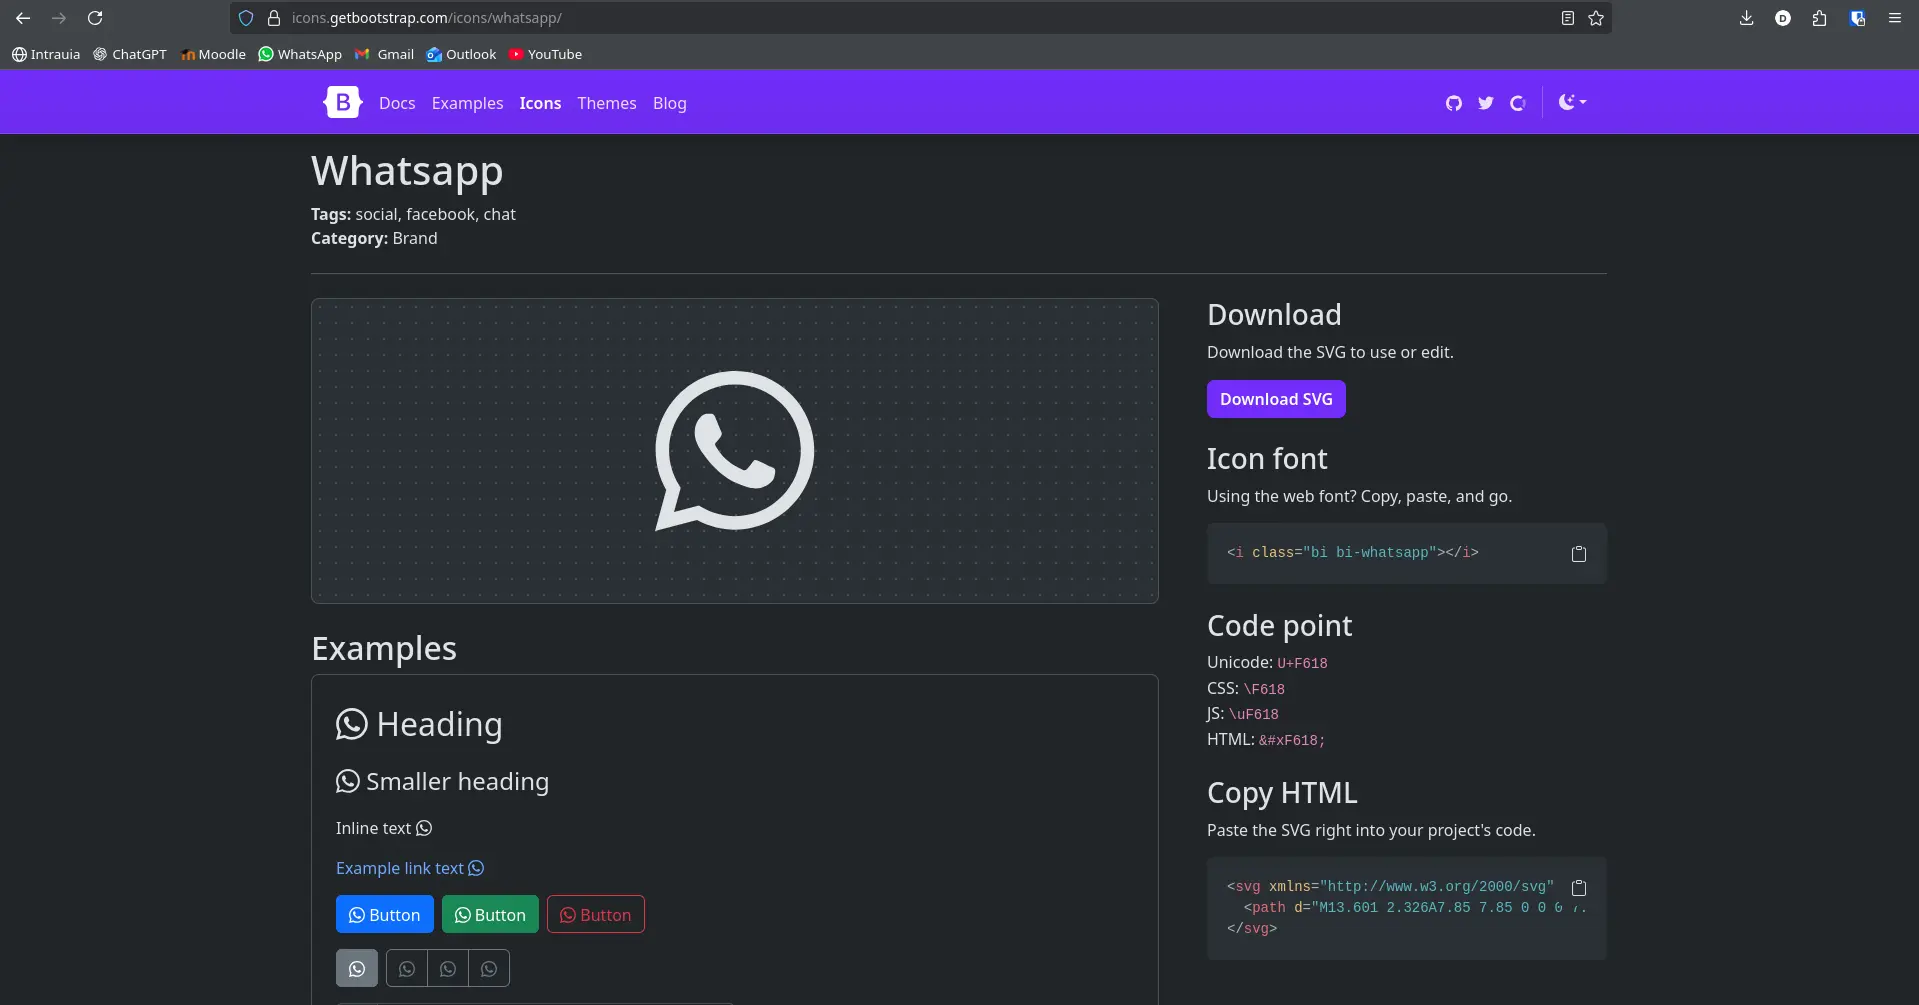
- Icons for my "contact-me" section.
Web Development Tricks
For my personal FAB Academy 2026 page I used some neat tricks to better achieve my portfolio's vision. These tricks are not hard to implement and give a good amount of life to your projects.
Showing items when appearing on screen
This effect gives motion to your page. By loading elements with fade-in animation as they appear on screen, you give the reader a sense of "moving forward"with each scroll. To implement this effect in our page, we will be using JavaScript and this post by Emiel Zuurbier' on Stack Overflow, which already solves our problem. Credits for the original author are written in the source file of the web page.

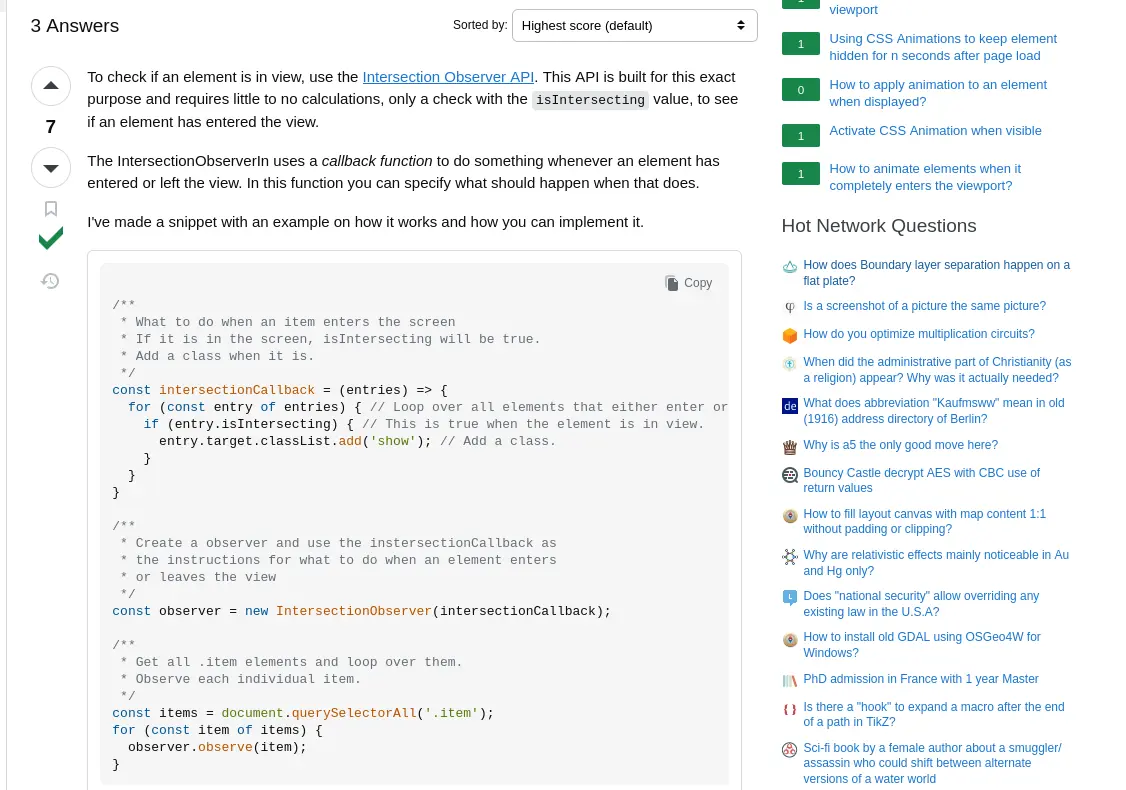
To implement this code, you must add the following code at the end of your <Body> tag:
<body>
          <script>

          // Source - https://stackoverflow.com/a

          // Posted by Emiel Zuurbier

          // Retrieved 2026-01-20, License - CC BY-SA 4.0

          /**

          * What to do when an item enters the screen

          * If it is in the screen, isIntersecting will be true.

          * Add a class when it is.

          */

          const intersectionCallback = (entries) => {

          for (const entry of entries) { // Loop over all elements that either enter or exit the view.

          if (entry.isIntersecting) { // This is true when the element is in view.

          entry.target.classList.add('show'); // Add a class.

          observer.unobserve(entry.target);

          }

          }

          }
          /**

          * Create a observer and use the instersectionCallback as

          * the instructions for what to do when an element enters

          * or leaves the view

          */

          const observer = new IntersectionObserver(intersectionCallback);

          /**

          * Get all .item elements and loop over them.

          * Observe each individual item.

          */

          const items = document.querySelectorAll('.item');

          for (const item of items) {

          observer.observe(item);

          }

          </script>
          </body>
With this, every HTML tag with the class = "item" (e.g. <p class="item"></p>) will render with a fade-in animation when first shown on screen.
SVG Self Drawing
In my page's "Hero" (the big title section on the index page) there is a cool looking animation of stripes following a path. Achieving this effect requires a mix of CSS and SVG design.
For the SVG aspect of the effect, you can create your stripes (or any other figure you desire) in Figma. Note: This designs should be made with a pen tool. It's better to draw each line or figure individually as to better achieve that "randomness" feel to the animation.

Then, left click your stripes and right click it. Select Copy/Paste as > Copy SVG. In your clip board there should be an HTML code that looks similar to this one:
<svg width="674" height="623" viewBox="0 0 674 623" fill="none" xmlns="http://www.w3.org/2000/svg">
              <path d="M674 326H365.5V607.5H211.5V195.5H15V0" stroke="#BA0049" stroke-width="30"/>
          </svg>
You must paste that code into your desired space in your HTML file. Note: Every other line you desire to add, you should only add the <path> tag to the existing <svg> tag, like this:
<svg width="674" height="623" viewBox="0 0 674 623" fill="none" xmlns="http://www.w3.org/2000/svg">
              <path d="M674 326H365.5V607.5H211.5V195.5H15V0" stroke="#BA0049" stroke-width="30"/>

              <!-- Here goes every other SVG element, only the <path> tag -->
              <!-- <path ... /> -->
          </svg>
With this done, we must now edit our CSS file with the following code:
svg path {

          stroke-dasharray: 1500;

          stroke-dashoffset: 1500;

          animation: drawAndErase 3s ease-in-out infinite;

          }

          @keyframes drawAndErase {

          0% {

          stroke-dashoffset: 1500;

          }

          30% {

          stroke-dashoffset: 500;

          }

          40% {

          stroke-dashoffset: 250;

          }

          50% {

          stroke-dashoffset: 0;

          }

          100% {

          stroke-dashoffset: -1500;

          }

          }
And that's it! Your SVG lines will be drawn and erased in an infinite loop. If you want to add some randomness to you lines, Modify your HTML like this:
<svg width="674" height="623" viewBox="0 0 674 623" fill="none" xmlns="http://www.w3.org/2000/svg">
              <!-- Add id="line#", changing "#" with your desired number
              <path id="line1" d="M674 326H365.5V607.5H211.5V195.5H15V0" stroke="#BA0049" stroke-width="30"/>

              <!-- Here goes every other SVG element, only the <path> tag -->
              <!-- <path id="line2" ... /> -->
          </svg>
And then add these CSS rules:
#line1 {

          animation-delay: 0s;

          }

          #line2 {

          animation-delay: 2s;

          }
The animation delay will trigger each animation at a different time, giving them the random effect.