The objective for this week was to measure something from the physical world using a sensor. I focused on Time-of-Flight (ToF) technology using the VL53L1X sensor integrated with an Arduino Nano to achieve high-precision distance measurements.
Group Assignment
Probe an input device's analog and digital signals.
Sensor WorkflowToF Technology
I chose the VL53L1X sensor because it uses a Class 1 laser to measure distance through the "Time of Flight" principle, providing much more accurate data than infrared or ultrasonic sensors in complex environments.
The Brain: Arduino Nano
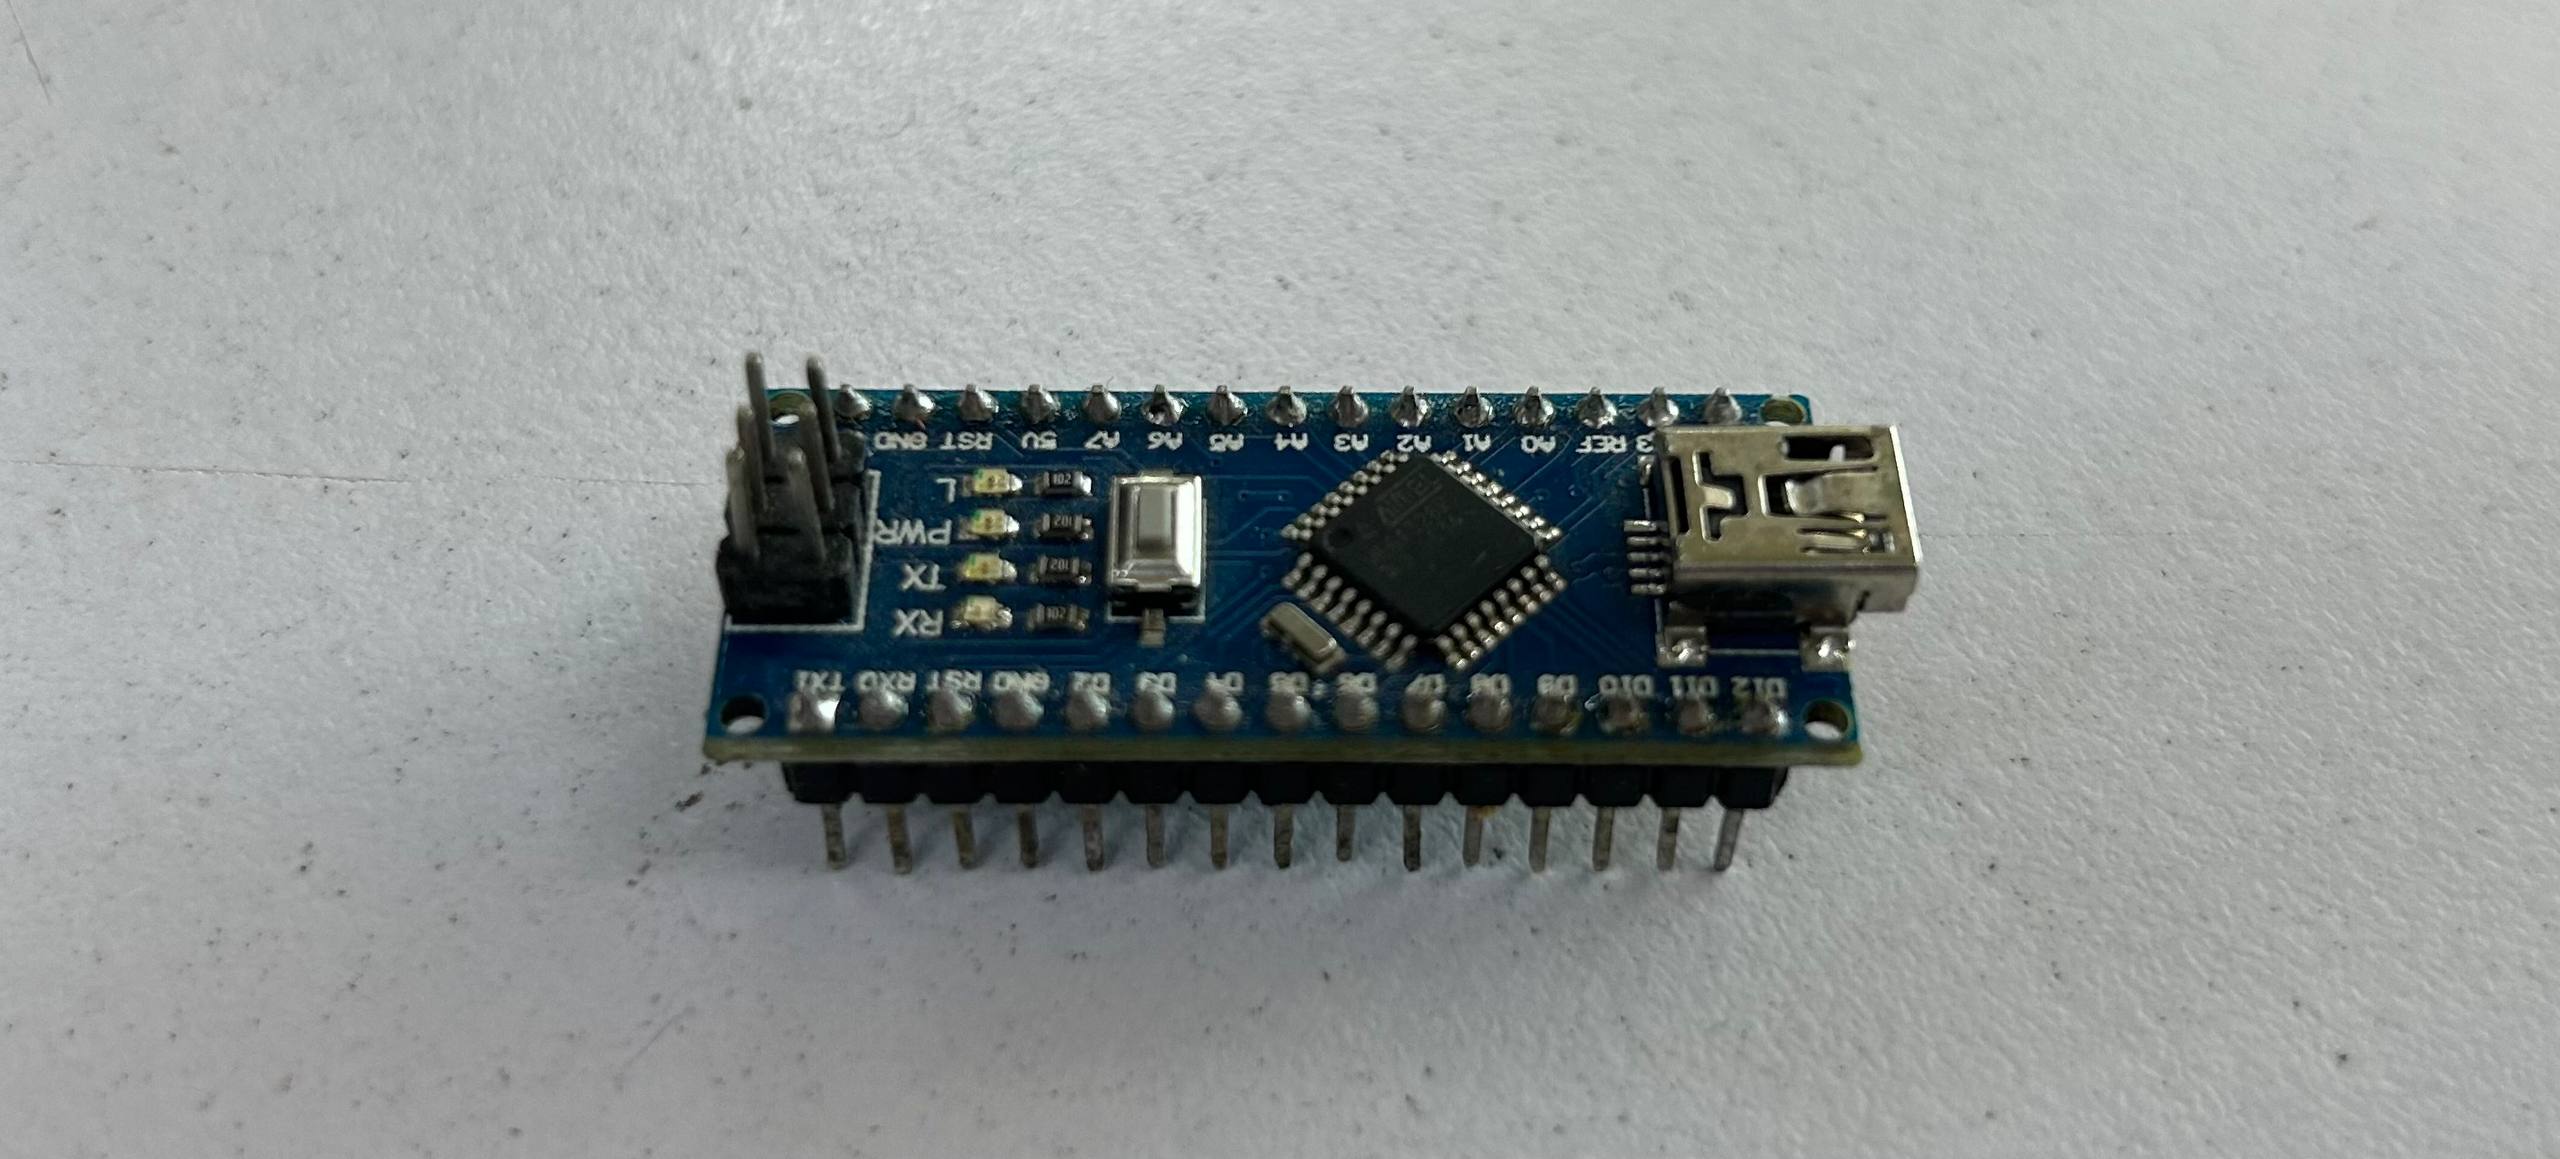
The Arduino Nano is the heart of this setup. Based on the ATmega328P, its compact form factor and 5V logic make it ideal for quick prototyping with I2C sensors while maintaining a small footprint on the breadboard.
The Sensor: VL53L1X (Time of Flight)
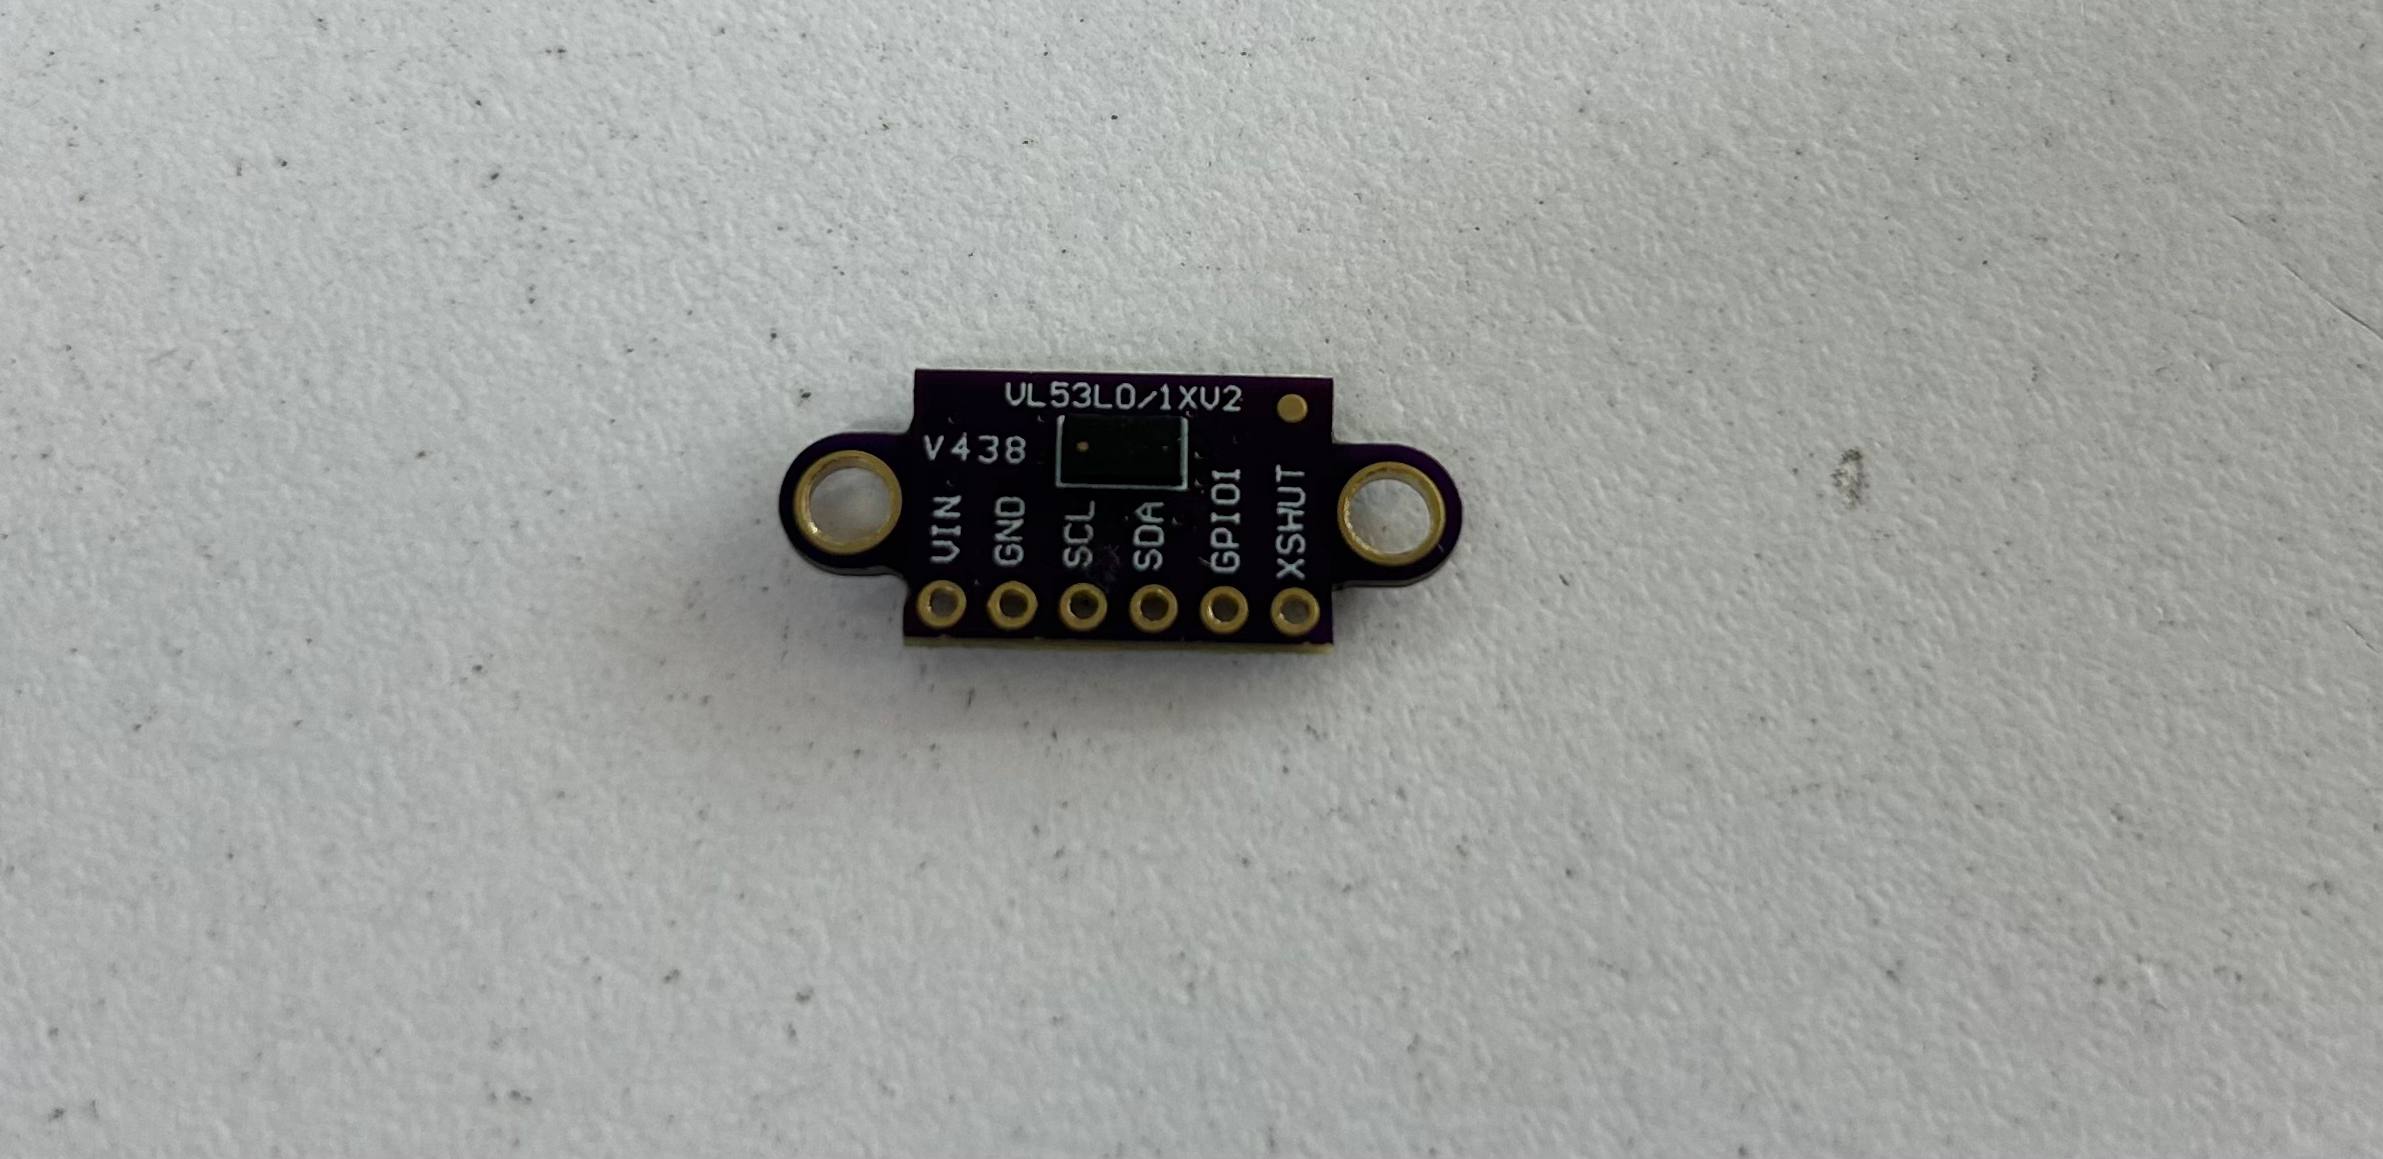
This sensor emits a laser pulse and measures the time it takes for the photons to bounce back. It can reach up to 4 meters. It is crucial to use a logic level shifter if your sensor is 3.3V and your Nano is 5V.
Wiring & I2C Protocol
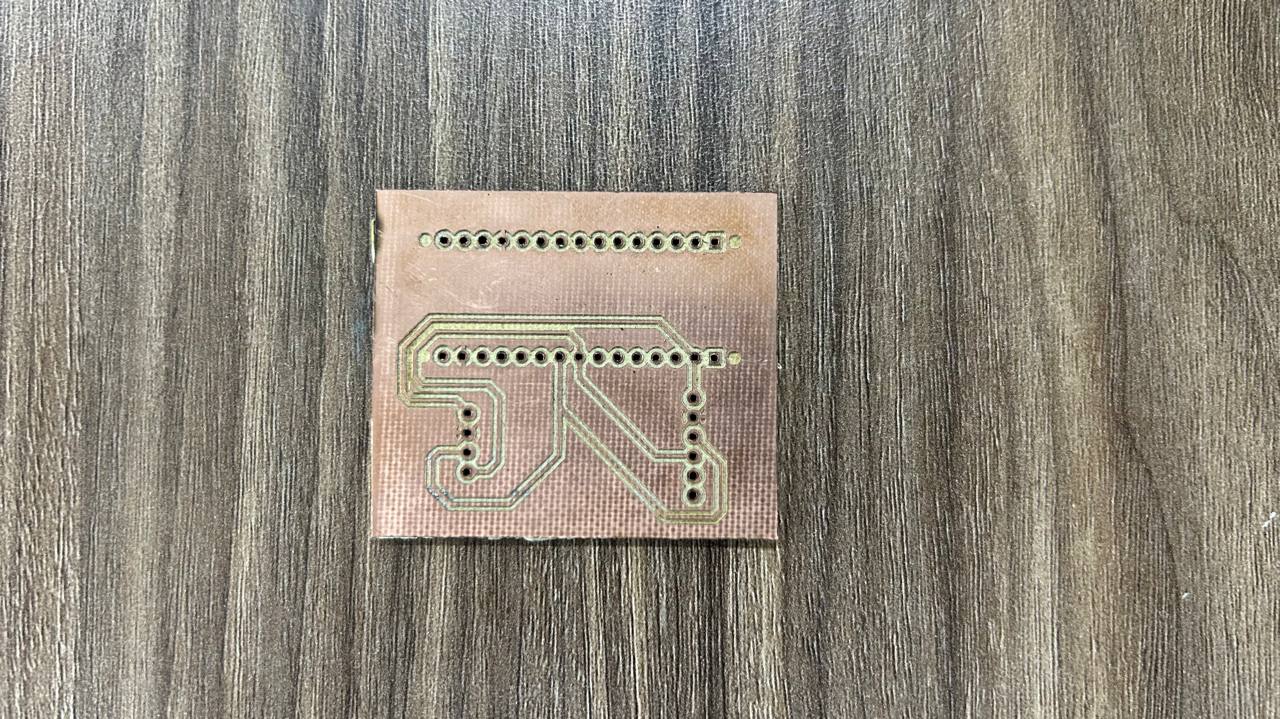
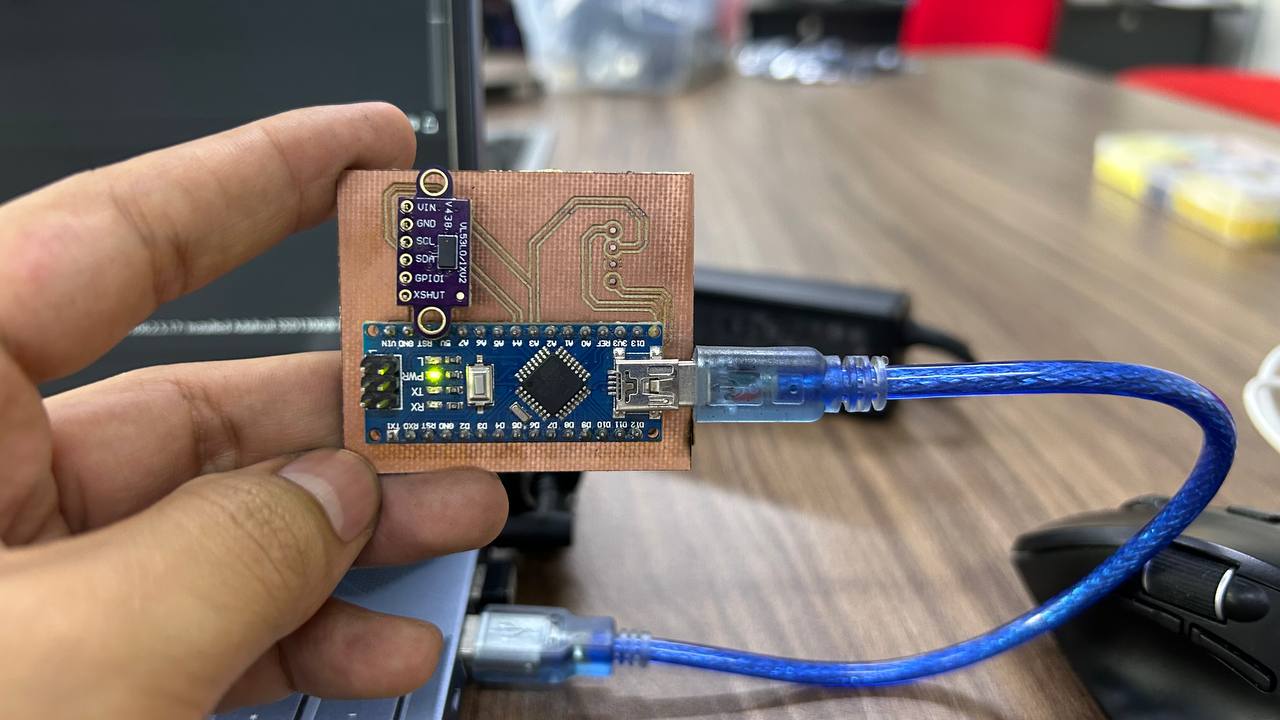
The connection uses the I2C bus. On the Arduino Nano, SDA (Data) is connected to pin A4 and SCL (Clock) to pin A5. This synchronized protocol ensures reliable communication between the microcontroller and the laser sensor.
Programming Logic
Using the Adafruit VL53L0X library, the code initializes the sensor and prints measurements to the Serial Monitor. Note that we use a 9600 baud rate for standard compatibility.
#include "Adafruit_VL53L0X.h"

// Create sensor object
Adafruit_VL53L0X lox = Adafruit_VL53L0X();

void setup() {
  Serial.begin(9600);

  // Wait for serial port to connect
  while (!Serial) { delay(1); }

  Serial.println("Starting VL53L0X sensor...");

  // Initialize sensor
  if (!lox.begin()) {
    Serial.println(F("Failed to boot VL53L0X"));
    while(1);
  }

  Serial.println(F("Sensor ready. Measuring..."));
}

void loop() {
  VL53L0X_RangingMeasurementData_t measure;

  lox.rangingTest(&measure, false);

  if (measure.RangeStatus != 4) {
    int distance = measure.RangeMilliMeter;

    Serial.print("Distance: ");
    Serial.print(distance);
    Serial.println(" mm");

    if (distance < 100) {
      Serial.println("--- Target very close! ---");
    }

  } else {
    Serial.println(" Out of range ");
  }

  delay(100);
}
Data Visualization & Testing
Testing the response with the Serial Plotter. The Arduino Nano handles the I2C overhead smoothly, providing stable readings. I learned that proper grounding is essential to minimize interference in the I2C lines.
Process & Learning Reflection Reflection
Developing this project was a journey from basic connectivity to understanding the nuances of Time-of-Flight (ToF) physics. Unlike standard IR sensors that rely on light intensity, this process taught me the importance of temporal precision in electronics.
The Process
The workflow started with a breadboard validation to test the I2C communication. I spent significant time calibrating the sensor using the Adafruit library to filter out "noise" from ambient light. Transitioning from simple distance reading to implementing a 100ms threshold for "close-range" alerts helped me understand real-time data processing.
Key Takeaways
- I2C Nuances: I learned that the VL53L1X is sensitive to voltage drops; stable 5V/3.3V power rails are non-negotiable.
- Logic Levels: It was crucial to understand that while the Nano is 5V, the sensor's I2C lines often require careful level management to prevent hardware fatigue.
- Data Integrity: I discovered that material reflectivity (black vs. white surfaces) can slightly affect ToF readings, though much less than traditional IR.
Data Visualization & Testing 2
Testing the response with the Serial Plotter. The Arduino Nano handles the I2C overhead smoothly, providing stable readings. I learned that proper grounding is essential to minimize interference in the I2C lines.