This week focused on Output Devices. The goal was to program a board to write or display information. I used an OLED SSD1306 display connected to an Arduino Nano to create a visual interface for my projects.
Group Assignment
Measure the power consumption of an output device.
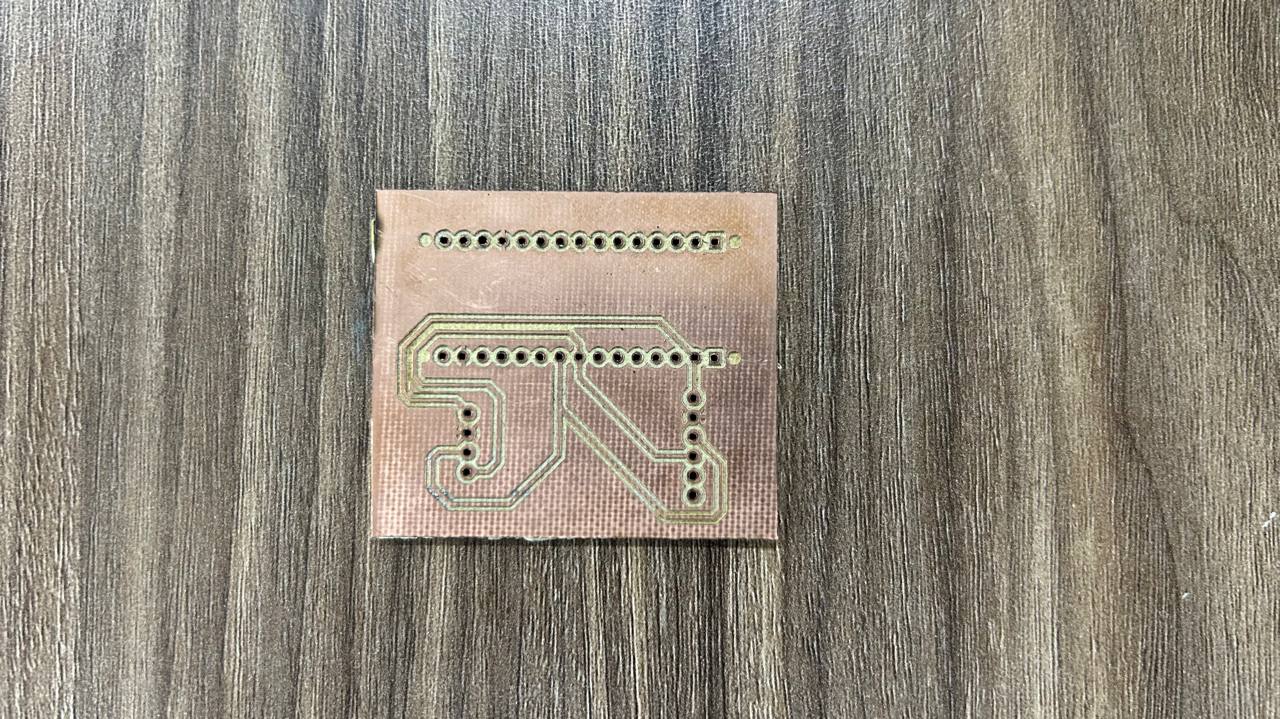
Visual Output SystemSSD1306 & I2C
For this task, I integrated a 0.96" OLED display. This device is ideal for projects requiring a compact user interface because it is self-illuminating and works efficiently with the 8-bit architecture of the ATmega328P.
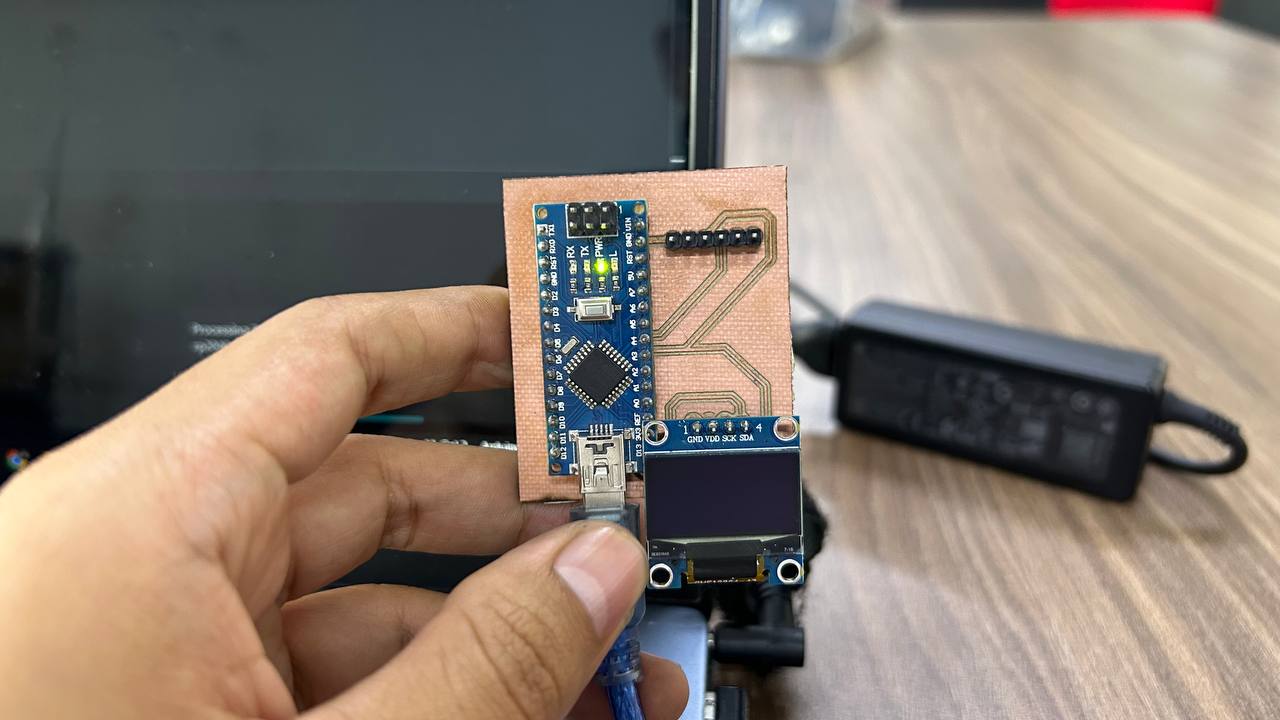
The Controller: Arduino Nano
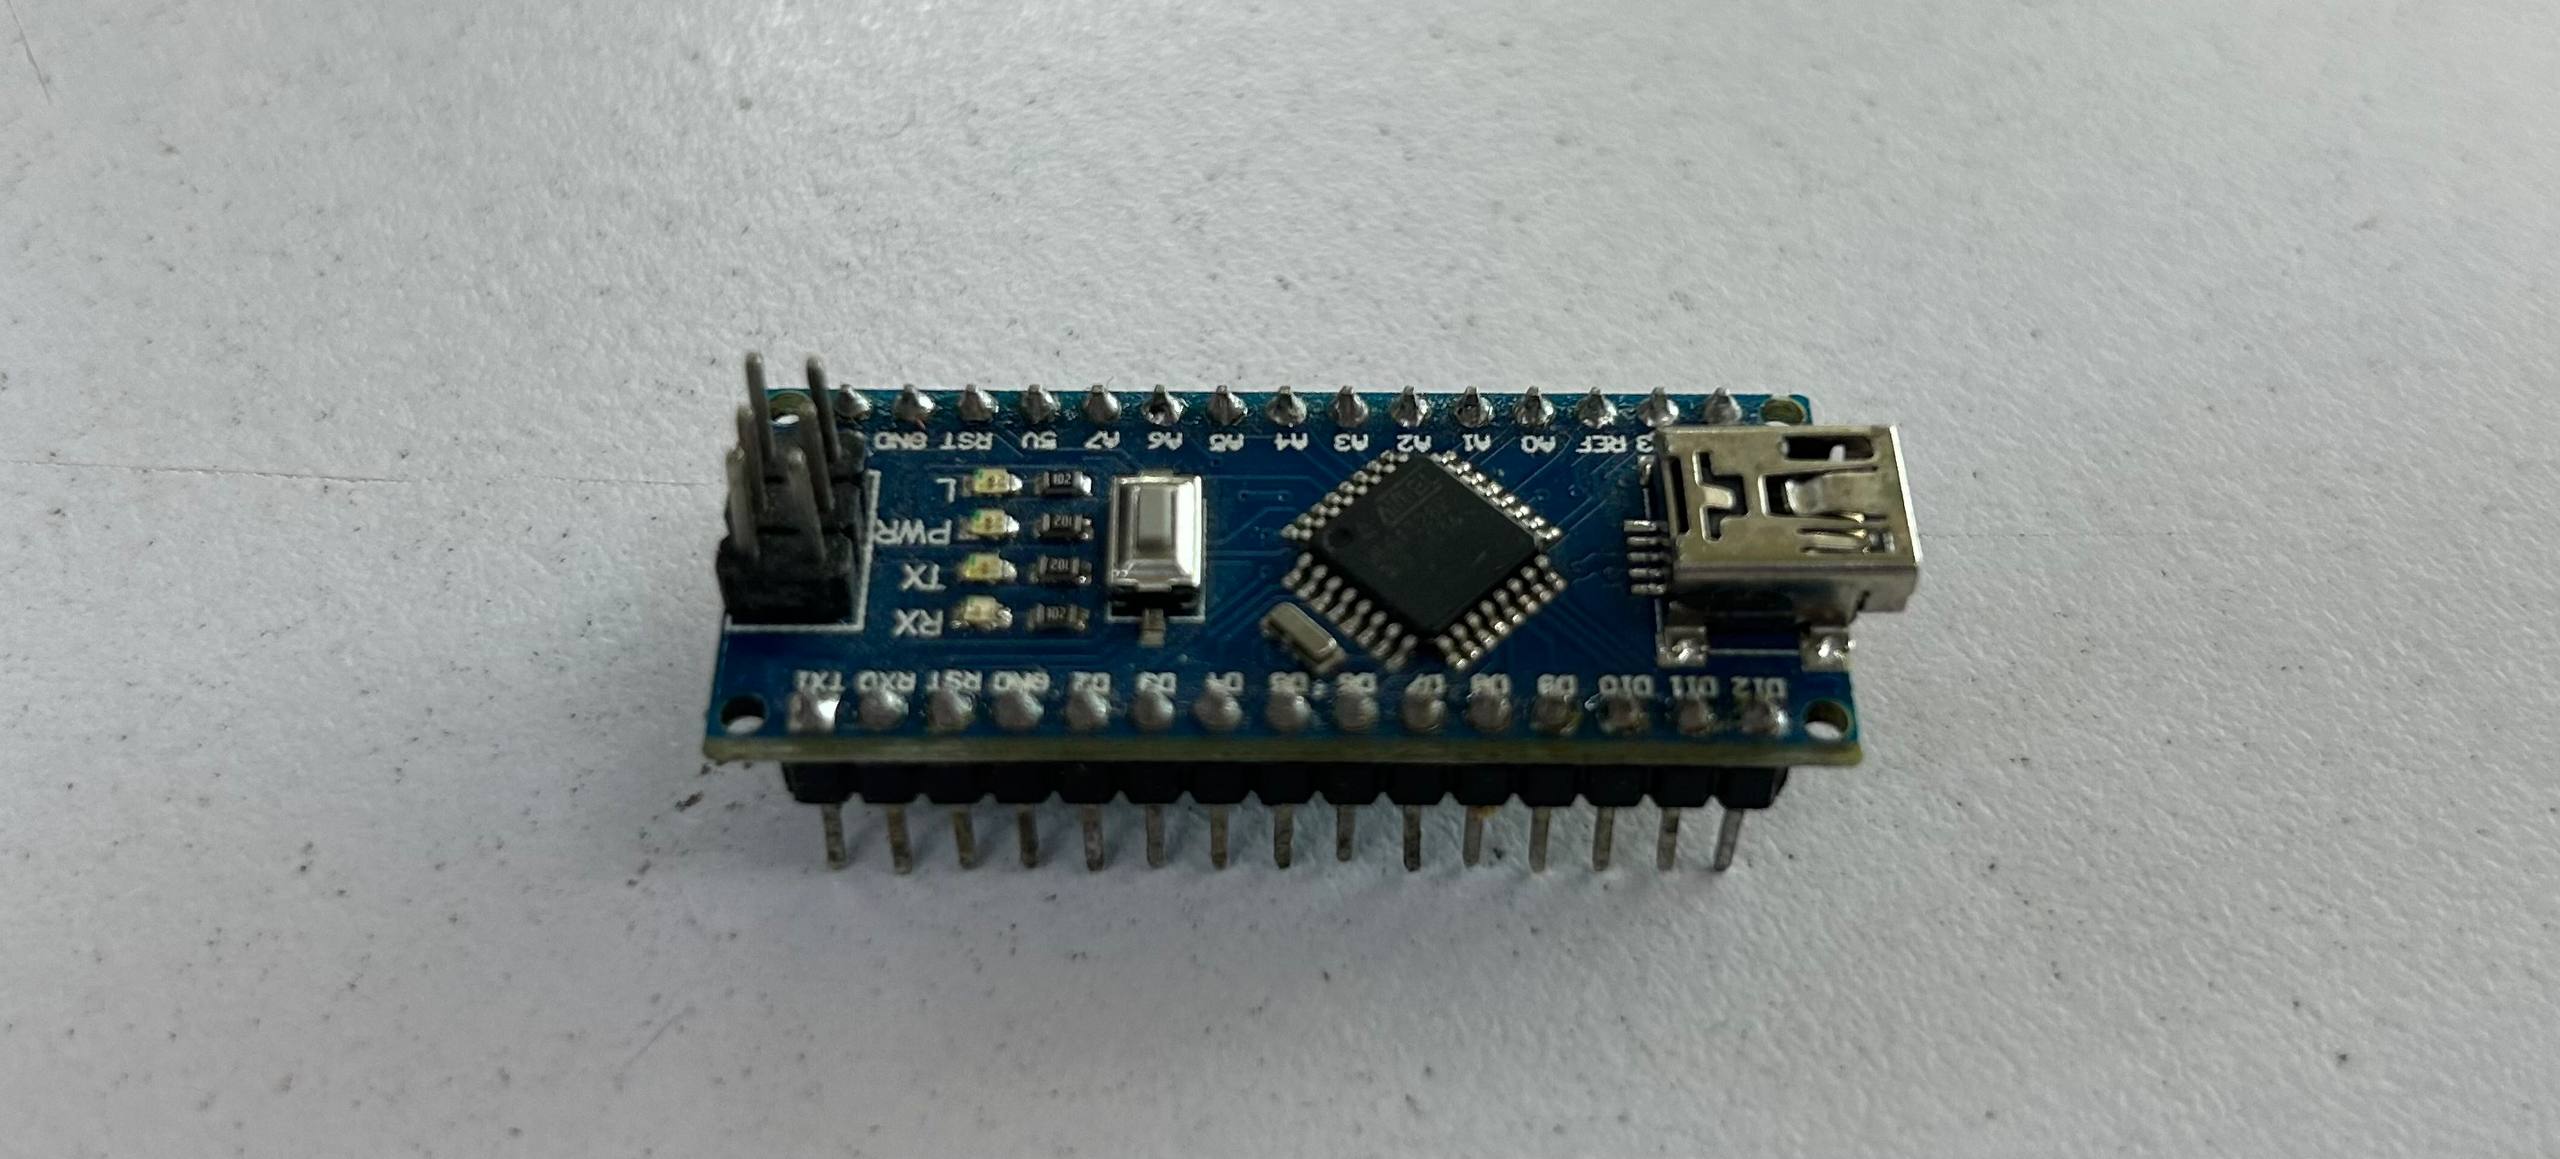
The Arduino Nano serves as the master device. Although it has less RAM than modern chips, it is more than capable of handling the 1KB buffer required for a 128x64 monochrome display. Communication is handled via the hardware I2C pins.
OLED SSD1306 Hardware
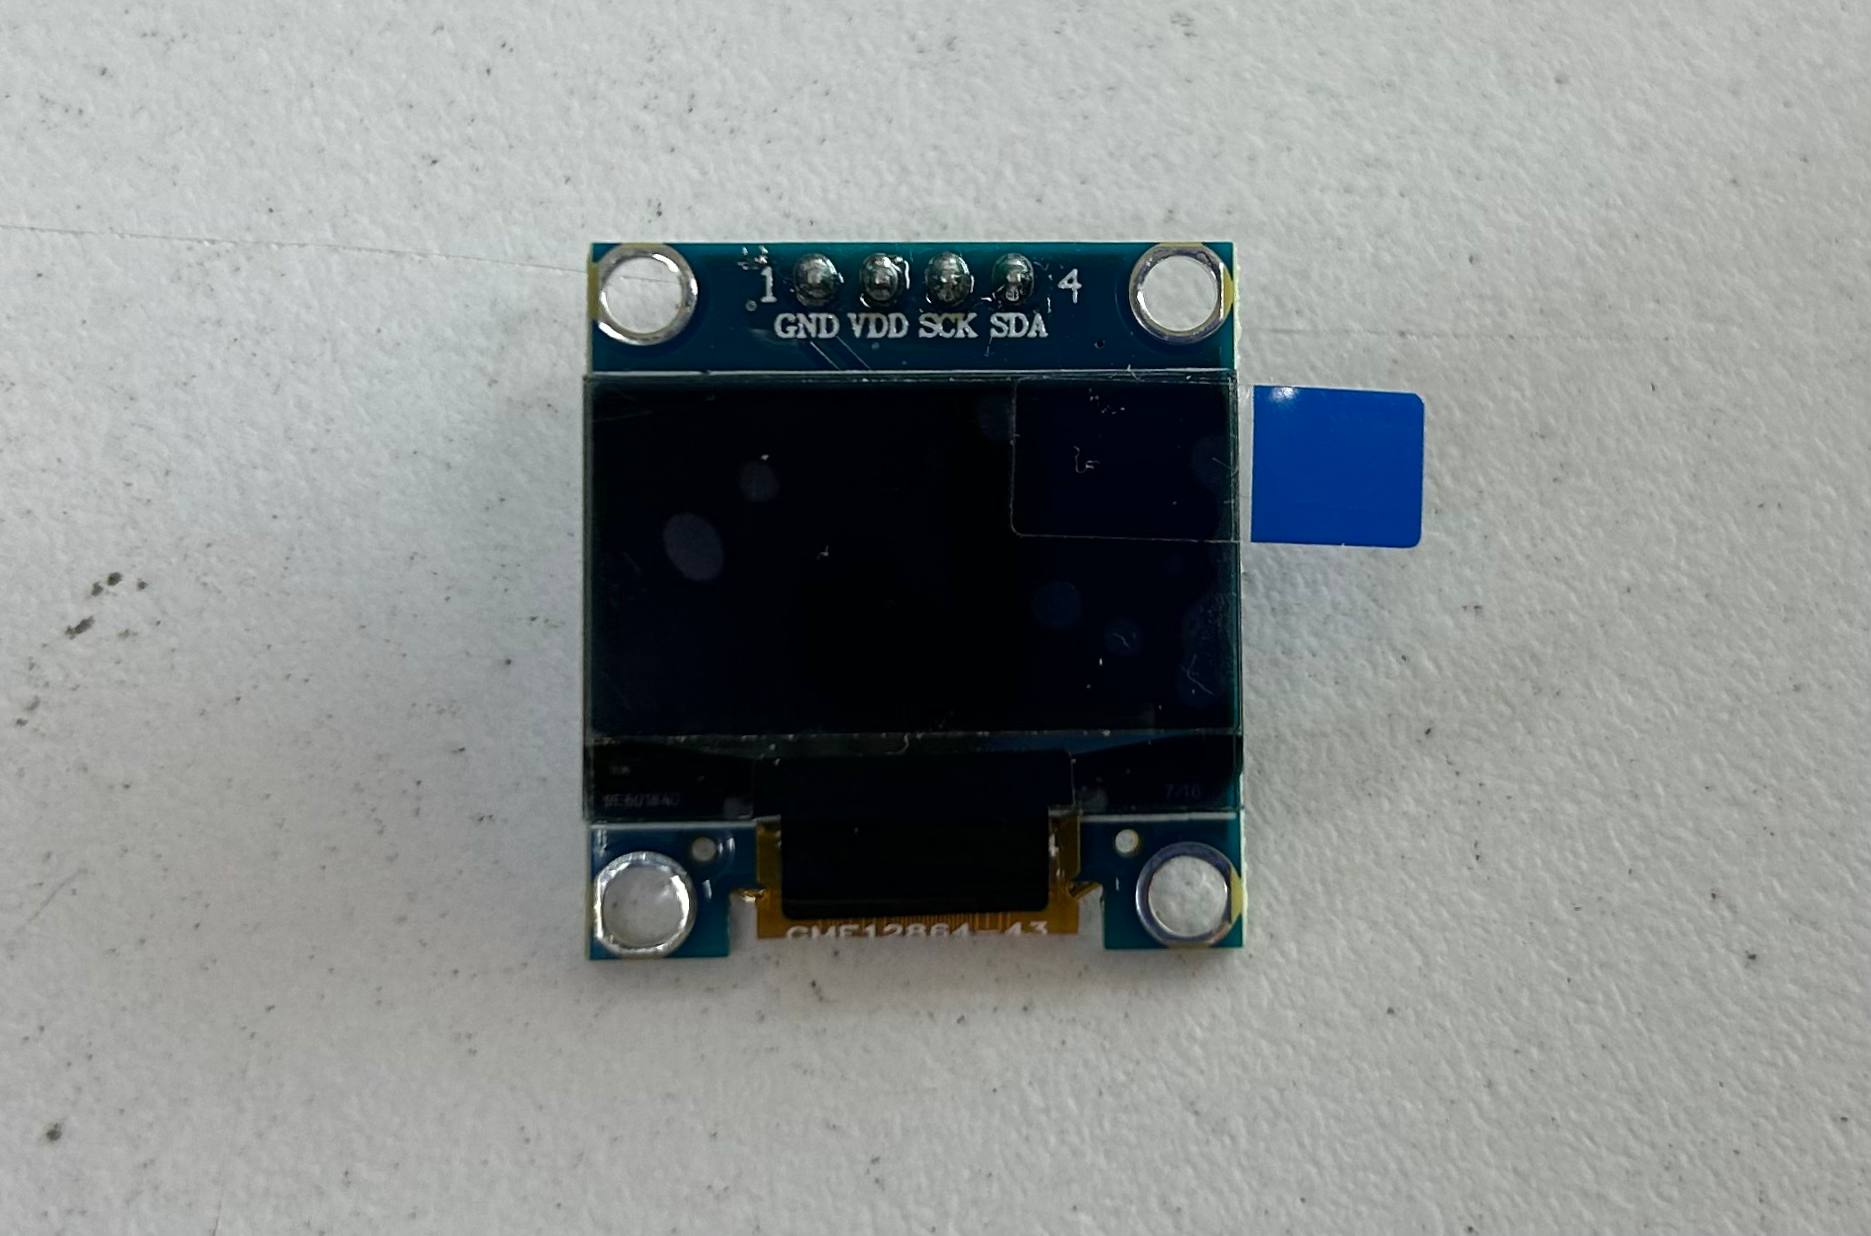
The SSD1306 is a 128x64 pixel monochrome display. Connection to the Nano is straightforward: VCC to 5V (or 3.3V depending on the module), GND to GND, SDA to Pin A4, and SCL to Pin A5.
Programming with Adafruit Libraries
I used the Adafruit_SSD1306 library. On the Arduino Nano, it's important to be mindful of memory usage, as the display buffer takes up a significant portion of the 2KB SRAM available on the ATmega328P.
#include <Wire.h>
#include <Adafruit_GFX.h>
#include <Adafruit_SSD1306.h>

#define SCREEN_WIDTH 128
#define SCREEN_HEIGHT 64

// El pin de reset se define como -1 si no se usa
Adafruit_SSD1306 display(SCREEN_WIDTH, SCREEN_HEIGHT, &Wire, -1);

void setup() {
  // Dirección I2C típica: 0x3C
  if(!display.begin(SSD1306_SWITCHCAPVCC, 0x3C)) {
    for(;;);
  }

  display.clearDisplay();

  // Configuración de texto
  display.setTextSize(2);
  display.setTextColor(SSD1306_WHITE);

  display.setCursor(0, 20);
  display.println("Hola");
  display.println("Carlos");

  // Enviar el buffer al hardware
  display.display();
}

void loop() {
  // Pantalla estática
}
I2C Protocol on Nano (A4/A5)
On the Arduino Nano, the I2C bus is hardware-defined on pins A4 (SDA) and A5 (SCL). The Wire.h library handles the complex timing of the protocol, allowing the Nano to push data to the SSD1306 controller efficiently.
Final Result
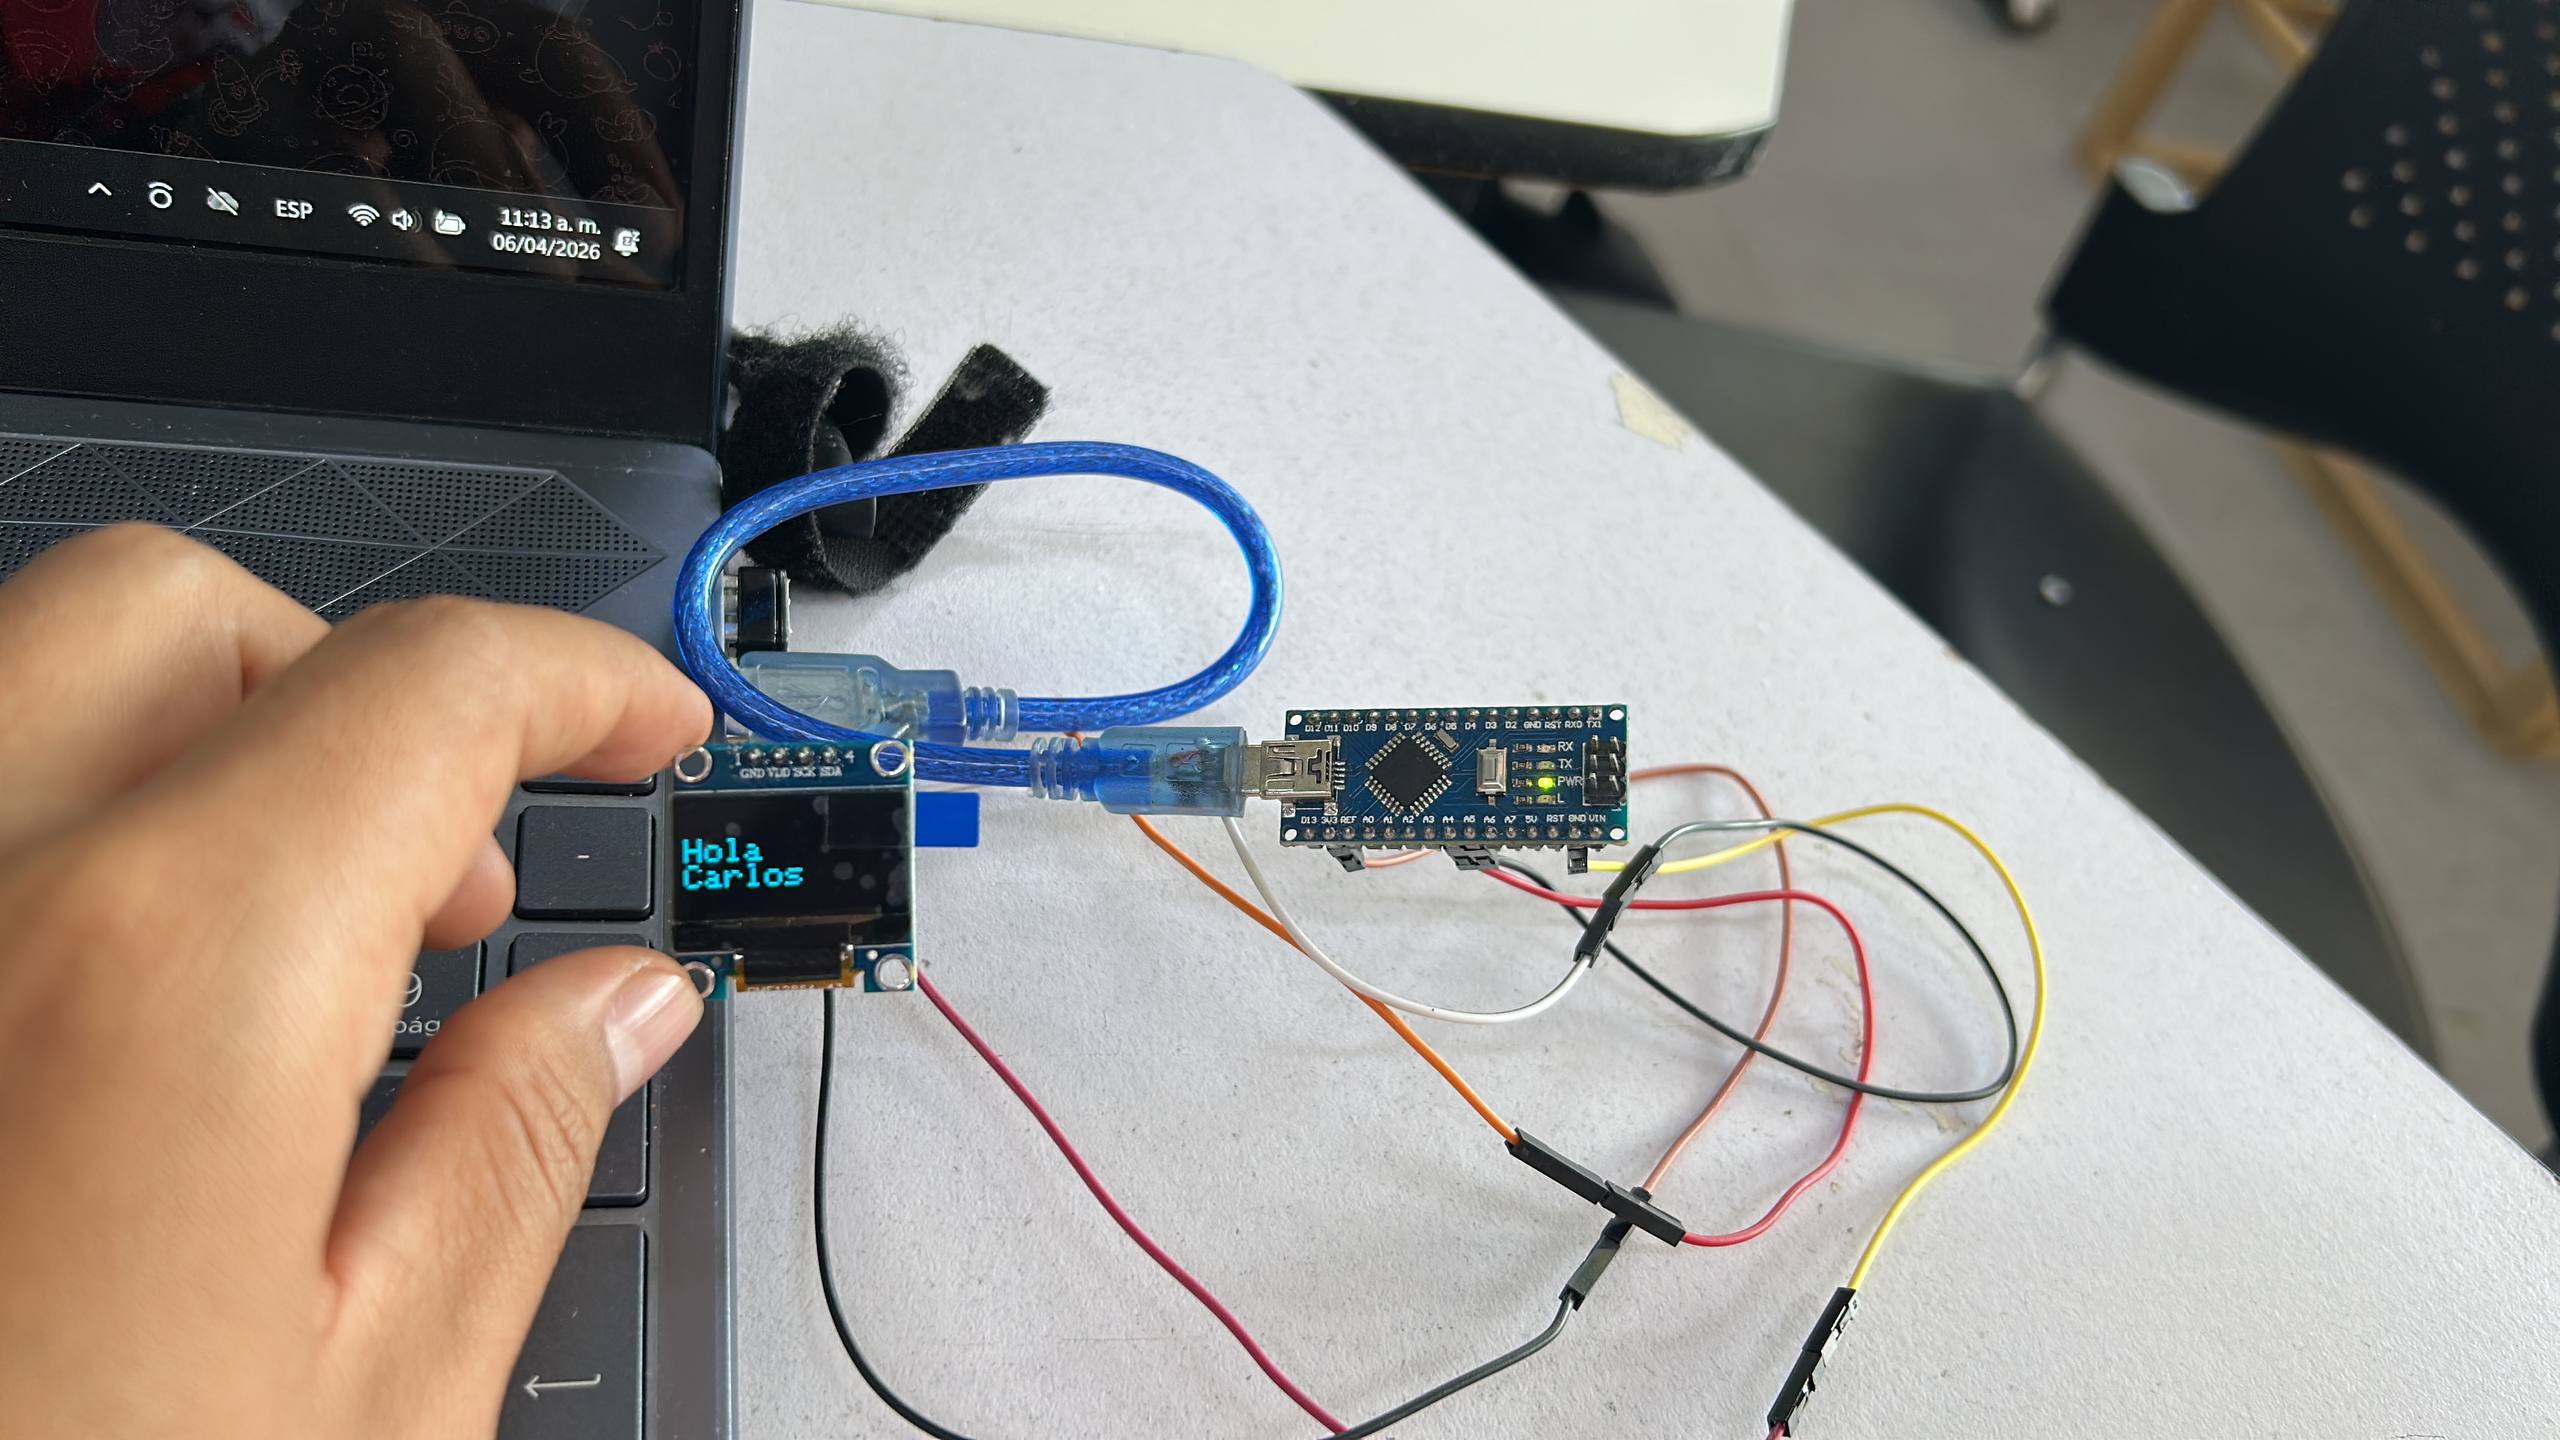
The final result is a sharp, high-contrast interface. One key takeaway: always ensure your I2C cables are short when using the Nano to avoid noise, as its 5V logic is robust but can be sensitive to long unshielded jumpers.