Objective
The goal this week was to create an interface to control components, so that instead of requiring the use of monitors and consoles in Arduino IDE or Visual Studio, a simple menu of operations could be used, reducing effort and giving a good aesthetic to the final project.
SELECT DEVELOPMENT ENVIRONMENT.
[ MISSION: CREATING YOUR INTERFACE CODE ]
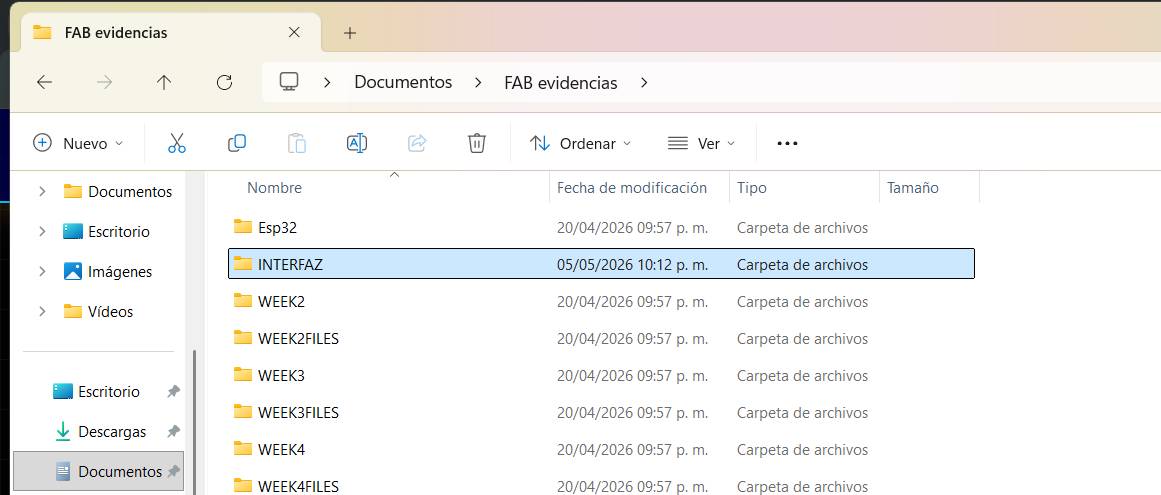
Creating your folder
To start you need to create a folder where you will be storing the interrface's files.
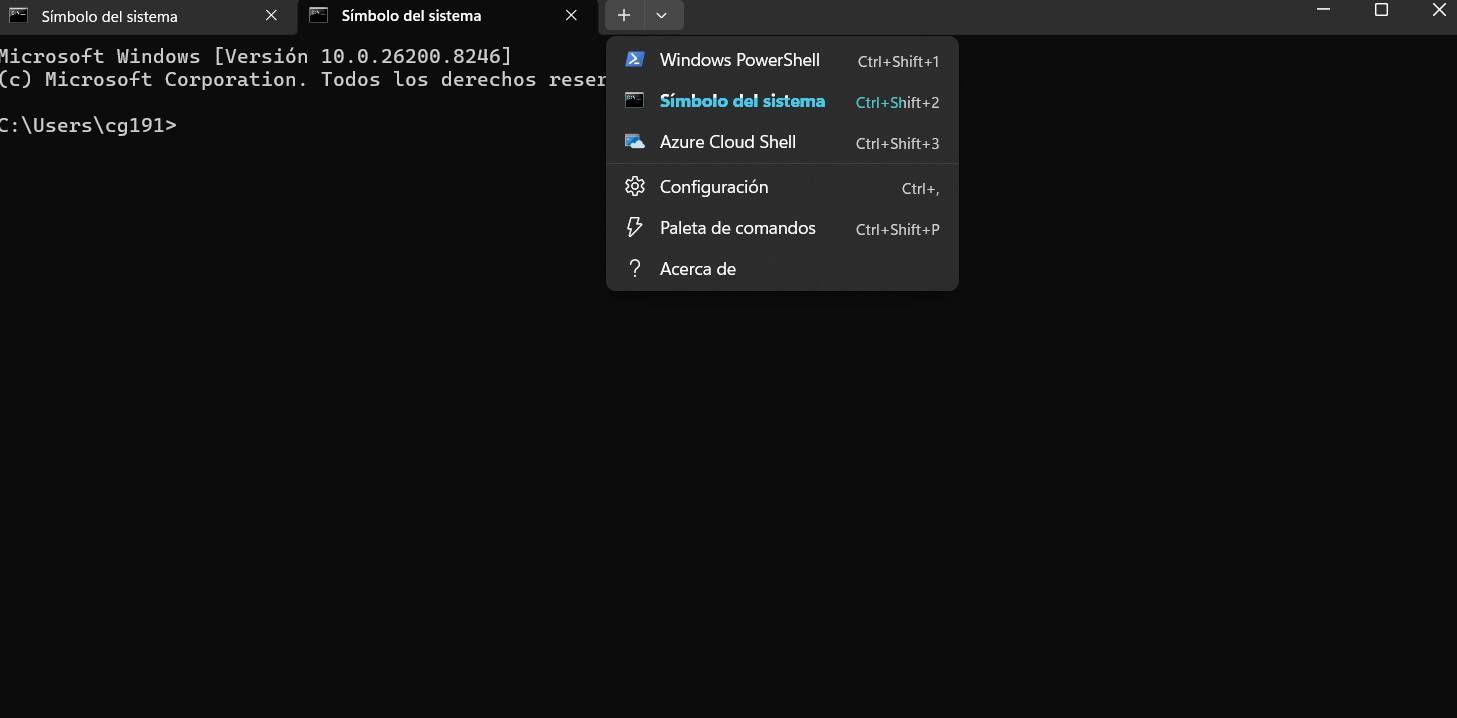
Terminal
For the interface you will be working a lot with your computer's terminal, but be sure to choose the "system simbol" version.
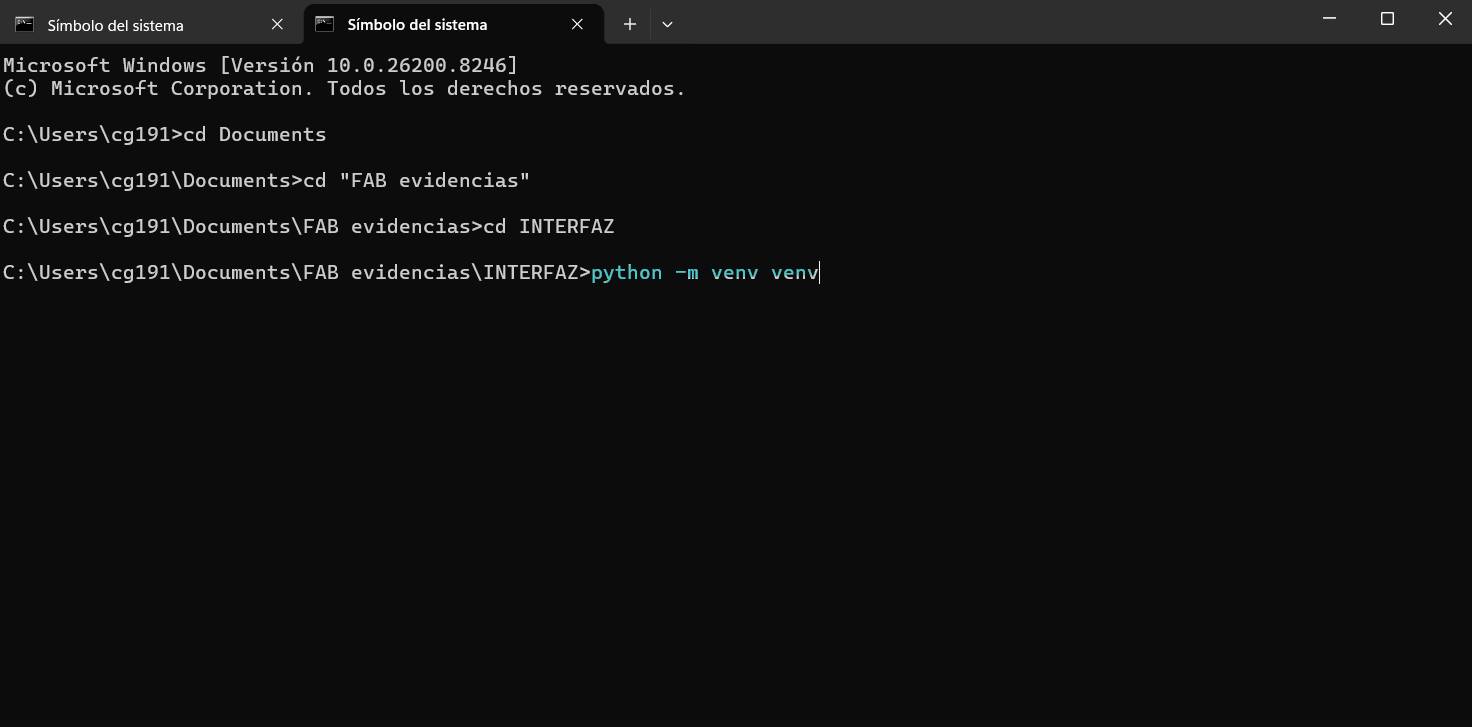
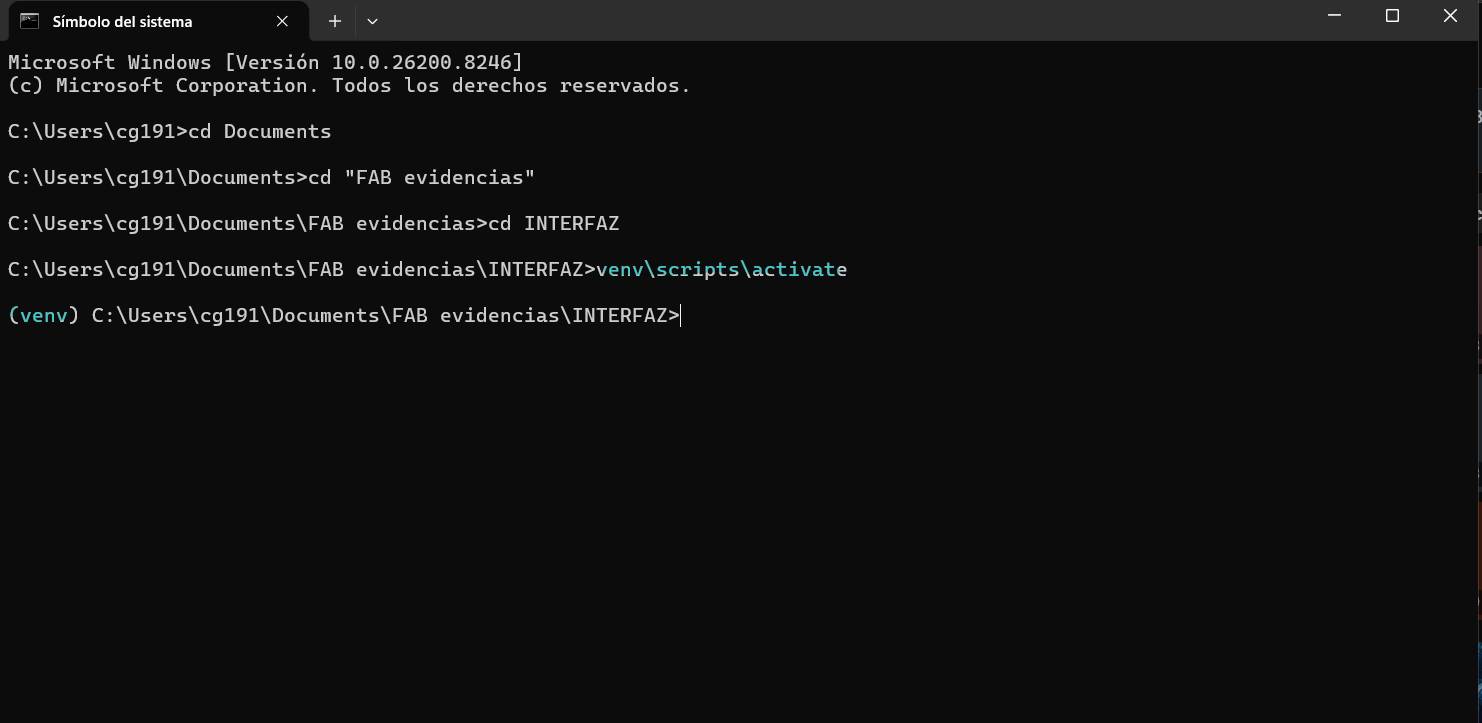
Creating your virtual environment
For the interface it's recommendable to create a virtual environment in order to siolate the librarys you're gonna use, to do so, type the following code in your terminal once you've opened your folder.
Activating your VENV
In order to activate your virtual environment you need to use the following code (if you're using Windows).
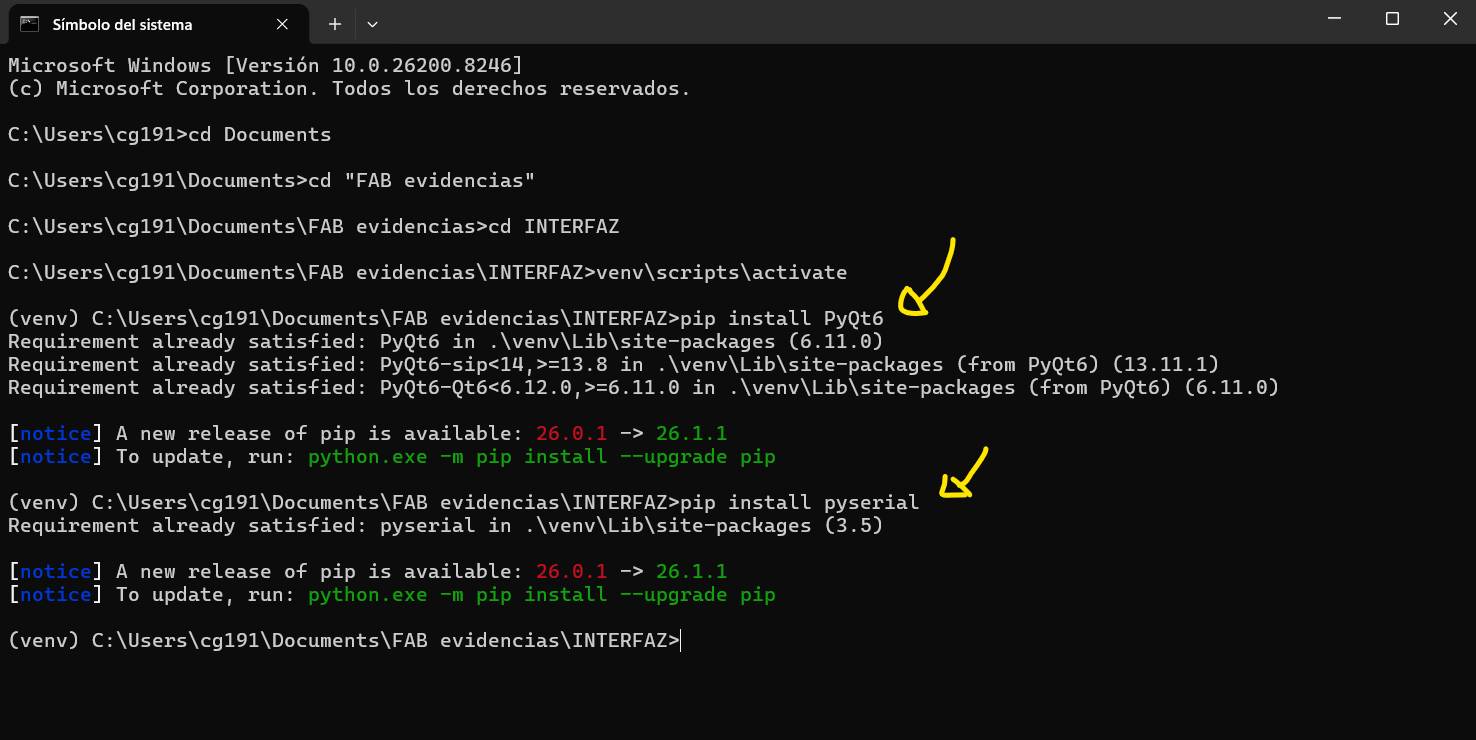
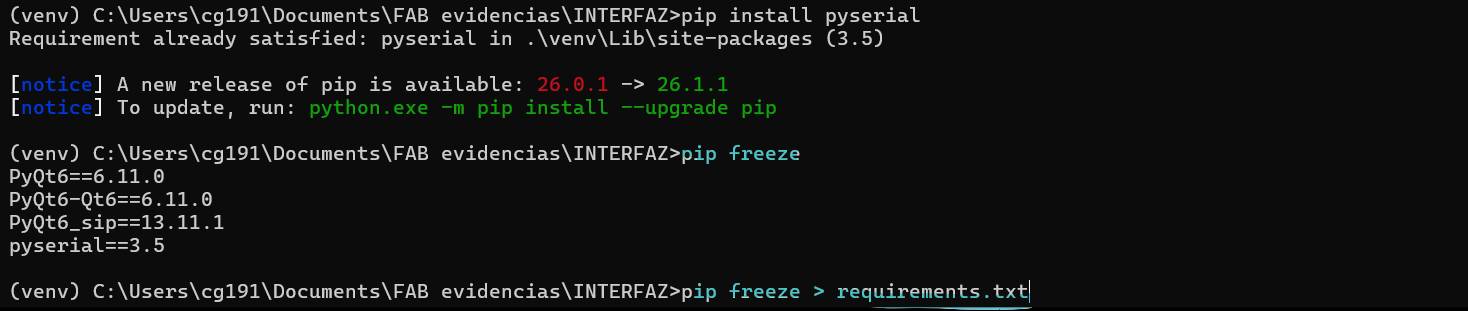
Installing librarys
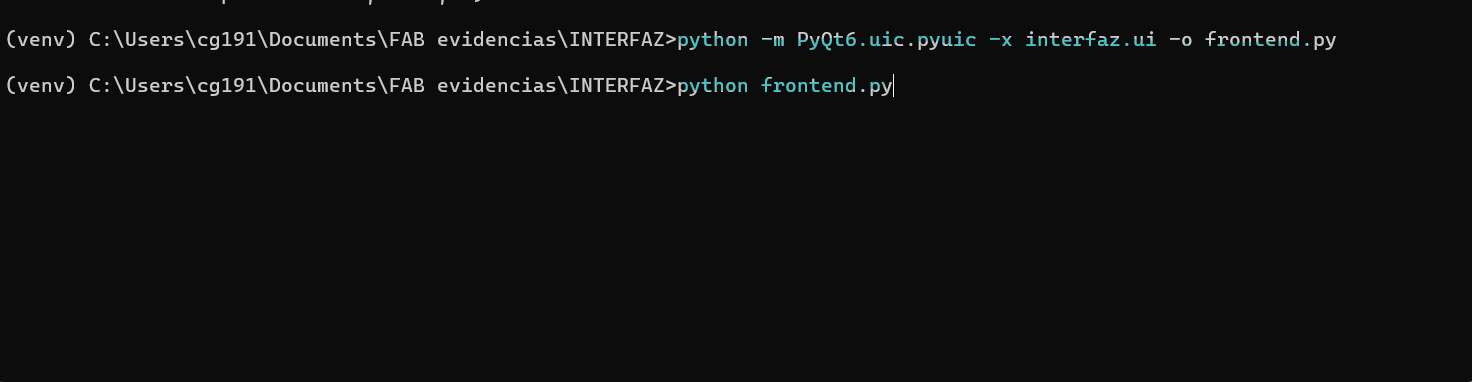
For the interface you will need to install two librarys: PyQt6 and pyserial.In order to install this librarys from your terminal you will need to use the code pip install (library you want to install).
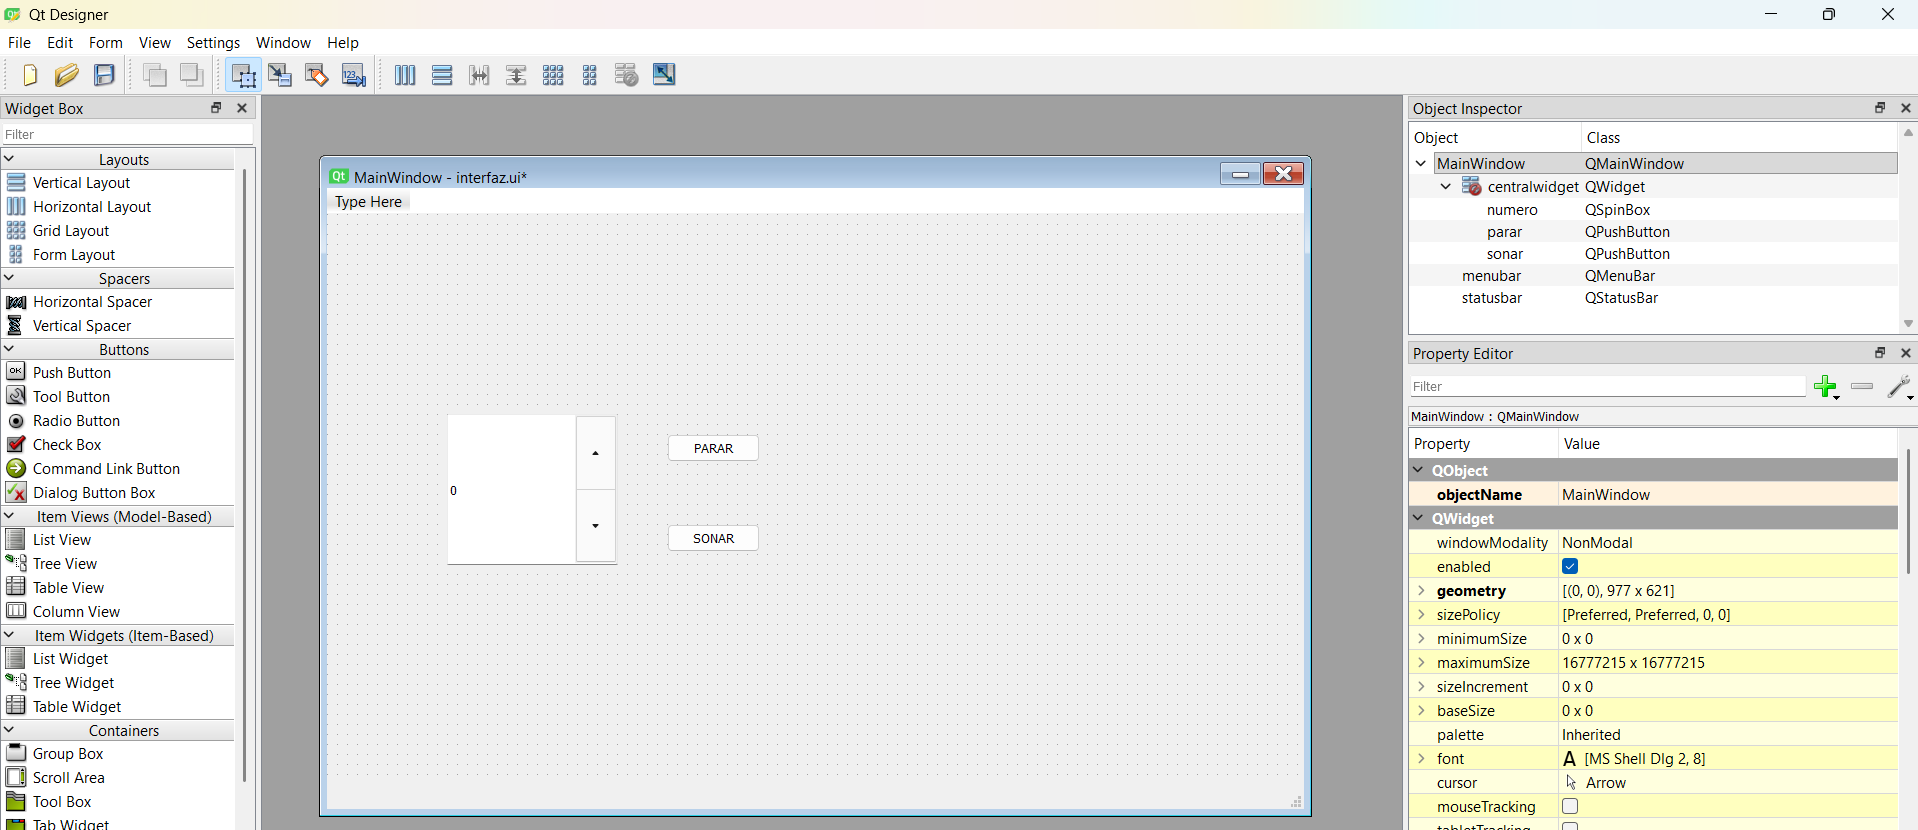
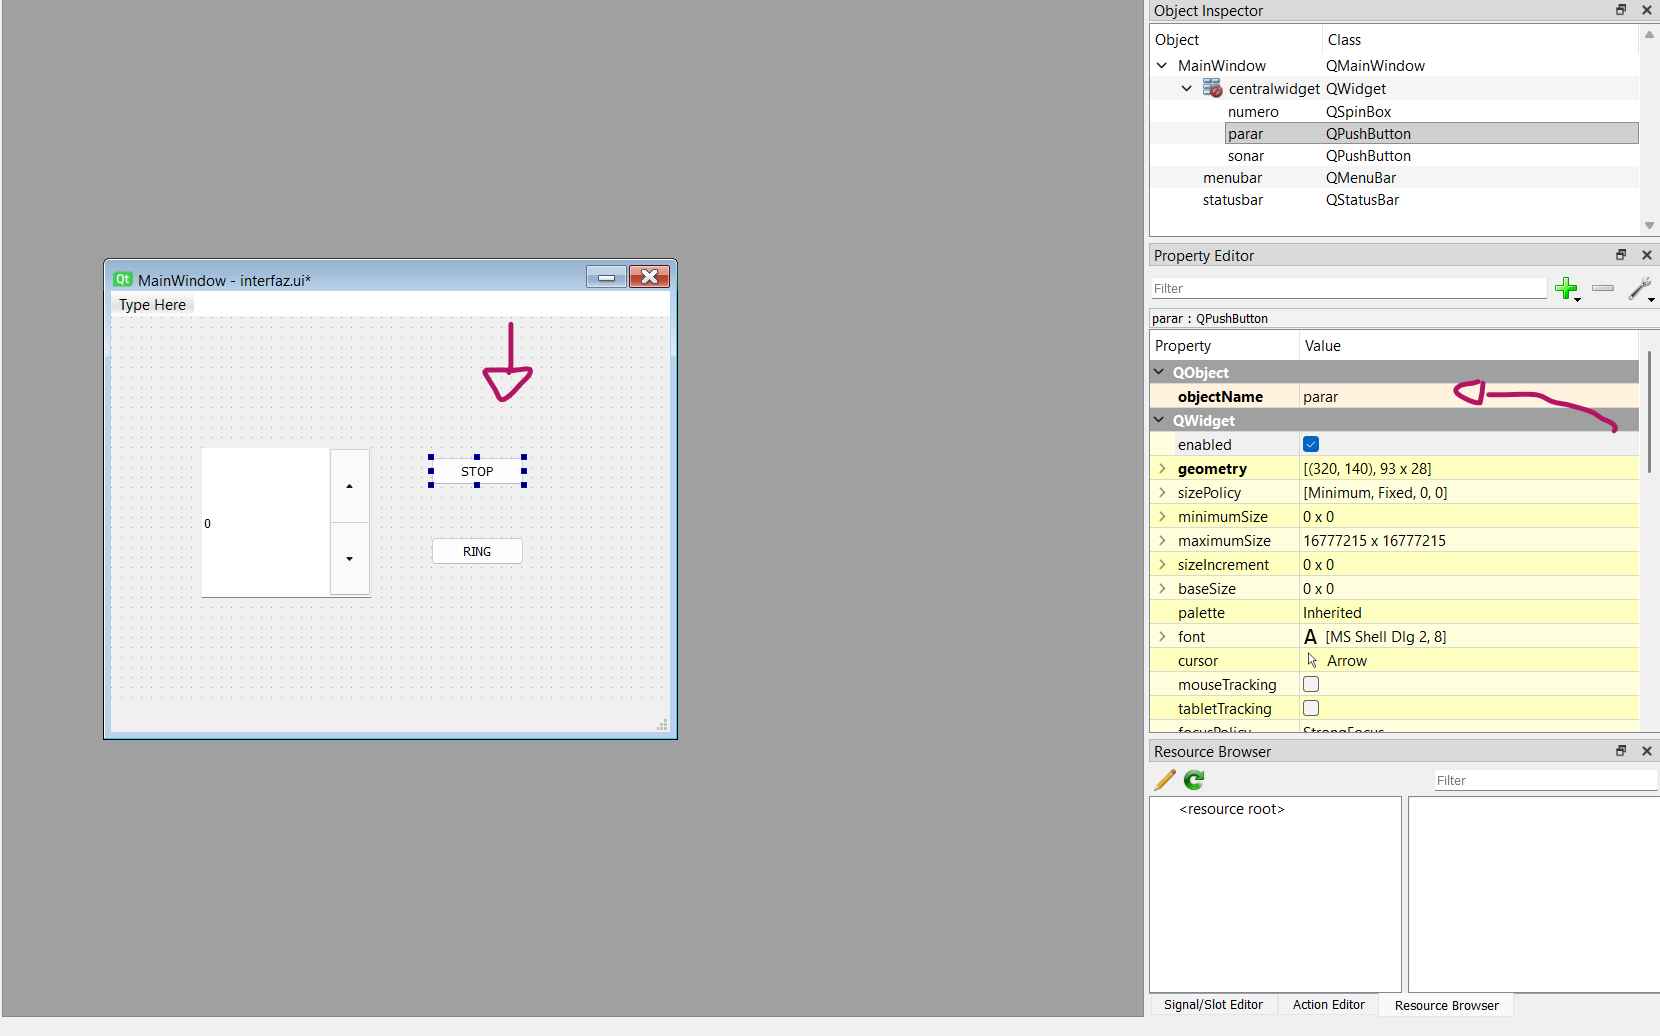
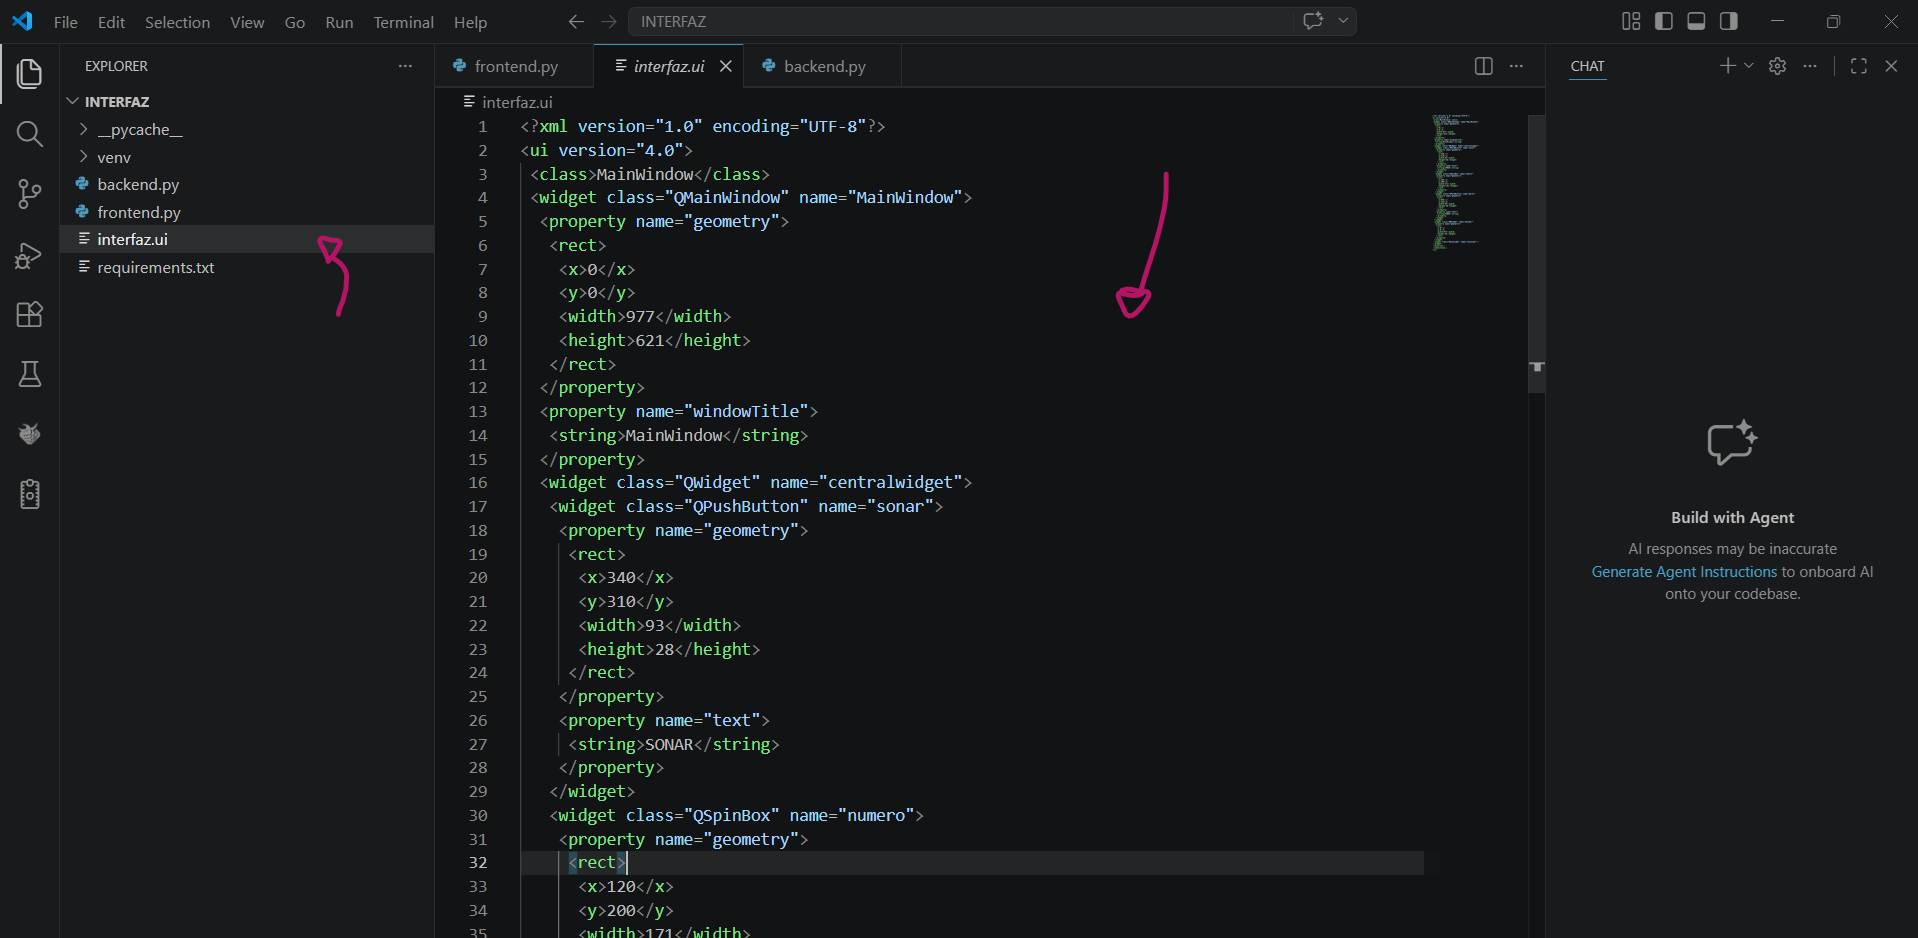
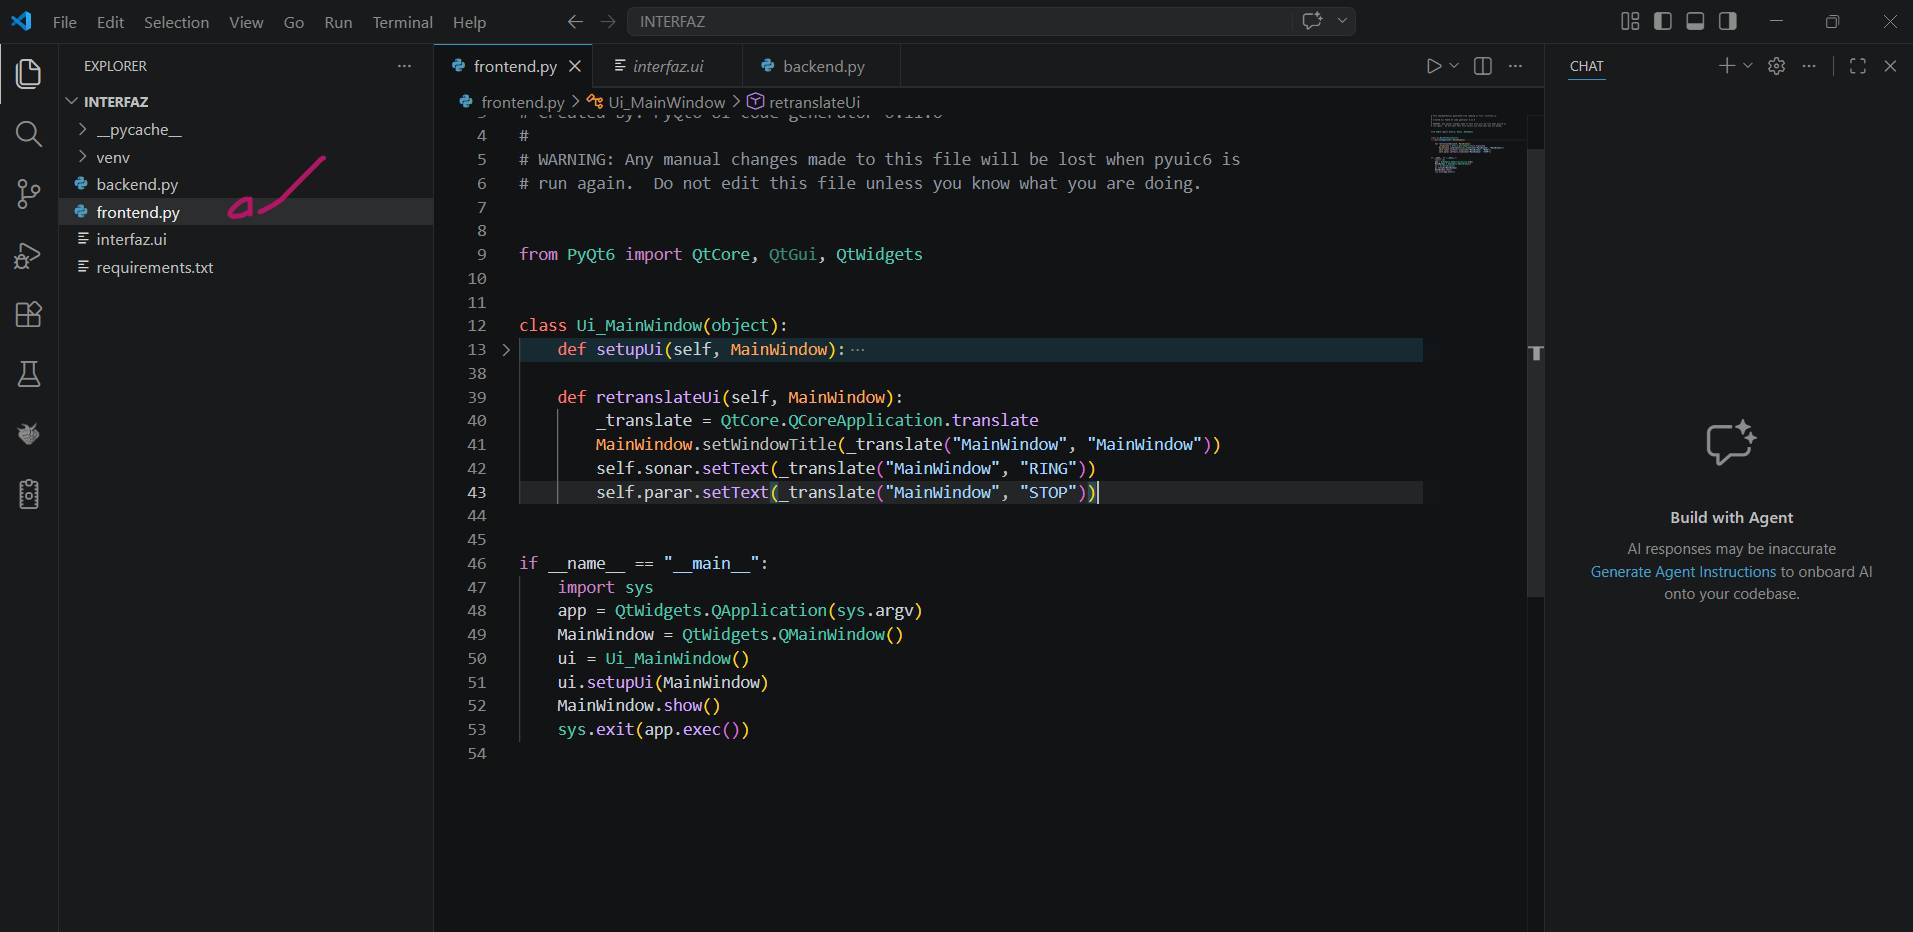
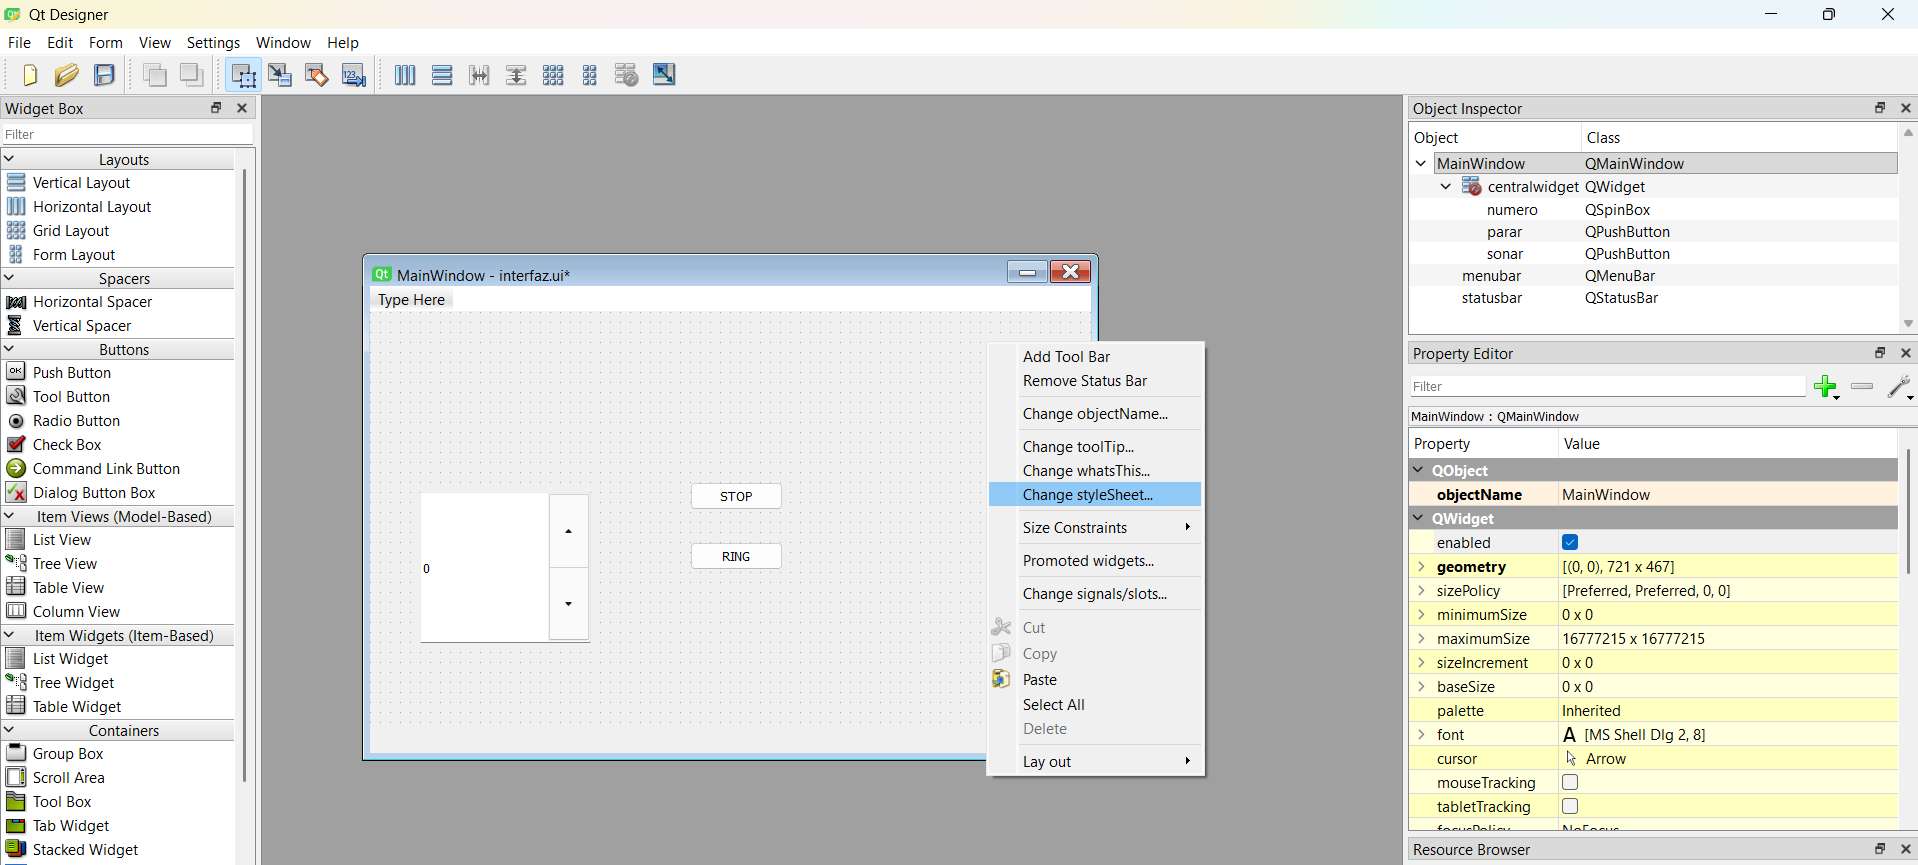
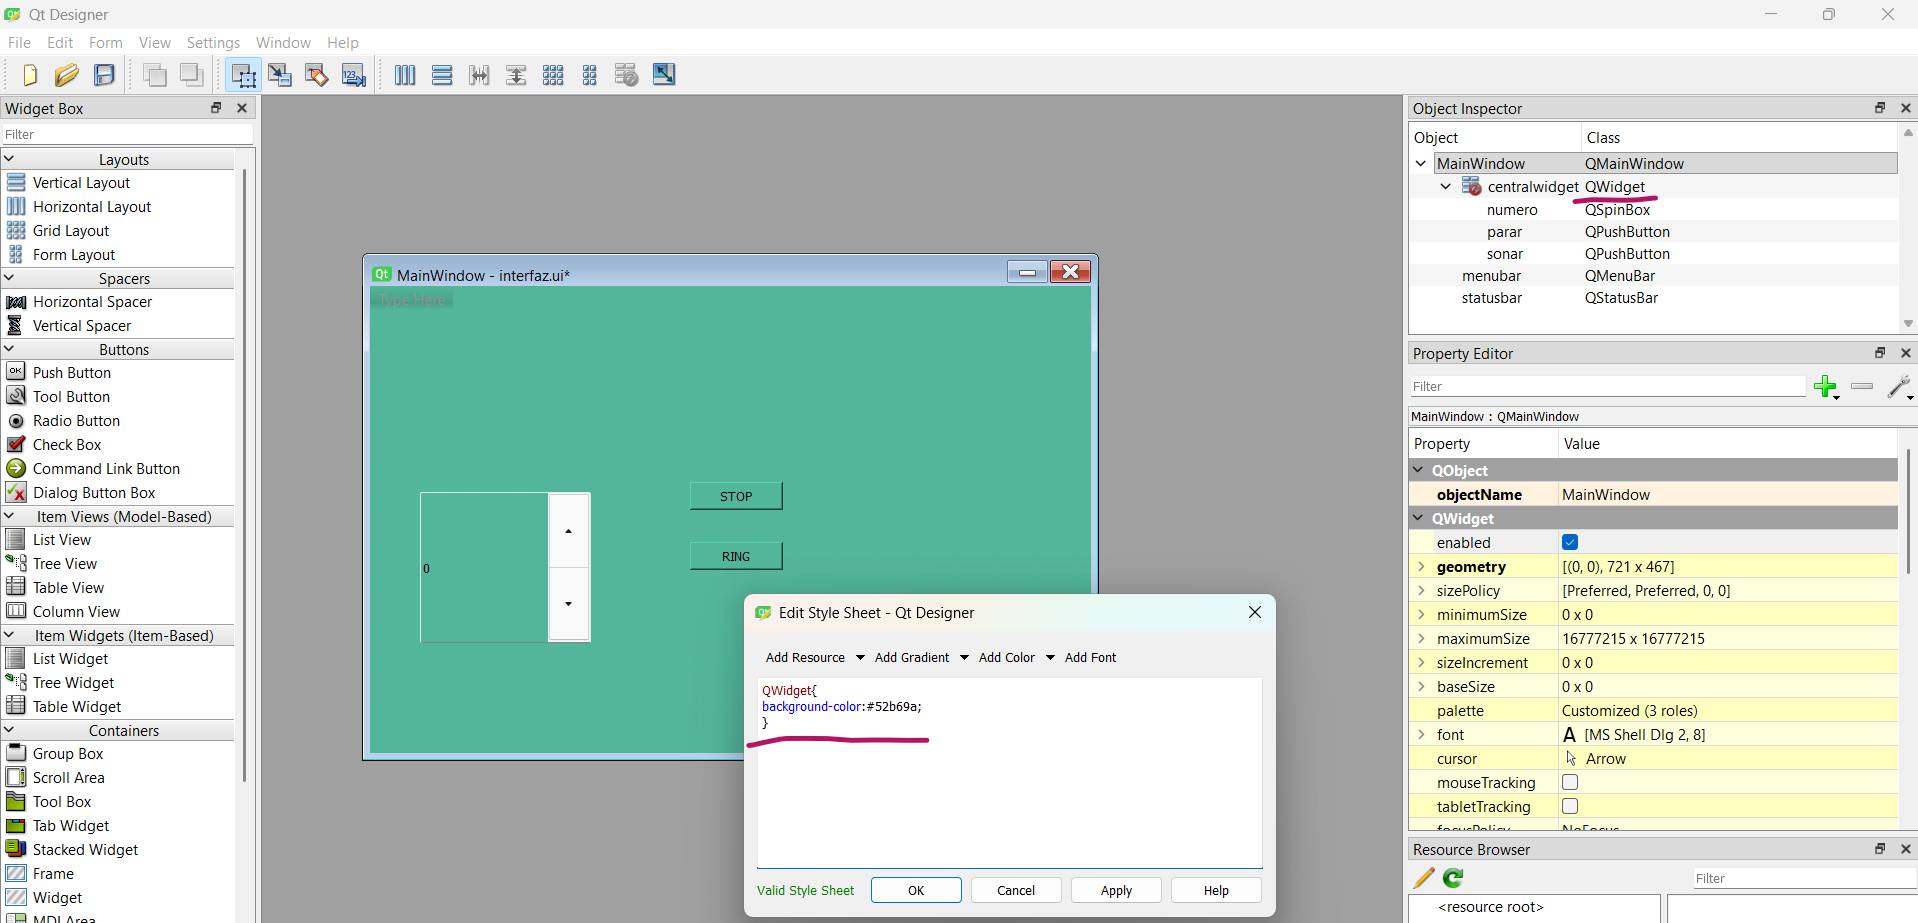
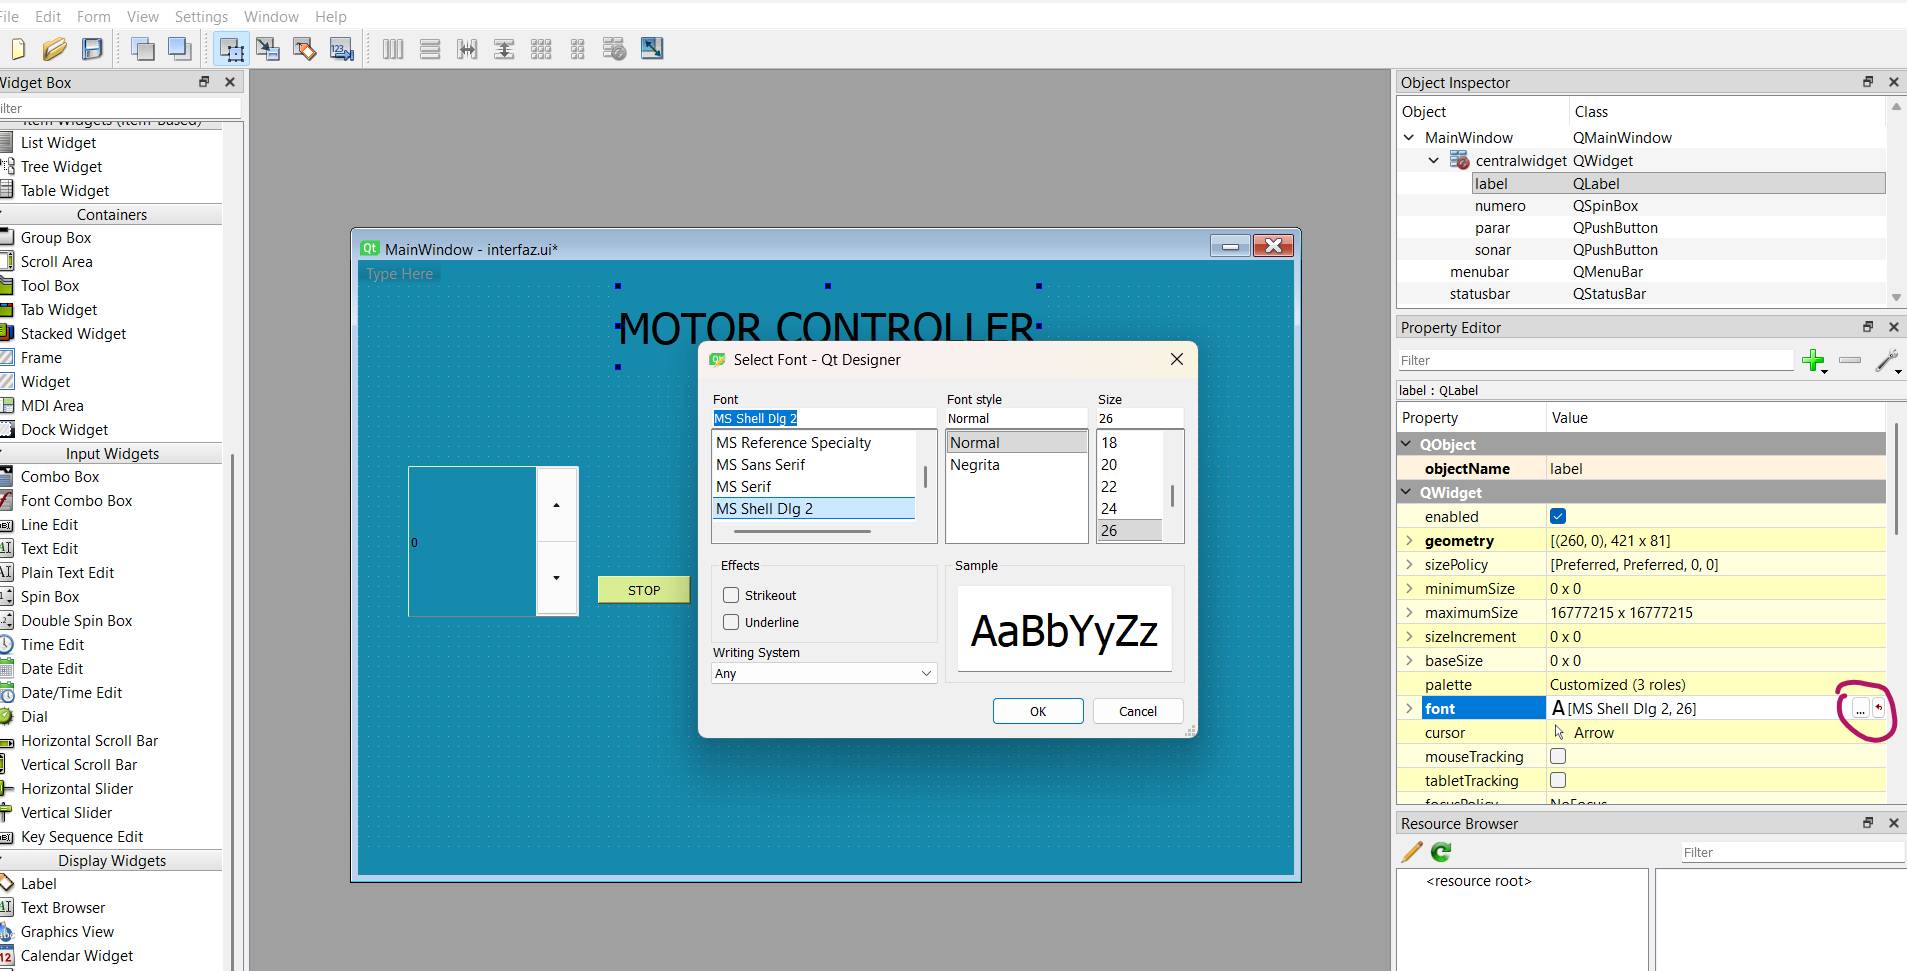
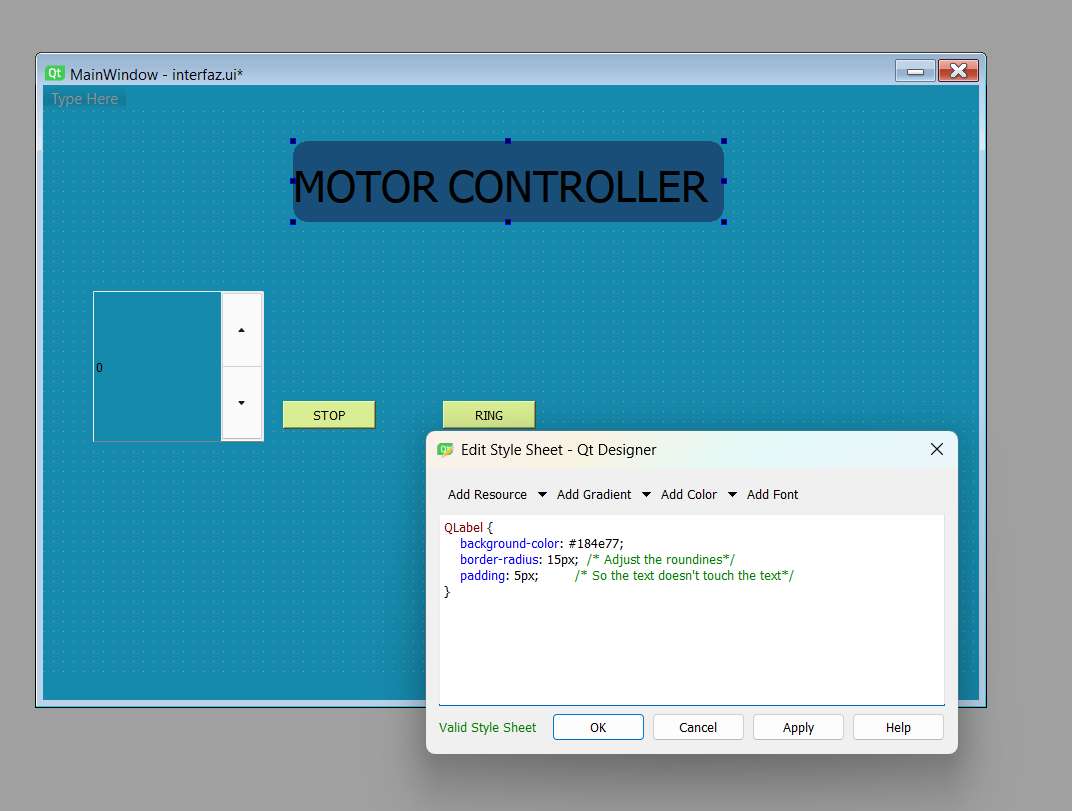
UI Design
Creating the background and static elements.
Dynamic Graphics
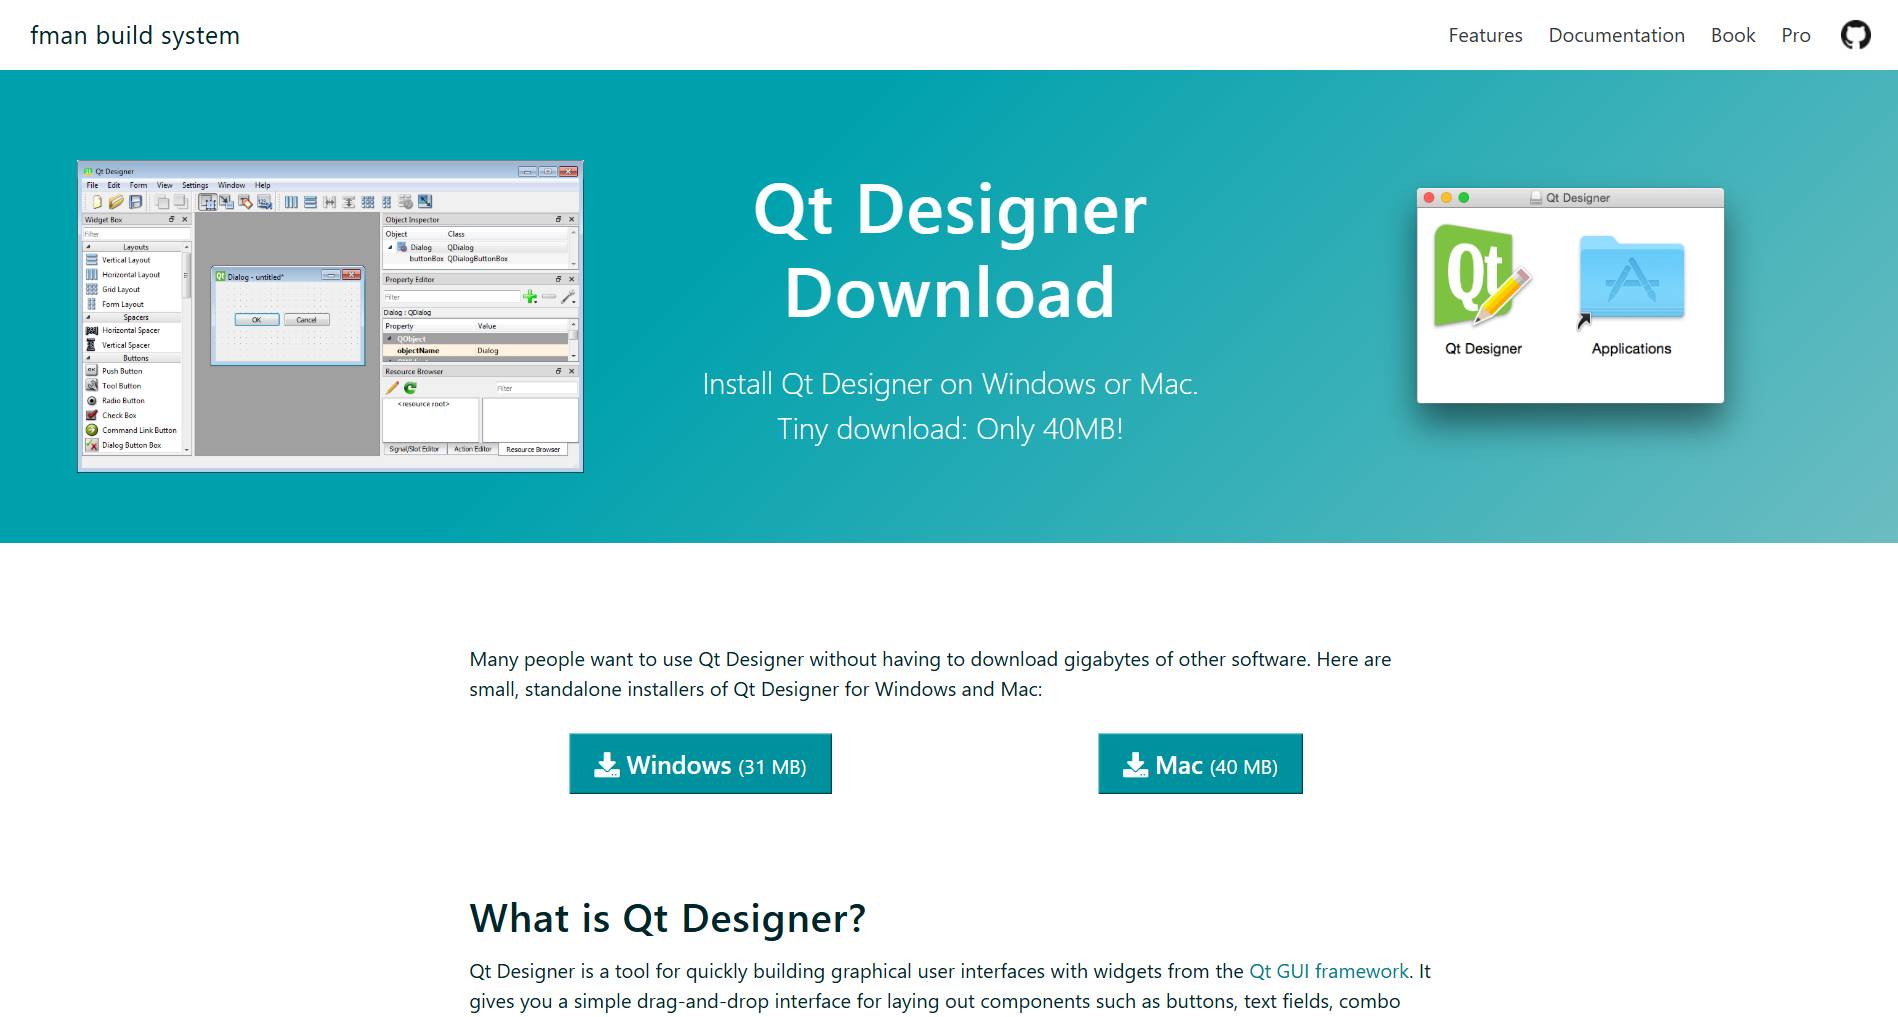
Drawing shapes based on real-time input. Download the development environment here:
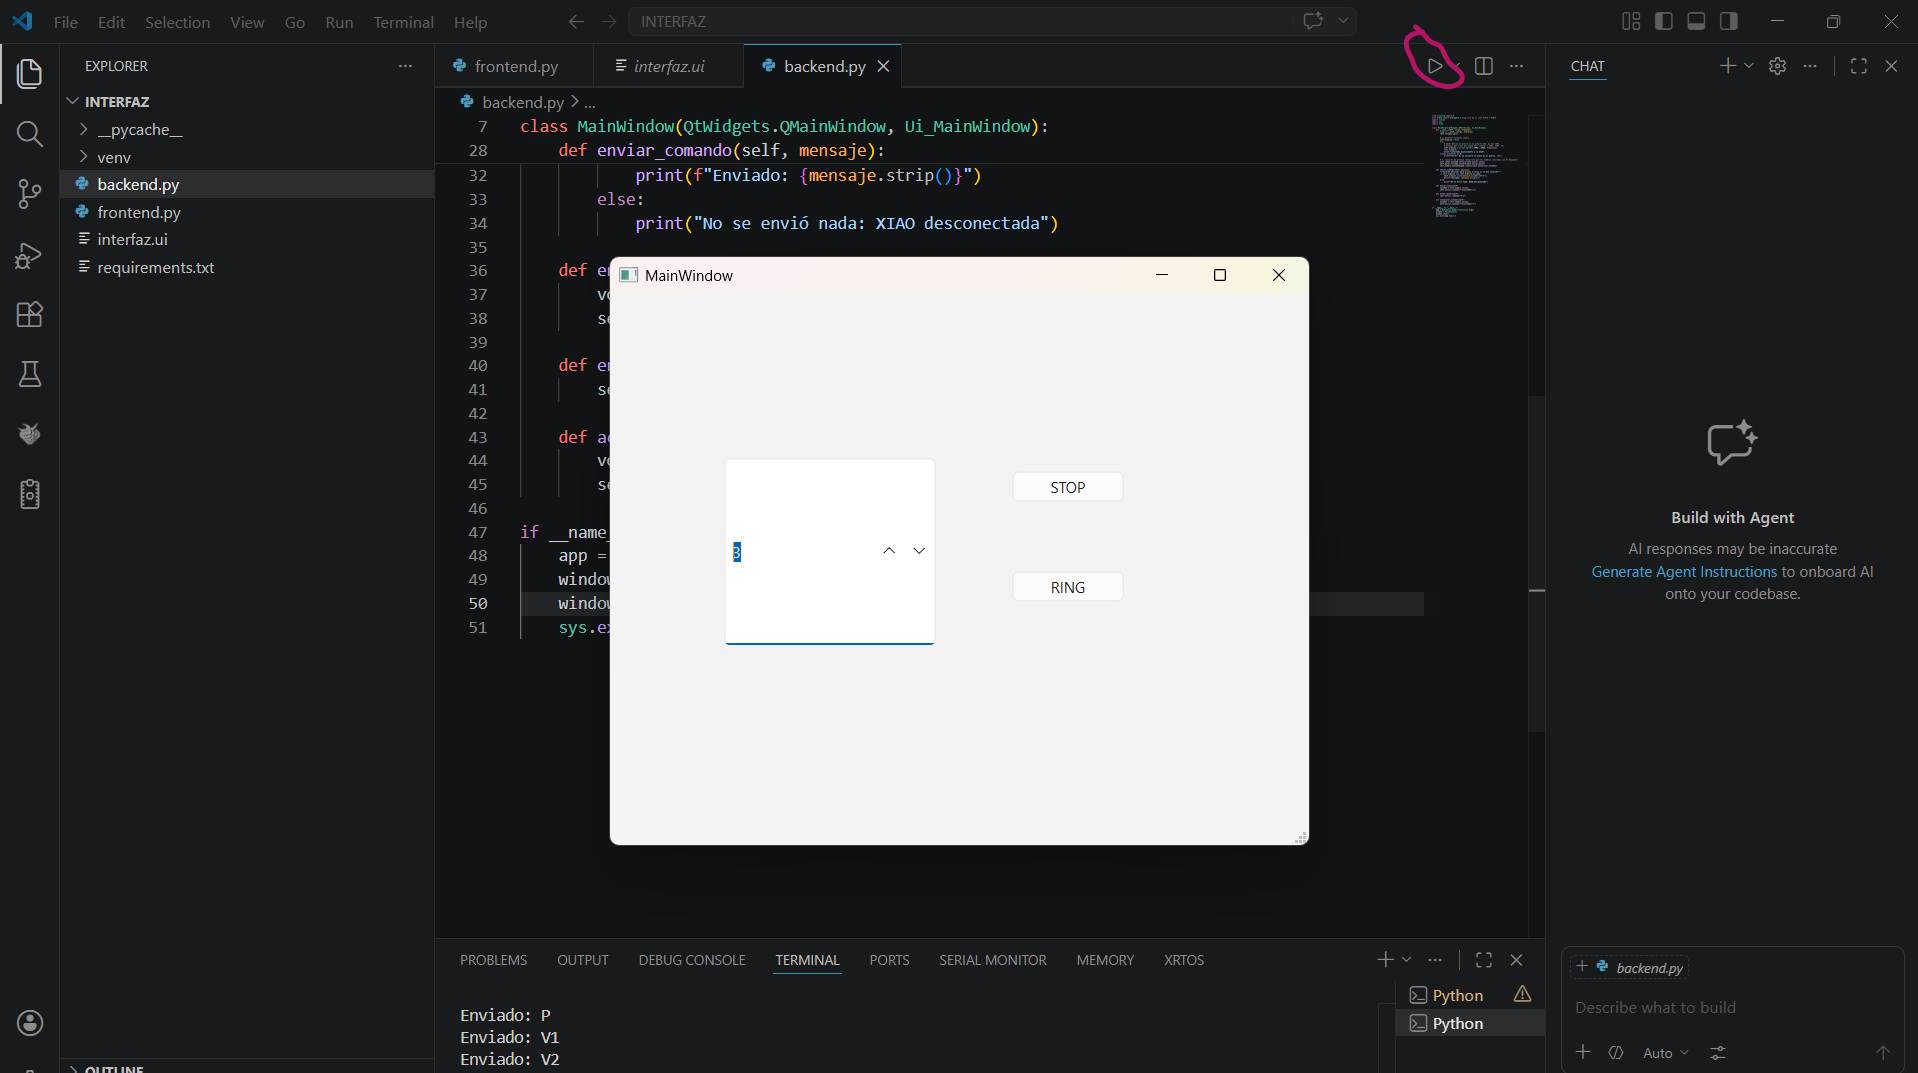
Live Demonstration
Testing the interface with the hardware connected.
Debugging
Monitoring the console for packet loss.
Color Feedback
Adding color alerts for high sensor values.
User Controls
Adding buttons to trigger hardware actions.
GUI Refinement
Smoothing transitions and animations.
Optimization
Reducing CPU usage for better performance.
Final Result
Fully functional interface ready for deployment.


WEB_SERIAL_STATION
const int buzzerPin = A0;
int currentPitch = 0;
bool isOn = false;

void setup() {
  Serial.begin(9600);
  pinMode(buzzerPin, OUTPUT);
  pinMode(LED_BUILTIN, OUTPUT);
  digitalWrite(LED_BUILTIN, HIGH); // LED starts ON
}

void loop() {
  if (Serial.available() > 0) {
    digitalWrite(LED_BUILTIN, LOW); // Visual feedback for serial data
    char command = Serial.read();

    if (command == 'S') {
      int value = Serial.parseInt();
      // Map 0-100 input to 440Hz-2000Hz frequency
      currentPitch = map(value, 0, 100, 440, 2000);

      tone(buzzerPin, currentPitch);
      isOn = true;
    }

    else if (command == 'P') {
      noTone(buzzerPin); // Stop sound
      isOn = false;
    }

    else if (command == 'V') {
      int value = Serial.parseInt();
      currentPitch = map(value, 0, 100, 440, 2000);

      if (isOn) {
        tone(buzzerPin, currentPitch); // Update pitch in real-time
      }
    }

    delay(10);
    digitalWrite(LED_BUILTIN, HIGH);
  }
}
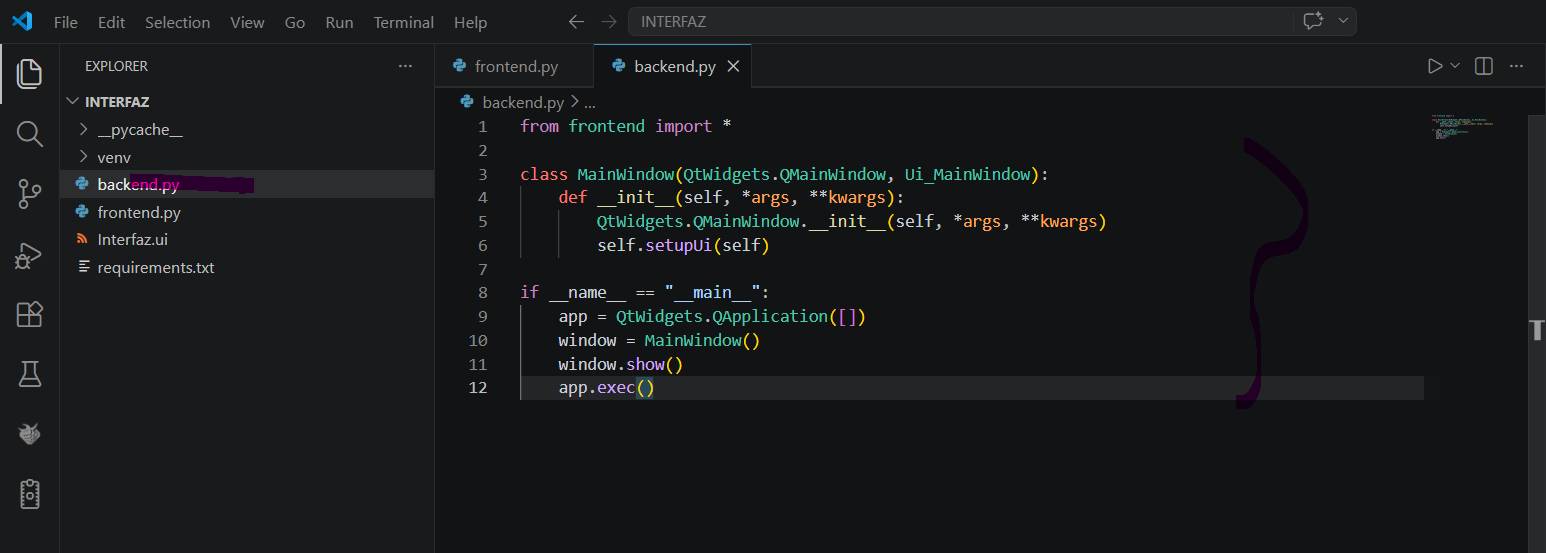
from frontend import *
from PyQt6 import QtWidgets
import serial
import sys
import time

class MainWindow(QtWidgets.QMainWindow, Ui_MainWindow):
    def __init__(self, *args, **kwargs):
        super().__init__(*args, **kwargs)
        self.setupUi(self)

        # 1. Establish Serial Connection
        self.arduino = None
        try:
            # Check COM port in Arduino IDE (it may change after reconnections)
            self.arduino = serial.Serial('COM3', 9600, timeout=1)
            time.sleep(2)
            print("Successfully connected to XIAO")
        except Exception as e:
            print(f"Connection Error: {e}")

        # 2. UI Signal Connections
        self.sonar.clicked.connect(self.send_sonar)
        self.parar.clicked.connect(self.send_stop)
        self.numero.valueChanged.connect(self.update_volume)

    def send_command(self, message):
        """Helper function to send serial data"""
        if self.arduino and self.arduino.is_open:
            self.arduino.write(message.encode('utf-8'))
            print(f"Sent: {message.strip()}")
        else:
            print("Action failed: XIAO disconnected")

    def send_sonar(self):
        volume = self.numero.value()
        self.send_command(f"S{volume}\n")

    def send_stop(self):
        self.send_command("P\n")

    def update_volume(self):
        volume = self.numero.value()
        self.send_command(f"V{volume}\n")

if __name__ == "__main__":
    app = QtWidgets.QApplication(sys.argv)
    window = MainWindow()
    window.show()
    sys.exit(app.exec())