What is molding and casting?
- Molding: The process of creating a hollow form (the mold) by pressing or pouring material around a master object.
- Casting: The process of pouring a liquid material (like resin, metal, or plaster) into that mold, letting it harden, and then removing it to create a solid replica.
[ TARGET_GOAL: WEEK_OBJECTIVE ]
STATUS: IN_PROGRESS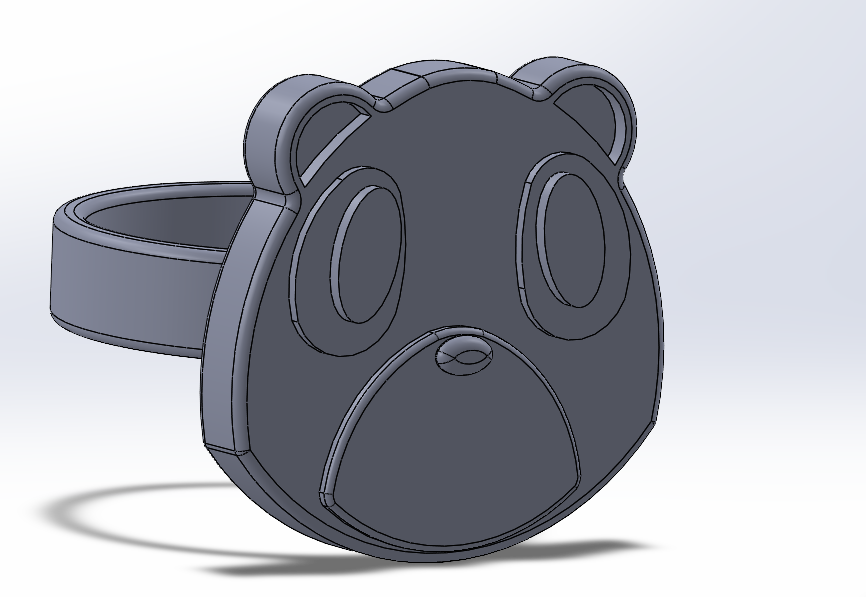
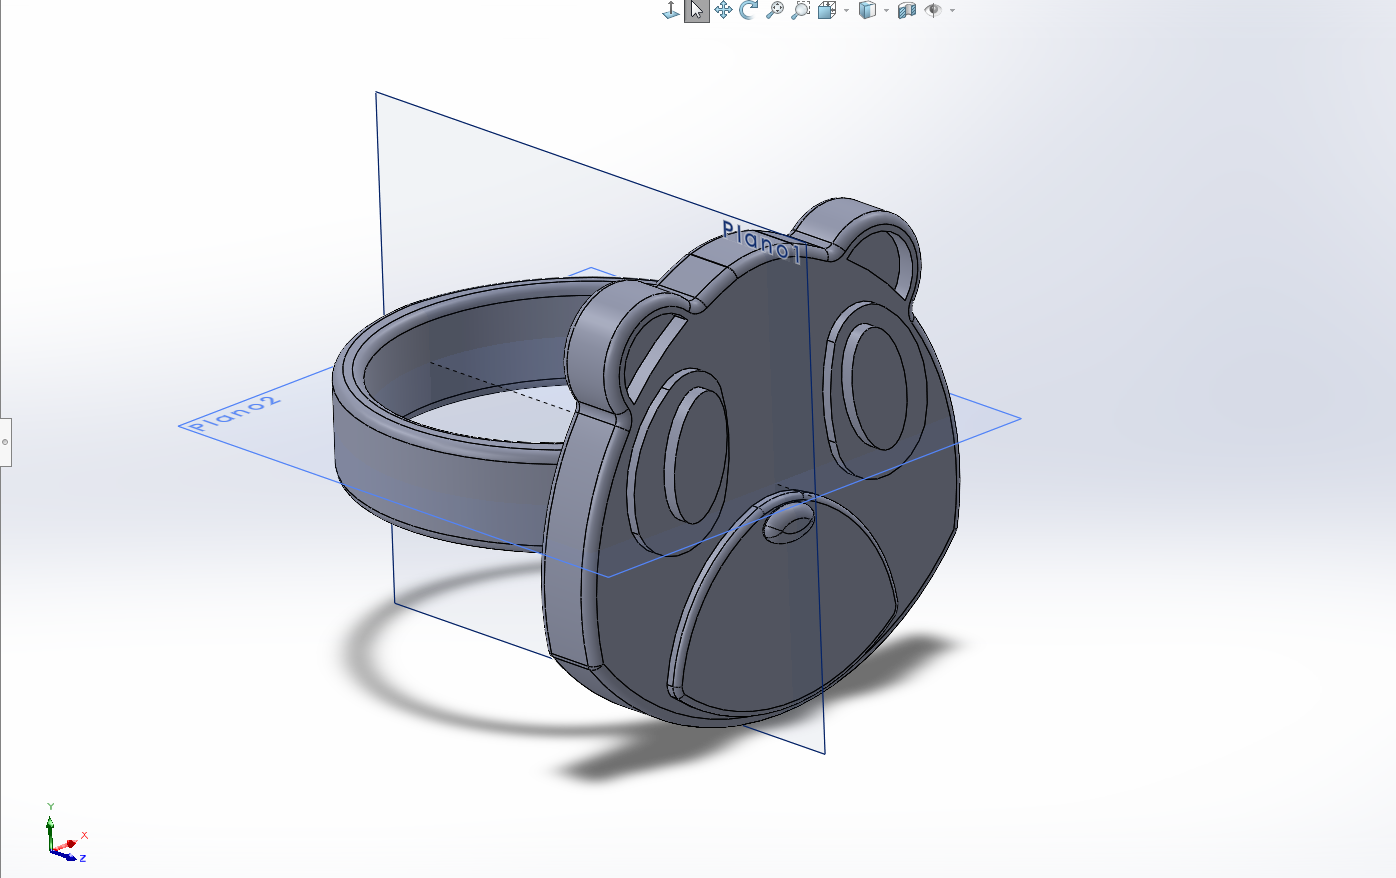
Project Vision: My idea for this week was to make a mold so I could make a wax version of this ring I made a while ago, so I could make it out of metal later.
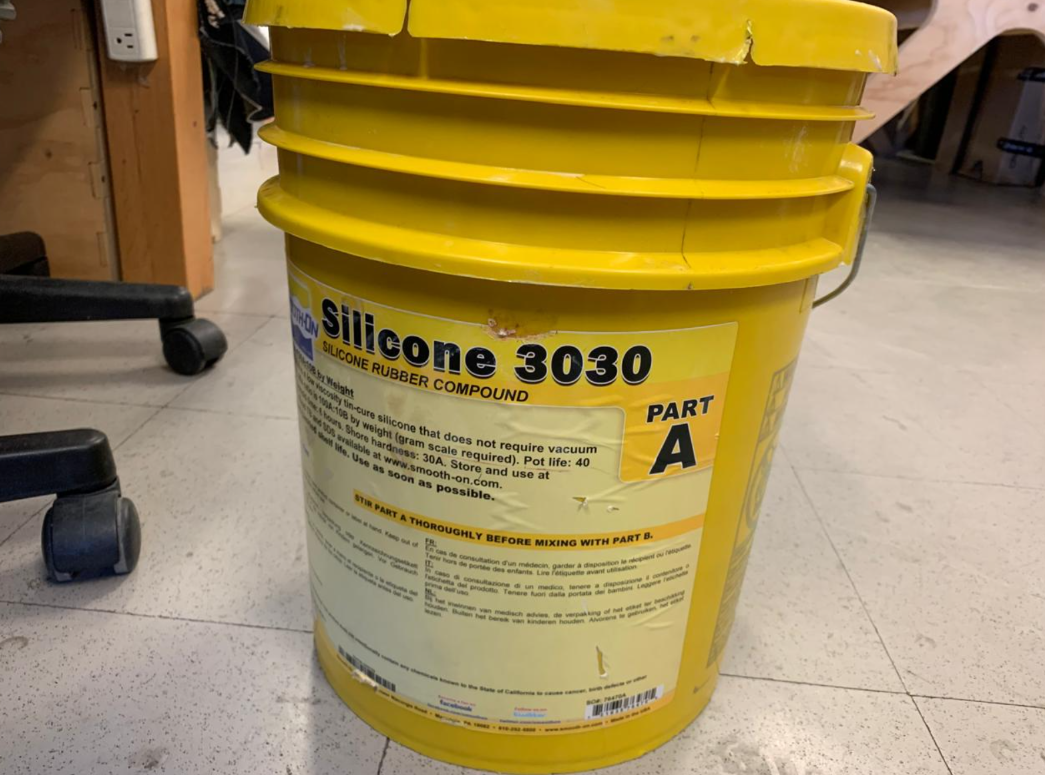
POSITIVE MOLD
It is the original physical object that serves as a geometric reference for creating the mold. Its main function is to displace the mold material (such as silicone, sand, or plaster) to leave an exact impression of its surface in the negative state.
STATUS: 100% READY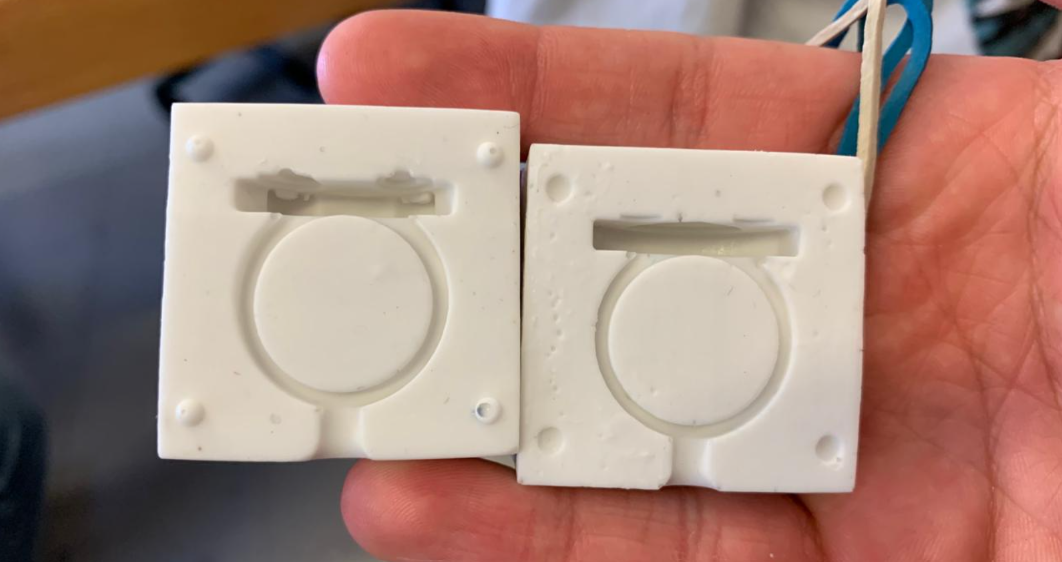
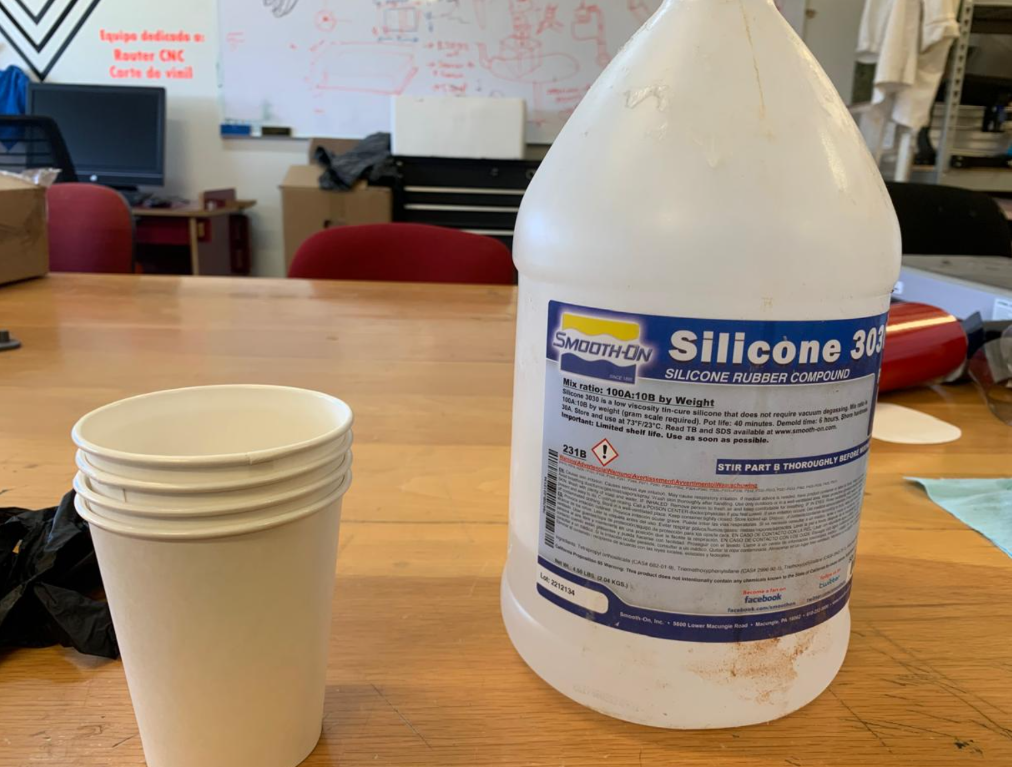
NEGATIVE MOLD
Negative Mold: This is the container or cavity that has the reverse shape of the object. It is the "hollow" that receives the material (like a cooler or the space left by a footprint in the sand).
STATUS: 100% READYSELECT FABRICATION METHOD.
[ MISSION: THE MASTER PATTERN ]
Original Model
To start, I used a 3D ring model I had previously designed, which I now wanted to turn into a physical object.
Split for Extraction
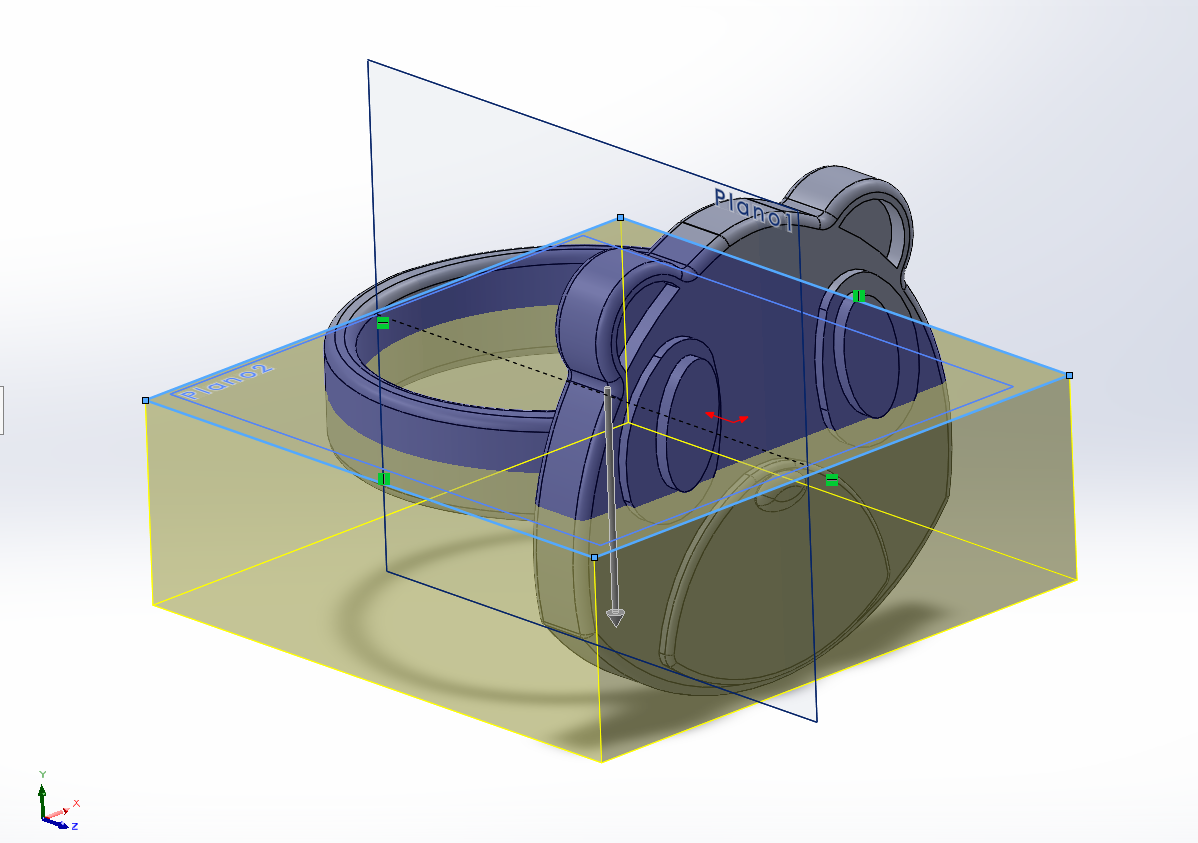
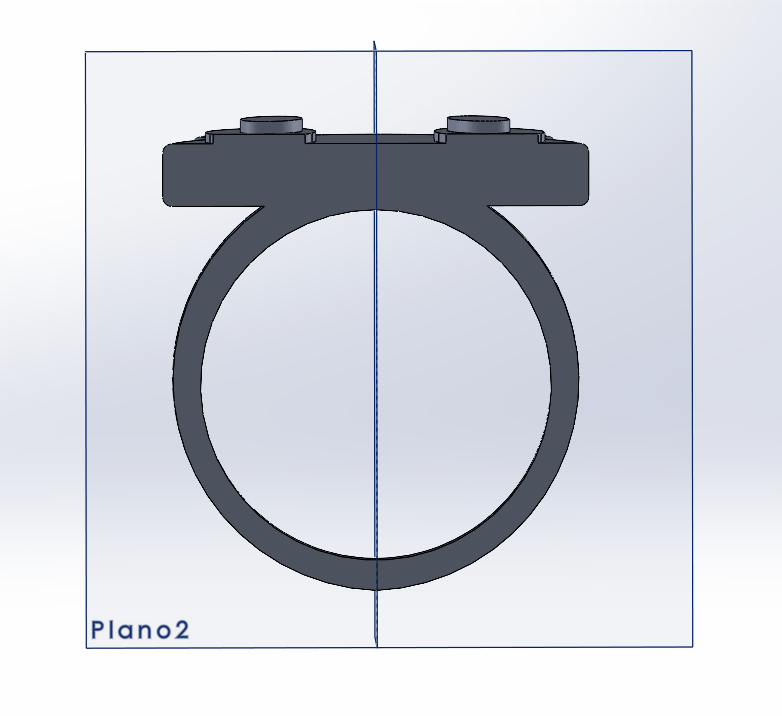
To prevent the piece from getting stuck in the mold (which would force you to break it), we cut the ring horizontally through the middle.
Flat Reference Base
This way, the flat section will be attached to the base block where the mixture will be poured later (the mold base).
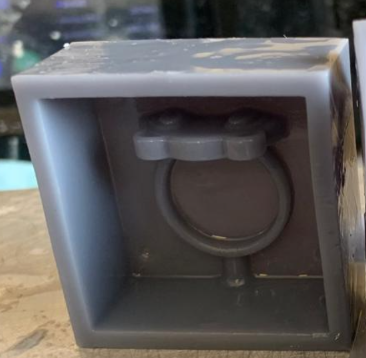
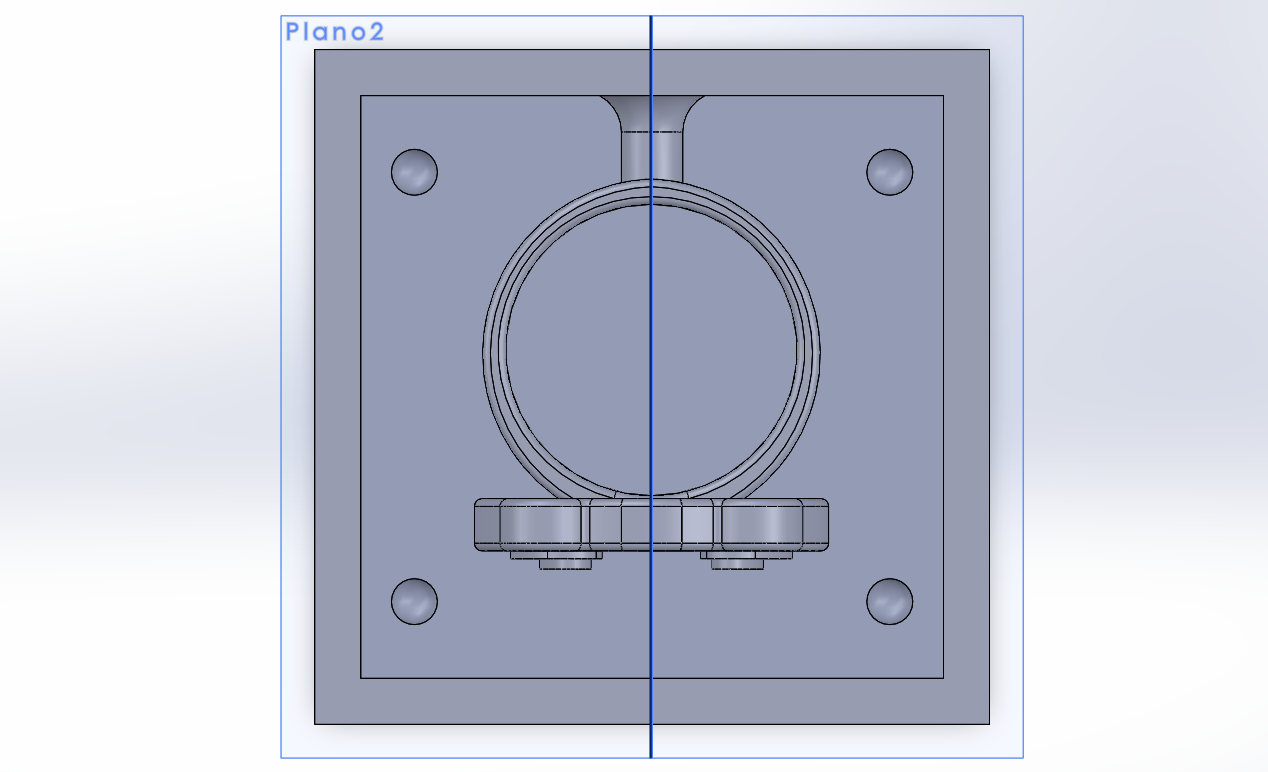
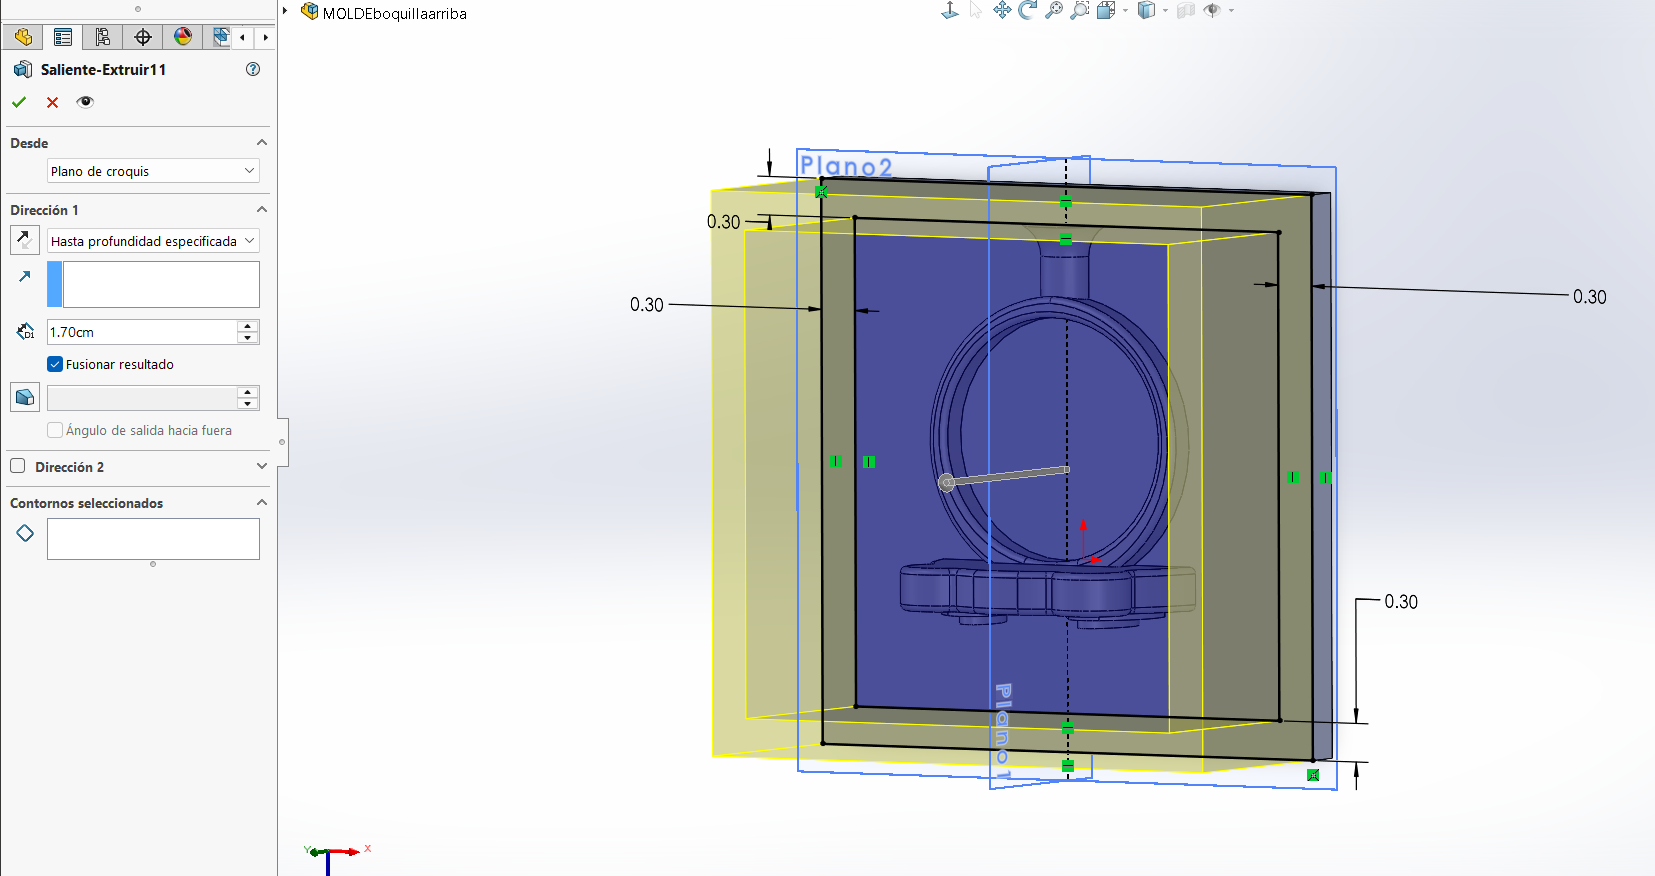
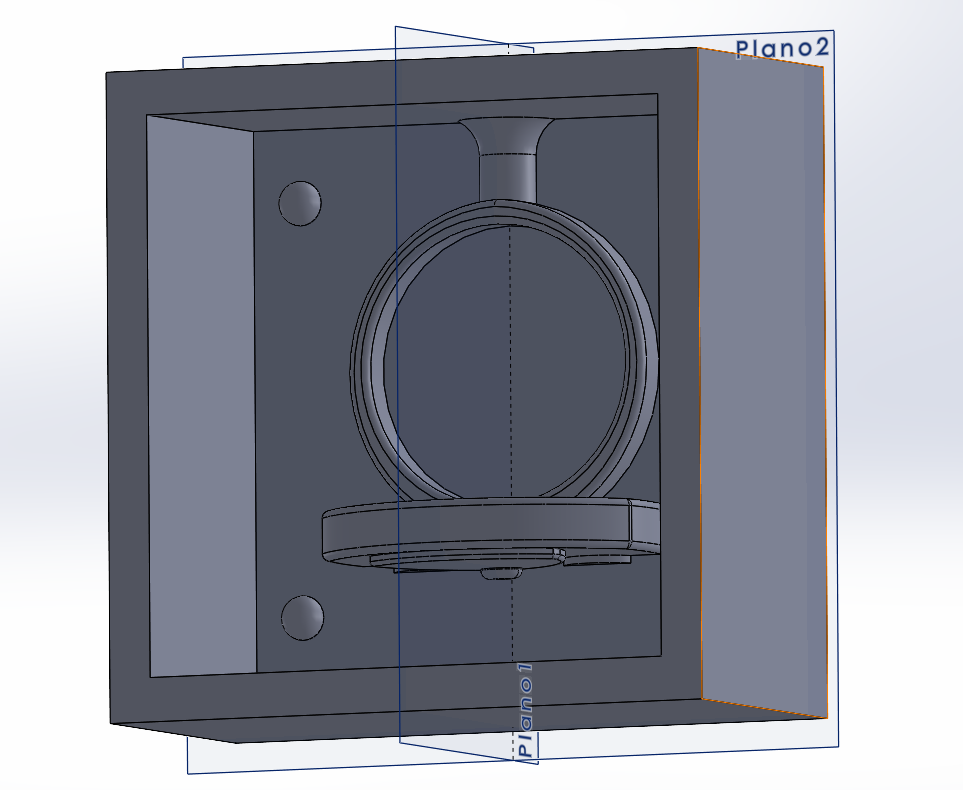
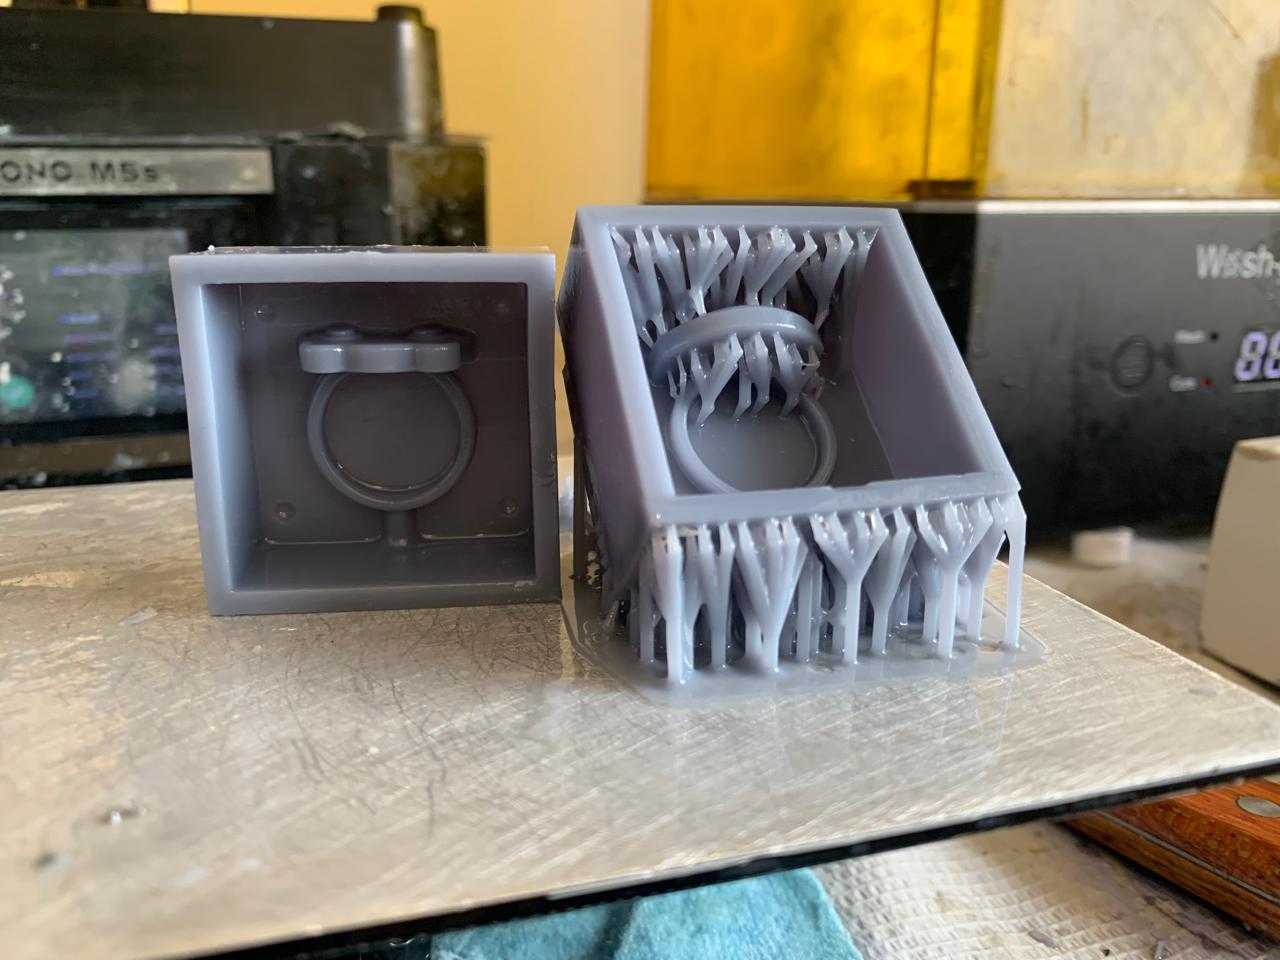
Positive Mold Box
To create the positive mold, you only need to place a box-like structure around the cut piece. In my case, the walls are 3 mm thick.
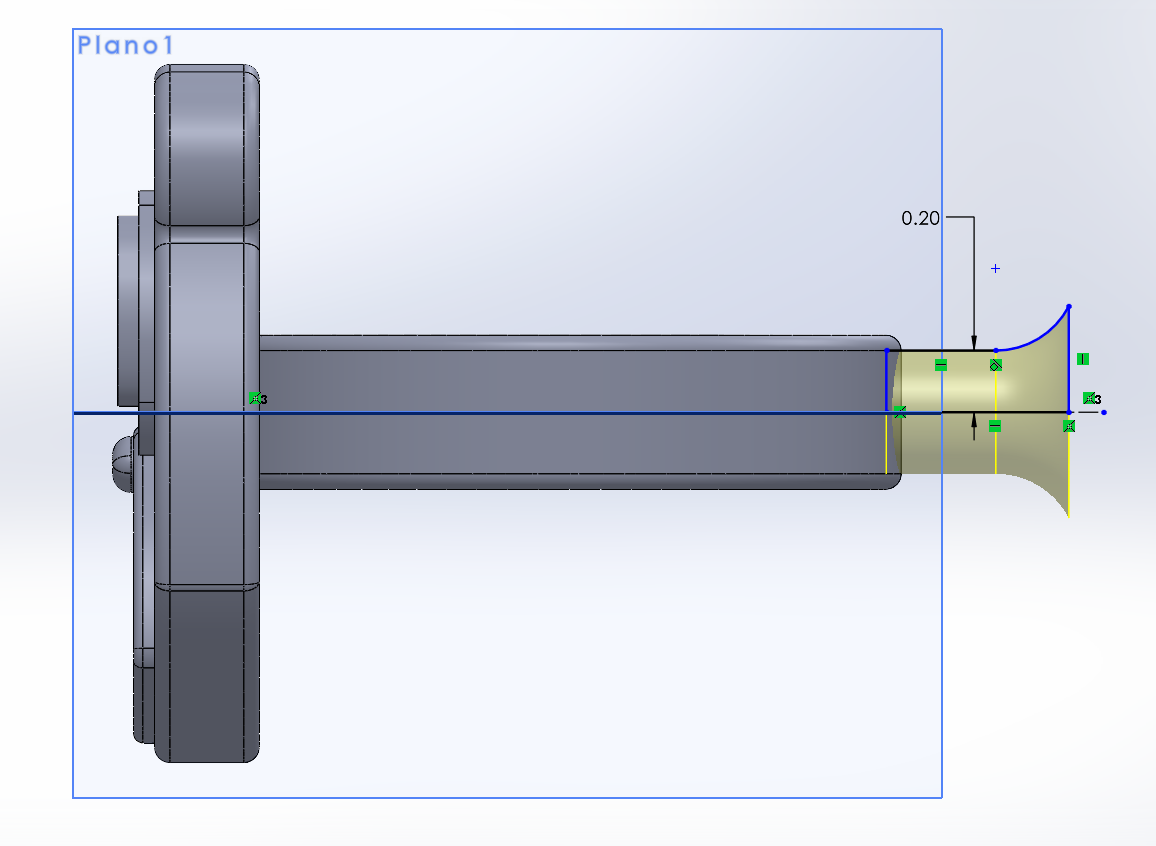
The Funnel (Sprue)
A bottleneck-shaped section is attached to the top of the ring. This creates an opening to pour the mixture once the mold is finalized.
Alignment Keys
The first half of the mold should look like this. I added hemispherical hollows to allow this half to snap perfectly with the other one.
Wall Thickness
It is recommended to give the walls at least 5 mm of extra thickness from the highest point of the piece to prevent the mold from breaking or puncturing.
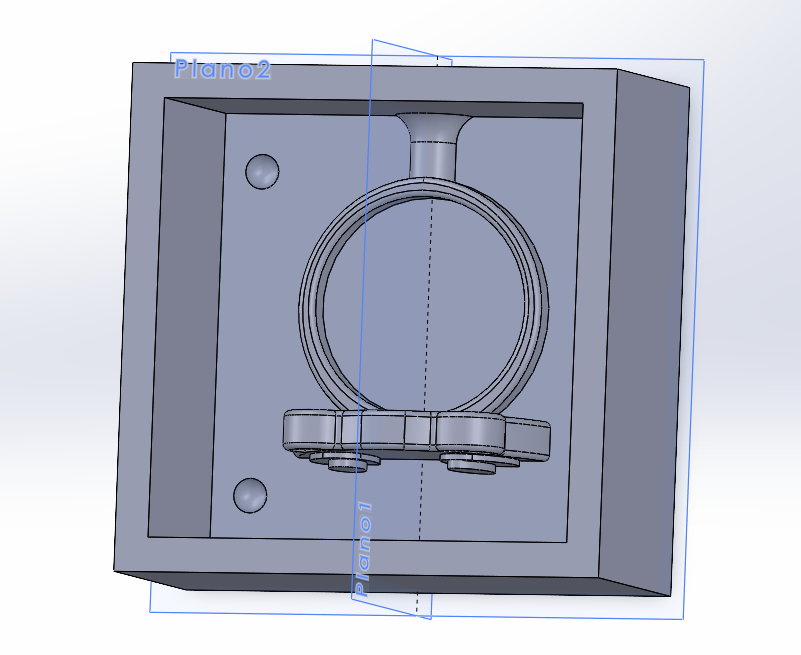
The Second Half
Repeat the process for the other half of the ring at the same height, but this time add raised hemispheres (keys) to fit into the previous hollows.
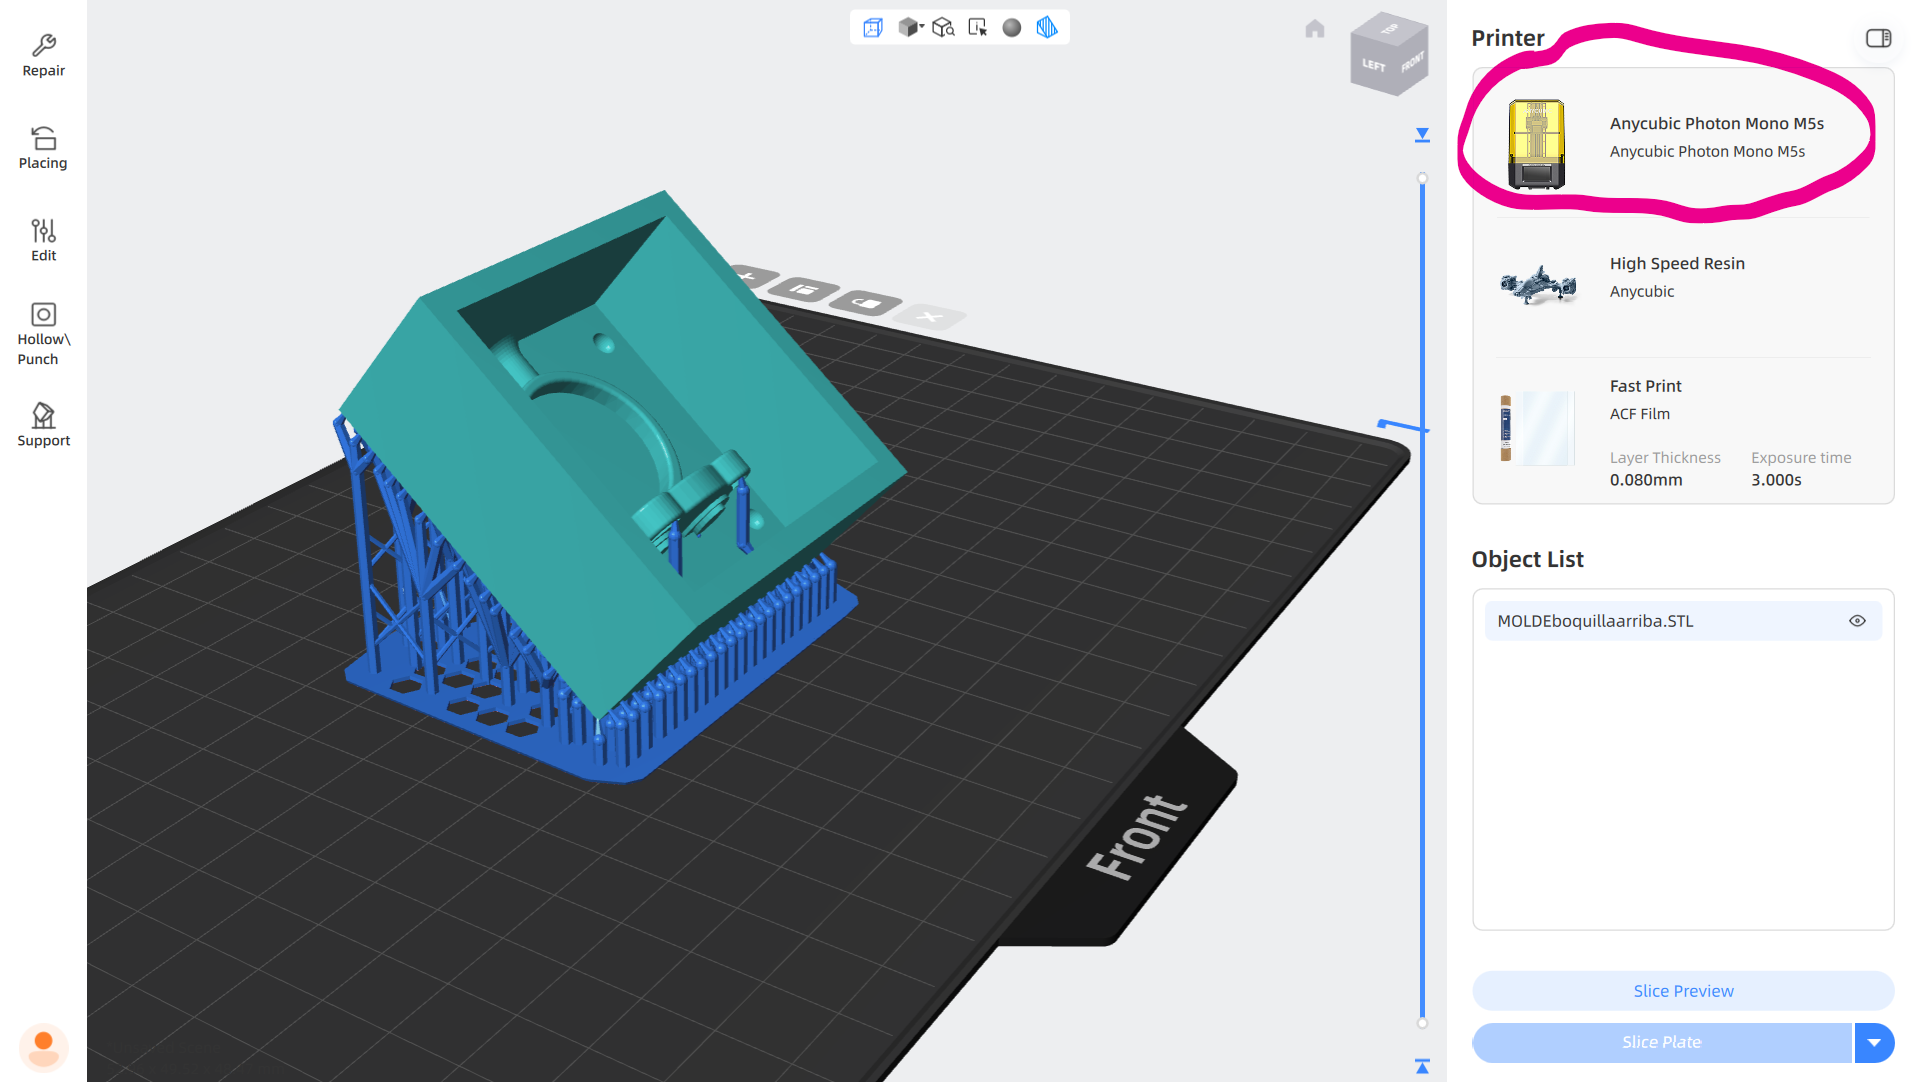
Resin Printing
I used an Anycubic Photon Mono M5s with its dedicated software. This ensures a smoother finish without the typical layer marks of FDM printing.
DOWNLOAD ANYCUBIC SOFTWARE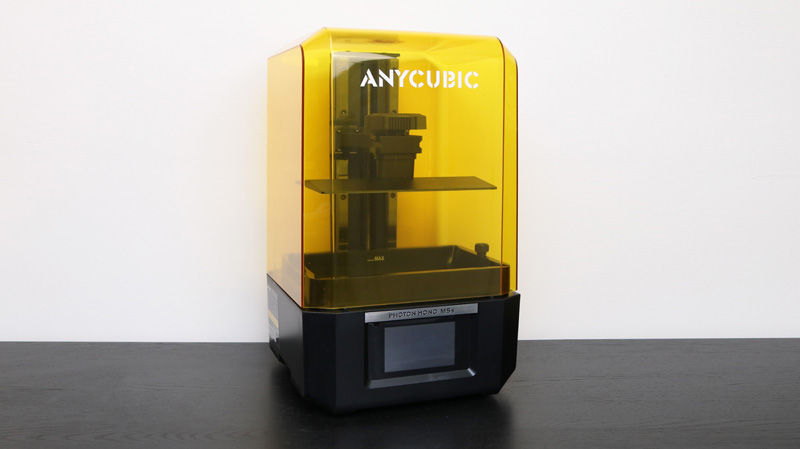
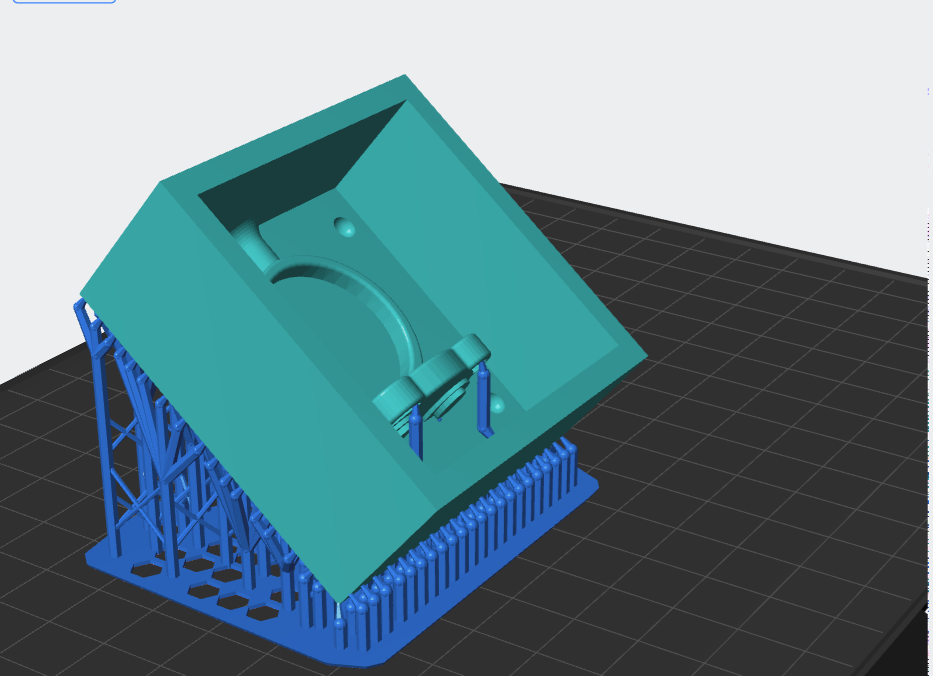
Print Orientation
It is advisable to tilt the piece at a 45-degree angle to ensure print success. Avoid placing supports on the inside to prevent leaving marks.
Printer Parameters
Within the software, you can click on the printer icon to modify specific printing parameters for your project.
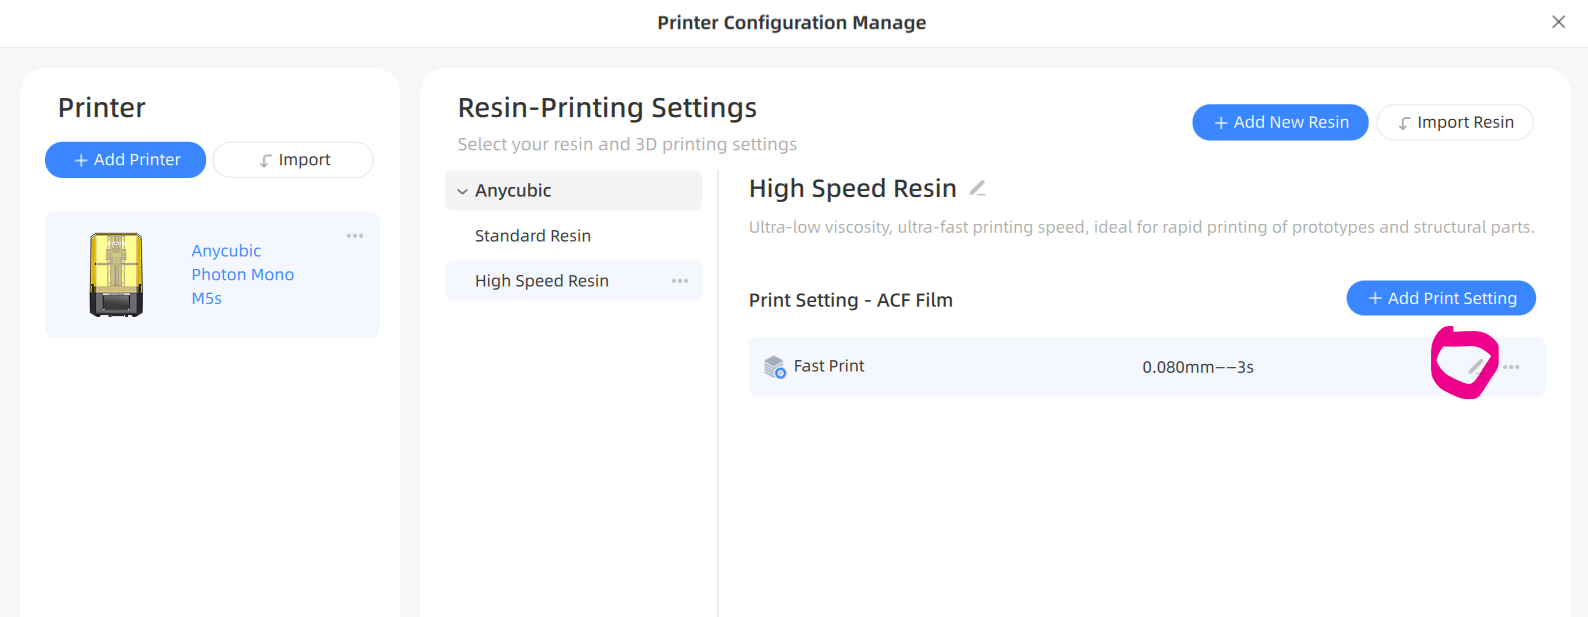
Edit Settings
Select the pencil icon as shown in the image to begin customizing the exposure and lift settings.
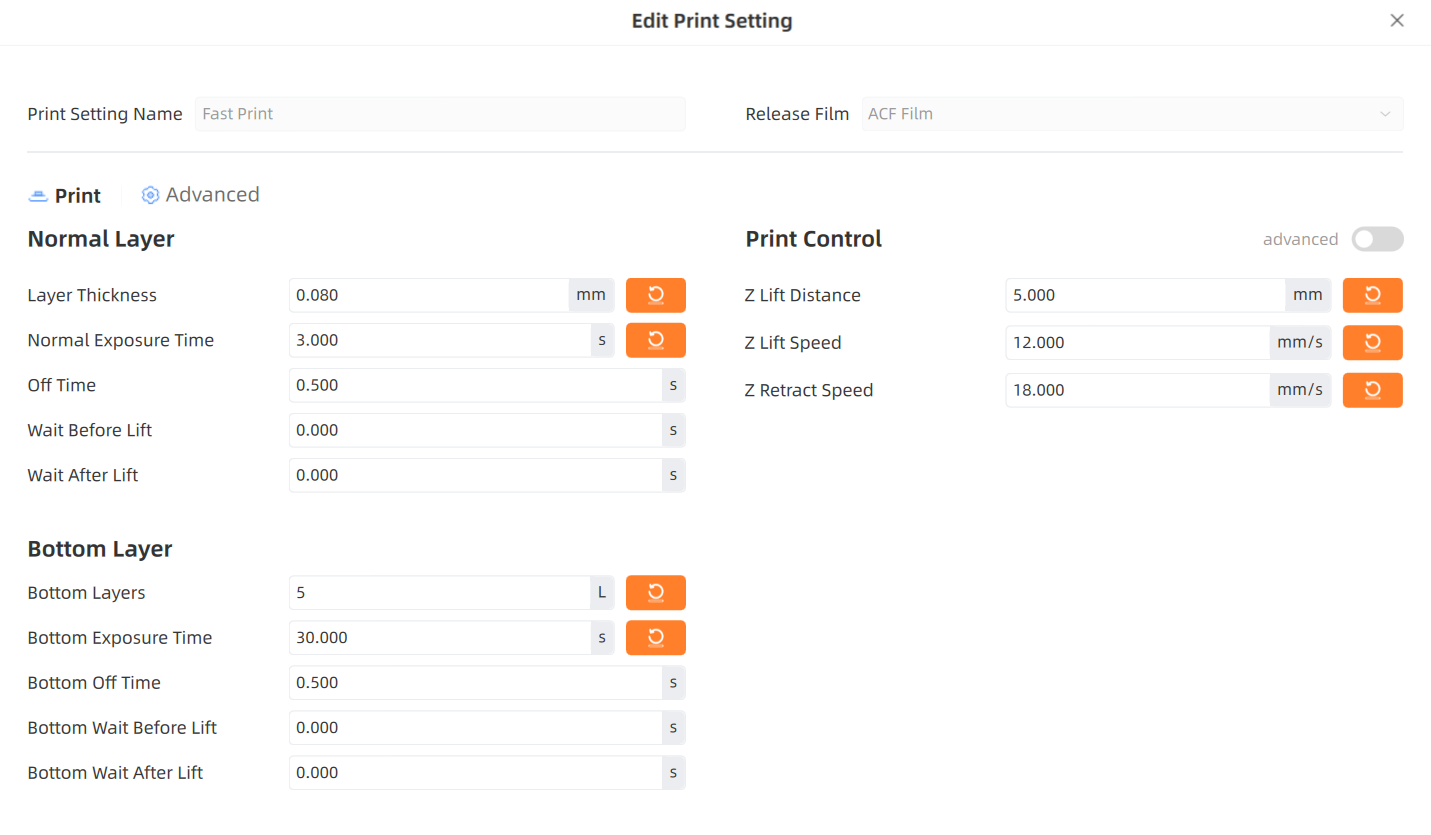
Resin Calibration
It is crucial to adapt these parameters to the specific resin you are using. Research the manufacturer's recommendations online for the best results.
Printing Process
After leveling and cleaning the build plate, follow the same execution process demonstrated in the video to start the print.
Raw Result
Once the print is finished and removed from the plate, it will have a shiny appearance and a viscous, sticky texture.
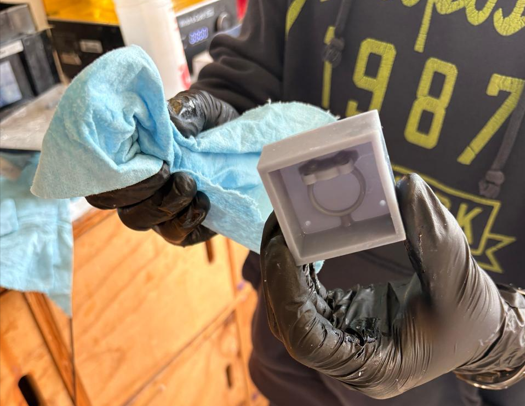
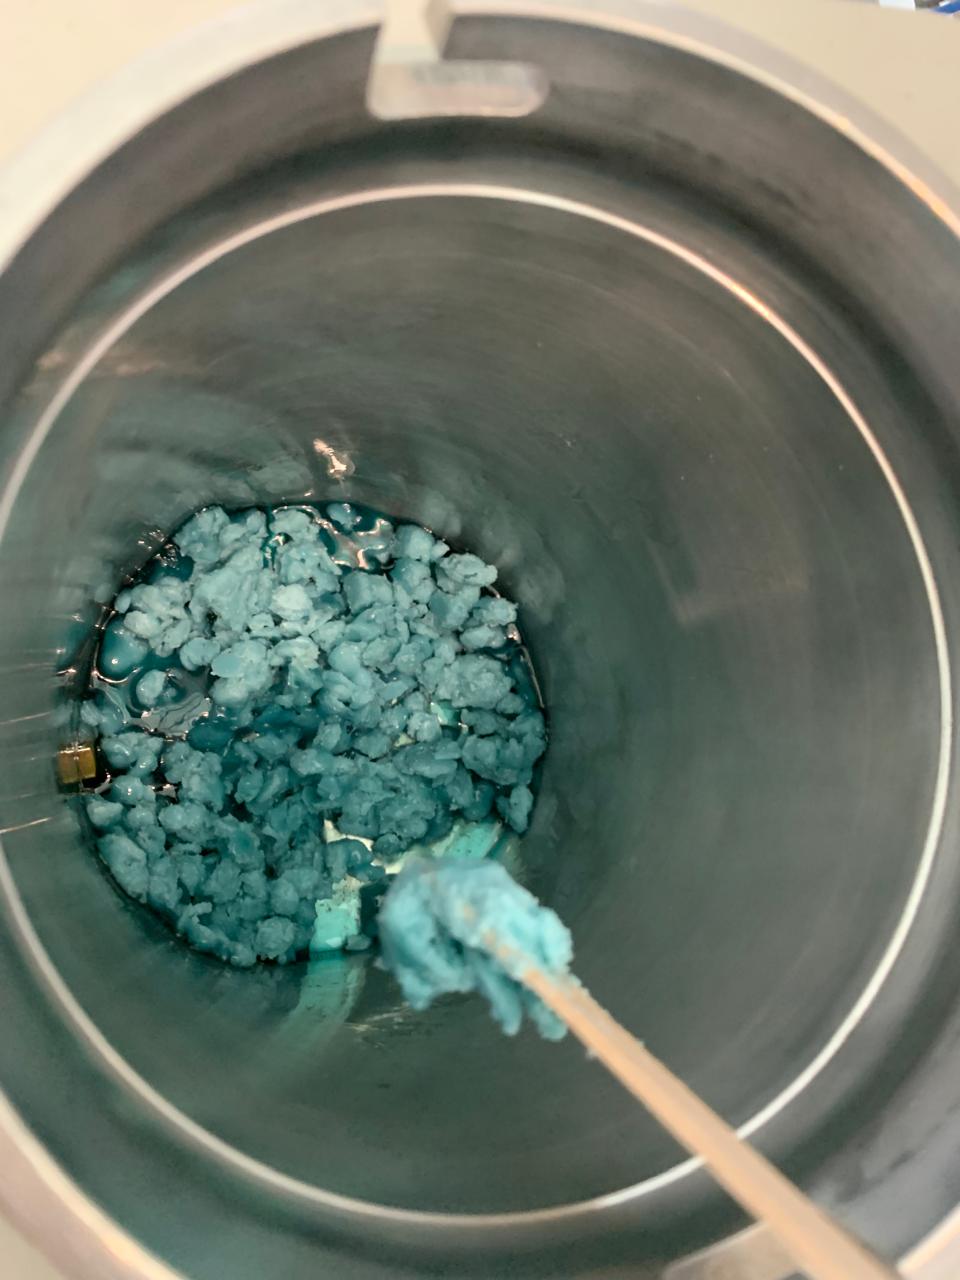
Isopropyl Cleaning
Clean the piece with isopropyl alcohol until the surface becomes completely matte and loses all viscous texture.
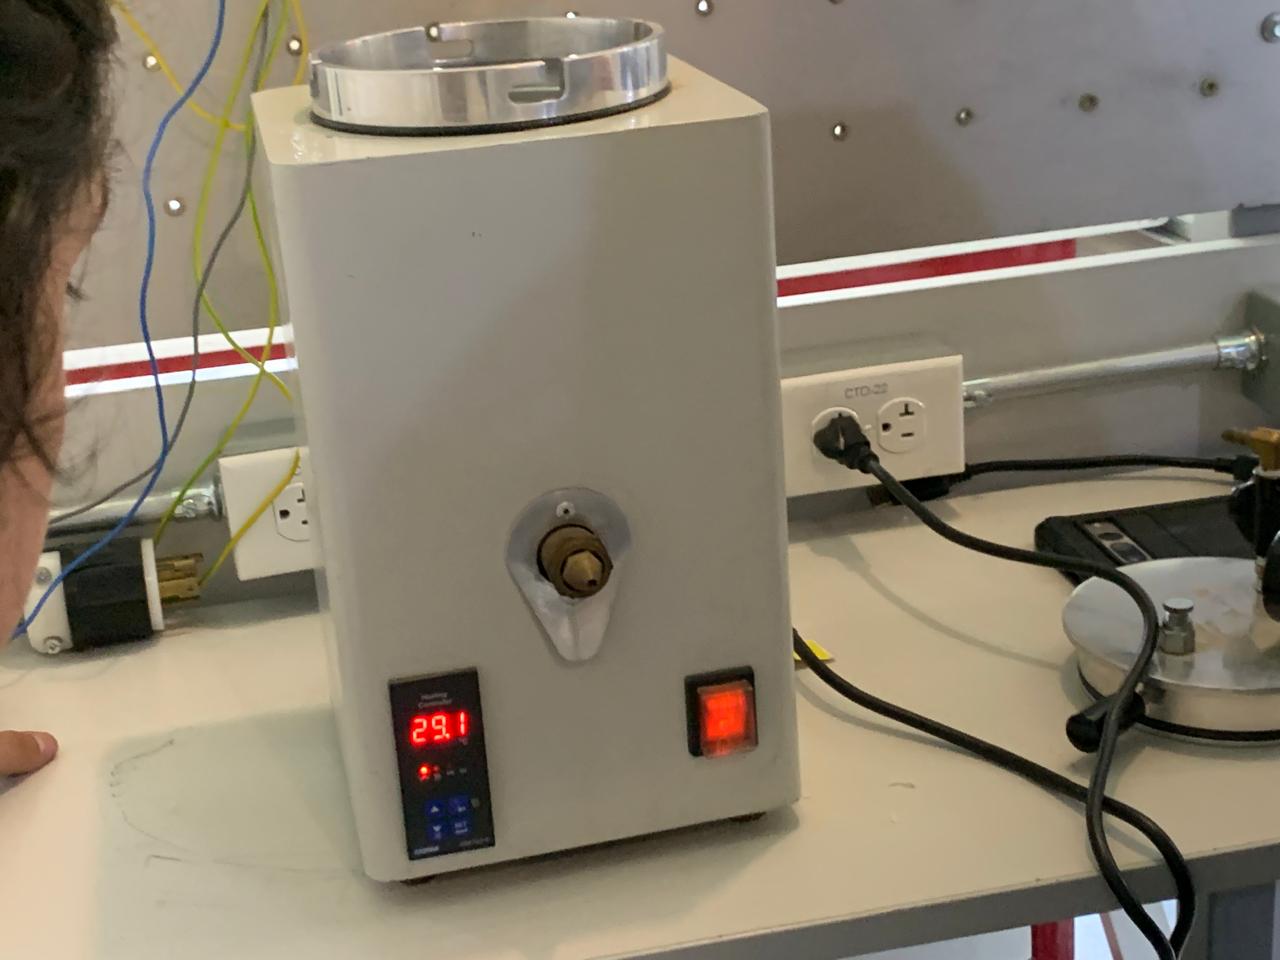
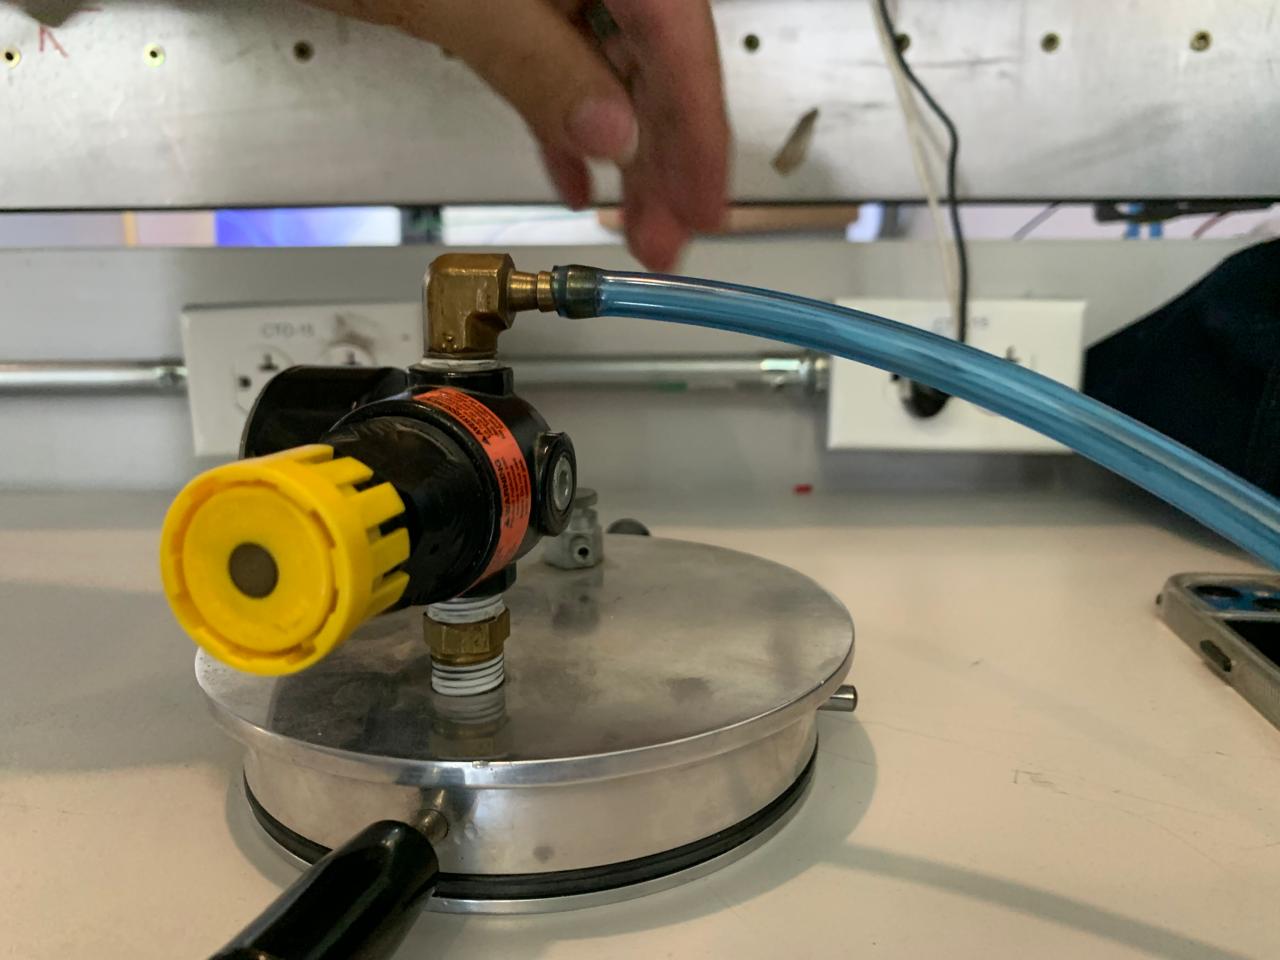
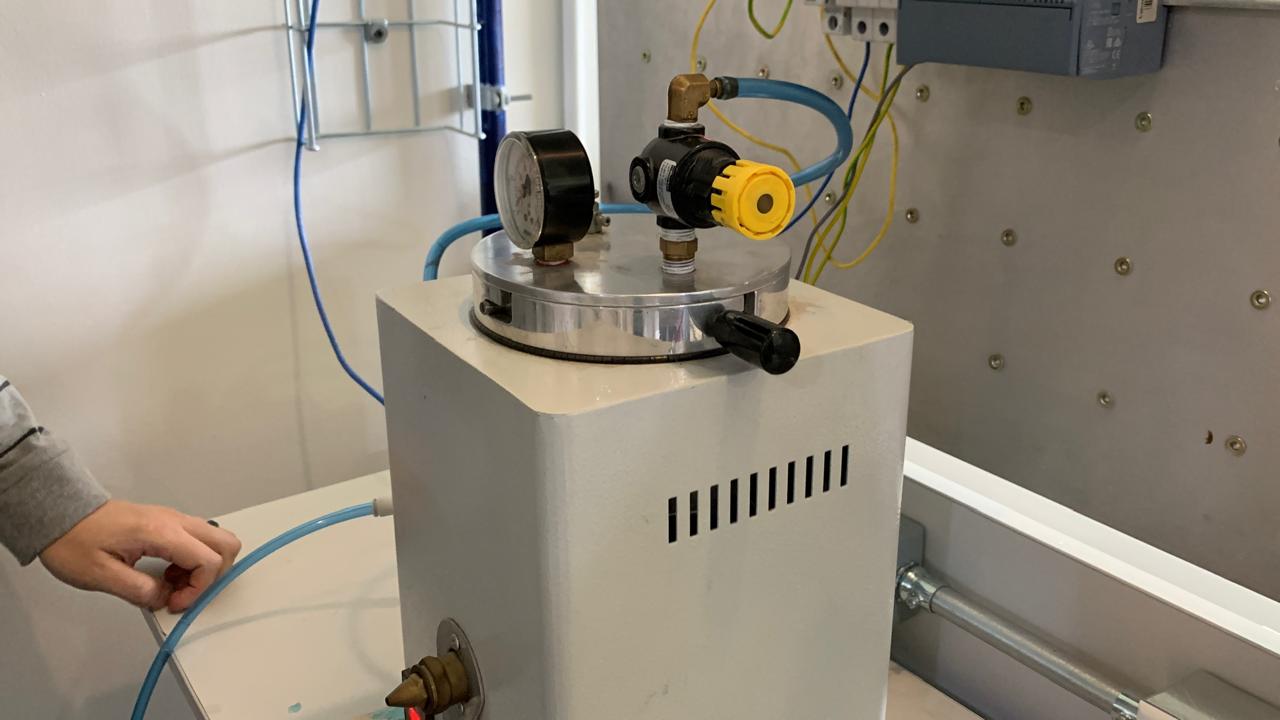
UV Curing
Cure the piece with UV rays for a final finish. Using a Wash & Cure machine, I applied 15 minutes as recommended for this specific resin.
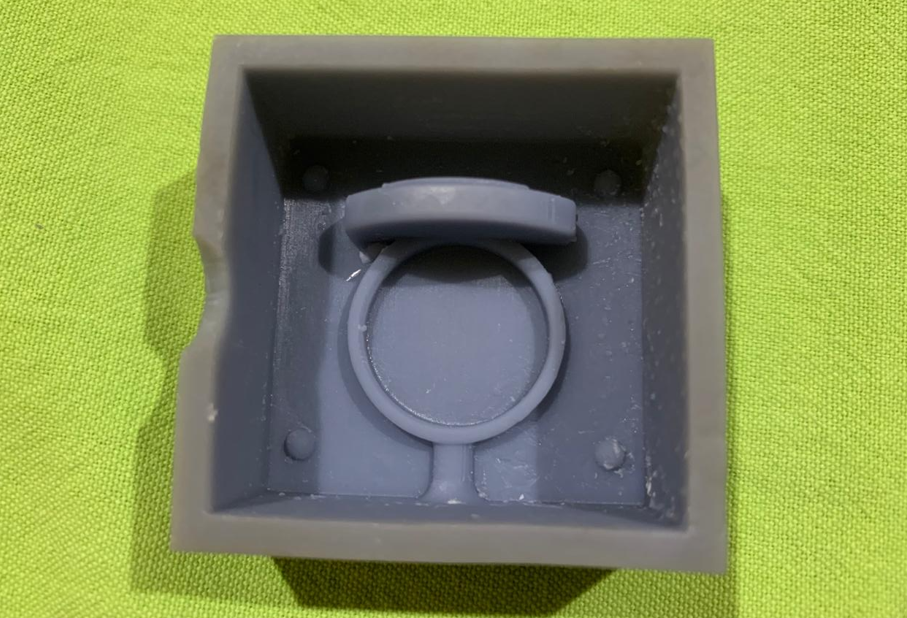
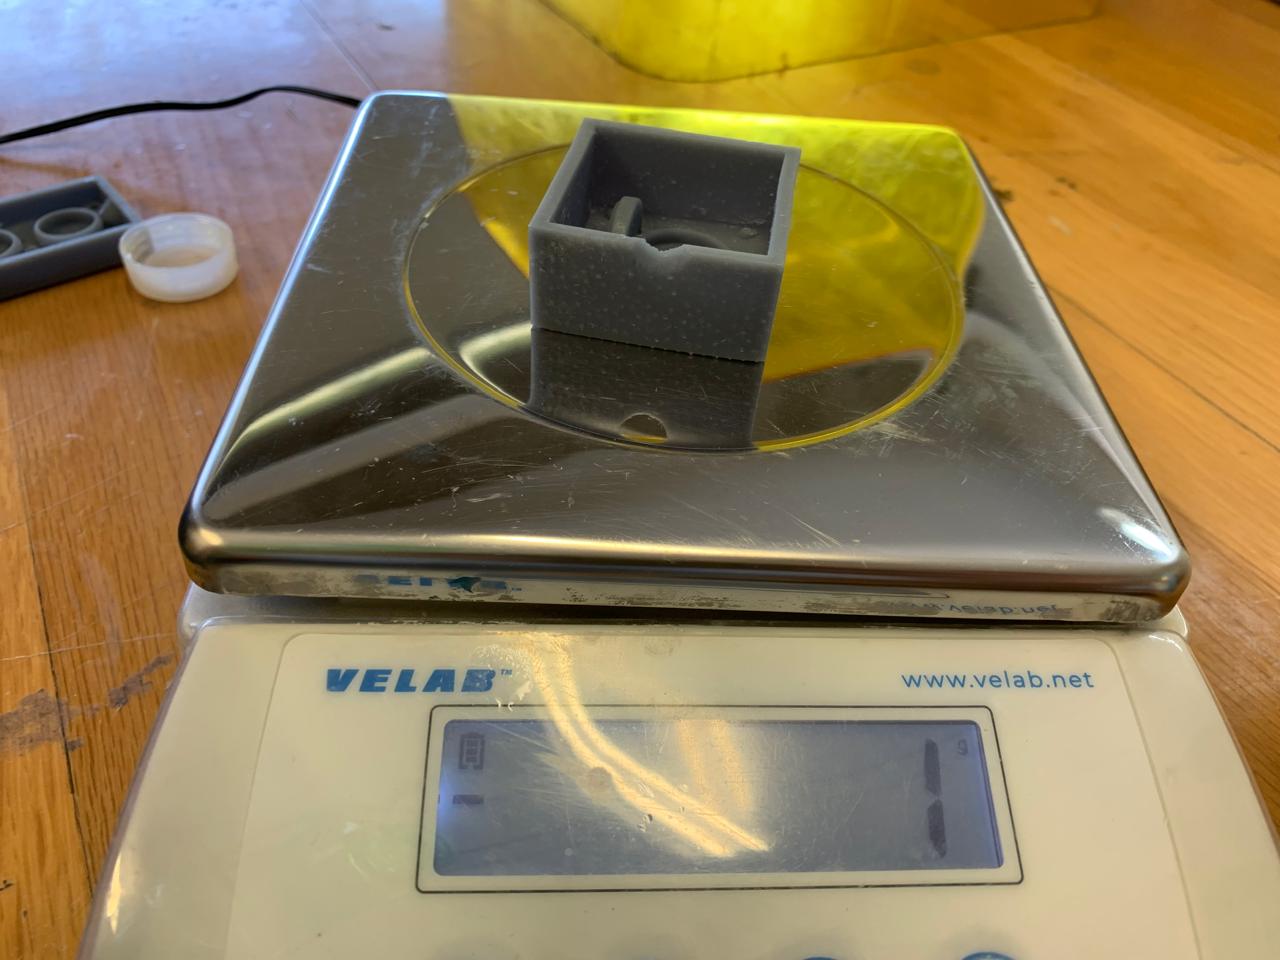
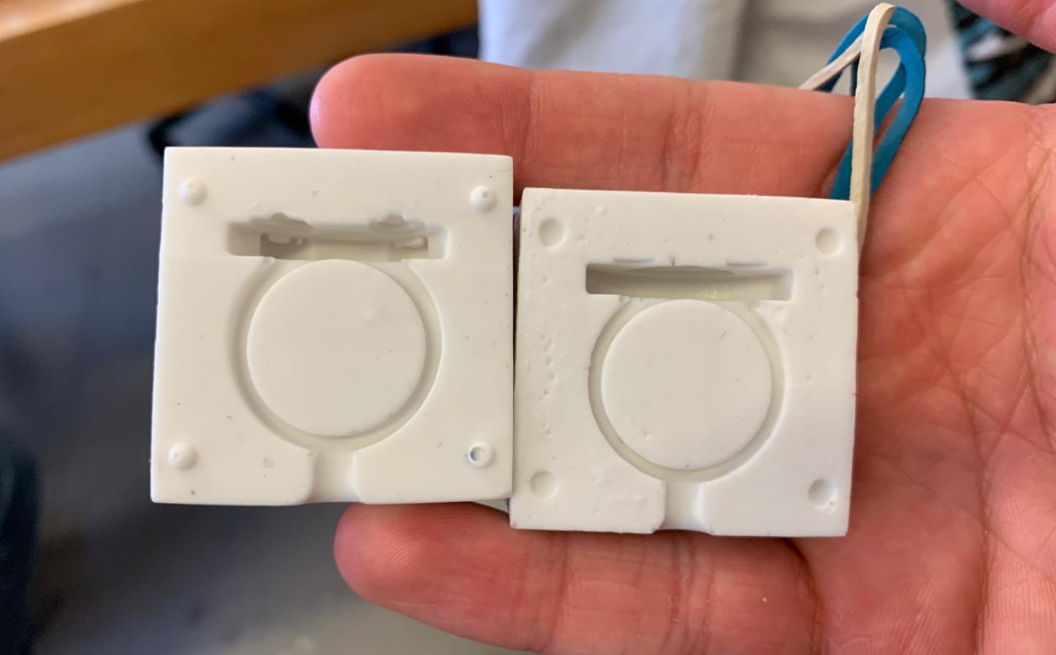
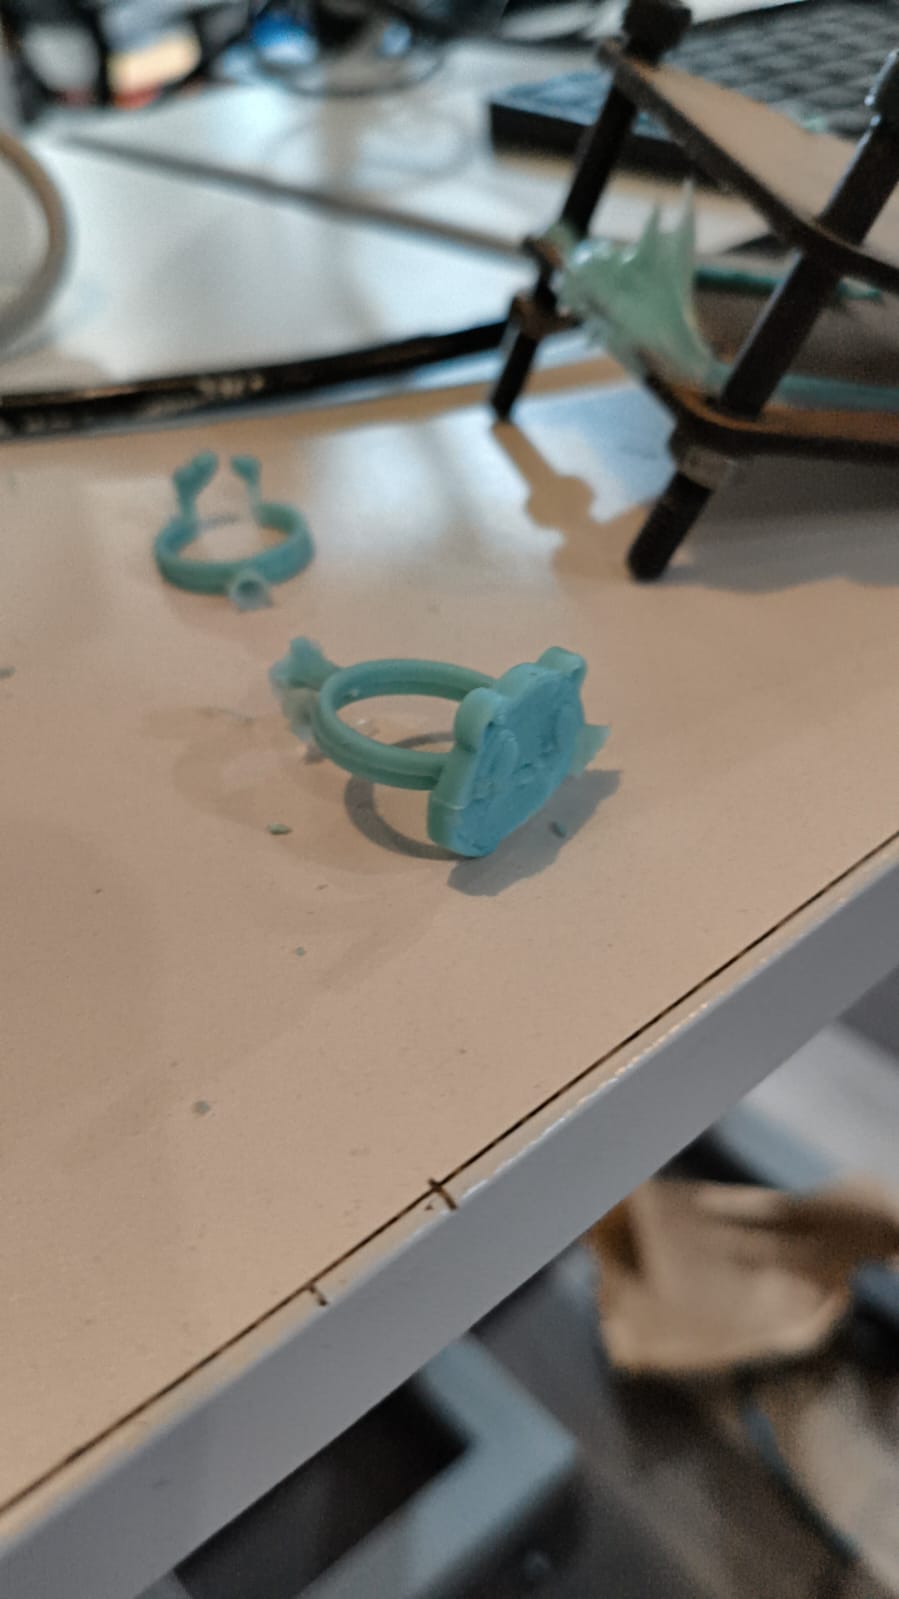
Final Master Mold
This is the final result of the positive master, ready to be used for the negative molding stage.
INTEL_DOSSIER
MOLDING FILES