3. COMPUTER CONTROLLED CUTTING
[ MISSION: Mastering the art of subtracting material with light and blades.]
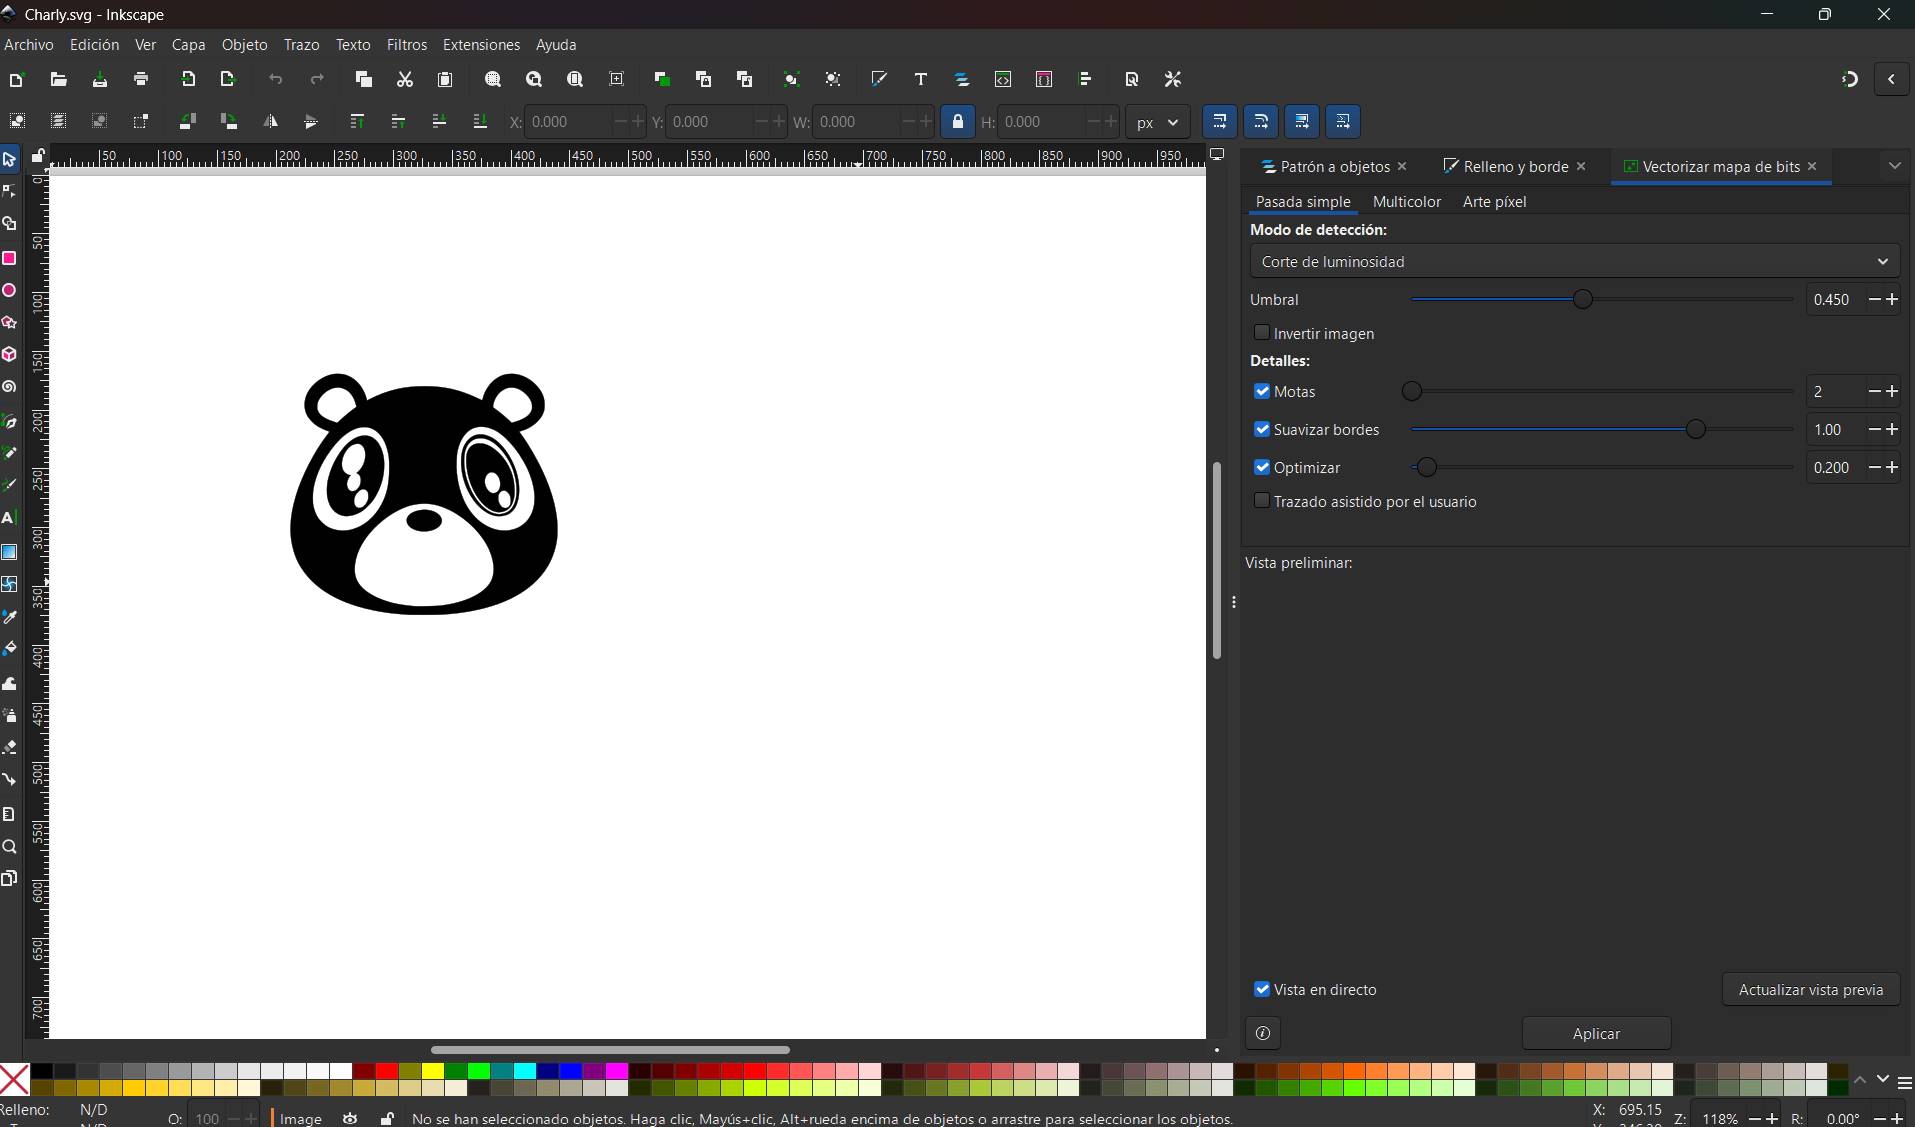
This week we also characterized our laser cutter and vinyl tools. You can check the complete documentation of our lab group's findings here.
CHOOSE YOUR MODE.
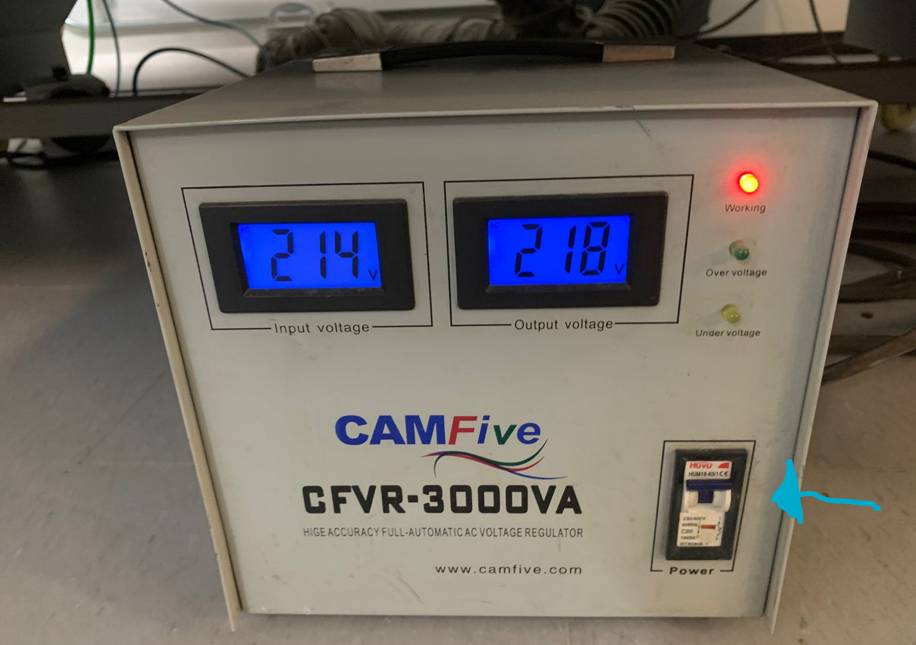
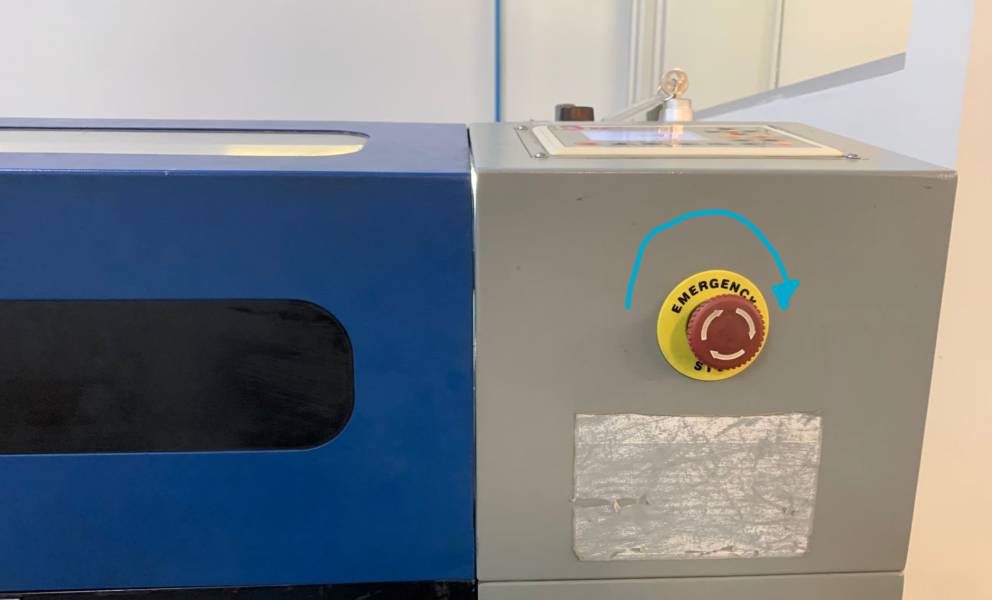
Before starting, the physical machine—in this case, an STM Robotics plotter—must be properly set up to ensure the blade cuts correctly through the material layer.
STM Robotics cutters are known for their precision. When calibrating, remember to adjust the blade depth manually so it only pierces the vinyl and not the backing paper.
At the back of the machine, there are two pinch rollers. When the levers are down, they are secured; when they are up, they are free. You can slide them manually to any distance to match your material width.
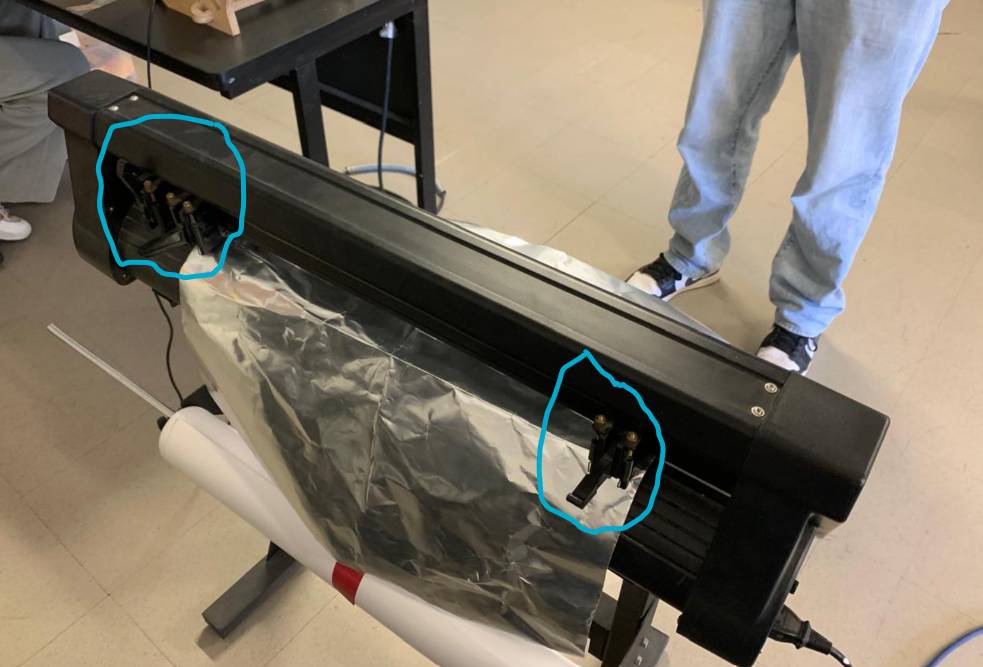
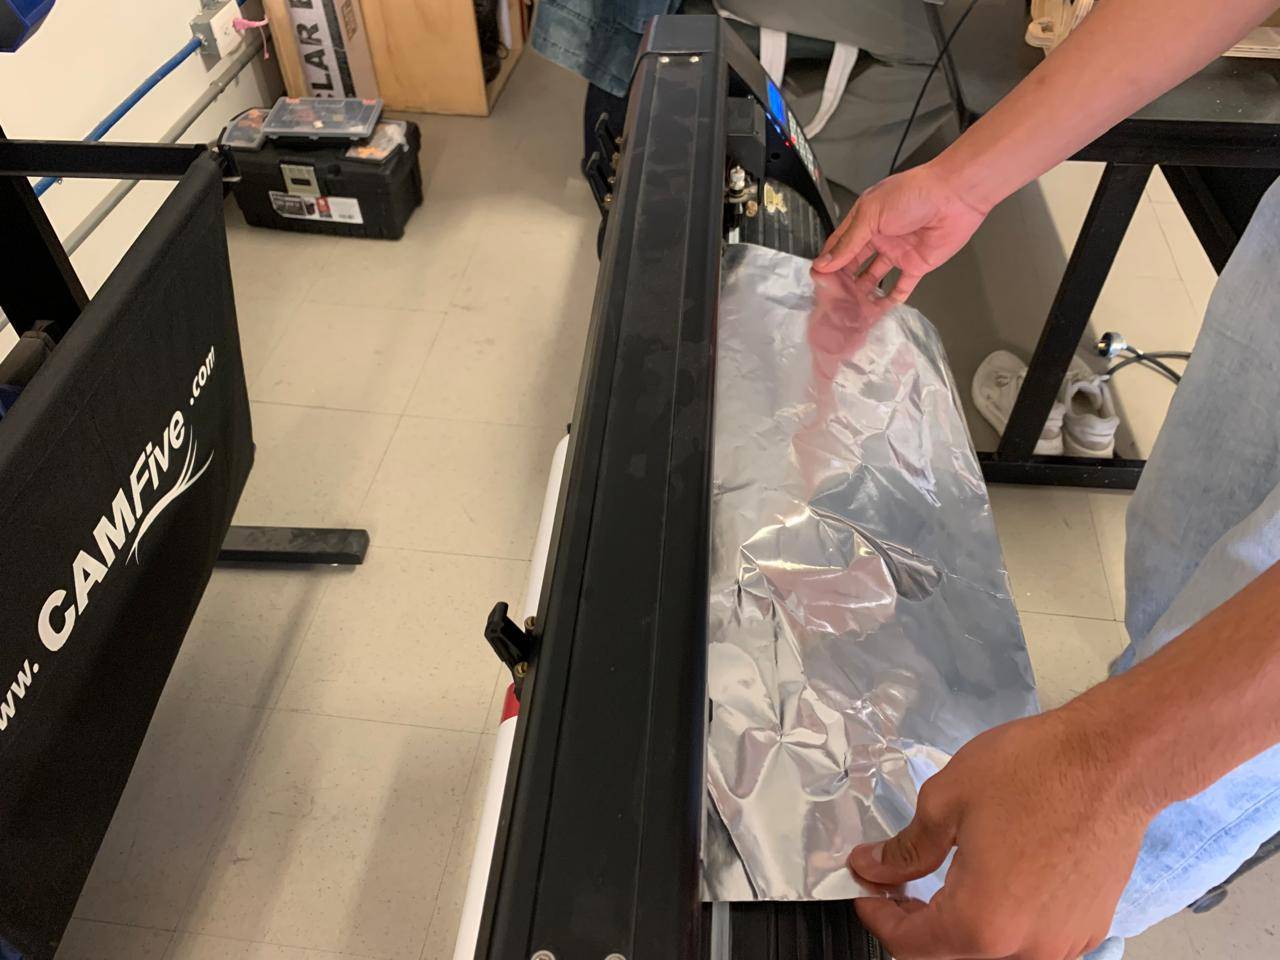
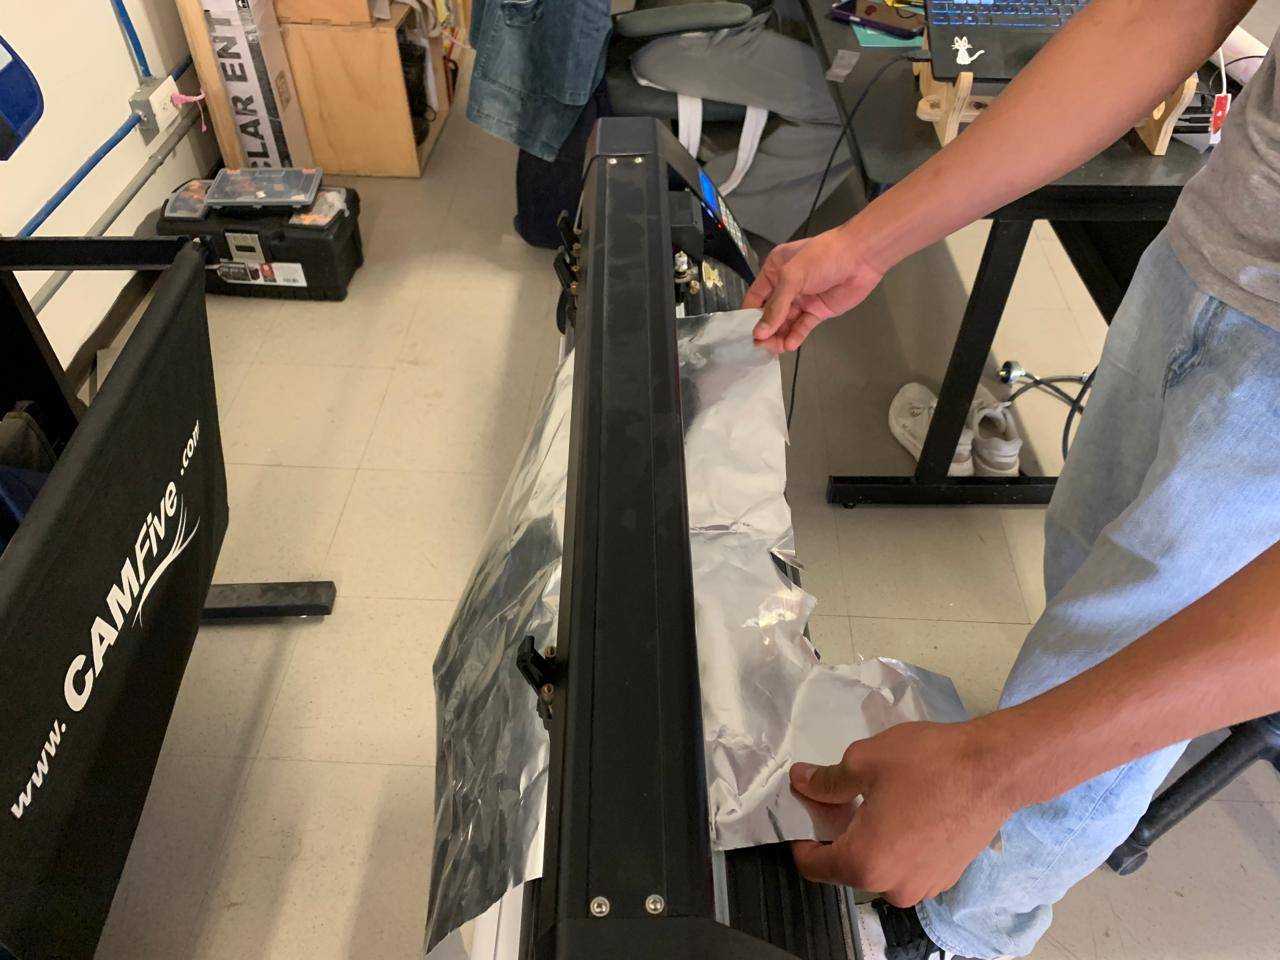
Raise the levers to insert your vinyl or material. Slide it through until it is correctly positioned, then lower the levers to press and lock the material in place.
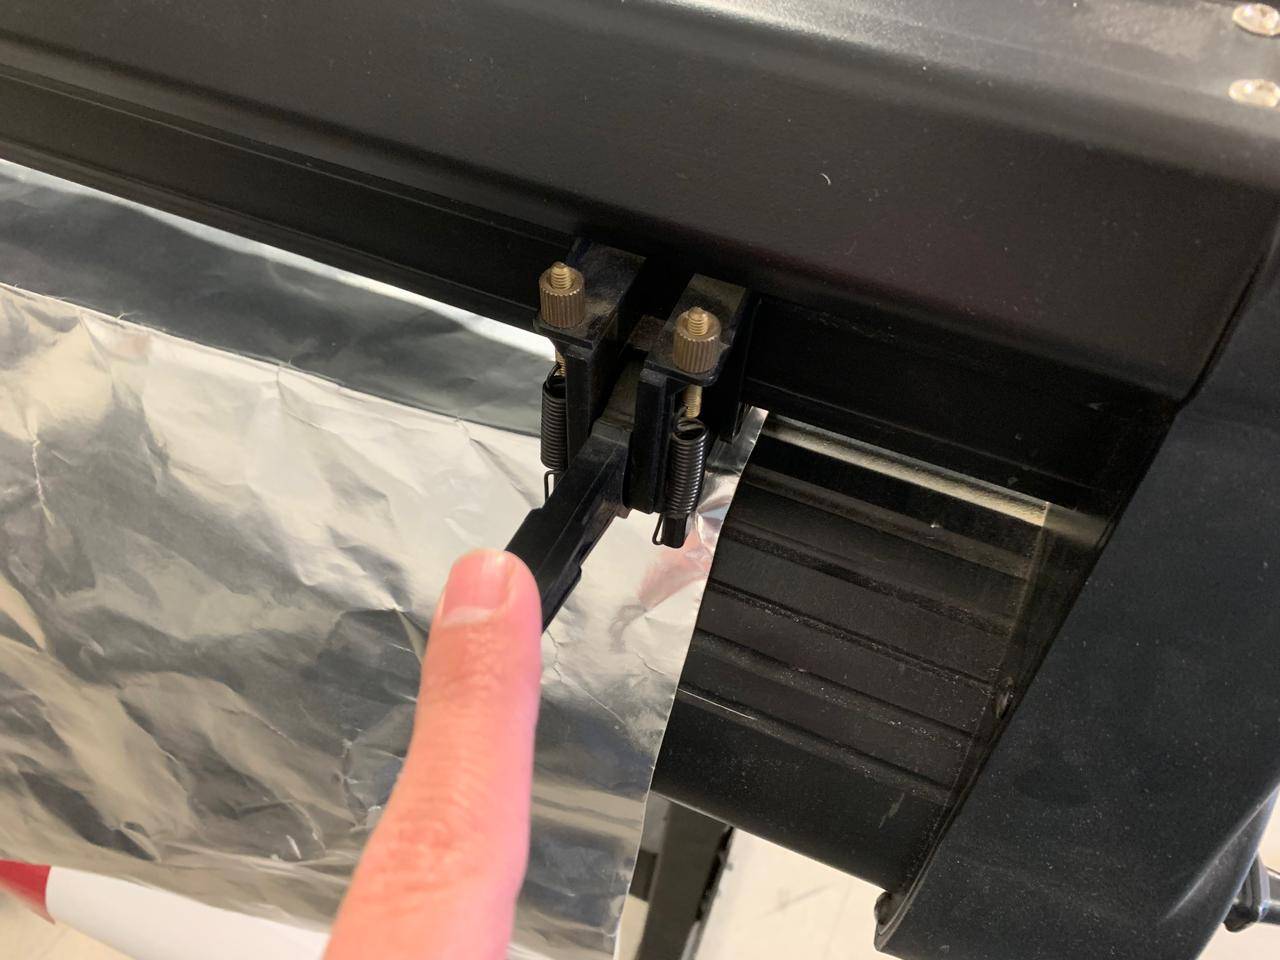
Verify the vinyl path is straight. If the material is crooked, the cut will eventually drift off the edge during long jobs.
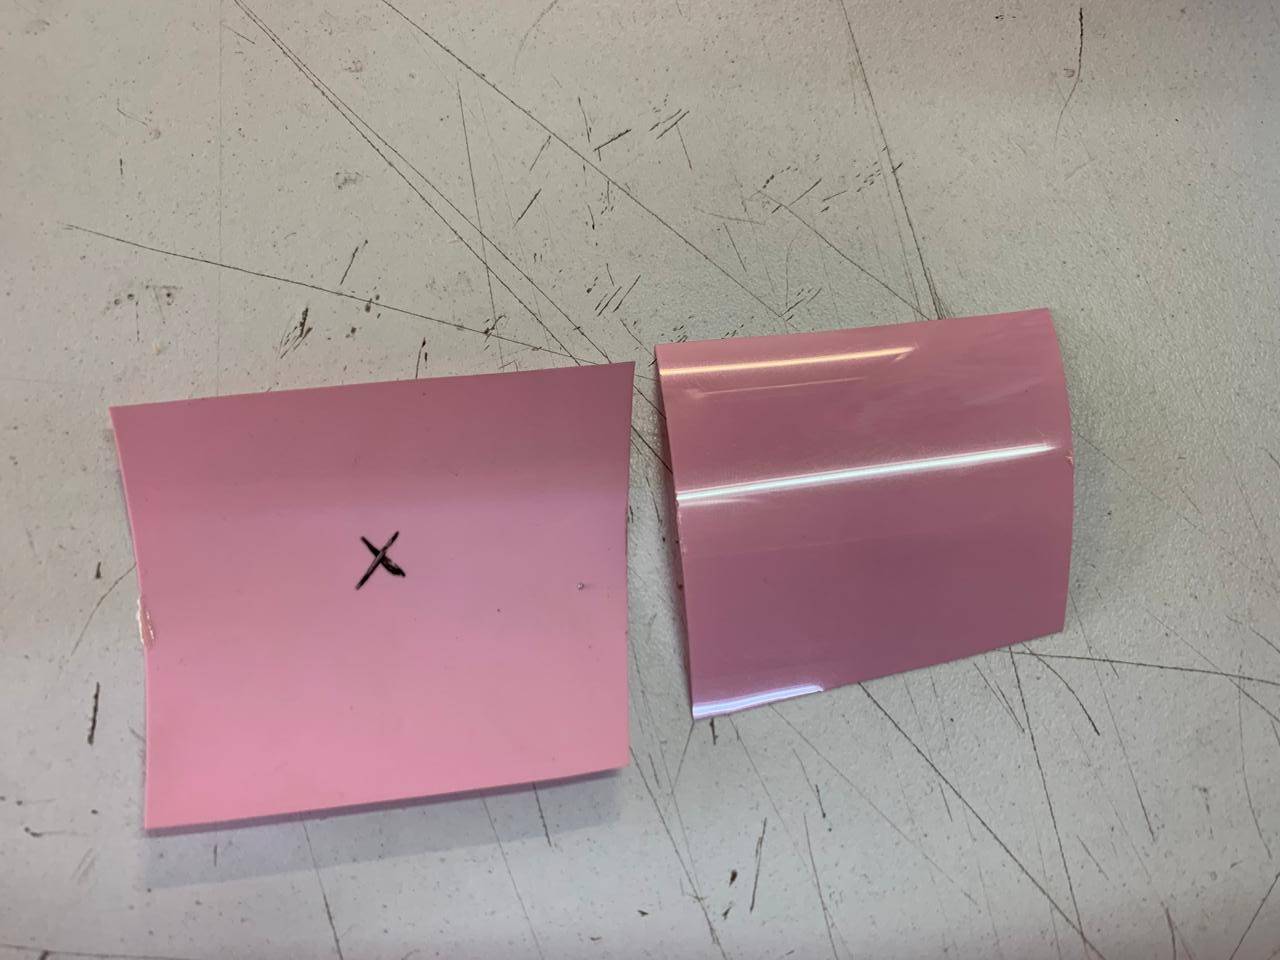
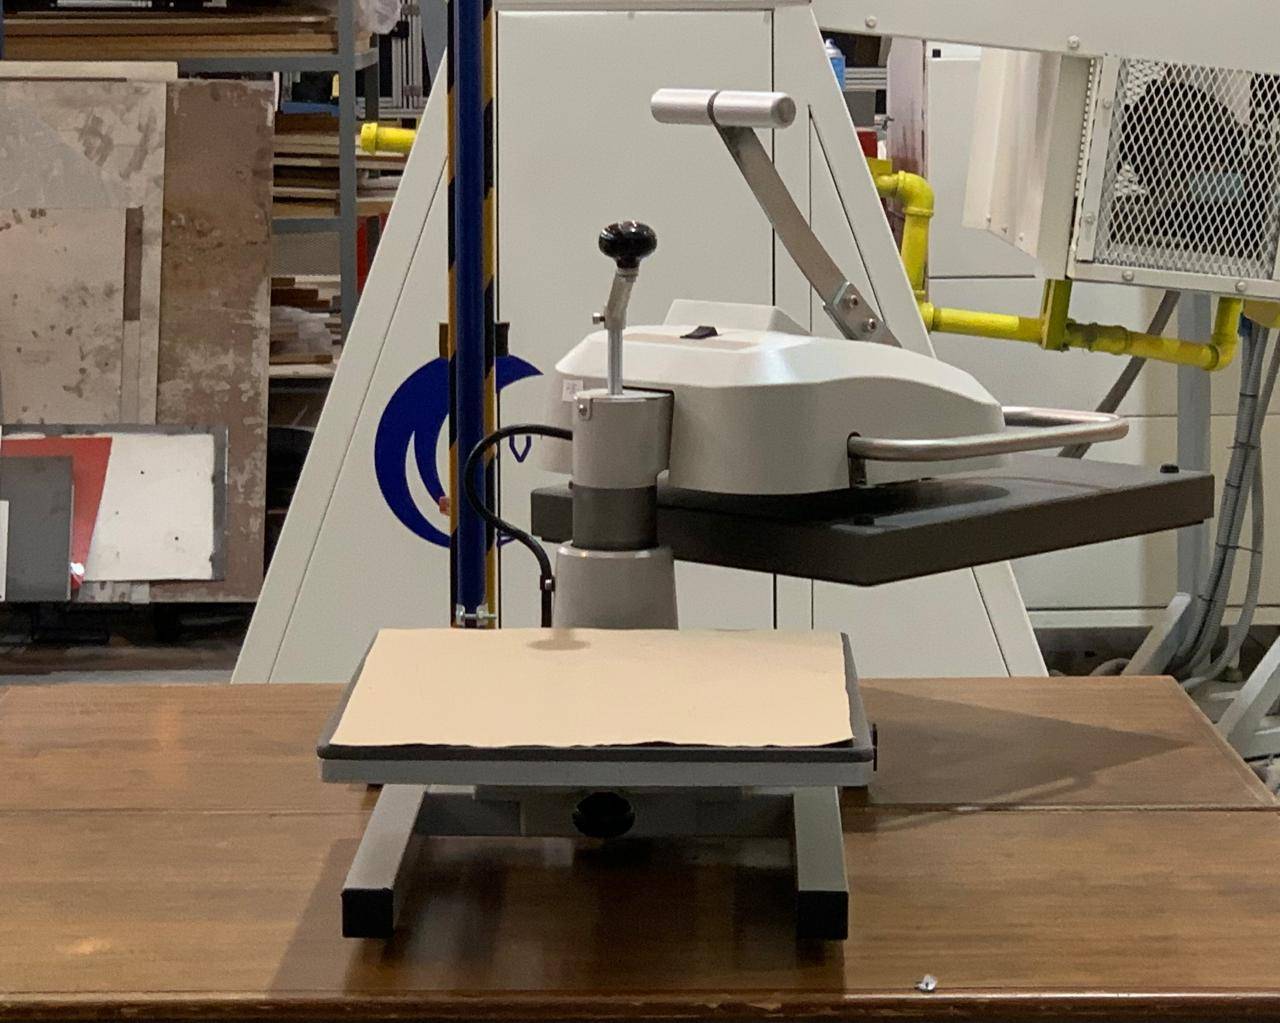
Once the levers are lowered, the material should be secured and ready. It should look like the following image before proceeding to the digital setup.
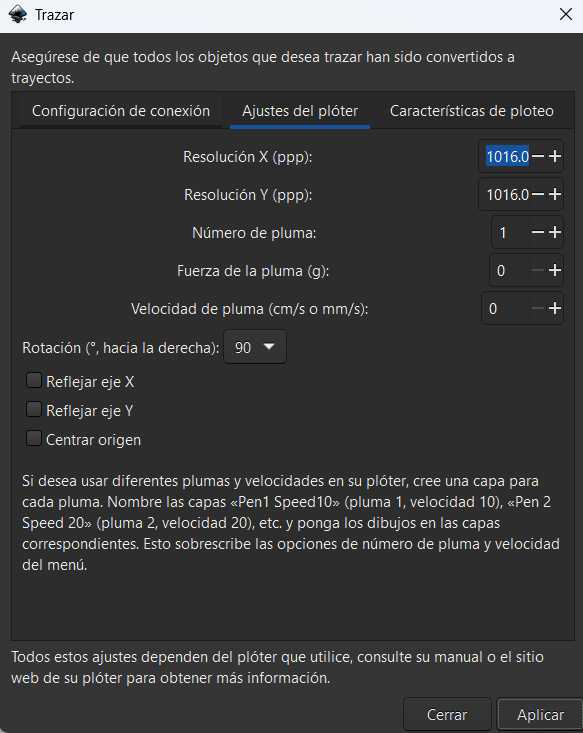
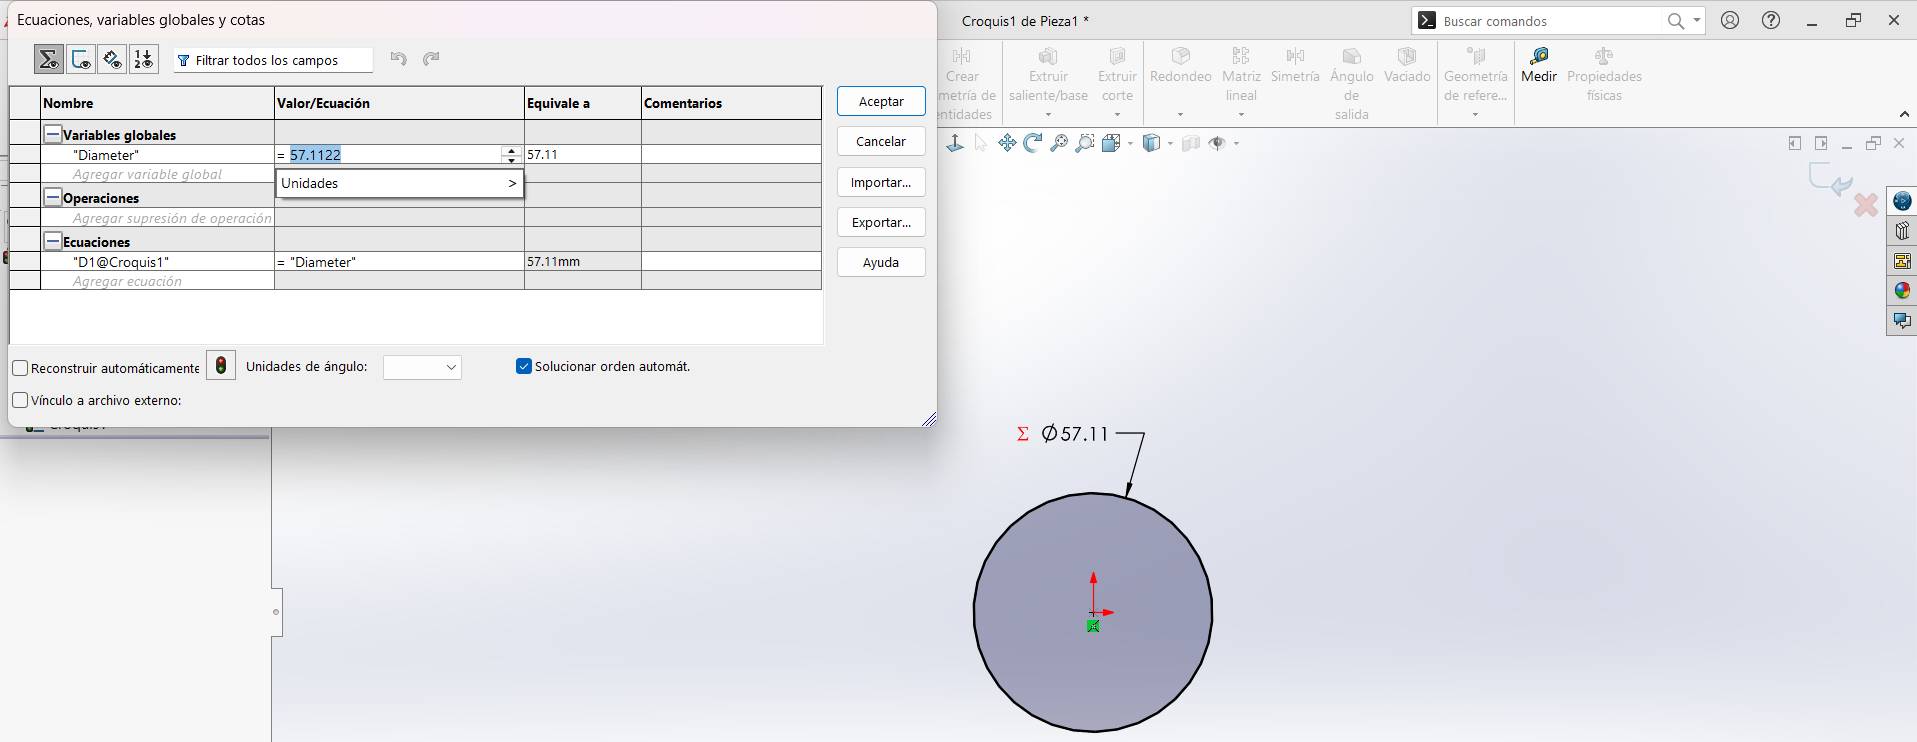
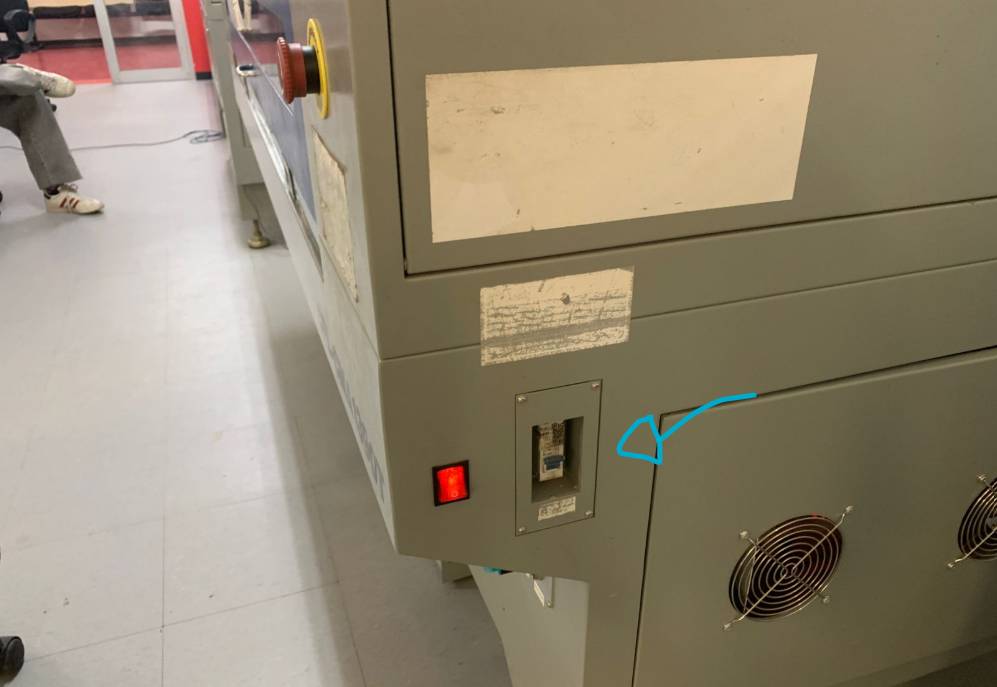
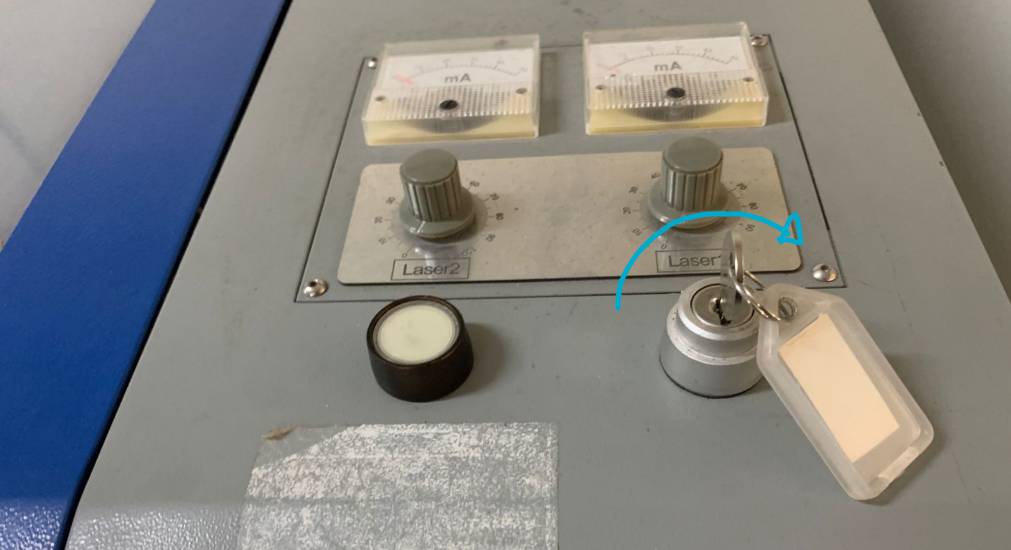
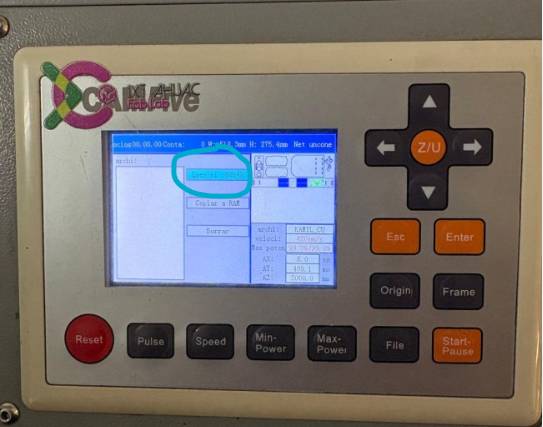
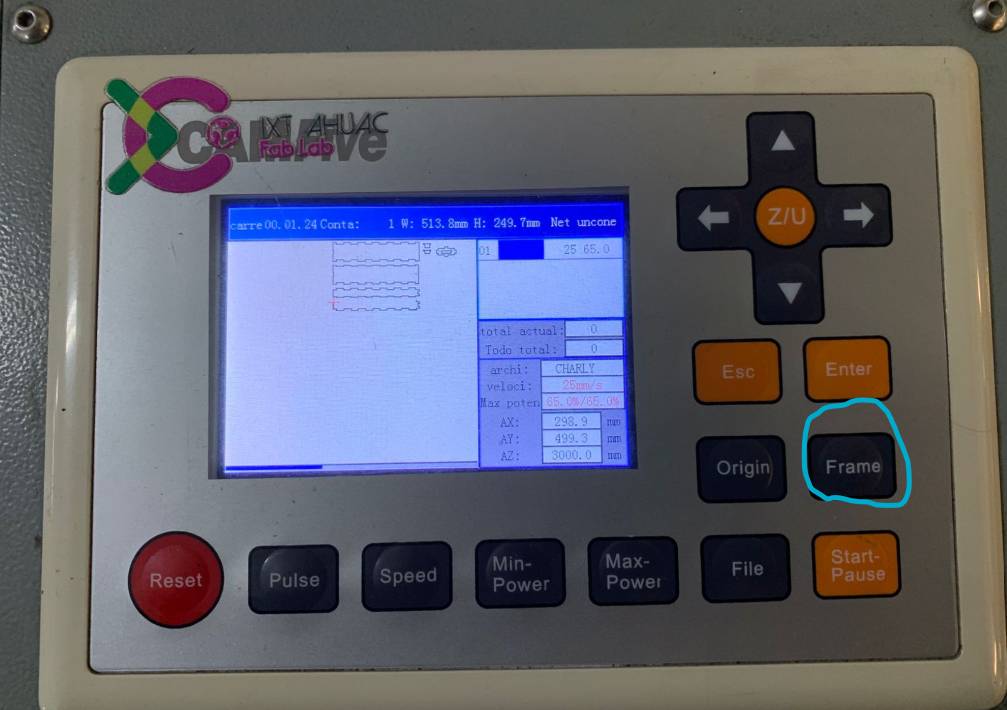
Use the front panel on the right. To calibrate the Force (Pressure) and Speed, navigate the menu. Press the Origin button twice to set the starting coordinates.
*Settings used: Speed = 60 mm/s | Force = 360 g.
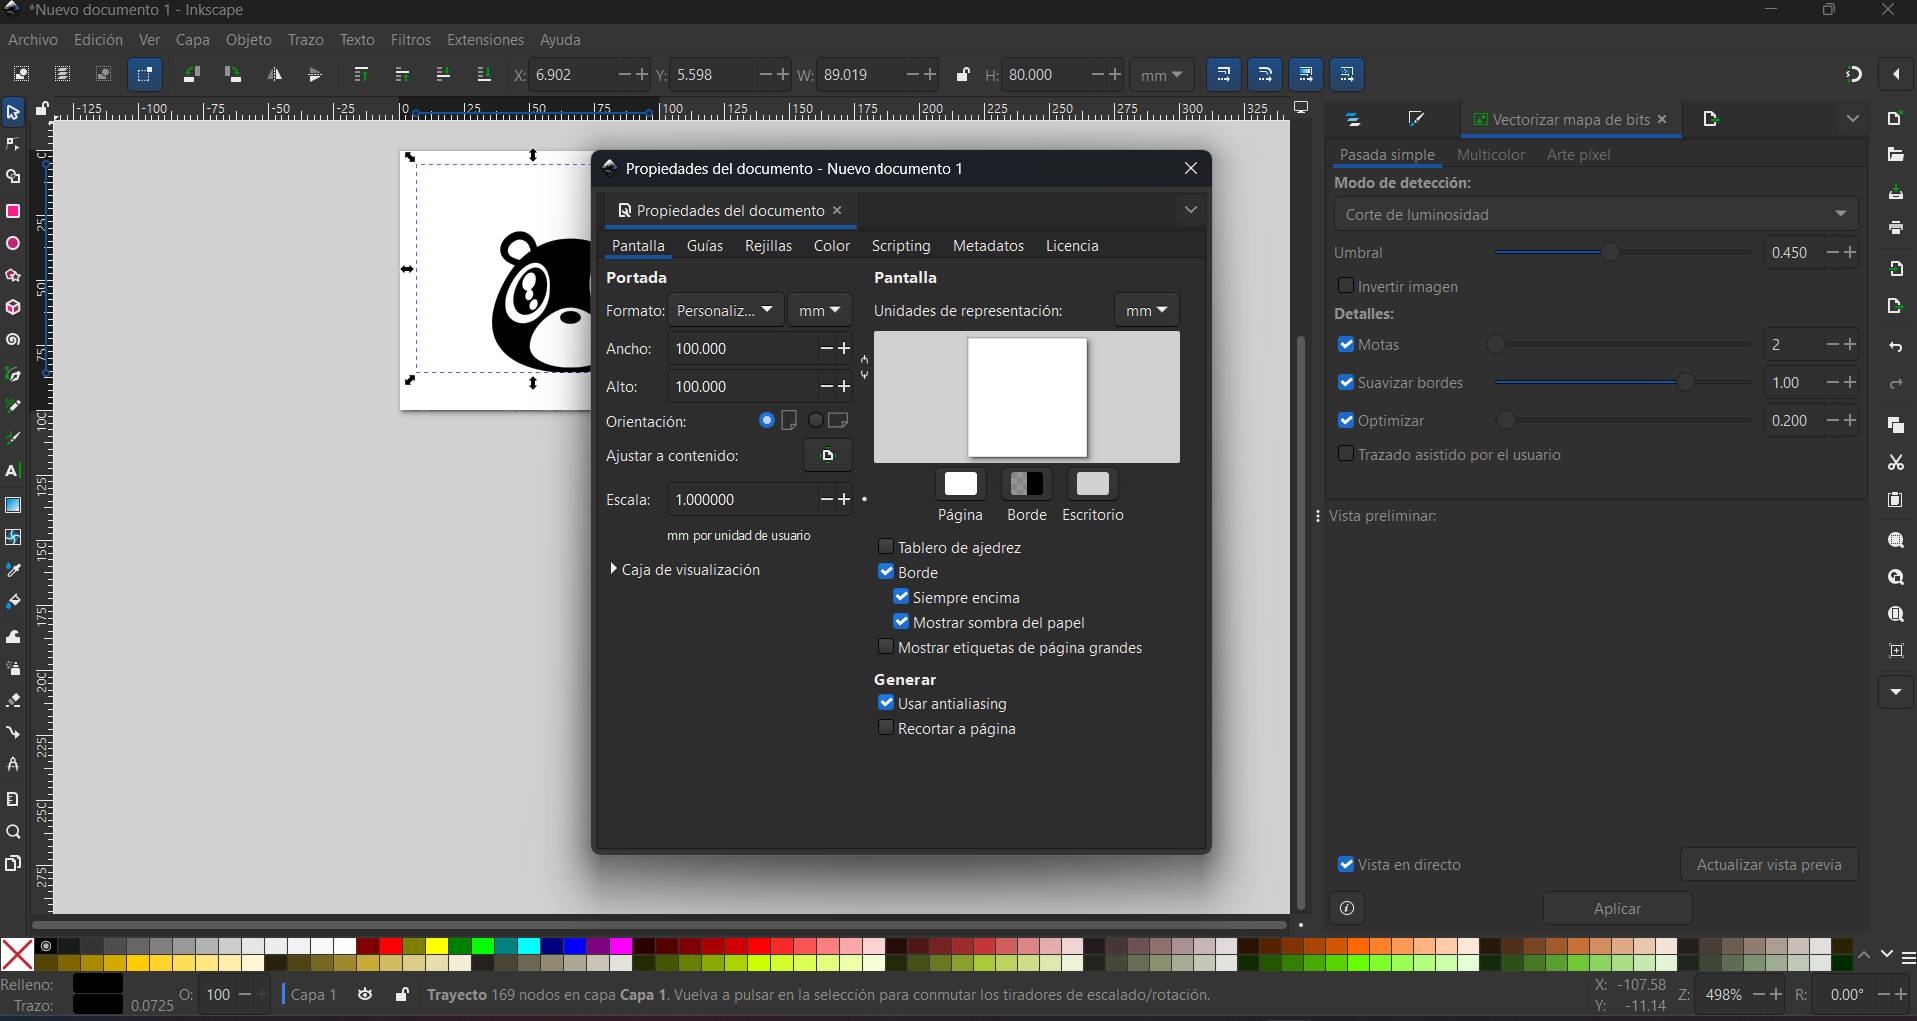
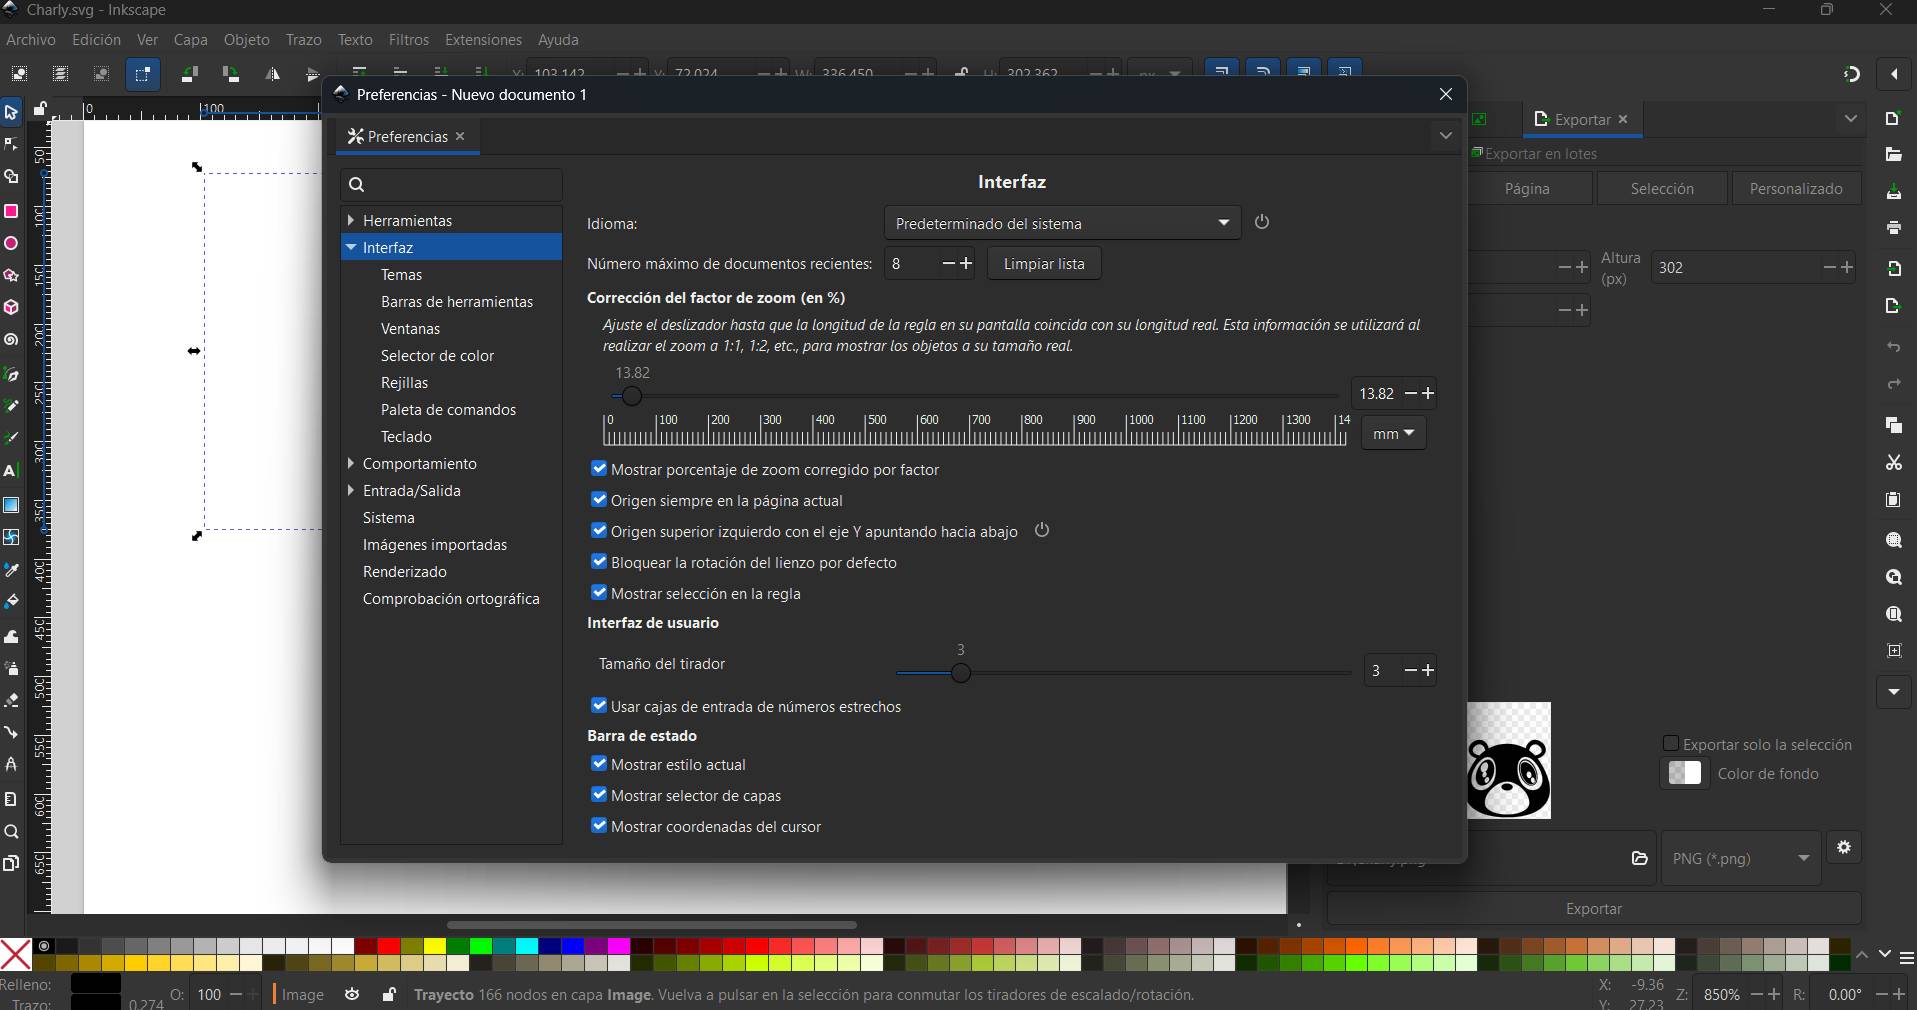
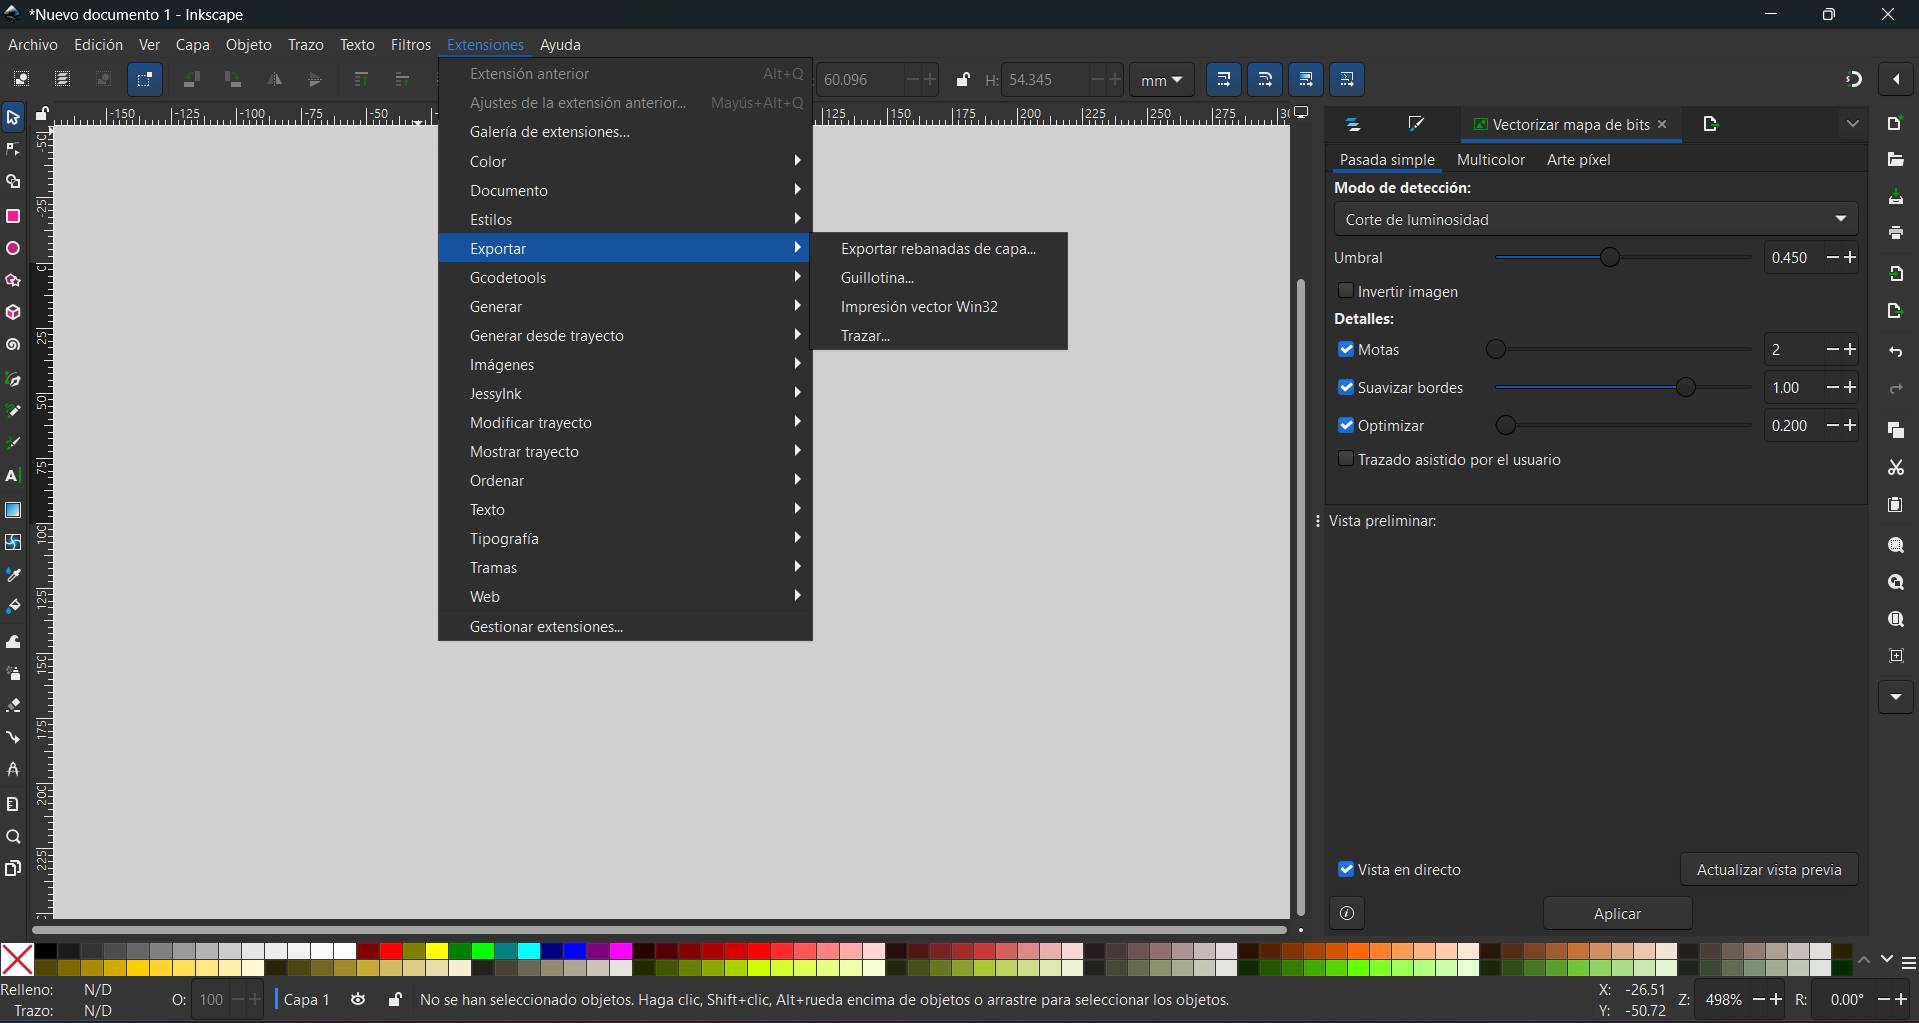
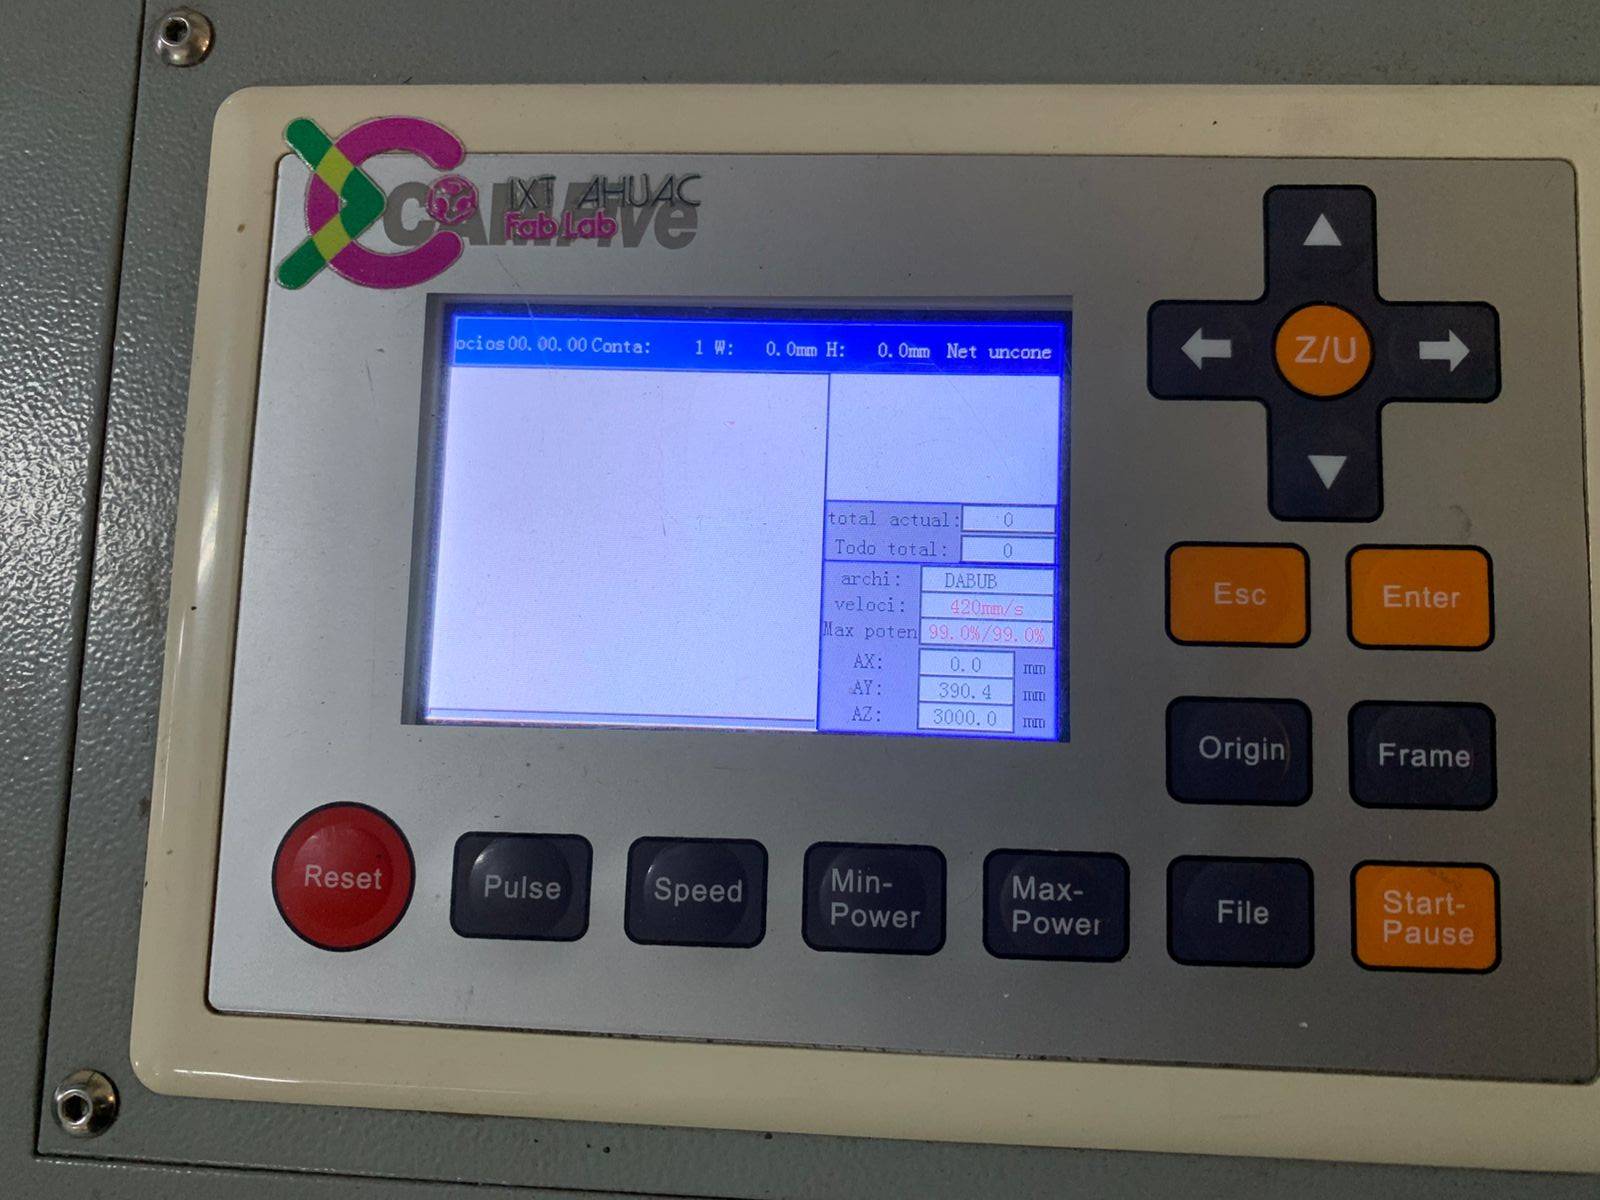
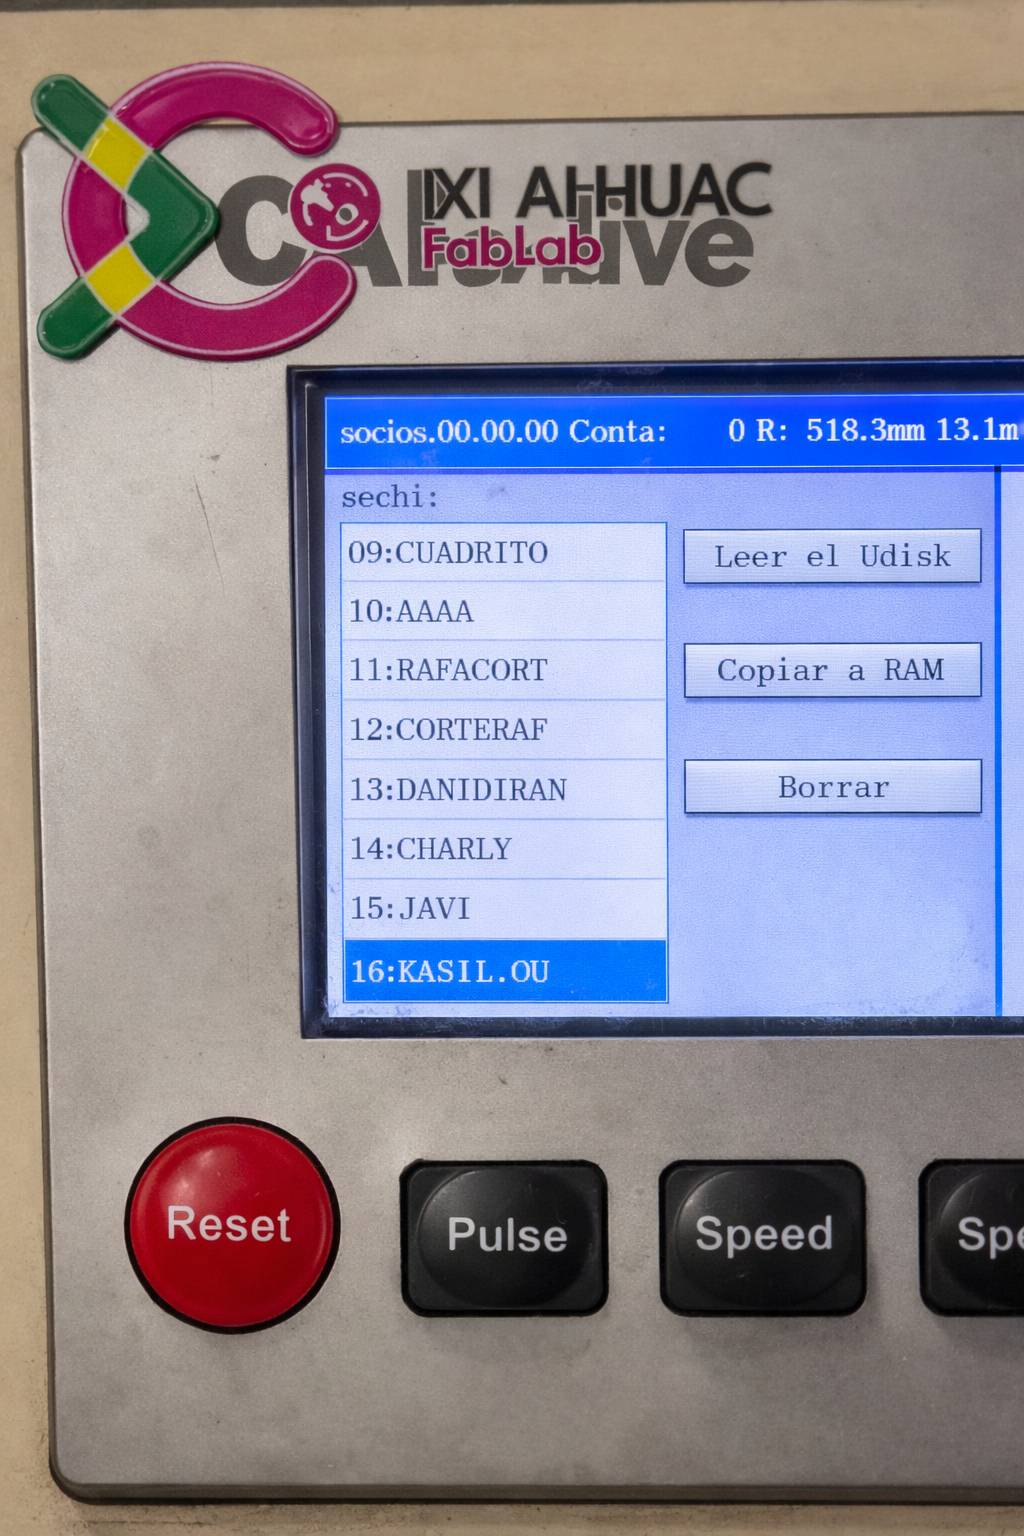
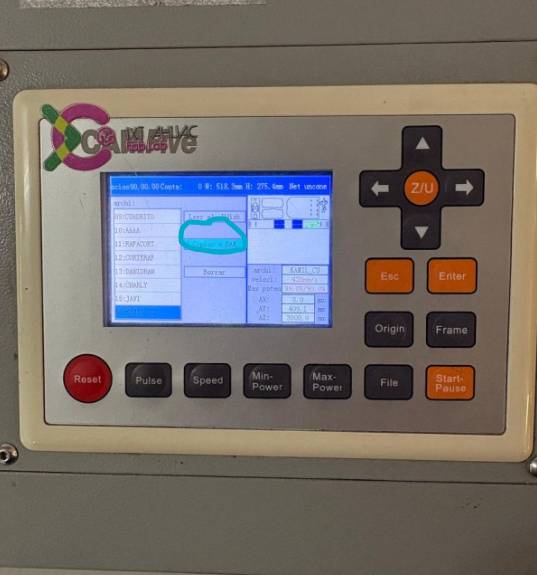
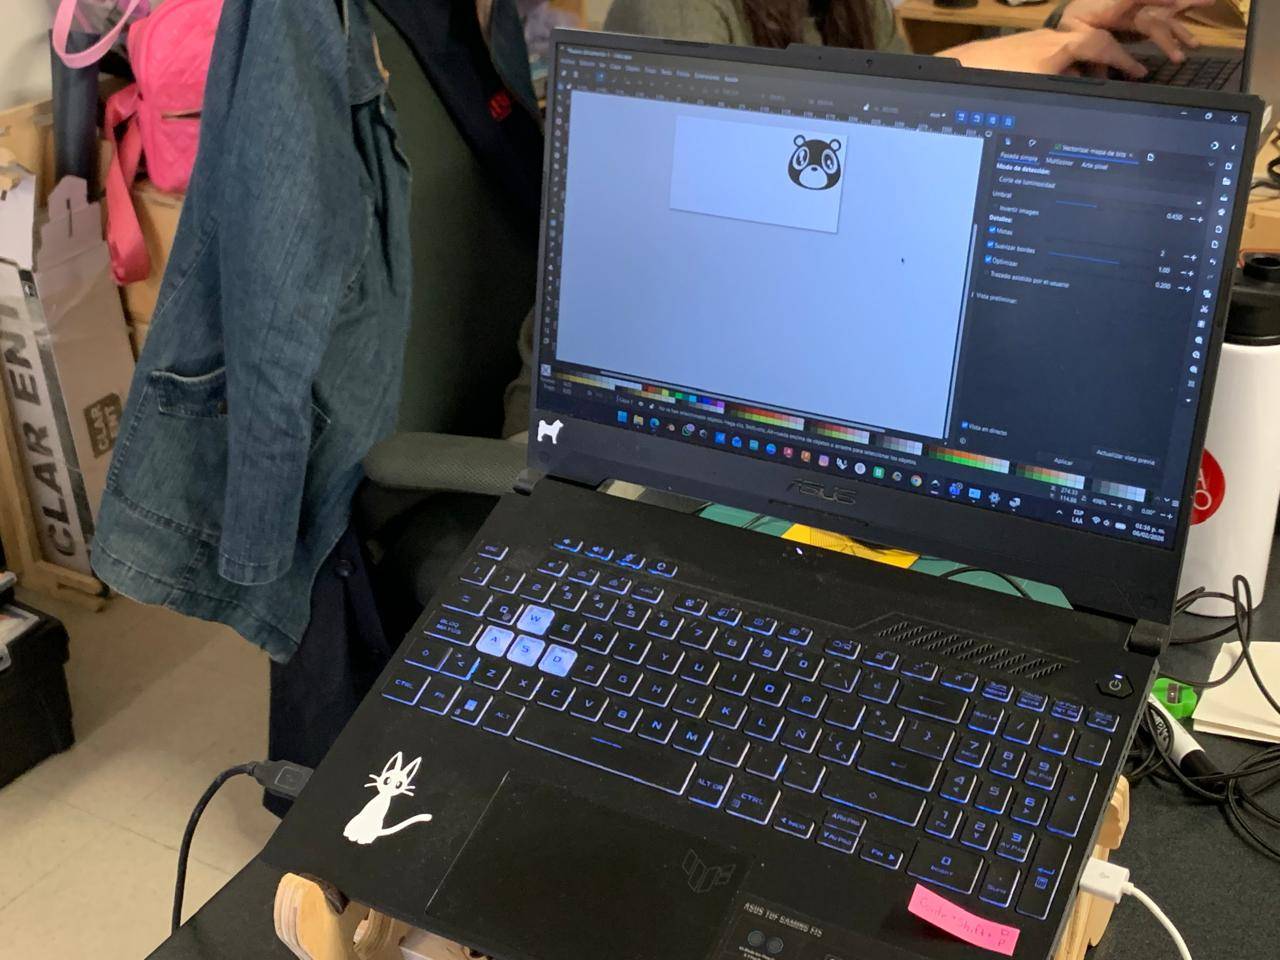
After the calibration is done, you can proceed to the software setup in the second button of the sub-menu.
"Individual layout for each vinyl cutting step. Fully translated to English."
"Fixed Tutorial C structure and Step 06 layout."
Download SVG, DXF and CAD source files.
Download SVG, DXF and CAD source files.