Week 2 Computer Aided design.
The assignment for this week is to test and work with different graphic design programs, including 2D raster, 2D vector, and 3D software. Once the programs we feel most comfortable with are chosen, we have to create a 3D design, render it, and make an animation of that design.
I must say that this assignment has been quite challenging for me, since I have no previous experience with this type of software. The closest thing I have worked with before was 2D AutoCAD about 20 years ago, so I am starting completely from scratch.
RASTER
To work in 2D raster graphics, we are going to use the classic Windows Paint and GIMP.
Regarding Paint, the first thing I have to mention is its simplicity. It is a very lightweight and intuitive program. It allows you to create simple 2D images and work with layers to improve editing. The main negative point I found is that it is difficult to modify shapes once they have been created, and everything on the same layer behaves as a single object once drawn. However, the program is being updated and, currently, under a Microsoft 365 subscription, it includes generative AI features.
The second program I used is GIMP. At first glance, it is a much more complex program. Its handling is less intuitive, and above all, it feels like software more oriented toward artistic image editing, with fewer rigid lines and many possibilities in terms of brushes and artistic tools. I followed some YouTube tutorials, but I did not feel comfortable working with this program, and in the end I was not able to produce any results with it.
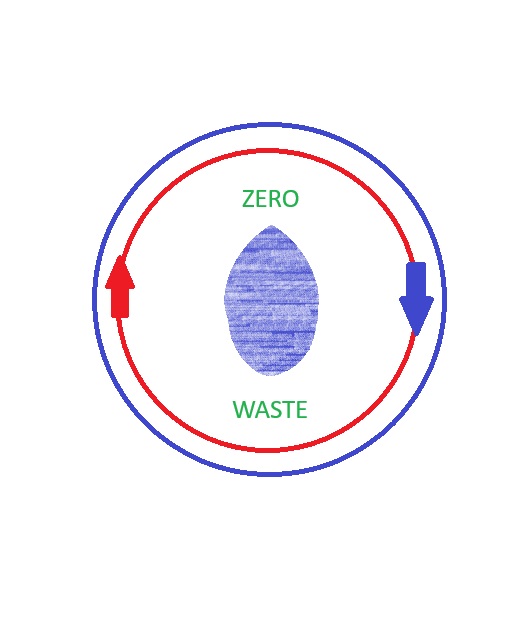
With both programs, I tried to create a logo for my final project, but the only result I obtained was this:
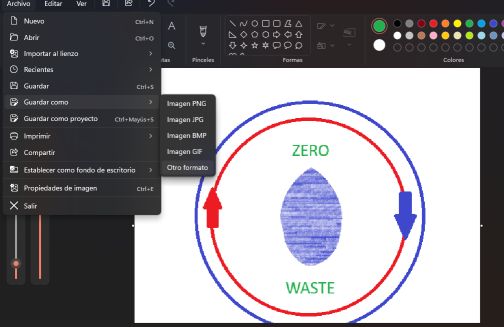
Obviously, it needs a lot of improvement.
VECTOR
To work in 2D vector design, we chose Inkscape and FreeCAD, with which I felt much more comfortable.
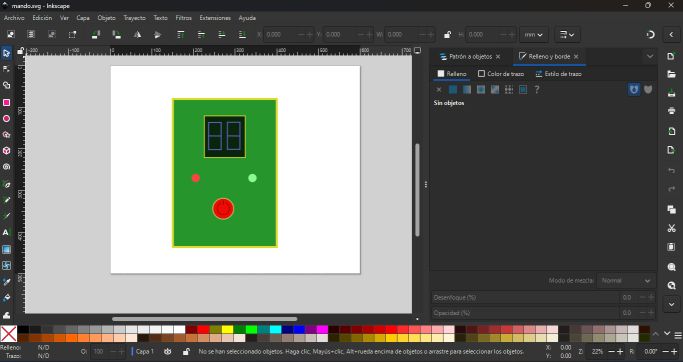
In Inkscape, I created a basic design representing the idea for the control panel of my final project. I used simple shapes, although I also tried some boolean operations that the program allows. I like how the software behaves, and with time and learning, I am sure I could get a lot out of it.
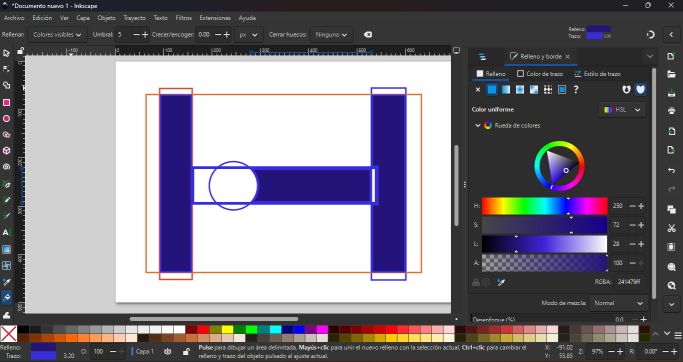
I also drew a small sketch representing the hydraulic schematic of the project.
3D
To work in 3D and actually for any kind of 2D, 3D, vector, or parametric design, the program I decided to use is FreeCAD. First, because it is open-source software with many tutorials available online. Second, because it is the most similar to AutoCAD, which I used years ago, even though they are not really the same.
When I started, as with the other programs, I experienced a feeling of vertigo. When you open the program, you see many tools that you do not know how to use, and every step feels slow and difficult.
The first challenge was finding the right tools. To work in 3D, you first have to create each “face” of the model, and for this, the program switches between different workbenches. Discovering this alone was already a challenge. Once the 2D shape is designed, there are several ways to transform it into a 3D object; in my case, I used the extrusion process.

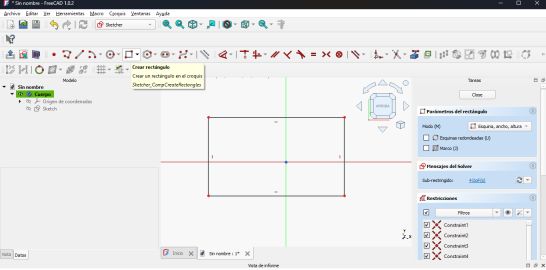
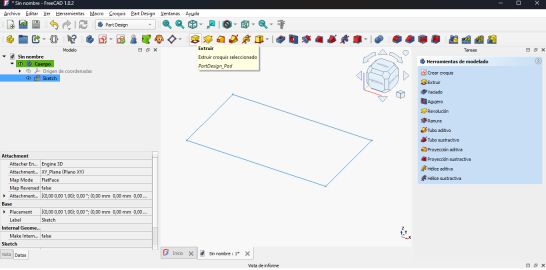
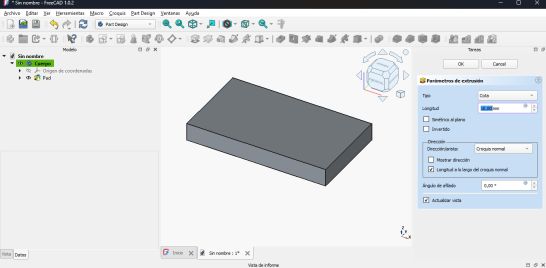
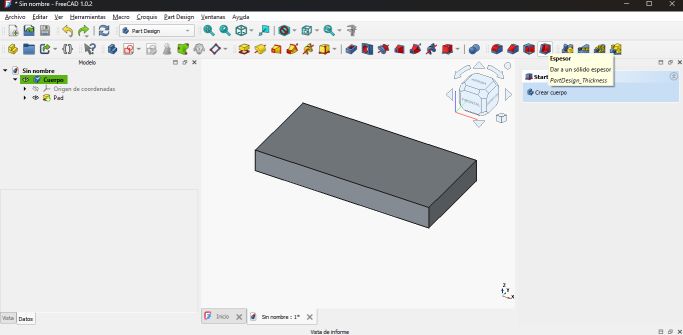
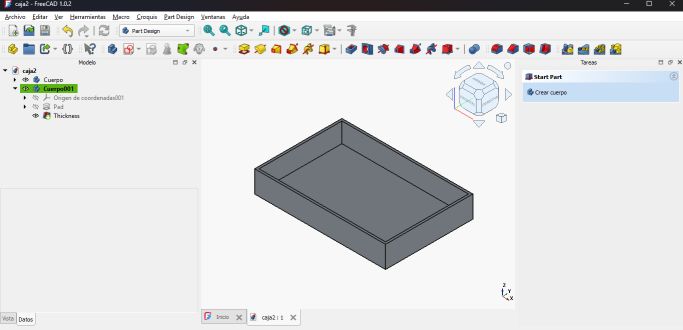
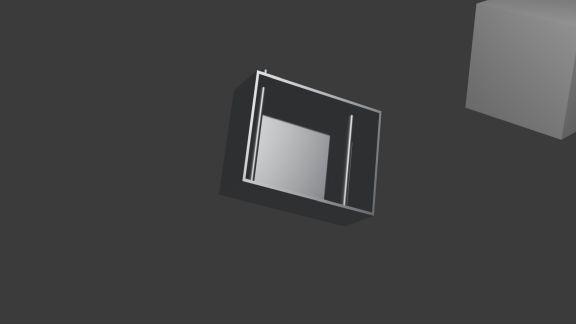
The second step, once you already have the 3D shape, is to start modeling it. What I tried to do was design what could become my final project: basically a structure where two water pipes, a bypass, a pump, and a shut-off valve will be housed. However, for now, I have only managed to draw the two water pipes that pass through what is essentially a box. The two pipes are created by extruding two circles drawn on one of the faces of the box, while the box itself comes from the extrusion of a rectangle, later giving it a specific thickness so that the interior can be seen.

I must say that every step I managed to complete here was thanks to different YouTube tutorials.
RENDER
Finally, to perform the rendering and the animation, I used Blender. If the previous programs already felt like a whole world, this one feels like a galaxy.
Blender is a huge program, and obviously the goal of this week’s assignment is not to learn how to fully use it. However, its appearance and, in this case, ChatGPT´s recommendation led me to choose this program.
At this point, what I did was export the designs created in FreeCAD in .obj format and then import them into Blender. Once there, the basic operations were:
1. Adjusting the scale of the model, since FreeCAD and Blender use different scales, and the model can appear either extremely large or very small.
2. Positioning the model and the camera so that it is displayed correctly.
3. Choosing the material, in this case a metallic BSDF.
4. Finally, pressing F12 to render.
And that’s it! we already have an image.
To create the animation, the most important thing is that from FreeCAD we must export each body of the model separately, creating a .obj file for each one. This is very important because, as happened to me, you must be careful when designing in FreeCAD not to draw everything as a single body. Once the different bodies are exported, we import them all together into Blender. Now we have our model, but in separate pieces. From here, the remaining steps are:
1. As before, positioning the model and adjusting the scale.
2. Selecting each piece and applying the “Origin to Geometry” option, so that from this point we can move each part independently.
3. Set the camera
4. Selecting frame 1 with all the parts assembled.
5. Select all parts and press I.
6. Selecting frame 120 (or another frame, depending on how long we want the animation to be) and placing the parts in the position we want them to have at the end of the animation. Press I.
7. Press play. Now it moves!
Finally, to render the animation, I selected the range of frames corresponding to the animation, the output format as MPEG-4, the H.264 codec, and the folder where the video would be saved. All of this was done following ChatGPT’s recommendations. Pressing Ctrl + F12 starts the render.
COMPRESSION
Although in my case the generated video was not very large, to compress the video and be able to upload it to the repository, I used HandBrake. It is an intuitive, easy-to-use, and very effective program, reducing the video size from 845 kB to 82.8 kB. For images, I continue to use IrfanView.
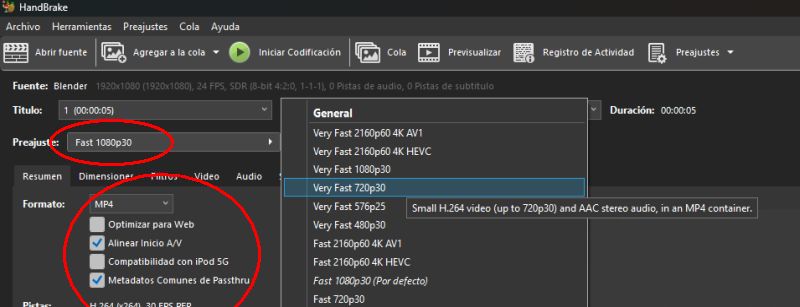
The use of HandBrake is straightforward. In my case, I do not have much experience with it, but through trial and error, and with the help of ChatGPT, I have developed the following routine to compress videos:
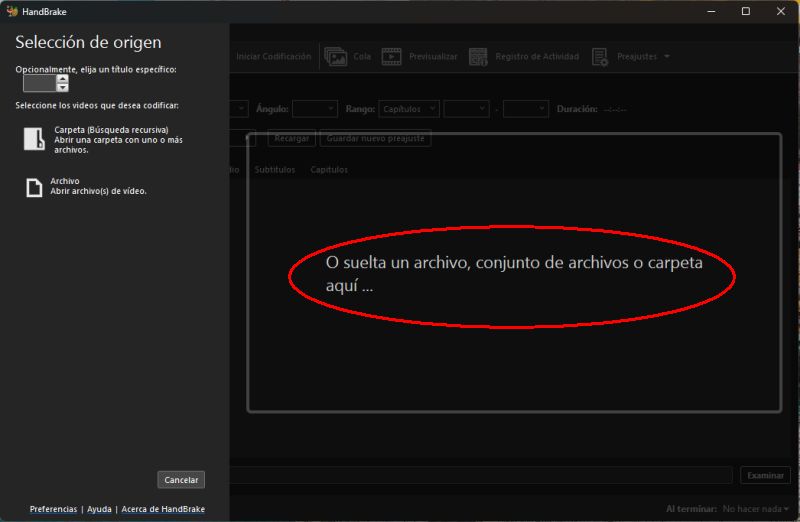
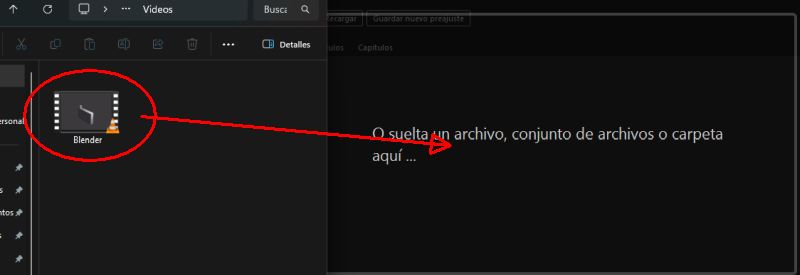
- Drag the video file you want to compress into the central window
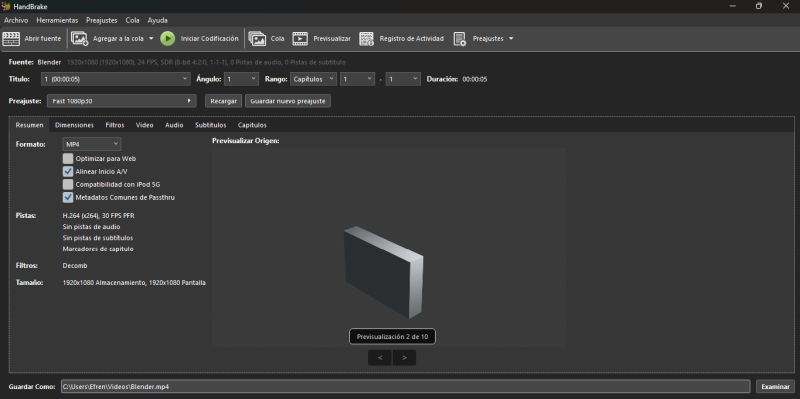
- Select the following options:
- MP4
- VeryFast 720p30
- Align A/V Start
- Passthru Common Metadata
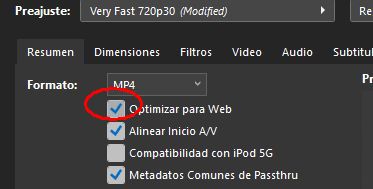
- Then select, very importantly, Web Optimized
- In my case, I remove any audio tracks that the video may contain, leaving this section empty. This way, the video will not contain any sound:
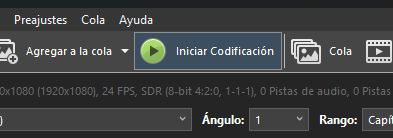
- Finally, click
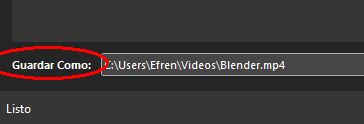
Start Encoding - The resulting file is automatically saved in the folder selected here:

In this way, we obtain a balanced compression between file size and quality. If we need more compression, we can select up to 480p30, but we will lose a significant amount of quality.
FILES
Below are the original FreeCAD and Blender files available for download
Body2.mtl Body2.obj Body3.mtl Body3.obj Pad.mtl Pad.obj Blender1 FreeCAD1 FreeCAD2 Blender2 Inkscape Paint