Week1 Principles and Practices. Project management.
This week we started the course, and the first assignment is to learn how to make your website work — this website! For someone like me, who hadn’t done anything like this in more than 20 years, it has been a bit of a tough start.
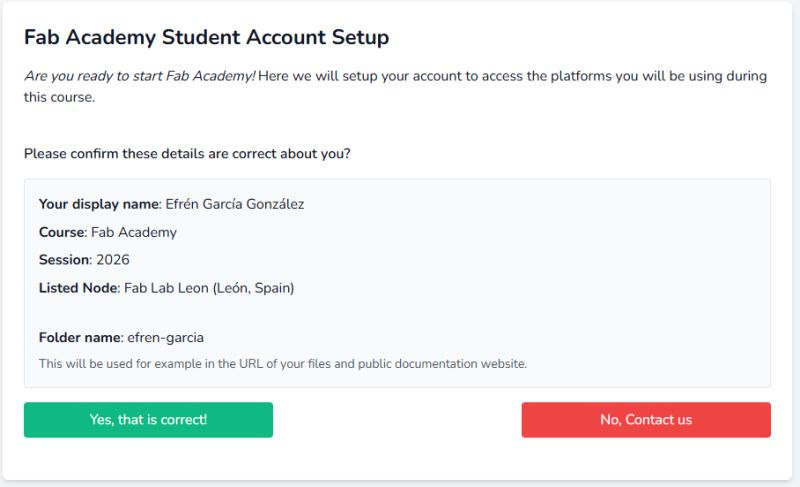
The first step was to create an account and log in to Fab Academy and GitLab. At the same time, I started downloading several programs that I will need, such as FreeCAD and Mattermost. The important thing is that little by little I am getting everything ready that I will need for this adventure.
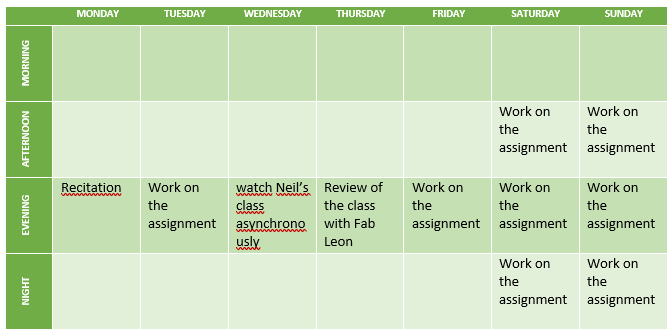
Schedule
At the moment, my job takes up a lot of my time, keeping me busy from Monday to Friday, from 7 a.m. to at least 6 p.m. This means that I have to work on Fab Academy late at night, make the most of the weekends, and sleep whenever possible.
My plan to organize my time is as follows:
Project Management
The tasks for this week, assigned by my tutors Nuria, Pablo, and Adrián from FabLab León, were the following:
Short objectives:
1. Log in to GitLab via the web and update the About section, adding your photo and a text about yourself.
2. Work locally with Git. Create a copy of your repository in a local folder.
3. Upload the student agreement to your website and make it visible (via a link or text).
4. Modify your page and make it your own (use a template, set up your website, etc.).
Document all the basic steps to demonstrate that you know how to do what you are doing. Not a step-by-step guide, and not just a single photo. The documentation should be readable in the future so that you can understand what you did.
Working with GitLab from the web:
• Go to your repository on gitlab.fabcloud.org and locate your repository under: year 2026 / Labs / Fab Lab León / your name
• Edit the index page and add your name in HTML
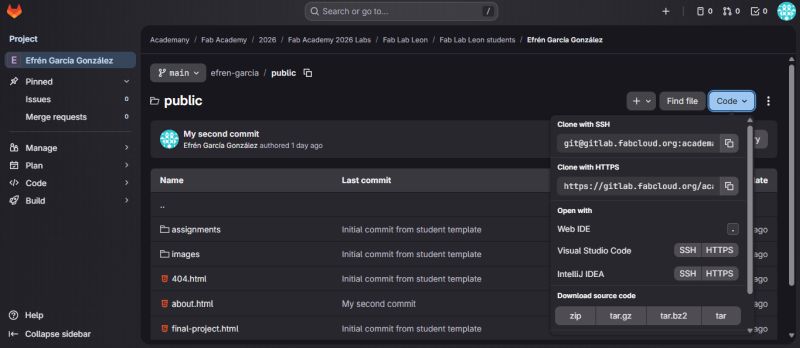
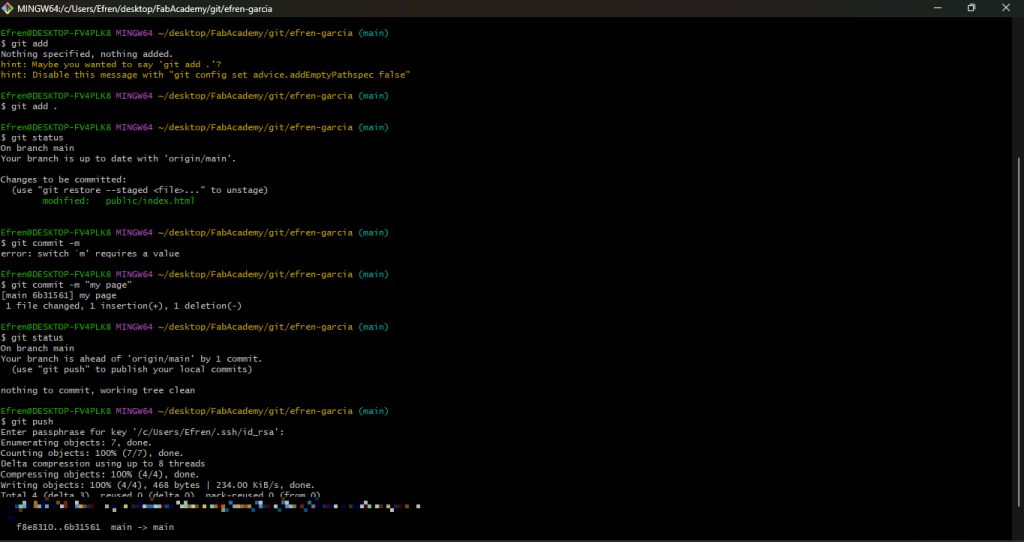
• Make a commit with a proper commit message
• Check on your website that the change has been applied. Locate the link to your documentation and open the website to see the changes
• Upload the student agreement to your repository and link it on your website
• Update the About section of your website template by adding your photo (or more photos) and a text describing who you are and your passions
Working with Git locally (master):
• Install Git on the computer you will be working on
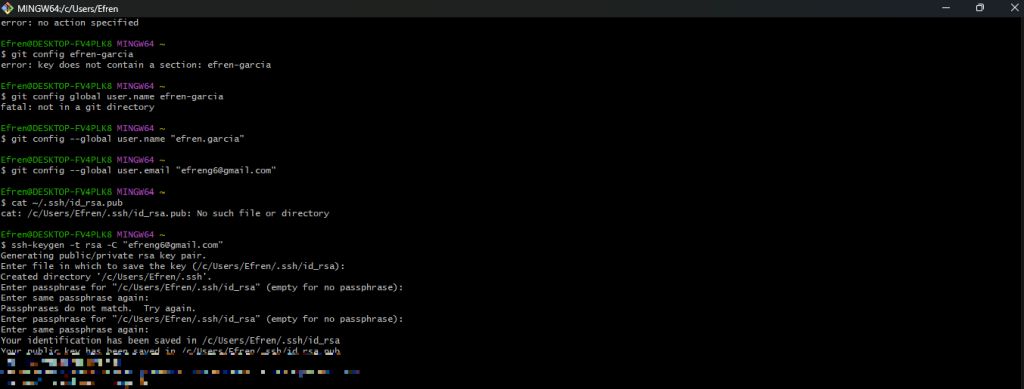
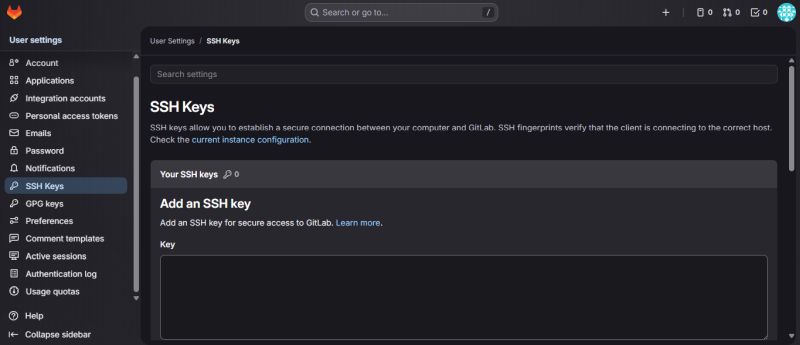
• Create an SSH key to access your repository from your computer
• Add the public key to your online repository to enable access
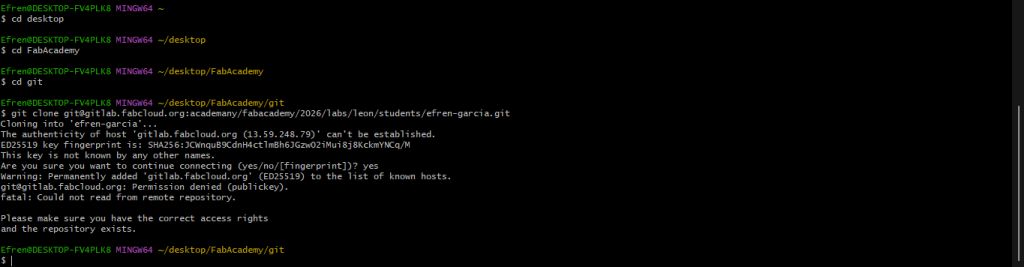
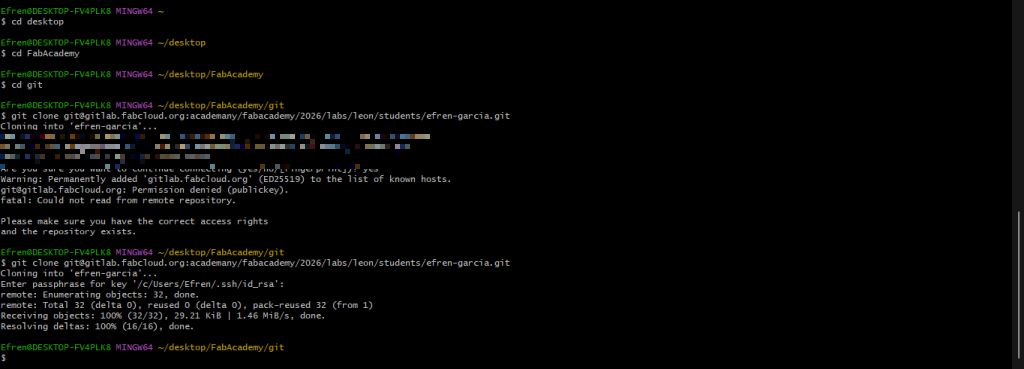
• Clone your repository into a local folder on your computer
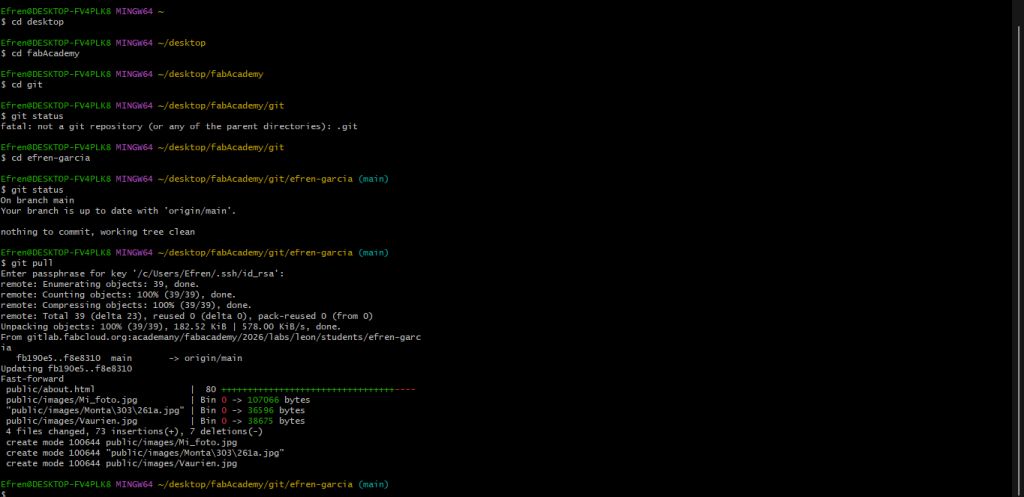
• Make a change to a file (for example, add an image to the images folder in your repository)
• Update the online repository from your local computer
After a meeting with my three tutors via Teams, watching several HTML, CSS, and Git tutorials, and having a few conversations with ChatGPT, I was able to complete all the tasks.
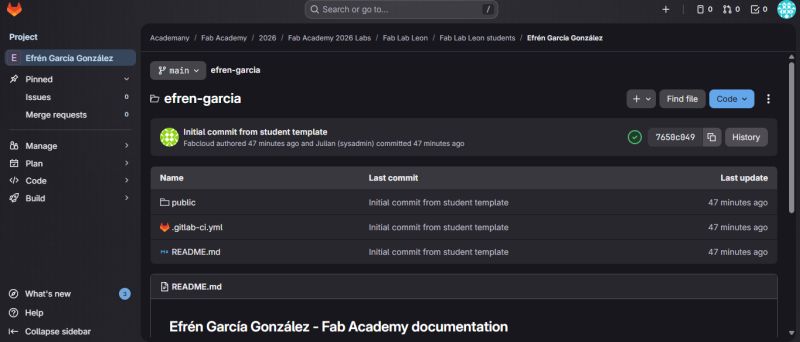
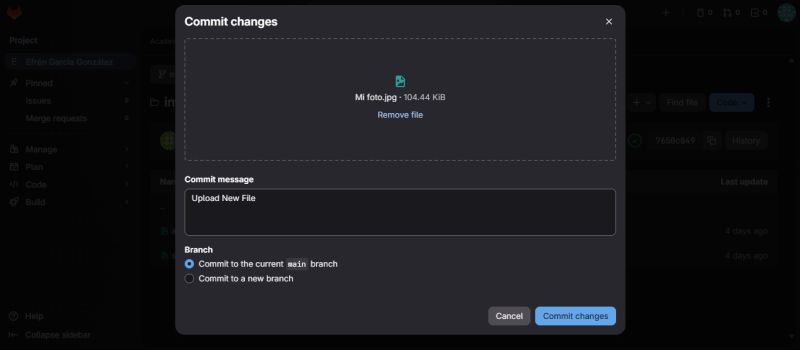
The first step was working with GitLab from the web. My first mistake was not knowing how to edit the files, but this was quickly solved thanks to Nuria’s guidance. Once that was sorted out, changing the photo — after uploading a properly compressed image, of course — was easy.
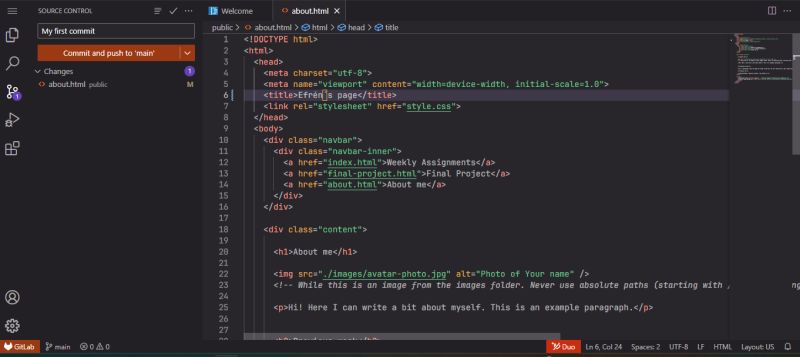

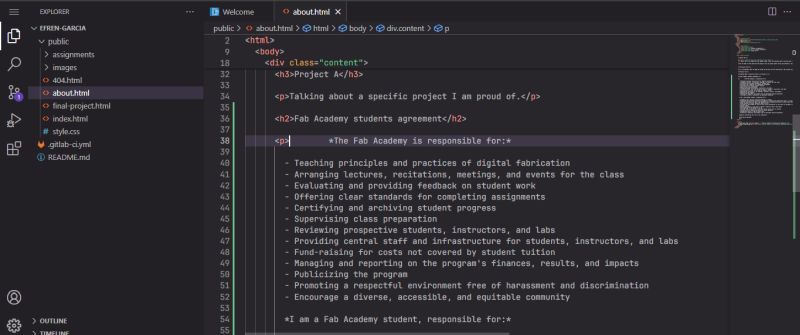
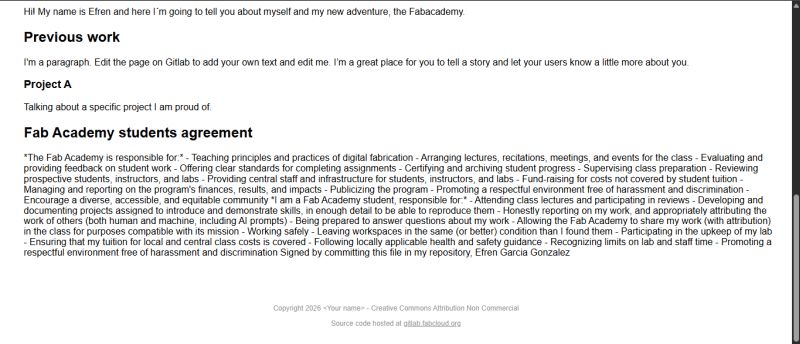
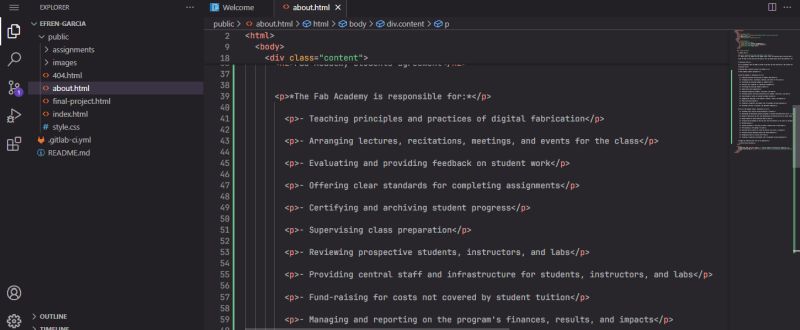
The next step was modifying a paragraph and adding the student agreement to my About Me page. Second mistake: everything appeared all together! How do you add spacing? A beginner’s doubt that I solved thanks to HTML tutorials — you need to open and close each paragraph using tags.
From this point on, things started to get complicated again. I needed to work locally from my computer. First, I had to download Git, which seemed simple, but then I needed to create an SSH key to access my repository in the cloud. Adrián’s webpage helped me a lot with this, except for one detail: how to add the generated key to GitLab. Between the Fab Academy tutorial and ChatGPT, I managed to solve it. And it worked! I successfully cloned my repository to my computer.
The final step was figuring out how to work locally. I already had Git Bash and my repository on my computer… now what? It took me a while to realize that I needed to install another program: Visual Studio Code, which is used to edit files locally. Once I had that set up, I managed to make my first commit and modify my repository from my computer — and I didn’t delete anything I had done before!
At this point, the question that came to my mind was: what are the advantages of working locally versus working in the cloud? However, the actual development of the assignment has already shown me that working locally is much faster and more reliable.