Week 2
Computer-Aided Design
Assignment documentation
Contents
- Schedule / Weekly Plan
- Week questions / tasks
- Starting Point
-
2D Design
- Adobe Photoshop
- Adobe Illustrator
- Inkscape
-
3D Design
- FreeCAD
- SketchFab visor
- Blender
- Video and image compression
- Original download design files
Week questions/tasks
Starting Point
I've used Photoshop for image editing for many years, primarily for making modifications to projects that were output as .jpg files for on-screen viewing.
On some computers, I've had to use GIMP because it's free. In GIMP, I only use it for resizing, cropping, and other minor tasks.
As for 2D vector design, I've used Illustrator (previously Freehand) for small compositions that were printed on paper, inserting images and text.
And I've never used any 3D design software, so I'm starting completely from scratch.
2D Design
As part of the assignment, I set out to create a sketch of my final project.
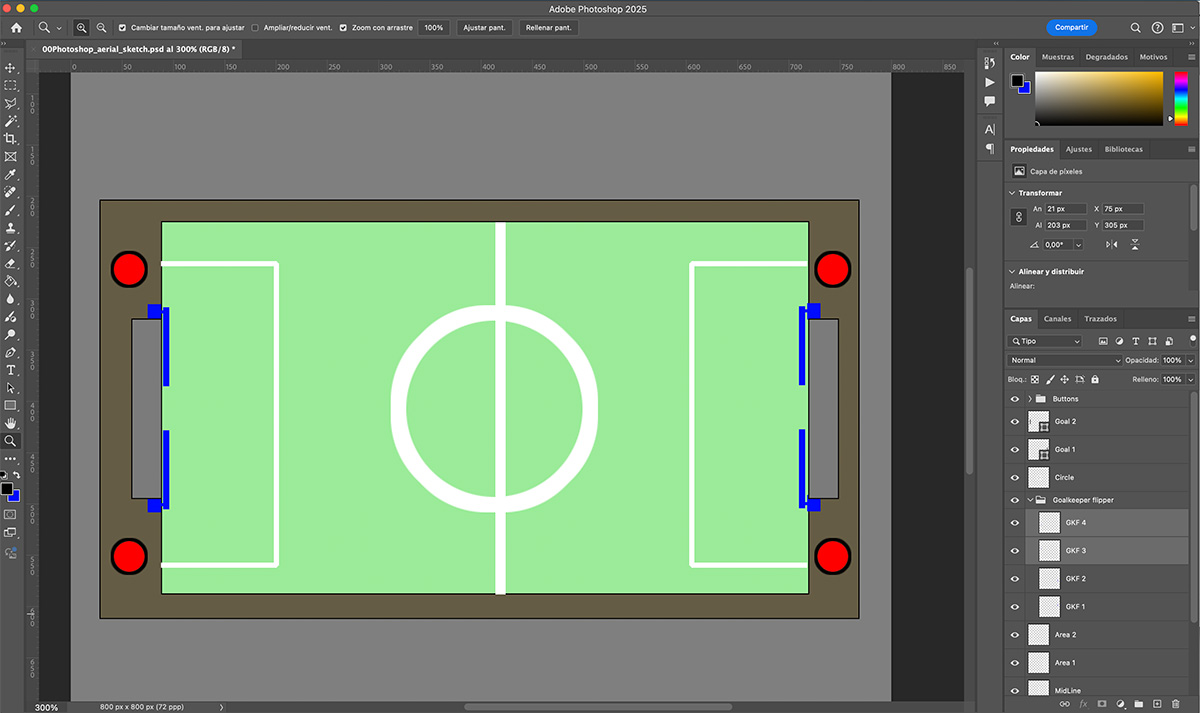
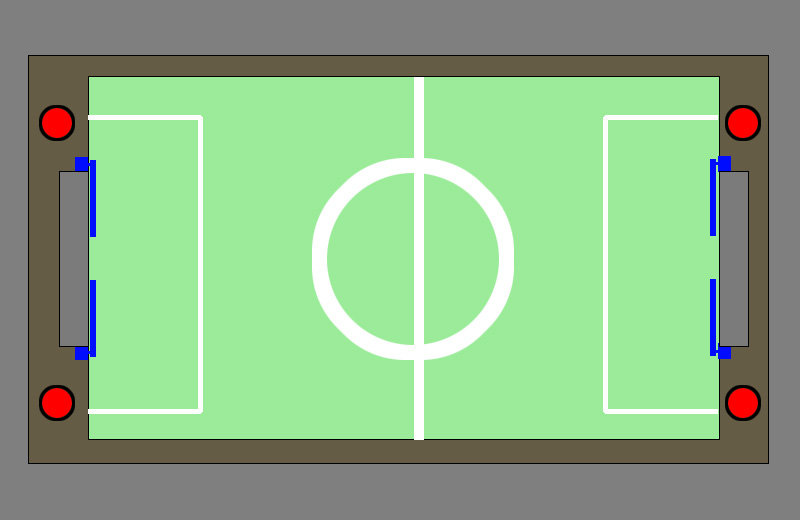
I started by doing it in what is perhaps the program I've used most often, in this case, Photoshop.
I created an aerial view sketch of my final project:
You can download the original file from the downloads section at the bottom of the page.
I started by making rectangular selections on different layers and filling them with color. This simulated the external structure, the playing field, and the goals. Next, I made rectangular and round selections to create the playing lines and buttons. Finally, I generated the flippers on a separate layer by making selections. I duplicated the elements and performed a layer transformation to rotate and flip them into their correct positions.
Photoshop primarily works with raster graphics (bitmaps), composed of pixels, which means that when you enlarge an image, quality is lost. Photoshop is best suited for photo editing and image processing.
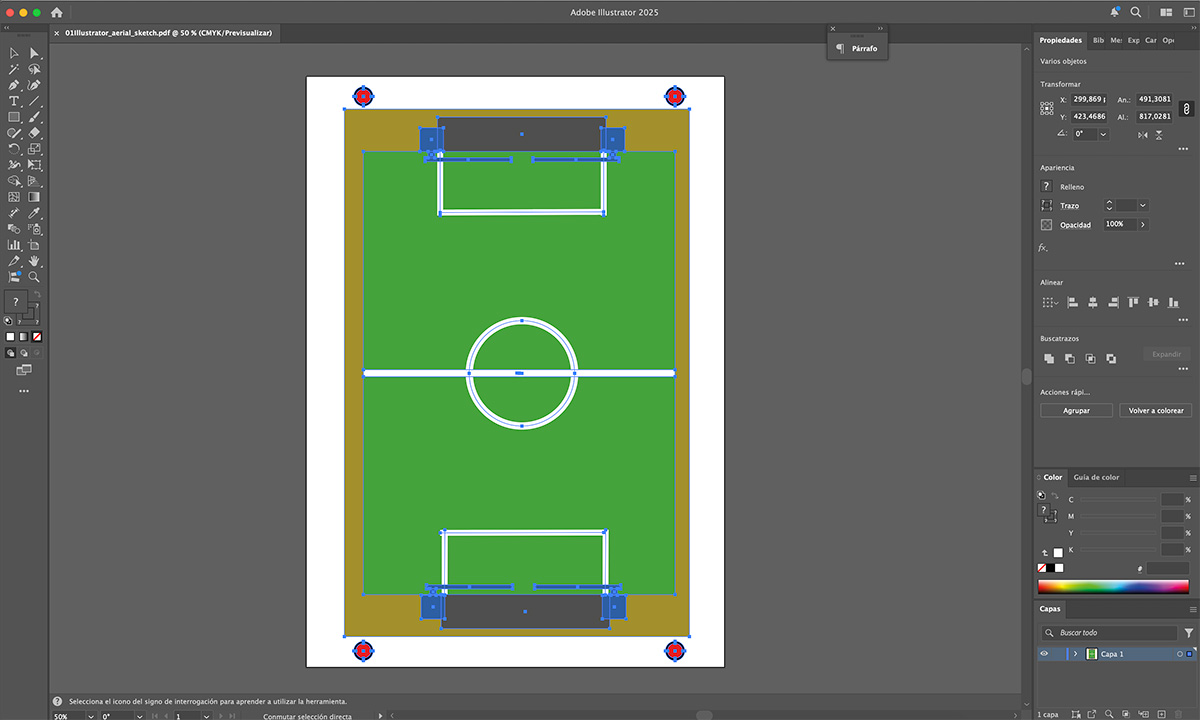
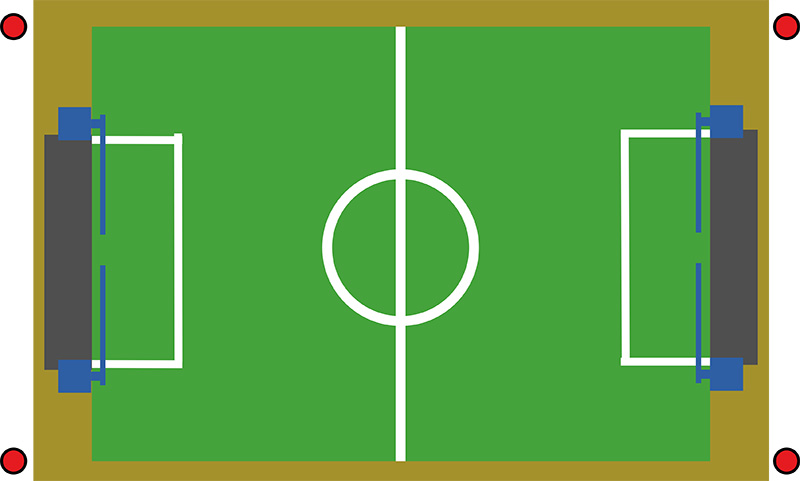
Subsequently, I decided to do the same in Illustrator to verify that, indeed, in this case, the task was simpler when drawing it.
You can download the original file from the downloads section at the bottom of the page.
Illustrator is based on vector graphics, made up of mathematical lines and curves that can be scaled infinitely without losing sharpness, which is why it is suitable for logos, icons and any design that needs precision, scalability and output to different sizes or formats without degradation.
I started by drawing rectangles and filling them with color. This simulated the external structure, the playing field, and the goals. For the playing lines, I drew lines and circles and applied thickness to them. For the buttons, I drew circles and filled them with color. Finally, I created the flippers by drawing a rectangle filled with color and adding two lines with varying thicknesses. I duplicated the elements and performed a layer transformation to rotate and flip them in their correct positions.
As an alternative, I've decided to do it with Inkscape ↗️ because it's free software, since I won't always have an Illustrator license available.
Before starting, I watched several online Inkscape tutorials to familiarize myself with the tool and learn the basics so I could create the sketch. In this case, I used this one by Alva Majo on YouTube ↗️.
This has been the result:
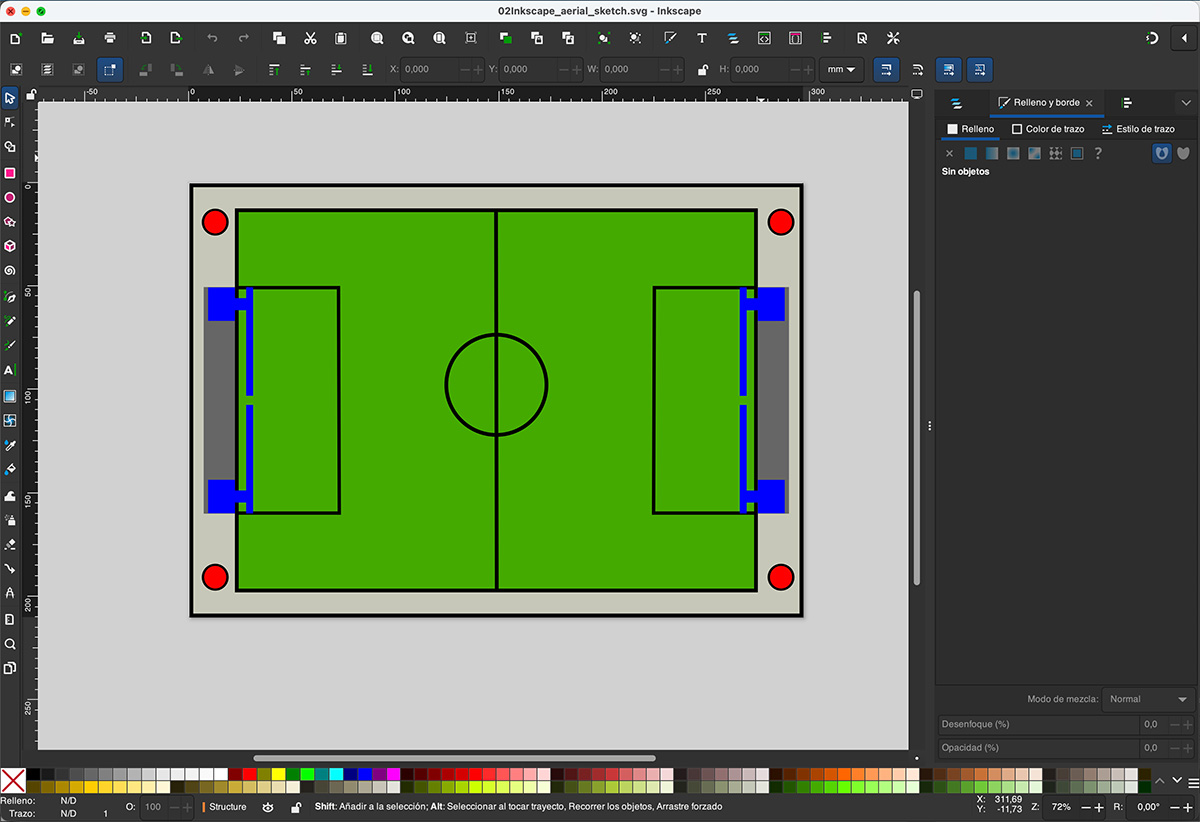
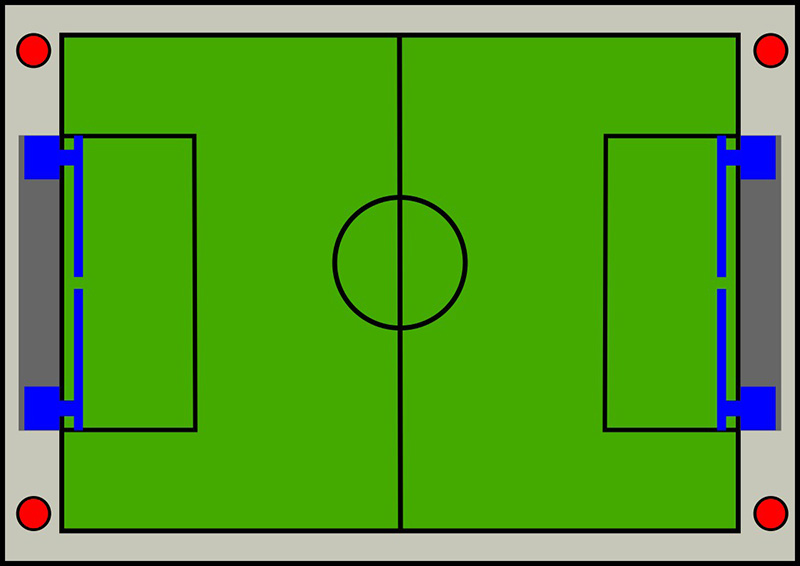
You can download the original file from the downloads section at the bottom of the page.
Since it's a vector program, I used the same methodology as in Illustrator to generate it: rectangles, circles, and line strokes, applying fills or thicknesses (as appropriate).
I must say, I was pleasantly surprised and found it easier than Illustrator in some parts (probably due to my limited skill level in Illustrator).
I also made a simple drawing of what could be the front view of one of the flippers on my "PinSocc Ball." In that case, I took an image of a palm from the internet, vectorized it, and added a handle.
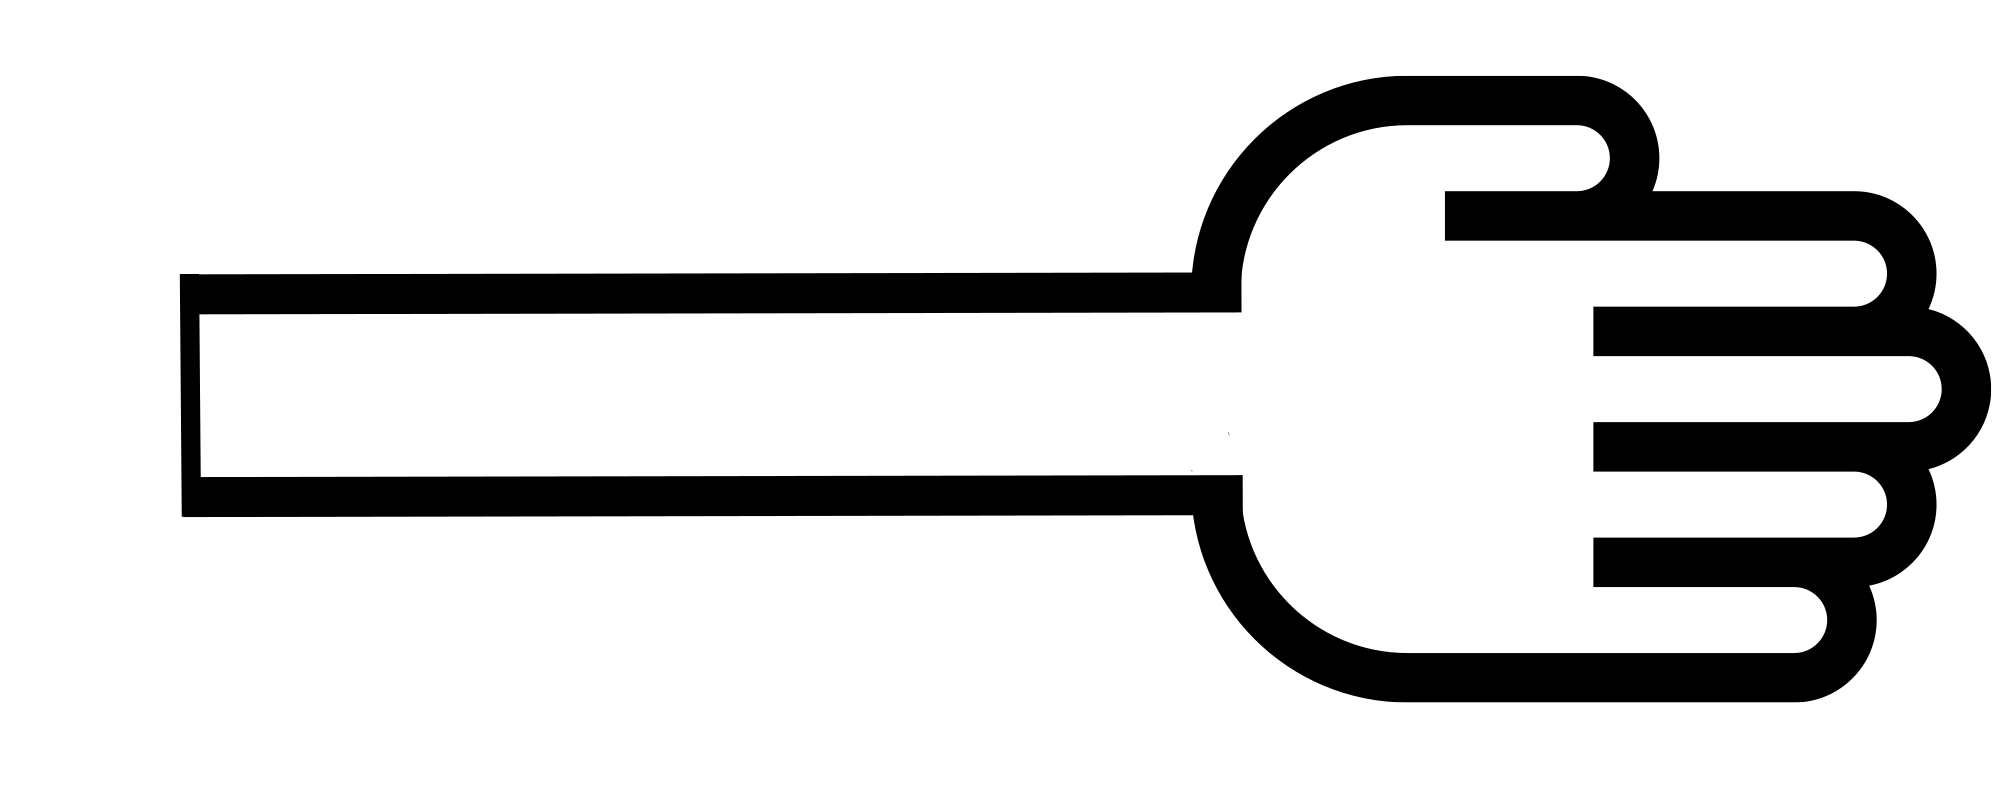
You can download the original file from the downloads section at the bottom of the page.
I think I'll continue using Inkscape for the aforementioned reason regarding software licenses.
3D Design
Here I can truly say I started from scratch; I didn't even know any of the software. It's true that I had been somewhat interested in 3D printing, had looked for some free files and given them to a friend to print, but designing it myself seemed too far-fetched.
FreeCAD
And why FreeCAD? Precisely because it's free.
Starting from scratch might be a good time to evaluate different software programs, such as Solidworks, since it includes a one-year license with FabAcademy. However, honestly, I think for now I'll stick with free software to avoid getting used to a licensed program.
To get started with FreeCAD, I followed this beginner's tutorial on YouTube by TOKaTICS ↗️ and completed the exercises in each video to familiarize myself with the tool and 3D software.
I created a sketch of the "PinSocc Ball" using different shapes and tools from the software:
- The base was created using the "Cube" tool, where I added cubes of different sizes and subtracted them (using the "cut" tool from Boolean Tools) until I achieved the desired shape with the cutouts.
- The buttons (4 units) are cylinders superimposed on the base, without being fused to it.
- The flippers (4 units) consist of two cubes and one cylinder fused together. Once one set was made, the other three were copies, with rotations added to position them correctly.
- And the scoreboard consists of three unfused tubes forming the structure, and a fused cube at the top, from which I removed a large portion by subtracting other cubes.
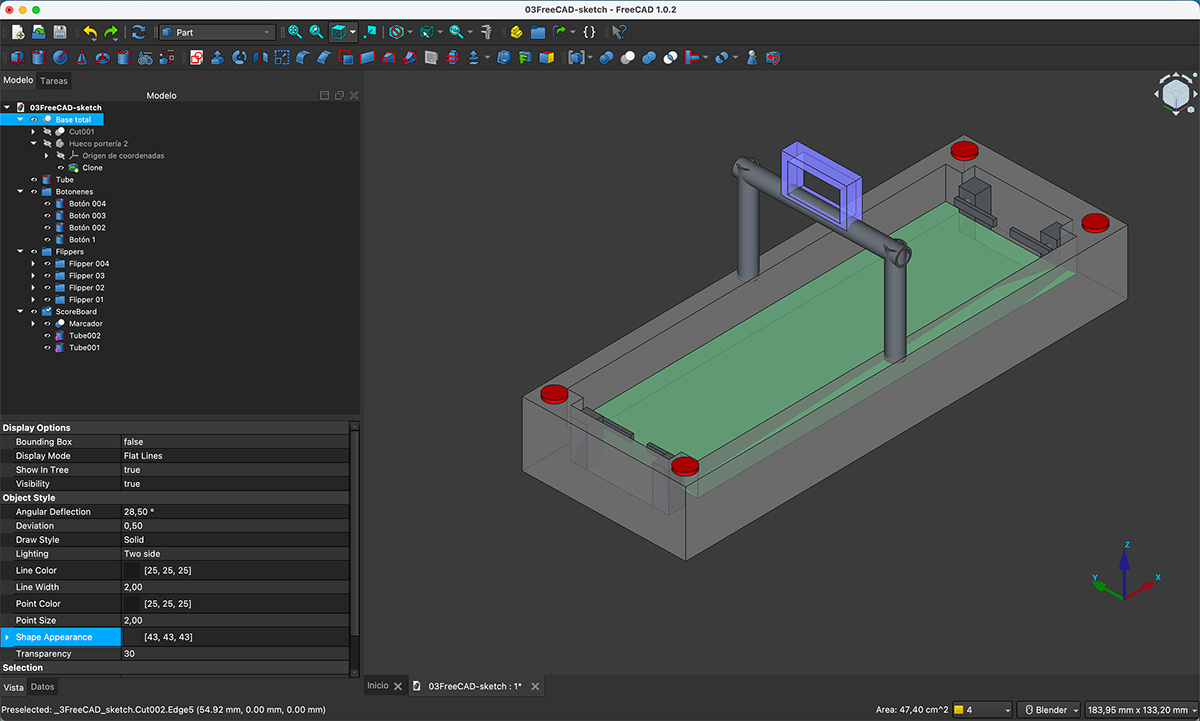
You can download the original file from the downloads section at the bottom of the page.
Video FreeCAD screen capture
This video shows a screenshot from the FreeCAD application of the sketch model I created.
Video also available on my YouTube channel ↗️.
SketchFab visor
Once exported to .stl, I uploaded the file to Sketchfab ↗️. This is an online platform for publishing, sharing, and viewing interactive 3D models directly in your browser.
I didn't have a user account, so I registered first.
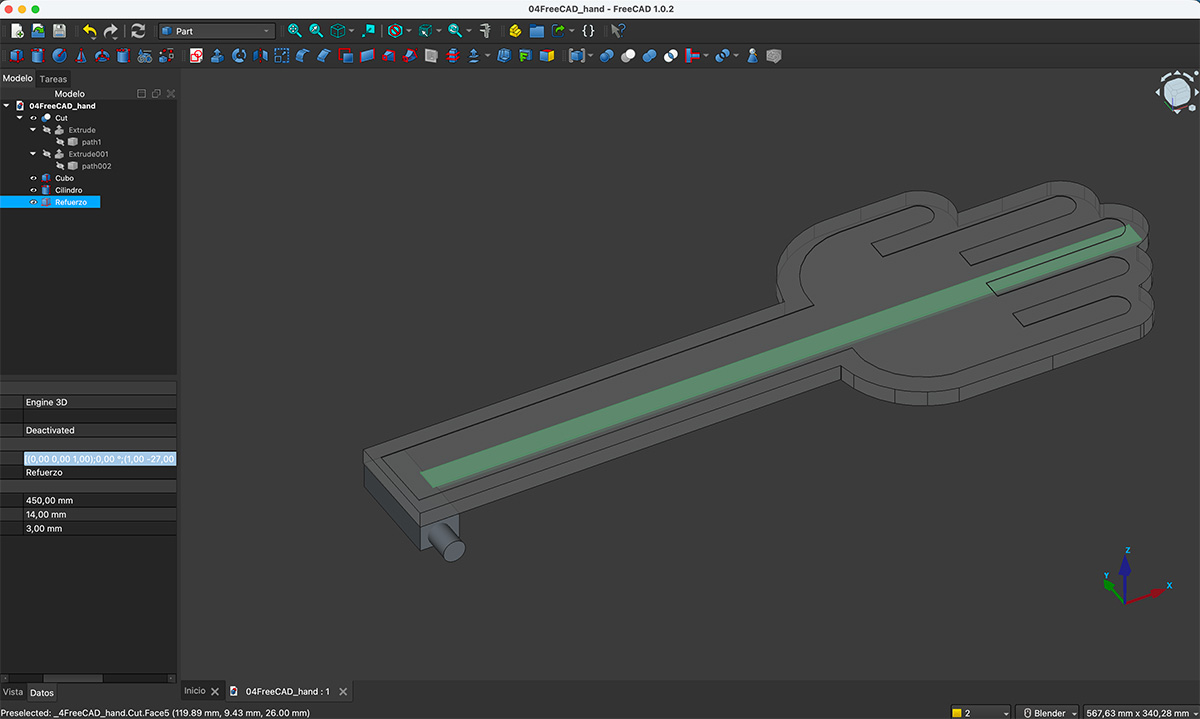
And starting from the "Hand Flipper" design in .svg format that I made in Inkscape, I have made a 3D model in FreeCAD of what could be a piece of the flipper in my PinSocc Ball.
I extruded the silhouette and then subtracted the outline to create an internal relief, allowing the design to be seen. I added reinforcement to the back and simulated an anchor point for the piece's rotation axis.
- The hand was created with two extrusions from the .svg file. In this case, the inner line, once extruded, was subtracted from the extrusion of the outer part of the .svg file to give the hand some relief.
- On the back, I added a longitudinal cube to simulate a kind of reinforcement.
- On the handle, I added a rectangular cube and a fused cylinder, mimicking what could be the rotation mechanism.
You can download the original file from the downloads section at the bottom of the page.
Blender
Blender ↗️ is a free and open-source program for creating 3D (and 2D) graphics and animations. It is used by both beginners and professionals in film, video games, design, and digital art. It's a great tool for rendering.
Rendering in Blender means converting your 3D scene into a final image or video, just as a real camera would see it, as it calculates lights, shadows, reflections, materials, and cameras.
To get started with Blender, I followed this beginner's tutorial on YouTube by de Grant Abbitt (Gabbitt) ↗️ and completed the exercises in each video to familiarize myself with the tool and the software.
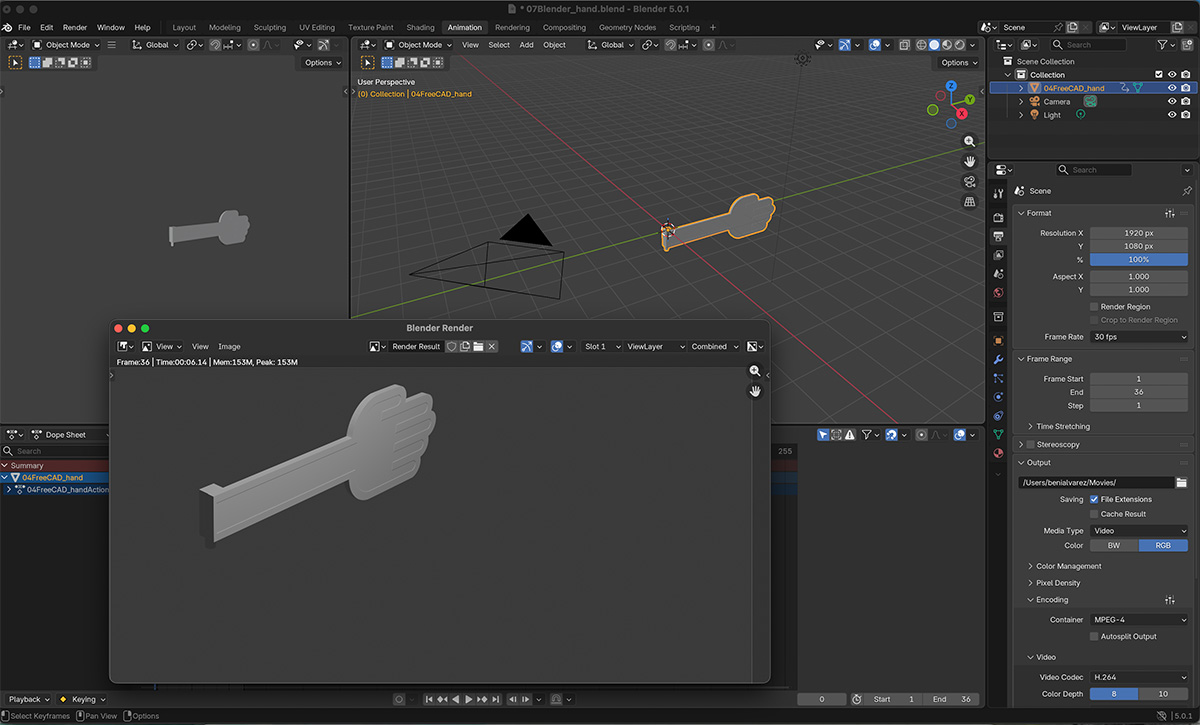
In this case, I want to create a render simulating the movement of the HandFlipper I designed in FreeCAD. To do this, I import the .stl file into Blender and create the animation by marking the handflipper's position along the timeline.
Once the movement is created, I render the animation as a video.
You can download the original file from the downloads section at the bottom of the page.
And this is the final blender render animation.
Video also available on my YouTube channel ↗️.
How I compressed the image and video files
Images
For image compression, as I mentioned in week 1 ↗️, I'm using GIMP to reduce the size and quality of the images. In this case, I set a width of 800px (the height is proportional) and save it as a JPG at quality 80. Some images, when I think it's necessary, I save at 1200px wide, although they're displayed on the website at 800px, but you can enlarge them by clicking on them.
In the tests I performed, I tried reducing the image to PNG with maximum compression and to JPG at quality levels 100, 80, and 60.
I also tried the software "ImageOptim" ↗️ this week, although the results were very similar to those obtained with GIMP (at least in the cases I tested).
Video
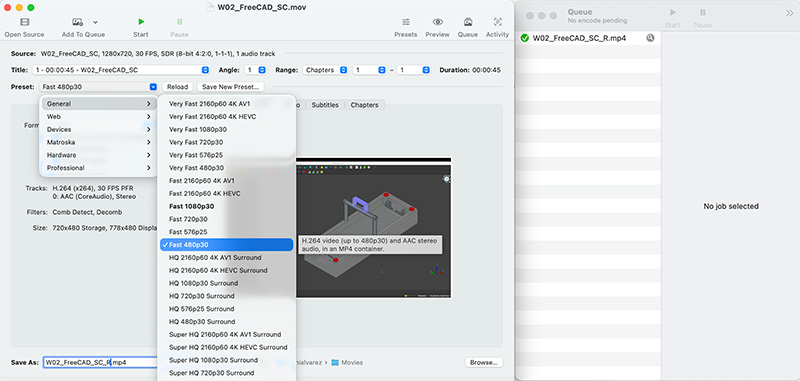
For video compression, I used HandBreak ↗️. It's a free software program that uses widely recognized free software libraries such as FFmpeg/libavcodec, x264, x265, libvpx, libtheora, and SVT-AV1 (among others) to compress and encode video and audio in different formats.
Original video: .mov 1280 x 720 MPEG-4 AAC, H.264 – 15 Mb
Compressed video: .mp4 777 x 480 MPEG-4 AAC, H.264 – 1,4 Mb
In this case, I used one of the pre-configured settings: “General – Fast 480p30”.
And for video screen capture, I used OBS ↗️, capturing the image directly from the FreeCAD application.
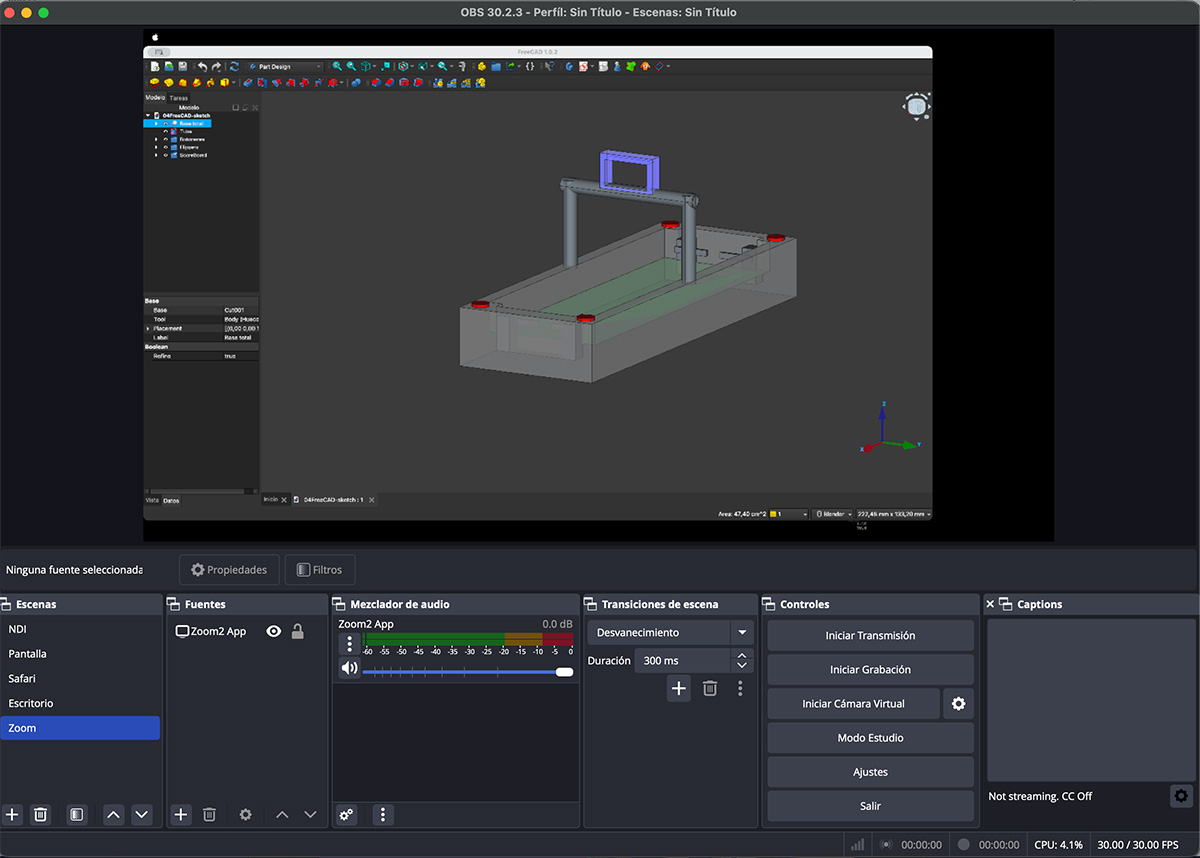
OBS (Open Broadcaster Software) is a free and open-source application designed for video recording and live streaming. It is widely used by content creators, streamers, educators, and professionals because it allows users to capture multiple sources—such as screens, windows, cameras, microphones, and images—and combine them into customizable scenes with transitions, audio and video filters, and support for software or hardware encoding. OBS is cross-platform (Windows, macOS, and Linux), highly configurable, and compatible with popular streaming platforms, making it a powerful and flexible tool for both amateur and professional use.
Original design files for this documentation
Files for download
- Photoshop aerial sketch (PSD) PSD · 288 Kb
- Illustrator aerial sketch (PDF) PDF · 368 Kb
- Inkscape aerial sketch (SVG) SVG · 8 Kb
- Hand Flipper (SVG) SVG · 41 Kb
- FreeCAD sketch (FCStd) FCStd · 67 Kb
- FreeCAD sketch (STL) STL · 146 Kb
- FreeCAD Hand Flipper (FCStd) FCStd · 163 Kb
- FreeCAD Hand Flipper (STL) STL · 441 Kb
- Blender Hand Flipper (blend) Blend · 286 Kb
Credits
All texts were written in Spanish and translated into English using Google Translate and ChatGPT.