Acrylic Laser-Cut Keychain Workshop
IEDC Summit 2026 | Sahrdaya College of Engineering and Technology
About the Workshop
We conducted an acrylic keychain-making workshop at the IEDC Summit at Sahrdaya College of Engineering and Technology. The workshop introduced participants to digital fabrication through the process of designing, engraving, scoring, and cutting acrylic using the xTool S1 laser cutter.
A significant part of the work happened before the event. We sourced materials, tested different acrylic sheets, figured out suitable machine parameters, and prepared sample designs. These preparations helped us understand the materials and establish a workable process before introducing participants to the machine.
Material Sourcing and Testing
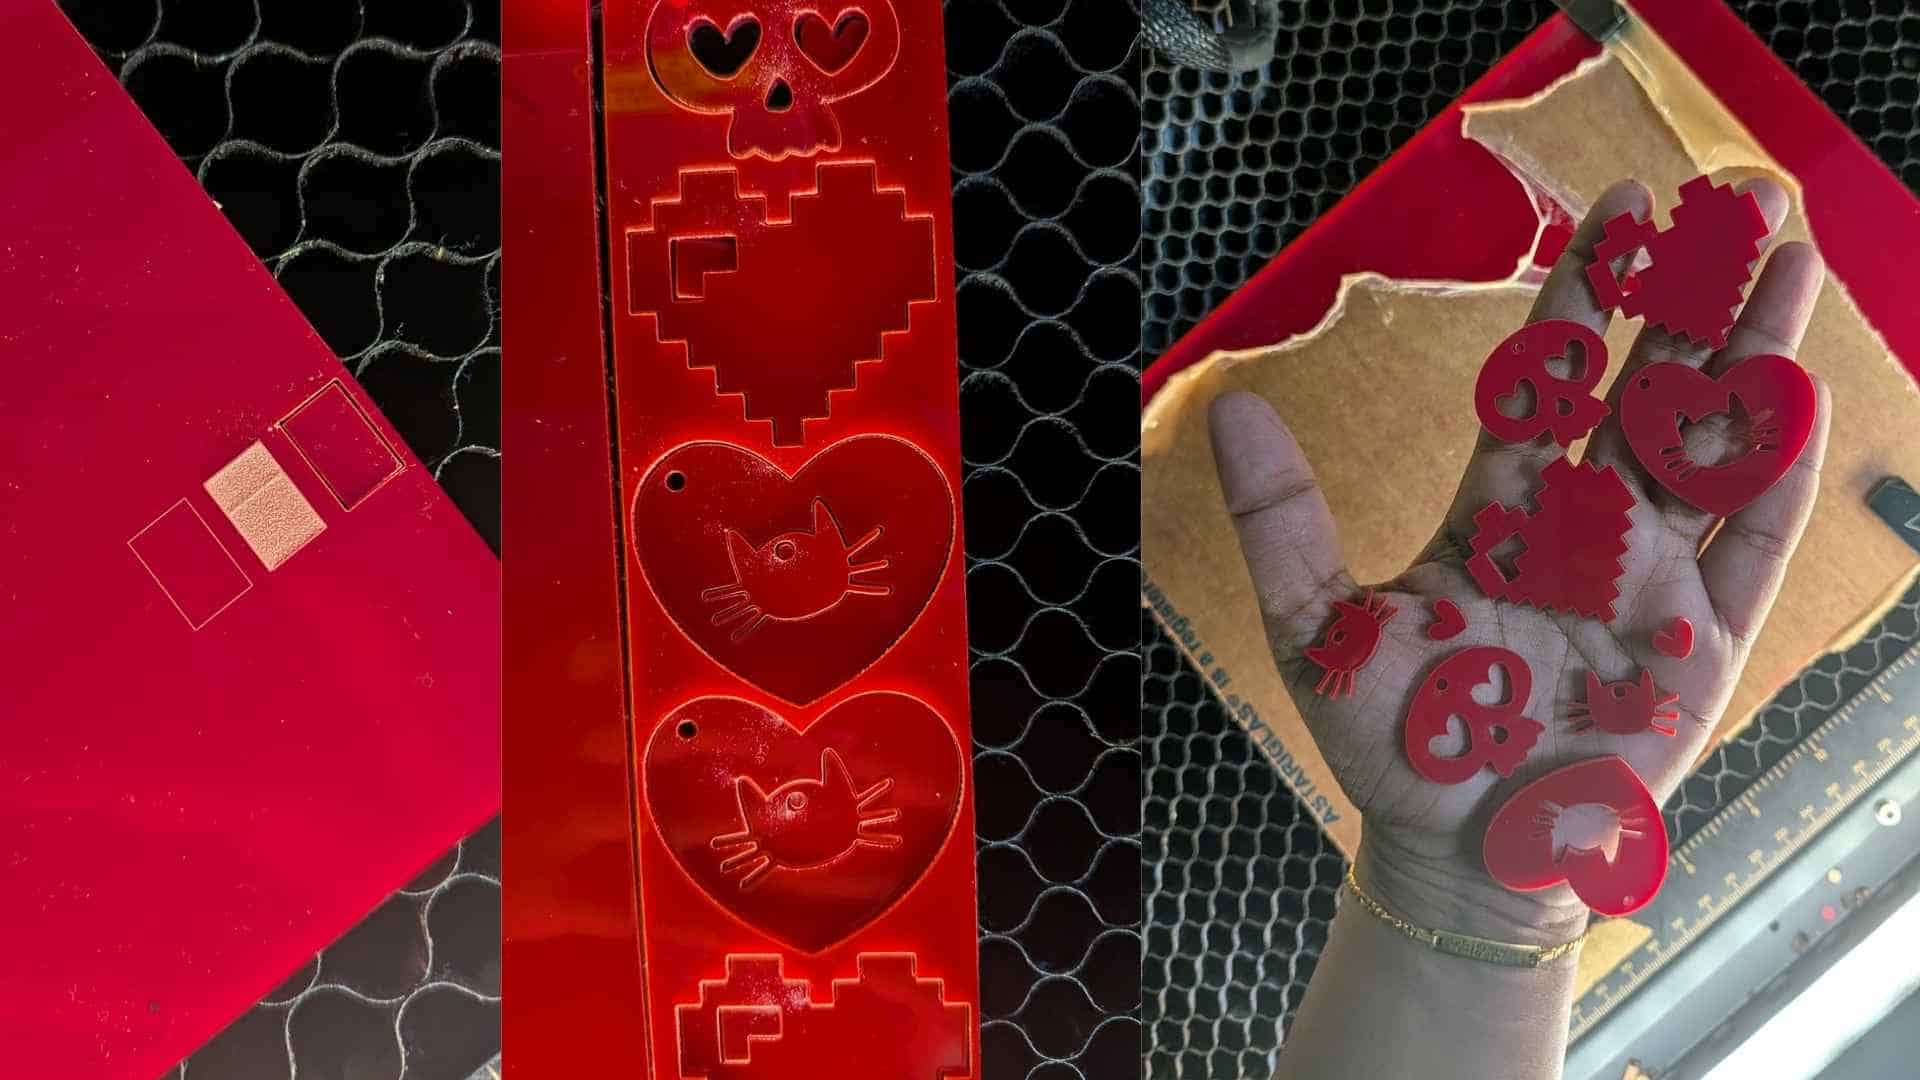
We went together to source acrylic sheets from a wholesale shop, specifically looking for scrap materials. Since the working bed of the xTool S1 was limited and the keychains required relatively small pieces, scrap material was a practical and economical choice. We managed to source approximately eight different colours of 3 mm acrylic.
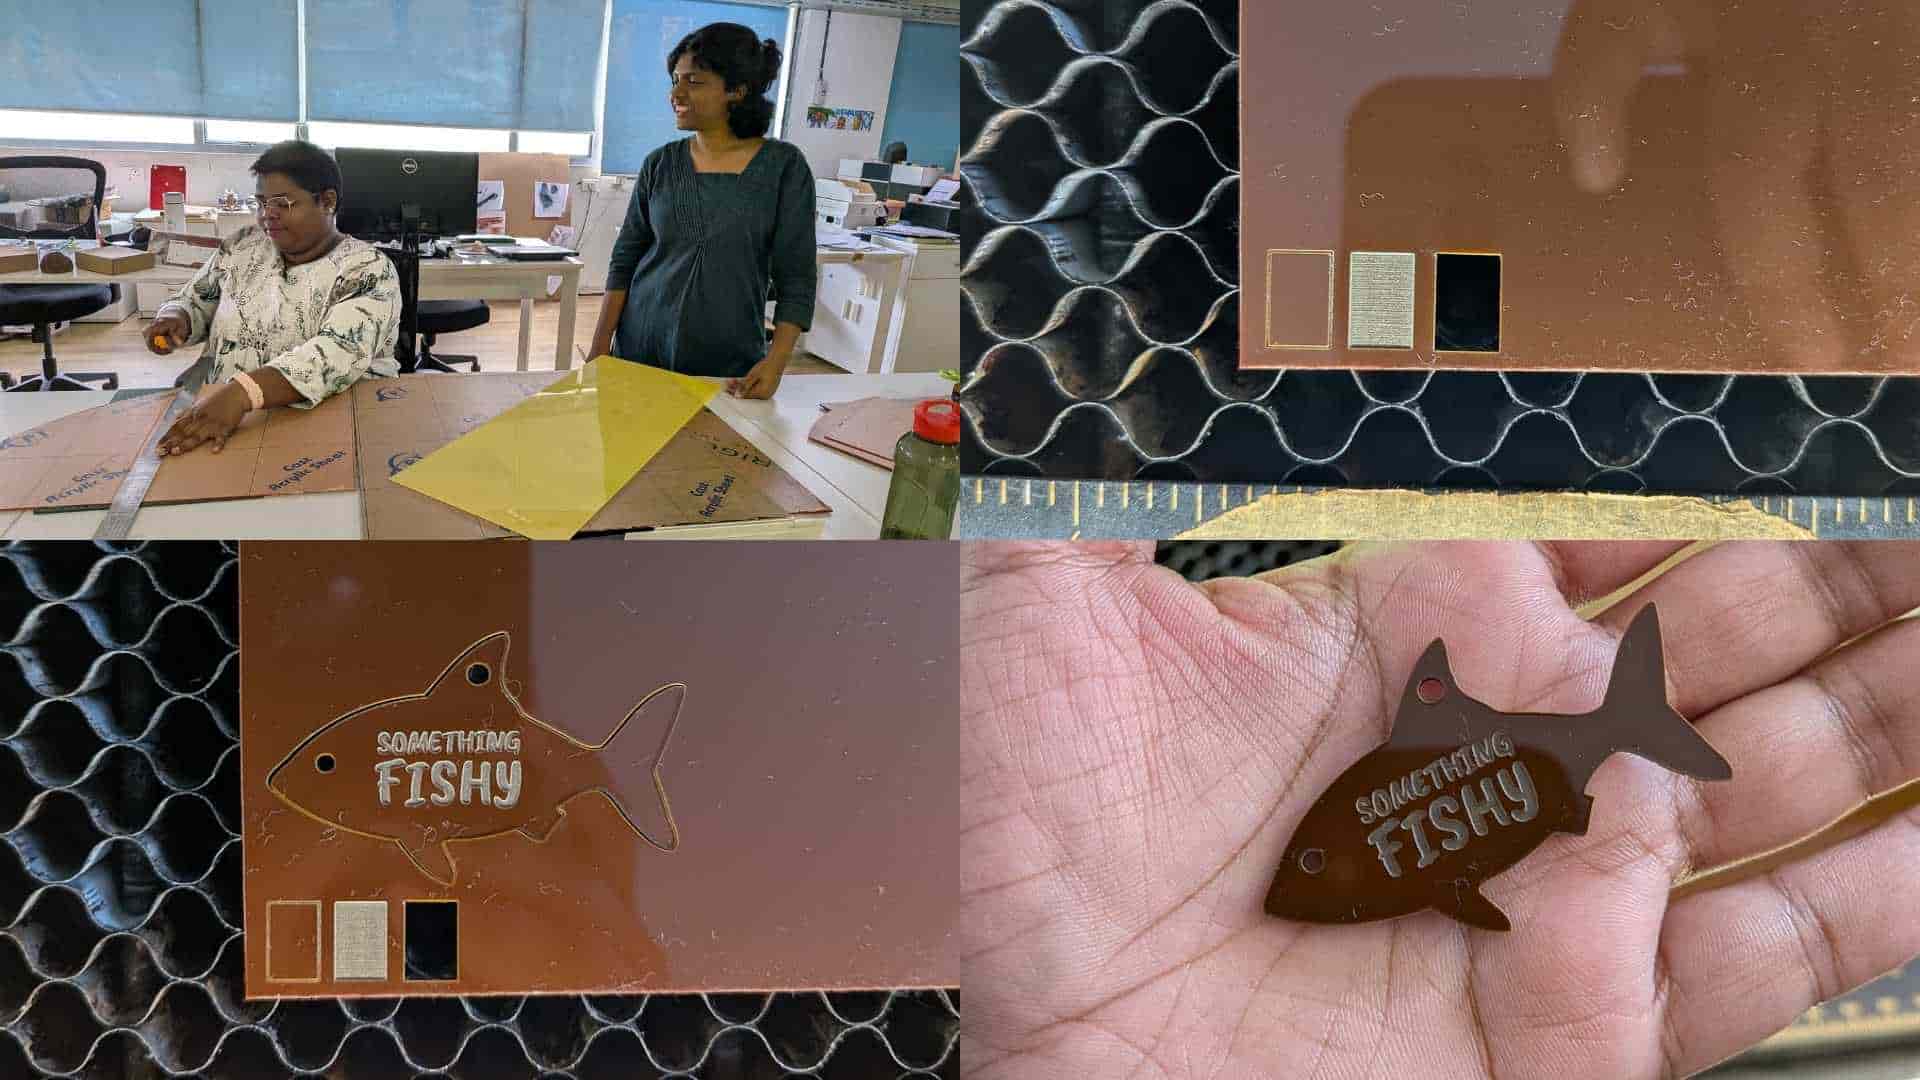
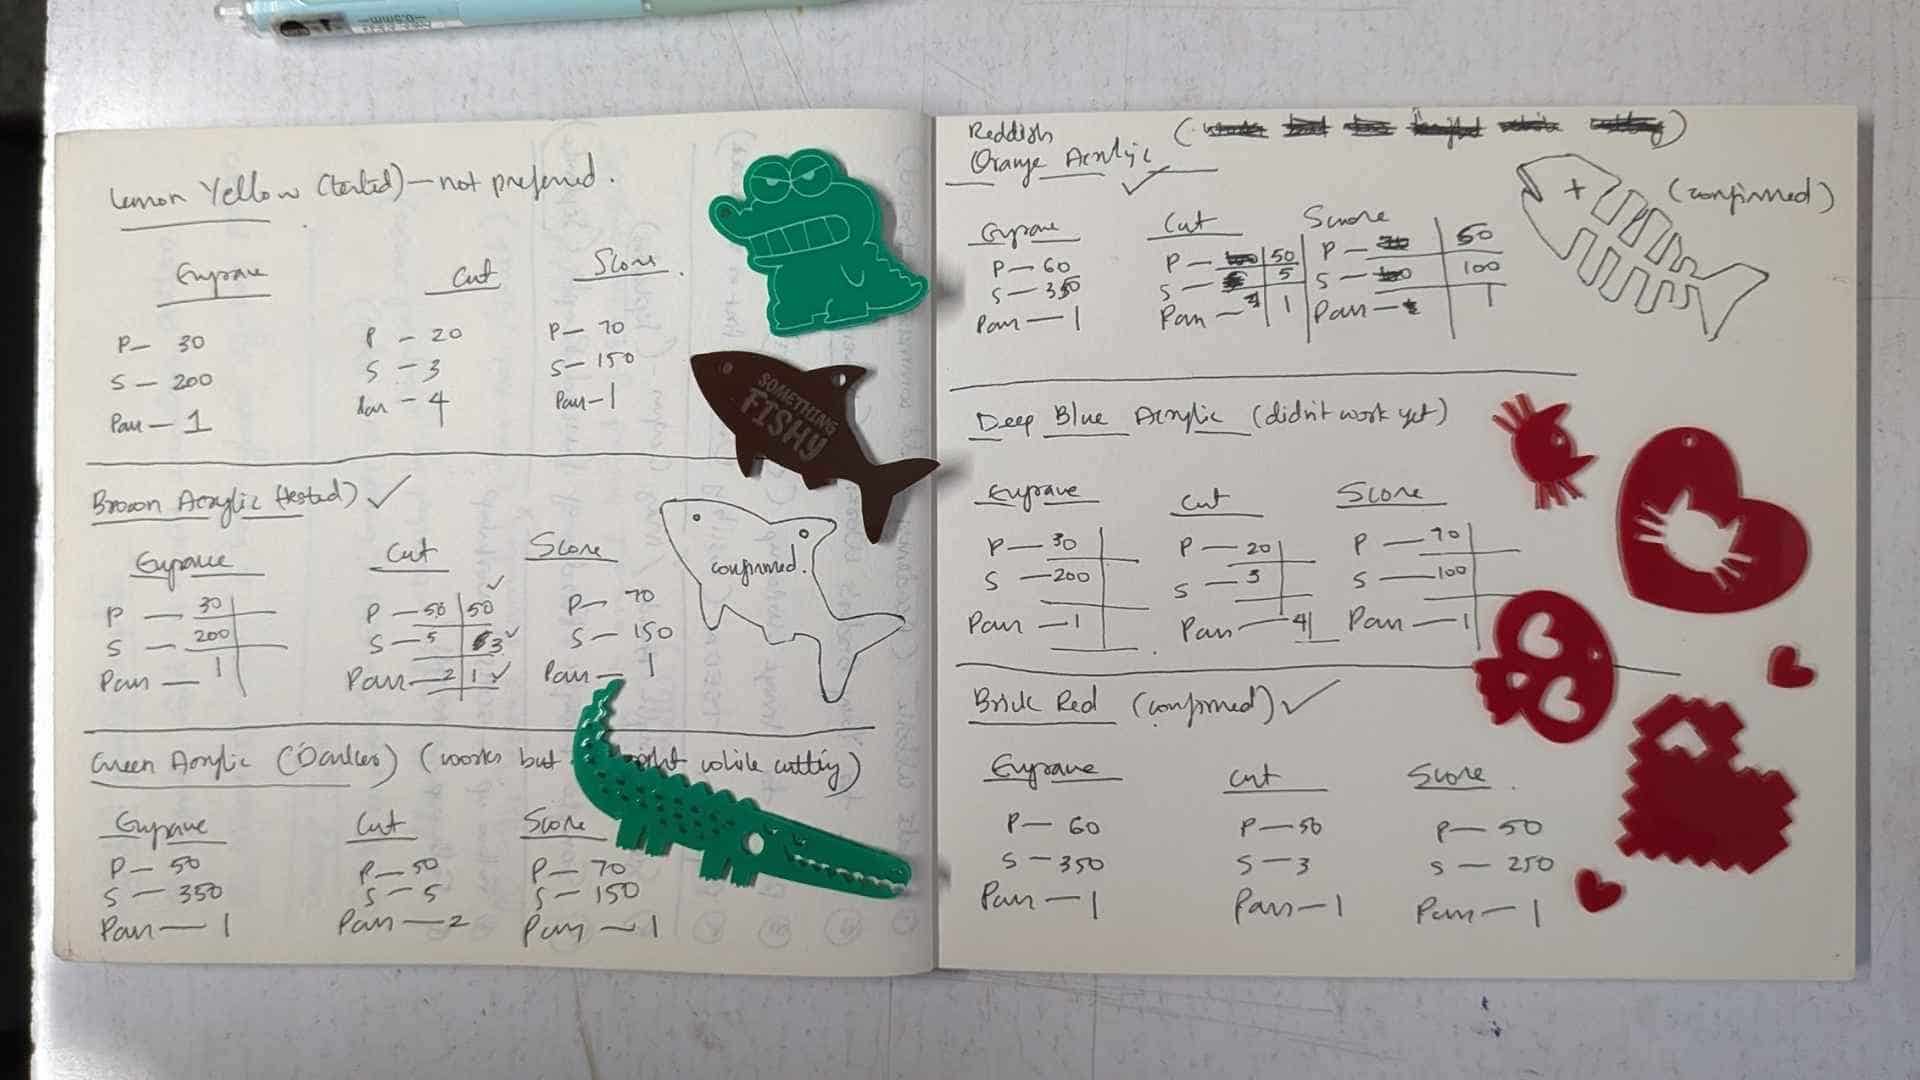
Although all the sheets had the same thickness, they did not respond uniformly to the laser. Different colours required different settings for engraving, scoring, and cutting. We could not simply use one set of parameters for every sheet and expect the same results.
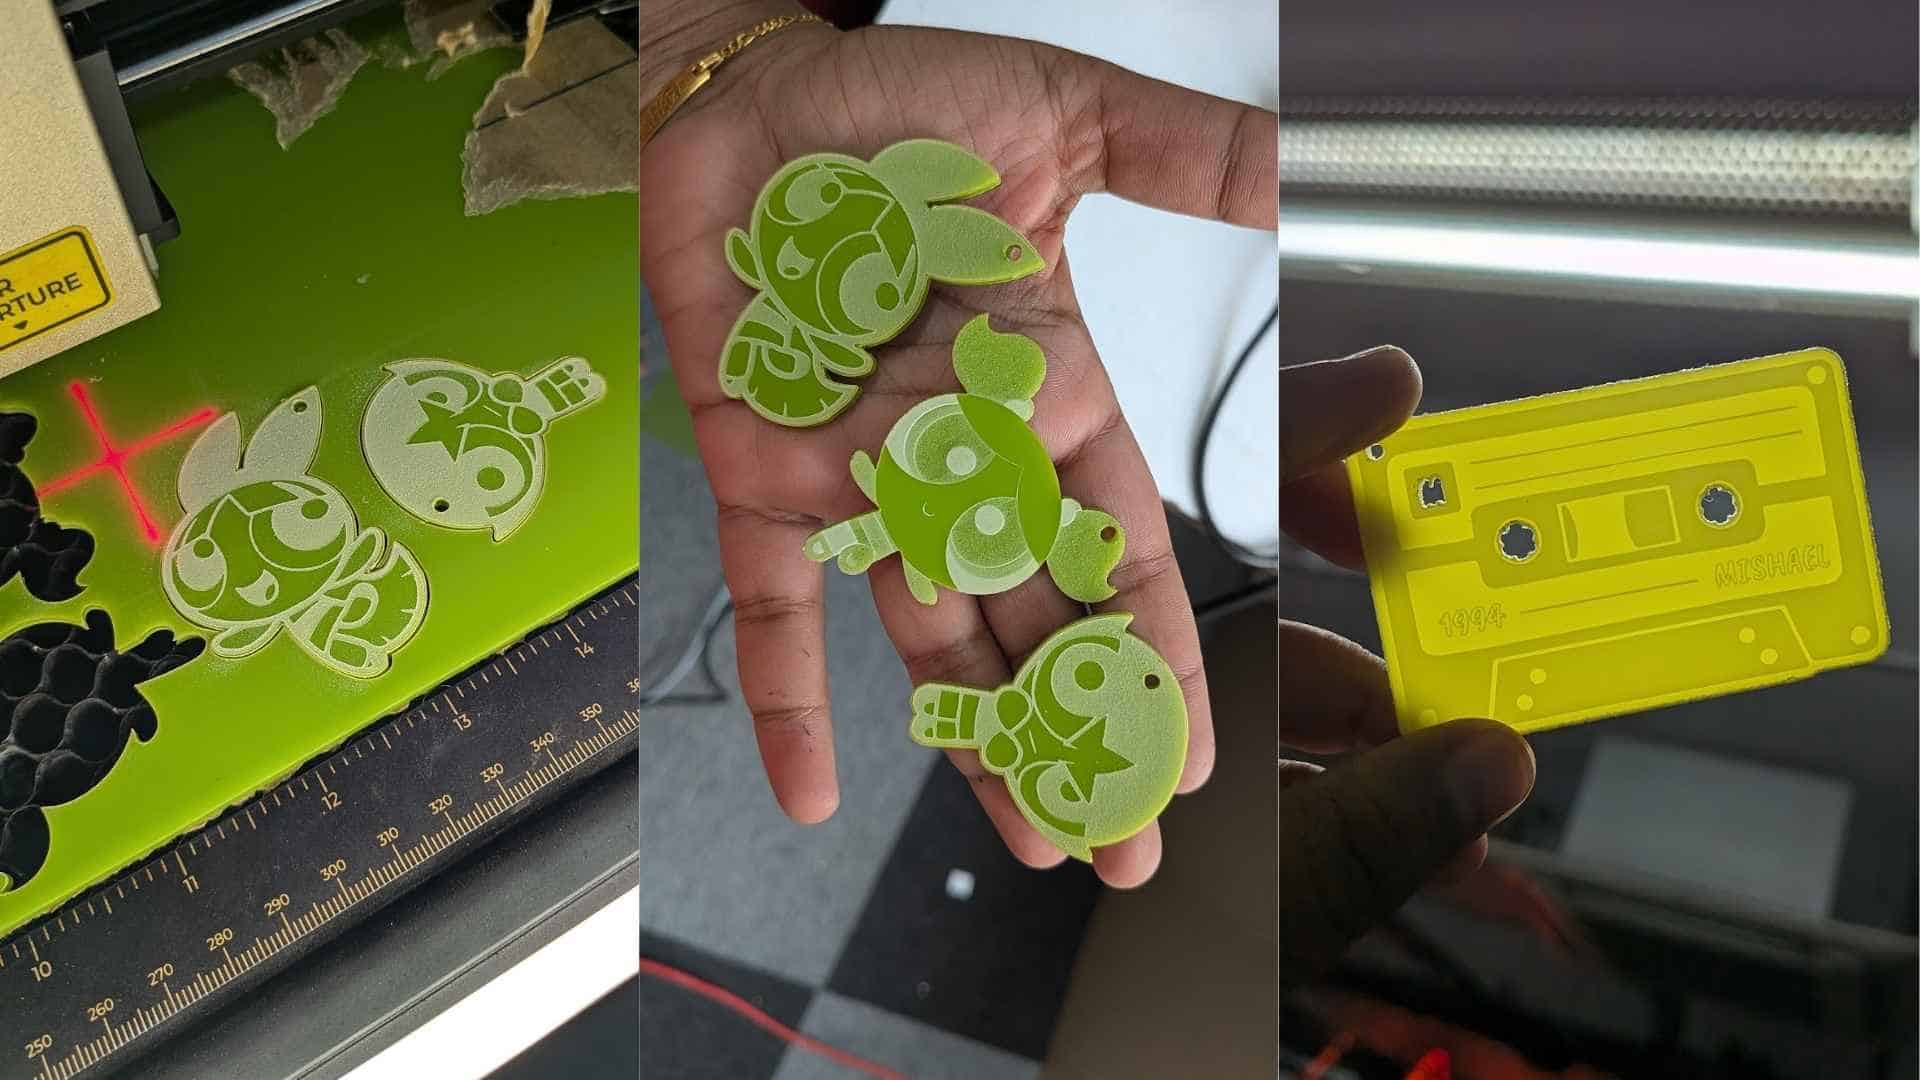
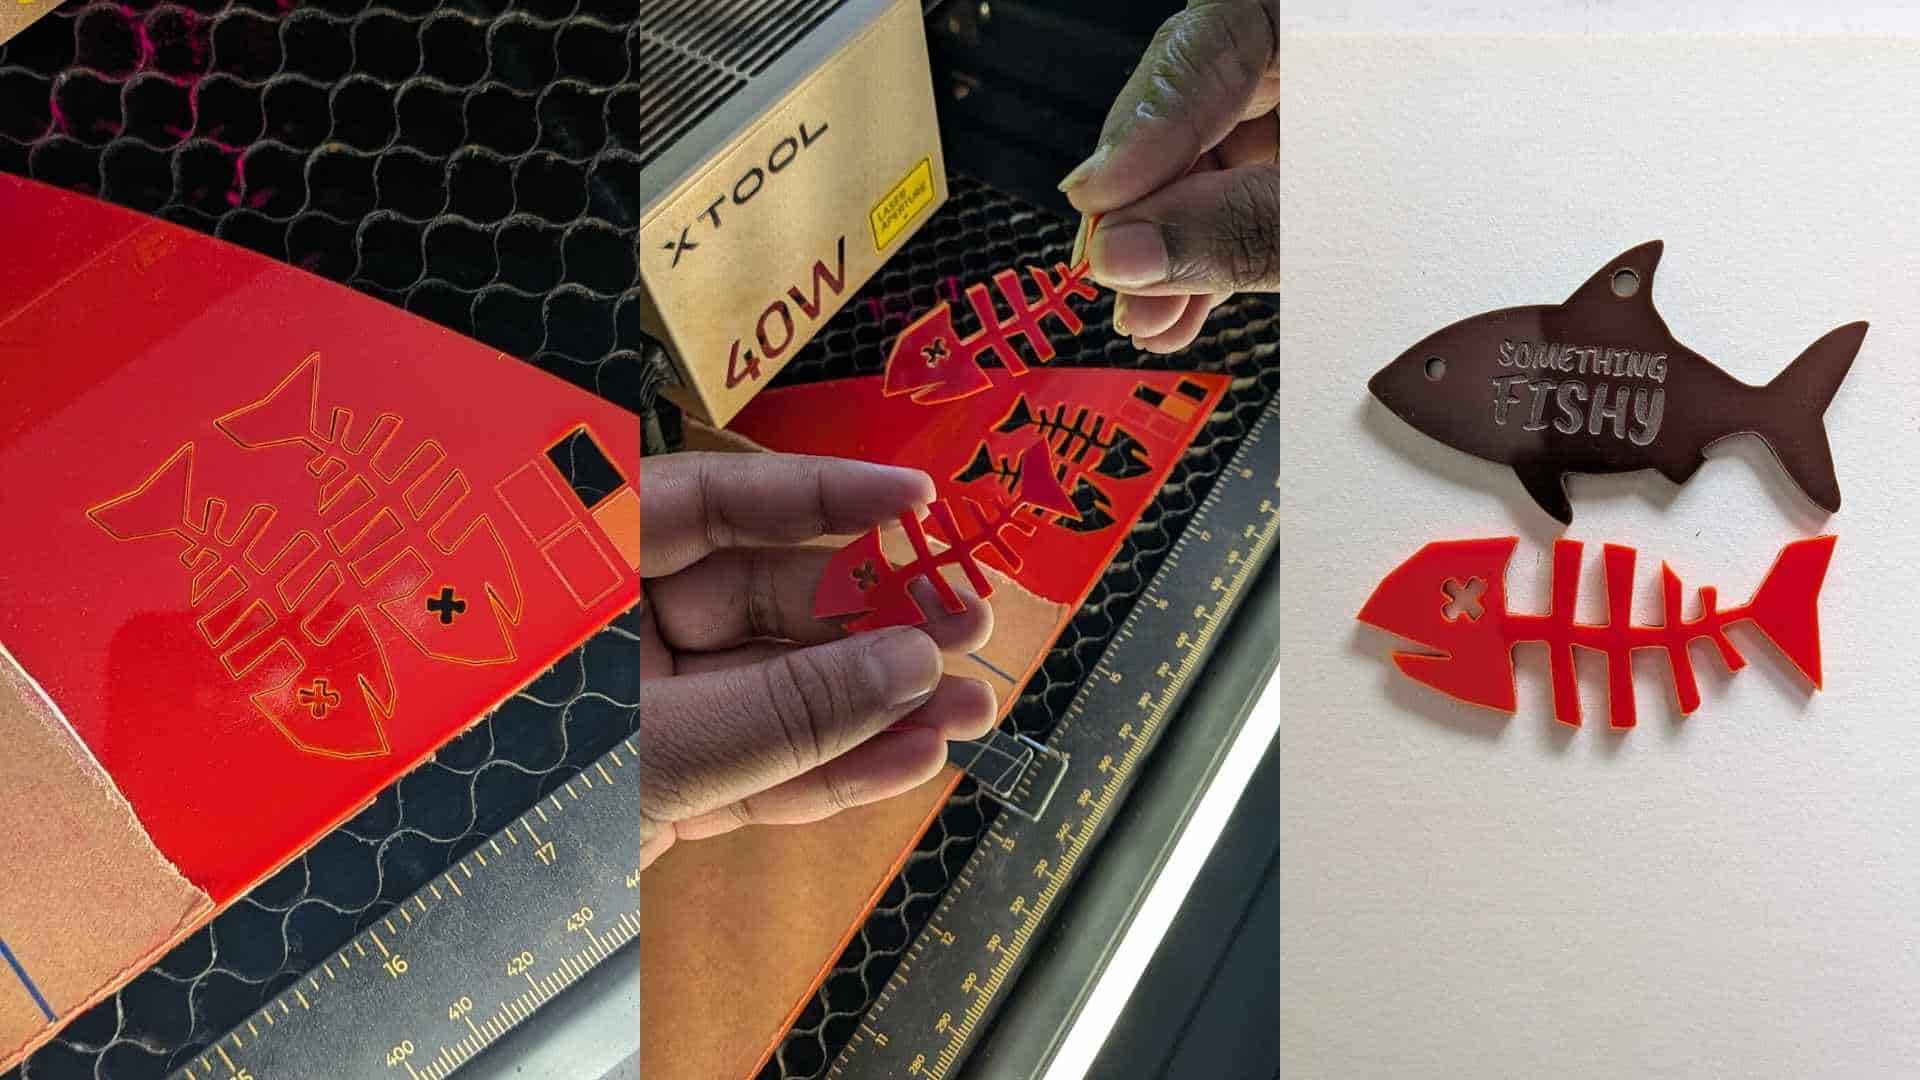
Ardra took the lead in preparing for the workshop, while Ashtami and I worked alongside her to figure out the appropriate parameters for each colour. The testing process was time-consuming and involved multiple trials, adjustments, and test runs before we could achieve satisfactory results.
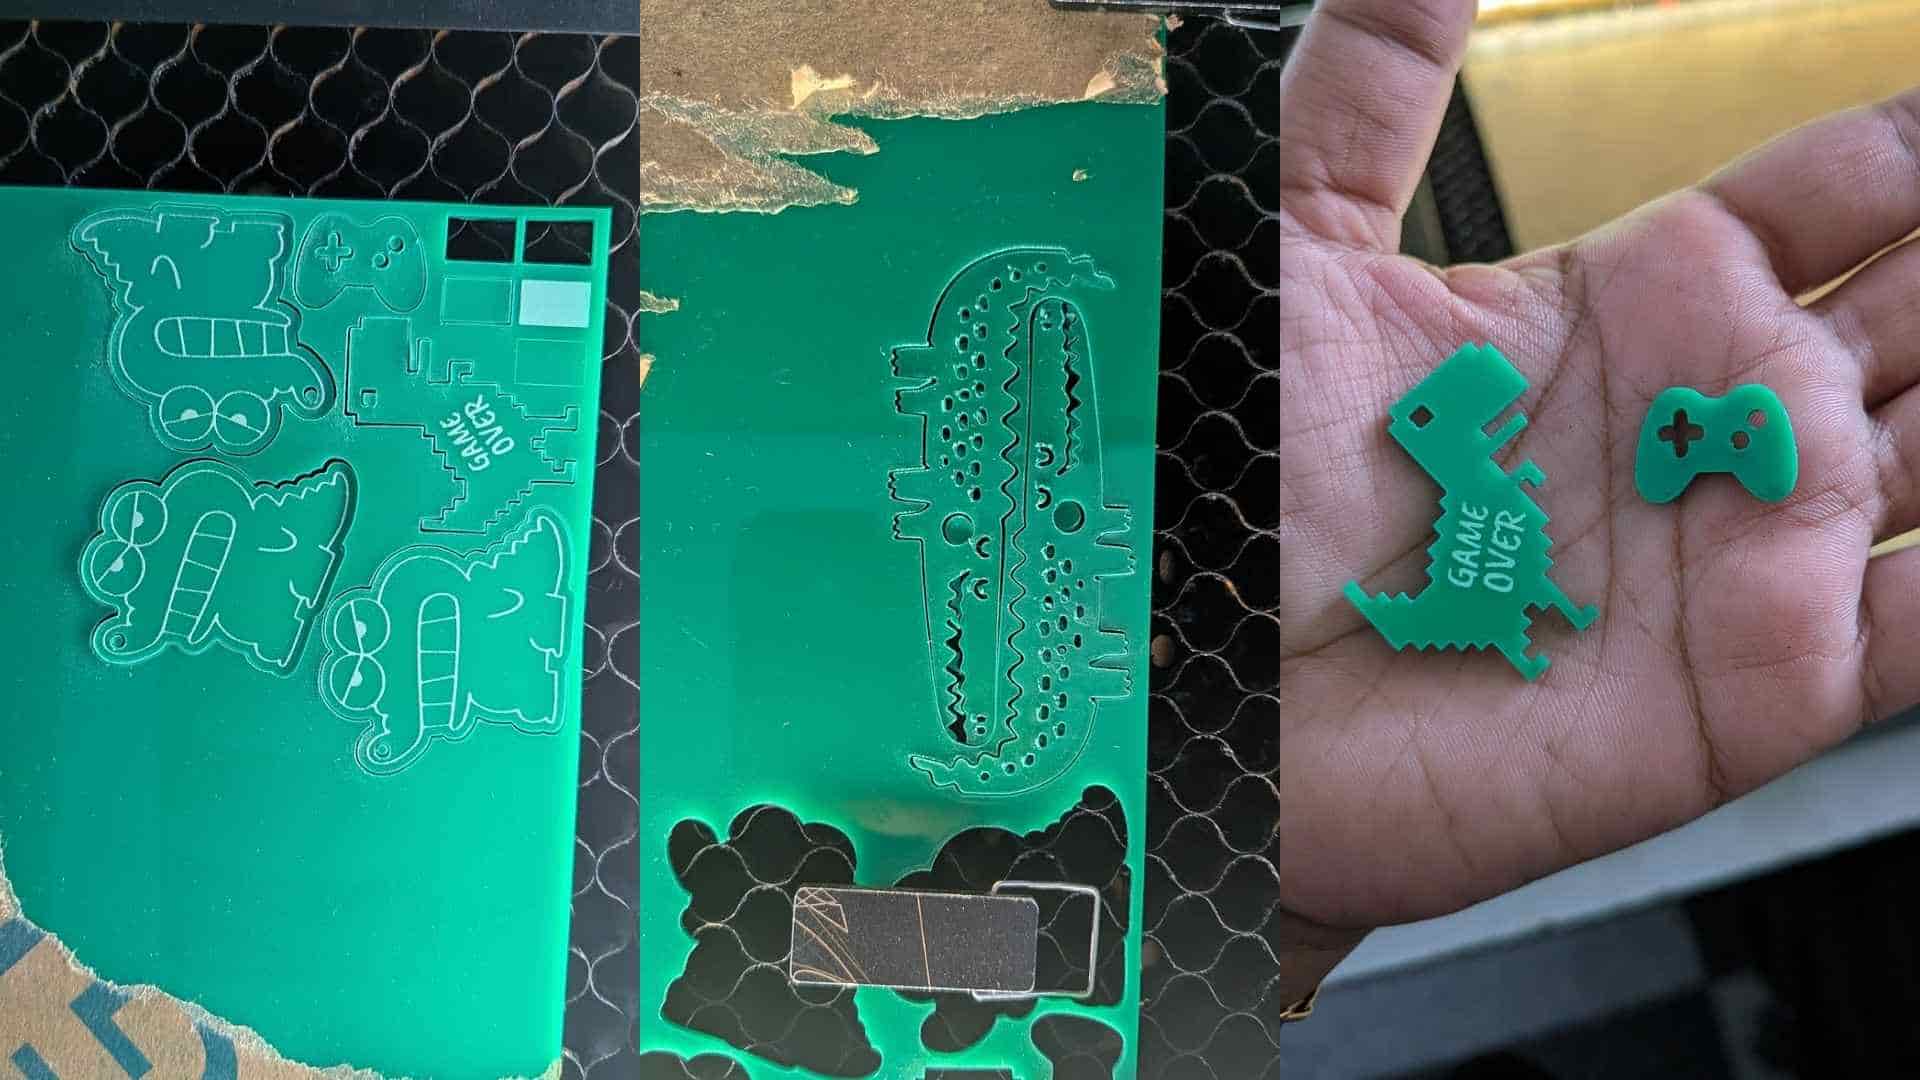
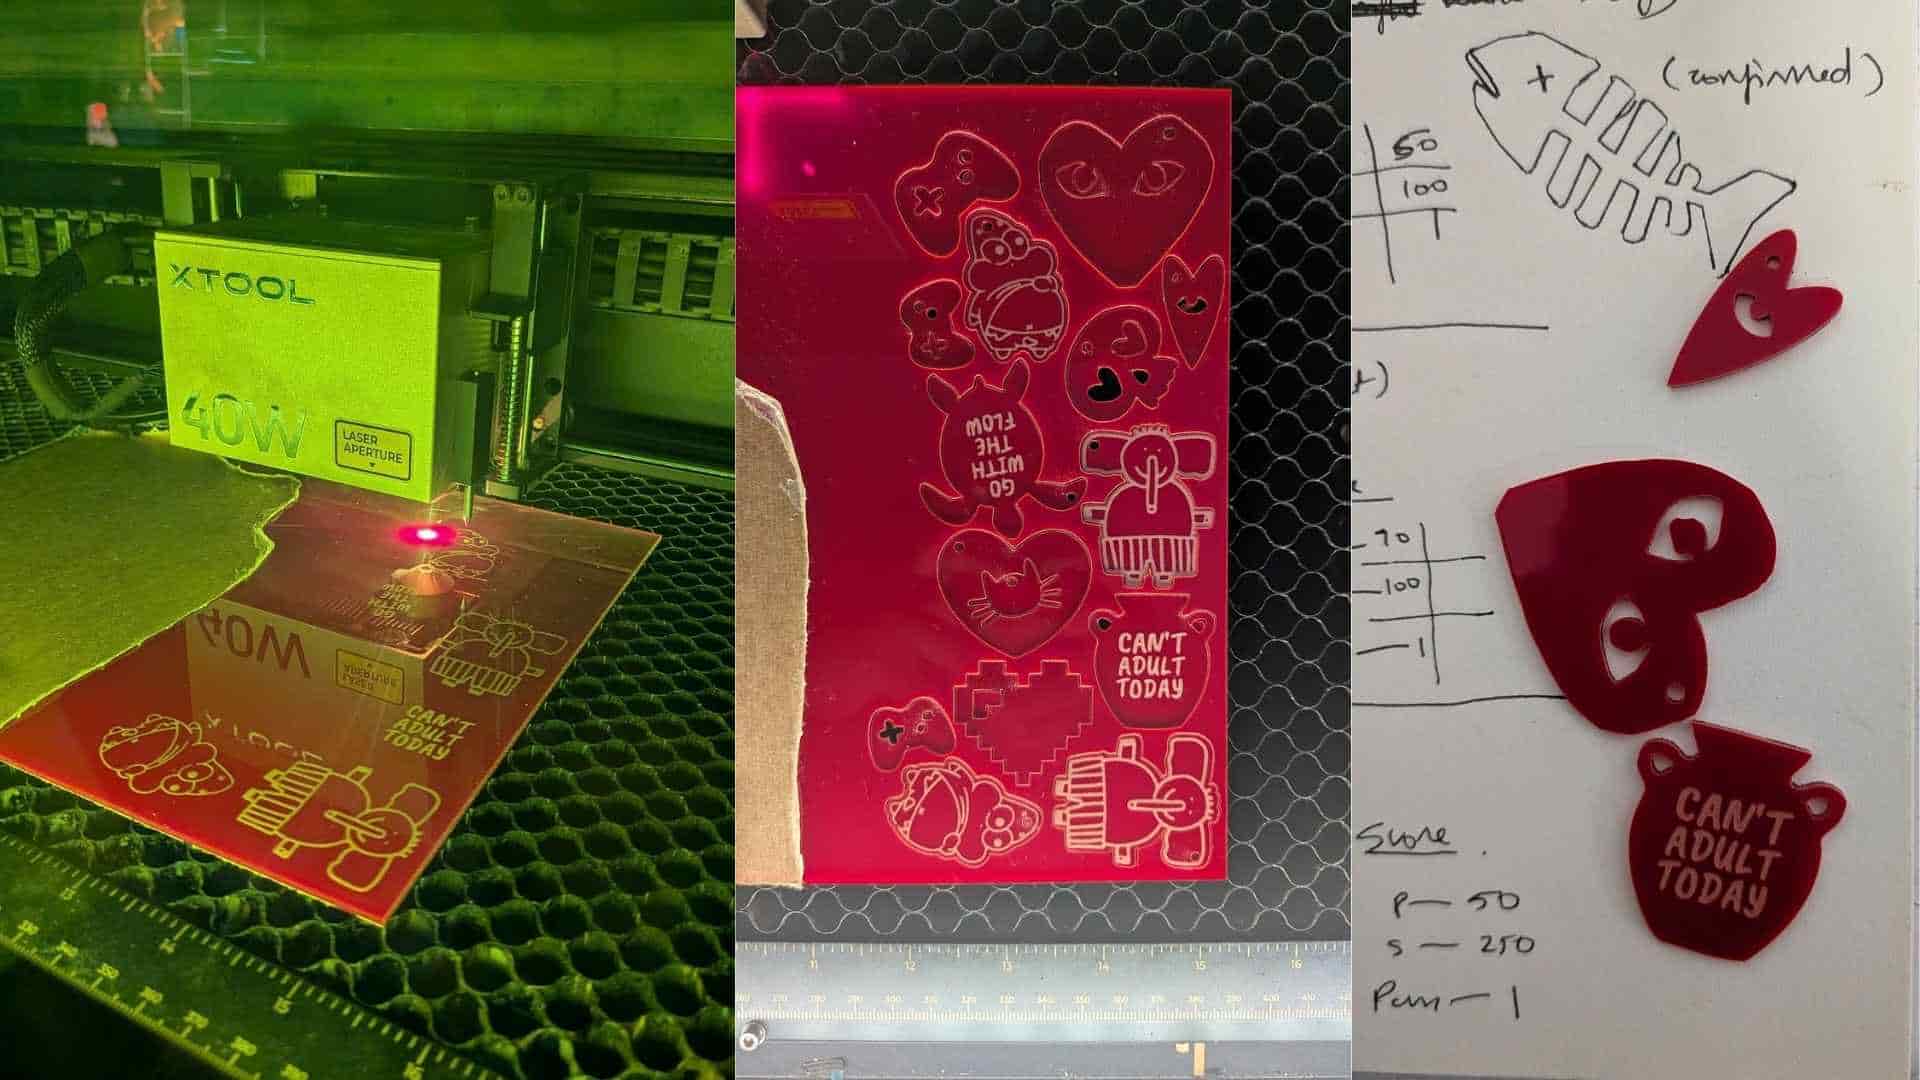
The blue acrylic proved particularly challenging, as it did not cut or engrave well during testing. We decided not to use it for the workshop, while the remaining colours performed well enough to be taken to the event.
Material Swatch Cards
To keep track of the settings we established during testing, we prepared material swatch cards for the different acrylic colours. Instead of recording the results only in a separate document, we created the swatches directly on the respective acrylic pieces.
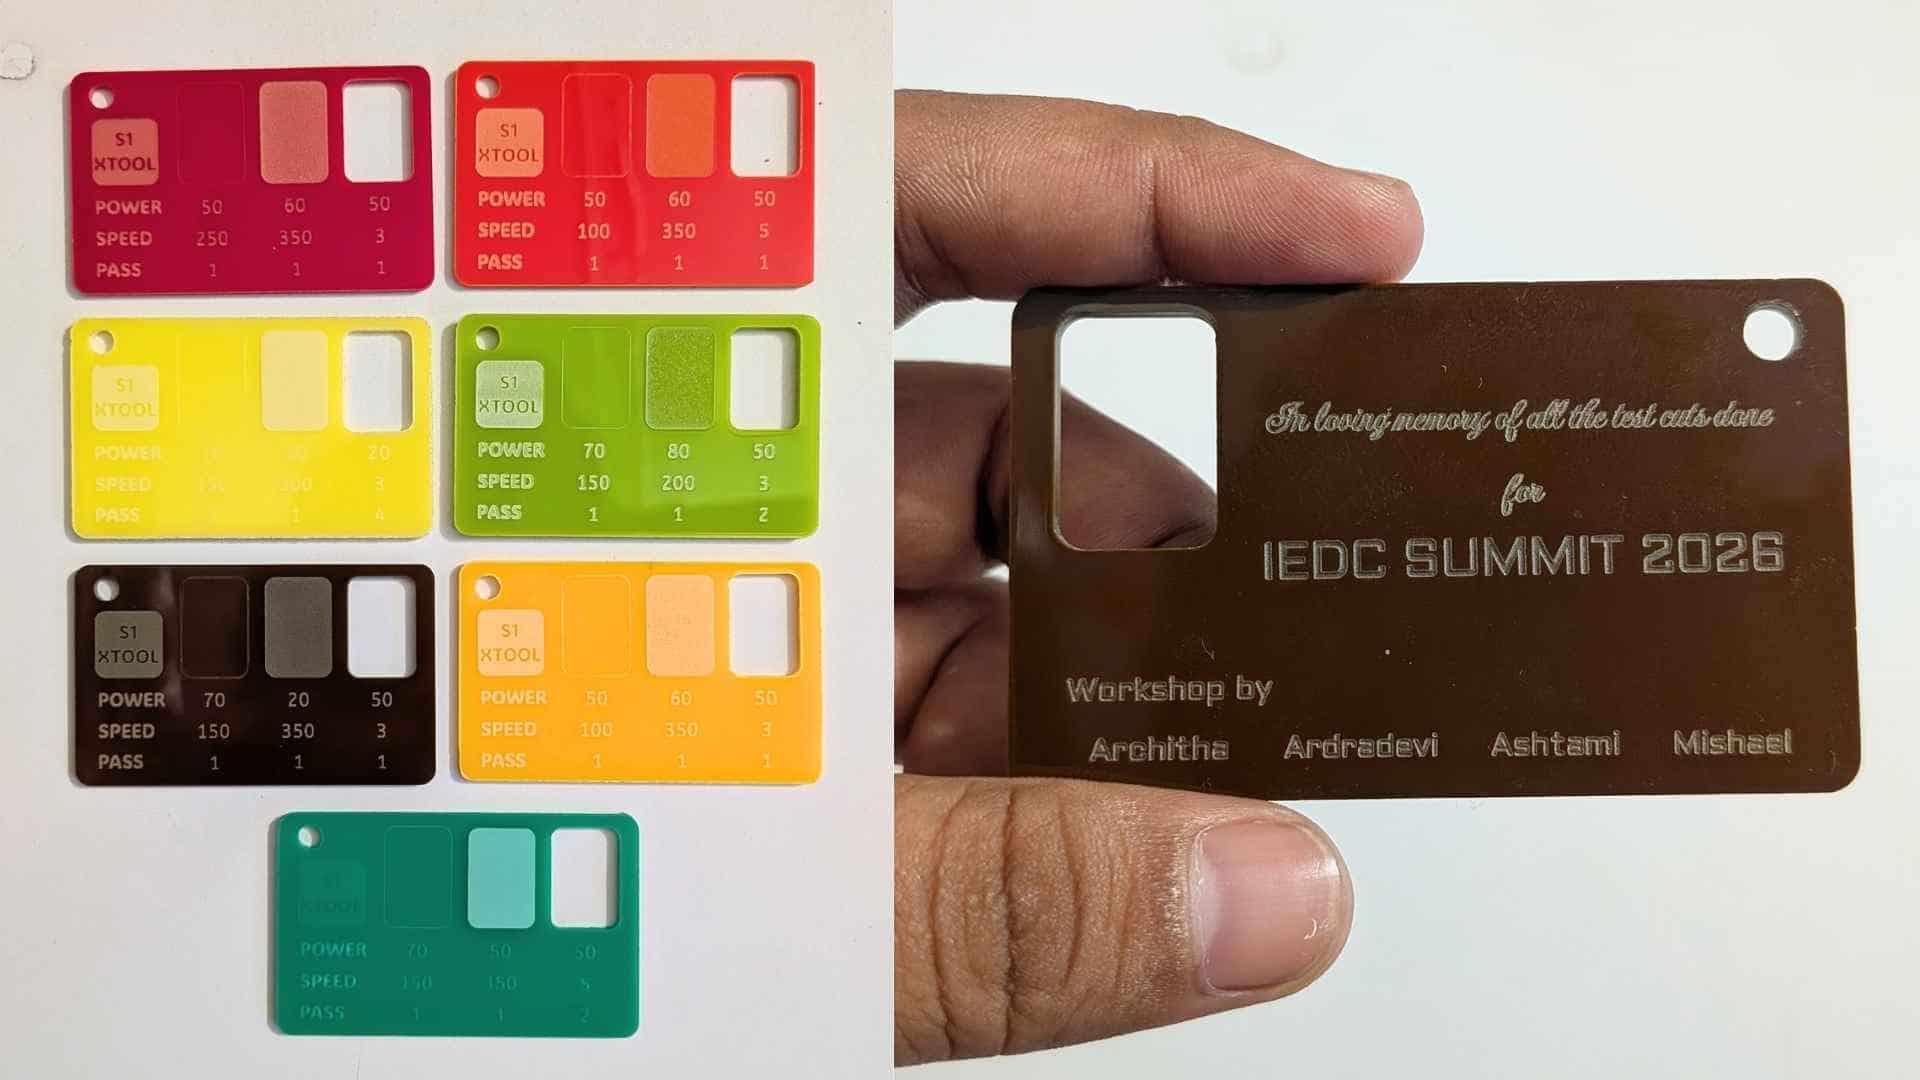
For each colour, we cut, engraved, and scored small rectangular samples. We then engraved text onto the same piece to record the machine values used for each operation. This gave us a physical reference showing both the results and the settings that produced them.
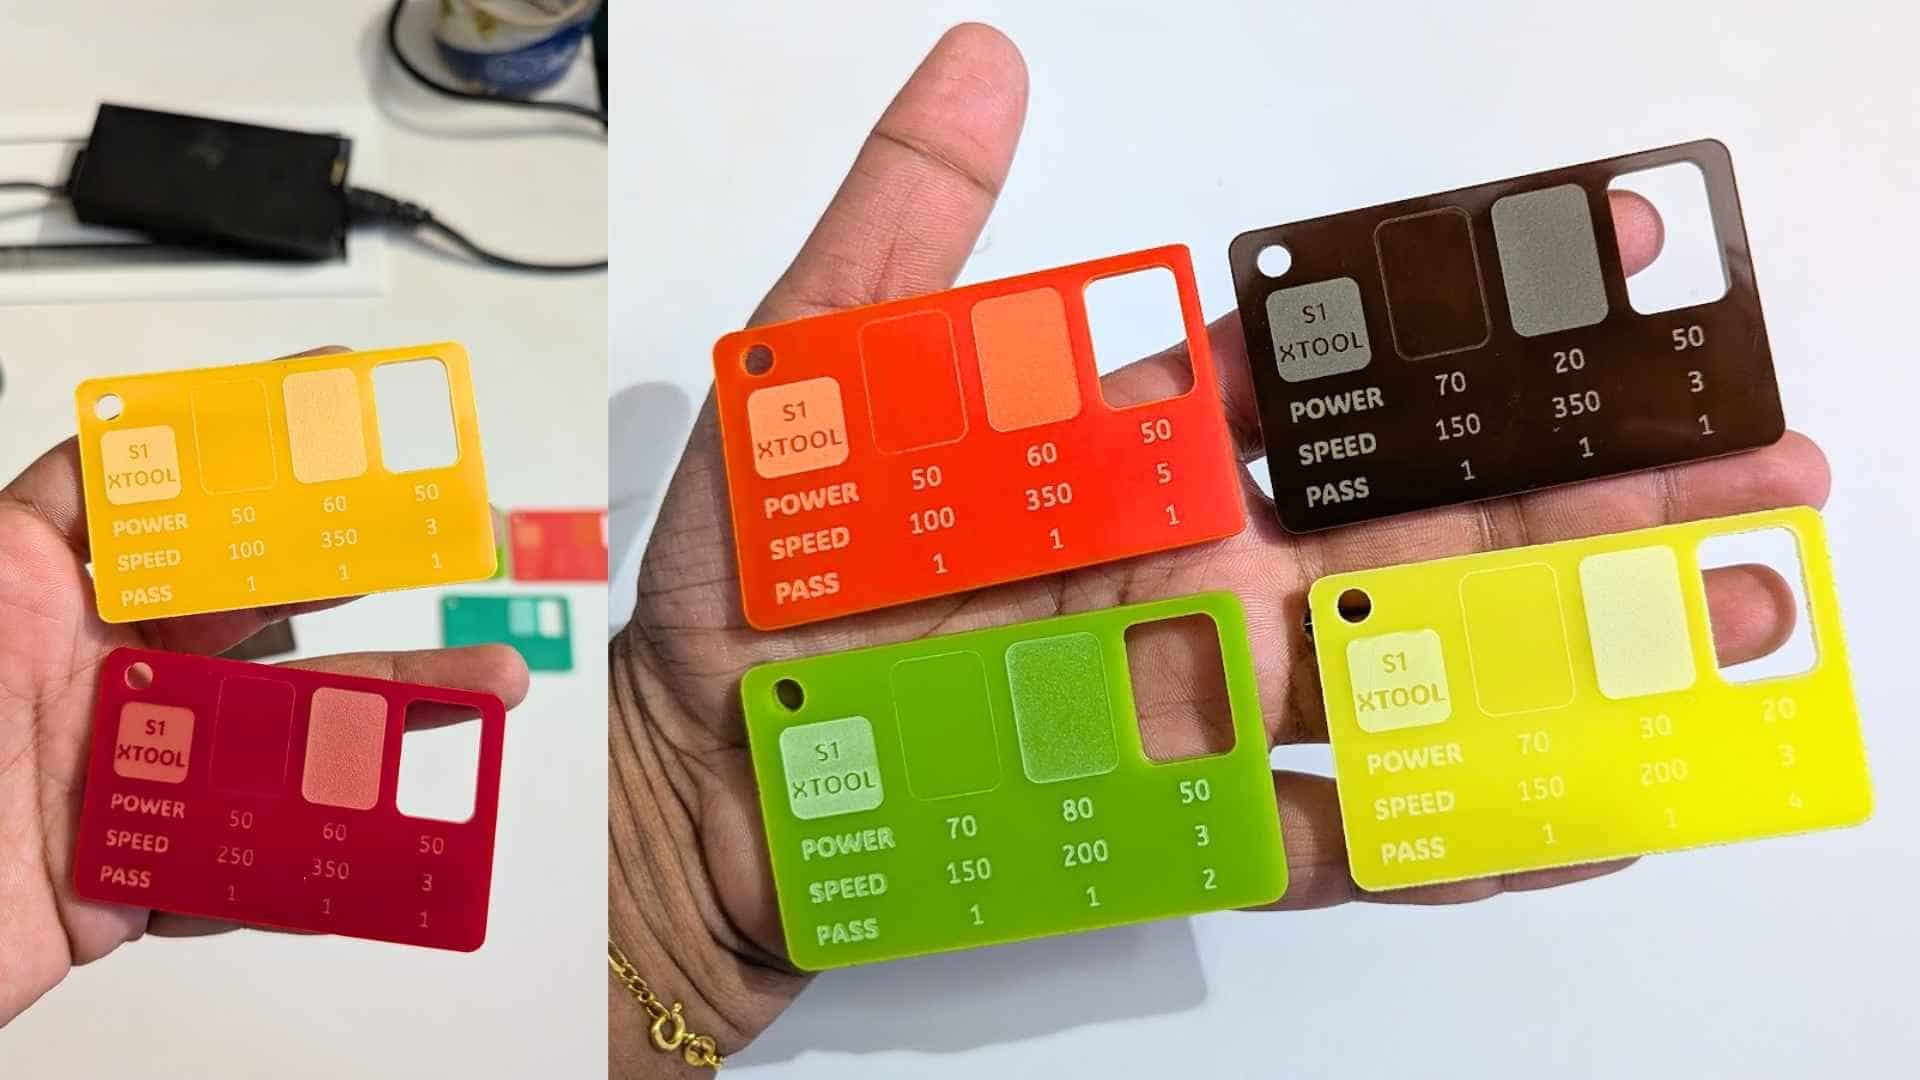
We took these swatch cards with us to the workshop so that we could quickly refer to the tested values while working with the materials. Having the settings documented on the actual acrylic colour made it easier to identify the appropriate parameters without repeatedly referring to separate test records or starting the calibration process from scratch.
The swatch cards became a simple but useful fabrication reference, turning the trial-and-error process into documented, reusable knowledge.
Design and Sample Preparation
Alongside material testing, all four of us prepared sample templates for the event. This involved selecting suitable graphics and preparing the files for fabrication.
Some of the images we wanted to use were available in PNG format. We converted them to JPEG where required for our workflow. The xTool software's tracing functionality and outline options made it easier to prepare the designs and define the paths needed for fabrication.
We prepared the files for the different operations: engraving the artwork, scoring selected lines, and cutting the outer profile. We then tested the templates on the available acrylic sheets, checking how the designs translated from digital files into physical samples.
Preparing samples helped us compare the results, identify adjustments, and refine the designs before the workshop. It also gave us a better understanding of how the artwork, cutting paths, material characteristics, and machine settings work together.
Workshop Day
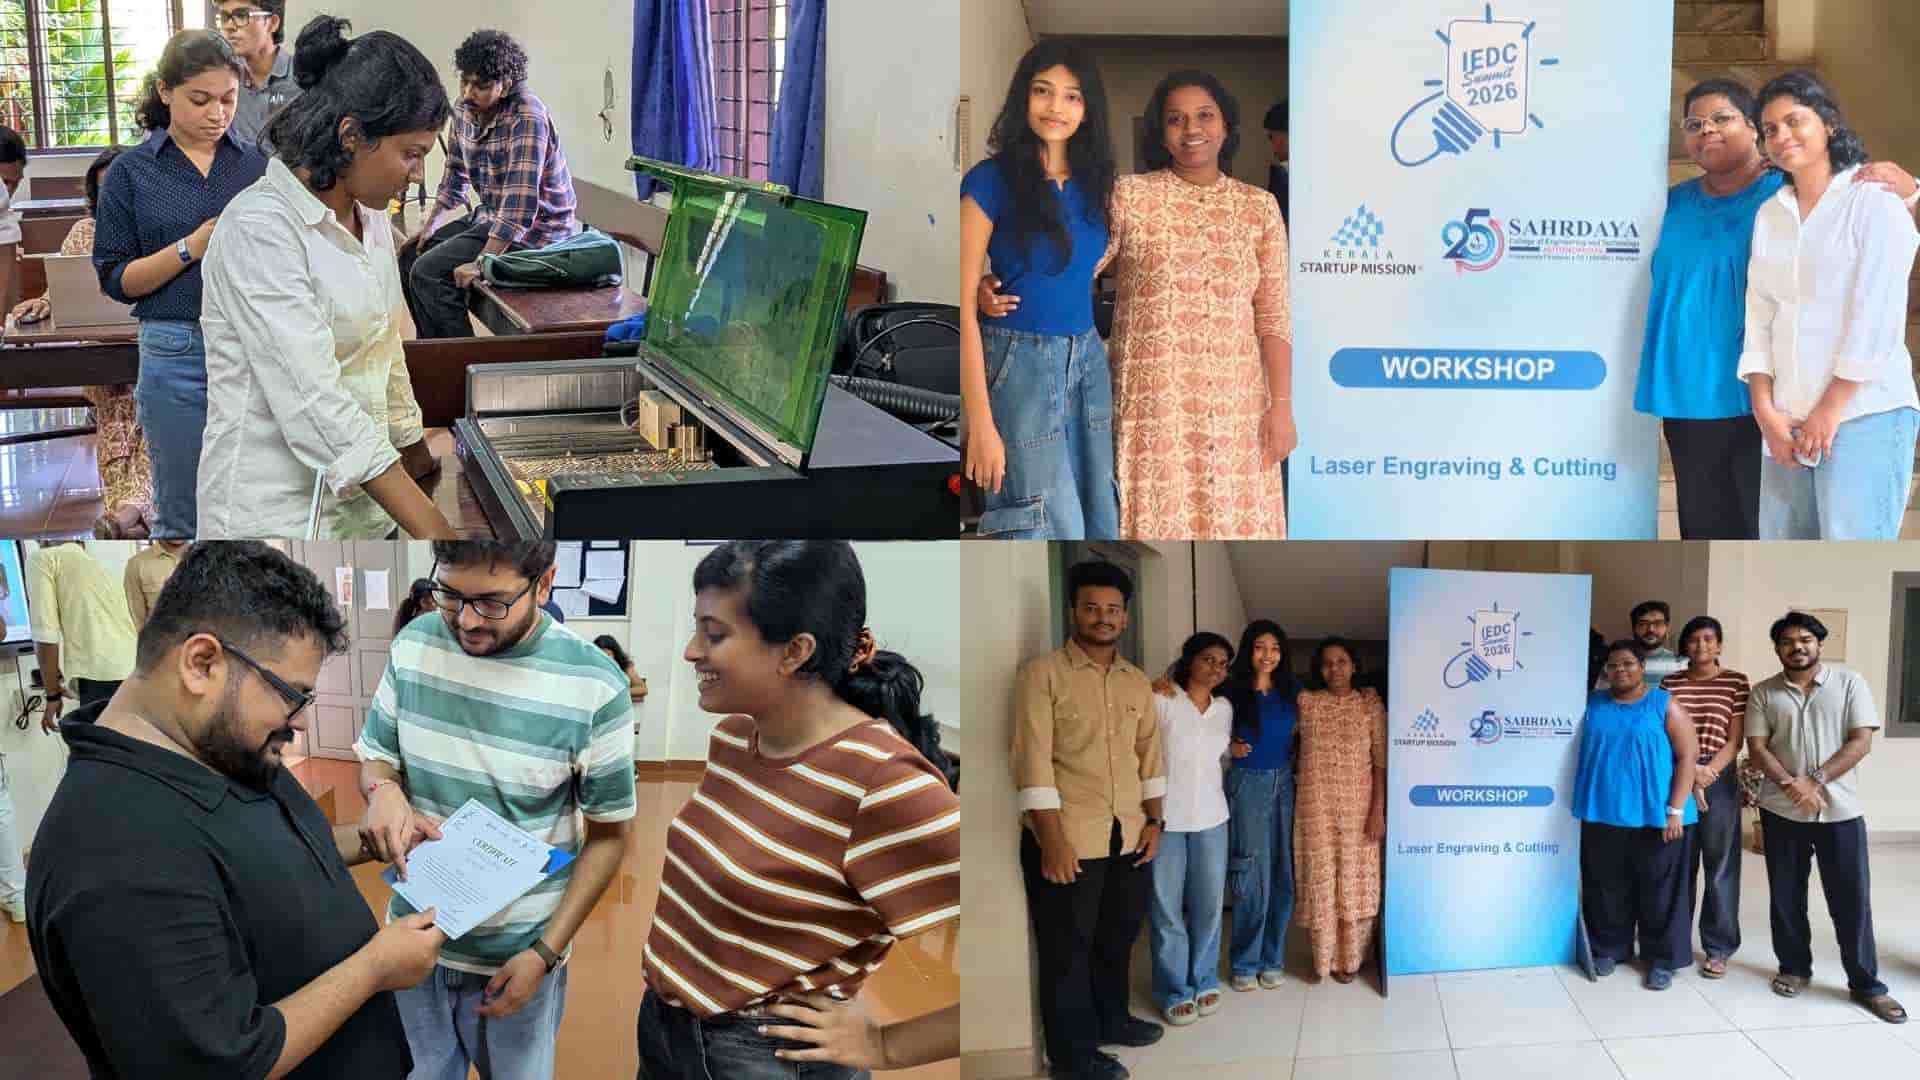
On the day of the IEDC Summit, Abhishek, Merin, and Ali joined us in conducting the workshop. Together, we introduced participants to the lab facilities and discussed the fundamentals of laser cutting, including kerf, material testing, and the importance of finding suitable machine parameters.
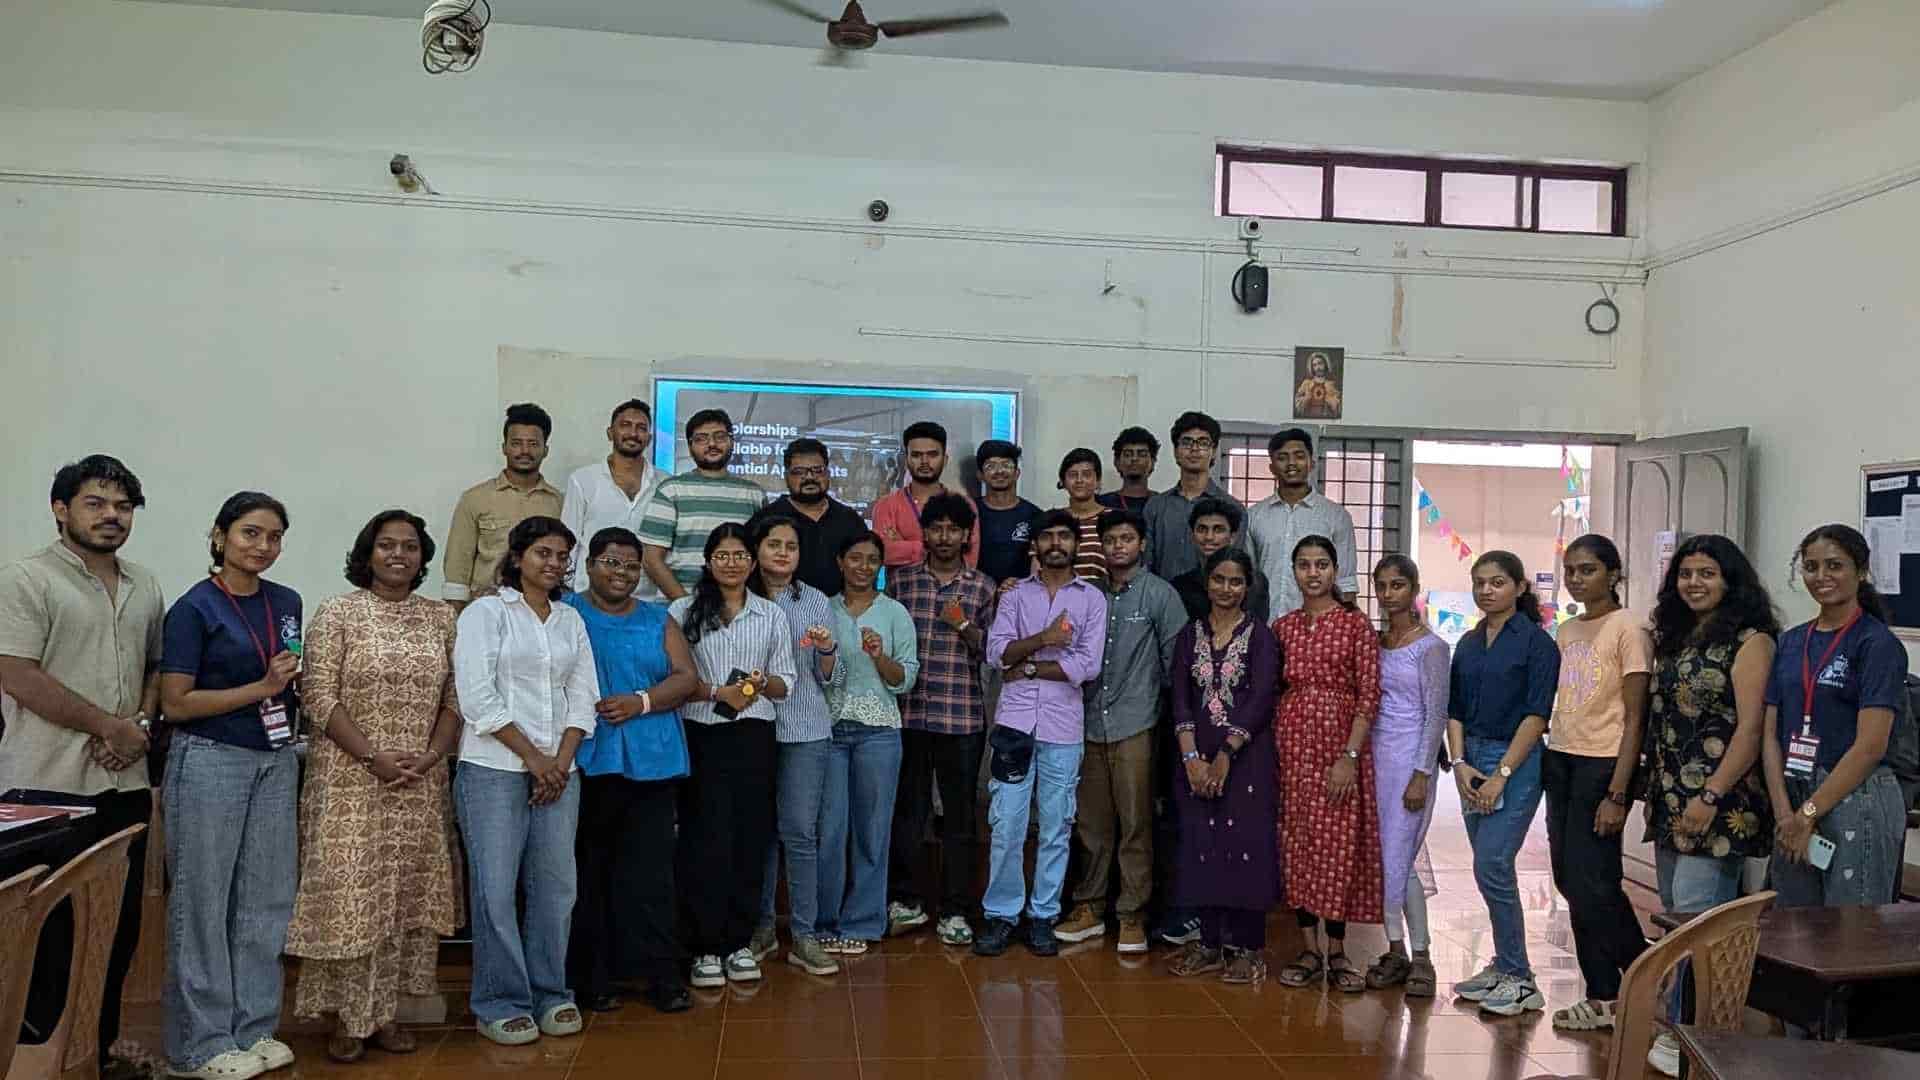
We took turns explaining the xTool S1, its software, the design-to-fabrication workflow, and the processes involved in engraving, scoring, and cutting acrylic. We also discussed how test runs help determine suitable settings and why the results can vary across materials.
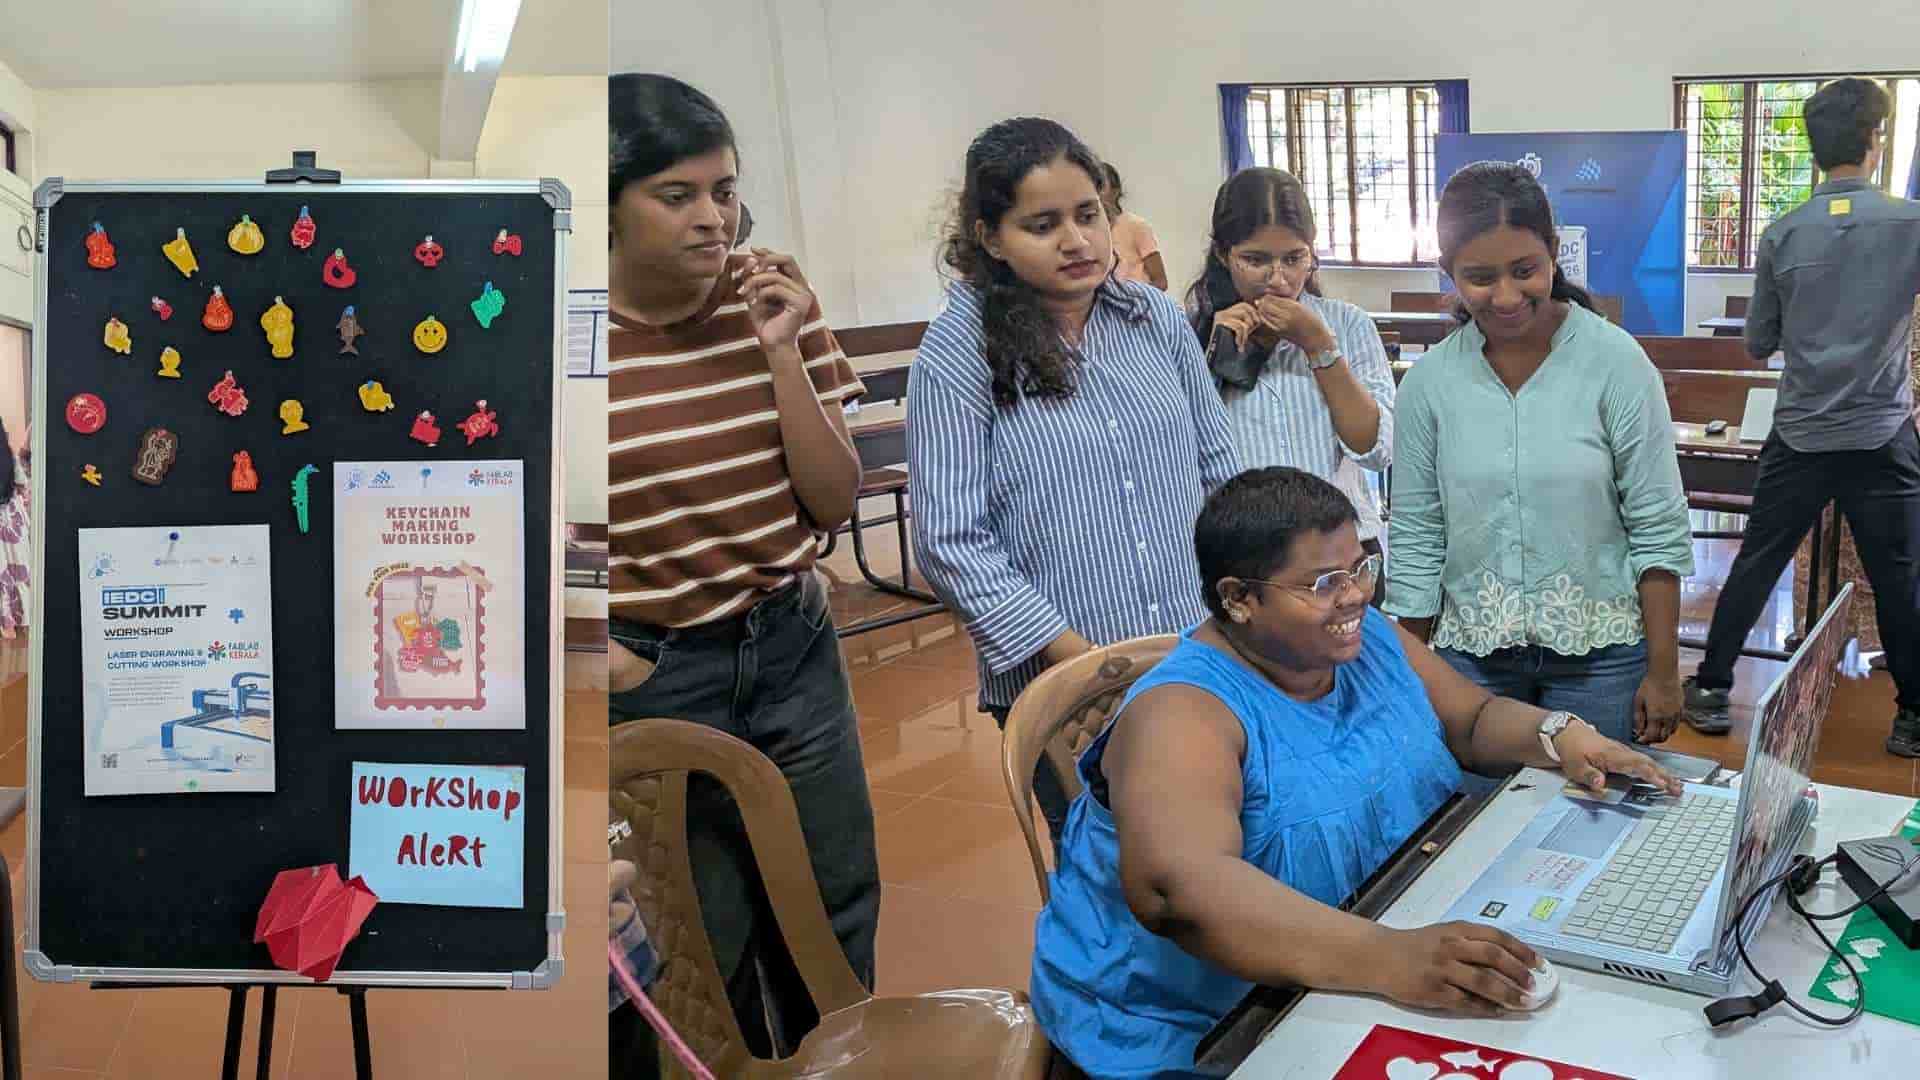
The session combined technical explanations with practical demonstrations, giving participants an introduction to how digital designs are translated into physical objects. Each of us contributed to running the workshop, from explaining the machine and software to discussing the fabrication process.
What We Learned
This workshop strengthened our understanding of acrylic as a fabrication material and the importance of testing before production. We learned that sheets of the same thickness can behave differently under the laser, making it necessary to test and adjust settings for different colours and materials.
The repeated testing reinforced the value of incremental learning. Each test helped us identify what was working, what needed adjustment, and how to improve the next result. Sourcing suitable scrap materials, troubleshooting the blue acrylic, preparing templates, and calibrating the machine were all part of the process.
Documenting the successful parameters on physical swatch cards was another useful outcome. It gave us a quick reference for the workshop and demonstrated how recording the results of experiments can make future fabrication work more efficient.
Beyond fabrication itself, the workshop gave us an opportunity to share this knowledge with participants. Explaining the machine, software, kerf, and material-testing process helped us communicate the practical considerations behind digital fabrication, rather than presenting laser cutting as simply pressing a button and getting a finished object.
↑