Week 18: Applications and Implications, Project Development
Assignment I
What will it do?
Penny Pal is an interactive piggy bank that encourages active and conscious saving instead of passive coin collection. While it still functions like a traditional piggy bank, the experience is designed to make children more aware of what they are saving and how much they are working toward.
The system provides audio feedback at milestones such as 25%, 50%, and 75%, and plays a celebratory sound once the child reaches 100% of the goal.
Who's done what beforehand?
At Fabacademy, I found a similar Smart Piggy project by Cindy Crispin. Her project is an educational tool that uses sensory feedback (vibration and lights) to remind and encourage the habit of saving in children.
There are many versions of piggy banks available, but they tend to fall into isolated categories:
- lock-based systems (password / fingerprint)
- automatic coin acceptors
- mechanical coin sorters (like vending machines)
Another reference for this project is the Money Savvy Pig, an educational piggy bank designed to teach children conscious money management through categories such as Save, Spend, Donate, and Invest.
What makes it relevant to Penny Pal is its focus on active participation and financial awareness instead of passive saving. It encourages children to think about money intentionally and also involves parents in the learning process.
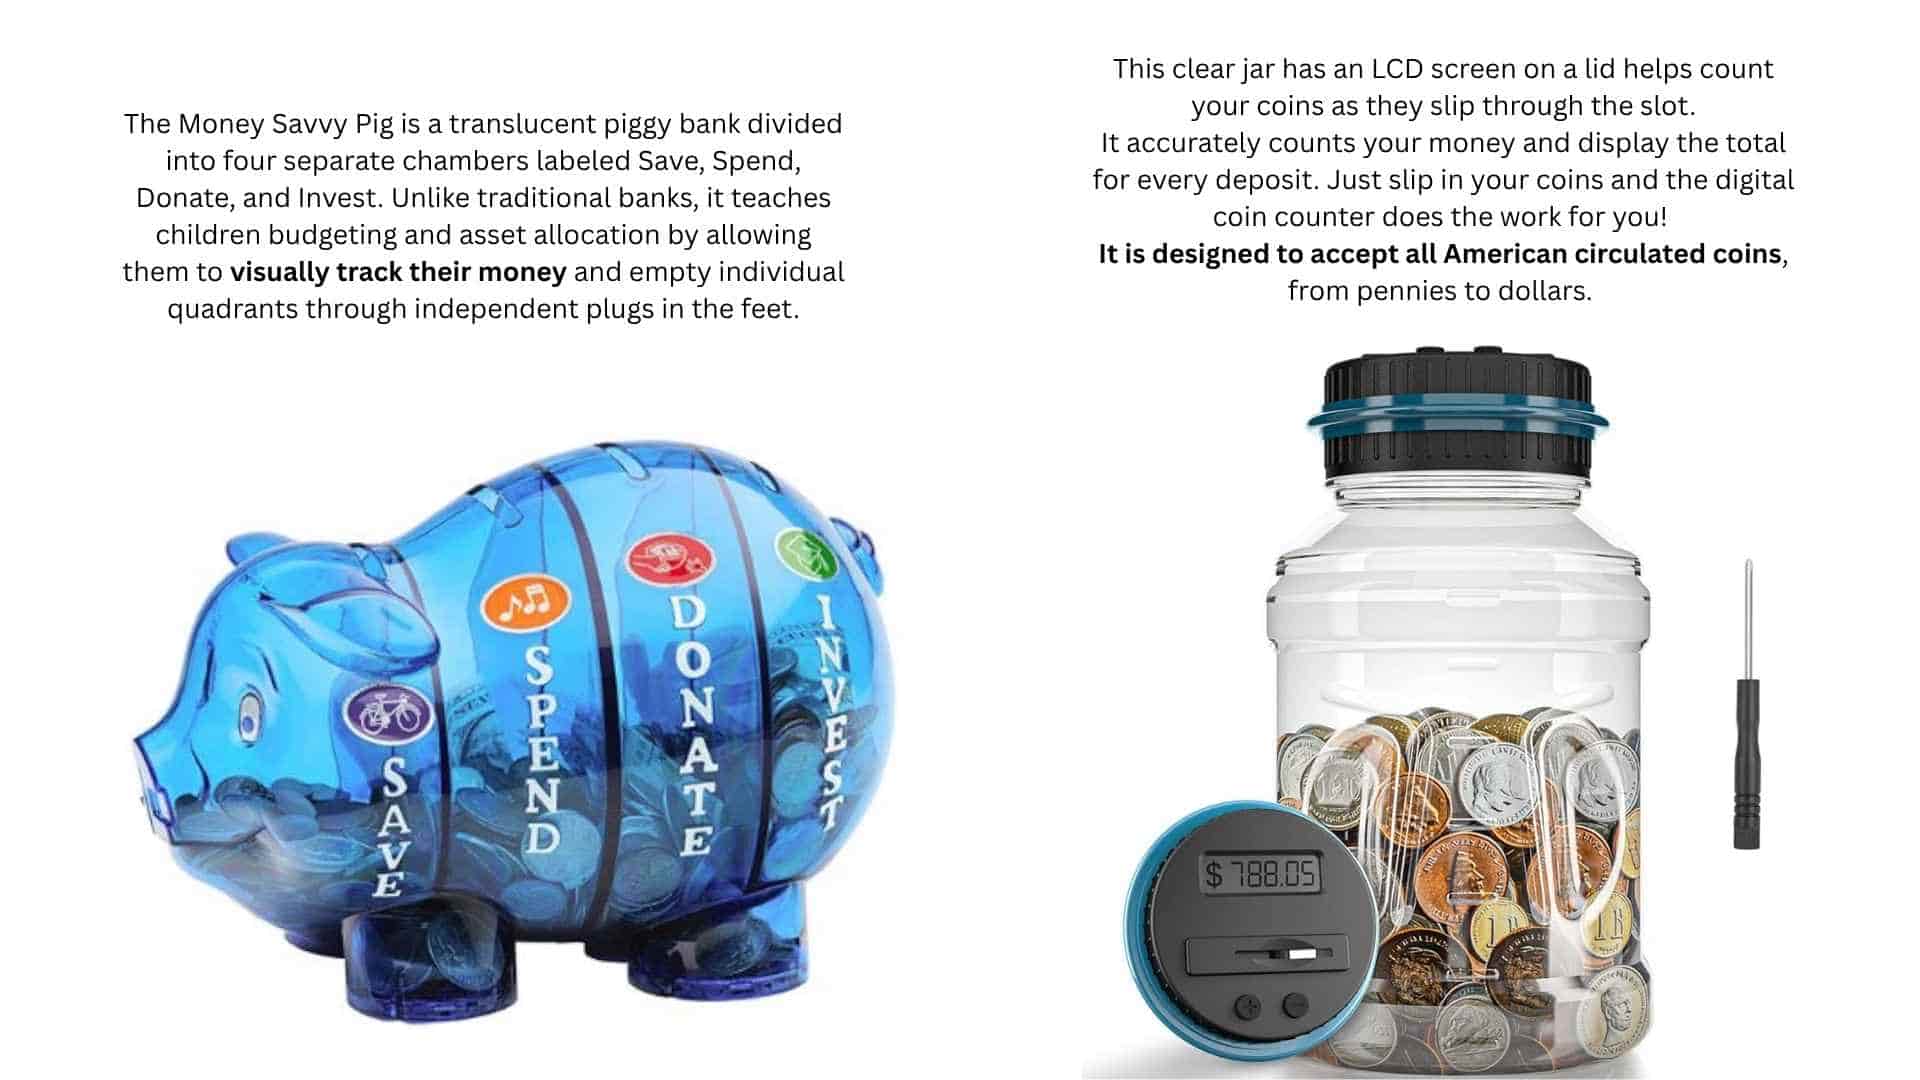
Another reference for this project was the Digital Counting Money Jar, a commercially available piggy bank that automatically detects and counts coins as they pass through the slot on the lid.
The jar uses an LCD display integrated into the lid to show the accumulated total in real time and includes +/- buttons for manual correction. Its transparent body also allows the stored coins to remain visible.
The main limitation of this product is that it only works with standardized American coins. Indian coins are far more difficult to classify consistently because multiple versions, sizes, and designs are still in circulation simultaneously. I documented these variations separately inside my design development archive, and that study directly informed the sensing and interaction decisions in my own project.
The primary inspiration comes from the JumpStart kids vending machine game, which uses:
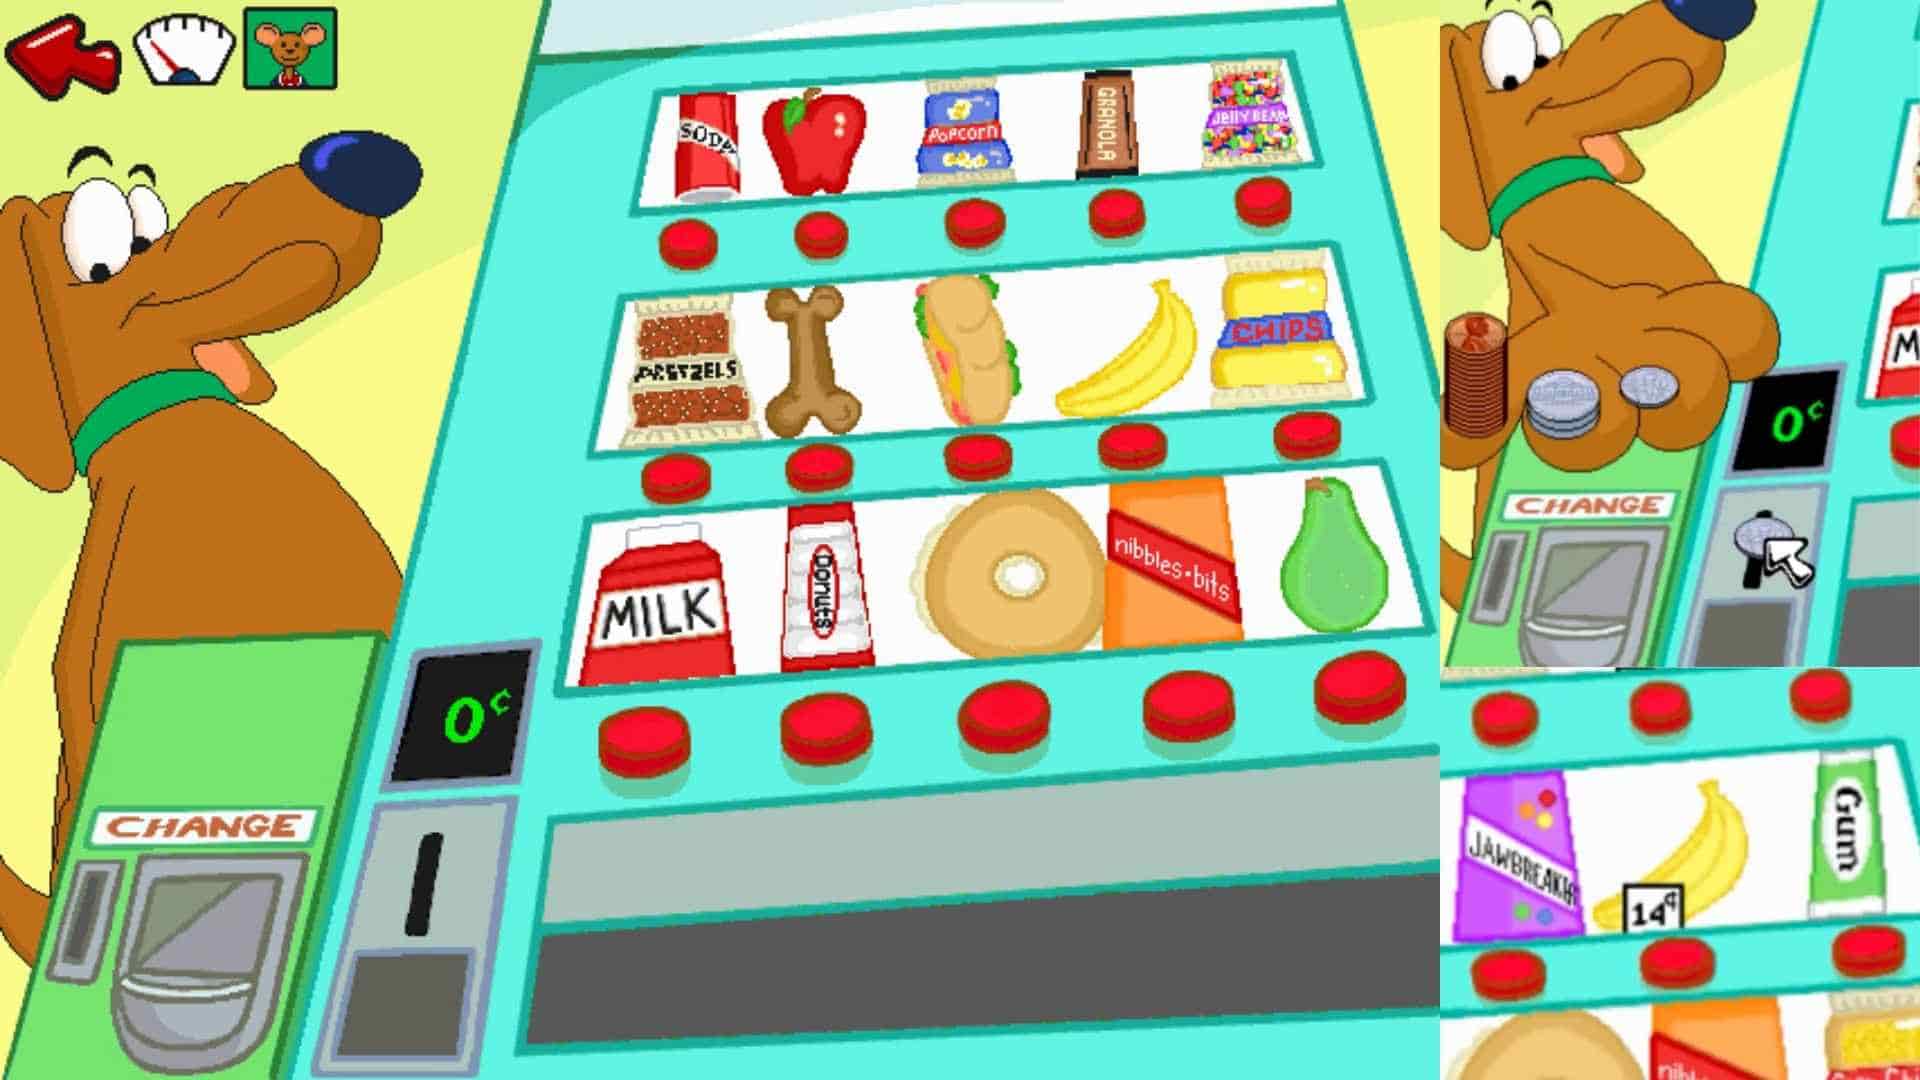
- visual coin identification
- insertion
- feedback loops
This project translates that interaction into a physical, tangible system.
While reviewing existing systems, I could not find one that approached saving as an active learning behavior where children participate in identifying, understanding, and deciding before saving a coin.
This project proposes a goal-based smart piggy bank that shifts saving from passive coin collection into a more participatory experience centered around decision-making, awareness, and behavioral engagement.
What sources will you use?
The project will rely on a combination of fabrication facilities, digital tools, software platforms, online resources, and mentorship throughout the design, prototyping, and documentation process.
Fabrication, electronics production, and assembly will primarily be supported by the facilities available at Super Fablab Kerala, including digital fabrication machines, electronics workspaces, and lab infrastructure. Guidance and technical support from instructors, mentors, and peers throughout Fab Academy will also contribute to the development process.
Design and development will use software and platforms such as Autodesk Fusion for CAD modeling and mechanical design, KiCad for PCB design, and Arduino IDE for programming and embedded electronics development. Additional tools such as Visual Studio Code, Canva, and Notion will support documentation, presentation preparation, planning, and workflow organization.
Online resources such as Seeed Studio Wiki, open-source documentation such as fabacademy archives, component datasheets, Youtube tutorials, and AI-assisted tools such as OpenAI ChatGPT will also support troubleshooting, research, coding assistance, and technical decision-making throughout the project.
What will you design?
The Coin Acceptor
I will be designing the coin acceptor system using an IR sensor and a micro solenoid locking mechanism controlled through a four-button input system. Each button will also include LED feedback to guide interaction and provide visual responses during coin insertion and validation.
The Coin Collection Container
The coin collection container is designed to remain visually accessible from the outside so that the saving progress stays physically visible. One of the transparent side panels will also function as a door, controlled using a micro solenoid locking mechanism.
The Mobile Interface
A parent mobile app will be designed for setting saving goals and monitoring progress throughout the saving process.
The Audio and Feedback System
The project will include audio feedback for validating coin insertion, milestone achievements, and goal completion celebrations. Additional feedback will be provided using LEDs and NeoPixels integrated into the interaction system.
The Electronics System
The electronics system will consist of a custom-designed main PCB and supporting breakout boards.
The main PCB will include:
The secondary breakout PCB will distribute connections from the main board to:
One solenoid will lock the coin collection container, while the second solenoid will block or release the coin chute mechanism during interaction.
The Enclosure and Mechanical System
The enclosure will be 3D printed as a two-part assembly. The upper enclosure is designed like a removable helmet shell that fits over the lower enclosure.
The lower enclosure will house the main PCB and battery, which will remain accessible from the underside of the product for charging and maintenance. The upper section of the lower enclosure will contain the coin collection chamber.
The removable upper shell will contain the speaker inside the pig’s snout, connected to the main PCB through JST connectors. The coin chute assembly will also be attached to this upper shell and will contain the breakout PCB, buttons, LEDs, IR sensor, and solenoid locking mechanism.
The enclosure is planned this way to simplify assembly, maintenance, and disassembly while keeping the internal systems modular and accessible.
What materials and components will be used, where will they come from and how much will they cost??
Estimated cost:
What parts and systems will be made?
The project involves designing and fabricating both physical and digital systems as part of the final prototype.
Physical Parts
Electronic Systems
Digital Systems
What processes will be used?
What questions need to be answered?
How will it be evaluated?
Functional reliability:
By testing:
- coin detection
- button interaction
- locking/unlocking
- audio feedback
- lighting feedback
- goal tracking
repeatedly under different conditions
Interaction clarity
By evaluating whether:
- the sequence of coin insertion
- button input
- feedback
feels understandable and intentional during self-testing
Engagement by observing
Whether the audio and visual feedback meaningfully reinforce progress and milestone achievement
System integration
By testing whether
- the mechanical systems
- electronics
- embedded programming
- Mobile application
work together as a cohesive system
Fabrication quality
By evaluating:
- the enclosure assembly
- component placement
- durability of moving parts
- accessibility for maintenance and charging
Project Development
Assignment II
Preparing Presentation Draft
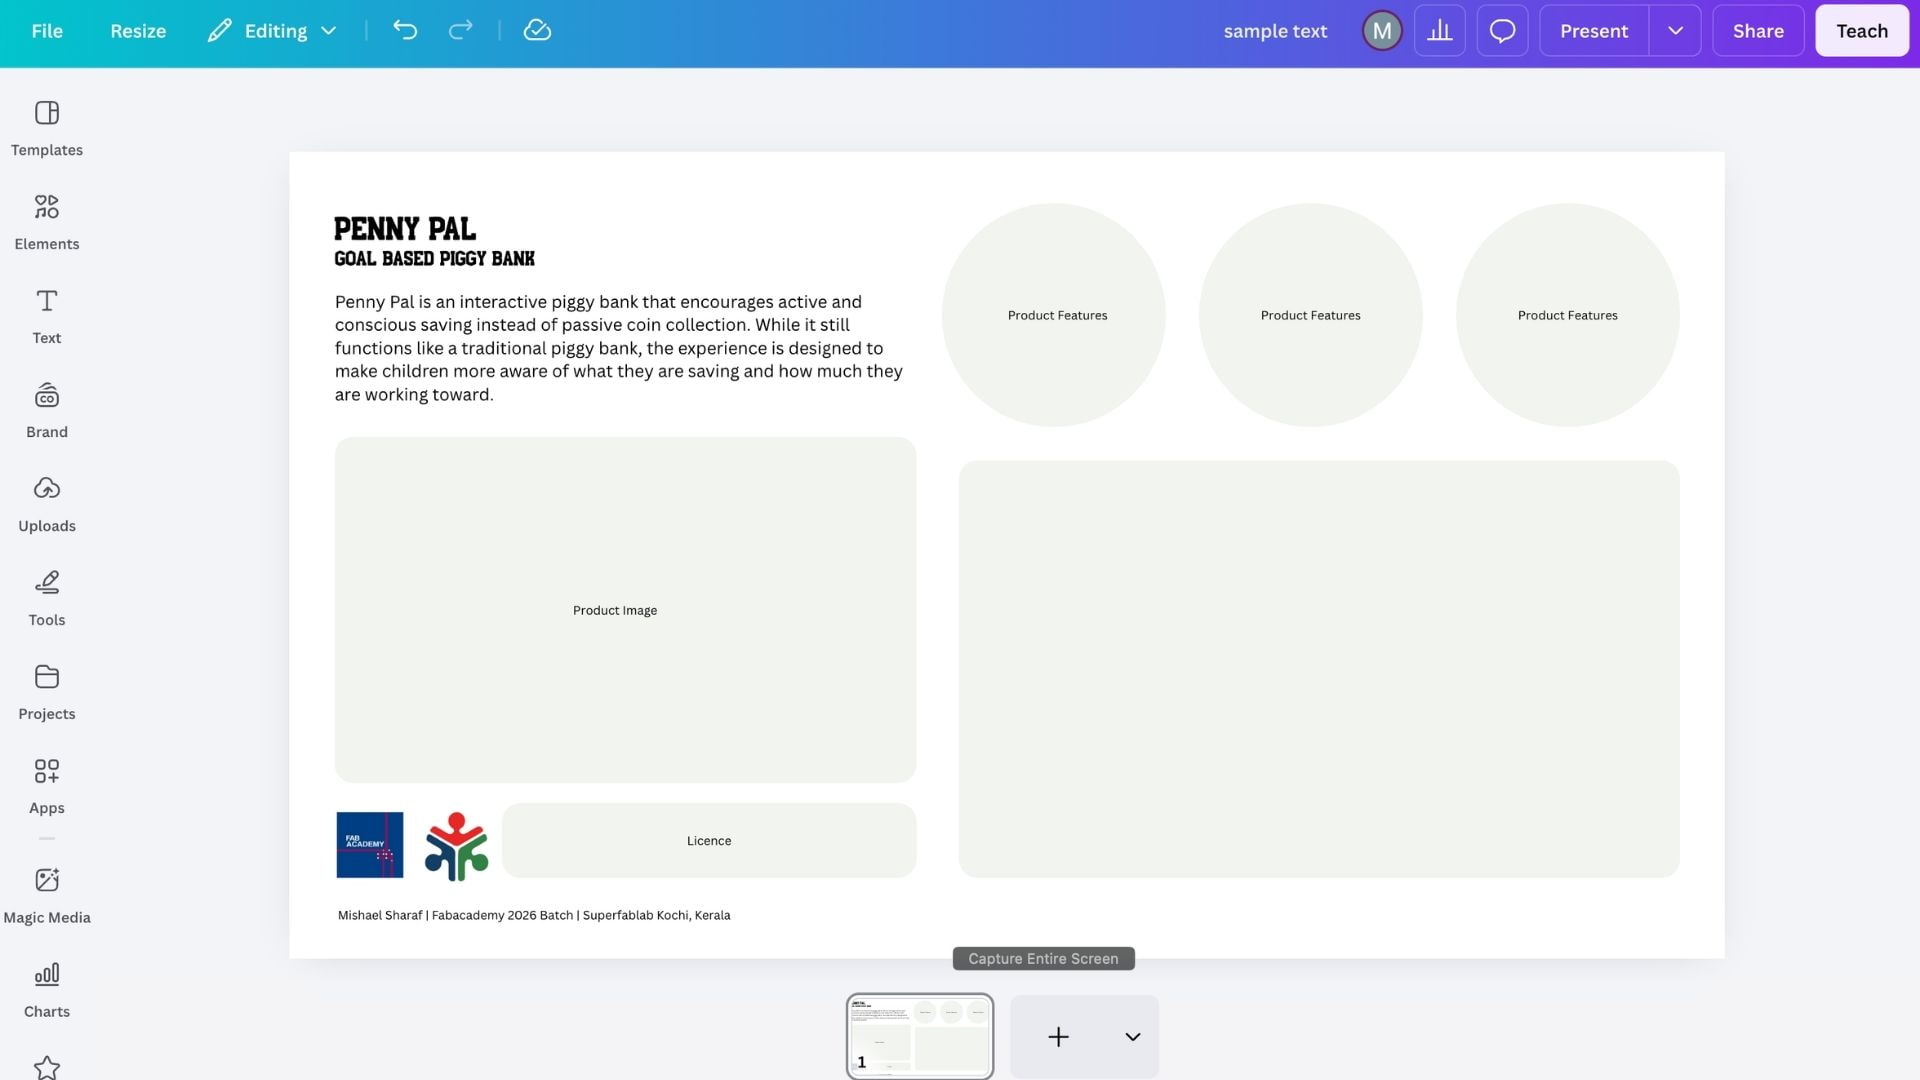
I created the presentation slide draft in Canva at 1920x1080 resolution, added placeholders for images, included the title, subtitle, and logos, then exported it as presentation.png, placed it in the public folder, and committed the changes.
Video Draft Preparation
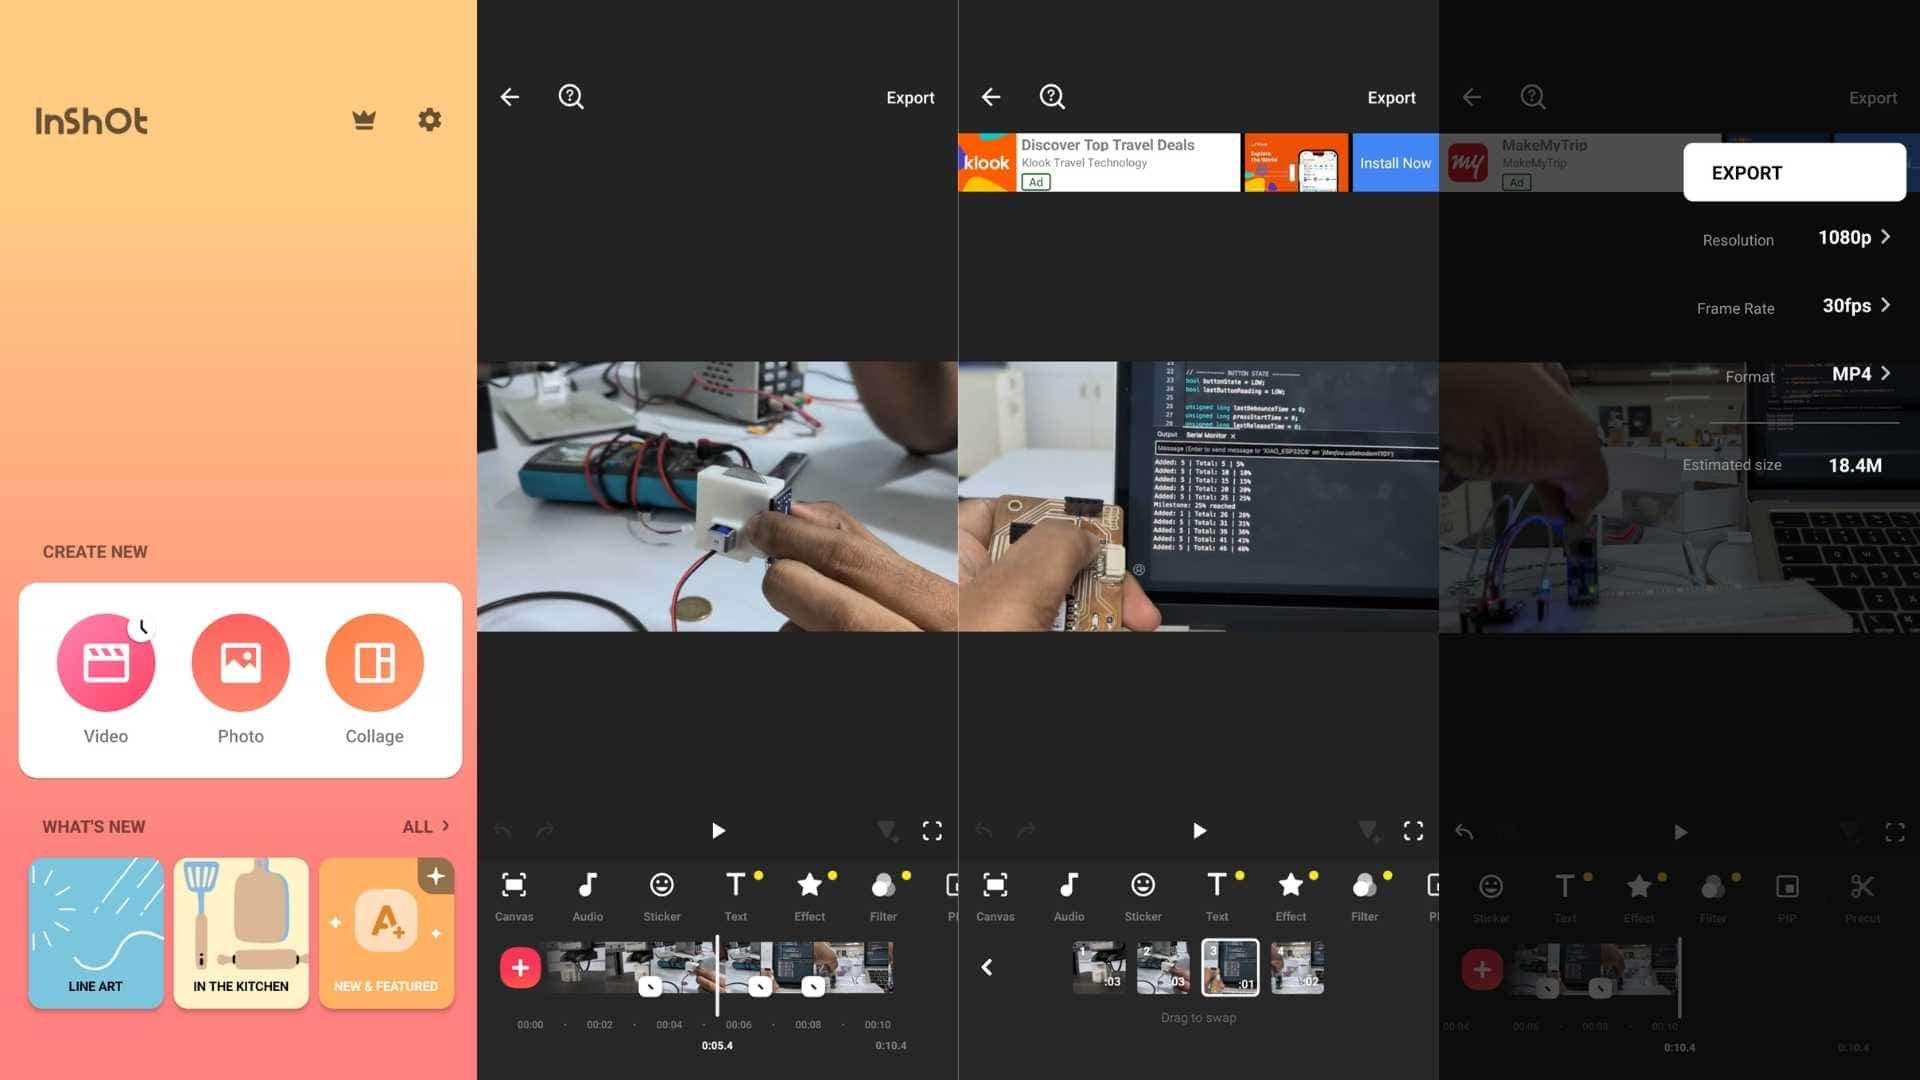
I edited the presentation video using the mobile app InShot, which allowed me to trim clips, arrange sequences, adjust orientation, and manage resolution settings directly on my phone. The app includes a watermark by default, but it can be removed by watching a short 10 to 30 second advertisement, which worked well for this workflow.
After finalizing the edit, I exported the video at 1080p resolution and transferred it to my Mac for compression and optimization using HandBrake.
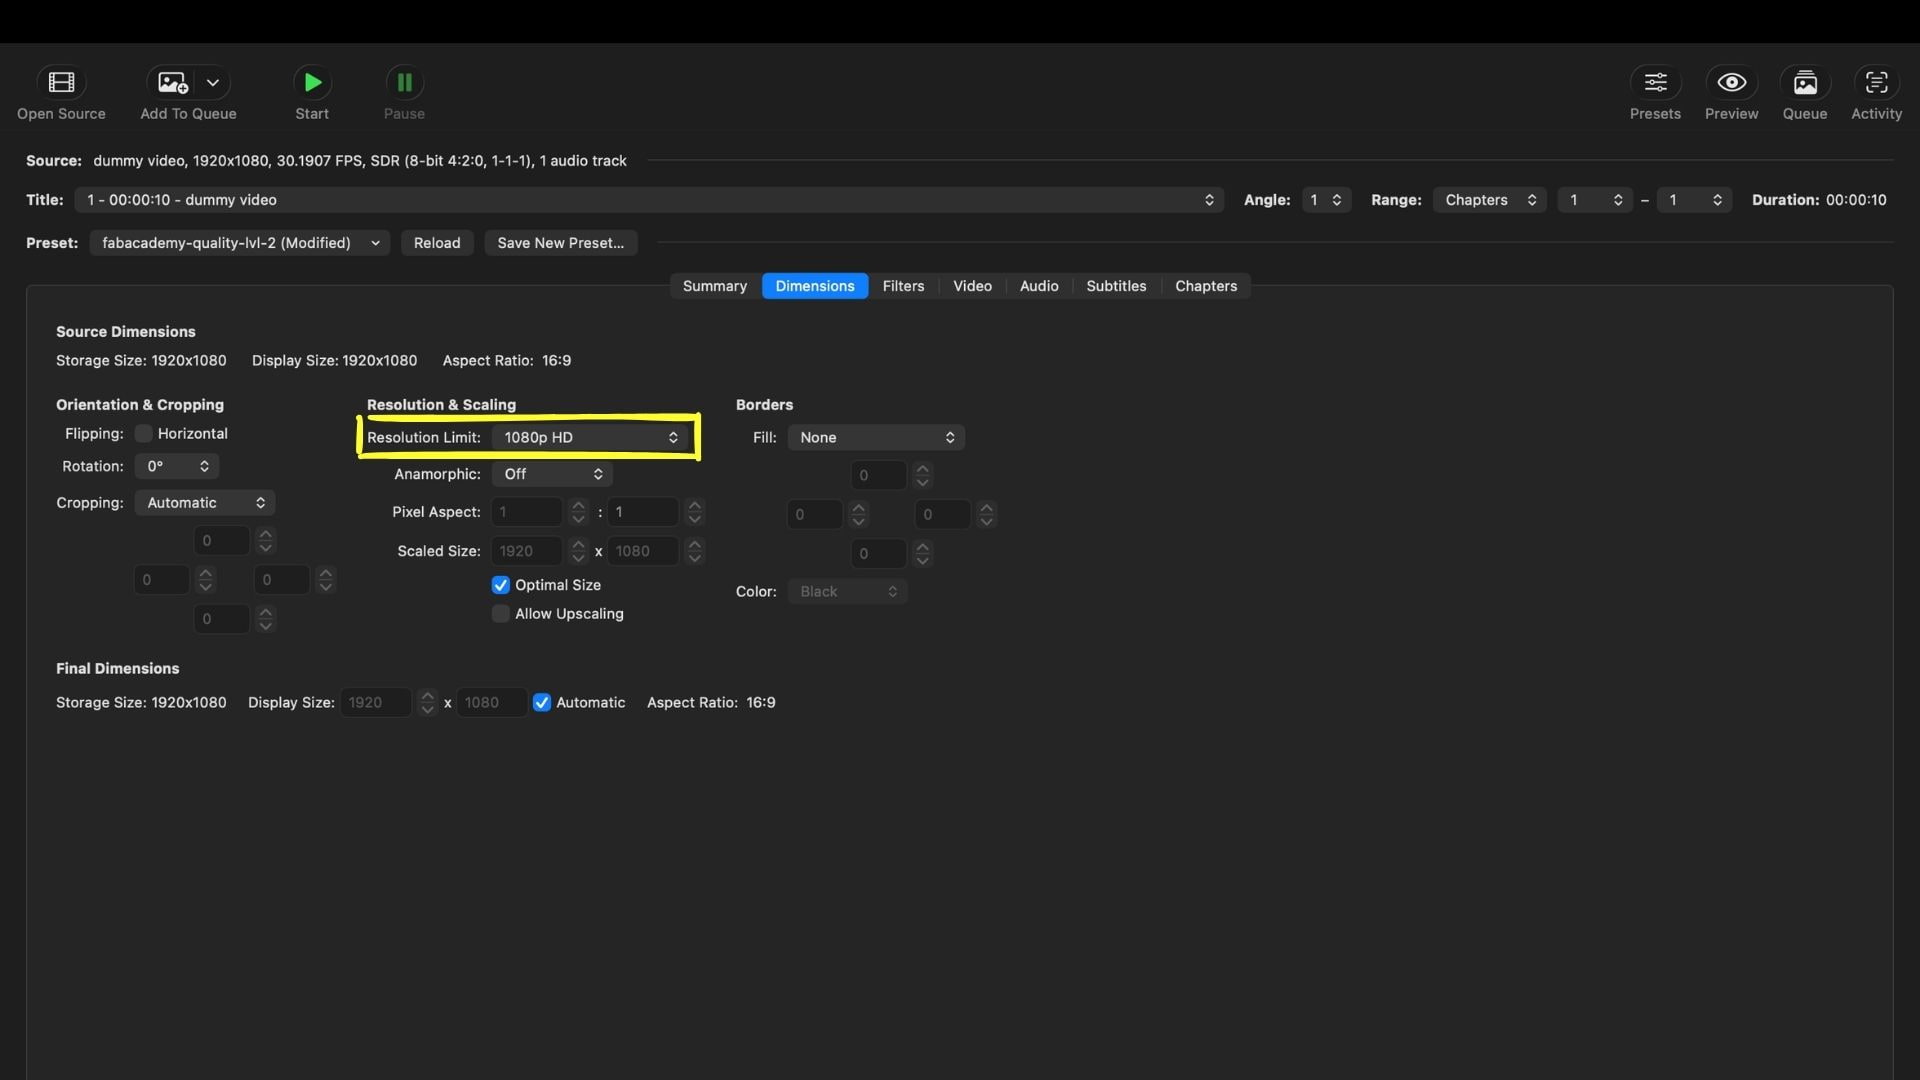
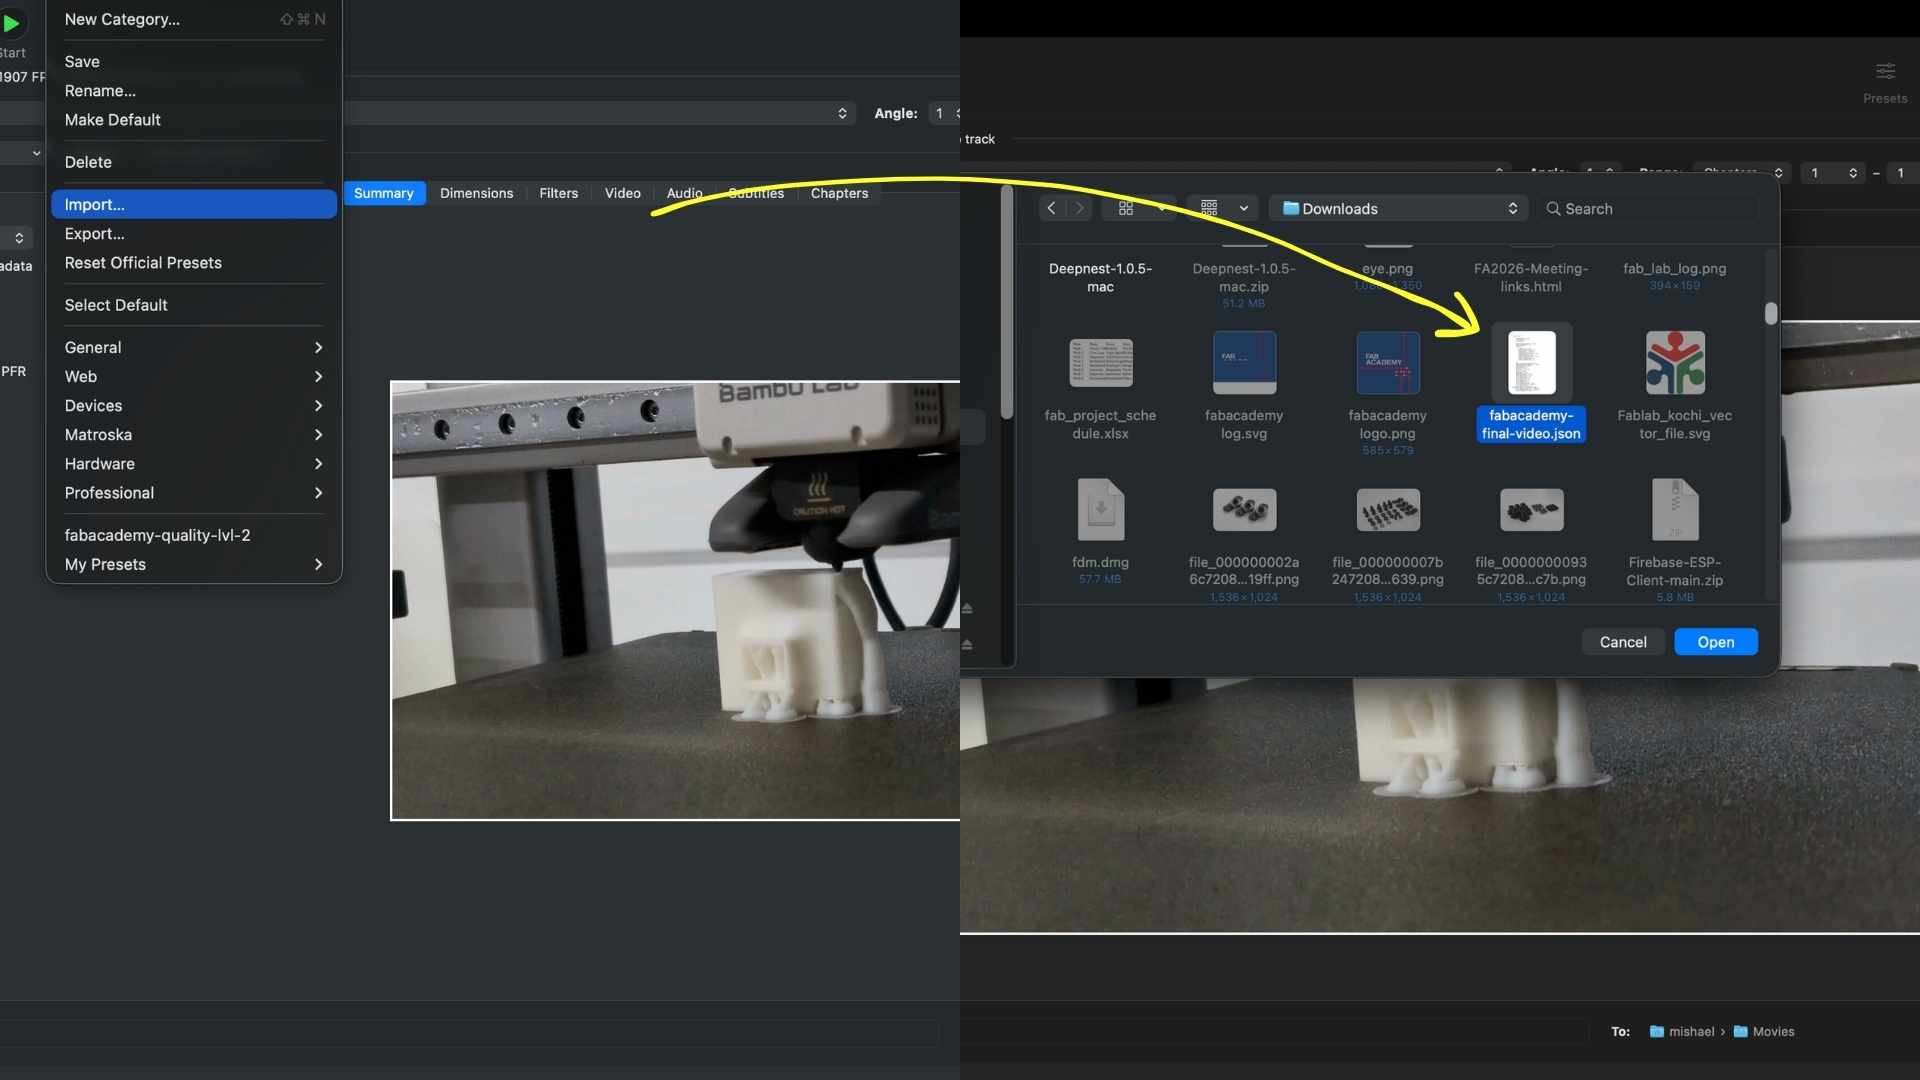
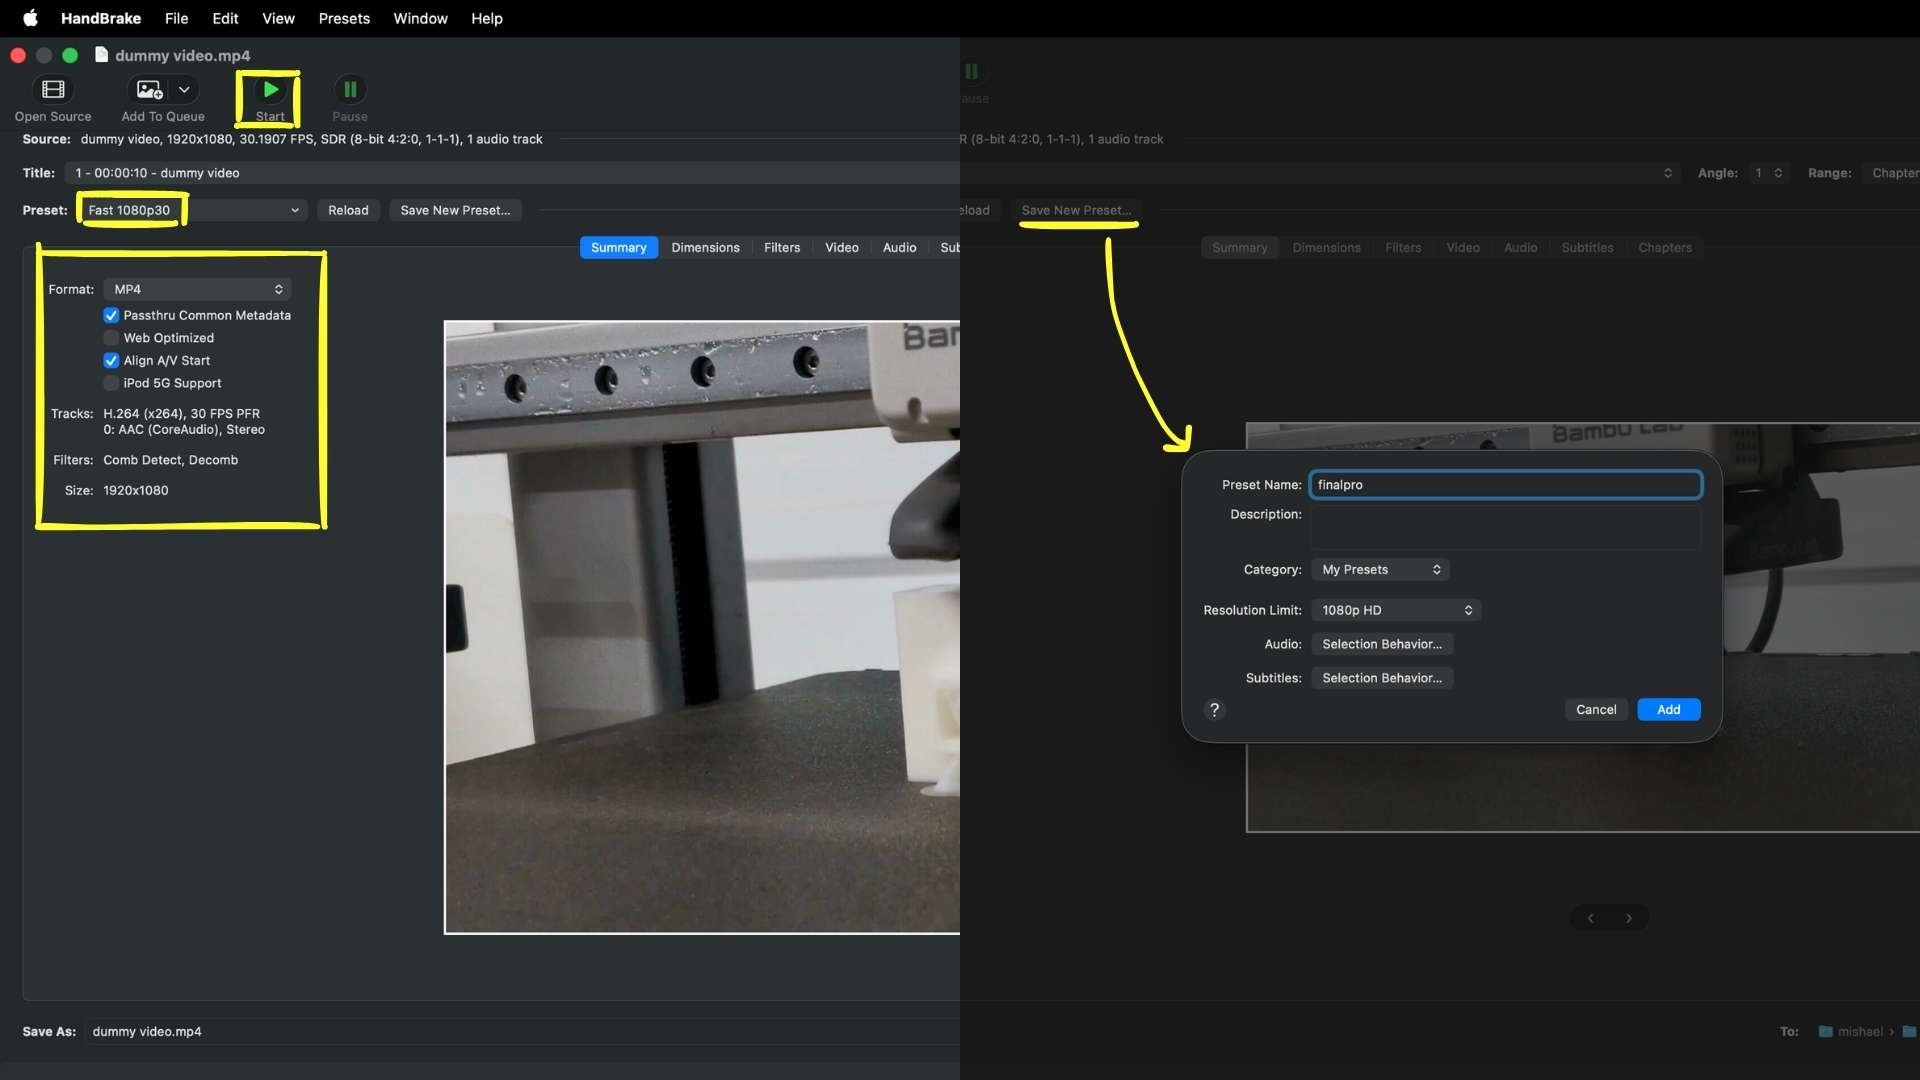
Inside HandBrake, I imported the preset file provided for the Fab Academy presentation video requirements, saved it as a new custom preset, and exported the compressed version of the video using the required settings. This helped reduce the final file size while maintaining acceptable visual quality for web submission.
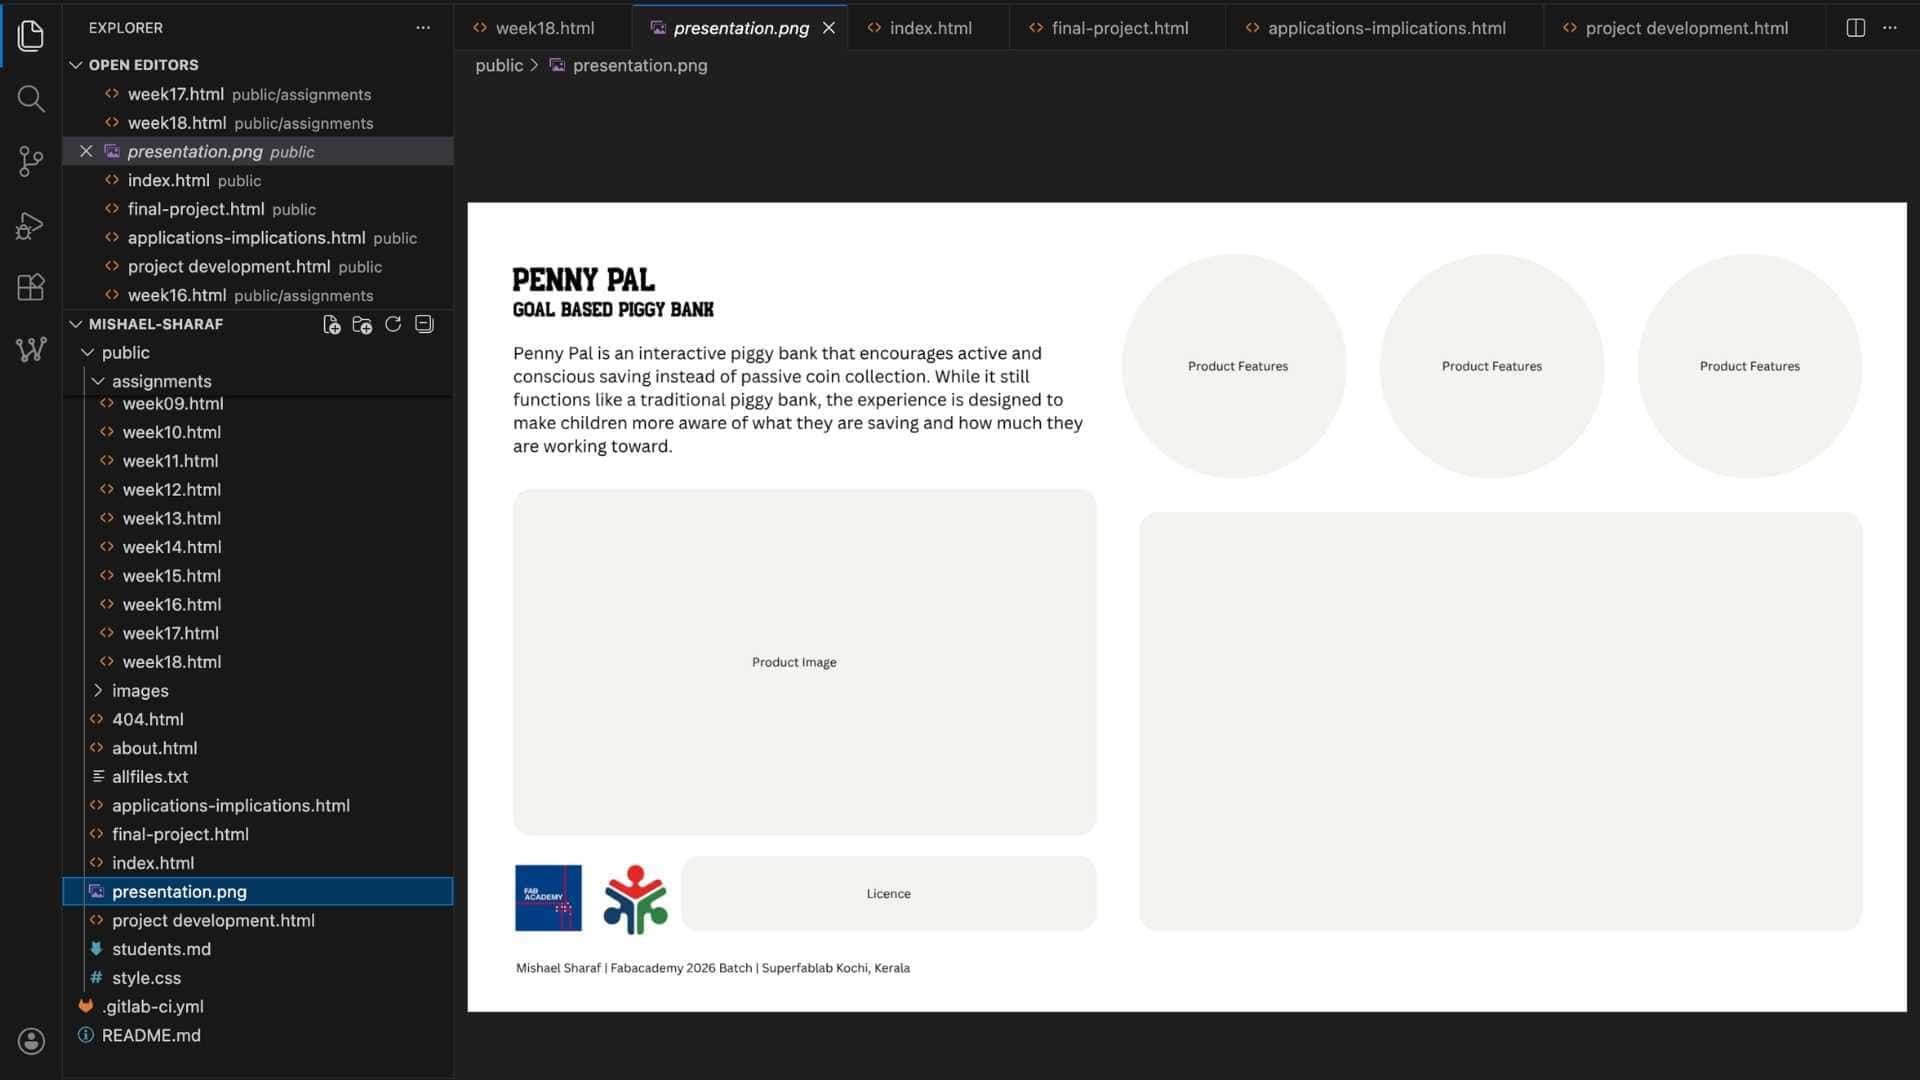
The compressed file was then renamed as presentation.mp4, moved into the public folder of the website repository, and committed to the project repository using Git.
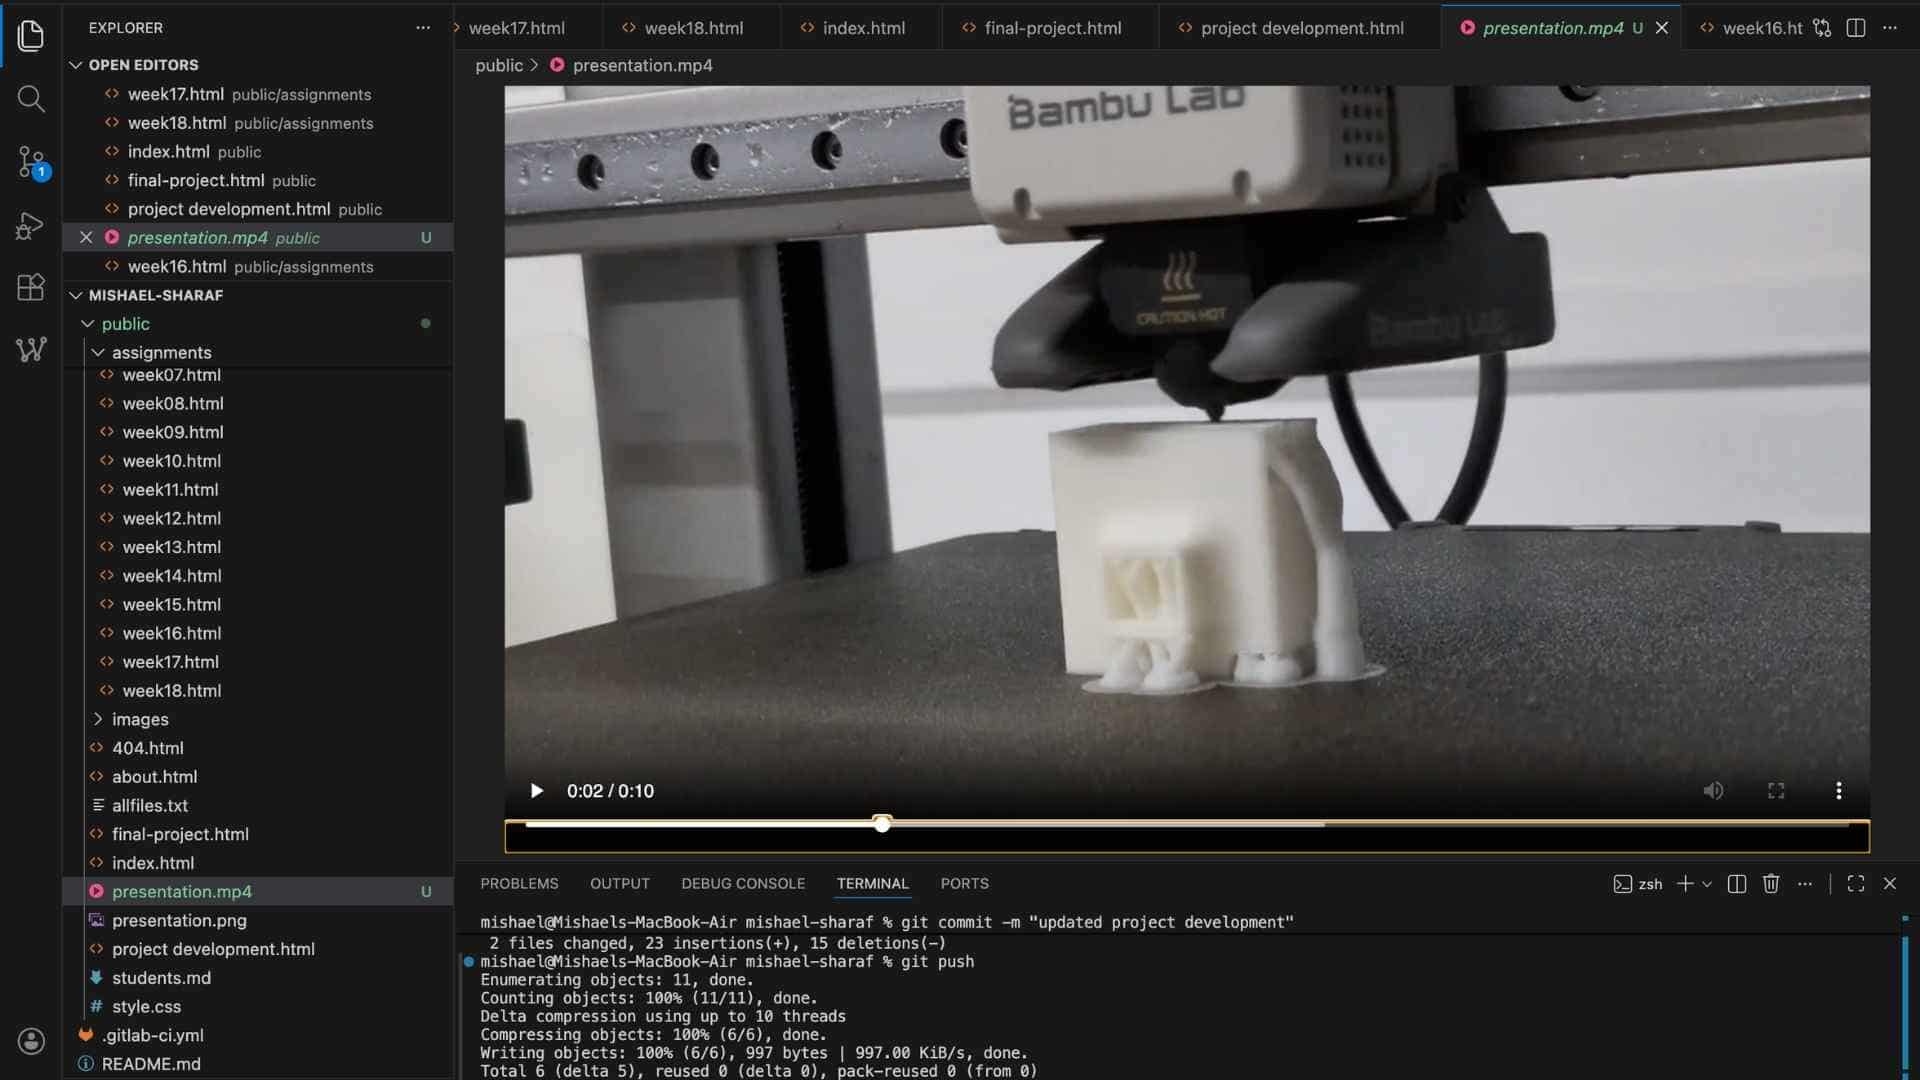
Since the final presentation video is required to be under 25 MB with a maximum duration of 1 minute, I first tested the workflow using a short 10-second draft video. Even at only 10 seconds long, the initial export from InShot was already around 18 MB. After compressing it using HandBrake with the Fab Academy preset, the file size was reduced to approximately 3.3 MB while maintaining acceptable visual quality. This helped verify that the same workflow would work reliably for the final one-minute presentation video without exceeding the file size limit.
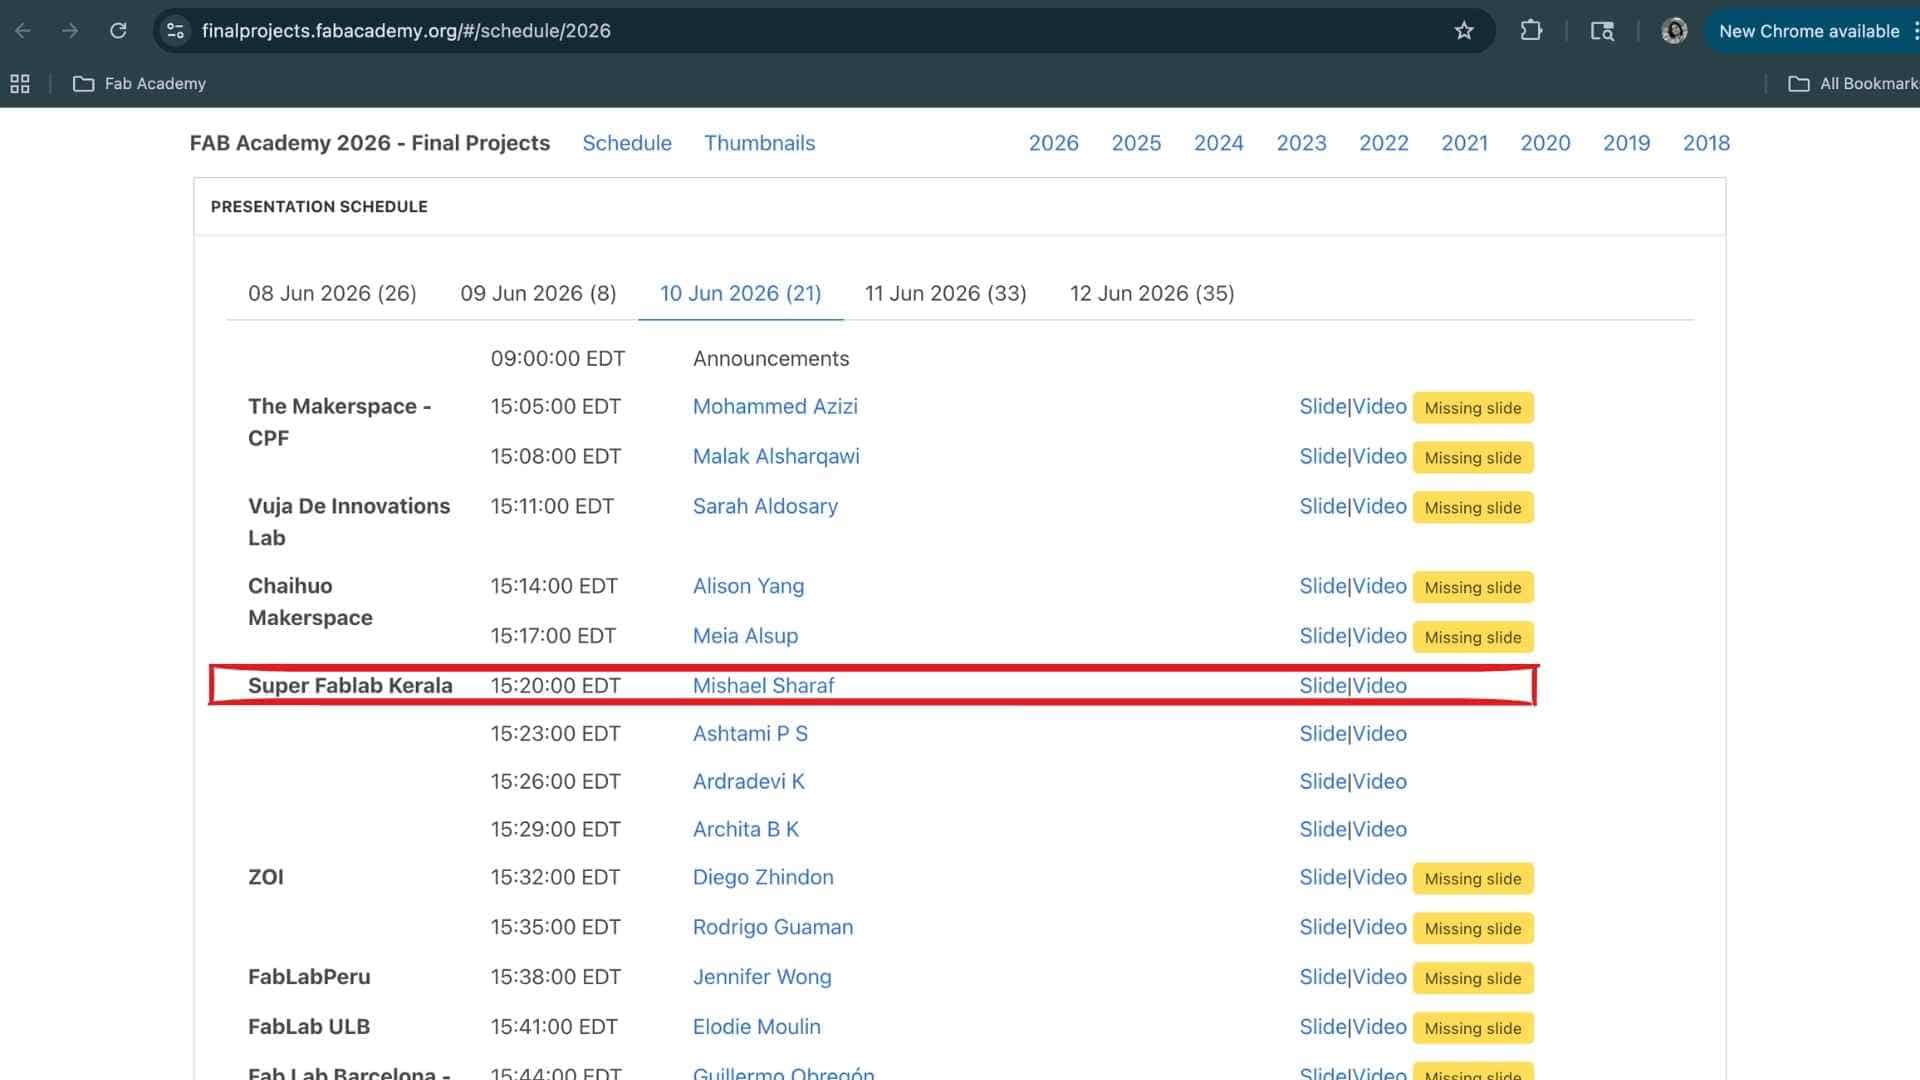
After pushing the presentation.png and presentation.mp4 files to the repository, I verified the upload by checking the Fab Academy Final Project Schedule page to ensure that both the slide and video were correctly linked and accessible under my final project entry.
Project Development
Design & fabrication progression, electronics integration, prototyping decisions, and iterative development of the final project.