16. System Integration
Design and document the system integration for your final project.
Individual Assignment
System Integration
This week focused on the system integration of the project. The goal was to bring together the mechanical, electrical, and software components into a single product while refining the overall user experience. Most of the work this week involved product design, enclosure development, PCB integration, and planning how the user would interact with the final device.
The work carried out during this week included designing the sweep mechanism, developing the enclosure, validating the physical dimensions with prototypes, integrating the electronics, and creating the user flow and data flow diagrams.
Design Inspiration
I wanted the product to have a futuristic, modern appearance with an all-black finish, which is not commonly seen on vinyl record players. Since most of the components I purchased were already black, I decided to continue that theme throughout the enclosure.
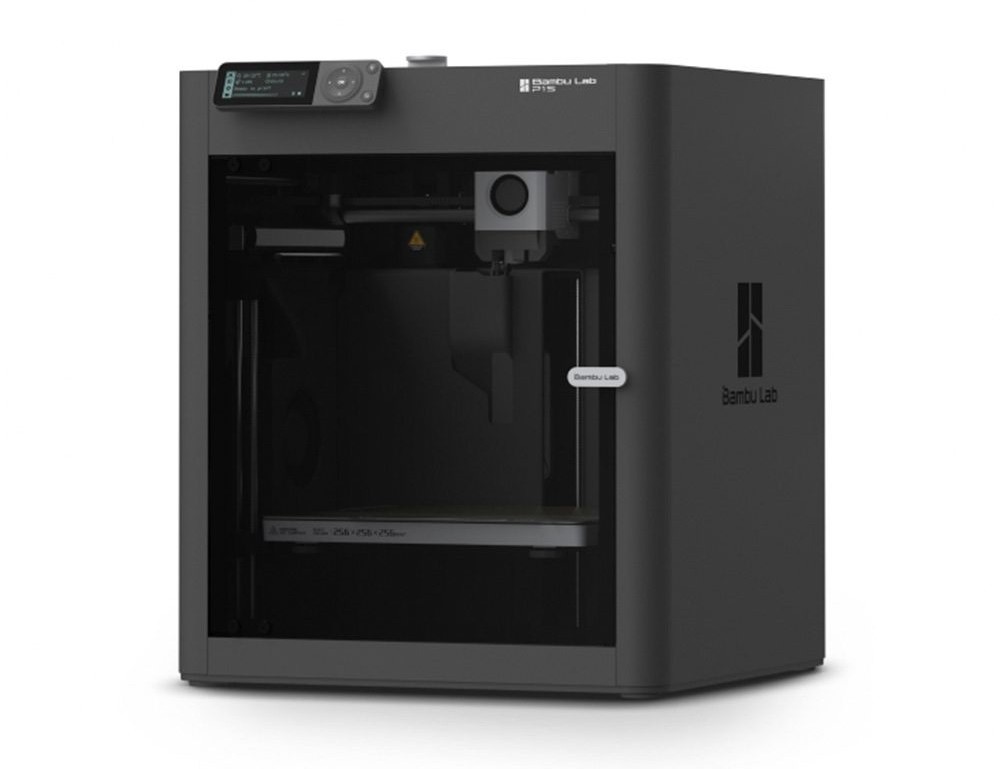
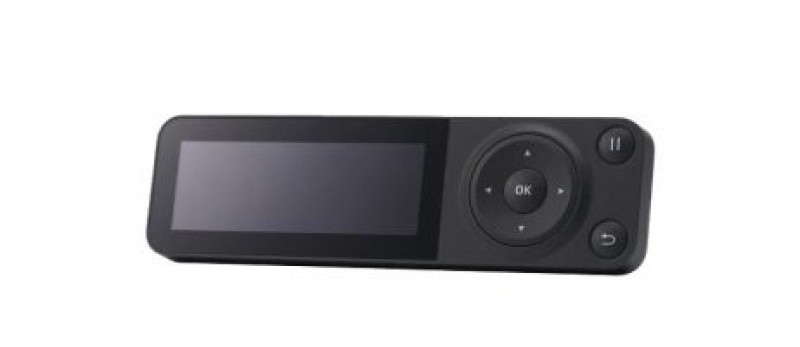
My primary design inspiration was the Bambu Lab P1S printer that we regularly used in the lab. I liked its clean, minimal design language and decided to follow a similar aesthetic for my enclosure.
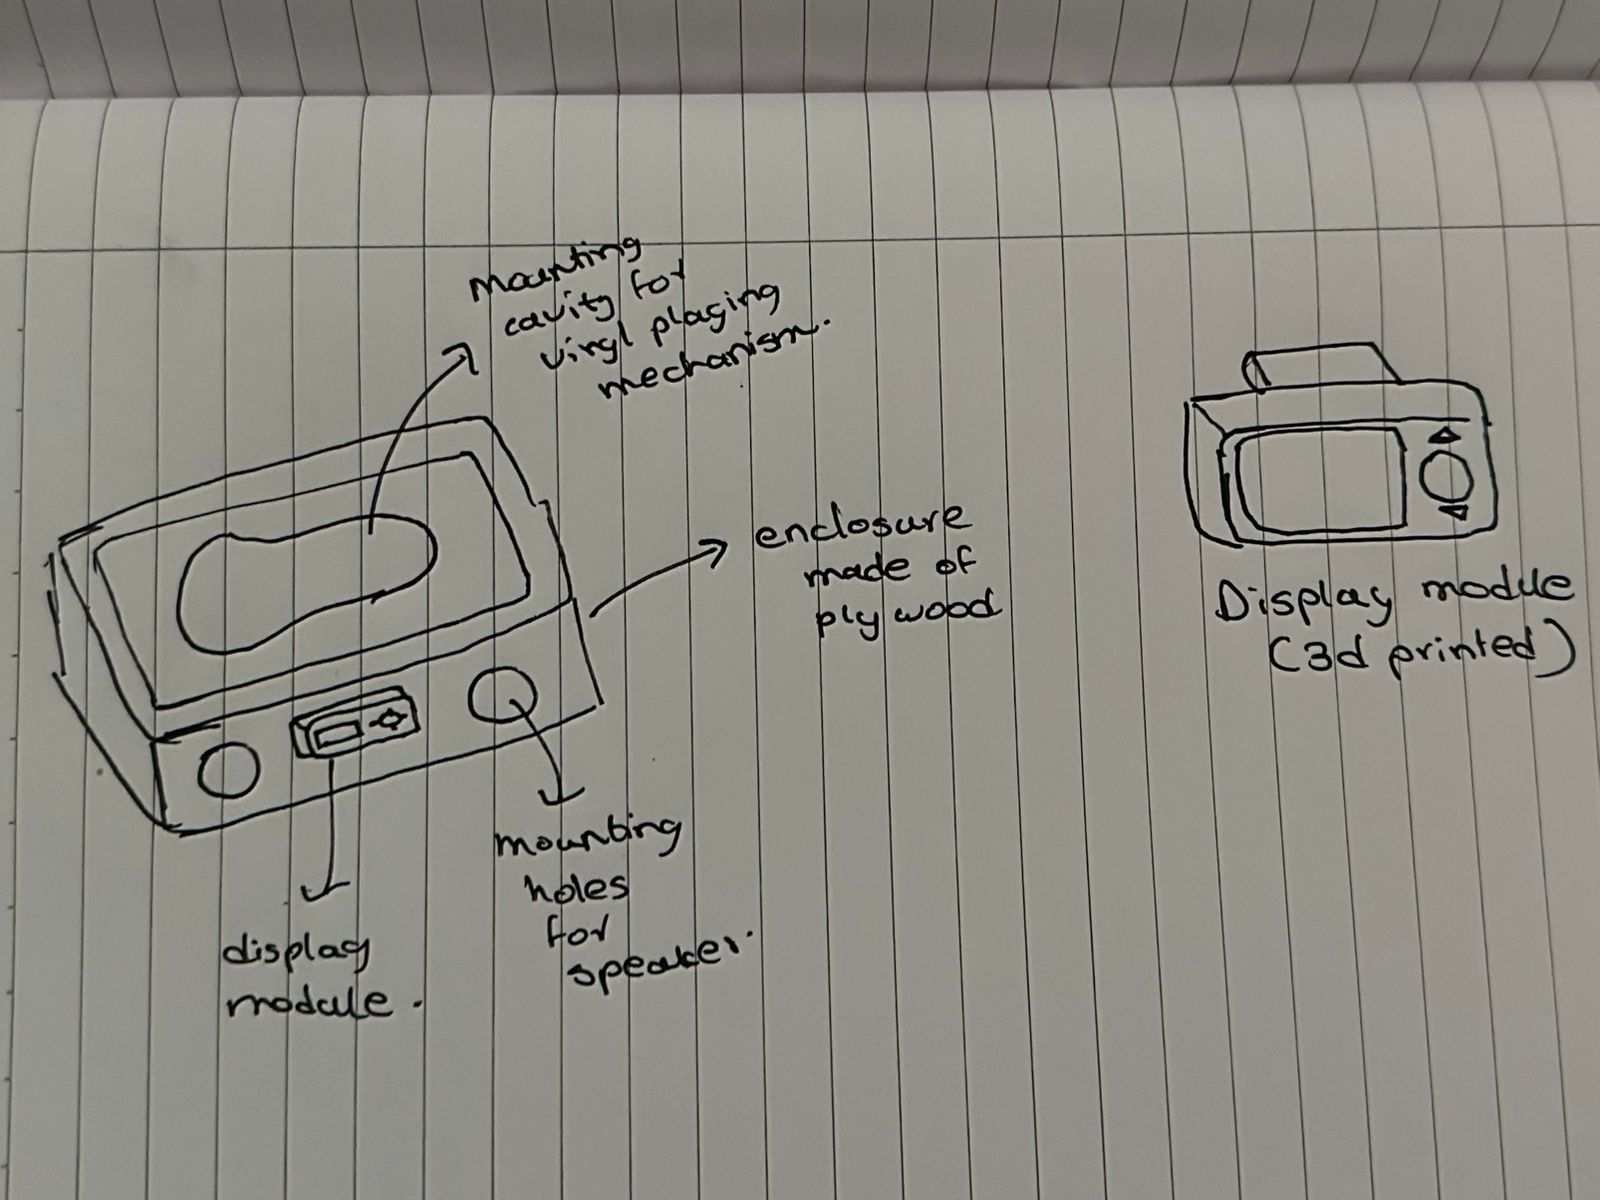
Some early sketches of the enclosure are shown below.
User Flow Diagram
AI Prompt Used: "Create a clear user flow diagram for my vinyl record player interface. The flow begins with the user placing a vinyl record on the player, followed by an option on the web interface to capture an image of the record. After image processing, display the detected groove distances from the center and the number of tracks found. Present the detected tracks as a selectable list. The user navigates the list using a rotary encoder and selects a track to play. During playback, provide controls for Play, Pause, Next Track, Previous Track, and Select Track. Pressing Play lowers the needle, Pause lifts the needle, Next and Previous move the needle to the adjacent track, and selecting a track moves the needle directly to the chosen track. Include an option to retake the picture whenever the user changes or flips the vinyl. Present the workflow as a clean flowchart with decision points and arrows connecting each step."
.png)
Functionality Diagram
.jpg)
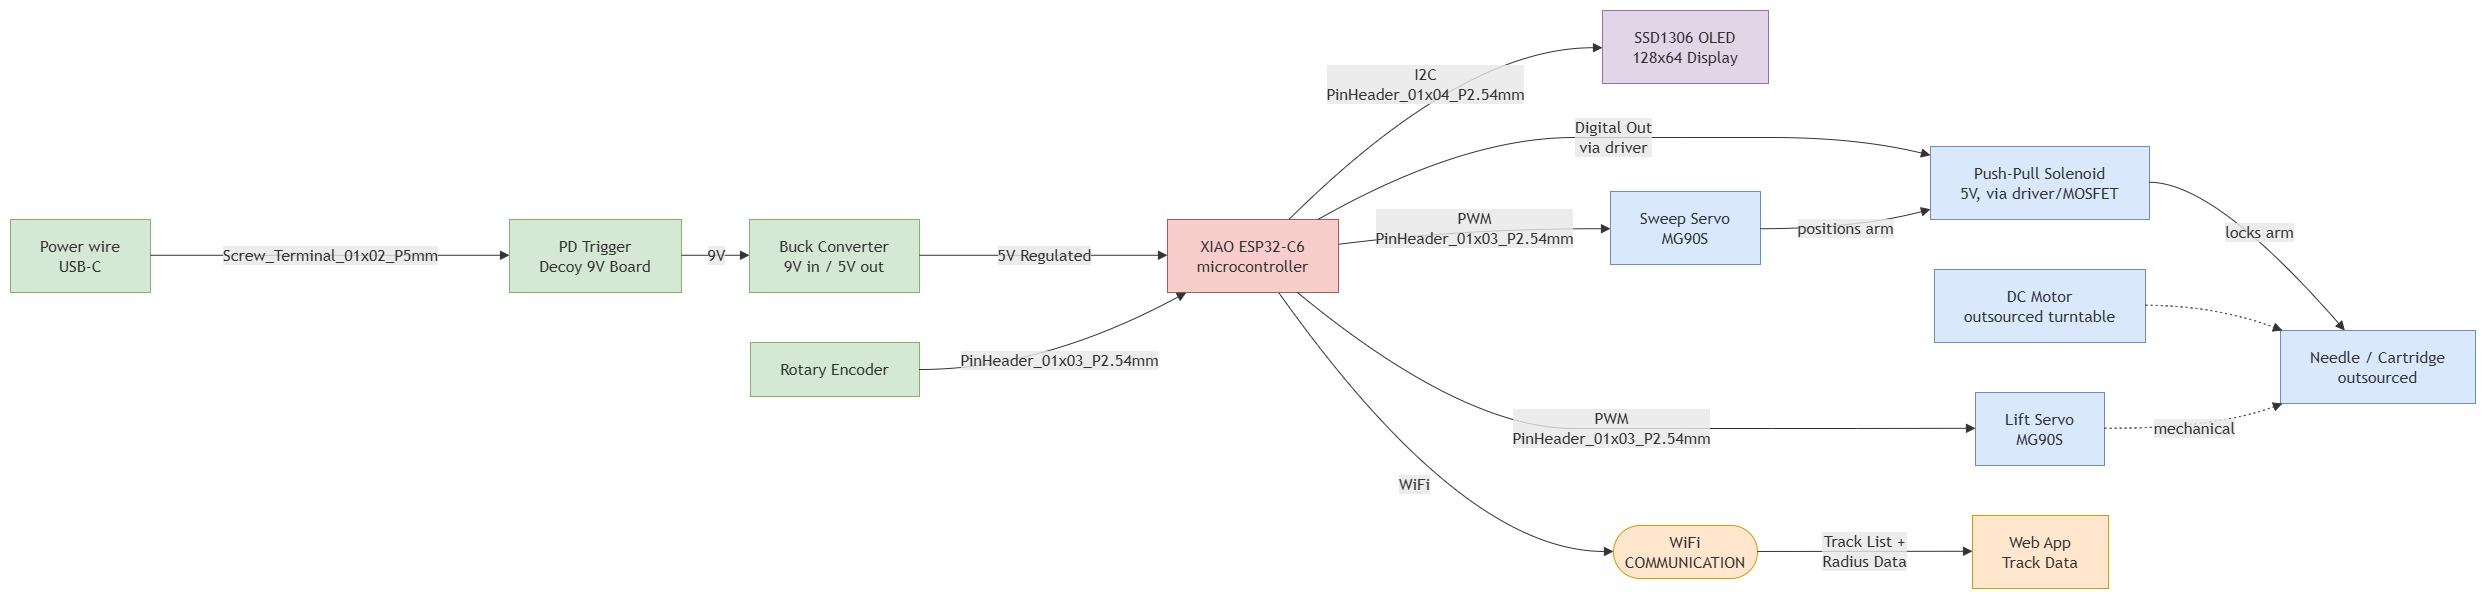
Electronic System Diagram
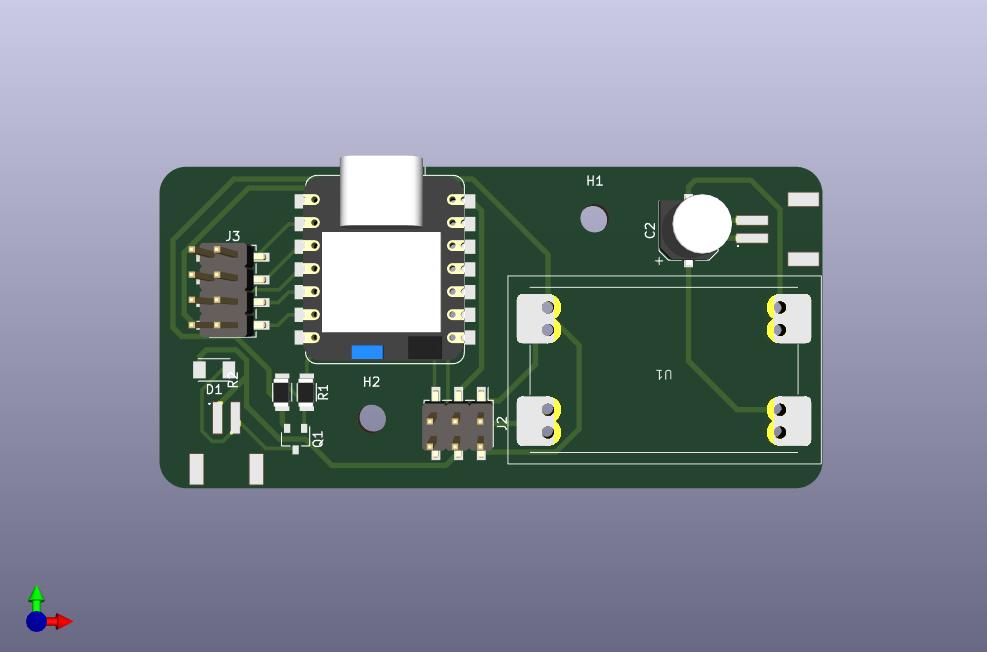
Main Board
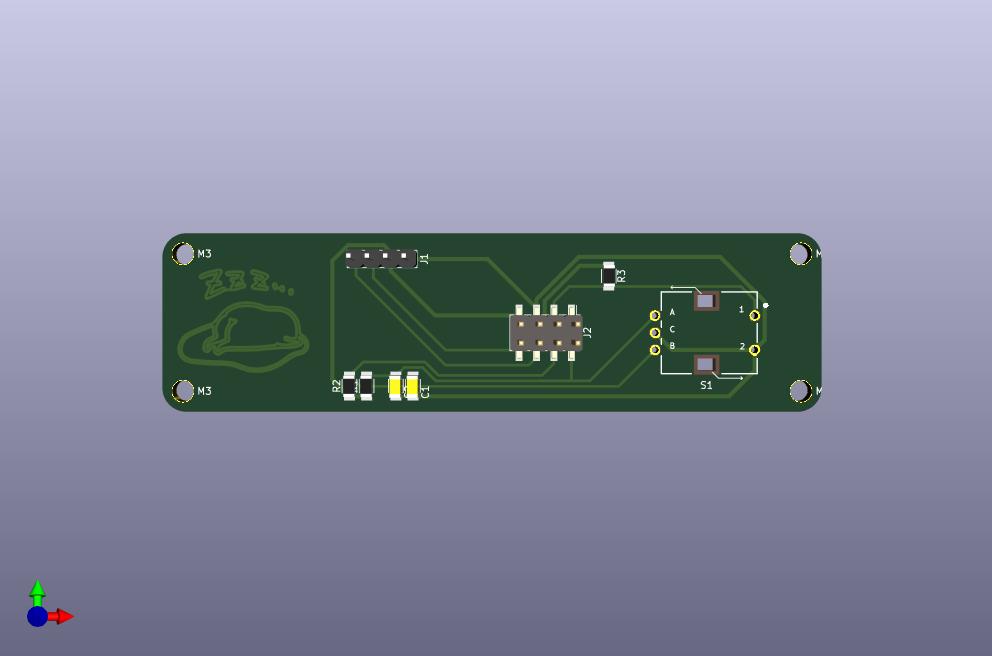
Breakout Board
Key Electronic Components
Beyond the outsourced needle and turntable motor, six components form the electronic core of Vinyl Sync: a microcontroller, a power stage, an input, a display, and two actuators. Below is a quick look at each and the role it plays in the system.
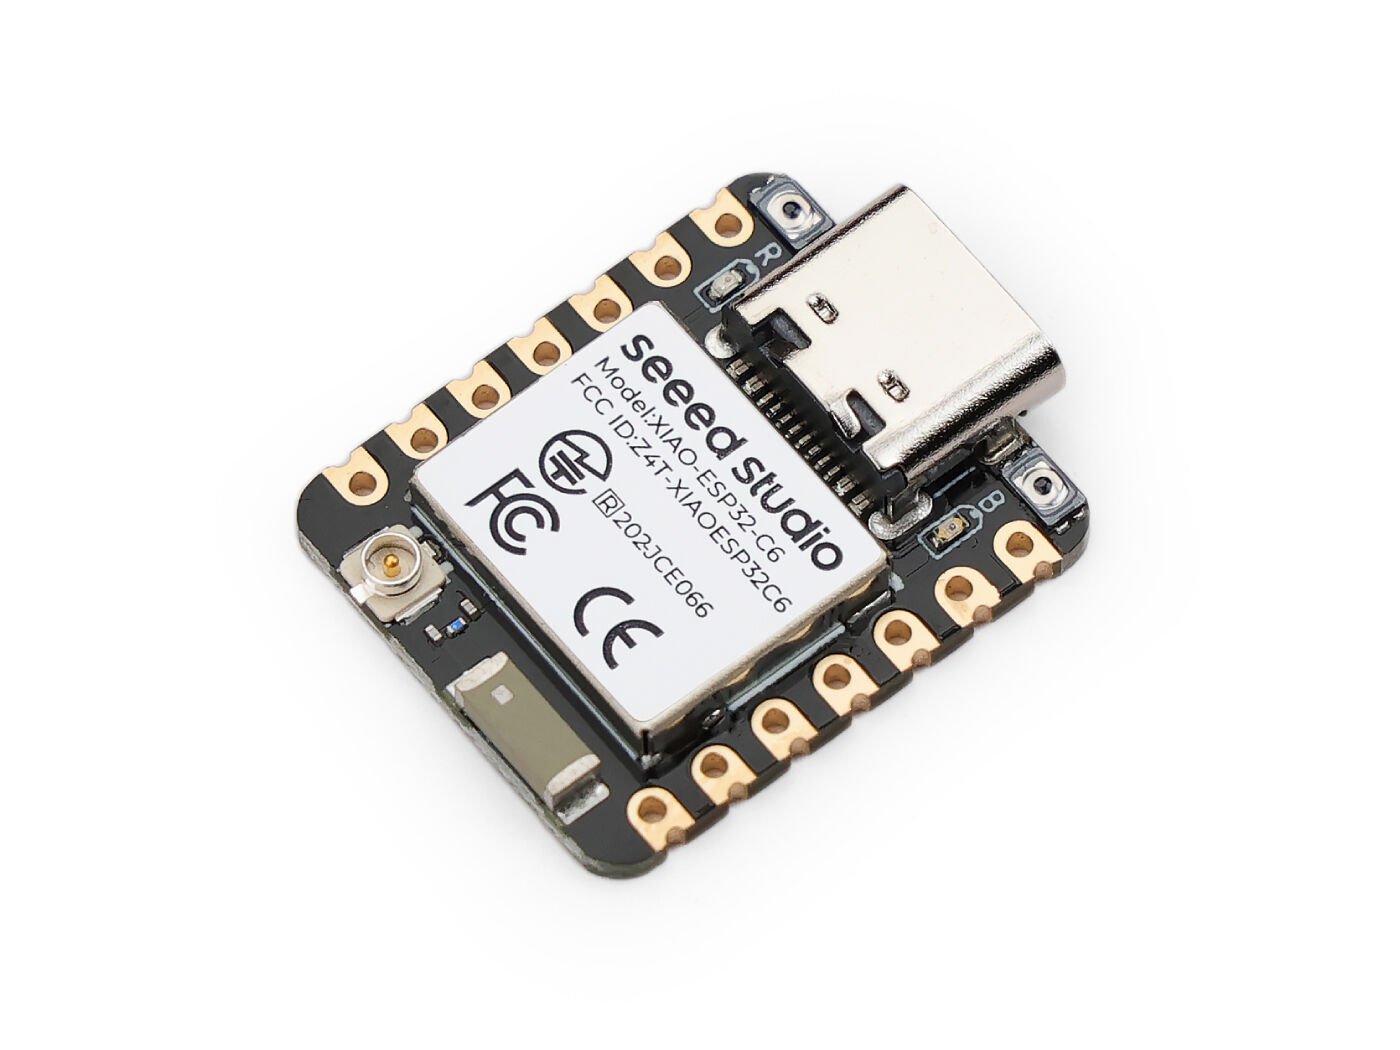
XIAO ESP32-C6
The brain of the system. Connects to the web app over WiFi to receive track lists and groove radius data, drives the OLED and rotary encoder, and sends PWM signals to both servos.
Product page ↗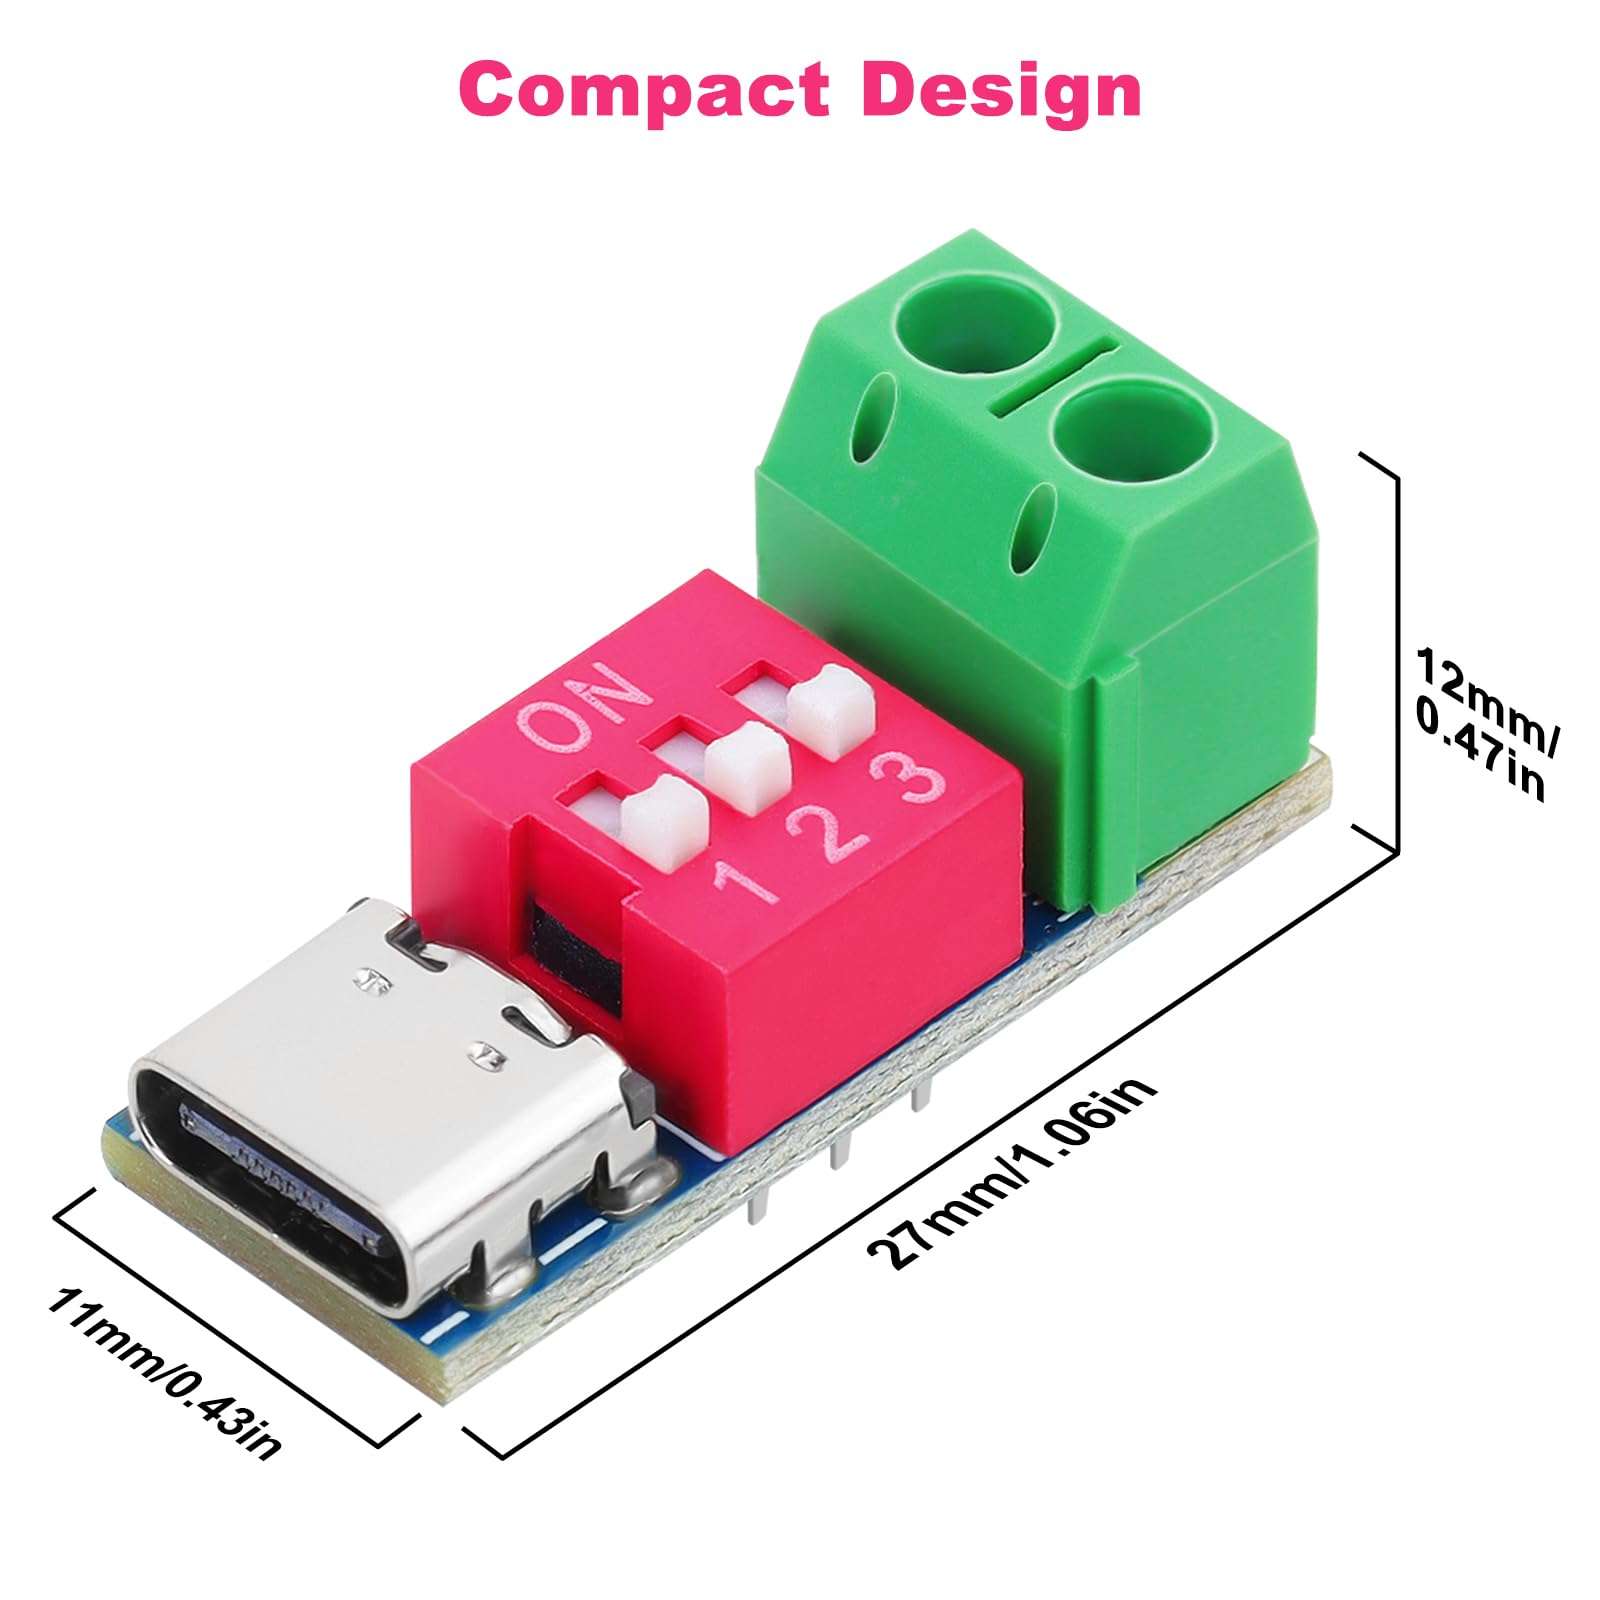
PD Trigger Decoy (9V)
Negotiates a fixed 9V output from a standard USB-C PD charger, so the whole player can run off a single C-type cable instead of a dedicated barrel-jack power brick.
Product page ↗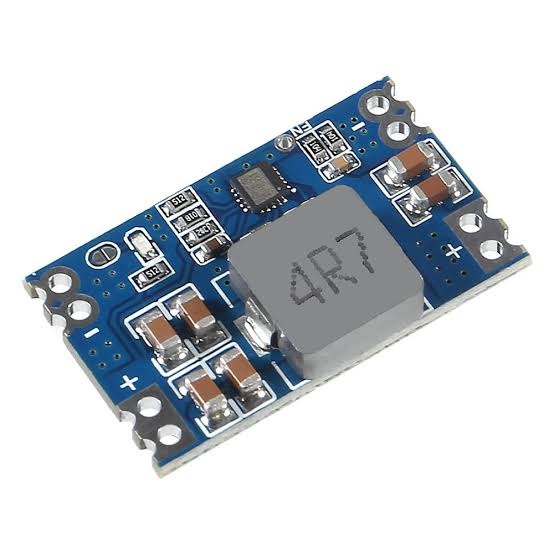
Buck Converter (9V → 5V)
Steps the PD trigger's 9V down to a clean, regulated 5V rail to safely power the XIAO, OLED, encoder, and both servos without overdriving them.
Product page ↗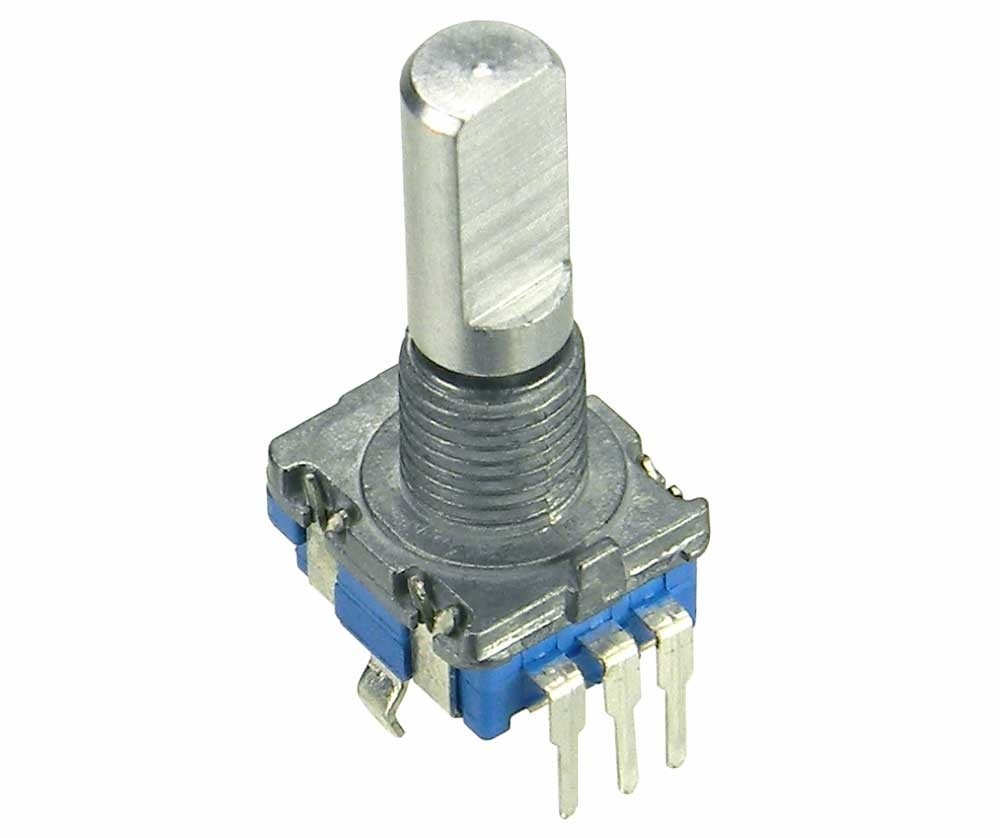
Rotary Encoder
The main user input. Turning the dial scrolls through the track list on the OLED; pressing it confirms a selection and triggers the lift-sweep-drop sequence.
Reference guide ↗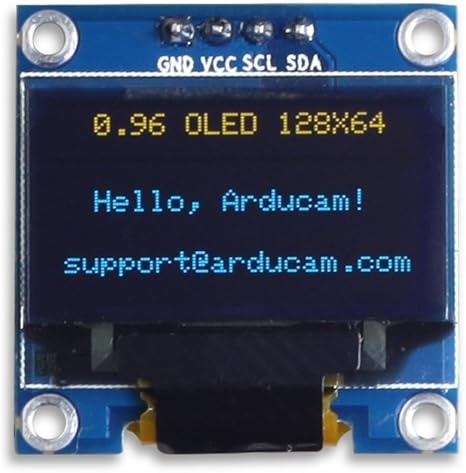
OLED Display (SSD1306, 128×64)
Shows the current track name and selection state, giving the user visual feedback as they scroll and confirm with the rotary encoder.
Product page ↗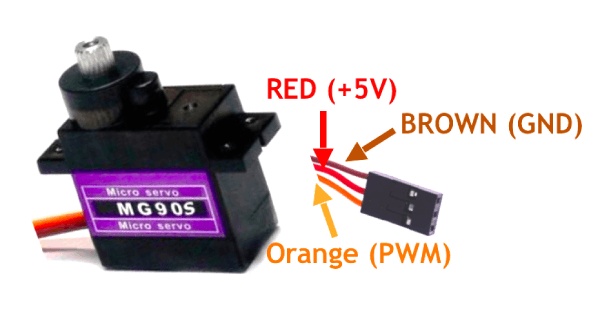
MG90S Servo Motor (×2)
One servo lifts and lowers the needle arm, the other sweeps it to the correct groove radius for the selected track. Metal gears give enough torque and repeatability for precise needle placement.
Reference guide ↗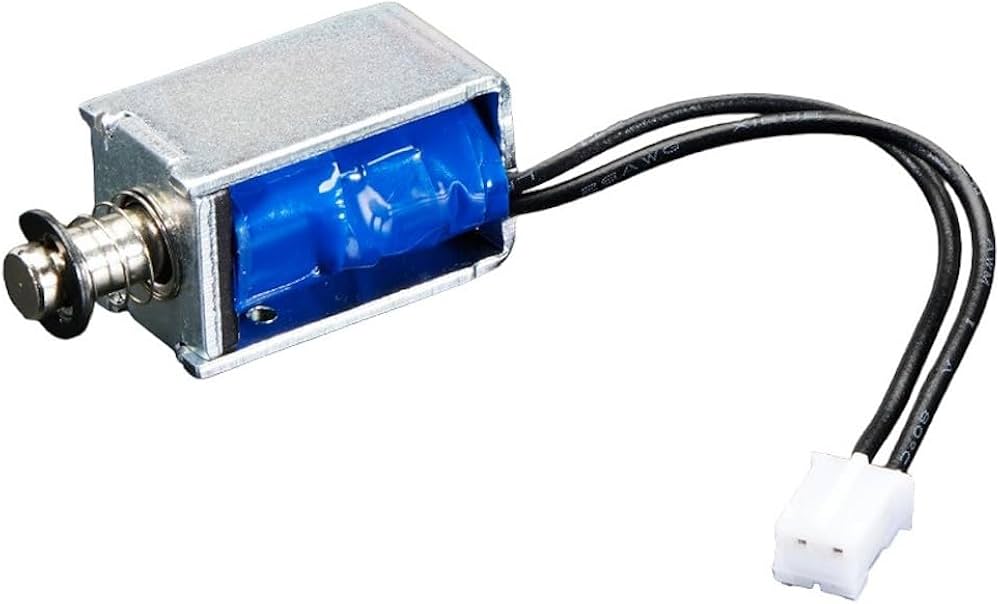
Push-Pull Solenoid (5V)
Locks the sweep arm in place once it reaches the target groove radius, holding it firmly against vibration while the needle is lowered, so the arm doesn't drift before the drop is complete.
Product page ↗Wiring Diagram
.jpg)
Developing the Sweep Mechanism
The first task was to develop a mechanism capable of automatically controlling an existing vinyl record player. Rather than designing an entire player from scratch, I purchased an inexpensive off-the-shelf vinyl player, disassembled it, and studied the existing mechanism to determine how it could be automated.

After taking the player apart, it became clear that there was not enough space inside the original enclosure to mount any additional actuation mechanism. Instead of modifying the existing housing, I decided to design an entirely new enclosure around the original vinyl mechanism.
After removing the unnecessary components, I was left with only the vinyl mechanism itself.
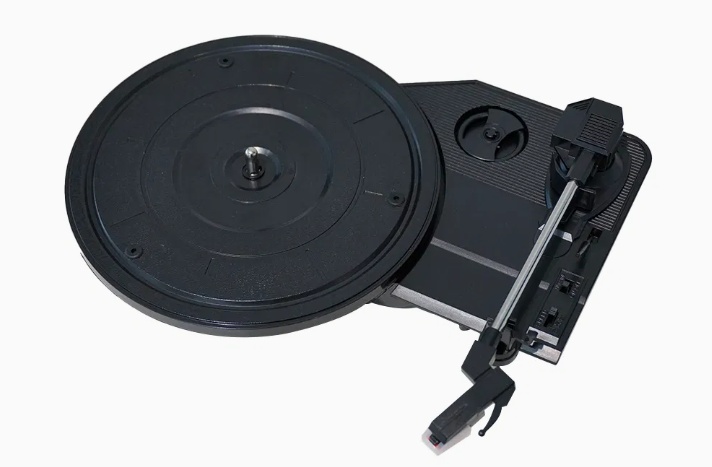
I observed how the mechanism operated and identified two simple movements that would need to be automated using servos.
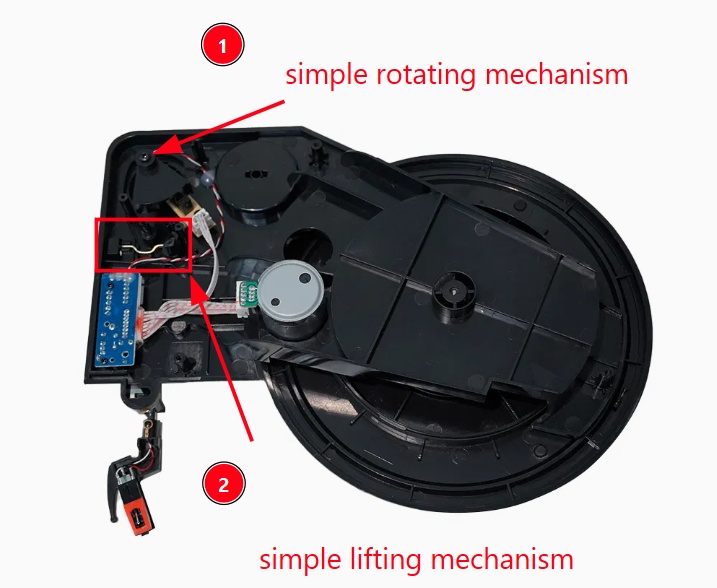
The first mechanism allows the tonearm to rotate across the record so the user can position the stylus over any track. This rotational movement can be driven using either a servo or a stepper motor.
The second mechanism raises and lowers the tonearm using a simple lifting mechanism. To keep the design simple, I chose to control this movement with a second servo.
Combining these two ideas, I designed a mounting bracket capable of holding two servos, allowing both the sweeping motion and the lifting motion to be controlled independently.
.jpg)
The bracket was then 3D printed and attached to the original vinyl mechanism.
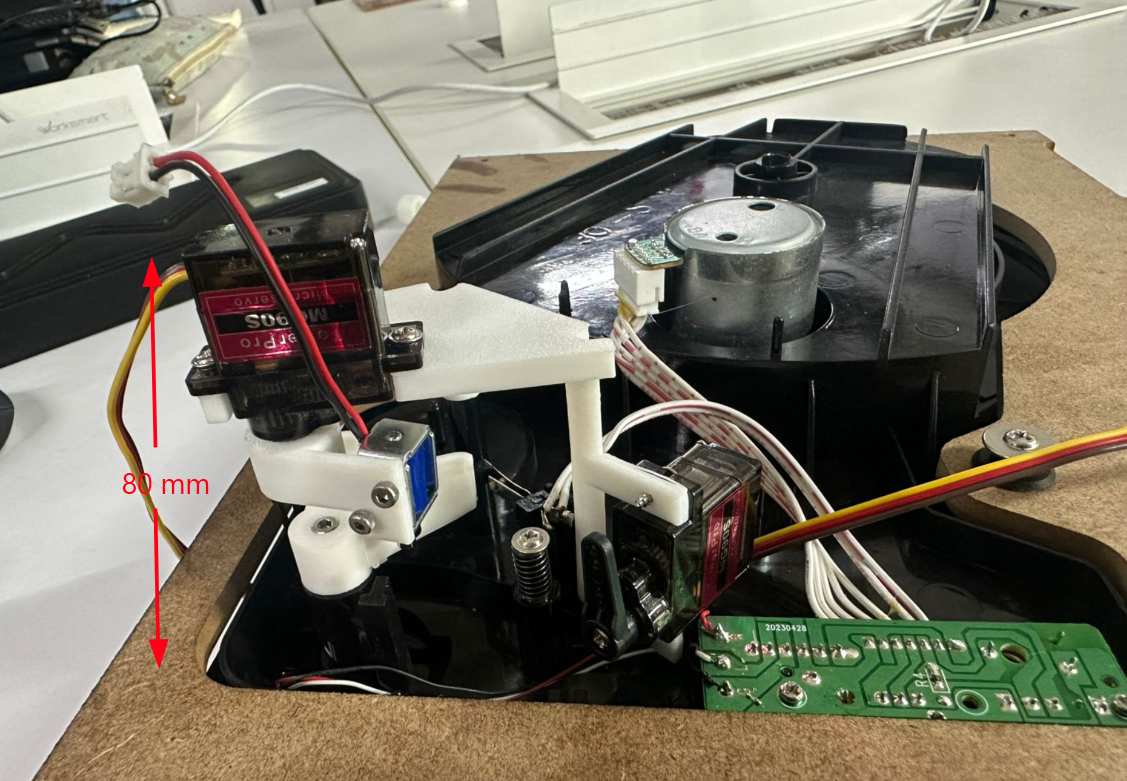
With the mechanism assembled, I measured the minimum enclosure depth required, which was approximately 80 mm. This provided enough clearance for the complete assembly while allowing room for mounting hardware and wiring.
Enclosure Design
The enclosure was designed in Fusion 360 and consists of multiple plywood layers laminated together, an acrylic top plate that supports the vinyl mechanism, and a separate 3D printed display enclosure with an acrylic display window.
To design the acrylic top plate accurately, I first traced the outline of the existing vinyl mechanism.
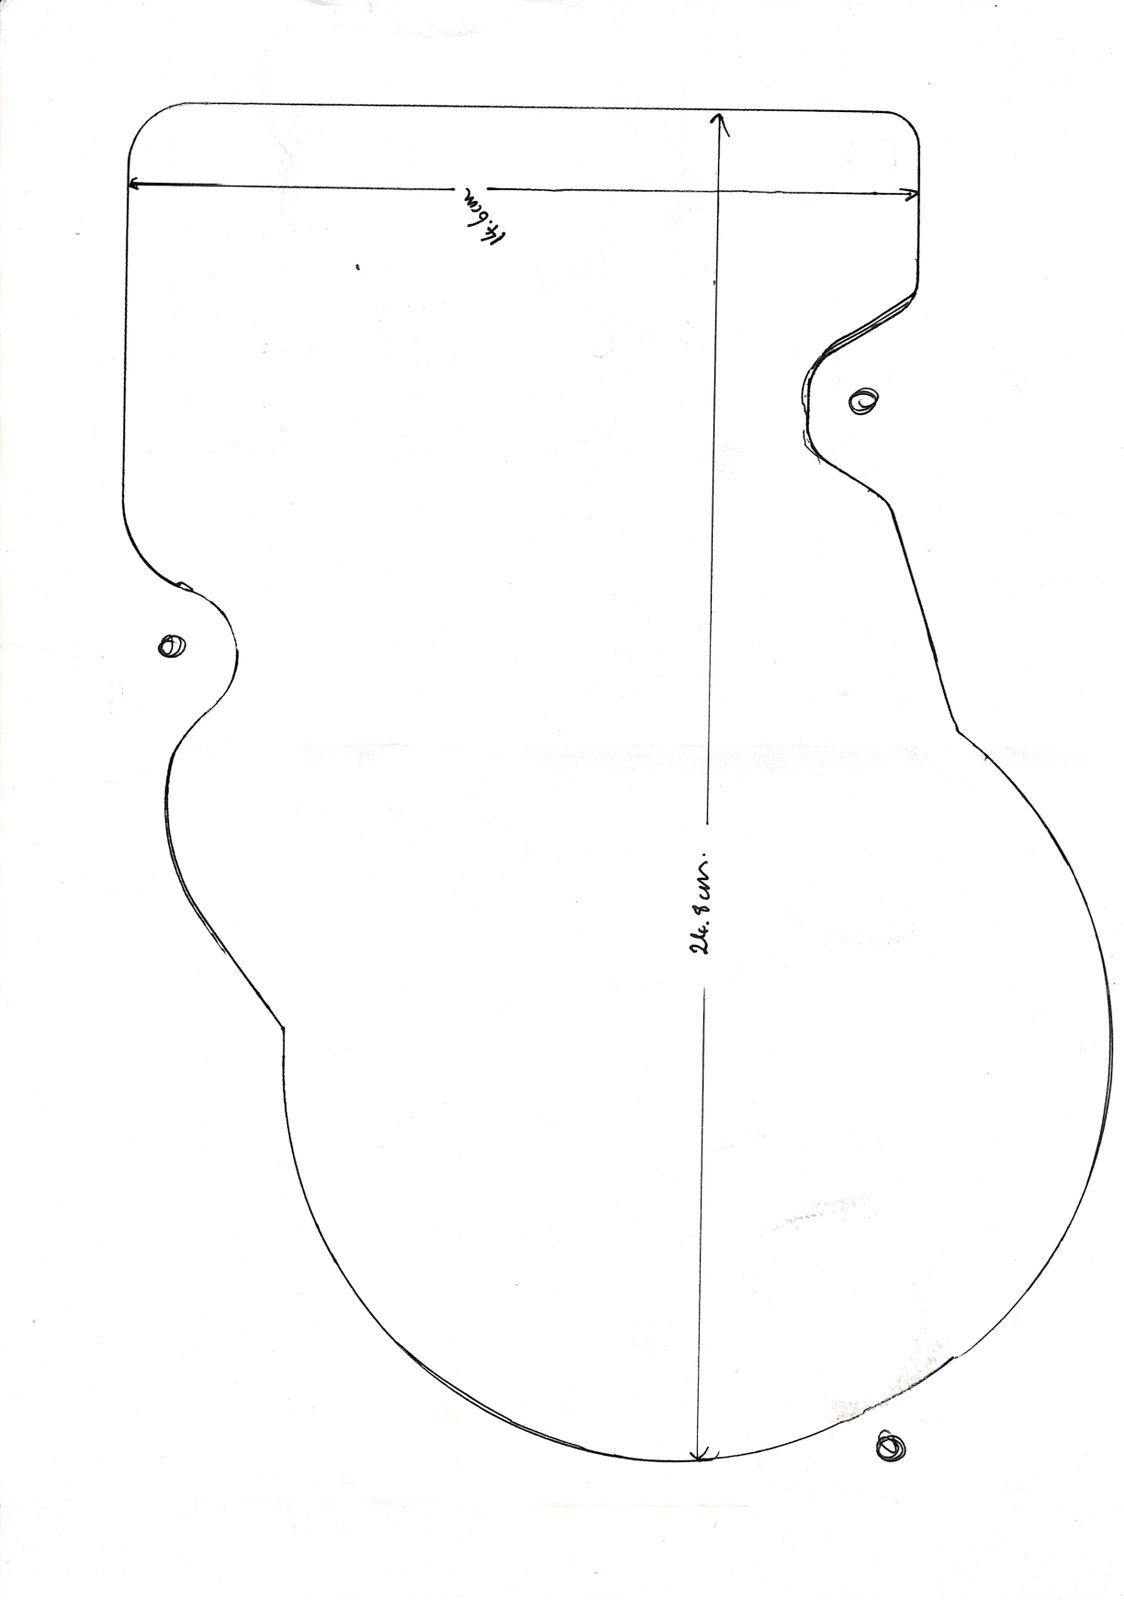
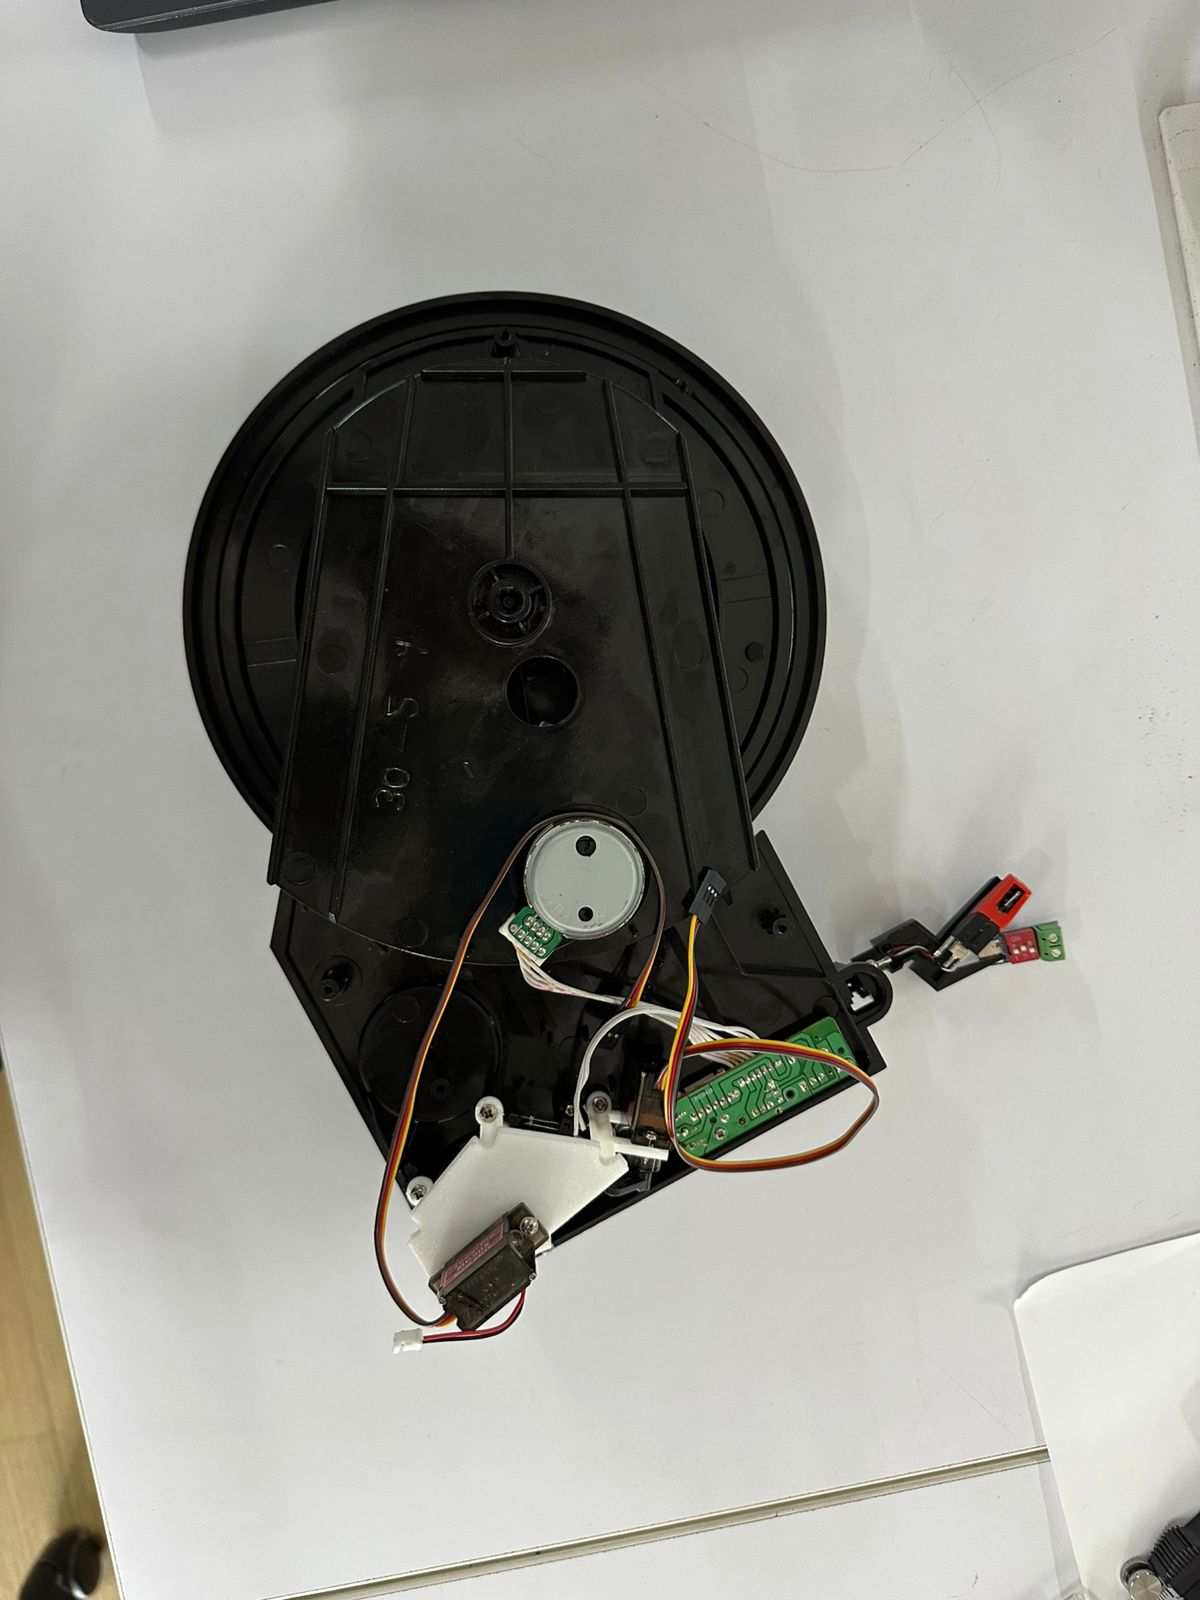
This traced outline was then recreated as a sketch in Fusion 360 and used to design the acrylic mounting plate.
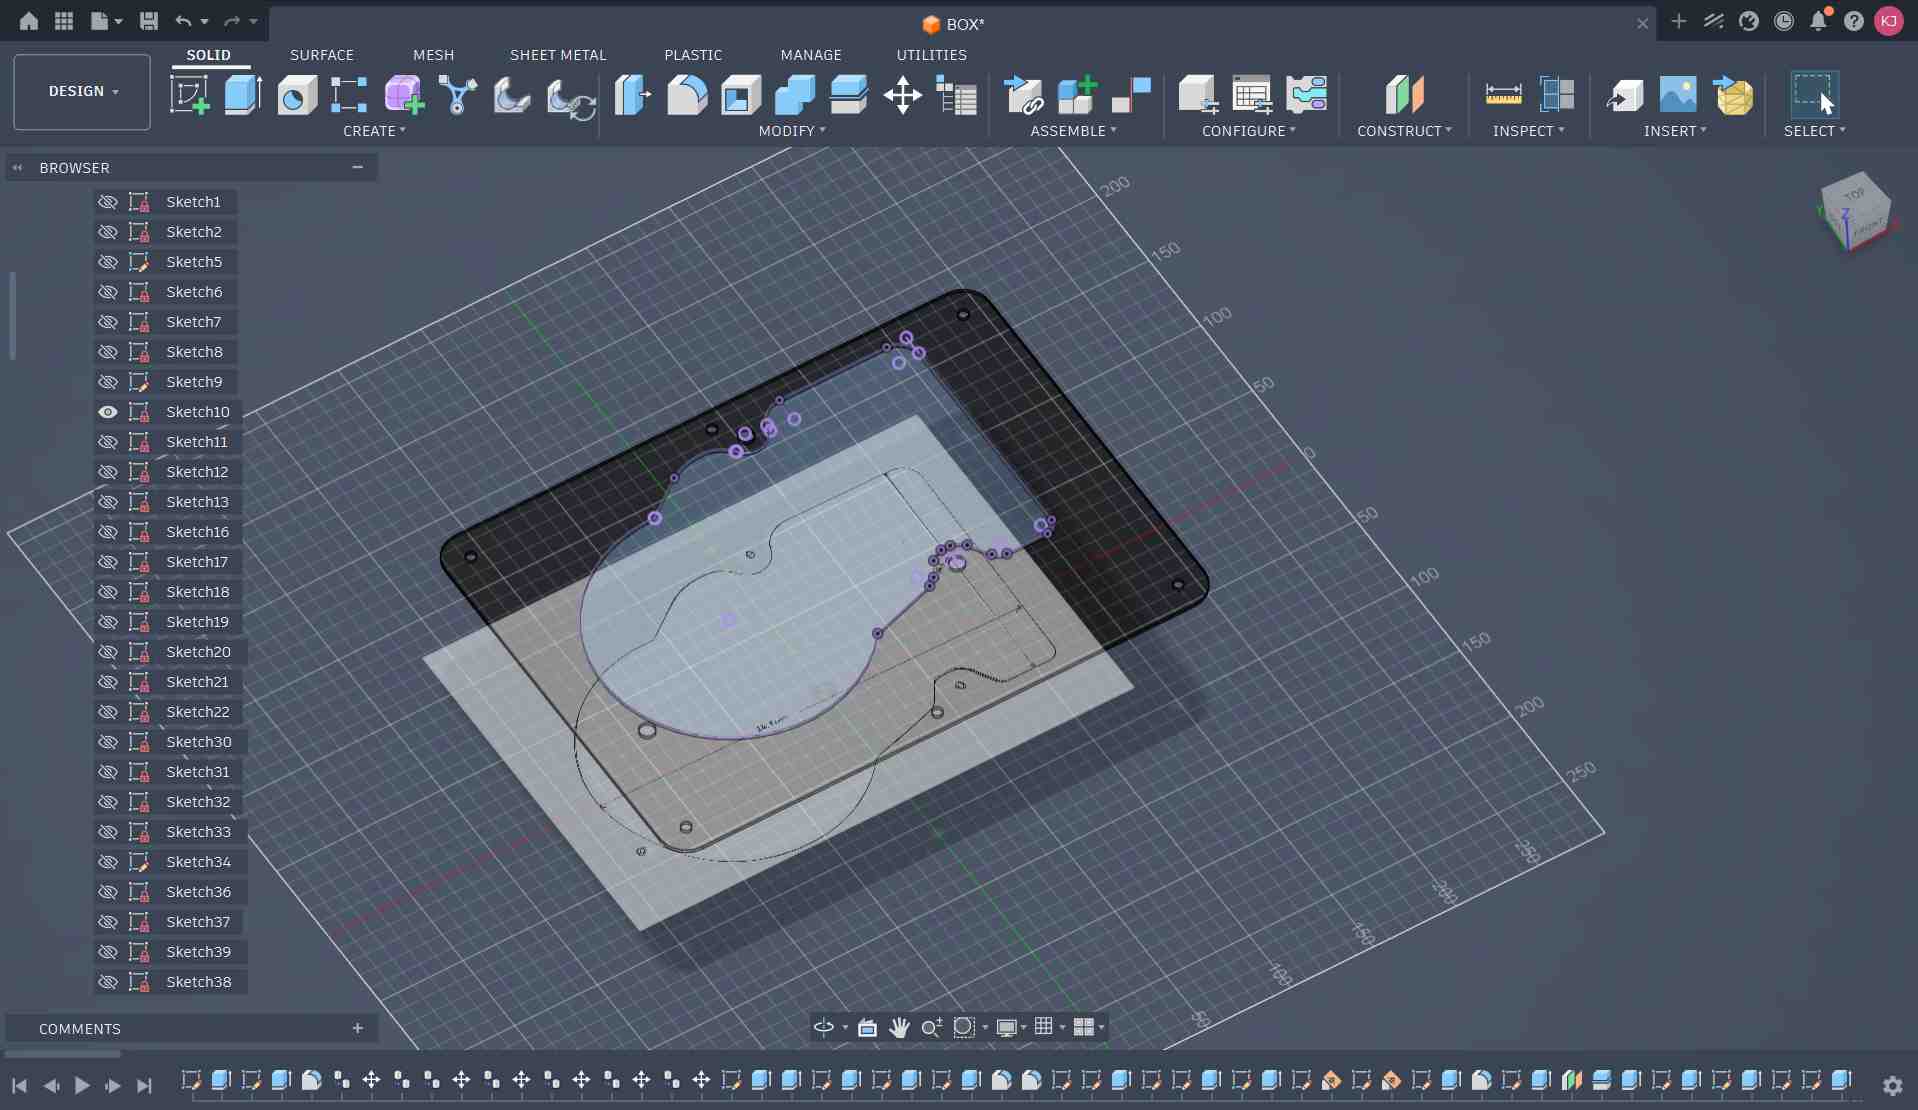
With the mounting hole locations and central opening established, I could begin designing the remainder of the enclosure. Since each plywood layer was 12 mm thick, a minimum of seven layers were required to achieve the necessary enclosure height.
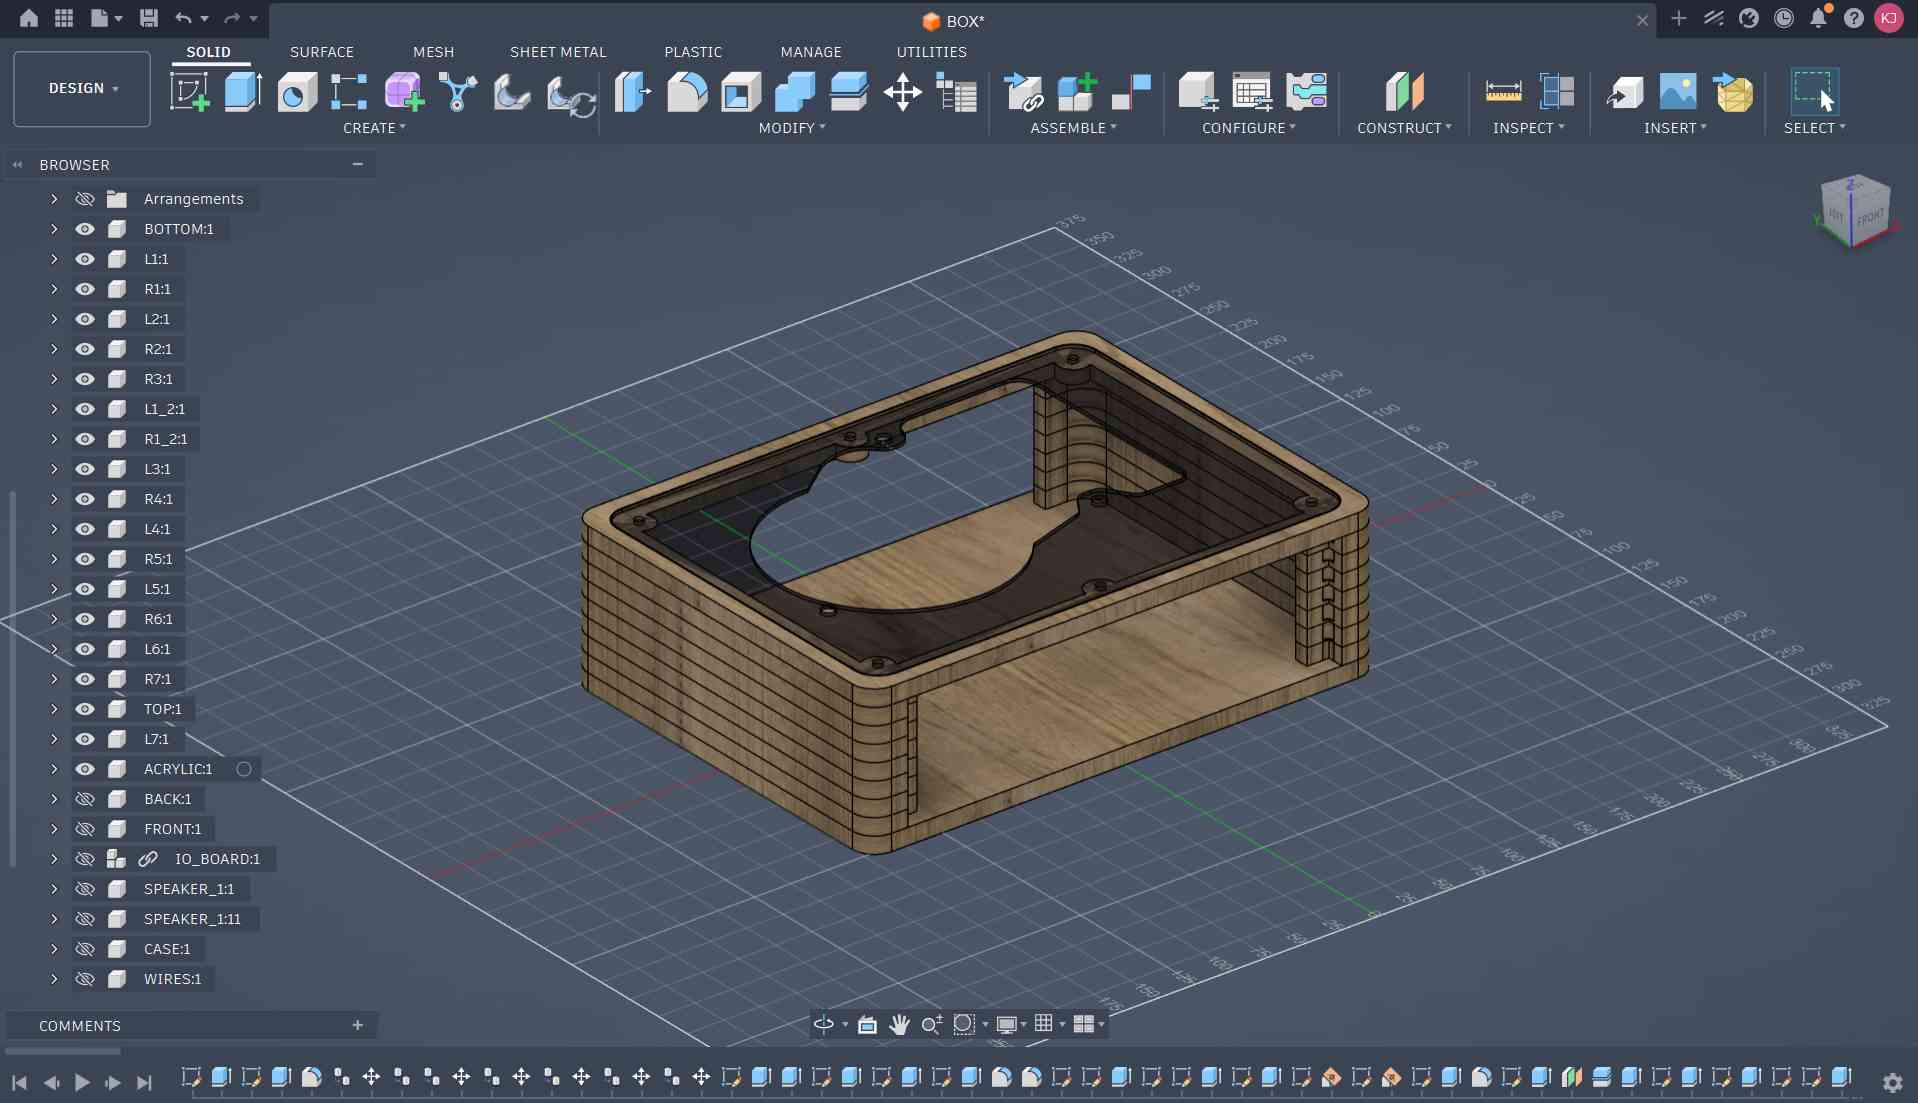
The front and rear panels were then designed to accommodate the display, speakers, and power connector.
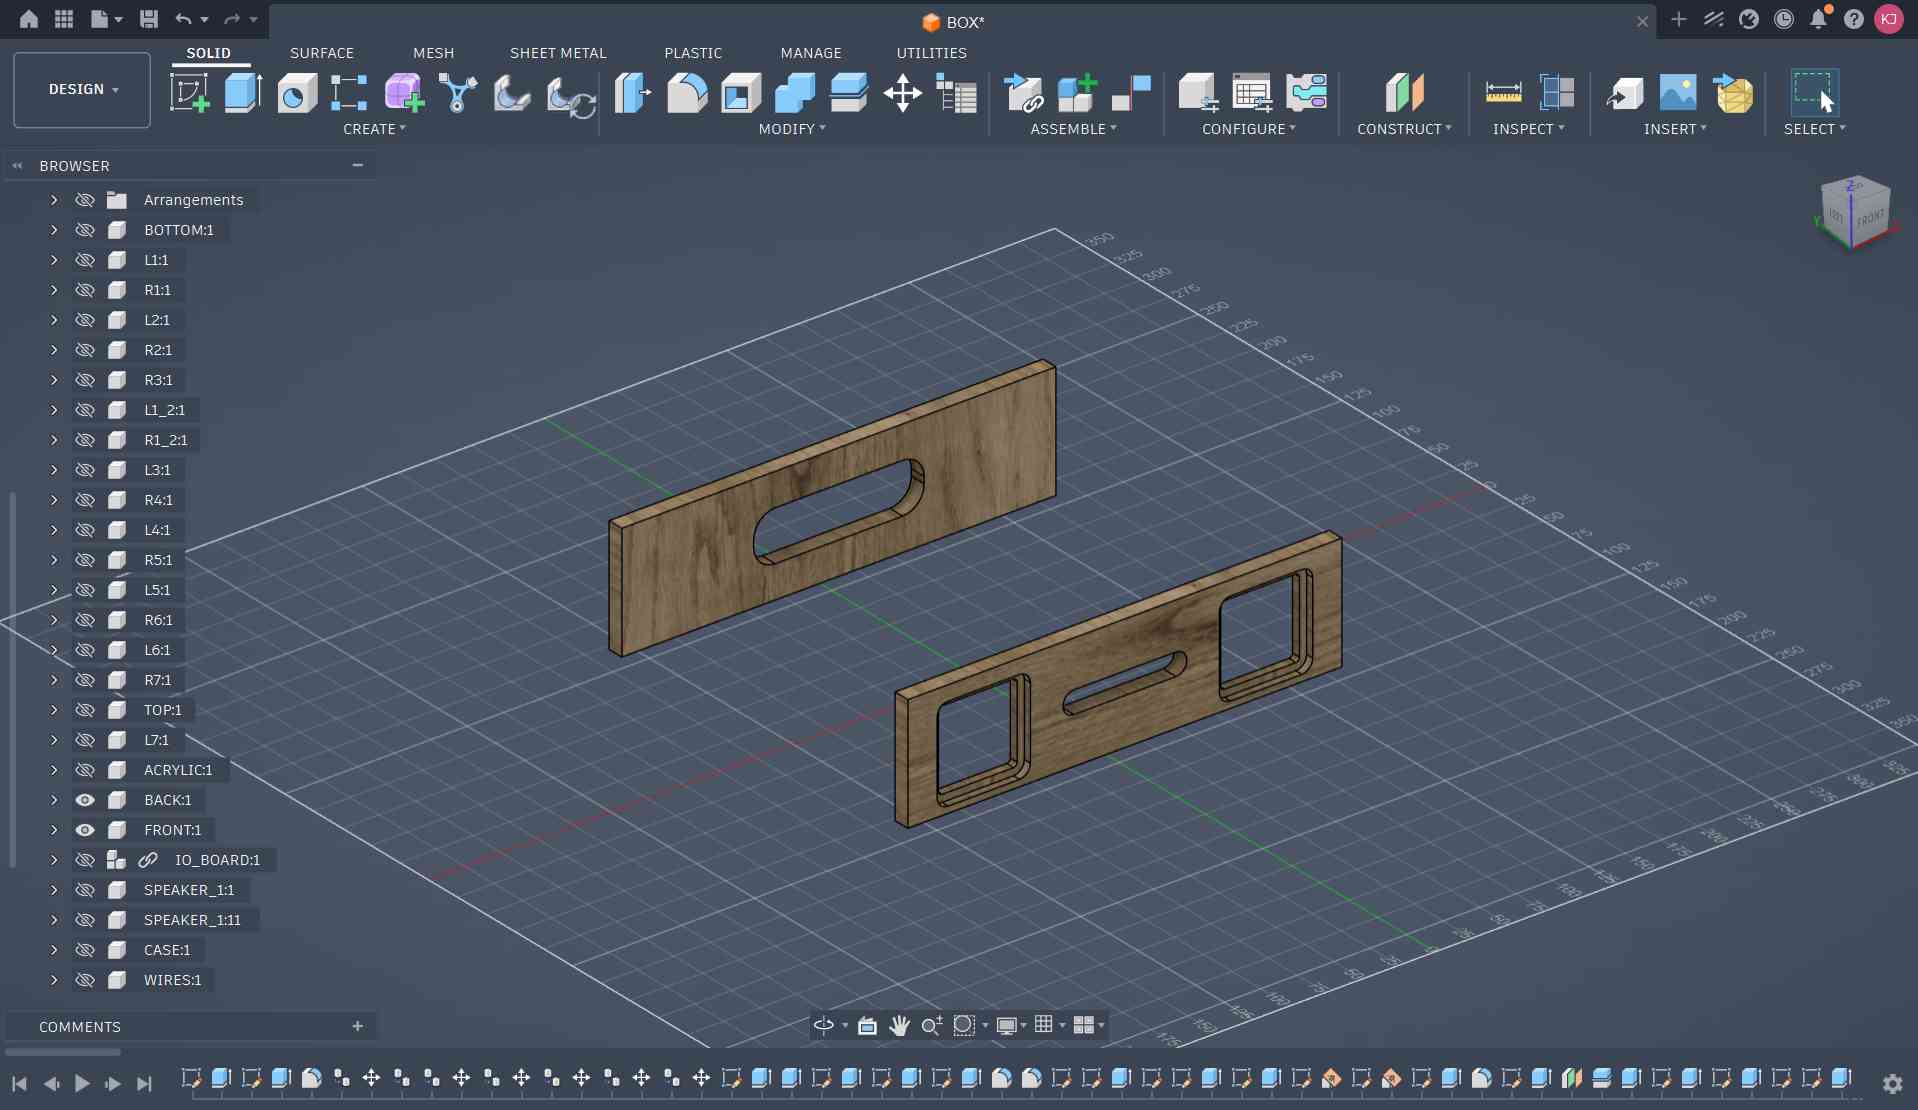
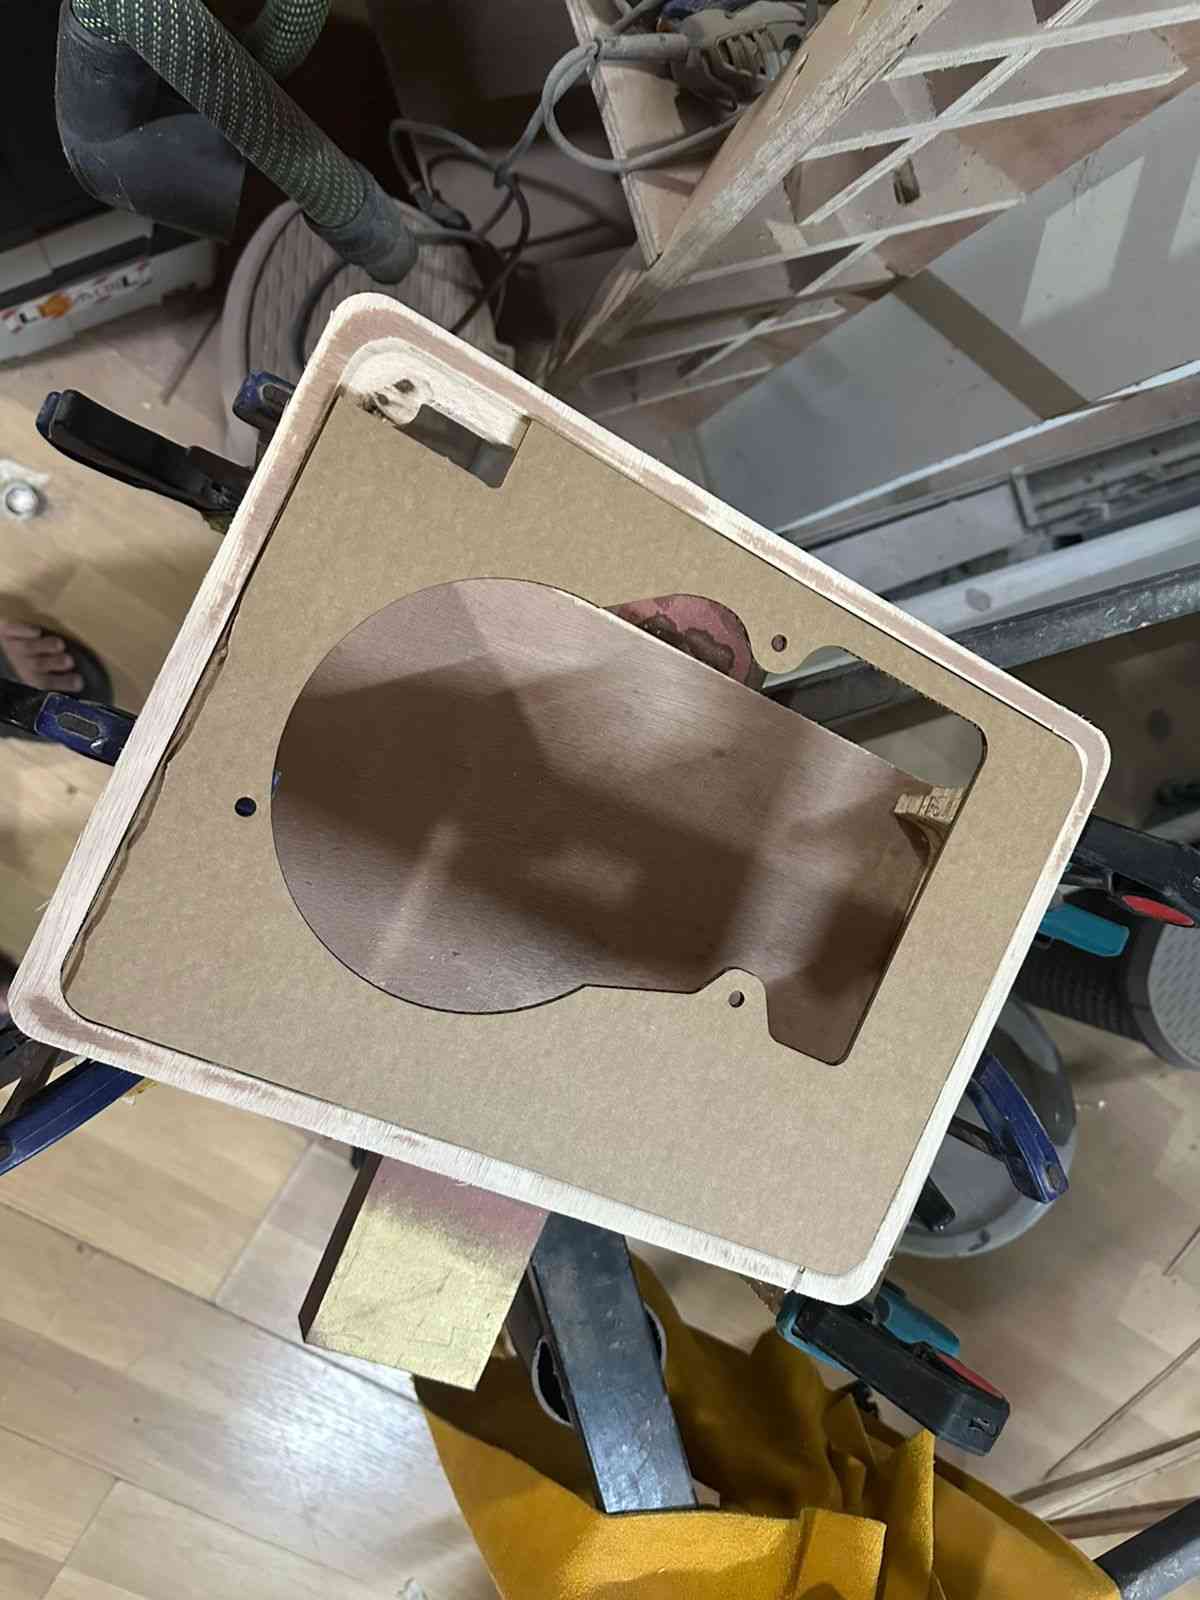
Since the mechanism's fit depended primarily on the acrylic top plate rather than the plywood body, I first produced a cardboard prototype to verify the fit before cutting the acrylic.
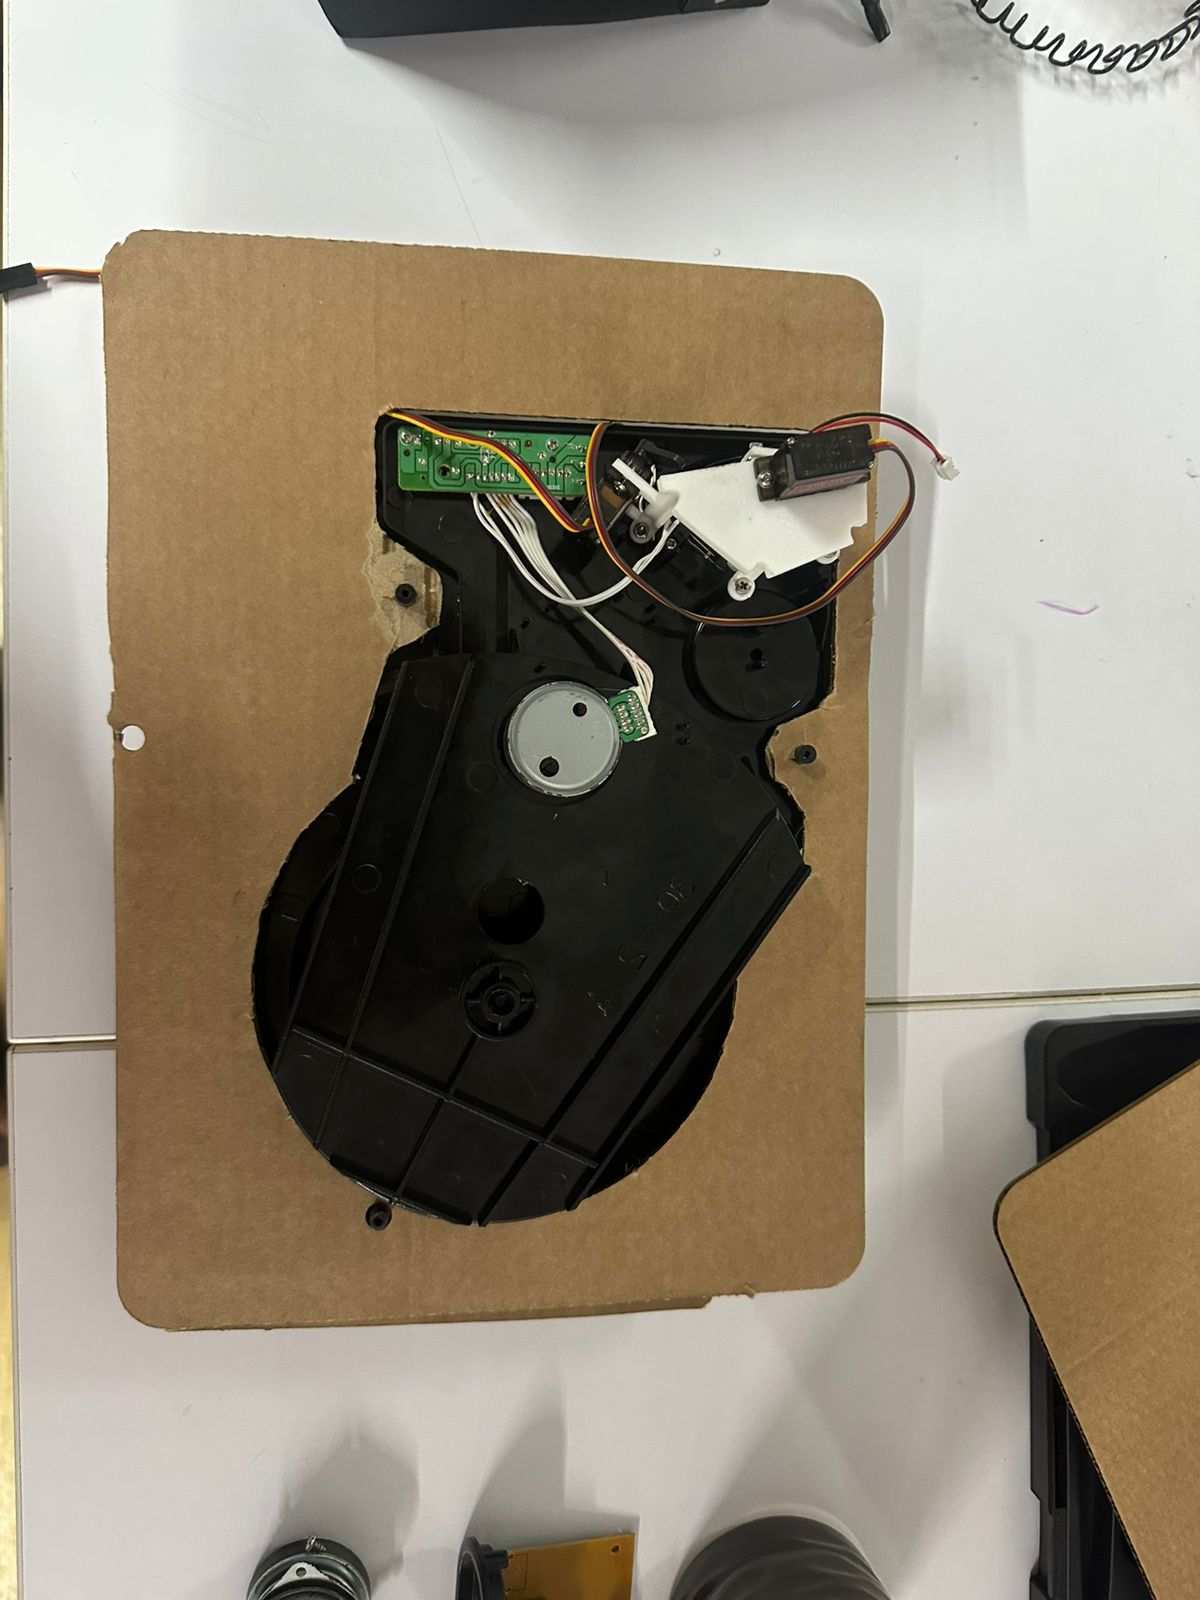
After making a few small adjustments to the mounting hole locations, the fit was correct.
The vinyl mechanism fitted cleanly through the acrylic plate without any interference.
Exploded View
The completed enclosure assembly is shown below as an exploded view, showing the stacked plywood construction, acrylic top plate, vinyl mechanism, and the display enclosure.