1. Principles and Practices, Project management
- Plan and sketch a potential final project
- Download, read, and sign the student agreement, then commit it to the repository
- Work through a Git tutorial
- Build a personal site in the class archive describing me and my final project
Concepts for Final Project
-
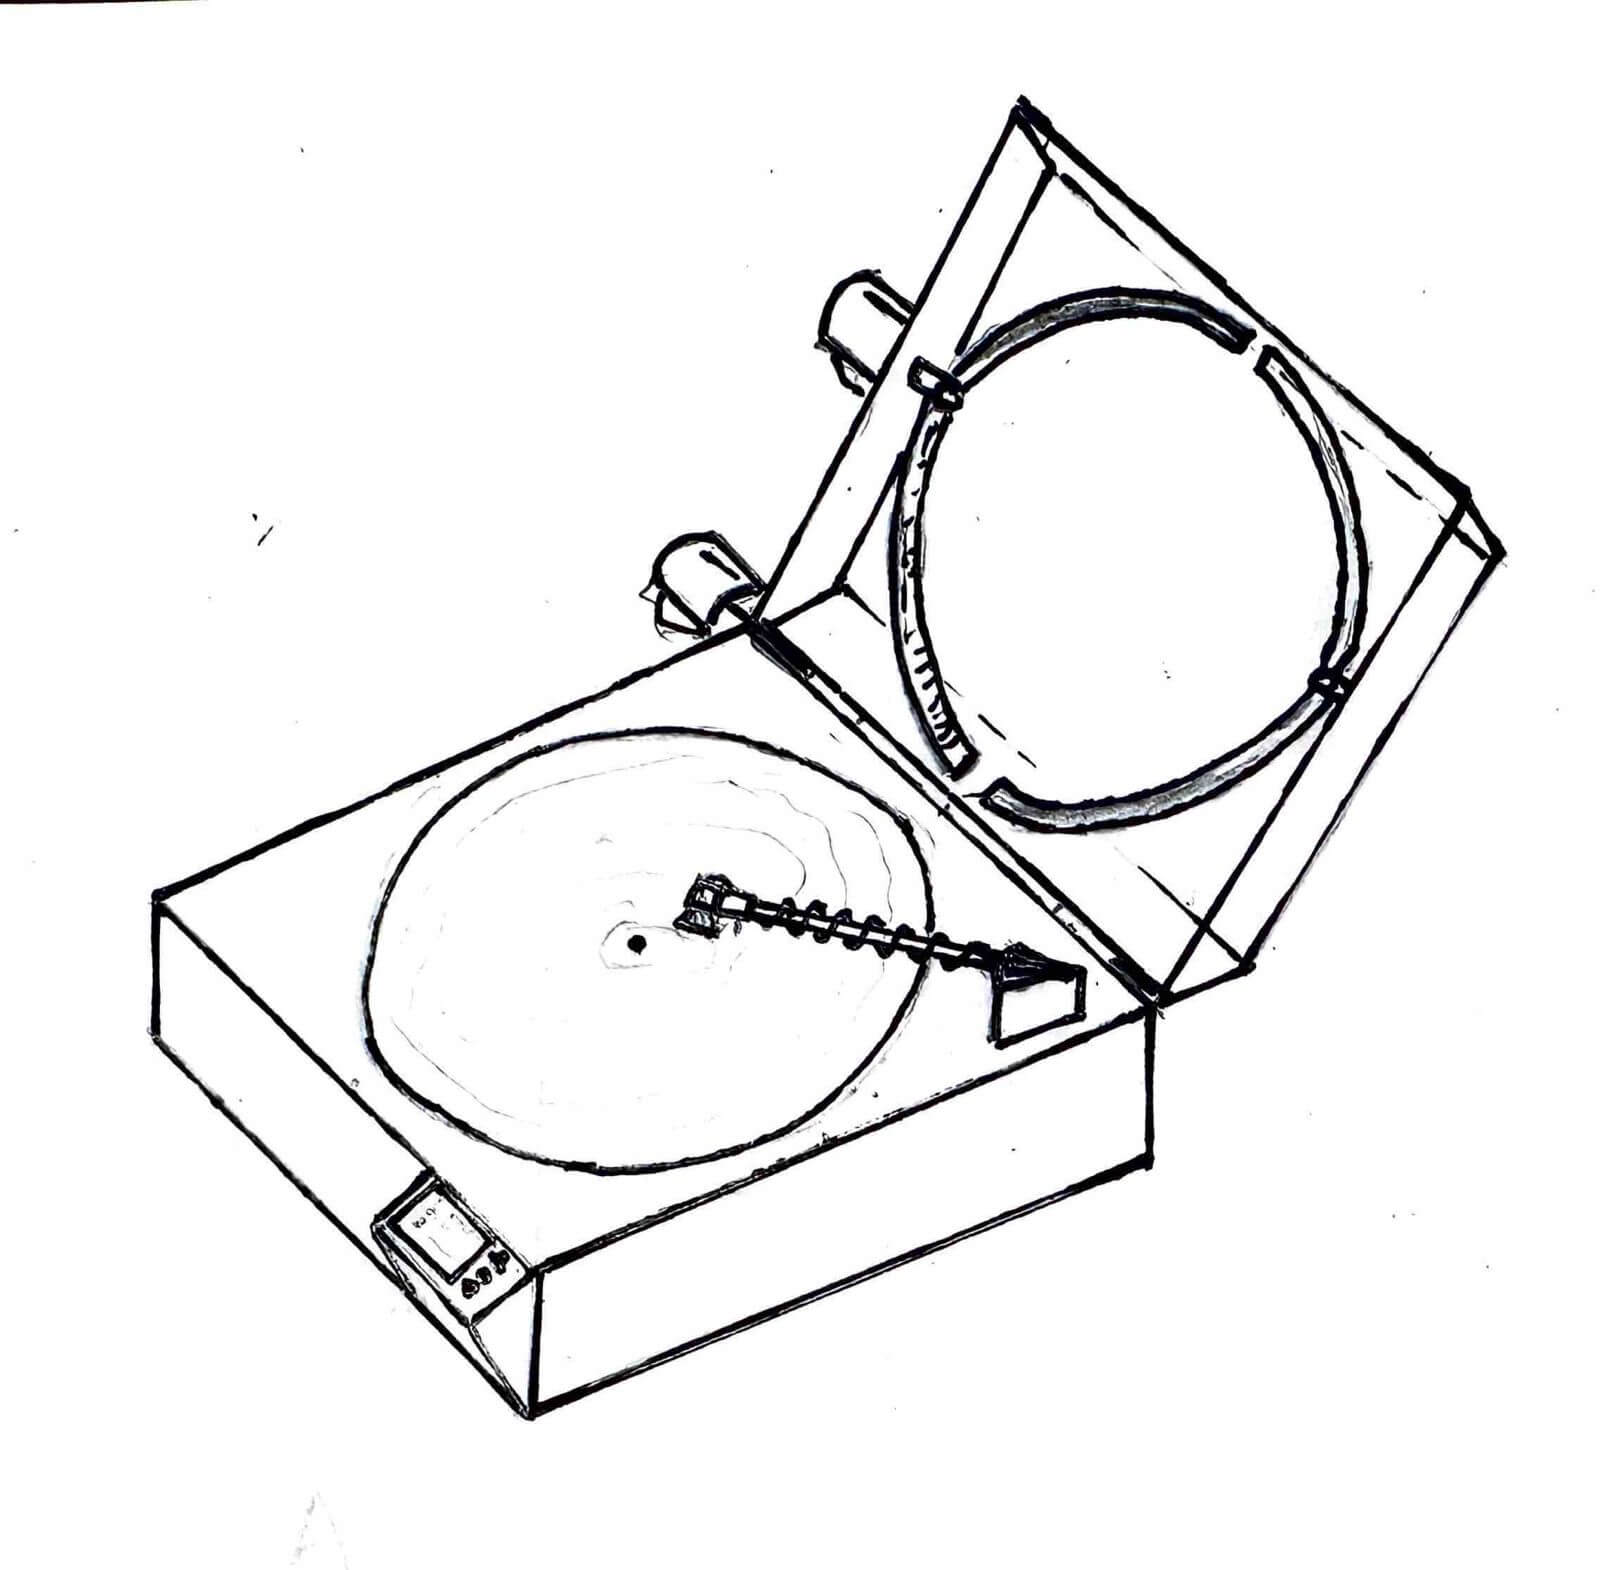
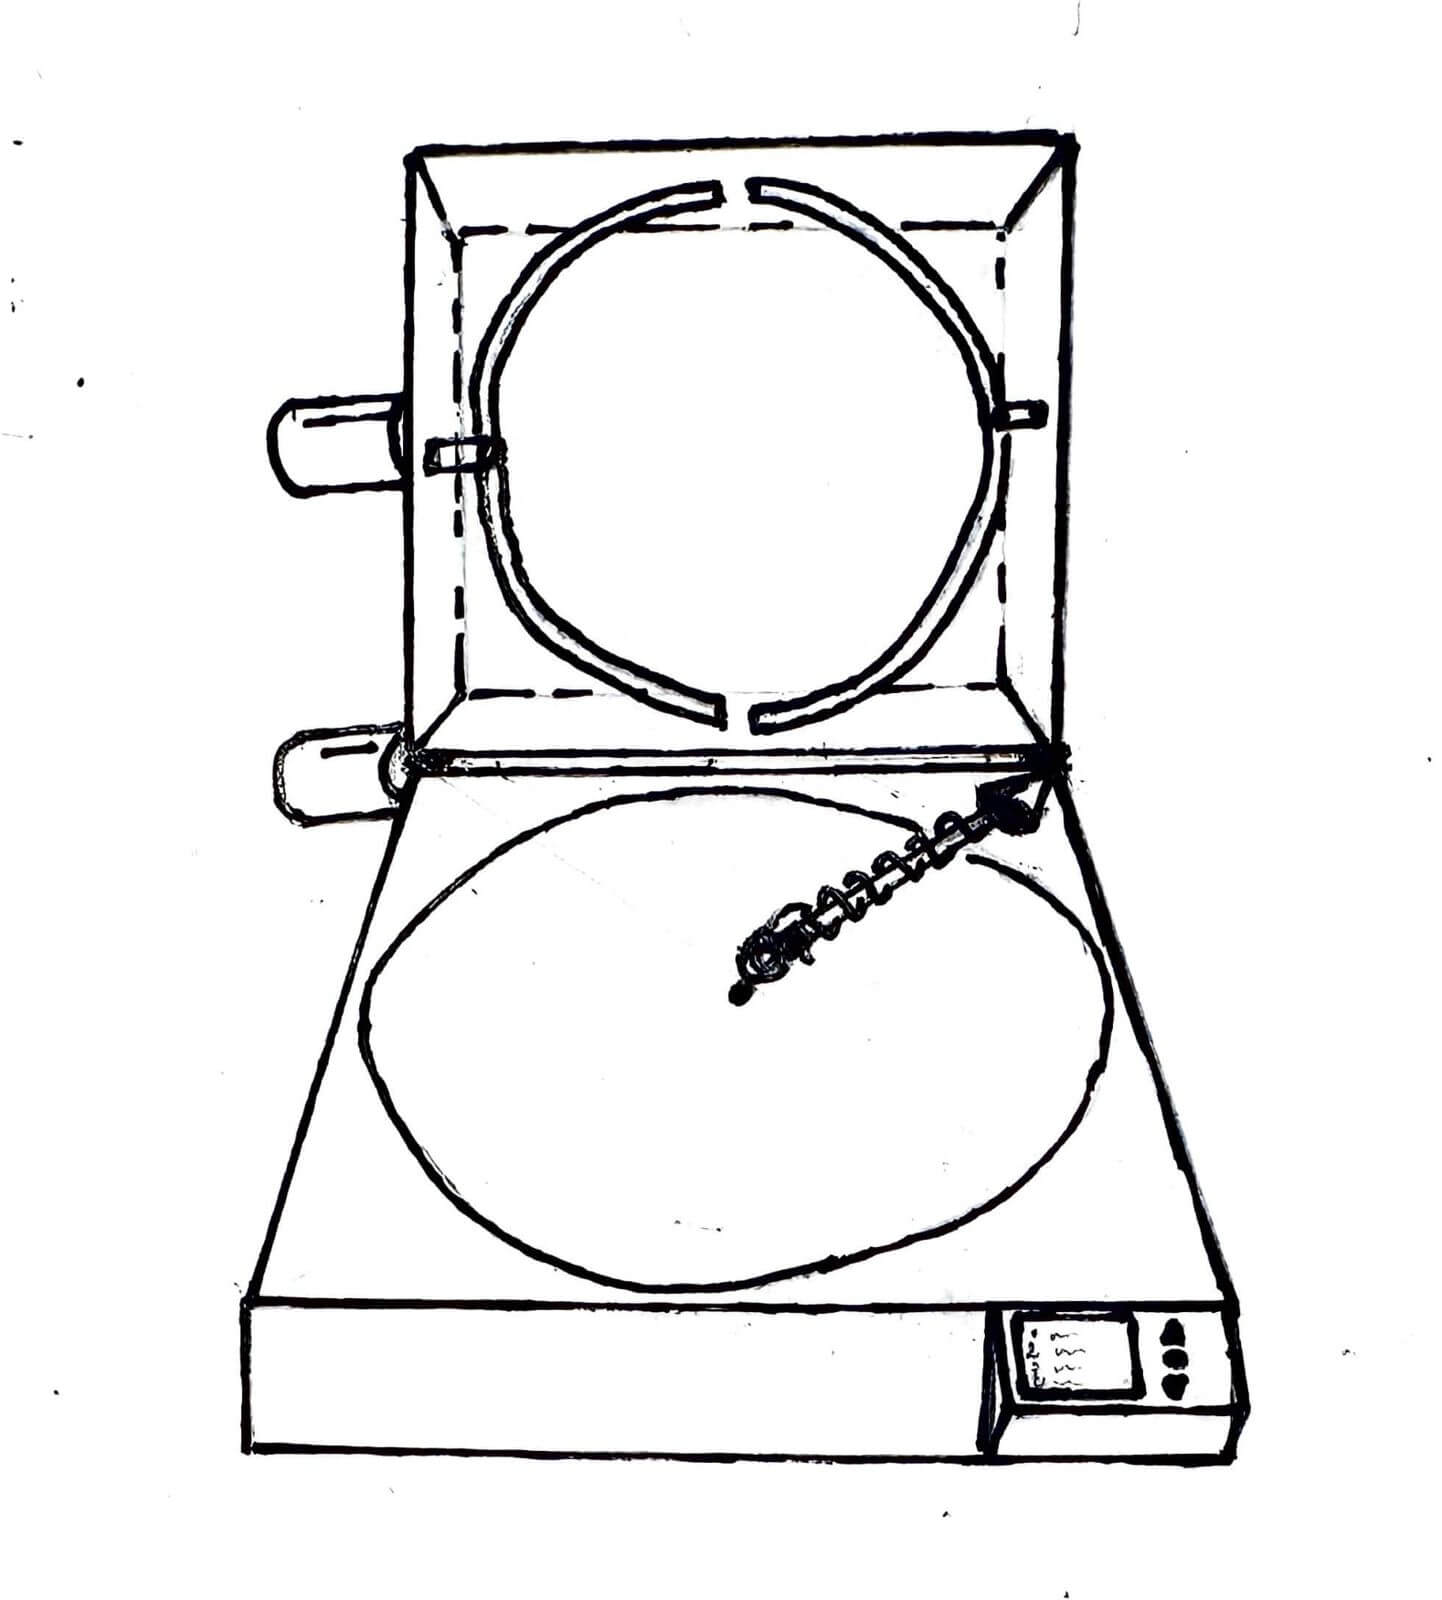
Auto Record Player
I’m a vinyl collector and I enjoy listening to vinyl records, but a problem I face is that if I ever want to listen to an exact song, I have to pick the needle up, find the right groove, and place it there. What if I could automate this process? This would be very useful, especially for compilation albums which don’t have any flow of songs between them. A device that would scan the entire vinyl for deep grooves indicating the various songs. A camera on the tip of the needle will be used to scan the vinyl, and then a mechanised grabber clamper will clamp around the vinyl, spinning it automatically. The needle will then scan the other side of the vinyl as well. This will give the user a full list of songs on the vinyl which will be displayed on a screen, and then the user can choose any song on the vinyl. The gimmick of the vinyl auto-rotating and the needle searching for songs will be part of the device’s allure.
-
Automatic Watch Winder Stand
An intricate circular automatic watch holder with 5 individual holders, with a display that allows you to choose one watch and it’ll be brought down for you to wear and take out. Each holder will rotate on its own to keep the automatic watch wound, and for ease of access there will be a display that can select a watch for you.
-
Tilapia Meet Cute
A fish-shaped waterproof device with a camera, a food dispenser, and a motor, which can be dipped underwater and swim around. The camera feed is streamed live, and users around the world can click the dispense food button and hope for fishes to come and say hi.
-
Liquid Handler
A prototype liquid handler that is completely 3D printed and can be broken down and shipped as parts to labs, which can be assembled by scientists on site, drastically reducing costs for a low-cost, easy-to-use liquid handler.
-
Dumbphone E Transaction
A dumbphone with an e-ink display with an inbuilt camera that allows users to go through UPI e-commerce transactions. A small device that could fit in your wallet or side bag, capable of managing all your transactions and another reason not to use your phone.
Software Used
HTML Basics
To start off, we quickly brushed through some HTML basics. An HTML document begins with
<!DOCTYPE html>, which tells the browser that the document uses HTML5.
Every webpage consists of two main sections: the <head>, which contains
metadata and information about the page, and the <body>, which contains
all the visible content displayed in the browser.
Some of the common HTML tags we covered include:
<!DOCTYPE html>– Declares the document as an HTML5 webpage.<head>– Contains metadata, page title, links, and styles.<body>– Contains all the visible content of the webpage.<h1>...</h1>to<h6>...</h6>– Creates headings from largest (h1) to smallest (h6).<p>...</p>– Creates a paragraph of text.<a href="...">...</a>– Creates a hyperlink to another webpage or resource.<style>...</style>– Defines internal CSS styles for the webpage.
We also briefly looked at basic styling, where CSS rules are written inside the
<style> tag using selectors followed by { } blocks to
define how HTML elements should appear.
CSS Basics
As webpages become larger, styling individual elements using inline styles can become difficult to manage. CSS (Cascading Style Sheets) allows styles to be reused by assigning classes and IDs to HTML elements.
- Inline CSS – Uses the
styleattribute directly inside an HTML element. - Internal CSS – Uses a
<style>tag inside the<head>section. - External CSS – Uses a
<link>tag to connect an external.cssfile. - Classes – Reusable styles applied using the
classattribute. - IDs – Unique styles applied using the
idattribute.
We also learned that the main page of a website is typically named
index.html, and briefly discussed CI/CD pipelines, where website updates can
be automatically deployed and published.

Git Basics
Git is basically a normal folder, but on the cloud, used for tracking and version control of files. It keeps a history of changes made to a project and allows us to go back to previous versions if needed. Git continuously looks for changes in files, including additions, deletions, and modifications, making it easier to manage updates and collaborate without losing work.
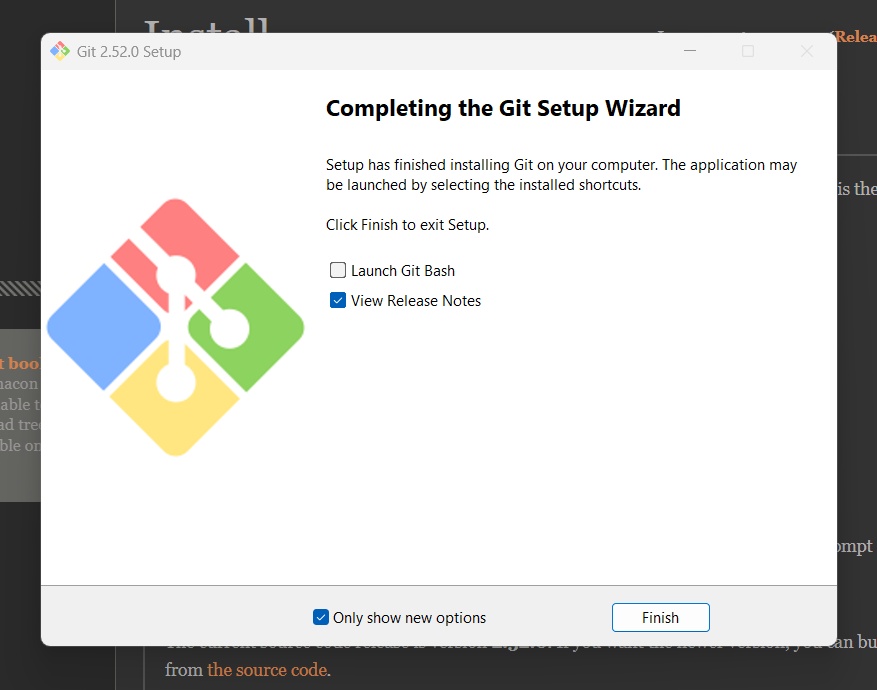
The folder here is called a repository. Git checks the local files against the files in the repository, and if there are any differences, it updates them accordingly. This includes tracking changes like new files, deleted files, or modified content. Since my workstation runs on Windows, it doesn’t come with Git by default, so we downloaded Git for Windows(Git Bash) from Git Installation to enable version control and repository management on our system.
Setting up Git
SSH Key Generation
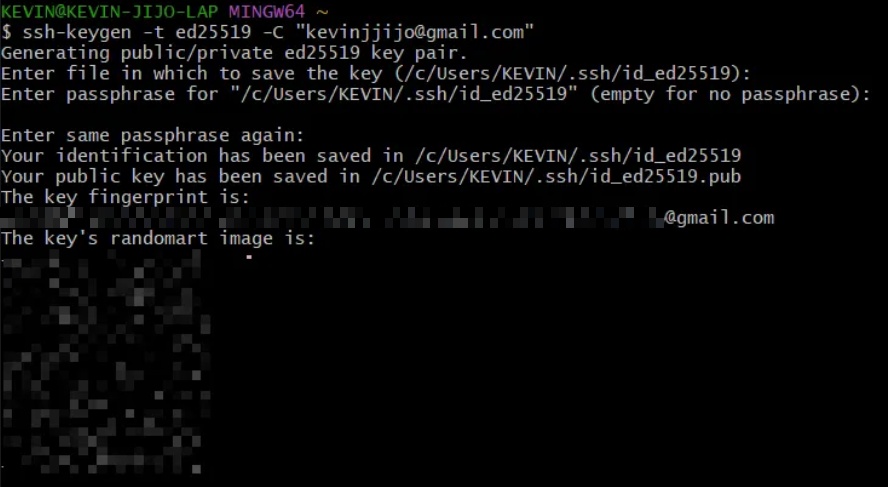
We can’t simply access files in the repository from our local machine; there has to be some level of security. To establish this, we use an SSH (Secure Shell) key through the SSH protocol. It works like a tunnel between the local computer and the repository. An SSH key relies on two related but asymmetric keys: a public key and a private key, which together form a key pair used for secure access.
ssh-keygen -t ed25519 -C "name@gmail.com"
The private key is secret, encrypted, and stays only with the user, while the public key works like a lock and can be shared freely. We provide GitLab with the public key, and our local machine uses the private key to securely access the repository.
The ssh-keygen program creates the SSH key pair on the local machine.
ssh-keygen generates SSH keys, where -t specifies the key type. ed25519 is an elliptic curve signing algorithm that provides strong security and excellent performance.

GitLab Configuration
Now that we've generated a key pair, we need to provide GitLab with the public key. To do so, run:
cat ~/.ssh/id_ed25519.pub | clip
This reads the contents of the id_ed25519.pub file (our public key) and copies it to the clipboard.
cat displays the contents of a file, while clip copies the output to the clipboard.
~/.ssh/id_ed25519.pub is the location of the SSH public key.
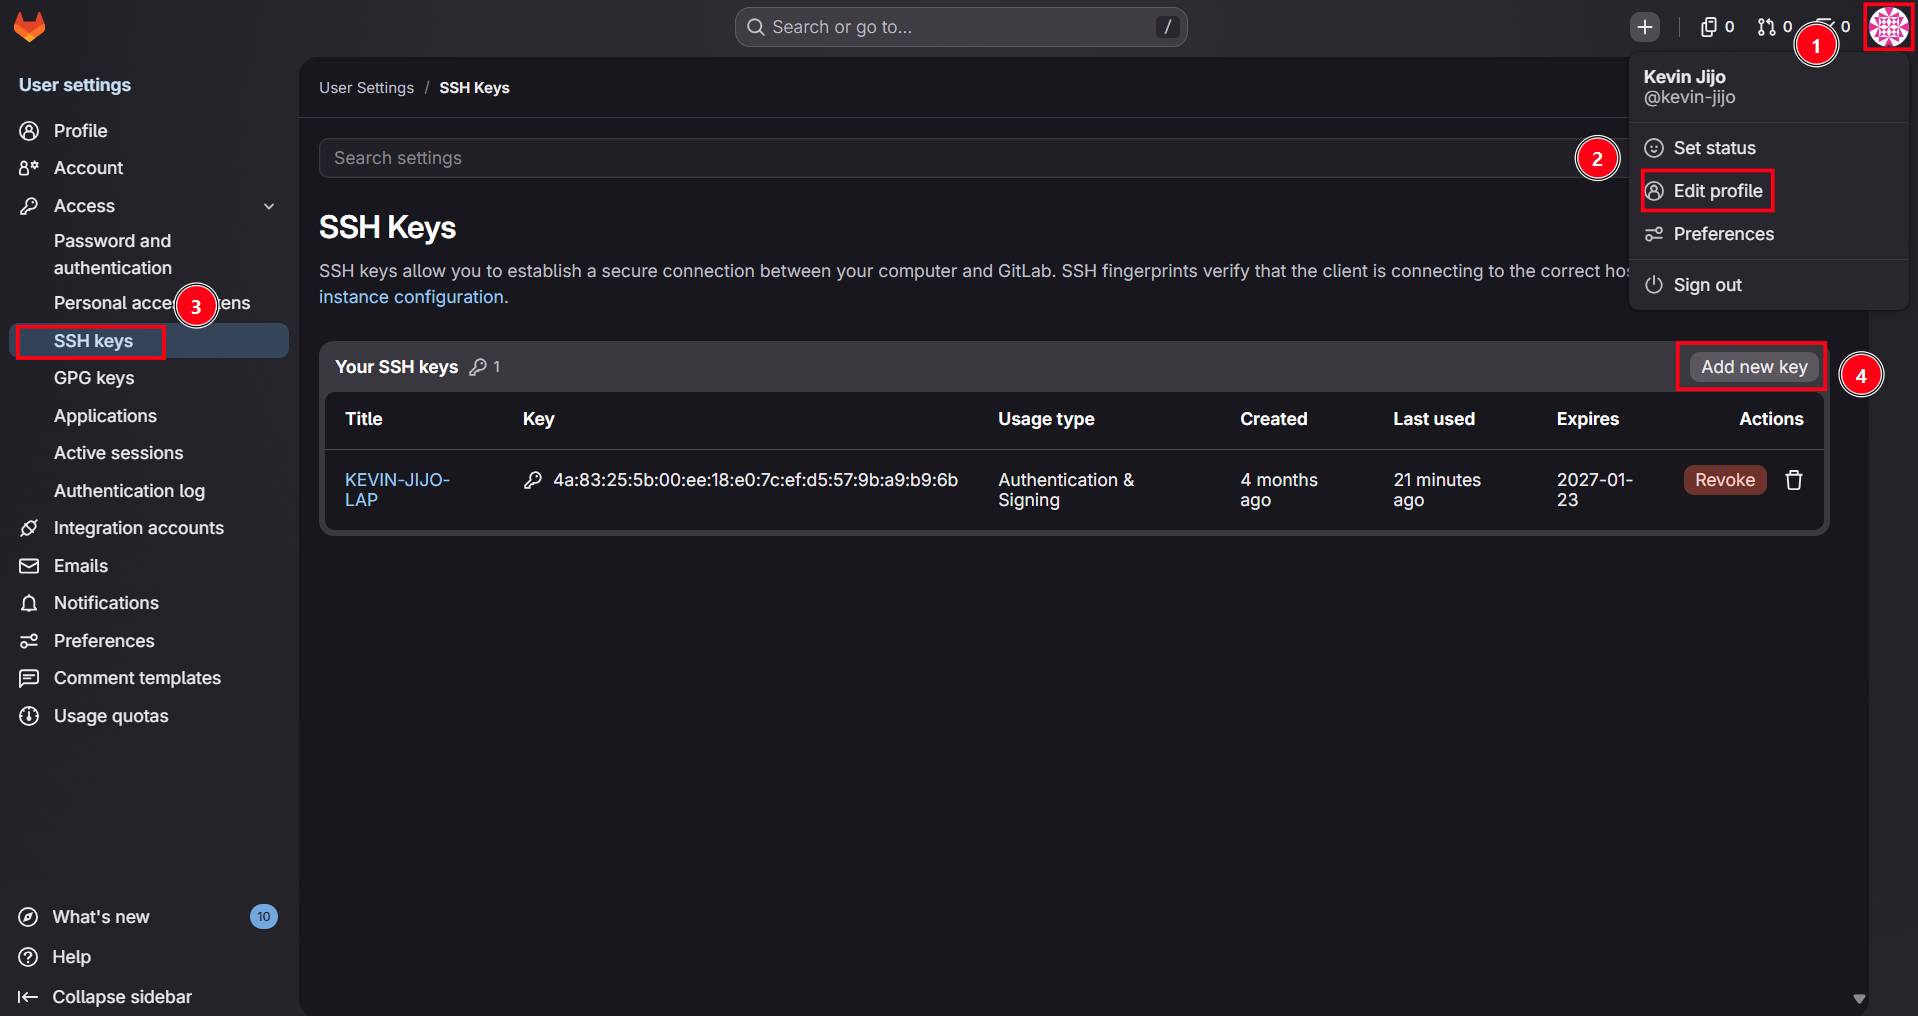
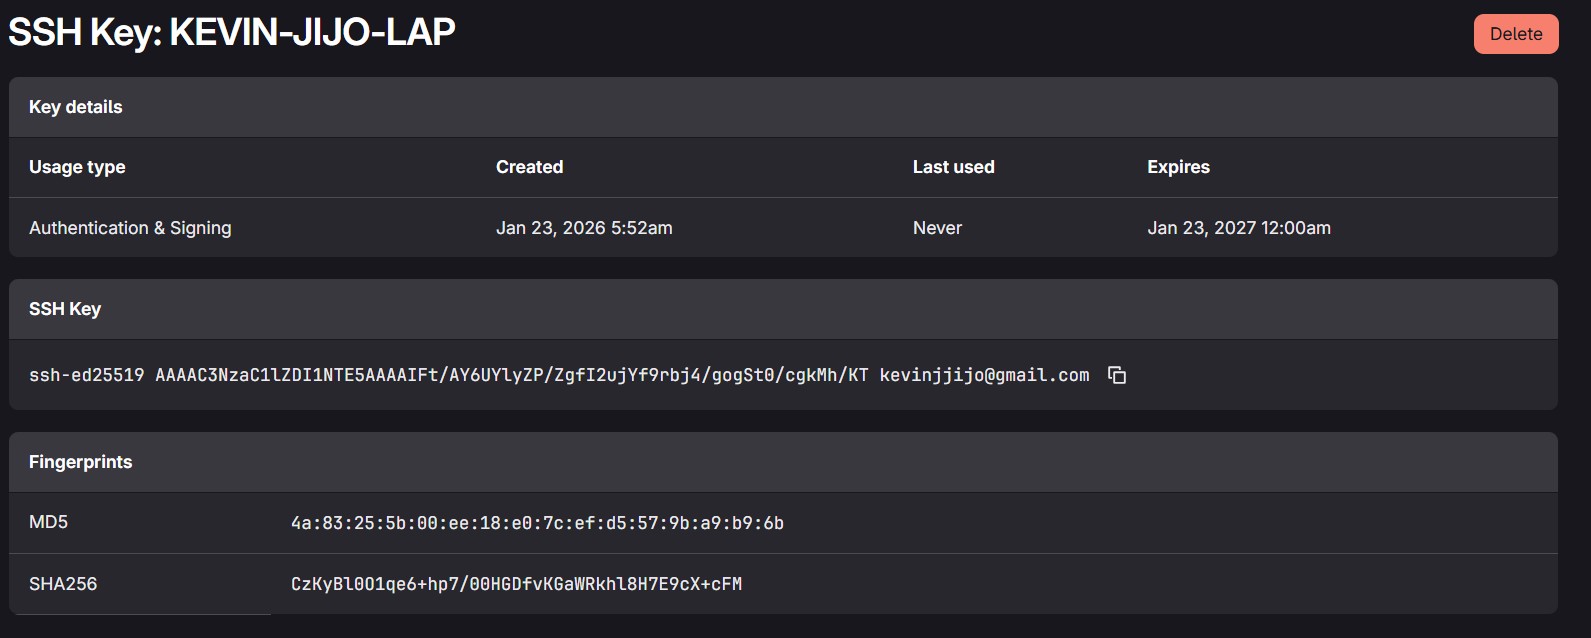
We then add the SSH public key to GitLab to link the cloud repository with our local machine.
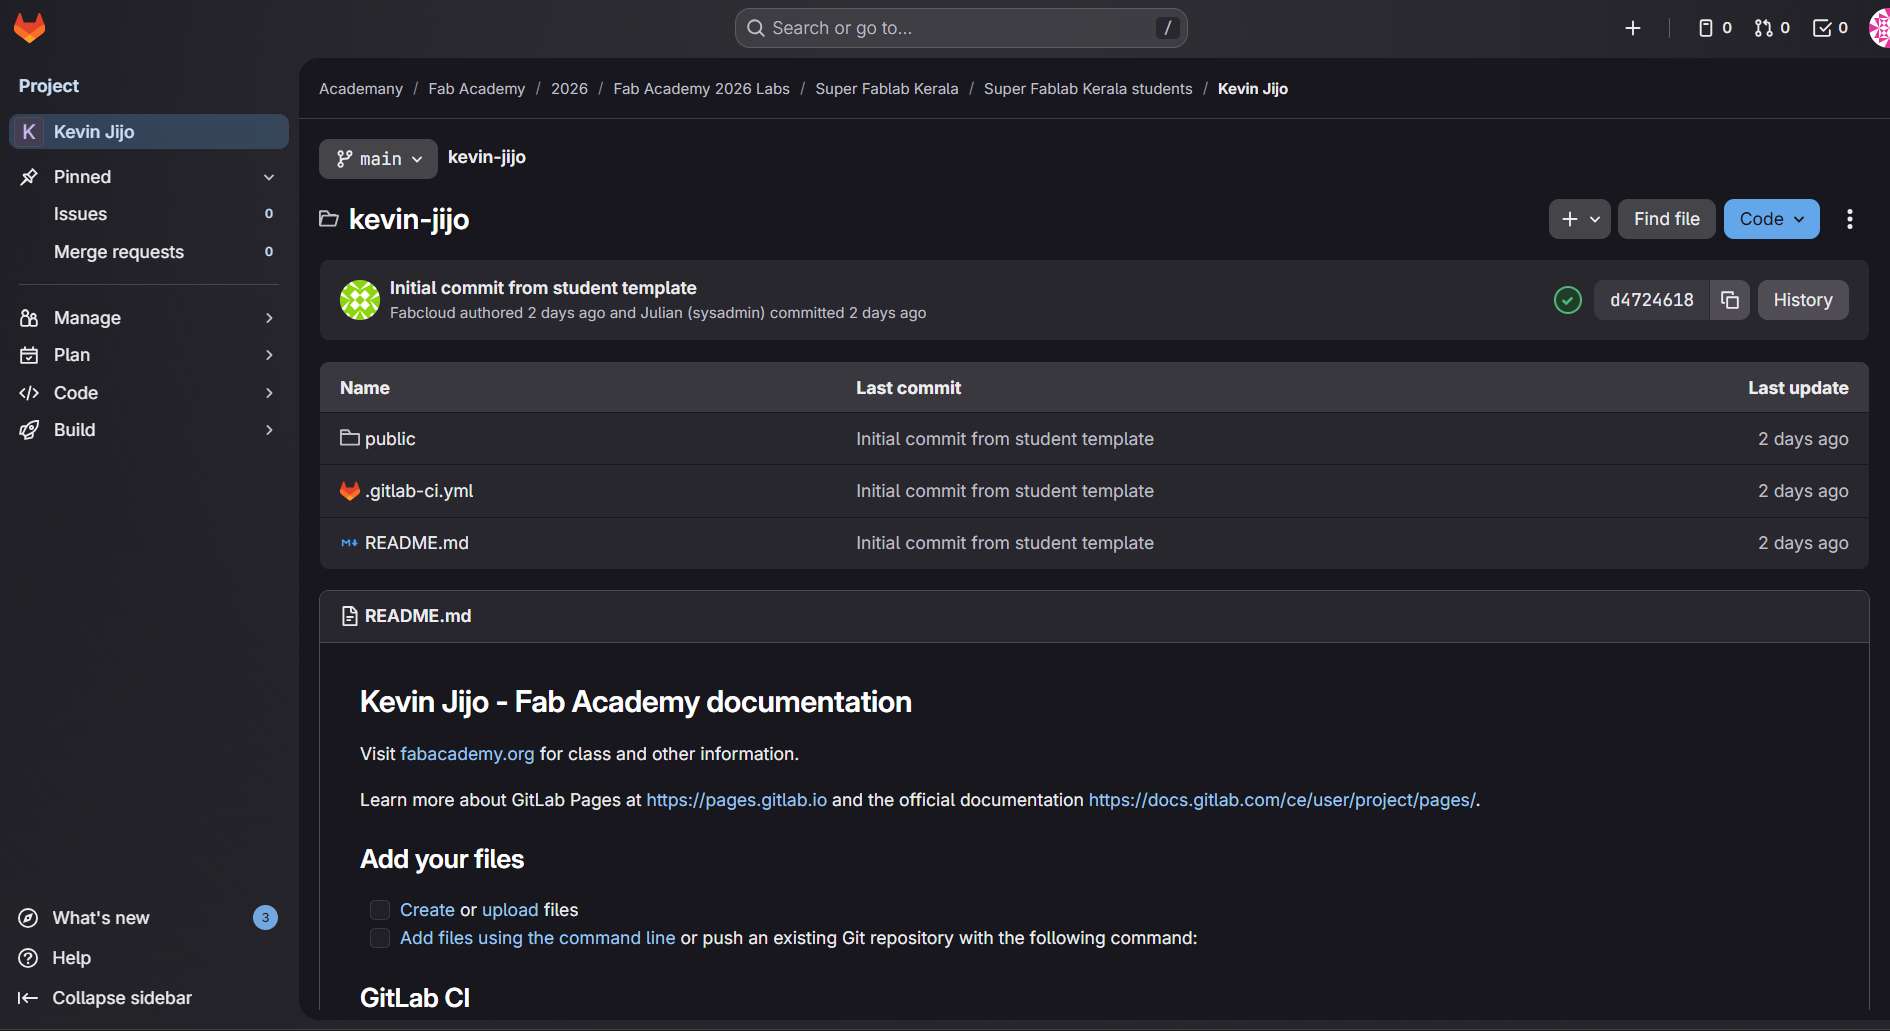
Clone the Repository
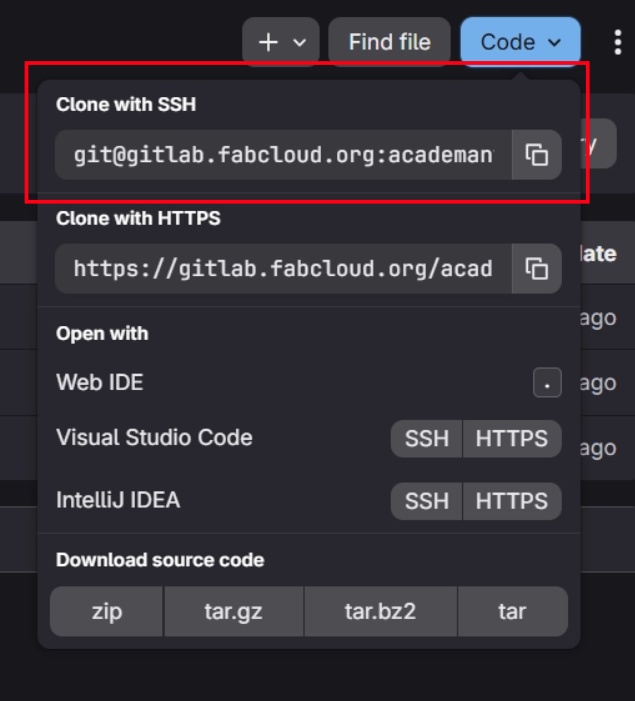
Once the SSH key pair has been configured, we can clone a copy of the repository onto our local machine using the SSH URL.
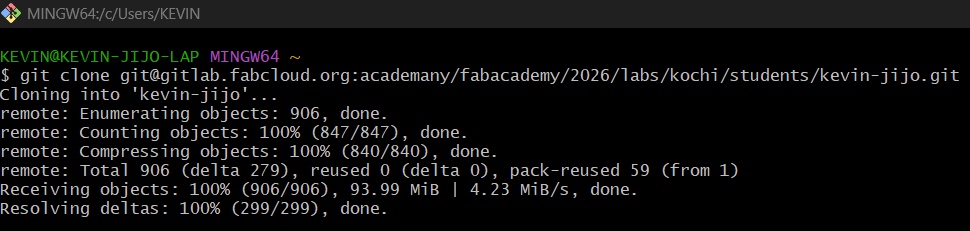
Run the following command:
git clone git@gitlab.fabcloud.org:academany/fabacademy/2026/labs/kochi/students/kevin-jijo.git

This creates a local copy of the repository in the current directory.
Before making any commits, Git needs to know who is making the changes. Configure your username and email using:
git config --global user.name "Your Name"

git config --global user.email "your@email.com"
Add, Commit and Push
After making changes to the repository, the updated files need to be staged, committed, and pushed back to GitLab.
git add .

git commit -m "Describe your changes"

git push
git add . stages all modified files, git commit saves the changes locally with a descriptive message, and git push uploads the committed changes to the remote GitLab repository.
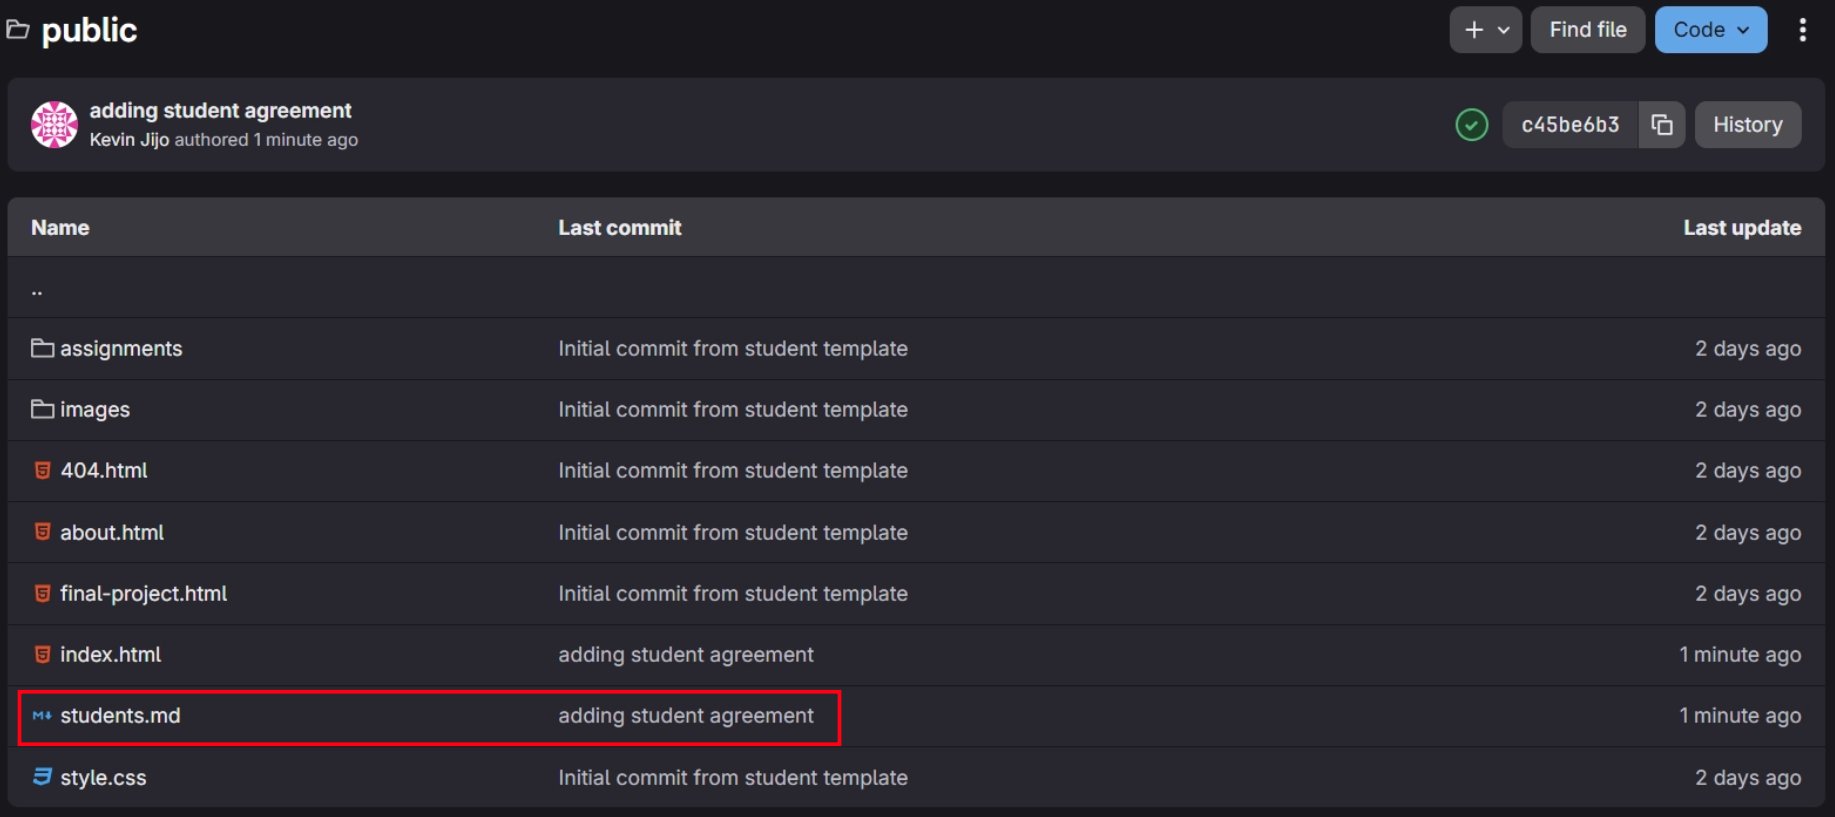
Adding the Student Agreement
Next, we had to sign a student agreement and add it to our FabLab website. We created a hyperlink that redirects the user to the student agreement file and added this link in the footer. Now, these changes were made locally and to see these changes reflected onto the website we will have to commit these changes to the Gitlab Repository.
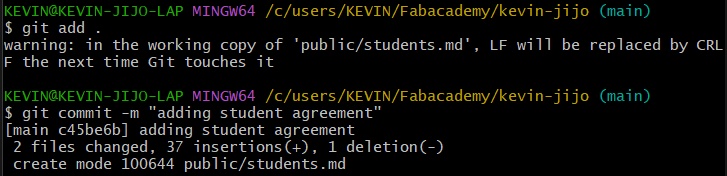
git add .This command stages all the modified and newly created files in the current directory, moving the changes from the working directory to Git's staging area.
If you only want to stage changes made to a specific file, such as students.md, you can instead run:
git add students.md
This stages only the changes made to students.md, leaving any other modified files unstaged.
git commit
This command is run after staging. When run without any additional arguments, it only commits the staged changes.
git pushThis command is used to send the committed changes to the remote repository.
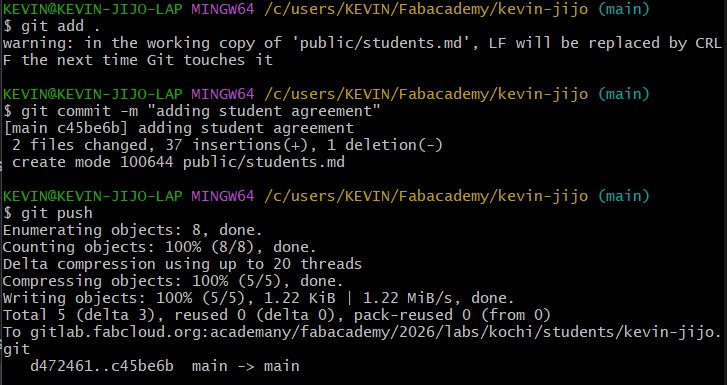
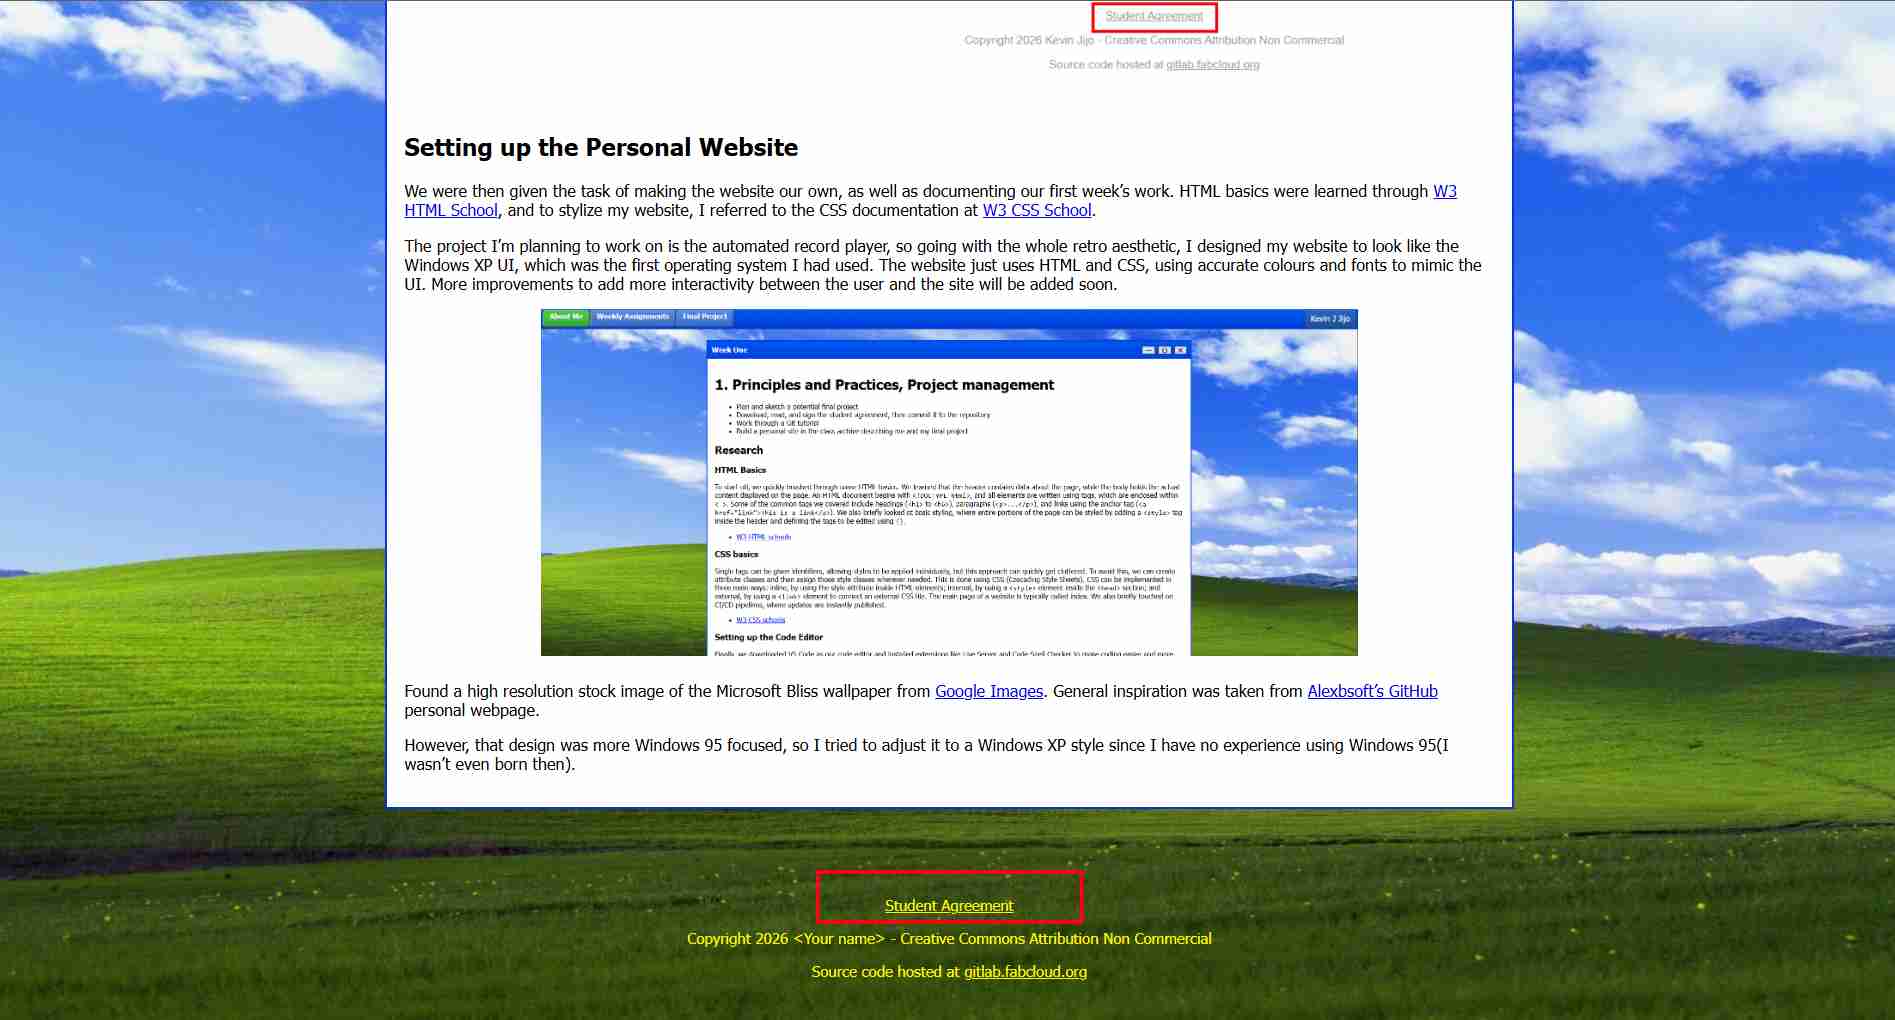
Now the push is reflected on the website, with the student agreement hyperlink visible in the footer.
Setting up the Personal Website
Setting up the Personal Website
We were then given the task of making the website our own while documenting our weekly progress throughout Fab Academy. I learnt the fundamentals of HTML using W3Schools HTML Tutorial and referred to the W3Schools CSS Tutorial for styling the website.
Since my final project is an automated vinyl record player, I decided to follow a retro aesthetic for my documentation website. I recreated the Windows XP user interface because it was the first operating system I used growing up. The entire website is built using only HTML and CSS, recreating the colours, gradients, fonts and layout of the original Windows XP Luna theme.
Overall Structure
Each webpage follows the same HTML structure. The document begins with the HTML5 declaration (<!DOCTYPE html>) followed by the <head>, which contains the page title, favicon, viewport information and a link to the external stylesheet. Keeping all styling inside a single CSS file means every page shares the same appearance while making future updates much easier.
Navigation Bar
The first component visible on every page is the navigation bar. It was created using a <div> with the class xp-navbar. Inside this navigation bar are three hyperlinks that allow users to quickly navigate between the About Me page, Weekly Assignments and Final Project.
.xp-navbar {
  display: flex;
  align-items: center;
  gap: 0px;

  height: 30px;
  padding: 4px 4px;

  background: linear-gradient(
    to bottom,
    #0058ee,
    #003ddc
  );

  border-bottom: 1px solid #1f4f8f;
  box-shadow: inset 0 2px 0 #9fc4ff;

  font-family: Tahoma, Verdana, sans-serif;
  font-size: 13px;
}
The "About Me" button is styled separately using the xp-about class to resemble the green Windows XP Start button, while the remaining navigation buttons use the reusable xp-link class. A fourth element, xp-status, displays my name and is automatically pushed to the far right using CSS Flexbox with margin-left: auto;, similar to the status area found on the Windows XP taskbar.
.xp-about {
  padding: 3px 12px;
  height: 24px;

  background: linear-gradient(
    to bottom,
    #4fd44f,
    #2fa32f
  );

  color: white;
  font-weight: bold;
  text-decoration: none;

  border: 1px solid #1f6b1f;
  border-radius: 5px;

  box-shadow:
    inset 1px 1px 0 #9cff9c,
    inset -1px -1px 0 #1f6b1f;
}

Main Application Window
Below the navigation bar is the main application window, created using the xp-window class. This acts as the primary container for each week's documentation. The window is centred on the page using automatic margins and has a fixed maximum width to improve readability on larger displays.
The window uses a light grey background, blue borders and inset shadows to recreate the three-dimensional appearance of Windows XP application windows.
.xp-window {
  max-width: 900px;
  margin: 20px auto;
  background: #ece9d8;

  border: 2px solid #0831d9;
  box-shadow:
    inset 1px 1px 0 #ffffff,
    inset -1px -1px 0 #404040;
}
Inside the main window is the title bar (xp-titlebar). CSS Flexbox is used to place the page title on the left while positioning the window controls on the right. The blue gradient background closely resembles the title bars found in Windows XP.
Although the minimise, maximise and close buttons are not functional, they were recreated using simple <span> elements containing the symbols (—, ▢ and ✕). These are grouped inside the xp-controls container and styled with borders, colours and shadows to imitate the appearance of Windows XP window controls.
<div class="xp-window">
    <div class="xp-titlebar">
        <span>Week One</span>
        <div class="xp-controls">
            <span>—</span>
            <span>▢</span>
            <span>✕</span>
        </div>
    </div>

    <div class="xp-window-body">
    </div>
</div>
The documentation itself is placed inside the xp-window-body container. Separating the title bar from the content area makes the HTML easier to organise and allows the same layout to be reused across every weekly assignment page.
Individual sections of documentation can also be grouped into smaller Windows-style boxes using the xp-subwindow, xp-sub-titlebar and xp-sub-body classes. These smaller windows visually separate different topics while maintaining the Windows XP aesthetic.
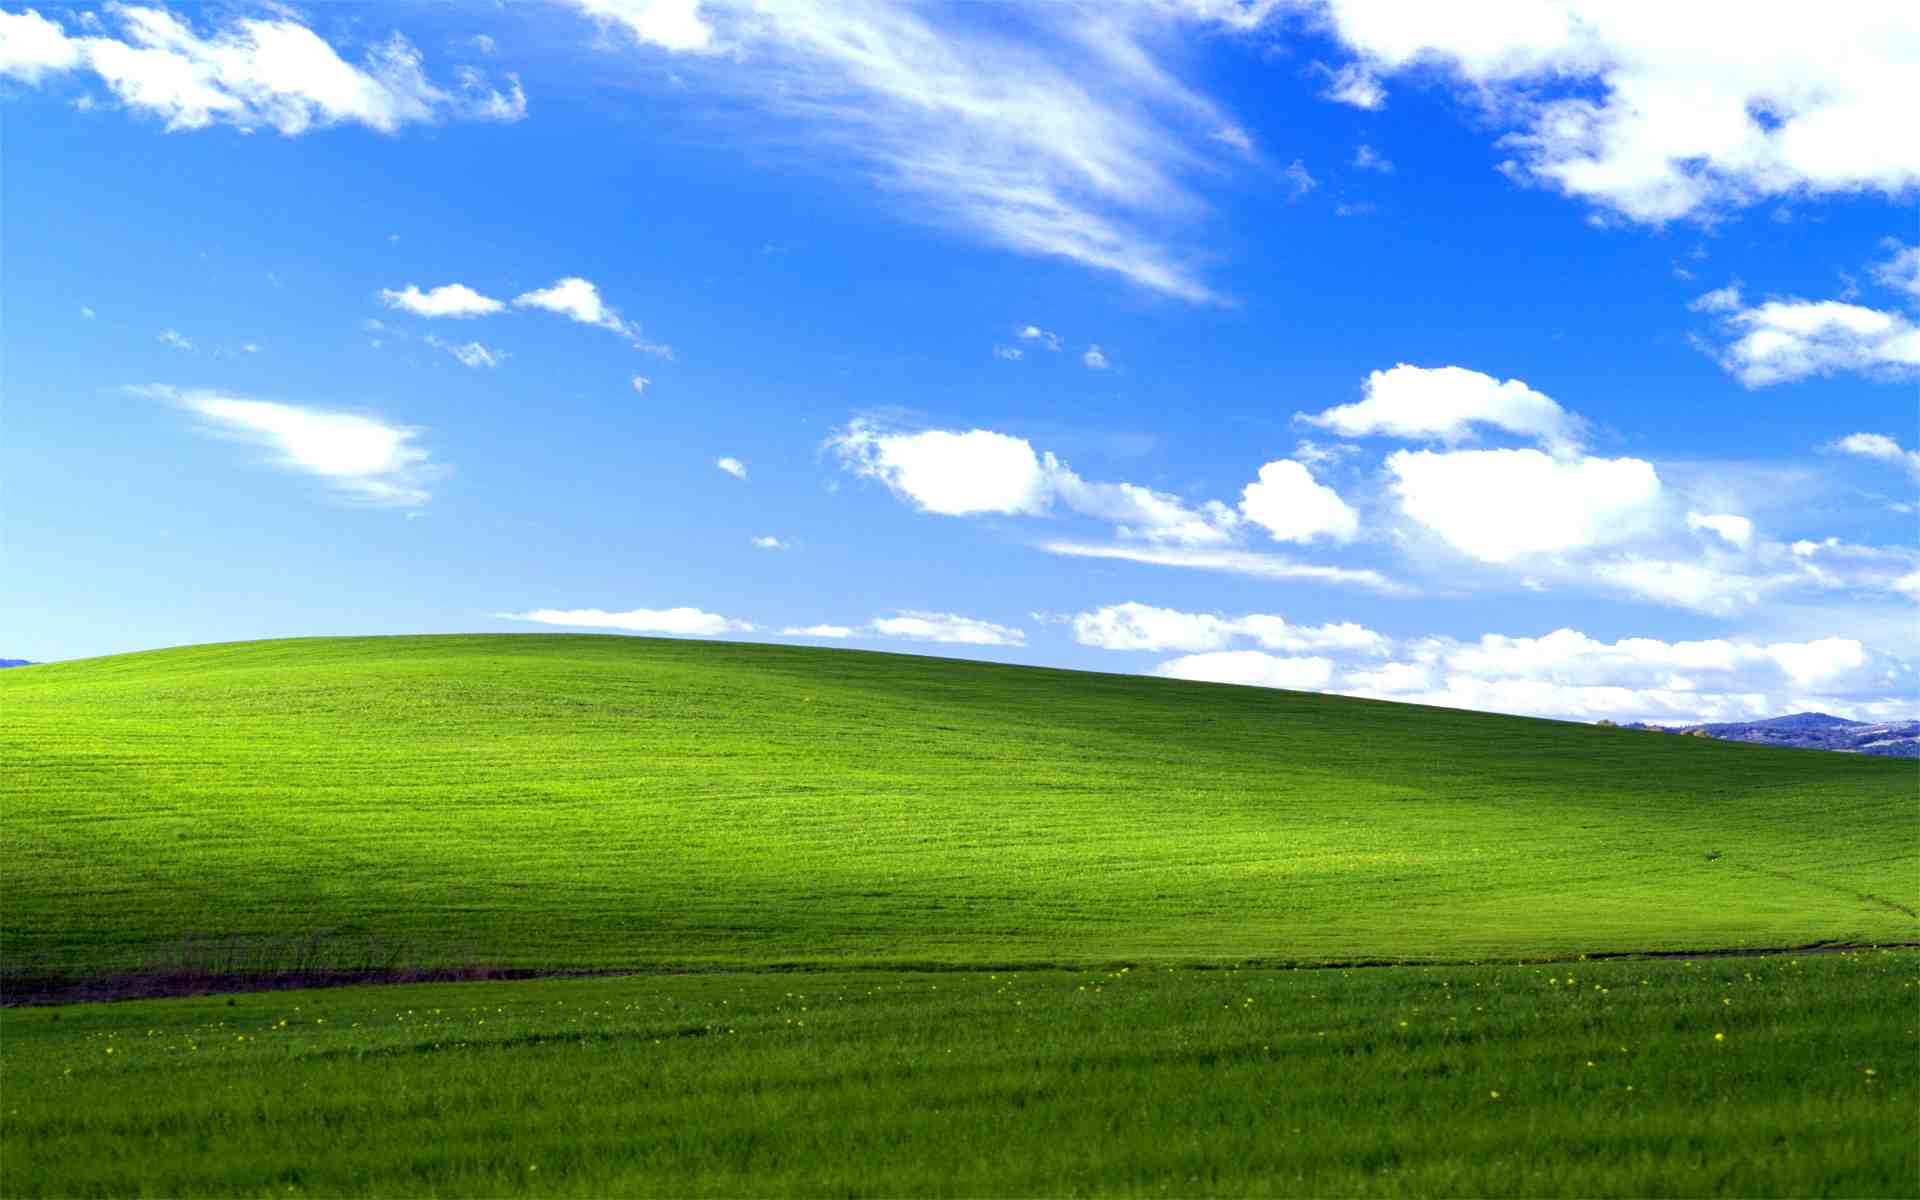
Background
To complete the illusion of a Windows XP desktop, I used the iconic Bliss wallpaper as the website background. The wallpaper fills the browser window using background-size: cover, remains centred with background-position: center, and is fixed using background-attachment: fixed. This creates the effect of application windows moving over a stationary desktop background while scrolling.
Typography and Colours
The website uses the Tahoma font because it was the default system font used throughout Windows XP. The font size, button colours, gradients, borders and shadows were chosen to closely match Microsoft's original Luna theme. Linear gradients are used extensively instead of flat colours to recreate the glossy appearance of Windows XP interface elements.
Images, Videos and Code Blocks
Images and videos are automatically centred using CSS and displayed at 75% of the window width while maintaining their original aspect ratio using object-fit: contain. This ensures that all media remains consistent throughout the documentation regardless of its original dimensions.
Code snippets and terminal commands are displayed using the <pre> element. CSS styling adds padding, borders and a light grey background so that code is visually separated from normal text and remains horizontally scrollable when necessary.
.xp-window img{
  width: 75%;
  height: 75%;
  object-fit: contain;
  display: block;
  margin-left: auto;
  margin-right: auto;
  margin-bottom: 20px;
}

.xp-window video{
  width: 75%;
  height: 75%;
  object-fit: contain;
  display: block;
  margin-left: auto;
  margin-right: auto;
  margin-bottom: 20px;
}
Future Improvements
The current website is built entirely using HTML and CSS. In future versions I plan to incorporate JavaScript to add interactive window controls, animations and other dynamic elements while preserving the overall Windows XP design.