Week 17 - Applications and Implications, Project Development
Project Applications and Implications
This week's brief: Plan a final project masterpiece that integrates the range of units covered, answering the questions given in the tasksheet.
Individual assignment:
Plan a final project masterpiece that integrates the range of units covered, answering:
- What will it do?
- Who's done what beforehand?
- What sources will you use?
- What will you design?
- What materials and components will be used?
- Where will they come from?
- How much will they cost?
- What parts and systems will be made?
- What processes will be used?
- What questions need to be answered?
- How will it be evaluated?
Your project should incorporate 2D and 3D design, additive and subtractive fabrication processes, electronics design and production, embedded microcontroller design, interfacing, and programming, system integration and packaging.
Where possible, you should make rather than buy the parts of your project.
Projects can be separate or joint, but need to show individual mastery of the skills, and be independently operable.
Project Development
Prepare drafts of your final project summary slide (presentation.png, 1920x1080) and video clip (presentation.mp4, 1080p HTML5, < ~1 minute, < ~25 MB).
Put them in your root directory, and check that they are linked in the final presentation schedule.
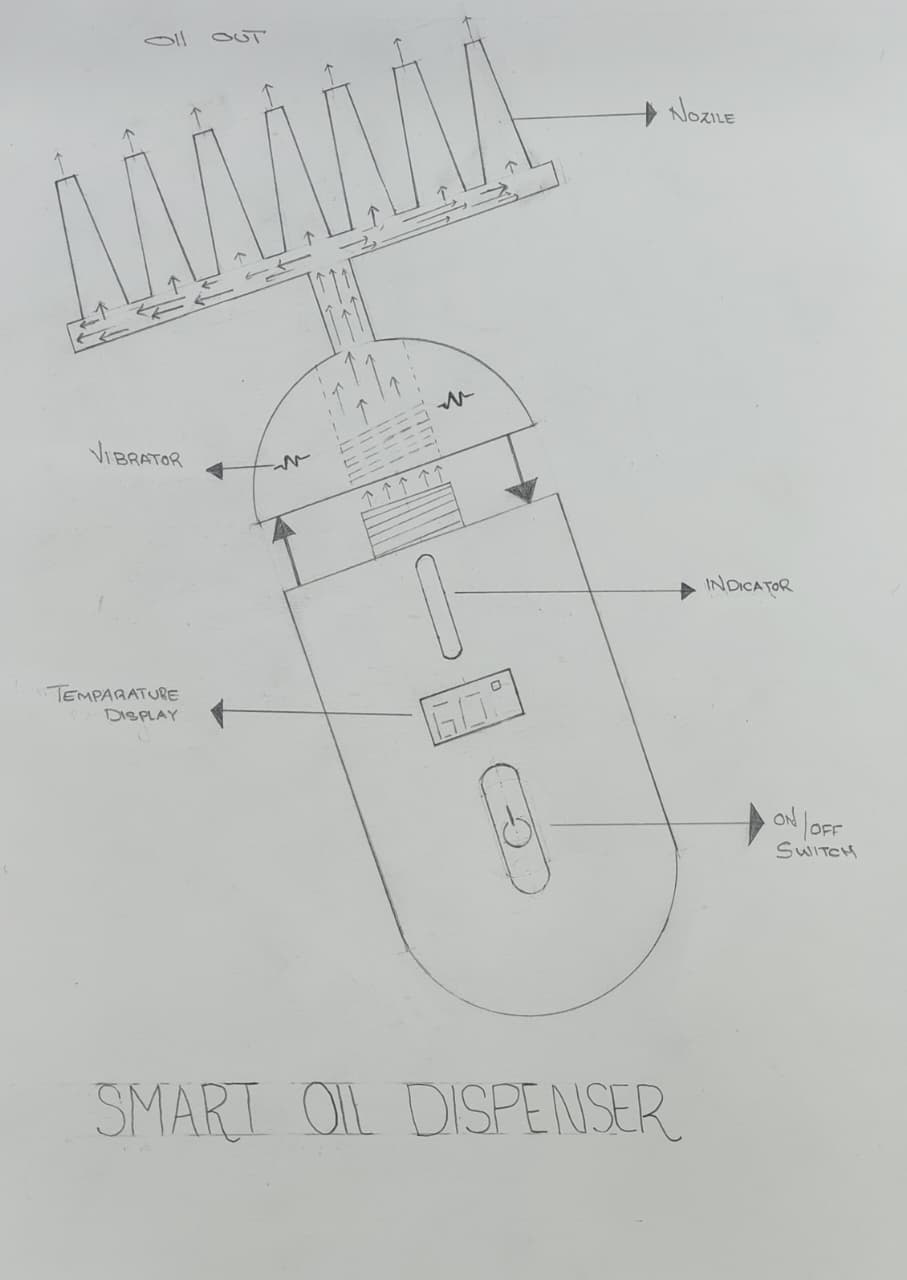
What will it do?
Aura is a smart hair-oil dispenser that warms the oil to 60°C so it can be applied directly to the scalp through a comb-shaped nozzle. While dispensing, it also massages the scalp with three intensity modes: low, medium, and high, helping distribute the oil evenly and improve comfort. The heating is meant to help activate the oil's minerals, potentially making results faster and more effective than using it at room temperature. Aura uses an internal 20 ml aluminum heating block, so it can work well even for people with long hair. This summarizes the core concept of how Aura will function.
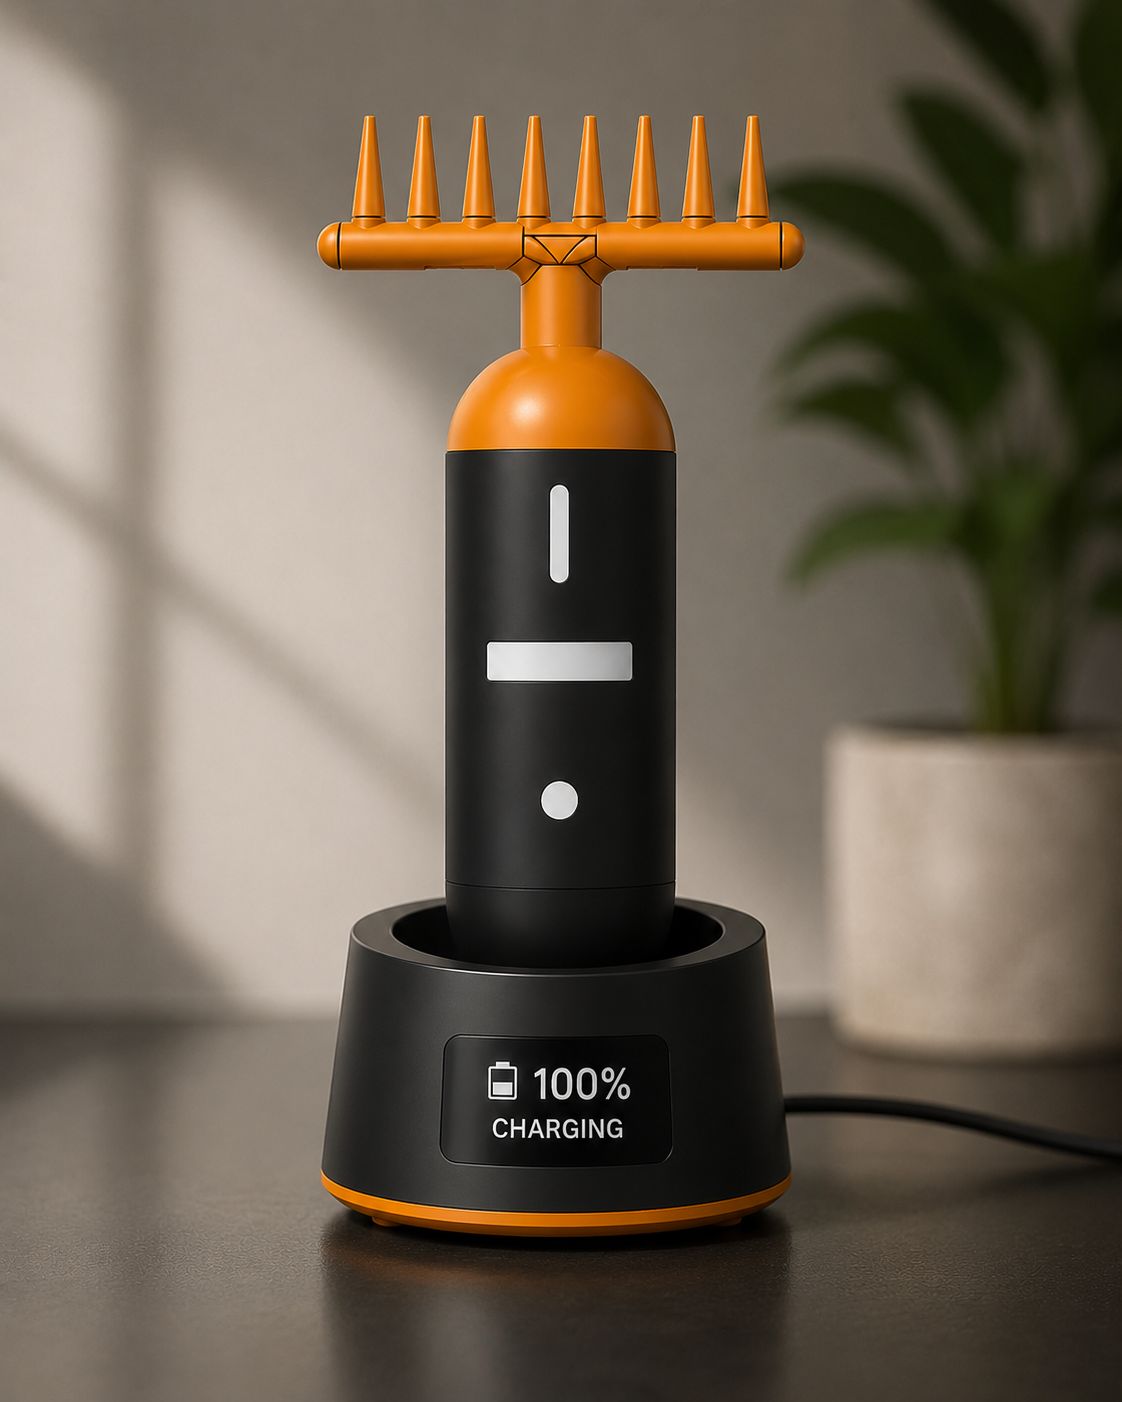
AI Image Prompt
chat gpt prompt: I lost original prompt of this image. I gave screenshot's from cad and then I told "generate this image in to product photography style make it clear and professional image"
AI Tool Used: ChatGPT
Who's done what beforehand?
Many companies make products like this, but I have not found one that combines a scalp massager and a heating function in a single device. Most brands offer these features separately, either as a massager or as a heater. Indulekha Bringha Hair Oil inspired the comb-style applicator design for my project.
Tru Hair
Tru Hair is a hair-oil brand that provides a heater with the oil. You can fill the container, plug it in, and after about 8 minutes apply the warmed oil using a brush or by hand. Tru Hair & Skin ,
However, the existing product has some limitations. The cap design is not very convenient, and the oil cannot be directly applied to the scalp easily during use.
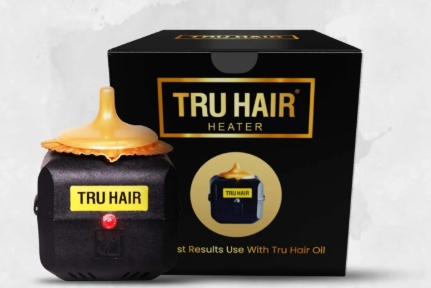
Image Credits: Tru Hair & Skin
Indulekha Bringha Hair Oil
This company was among the first to offer a bottle with a comb applicator that allows direct application to the hair. However, it does not include a heating system inside the bottle; it only provides the oil and the comb-equipped bottle. They also hold a patent for the bottle thread.

Image Credits: Indulekha Hair Oil
Head massager
There are many companies in the market offering different varieties of head massagers. I do not have a specific brand to highlight here, but some models include vibration features in the comb.
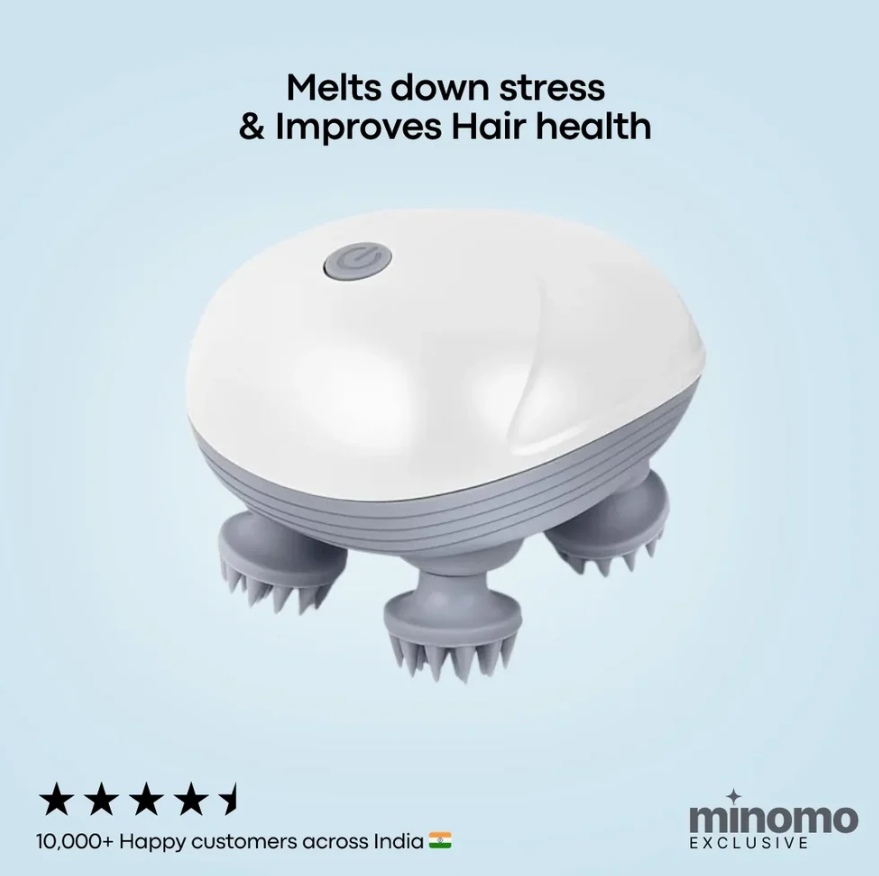
Image Credits: Minomo
What sources will you use
Aura hair oil dispencer uses different fabrication machines, software, online resources, and guidance from instructors to design, build, test, and document the project.
I used the machines, electronics lab, and other tools at Super Fablab Kerala to make, assemble, and test my project. I also got help and guidance from the Fab Academy instructors, mentors, and classmates during the project.
I used Autodesk Fusion to design the 3D model, KiCad to design the PCB, and Arduino IDE to write and upload the code. I also used Visual Studio Code for editing files, Canva to make presentations, and Notion to plan and organize my work.
I used online resources like the Seeed Studio Wiki, Fab Academy Archives, Component Datasheets, YouTube, and ChatGPT. These helped me learn new things, solve problems, understand components, and improve my code during the project.
What Will You Design?
Temperature Control Circuit
I designed a temperature control circuit using an ATtiny1624, a 100K thermistor, and a 12V PTC heater. The thermistor measures the heater temperature. The ATtiny1624 keeps the temperature at 60°C. When the temperature reaches 60°C, the heater turns OFF. When the temperature drops to 40°C, the heater turns ON again. This helps keep the heater at a safe and stable temperature.
Vibration Motor Control
In Week 10, I used a XIAO RP2040 to control a vibration motor using PWM . A push button changes the vibration mode. The motor has four modes: Low, Medium, High, and OFF. PWM changes the motor speed to create different vibration levels.
The Electronics System
The electronics system is made with a custom PCB and a few external modules. All the parts work together to control the heater, battery charging, and vibration motors.
The main PCB includes:
- ATtiny1624 microcontroller
- 100K NTC thermistor for temperature sensing
- MOSFET to control the PTC heater
- Connector for the 12V PTC heater
- 5-pin pogo pin connector
- Coin vibration motor connectors
- Power input connection
External modules:
- TP4056 charging module
- 3.7V 600mAh Li-ion battery
- 12V USB Type-C PD Trigger module
The thermistor measures the heater temperature. The ATtiny1624 keeps the heater at the required temperature by turning it ON and OFF automatically. The battery powers the system, and the TP4056 module charges the battery. The coin vibration motors provide the massage function.
The Enclosure and Mechanical System
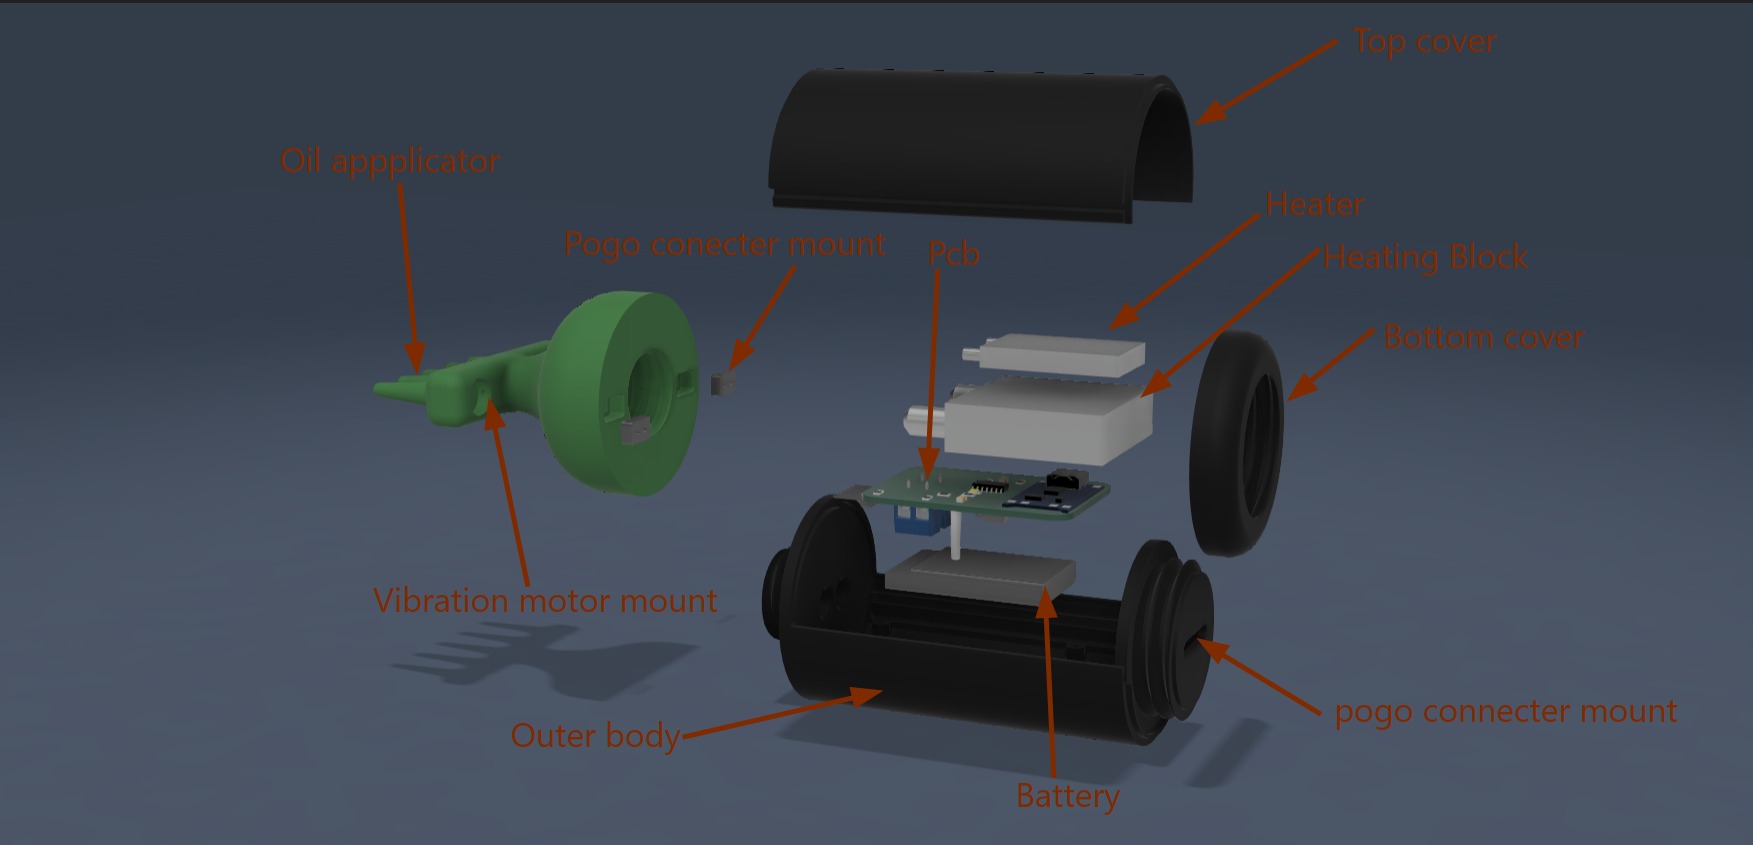
The enclosure is designed as a two-part body and is 3D printed using PLA. It protects all the electronic parts and makes the device easy to hold.
The bottom body holds the battery, main PCB, and other electronic parts. The heater and aluminum heating block are placed above the PCB. The oil applicator is fixed at the front of the device and has space for the vibration motor and pogo pin connectors.
The top cover slides into the main body to close the enclosure. It can be opened when needed to replace the battery or repair the device. Hair oil is filled from the opening at the top of the applicator.
The enclosure is designed to keep all the parts in the correct position, protect the electronics, and make assembly easier.
What materials and components will be used, where will they come from and how much will they cost??
| Component | Qty | Specification | Unit Price | Total | Source | Purchase Link |
|---|---|---|---|---|---|---|
| ATTiny85 | 1 | Microcontroller | ₹0 | ₹0 | Lab Inventory | Buy Here |
| FR1 PCB Board | 1 | PCB Fabrication Material | ₹0 | ₹0 | Lab Inventory | — |
| pla Filament | 1 Kg | 3D Printing Material | ₹1200 | ₹1200 | Online | Buy Here |
| 3mm Clear Acrylic | 1 | Dock Indicator Panel | ₹100 | ₹100 | Local Market | — |
| Mini Heater | 1 | 12V PTC Heater | ₹195 | ₹195 | Online | Buy Here |
| Aluminium Block | 1 | 40x40 mm Heating Block | ₹150 | ₹150 | Local Market | — |
| 3.7V 500mAh Battery | 1 | LiPo Battery | ₹100 | ₹100 | Online | Buy Here |
| Coin Vibration Motor | 2 | 6V Vibration Motor | ₹67 | ₹134 | Online | Buy Here |
| SMD Push Button | 6 | Tactile Switch | ₹8 | ₹48 | Local Market | Buy Here |
| SMD LED | 6 | Indicator LED | ₹0 | ₹0 | Lab Inventory | Buy Here |
| MOSFET N-CH SOT-323 | 1 | Haptic Motor Driver | ₹20 | ₹20 | Robu | Buy Here |
| Schottky Diode | 1 | 1A 100V Protection | ₹3 | ₹3 | Robu | Buy Here |
| 220Ω Resistor | 10 | SMD Resistor | ₹1 | ₹10 | Robu | Buy Here |
| JST Connector | 2 Male + 2 Female | Battery Connector | ₹30 | ₹30 | Online | Buy Here |
| 12V 3A Type-C Adapter | 1 | Power Adapter | ₹350 | ₹350 | Online | Buy Here |
| Estimated Total Cost | ₹2240 | |||||
AI Prompt for BOM Table Design
I used a Google Sheets screenshot as a visual reference to redesign and organize the Bill of Materials (BOM) table for my final project documentation. The goal was to create a clean, professional, and readable table layout with proper alignment, pricing, sources, and purchase links.
Create a professional Bill of Materials (BOM) table for a technical project documentation page. Use a clean white and light gray theme with black text. Include columns for component name, quantity, specification, unit price, total price, source, and purchase link. Keep the table modern, minimal, and easy to read. Use alternating row colors and proper spacing for better readability. Take inspiration from a Google Sheets style layout.
AI Tool Used: ChatGPT
What Parts and Systems Will Be Made?
My project will be a smart hair oil dispenser. It will include 3D printed parts, electronic parts, and a heating system. All these parts will work together to heat the oil and massage the scalp.
1. Enclosure
The body and charging dock will be 3D printed using PLA. The enclosure will have a top cover and a bottom body. The top cover will slide into the body to close the device. The PCB and battery will be placed inside the enclosure.
2. Oil Applicator
The oil applicator will be fixed at the front of the device. It will have five small holes to apply the oil. It will also hold the vibration motors and the pogo pin connector. The applicator will be removable for cleaning.
3. Heating System
The heating system will use a PTC heater, an aluminum block, and a 100K thermistor. The heater will be attached to the aluminum block using thermal paste. The thermistor will be placed inside the aluminum block. The complete heating block will be covered with silicone.
You tube Project
I reffered this youtube video
4. Electronics
The PCB will be designed in KiCad and made from an FR1 board. An ATtiny1624 microcontroller will control the heater and other parts. The PCB will connect the battery, heater, thermistor, and vibration motors.
5. Battery and Charging
The device will use a 3.7V 600mAh rechargeable battery. A TP4056 charging module will charge the battery. A 5-pin pogo pin connector will be used to charge the device.
6. Vibration System
The device will use coin vibration motors for scalp massage. The motors will be fixed using B7000 glue. The vibration speed will have different levels.
7. Temperature Control
A 100K thermistor will measure the heater temperature. The ATtiny1624 will keep the heater at 60°C. The heater will turn OFF at 60°C and turn ON again when the temperature drops to 40°C.
8. Final Assembly
All the parts will be assembled inside the enclosure. The battery, PCB, heater, oil applicator, and vibration motors will be connected together. Finally, the top cover will slide into place to close the device.
What Processes Will Be Used?
- 3D printing will be used to make the enclosure, oil applicator, and charging dock using PLA.
- PCB design and production will be used to design the PCB in KiCad, mill it on an FR1 board, and solder the electronic components.
- Embedded programming will be used to program the ATtiny1624 using Arduino IDE for heater control, temperature sensing, and vibration control.
- Silicone casting will be used to cover and protect the heating block after assembling the PTC heater, thermistor, and aluminum block.
- Mechanical assembly will be used to assemble the battery, PCB, heating block, vibration motors, pogo pin connector, and enclosure.
What Questions Need to Be Answered?
- Will the heating system keep the oil at the correct temperature?
- Will the heater turn OFF at 60°C and ON again at 40°C?
- Will the oil flow evenly through the five outlet holes?
- Will the vibration motor provide a comfortable scalp massage?
- Will all the electronic and mechanical parts work together correctly?
How Will It Be Evaluated?
Heating
By checking:
- oil temperature
- heater ON and OFF
- stable heating
to make sure the oil stays at the correct temperature.
Vibration
By checking:
- low mode
- medium mode
- high mode
- OFF mode
to make sure the vibration works correctly.
Charging
By checking:
- battery charging
- pogo pin connection
- battery backup
to make sure the device charges properly.
Oil Flow
By checking:
- oil comes out from all five holes
- easy to remove and clean the applicator
to make sure the oil flows smoothly.
Complete System
By checking whether:
- the PCB
- the heater
- the vibration motor
- the enclosure
work together correctly.
Project Development-Assigement 2
Preparing Presentation Draft
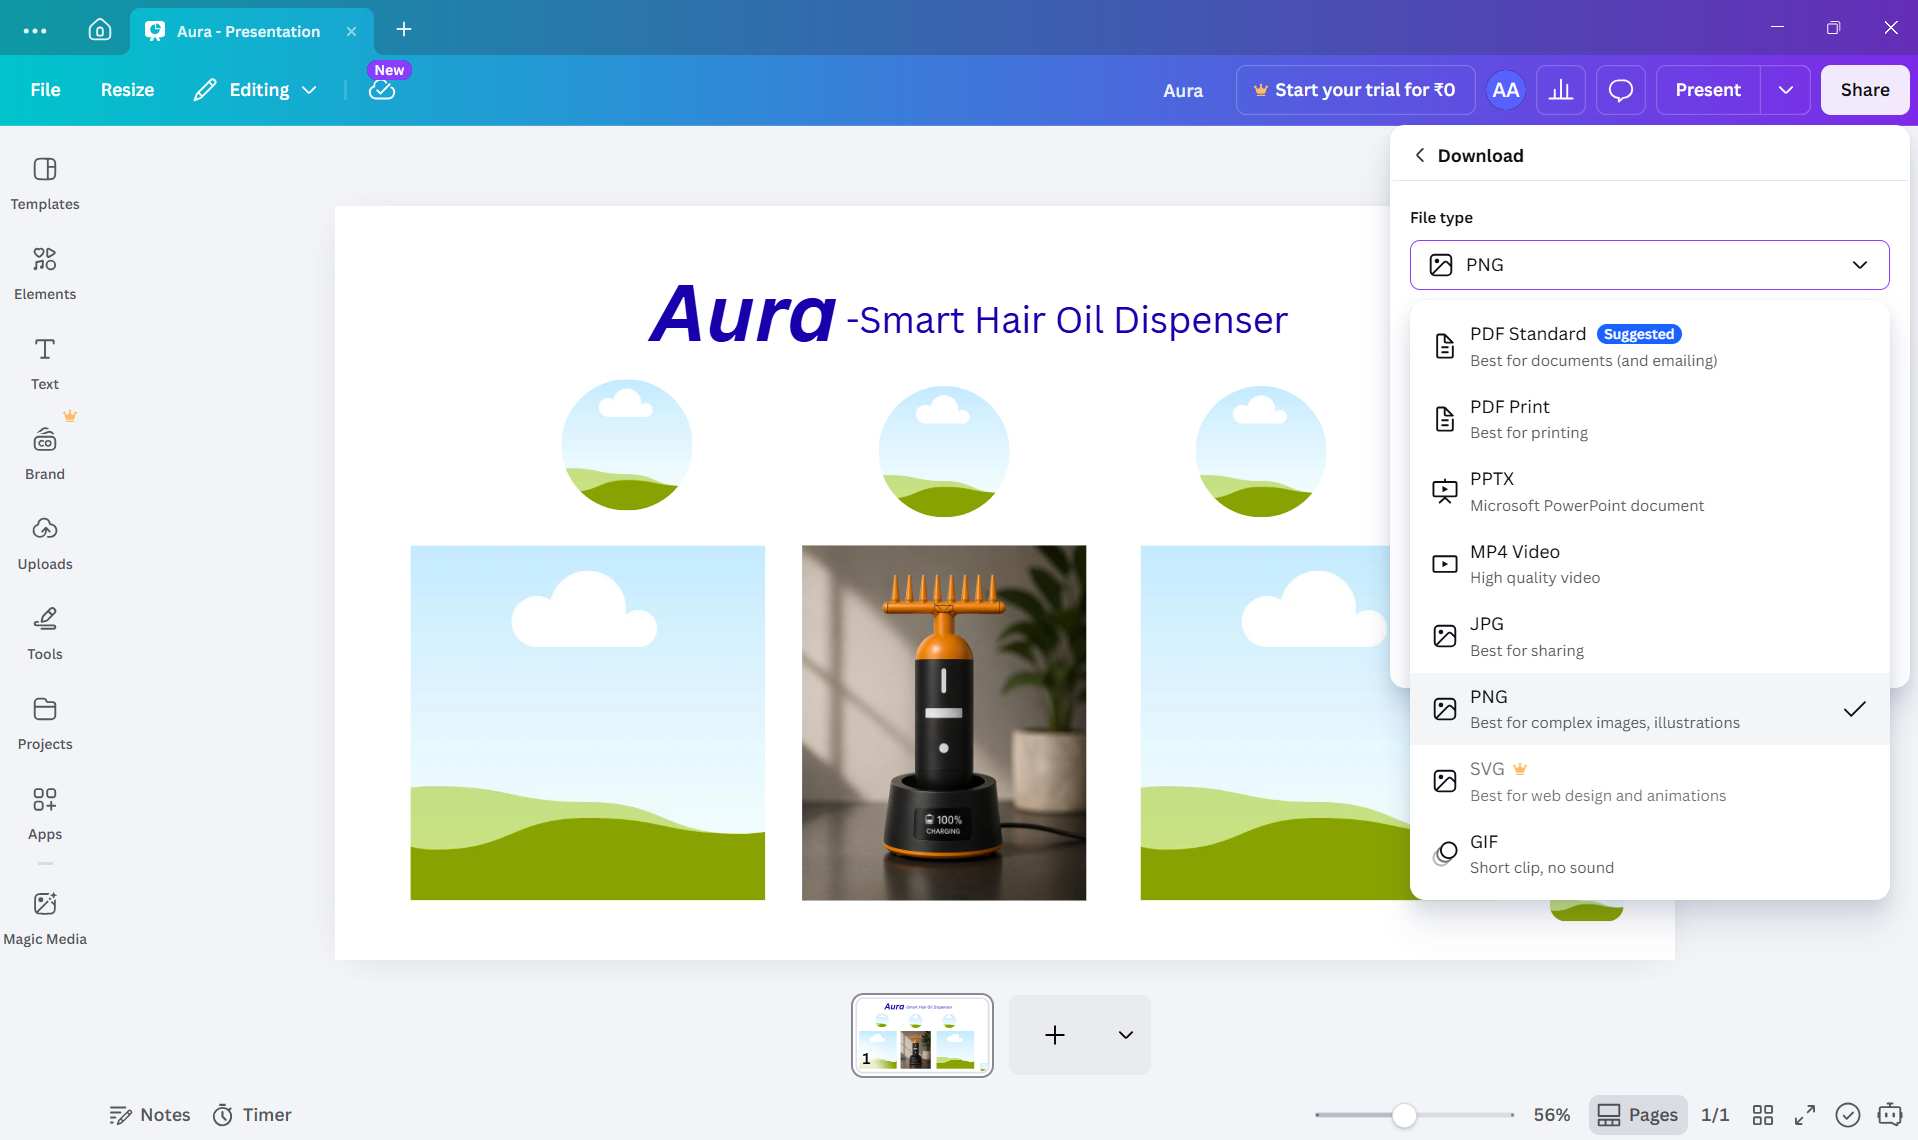
I created the presentation slide draft in Canva with a resolution of 1920 × 1080. I added placeholders for images, included the title, subtitle, and logos, then exported it as presentation.png, placed it in the public folder, and committed the changes.
Slide Making For Aura Smart
- First, I opened Canva.
- I selected a presentation slide template.
- I added colors to improve the visual appearance of the slide.

- I chose the required slide size.
- Using different fonts, I created the headings.
- Then, I changed the color theme to blue.
- I made the headings bold using the bold (B) option.
- I adjusted and aligned the text layout for a better appearance.
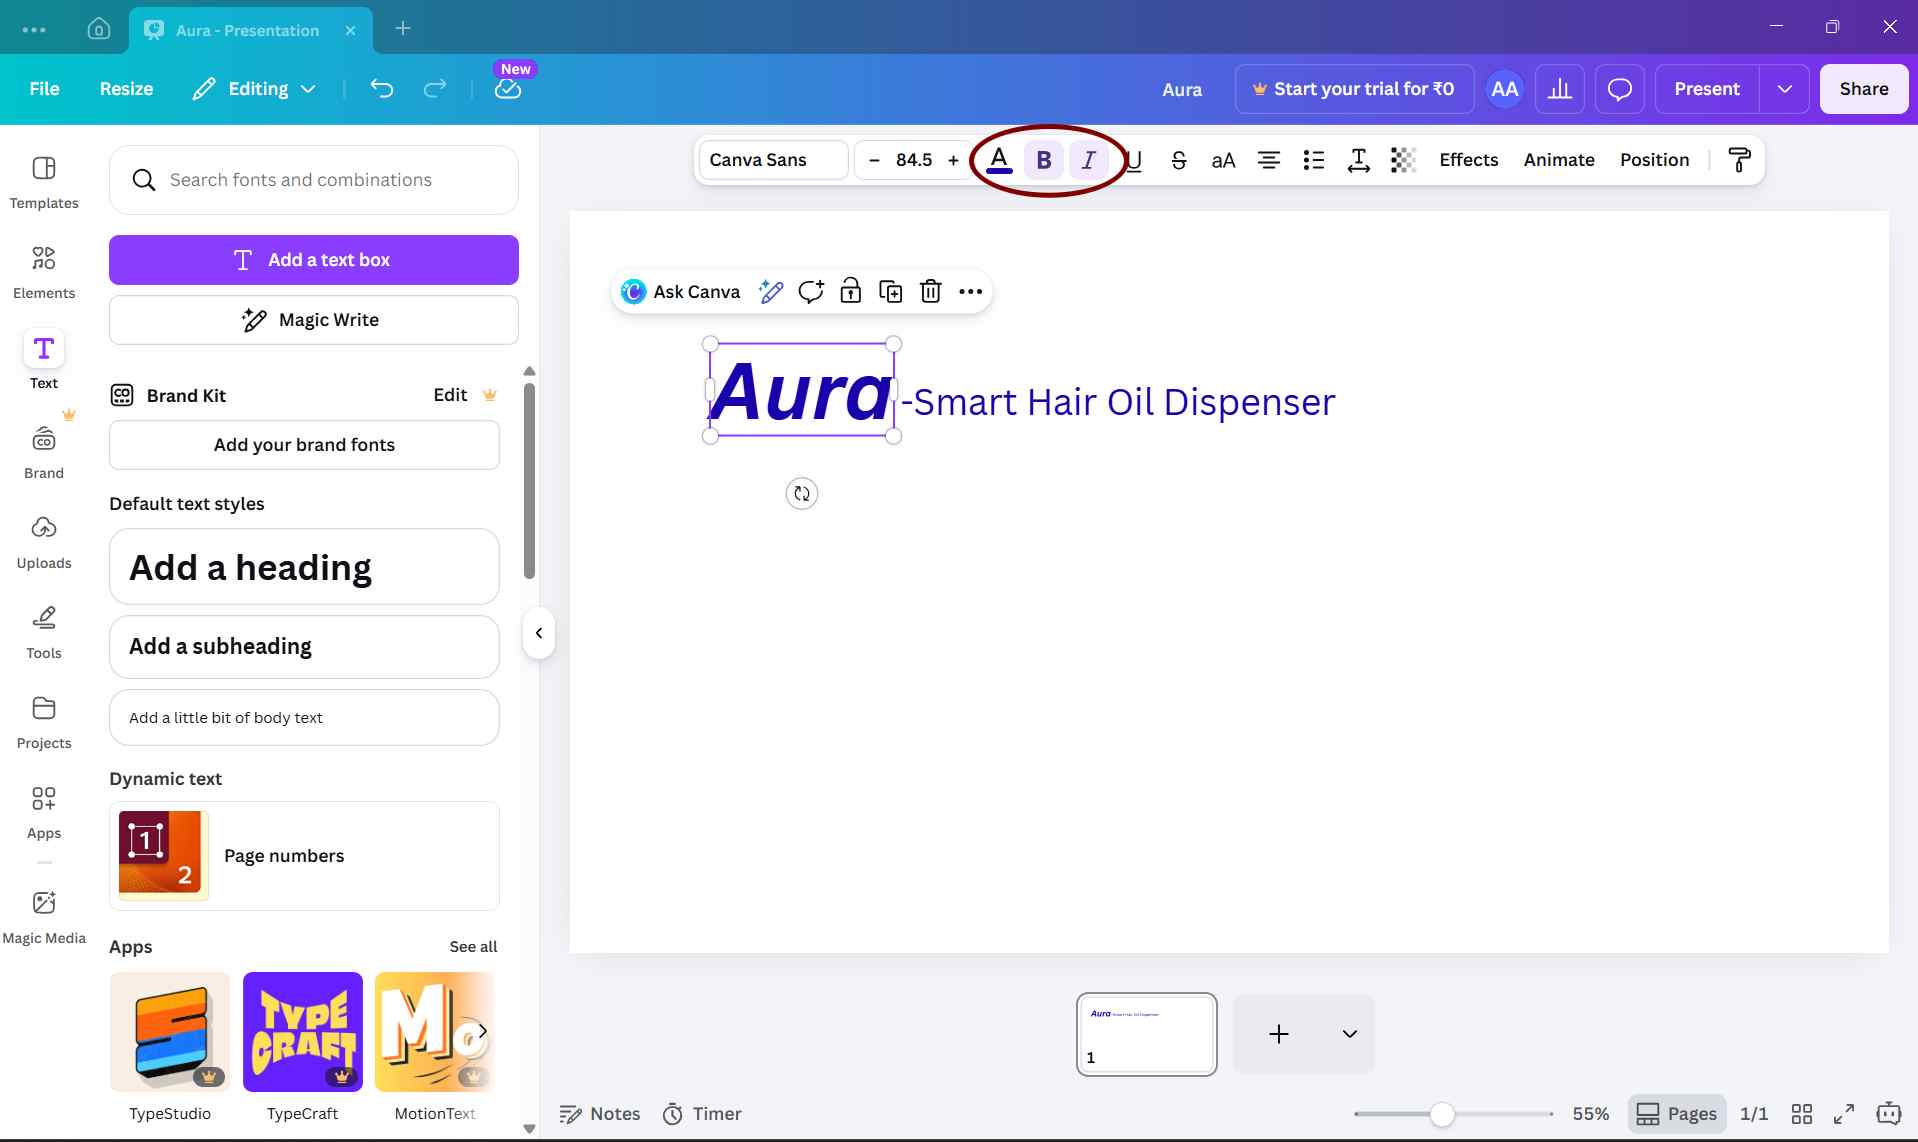
After finalizing the basic structure of the slide, I selected the download option, chose PNG format, and downloaded the slide image.
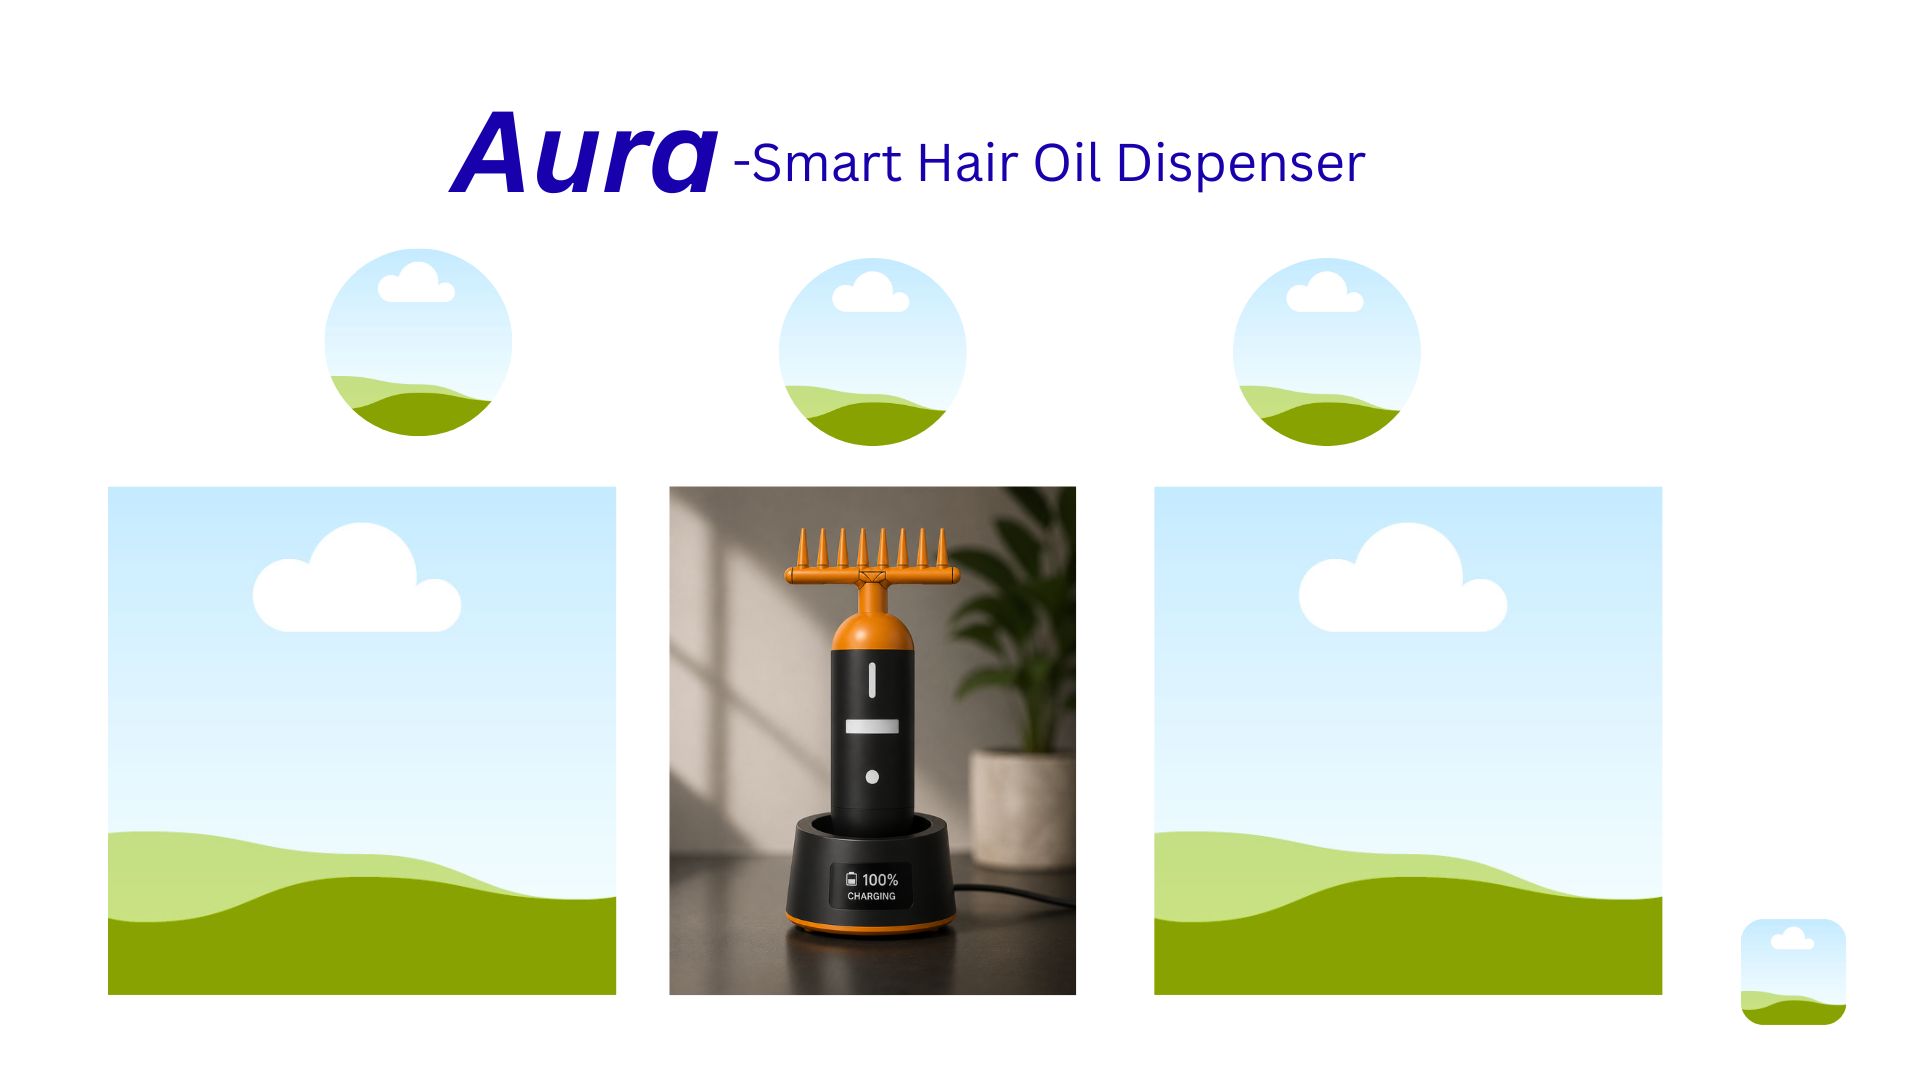
This is the template for the final presentation slide.
Video Editing
Final Presentation Video Testing
Since the final presentation video must be under 25 MB and less than 1 minute long, I first tested the workflow using a short draft video before creating the final version.
I edited the draft video using VN Video Editor. Even for a short test clip, the initial exported file size was large.
To reduce the file size while keeping acceptable visual quality, I compressed the video using HandBrake with the Fab Academy compression preset.
After compression, the file size was reduced significantly while maintaining good video quality. This testing helped confirm that the same workflow could be reliably used for the final one-minute presentation video without exceeding the Fab Academy file size limit.
- I opened VN Video Editor on my smartphone.
- I clicked the plus (+) icon.
- I added the required images and videos.
- I adjusted the speed, sound, transitions, and text.
- I selected the resolution and FPS according to the Fab Academy guidelines.
- Finally, I exported the video.
.jpeg)
.jpeg)
.jpeg)
.jpeg)
.jpeg)
To reduce the file size while maintaining acceptable visual quality, I compressed the video using HandBrake with the Fab Academy compression preset.
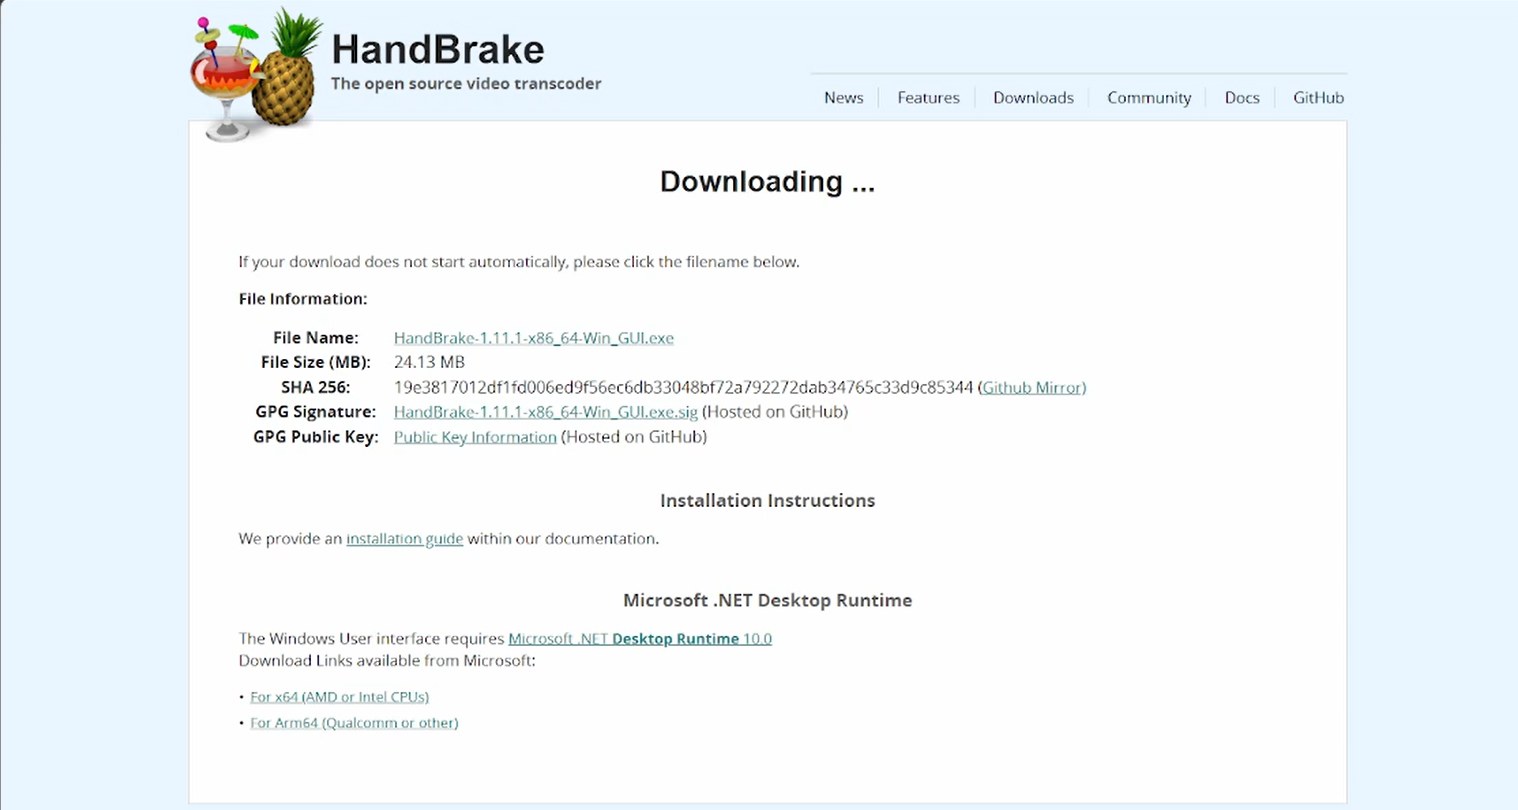
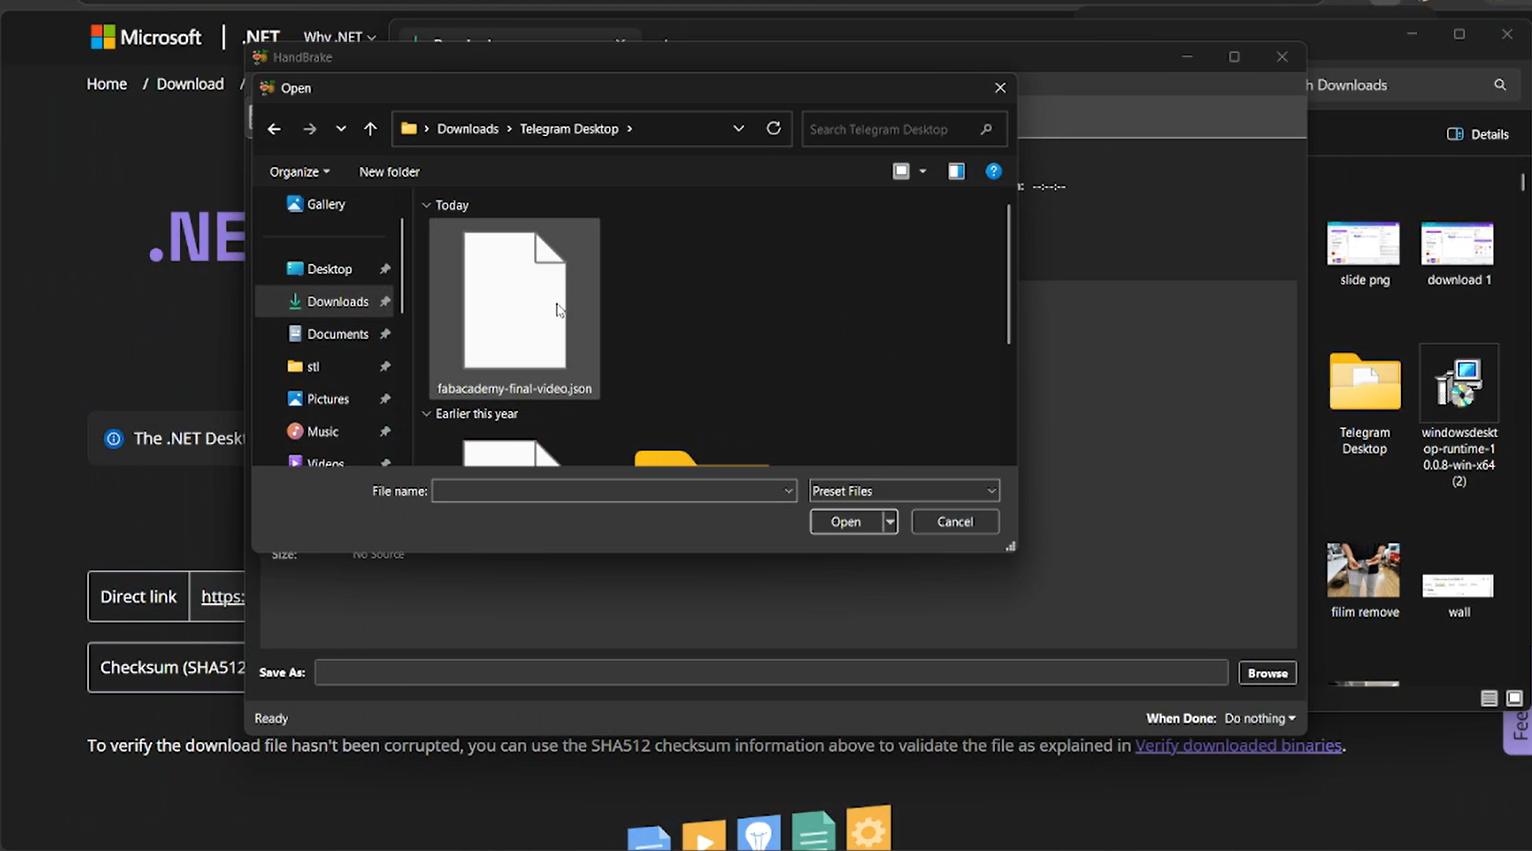
Saheen shared the HandBrake compression preset file, and we installed and imported the preset before compressing the final presentation video.
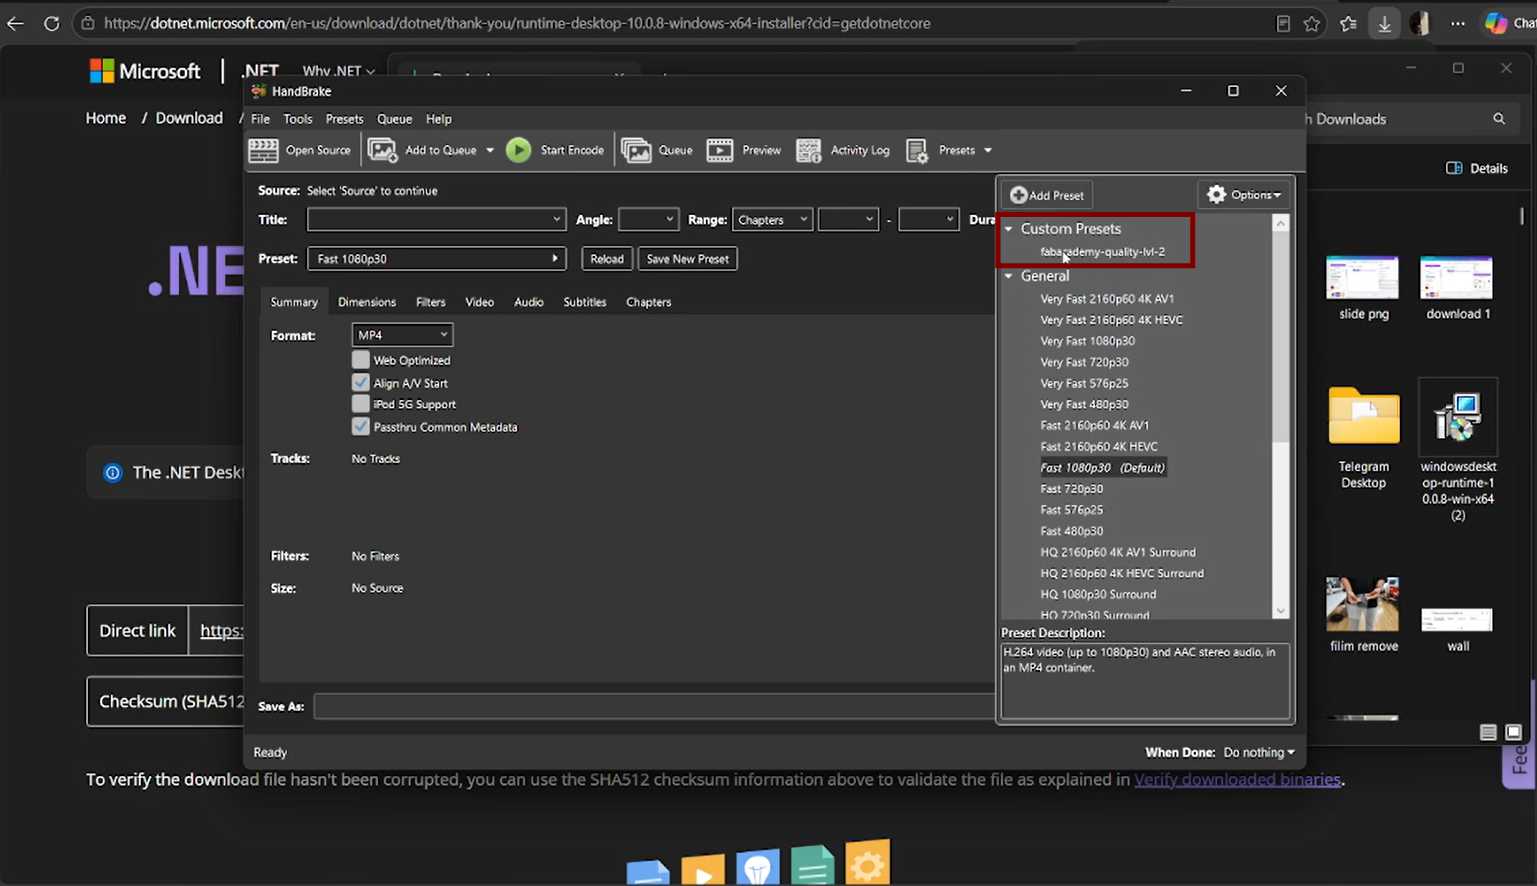
There was a small issue in the HandBrake preset resolution settings, so we manually changed the resolution from 720p to 1080p before exporting the final video.
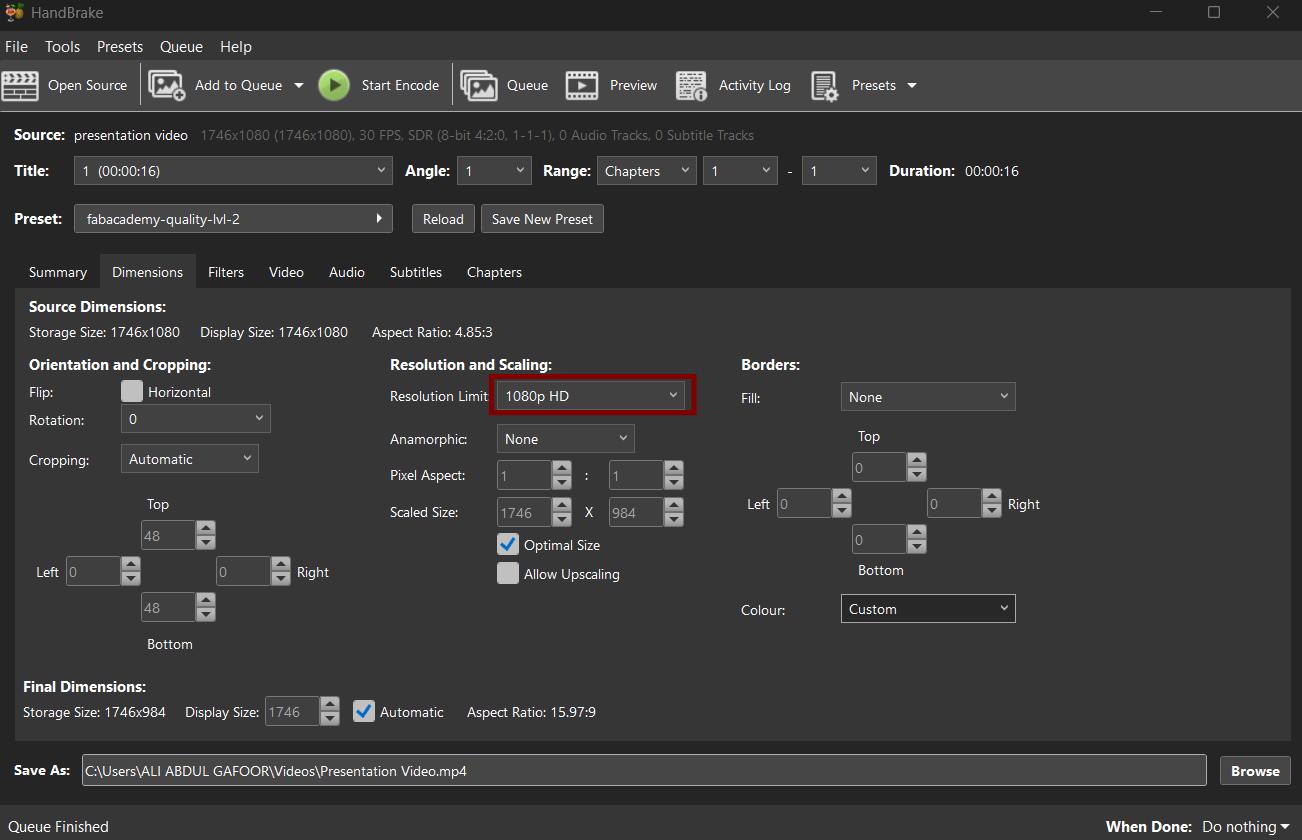
Next, we only needed to drag and drop the video into HandBrake for compression. Then, I clicked Start Encode, and the video was compressed and automatically saved to the selected download location.

then i pushed it to the repo.
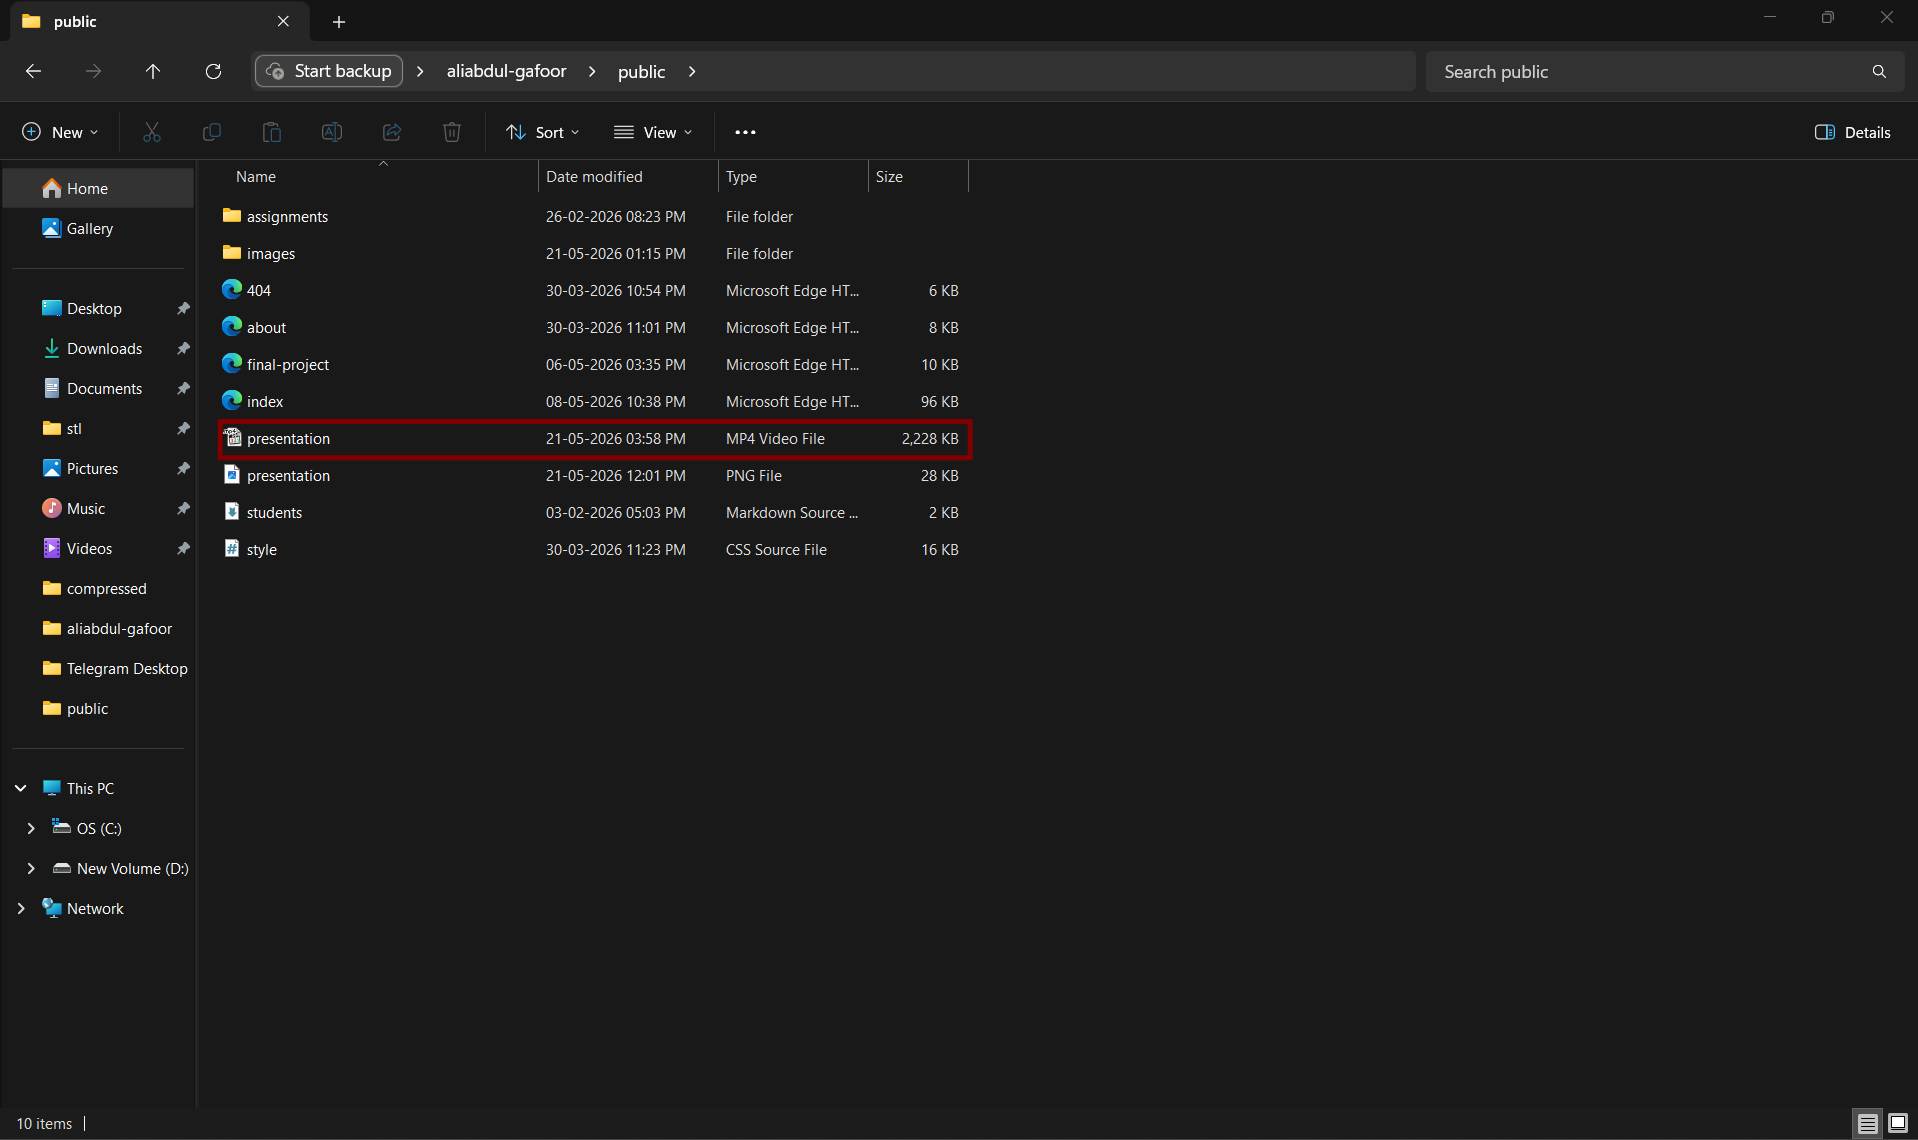
After pushing the presentation.png and presentation.mp4 files to the repository, I verified the upload by checking the Fab Academy Final Project Schedule page to ensure that both the slide and video were correctly linked and accessible under my final project entry.