INTRODUCTION
Another week closer to finishing up Fab Academy. My wife and family were still in Japan visiting me during my study abroad. We took the opportunity to head up to Hokkaido, Japan's northernmost prefecture, to visit family.
Upon returning, the travel gods had other plans for my work this week, as I fell sick with a cold which made it tough to get work done in the lab.
[x] Demonstrate workflows used in the chosen process
[x] Select and apply suitable processes (and materials) to do your assignment.
EMBROIDERY
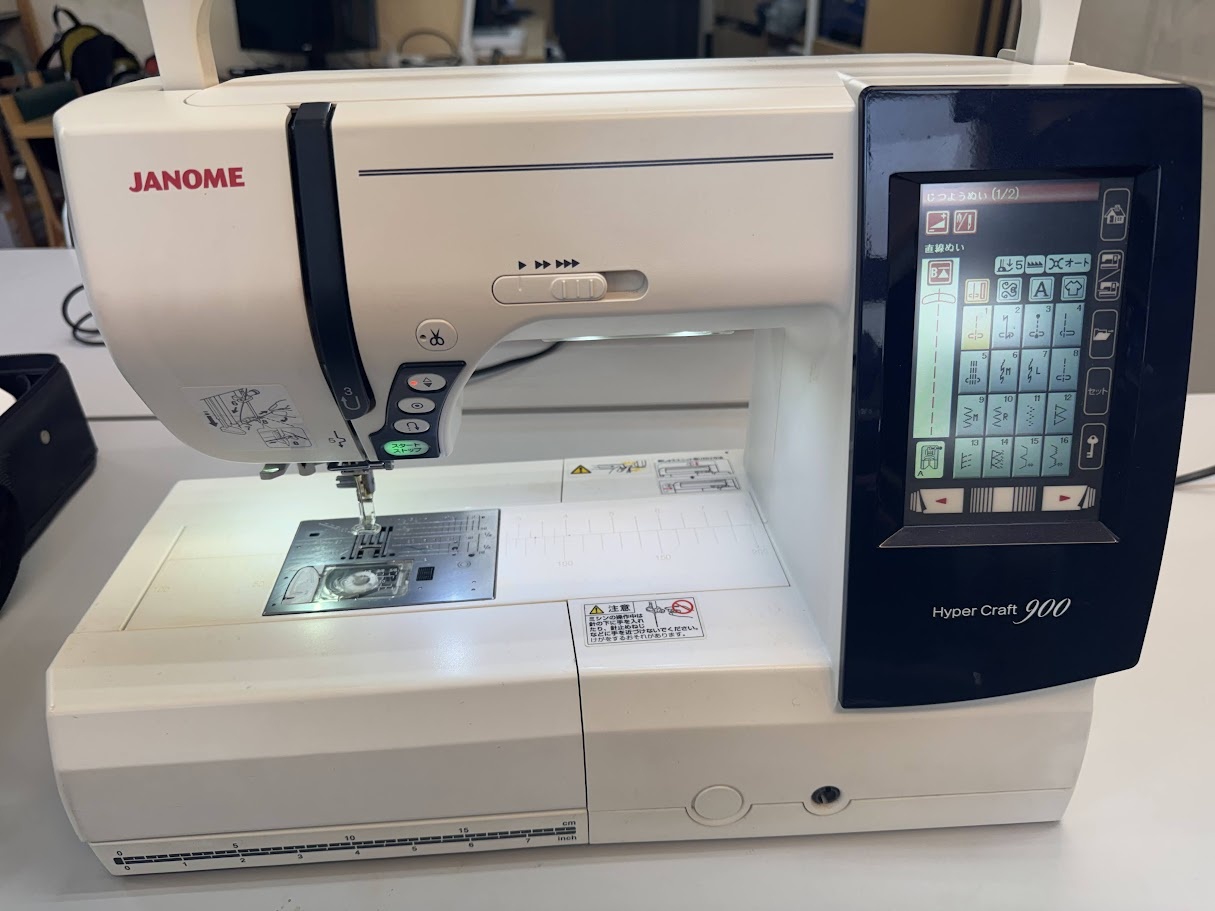
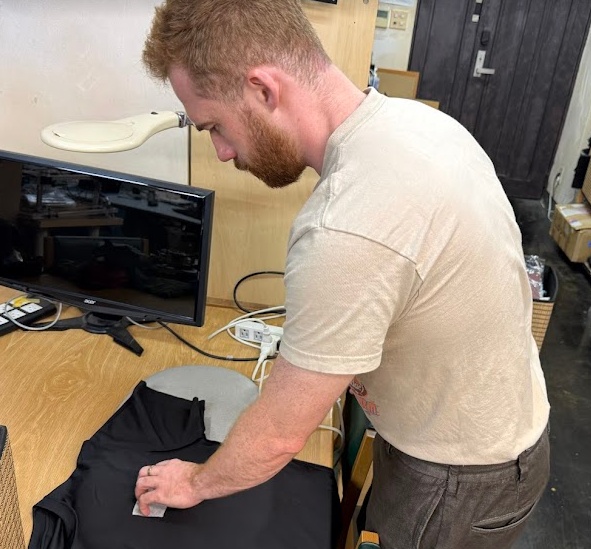
I've always been interested in fabric fabrication, and have wanted to order embroidery machines for my classroom back in Canada. This week would be a perfect opportunity to learn the workflow on Yuichi's Janome Hyper Craft 900 here at Fab Lab Kannai. I was set to leave for my flight to Sapporo on the same day as our local session, so I needed to work diligently to get a few things fabricated and learn as much as I could.
➔ Ink/Stitch
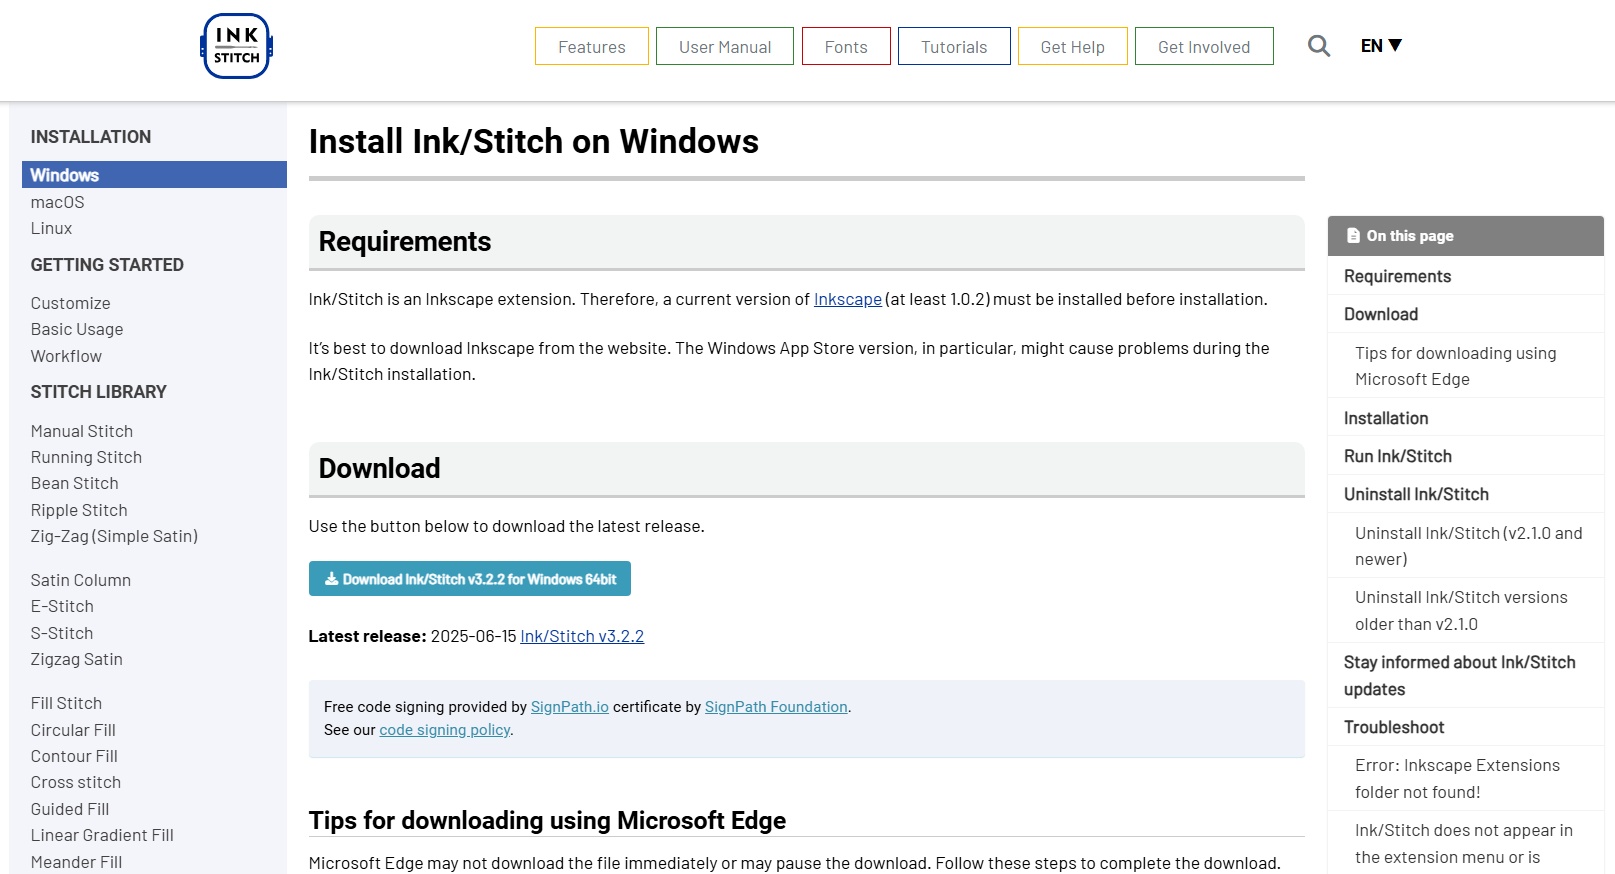
The first step to using an embroidery machine is to prepare your file. Naturally, you'd think that SVGs would be the requirement for turning images into stitches, but you can actually use raster images as well. Depending on the pattern fill you chose, a vector or a raster may work better. I opted to try out Inkscape for this week, a free and open-source alternative to Illustrator, as I've been very stubborn and perhaps a little fortunate to have an Adobe license part of my job. I've heard a lot of people have trouble with Inkscape's learning curve, and it's differences to Illustrator (sort of like how GIMP takes a bit of getting used to if you're already familiar with Photoshop), but one of the neat things is about open source is how easy it is for the community to develop and create extensions, which is exactly what Ink/Stitch is: An open-source machine embroidery extension that can convert your vector (and raster) images into machine code for almost any embroidery machine on the market, including our old Janome (which Yuichi was convinced we needed to use some older unsupported software to get our machine code properly).
➔ QR Code Generation
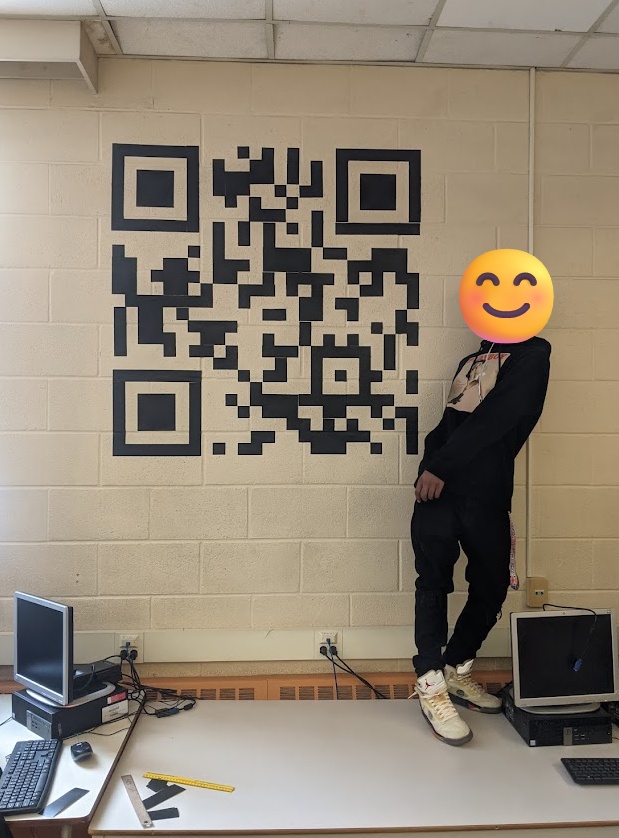
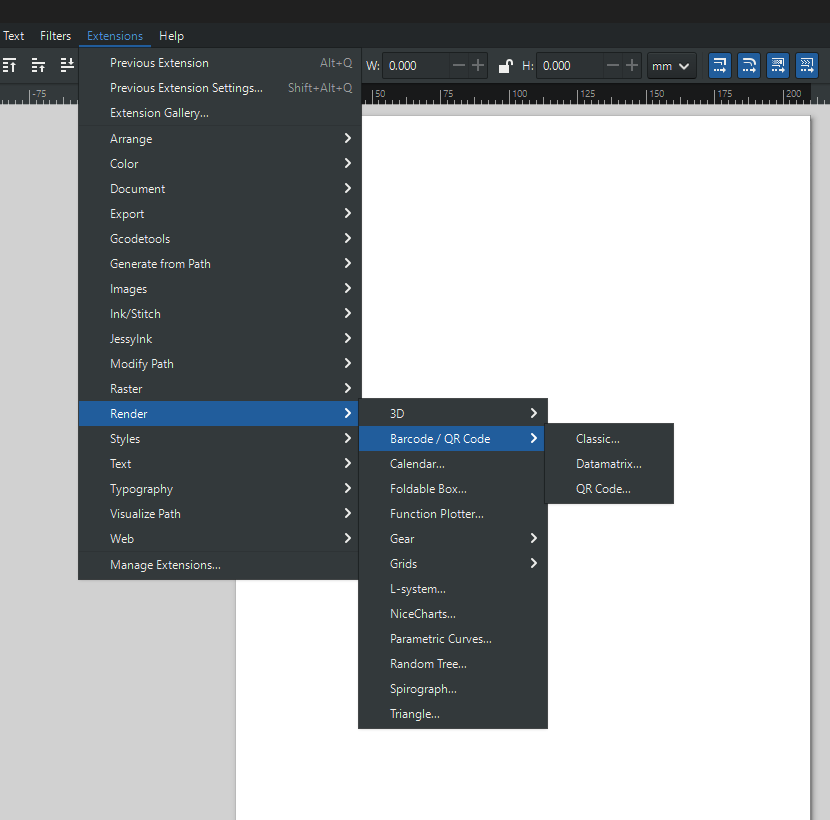
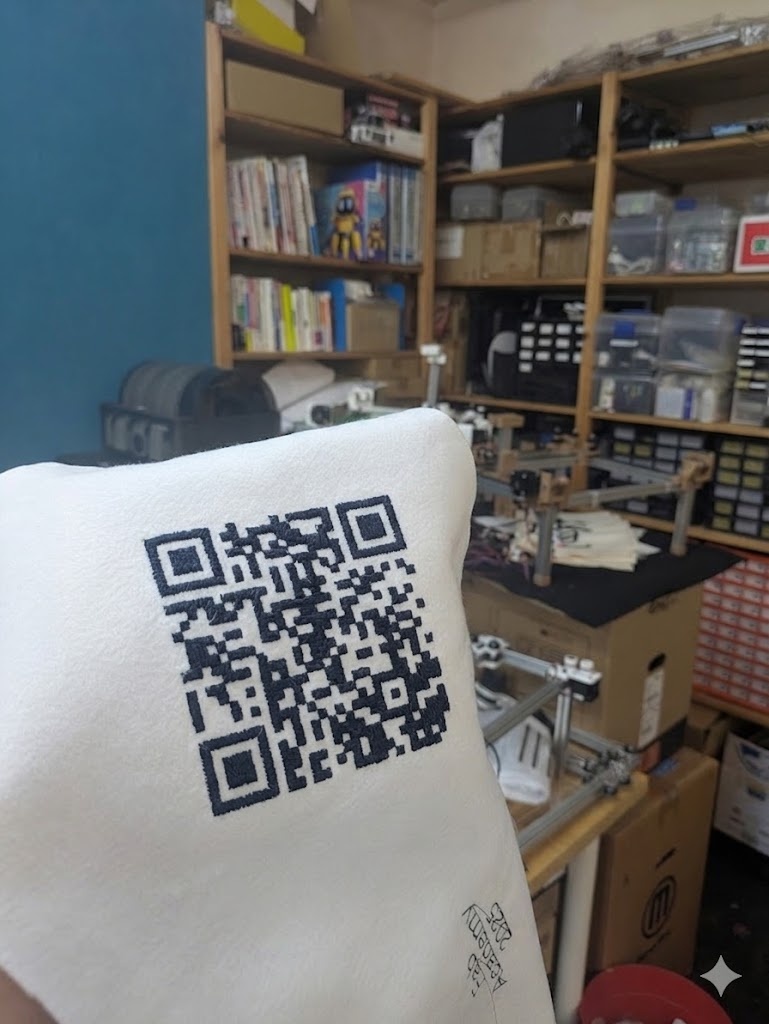
I thought for my first test I would create an embroidered QR code coaster with the WiFi information for Fab Lab Kannai, so anyone visiting could quickly join the network and then have some place to put their Pocari Sweat down. This was something I tried doing in my classroom with a bunch of vinyl (though I hand cut all of the pieces) as I didn't have a vinyl cutter at that point in time. I was think I would use a QR code generator online, but I actually discovered Inkscape has it's own QR Code renderer built in to the software. I followed this to tutorial to get me started.
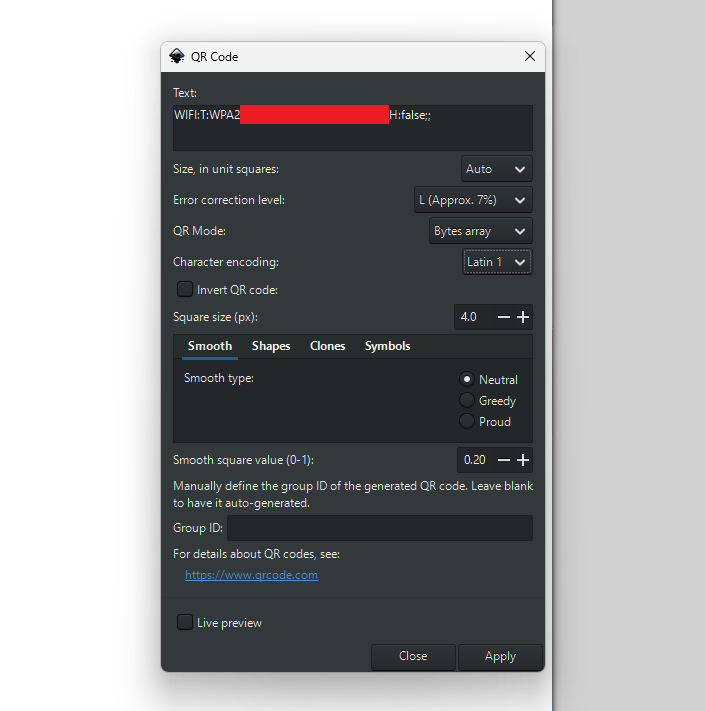
If you want to make a QR code that connects to a wifi network, just fill in this string with your network information and use it as the text field.
WIFI:T:<AUTHENTICATION>;S:<SSID>;P:<PASSWORD>;H:<HIDDEN>;;
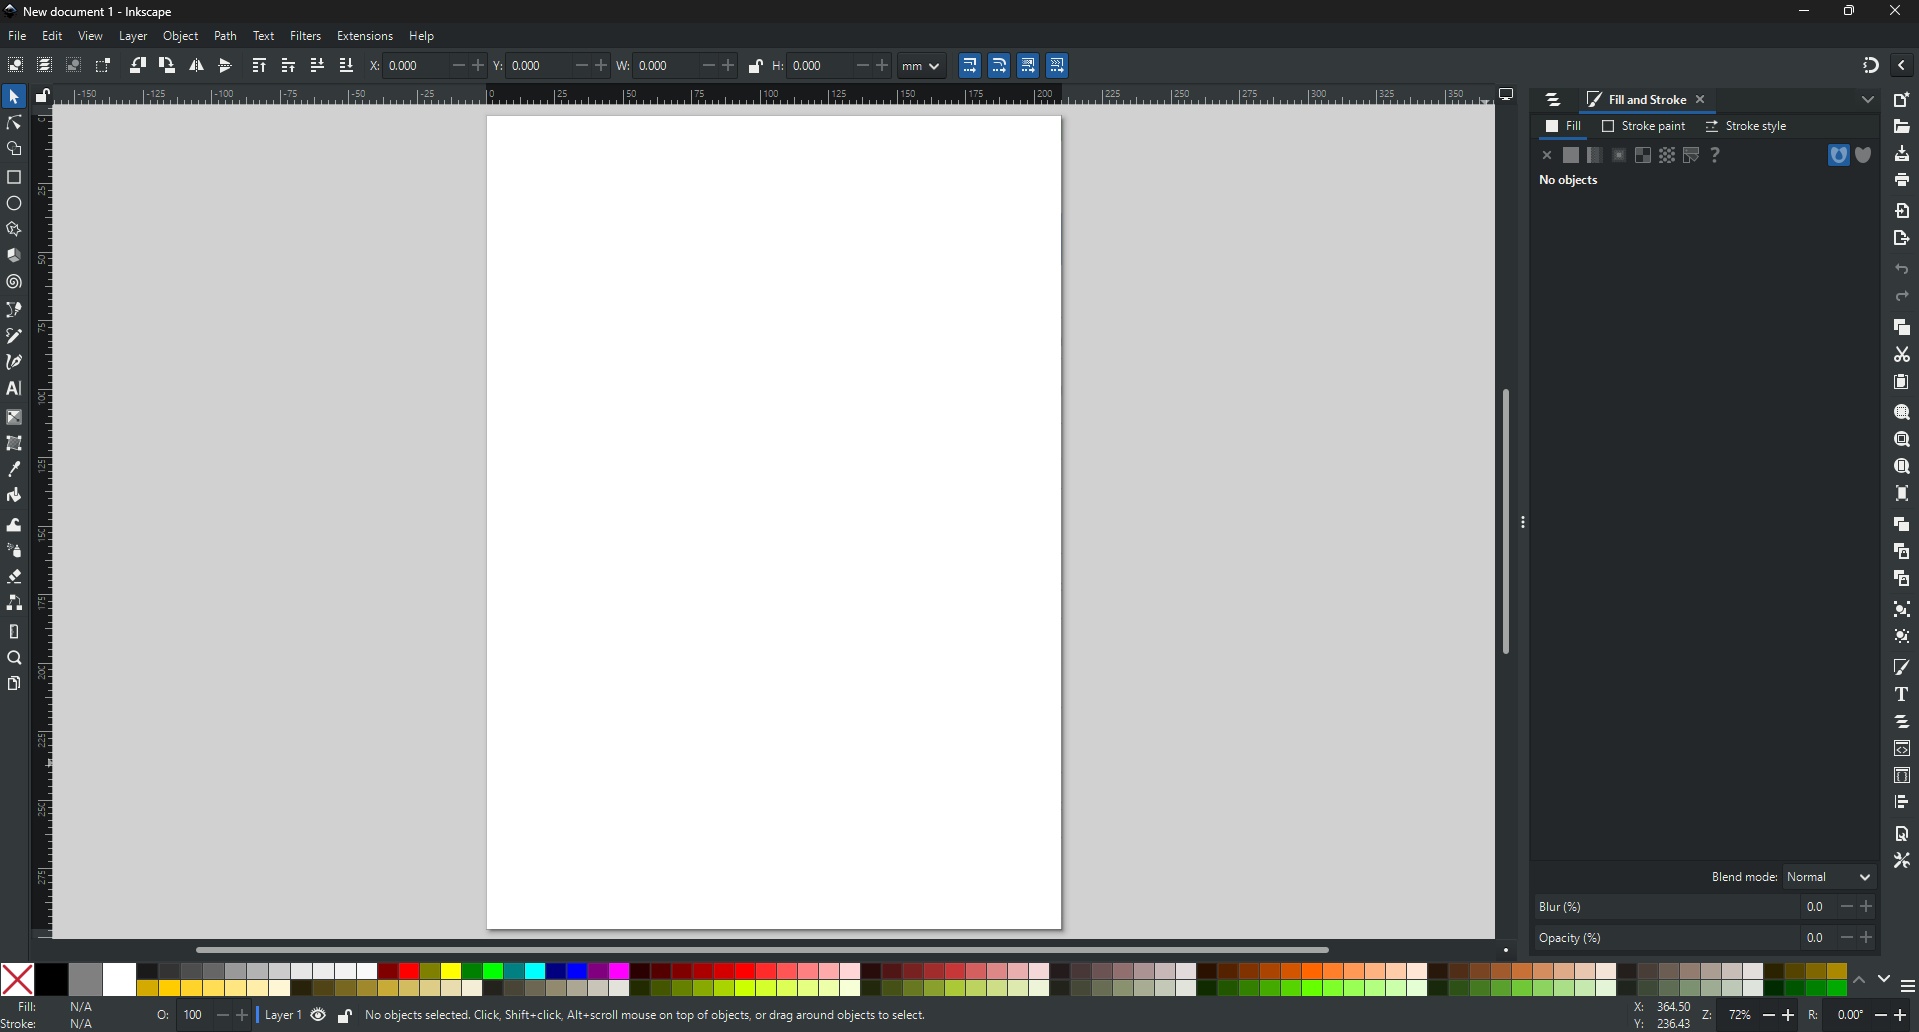
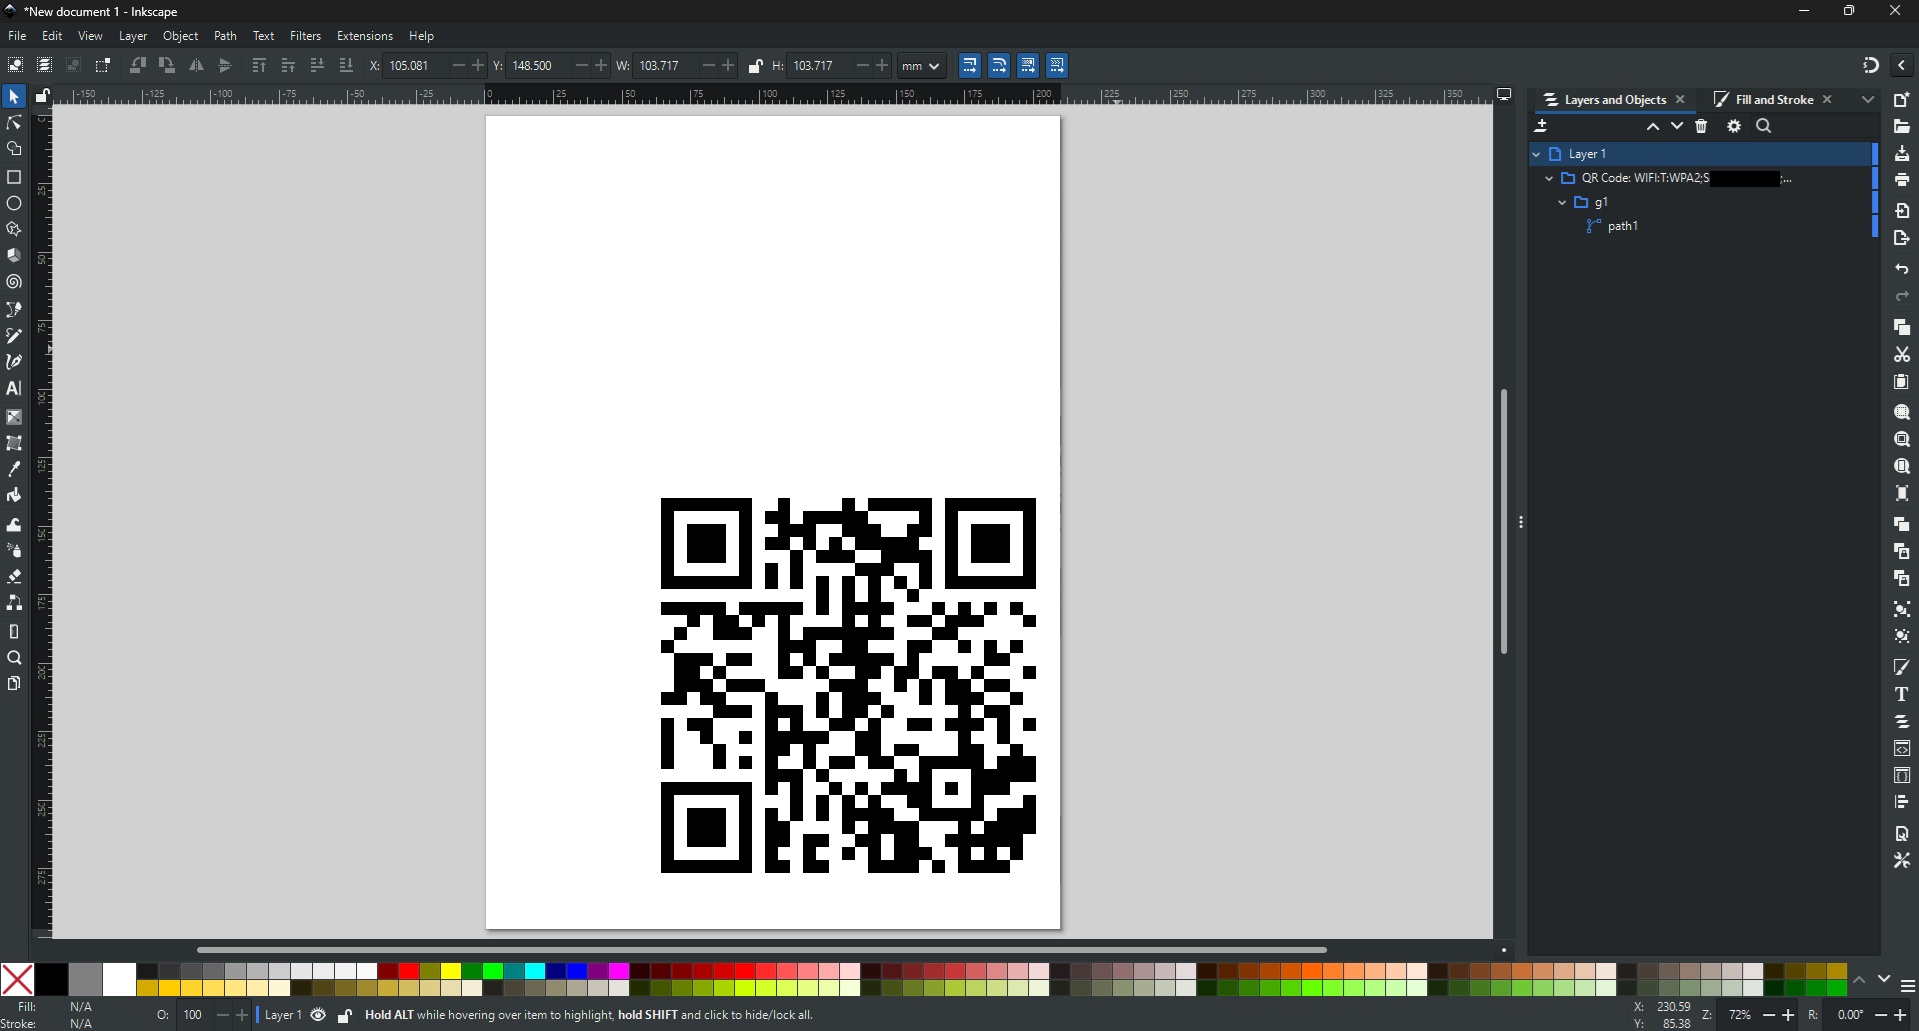
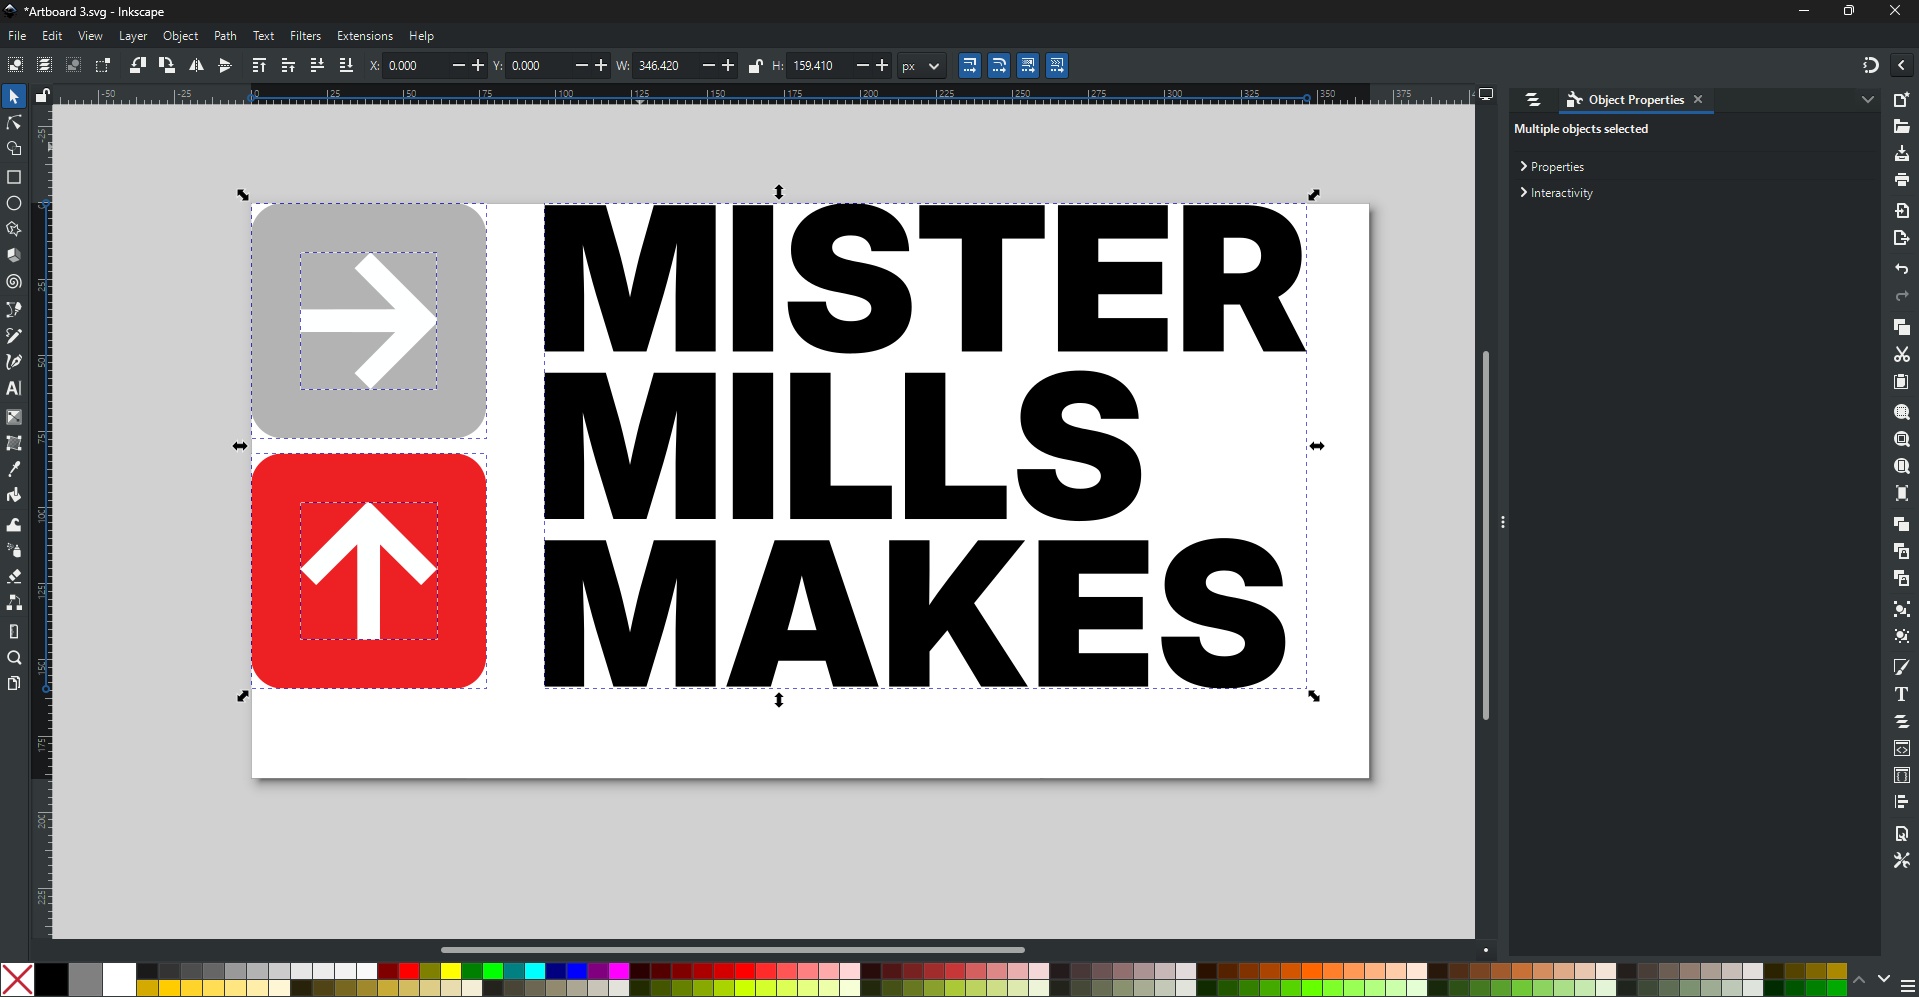
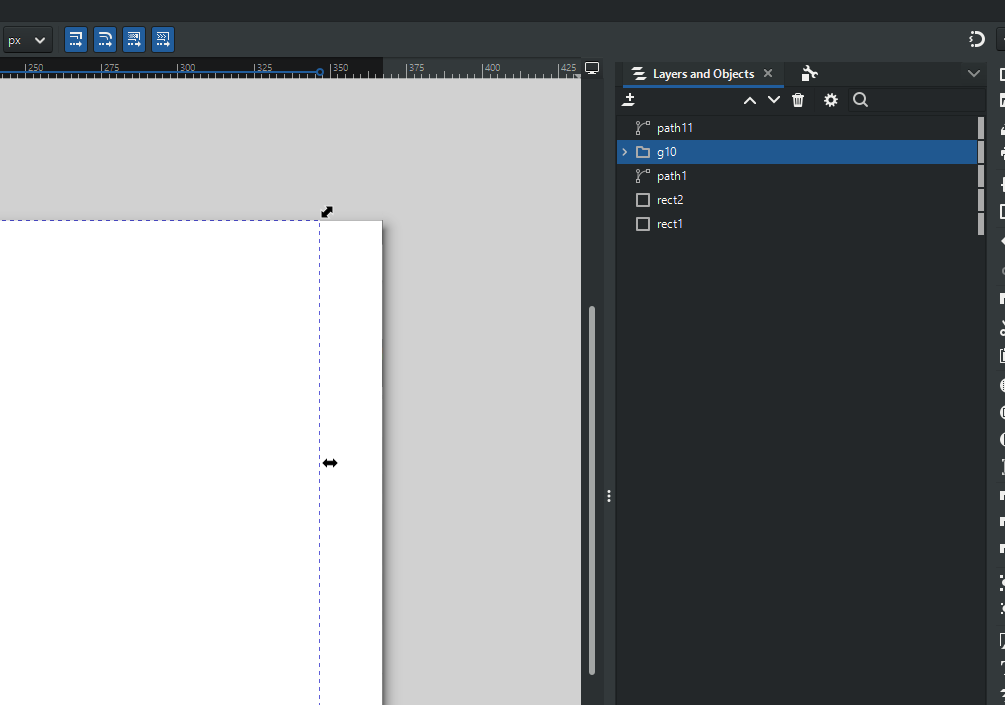
Once your design is on the canvas, you want to place it in the top-right corner of your canvas. You can achieve this with the number fields in the menu bar. Set X and Y to 0.

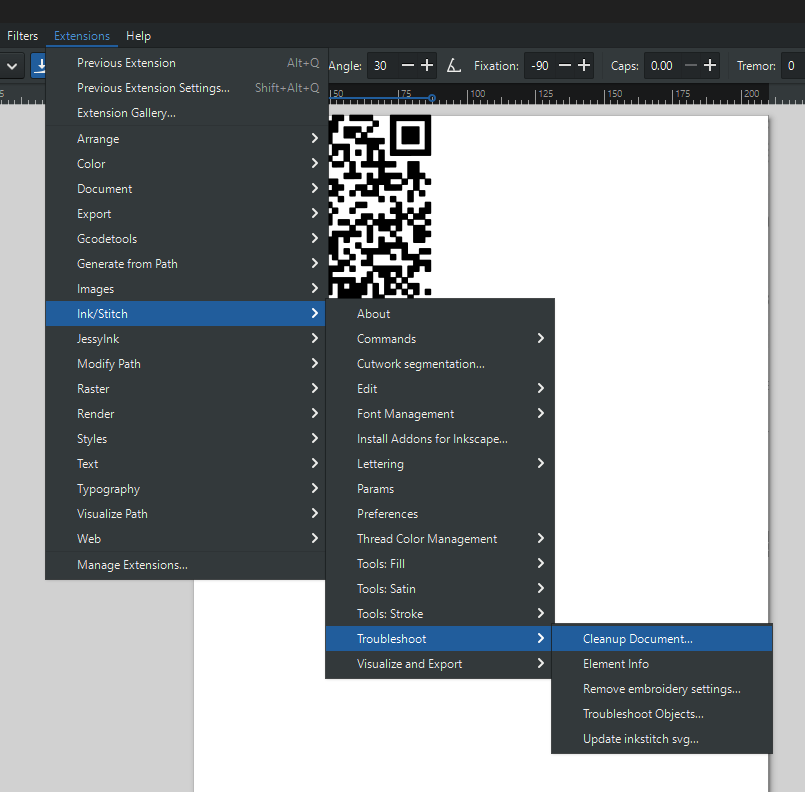
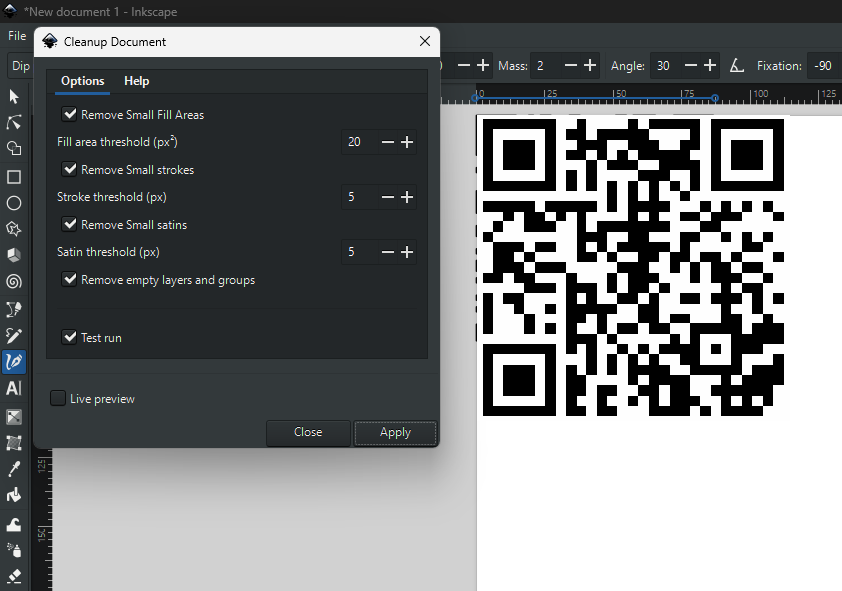
We went with the highest level of error correction, which means we can remove small parts of the design that will be annoying for the embroidery machine to create (i.e. single floating pixels that are not connected to others). For this, we can use Ink/Stitch built in Clean Up Document.
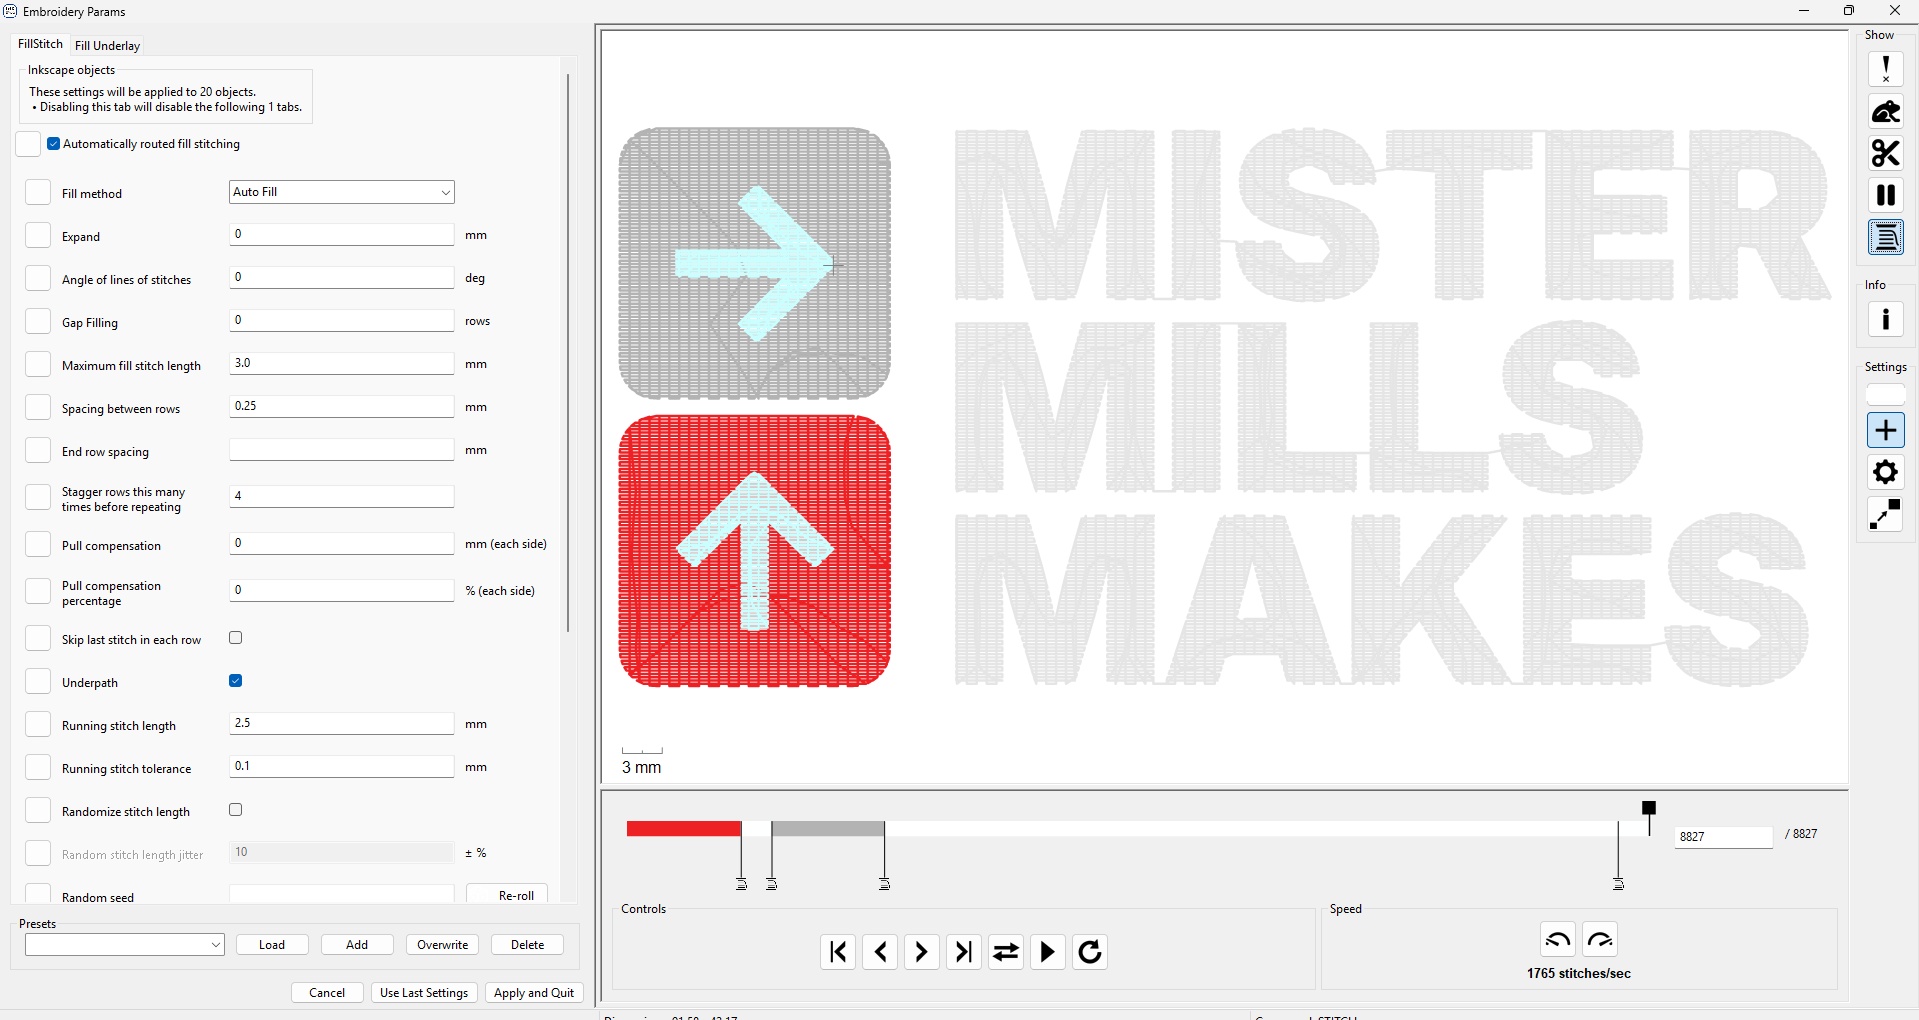
➔ Embroidery Params
If you download the nightly build of Inkscape, you can actually generate a cross-stitch pattern of the QR code, which I think makes things look a lot more authentically stitched, like if Grandma made it. You set the parameters by going to Extensions > Inkscape > Params.

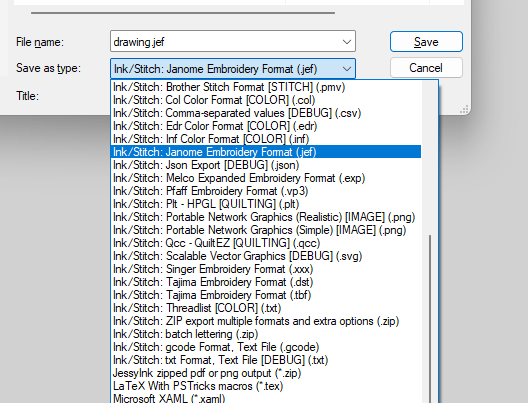
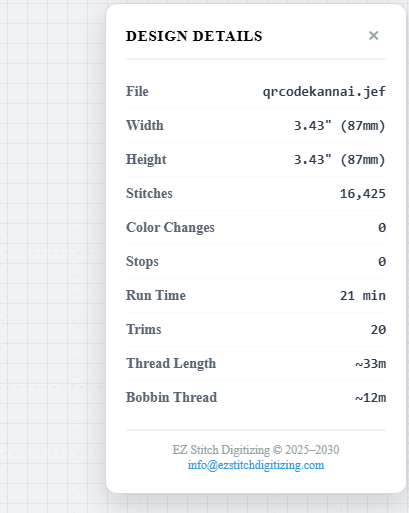
Here I elected for a Cross Stitch pattern and set the stich length to 4.24mm since that would be the diagonal length across one 3mm pixel of the QR code. Once you're happy with the preview, you can export it like you would any other file format, in the G-code format that your machine accepts. Kind of magical when you think about it. For the Janome, we use their proprietary .jef format.
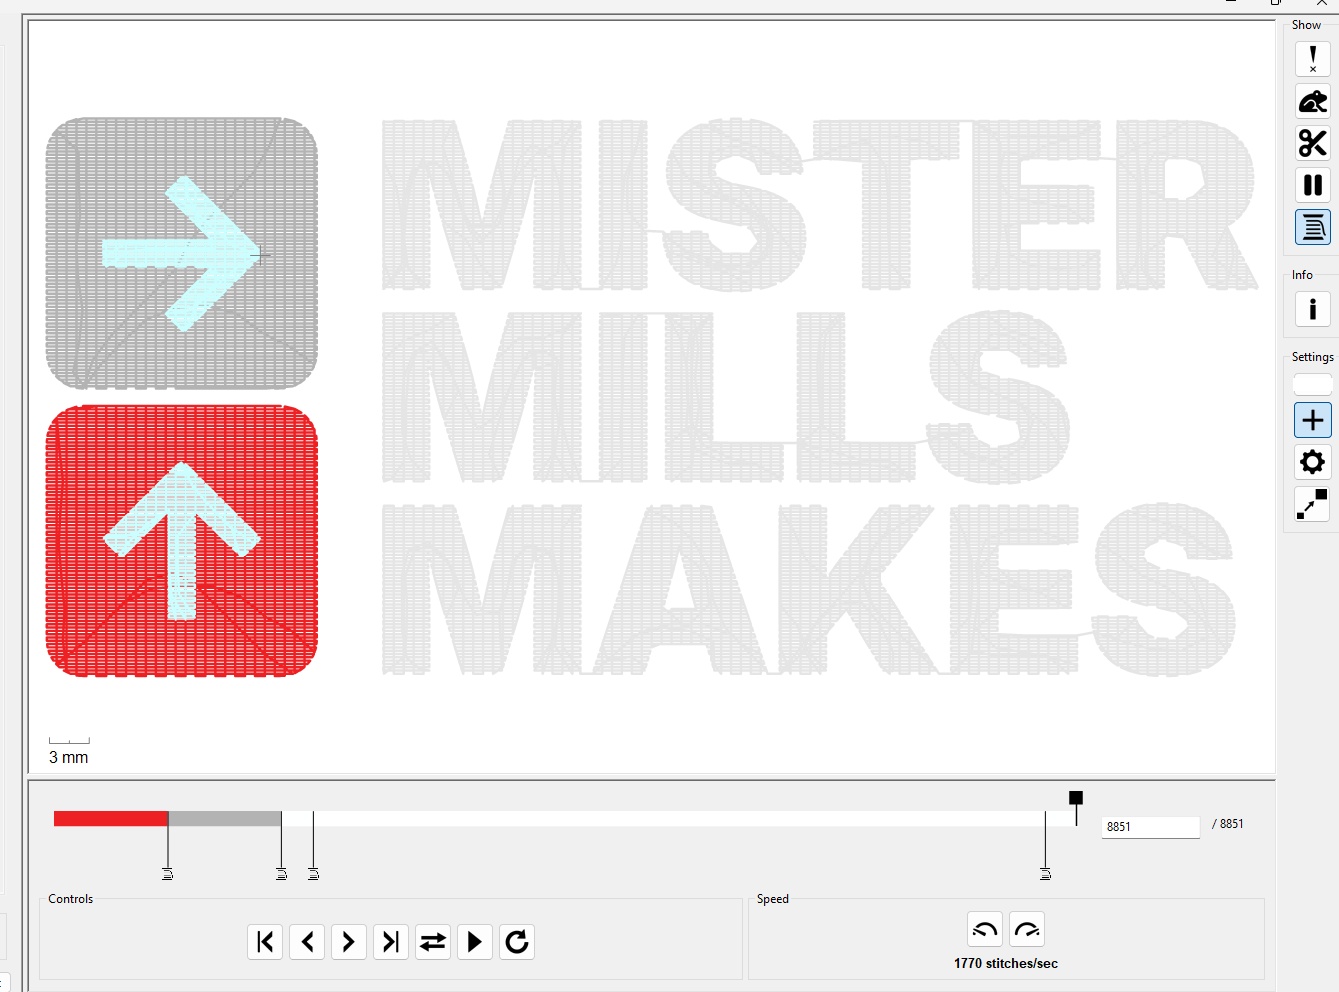
I found that Ink/Stitch didn't give me enough information about the file and how long it would take to embroider using the Janome, so I found an online .JEF viewer that could shed some light on the process time.
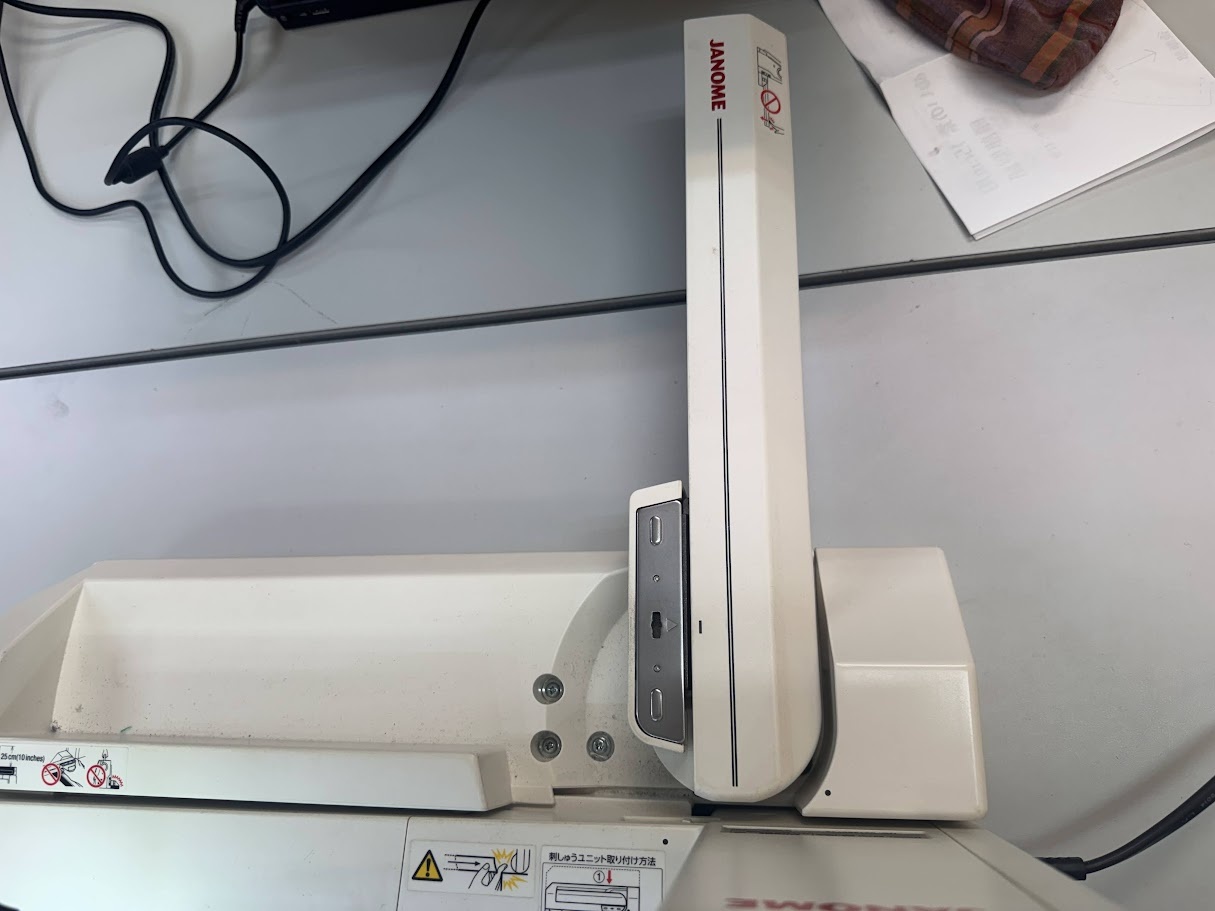
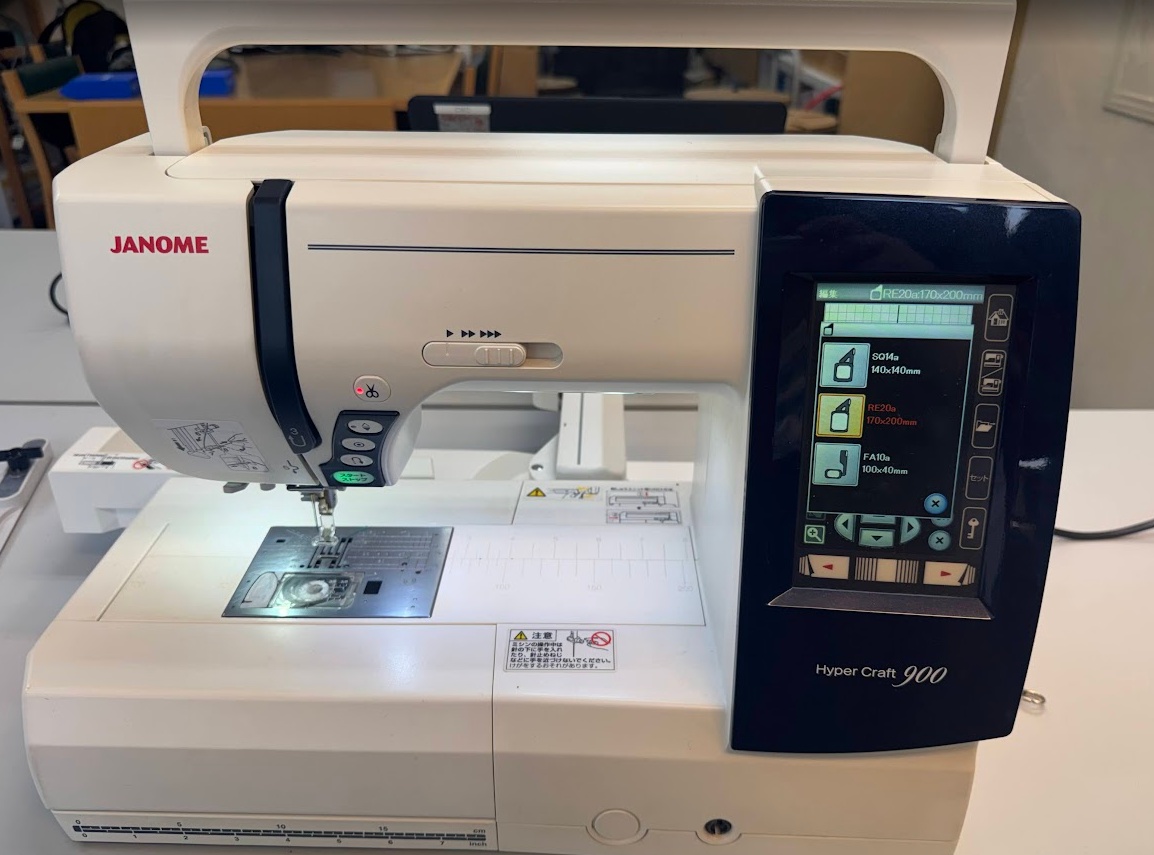
➔ Janome Hyper Craft 900
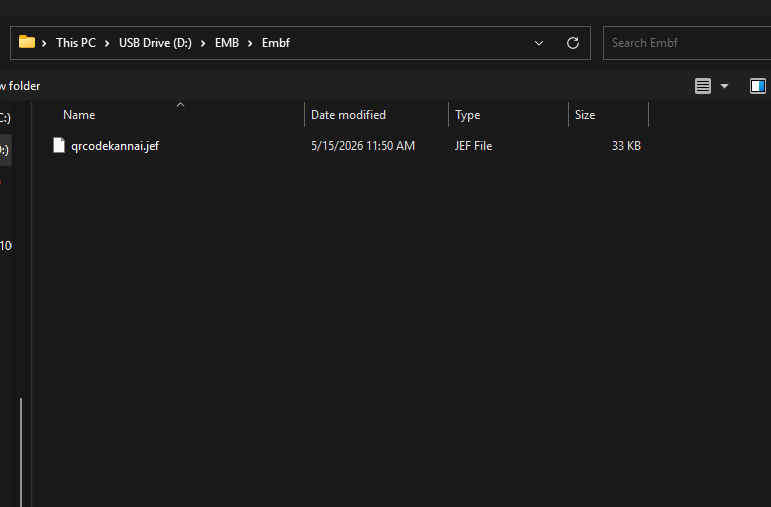
The first thing you need to do with your Jenome is enable the filesystem structure on your removable media (SD card, USB flash memory, etc.). You don't need to format your media, simply insert your media into the machine's USB port and power cycle the machine so it can create the directories needed. Remove the memory and plug it back into your PC, you should have a new directory named "EMB > embf". This is where you want to stash your .jef files to embroider.
Once your file ready, you just need to prep the machine for your job:
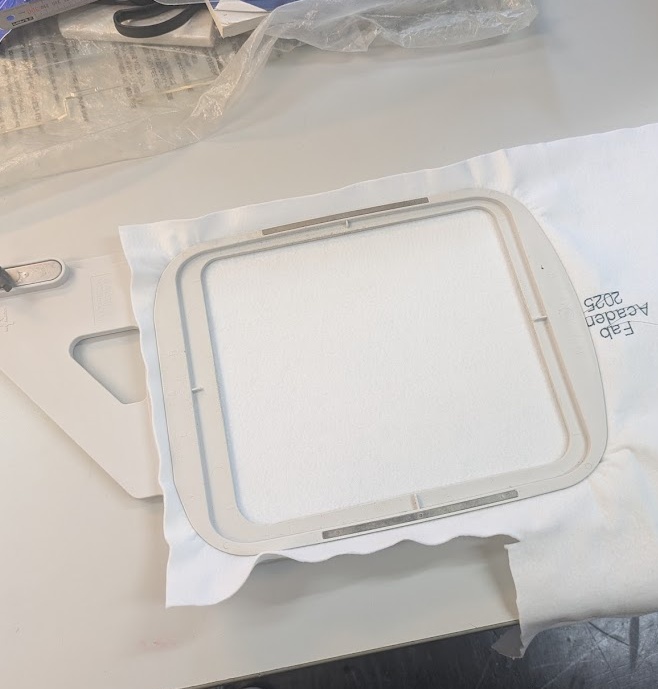
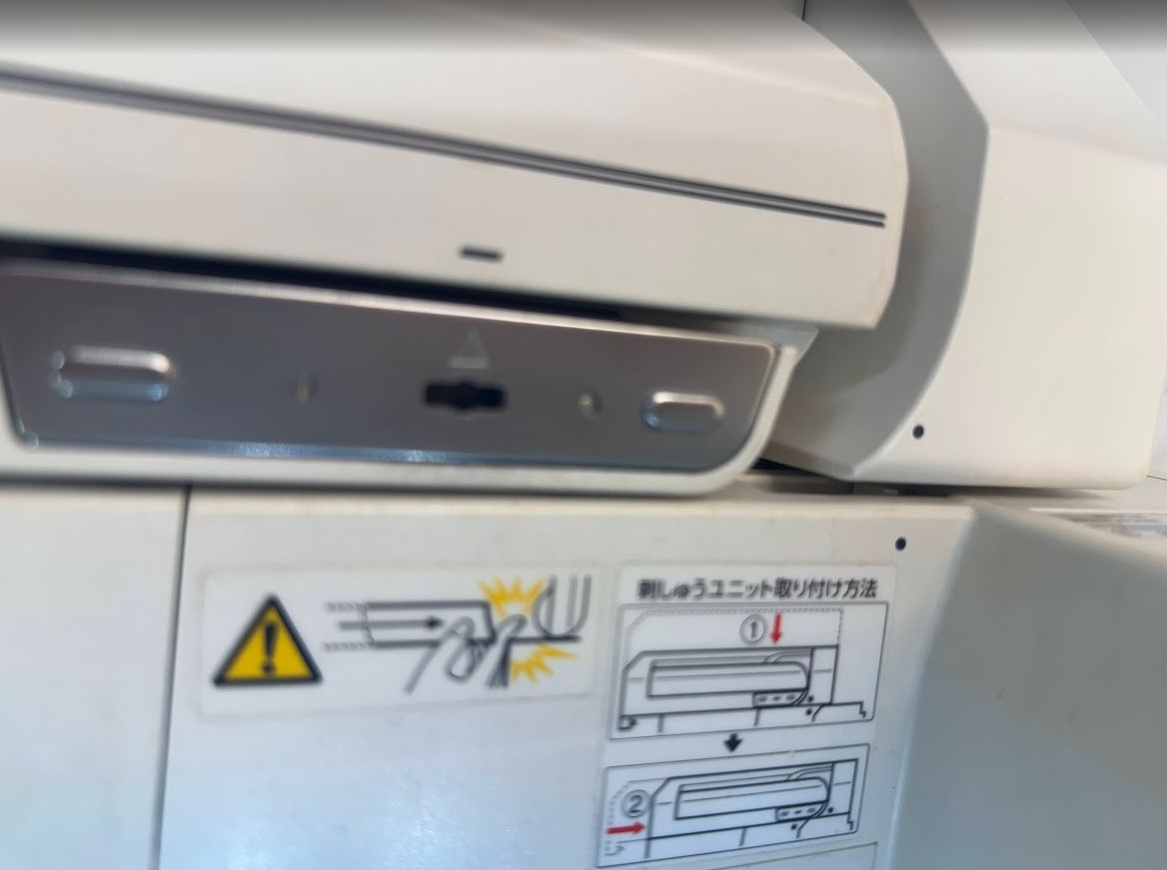
And then the machine will happily start running through your code. If you do run into any issues, make sure you note which instruction number your machine stopped at, as you're able to manually dial in the starting location of the tool. And the end result looks great!
AI Prompt Attribution
➔ Multiple Colours
You can buy fancy embroidery machines that are able to stitch multiple colours at the same time. Our Janome can only handle one spool at a time, which isn't that big of a deal if you're okay with swapping out the colours yourself! The only modification to your workflow is that you need to consider which order the colours are applied. I thought this would be a cool opportunity to create my own Fab Academy Mister Mills Makes apparel!
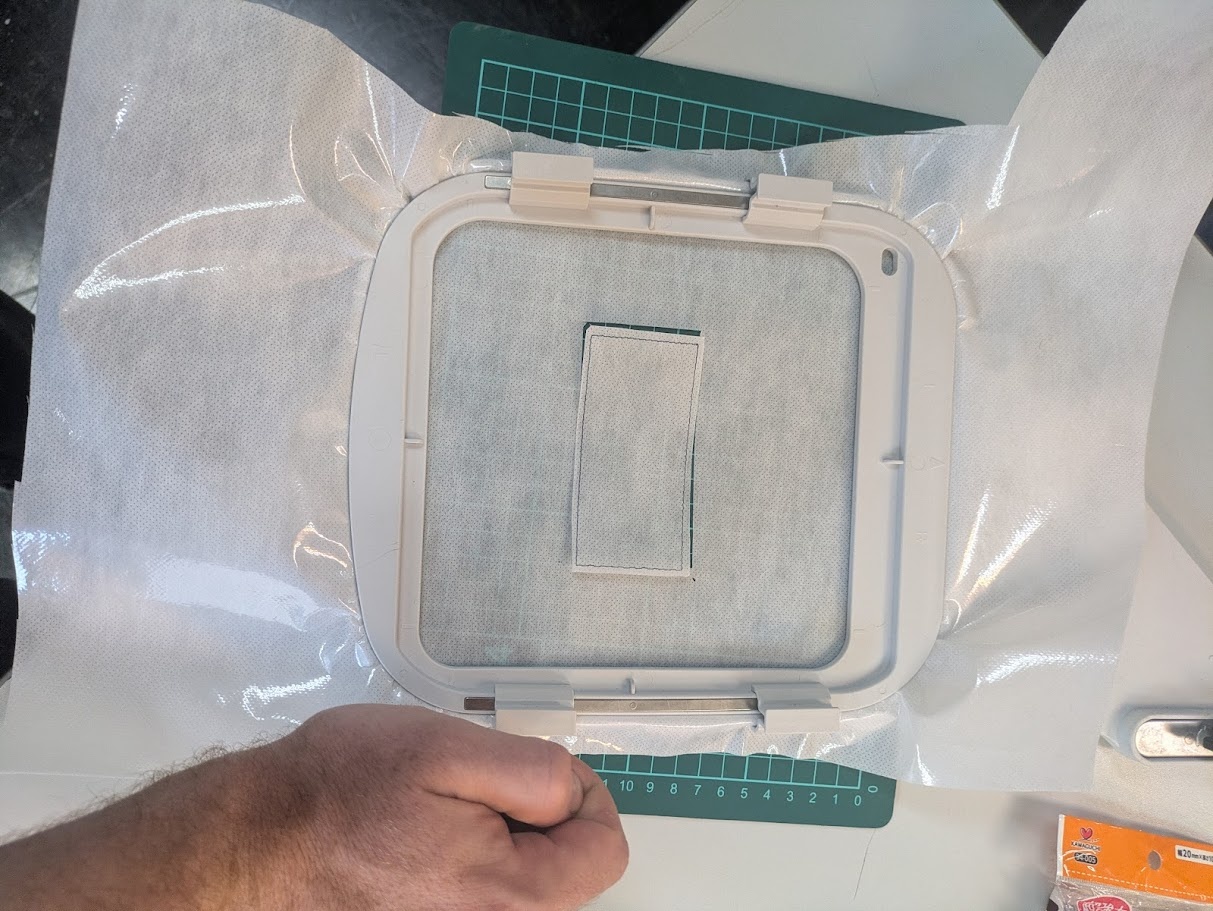
Because the T-shirt material I was working with was a very thin polyester blend, Yuichi recommended that I add a backing layer to the cut open area that is taped down to the area that isn't cut out that way there would be enough tension. This involved stitching out a footprint of the overall design on the backing material and then cutting it out.
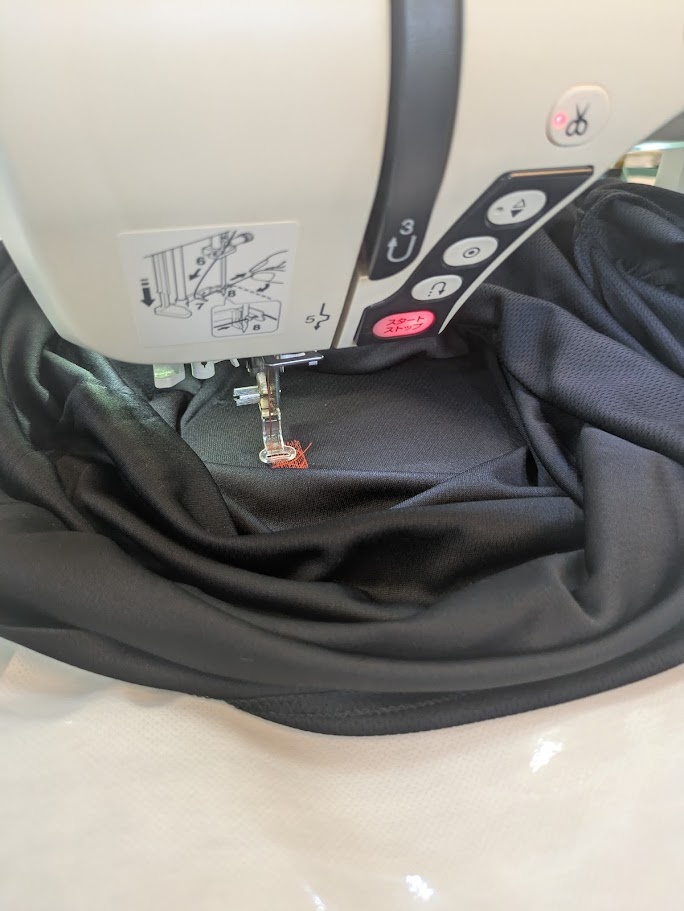

Once each colour pass is finished, the machine automatically pauses and waits for you to switch out your spools with the next colour. You continue by pressing start again.
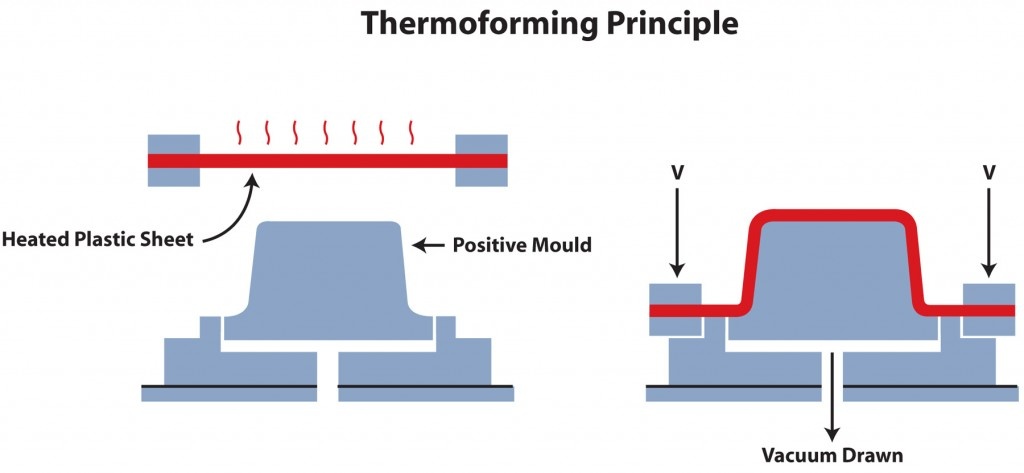
THERMOFORMING
Wildcard week is too exciting of an opportunity to just try out one process. I had a link saved early on in the program on thermoforming PLA plastic prints with a heat gun and separately printed press mold, so I figured I'd give it a try! There is an adjacent process explored in some other documentation from previous years on vaccuum forming plastic, but I figured this would be a fun experiment to try without needing too many additional machines or materials.
➔ Molding
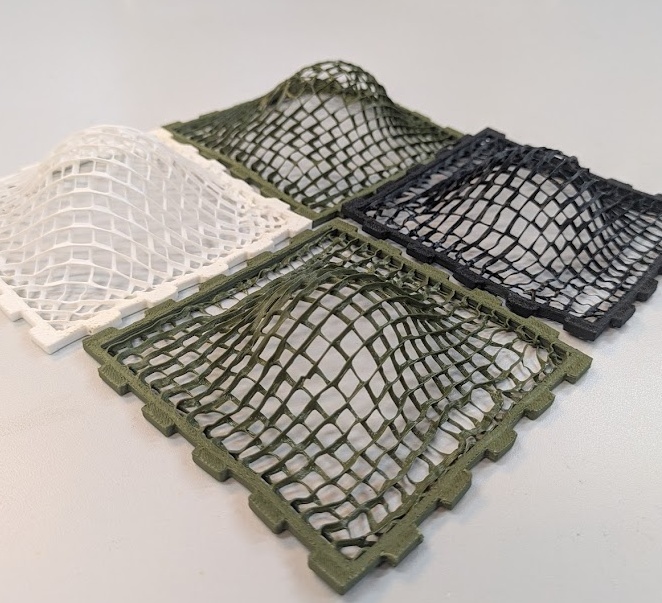
For my design, I would need a hard tool that I could press a thin plastic form into. Instead of pulling the piece with a vacuum, I would just rely on physical pressure from pressing, as the infill in the plastic would not be compatible with a vacuum press system. I designed a simple square press fit construction kit inspired by my laser engraved Minecraft block all the way back in Week 3 in Fusion and a mold that I could pull the square into after heating.
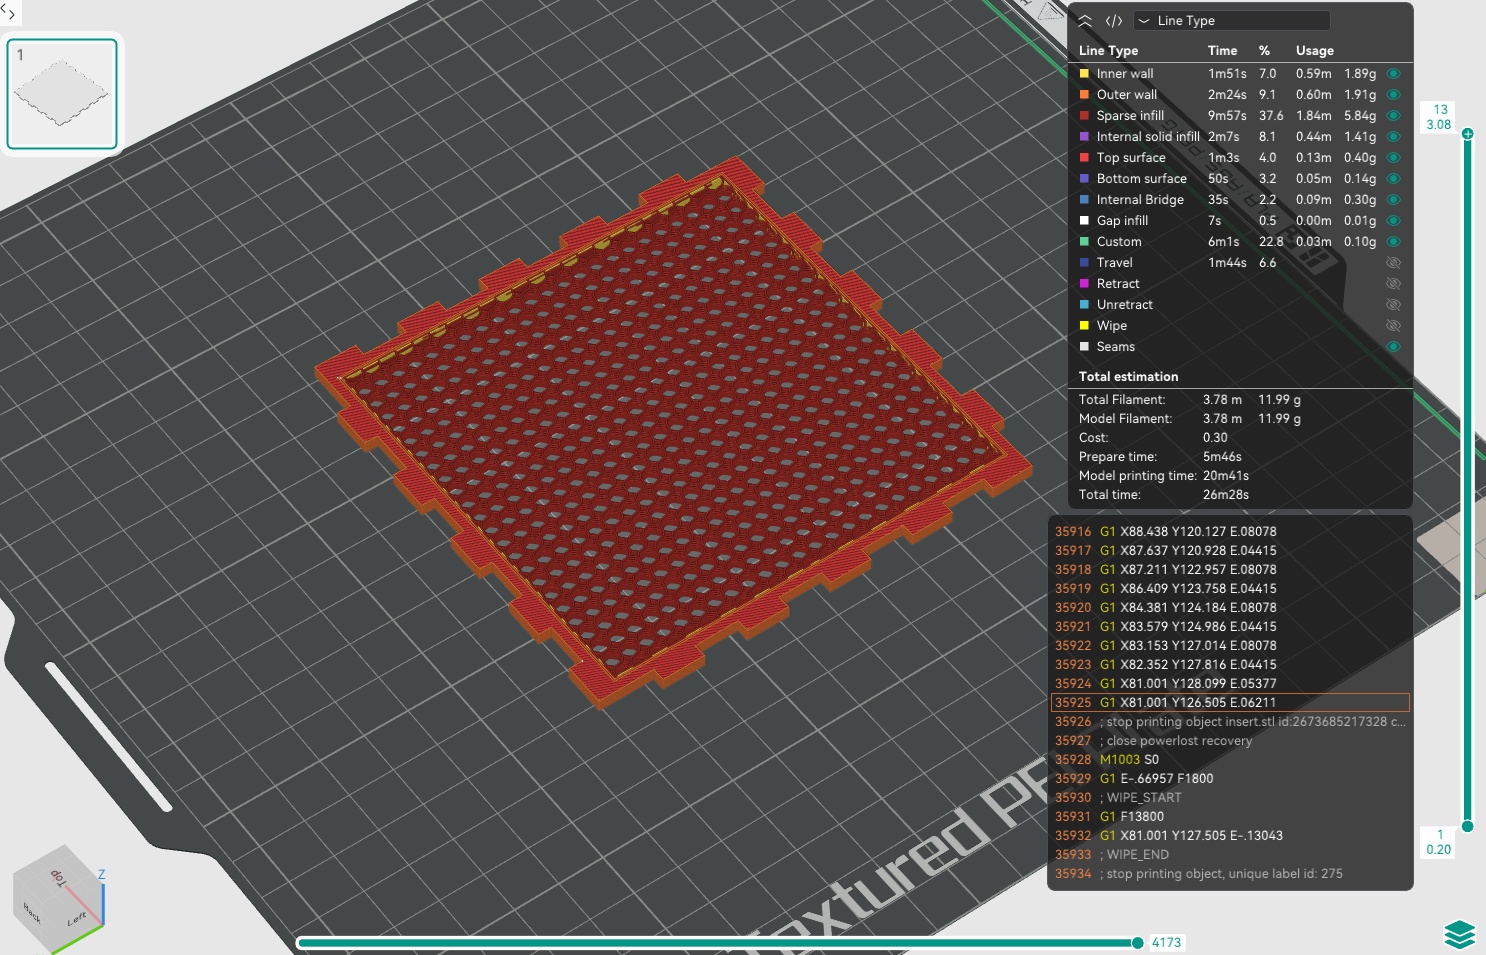
I thought I would need to print the mold in a higher temp material such as ABS, but after a bit of research, I determined that good ol PLA would do just fine since I wouldn't be heating the mold directly, only the press fit insert. The piece that would be pulled through the mold would just be a simple 3mm thick piece of PLA (with the snap fit pattern on the perimeter). I exported the insert as two separate parts, the "solid" core and the perimeter that would actually remain solid. In OrcaSlicer, I can select the core by itself and remove the top and bottom layers, then set the infill to ~10-15%. I recommend using a 3D infill pattern like Gyroid or 3D Honeycomb to ensure you've got the best strength when you press.
➔ Heating and Pressing
The next step is to print everything out, let it all cool nicely, and then lightly heat the insert part with a heat gun. I set the heat gun to 400F, which is just above the melting point of the PLA plastic.
It takes about 10 seconds of evenly warming the piece. Depending on the infill pattern you chose, you get some pretty cool behaviour when it heats up. The gyroid pattern I used "straightened" up when heated, which was a great visual cue to let me know what parts of the plastic I had already heated and what parts needed a bit more. Once it's heated, carefully pick up the piece and press it over your mold - be careful - it can be hot!
My original idea was to build a full press fit kit, but I ran out of time due to the fact I really needed to take care of my body and the cold I picked up in Sapporo. I think this is a pretty neat proof of concept though, and I would love to expand on it more, including more complex shapes and molds. To improve, I would build a third piece as part of the pressing assembly to go on top of the part that is pulled, this just helps handle the hot piece and align it correctly with the mold.