 05.1.0
INTRODUCTION
3D printing is probably the topic out of all of twenty weeks of Fab Academy that I am most confident in. I got my first 3D printer, A Flashforge Finder 3 in the early months of the pandemic after deciding I needed something to occupy my time in lockdown. Since then, I've acquired new Bambu Labs machines, I've printed dozens, maybe hundreds of objects for my own personal needs, and at work, and even led a workshop on 3D printing and scanning at Vector Festival in Toronto in the summer of 2025. Suffice to say, I wanted to give myself a challenge this week and push my understanding of additive manufacturing by trying out some different methodologies, working with new design considerations, and applying a variety of post-processing techniques. Spoiler alert, this was no easy feat, and was probably the most frustrating week so far! You can also read about our group assignment at Fab Lab ESAN here.
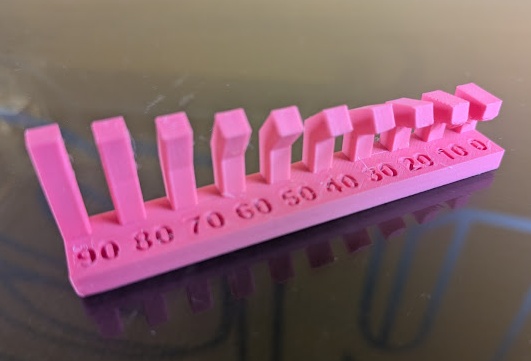
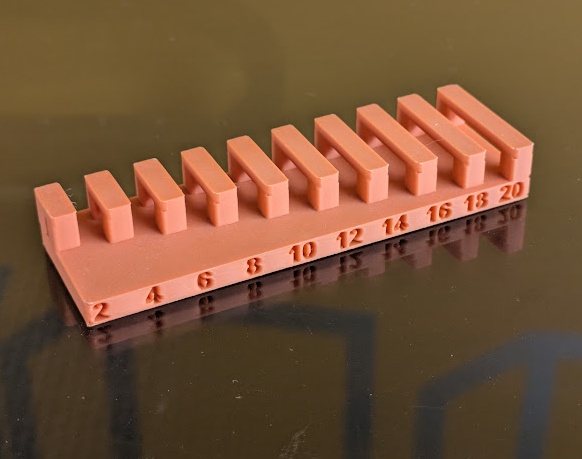
[x] Test the design rules for your 3D printer(s)
[x] Document your work on the group work page and reflect on your individual page what you learned about characteristics of your printer(s)
[x] Design, document and 3D print an object (small, few cm3, limited by printer time) that could not be easily made subtractively
[x] 3D scan an object (and optionally print it)

[x] Identify the advantages and limitations of 3D printing
[x] Apply design methods and production processes to show your understanding of 3D printing.
[x] Demonstrate how scanning technology can be used to digitize object(s)

[ ] For my students: Collect and print a series of modular examples to demonstrate FDM design rules
[ ] For my students: Create library of handheld manipulatives for compliant mechanisms
[ ] For my students: Create a G-Code poster
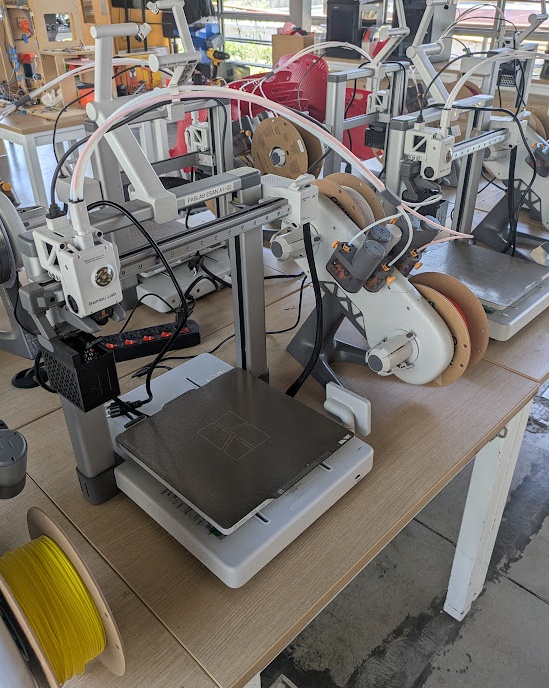
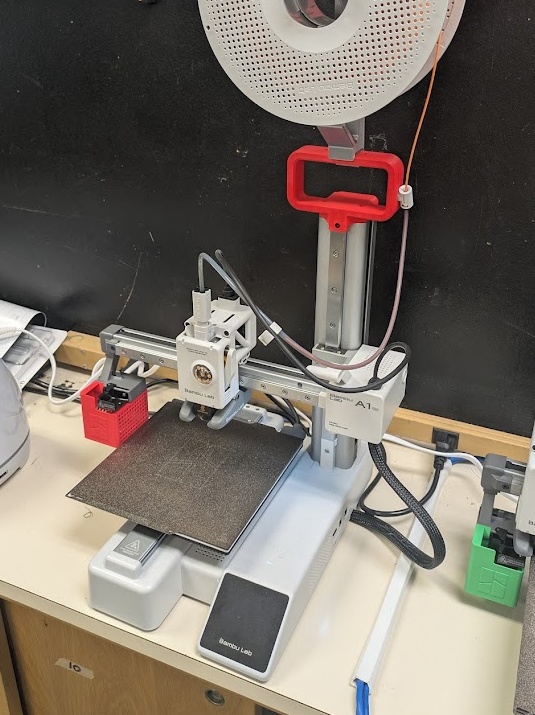
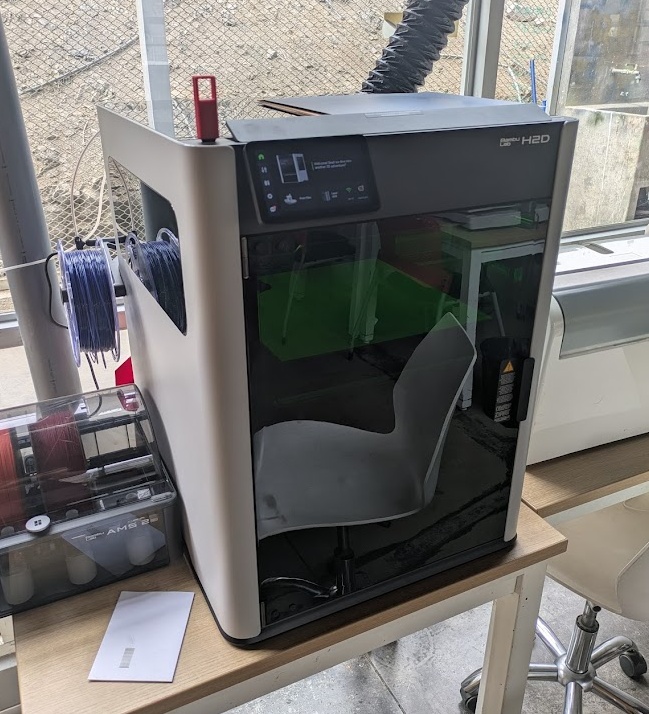
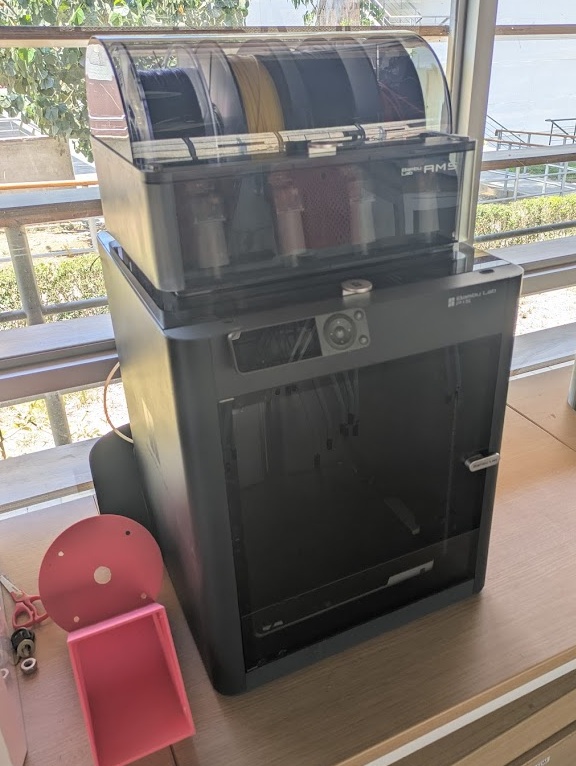
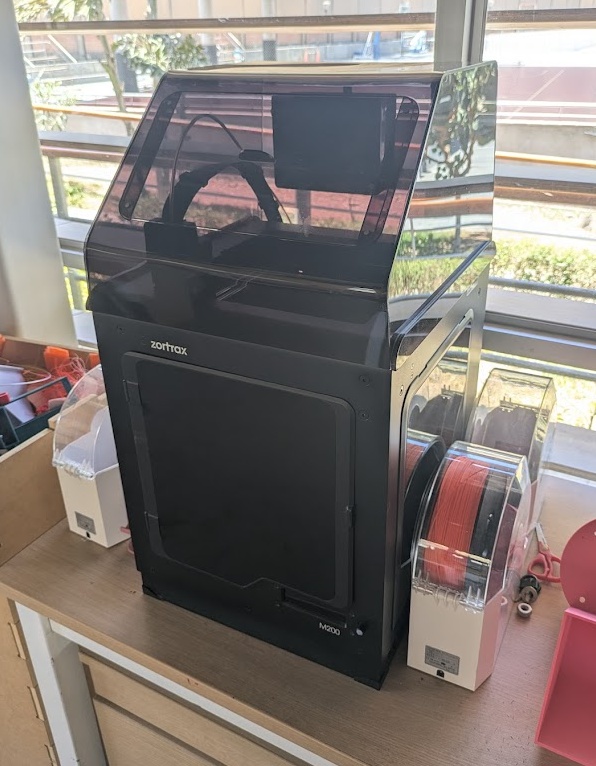
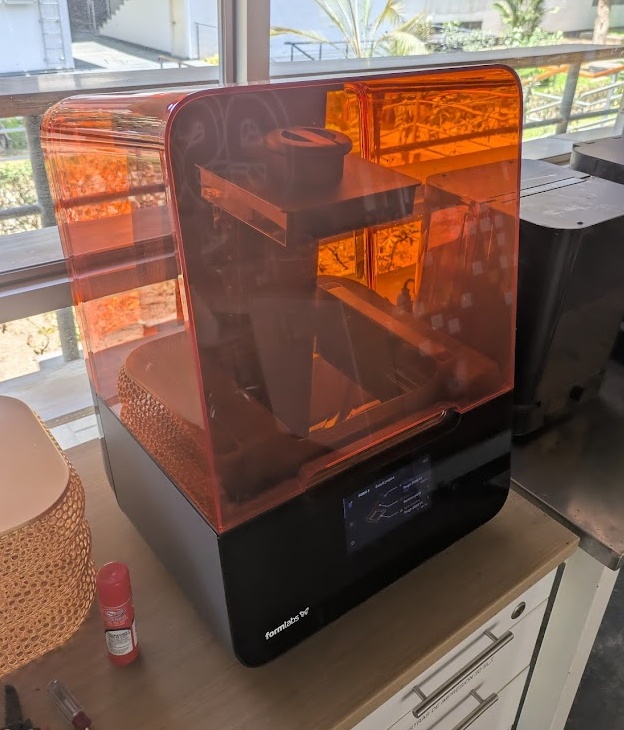
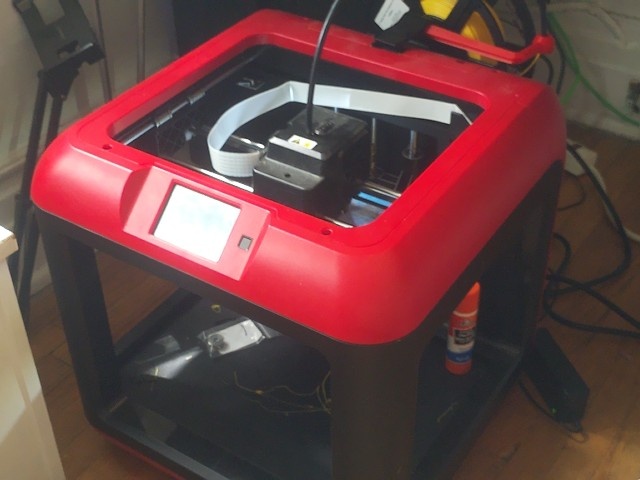
Fab Lab ESAN has a huge variety of 3D printers spanning over a decade but you can tell Jorge likes the stuff that Bambu Labs has been putting out (who could blame him) as these printers take up most of the table space here at the Fab Lab! For my experiments this week, I primarily used:
Bambu A1 with AMS Mini. FDM. Build Volume: 256mm x 256mm x 256mm. Max speed: 500mm/s. Open enclosure. The industry standard for entry level printing
Bambu A1 Mini. FDM. Build Volume: 180mm x 180mm x 180mm. Max speed: 500mm/s. Open enclosure. My personal favourite for the small size and ease of use
Bambu H2D with AMS 2. FDM. Build Volume: 350 x 320mm x 325mm. Max speed: 1000mm/s. Closed enclosure. Has dual nozzles and actively heated enclosure for optimal printing. Can laser cut and knife cut with tool swaps. Absolute beast.
Bambu X1C with AMS. FDM. Build Volume: 256mm x 256mm x 256mm. Max speed: 500mm/s. Closed enclosure. This is the printer I use the most at work. It does a great job of self maintenance and detection with it's LiDAR scanner.
Bambu P1S with AMS. FDM. Build Volume: 256mm x 256mm x 256mm. Max speed: 500mm/s. Closed enclosure. Obsolete machine now!
Zortrax M200. FDM. Build Volume: 200mm x 200mm x 200mm. Max speed: 100mm/s. Closed enclosure. Very old model but performs well with the company's own ABS.
Formlabs Form 3+. SLA. Build Volume: 145mm x 145mm x 185mm. Max speed: N/A - LFS. Closed enclosure. High detail - excited to use this one - first time with SLA/resin!
05.2.0 Design Concepts
As I've mentioned before, I have lots of experience teaching FDM 3D printing. If you want to learn more about how 3D printers work, I have a page on my Grade 11 Graphic Design website that you can check out. In a nutshell, a 3D print is just a collection of very small "slices" (almost helpful to refer to them as 2D or like pieces of paper) stacked on top of each other. The 3D model you create needs special software, called a "Slicer", to create these "2D" geometries, which are then turned into tool path instructions for the printer of your choosing. As a result, most 3D printer manufacturers get you to use their proprietary software that comes with their machines. We don't like closed-source proprietary software here in the Fab Academy, so whenever possible, I try to use OrcaSlicer in my workspace, but for a few of these printers this week, I was forced to use the manufacturer's software.
When designing for FDM 3D printing, there are a couple of things you need to keep in mind.
Parts of a model that extend outward without direct support from below. Generally a 90 degree angle into another axis won't print well, but you may have some limited success if the printed filament can solidify/cool quickly enough for the next layer to be printed on top provided there is some amount of contact with the previous layer.
IMG_FILE: overhang.png
TYPE: PNG
XYZ: 123
Horizontal spans between two points that can be printed mid-air if the distance is short enough for the plastic to cool quickly. Think of it like the little angel hairs you get from using a hot glue gun, you can dab those points across a gap and the material in between can cool and solidify straight if the length is short enough.
IMG_FILE: bridges.png
TYPE: PNG
XYZ: 123
➔ Resolution and Layer Height
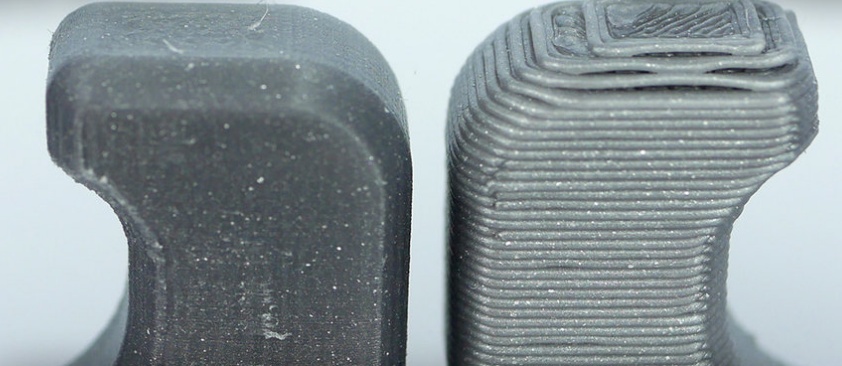
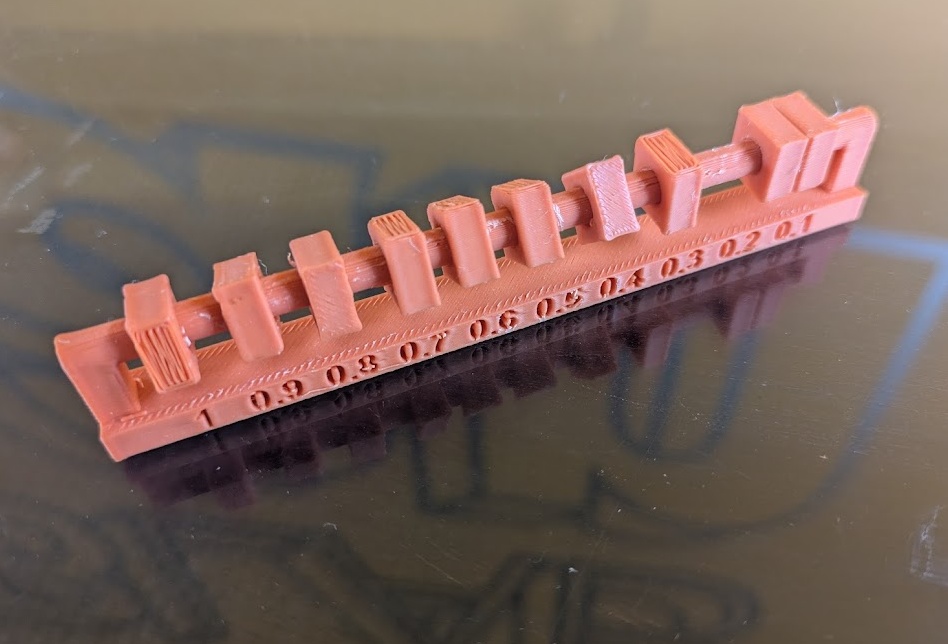
The level of detail on the X and Y axes are determined largely by the diameter of the nozzle installed on the printer (generally it's 0.4mm) but you can change how thick layers are in the Z axis. Thinner layers produce less noticeable layer lines but it takes much longer to print because you are effectively making more layers for the tool path to follow.
IMG_FILE: layerheight.png
TYPE: PNG
XYZ: 123
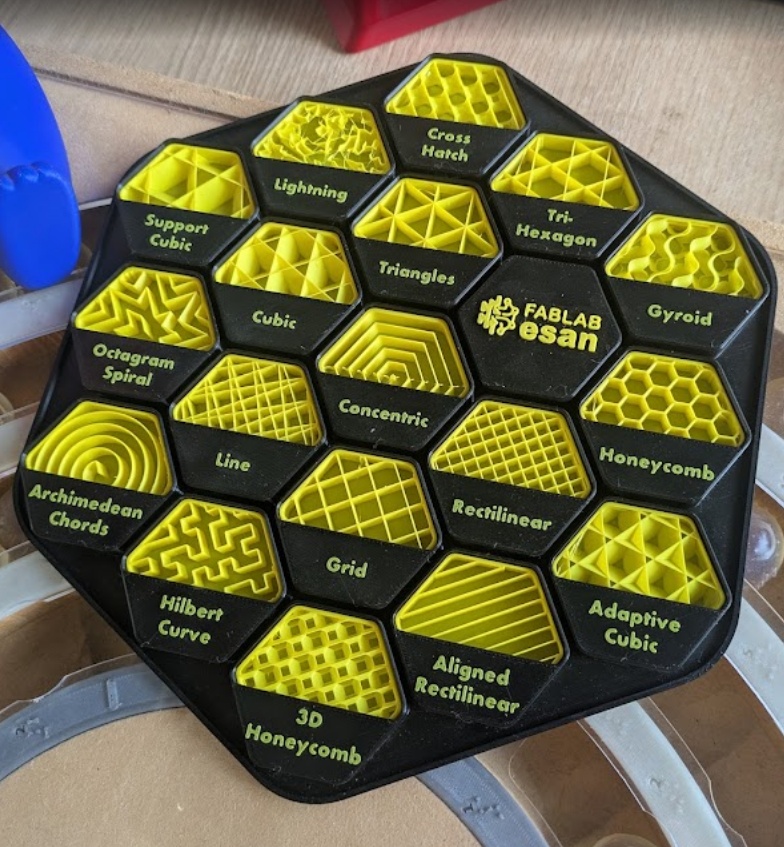
➔ Infill and Wall Thickness
Internal structures that provide strength and save material, you can adjust the pattern type and the percentage depending on what you're printing but it's generally okay to use 15% infill with a crosshatch pattern. Wall thickness dictates how many "loops" of material get printed before the infill begins.
IMG_FILE: infillpatterns.png
TYPE: PNG
XYZ: 123
Plastic shrinks and expands under the heating and cooling during printing, so if you want an intentional gap between moving parts, you need to add a little more to ensure your moving parts don't fuse together during a print.
IMG_FILE: clearance.png
TYPE: PNG
XYZ: 123
You need a sufficient amount of a flat surface to actually begin your print's first layer. Slicers can add extra support materials like a Skirt (prime nozzle), Brim (prevent warping), or Raft (create a flat base) to keep the part stuck to the plate.
IMG_FILE: bedadhesion.png
TYPE: PNG
XYZ: 123
You can tell your 3D printer to pause midway through a print so you can add non-plastic components like magnets or RFID tags, just be sure to include a hollow section in your model to fit your part!
IMG_FILE: pausingprints.png
TYPE: PNG
XYZ: 123
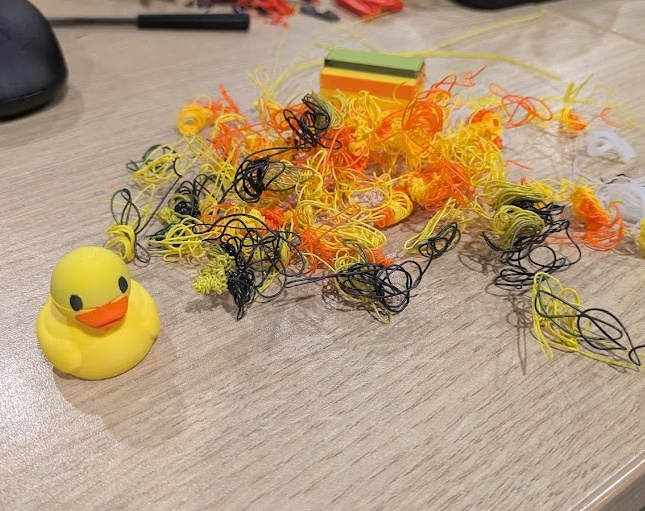
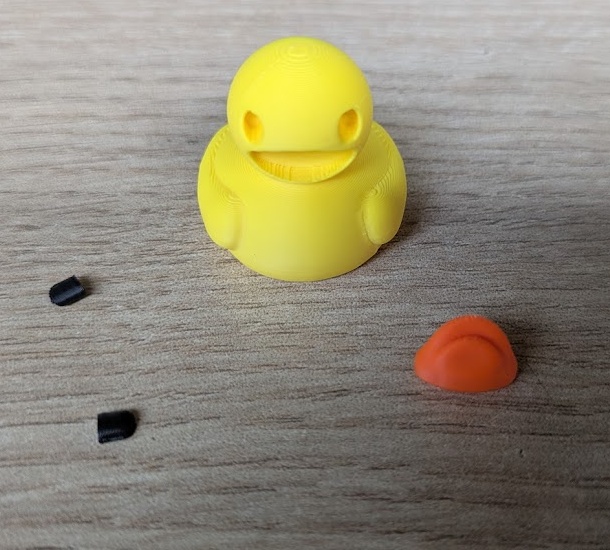
If your printer supports it - you can print using multiple types of filaments or colours. I am personally not a huge fan of using an automatic filament system as it creates a LOT of waste.
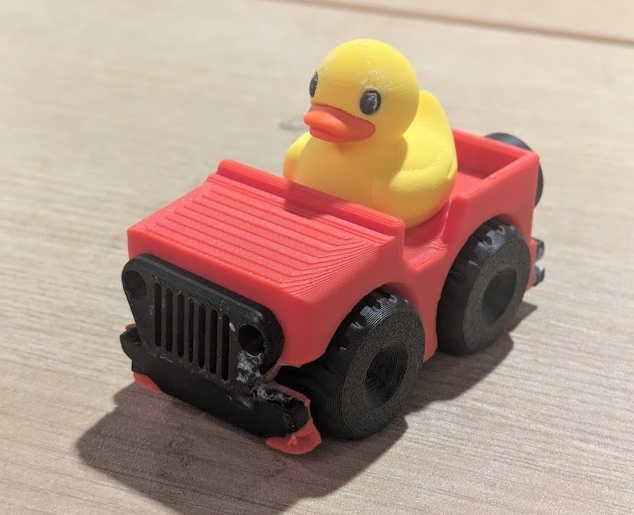
Exhibit A. The amount of "flushed" filament from a single print of a tiny little rubber ducky. Seriously such a huge waste!
Here is my better way to approach multi coloured prints. Cut out the different parts of your design and print them separately - then you can neatly slide them into each other and add a touch of glue to keep them secure. Saves so much filament!
The consequence of doing it this way is you end up having to look at some pretty demonic models...
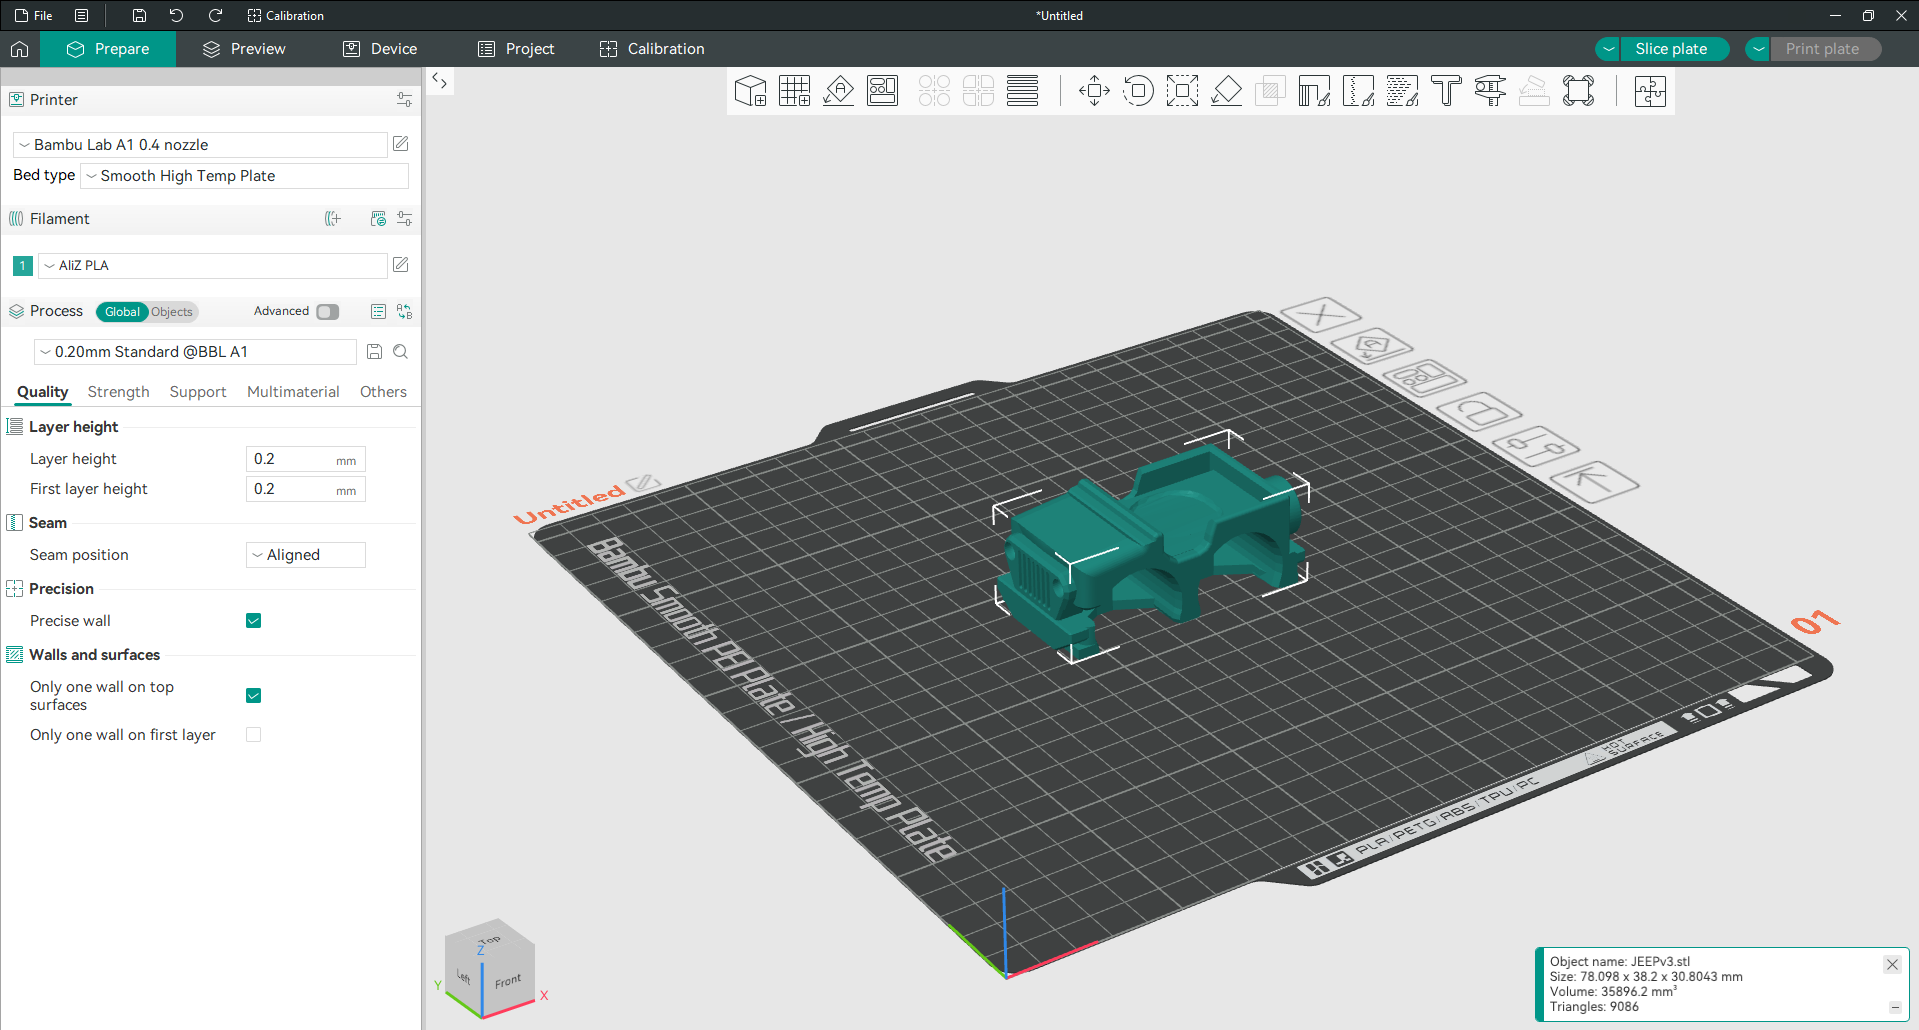
05.3.0 FDM Printing
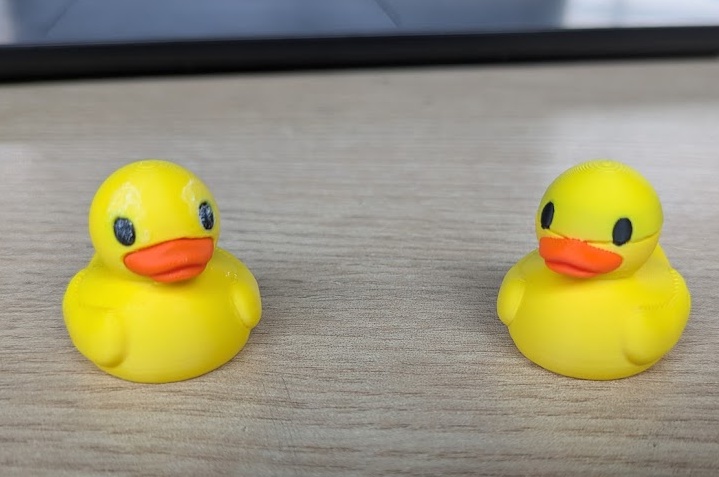
Have you heard of Jeep Ducking? Jeep owners fill their dashboards with rubber ducks... for some reason, I don't know I didn't read the Wikipedia page I just linked. Anyways, I thought it would be nice if I printed a present for my mother-in-law, and she has a red Jeep!
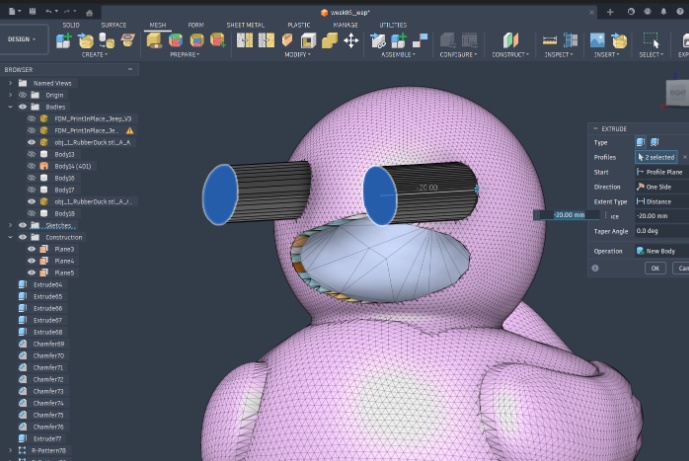
Start by modelling out a rough shape of the Jeep in Fusion 360
The bottom chassis of this part is what makes this suitable for additive manufacturing versus subtractive - at least if you're limited in one axis
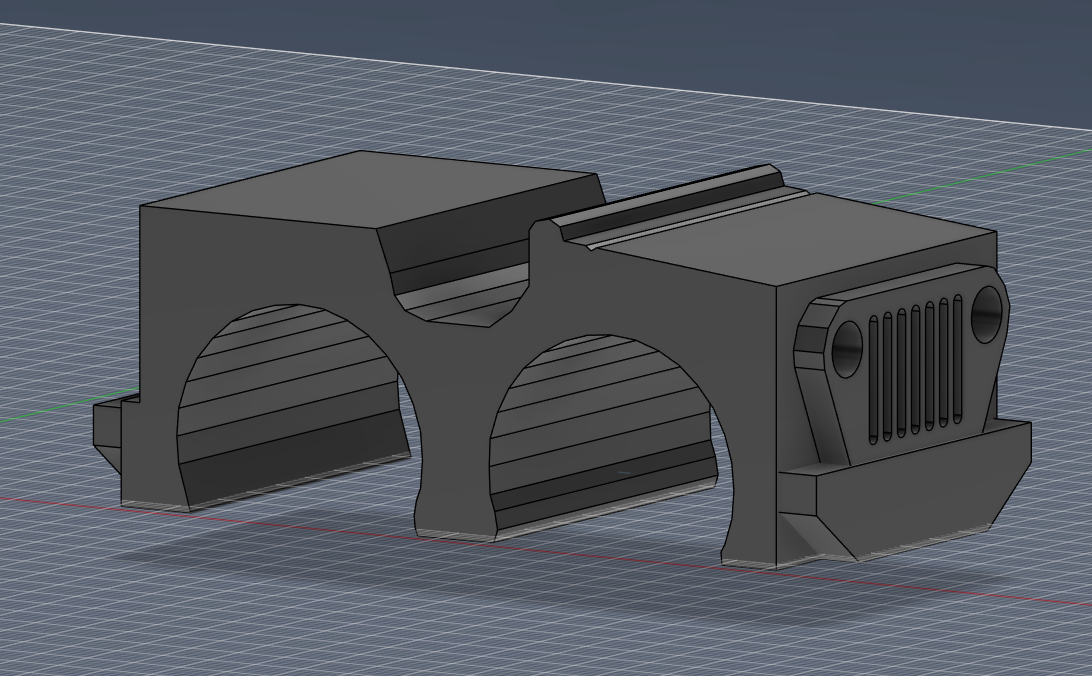
Separating the parts into the different colours I want to print - because as you read above - it's very wasteful to print it all in one go when you can just attach the parts yourself.
../images/3d/Pasted image 20260218153014.png
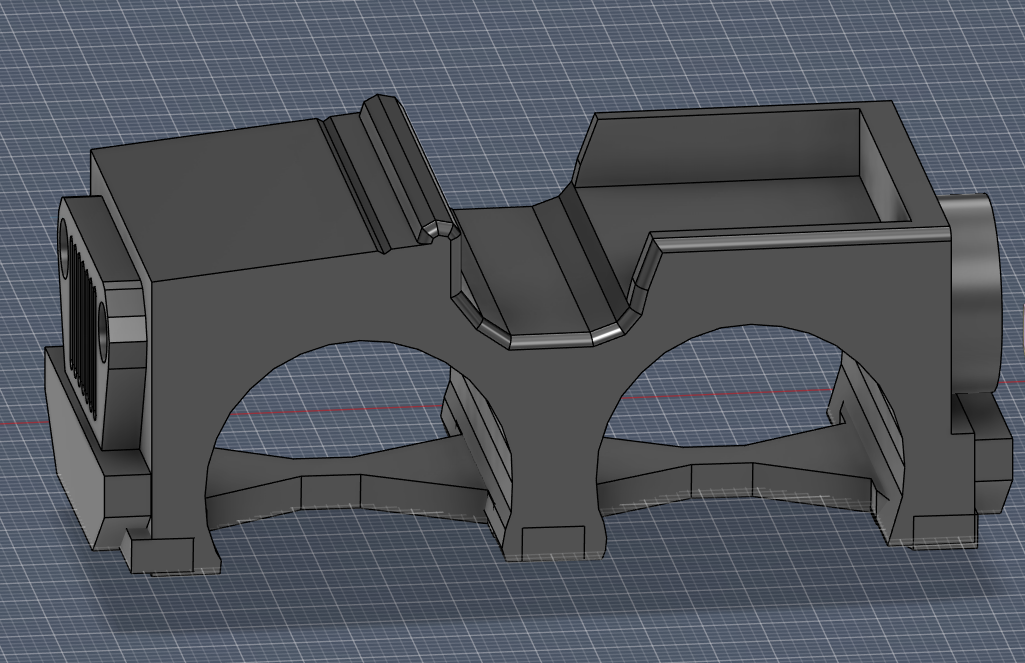
Here's a multicolour version that could be printed in one go - but I opted against it after looking at how much waste it would generate
The magic of Bambu Labs...
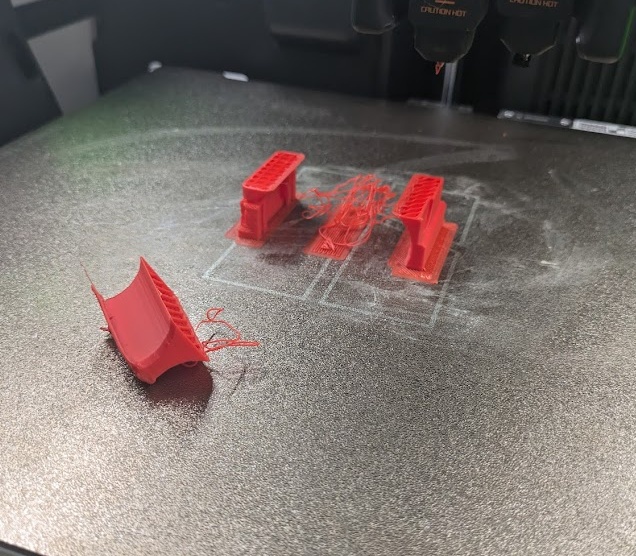
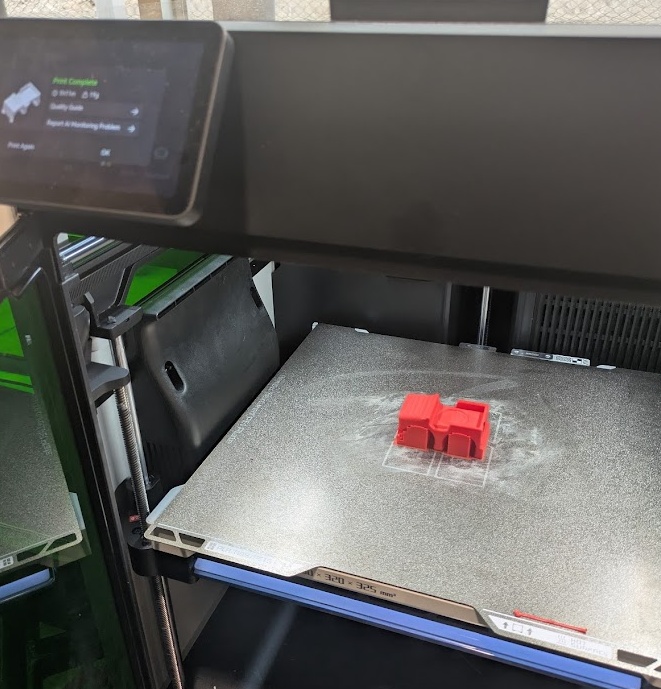
I mentioned I have a lot of experience with 3D printing already but I feel like this simple model was the one that gave me the MOST trouble! I could not get the ABS supports to stay put.
Finally got it to work after 5 tries! When in doubt - move some supports around and reslice.
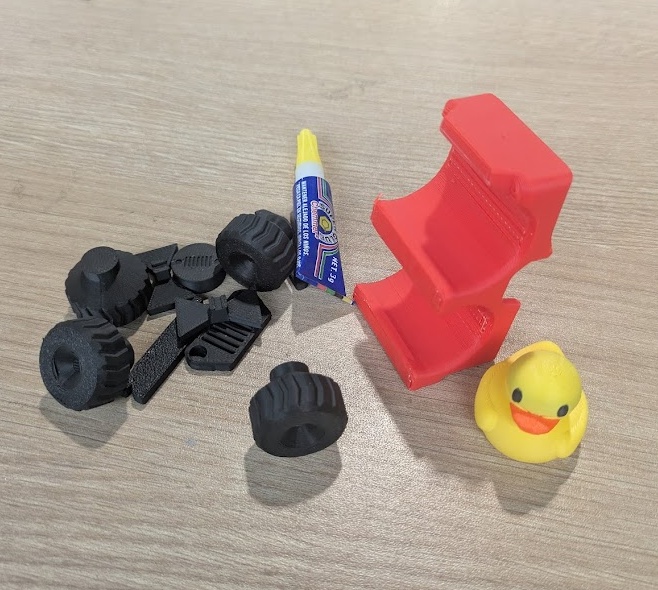
A little bit of glue and some assembly required.
Beep beep! I'm a Jeep! Carolyn if you're reading this before Easter - sorry your surprise got spoiled!
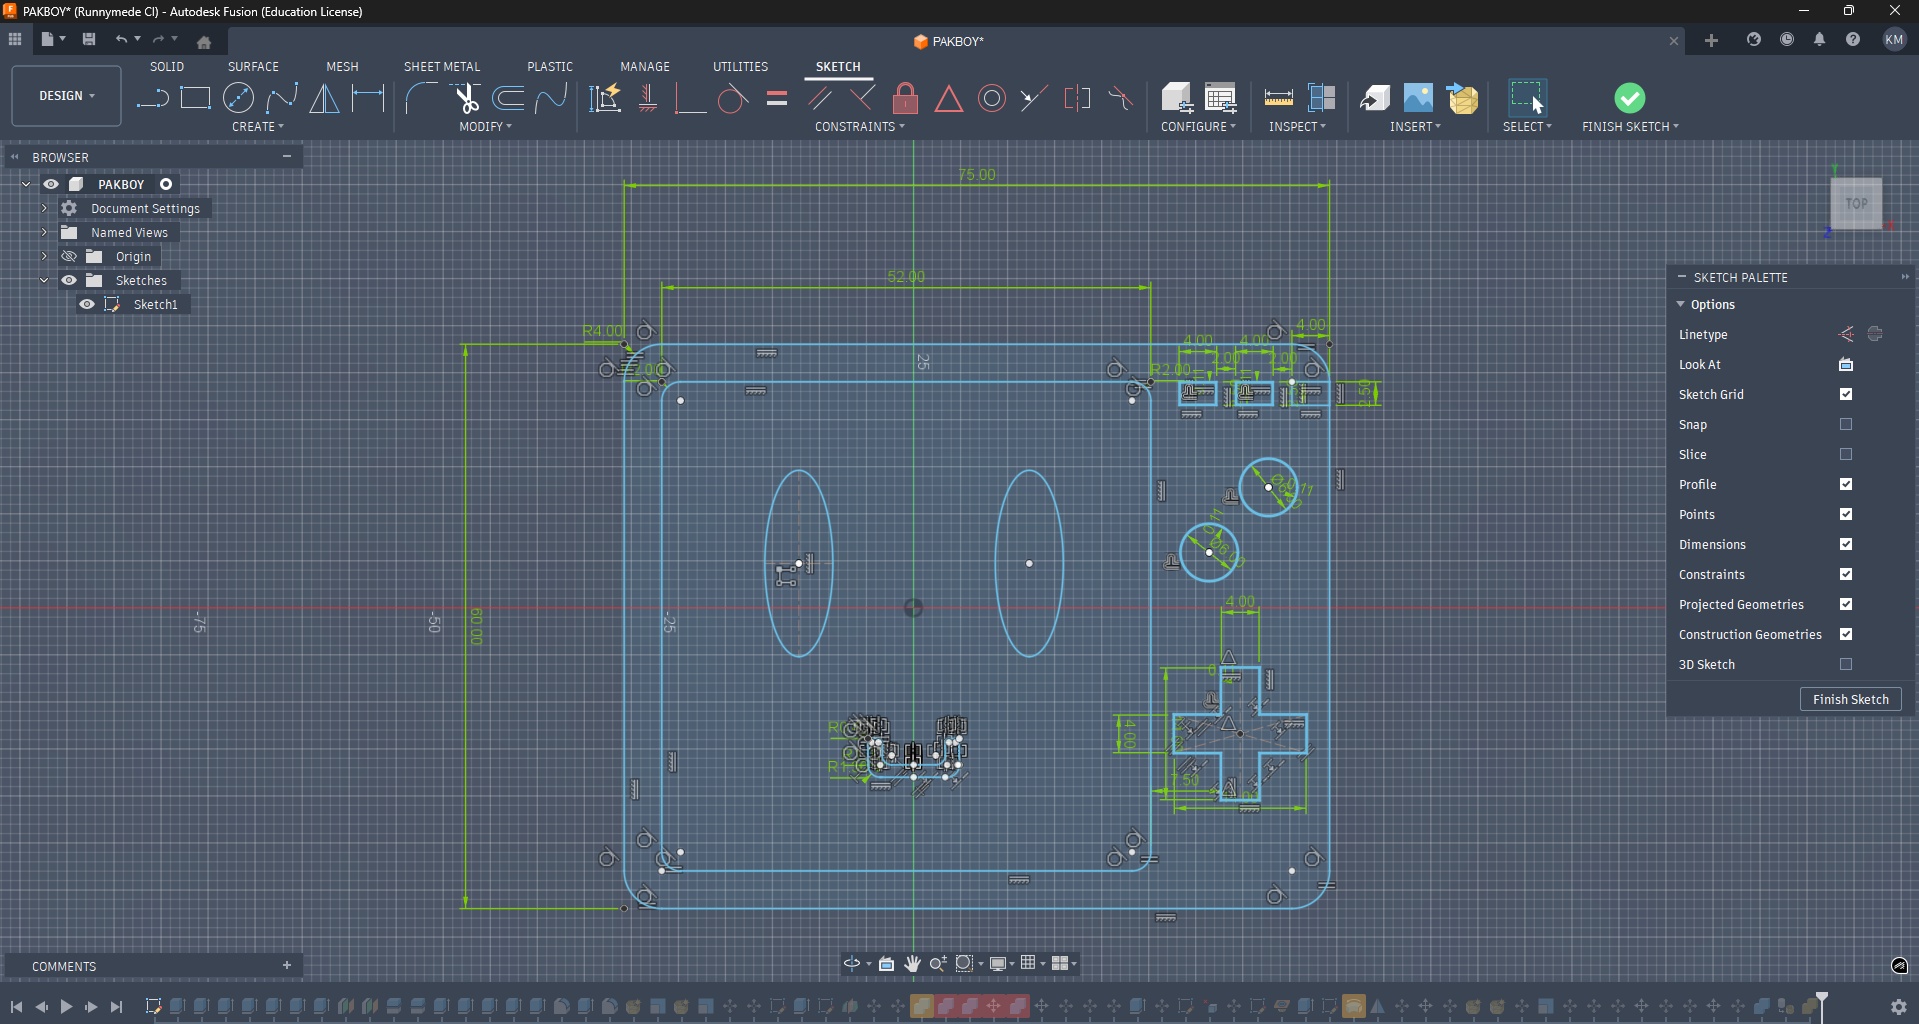
I also did some work for my final project using the 3D printers this week. You can read more about that over on my Final Project page.
05.4.0 SLA Printing
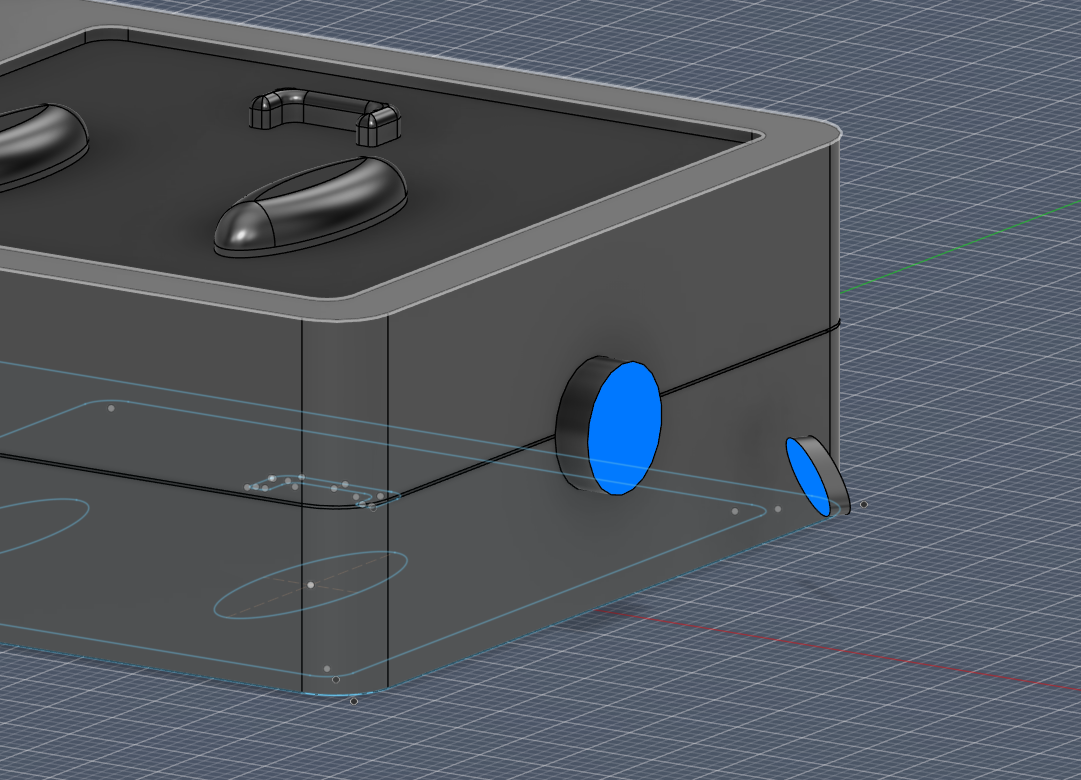
I talk a lot of talk about 3D printing but I've actually never used a resin printer before. I always found them to be a bit cumbersome with all of the toxic chemicals and curing process. I've also never really had a need for something super high resolution. I see that resin printers often get used for printing character models, so I had the idea to create an anthropomorphized character of my final project, PAK-BOY.
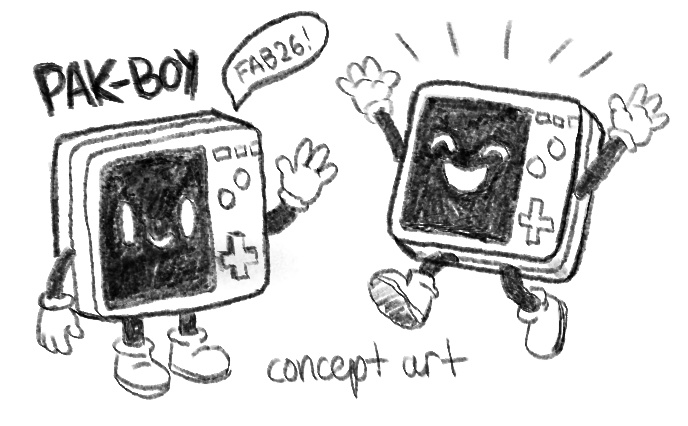
I started with some preliminary sketches to compliment the design I had in mind for the software compliment from last week and then brought things into Fusion to try my hand at modelling a character (luckily PAK-BOY is mostly rigid geometry so he's a lot easier to model).
Sketching out all of his features in 2D first
Connecting the arms in Fusion using the loft tool
Meshy boy
Interestingly - you generally want to print your designs on an angle for SLA printers. This is so the liquid resin doesn't pool anywhere on the cured areas - the slant provides a path for the liquid to trickle back into the pool
Unlike FDM - Resin needs to be washed off the print with isopropyl and then cured with a UV light and some heat before it's fully finished
And here he is after a bath and some sanding! He's really heavy! We used Tough 2000 Resin to print him.
05.5.0 3D Scanning
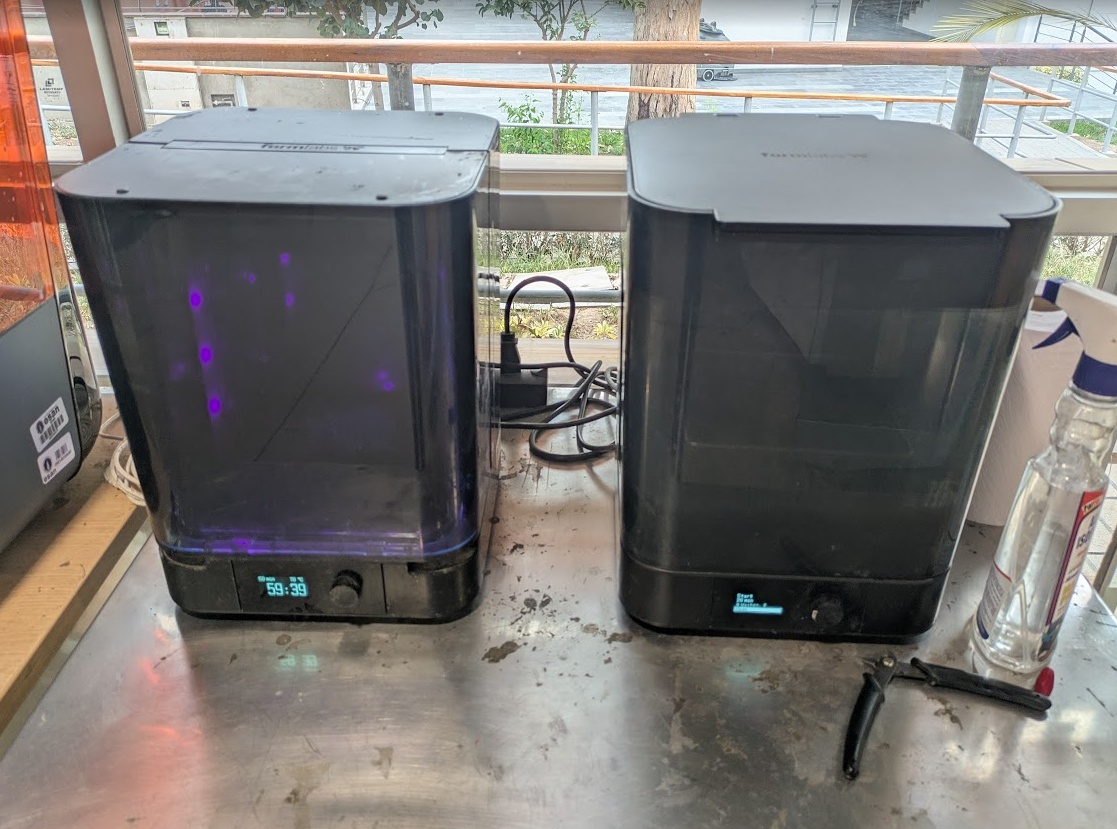
I'm going to keep tooting my own horn this week because it really is the only week I can claim that I have slightly larger wealth of experience. I have used a Revopoint POP 3D Scanner before, which is a lot like the Creality Raptor that ESAN's Fab Lab has. Of course, each of these tools has their own proprietary software and no support for any open source applications as of yet.
Setting up the scanner with Jorge and Rocio from FabLabPeru.
Some initial tests with the scanner.
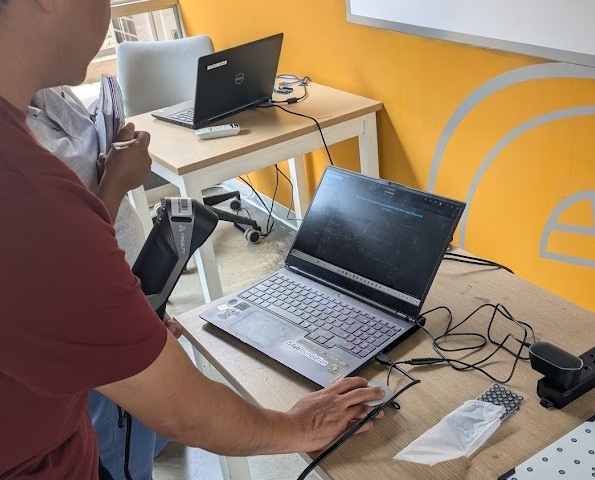
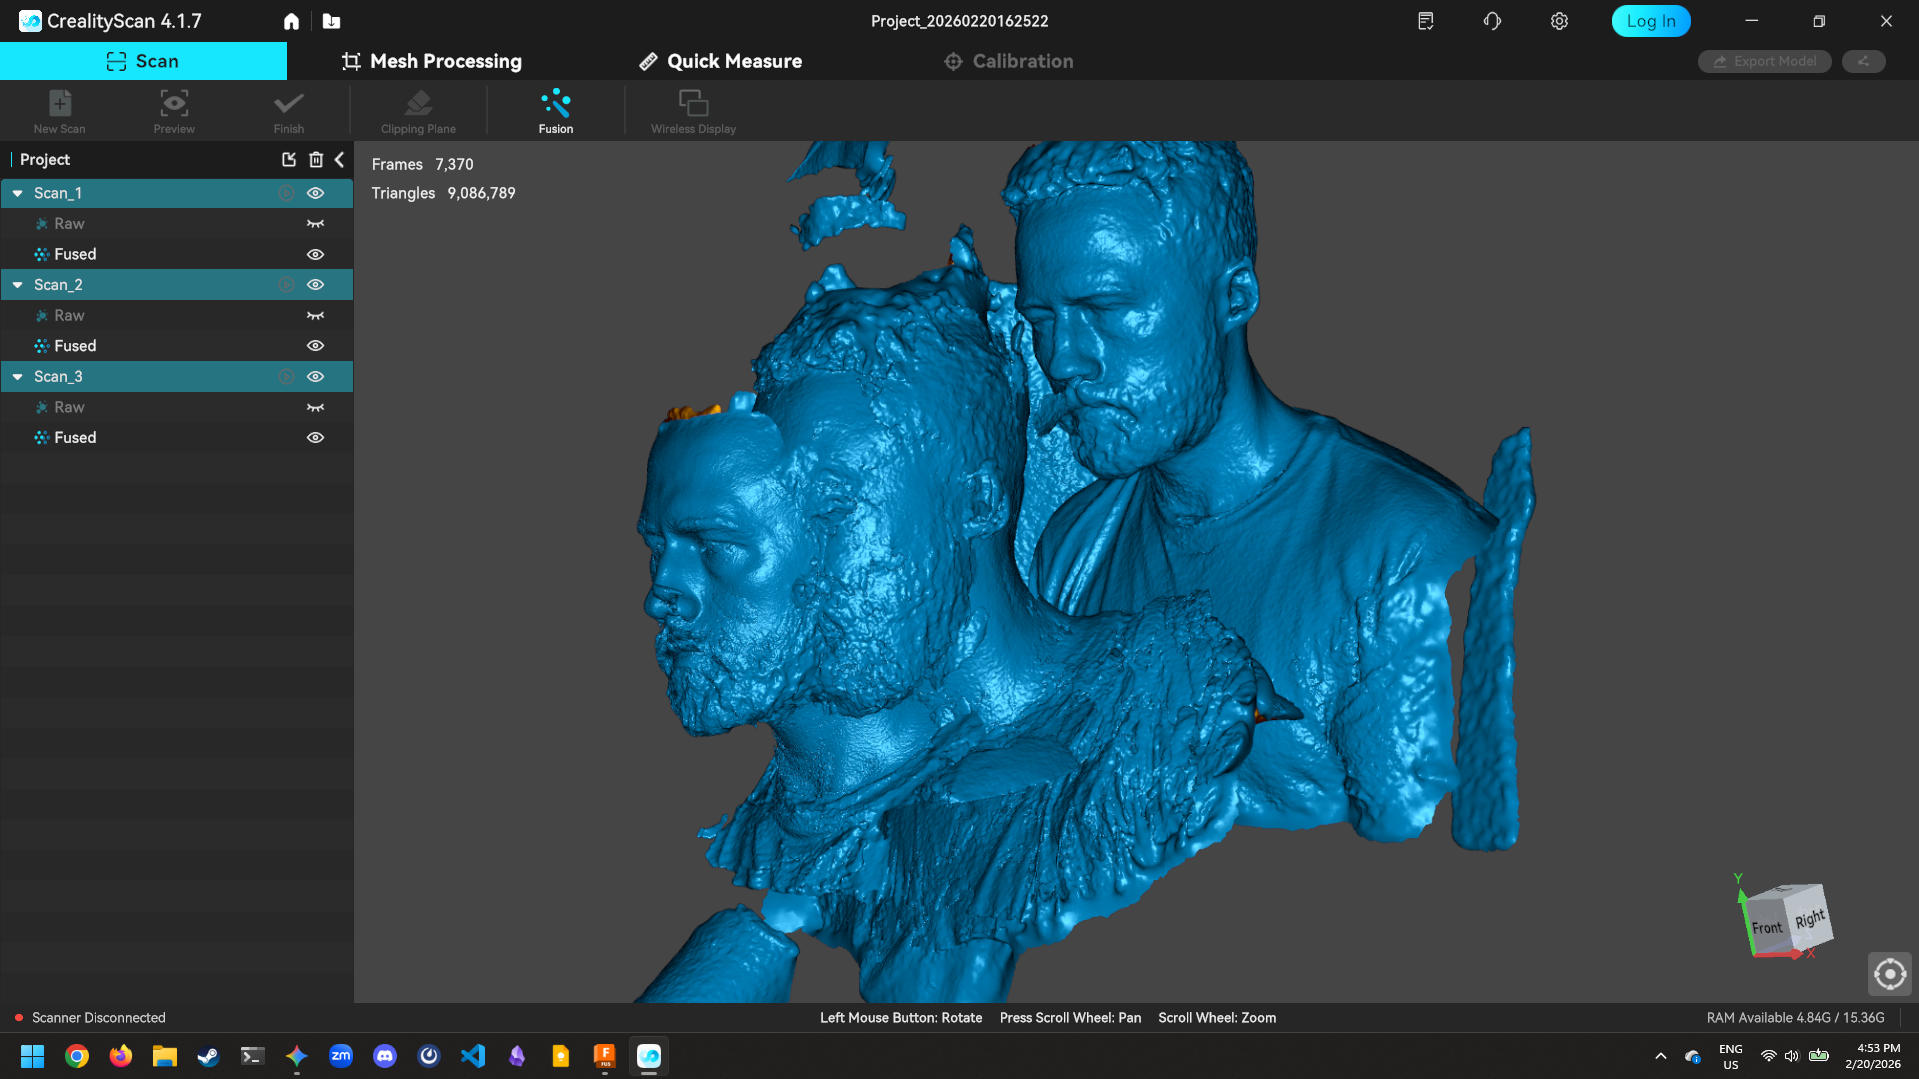
It's recommended that you take multiple scans of the same thing (in this case - that thing is me) and then you can have your scanner software align each scan and average the point cloud
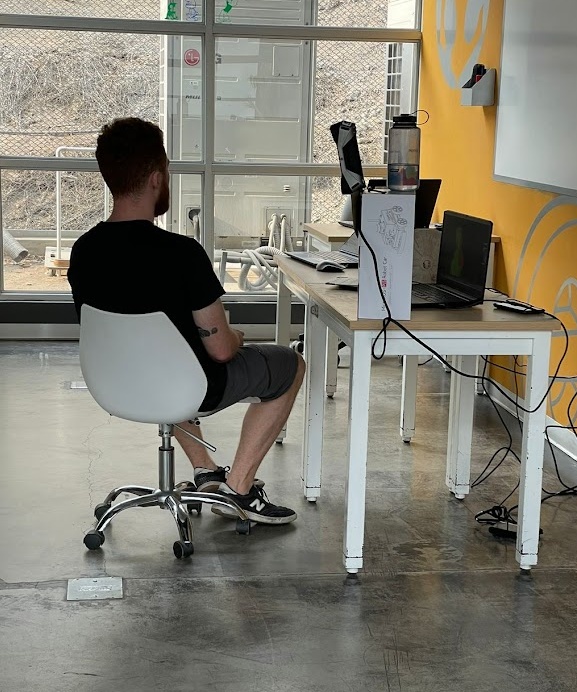
Can always count on Jorge to get me some action shots. Here's my set up to scan my self - I need to slowly rotate in the chair and hope the scan doesn't fail while I can't see the screen.
I've mentioned before that I'm currently taking Fab Academy in Peru and that my wife is still back in Toronto, over 6,000 kilometers away. Also 6,000 kilometers away is my own Bambu A1 mini in our apartment, connected to the internet and my Bambu Handy app. So, I figured I'd print her a little keepsake to help remember her husband by.
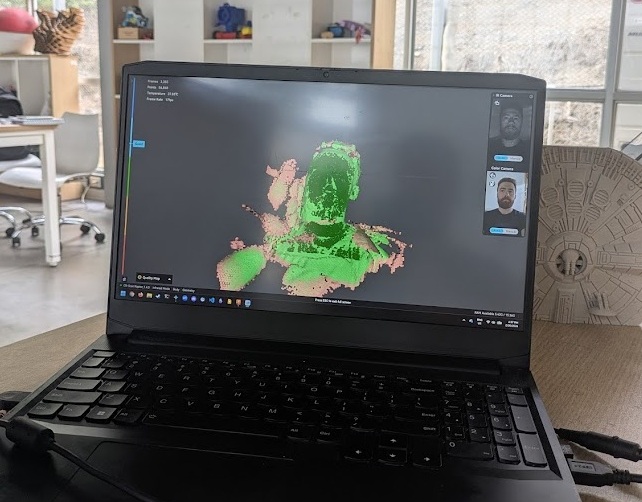
That's me in the computer!!!
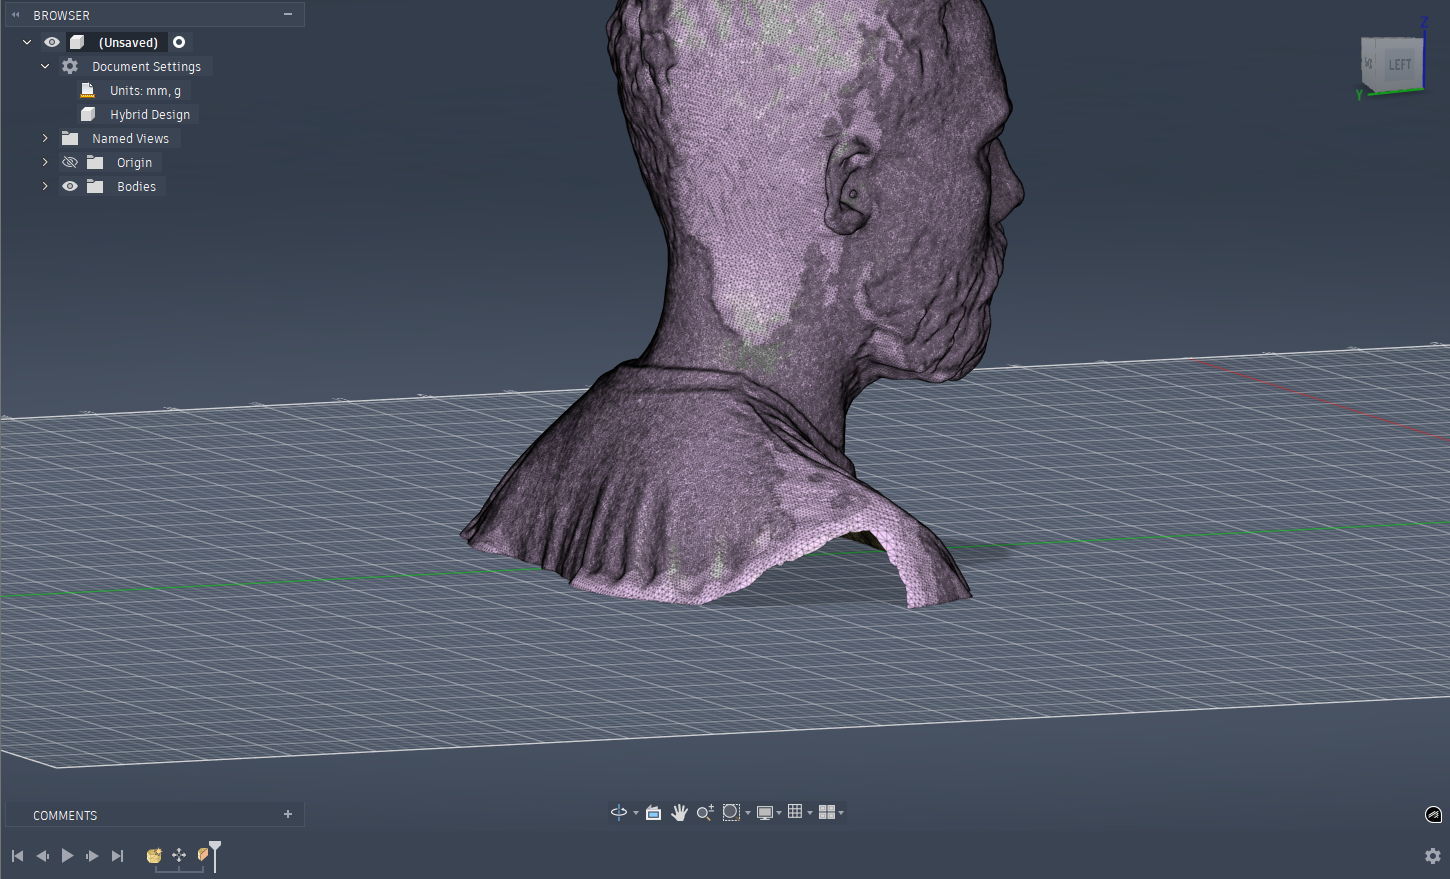
Brought the final mesh into Fusion to try and patch up some of the holes and add a base for it to actually become watertight
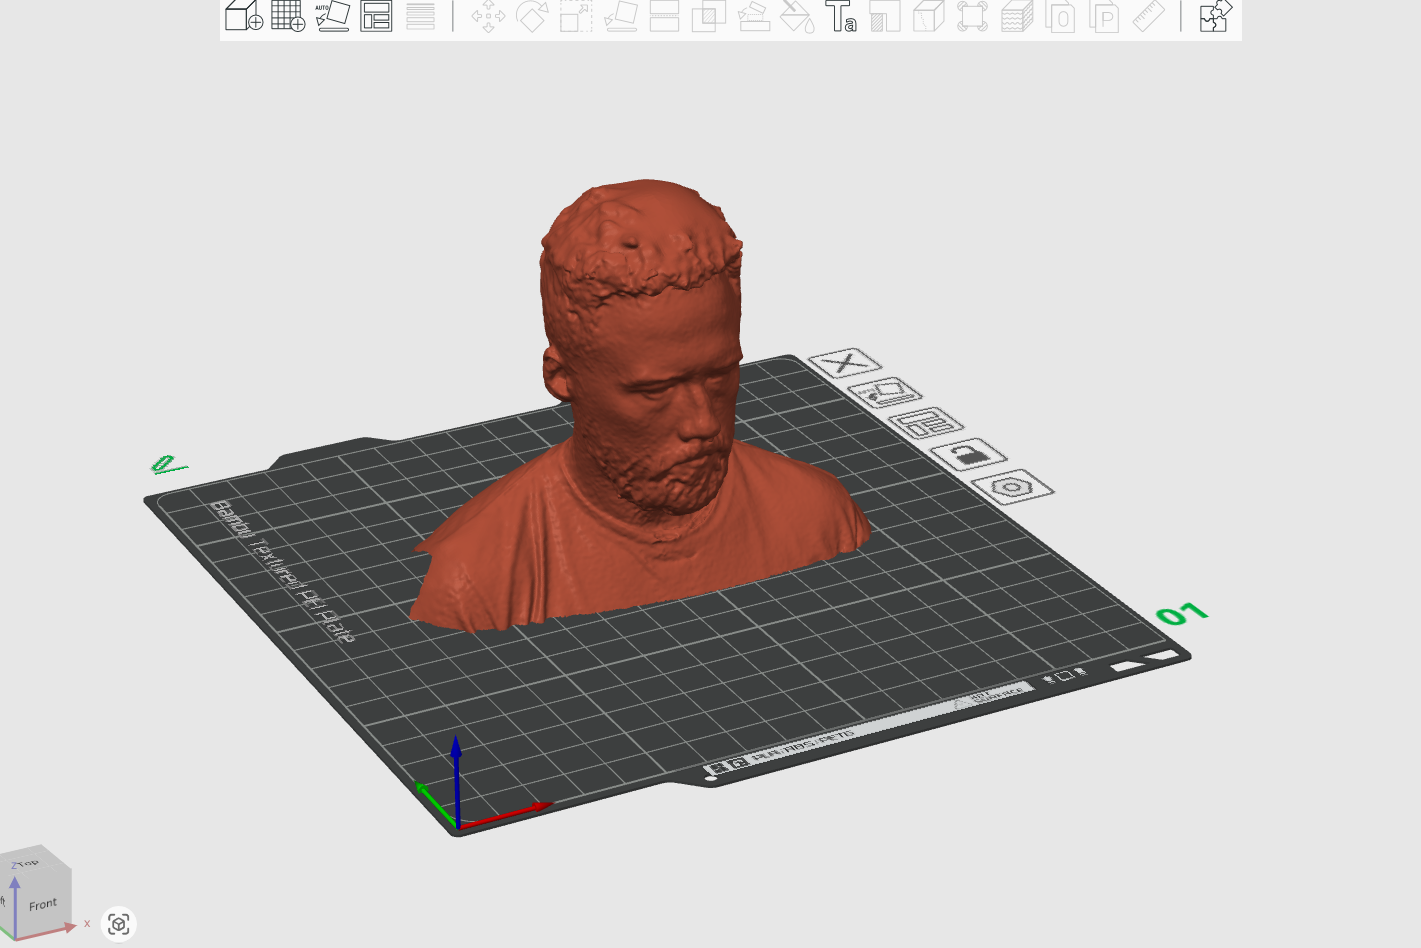
Slicing in Bambu Studio instead of Orca because I want to be able to send the print over the web
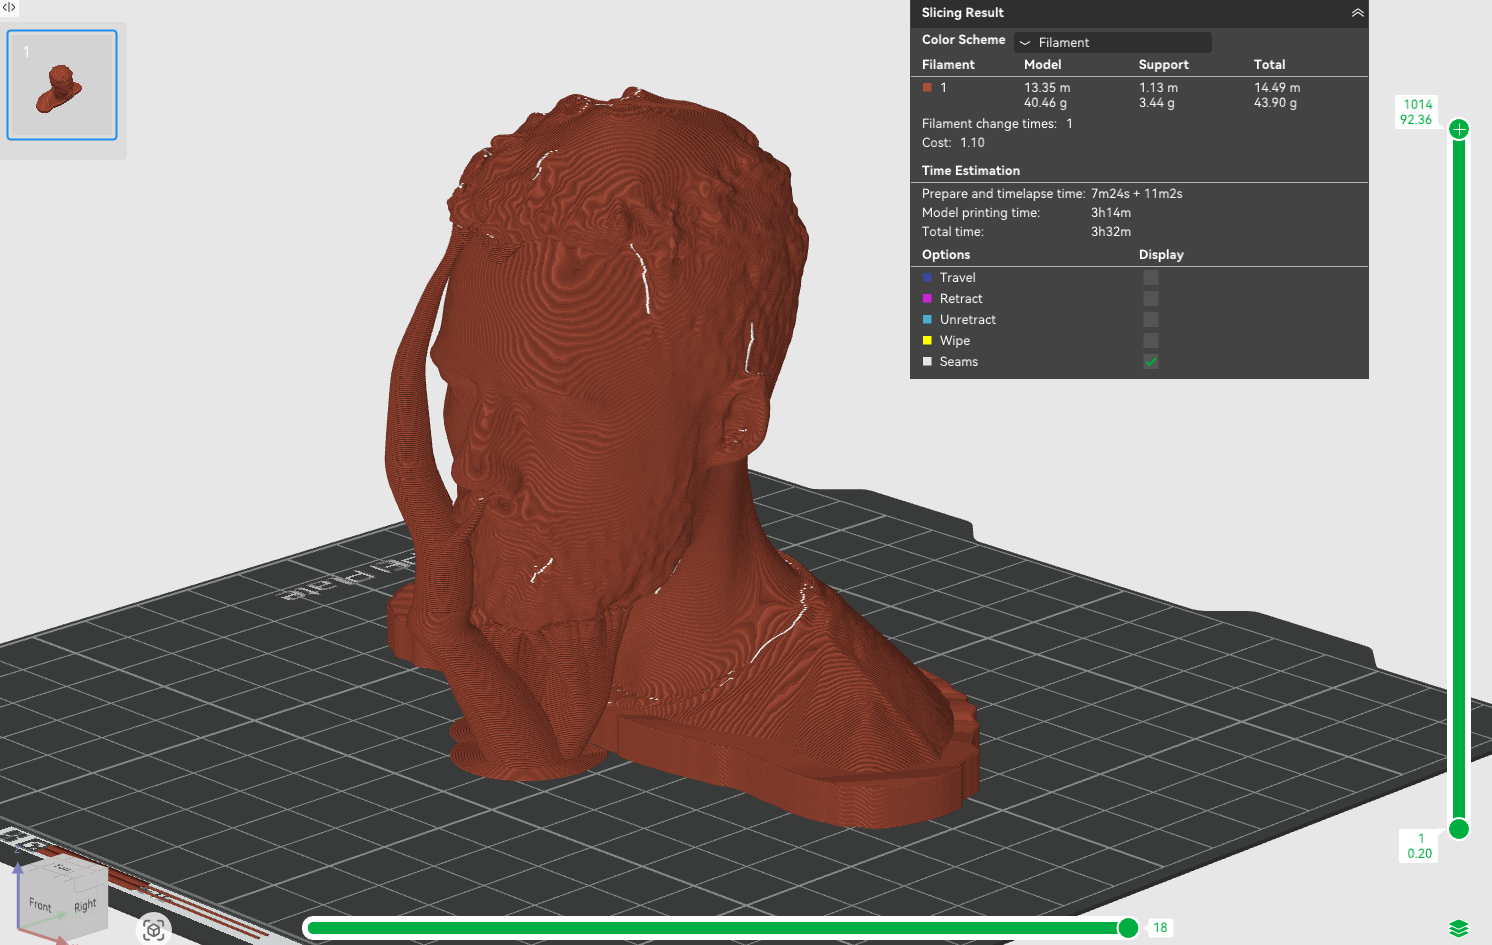
Generating tree supports to come out of my nose...
The time lapse in Toronto - recorded on my PC in Lima
Printed in Marble PLA (very fitting for a bust) but most importantly - in my wife's hands in cold and snowy Toronto - 6200 kilometers away!
That wraps up the basic play and learn for this week. I continued to work with the 3D printers throughout the week creating the first prototypes for the cartridge system that will be in my final project, you can find all of the additional work I did over on the final project page.
05.6.0 Conclusion
Wrapping up this week was a massive exercise in patience, mostly because I went in thinking my expert level experience with FDM printing would make this a breeze. I spent waaaay too long trying to fight Fusion on handling meshes vs. bodies, it seriously bewilders me how there isn't an easy way to parametrically estimate (not even project!!!) shapes between the two types of 3D shapes. On the plus side, finally trying out SLA printing was a highlight. Seeing the detail on the PAK-BOY model and how heavy it was post print was great! It was also a pretty cool moment to scan myself in Peru and have a physical keepsake for my wife to pop out of my printer in Toronto just a few hours later, which really drives home why this technology is so transformative for distributed manufacturing - and just how crazy accessible it's become in the last 5 years alone! Far cry from my Flashforge Finder 3, I'll say.


