Introduction
This week's assignment was all about exploring software for design. After settling in to my new apartment in Peru, I took on the exciting task of trying out all of the software I've been eager to try out for many years. As a quick backgrounder, I consider myself to be fairly familiar with the basics of CAD. I've been using and teaching TinkerCAD to design 3D prints for years, and consider myself to be an expert in Illustrator, and teach a whole course on graphic and digital design. However, I've been strangely avoidant of learning parametric design and have pigeonholed myself into thinking about CAD only in terms of boolean objects and constructive solid geometry.
I made my goal this week to try as many CAD options as possible, to learn the strengths and weaknesses of each, what their use cases are, and how each could join my workflow for my studies at Fab Academy. I identified a good range of software to try out, now to put them to the test.
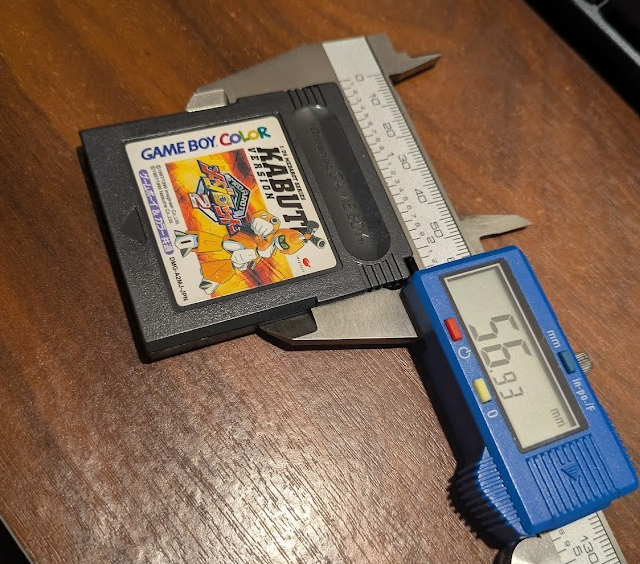
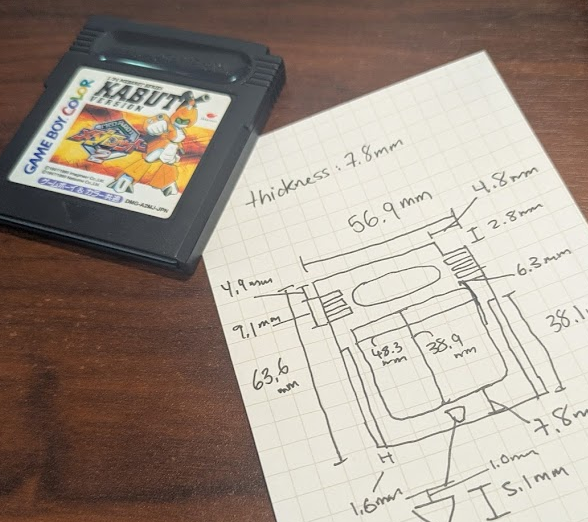
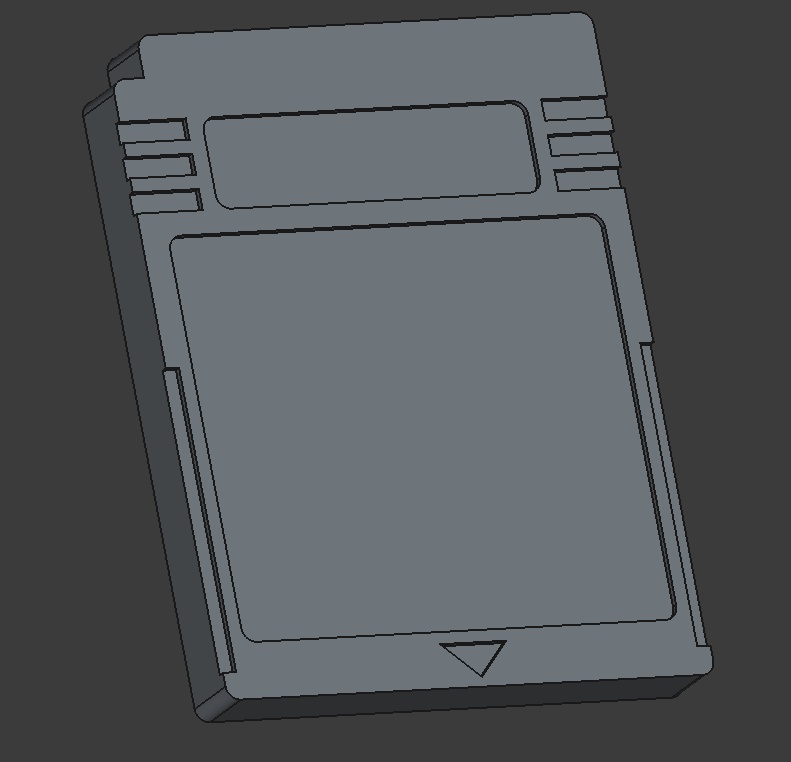
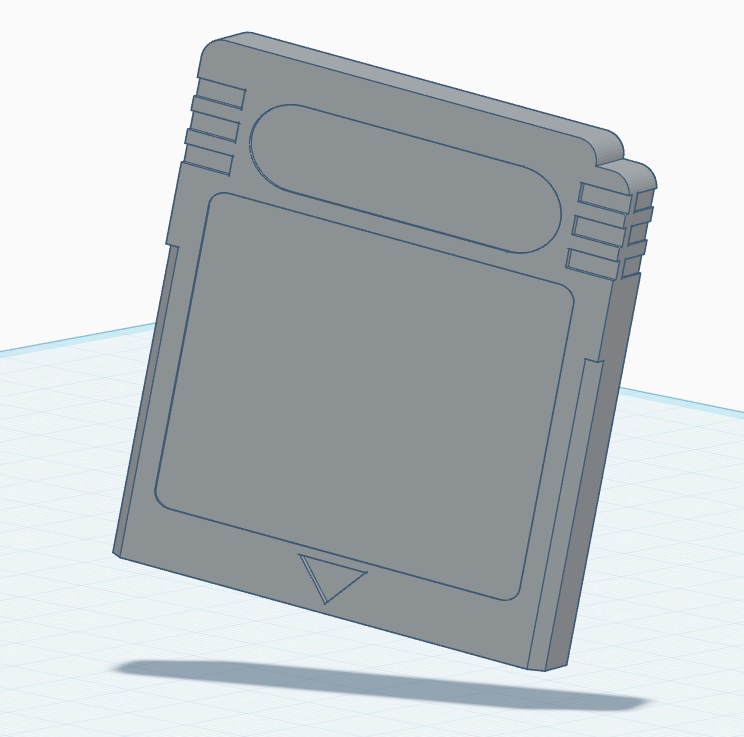
I decided for each piece of software, I would try to model a Game Boy cartridge to learn the ropes, since I would eventually be modelling a design for my own cartridge for use in my final project. I began by taking measurements of the cartridge with my calipers and got dimensioning.
[x] Evaluate and select 2D and 3D software
[x] Demonstrate and describe processes used in modelling with 2D and 3D softwares
[x] Demonstrate image and video compression

[x] Model Cartridge in Fusion 360
[x] Model Cartridge in SolidWorks
[x] Model Cartridge in OnShape
[x] Model Cartridge in FreeCAD
[x] Model Cartridge in TinkerCAD
[x] Model Cartridge in Womp
[x] Model Cartridge in Blender

[x] Create graphics in Illustrator
[x] Create graphics in Procreate

[x] Model the case for my final project in Fusion

[ ] For my students: create introductory page on CAD vocab
[ ] For my students: create tutorial on getting started in CAD
3D CAD
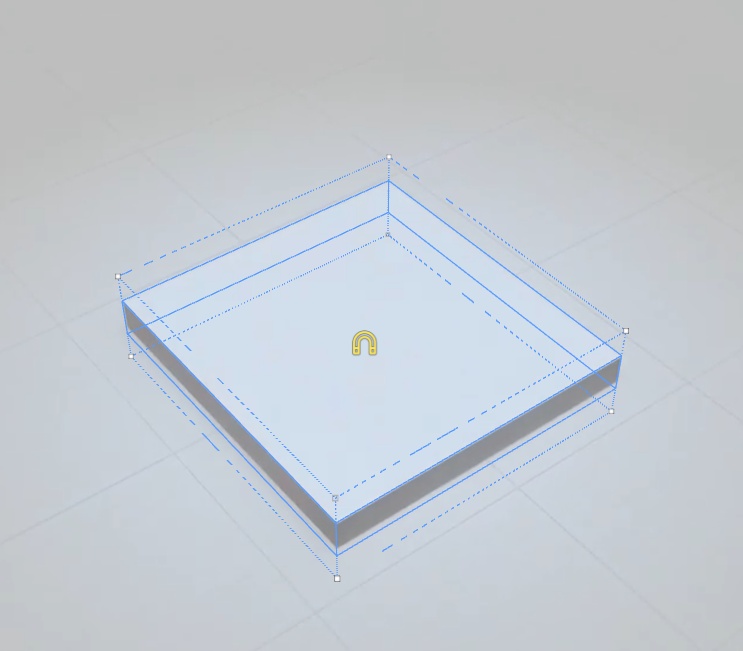
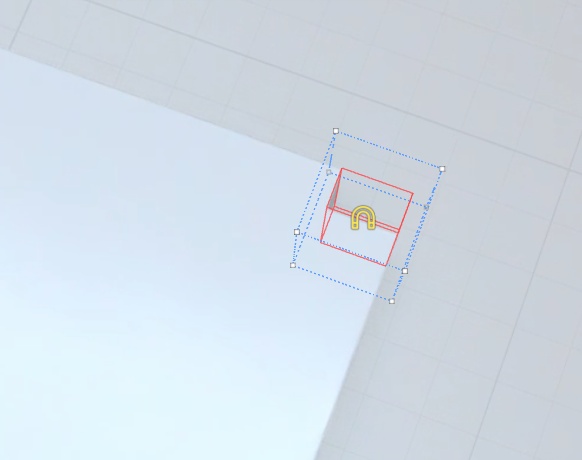
I was most hopeful to try out OnShape, as it's something I've had a bit of experience using, and I like the fact that it is browser-based and free-to-use, both excellent things for an educator with limited resources. It was not my first time using OnShape, but it was the first time fully jumped aboard parametric modelling. It took some getting used to, but I eventually found a rhythm of drawing and dimensioning.
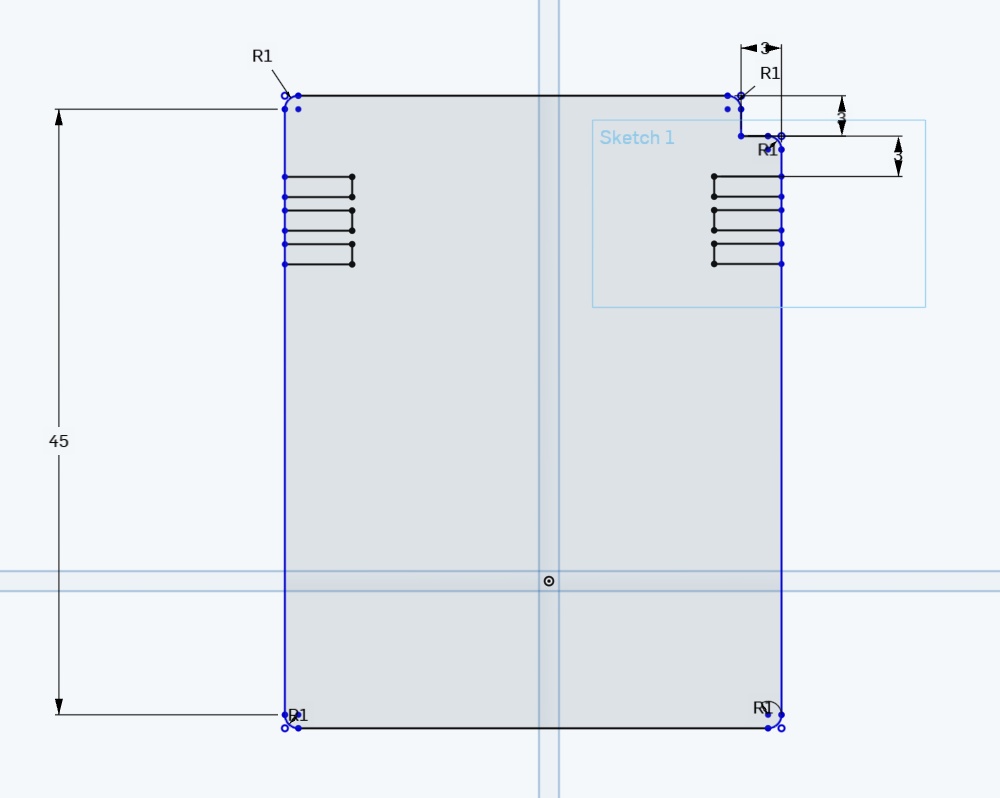

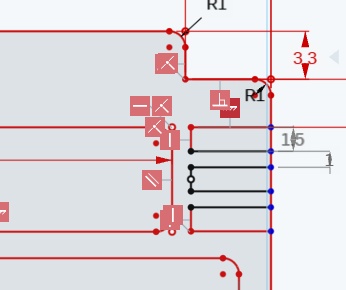
One thing I will say is that I do think the Dimensioning tool in OnShape is super intuitive. I like how quickly you can develop your sketch using it. However, again - there isn't a lot of information visually conveyed in this software. Whenever you've overconstrained a sketch and it cannot resolve, you get these red error squares. Wish I knew what they meant because when you mouse over them, it tells you nothing! A little tooltip would go a long way.
➔ OnShape
Overall Verdict: B-
Pros: Browser-based, accessible, free, clean UI
Cons: Very little visual communication to the user.
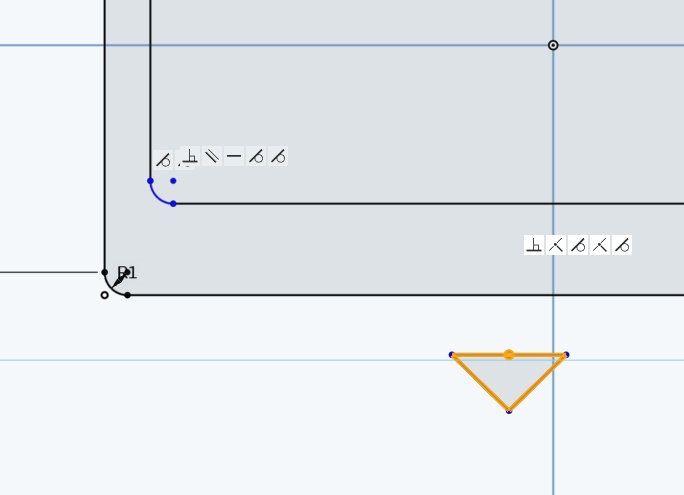
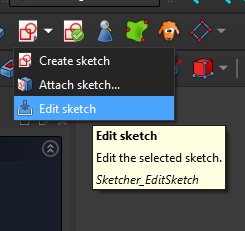
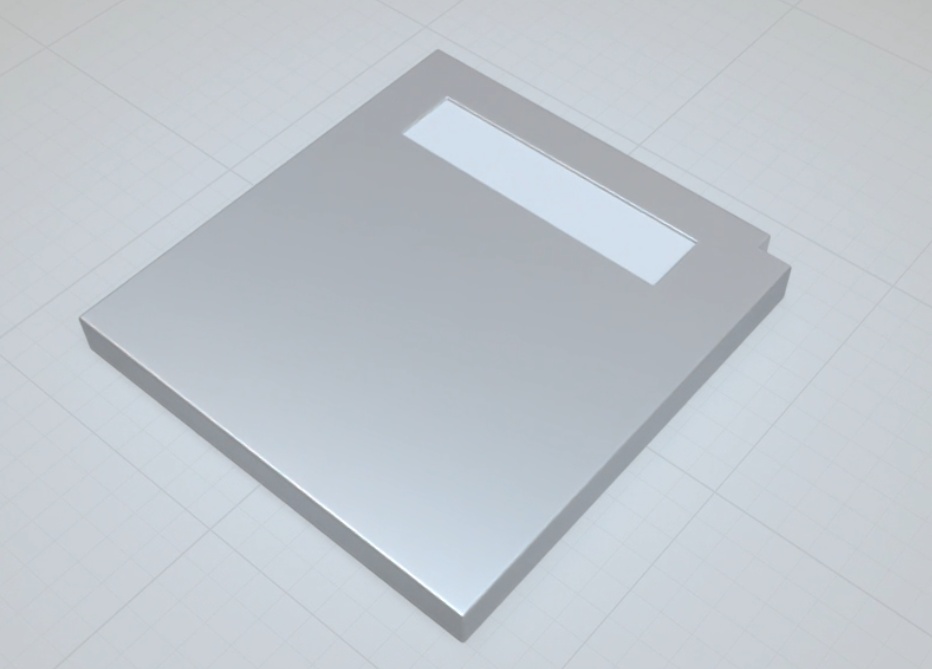
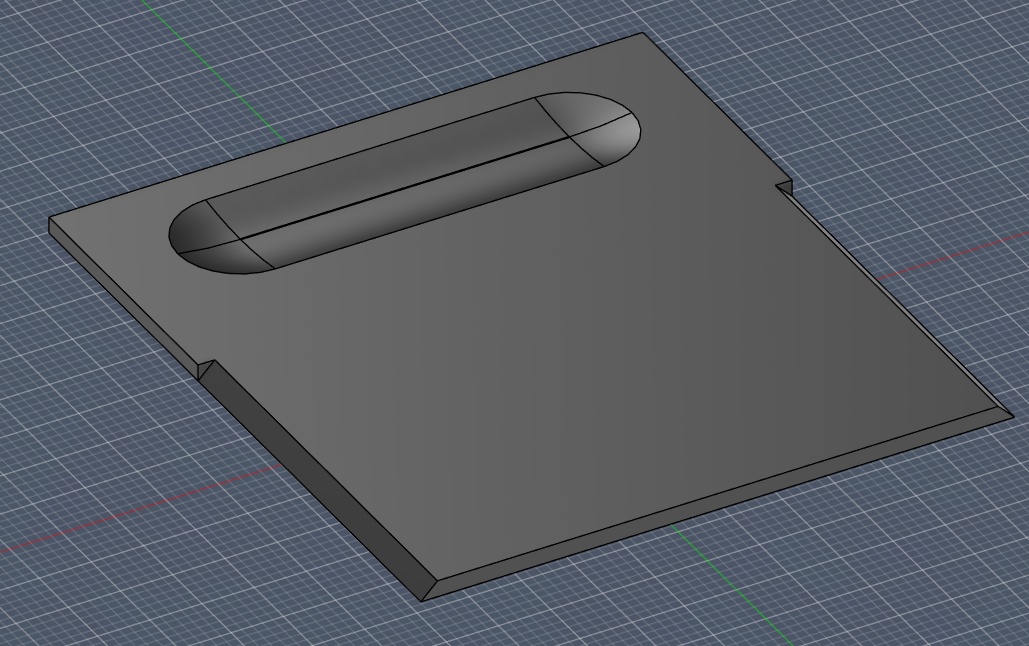
Next up is FreeCAD. This one made me feel like I was back in high school learning AutoCAD using only the command line again. I know this is one of Neil's favourites due to it's community support and open source license, but this one certainly feels a little more rough around the edges. To me, good UX does not need to be restricted to closed source companies. I share this gripe with GIMP as well. Powerful software, very poor user onboarding experience. Software with a low floor to entry can still have a high ceiling for its power users. They are not mutually exclusive.
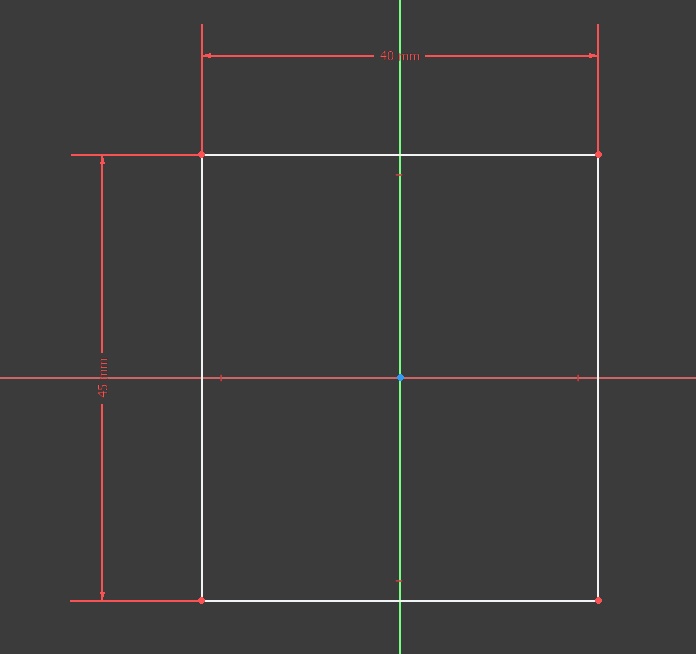
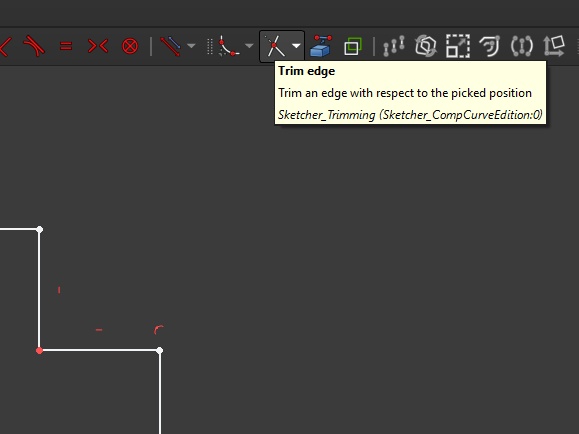
Overall, this felt similar enough to OnShape to get the hang of. I still had trouble over constraining my sketch. I liked the trim edge tool, that was helpful for getting the cartridge bump. Though, similar to my excessive use of Ctrl+Z, I also like to tap Esc a lot to reset my current tool and ensure my selection is null. In FreeCAD, overtapping the Esc key kept brining me out of the sketch, and a simple double click on the sketch did not get me back in. No, I had to go into a little menu every time.
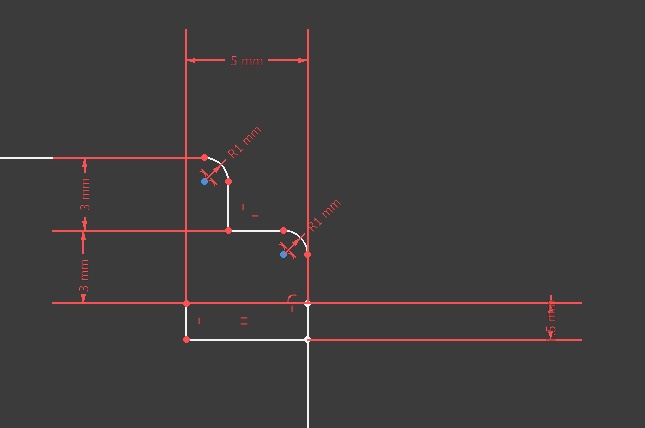
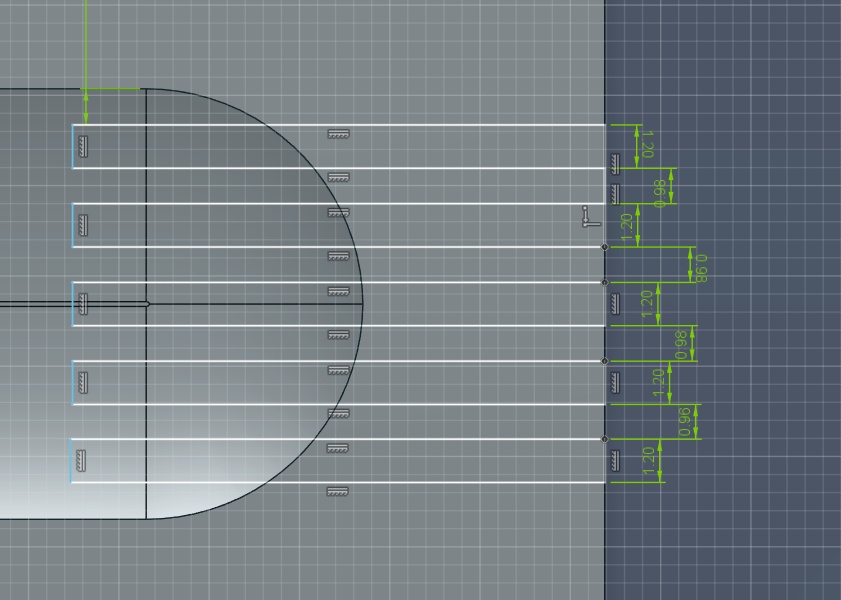
I'm sure there's a setting in here to hide dimensioning lines, but this was the only software that quickly got far too visually noisy, there was no way to manually set the dimensioning lines (or at least I wasn't able to do it on the first use of the tool), so my sketch became pretty difficult to read very quickly.
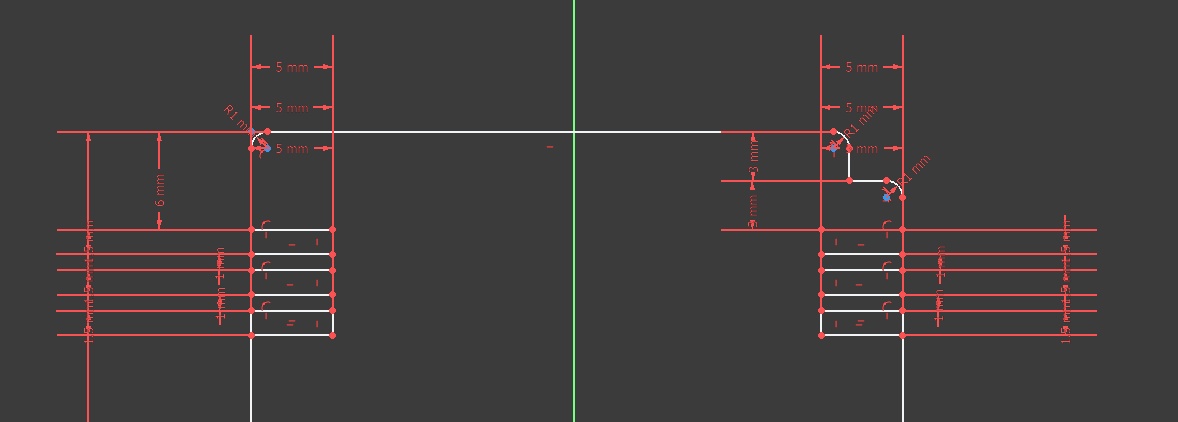
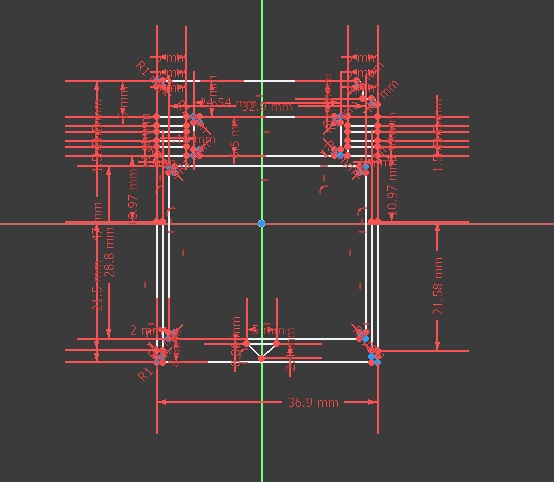
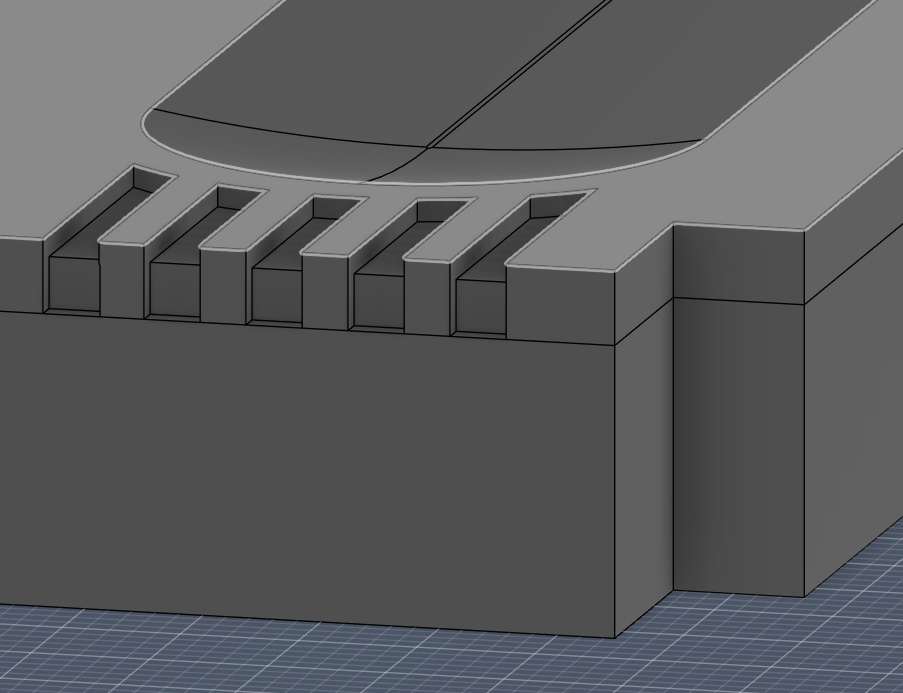
Also I understand that in parametric design, copy and paste isn't really a thing you want to rely on, since the coordinates of your sketch need reference points to be properly resolved, but there should at least be some kind of support for patterning using your clipboard. I had to manually remake the notches on both sides because I couldn't quite figure out how to mirror the sketch without including too many other features.
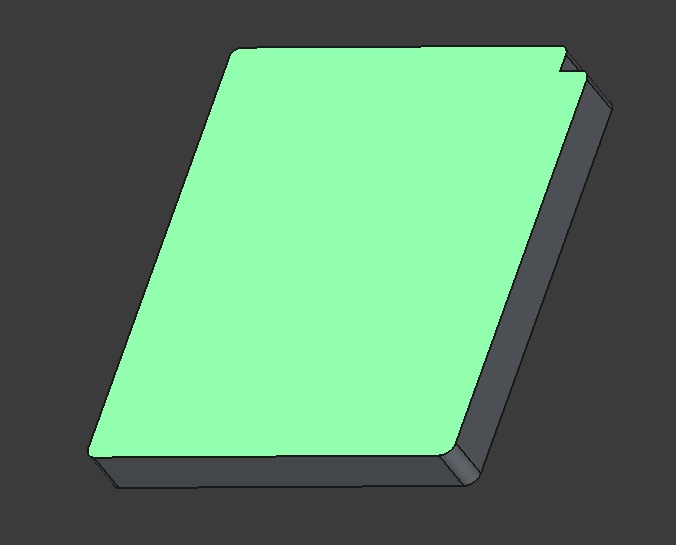
Tada!
➔ FreeCAD
Overall Verdict: C+
Pros: Open source and free, Neil recommends it, lightweight-ish, feature rich, good support and addons
Cons: Not a lot of attention to UX
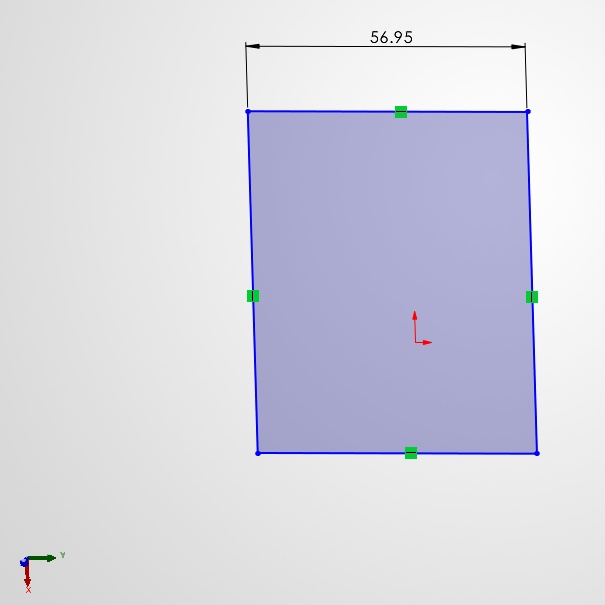
I had never used SolidWorks before but heard a lot about it. My FRC robotics team back in Canada gets a license for it every year for free from FIRST, and it seems to have a strong following amongst my students in design.
Soooo..... if you're reading this, Runnymede. My apologies up front. I don't have many good things to say about SolidWorks.
First off. The registration and installation process is so antiquated and annoyingly proprietary. For software this expensive (insane that it costs thousands of dollars per year), could they have not brought forward their platform to the 21st century? I'm guessing it has to do with the fact I'm using the "3DEXPERIENCE" version of the software, but even then, why do they even bother having two seperate names for the same software? Just get with the times, Dassault! Anyways enough about my complaining. Here's some more complaining:
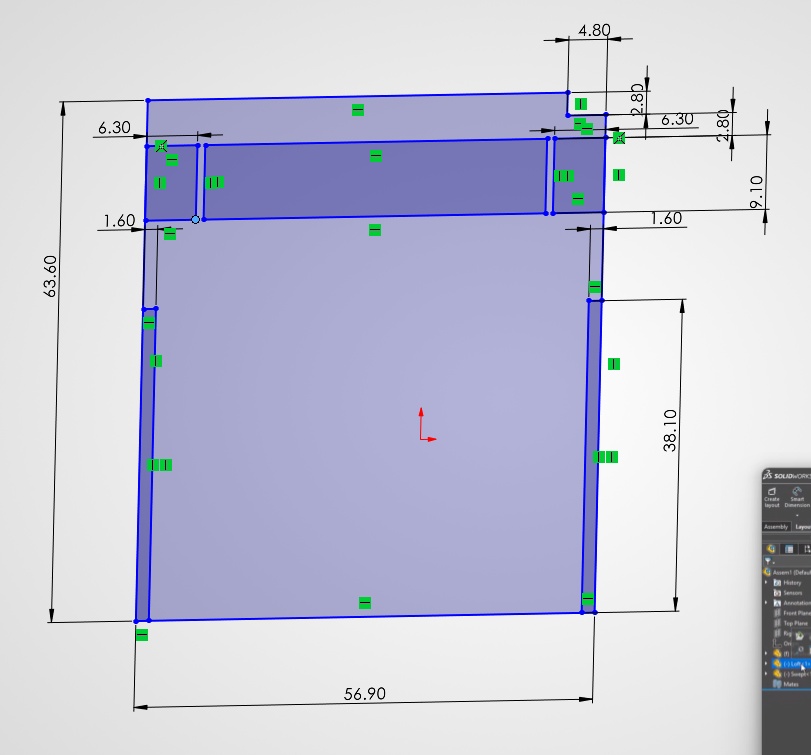
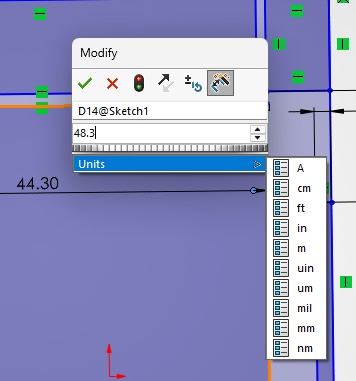
The 3D navigation in SolidWorks has to be the least intuitive out of all of the platforms I tried this week. The gimbal in the bottom left corner was absolutely tiny, and did not respond well to clicks or drags. I found myself constantly trying to battle the viewport to show the view I actually wanted. Also, I found it SUPER annoying that I had to enter the units on every dimension. I'm working in mm, just remember my choice!
Again, I know that you eventually become comfortable and there are ways to do the things I'm asking, but I'm reviewing each software as a beginner, and as an educator. Your first impressions of a piece of software are very important, no matter the expectations of the end user or power user.

I did get frustrated enough with this software that it took me two sessions to complete the cartridge model. Needless to say, this is a very quick uninstall for me. My students will have a lot of convincing to do if they want me to reconsider haha.
➔ SolidWorks
Overall Verdict: F
Pros: ...
Cons: Frustrating and outdated UI/UX, awful 3D interface, antiquated installation, insanely expensive (???)
Now on to the playful, heavily Y2K inspired, browser-based, bubbly joyful Womp. I've been following Womp since it was released a few years ago, and have tried it out a few times. I understand why they lock the freefrom drawing tool behind a subscription (developers gotta eat) but I still got to play around with the "goop" slider a bit!
This was the first CAD that utilized the familiar boolean tools I've known to love in TinkerCAD, but the implementation of it here felt a lot more like Blender's modifiers than making easy groups. I'll admit I struggled here and there with layers, groups and "areas" in the object panel. It wasn't clear at first where things were being placed and what interactions were possible between primitives.
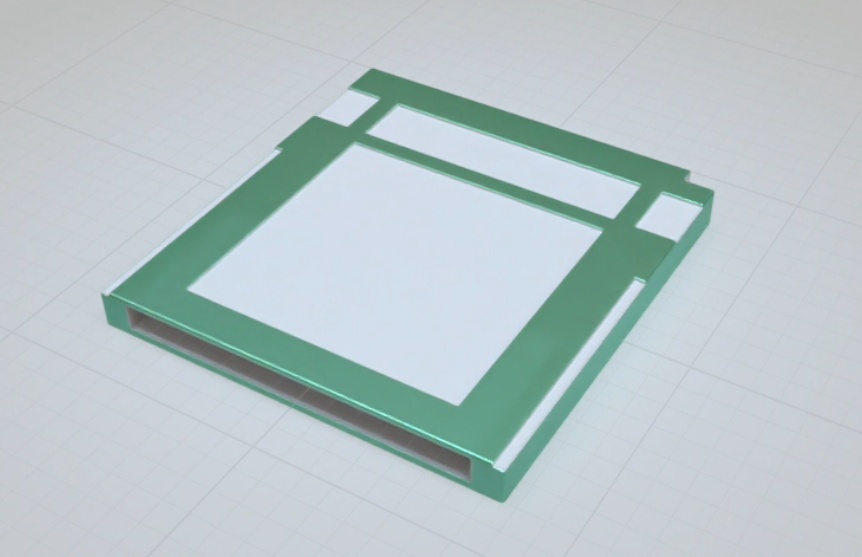
You can tell this software is not designed for precision CAD, as it lacks constraining tools (to my knowledge) and there wasn't an easy way to "lock" primitives in place when using the alignment tools. Nevertheless, I modelled the cartridge as closely to spec as I could, and even added a few blobs of goop for fun.
➔ Womp
Overall Verdict: B
Pros: Browser-based, free, easy to learn click-and-drag UI, fun
Cons: Free plan doesn't let you really use what this software was meant for: creating blobby cuniform plastic-like objects. Much more difficult when you only have primitives to work with.
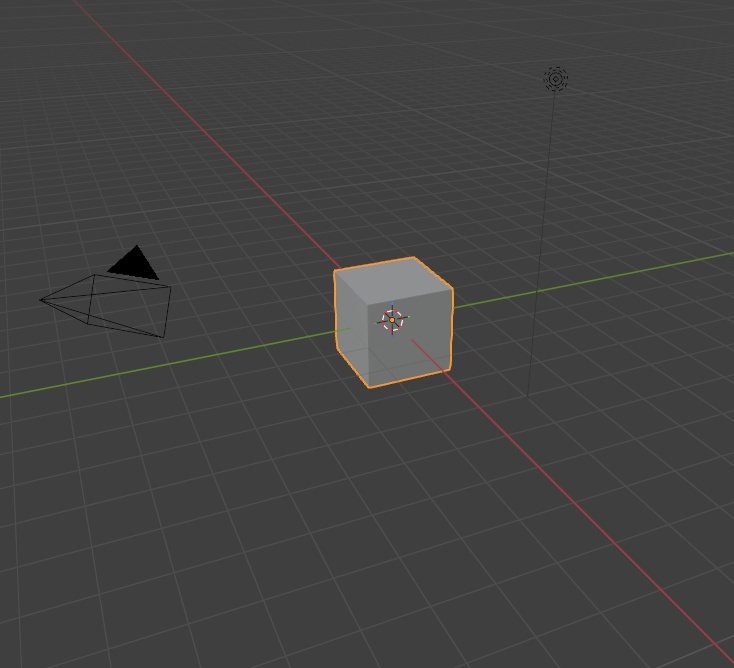
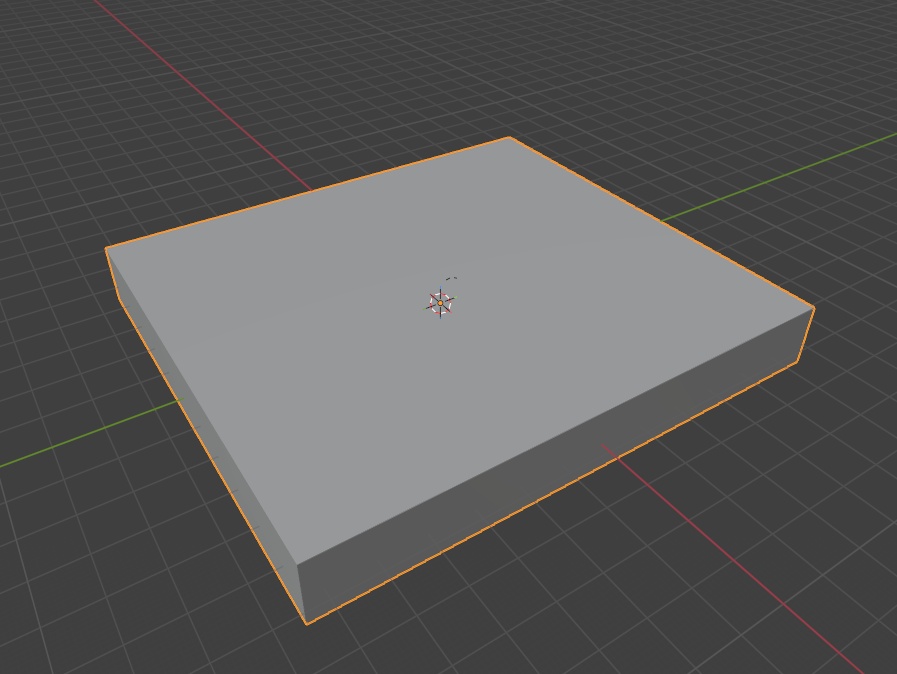
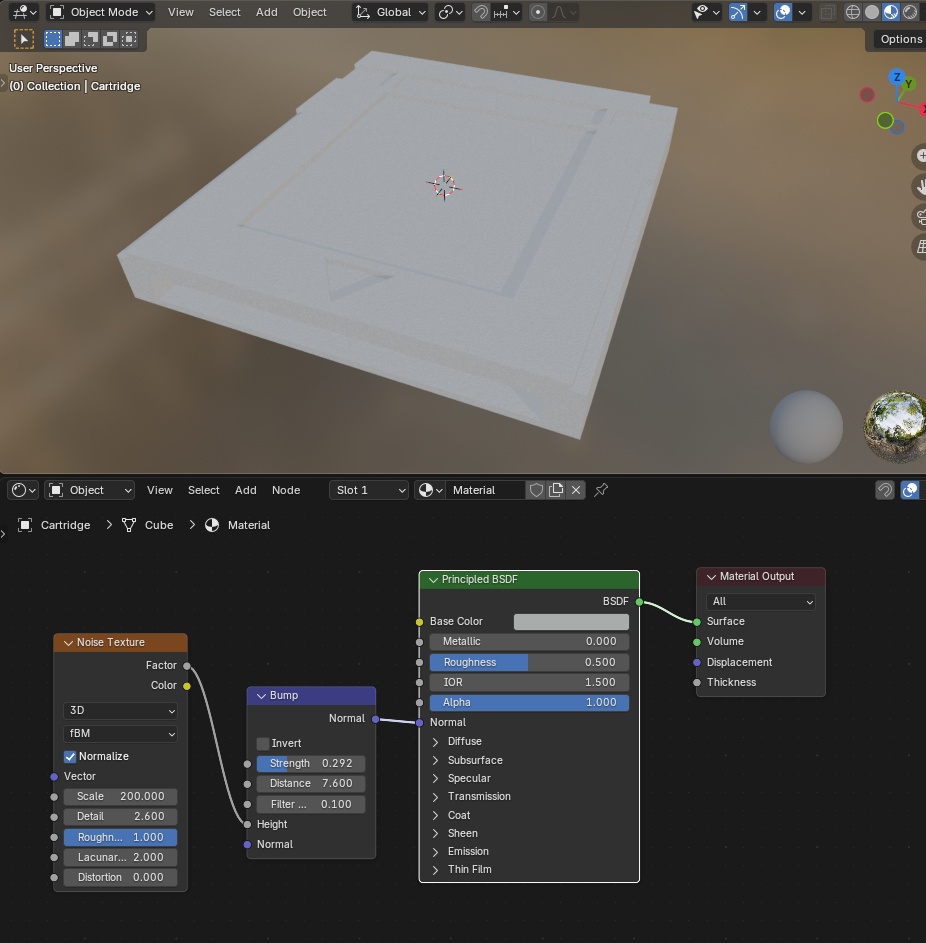
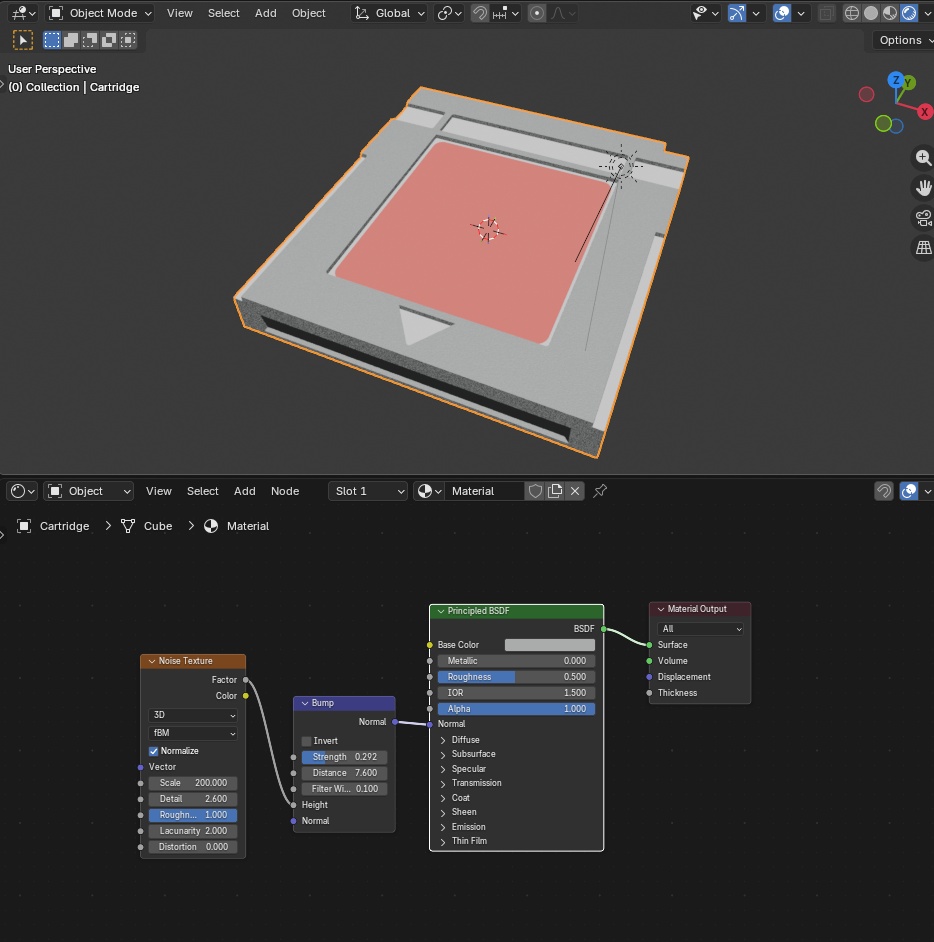
It always amazes me what people can make in Blender. I've seen incredible 3D (and faux-2D) animations, feature length, created by a single dedicated person. But what they say about Blender is true. It's also got a steep learning curve. I've done the donut tutorial in years past and have got some of my Grade 12 students to try it out in my media production class. I even tried it out when I got my first 3D printer, before I even picked up TinkerCAD as my primary workhorse. It's neat, but again, I don't think it's intended use case is for precision manufacturing.
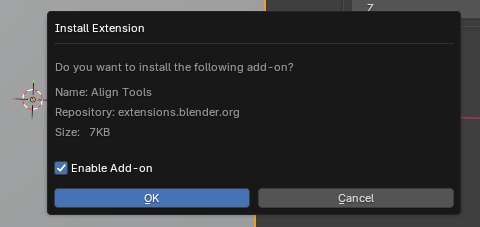
Weirdly, a lot of features I was expecting to be in the software out of the box (alignment tools, water tight checks) needed to be installed as first-party extensions.
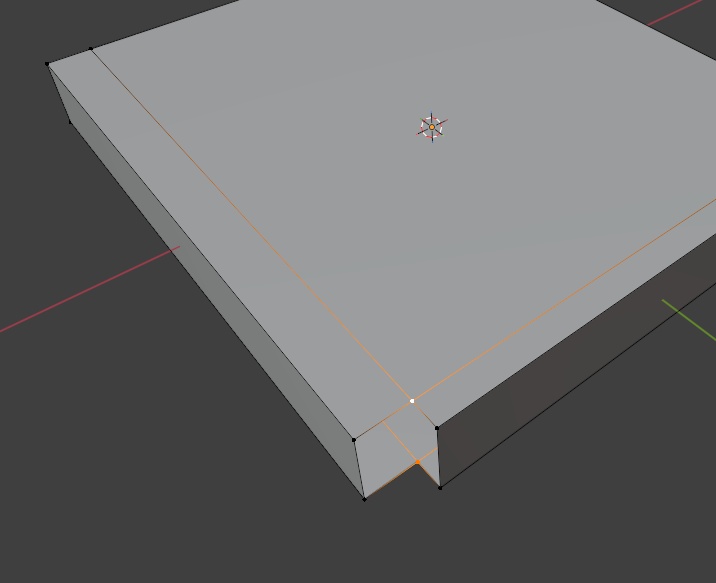
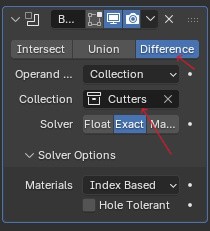
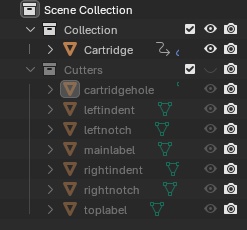
Again, I understand why Blender is so complex - it enables it's users to produce very incredible (and highly editable) works, but having to go through the ropes of setting up boolean modifiers just to make simple changes to a model is very tedious. Especially given how strong the software's edit mode is, allowing users to select faces, edges and vertices. I think the keyboard shortcuts in Blender are also quite useful. I found myself using S (scale), G (grab), R (rotate), coupled with the axis I wanted to constrain each movement to (XYZ) quite often.
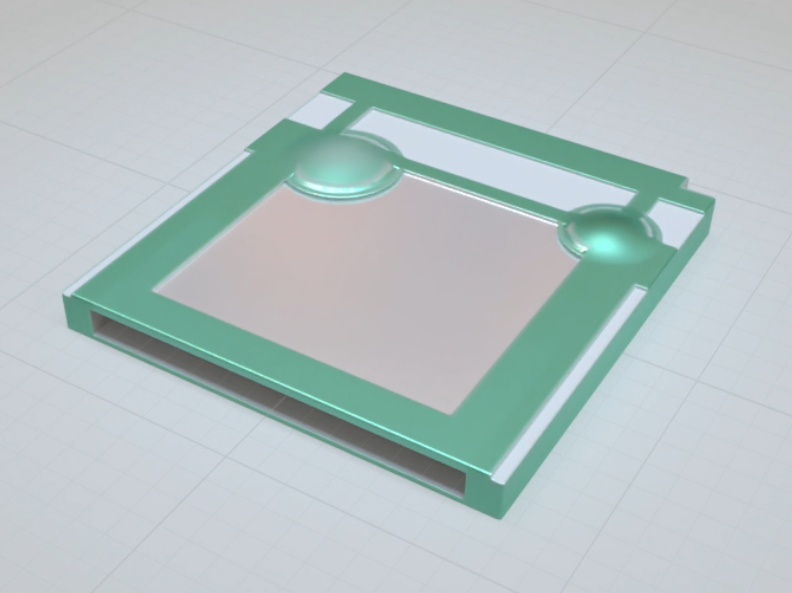
Part of what Blender is known for is it's complex rendering system. So I thought I'd try my hand at a professional render of the cartridge. You'll have to excuse the lopsided dimensions on this one, I was trying Blender away from my calipers and had forgotten to take a photo of my measurements - so I was just making up numbers for this one.
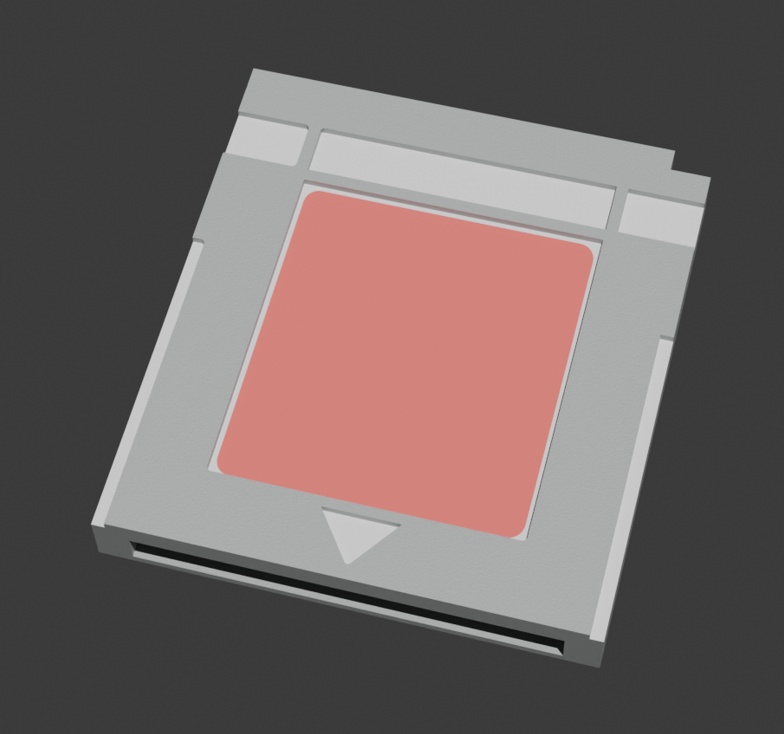
➔ Blender
Overall Verdict: B
Pros: Free, open source, very high skill ceiling, lots of toys and tools, sleek UI, intuitive keyboard shortcuts
Cons: Very steep learning curve to do basic things
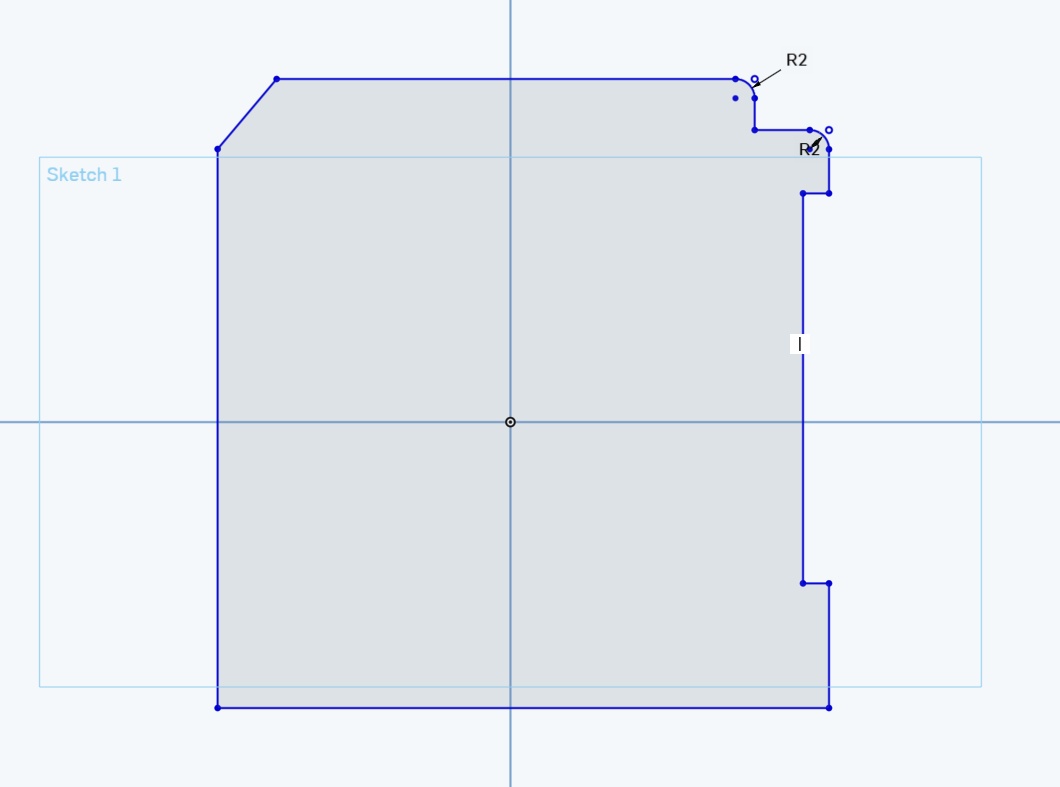
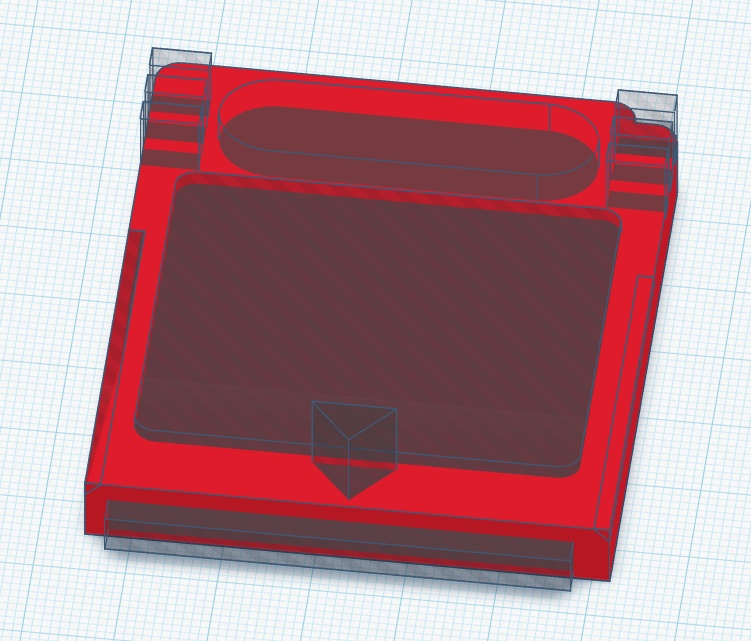
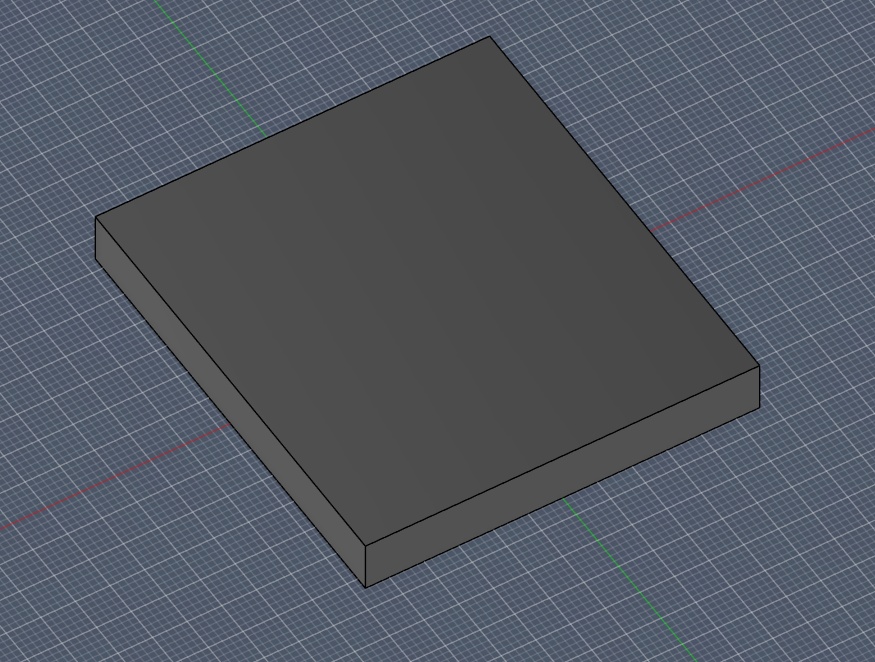
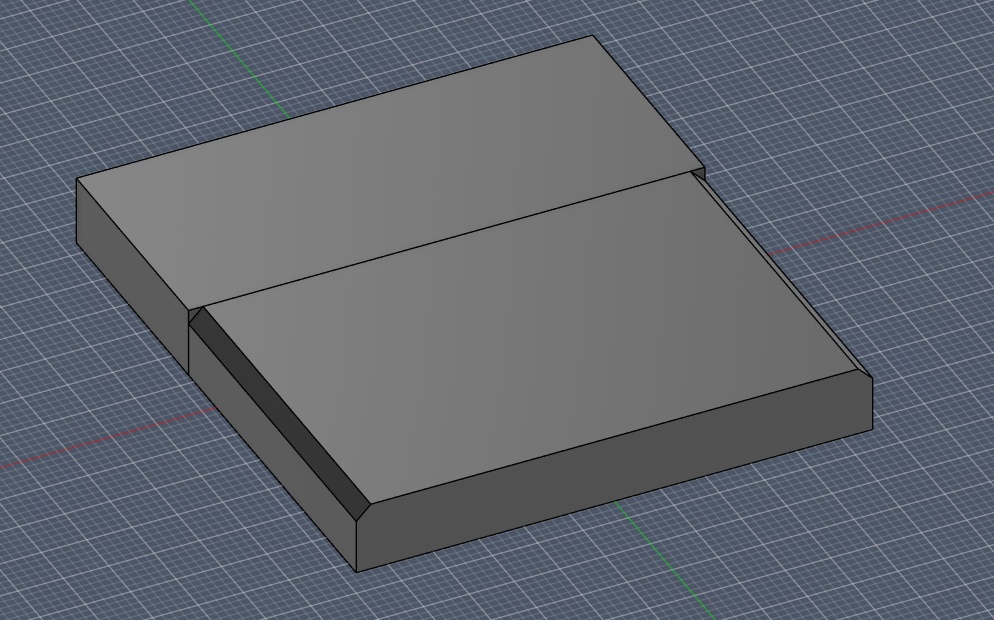
I thought, just for the heck of it, I would return to good 'ol faithful to give 'er a proper review. If you didn't read the preamble above, I am probably the world's biggest TinkerCAD fan, an absolute power user. So much so, that it's really infected the way I think spatially when it comes to CAD. For context, it took me about 1-3 hours for me to CAD the cartridge in all the other pieces of software. In TinkerCAD, it took me about 15 minutes.
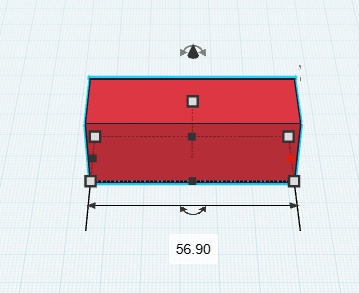
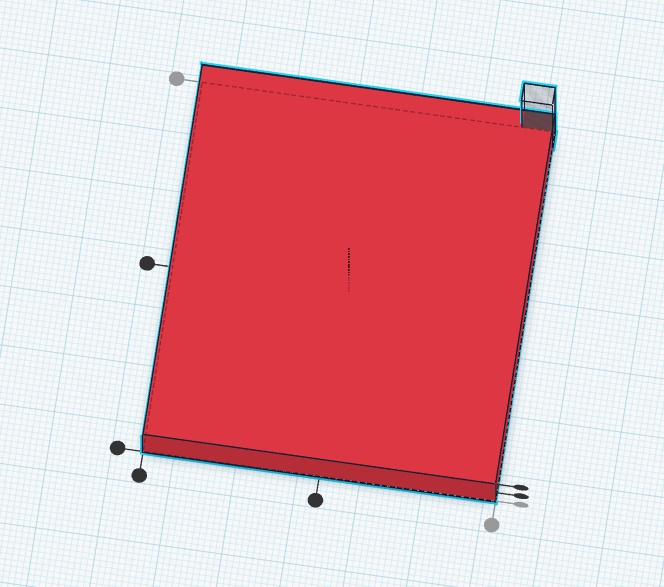
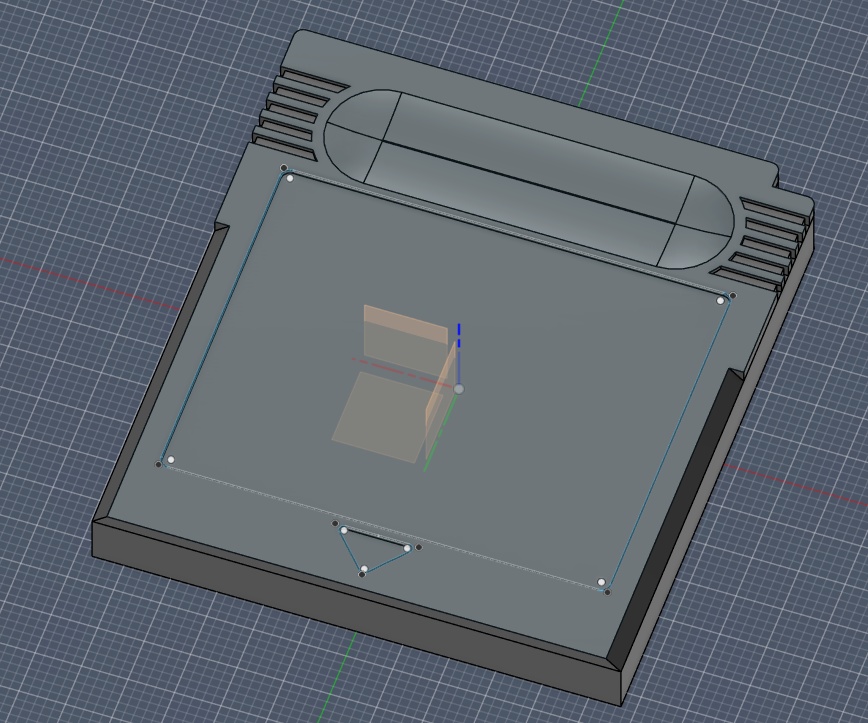
I'll admit right away. TinkerCAD has a low ceiling in terms of what you can create without some clever tricks. Autodesk has been slowly adding new features over the years, but it's still missing some very simple tools that separate it from a tool you could use for complex parts. Namely, there are no easy ways to chamfer/fillet, you can't easily distribute or pattern objects, and the primitives they provide you with often are missing parameters to modify, which leads me to doing some silly things to get the shape I want.
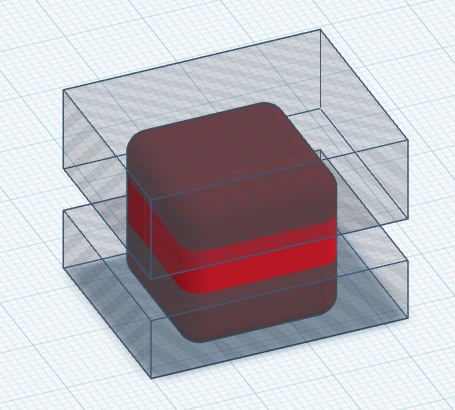
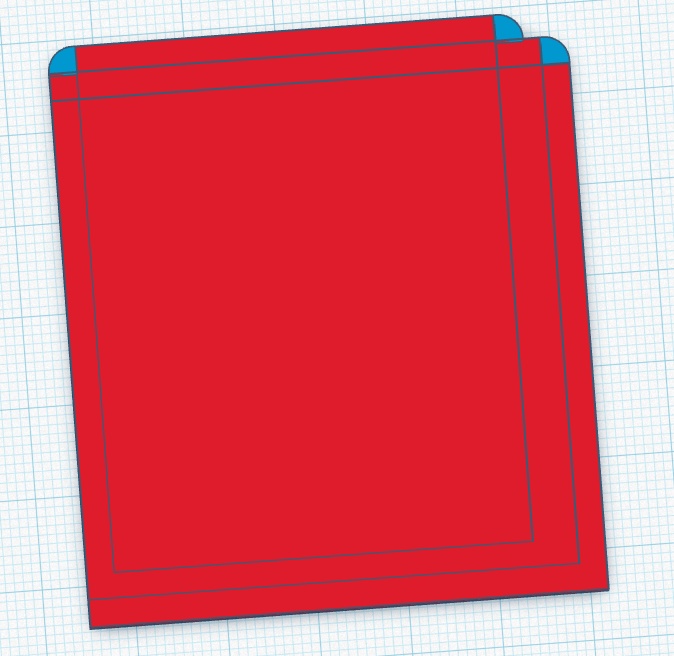
Shown above. This is how I create rounded corners. You can add a radius to a cube, but it does so in all axes, so to get a nice rounded corner extruded, you need to cut it up into chunks, which do NOT scale well if you need to make edits.
Of course, the major downside of TinkerCAD is that it's not parametric. If I needed to make changes to this design, I would need to ungroup each part, remember the order that I unioned each feature, and make the changes to the base primitives - likely introducing new issues when the shape is re-unioned.
➔ TinkerCAD
Overall Verdict: A-
Pros: Super user friendly, browser-based, free, snappy, great for creating 90% of things
Cons: Not parametric, missing some important dimensioning tools (honestly, they could add it - and if they did... I might never stop using TinkerCAD)
On to the last piece of software for my journey this week. I was saving this one for last for two reasons. My mentor at ESAN, Jorge, said that it is his software of choice for CAD; and the makers of Fusion are also the makers of TinkerCAD, Autodesk.
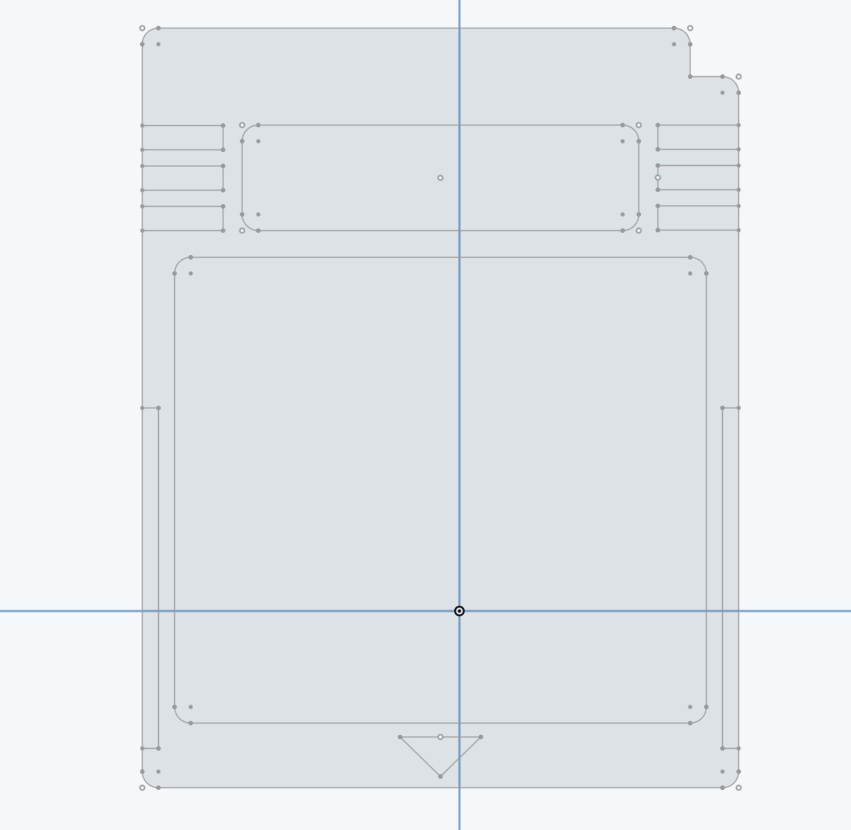
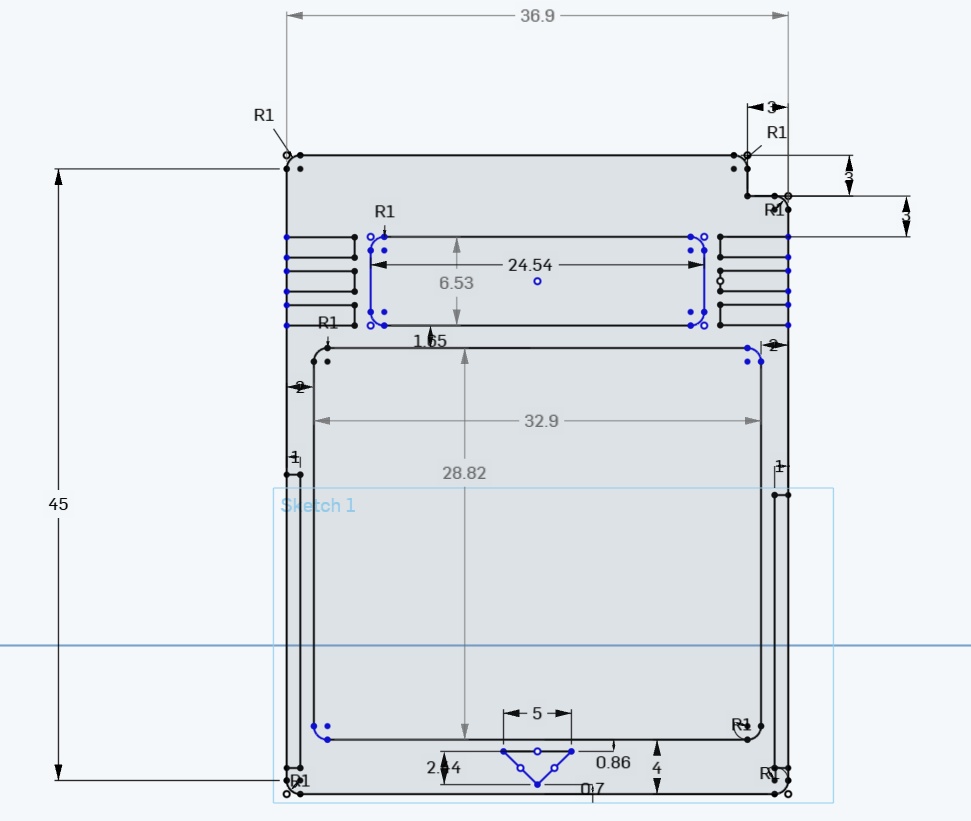
Sketching in Fusion was already a superior experience. I really liked the fact that, maybe 90% of the time, the software understood what it was I was trying to do, providing me with a dashed guideline when trying to align a particular line to another feature. Right away: you see a familiar face in Fusion. The same gimbal as in TinkerCAD!
I also really liked the fact that you could just keep adding sketches to surfaces, rather than having to work exclusively within one or two. Being able to extrude a feature in 3D and then go back to working in 2D was a serious upgrade. Whenever I tried to do this in other software, it would always fight me, or make the option unavailable.
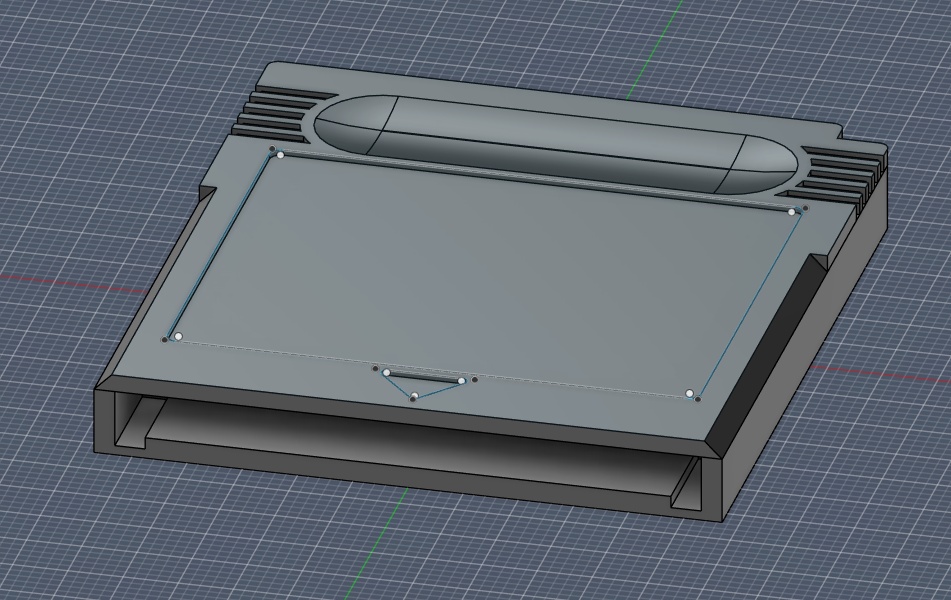
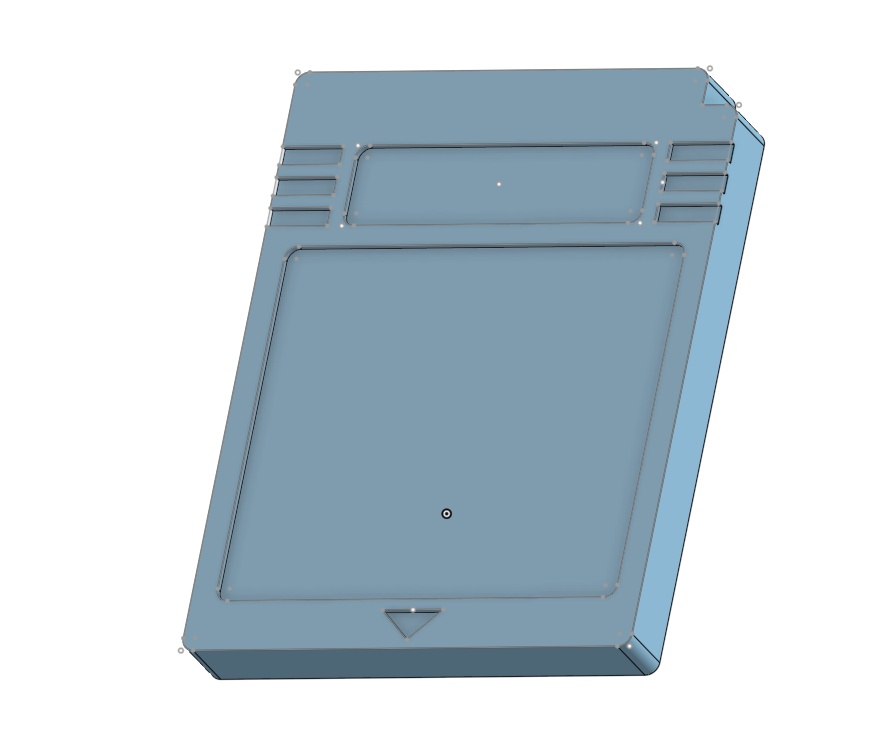
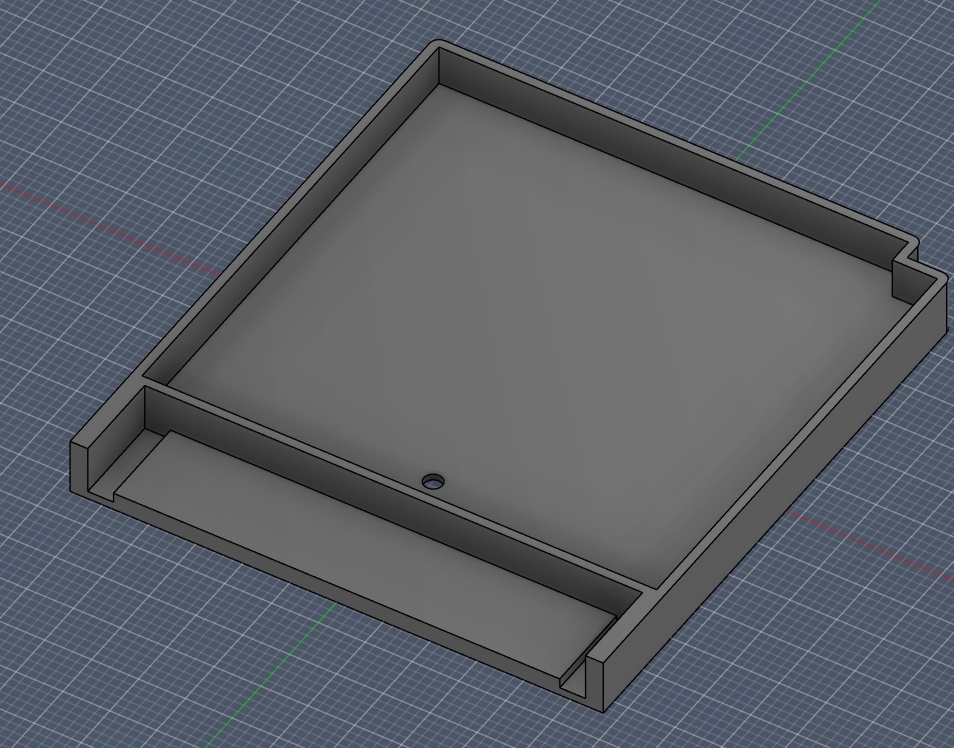
Spoiler alert: I decided pretty quickly that Fusion would be my software of choice, so I opted to get every single little detail of the cartridge modelled so I could practice as many features as possible. I even tried splitting the part into the two halves that would be part of the actual real world part, connected by a screw. I didn't get a chance to develop the snap fit though. That is still something on my to-do list.
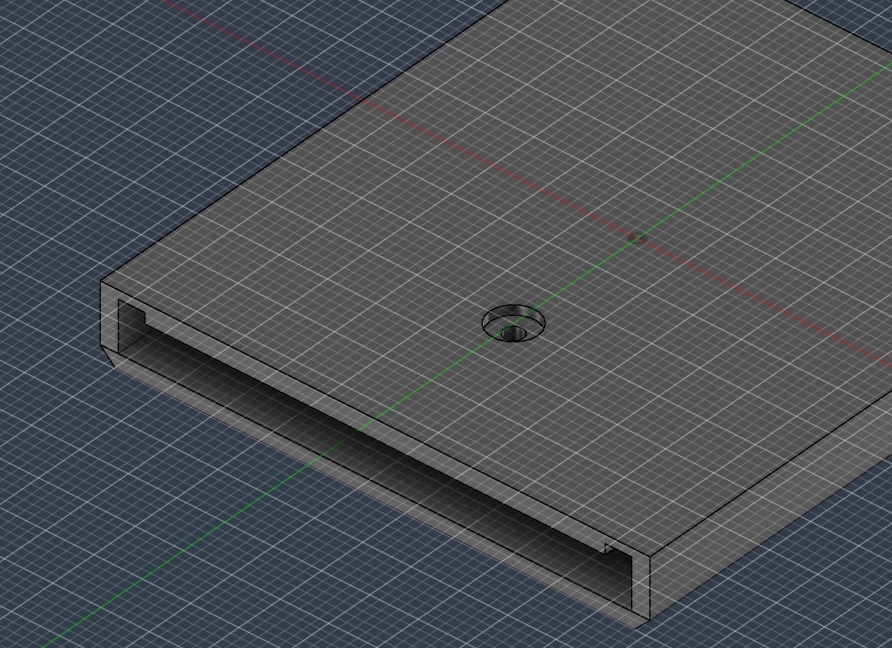
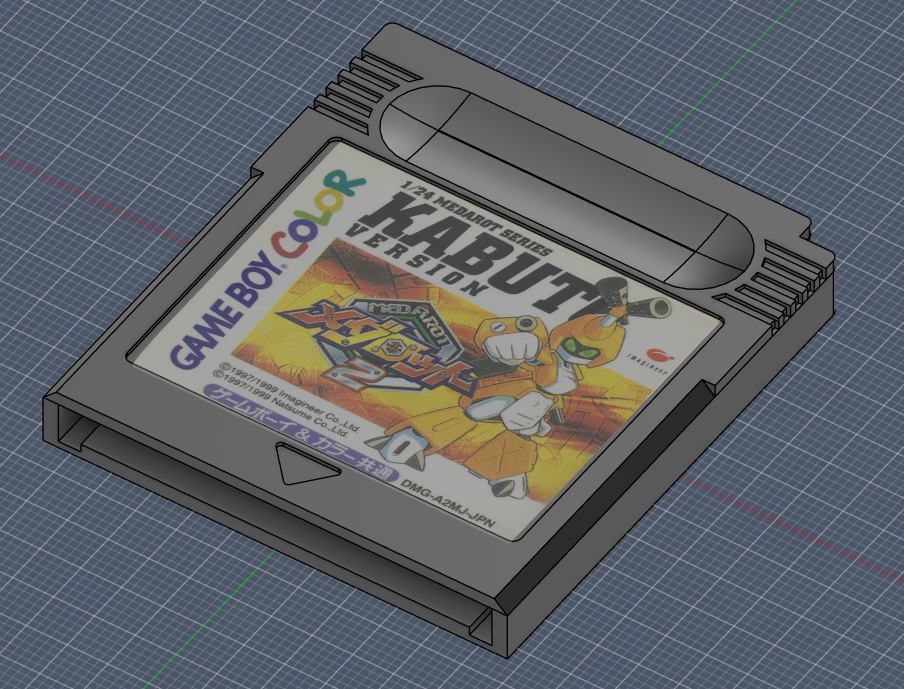
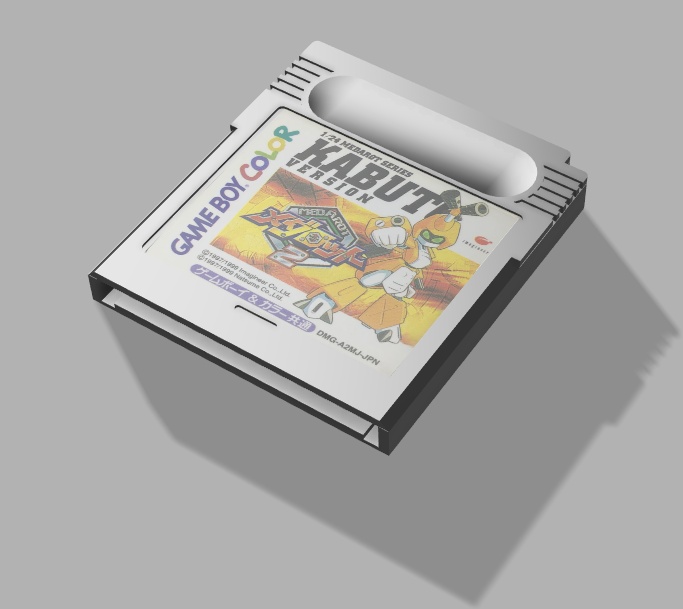
It was super simple to bring in a decal and apply it to the model, so I could get a render looking nice right away!
➔ Fusion 360
Overall Verdict: A
Pros: Very intuitive (at least for me), didn't try to fight me on dimensioning, very forgiving when it comes to sketches - easy to flip back and forth between 2D and 3D, high level of functionality (rendering, assembly, etc.)
Cons: Nobody is perfect! When I got errors (often shown in the bottom right as a popup), it does not really help you get to a resolution.
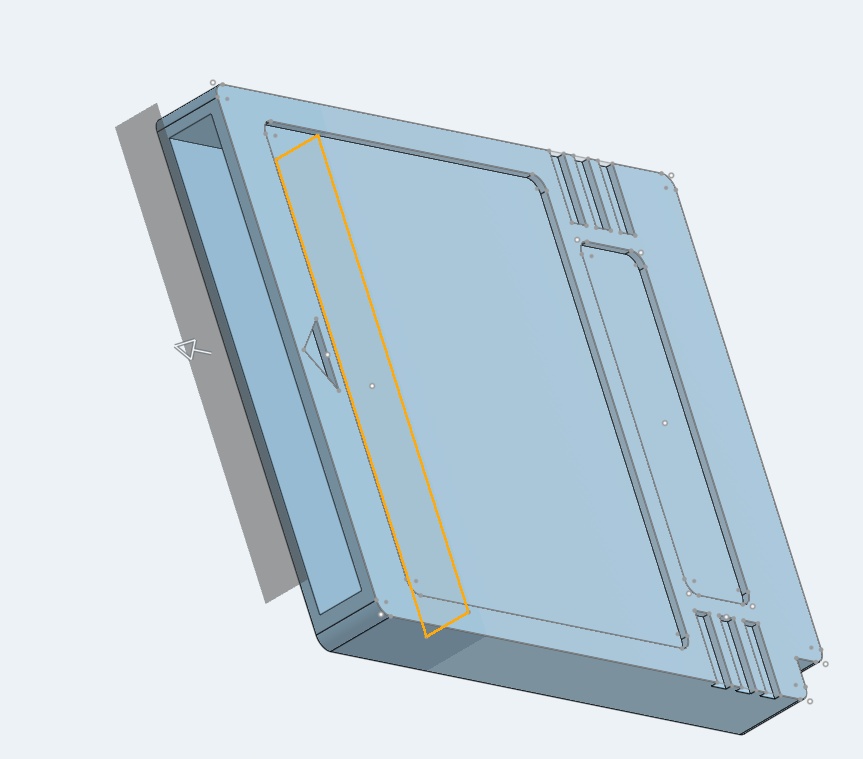
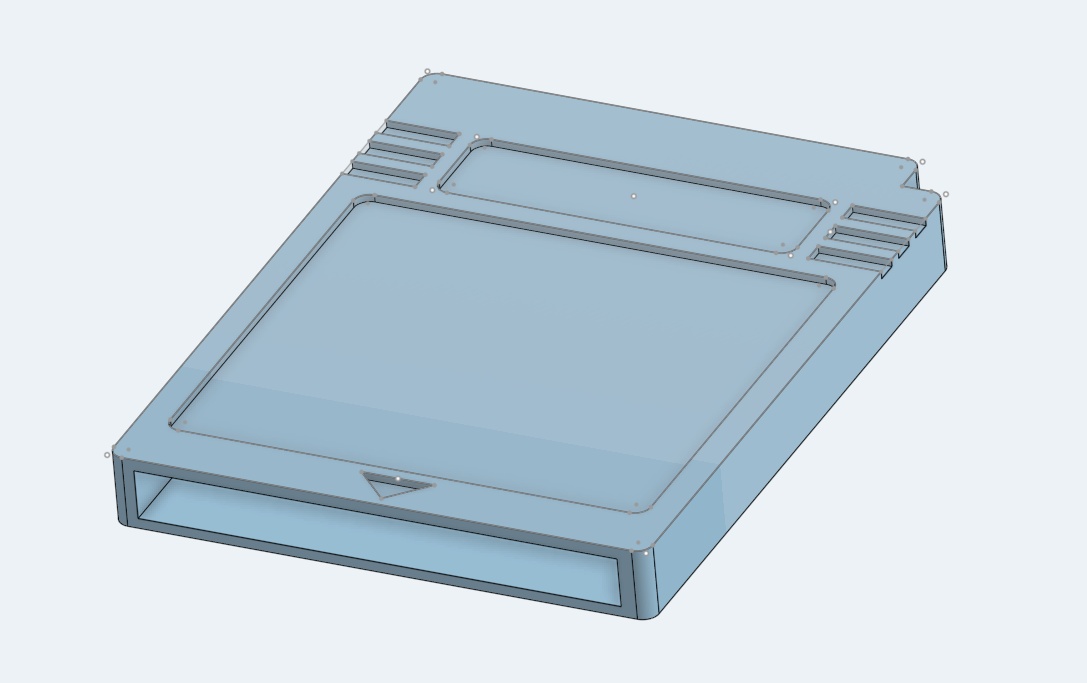
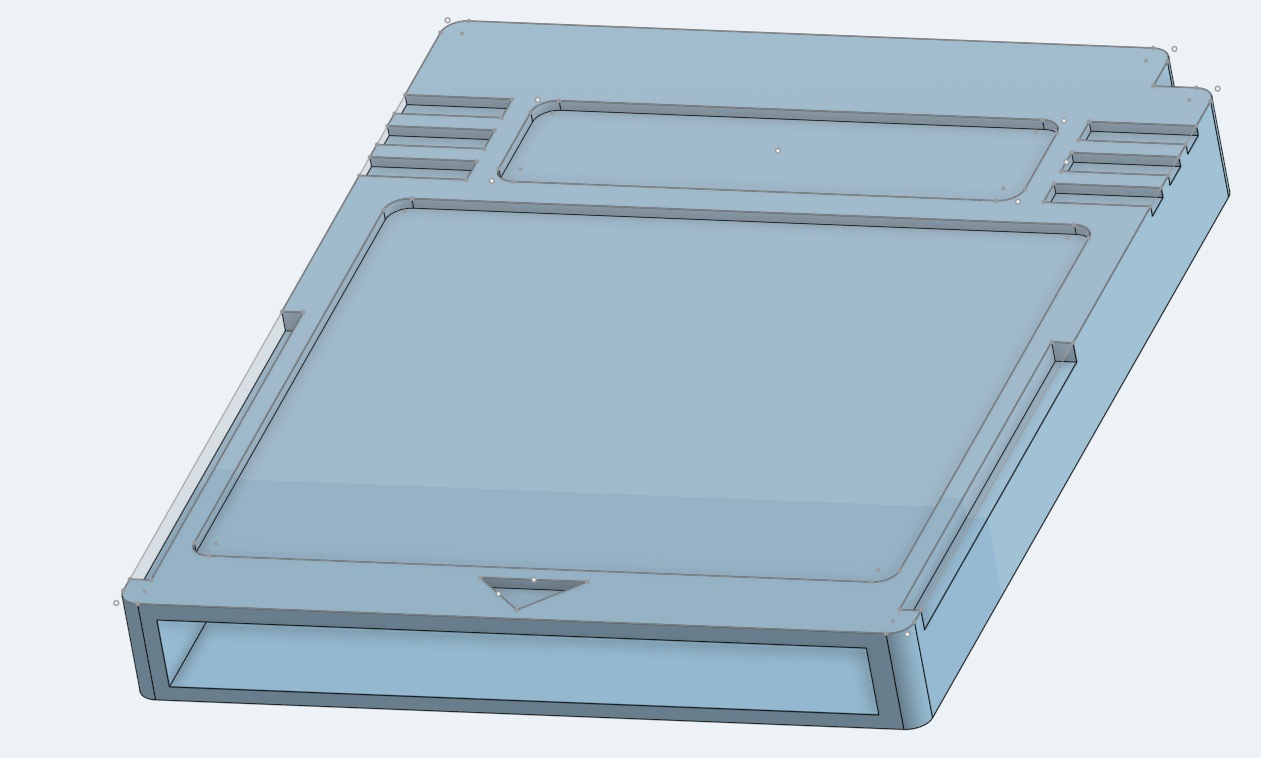
After modelling the cartridge with great success, I decided I would try my hand at creating the first CAD model of my final project, which you can read about on my final project page at this link here.
2D CAD
Again, I would call myself an expert in Illustrator already. I use Illustrator geek out and make fantasy transit maps (here's one of Toronto's subway system in the style of the Tokyo Metro) and custom graphics for work and my personal life.
For this week I did try my hand at creating some graphics for my final project and to prepare for the computer-controlled cutting unit next week.

and creating some "swatches" with colour pallettes I could explore more. I use a site called coolors.co to generate colour pallettes.
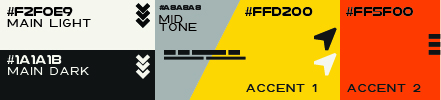
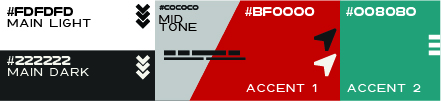
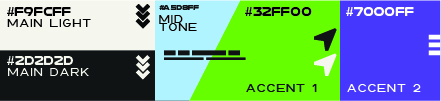
The beauty of Illustrator is it's simplicity (once you get in the vector mindset). Yes, Adobe continues to flood the program with so much unnecessary bloat, like the incredibly annoying AI tools and floating bars that I need to disable every time I boot up Illustrator on a new machine, but it's still my preference when it comes to vector graphics.
➔ Illustrator
Overall Verdict: A-
Pros: For the most part, simple to understand. Lots of familiar features found in raster graphics programs, such as layers and alignment.
Cons: Adobe. You have to deal with Adobe if you want to use Illustrator, unfortunately.
I purchased a used iPad Air almost exclusively for Fab Academy. Because I'm on the move for this course, I wanted something slim, lightweight and adaptable not just for jotting down notes, but for creation as well. I got my hands on the iPad several months before the course began, so I've had some time to play with my new toy and try out some of the amazing applications that use the Apple Pencil. Prior to the iPad, I owned a few different Microsoft Surface models with Microsoft's own stylus. This was many years ago but I remember the stylus experience in Windows being really sub-optimal. The pens themselves kept dying on me, always needed a battery change, kept getting disconnected and ultimately didn't feel great in the hand to use. The Apple Pencil is a complete upgrade.
Procreate is one of the killer apps for the Apple Pencil. It's a one-time purchase of $12.99 CAD and unlocks a whole suite of features that are not found in any of the stock Apple notetaking apps. I particularly love the brush framework in this app, you can adjust the pressure of your pencil and it will react accordingly on the screen, giving you soft sketching and sharp line work when you need it.
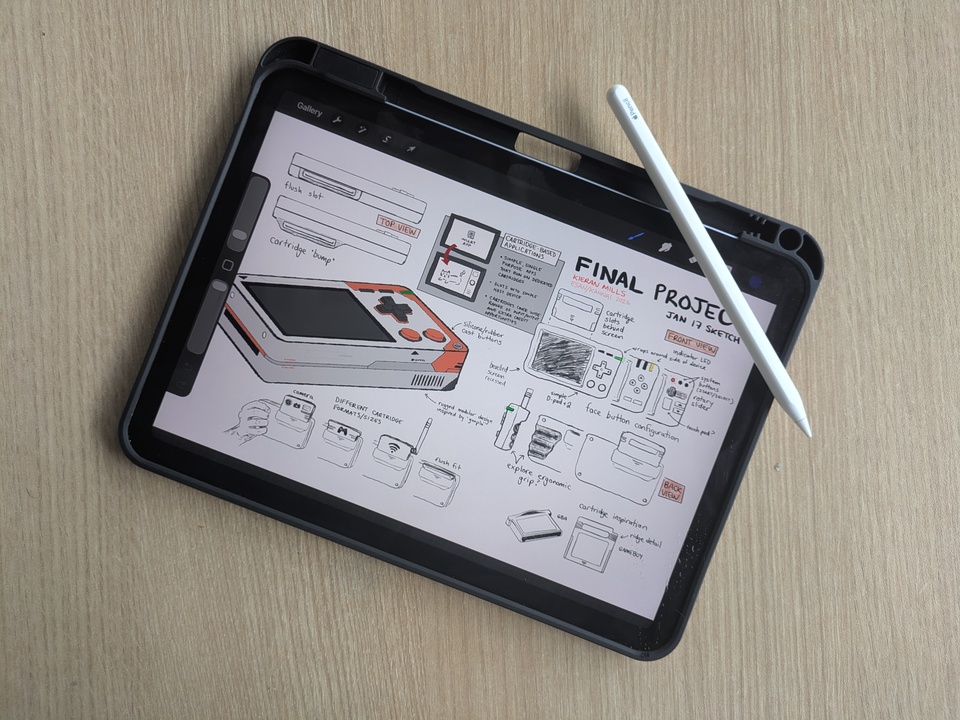
I use Procreate for a lot of the preliminary design work for this course. I used it to sketch out the original design for my final project, I think the best feature for this particular use case (technical drawings) is the snapping shape modes. Simply draw (make an attempt, really) a straight line, circle, polygon, etc. and hold your pencil in place for ~1 second and the app automatically cleans up the shape and gives you parameters to quickly edit.
I'm incorporating Procreate into my documentation workflow a bit more with a little cartoon version of myself that you may see more of around the site. If you don't see him around much after this, it's probably because there's just too much documentation haha.
The last thing for me to sort out while using Procreate is a quick pipeline for getting images both on to and off of the iPad and into my workspace on my laptop. Right now, I'm just saving procreate files (or even taking screenshots of them) and they automatically sync to my Google Photos account where I can copy them from the web. Ideally, I'd like to make an Apple Shortcut to automate this process, get it directly into my repo and give it a proper filename.
➔ Procreate
Overall Verdict: A-
Pros: Incredibly user friendly: just start drawing. Familiar raster features like layers and blending modes.
Cons: Requires the use of Apple's ecosystem. Can be a little slow on older iPads like mine.
Alright these ones are a bit of a stretch to refer to as 2D CAD software, but since image and video compression are grouped into this week's assessment criteria, I'm rolling with it.
My static site generator handles (maybe not perfectly) all of the image compression that I include in my repo's images directory. I spoke on this a bit in (week 01's entry)[../assignments/week01.html] but in essence my python script does 3 things, prioritizing the quality of the image, but with the goal of getting the image size under 1MB:
- Convert .PNGs to .JPGs first (this honestly just keeps things consistent, even if it doesn't change the filesize outright)
- Shrink the width of the image to 960px (maintain aspect ratio)
- Apply JPEG compression
from PIL import Image
import os

#
# STEP 1: CONVERT .PNG to .JPG
#

if filename.lower().endswith('.png'):
    with Image.open(filepath) as img:
        rgb_img = Image.new("RGB", img.size, (255, 255, 255))
        if img.mode == 'RGBA':
            rgb_img.paste(img, mask=img.split()[3])
        else:
            rgb_img.paste(img)
        new_filename = os.path.splitext(filename)[0] + '.jpg'
        new_filepath = os.path.join(IMAGES_DIR, new_filename)
        rgb_img.save(new_filepath, "JPEG", quality=QUALITY_HIGH)
        filepath = new_filepath
        os.remove(os.path.join(IMAGES_DIR, filename))
        modified = True

#
# STEP 2: RESIZE WIDTH IF STILL TOO BIG
#

file_size = os.path.getsize(filepath)
if file_size > TARGET_MAX_SIZE:
    with Image.open(filepath) as img:
        if img.width > TARGET_WIDTH:
            ratio = TARGET_WIDTH / float(img.width)
            new_height = int(float(img.height) * float(ratio))
            img = img.resize((TARGET_WIDTH, new_height), Image.Resampling.LANCZOS)
            img.save(filepath, "JPEG", quality=QUALITY_HIGH)
            modified = True

#
# STEP 3: APPLY MORE JPEG IF IT'S STILL TOO BIG (LAST RESORT)
#

file_size = os.path.getsize(filepath)
if file_size > TARGET_MAX_SIZE:
    print(f"    [Step 3] {filename} is still {(file_size/1024):.1f}kB. Compressing to Q{QUALITY_LOW}...")
    with Image.open(filepath) as img:
        img.save(filepath, "JPEG", quality=QUALITY_LOW)
        modified = True
This is all well and dandy for the static images in my repo. But does not help me much with the video. This is where ffmpeg comes in. Right now, I have a terminal command that I run manually on a case by case basis, since video is not something that will appear as often as images.
ffmpeg -i assembly_render.avi -vf "fps=15,scale=800:-1:flags=lanczos,split[s0][s1];[s0]palettegen=stats_mode=diff[p];[s1][p]paletteuse=dither=bayer:bayer_scale=5" assembly_render.gif
I'm using .GIFs at the moment for simplicity (it plays nice with my css), but I really would like to be able to include .webm playback on the site in future. Here's how the rest of the script works.
fps=15: The frames per second. The original files are generally 30 or 60, but 15 works fine for what I'm doing here.
scale=960:-1: Sets the width to 960px (which is what I'm using for images) and maintains the aspect ratio.
flags=lanczos: Uses a high-quality scaling algorithm to keep edges sharp, important for the style I'm trying to replicate.
palettegen=stats_mode=diff: This is using another compression algorithm to more effectively move the difference in pixels each frame to optimize filesize
dither=bayer: Provides a clean, structured grain that looks better on technical models than random noise.
I run the script for each video, there are 3 this week, and then link each reference in my markdown files!
➔ FFMPEG and Pillow
Overall Verdict: NULL
What can I say? It's a command line function. It works well provided you read the manual!
Here are all of the finished files to show off for this week:

Conclusion
I'm happy I put the time in to try out a breadth of software this week. I have been so stubborn about using TinkerCAD to do everything, and it's been extremely limiting at times! I think it's pretty clear who the winner is in this showdown though. I'm excited to continue working on my projects over the next ~18 weeks using Fusion 360 as my primary 3D CAD/modelling software. I found the rest of the software overly restrictive, with too high of a learning curve for what I need it for. I'm relieved to learn that Fusion offers education pricing (and that price is free), so I will be looking to incorporate this into my classroom when I return to Canada!
Here's a breakdown/summary of thoughts above for the tl;dr:
| OnShape | FreeCAD | SolidWorks | |
|---|---|---|---|
| Price / License | Free / Browser-based | Free / Open Source | $$$$$/year |
| Pros | Browser-based, accessible, free, clean UI | Open source and free, Neil recommends it, lightweight-ish, feature rich, good support and addons | None... |
| Cons | Very little visual communication to the user | Not a lot of attention to UX | Frustrating and outdated UI/UX, awful 3D interface, antiquated installation, insanely expensive |
| Grade | B- | C+ | F |
| Womp | Blender | TinkerCAD | |
|---|---|---|---|
| Price / License | Free plan | Free / Open Source | Free / Browser-based |
| Pros | Browser-based, free, easy to learn click-and-drag UI, fun | Free, open source, very high skill ceiling, lots of toys/tools, sleek UI, intuitive keyboard shortcuts | Super user friendly, browser-based, snappy, great for creating 90% of things |
| Cons | Free plan limits core features; difficult when only using primitives | Very steep learning curve to do basic things | Not parametric, missing some important dimensioning tools |
| Grade | B | B | A- |
| Fusion 360 | Illustrator | Procreate | |
|---|---|---|---|
| Price / License | $85/month (free for education) | ~$60/month | $12.99 CAD (One-time) |
| Pros | Very intuitive, forgiving with sketches, easy to flip between 2D and 3D, high level of functionality | Simple to understand, familiar features like layers and alignment | Incredibly user friendly, great brush framework, familiar raster features |
| Cons | Error popups do not help you get to a resolution | You have to deal with Adobe to use it | Requires Apple's ecosystem, can be slow on older iPads |
| Grade | A | A- | A- |