Week 2 - Computer Aided Design #
Hero shot: #

TL;DR #
This week’s topic was Computer Aided Design where we discovered various design types and tools. 2D design is mainly divided into raster and vector. 3D design is represented in 3 different ways: Boundary, volume, function. This week’s assignment was to model a possible final project using various design types and tools. I used Gimp for raster, Inkscape for vector, and Fusion 360 for 3D modeling.
2D Design #
Raster #
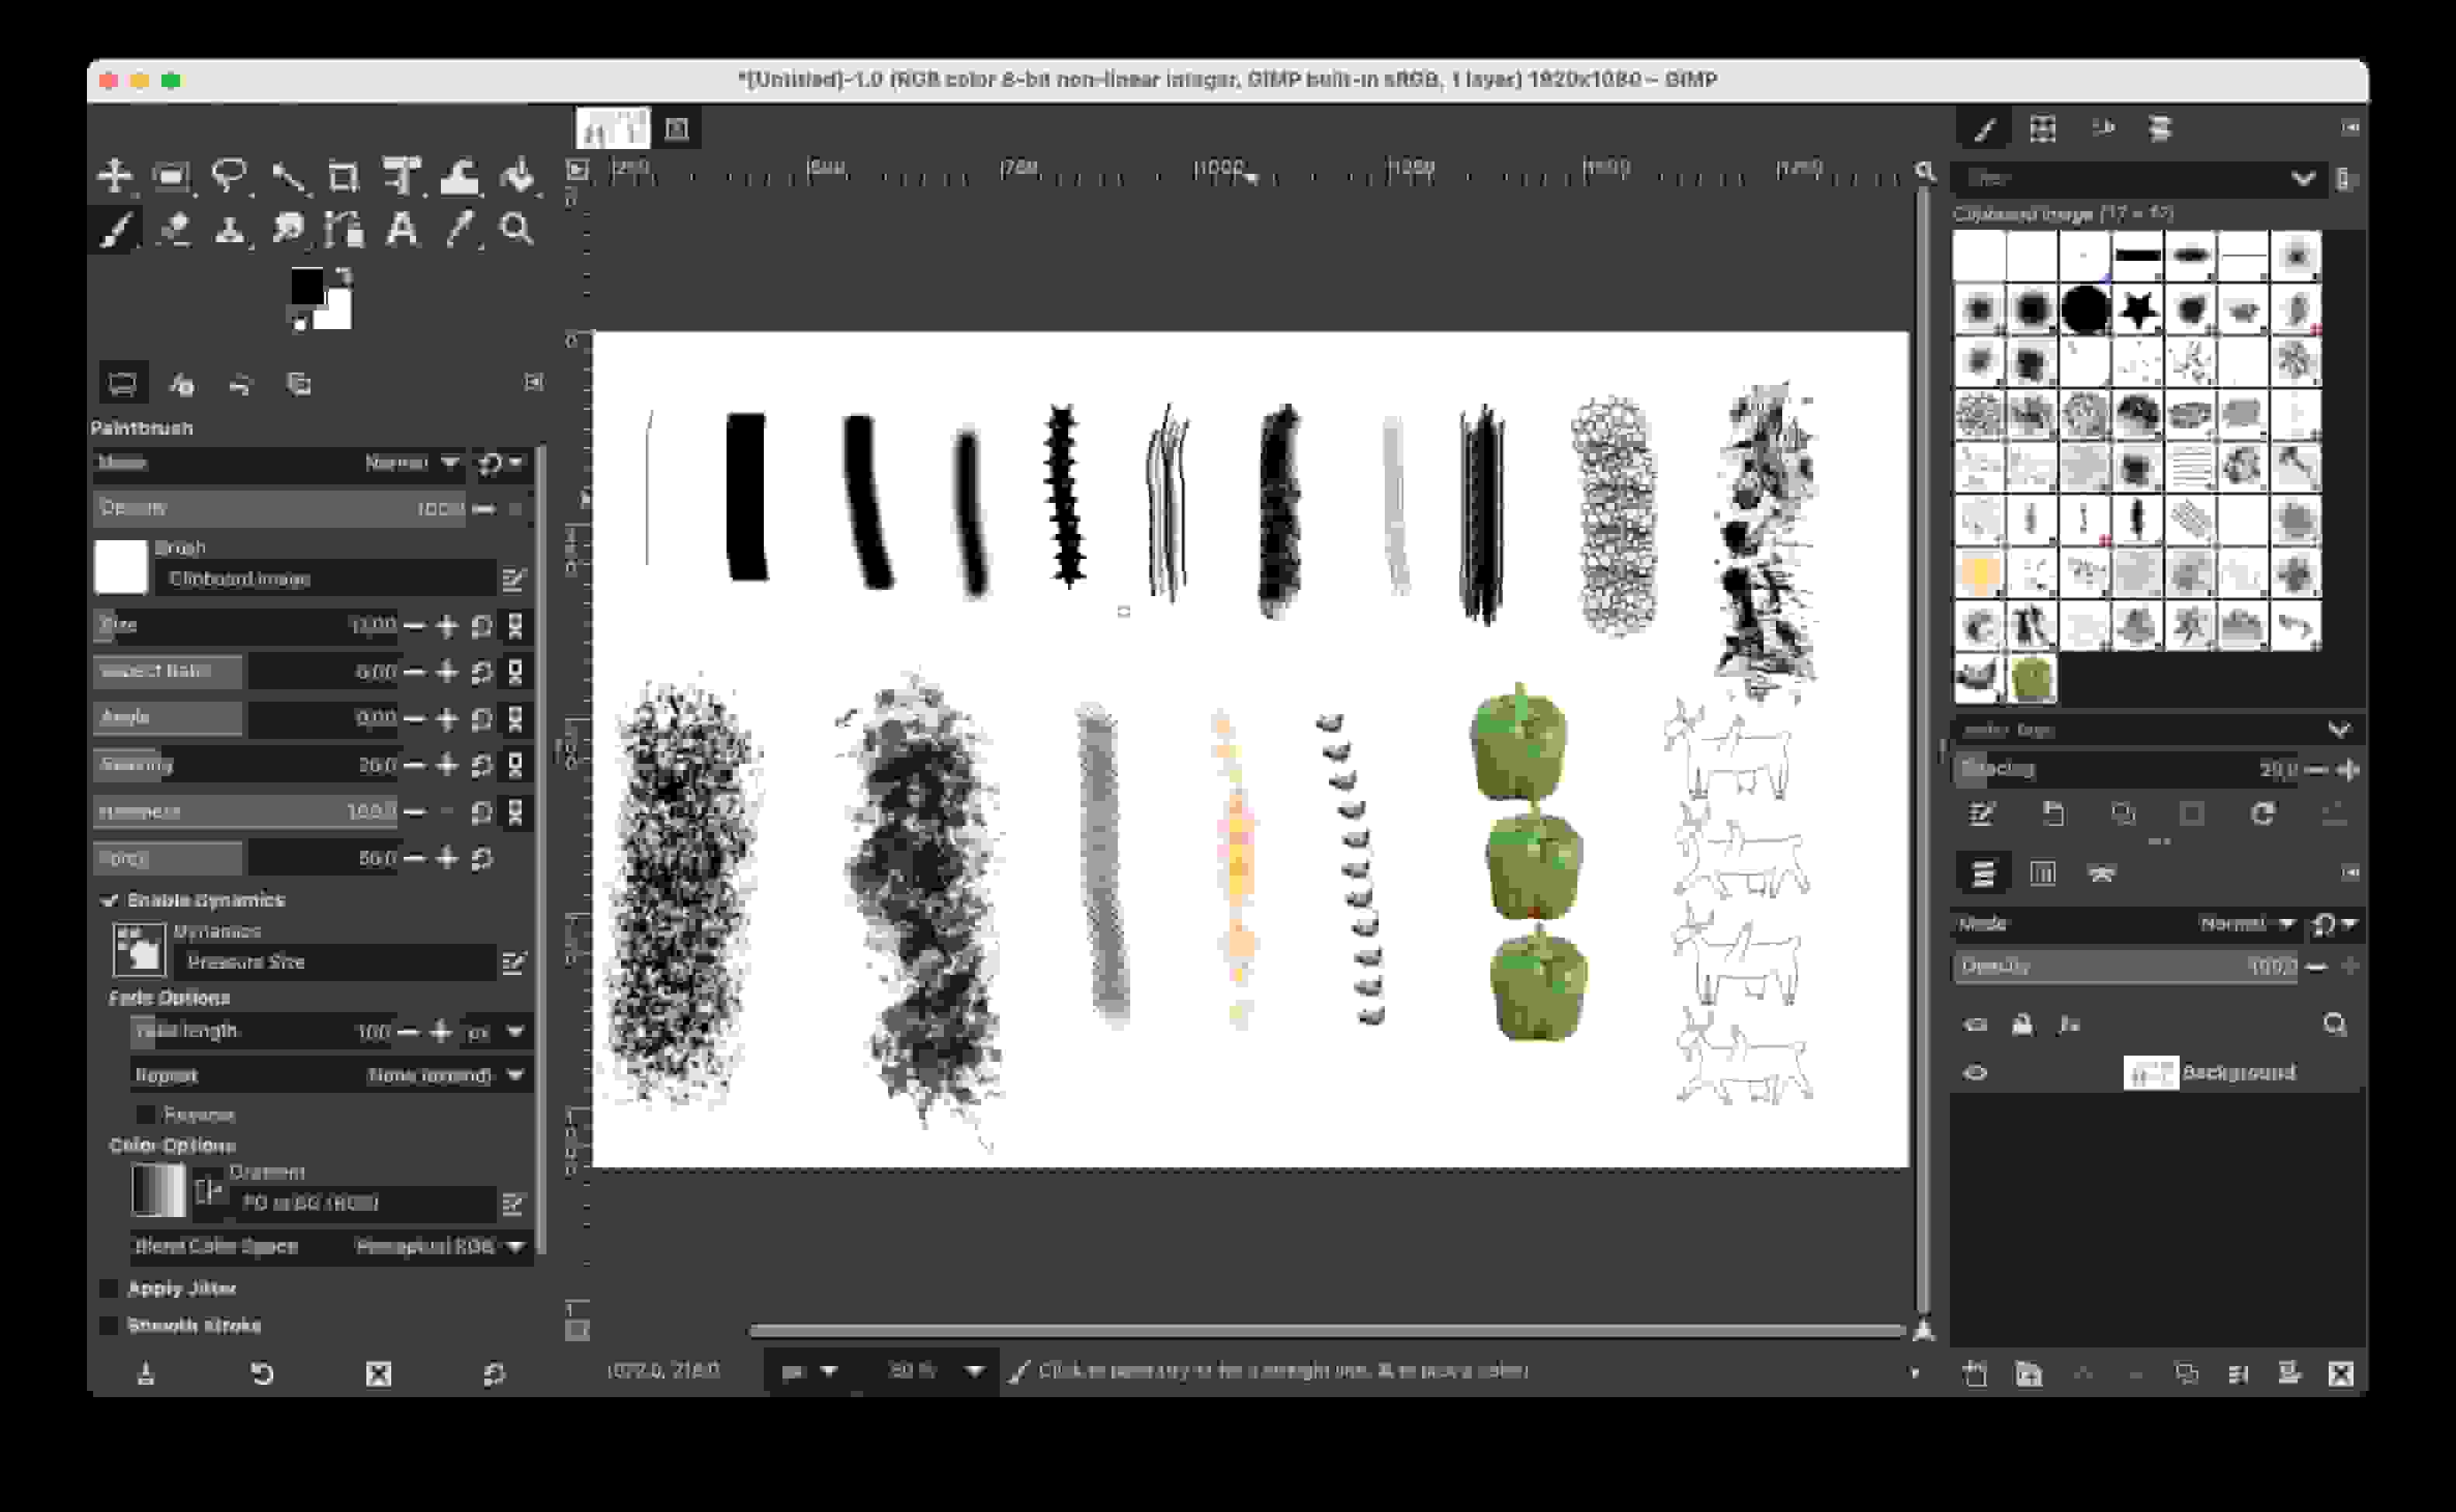
Raster designs use pixels to represent images. So, when you zoom into a design, you can clearly see the pixels that make up the image. File types: jpg, png, gif, tif
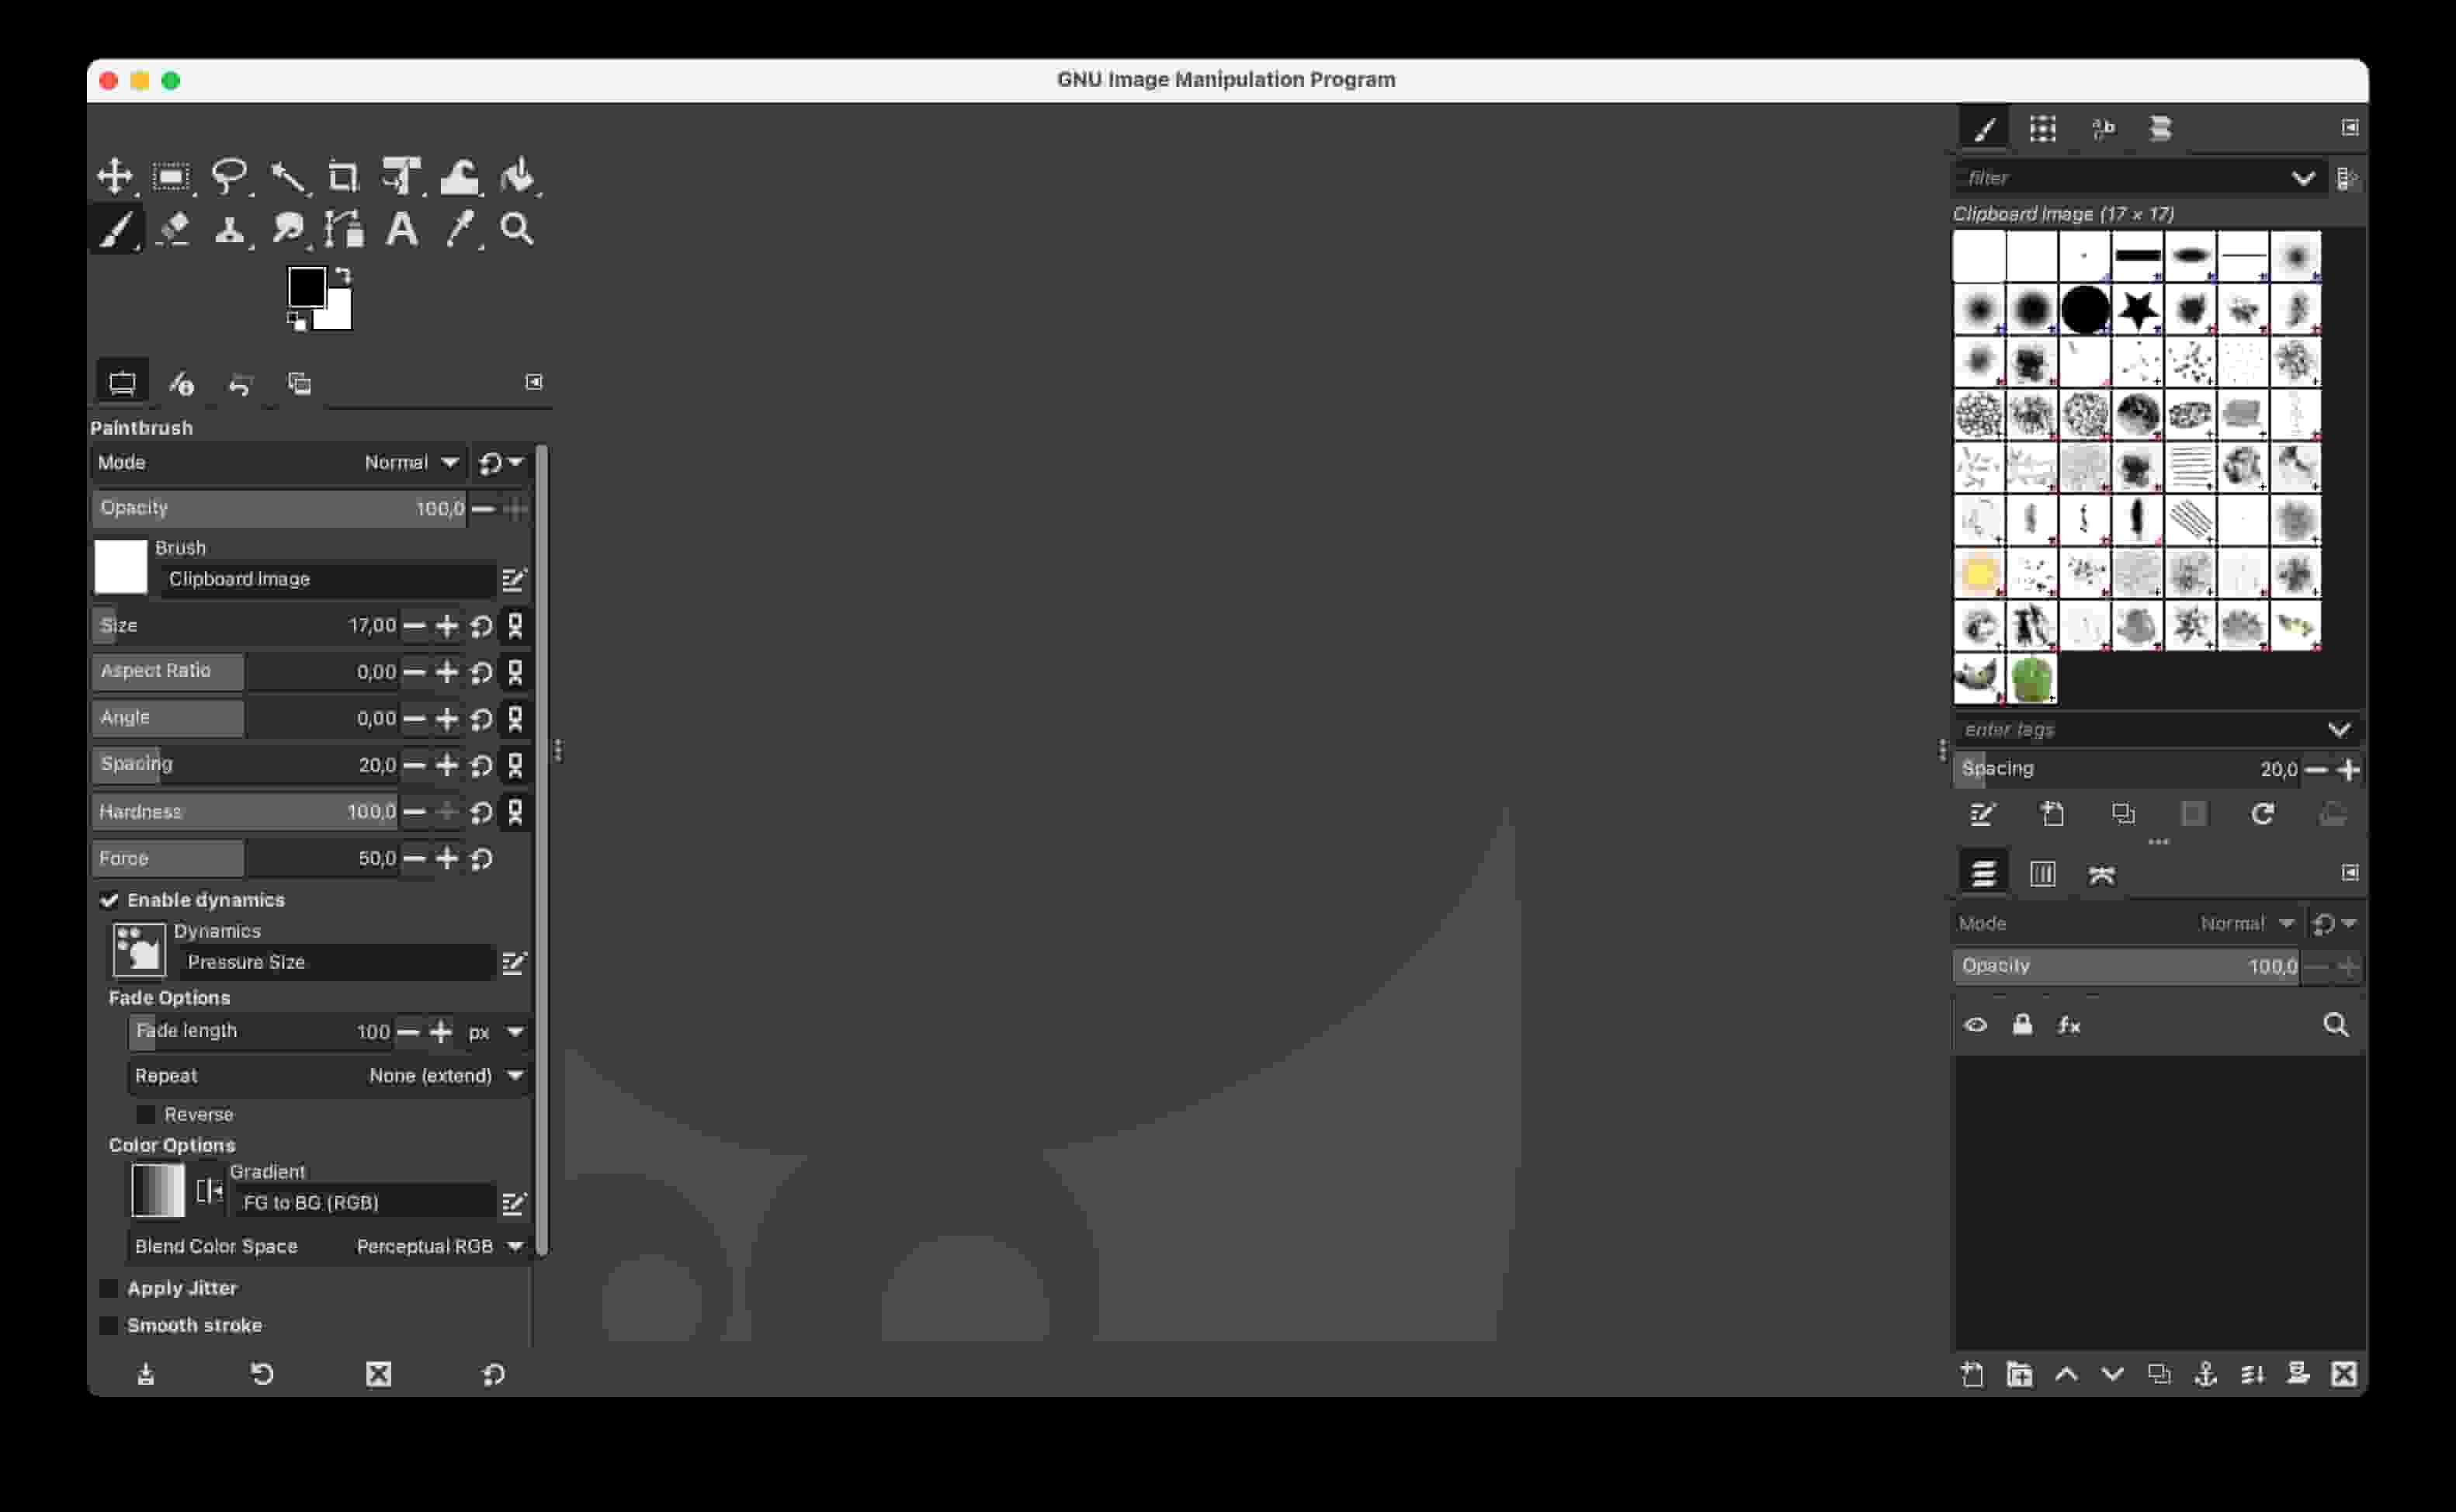
Gimp #
Gimp is a free software that lets you create raster designs.

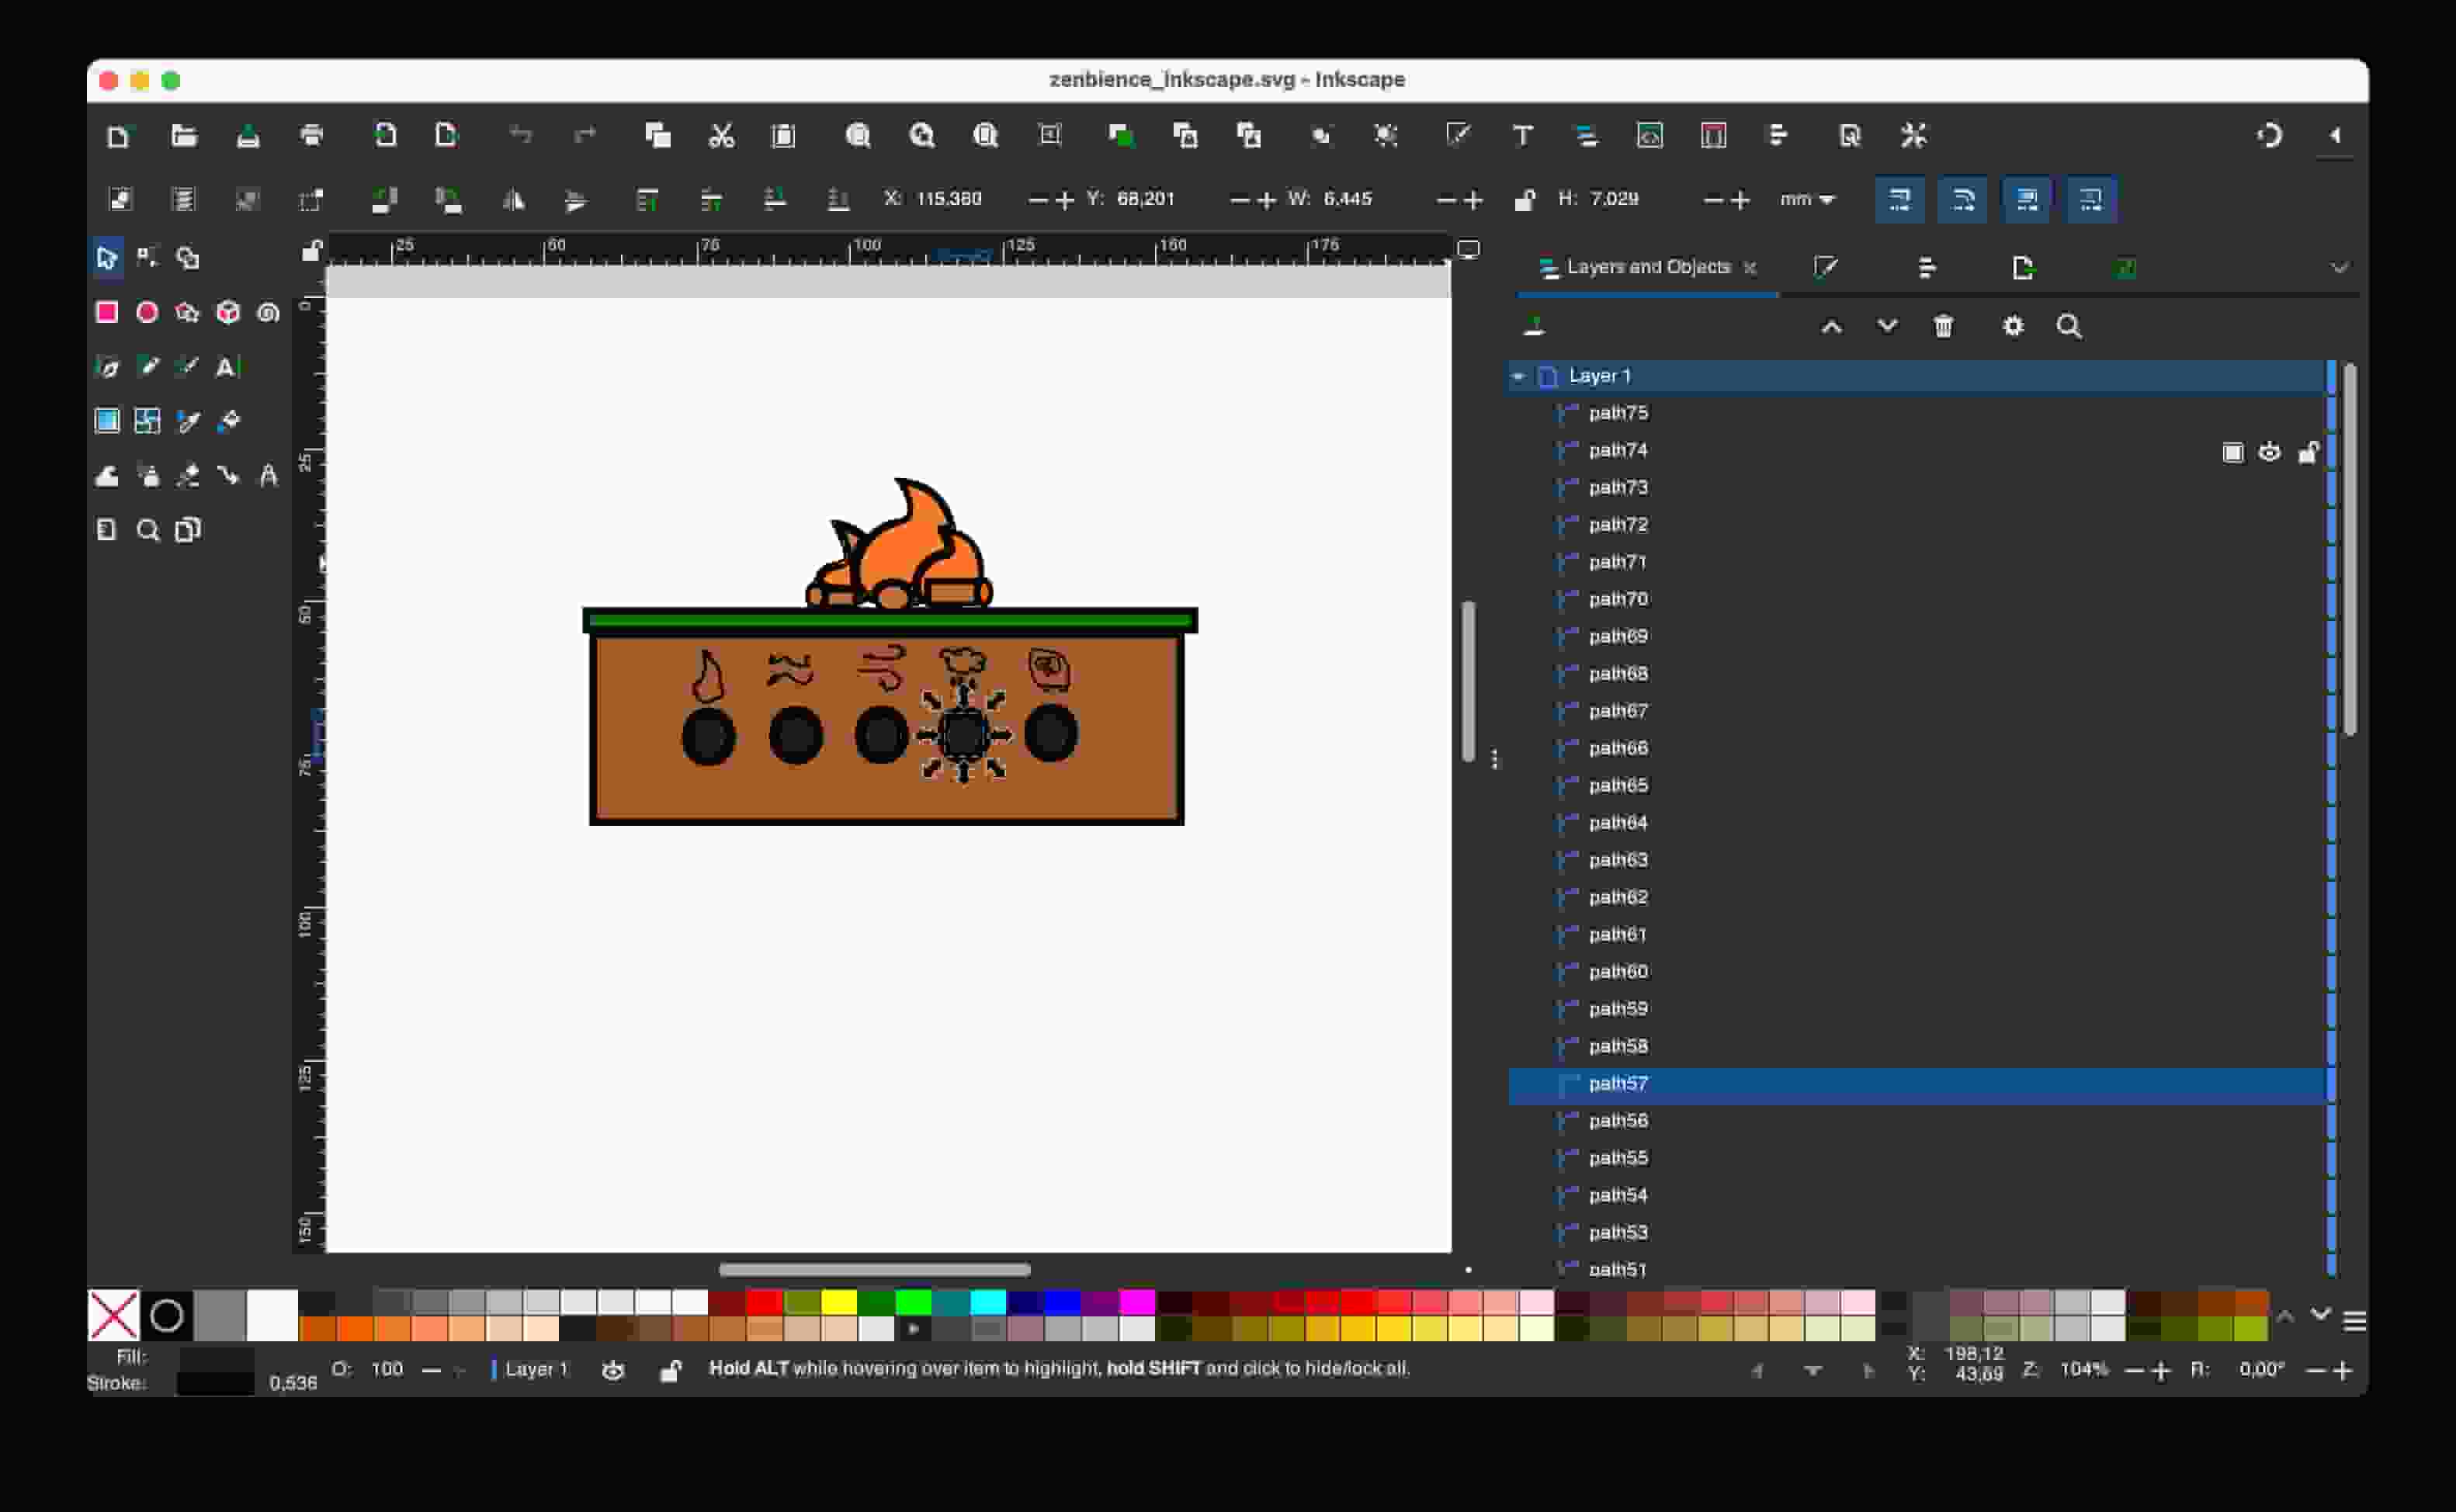
Vector #
Inkscape #
Vector designs are designs that define images using the mathematical expressions of geometric shapes. On the right side under “Layers and Object” you can see this:

3D Design #
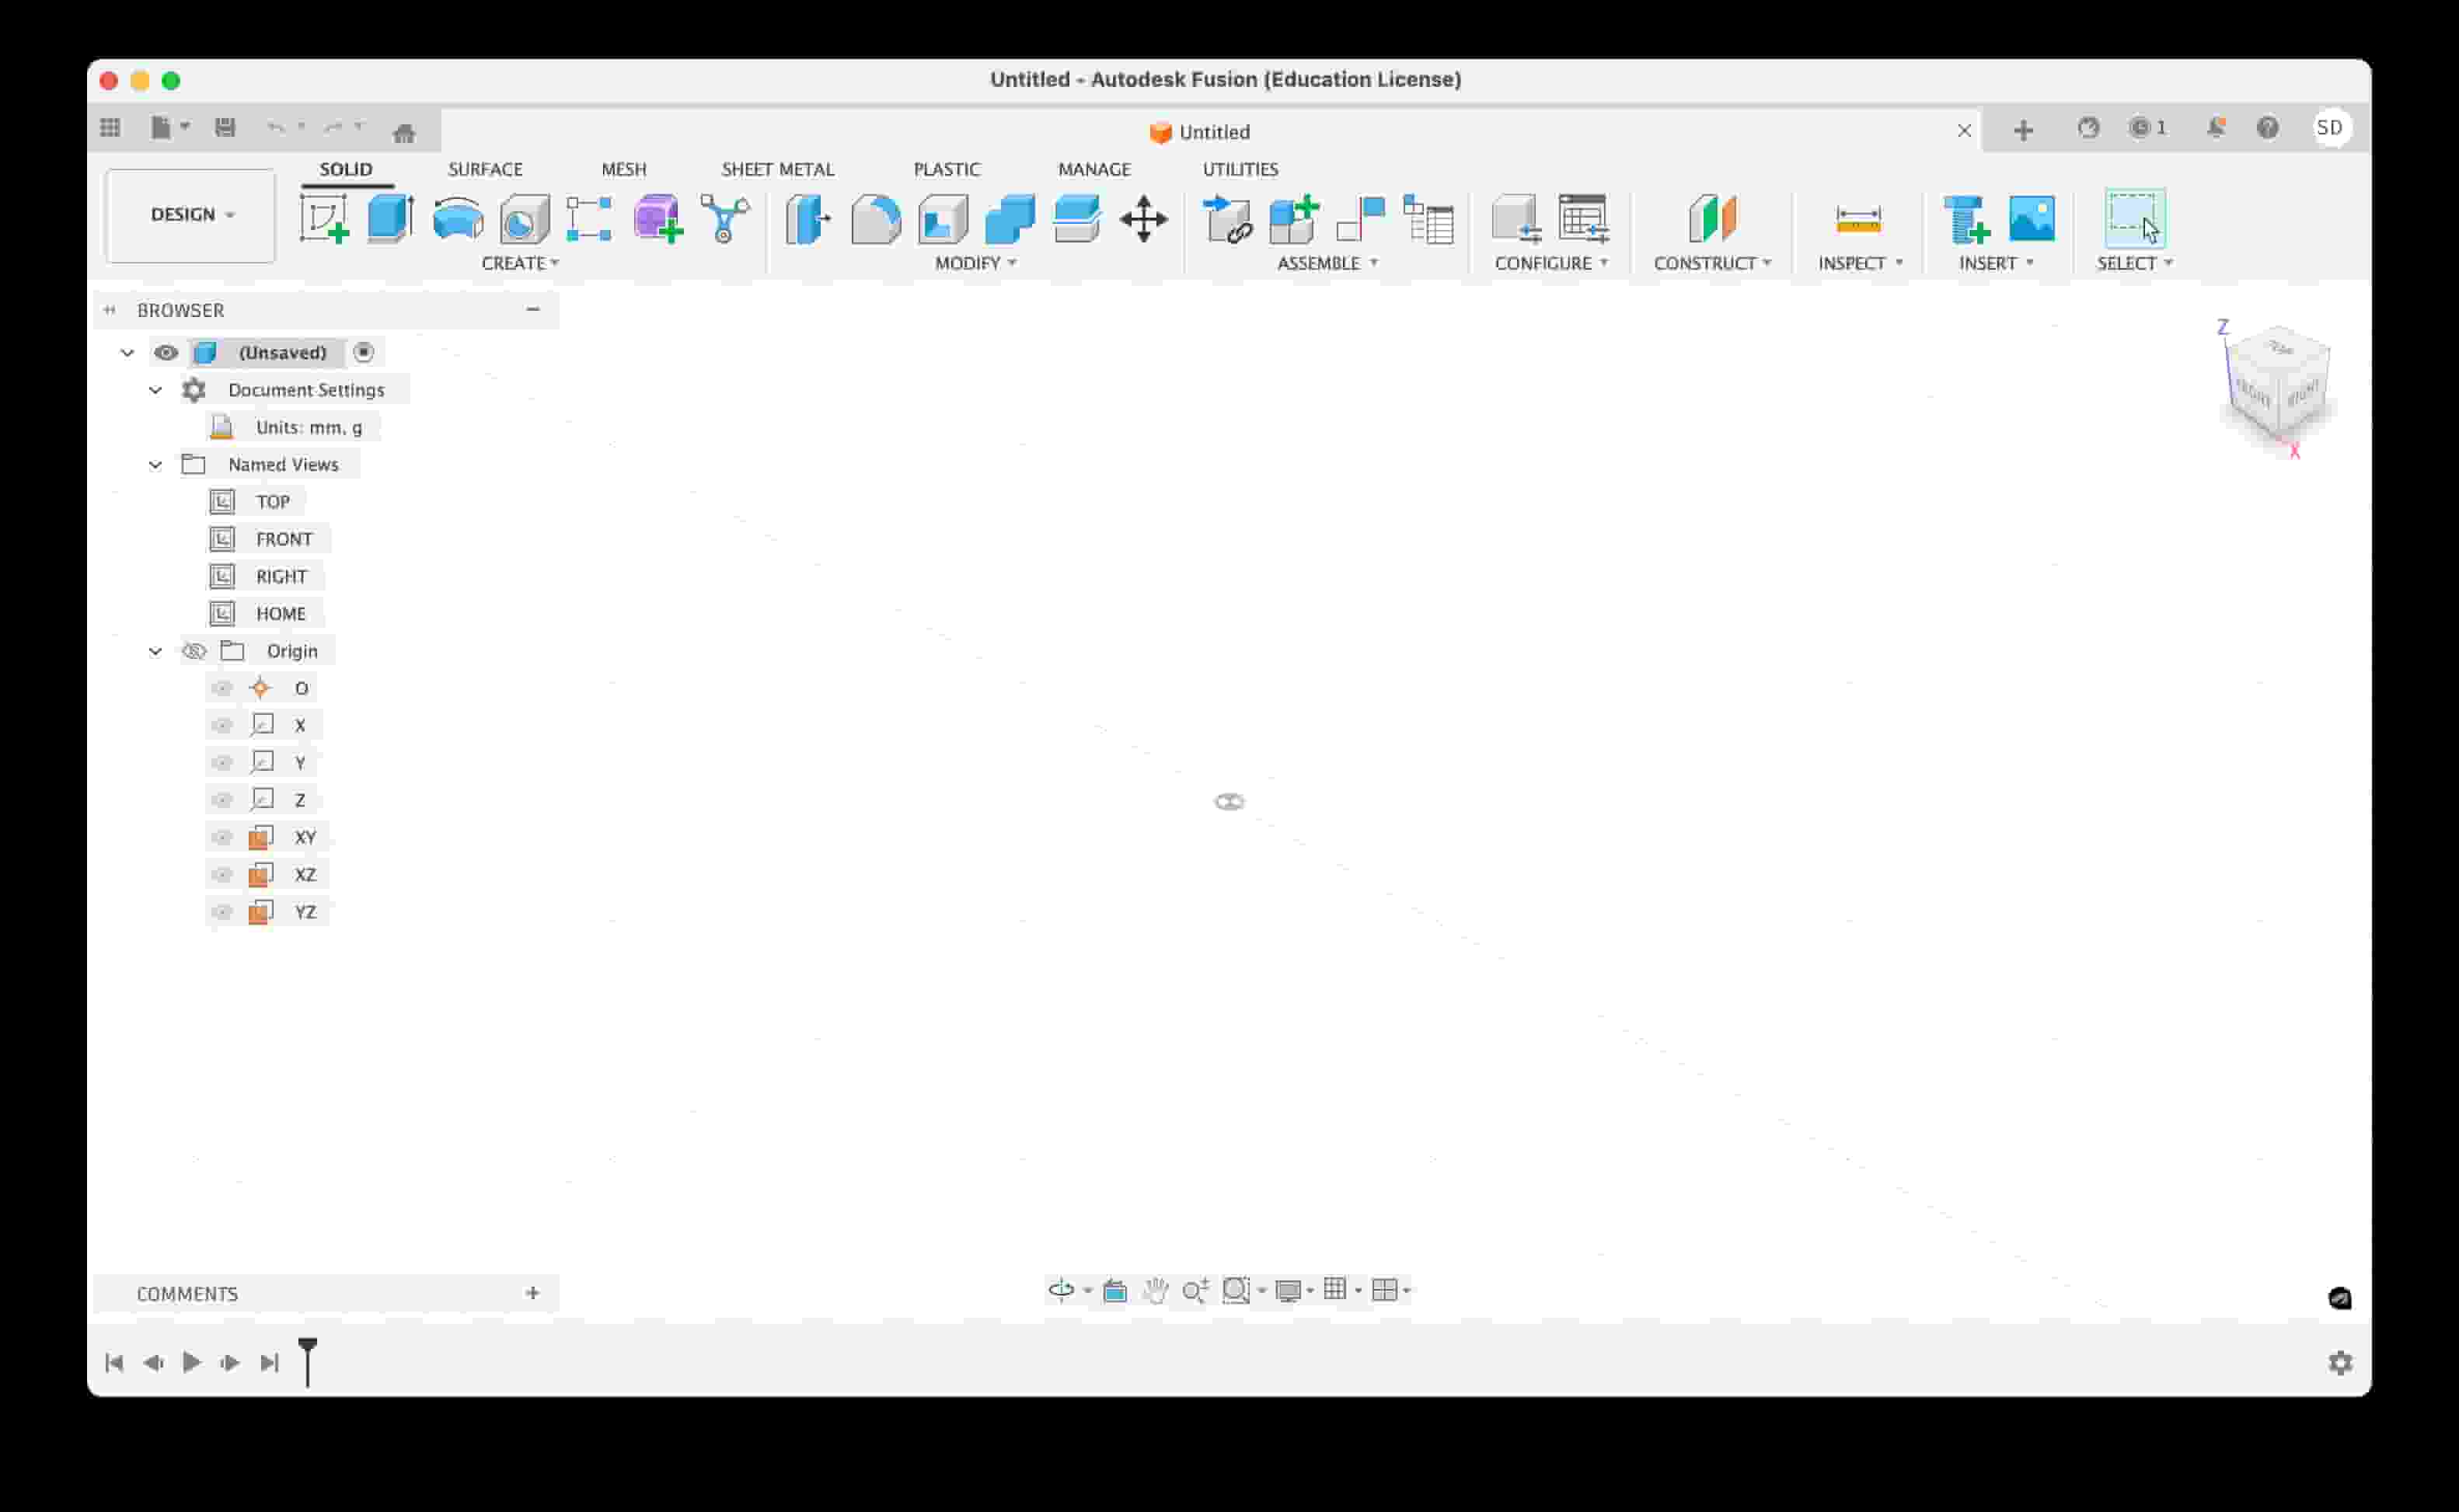
For 3D design, I wanted to use the tool I am most familiar with but not very pro at.
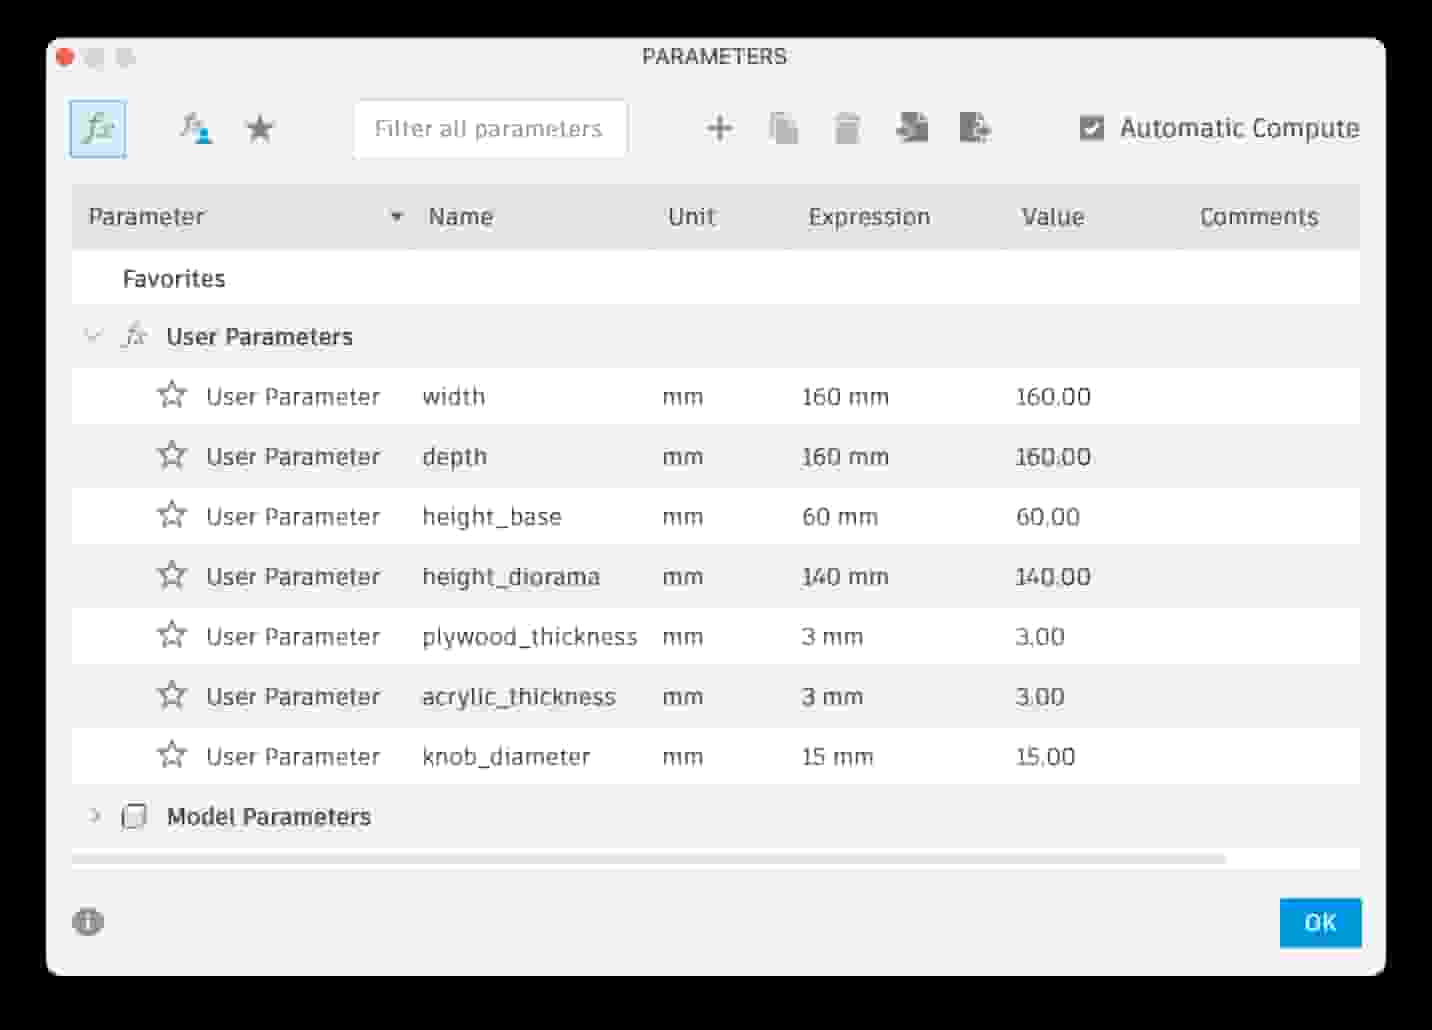
Fusion #
I have used Fusion before in my engineering classes. I think it is one of the easiest and capable tools from end-to-end designs. I love that you can create models, technical drawings, and even use it to generate g-codes for CNC machining.
File Compression #
Images: Squoosh
Videos: HandBrake
CAD Files #
- Fusion 360 (STEP): ZenbienceCAD1.step.zip
- Gimp (XCF): zenbience_gimp.xcf.zip
- Inkscape (SVG): zenbience_inkscape.svg.zip