Week 13: Molding and Casting
Assignments:
Group Assignment
- Review the safety data sheets for each of your molding and casting materials, then make and compare test casts with each of them
- Compare mold making processes
Individual Assignment
- Design a mold suited to your chosen process, ensure a smooth surface finish without visible toolpaths, and use it to accurately cast parts
Things to Complete This Week
- Create two designs
- Document process of molding and casting
- Work on Final Project!
Here is my schedule for this week.
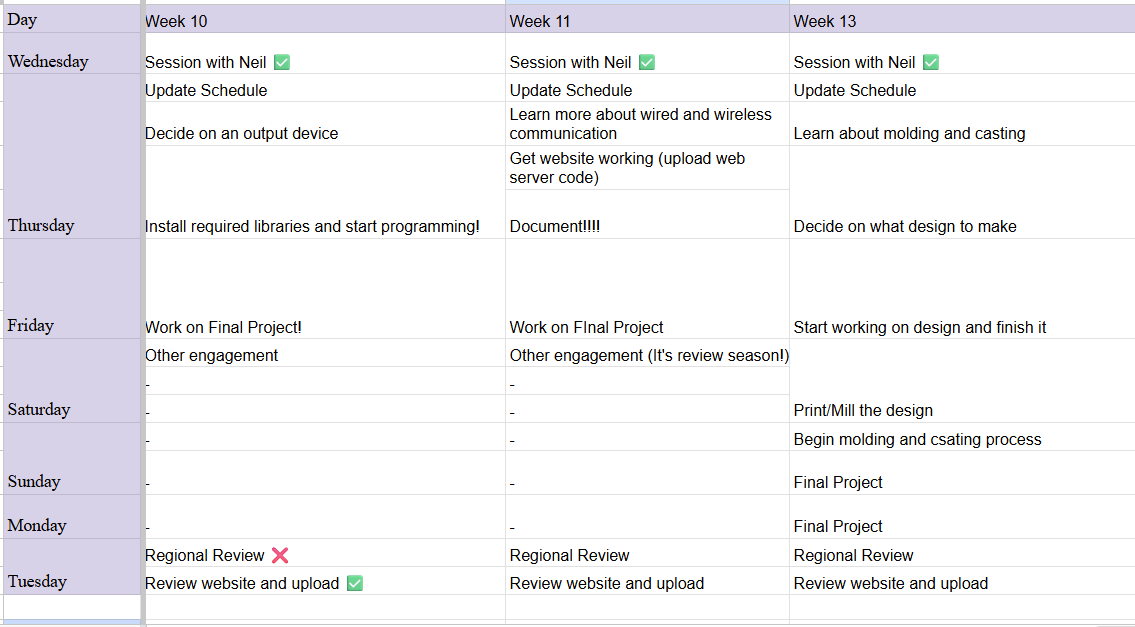
Here is the link to my schedule
Group Assignment
You can access our group assignment here.
Dawa and Yangtshel helped walk us through the whole process. Thanks guys!!! (I didn't have a picture of Yangtshel😔)
From the group testing, I learned how different molding and casting materials behave and how important it is to follow the correct mixing ratios. Comparing the molds also showed me that 3D printed molds are faster and easier to make, while milled wax molds produce smoother surfaces and finer details. Overall, it was a very fun week for all of us. (〃 ̄︶ ̄)人( ̄︶ ̄〃)
Individual Assignment
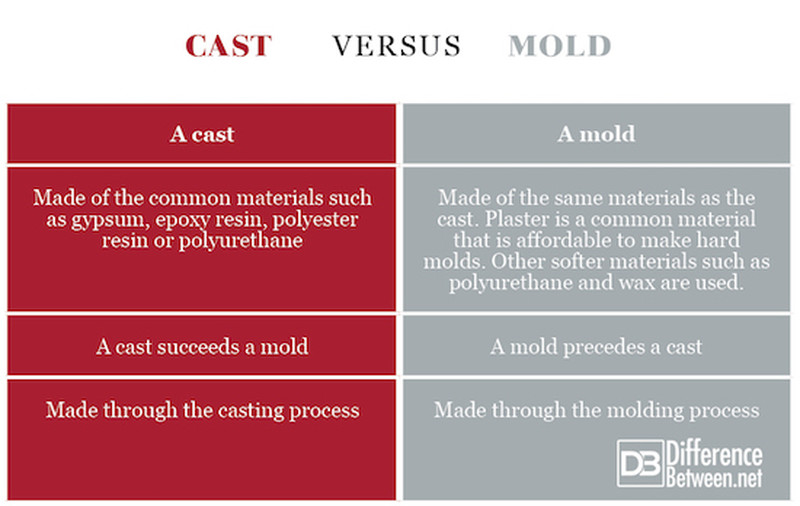
I first started by understanding the difference between molding and casting.
Molding is the process of creating a hollow shape (a cavity) that matches the form of the object you want to make. This hollow space is the “negative” because it is the opposite shape of the final object. The mold is what you use to shape other materials.
Casting is the process of pouring a liquid material into that mold and letting it harden. The final solid object you get from this is the “positive” because it is the actual shape you want.
The mold (negative) is usually what you mill or 3D print, because you are physically creating that hollow cavity. Then you use that mold to produce the final casted part (positive).
Designing
For this week's assignment, I want to create the Slytherin logo (from Harry Potter) and a knight chess piece. The logo's mold will be produced using a 3D printer, and the chess piece will be fabricated using the Monofab SRM-20 Roland milling machine. Note: I got the inspiration pictures from Pinterest 😉
I started by designing the Slytherin logo 🐍
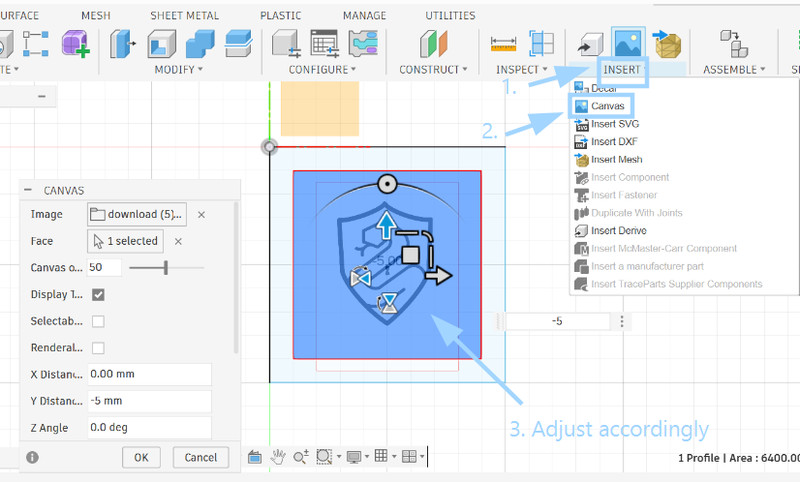
1. I created a square sketch of dimensions 10cmx10cm. Then I imported the iage by clicking on Insert > Canvas.
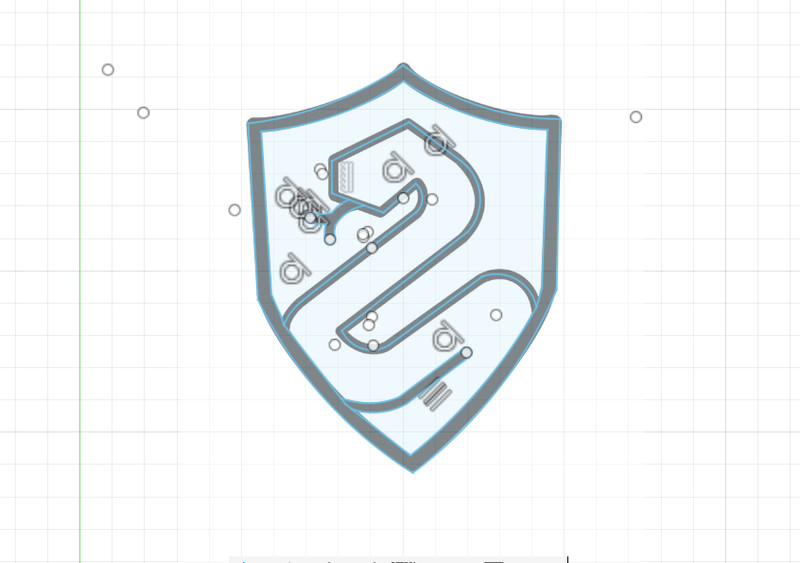
2. I then used the line tool and the 3-point arc tool to create my own outline of the image.
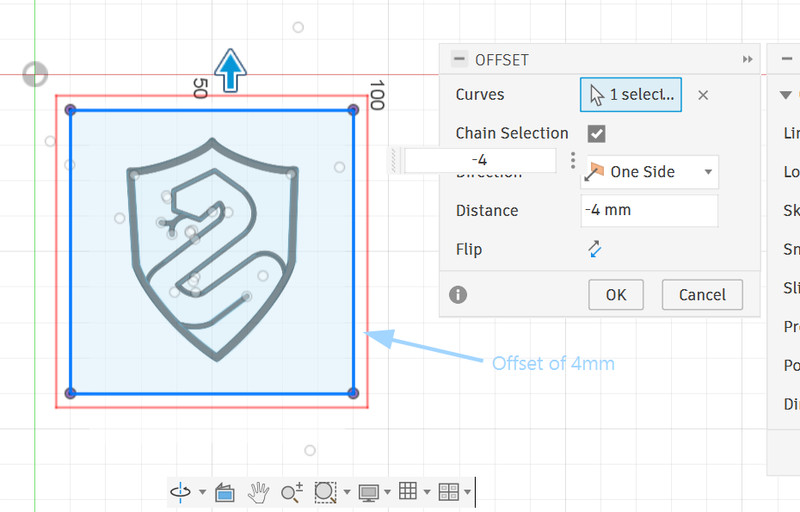
3. I realized that instead of creating two separate square sketches and extruding the outer frame, I could simply use the Offset tool to maintain a 4mm gap between the inner and outer frames.
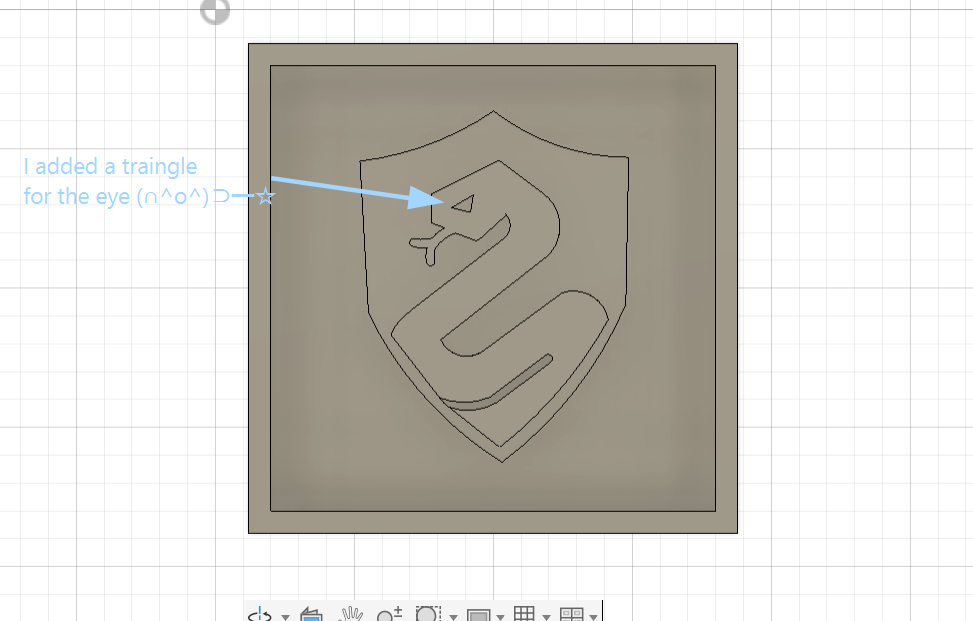
4. Next I extruded different parts using different values.
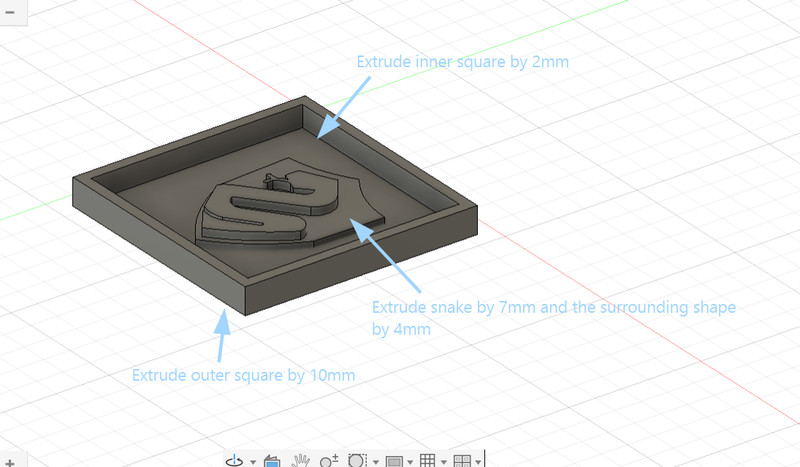
5. Here is the final look! 🥳🤗
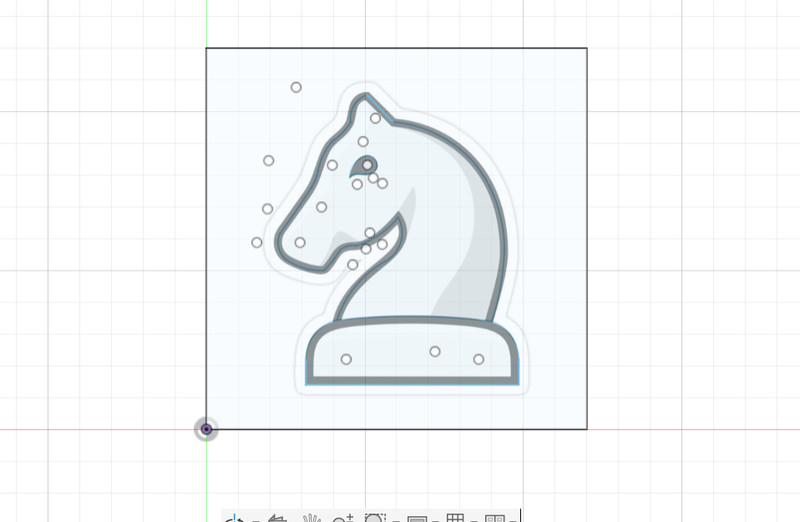
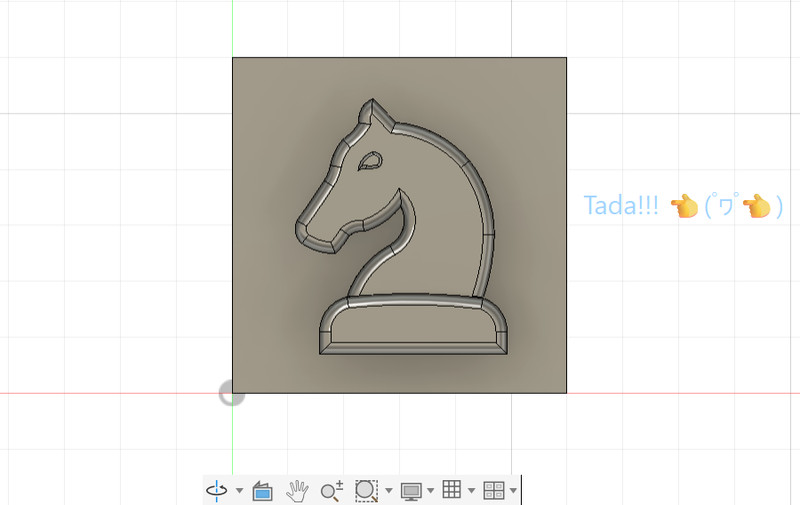
I mostly followed the same process for the knight design also.
1. I imported the outline and then used the line and the 3-point arc tool to create the outline.
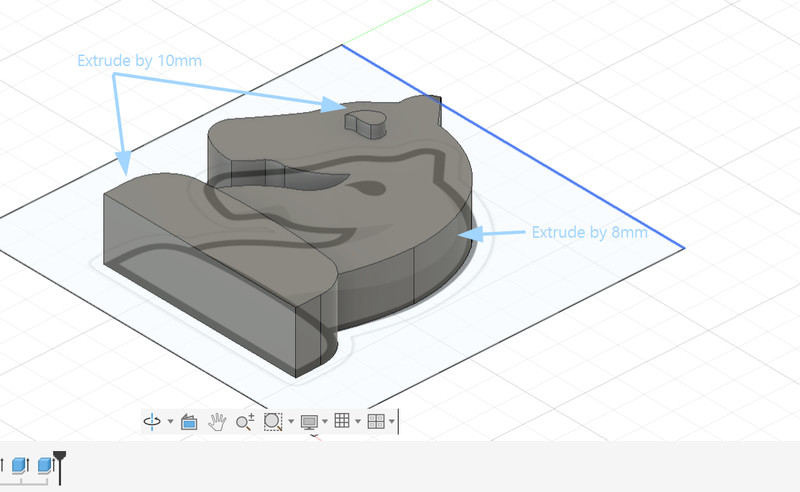
2. After that, I extruded the design.
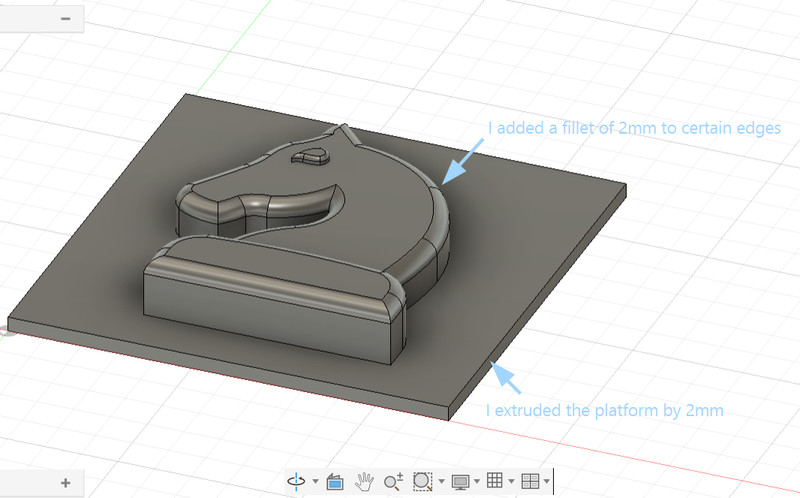
3. I added a 2mm fillet to the edges and extruded the platfrom by 2mm.
4. Here is the final look!
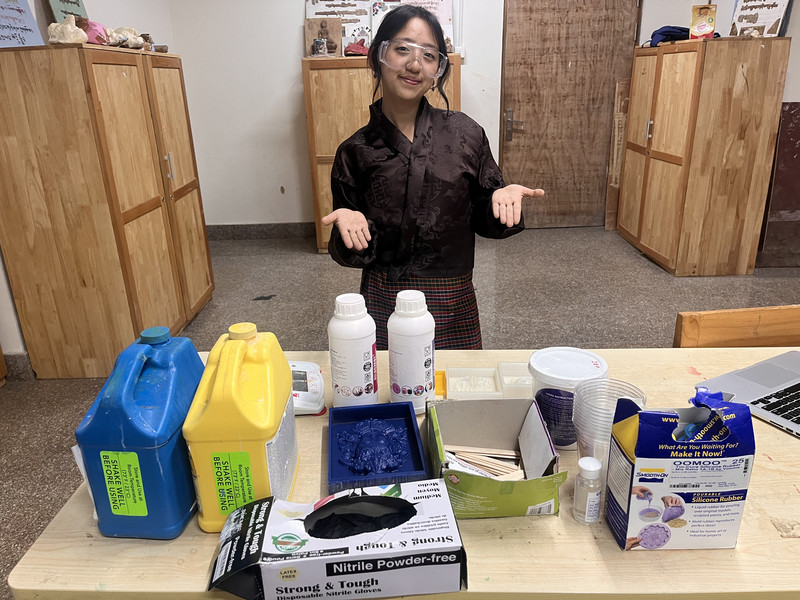
Safety Data Sheets (SDS) Review
Before using the molding and casting materials, I reviewed their Safety Data Sheets (SDS) to understand how to use them safely. 😊
Main safety precautions followed:
- Wore gloves when handling materials.
- Worked in a well-ventilated area.
- Avoided contact with eyes and skin.
- Wore a mask when handling Drystone powder to avoid breathing in dust.
- Measured and mixed materials according to the recommended ratios.
- Cleaned the workspace and washed my hands after use.
Reviewing the SDS helped me to understand the hazards of each material and ensure that they were used safely throughout the project. 👈(゚ヮ゚👈)
Molding
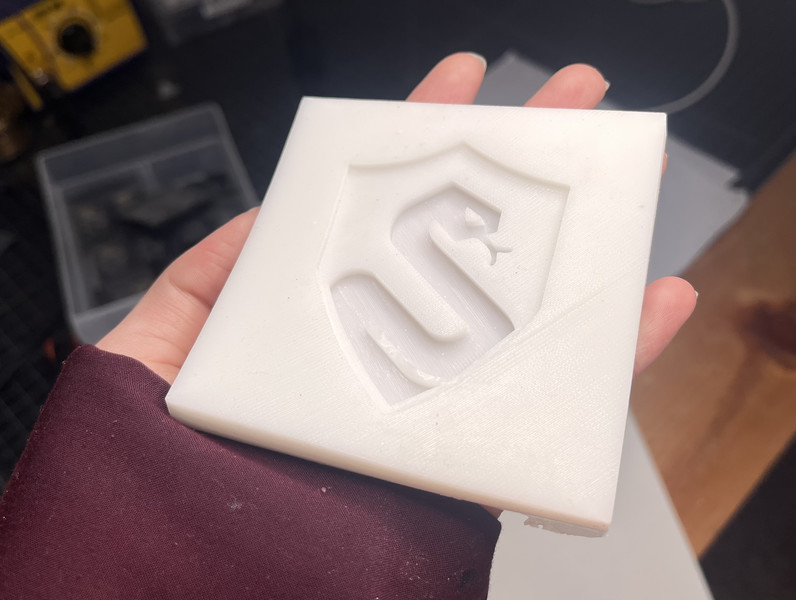
Here is how the print came out for the slytherin logo 🤗.
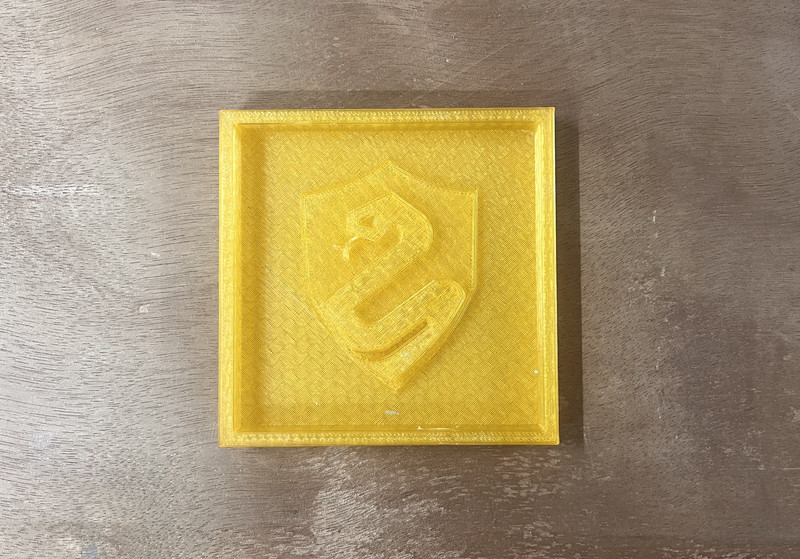
Before making the silicone mold, I inspected the print for any visible layer lines. The print quality was smooth, so I used it directly without additional post-processing. The final silicone mold didn't have many visible layer lines and captured the details accurately. 😄
For the mold, I used Liquid Silicone Rubber (Siloczest Liquid Silicone Rubber-LSR 225). This material starts as a liquid and turns into a soft rubber after some time. The catalyst is what activates the silicone so that it can cure. Without it, the silicone would just stay as a liquid.
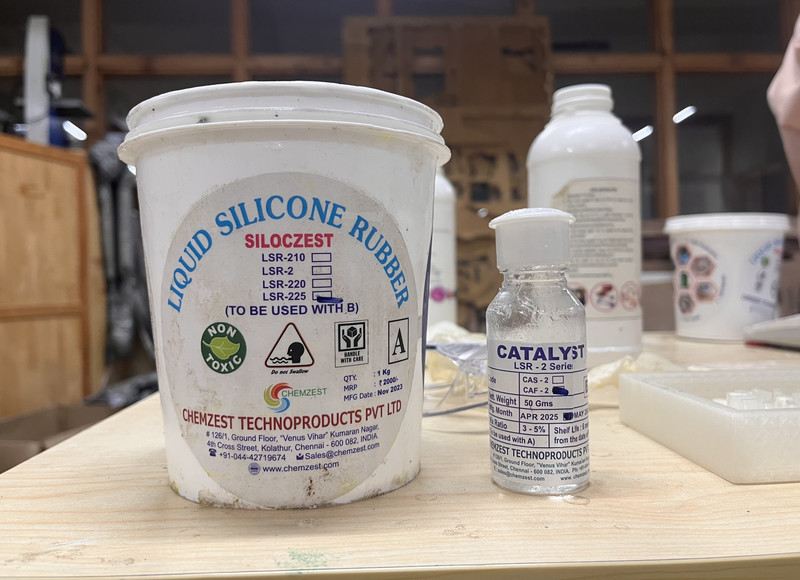
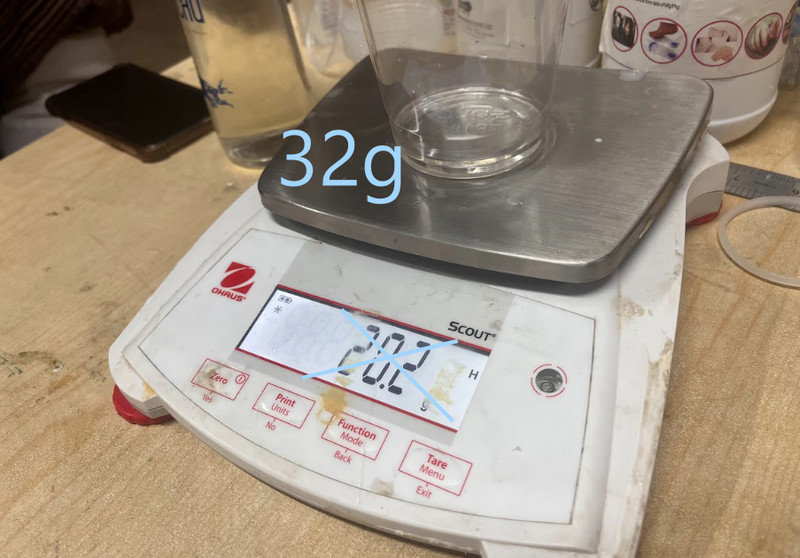
I mixed 100 g of silicone with 5 g of catalyst (5% ratio) so it sets faster.
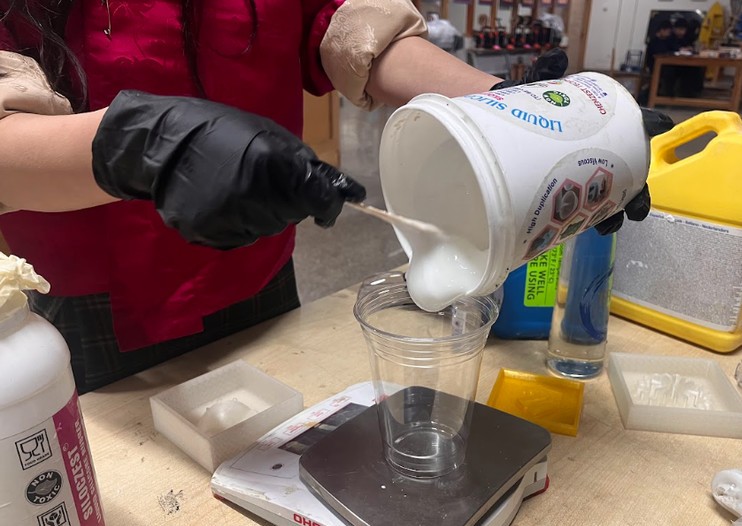
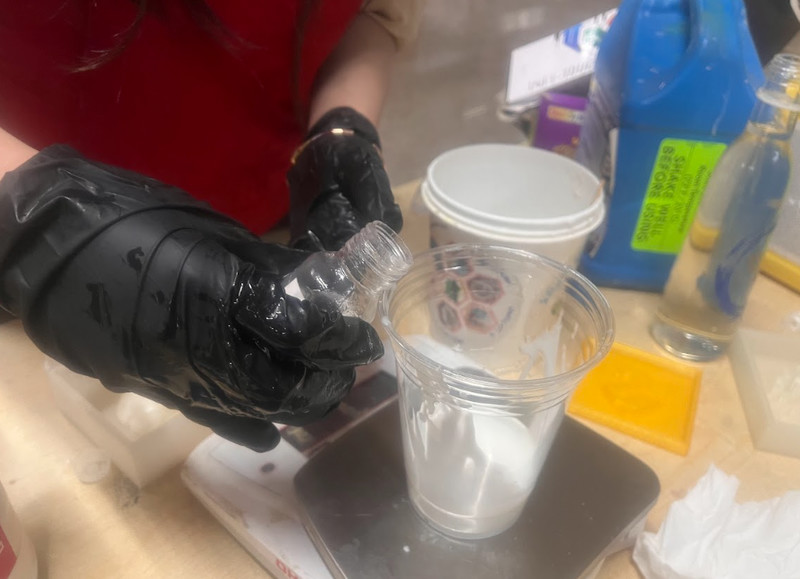
After mixing properly for 3 minutes, I poured it into the mold.
It started to thicken after a while 😃.
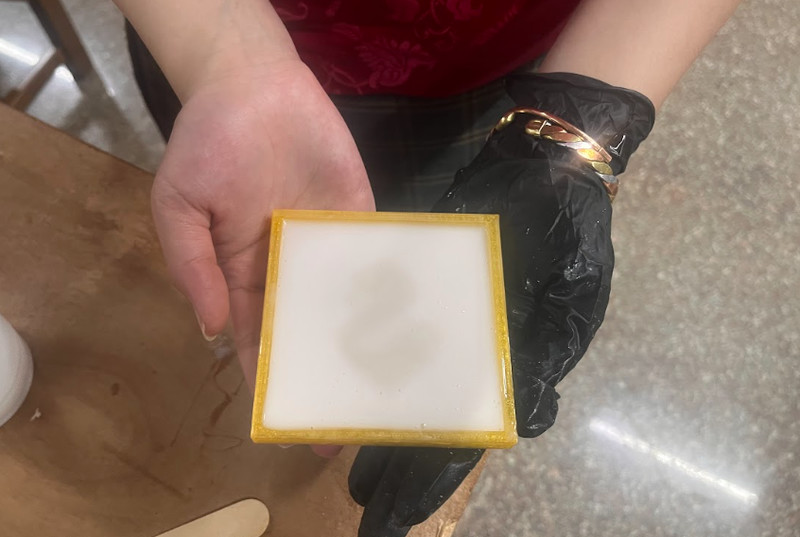
I think the mold turned out quite well for a first attempt. 😄
Casting
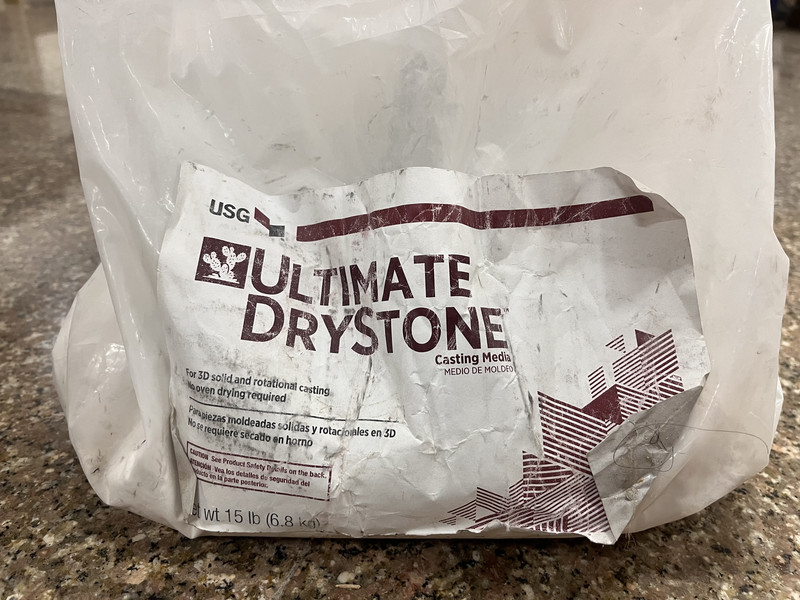
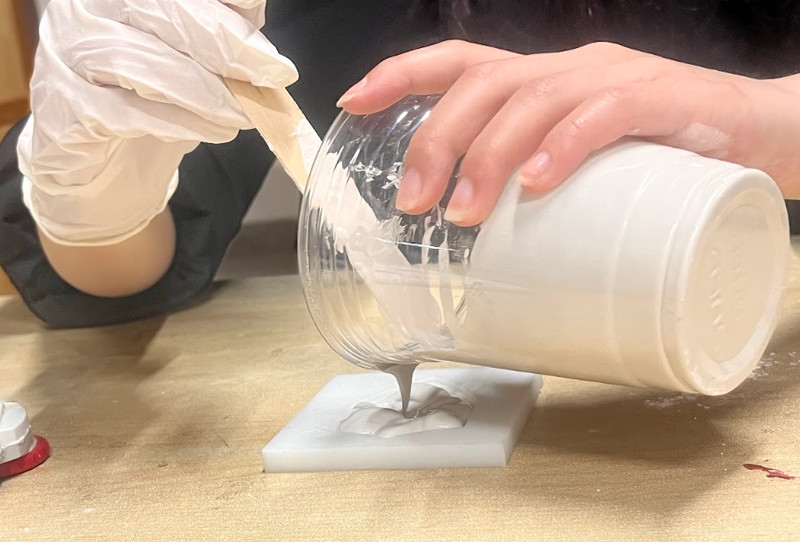
For the cast, I used USG Ultimate Drystone™ Casting Media. This material is gypsum-based and is used for casting and mold making. It comes as a fine powder that is mixed with water and poured into a mold, where it sets into a hard, stone-like solid.
Due to its good flow properties, it can capture fine features accurately, and once cured, it forms a smooth and strong structure 💪.
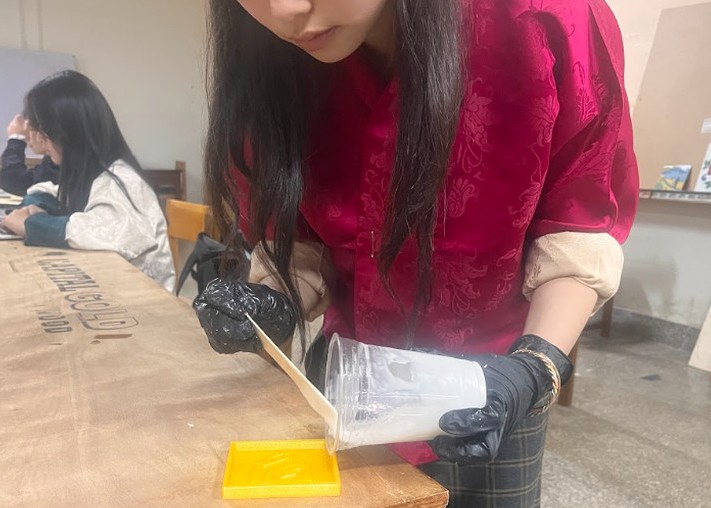
After mixing thoroughly for a minute, I poured the mixture into the mold and left it to dry overnight 😪.
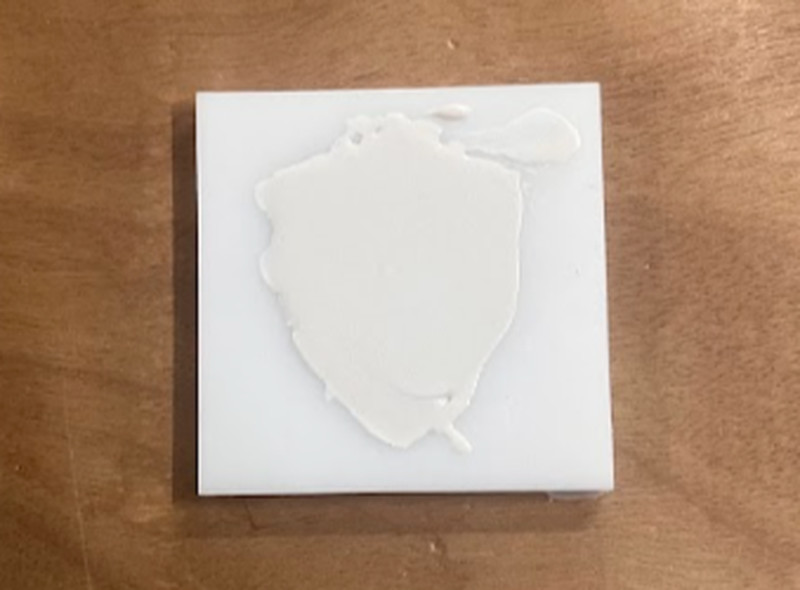
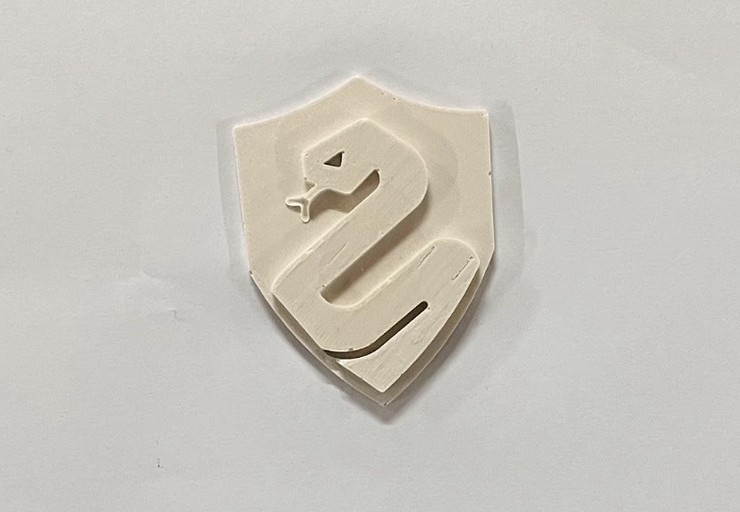
Here is the final look!!! 💃🏼🪇
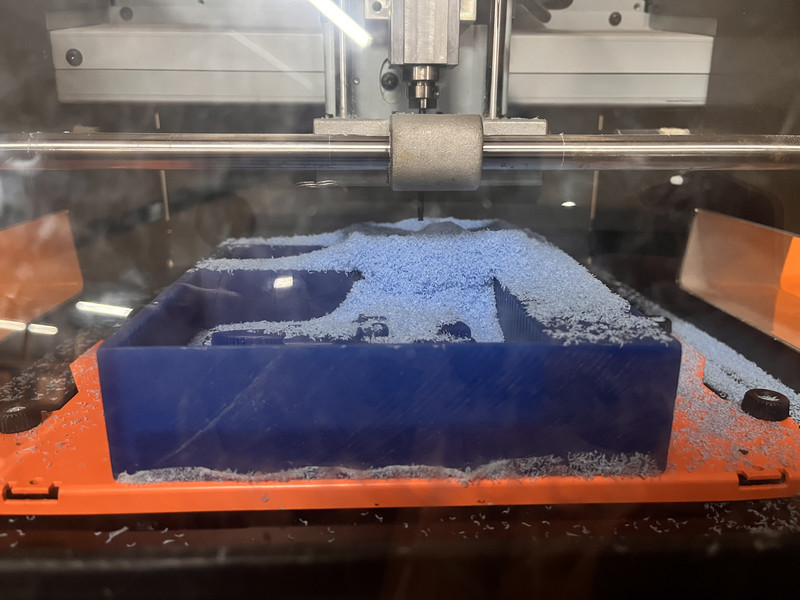
Milling
I’m using the Roland SRM-20 milling machine to carve my wax mold. I’ll be working with two tools: a 1/8” flat (square) endmill and a 1/8” rounded (ball) endmill.
The process happens in two steps:
Roughing: First, the machine quickly cuts away most of the extra wax using the flat endmill. This step is fast and focuses on shaping the basic form, not details.
Finishing: Then, the rounded endmill goes over the piece more slowly to smooth everything out and add finer details. This step gives the final clean and polished look.
Here are the steps I followed:
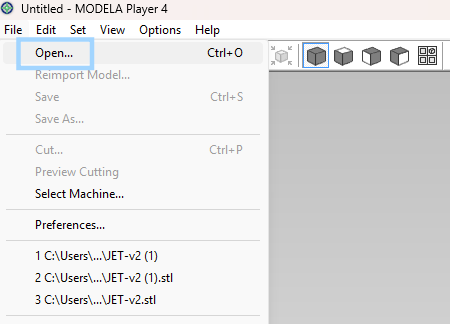
1. I used Modela Player 4 to turn my 3D design into toolpaths for machining. In the software, I clicked on File > Open and then selected my stl file.
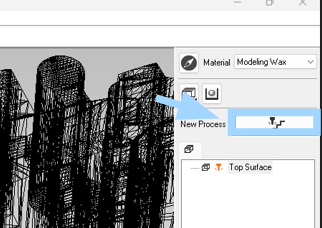
2. In the dropdown menu on the right, I selected Modelling Wax as the material. After that I clicked on New Process.
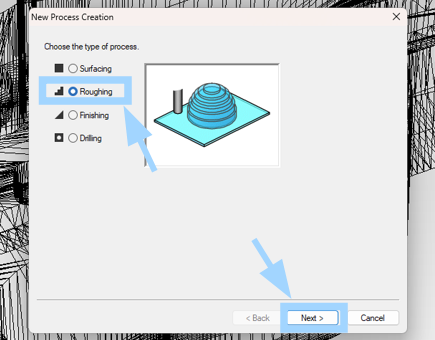
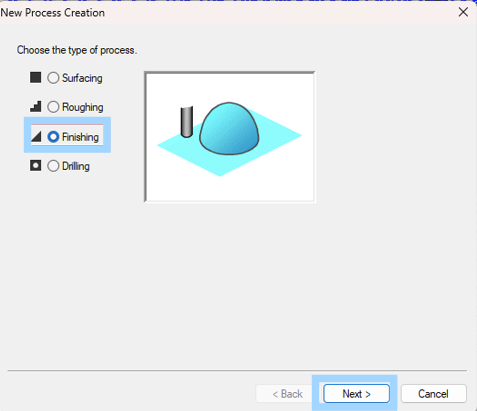
3. I chose the Roughing option.
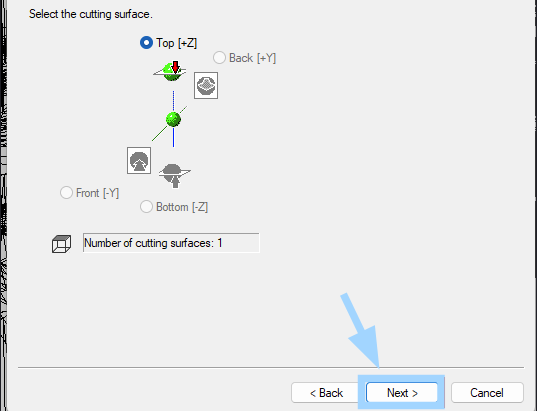
4. I set the cutting surface to Top and proceeded to the next step.
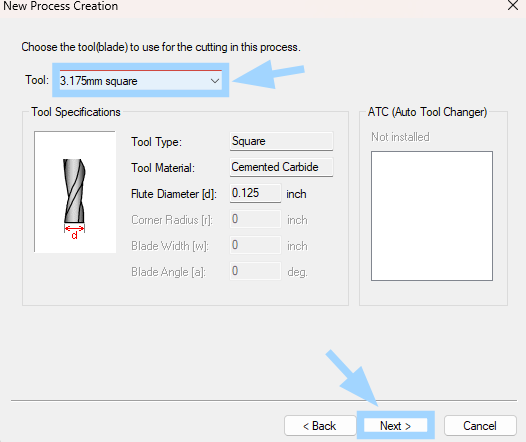
5. I selected the 3.175 mm square tool for roughing and clicked on Next.
6. I chose the Partial option and set the start height to 0.0394.
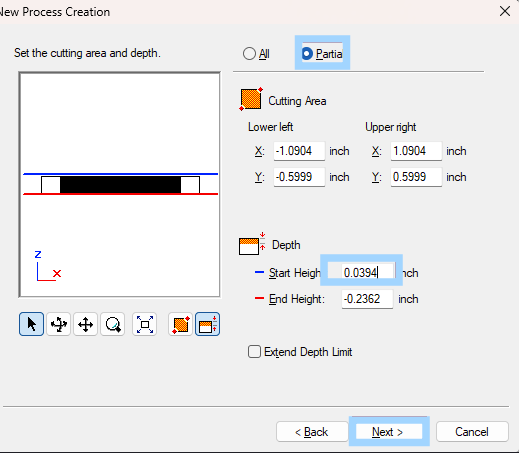
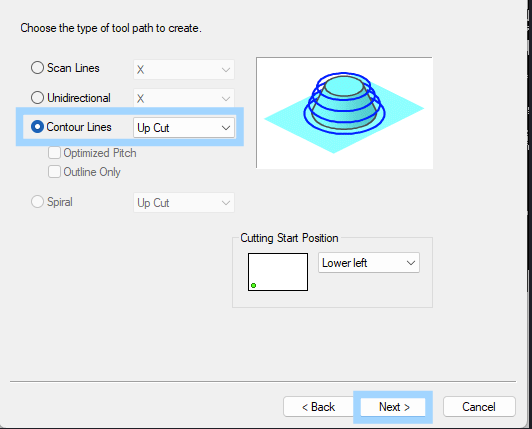
7. I chose the Contour Lines option as the toolpath type and clicked on Next.
8. After that, I set the cutting parameters.
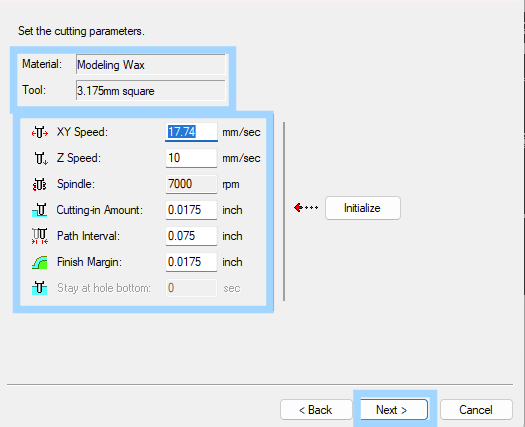
9. I entered the name of the process, chose the Right Now option and clicked on Finish. The toolpath for roughing then gets created! 🤗

10. I then moved on to the finishing process. I clicked on New Process again but this time, I chose the Finishing option.
11. Next I selected the 3.175 ball tool for finishing and moved on to the next step.

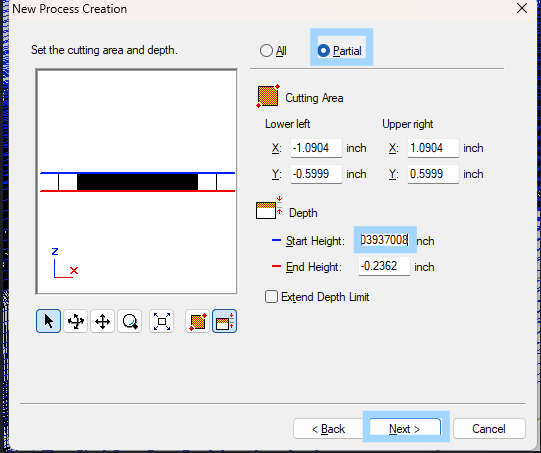
12. I chose the Partial option and set the start height to 0.0394.
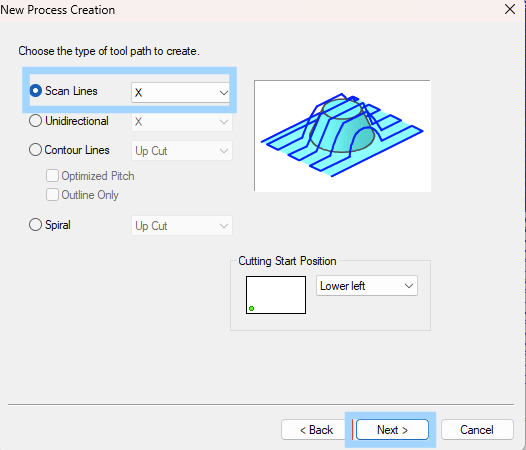
13. I chose the Scan Lines option as the toolpath type and clicked on Next.
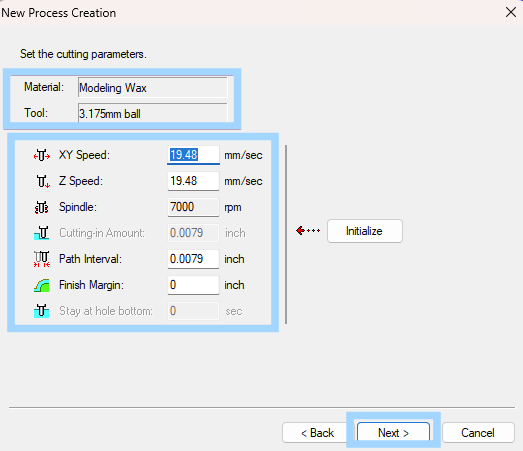
14. I set the cutting parameters as follows.
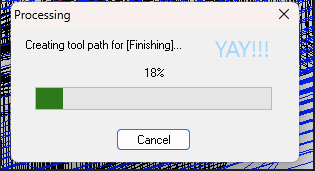
15. I entered the name of the process, chose the Right Now option and clicked on Finish. The toolpath for finishing then gets created! 🤗
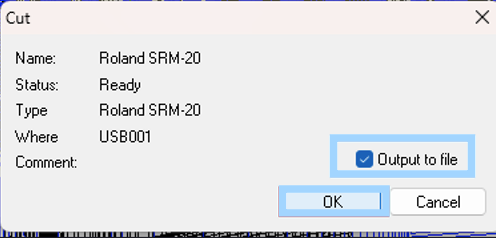
16. I then saved the files and output them to a specific location.
Before milling, I marked the origin reference point on my design.
After the roughing process has finished, don't forget to change the endmill to the rounded one for the finishing process. 🤓
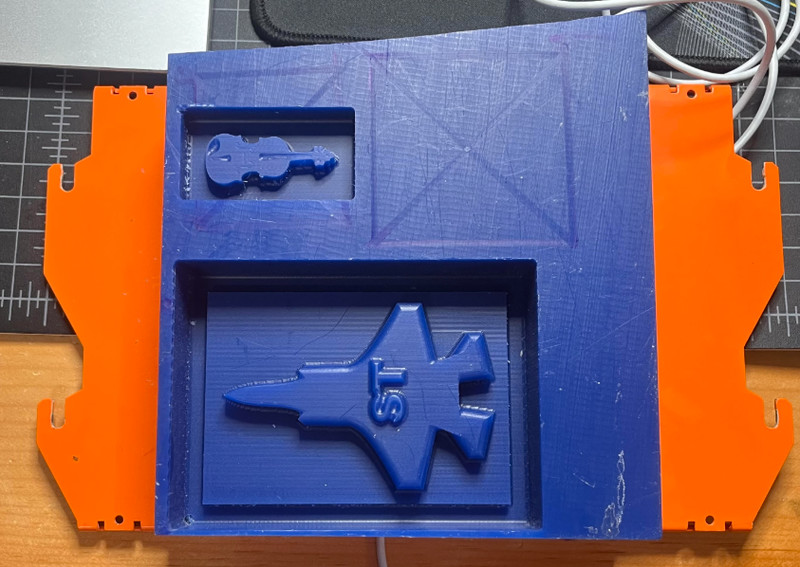
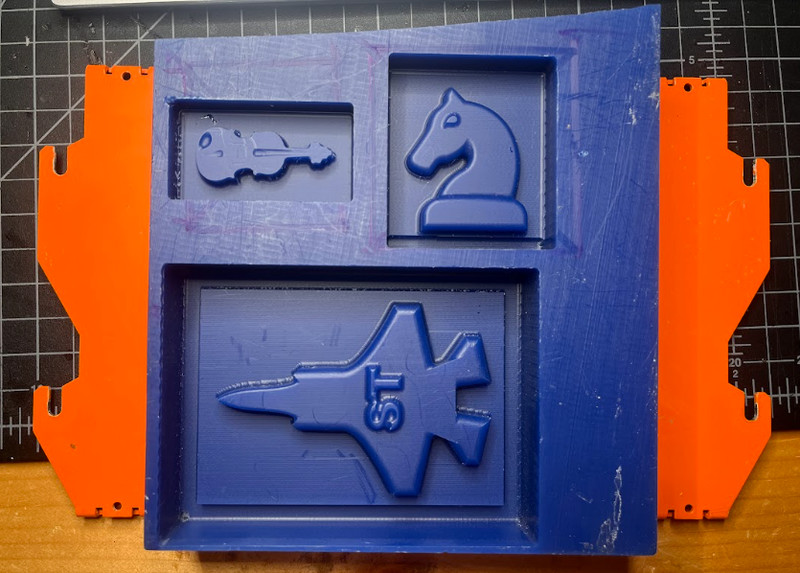
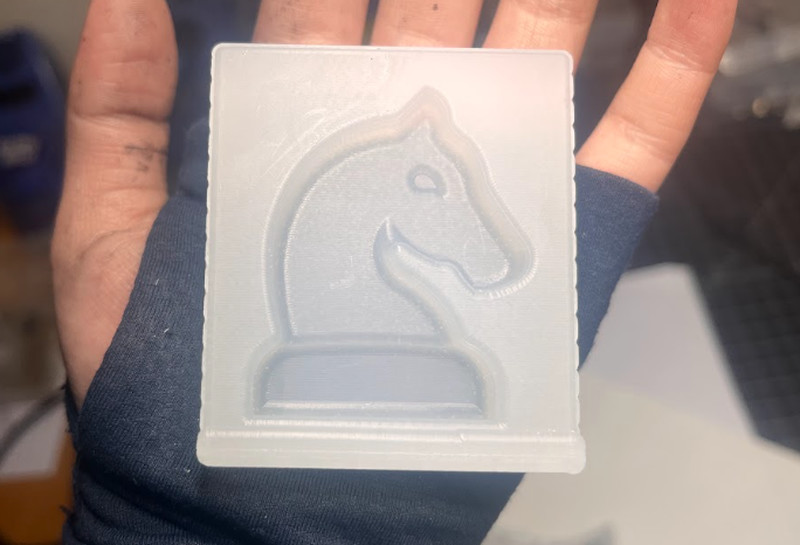
Here are the results!!!🪇🥳😃
Making the mold
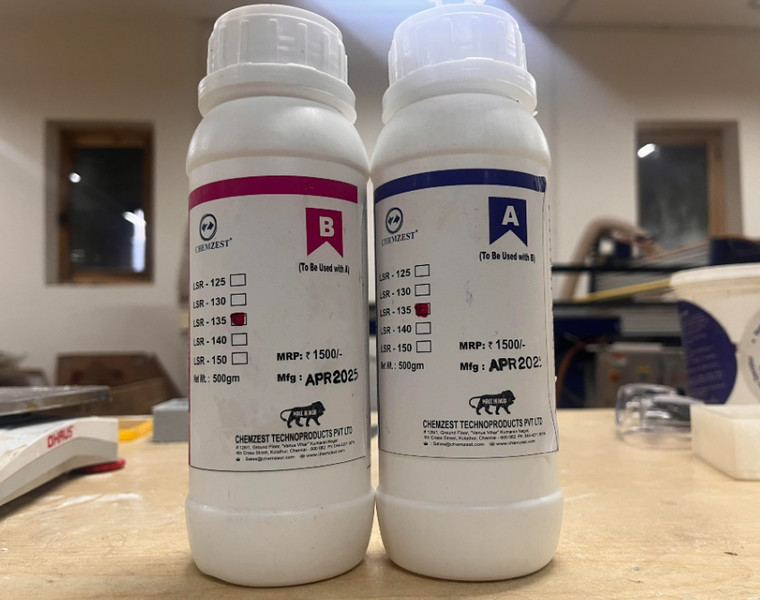
To make the mold, I decided to go with the Chemzest LSR 135 (A and B). This material is a two-part, translucent liquid silicone rubber that is used for creating flexible molds.
For using this, you have to ensure accurate 1:1 mixing of Part A and Part B to achieve proper curing.
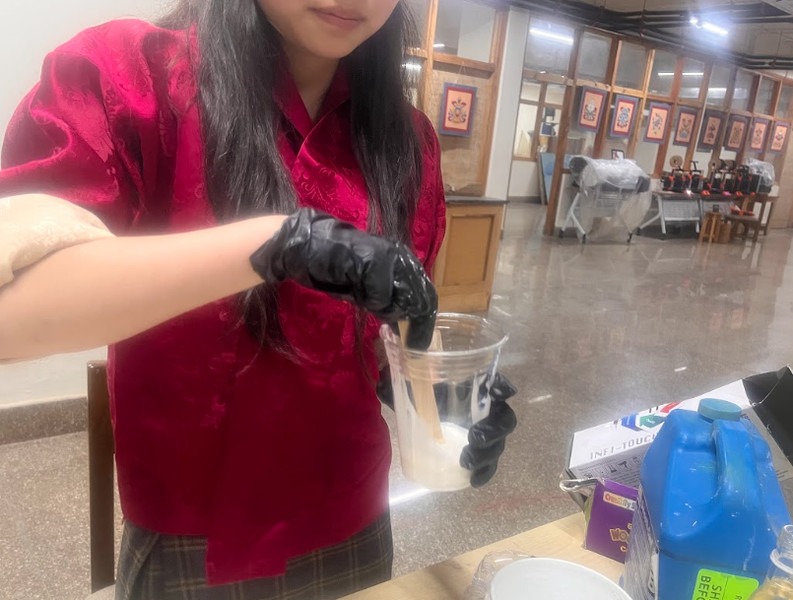
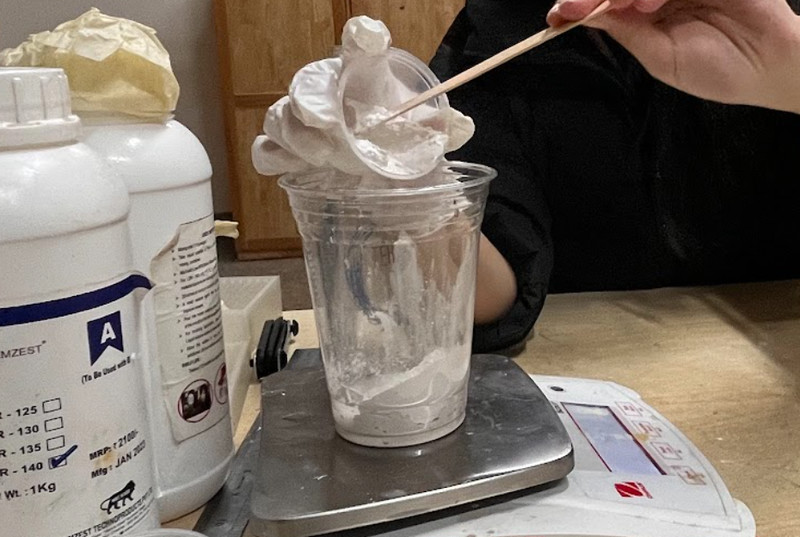
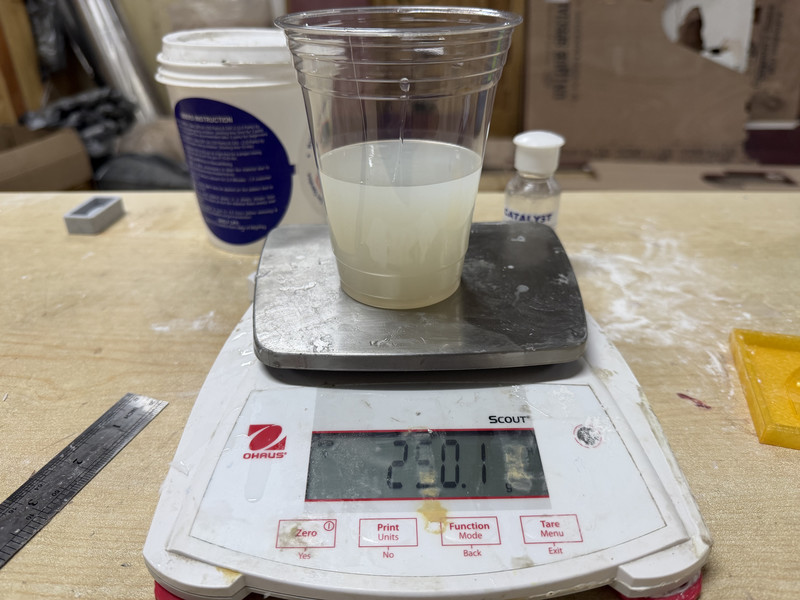
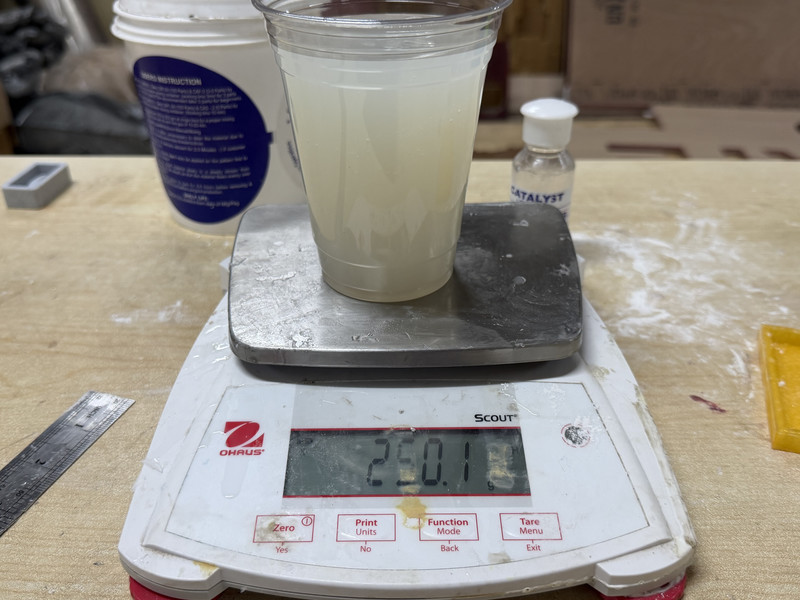
I first started by adding 250g of both part A and then part B into a cup.
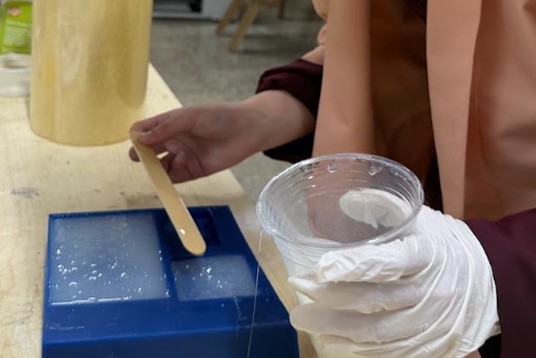
After mixing for about 3 minutes, I poured the mixture into the wax mold. After the others were done with theirs, we let the mixture sit for about 4 hours in room temperature.
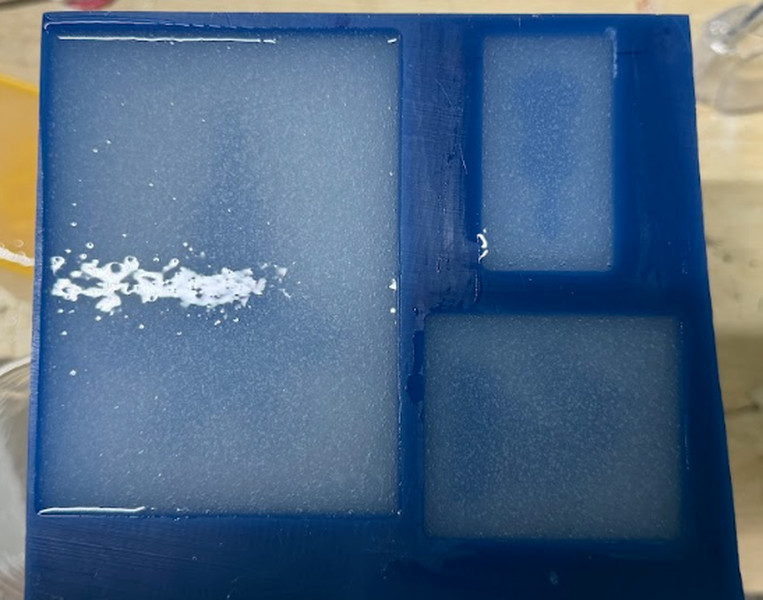
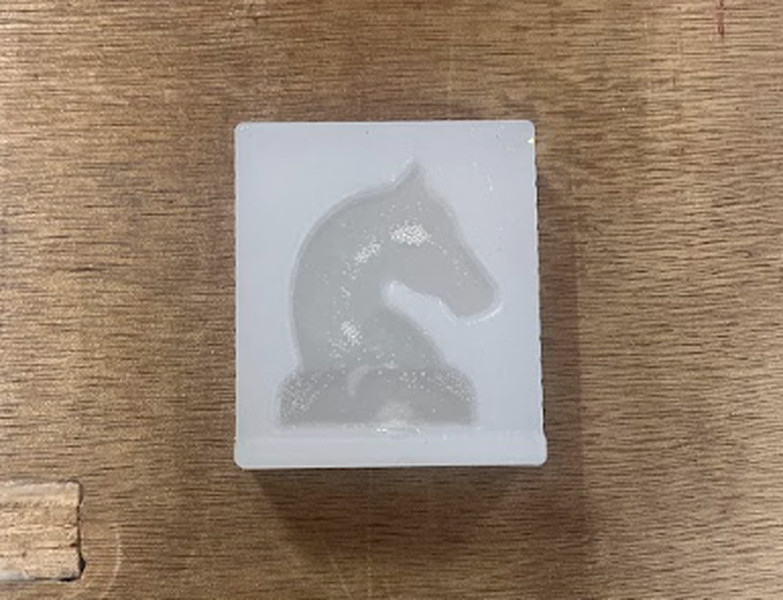
Here is how the mold turned out!!! ╰(*°▽°*)╯
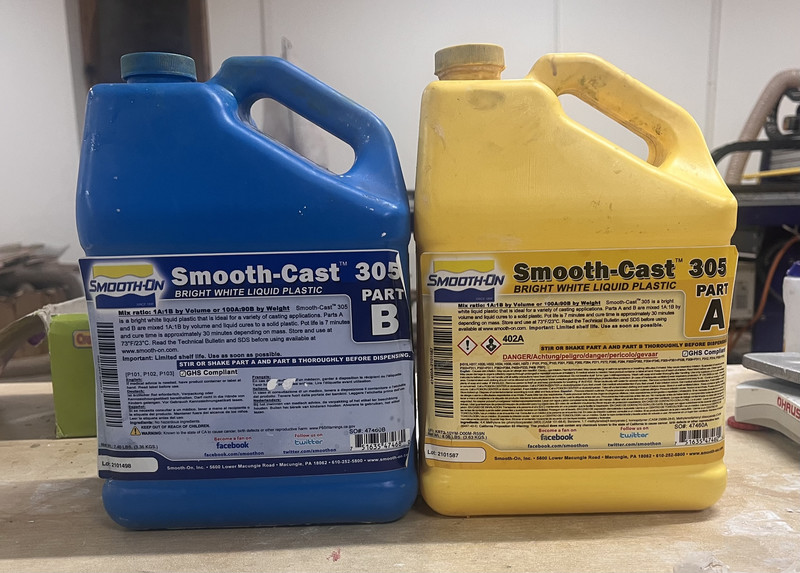
I then moved on to making the cast. This time, I made use of the Smooth-Cast™ 305.
Smooth-Cast™ 305 is a two-part liquid plastic resin widely used in rapid prototyping and casting. It consists of Part A and Part B, which are typically mixed in a 100A:90B ratio by weight.
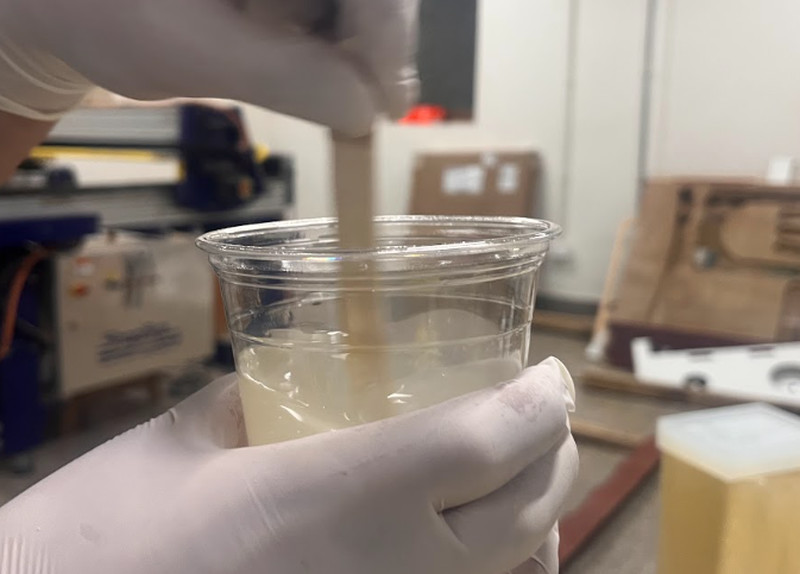
1. I started by creating the mixture. I used the 100A:90B ratio.
2. After mixing for about a minute, I poured it into the mold.

I let it dry overnight 😴💤.
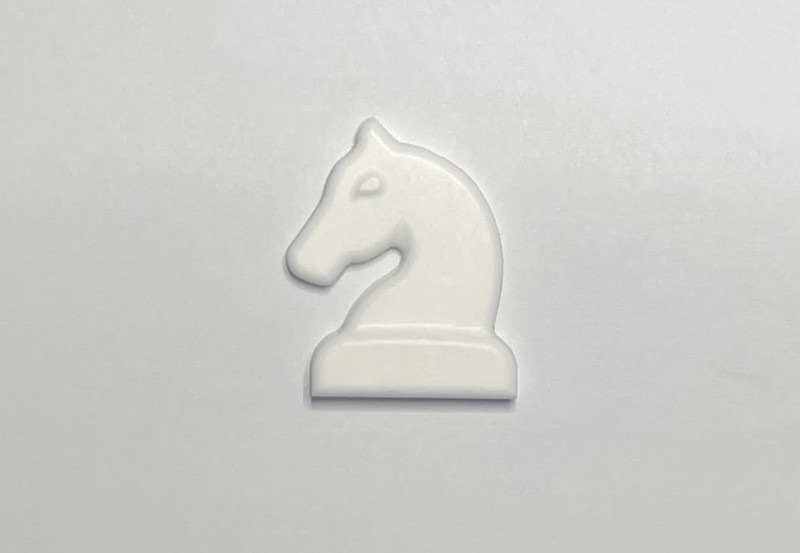
Here is how it came out!!! (∩^o^)⊃━☆
Original Design Files:
Knight Design: Download Zip
Slytherin Design: Download Zip
I had been looking forward to Molding and Casting week ever since pre-fab and it was just as fun as I thought it would be, if not more. I really enjoyed experimenting with all the materials in our lab, and I’d easily rate this week a 10/10 👈(゚ヮ゚👈)
Thank you!!! (•ˋ _ ˊ•) Bye~Bye~
Update to self: You got "Good Work" during this week's random review - yayyyyyyyy!!! 🥳🤗