Week 17
Check List
This week's project requirements:-
- Document the worflows and processes you used.
- Explained how your process is not covered in other assignments.
- Describe the problems encountered and how you fixed them.
- Include origional design files and hero shots of your results.
Images/Files:
- Include your original design files
- Properly compress or use a zip folder if needed
- Include hero shots of your results
Individual Assignment:
Resources and Helpful Links
- InkStitch Tutorial
- InkStitch
- InkScape
- Brother SE700
- Dorians Mom, Dorian, Camile
Learning Outcomes
- Demonstrate workflows used in the chosen process
- Select and apply suitable processes (and materials) to do your assignment.
Introduction
For Wildcard Week, I tried my hand at digital embroidery using a Brother SE700 embroidery machine.
I have some basic knowledge and experince with a normal brother sewing machine, but I had never used an embroidery machine before. They typically looked very intimidating with all the threads, but this one being a single thread machine seemed approachble!
My plan to try the machine, was to create an embroidered version of my robot head design. I started off simple by using a built in design, then I tried making a simple doodle using the app, and then finally I went for my robot head design.
Embroidery Machine
Setting up the Machine
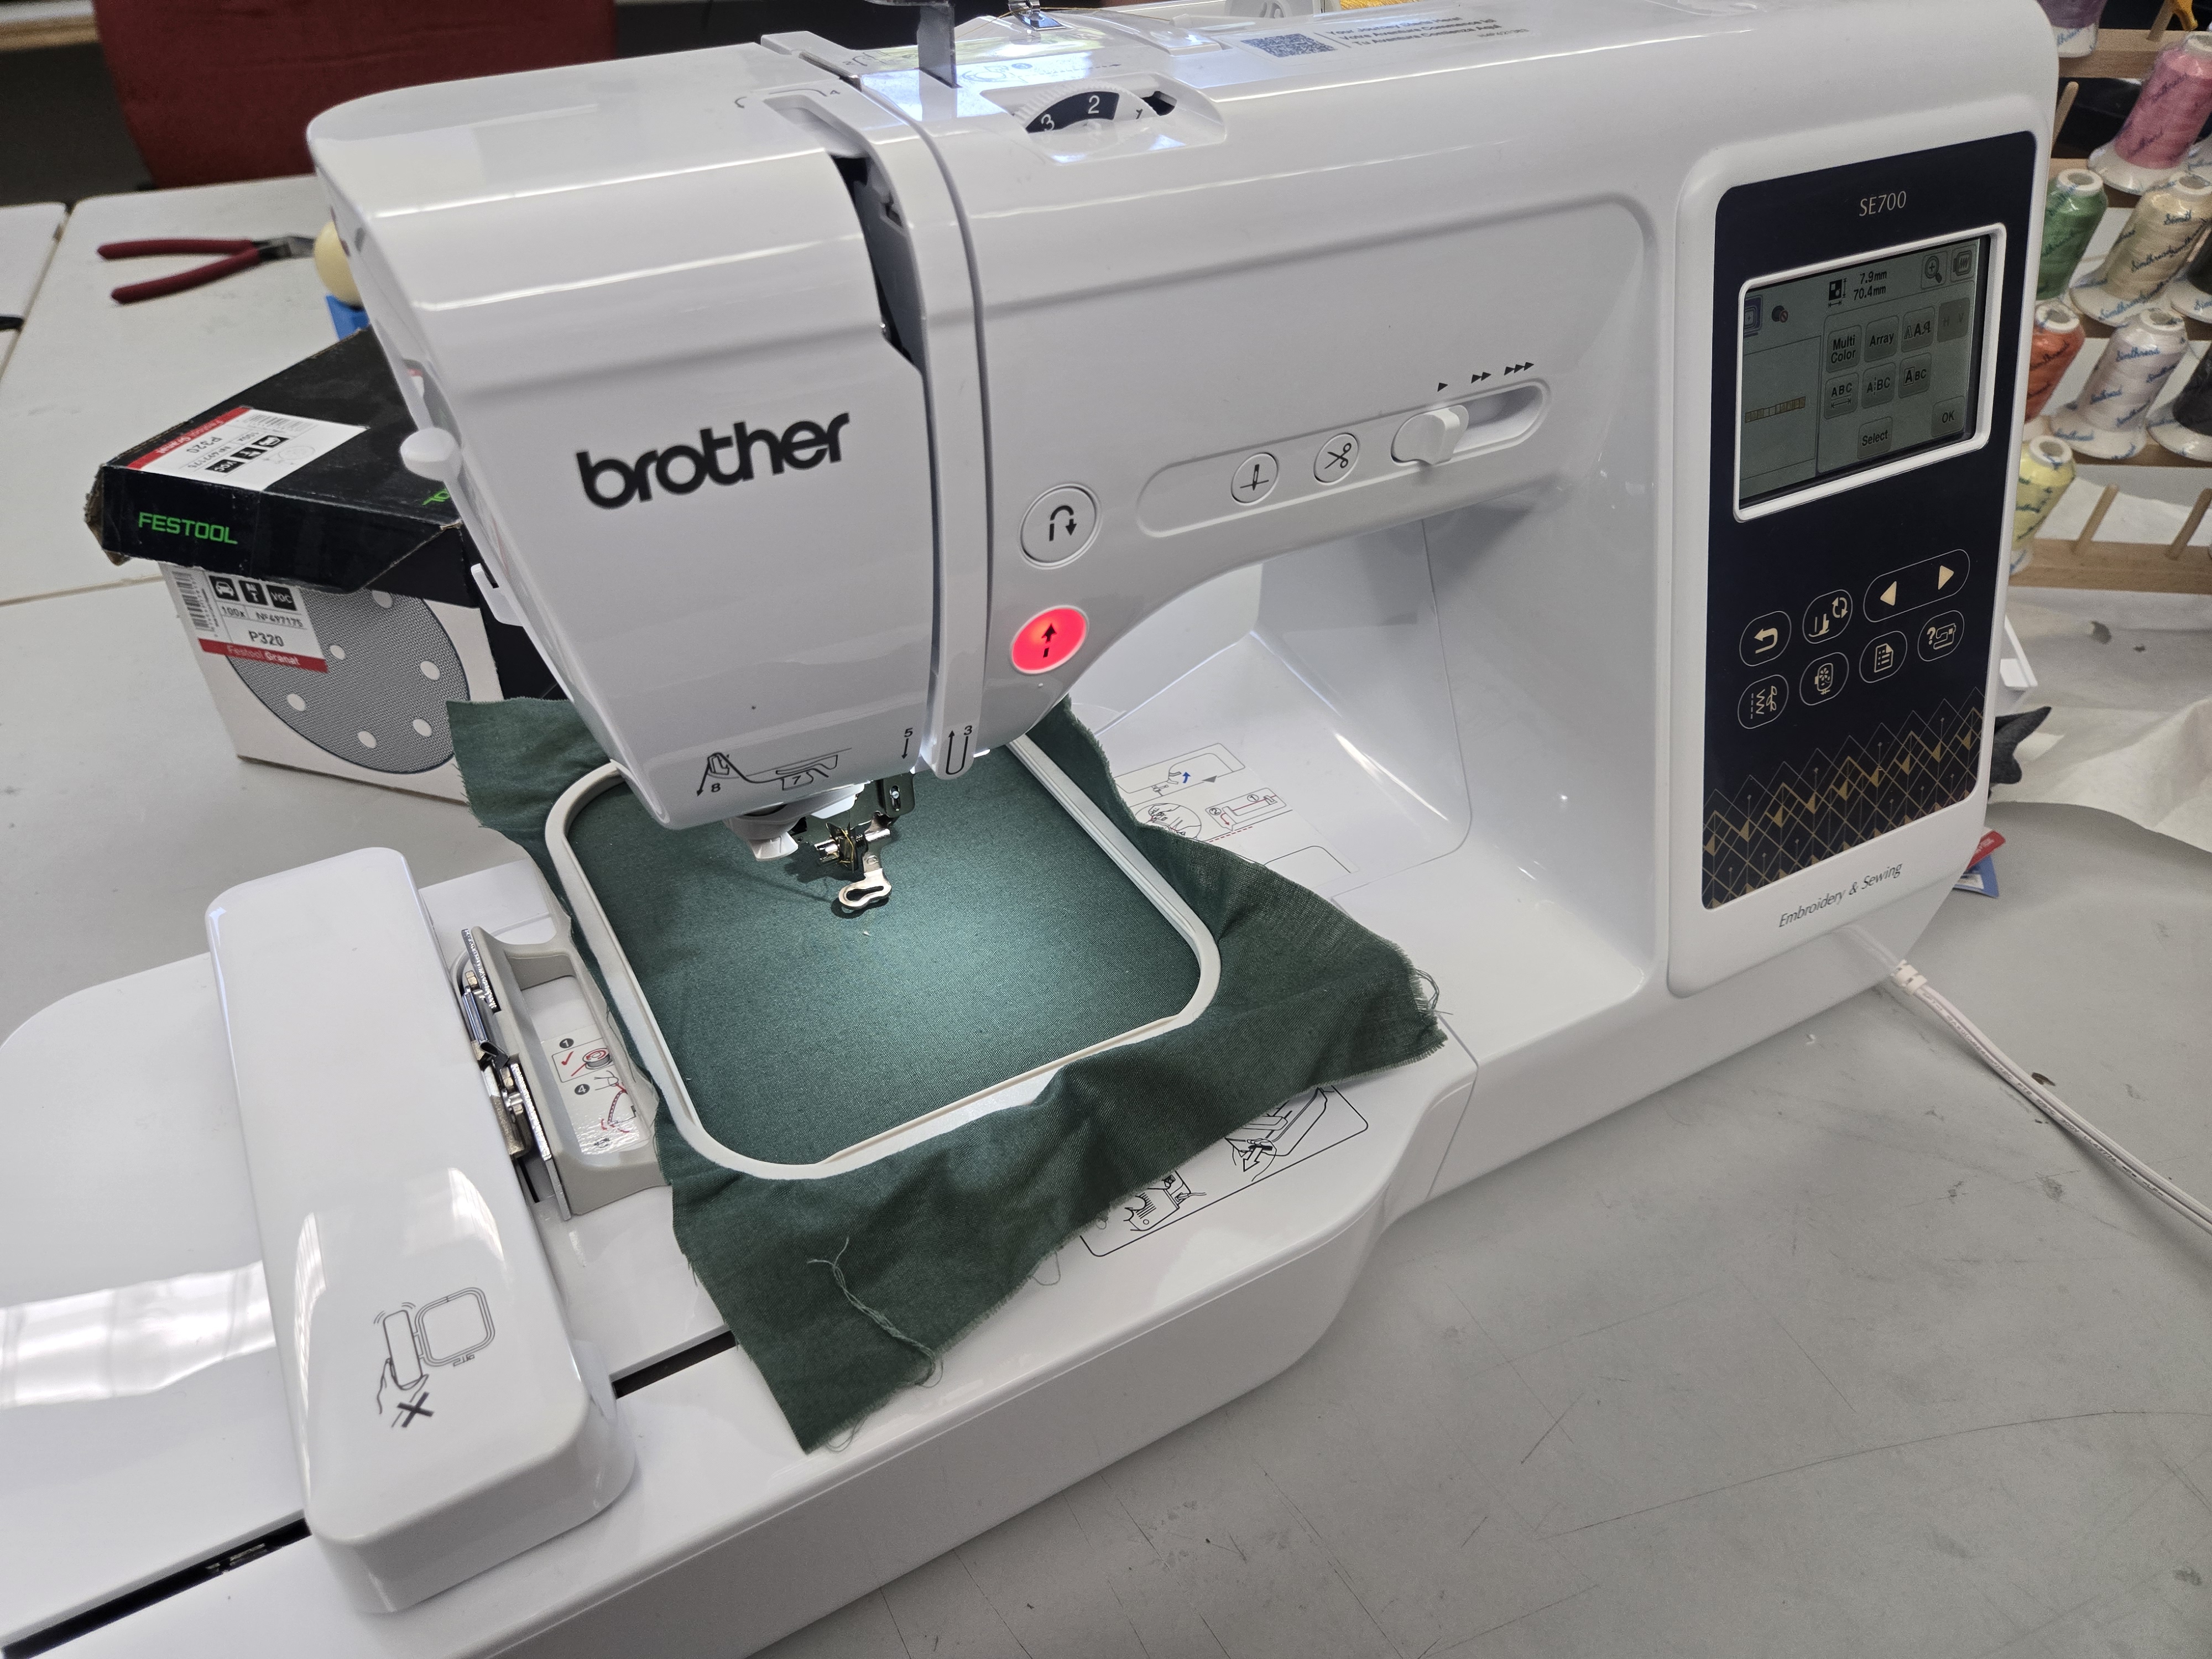
On the first day of this project, Camile, myself and Dorian pulled out the Brother SE700 embroidery machine from the lab and we worked on getting it set up. We needed to put on the embroidery foot, re-thread the machine, and learn how to attach the embroidery hoop. Dorian's mom actually has the same machine, so Dorian called her mom for some assistance as we were all brand new to the machine.
With everything all set up, we decided to run a test project using one of the built in design options. We set up our fabric by ironing on a fusible interface to the back side of our cotton fabric. We then tightened it onto the embroidery hoop, interface side down, and made sure it was tight.
A trick I learned from my sister, who does cross stitch, is that you should be able to flick the hoop and it should sound like a drum if it is tightened enough.
Our First Test
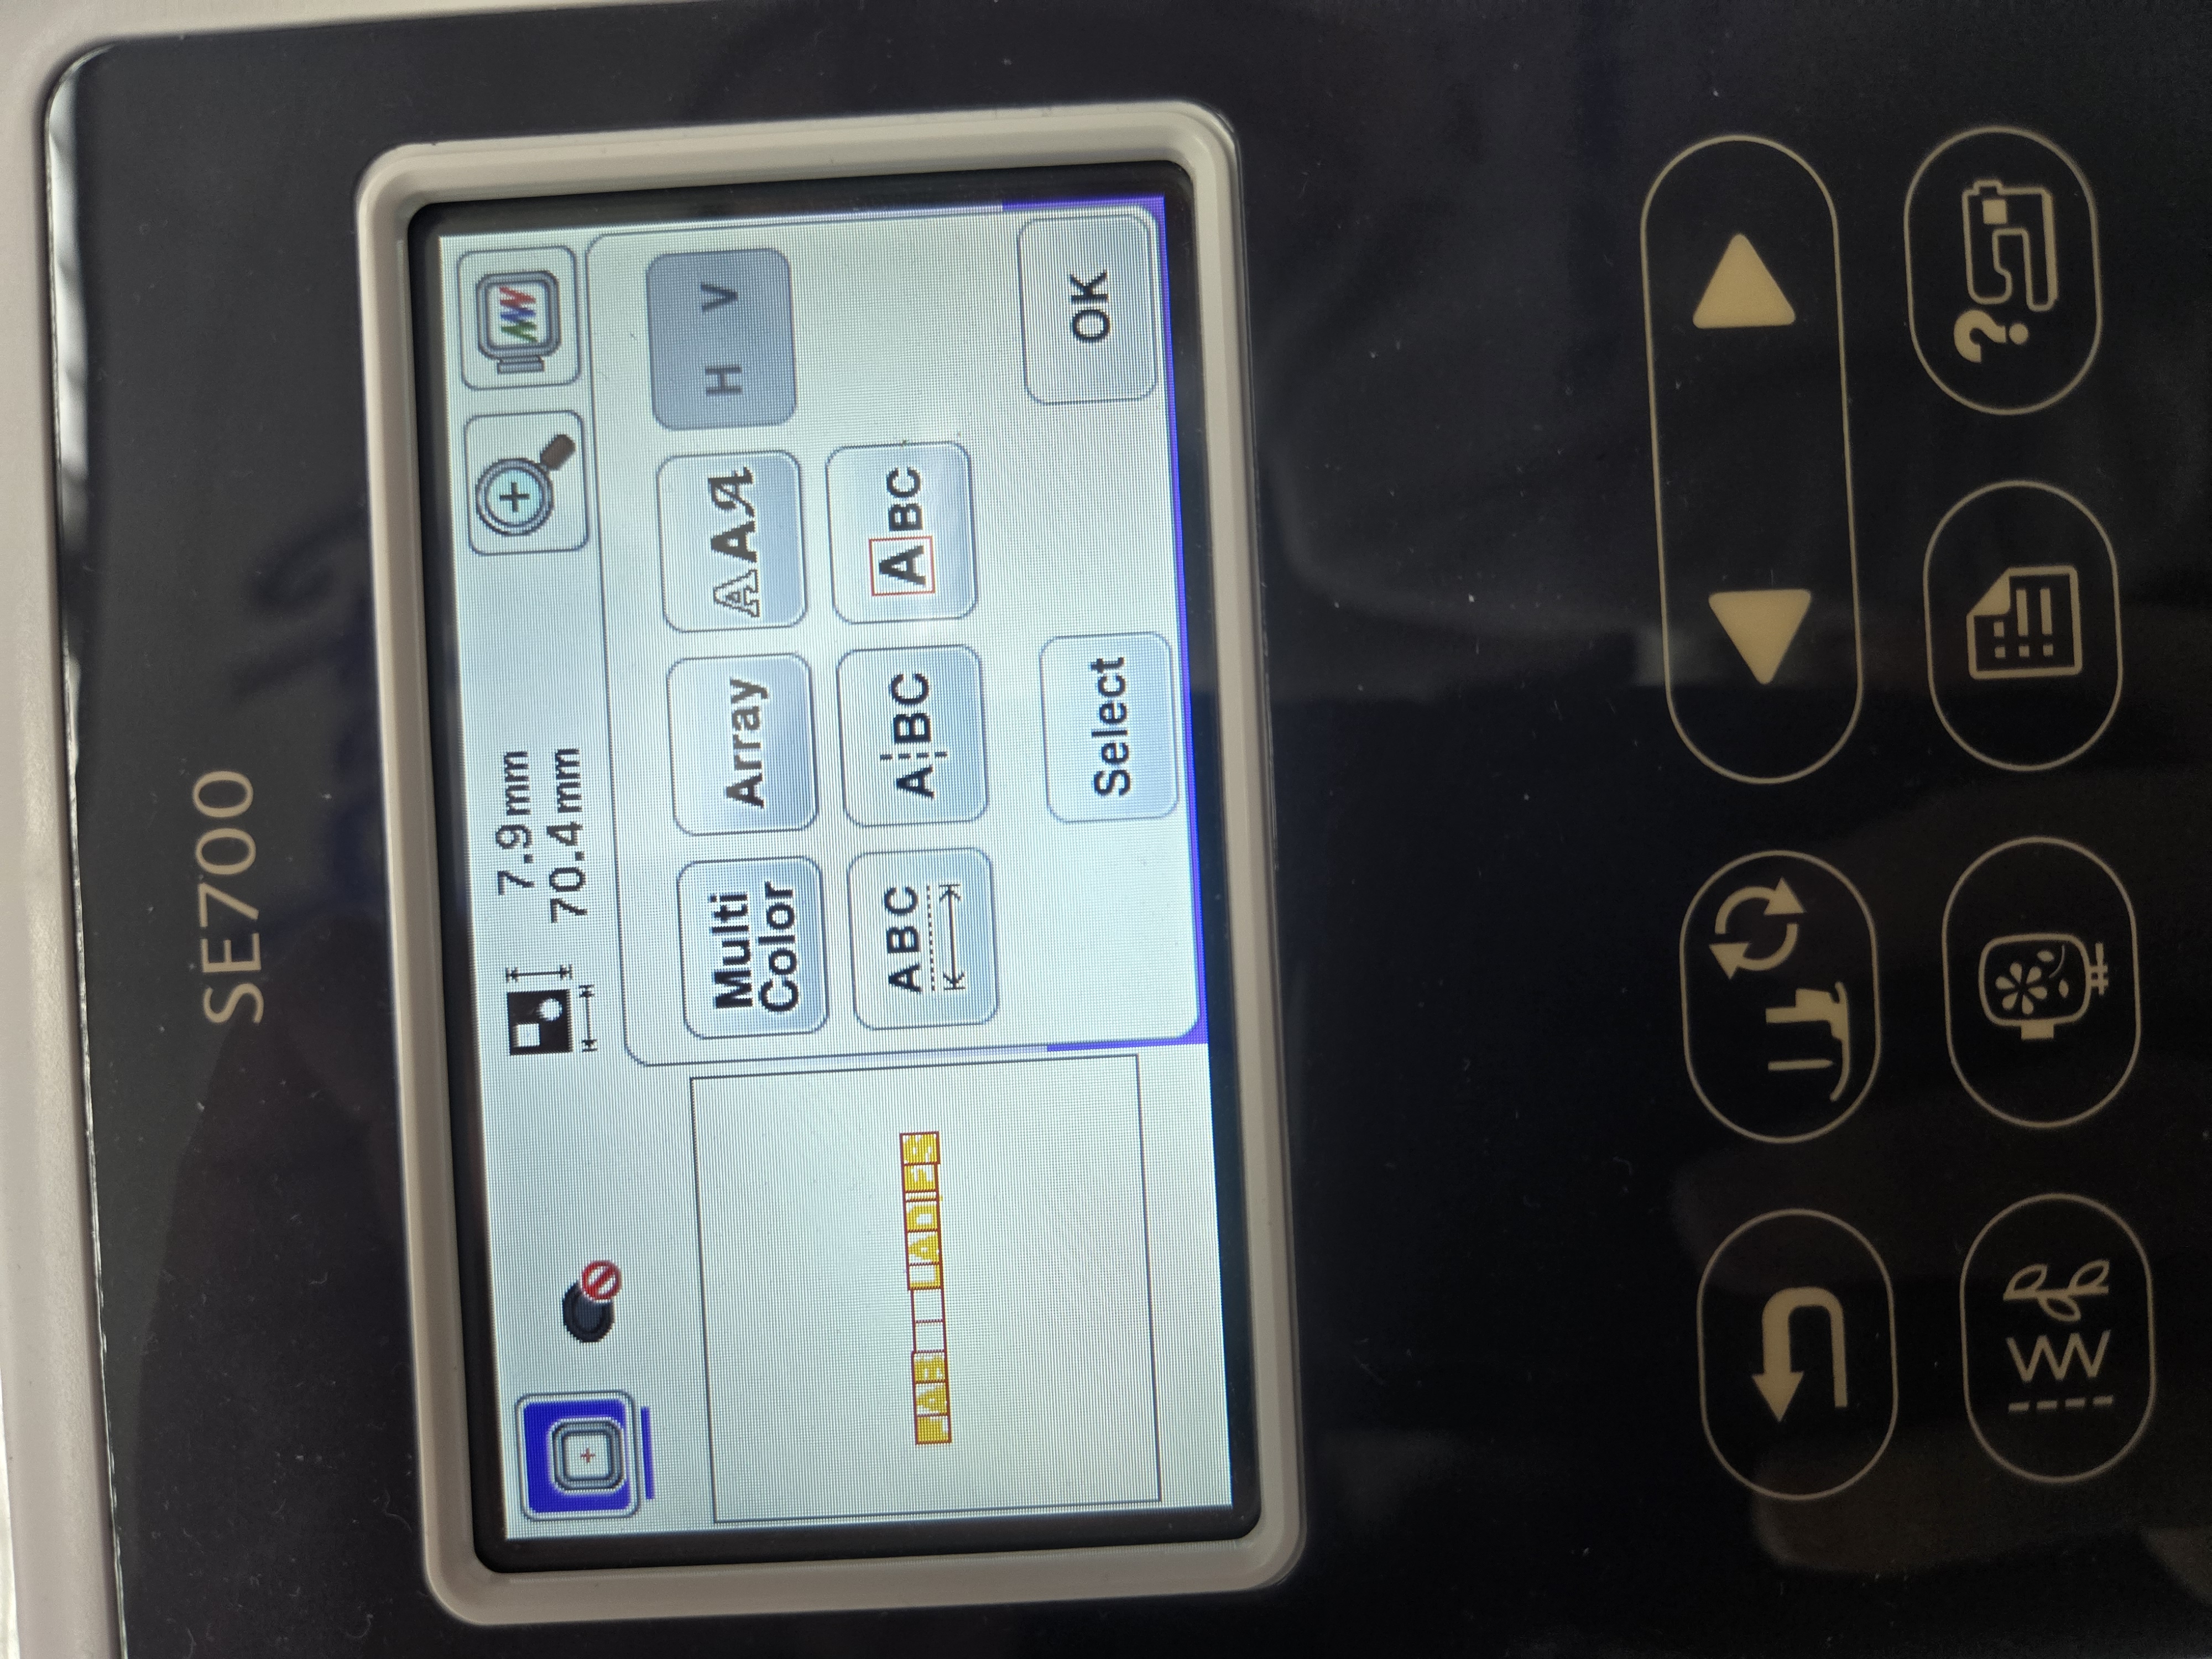
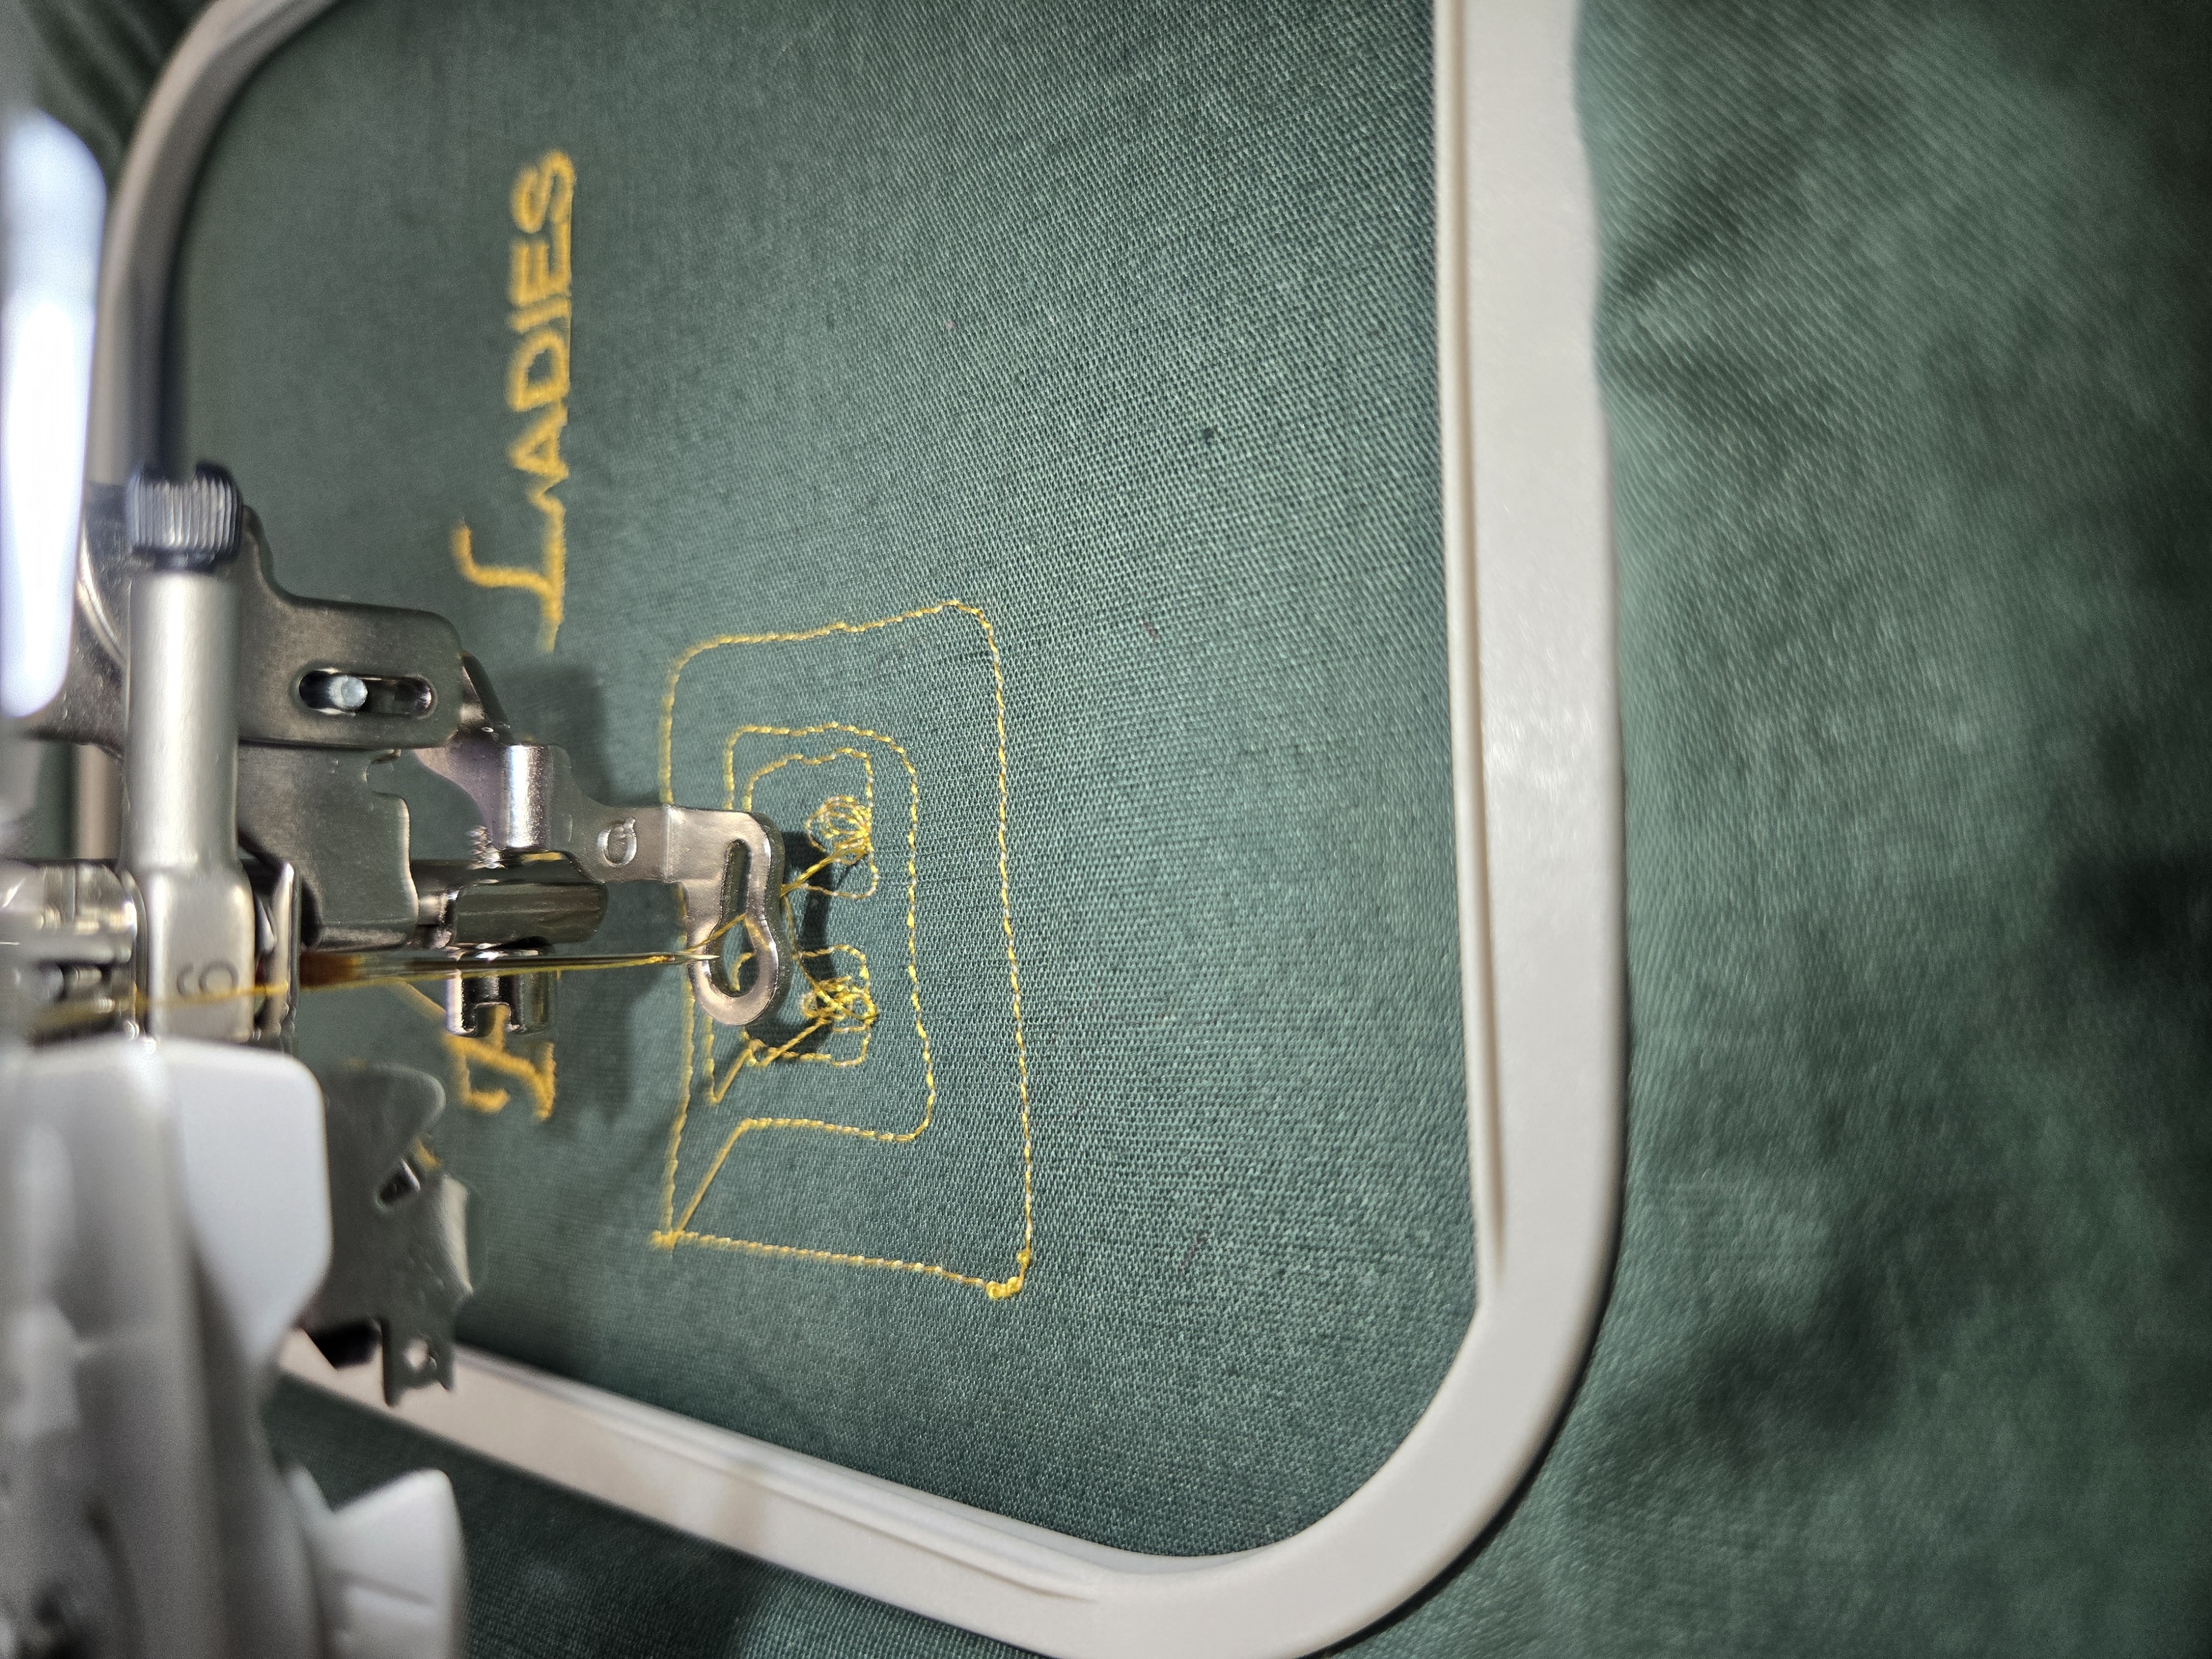
For the first test, we used one of the built in fonts to write Fab Ladies. We set up the designed on the touch screen on the machine and loaded up our hoop.
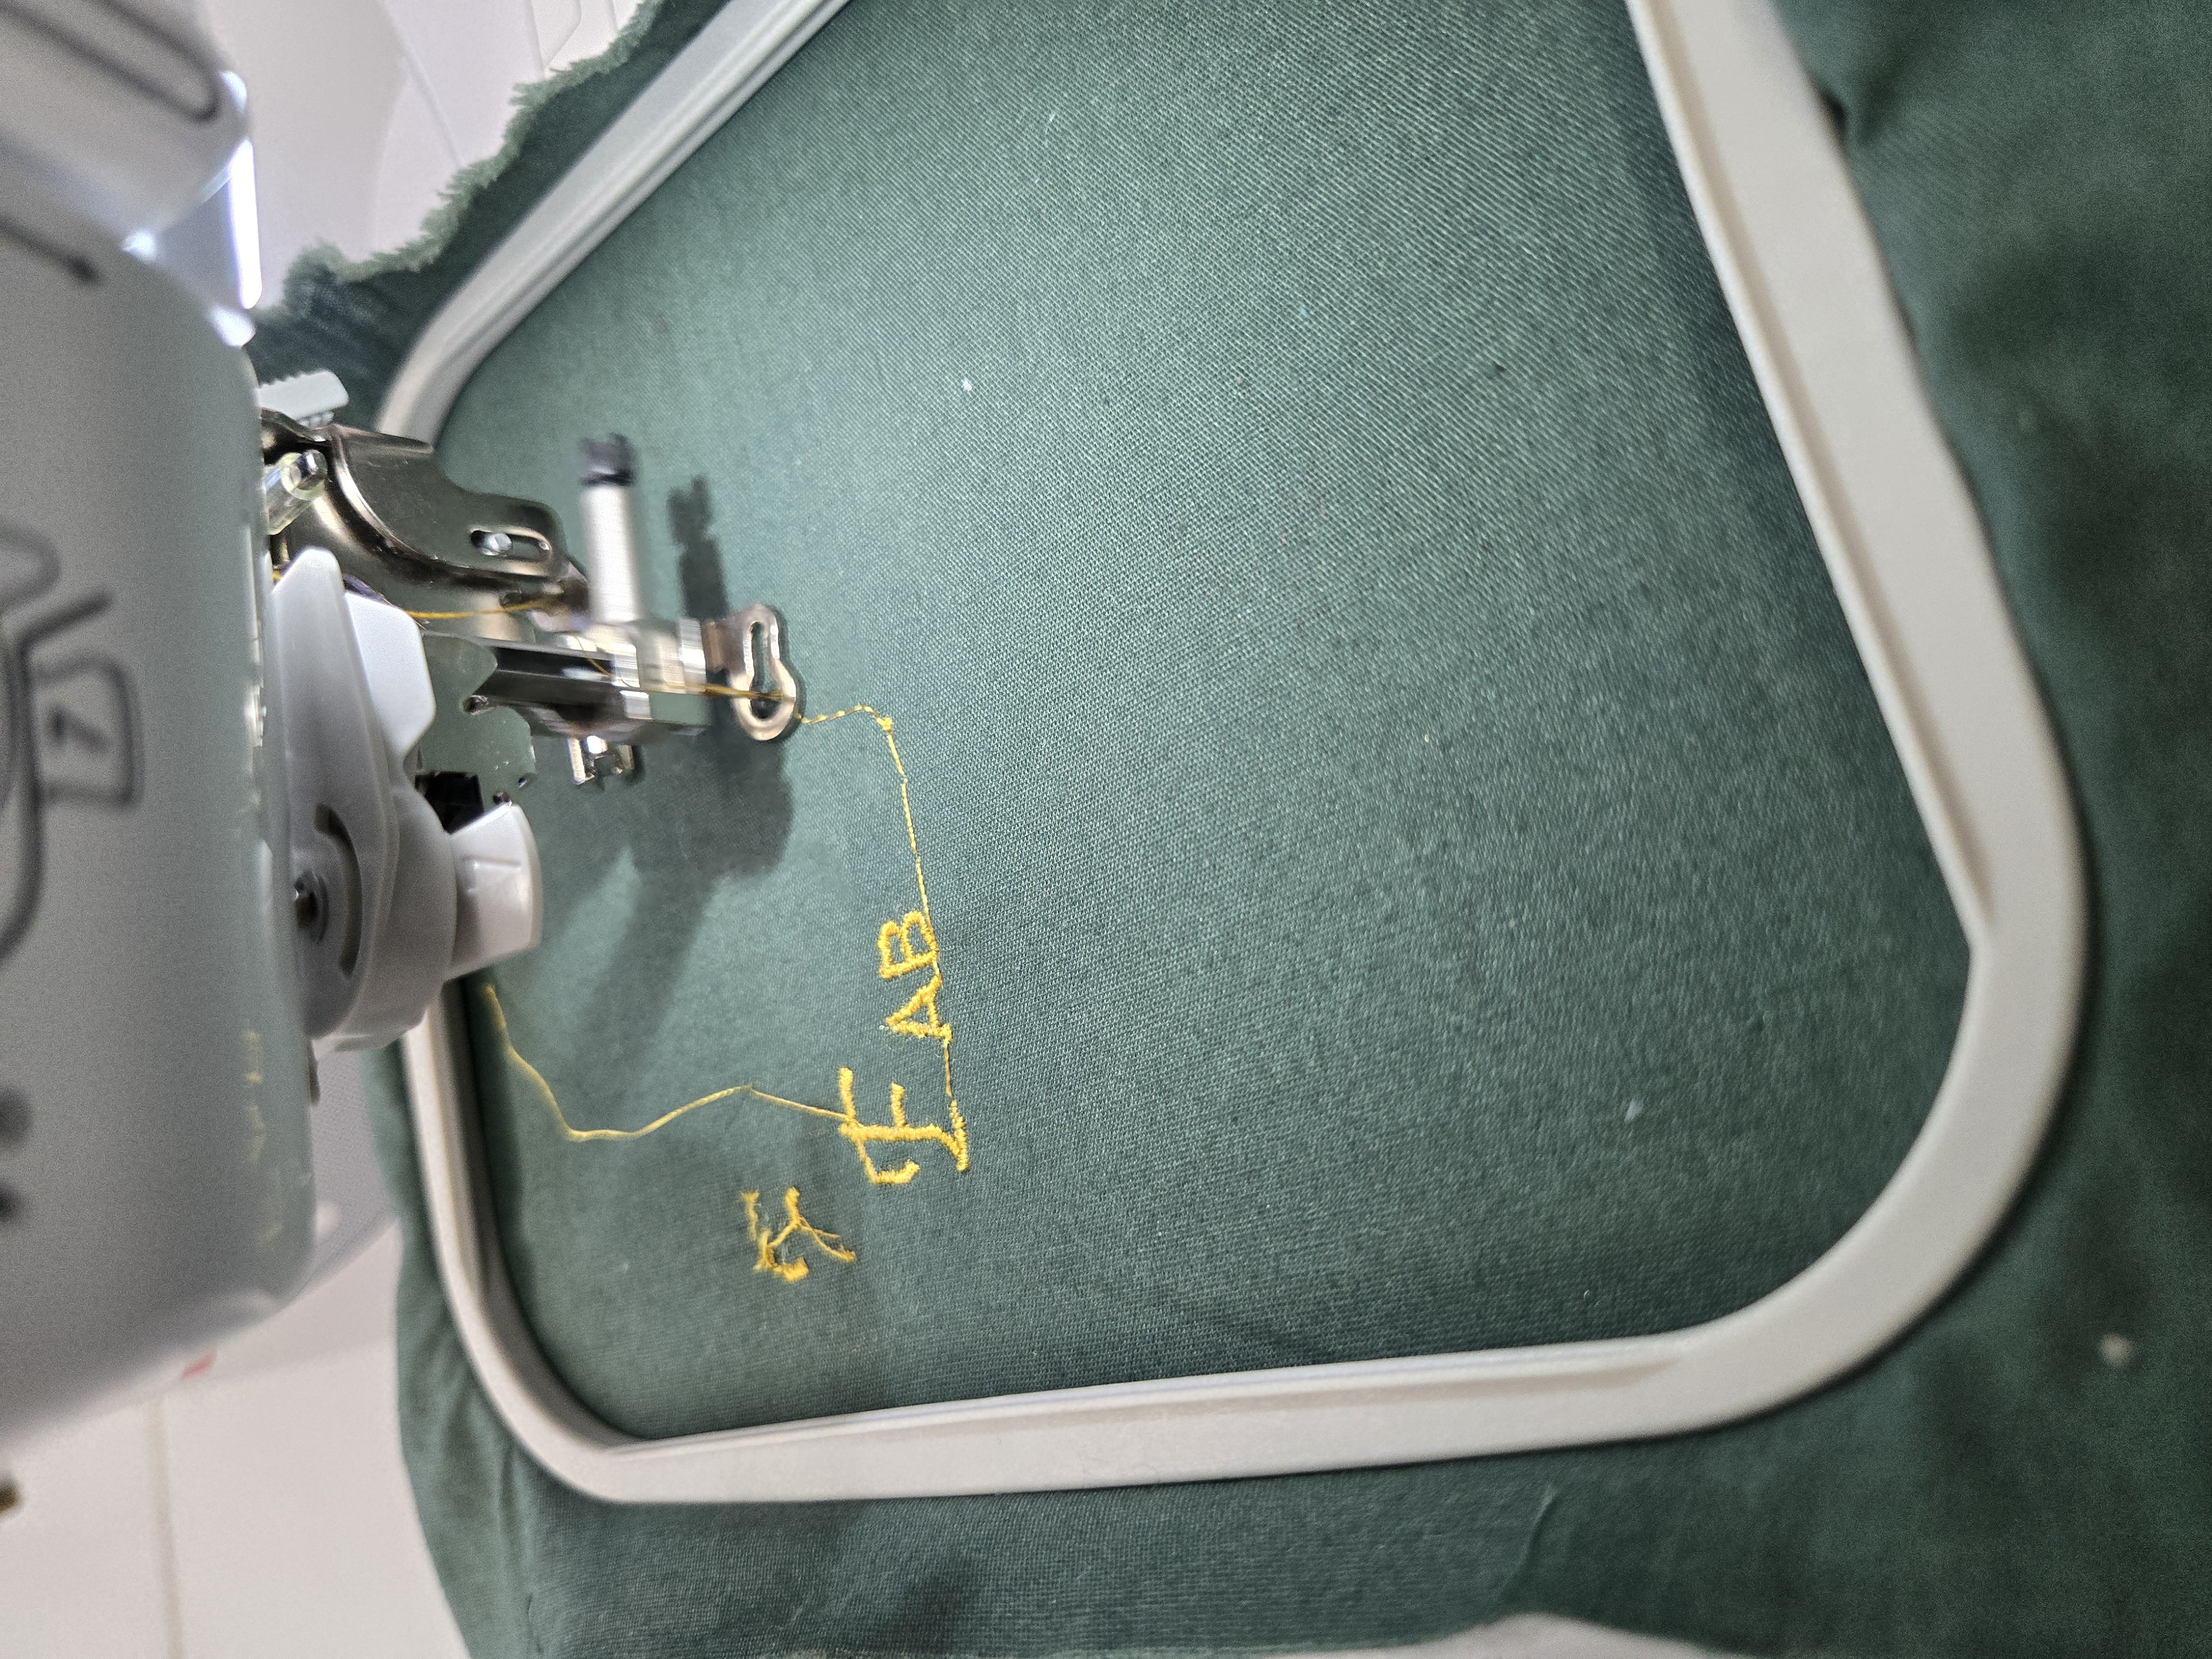
We started the machine and quickly heard a noise and saw the thread turning into spaghetti. We stopped the machine as fast as we could and had to use a seam ripper and mini scissors to cut away the mess of thread tied all around the needle.
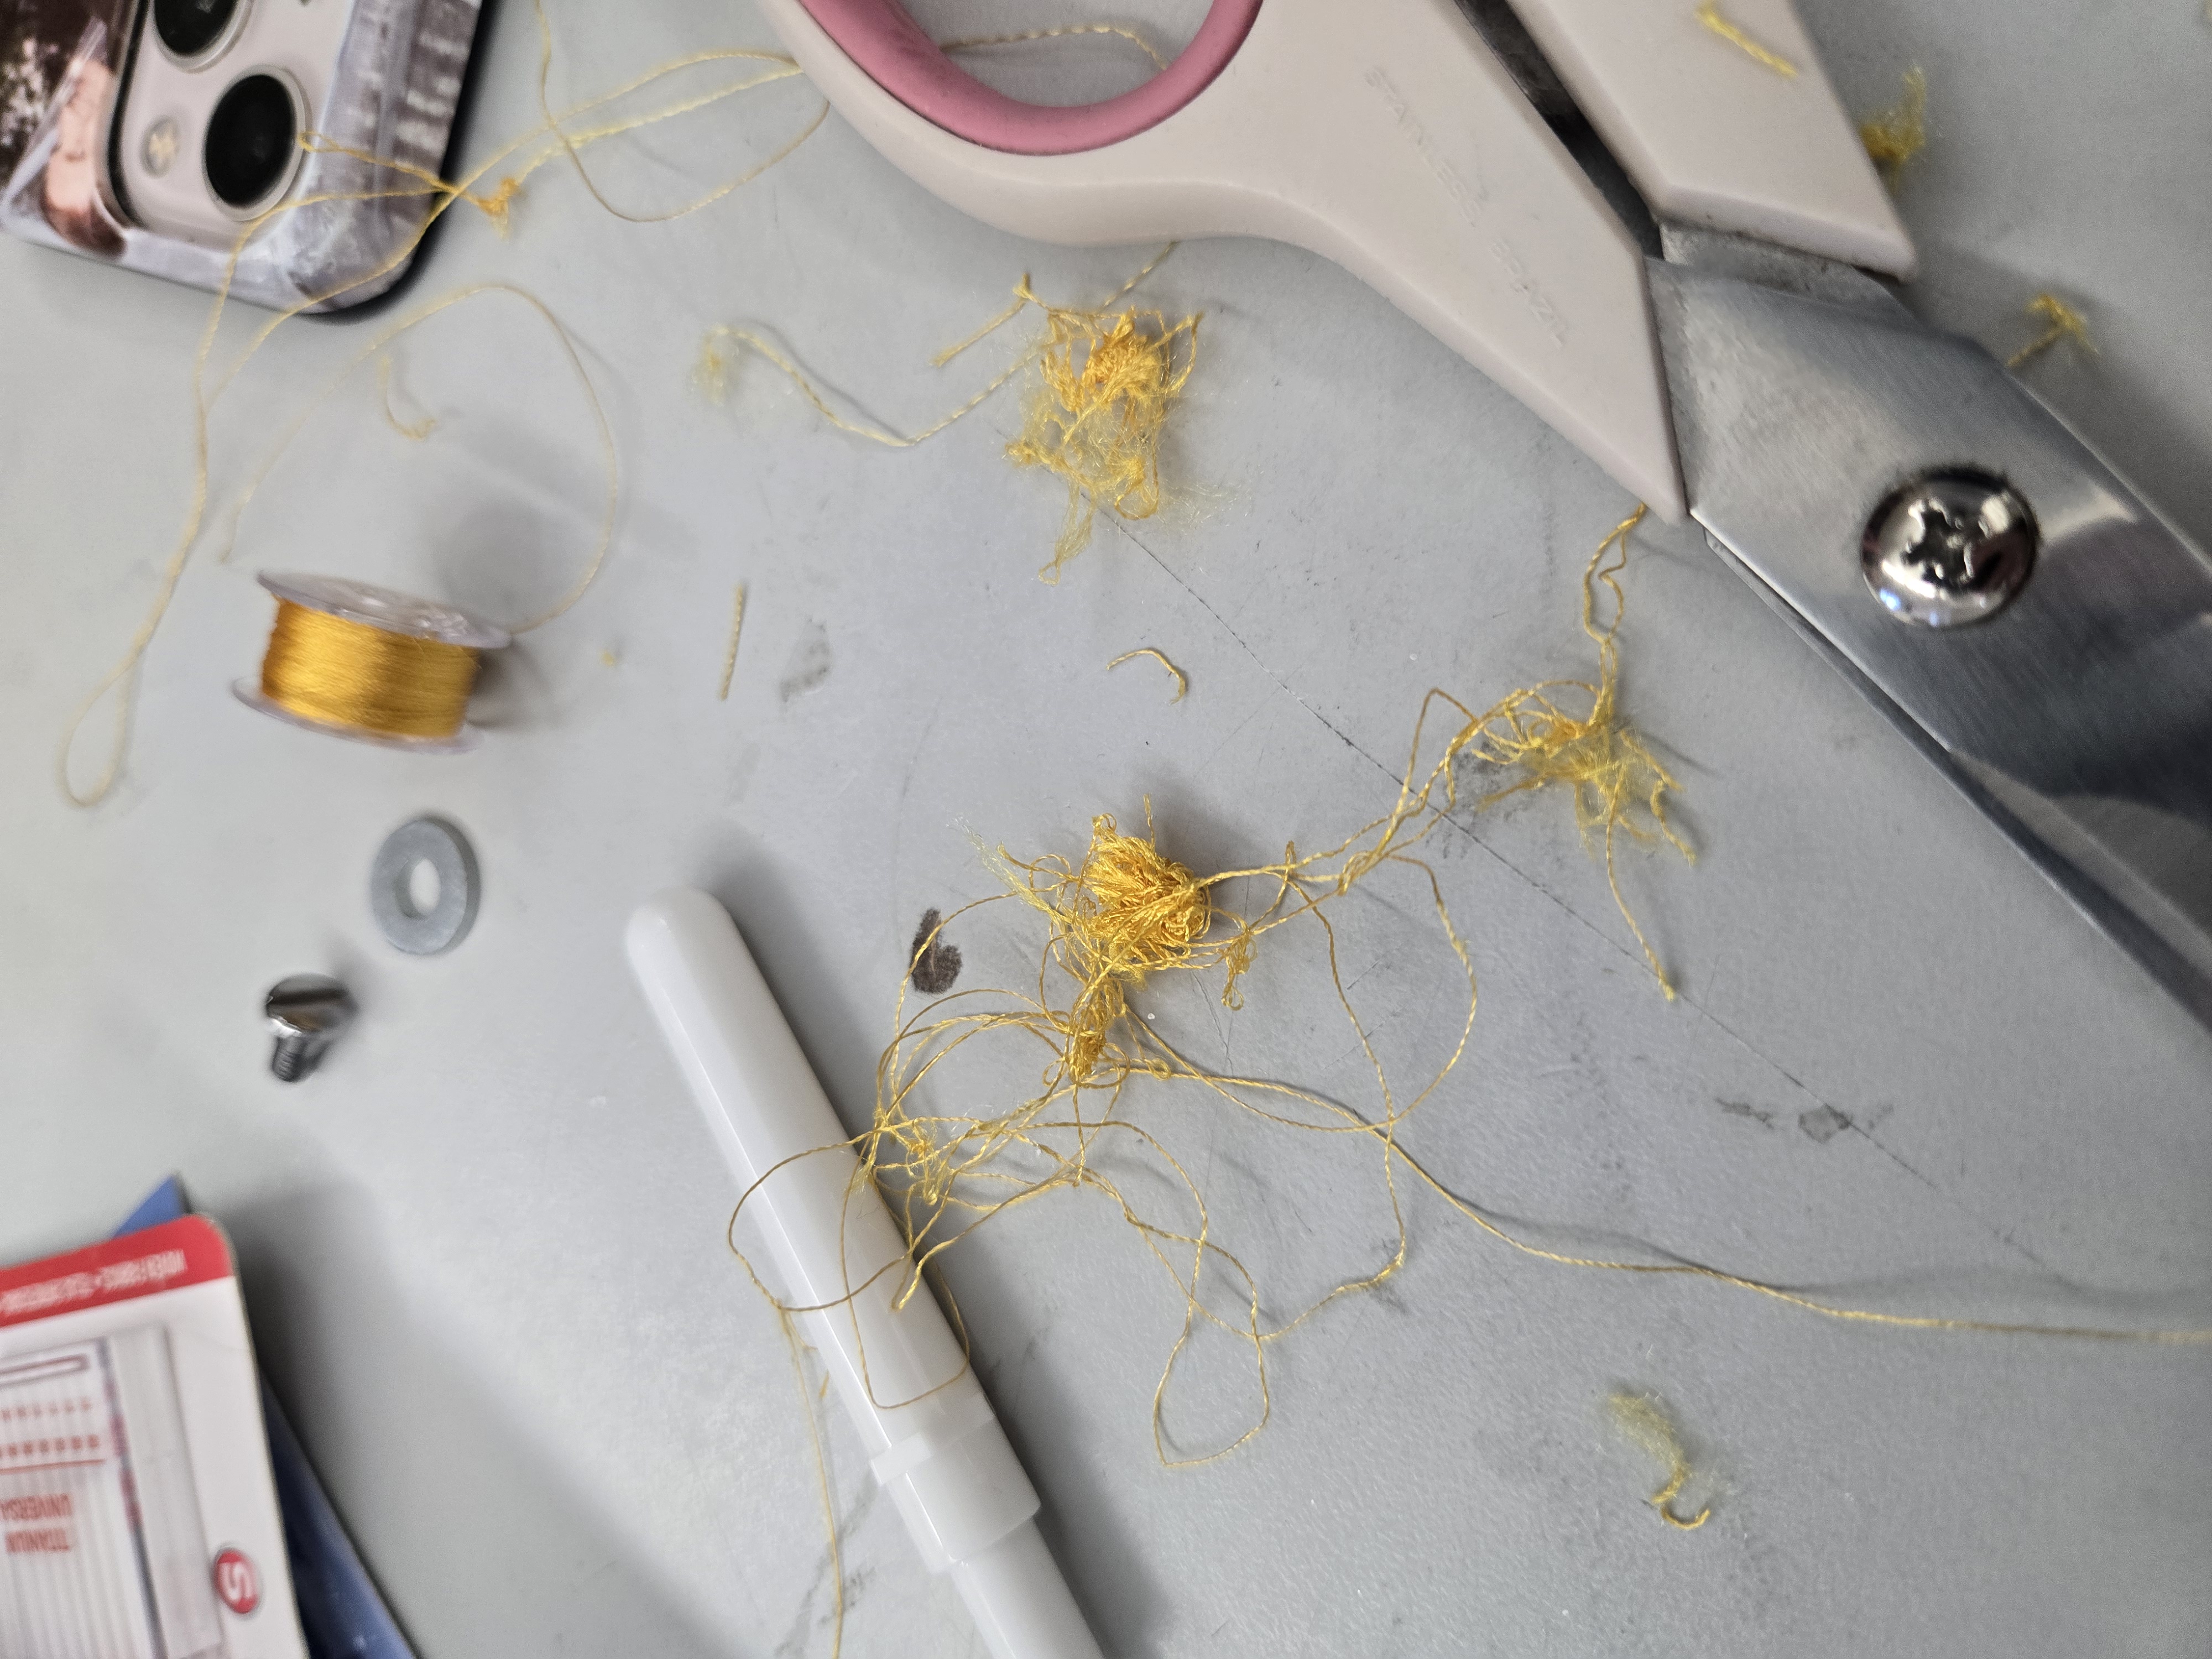
Once we freed the needle, we saw that the needle was bent and we needed to replace it. We also had to re-thread the machine and we figured out what caused the problem. Our first thought was an issue with tension, but it turned out that whoever used the machine last did not properly put in the bottom bobbin. We had to completly dissasemble the bobbin section to reseat the bobbin holder and put in a new bobbin as well since the one that was in thier was actually too big.

With everything sorted out, we once again attempted Fab Ladies, and this time it was successful!
Creating a Test Project
Trying the Artspira App
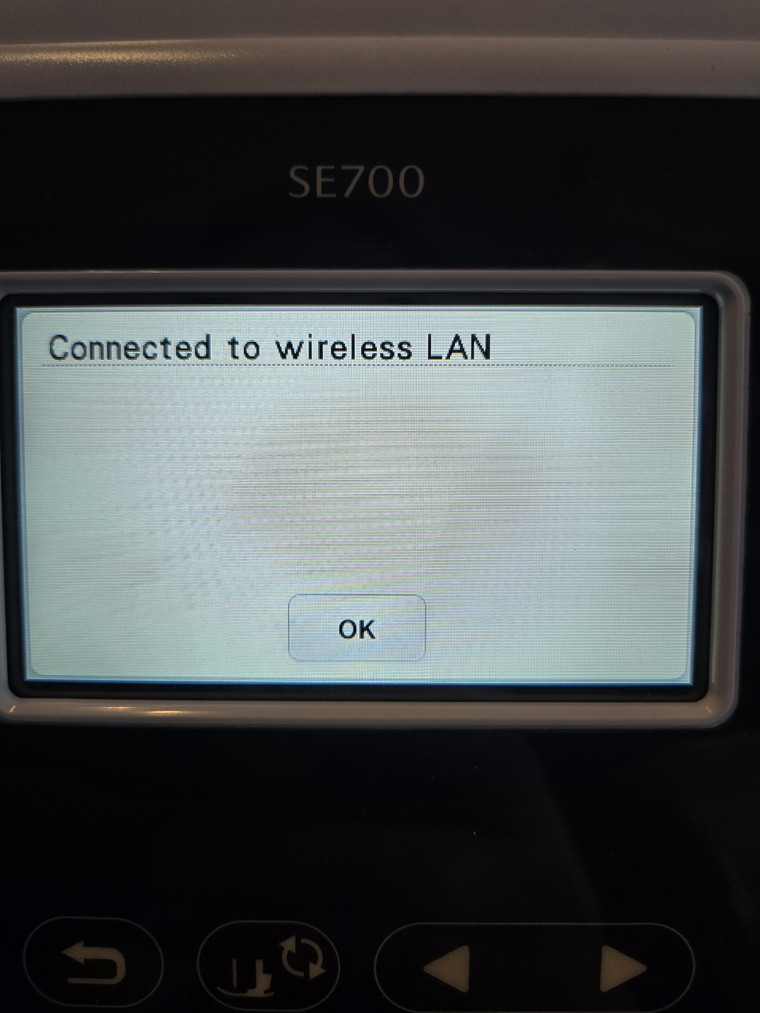
After trying a basic built in text, I decided I wanted to try out the app that the machines booklet said to download to make your own files with. I downloaded the Artspira app from the Google play store on my phone and I set up a free account. After my account was set up I needed to connect my phone to the embroidery machine.On the embroidery machine, I navigated the menus to set up and connect the machine. The first thing I had to do was get the machine on the labs wifi.
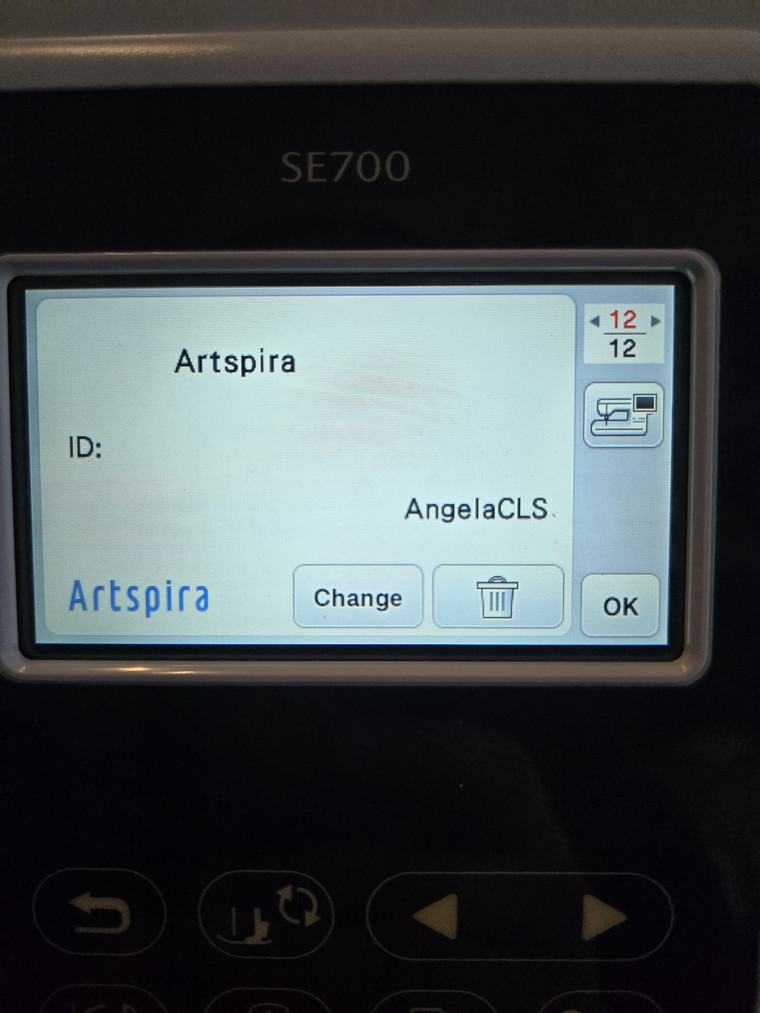
Then I had to scan the QR code on the machine to open the Artspira app and follow the connection settings on thier. Once of the mains steps in the process included asking for a pin from the machine. Once I entered the pin from the machine to the app, my account was logged in on the machine.
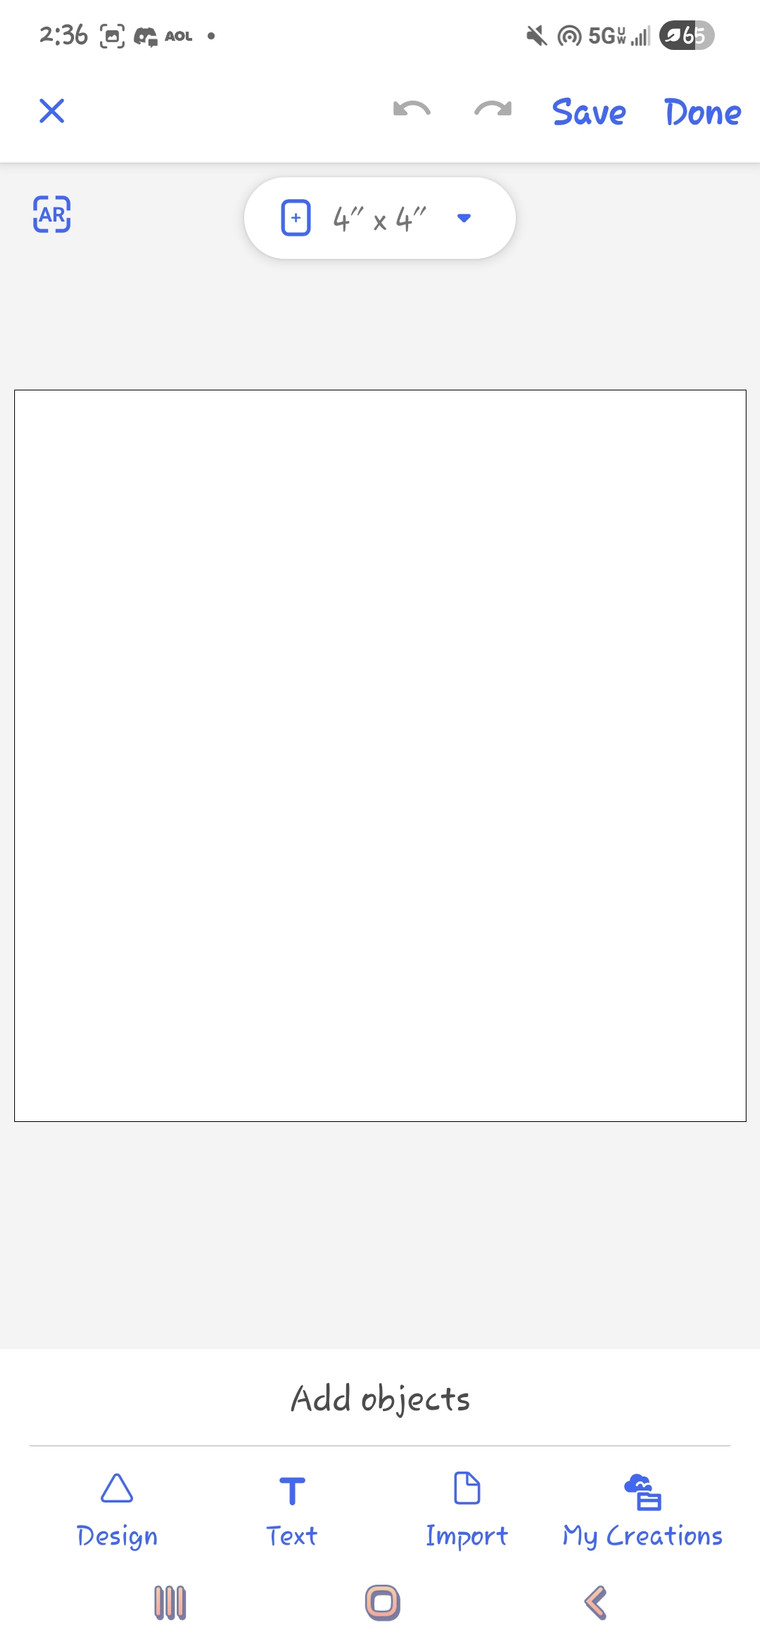
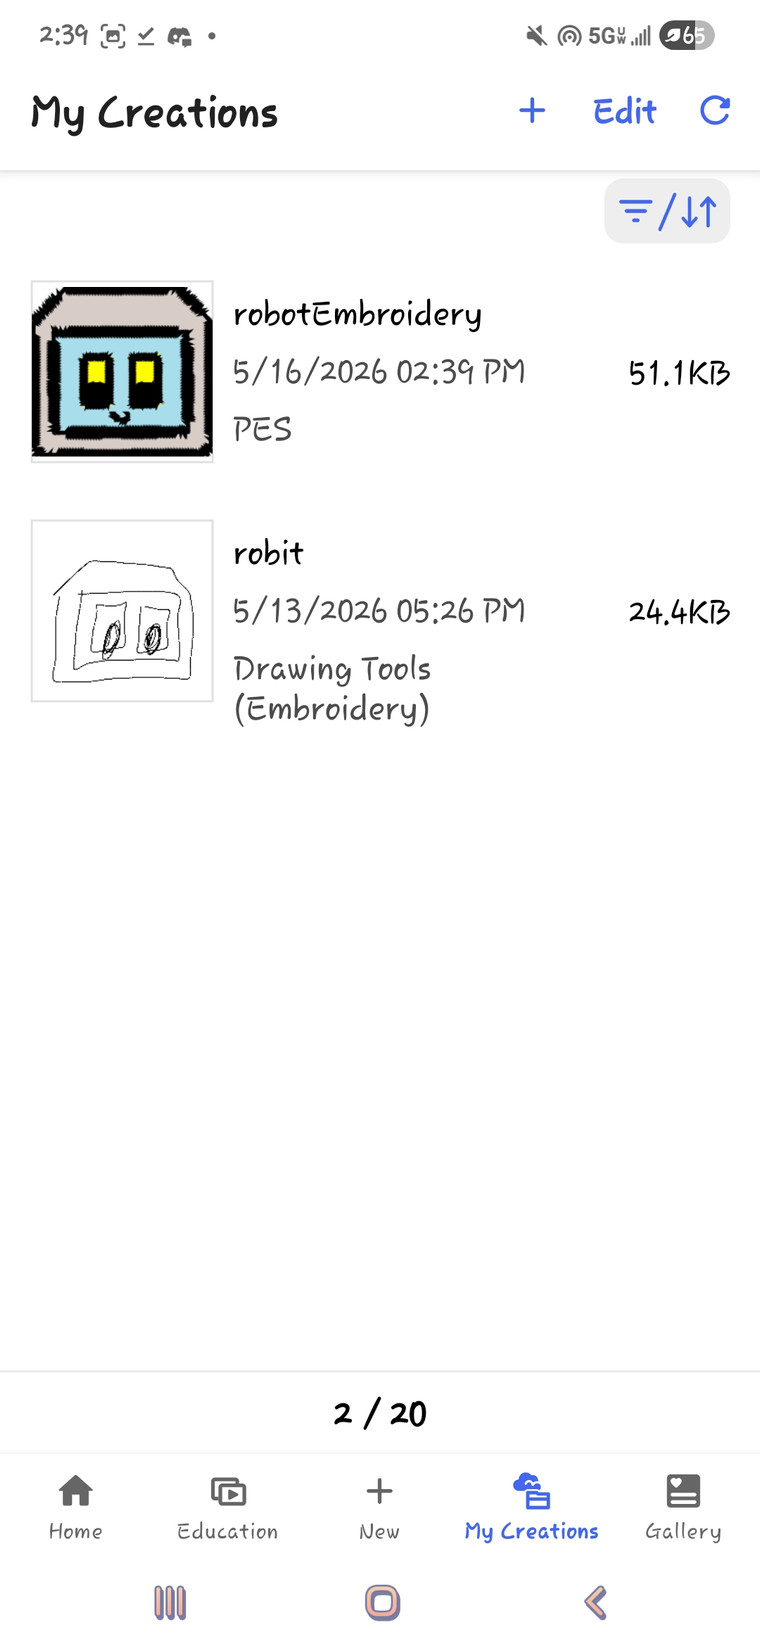
Now it was time to design something on the Artspira app to send to the machine from my phone. I opened a new drawing in the app, set the size to 4in by 4in, and used my finger to do a rough doodle of my robot head.
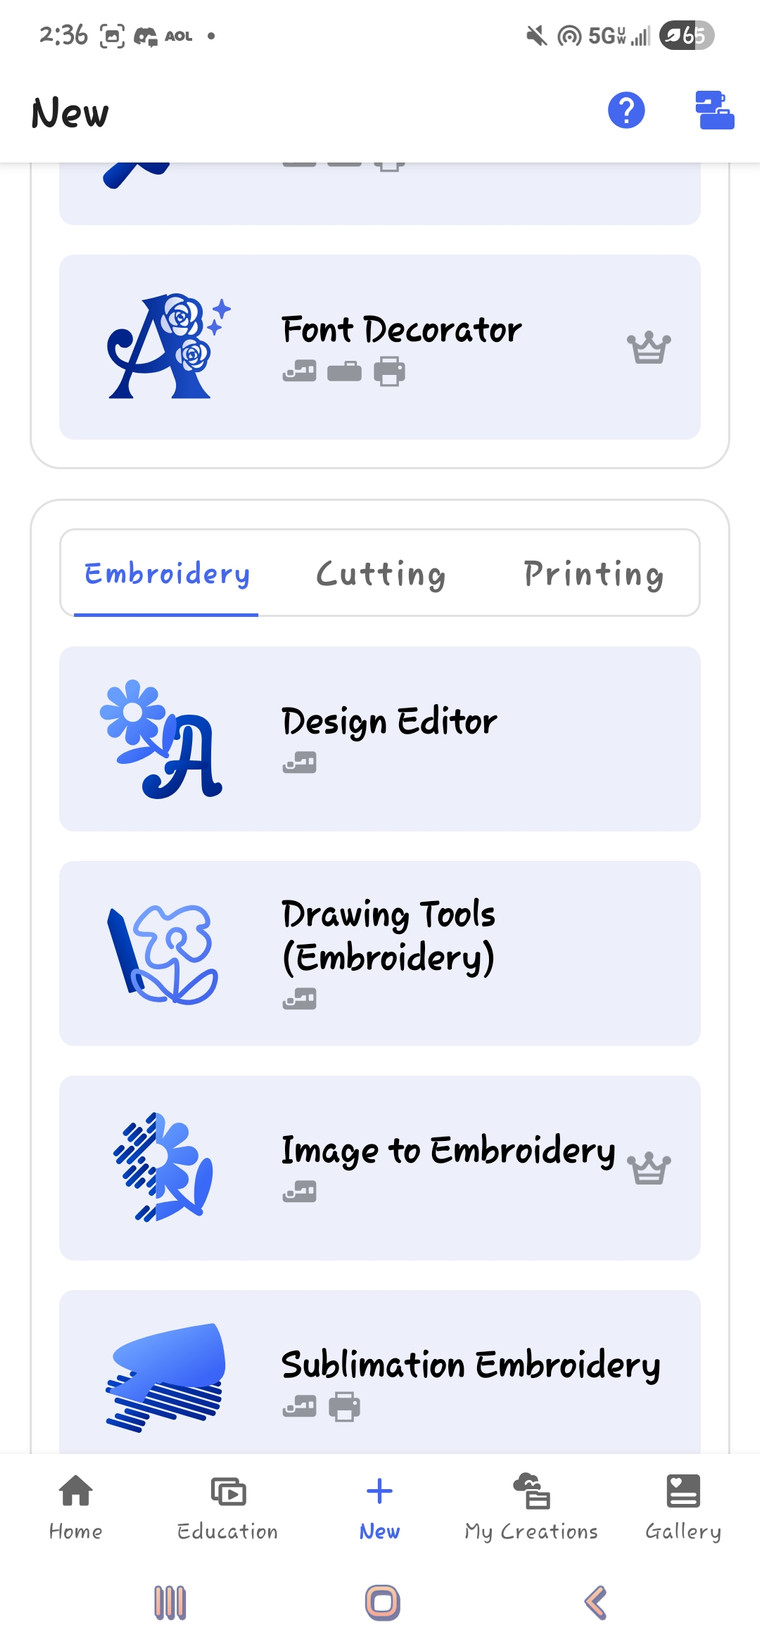
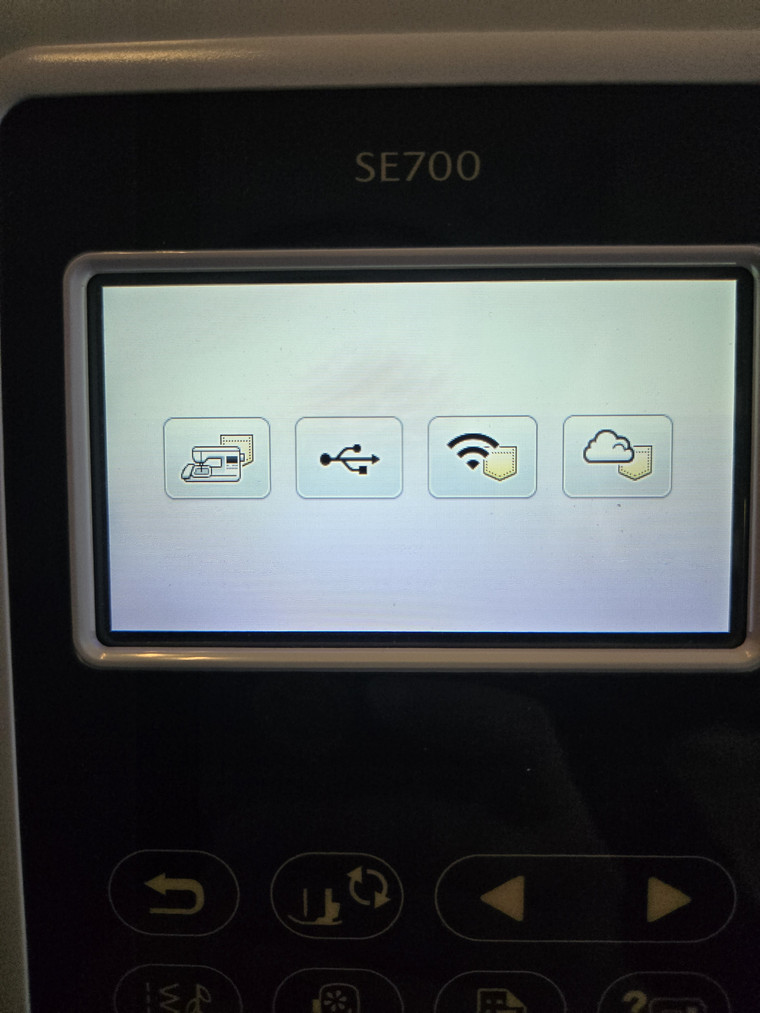
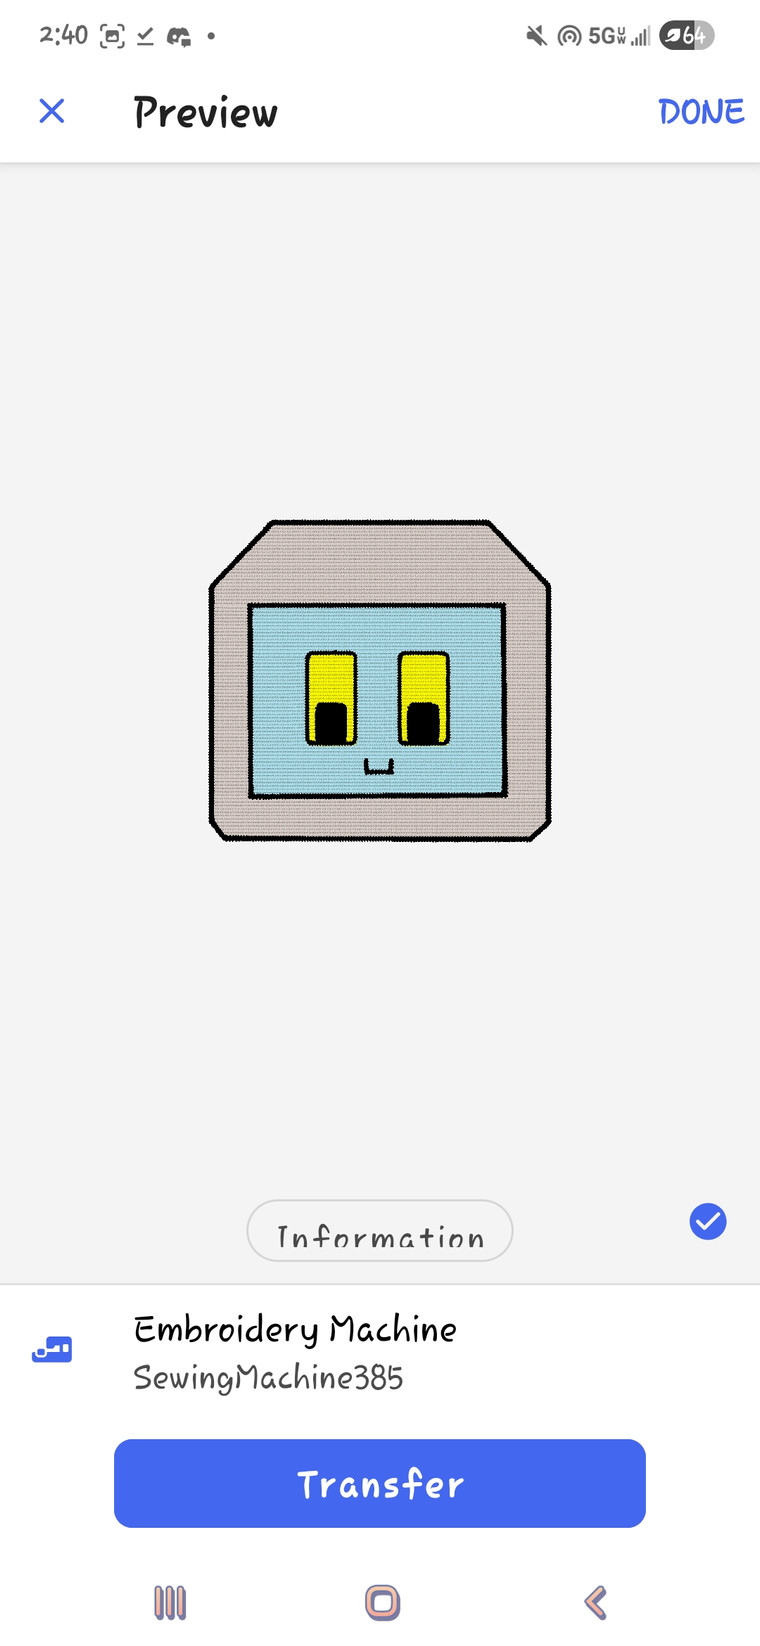
After completing my doodle, I was ready to send my design to the machine. To do this I needed to go to the design menu icon that looks like a Wifi and pocket.

This lets me send a file to the machine from my phone. Finally, from Artspira I needed to hit the blue Transfer button to complete the upload process.
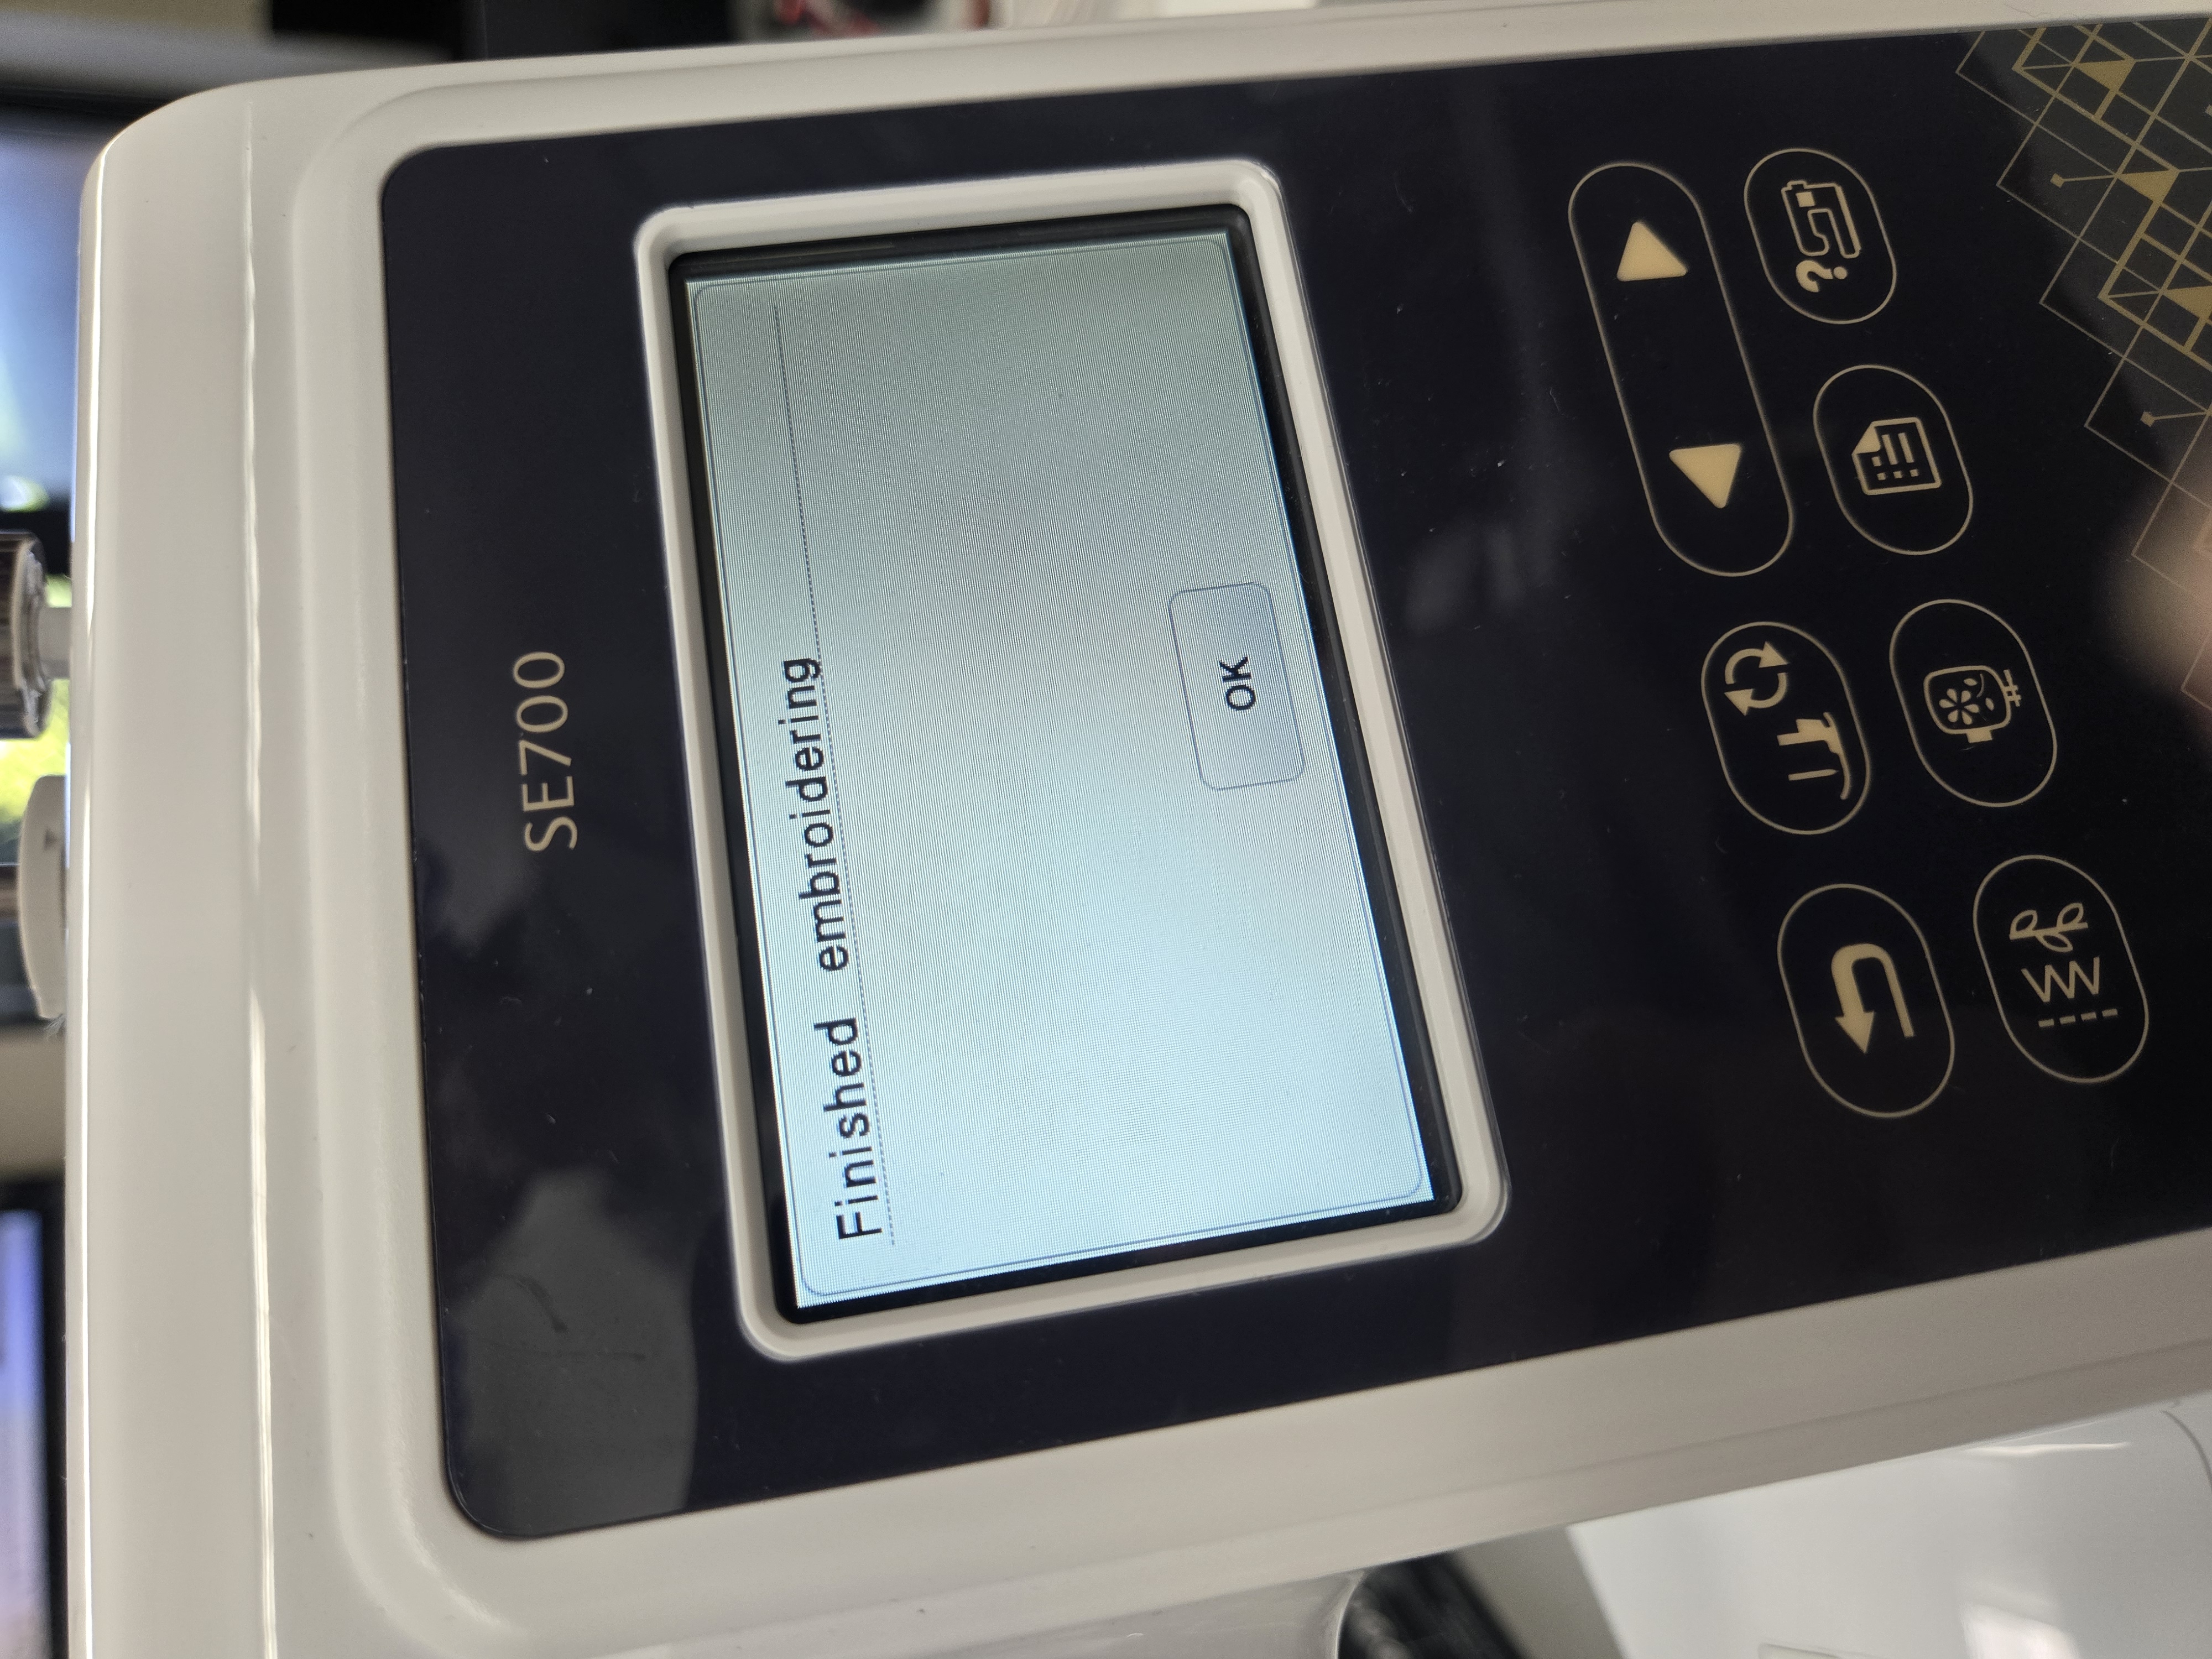
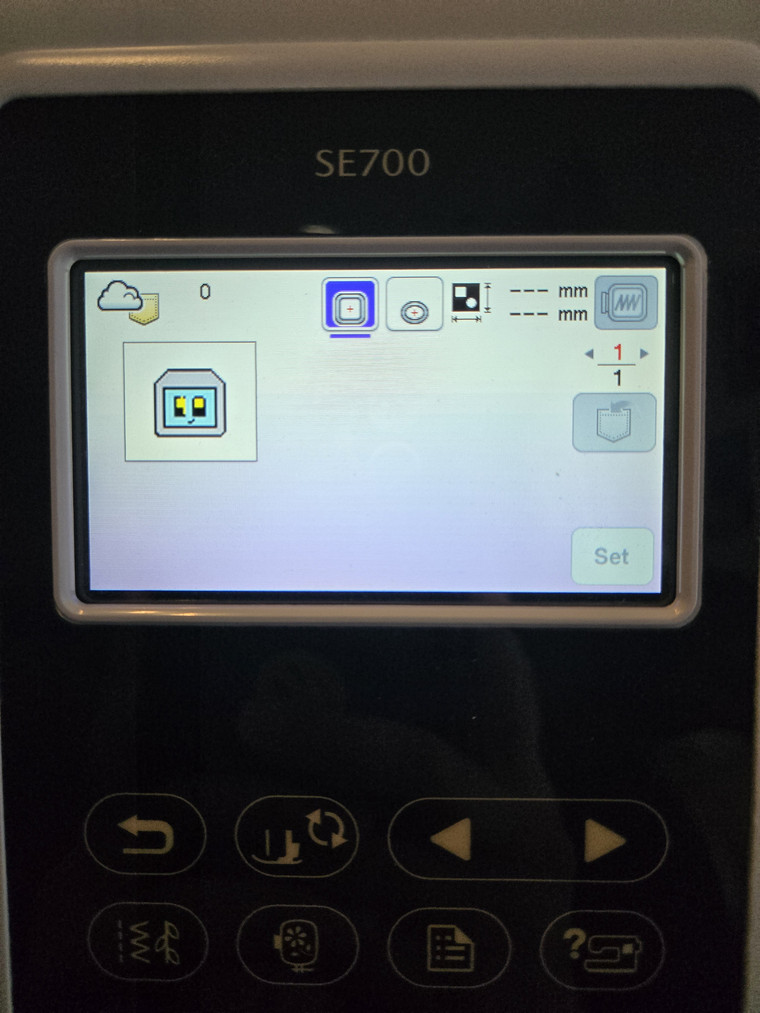
My design then showed up on the screen and I could make some modifications to the size or location using the on screen menu, but I just hit go to see how this test would work out.
With two successful, yet simple, designs under my belt I was ready for a challenge.
Designing in Inkscape
Setting Up the InkStitch Extension
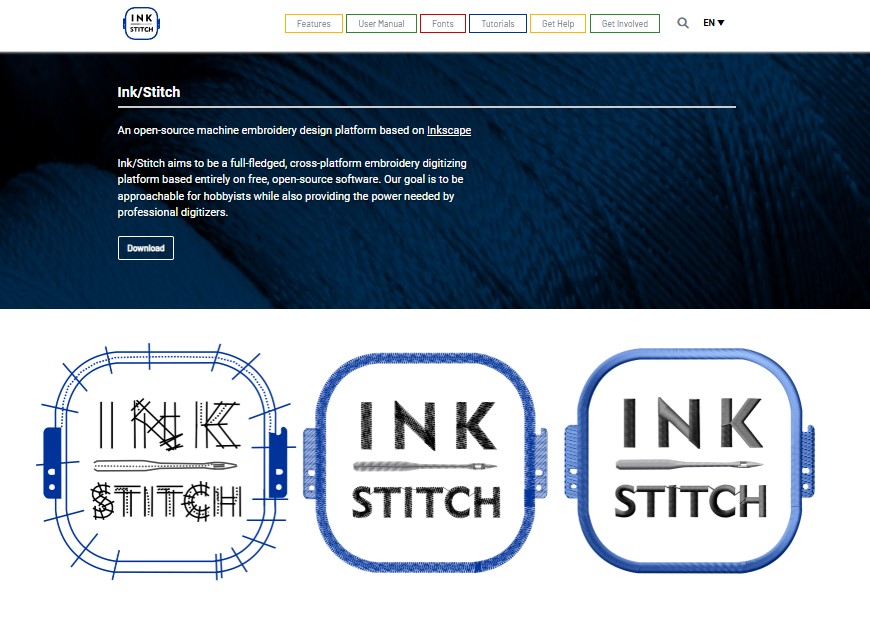
I started by searching for the InkStitcth extension.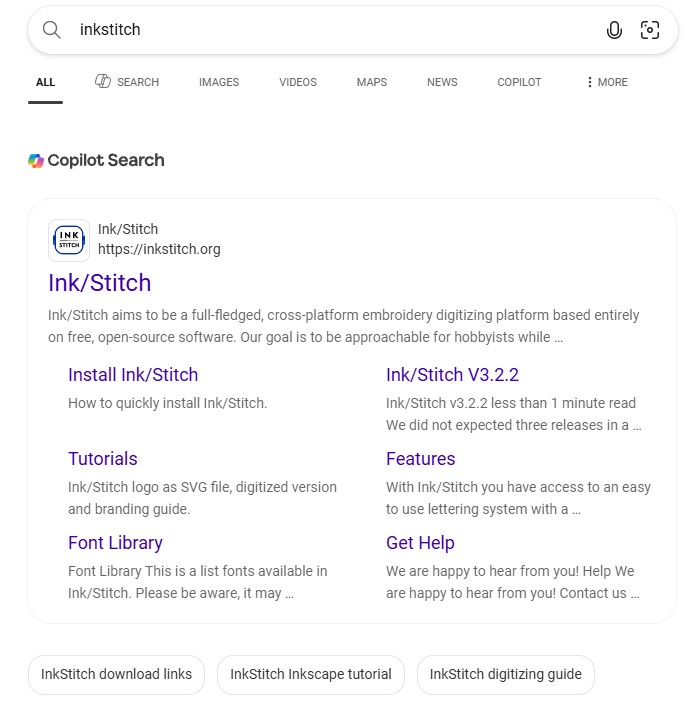
I opened the website and navigated to the download page by selecting my operating system. I learned from this page that Inkstitch is available for Windows, MacOS, and Linux.
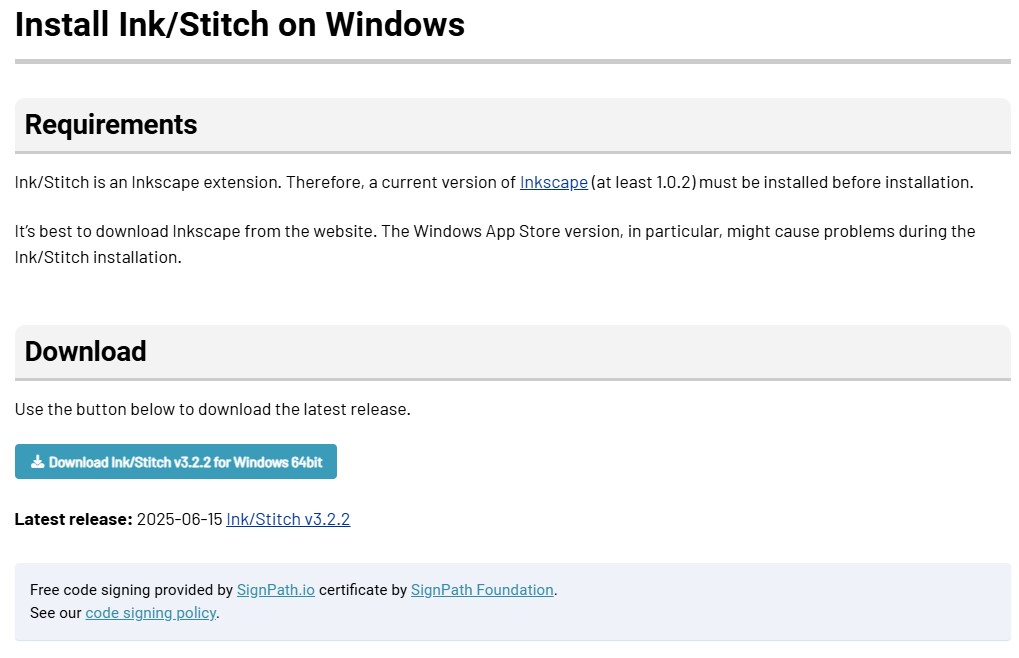
Once on the download page for my opperating system, I downloaded the software and followed the installation instrucitons. The entire process took only a few minutes from start to finish.
Once installed, it was important to restart Inkscape to ensure the extension was properly installed and ready to use. The first time I reopened Inkscape, I checked for the extension and I actually couldn't find it. It turns out, I had an older version of Inkscape on my computer and the installer auto chose the extensions folder for the old version. I re-ran the installer and ensured that the extensions folder was for the newer version of Inkscape I had on my computer. After this fresh install, I reopened Inkscape and Inkstitch was in my extensions drop down!
Creating my Project in Inkscape
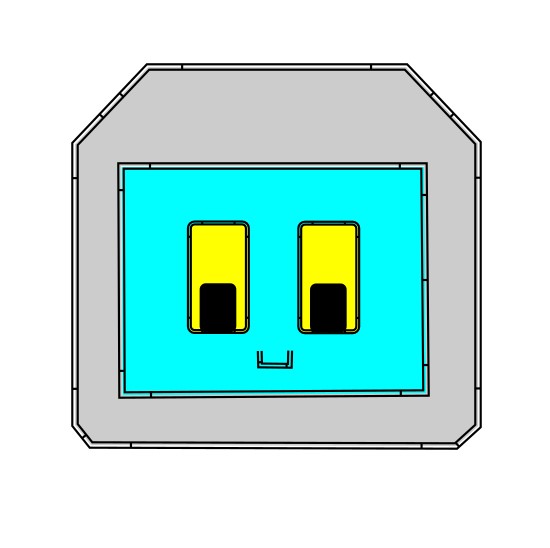
To create my design for this project,I began by setting up my project in Inkscape. To do this, I imported a screenshot of my robot design onto its own layer. Next, I resized the page to match the size of the embroidery hoop space on the machine. I resized my robot head image to about 2in by 2in which was within the updated page size. Finally I set the opacity for my image layer to about 50%. This allows me to easily see the image, but also see the lines I was drawing on each layer.
I then created a new layer for each color I planned to have in my project. I was also following along with this tutorial which had me create an additional layer for satin stitch and a layer for running stitch. I did not end up using these layers in my project, but at the time of making my layers, I did not know if I would need them or not.
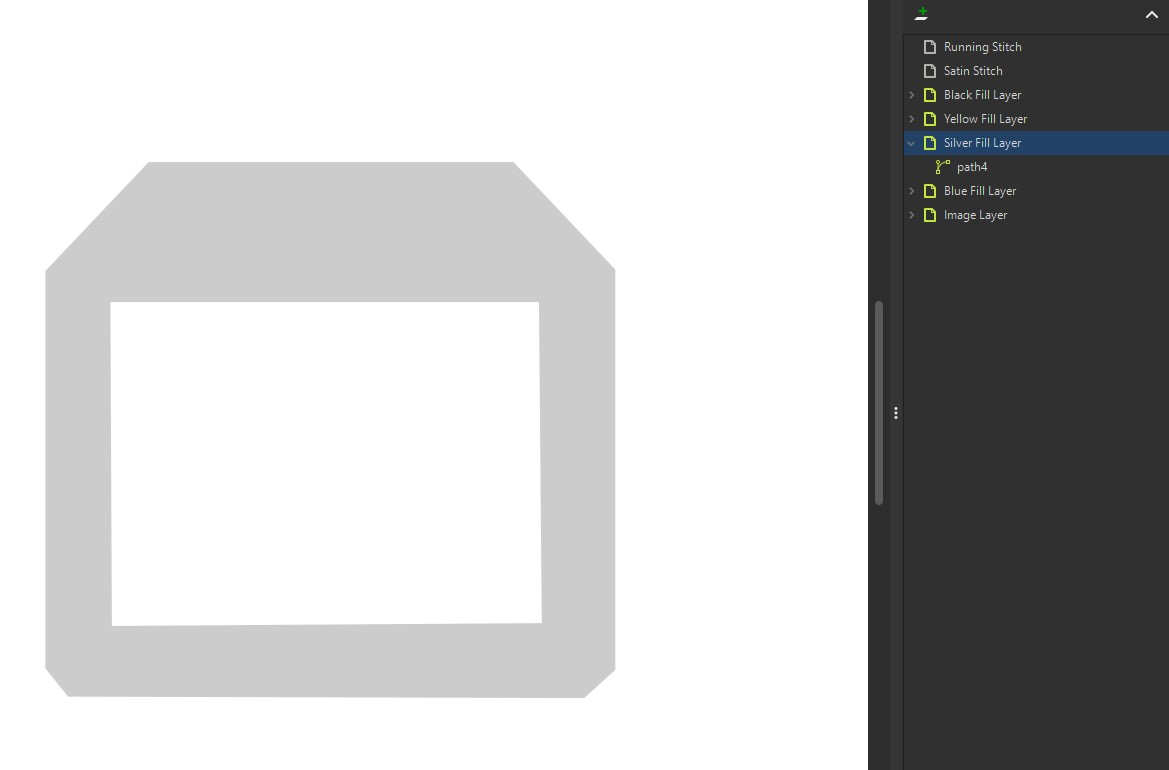
I then selected my first color which was the silver color of the robot. I made sure I was on the silver layer and used the pen tool to create bezier curves and lines to trace my image. For each trace, I made sure to create a complete object and used the fill tool to give it color. This was helpful visualy to see how my project was coming together layer by layer. It was also important for a step later in the process.
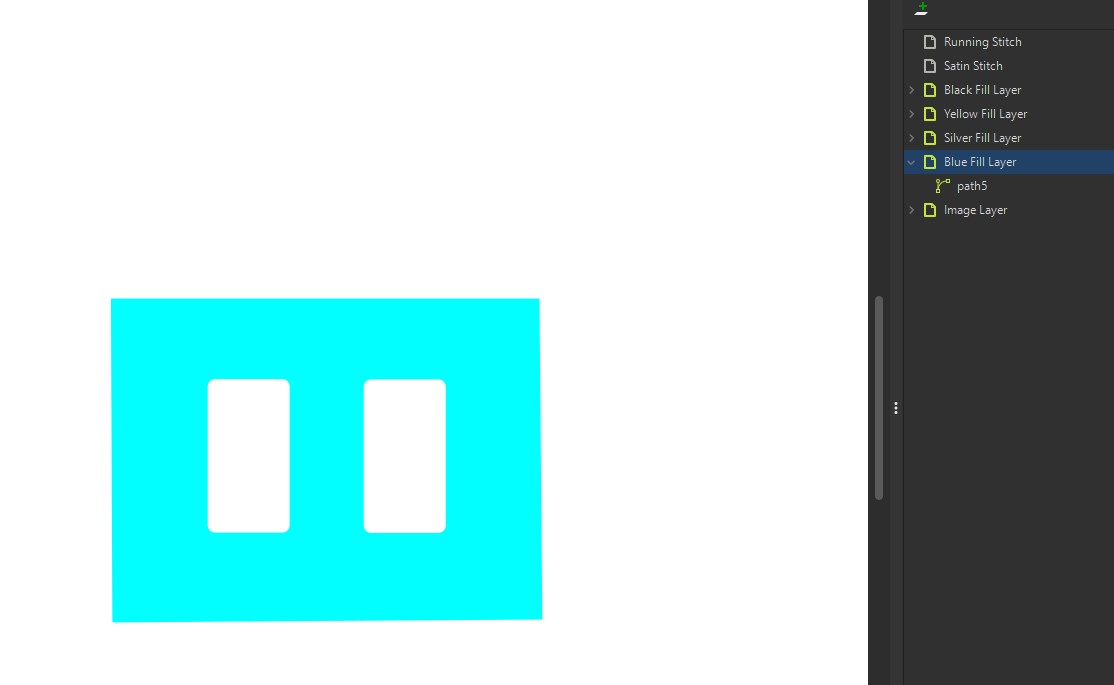
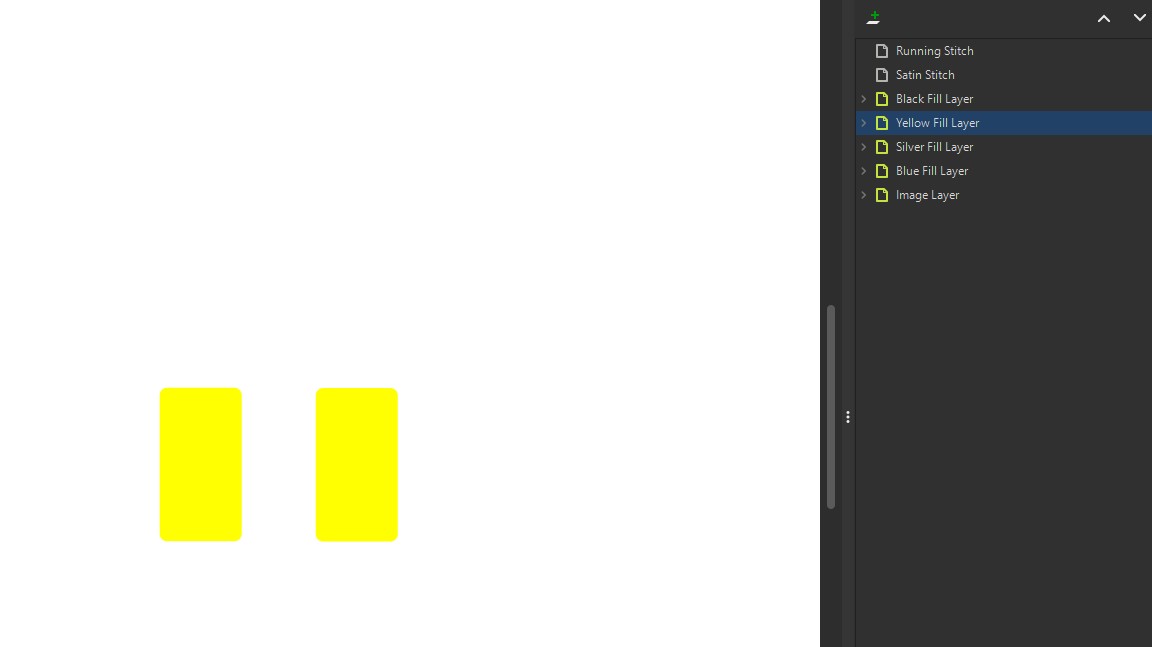
I repeated this process for each color, making sure I was on the correct layer each time.
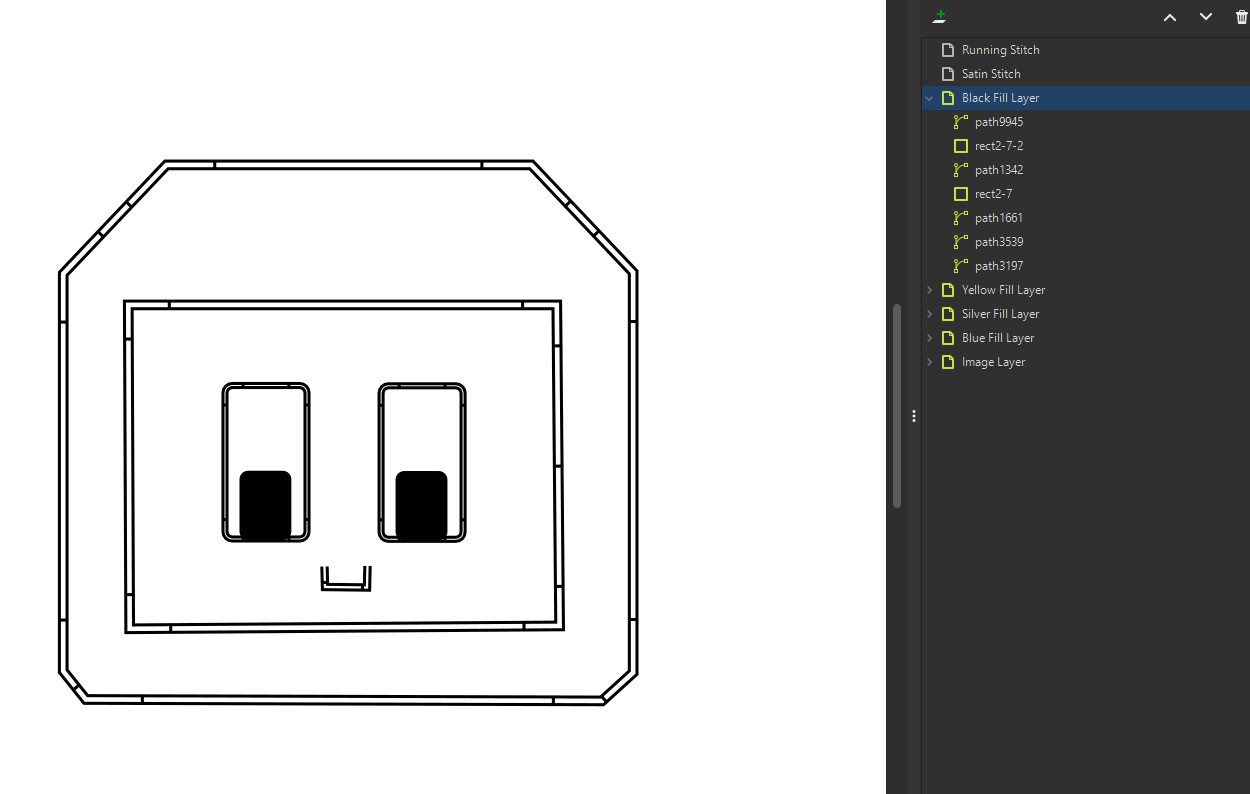
Following the video tutorial, I did end up making some of the lines on the black layer satin stitches, but I kept them on the black layer. To make a satin stitch, I had to select the lines I wanted to convert then go to the InkStitch Extension for satin stitches.
Extensions > Ink/Stitch > Satin Tools > Convert Line to Satin.
If your line was converted successfully, it will look like a railroad track in your inkScape design.
I continued to set up the rest of the stitch settings and types for my lines in the InkStitch Extension menu. The next settings I set up was the stitch types and settings for all of my filled colors. For this I went to the InkStitch menu again.
Extensions > Ink/Stitch > Params
Params is both a settings menu and a preview menu. For all of my filled color sections I used the preset settings in Params which were:
-
Satin Column
- Method: Satin Column
- Short Stitch Inset: 15
- Short Stitch Distance: 0.25
- Zig Zag Spacing: 0.4
- Reverse Rails: Automatic
- Running Stitch Length: 2.5
- Running Stitch Tolerance: 0.1
- Running Stitch Position: 50
Fill Stitch
- Fill Method: Auto Fill
- Maximum Fill Stitch Length: 3
- Spacing Between Rows: 0.25
- Underpath: Checked
- Running Stitch Length: 2.5
- Running Stitch Tolerance: 0.1
With these settings in place, I was able to preview the stitching for all of my layers.
Since I was happy with the preview, I closed Params and exported my file as a .PES which is an embroidery file type that can be used with the brother embroidery machine.

Sending my Project to the Machine
I emailed myself the file so that I could open it up on my phone in the Artspira app.
I sent the file from my phone to the Brother SE700 embroidery machine using the steps outlined above to connect my phone to the machine.
Once on the machine, I played with some of the settings to resize my design and ensure he was centered on the hoop.
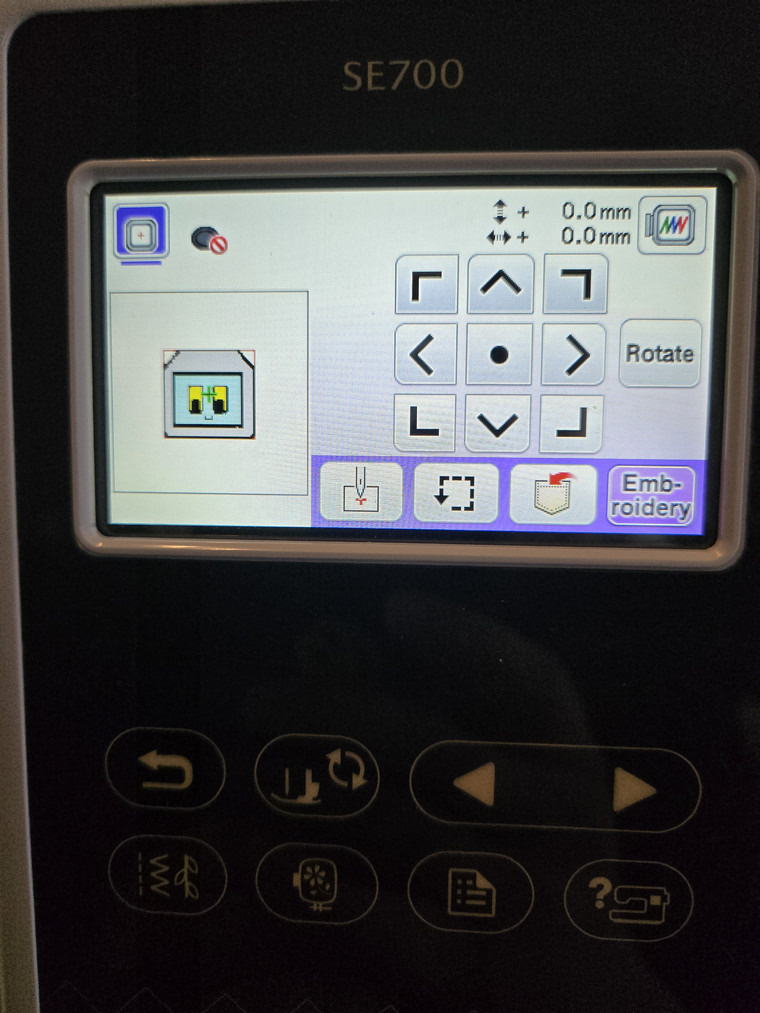
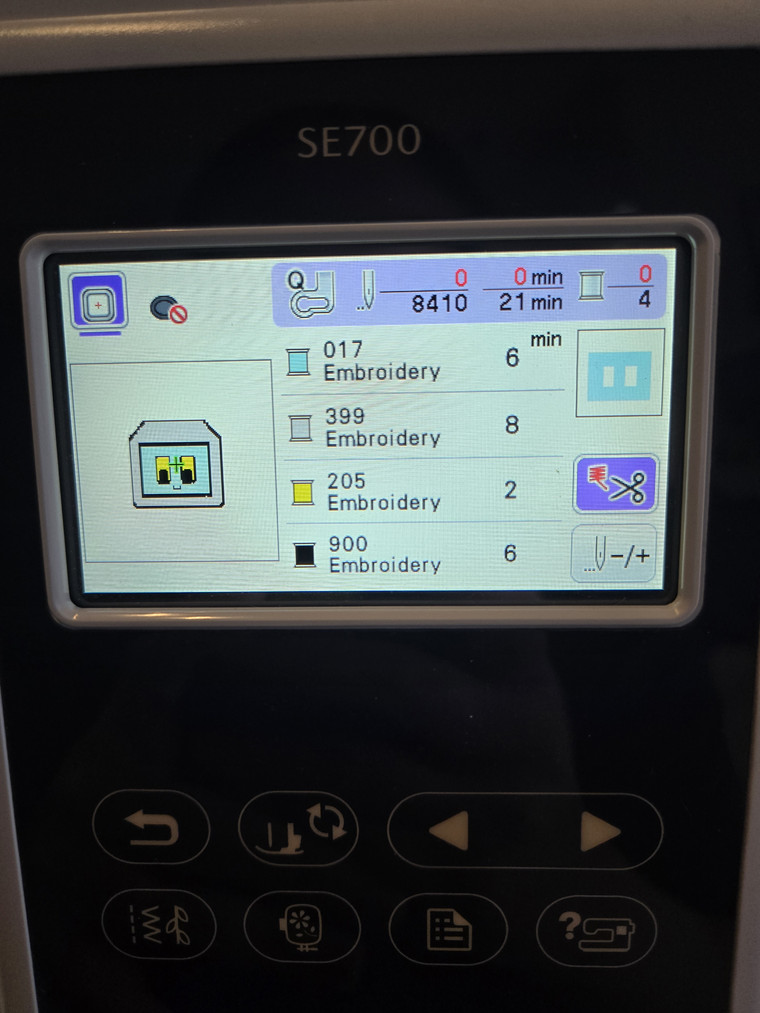
I loaded up my blue cotton fabric with interfacing on the back onto the hoop and I was ready to hit go. For each color layer, the machine ran the layer then paused to allow me to change out the colored thread. I did this for silver, blue, yellow, and then black.
Week 17 Files
In my repo is a zip folder containing files for my week 17.
What files are inside my Folder:
My robot head design as an .SVG file
My robot head design as an .PES file
Download My Week 17 Project Files Zip Folder